

A 86.5 Timing Belt / Water Pump Picture Thread from a first-timer
 12-14-2013, 03:33 PM
#31
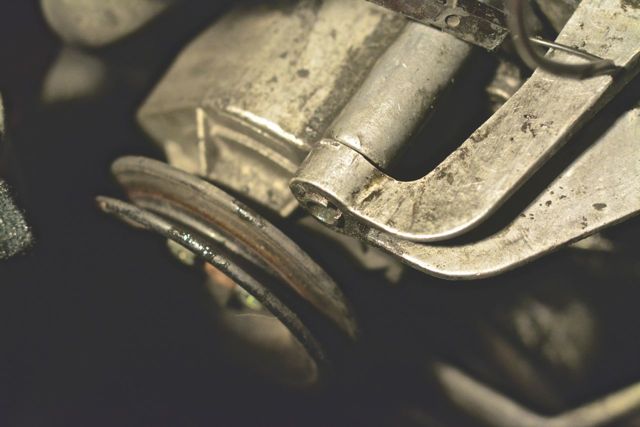
Once the alternator is out of the way for cleaning, the power steering pump is connected by two lines feeding into it.The hose with all the right angles in it has a hose clamp and the other is a banjo bolt to another line. Use a suction bulb and suck out all the fluid from the reservoir. Remove the reservoir. Have a catch bin ready underneath the power steering pump when you undo the banjo bolt because fluid will start gushing out. I don't think you need to do the other hose because you're going to pull it out anyways. Once the banjo is undone, you can navigate the pump down and out of the car.
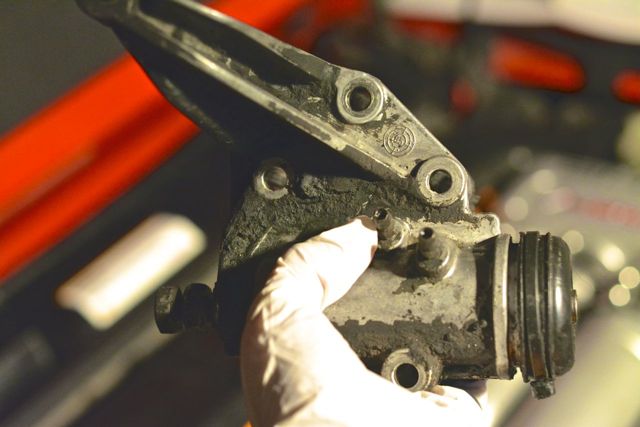
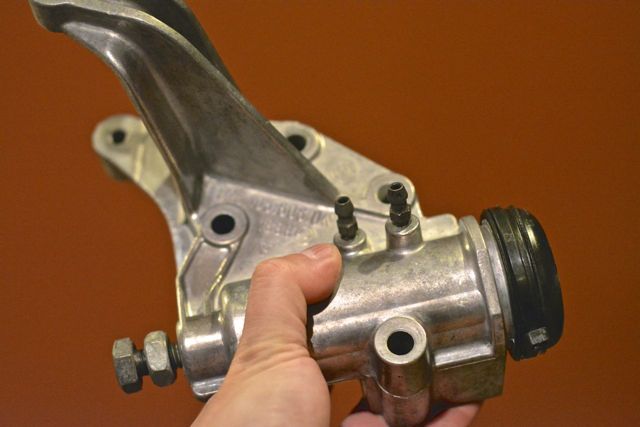
The pump itself is two pieces bolted together. Pretty easy to clean every nook and cranny once you have them separate. Mark the relative position of where the two upper bolts on that plane tighten to lock it in when belt is tensioned. Saves you the trouble of doing guesswork. Ask me how I know....and that's right after I switched the air pump and power steering belts and couldn't figure out why I had so much slack.
I pretty much spent a whole month on this job cleaning. The front is spotless...until last week when the power steering hose leaked worse than before and undid all my work. Nothing a can of brake clean didn't fix. Now I have to go in and replace the hoses. I should be able to do it without dropping anything I think. Just going to be tight.
Last edited by Avar928; 12-14-2013 at 03:51 PM.
 12-14-2013, 06:04 PM
#32
Under the Lift
Lifetime Rennlist
Member
Lifetime Rennlist
Member
Regarding the alternator...The cassette it and the PS pump mount on needs to be loosened and slid pretty far forward in order to get the belt cover off. If you are good and lucky the alternator mounting bolt with stay in the block and the alternator will not fall off.
12-15-2013, 02:15 PM
#33
Burning Brakes
Thread Starter
Good morning everyone. (Sort of.)
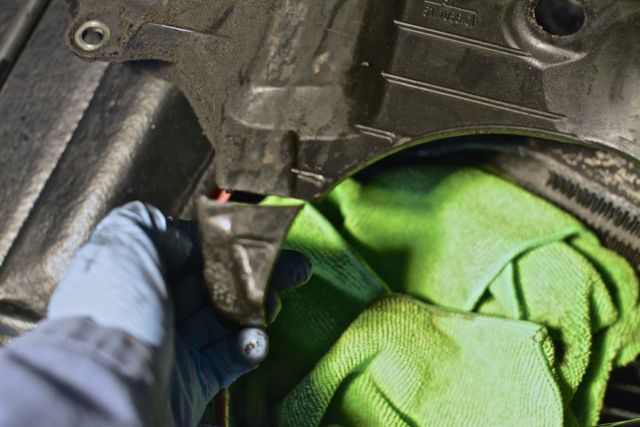
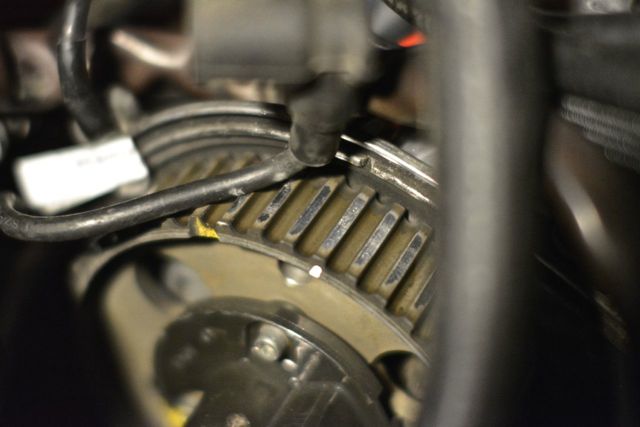
Continuing to get to the timing belt, I removed bolts from the center timing belt cover. The long one attaches to the water pump (I am told) and it had rust. It is soaking in Evapo-Rust.
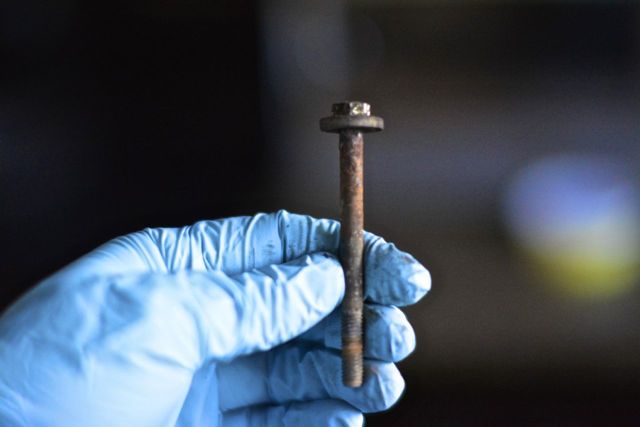
The center cover came off.
While removing, I heard a "click."
The part number is 928 105 144 04. Has anyone ever repaired one of these with JB Weld, or am I better off giving 928 International a call?
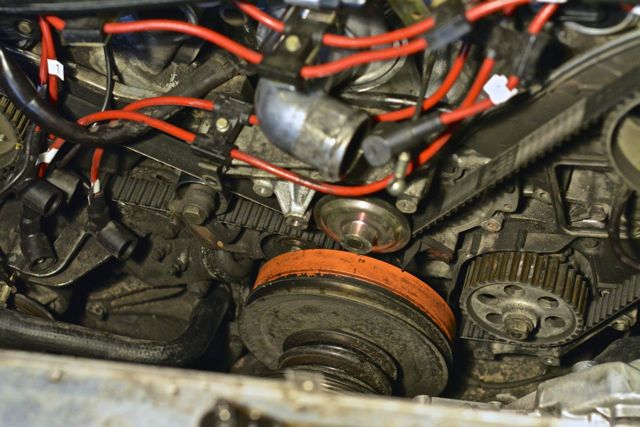
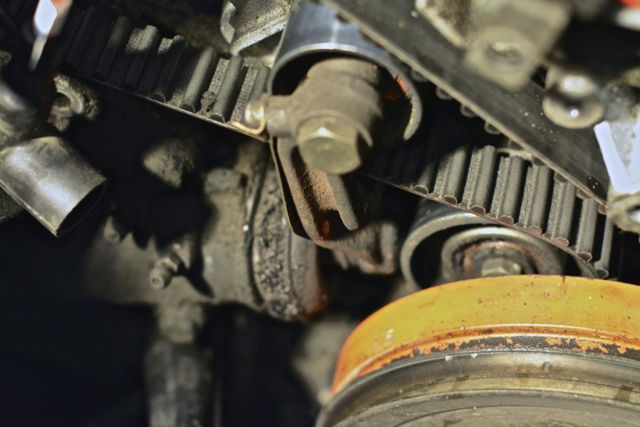
It looks like the tensioner is leaking.
I cranked the engine clockwise for two revolutions, stopping at TDC (top dead center.)
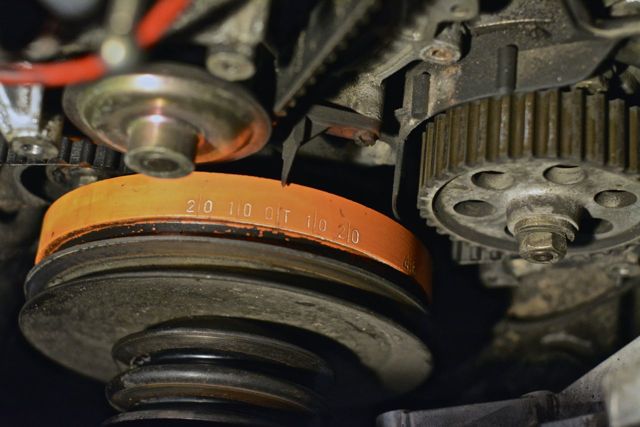
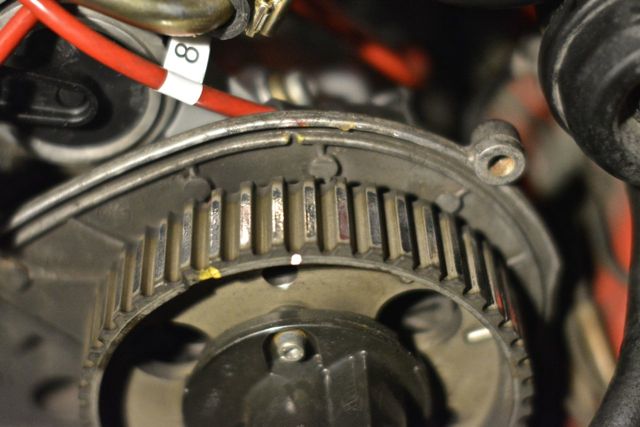
I was dismayed to find that the notches in both cam sprockets did not 'line up.'
Driver's side:
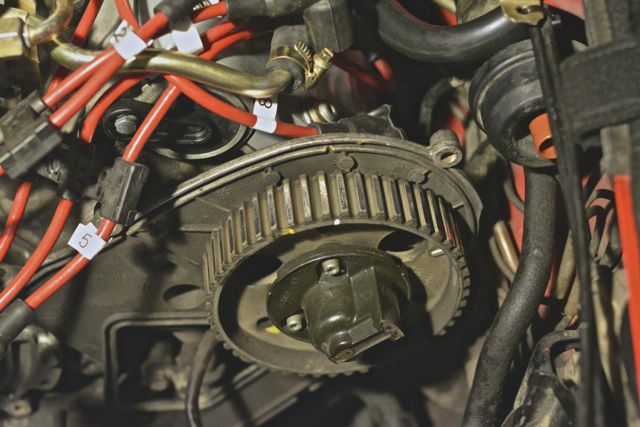
Passenger's side:
I cranked the car 1.75 revolutions to 45 degrees BTDC (before top dead center), and am about to install the flywheel locking tool. Both cam sprockets, as well as the oil pump sprocket, look very shiny.
Knowing that I probably need to replace these sprockets, do I proceed with the job? Putting it another way, at what point do I replace, and correctly "time" the cam gears?
Continuing to get to the timing belt, I removed bolts from the center timing belt cover. The long one attaches to the water pump (I am told) and it had rust. It is soaking in Evapo-Rust.
The center cover came off.
While removing, I heard a "click."
The part number is 928 105 144 04. Has anyone ever repaired one of these with JB Weld, or am I better off giving 928 International a call?
It looks like the tensioner is leaking.
I cranked the engine clockwise for two revolutions, stopping at TDC (top dead center.)
I was dismayed to find that the notches in both cam sprockets did not 'line up.'
Driver's side:
Passenger's side:
I cranked the car 1.75 revolutions to 45 degrees BTDC (before top dead center), and am about to install the flywheel locking tool. Both cam sprockets, as well as the oil pump sprocket, look very shiny.
Knowing that I probably need to replace these sprockets, do I proceed with the job? Putting it another way, at what point do I replace, and correctly "time" the cam gears?
12-15-2013, 07:44 PM
#34
Shameful Thread Killer
Rennlist Member
Rennlist Member
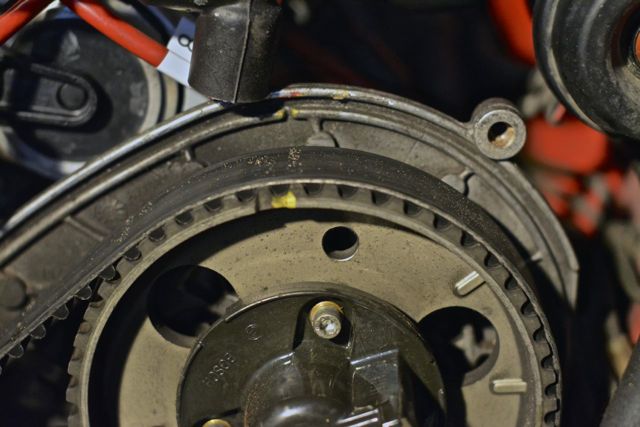
Pay no attention to the detent in the front of the cam wheel. Look straight down on the flange of the rear of the cam wheel for a small "V" cast into it. I'm betting they will line up pretty well.
All tensioners leak after a few thou, you aren't anyone special. As for the plastic cover, I'm sure it can be 'fixed' with JB Weld after complete cleaning and a bit of rough up with some 120 grit. Use it on both sides. Or, you can get another from Roger or Mark.
I'll want to see more of your cam wheels before condemning them. From what little I can see under the belt, they don't look bad - yet.
IMNSHO, as I prev said, I leave the crank locked at TDC. Do your belt job, and if you do the cam wheels(sprockets) you will need the VR32 gauge which you can likely rent or borrow from Roger. This way, your crank never moves while you fiddle withe the cam alignment, sprocket installation, and timing as you install the new belt. If you roll it around to 45deg, and then replace the cam sprockets, you have to more or less guess where to align the cam sprockets from where the were when you took the belt off, and then roll the whole asm around including the crank to TDC. This is not something that normal mfgs do. Jaguar, Ferrari, Fiat, Merc, and others all have interference engines, and none of them advise moving the crank after changing the cam timing. It's all done at TDC with a well known reference on the cam sprocket. Even if you are off a tooth that way, you still won't hurt anything cause you AREN'T MOVING THE CRANKSHAFT. But - I am one man, who goes against the Porsche gods.
12-15-2013, 10:24 PM
#35
Pro
Join Date: Dec 2010
Location: Palgrave, Ontario, Canada
Posts: 700
Likes: 0
Received 2 Likes
on
2 Posts
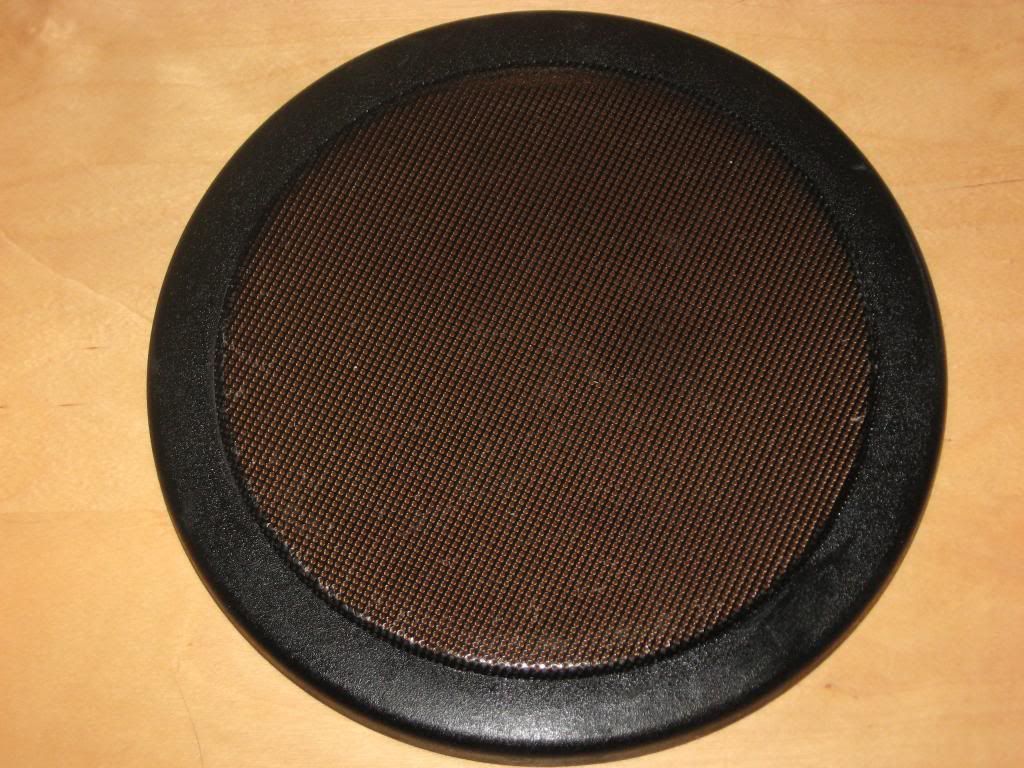
If you choose to re-glue the cover with JB, you will greatly increase the strength of the joint if you put a patch over it from the back side - I use aluminum mesh. Here is an example of doing it with a speaker cover:
Patch on back with clamp:
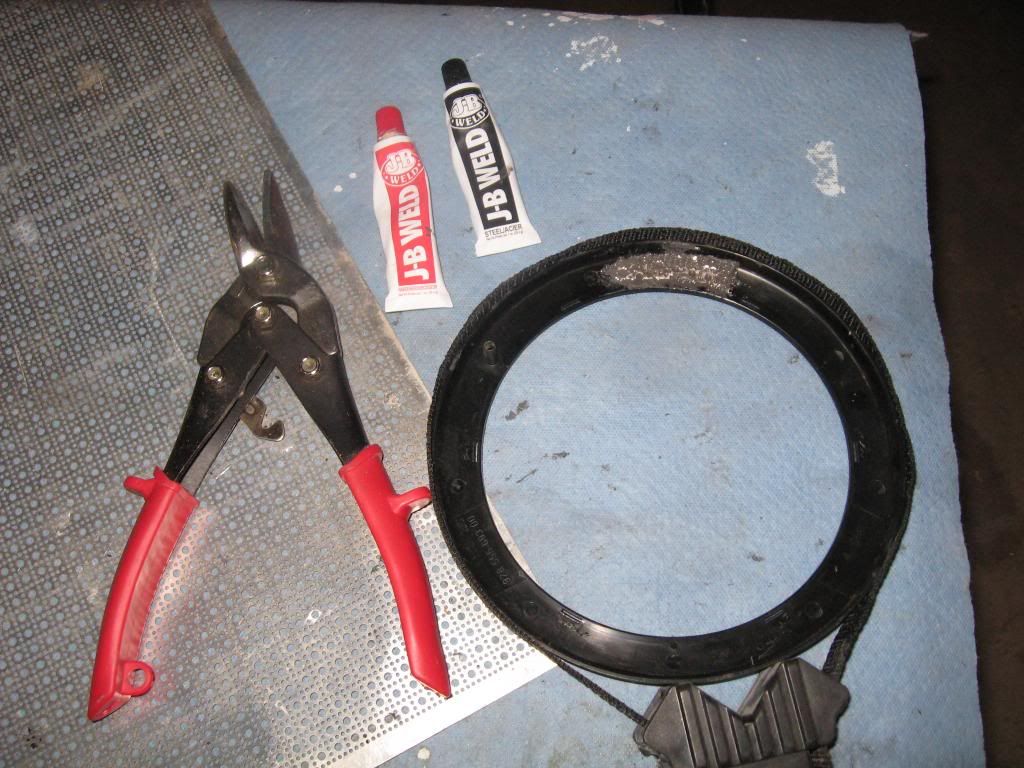
Front side after repair:
Patch on back with clamp:

Front side after repair:
 12-16-2013, 12:25 AM
#36
Burning Brakes
Thread Starter
12-16-2013, 12:48 AM
#37
Burning Brakes
Thread Starter
I pulled off the timing belt. It looked, quite frankly, new (after 5.5 years and 60,000 miles.)
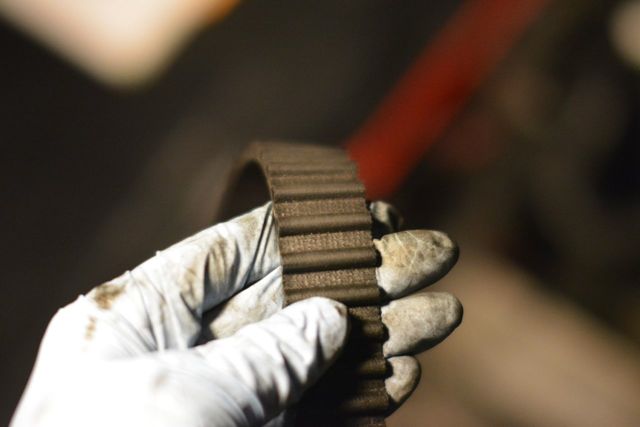
Here are pictures of the shiny cam sprockets. Do I need to change them?
I need to rebuild the tensioner. I removed the five bolts that hold the tensioner, and was surprised that it would not come free from the air pump. The air pump bolt hole seems to have some kind of a clip or sheath in it that is holding it into the tensioner- even though none of the write-ups that I've read have referenced this clip. Either that, or I am missing something. Any ideas?
12-16-2013, 12:53 AM
#38
Shameful Thread Killer
Rennlist Member
Rennlist Member
Sprockets are goners. You could get away without repl, but you'll just be back in here again soon to do it so if they are avail do it now.
Did you find the timing pip on the back side?
Did you find the timing pip on the back side?
12-16-2013, 01:04 AM
#39
Burning Brakes
Thread Starter

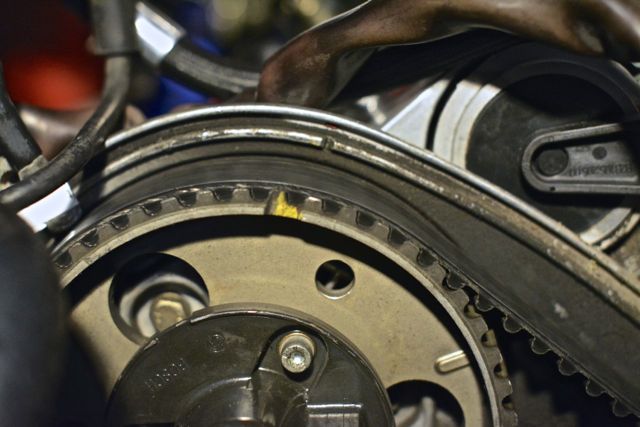
I did find the timing pip on the backside. It turns out that the pips are in the dead center of the grooves marked in yellow.


In other words, each cam sprocket is about a 1/2 tooth off.
Question: how do you ensure that the cams don't rotate at all when changing the cam sprockets?
12-16-2013, 01:56 AM
#41
Rennlist Member
Scott, following with interest. You're helper is a keeper! (So is mine).
The cam timing is off a few degrees, but you can fix that when you get the new sprockets on there. When you get the distributor rotors off, shoot a pic looking straight at the front of each sprocket-- to see if the holes are in the center of the slots.
You can't, cams will rotate by themselves when you take a lunch break. That's why you want to rotate the engine to 45-deg (sorry, Doc), and put a paint mark on each sprocket where it lines up with the little notch on the rear cover. (Yes, those sprockets are going away, this is just for practice and so you can transfer the mark to the new sprocket). Hint: the 45-deg mark is three teeth over from the "v" notch.
The reason for 45-deg is that you can freely rotate the cams as needed to get things lined up. If the engine is at zero then you need to be careful if the cams move.
Sure, it can be done at zero and Doc is right, it is quicker to not have to rotate the engine before setting the cam timing. But I always rotate the engine a number of rev's before checking timing in any event, to be sure the belt settled.
Cheers, Jim
The cam timing is off a few degrees, but you can fix that when you get the new sprockets on there. When you get the distributor rotors off, shoot a pic looking straight at the front of each sprocket-- to see if the holes are in the center of the slots.
The reason for 45-deg is that you can freely rotate the cams as needed to get things lined up. If the engine is at zero then you need to be careful if the cams move.
Sure, it can be done at zero and Doc is right, it is quicker to not have to rotate the engine before setting the cam timing. But I always rotate the engine a number of rev's before checking timing in any event, to be sure the belt settled.
Cheers, Jim
12-16-2013, 02:05 AM
#42
Shameful Thread Killer
Rennlist Member
Rennlist Member
It's got nothing to do with quicker. The deal is if the crank is at 45deg, and you remove the sprockets, there is no reference for the new sprockets except the transfer marks. Then, you must rotate it forward by the crank. At TDC, there is literally no way to bend a valve by rotating the cam unless you put a 18" breaker bar on the nose bolt and really wonk on it. So, once you get the sprocket on, if it's not dead on the mark, it's still plenty close enough that you can align using the VR32 timing gauge. Once that's done, rotate two revs by hand, recheck timing, and march on.
12-16-2013, 04:02 AM
#43
Pretty sure that's one of two 70mm ones that go through the left and right cam covers. I replaced mine and most of the other bolts instead of dealing with cleaning them.
You're going to be replacing ALL the gears. Buy Roger's cam gears ($600), oil pump gear and crankshaft gear. The new oil pump gear is steel. I believe the washer behind the original gear goes if it steel. The original gear is aluminum and it can crack and break if its really stuck on there.
Wiggle out the air pump from the tensioner and move it aside then the tensioner needs to be pried free from the block. There should be a cavity underneath the arm you can get a flat screwdriver or pry bar. It'll pop off or separate enough so you can take it off.
Dwayne's guide. Pretty much did the same thing on my '86.
12-16-2013, 10:37 AM
#44
Pro
Join Date: Dec 2010
Location: Palgrave, Ontario, Canada
Posts: 700
Likes: 0
Received 2 Likes
on
2 Posts
...I need to rebuild the tensioner. I removed the five bolts that hold the tensioner, and was surprised that it would not come free from the air pump. The air pump bolt hole seems to have some kind of a clip or sheath in it that is holding it into the tensioner- even though none of the write-ups that I've read have referenced this clip. Either that, or I am missing something. Any ideas?
 12-17-2013, 01:11 AM
#45
Burning Brakes
Thread Starter
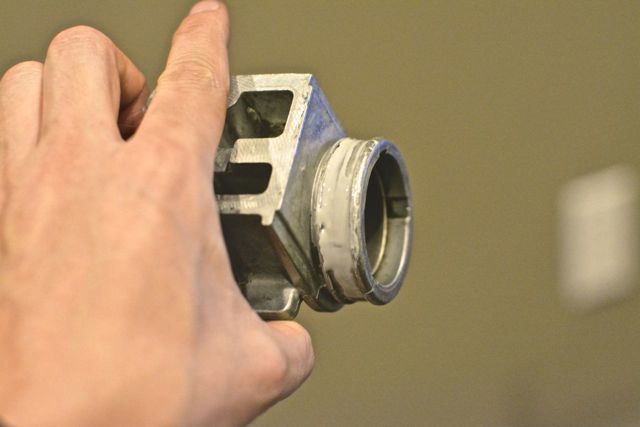
I finally got the tensioner out with a high-tech instrument: a screwdriver (wrapped in a rag.) Even after "cleaning" it while installed, it was pretty dirty. Notice the nice tensioner boot clamp that the previous owner left me:
It took an hour to clean.
The tensioner came apart easily. The tensioner bolt came out and I pushed the valve support out with a screwdriver.
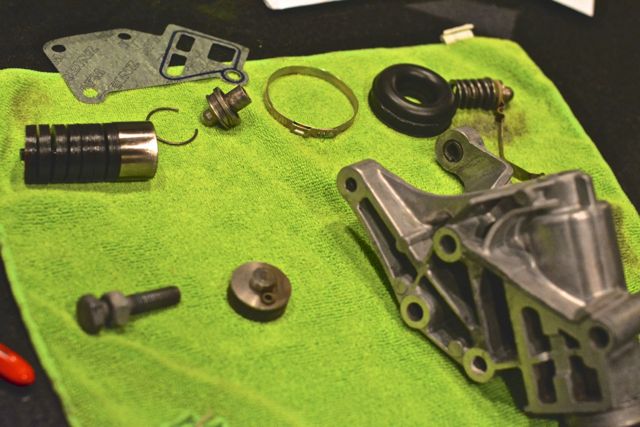
The valve support O-ring came out very easily. As soon as I breathed on it, it cracked.
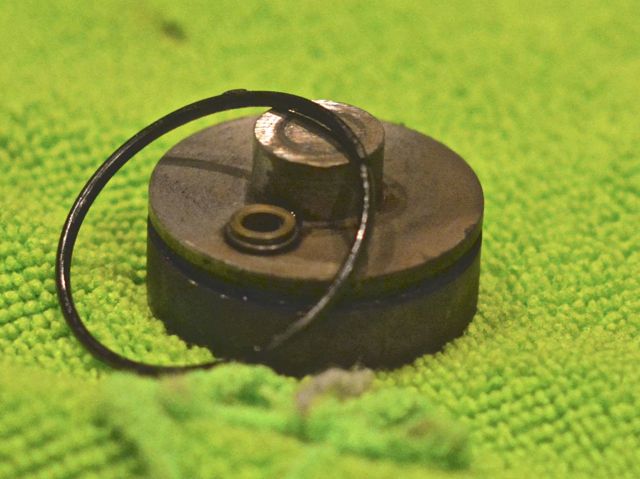
I pushed the belleville washer stack into the tensioner.
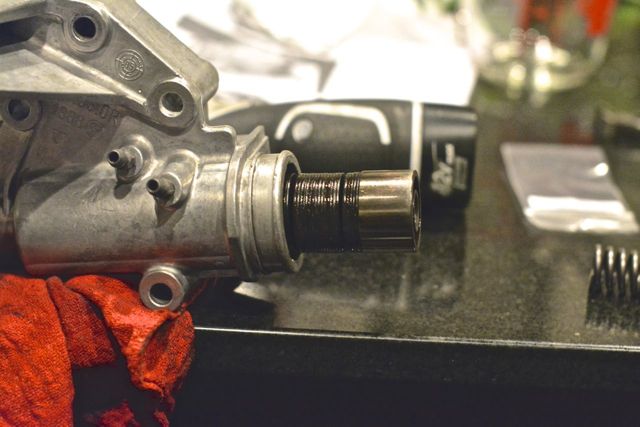
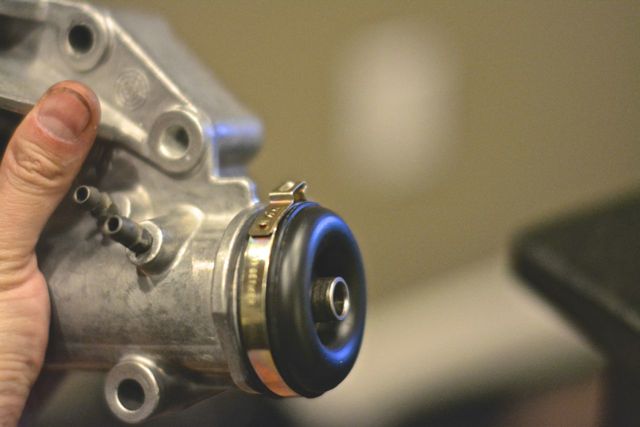
I fitted the new tensioner boot over the plunger and restored the C-clip. I "re-bent" the C-clip because it was a little bit loose.
Some people on Rennlist used a bit of gasket sealer for the tensioner boot. I used Hondabond 4.
Then, I installed a new tensioner boot clamp, crimping it with end-cutting pliers.
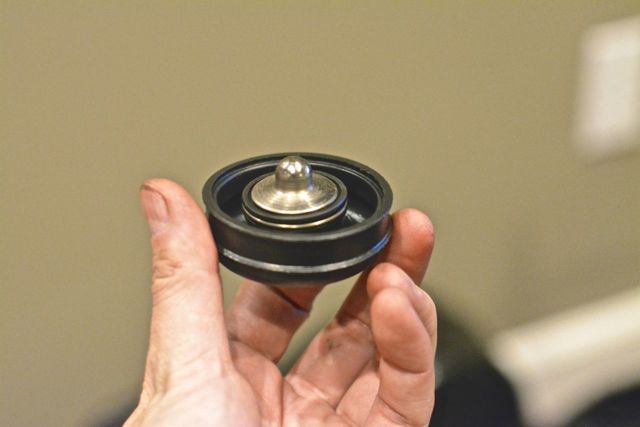
Mrmerlin suggests in this thread to use STP oil treatment to fill the tensioner. I am going to try this method.
It took an hour to clean.
The tensioner came apart easily. The tensioner bolt came out and I pushed the valve support out with a screwdriver.
The valve support O-ring came out very easily. As soon as I breathed on it, it cracked.
I pushed the belleville washer stack into the tensioner.
I fitted the new tensioner boot over the plunger and restored the C-clip. I "re-bent" the C-clip because it was a little bit loose.
Some people on Rennlist used a bit of gasket sealer for the tensioner boot. I used Hondabond 4.
Then, I installed a new tensioner boot clamp, crimping it with end-cutting pliers.
Mrmerlin suggests in this thread to use STP oil treatment to fill the tensioner. I am going to try this method.