When you click on links to various merchants on this site and make a purchase, this can result in this site earning a commission. Affiliate programs and affiliations include, but are not limited to, the eBay Partner Network.
^^^ I need to do exactly that. Where do I find appropriate thread and needle?
pics to follow today. I have a spool of black thread used for making shoes and luggage. Got it many moons ago and it's perfect. I use a chenille needle.
PM me your address and I will send you my spool and needle. I have enough on that spool for a lifetime of steering wheels, just send it back whenever you are done.
Belated congratulations - actually using her is a nice moment.
thanks! I enjoy the project aspect but I must admit, I need to start getting some miles on her to feel like I can move on! The tune is still not quite right. I am missing something here
So I started a sub thread to document my hunt for a low rpm misfire. I am happy to report that the car has continued to run excellent despite some lower compression in one cylinder. See https://rennlist.com/forums/928-foru...h-build-2.html
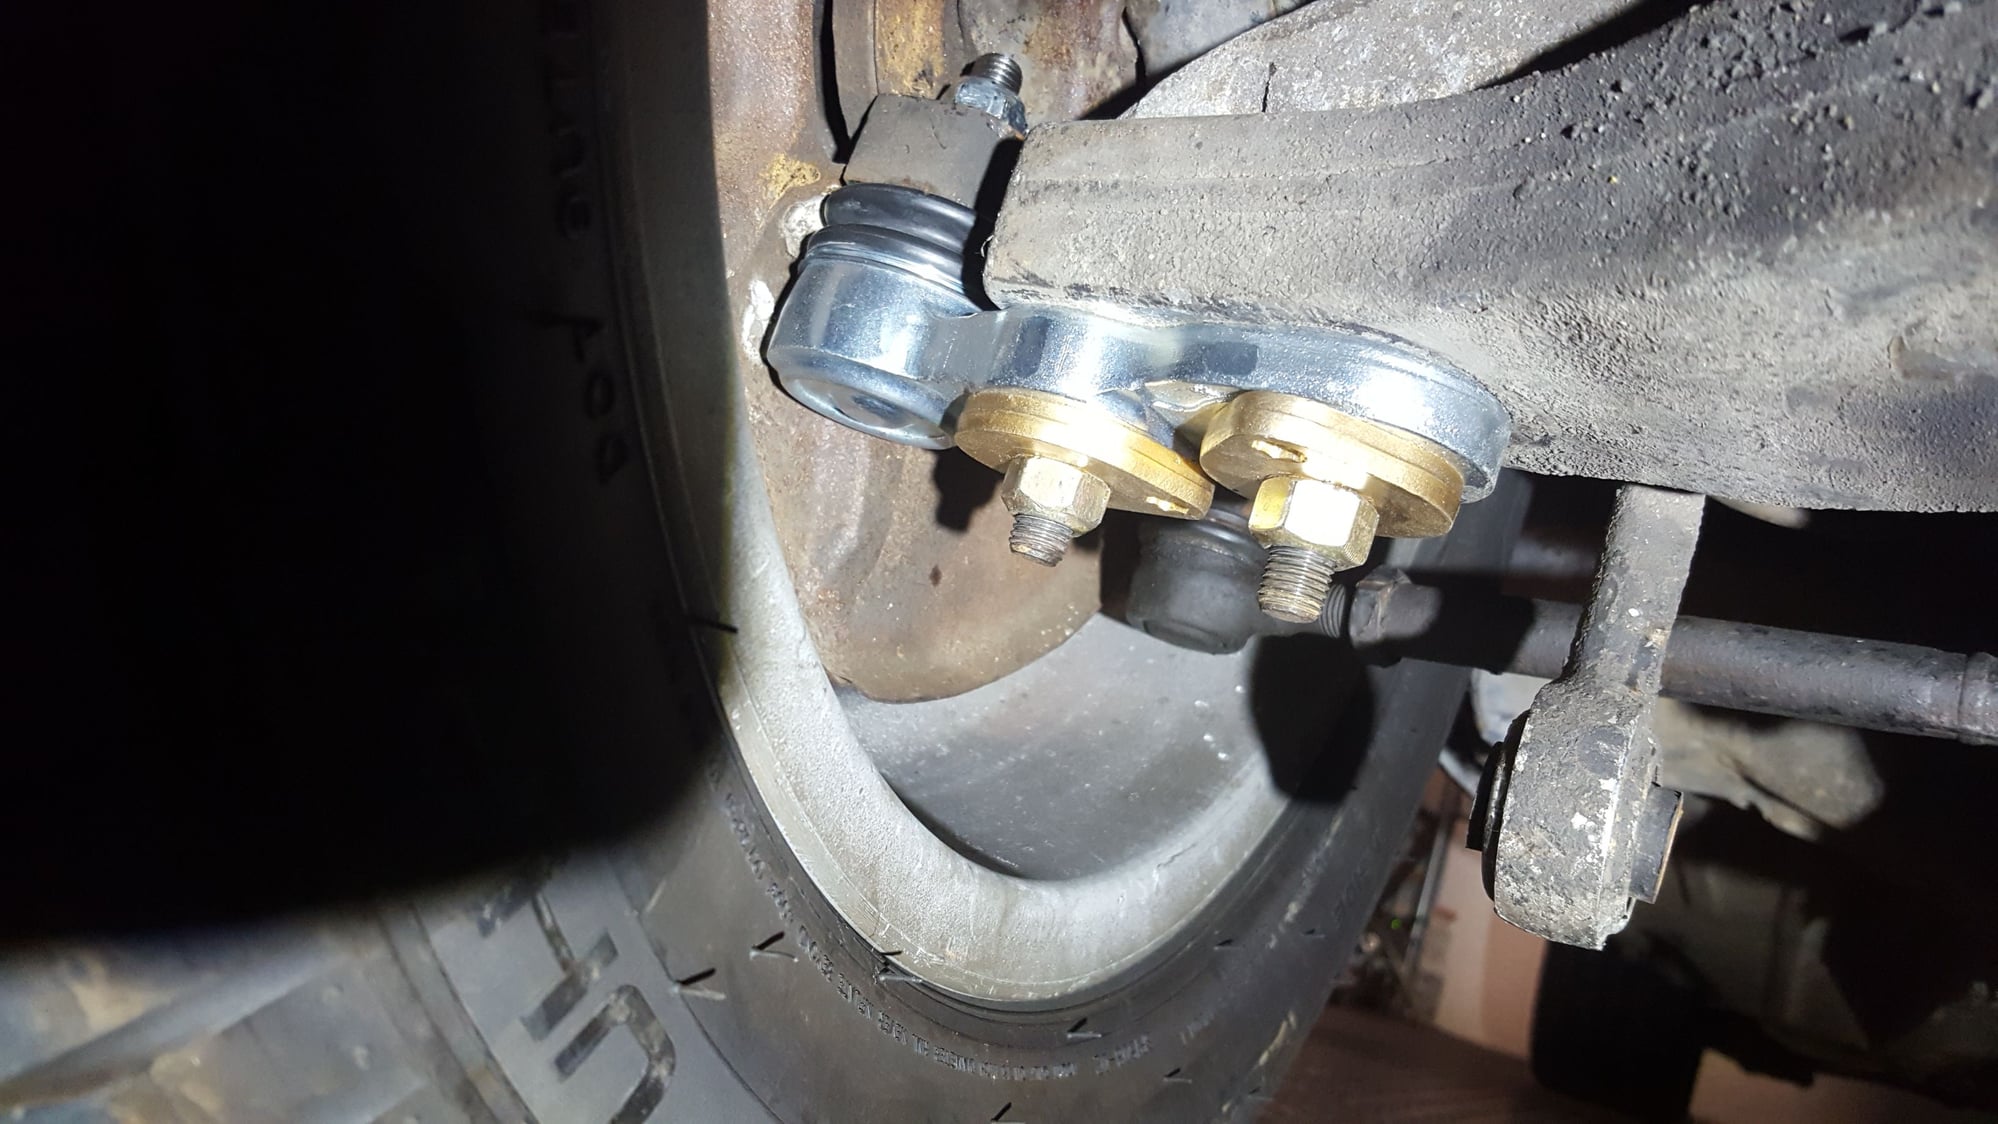
Today, I replaced the right side lower ball joint with a nice steel replacement. It was still running the original aluminum joint on the right side. Driver side was replacement by a prior owner just before the car was taken off the road. Porsche tags still visible on many of the parts. I am assuming it broke because most of the driver side suspension is replaced along with the caliper, rotor and even a wheel
So I figured I pushed my luck enough with the remaining aluminum joint. My parts cars supplied the extra eccentric. I marked the old one prior to removal and centered the replacement within the markings. An alignment is in the near future.
I then enjoyed the gorgeous weather here with a nice scenic 30 mile drive. Really was a lot of fun and the car responded perfectly.
Sway bar goes on next. At some point I really need to detail the suspension and brakes.
You are too kind, I appreciate that. I enjoy this car and work in a very haphazard order to keep things interesting for me. I am also torn between a full restoration and keeping the patina without going overboard
Originally Posted by Jadz928
Keep on driving! Good for your car, good for you.
PS. Thanks for the needle and thread. Already used it. :thumbup
True indeed. Drove to work this morning, had a little mis show up again but it cleared up during the drive Ran very well !
So after Jim worked some magic on my CIS components, the car runs perfectly. I decided to mix it up and tackle a simple interior project.
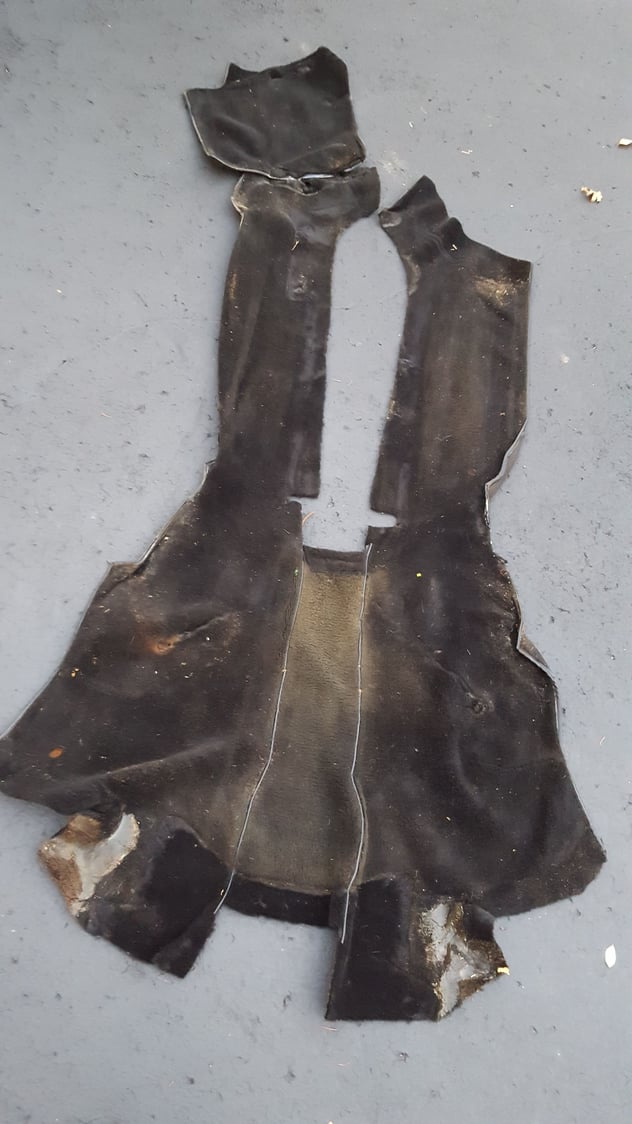
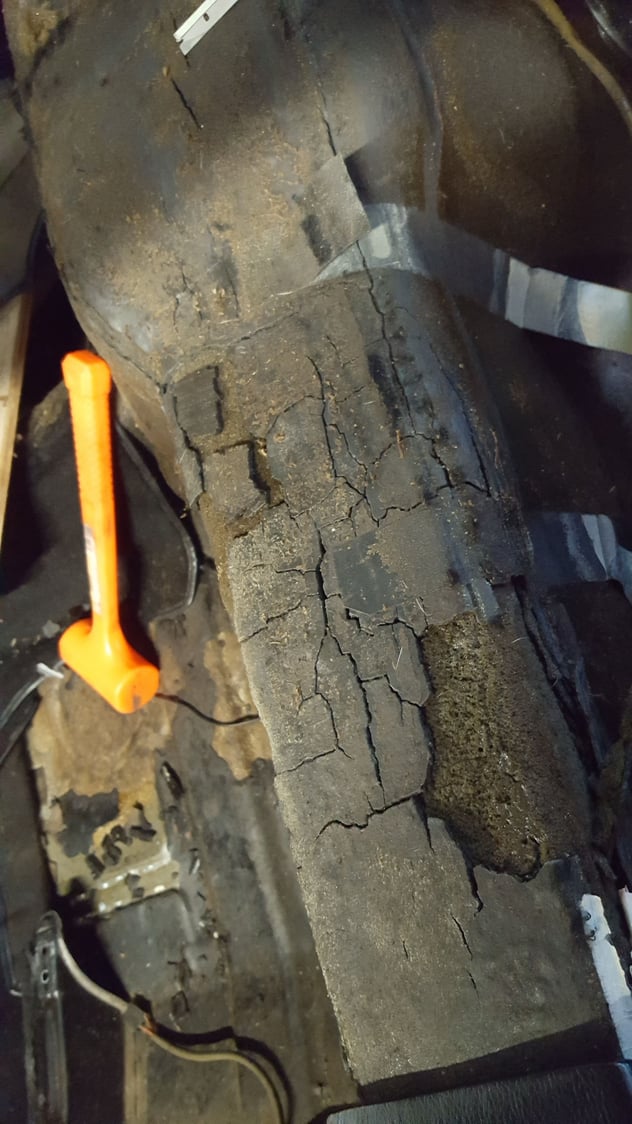
I have noticed that my early build 79 has a lot of unique features as opposed to layer years. One interesting feature is that the carpet is slightly heavier than the later years. My fiance believes it's a wool blend. It's all in very condition except the tunnel which had faded to green.
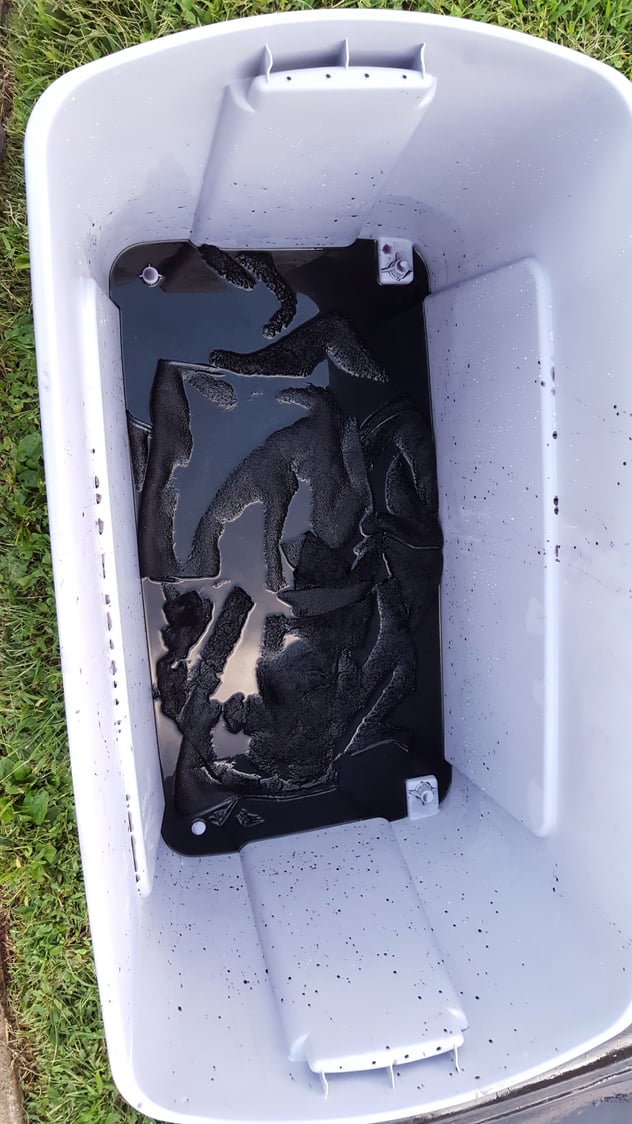
So I decided to attempt to dye it back to black using RIT dye.
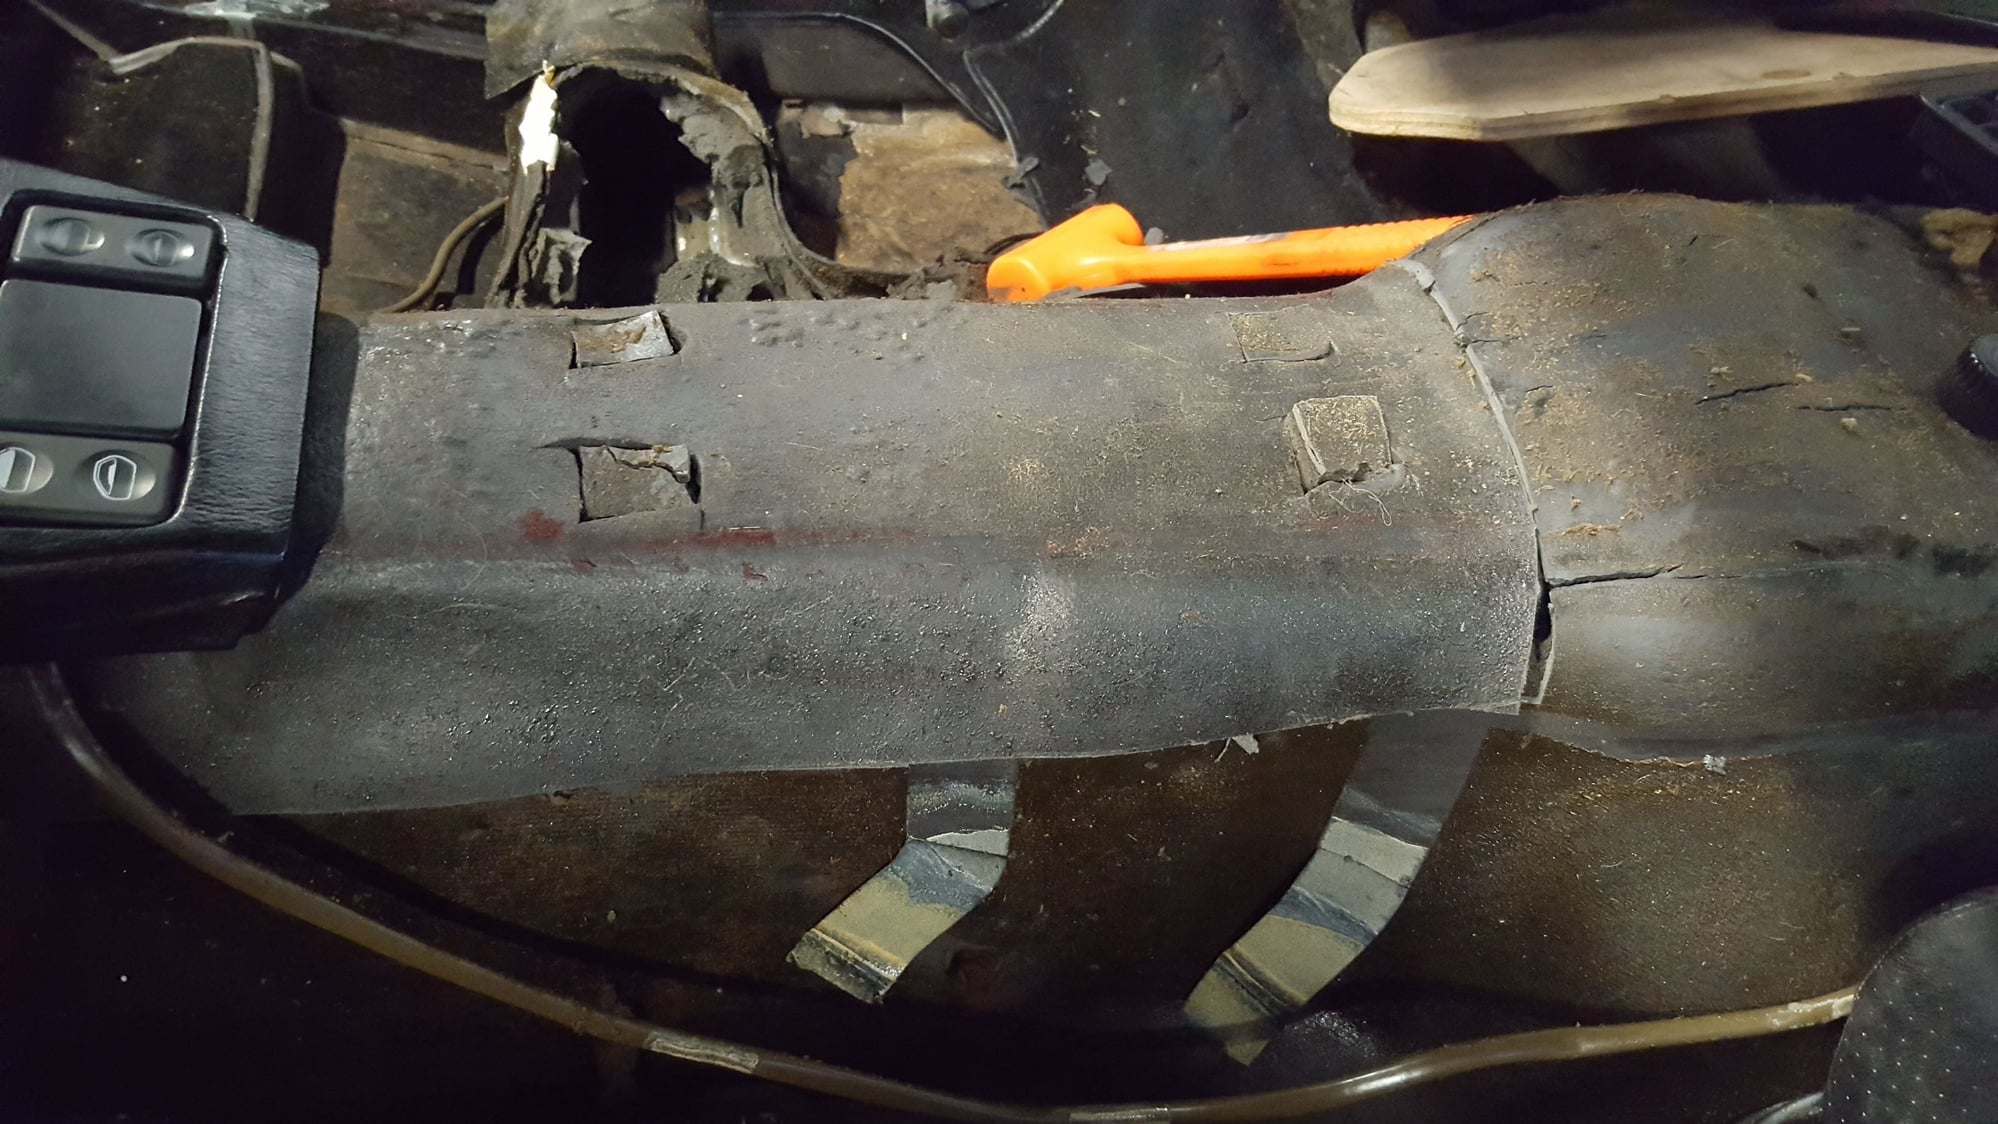
I mixed up the RIT in hot water and allow the carpet to soak for an hour.
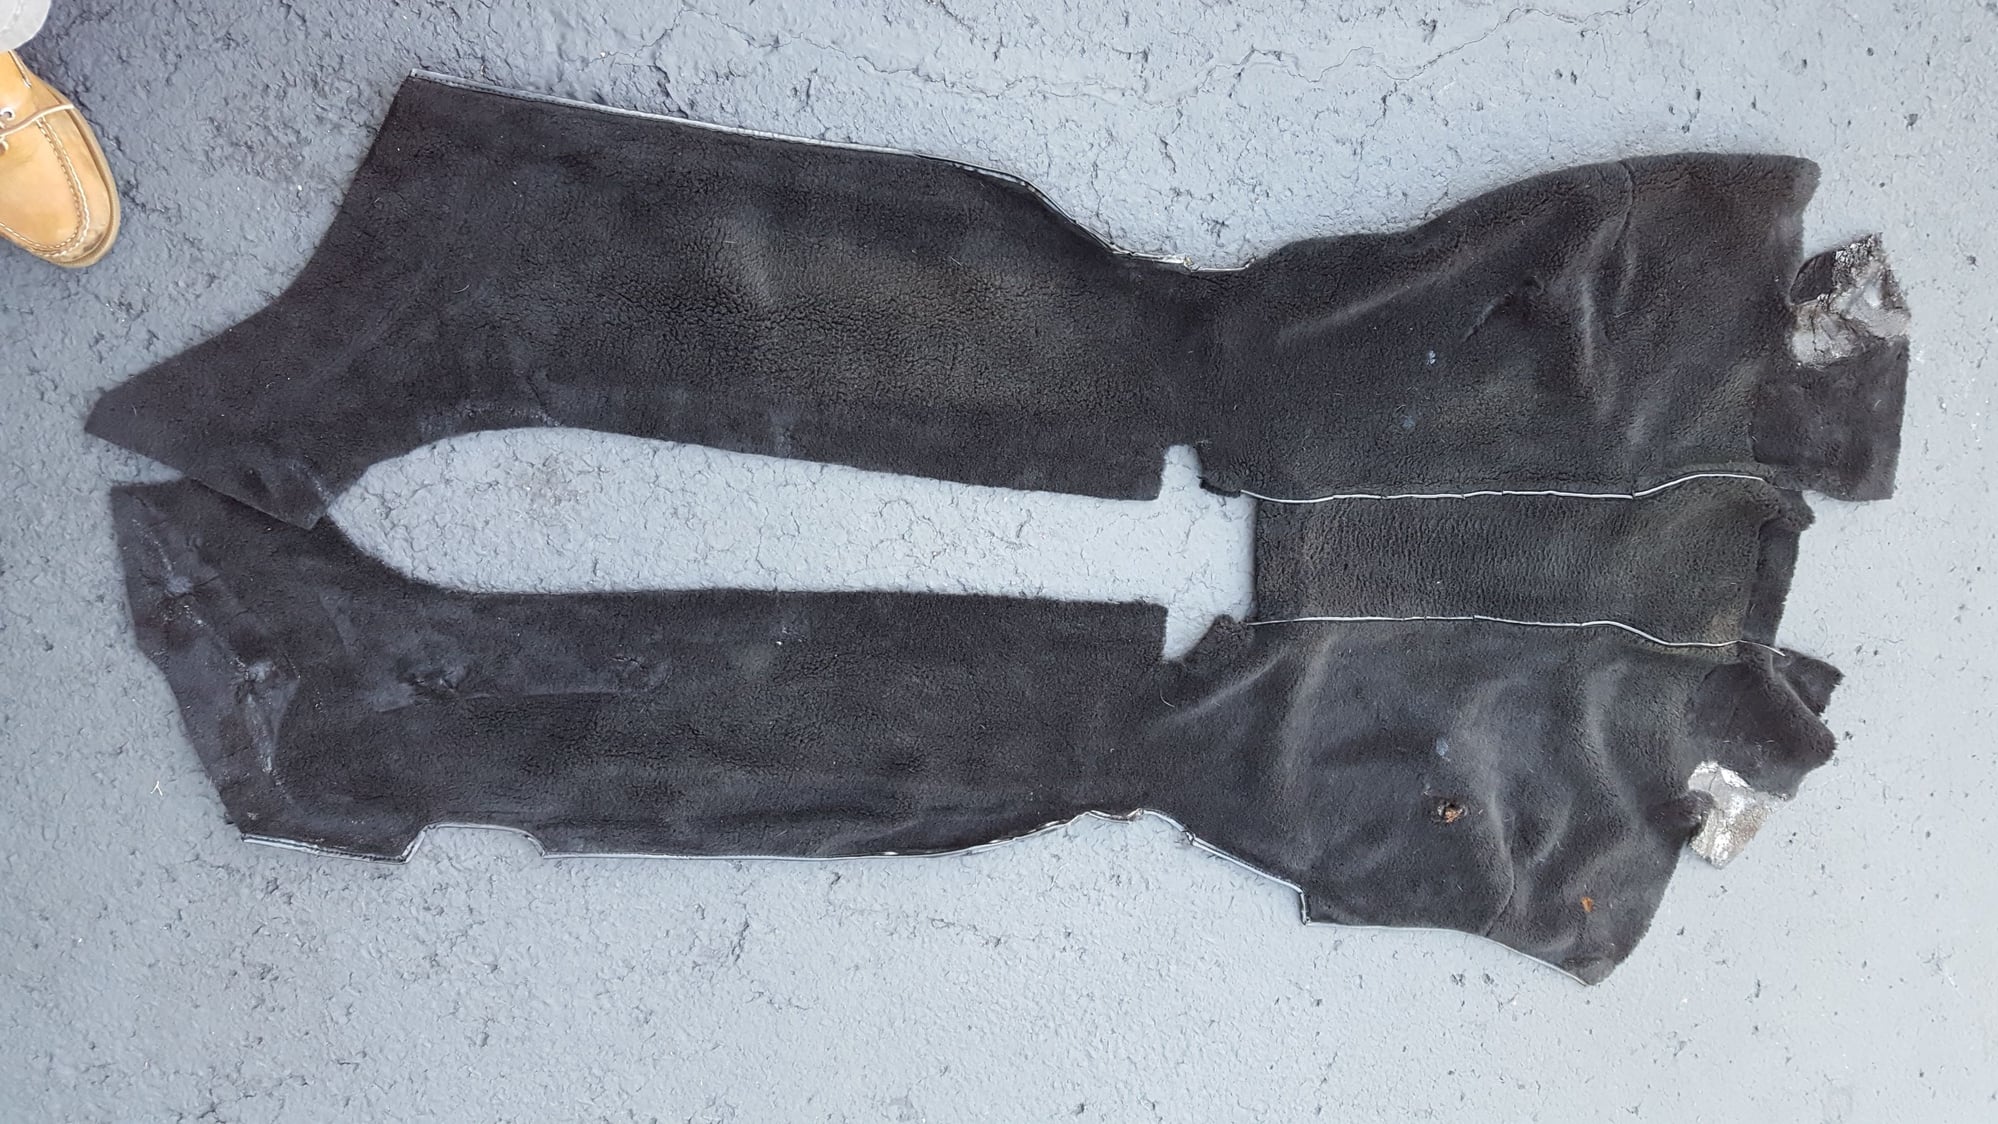
Not perfect but it did the trick for me. Best part is that it is still soft.
I also sectioned out the cracked insulator on the tunnel using a donor piece from my 83 parts car. I wanted to replace the whole piece but heat and mosquitos where the parts car is out took the wind out of my sail
Before and below is after
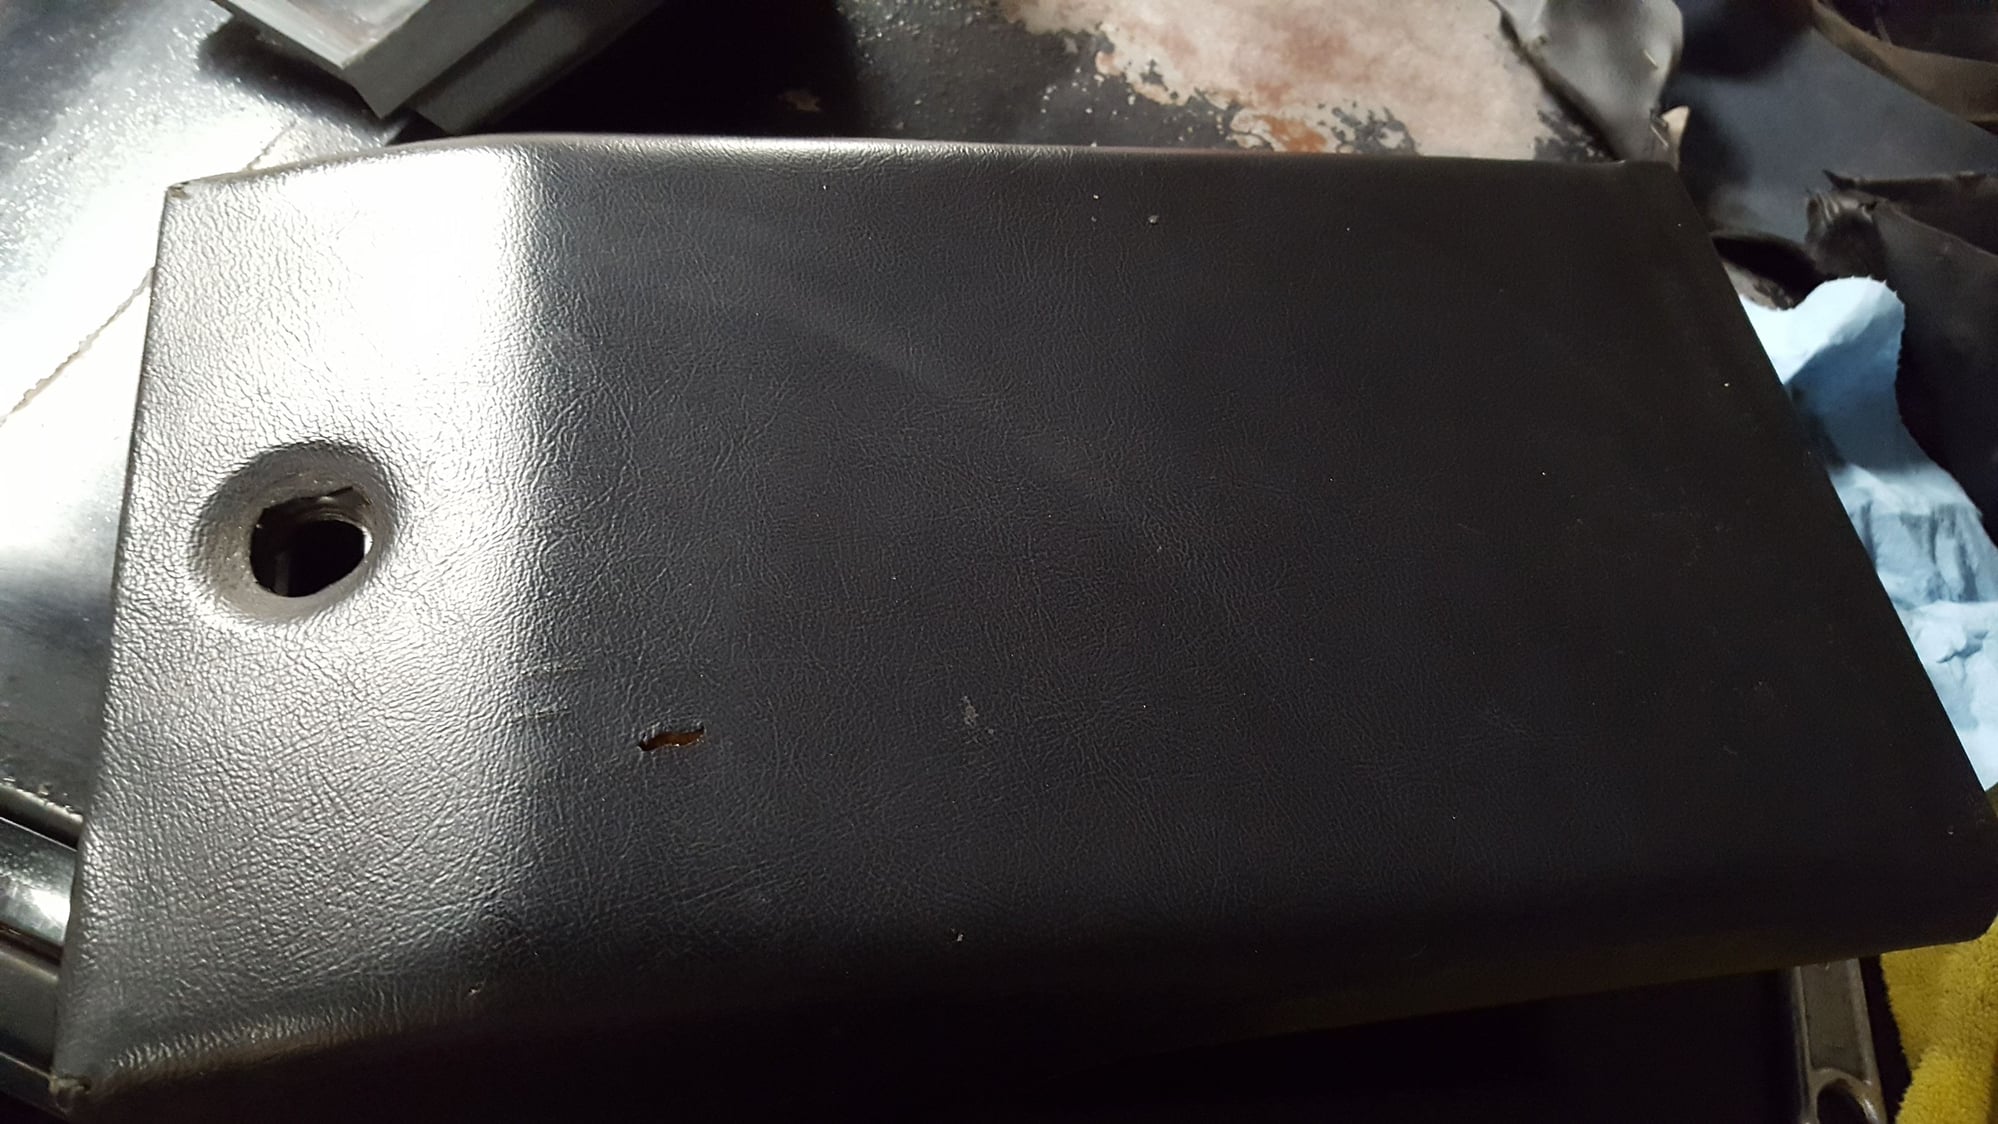
I also decided to recover the vinyl rear console lid. It was in decent shape but had shrunk a good bit and had a small rip.
I originally tried scavenging some used German vinyl from the parts cars rear inner quarters but could not get a piece big enough. I have worked with some reproduction vinyl in the past but thought I could try something very close.
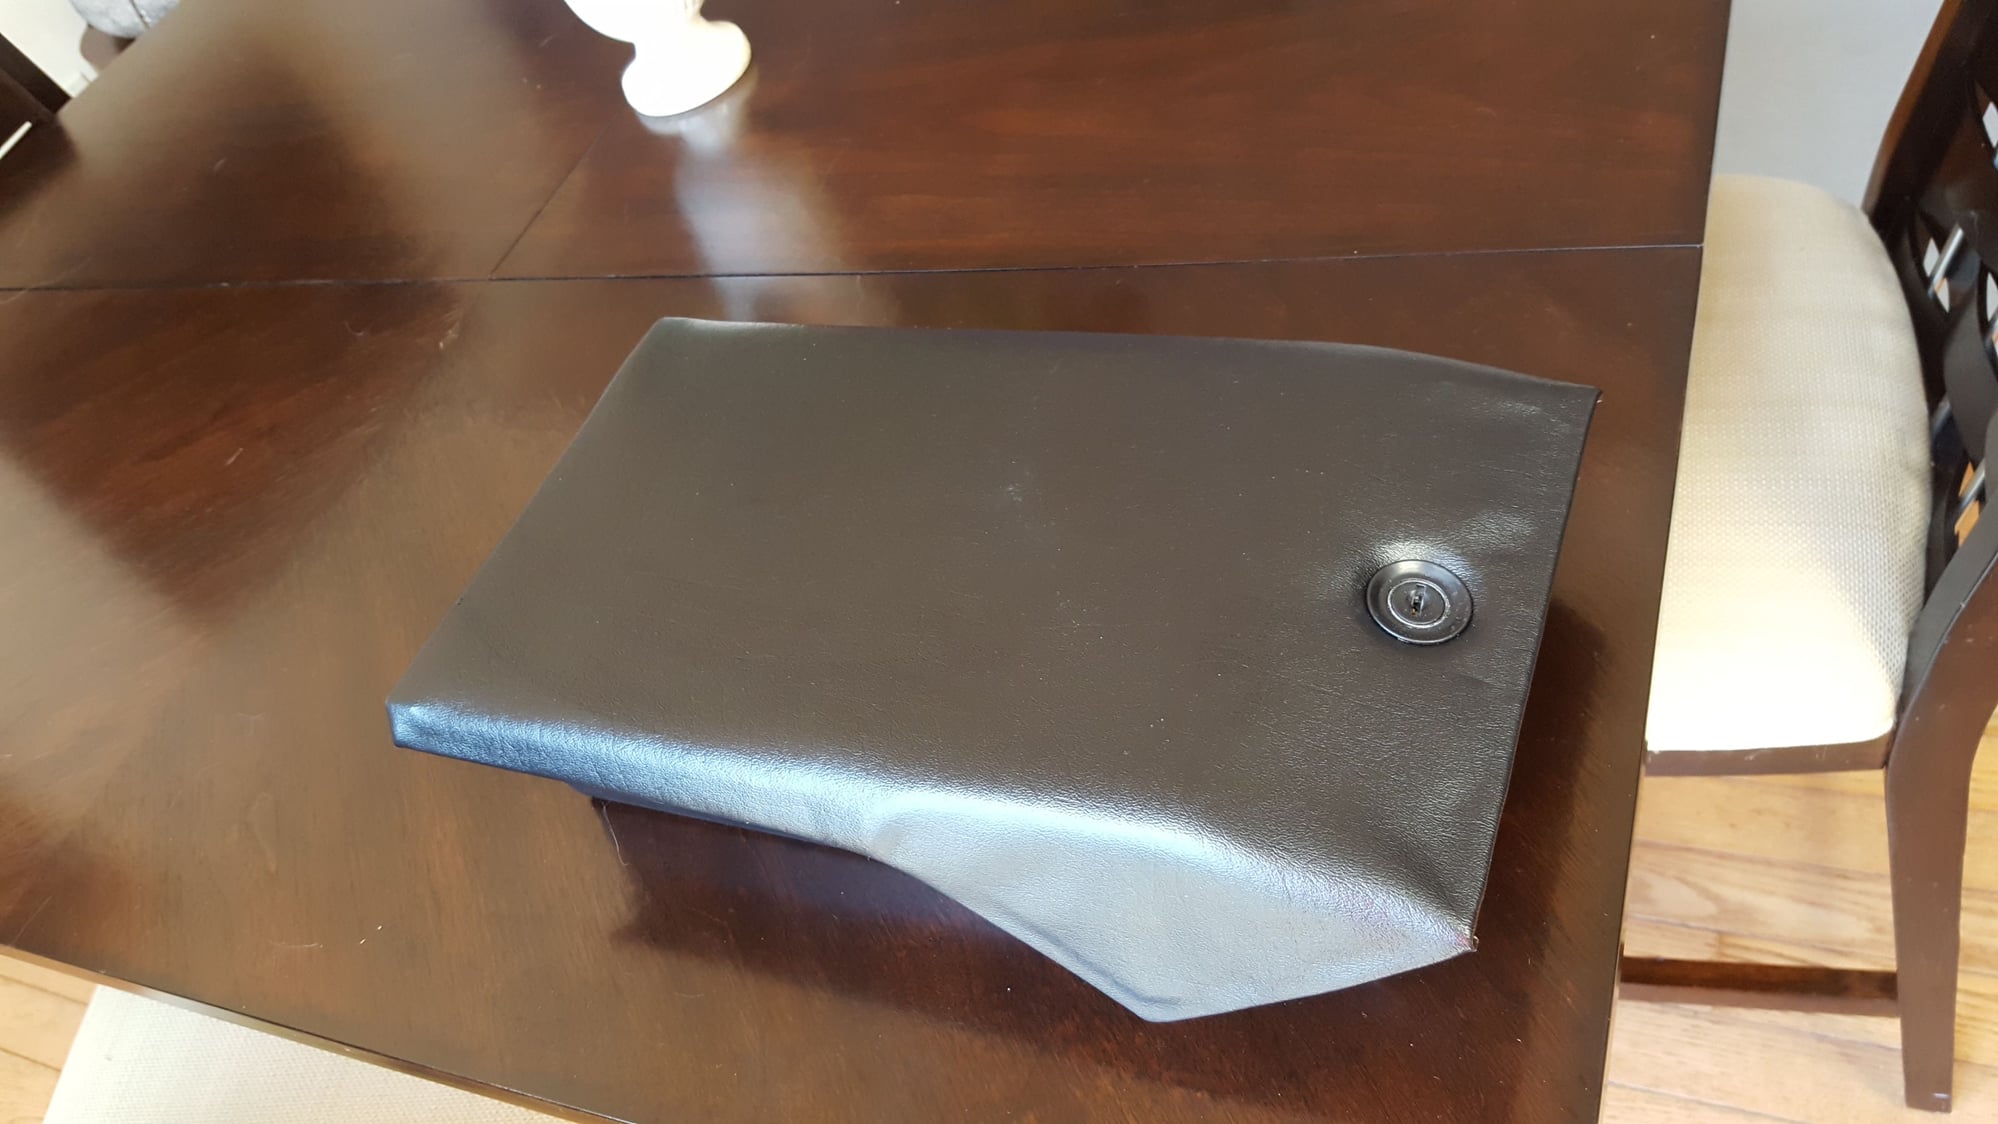
There is a couple small wrinkles that I was able to heat out after this pic was taken. It is extremely close to the original grain.
I used Weldwood Landau Top Adhesive. Due to environmental changes, I have found that Sprayway and 3M does not hold up well in heat. I used this adhesive for the carpet and the edges of the console lid. This stuff is strong and allows you to stretch the vinyl around sharp corners.
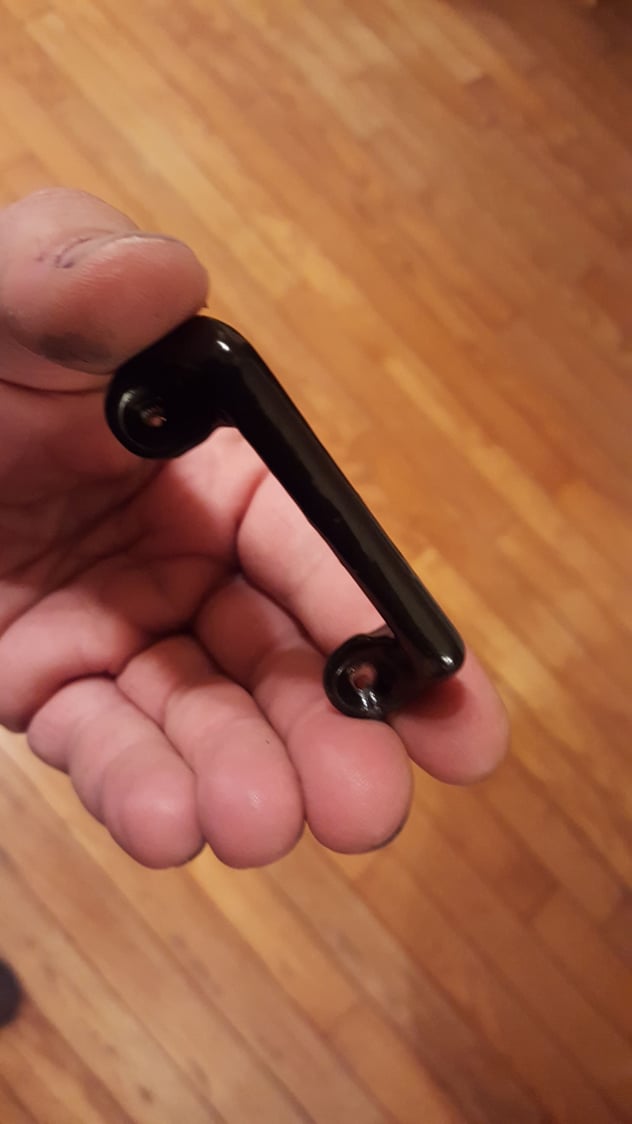
Didn't realize these were still available and cheap! These seem to be rubber coated or heavily paonted from the factory. They were a bit rusty so I sandblasted mine and dipped them in plastic coating. These go under the rear seat and in the cargo area as well.
Didn't realize these were still available and cheap! These seem to be rubber coated or heavily paonted from the factory. They were a bit rusty so I sandblasted mine and dipped them in plastic coating. These go under the rear seat and in the cargo area as well.
Any Idea what the ones that go beneath the rear seats are for?


 06-28-2017, 10:13 AM