When you click on links to various merchants on this site and make a purchase, this can result in this site earning a commission. Affiliate programs and affiliations include, but are not limited to, the eBay Partner Network.
I went with the original attachment. I had some hose left over, but certainly not enough for two cars, but then I kept extra hose to make it easier to remove the splash panel.
I had forgotten about this thread, thanks to Tom in Austin and sorry I didn't get back with you on this, like I said. I was able to cut off the bad end and reattach, but am still in need to replace it all. but rear brakes are a priority at this time. I need pads and rotors.
OK, it seems like mine has fallen off the upper mount point so it is just lying in the chin spoiler. Hmm, this won't bother the alternator too much will it?
Edit - I could be wrong, maybe it's just quite long. I'll need to inspect it properly one of these days.
Our alternator cooling hose is still $25 and far superior to the Porsche fabric hose for a fraction of the price.
One piece 6' long - more than enough for the job.
__________________
Does it have the "Do It Yourself" manual transmission, or the superior "Fully Equipped by Porsche" Automatic Transmission? George Layton March 2014
928 Owners are ".....a secret sect of quietly assured Porsche pragmatists who in near anonymity appreciate the prodigious, easy going prowess of the 928."
That loop in the hose is there to give entrained water a chance to drop out before going to the alternator. It seems that the biggest enemy of the original hose is power steering fluid. I know that everybody here has squeeky-clean engine bays with no leakage, but others no so fortunate may suffer from the soggy-hose failure mode.
Sean-- Getting the hose fitted correctly can be challenging for some. It's possible a mechanic working on the car decided to just toss the hose loose in the nose rather than try to correctly fit the drain loop. It's a good idea to get it right, since the metal sleeve for the thermistor seems to rust and eventually fall apart if it gets wet. Unless it's wet with PS fluid I guess.
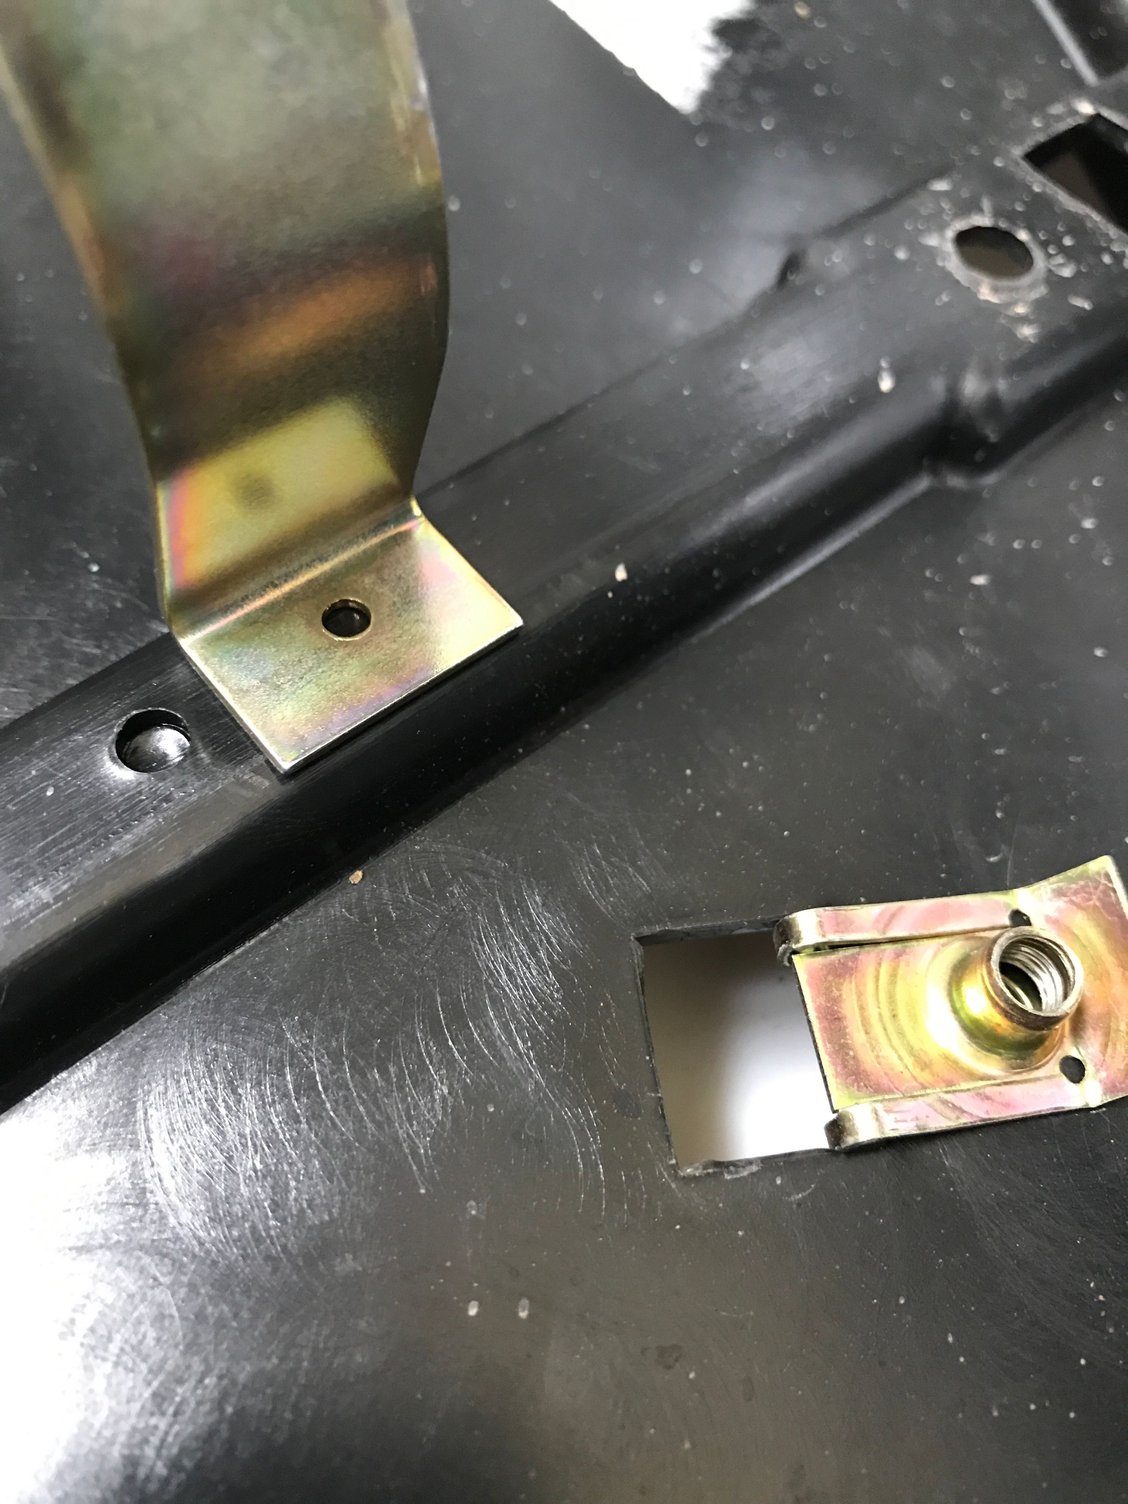
For the sake of originality, I'm going to use the original bracket with my new hose and new clamp. Could anyone tell me what kind of hardware is used to attach the OEM hose clamp to the wheel well liner? I can't seem to decipher it from the PET. Does it simply screw from the wheel side through the liner and into the clamp onto the other side?
The other way - screws from the front , through the W bracket, through the shield and into what I know as 'spire' nuts that slip into slots in the shield. See my very old post here about making a bracket that leaves the shield out of supporting the hose.
jp 83 Euro S AT 57k
Ok I think part of my confusion is caused by my liners, which I assume are an aftermarket solution. I don�t see how I can use the speed/spire nuts on what I have, though. Wheel side
Maybe my memory has failed me, its been a while. Your shield predates the models with the ABS pump sticking out into the wheel well. As you say, nowhere obvious for the screws to go. Try doing it the way I did - much easier to assemble the shields then. https://rennlist.com/forums/928-foru...placement.html
jp 83 Euro S AT 57k
For some reason I thought I remembered the WSM pic having the bracket in a horizontal position and not at an angle. I saw the indents on my panel but thought they were in the wrong position because of this. I feel dumb now. Thanks for your help.
I think mine was originally different from that pic, in that the air inlet was facing more downwards, and was nearer the fender than the inner guard - it needs to be very difficult for water to get in there.
jp 83 Euro S AT 57k
Could anyone tell me what OEM size bolt and speed nut to use for attaching the "UU" clamp to the liner? I see some references on the PET listed as M6 screws, but none appear to be listed directly in correlation with the hose "UU" clamp or with the wheel well panel. The un-drilled pre-drilled holes on my panels hose clamp appear much smaller than M6 but that might simply be because they are aren't yet drilled out.
*edit for clarity the holes
Last edited by islaTurbine; 08-07-2019 at 10:56 AM.


 06-19-2013 | 10:17 AM


 George Layton March 2014