When you click on links to various merchants on this site and make a purchase, this can result in this site earning a commission. Affiliate programs and affiliations include, but are not limited to, the eBay Partner Network.
I have been running the Koni/Eibach shock/spring combination on this car for a while, but set to pretty firm rebound. I decided that I wanted to soften it up a bit.
For those of you with Koni shocks, you know changing this setting involves compressing the shock all the way, and then twisting the rod slowly until it 'engages' the valve, then you get about 2 turns in either direction, softer<>harder.
This is straightforward to do off the car, and _in theory_ possible on the car with a long hex wrench.
Not so much.
First, it takes significant and long term force to push the shaft down when in the car. Then, when you to get to the bottom of the stroke and engage the valve and adjust to where you like, when you release downward pressure to let the shaft come back up, there is only minimal upward pressure, just barely enough to overcome the friction of the rubber in the upper shock mount. It took a lot of wiggling and silicone lube to get it back up so I could get the top nut started. As stated by other Rennlisters DO NOT REMOVE your hex wrench before the shaft is back up, or you will loose alignment of the shaft with the hole. That's bad, umkay?
Okay, a pain, but not worse than many 928 related tasks,
But another hitch: My left front shock would not adjust. Could not get valve to engage. Finally removed whole coil over. That is a pain. Could not adjust off of car either. Broken.
The bright spot: http://www.koni-na.com/en-US/NorthAm...echnology/FAQ/
“The KONI North America warranty is to the original purchaser against defects in materials or workmanship for as long as you own that car (registered for street use) during the applicable warranty period in your country.”
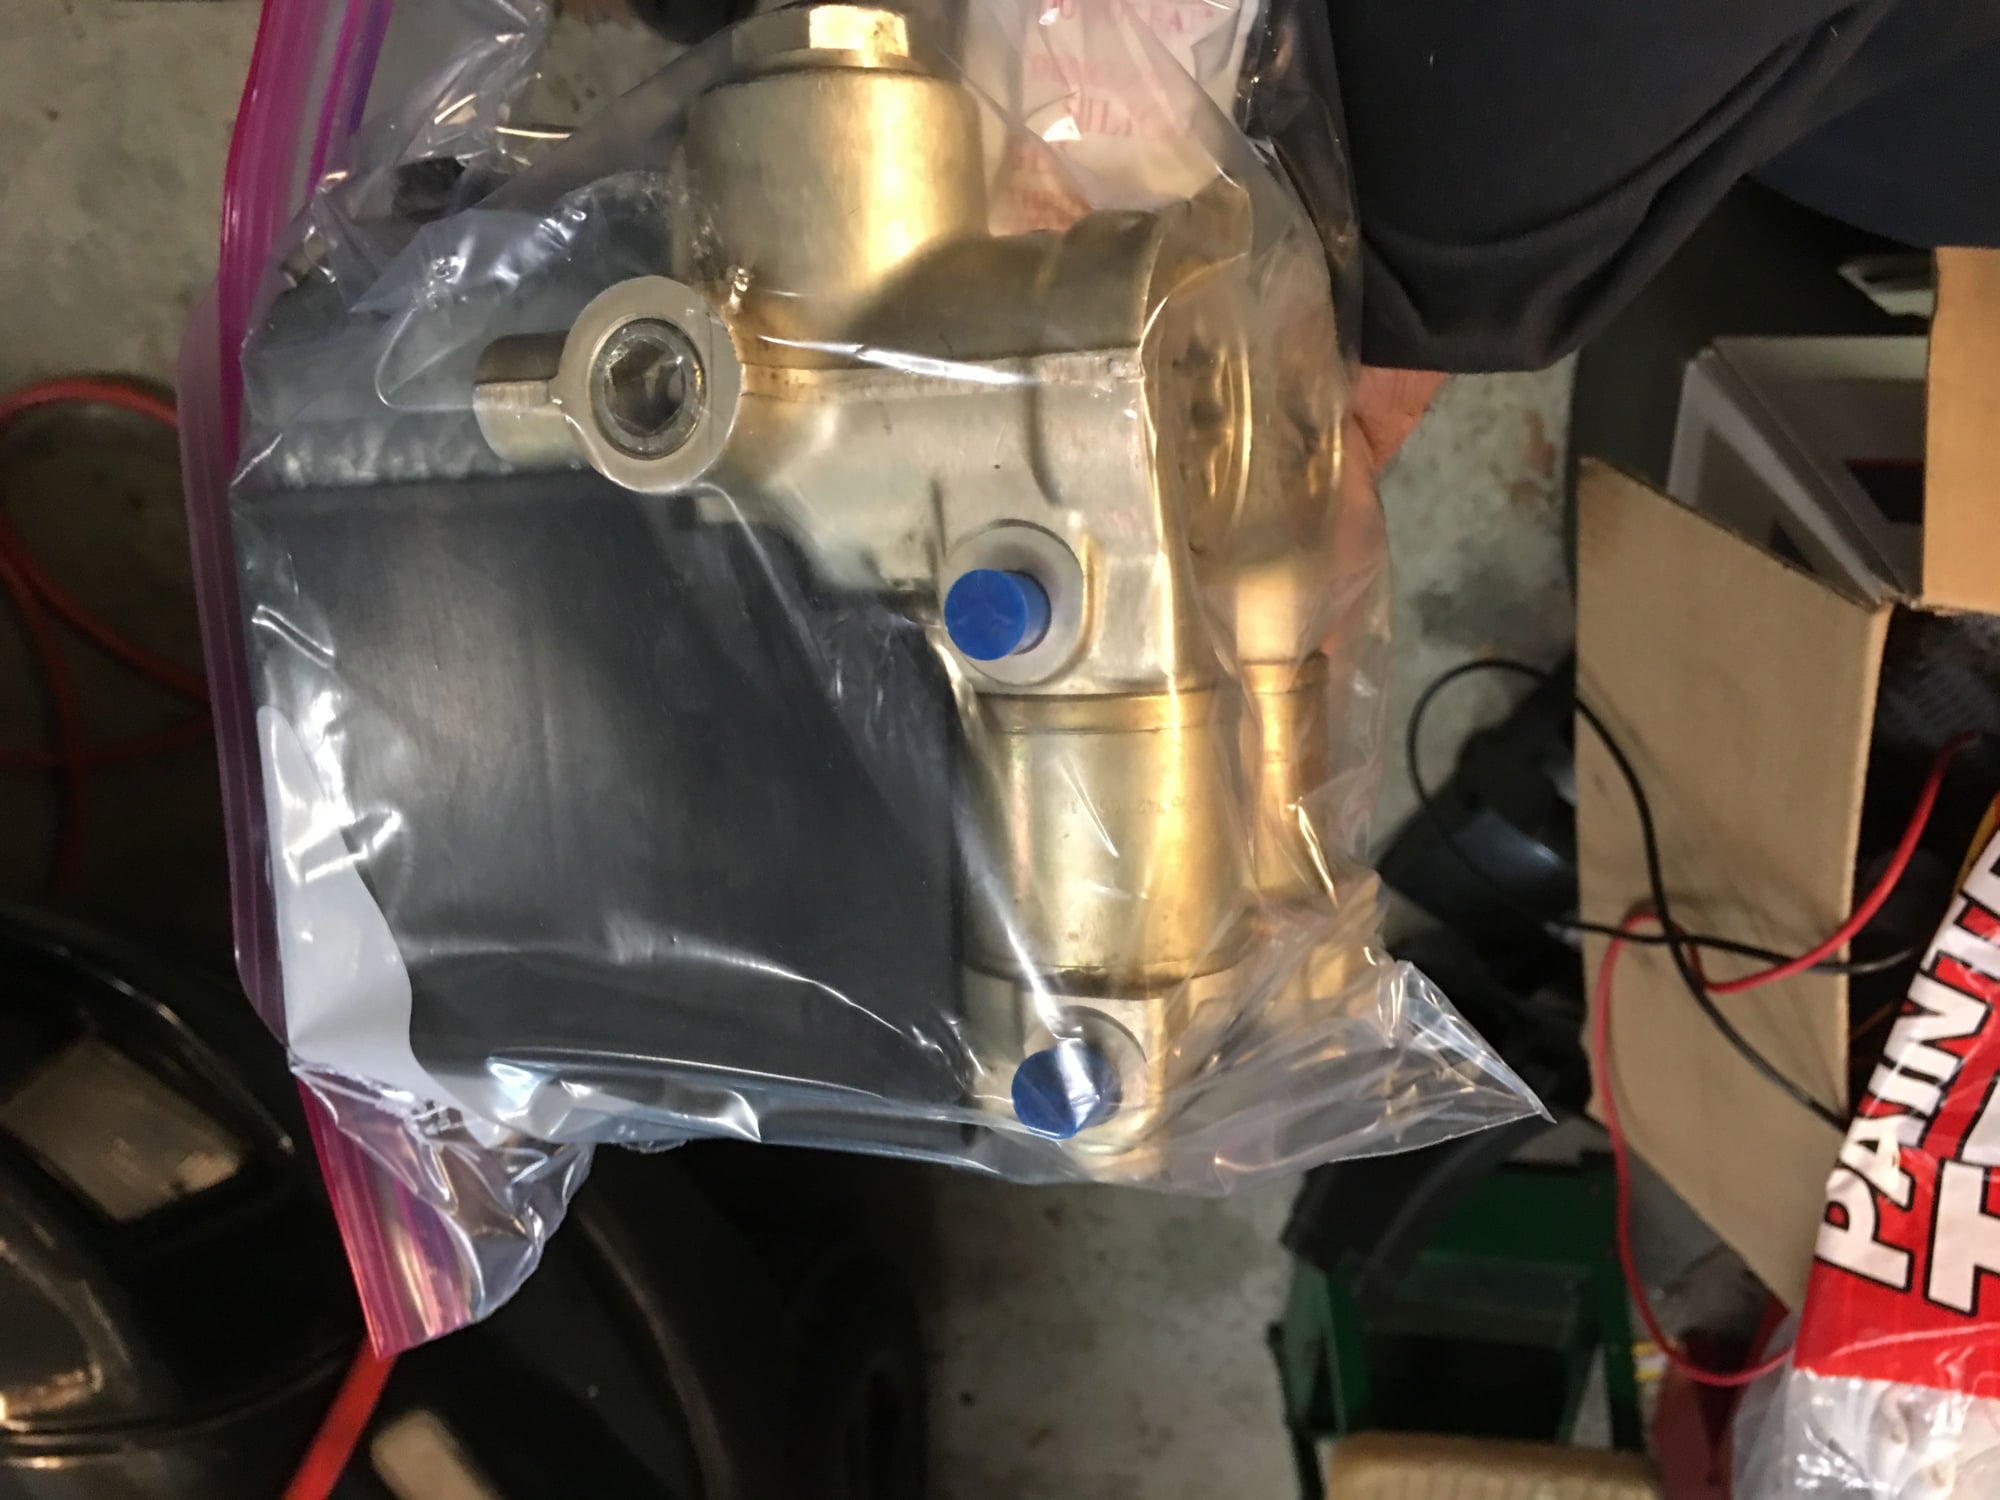
So I had to send the shock into Koni for them to inspect and determine if it was covered under warranty. I just got notification that they would indeed cover the issue under warranty, and they are sending me a new shock.
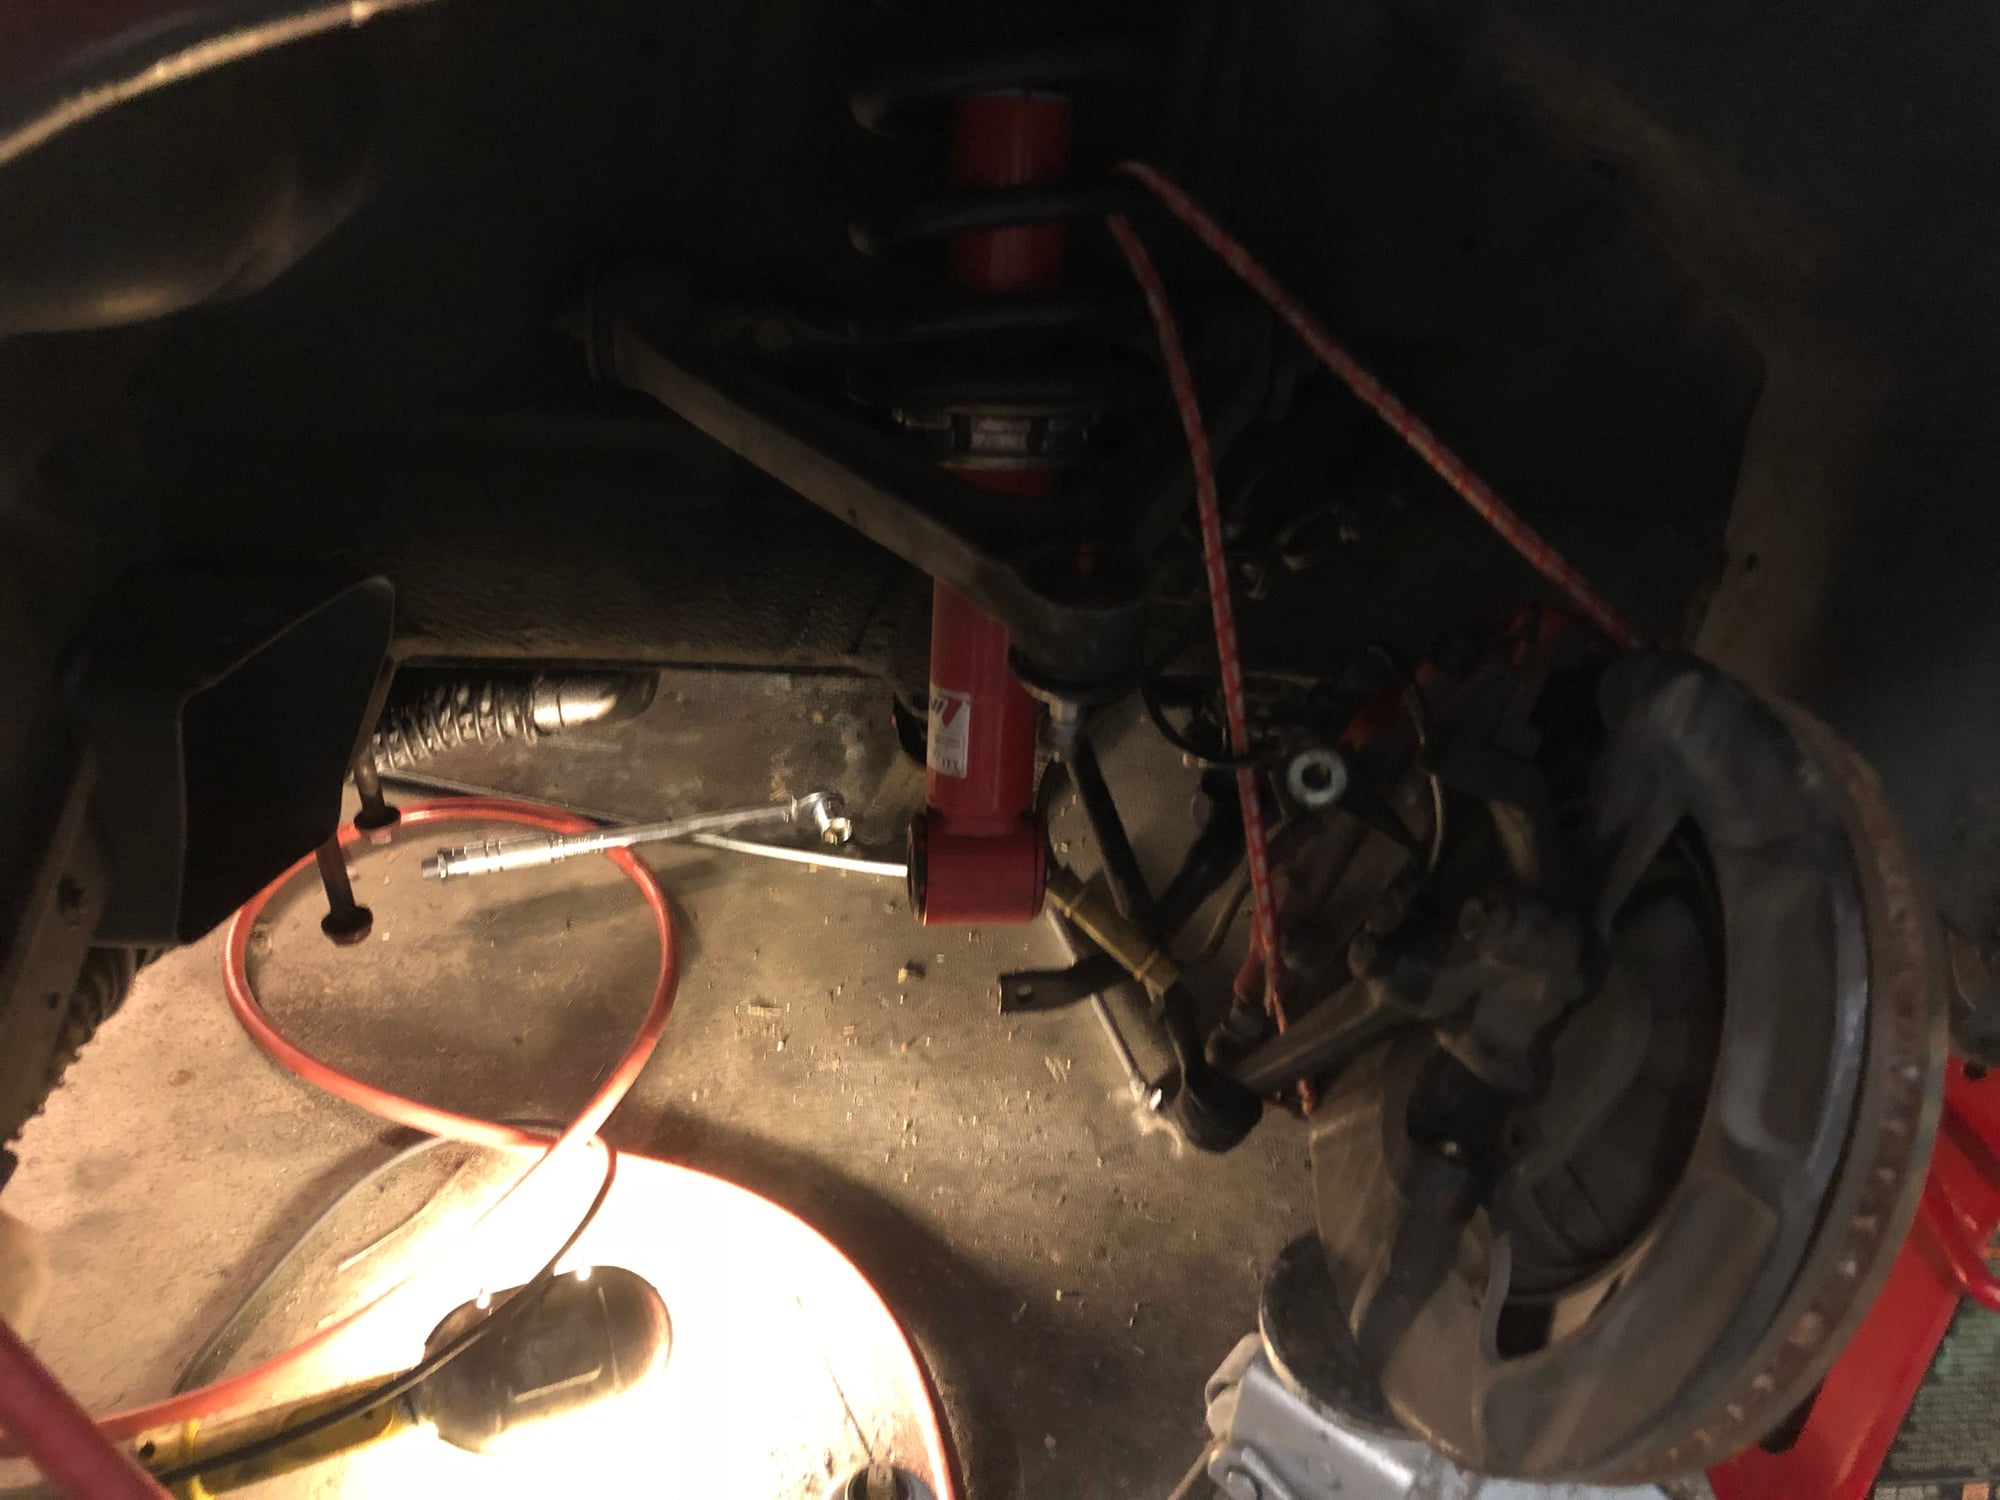
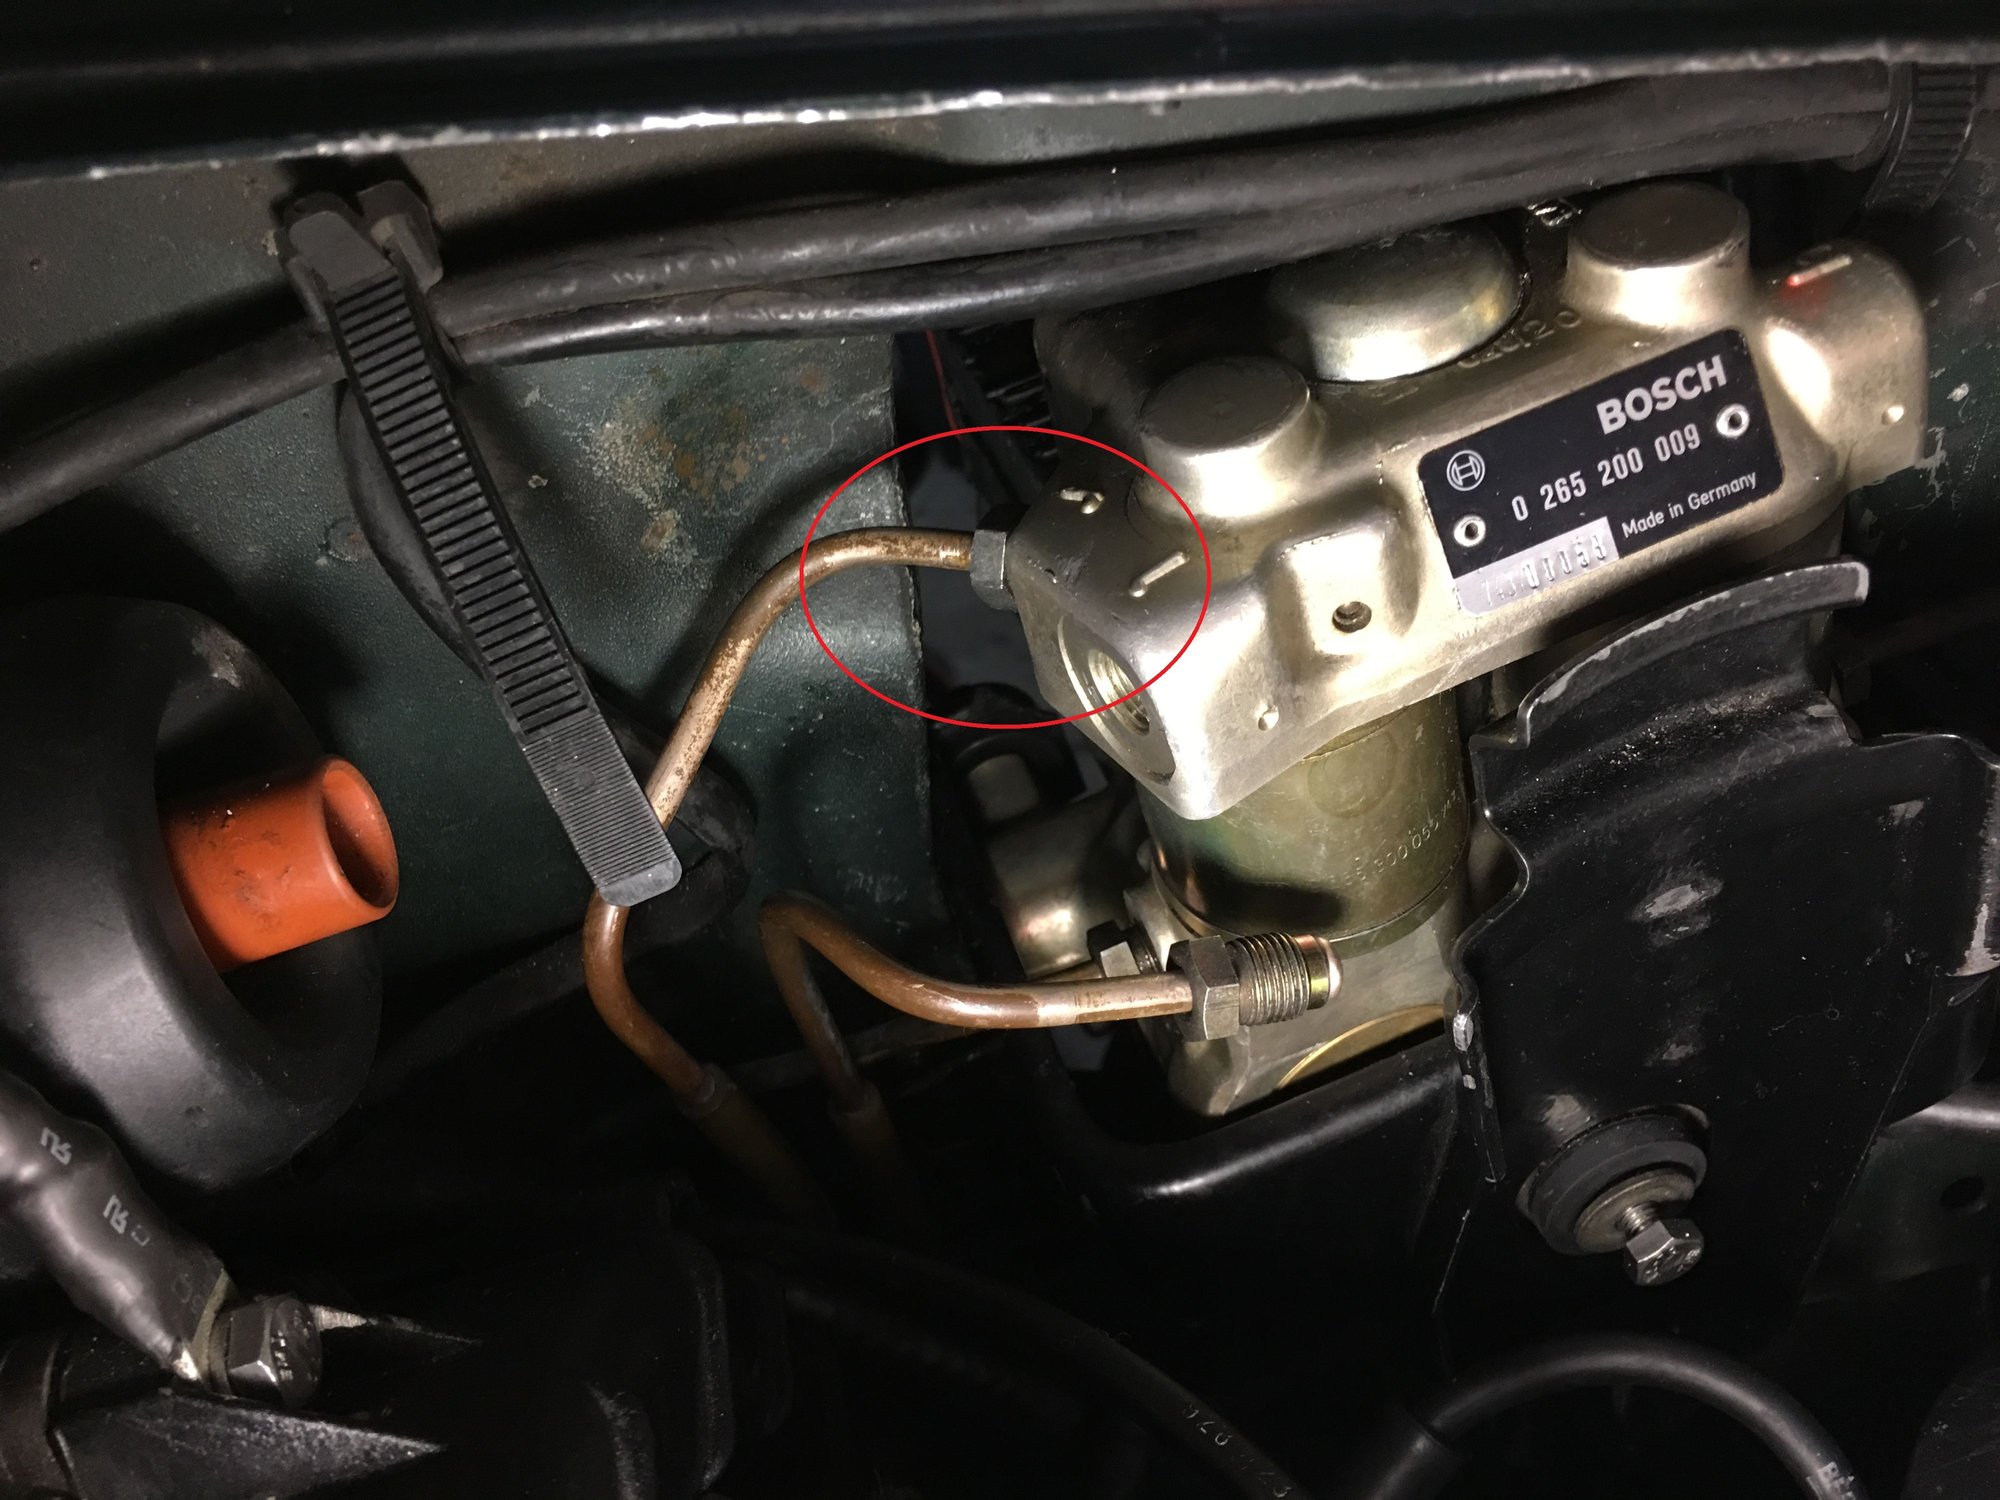
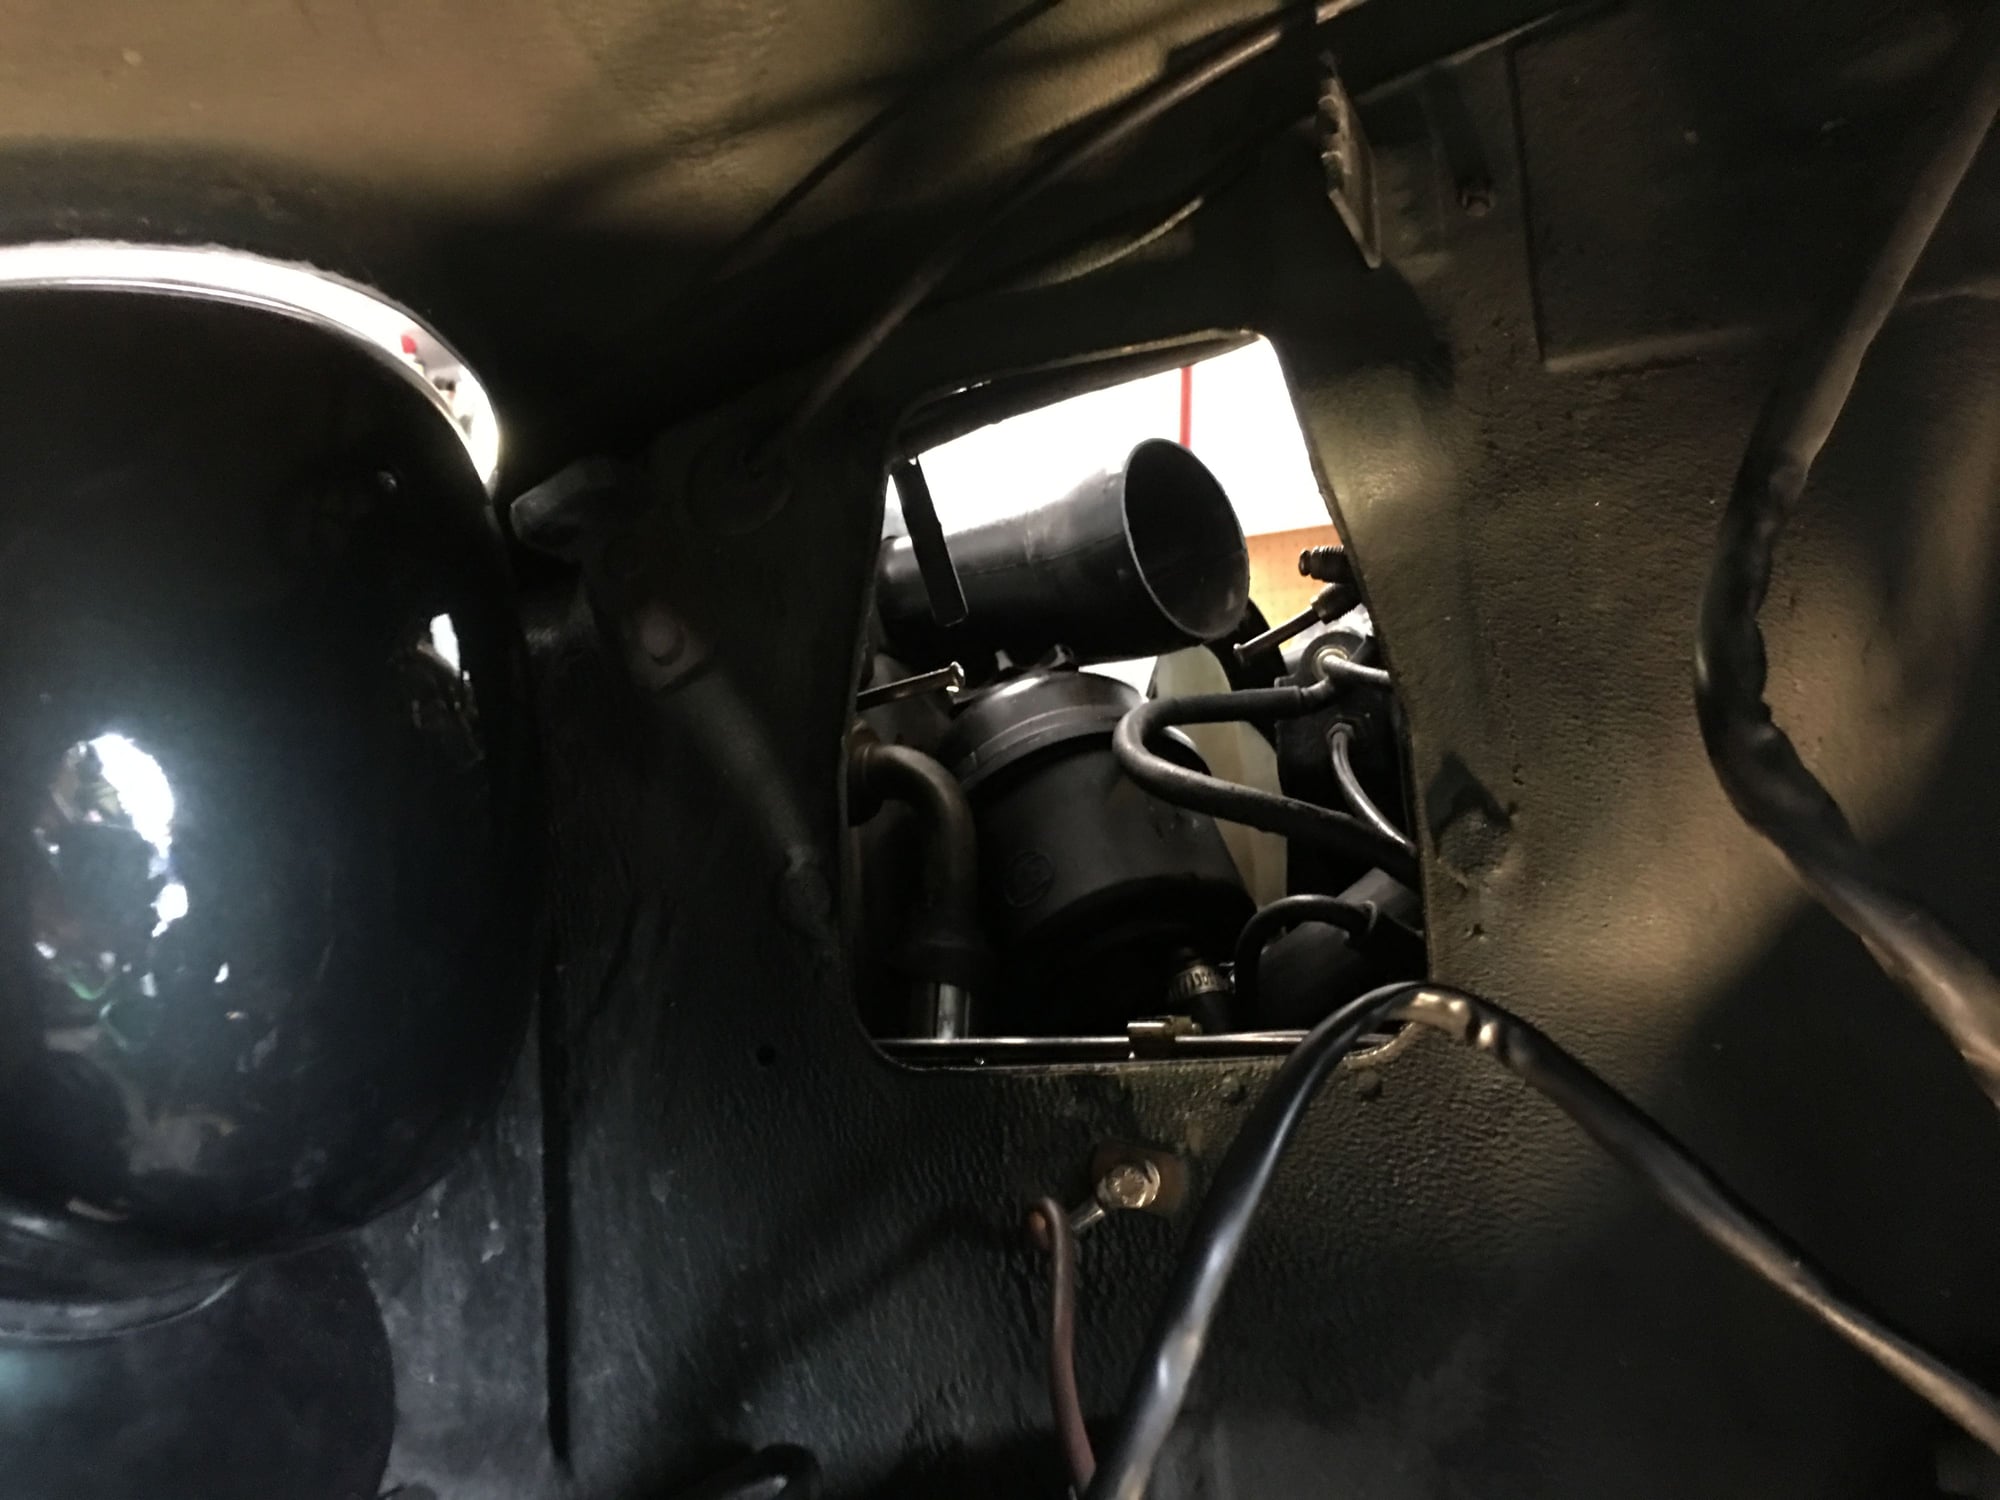
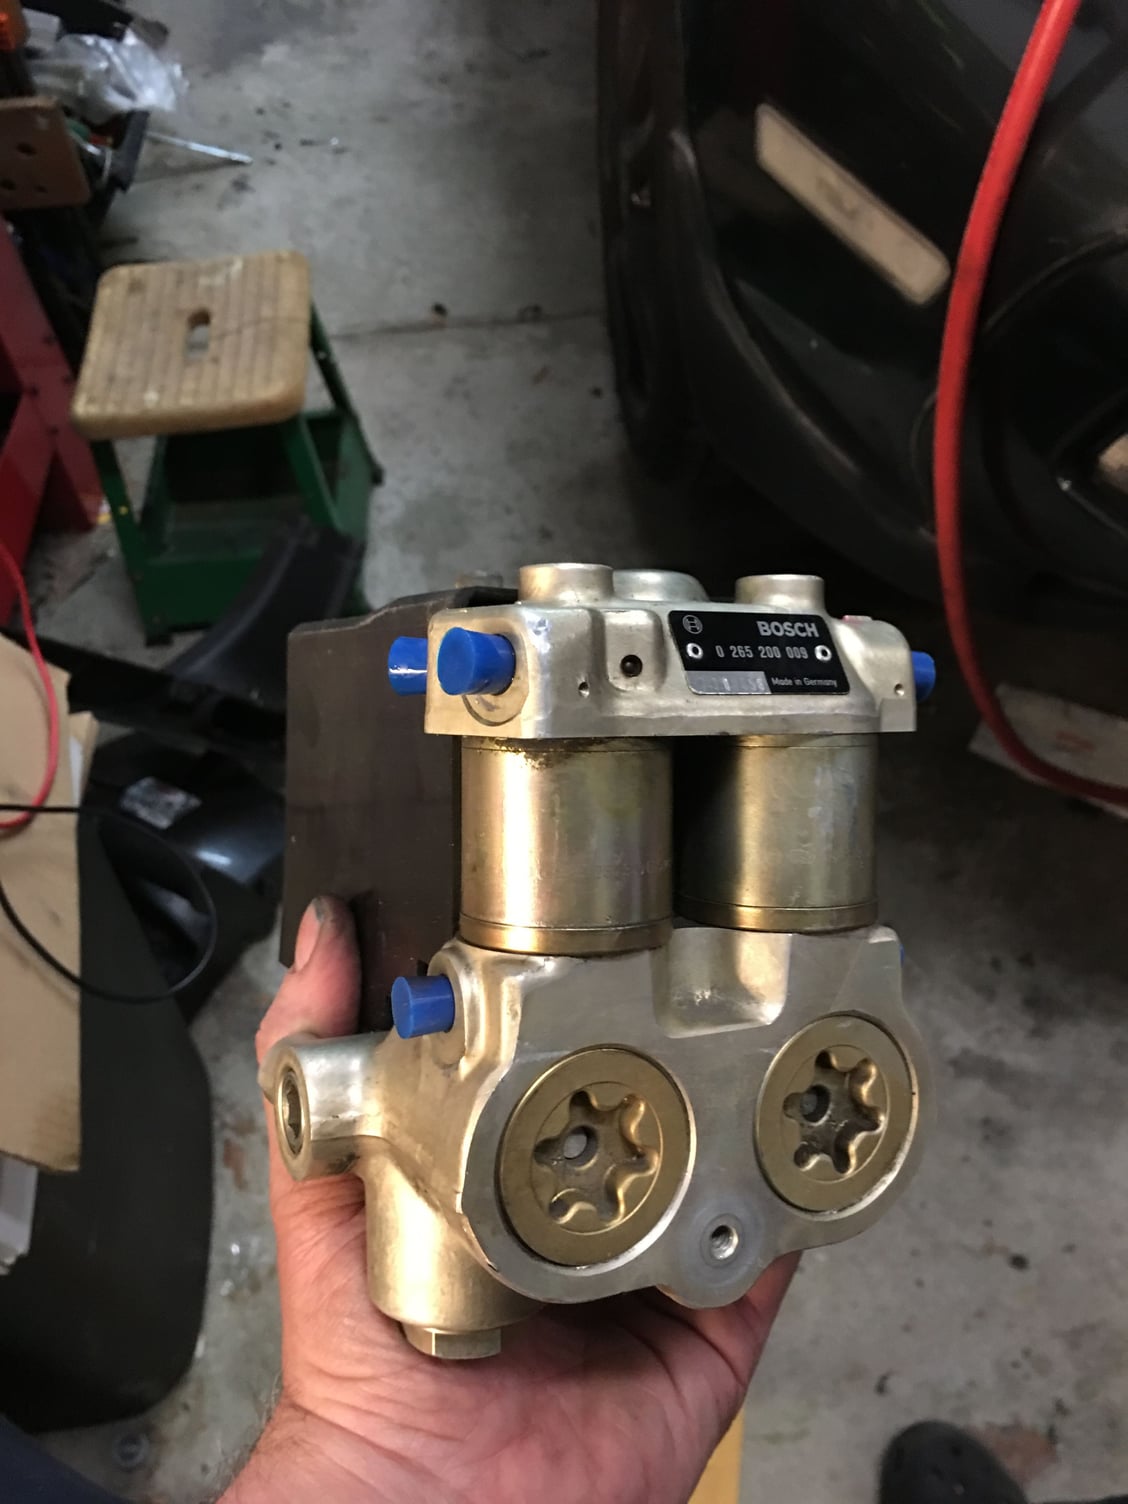
Replaced ABS pump unit.
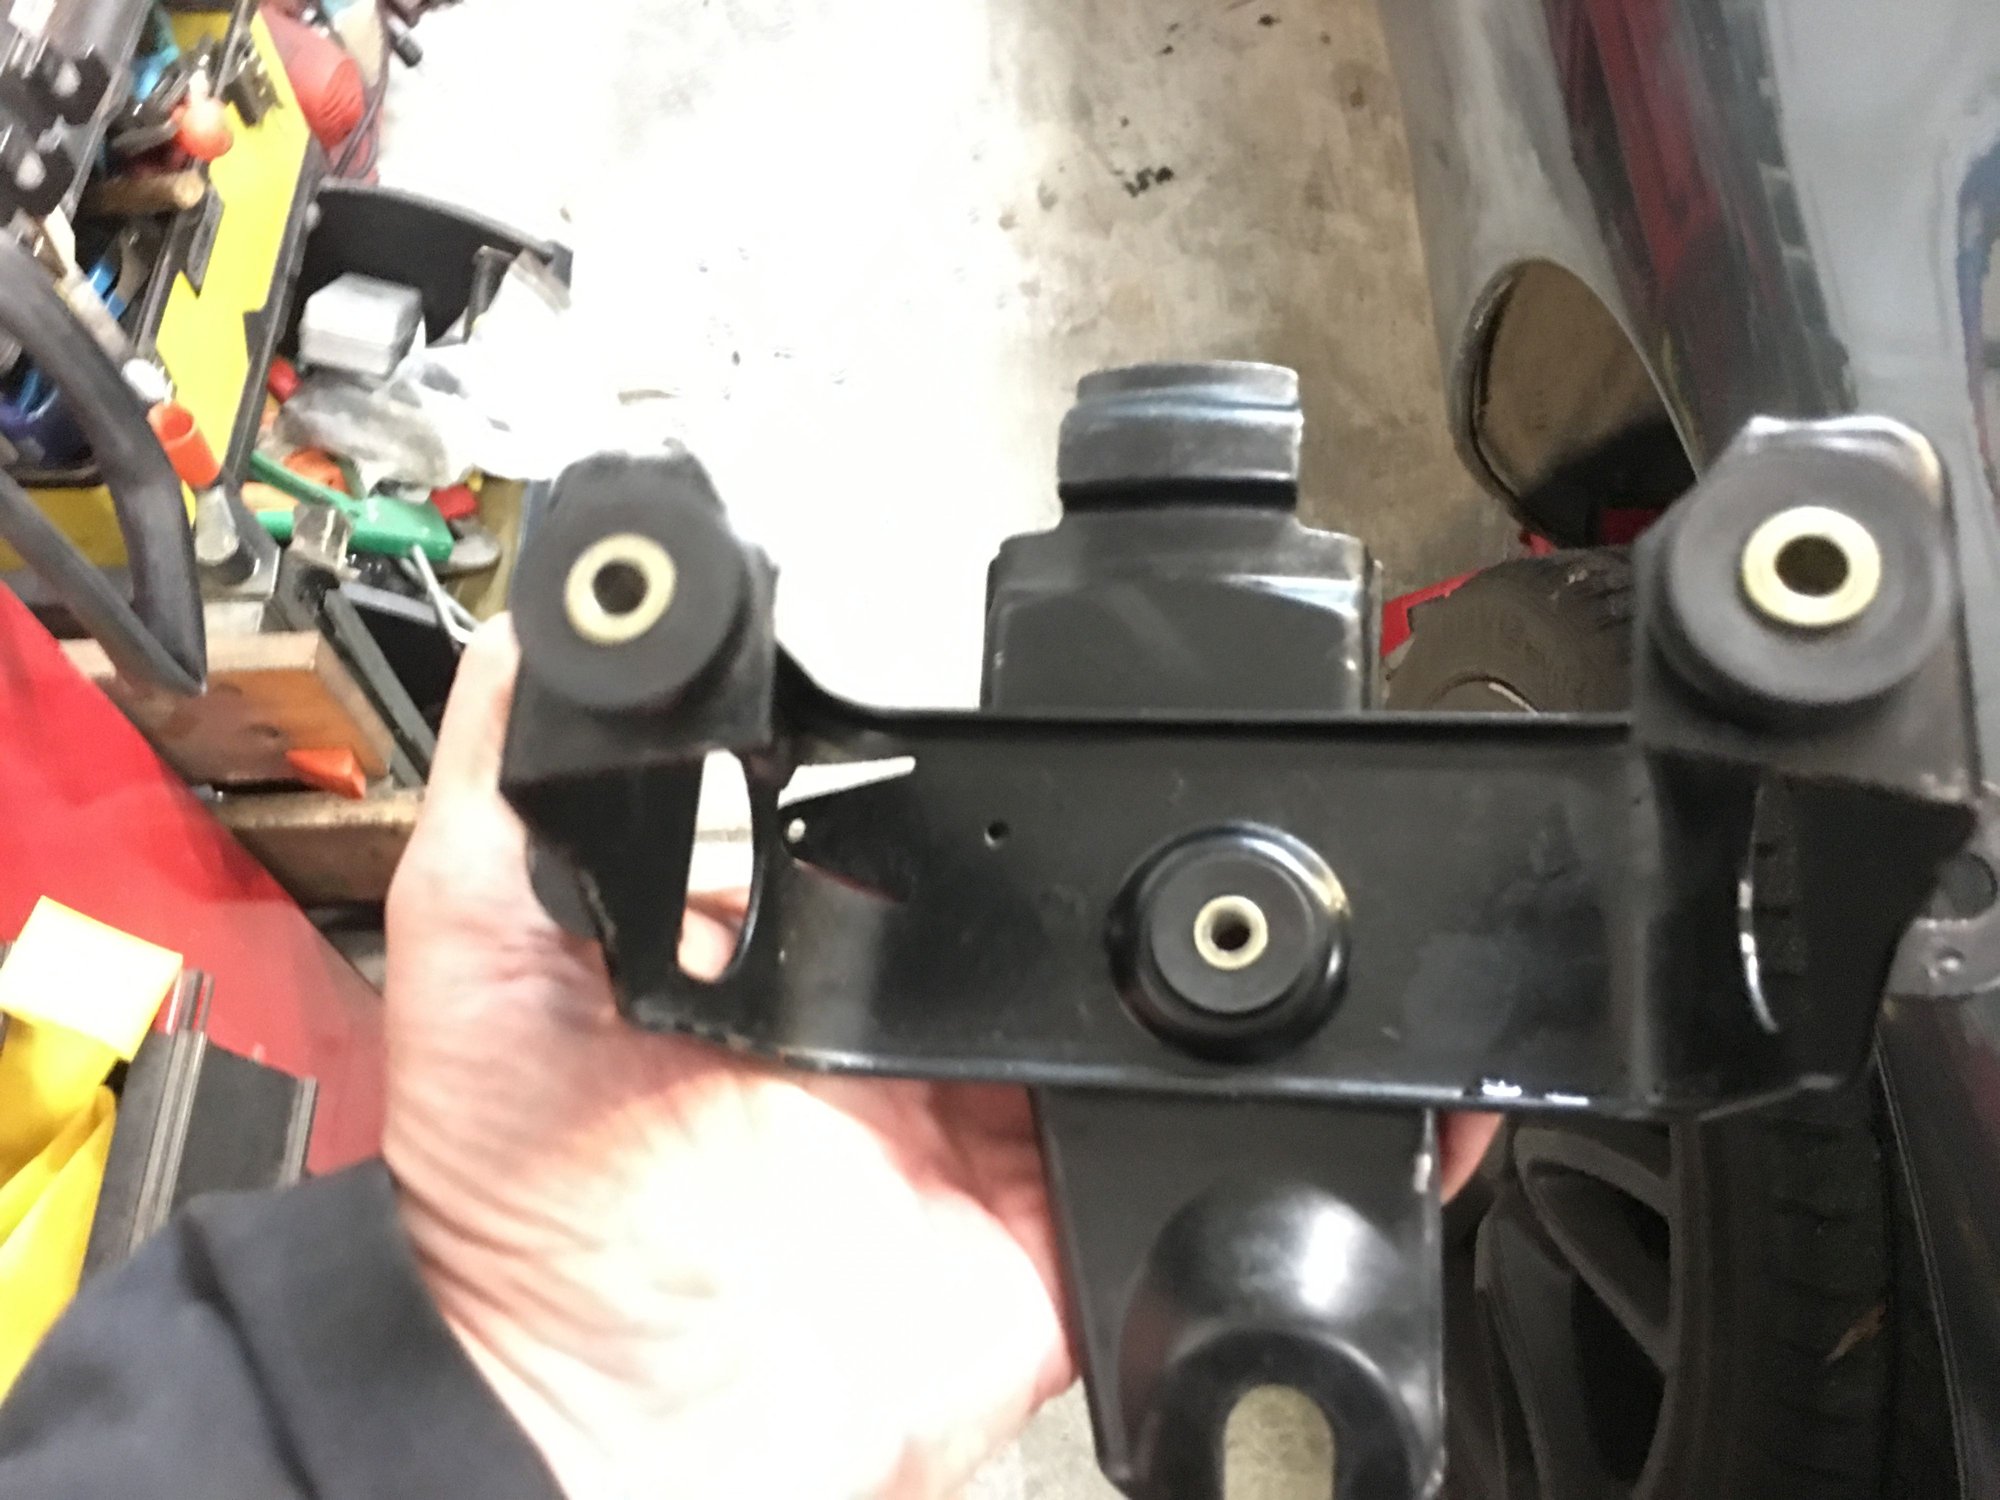
1. Porsche, once again, made removal/replacement much harder than required. A few minor changes to the bracket, 928.355.041.02, and it would have been easy to slide unit out of the wheel well. But, because they are spiteful jerks, it was a complicated puzzle box dance that required a lot of extra removal under the hood.
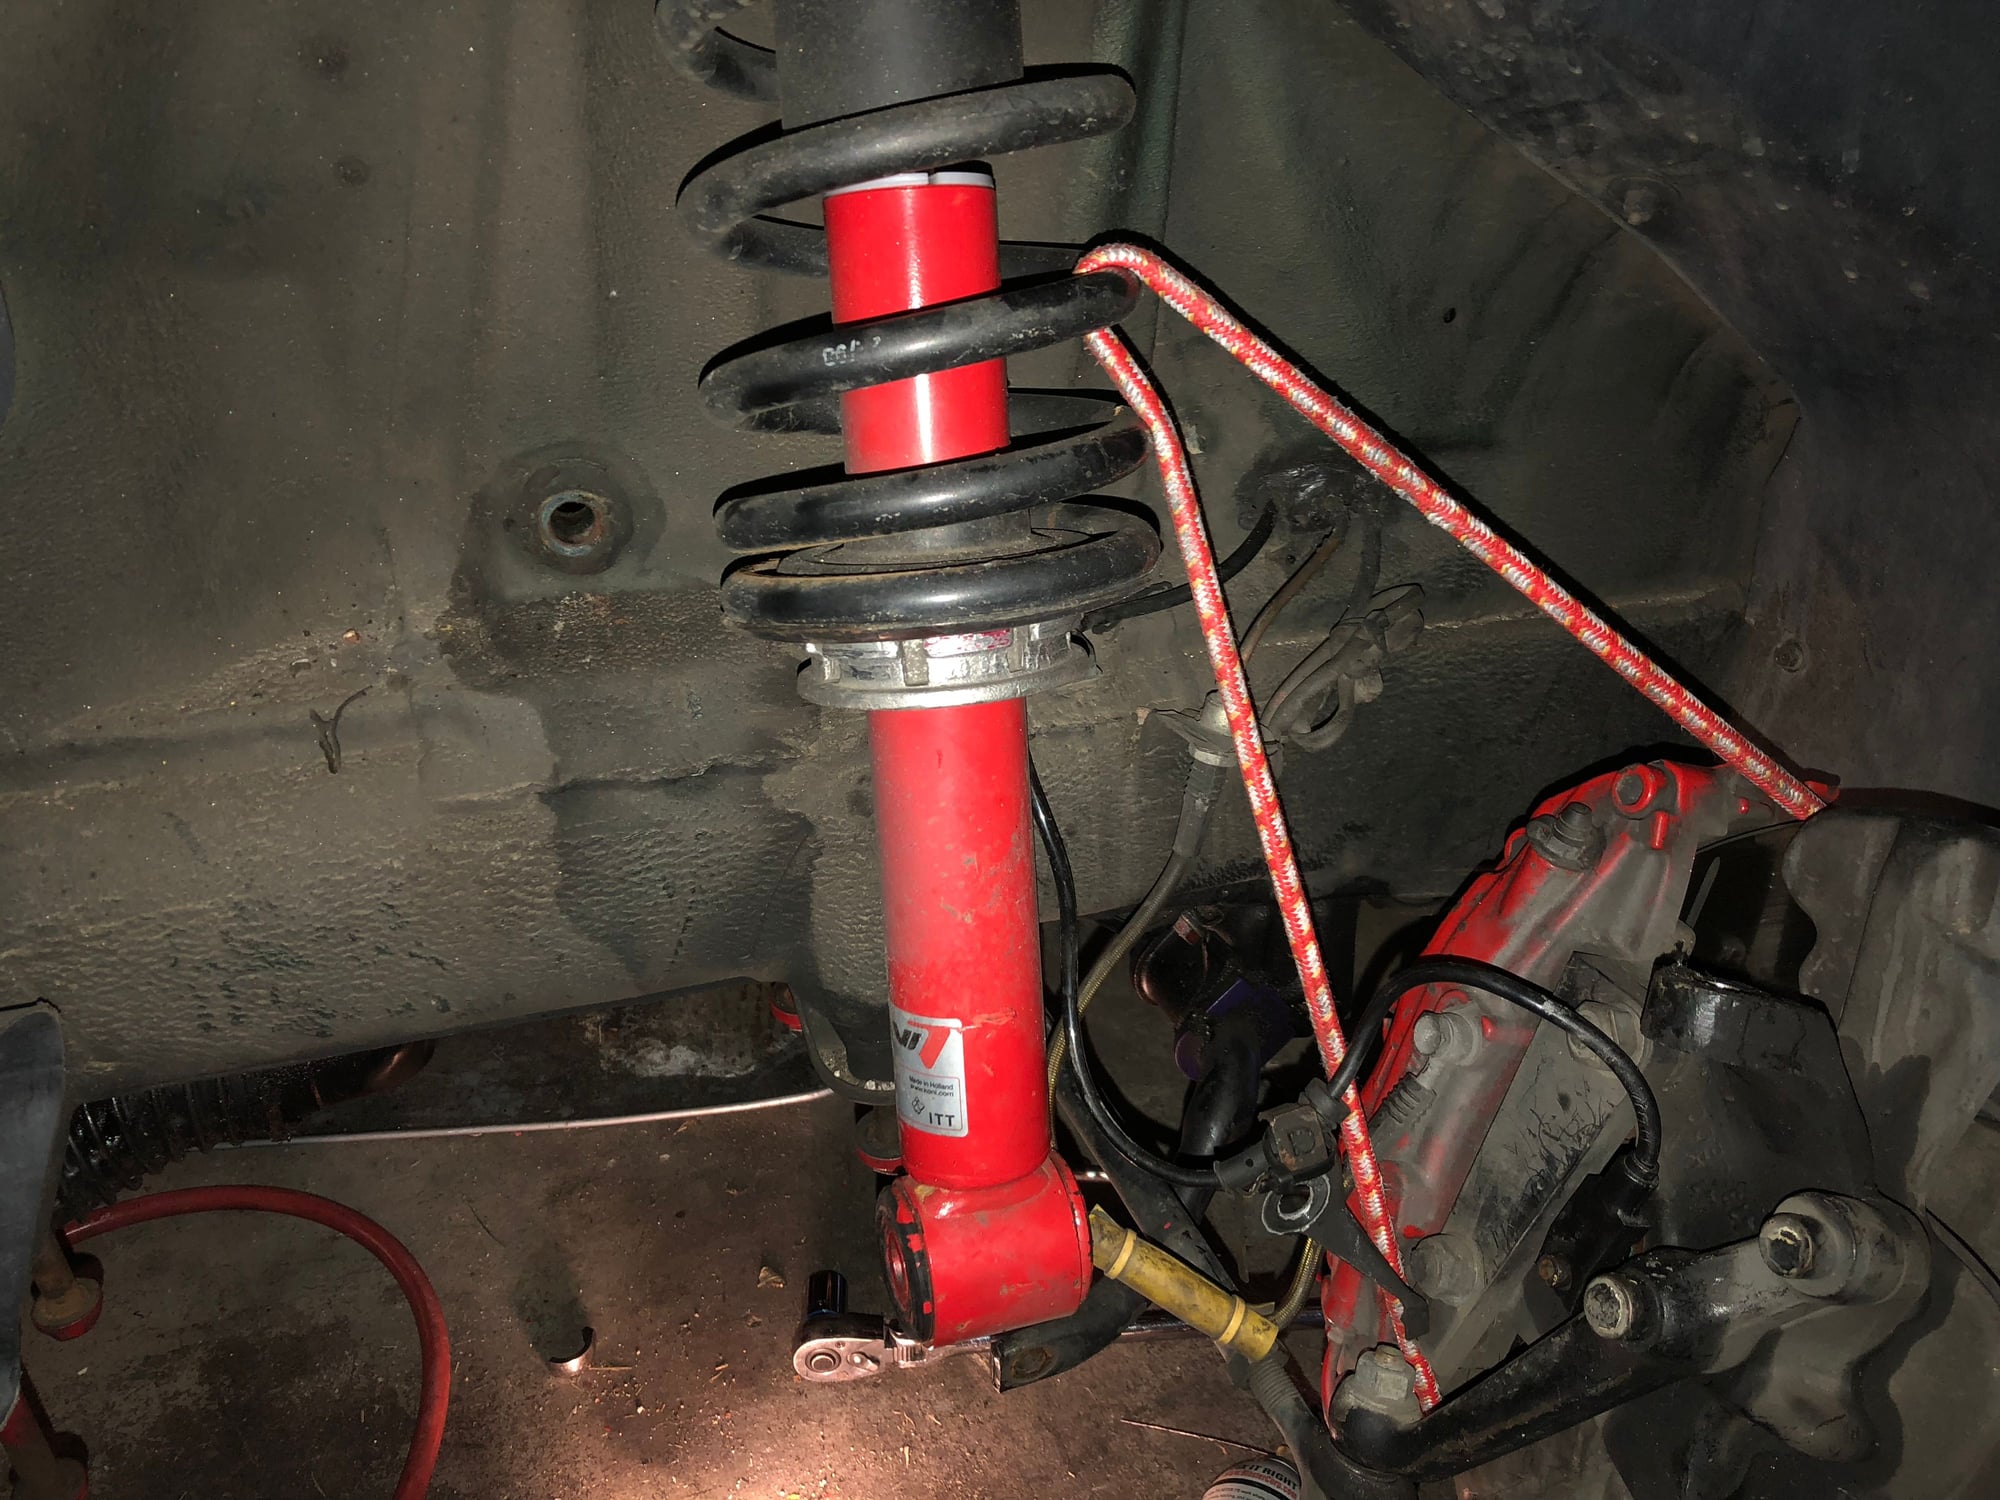
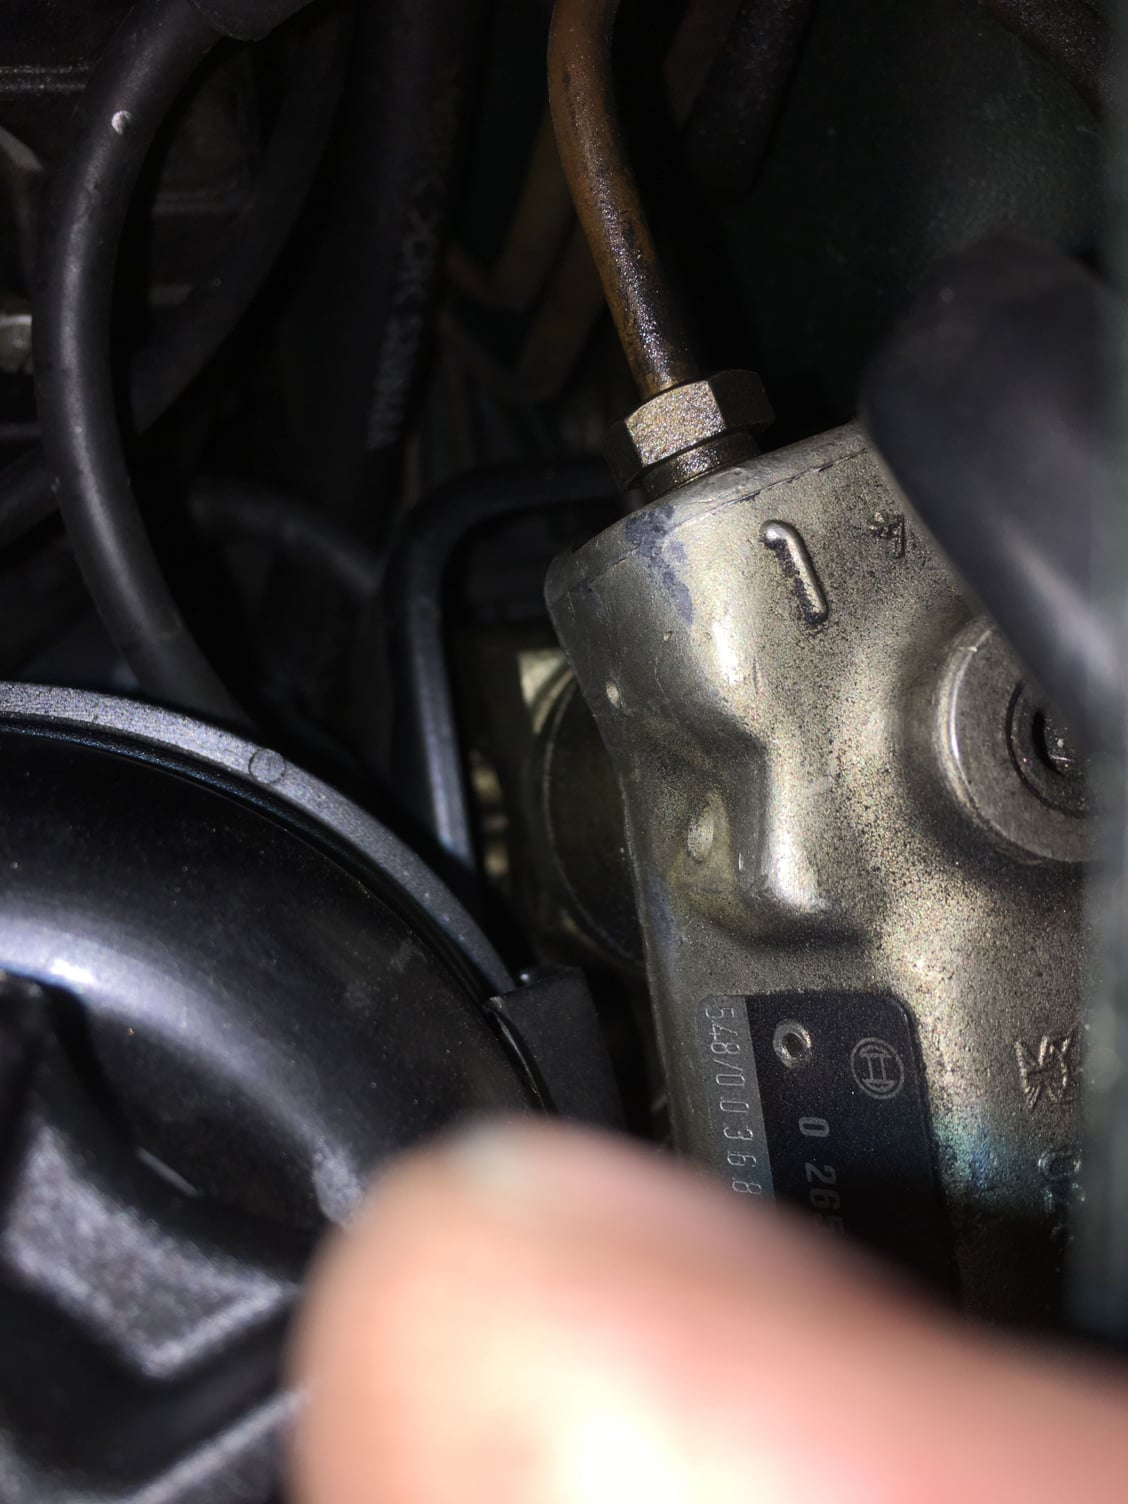
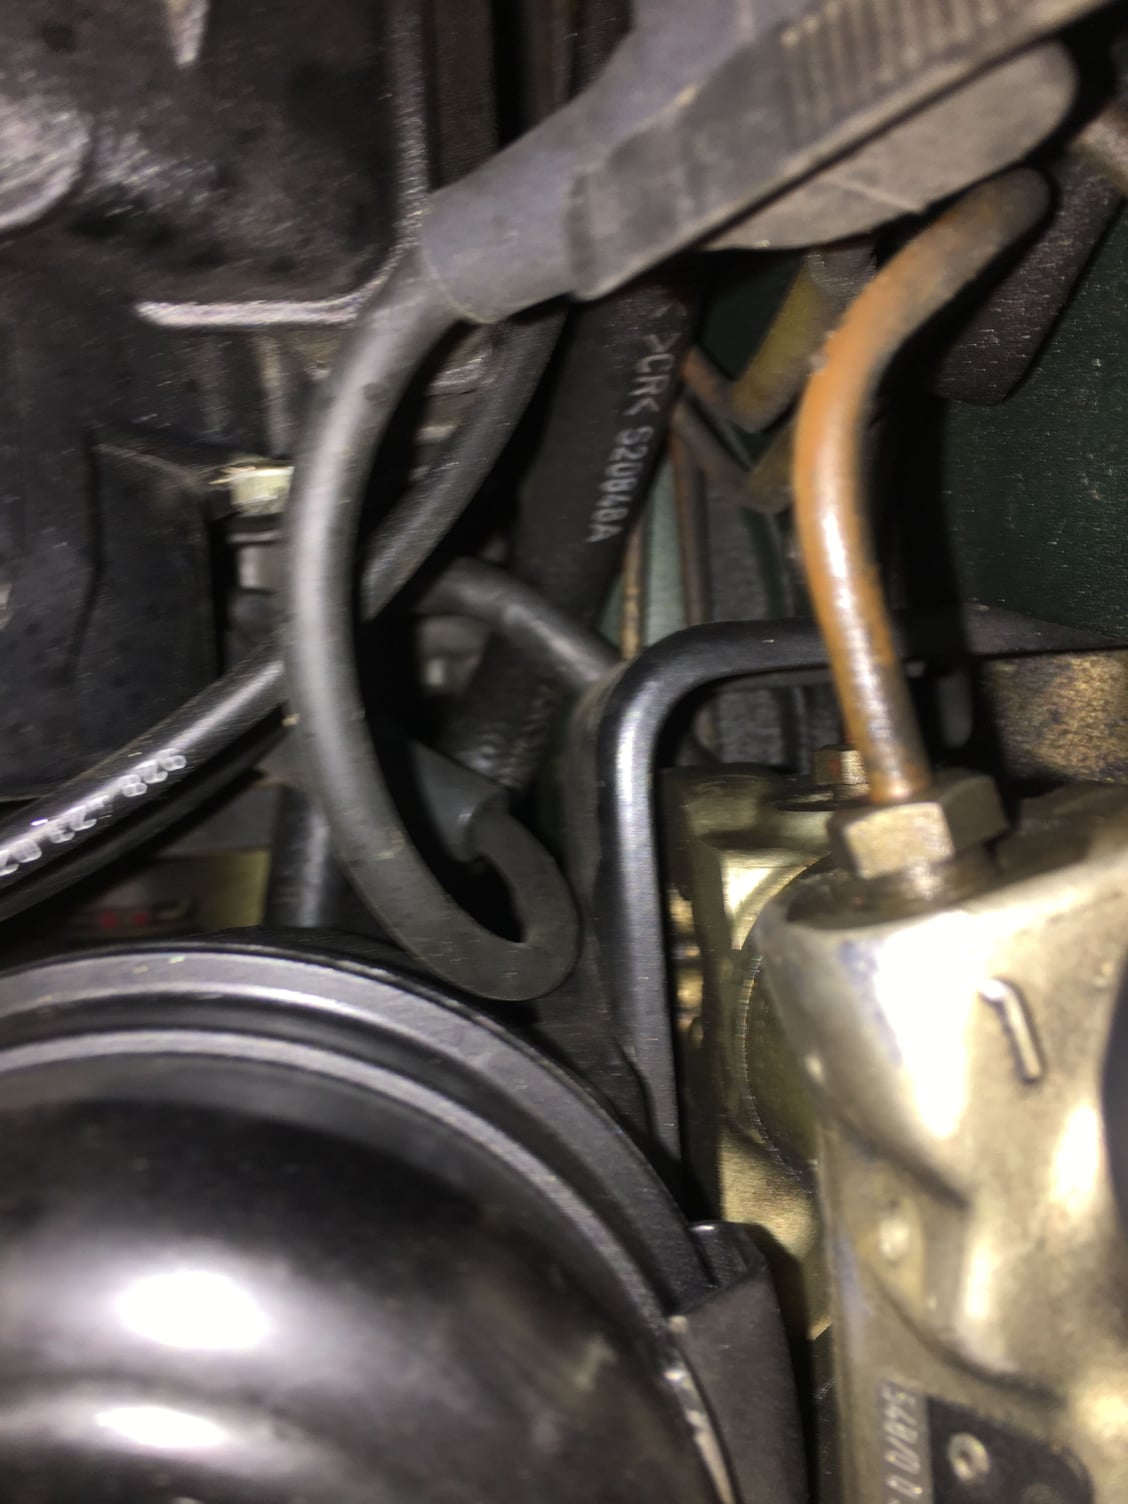
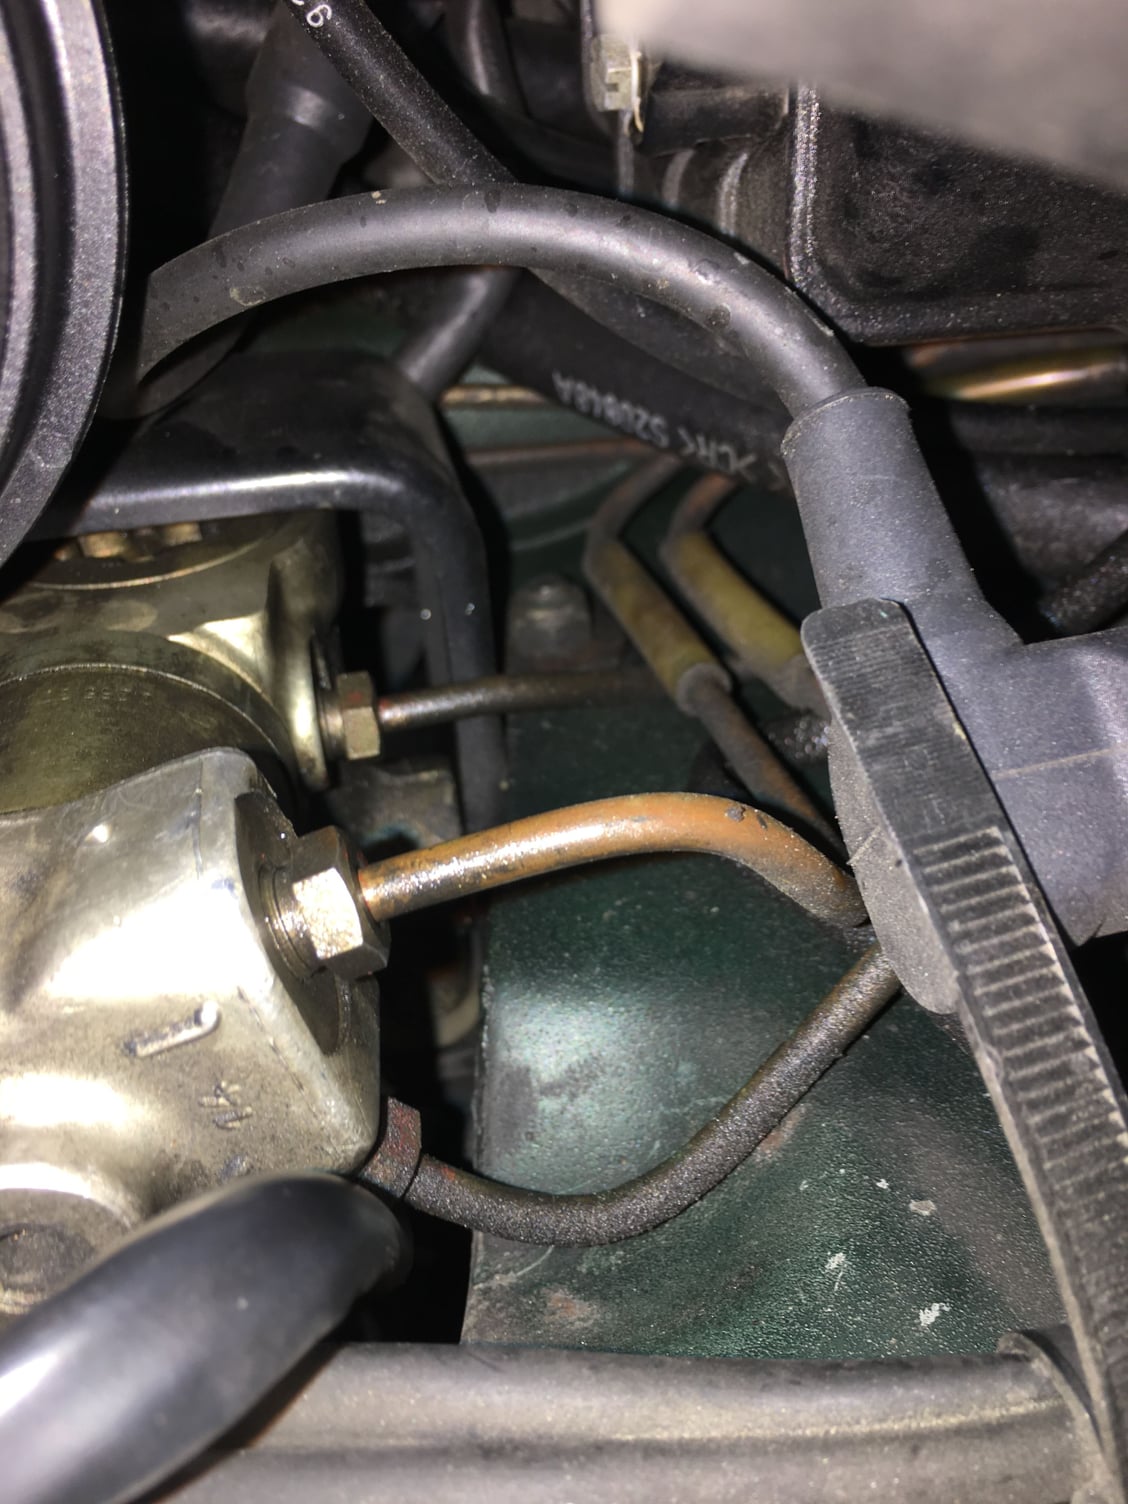
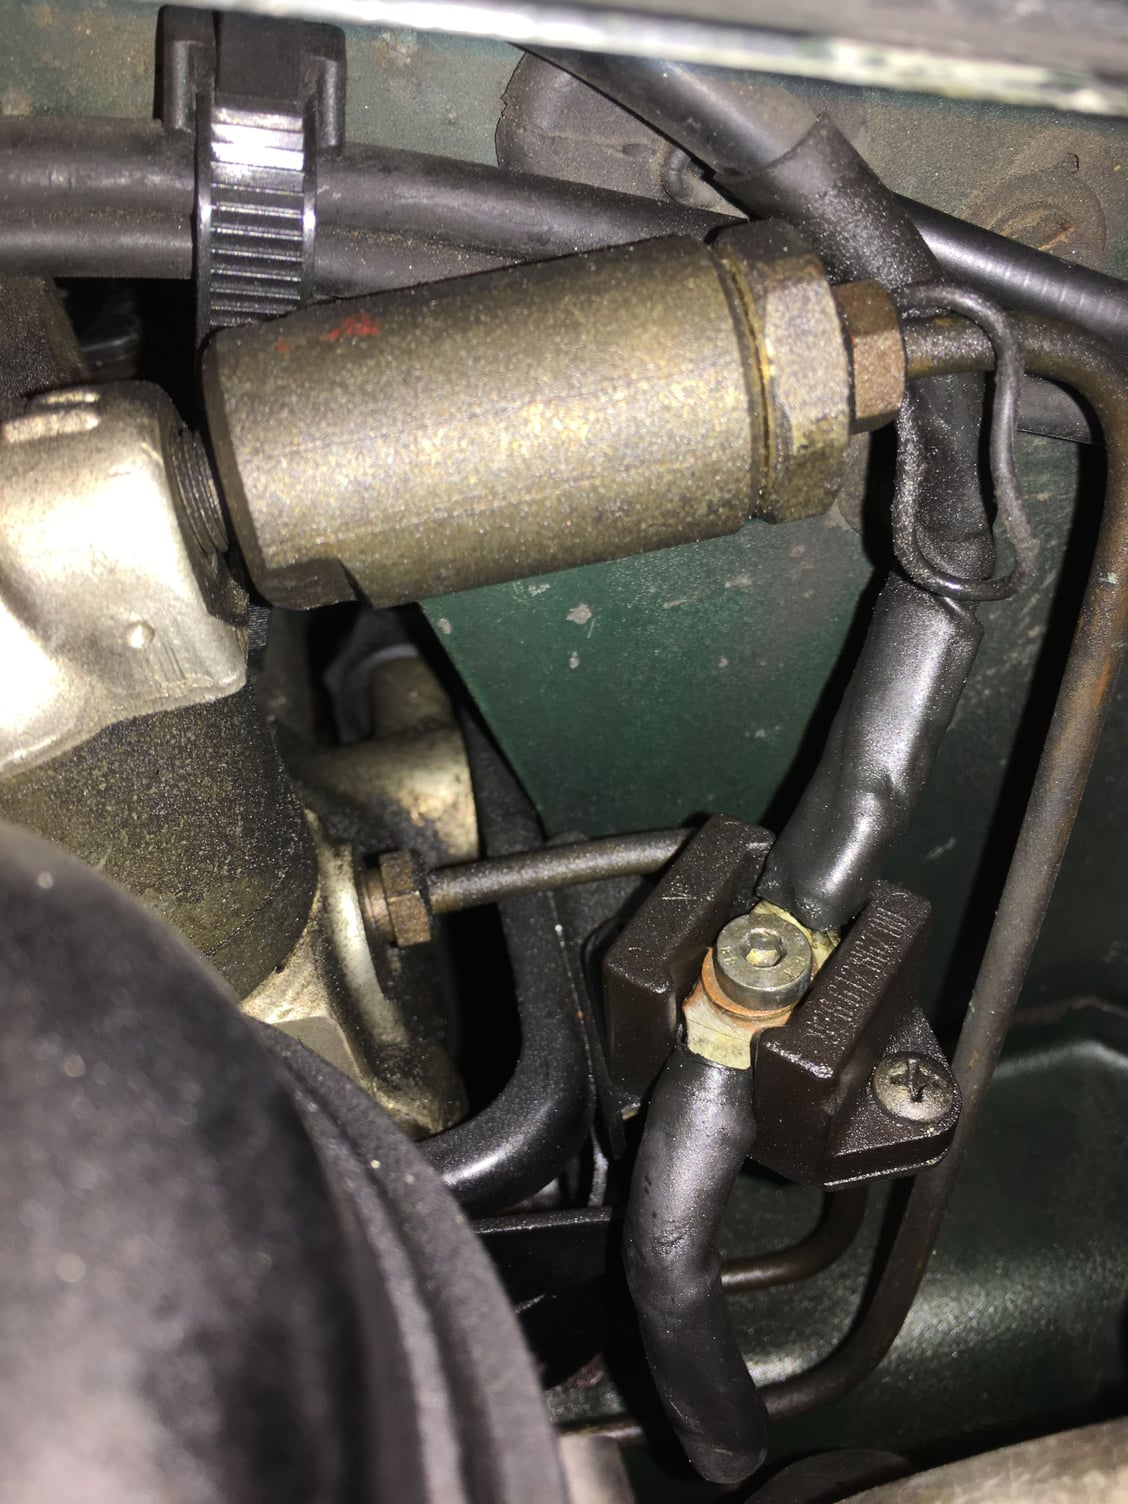
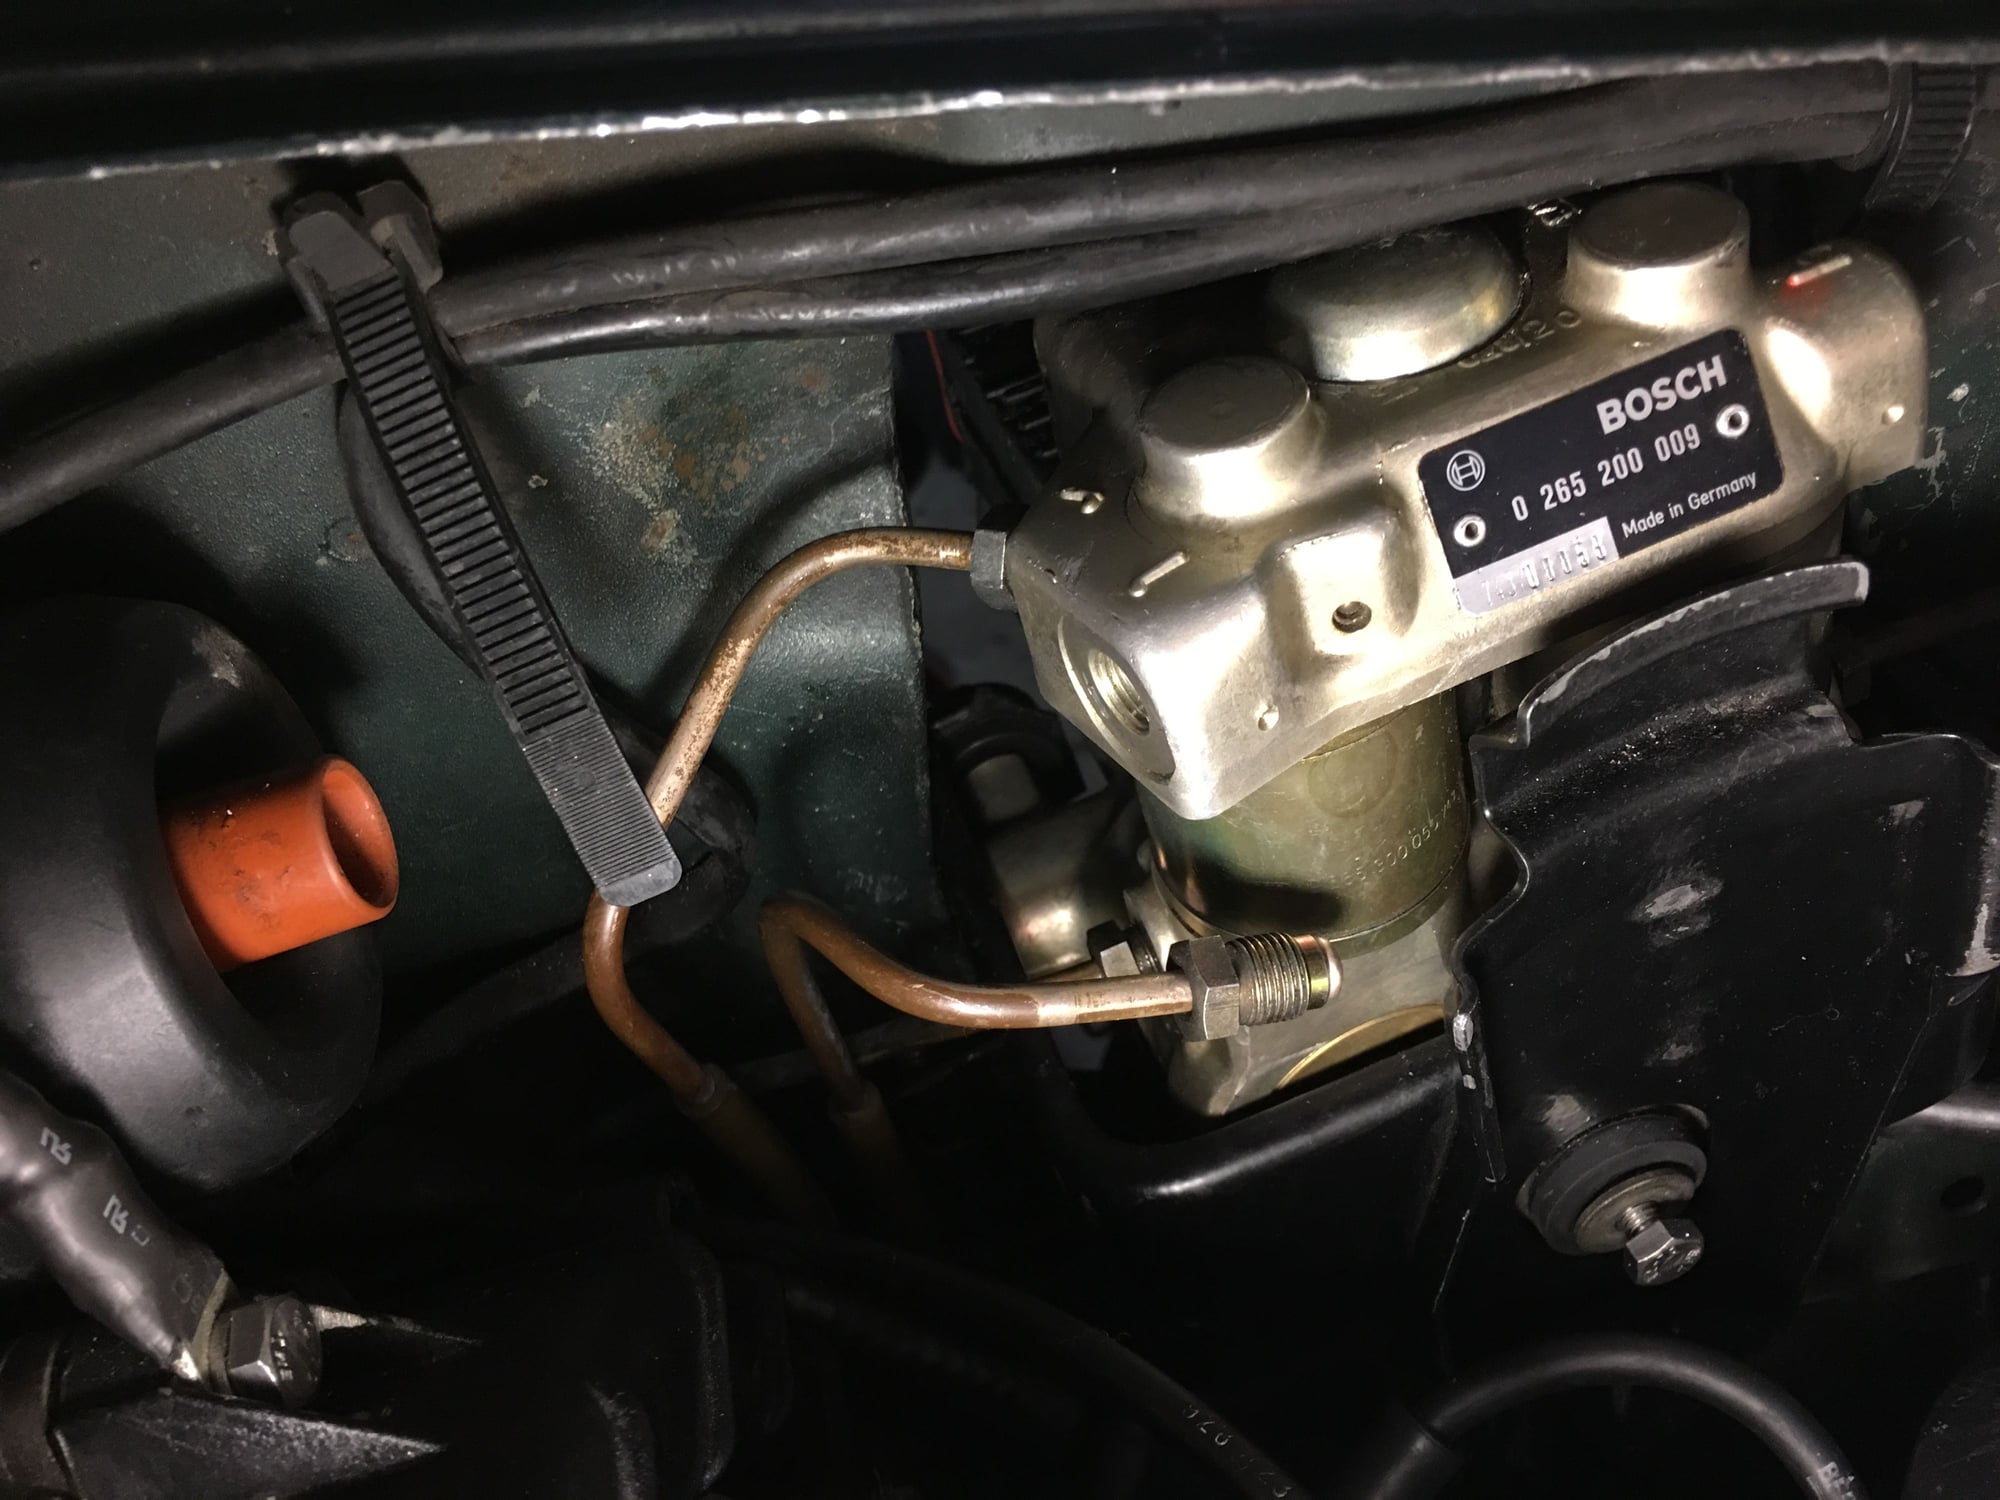
2. Then getting it back connected, the below brake line was a HUGE PITA to get reconnected:
My advice after doing this is to:
1. Budget 4x the amount of time you think it will take
2. Leave all mounting brackets/bolts loose until you have everything connected. This will allow to you to wiggle stuff to get it to fit;
3. Get a crows foot 11mm flare wrench. Whatever other wrench you use will be too long to allow meaningful use, and the brake line nuts will be just a little too bound up to turn with your fingers.
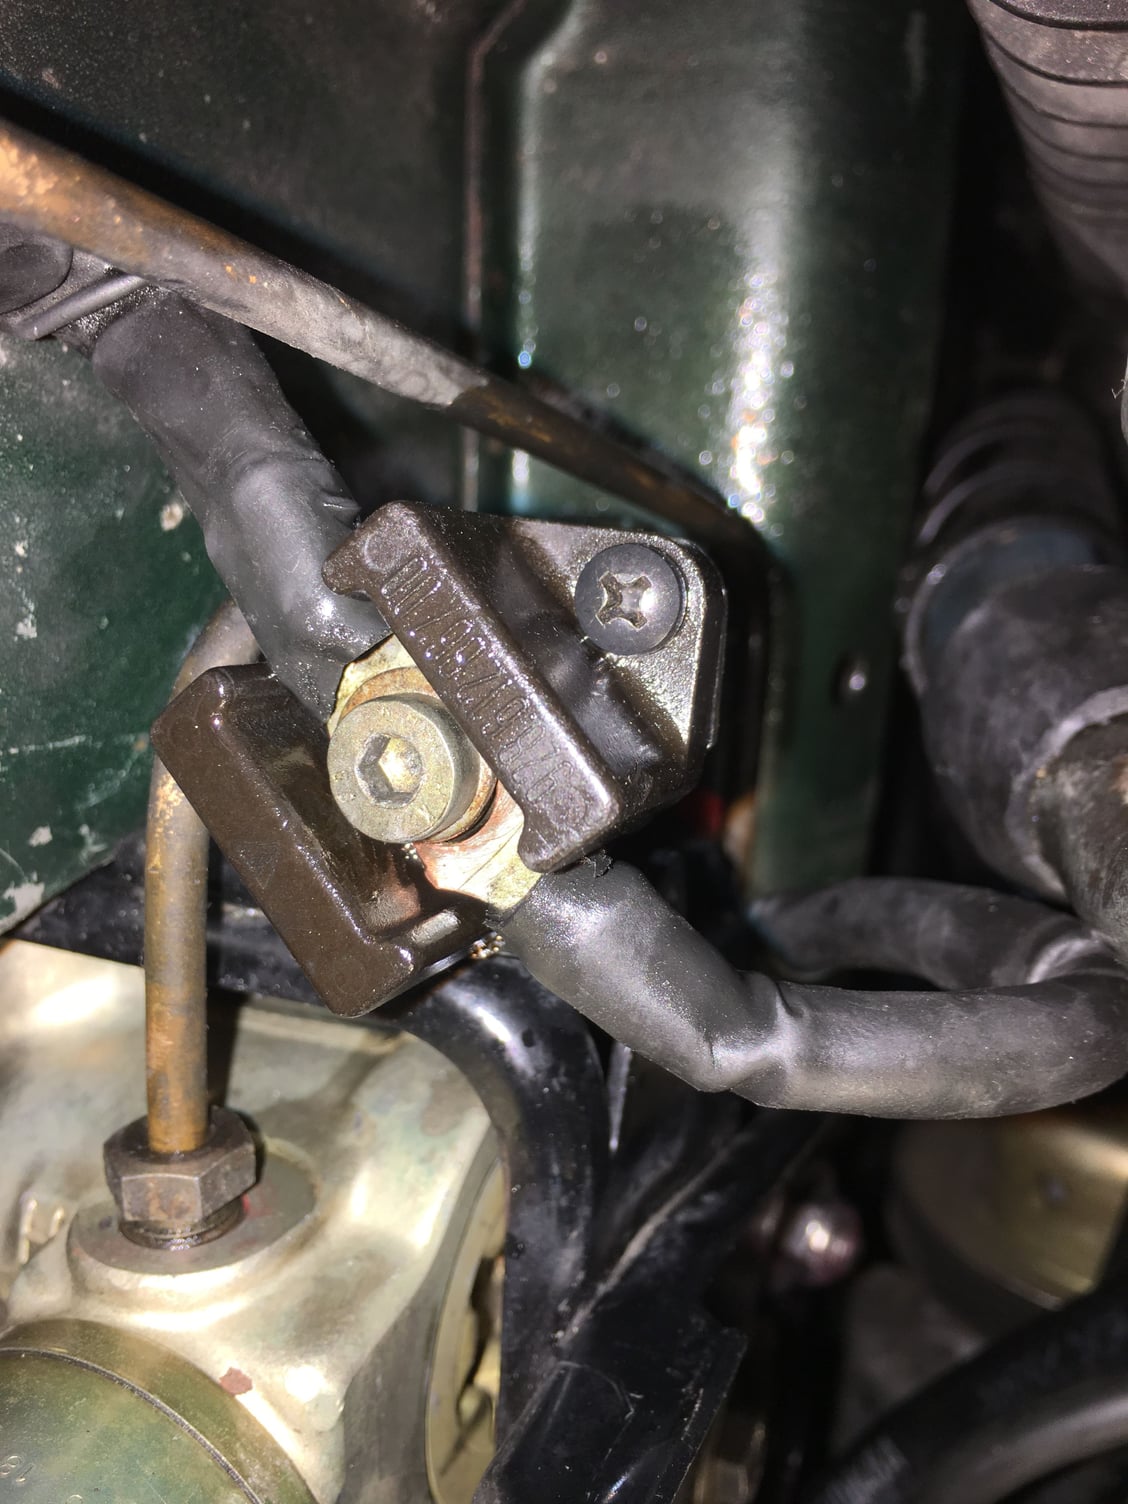
Additional pics:
This connector seems unnecessarily complex too. Why not a simple bullet connector? Of course, the base IMMEDIATELY cracked when I went to torque down the main hex screw. Adding to next "Roger" order.
Part: 928.612.867.00
Cap: 928.612.874.00
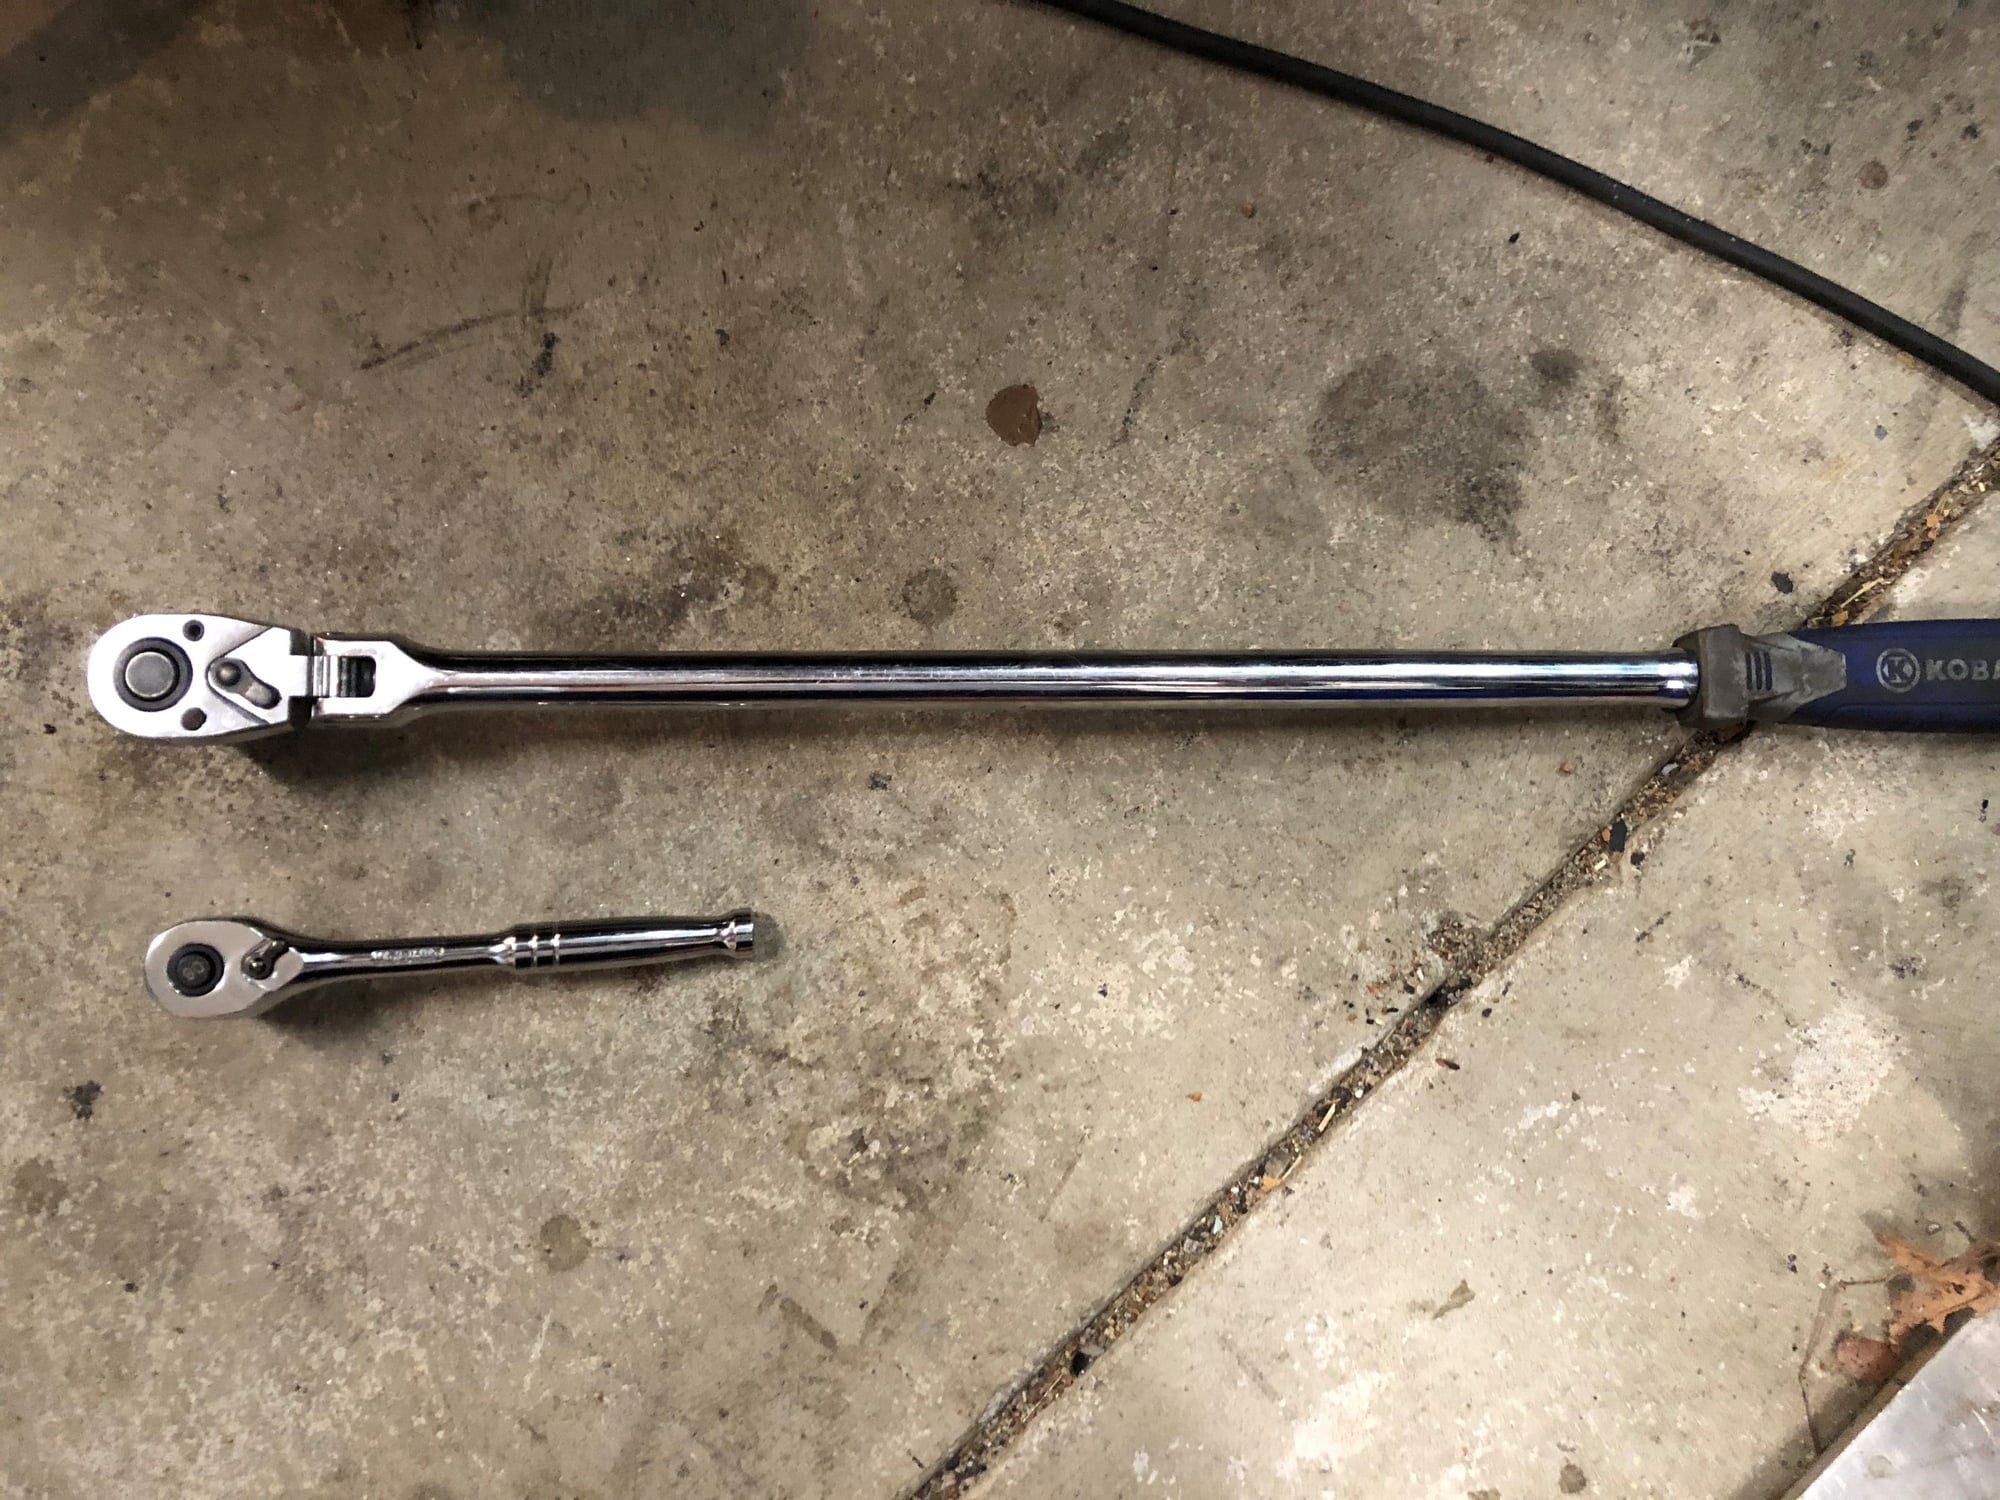
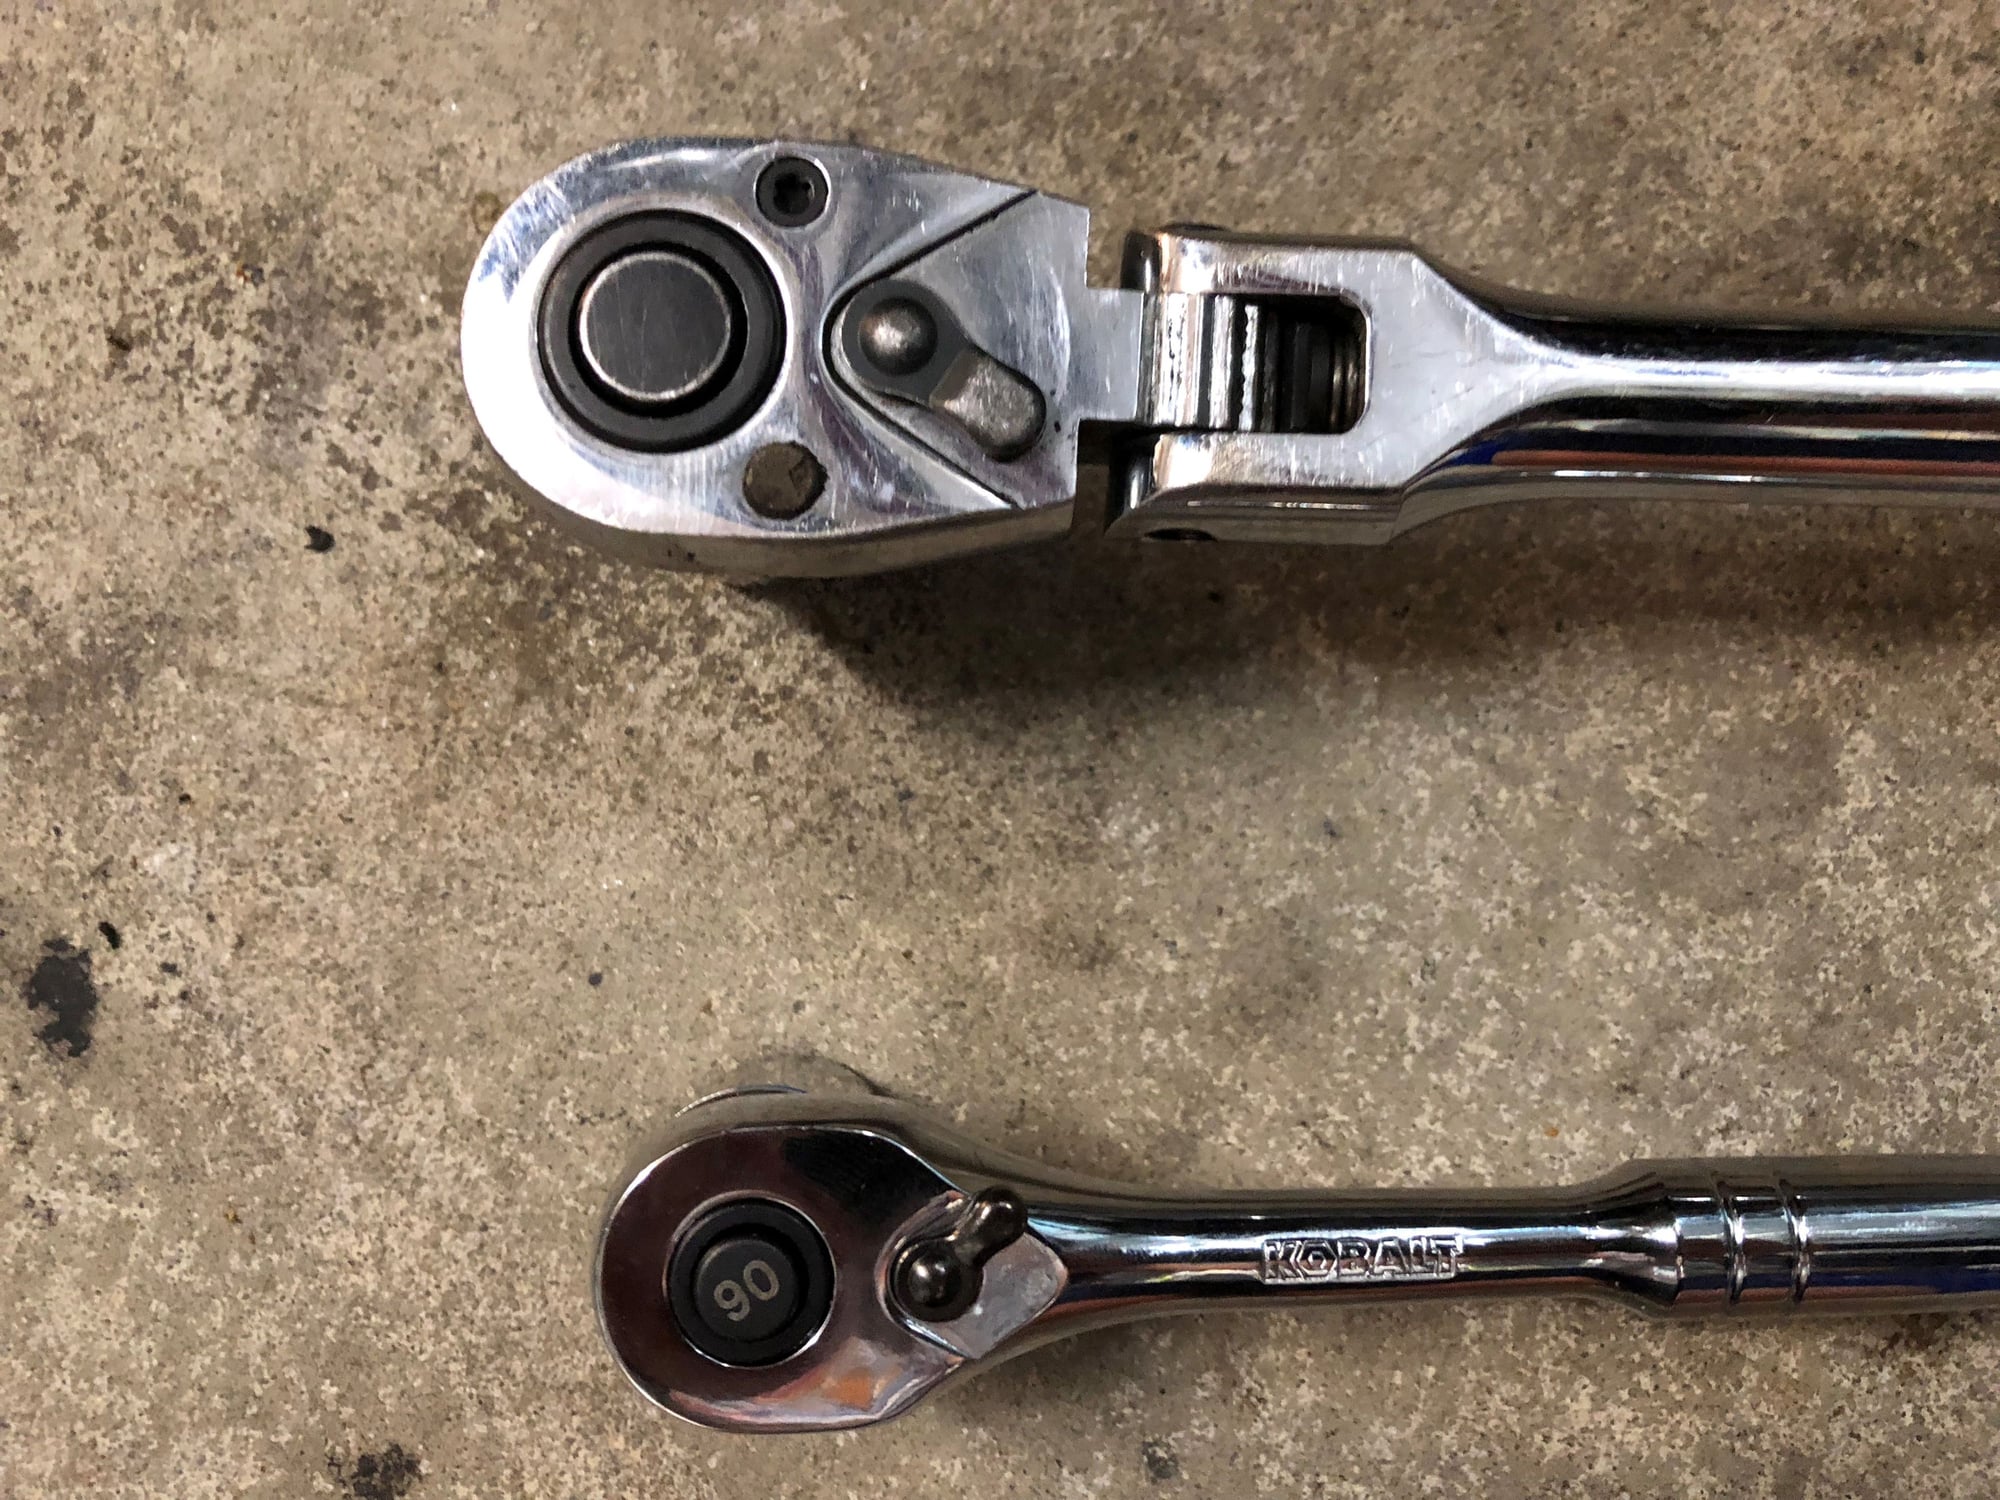
Here are some pics. Note that the 3/8" ratchet is stamped with a "90" on the release button, indicating tooth count. I think the standard version is 72 tooth. For this job finer/more teeth is better ( but I think you loose some ultimate strength).
So I use the big 1/2" ratchet on the rear nut, attacking from the top via the hood to break it loose ( you will need to remove the intake tube). You only have enough room for one click of the ratchet up there generally, and be very careful not to break the brake fluid reservoir and the vacuum check valve near the brake booster, both are at risk from the ratchet arm and the extreme initial torque you need. Once the rear nut is broken loose, your work from the top is finished, but the fun is not. Since the nuts are lock nuts, they will not become finger loose until they are almost off. This means you need to go under the car and use the smaller ratchet in very confined space near the header. Again, space is so tight that you may only get one or two clicks on each stroke. You will bang your knuckles, the socket will slip off repeatedly, you will have crap fall in you eye and you will curse. It will take a while, but eventually it comes off. The front nut is a little easier, big wrench from the bottom this time to break it loose, then little wrench again in the tight space.
Tip: Time this job with an oil change. If you remove the oil filter you have a bit more space to work in. Timing this job with a motor out is cheating: no points awarded.
I have a GT racecar which has the shorter upper control arms installed. Because of them, I can only set the camber to a minimum of -3 degrees on each side.
I'd like to set the camber to around -2 degrees so I won't cord the inside of the tires at the track, so my plan is to install some alignment shims at the upper control arm to get back some adjustability.


 06-27-2017, 10:19 AM


 T
T