86 Mossgreen Metallic 5 Speed Continues
 11-25-2013, 11:03 AM
#151
Drifting
Thread Starter
Stan,
I saw in the text where you said LF , however your pictures seem to indicate RF and I figured it was a typo. Examples:
This clearly shows the right front with spindle missing on about the 7th picture.
This one also shows RF
But the actual snap of the spindle replaced does look like LF now that I look closely.
Regardless, no big deal. LF gets a lot of abuse at CMP and VIR, and it gave me a chance to sandblast and paint the dust shield.
 11-25-2013, 11:26 AM
#152
Team Owner
Hi Ken in the pictures the LCA and spindle are still attached to the car for the RF just not in the picture.
The picture showing the new brakes of the RF was done because the lighting was better.
NOTE The LF spindle was replaced as the old part was melted along with a new used hub and new bearings
The picture showing the new brakes of the RF was done because the lighting was better.
NOTE The LF spindle was replaced as the old part was melted along with a new used hub and new bearings
 12-11-2013, 10:16 PM
#154
Drifting
Thread Starter
Keeping this thread up to date by consolidating changes from other threads, like this.
The O2 Sensor has been replaced with a new sensor. Likely not necessary looking at some of Stan's posts, but as I was working on getting the Fuel Injection dialed in, it seemed like a good idea.
I just installed these:
Bosch 0280150947 Ford Racing 24lb/hr Fuel Injectors :

I based this choice on Stan's post here:
https://rennlist.com/forums/10014125-post3.html
I replaced the Pintle caps ( and o-rings and spacers) with kits from Roger based on his suggestion. The replacement Pintle covers were longer that the ones that come on the injectors, but the top clip area and the electrical plug were an exact fit.

Jim C. indicates that the size of the pintle cover does not matter, but I wanted to replace the O-Rings and the new pintle cover came in the kit s and do now match the length of the OE pintle cover, whereas the one that came with the Ford injectors did not.
The O2 Sensor has been replaced with a new sensor. Likely not necessary looking at some of Stan's posts, but as I was working on getting the Fuel Injection dialed in, it seemed like a good idea.
I just installed these:
Bosch 0280150947 Ford Racing 24lb/hr Fuel Injectors :
I based this choice on Stan's post here:
https://rennlist.com/forums/10014125-post3.html
I replaced the Pintle caps ( and o-rings and spacers) with kits from Roger based on his suggestion. The replacement Pintle covers were longer that the ones that come on the injectors, but the top clip area and the electrical plug were an exact fit.
Jim C. indicates that the size of the pintle cover does not matter, but I wanted to replace the O-Rings and the new pintle cover came in the kit s and do now match the length of the OE pintle cover, whereas the one that came with the Ford injectors did not.
12-11-2013, 10:19 PM
#155
Drifting
Thread Starter
Then using a borrowed a Blink'r kit from Neil Harman, I went about testing and setting the AFR.
Porkens instructions are pretty good, but here are my notes:
1. Let your motor get good and warm. When you think it has warmed up enough, it hasn't. Keep waiting. A motor that is not up to temp will give Blink'r readings that will make you question your sanity.
2. An air leak will make decent idle impossible to set. Get your air leaks sealed!
3. Porkens instruction say this:
S300s chipset
� Set CO at 680 rpm then:
- 5-speeds, turn screw (2) full turns CCW
- Auto, one turn CCW
He means turn the IDLE screw 1 or 2 turns, NOT the CO screw on the MAF.
4. You need to be patient, very patient. The lights can take a while to change, and any changes you make on the MAF CO screw may take a bit to really settle in, and may require a little goosing of the throttle. It will take you multiple iterations of going too far each directions and slowly finding the center to get it.
The video of it set as close as I can get is here:
12-11-2013, 10:24 PM
#156
Drifting
Thread Starter
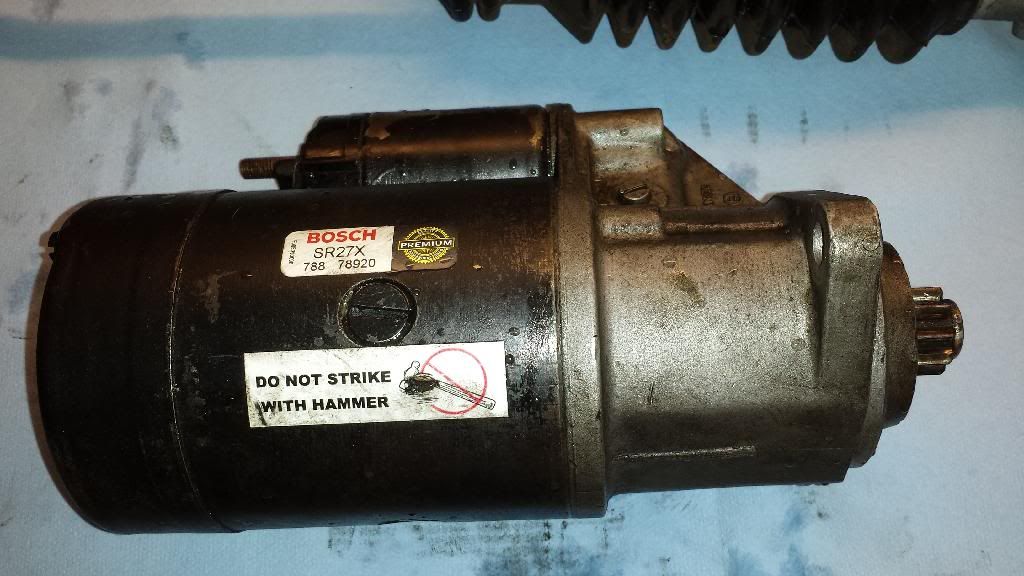
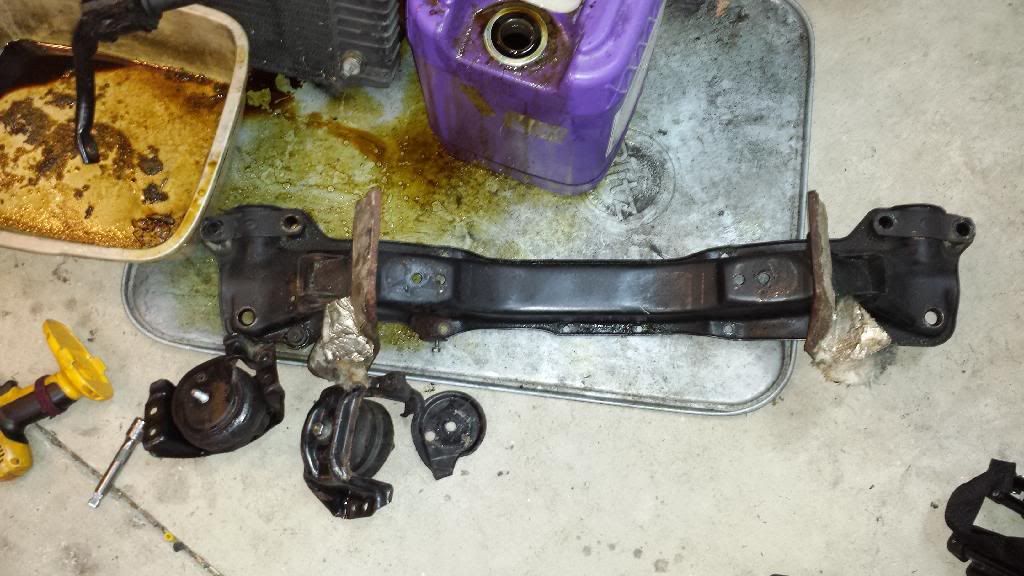
I have all the parts assembled to install Greg Brown's Oil pan extender and windage kit, just waiting for a long weekend to do it, as it will also include the WYAIT of:
Rebuilt Steering Rack
Delrin Rack Bushings
Compact Starter ( required)

Rebuilt Steering Rack
Delrin Rack Bushings
Compact Starter ( required)
12-15-2013, 09:51 PM
#157
Drifting
Thread Starter
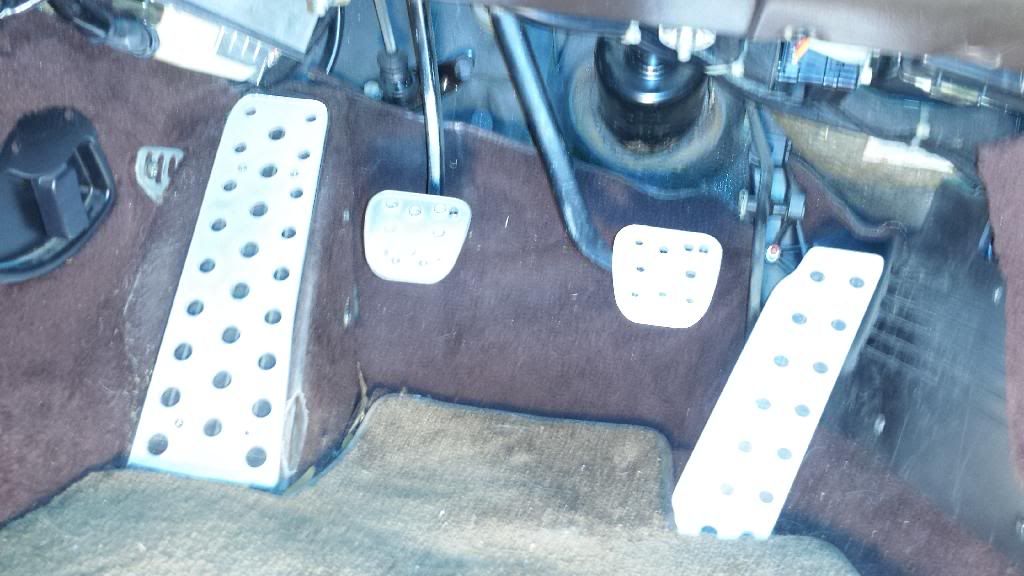
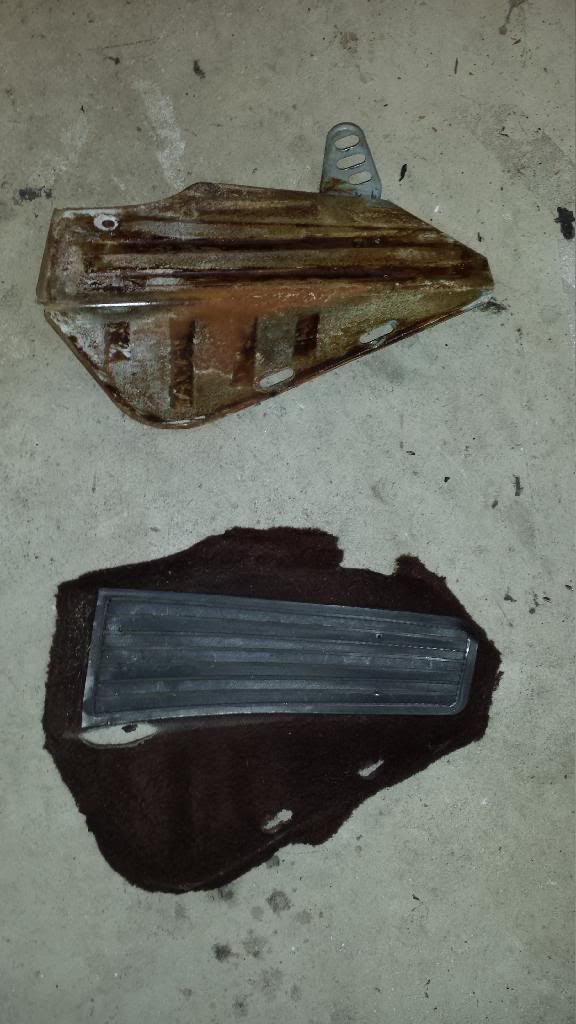
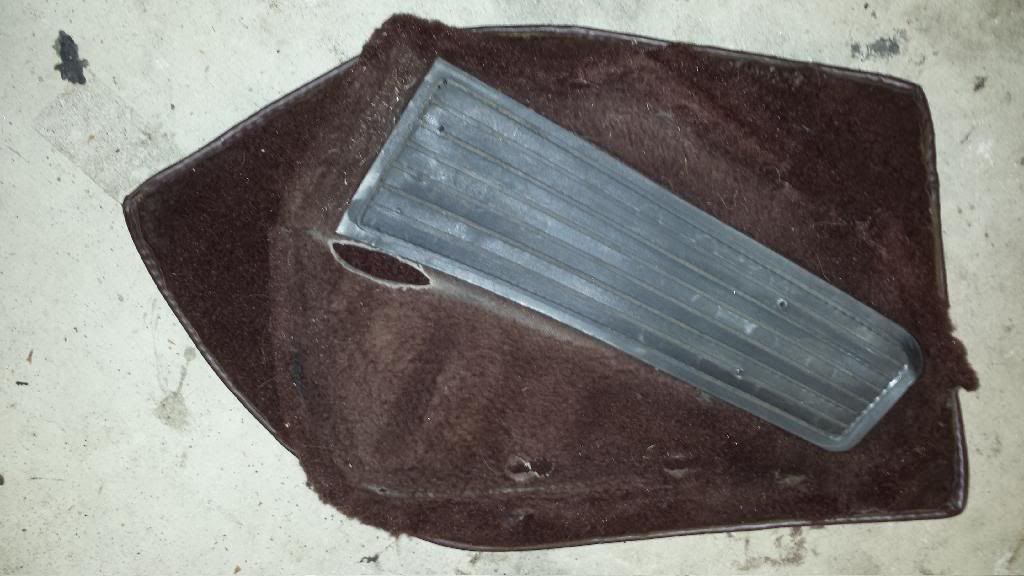
My dead pedal box was looking a little ratty, and the contrast of the silver SRP pedals was starting to annoy me ( Although I like the pedals themselves)
 12-15-2013, 09:56 PM
#159
Drifting
Thread Starter
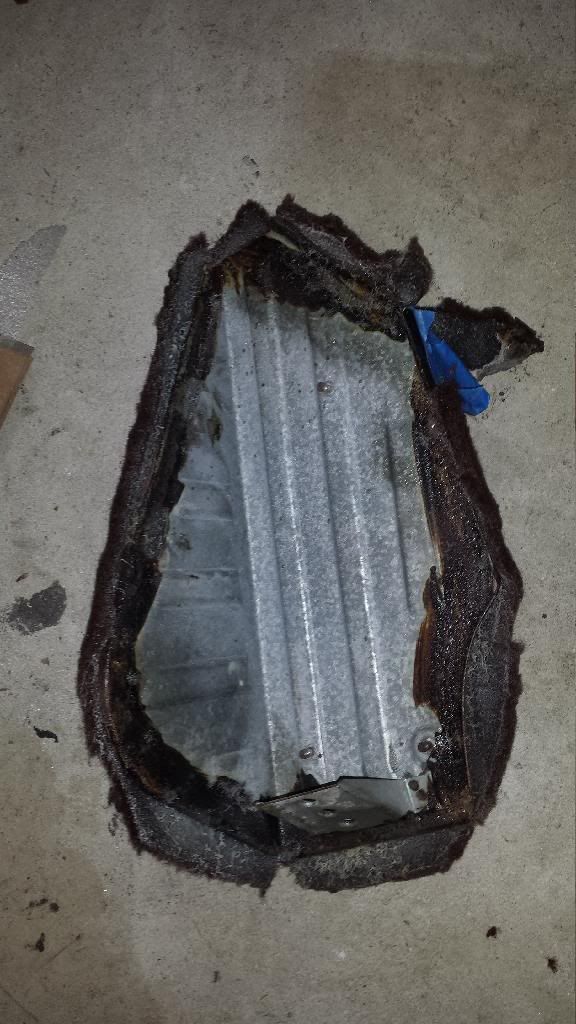
Then I powder coated all the metal bits with Eastwood Metallic Mocha:
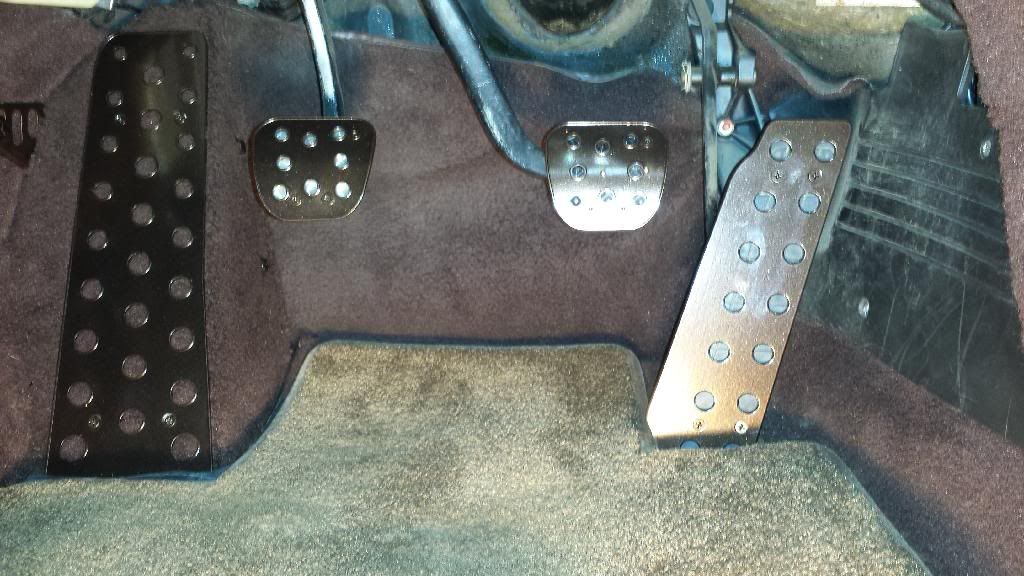
Although the power coating is very tough, I suspect that I will eventually see the metal show back through. In that case, I may try coating the high wear areas with truck bed liner.
Although the power coating is very tough, I suspect that I will eventually see the metal show back through. In that case, I may try coating the high wear areas with truck bed liner.
01-02-2014, 11:10 AM
#161
Drifting
Thread Starter
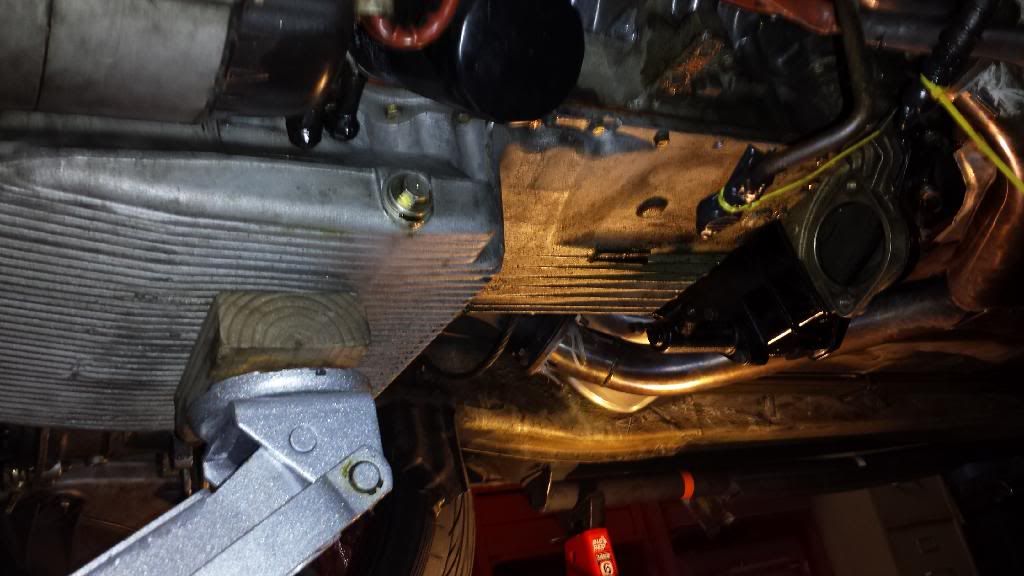
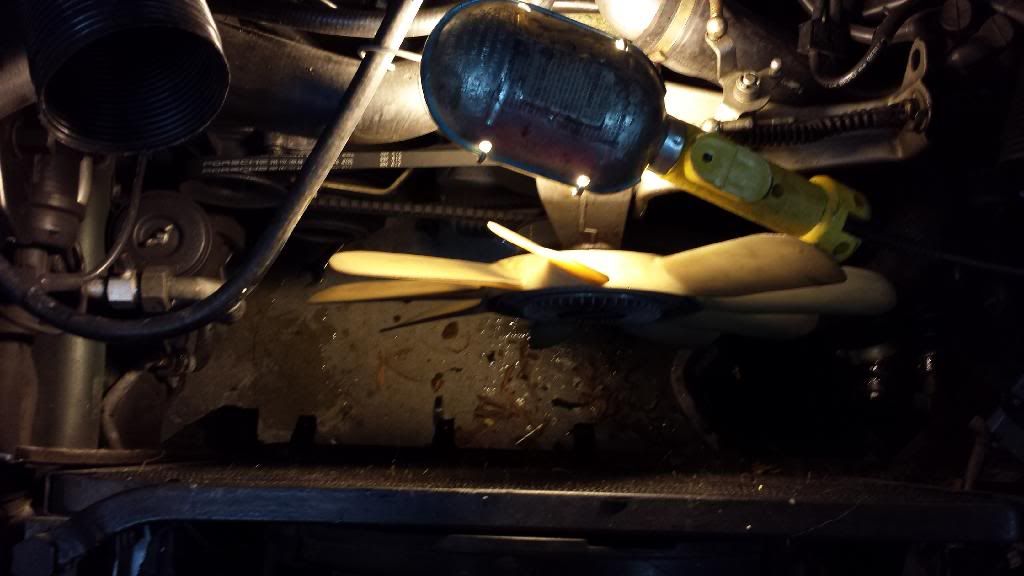
Lots going on with the car over the holidays. I was starting to get worried about oiling issues with the additonal track time this car was getting, so I contacted Greg Brown a Precision MotorWerks and got one of his Oil Pan Extender/Windage Kits. This, along with an early Oil Pan ( see previous posts), and the associated hardware:
-Compact Starter
-Clutch hydraulic line
and the assocaited WYAIT:
-Powercoating or painting the bits that come off
-Rebuilt Rack ( Boots full of fluid)
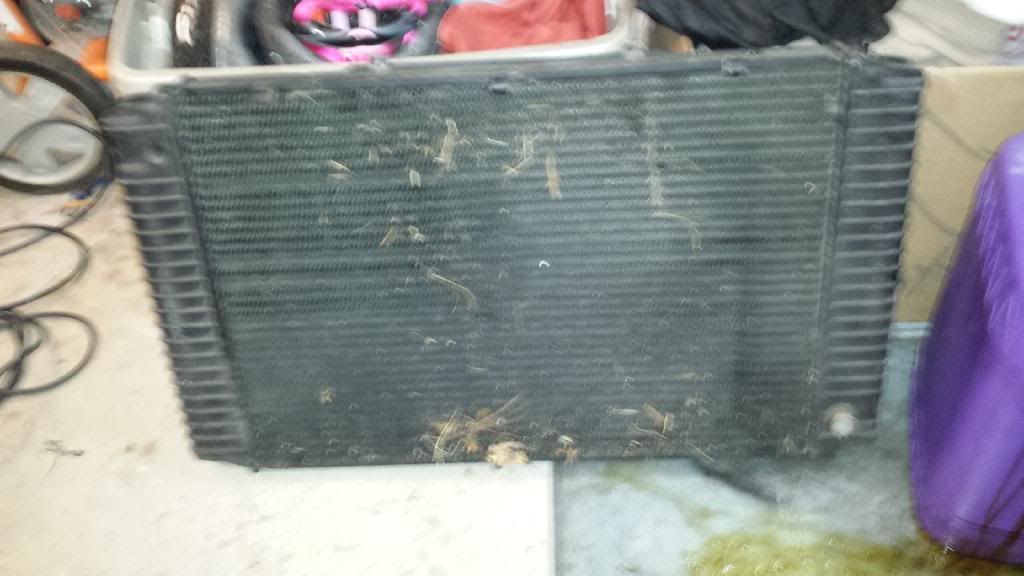
Radiator off first. Not because it is strictly required, but it gives much more room to get to the PITA front oil pan bolts ( I've done it both ways. Trust me, remove the radiator).It was about time for a clean and flush anyhow.
-Compact Starter
-Clutch hydraulic line
and the assocaited WYAIT:
-Powercoating or painting the bits that come off
-Rebuilt Rack ( Boots full of fluid)
Radiator off first. Not because it is strictly required, but it gives much more room to get to the PITA front oil pan bolts ( I've done it both ways. Trust me, remove the radiator).It was about time for a clean and flush anyhow.