

1989 928 S4 Cabriolet - On the Road and Getting Prettier - Work In Progress
 12-17-2011 | 04:06 PM
#31

Rennlist Member
Joined: Jan 2003
Posts: 3,377
Likes: 200
From: Honolulu and sometimes L.A.
Great progress. Inner pump is often a problem, and the consensus seems to be to yank it and replace it with the factory strainer, which threads into the same space and looks the same from the outside except no wire posts. Roger will know the correct part number. Some chance that this was the majority of your running problem. But somehow, while I always think there is one problem causing three symtoms, it seems more common that three problems are each contributing to one symptom. Be sure to go through the vent lines back there carefully while you have the tank out. I did not and now I will have to pull my tank again. Or just live with only filling the tank half full so it fuel does not leak out my vent lines.
12-17-2011 | 05:13 PM
#32
Thread Starter
Burning Brakes
Joined: May 2011
Posts: 772
Likes: 0
From: Tucson, AZ
Great progress. Inner pump is often a problem, and the consensus seems to be to yank it and replace it with the factory strainer, which threads into the same space and looks the same from the outside except no wire posts. Roger will know the correct part number. Some chance that this was the majority of your running problem. But somehow, while I always think there is one problem causing three symtoms, it seems more common that three problems are each contributing to one symptom. Be sure to go through the vent lines back there carefully while you have the tank out. I did not and now I will have to pull my tank again. Or just live with only filling the tank half full so it fuel does not leak out my vent lines.
i did not have any fuel leaking or smell with a full tank, but I will go through the lines just in case. If I can, I may replace as many as applicable. might as well do it now rather than 5 years from now. They are pretty cheap and the hard part is done (getting the pump and other stuff out of the way).
I am going to assume for now I have not solved the problem and continue to work through the mechanical options.
 12-17-2011 | 05:24 PM
#33
Thread Starter
Burning Brakes
Joined: May 2011
Posts: 772
Likes: 0
From: Tucson, AZ
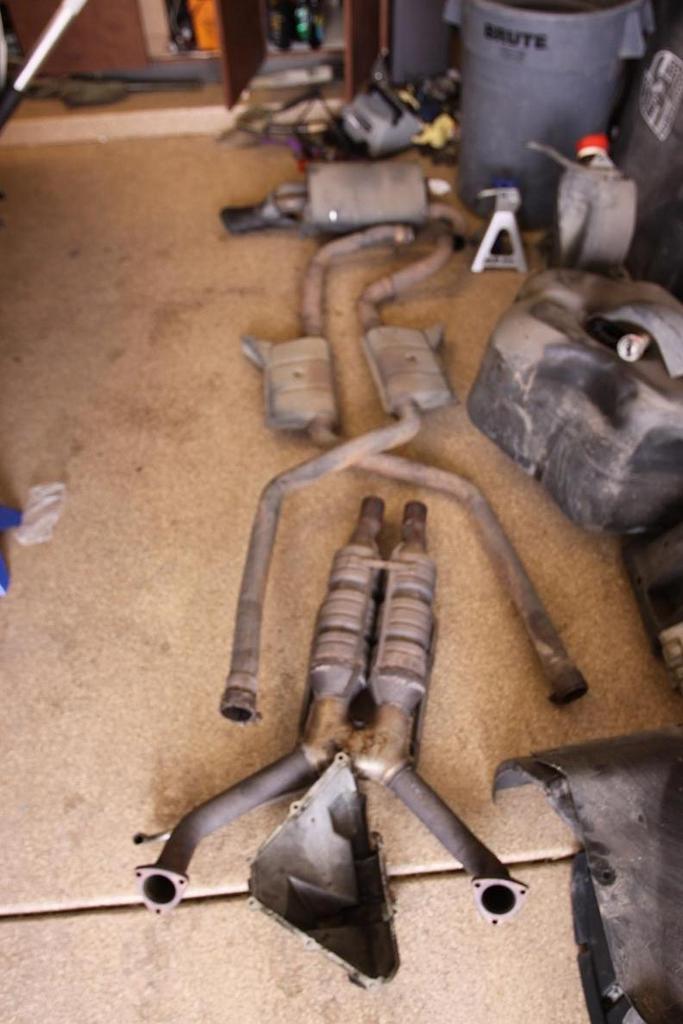
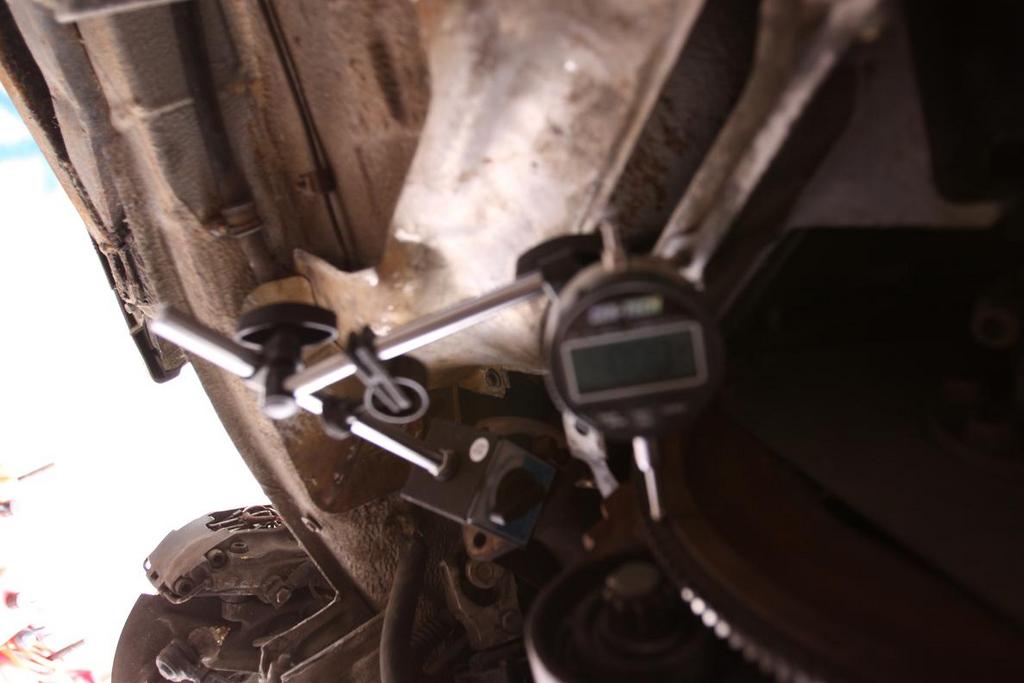
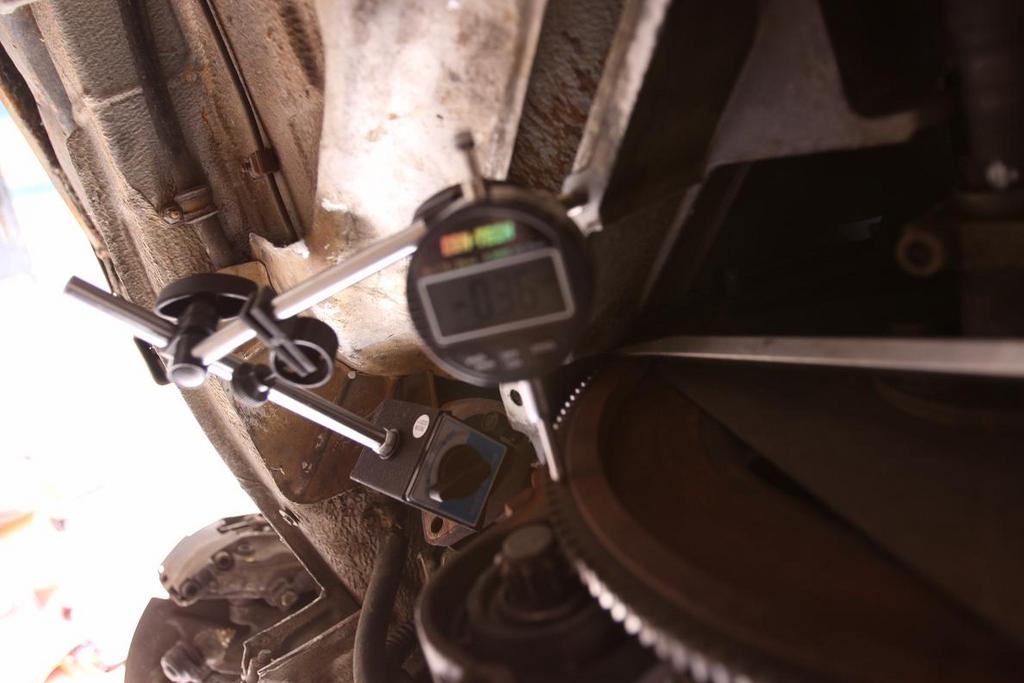
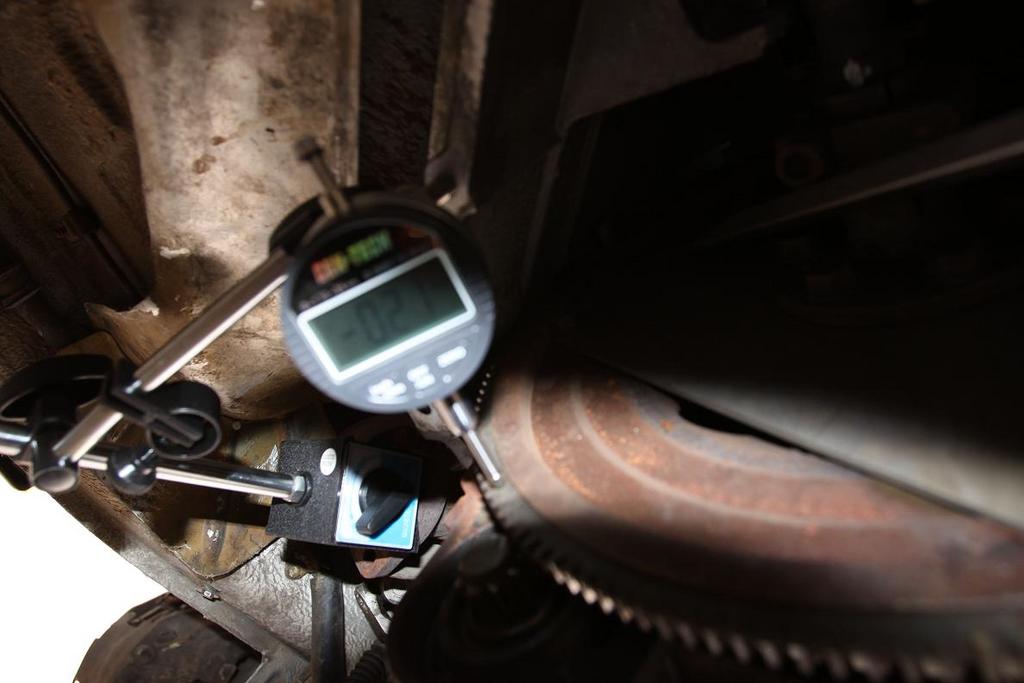
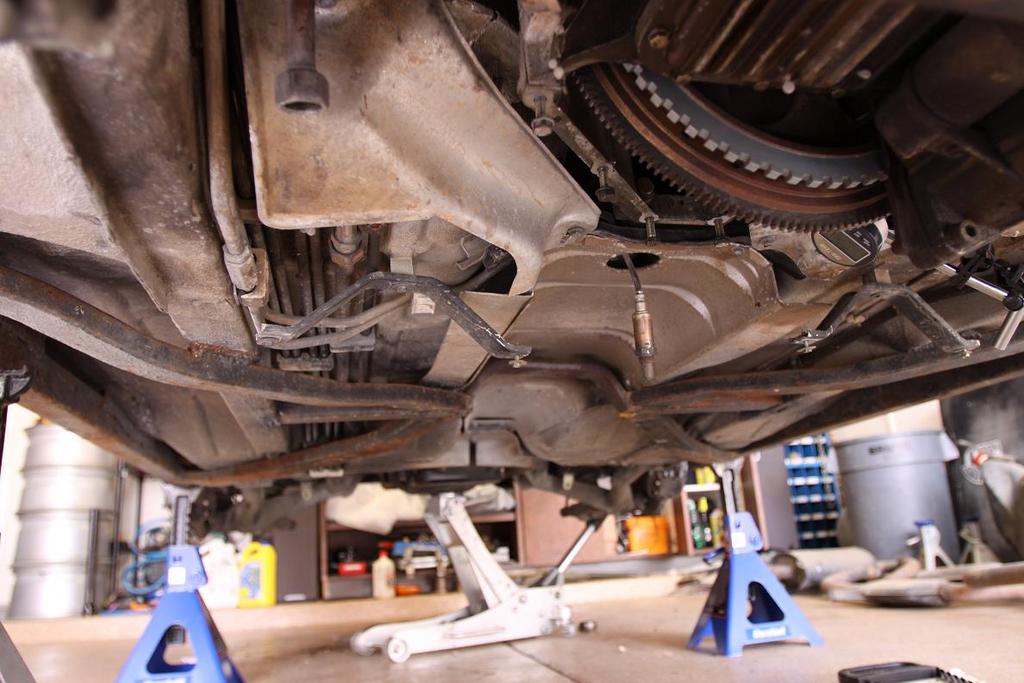
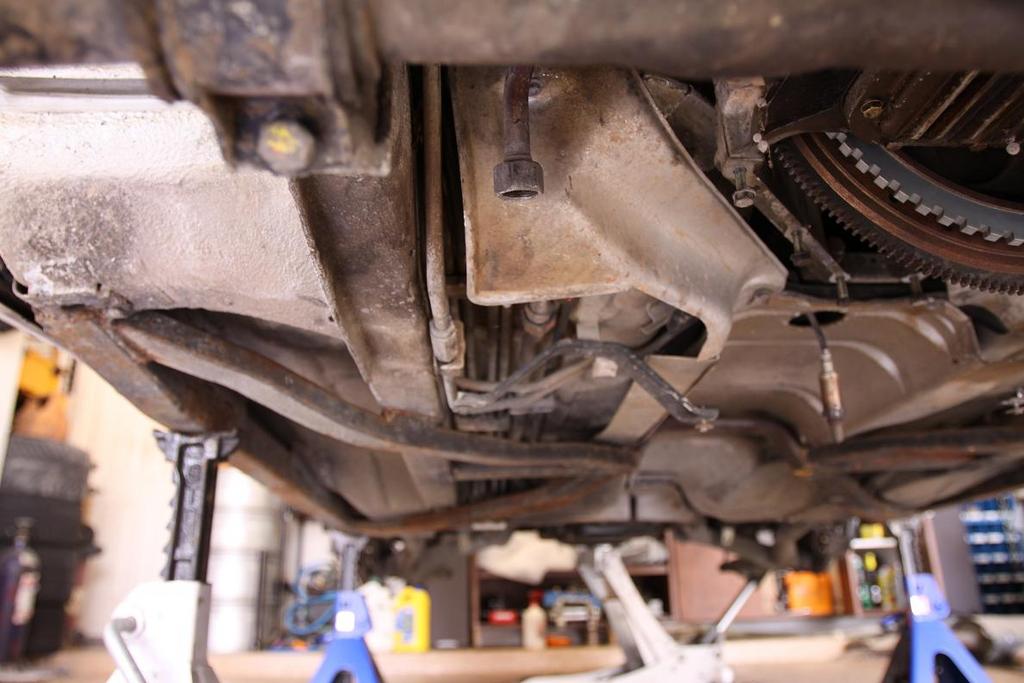
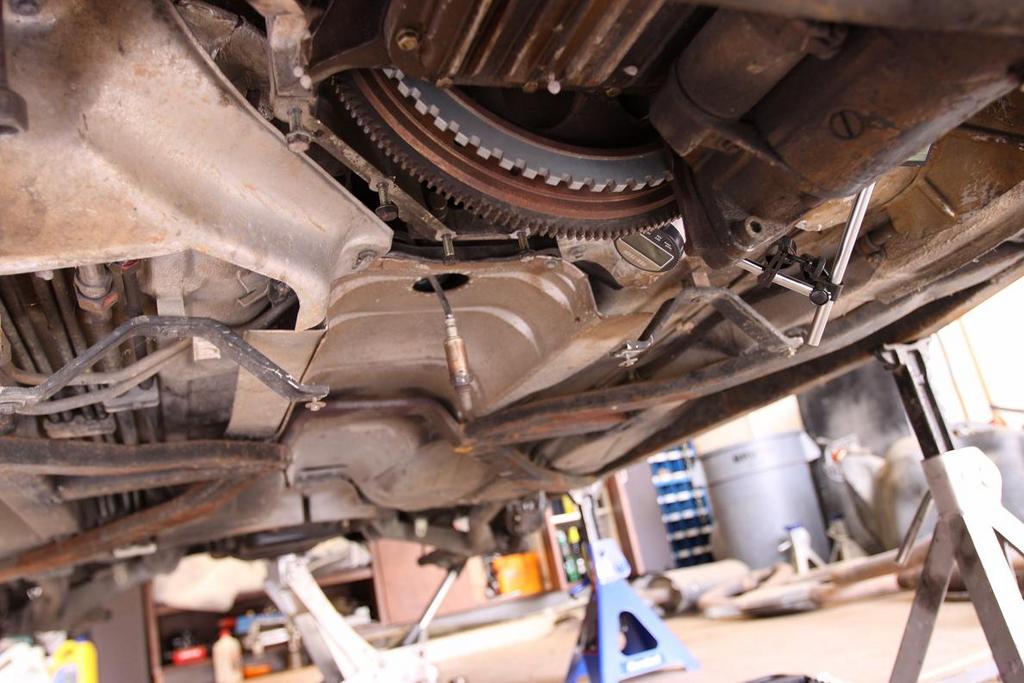
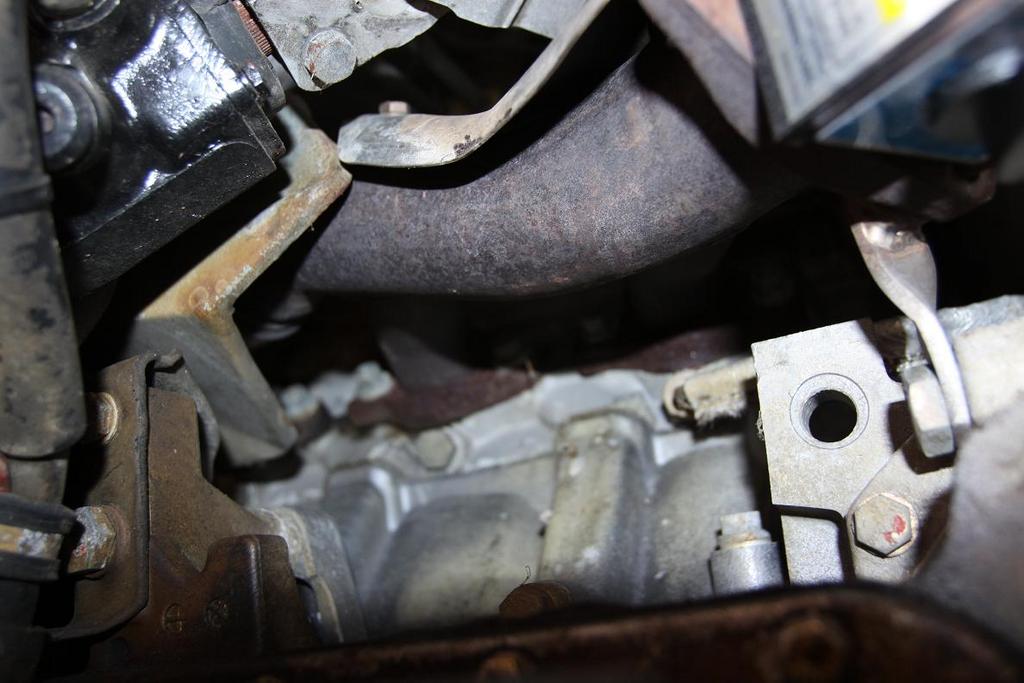
Today has been good. After the morning tank removal already mentioned, I have dropped the exaust and done the flex measurement. I want to swap the single stock pipe out and go to the double like I have on BB. The BB does not have the end mufler, just the two pipes bolted up to the same spots and out. Looks sexier to me... like the Aero Mirrors that I am still looking for.
Flex results:
o Spline measurement start 11.56 mm
o Spline measurement after 8.65 (more than on Idaho for sure, but does it mean anything?)
o zeroed start see image below
o with pressure 0.36 mm (obvious there is flec when loaded)
o at rest 0.20-0.21 mm
as long as I did this right... this should be within spec. I did this about 5 times to see if I saw anything change. Comments?
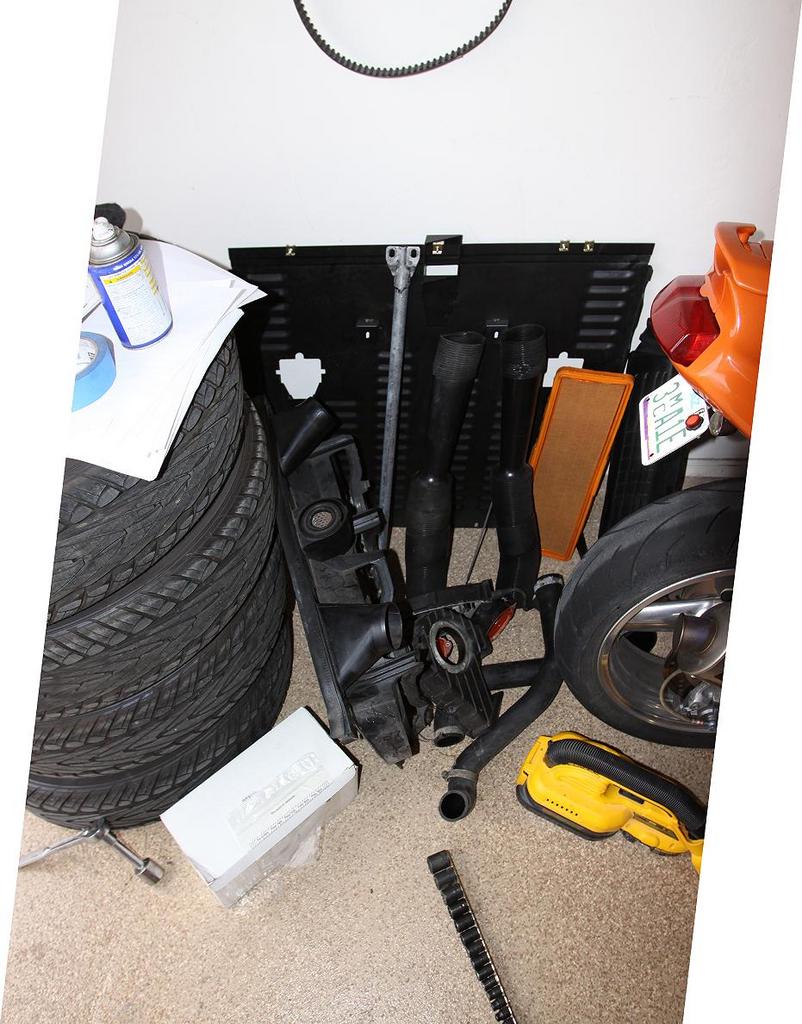
The rest of the pictures are just for folks that want to see more of the cab conversion items and some other shots for viewing the car. This things is so stout it is scary and everything looks real good. It was very well maintained until it sat.
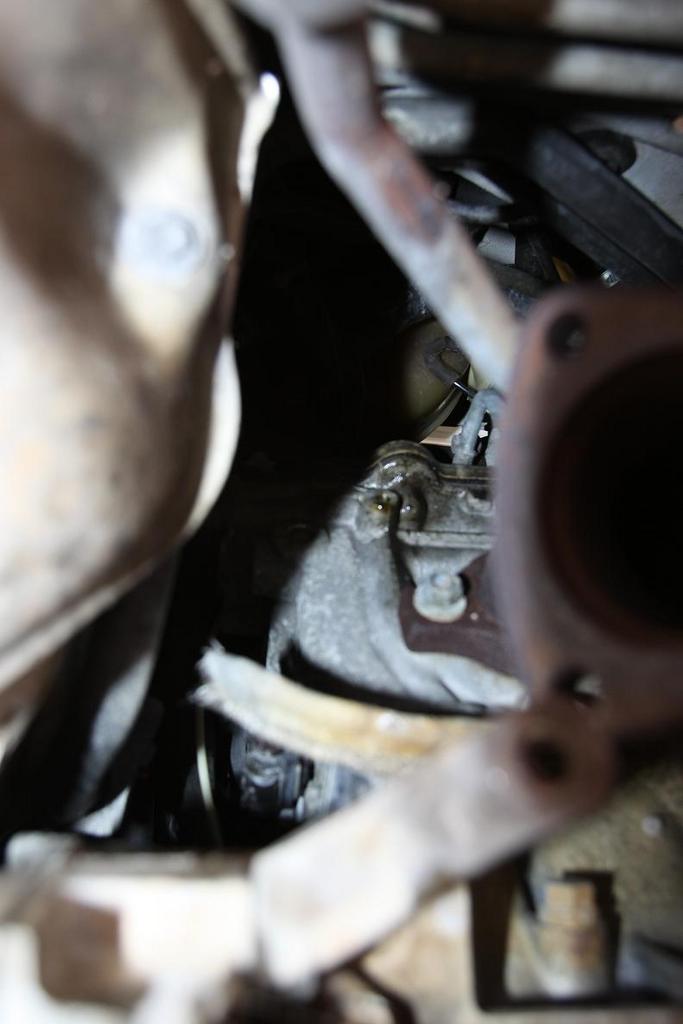
I do have one question. How do you take the thermal measurement plug (thermal-couple plug in set) off? I unscrewed it the hard way with the pipes in and twisted the wires around in circles. Does that puppy pop off?
Any other shots I should take and post for recommendation advise? Once I get the parts in from Roger and Tom I will put the tank back in along with the exhaust with the new catalytic converter.
Flex results:
o Spline measurement start 11.56 mm
o Spline measurement after 8.65 (more than on Idaho for sure, but does it mean anything?)
o zeroed start see image below
o with pressure 0.36 mm (obvious there is flec when loaded)
o at rest 0.20-0.21 mm
as long as I did this right... this should be within spec. I did this about 5 times to see if I saw anything change. Comments?
The rest of the pictures are just for folks that want to see more of the cab conversion items and some other shots for viewing the car. This things is so stout it is scary and everything looks real good. It was very well maintained until it sat.
I do have one question. How do you take the thermal measurement plug (thermal-couple plug in set) off? I unscrewed it the hard way with the pipes in and twisted the wires around in circles. Does that puppy pop off?
Any other shots I should take and post for recommendation advise? Once I get the parts in from Roger and Tom I will put the tank back in along with the exhaust with the new catalytic converter.
12-17-2011 | 05:40 PM
#34
Thread Starter
Burning Brakes
Joined: May 2011
Posts: 772
Likes: 0
From: Tucson, AZ
Attack List Priority (thanks to the help from folks here):
o Rear
- Ground clean-up starting with the rear
- Electrical connectors clean-up
- Investigate Tranny fluid leak (small drip, but it will be fixed)
- Replace all tank and gas components with cleaning or replacing as appropriate
o Front
- TB and WP with PorKen goodies - might start the tear down today (coolant leaks at pretty good rate)
- Pull the injectors, cleaned and flow tested
- All electrical tune up items on hold until Mechanical items have been completed and tested as root cause
- Motor Mounts
- Oil Pan gasket
- Brake fluid flush
- Tranny flush - replace gaskets that are easy to do with tranny in (thoughts?)
- Coolant flush
- Might flush the steering rack to... but not sure if that makes sense (thoughts?)
Other items I am missing that are a "just do it and be ahead of the game" items.
The rack does not leak at all. I have one sitting at my house for use when the initial inspection lead us to think my BB was. Turned out it was perfect. "Wetness" on the bots was oil from oil pan leaks.
Done Whoo-Hooo!!!! :
:
o Rear
- Tank out, drainied
- Inner fuel pump looked at and found wanting
- Ordered intake filter and 044 conversion kit and pump
- Exhaust and Cat out
o Front
- Crank endplay measure - Good to go (0.20-0.21mm)
- Flex plate clamp (ordered from roger)
- Pans and spoiler removed for TB and WP work
Main ground line FYI:
o Rear
- Ground clean-up starting with the rear
- Electrical connectors clean-up
- Investigate Tranny fluid leak (small drip, but it will be fixed)
- Replace all tank and gas components with cleaning or replacing as appropriate
o Front
- TB and WP with PorKen goodies - might start the tear down today (coolant leaks at pretty good rate)
- Pull the injectors, cleaned and flow tested
- All electrical tune up items on hold until Mechanical items have been completed and tested as root cause
- Motor Mounts
- Oil Pan gasket
- Brake fluid flush
- Tranny flush - replace gaskets that are easy to do with tranny in (thoughts?)
- Coolant flush
- Might flush the steering rack to... but not sure if that makes sense (thoughts?)
Other items I am missing that are a "just do it and be ahead of the game" items.
The rack does not leak at all. I have one sitting at my house for use when the initial inspection lead us to think my BB was. Turned out it was perfect. "Wetness" on the bots was oil from oil pan leaks.
Done Whoo-Hooo!!!!
:o Rear
- Tank out, drainied
- Inner fuel pump looked at and found wanting
- Ordered intake filter and 044 conversion kit and pump
- Exhaust and Cat out
o Front
- Crank endplay measure - Good to go (0.20-0.21mm)
- Flex plate clamp (ordered from roger)
- Pans and spoiler removed for TB and WP work
Main ground line FYI:
12-17-2011 | 06:24 PM
#35
Team Owner
Joined: May 2004
Posts: 28,718
Likes: 2,702
From: Philly PA
on the flex plate check you would pry the flywheel forward then zero your gauge then pry it back till you hear it clunk then take a reading on how much the crank has moved.
I am not sure of your readings you dont really need to measure the splines just remove the pinch bolt and see if the clamp moves to the back of the car.
then with the pinch bolt out move the flywheel back and forth you will hear a definite clunk as the crank goes front to back against the thrust bearing.
After you take this measurement then go to the rear pinch bolt and remove it.
note how loose it is ,
inspect it, if it has damage to its shank then replace the bolt.
then add some blue loctite then install it torque to 66ft/lbs,
then install the front pinch bolt with the same procedure as the rear.
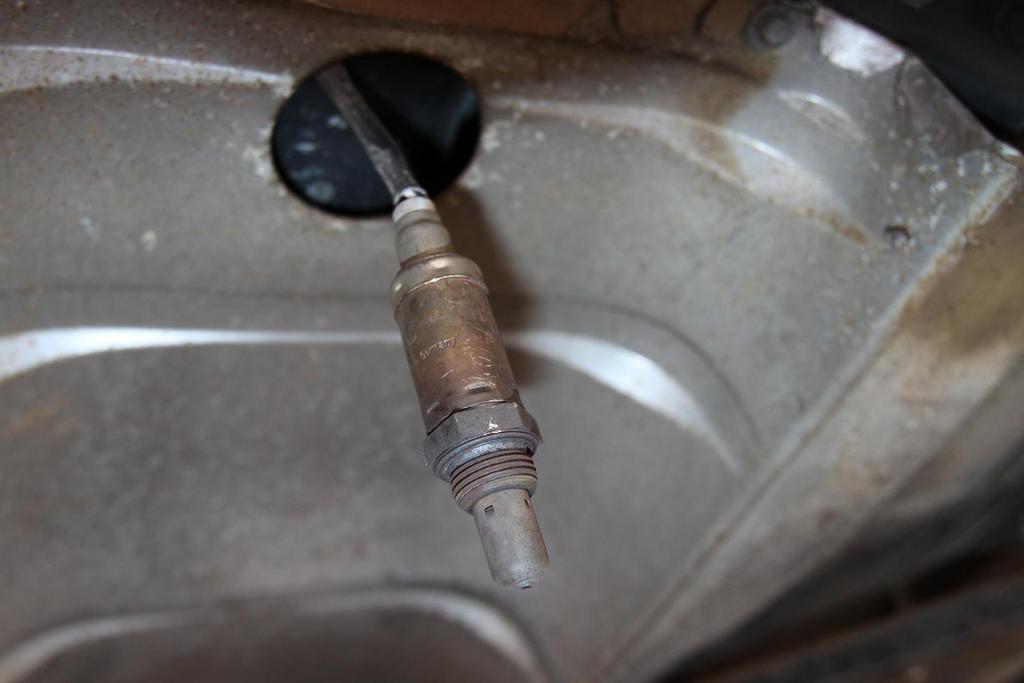
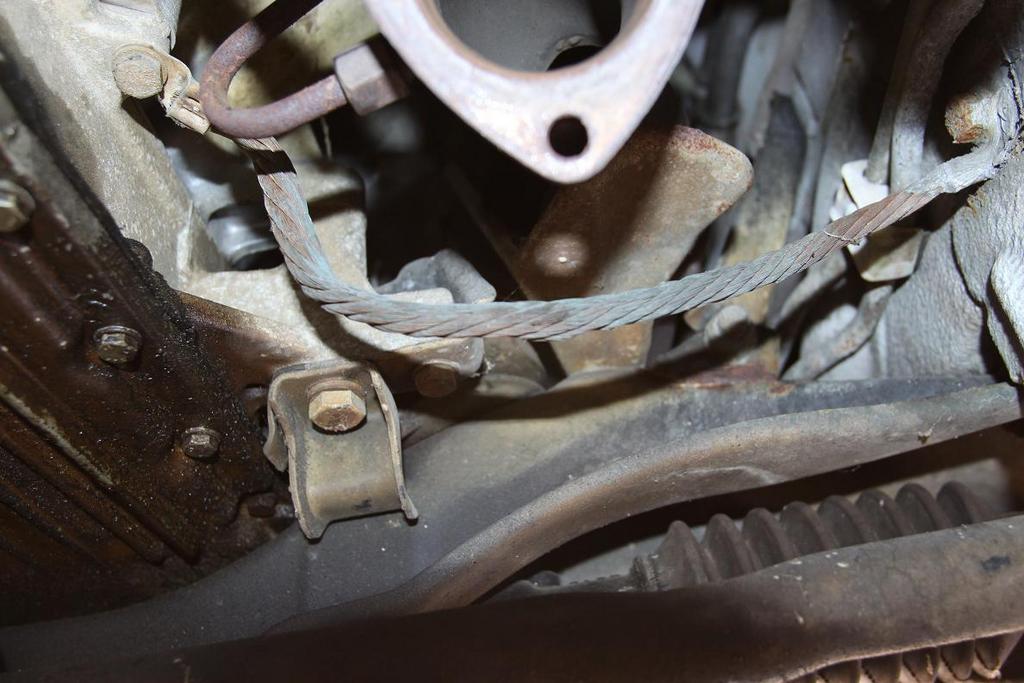
For the O2 sensor you would open the Ce panel cover disconnect the O2 plug then feed it through the chassis then it drops out with the cats .
use some WD40 on the rubber grommet to install the grommet into the chassis,
taking it out as you did may have damaged the wires
I am not sure of your readings you dont really need to measure the splines just remove the pinch bolt and see if the clamp moves to the back of the car.
then with the pinch bolt out move the flywheel back and forth you will hear a definite clunk as the crank goes front to back against the thrust bearing.
After you take this measurement then go to the rear pinch bolt and remove it.
note how loose it is ,
inspect it, if it has damage to its shank then replace the bolt.
then add some blue loctite then install it torque to 66ft/lbs,
then install the front pinch bolt with the same procedure as the rear.
For the O2 sensor you would open the Ce panel cover disconnect the O2 plug then feed it through the chassis then it drops out with the cats .
use some WD40 on the rubber grommet to install the grommet into the chassis,
taking it out as you did may have damaged the wires
Last edited by Mrmerlin; 12-17-2011 at 07:02 PM.
12-17-2011 | 07:24 PM
#36
Thread Starter
Burning Brakes
Joined: May 2011
Posts: 772
Likes: 0
From: Tucson, AZ
on the flex plate check you would pry the flywheel forward then zero your gauge then pry it back till you hear it clunk then take a reading on how much the crank has moved.
I am not sure of your readings you dont really need to measure the splines just remove the pinch bolt and see if the clamp moves to the back of the car.
then with the pinch bolt out move the flywheel back and forth you will hear a definite clunk as the crank goes front to back against the thrust bearing.
After you take this measurement then go to the rear pinch bolt and remove it.
note how loose it is ,
inspect it, if it has damage to its shank then replace the bolt.
then add some blue loctite then install it torque to 66ft/lbs,
then install the front pinch bolt with the same proceedure as the rear
I plan on doing this on my BB S4 next.
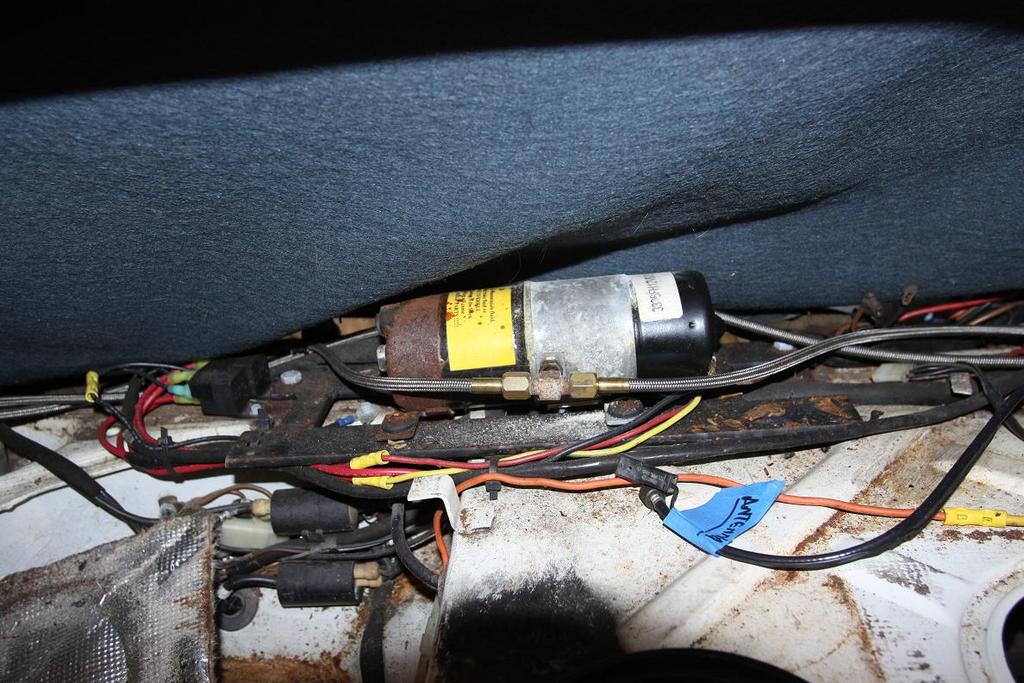
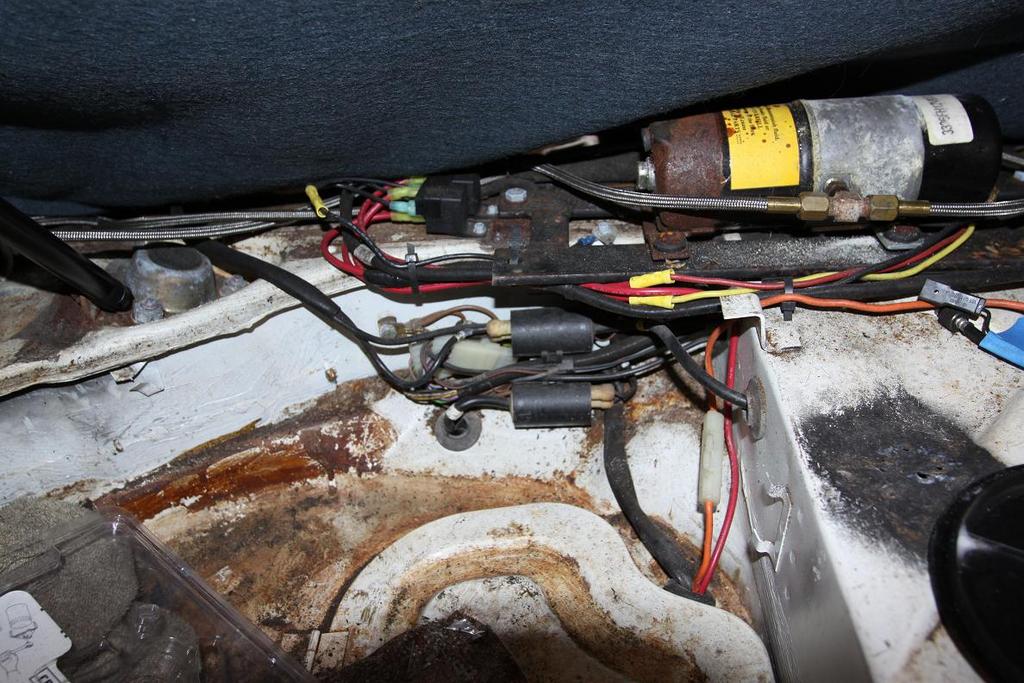
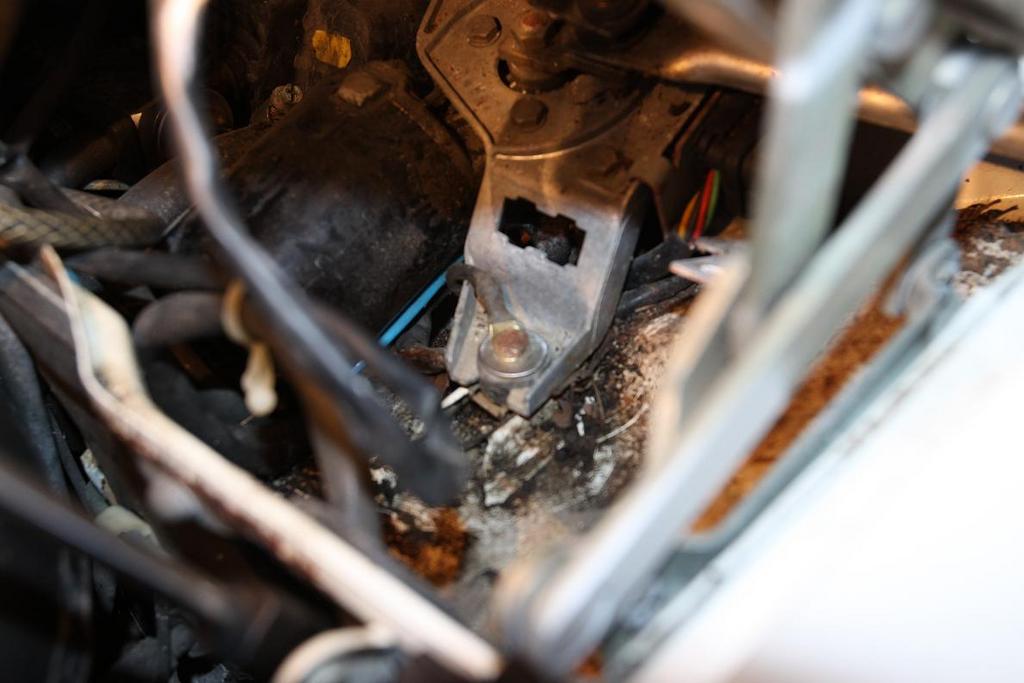
What is the hanging sensor in the prior pictures?
12-17-2011 | 07:40 PM
#37
Team Owner
Joined: May 2004
Posts: 28,718
Likes: 2,702
From: Philly PA
For the O2 sensor you would open the Ce panel cover disconnect the O2 plug then feed it through the chassis then it drops out with the cats .
use some WD40 on the rubber grommet to install the grommet into the chassis,
taking it out as you did may have damaged the wires
use some WD40 on the rubber grommet to install the grommet into the chassis,
taking it out as you did may have damaged the wires
12-17-2011 | 10:54 PM
#38
Thread Starter
Burning Brakes
Joined: May 2011
Posts: 772
Likes: 0
From: Tucson, AZ
For the O2 sensor you would open the Ce panel cover disconnect the O2 plug then feed it through the chassis then it drops out with the cats .
use some WD40 on the rubber grommet to install the grommet into the chassis,
taking it out as you did may have damaged the wires
use some WD40 on the rubber grommet to install the grommet into the chassis,
taking it out as you did may have damaged the wires
Thank you for your help so far. It is really appreciated. I would not be able to do or verify all the needed items on this beauty without your and the others help. Hope all is going great on your weekend... thanks to you and the others mine is going VERY well.
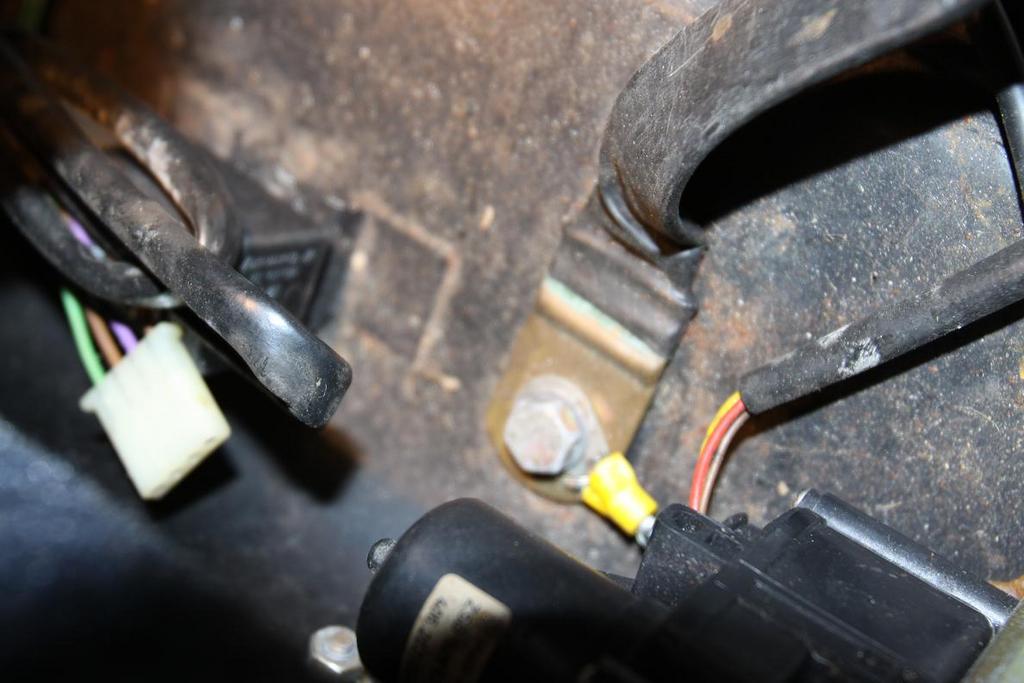
OK you fun loving 928 addicts... I got lazy the rest of the day and cleaned up parts and started the grounds. I am very pleased on how all of the ones I have seen have been. I cleaned them anyhow, but only IV really needed it. That one had leaves, pine needles and gunk in the area around the windshield wiper area. vacuumed a lot of it up, will do more on my "scrub this puppy sweep" at the end.
The ones I got shots of. I will get shots of them all by the end less VIII and IX. I will not see them bad boyz unless I pull the engine... unless someone knows how to get to them otherwise. I am going to pull the manifold, so there is a chance I might see them there.
Ground I
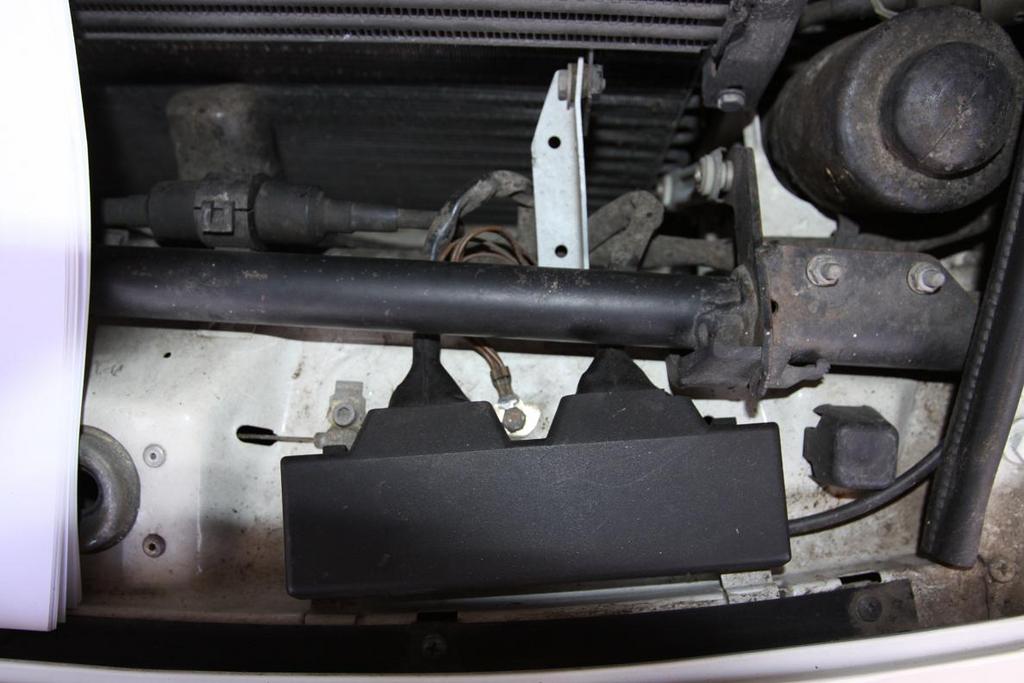
Groud II

Ground IV
Gound VI
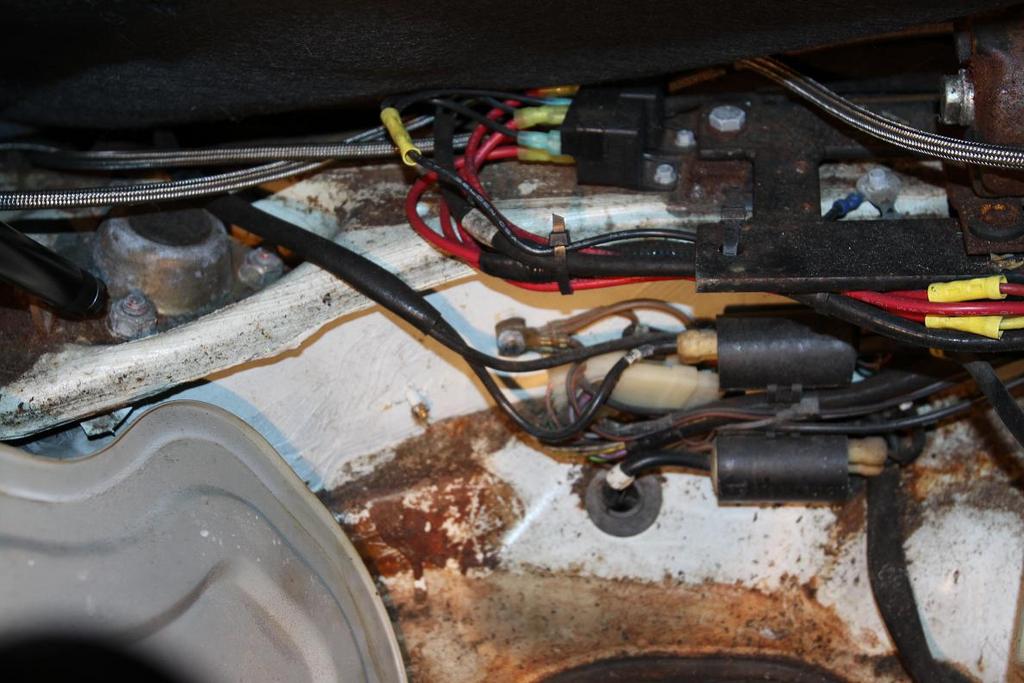
Groudn VII
I will work Grouds III and X when I do the TB.
Groudn V will get done when I work the fuze box.
Ground VIII and IX are a maybe if I can get them on the manifold job
Ground XI will get done tomorrow.
Groudn XII will be when I will the cluster and check what has been done up there. 1 or 2 of the lights in the info center are out. Makes me think I need to get in there and look. Anyhow, I have to get in there to put the "Radically re-designed console (Carputer, Climate, and one-touch windows)" in

That should be them all.
Have a good night folks. Time for some Bourbon!

 12-17-2011 | 11:52 PM
#41
Rennlist Member
Joined: May 2003
Posts: 8,694
Likes: 137
From: Frankenmuth, Michigan
Ground VIII and IX aren't bad. Just remove the airbox, put a comfy pad on the plenum and get on yer belly. Good time to check CPS connectors for fraying, etc.
Good project to do when you replace fuel lines.
Good project to do when you replace fuel lines.
12-17-2011 | 11:54 PM
#42
Under the Lift
Lifetime Rennlist
Member
Lifetime Rennlist
Member
Joined: Mar 2002
Posts: 18,648
Likes: 49
From: Buckeye, AZ
Are you trying to remove the thermocouples from the exhaust ports? Why? I don't think you'll want to replace them. They cost a ton. You may need to install that "bypass relay" Dan (Podguy) mentioned, but please make sure you have good coils and ignition in general before you do so. I have had mine bypassed for years. The monitoring system started false alarming. When it trips it cuts fuel to half the cylinders and the effect is rather noticeable - power drops suddenly and the auto tranny starts downshifting at odd times to compensate.
If you did the crank endplay as Stan described, then you are good. Classically, thrust bearing failure causes the car to run fine when started cold then stall once warmed up and then act like it has a low battery on attempts to restart (starter turns slowly against the partially seized thrust bearing resistance).
You found a very good reason for low power with that bad internal pump and all the sludge in the tank, but I would expect low power all the time, not just once warmed up. Also, with all that sludge you found, you should replace the fuel filter even if it was done recently.
12-18-2011 | 03:02 PM
#43
Thread Starter
Burning Brakes
Joined: May 2011
Posts: 772
Likes: 0
From: Tucson, AZ
Tube. Tube is stronger anyhow� but yeah, there is weight added for sure. Once I get it running I am going to go and weigh it.
Are you trying to move the thermocouples from the exhaust ports? Why? I don't think you'll want to replace them. They cost a ton. You may need to install that "bypass relay" Dan (Podguy) mentioned, but please make sure you have good coils and ignition in general before you do so. I have had mine bypassed for years. The monitoring system started false alarming. When it trips it cuts fuel to half the cylinders and the effect is rather noticeable - power drops suddenly and the auto tranny starts downshifting at odd times to compensate.
If you did the crank endplay as Stan described, then you are good. Classically, thrust bearing failure causes the car to run fine when started cold then stall once warmed up and then act like it has a low battery on attempts to restart (starter turns slowly against the partially seized thrust bearing resistance). You found a very good reason for low power with that bad internal pump and all the sludge in the tank, but I would expect low power all the time, not just once warmed up. Also, with all that sludge you found, you should replace the fuel filter even if it was done recently.
One of the odd things I noticed was when this happened, if I sat for a period of time (warm, very warm or cold), I could get it running again. My thoughts tell me now that was driven by fuel getting back into the lines as the vacuum in the lines ease and sucked fuel out. Looking at this now, I kick myself for eliminating what could have been a fairly easy road fix when I stopped in Memphis for 4-5 hrs. We could not find a Cat, but I am sure we could have gotten a fuel pump and I would have been good to go� but I think it is better I have been forced to work through the car. I might have been lazier and not jumped into this like I did if it ran good and caused a bigger issue. One will never know.
You found a very good reason for low power with that bad internal pump and all the sludge in the tank, but I would expect low power all the time, not just once warmed up. Also, with all that sludge you found, you should replace the fuel filter even if it was done recently.
First thing I do on an older car, especially one that looks like it had sat for as many years as this one did, is drain the tank and change out filters. I guess I falsely assumed that is what someone else would do that was trying to make money on a car. It is easy, fast and cheap. I also know I talked fuel with the prior owner. That is when I was told about the pump(s)� and I am not sure he understood (from hindsight) that he really was answering my question about both. I need to learn to communicate better�
12-18-2011 | 07:35 PM
#44

Burning Brakes
Joined: Jan 2007
Posts: 1,117
Likes: 2
12-18-2011 | 09:23 PM
#45
Thread Starter
Burning Brakes
Joined: May 2011
Posts: 772
Likes: 0
From: Tucson, AZ
Some progress today. Slow start. Knocked out one more ground point (XI).
Started the Timing belt job. Stopped at the step when I needed the Special Tool 9161/1. I have it on order and I will just wait for all the parts to show up.
I am going to replace the rotors, caps, wires, coils, camshaft seals, crank seals, and oil pump seal.
I am going with the PorKensioner Bracket - with Air Pump set up.
As long I am in this puppy, might as well replace the goodies rather do it later. I am going to clean some stuff up to.
Ground Point XI
I will be idle, for the most part, through New years. Going to spend it at Disney World with my Kids. I should have all the parts by then so I can start the rebuild part on the tank and rear. Might be up and running by the end of Jan, assuming what I do does the trick.