When you click on links to various merchants on this site and make a purchase, this can result in this site earning a commission. Affiliate programs and affiliations include, but are not limited to, the eBay Partner Network.
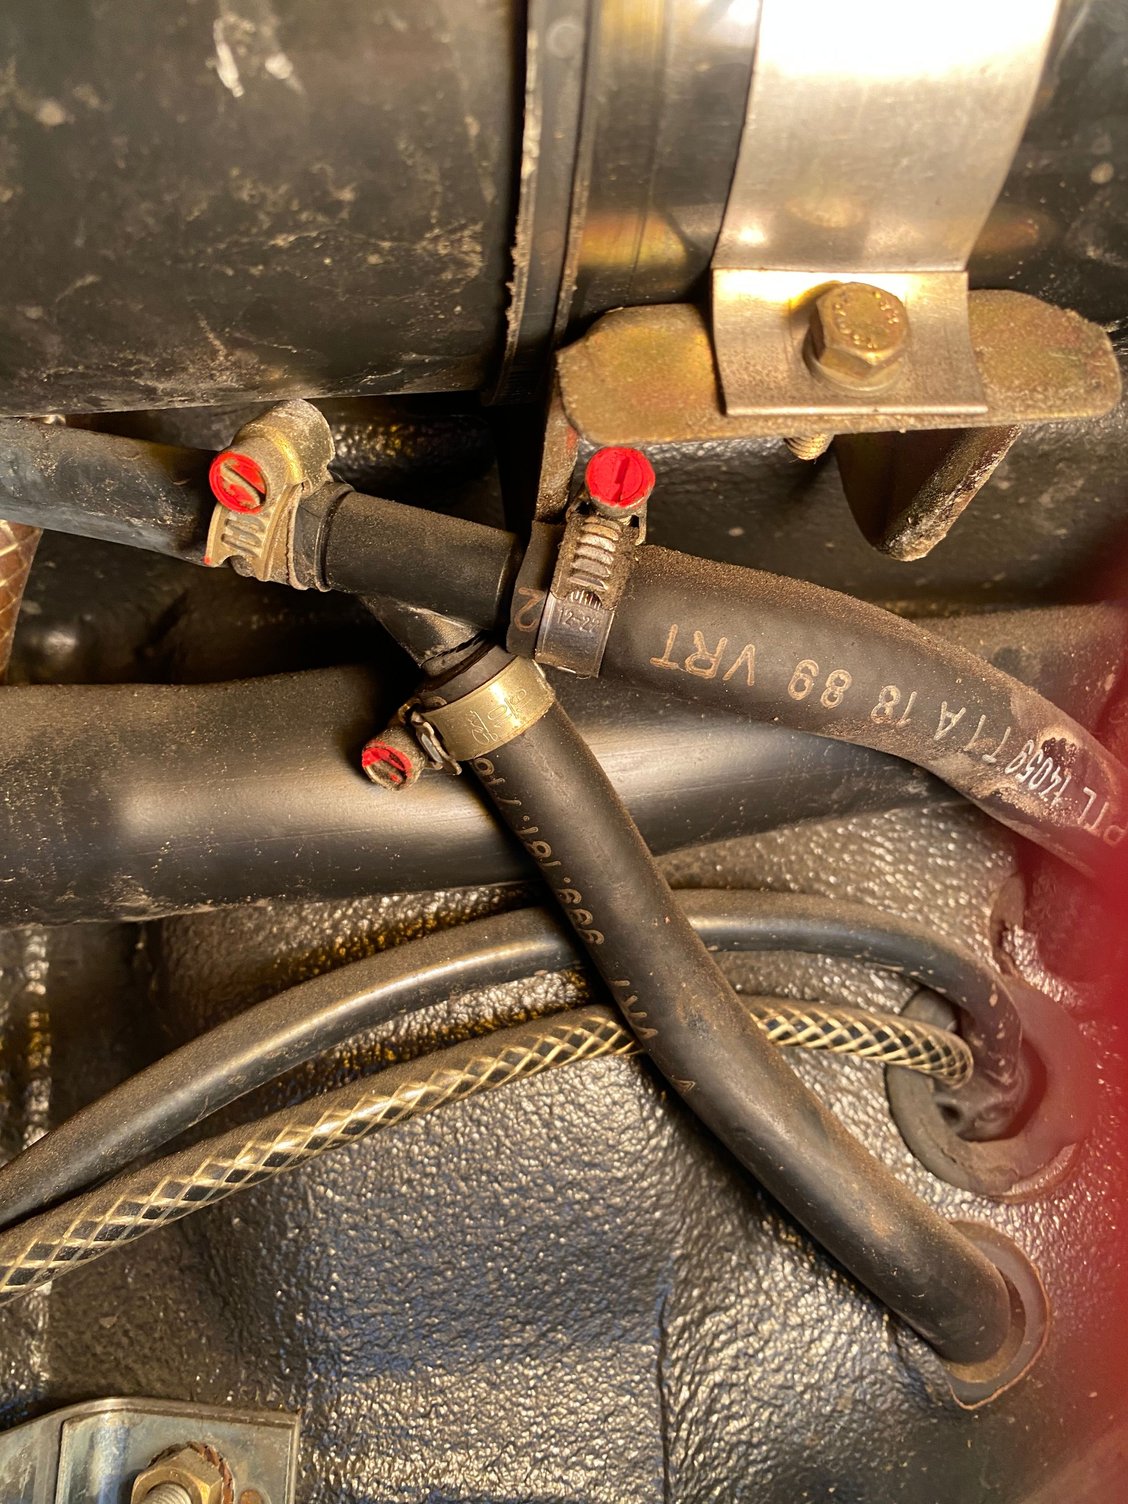
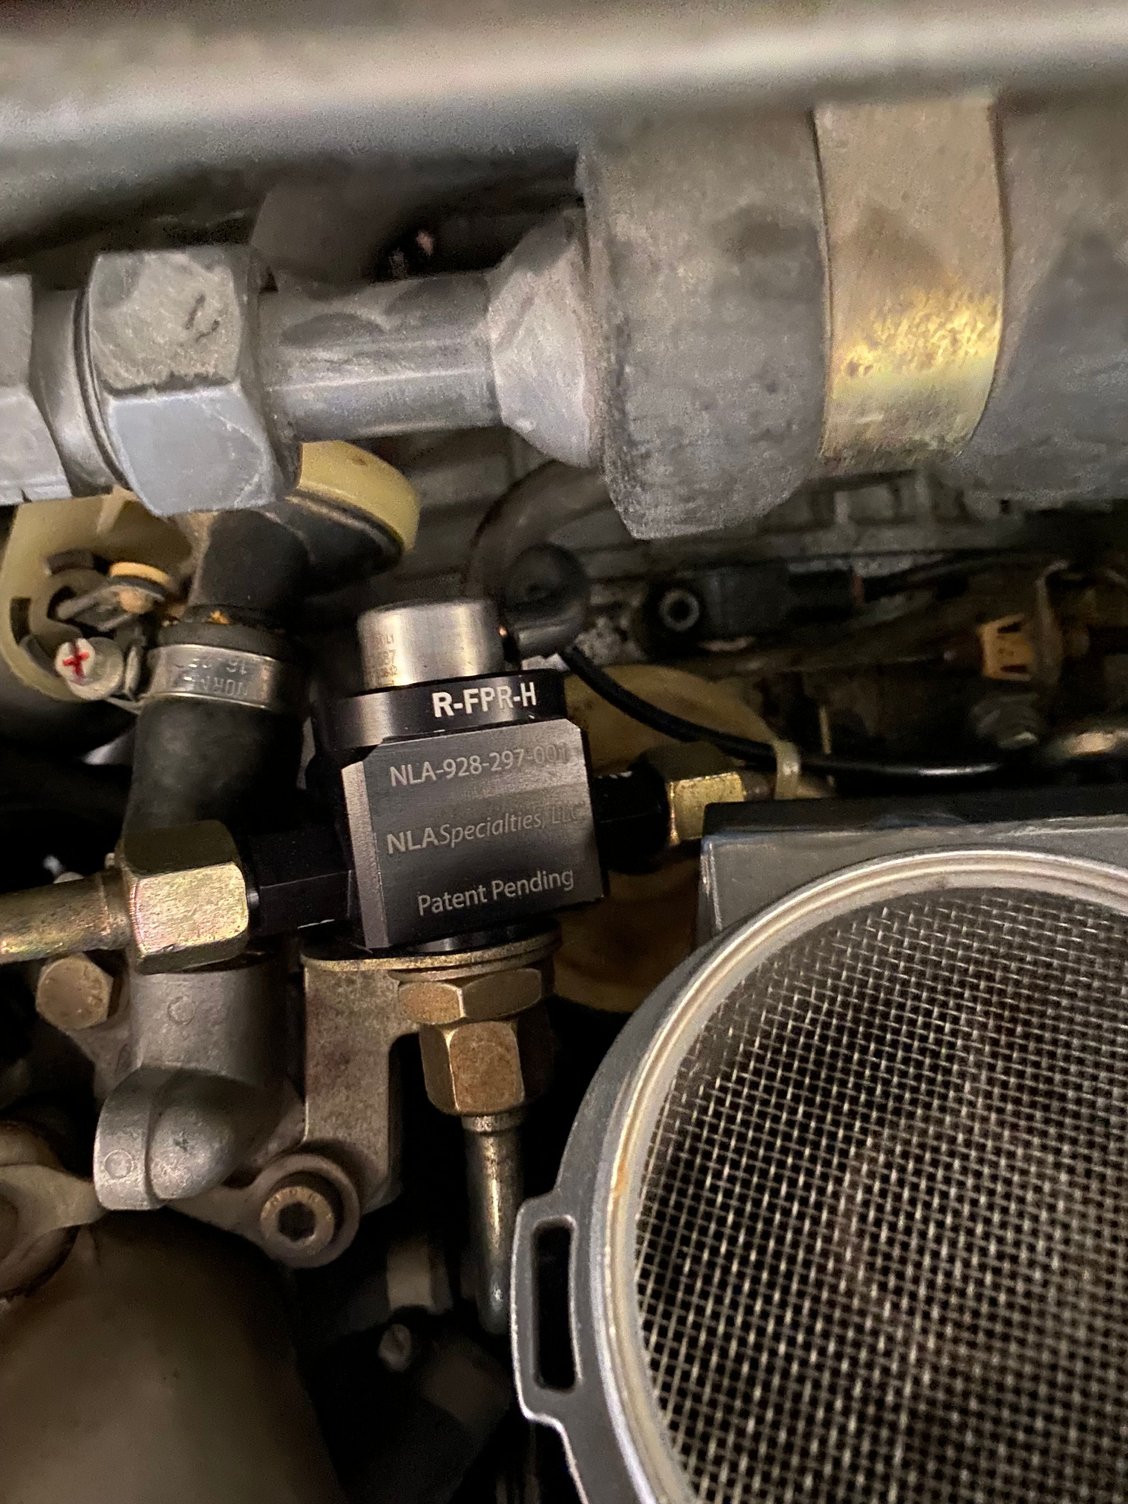
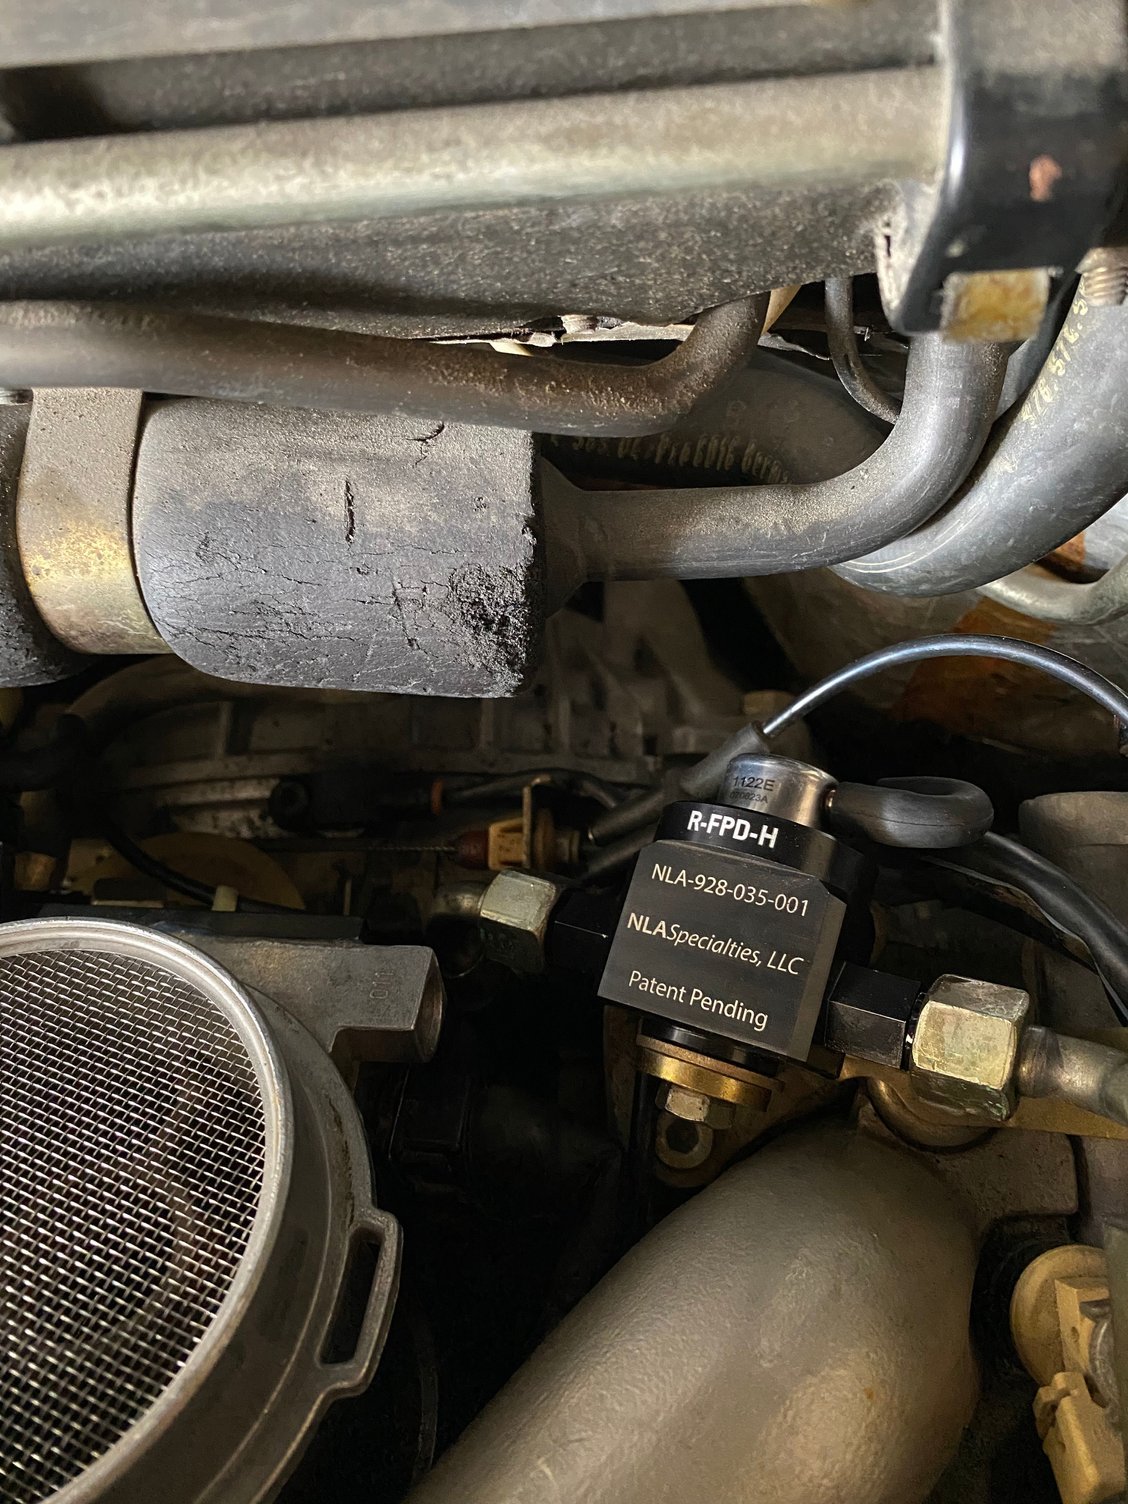
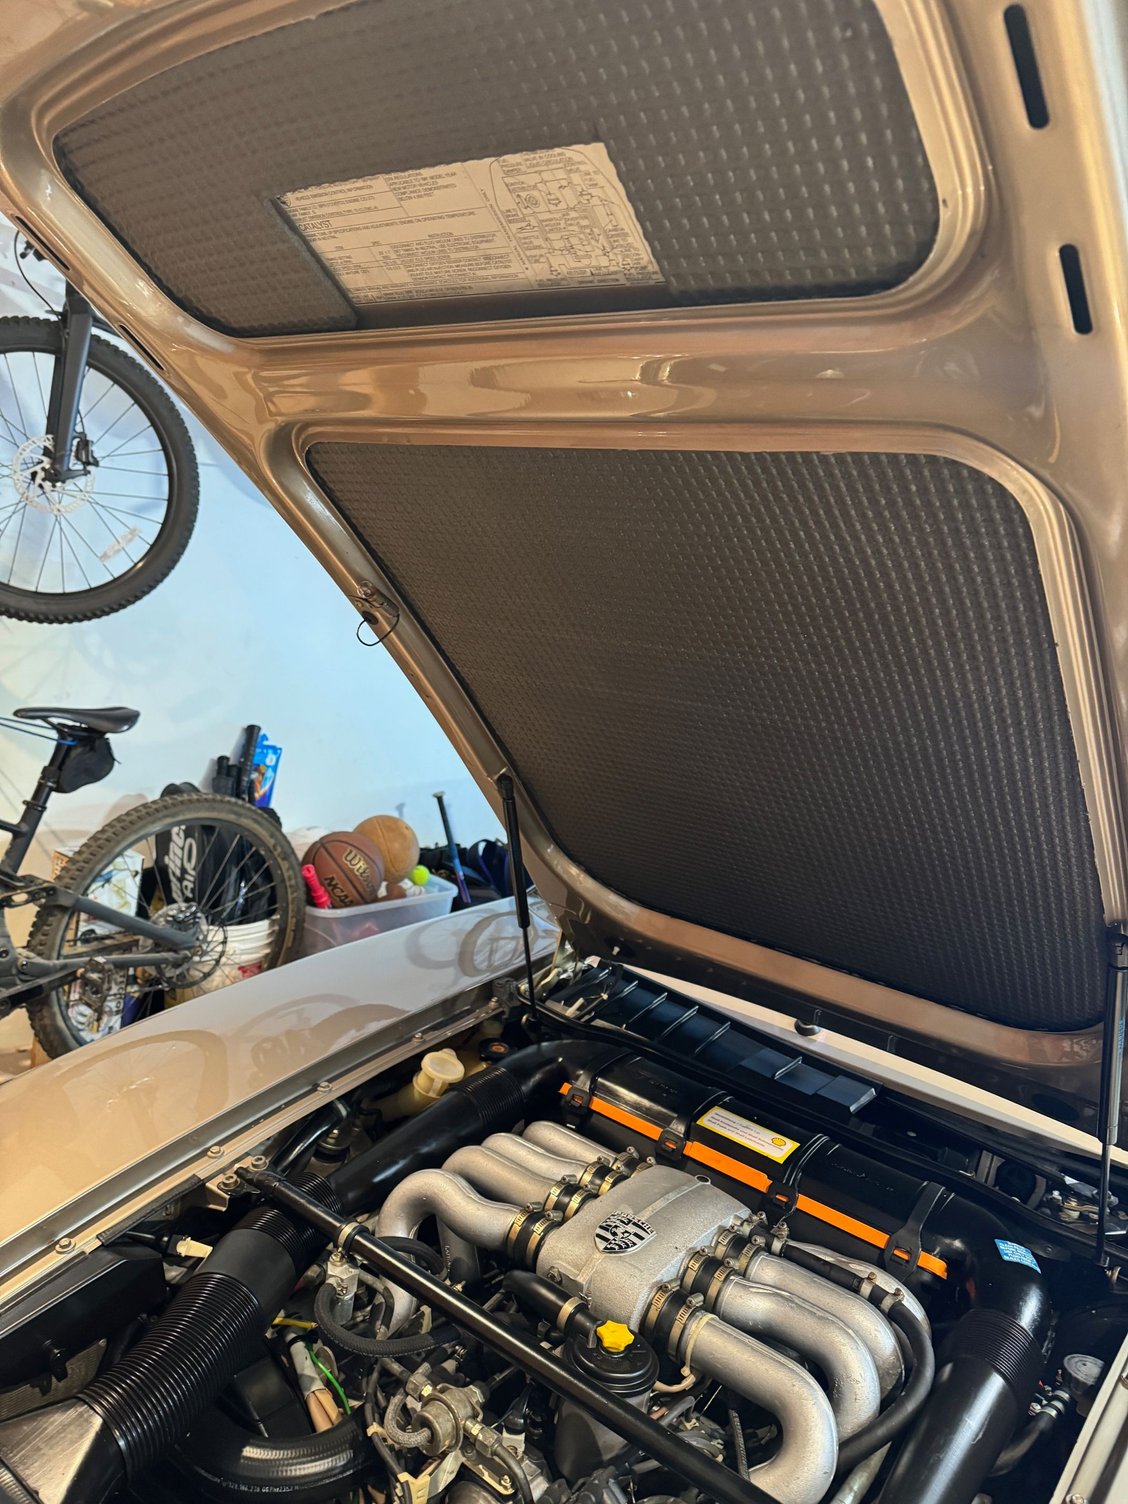
@JBT3 Yes - that is the aftermarket fuel damper from Roger. It looks OE and I figured the rear damper and regulator are pretty well hidden; plus I like the fact that they're easily rebuildable if the diaphragm fails. I was surprised how good the OE fuel lines looked
Update: I ended up buying a used seat relay harness from Mark Anderson. After swapping it out, the seat moves correctly in all modes. Result! I�m very pleased thanks to Mark 👍
The leather on the door panel was all peeled off. I removed them, glued it tightly and stapled them back in place. Looks nice - driver side not left. Waiting on the door actuator as the gears within was toast. Would be great if folks could 3d print copies of the gears like they do for the odometer
Last edited by Vidyashankara; 06-15-2024 at 12:27 PM.
Adjusted the heater core block-off doors. I have often read about this adjustment but embarrassingly have never done it. The foam seal on the doors falls apart over the years so the doors need to be closed more to compensate. Now with the AC off on a cool day there is actual (mostly) cool air coming from the vents, and the AC is genuinely frigid.
The parcel trays need to be removed but otherwise the adjustment is simple. Set the climate control temperature slider all the way cold with the key on. Give it a minute to make sure the laboriously slow servo motor (left side) does its thing. The servo motor control arm should be pointing straight down. Turn off the key.
On the left side, pop the rod out of the arm with a small screwdriver and rotate it free. Shorten by turning clockwise until the arm just fits into the plastic keeper. (It will be hanging at least 3mm too low if it has never been adjusted.) Push the rod back into the keeper.
On the right side, loosen the bolt with a 8mm wrench. Turn the bolt out enough the the lower arm can be adjusted but do not remove it. Move the arm up and down to verify that the clamping "teeth" are disengaging. Pull the arm downward as much as possible and tighten the bolt. Boom, done!
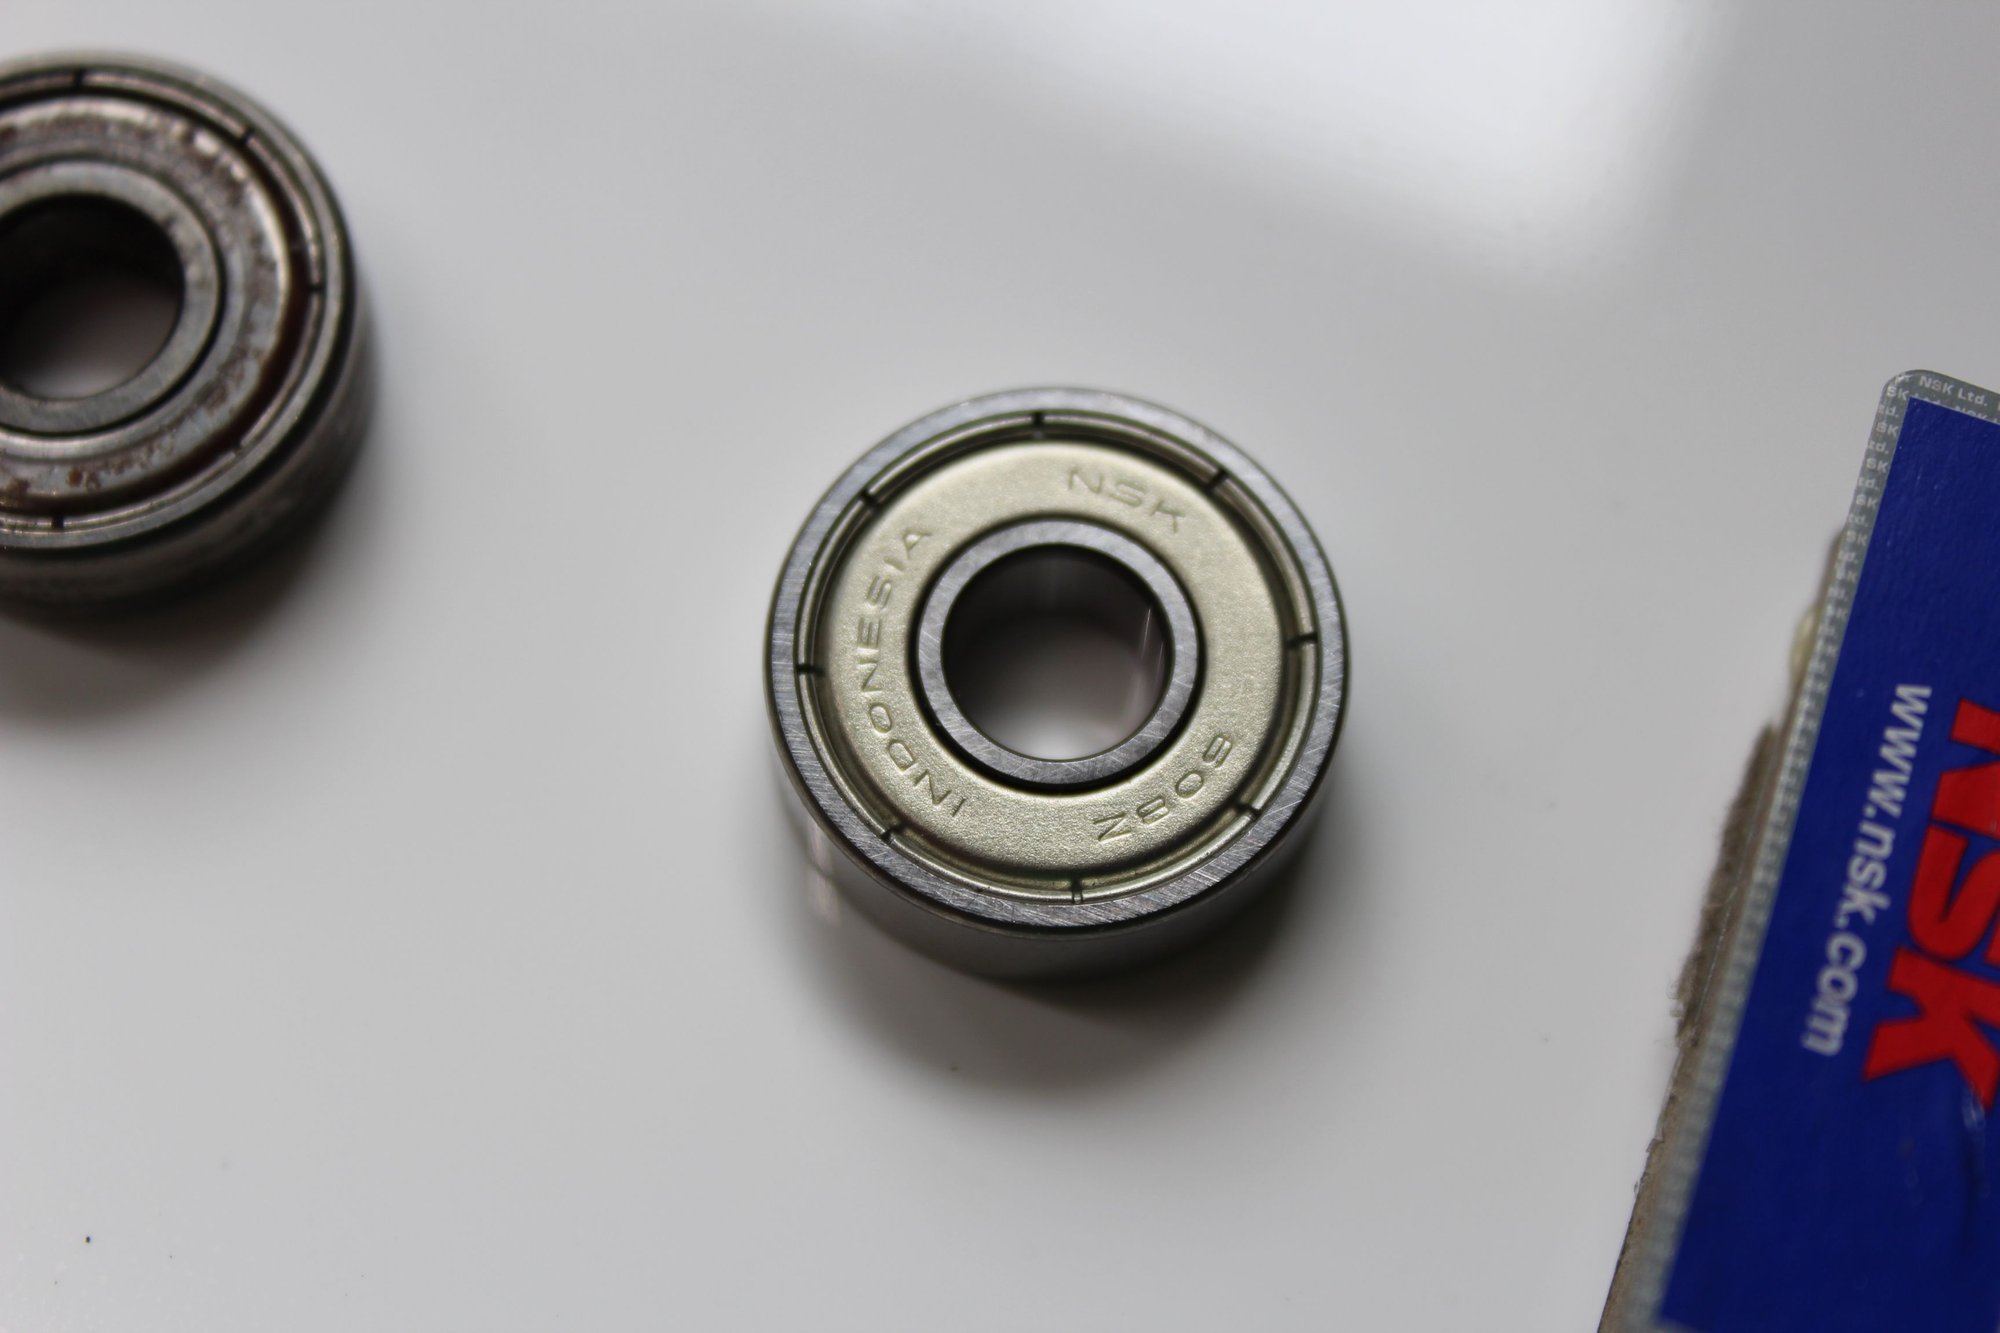
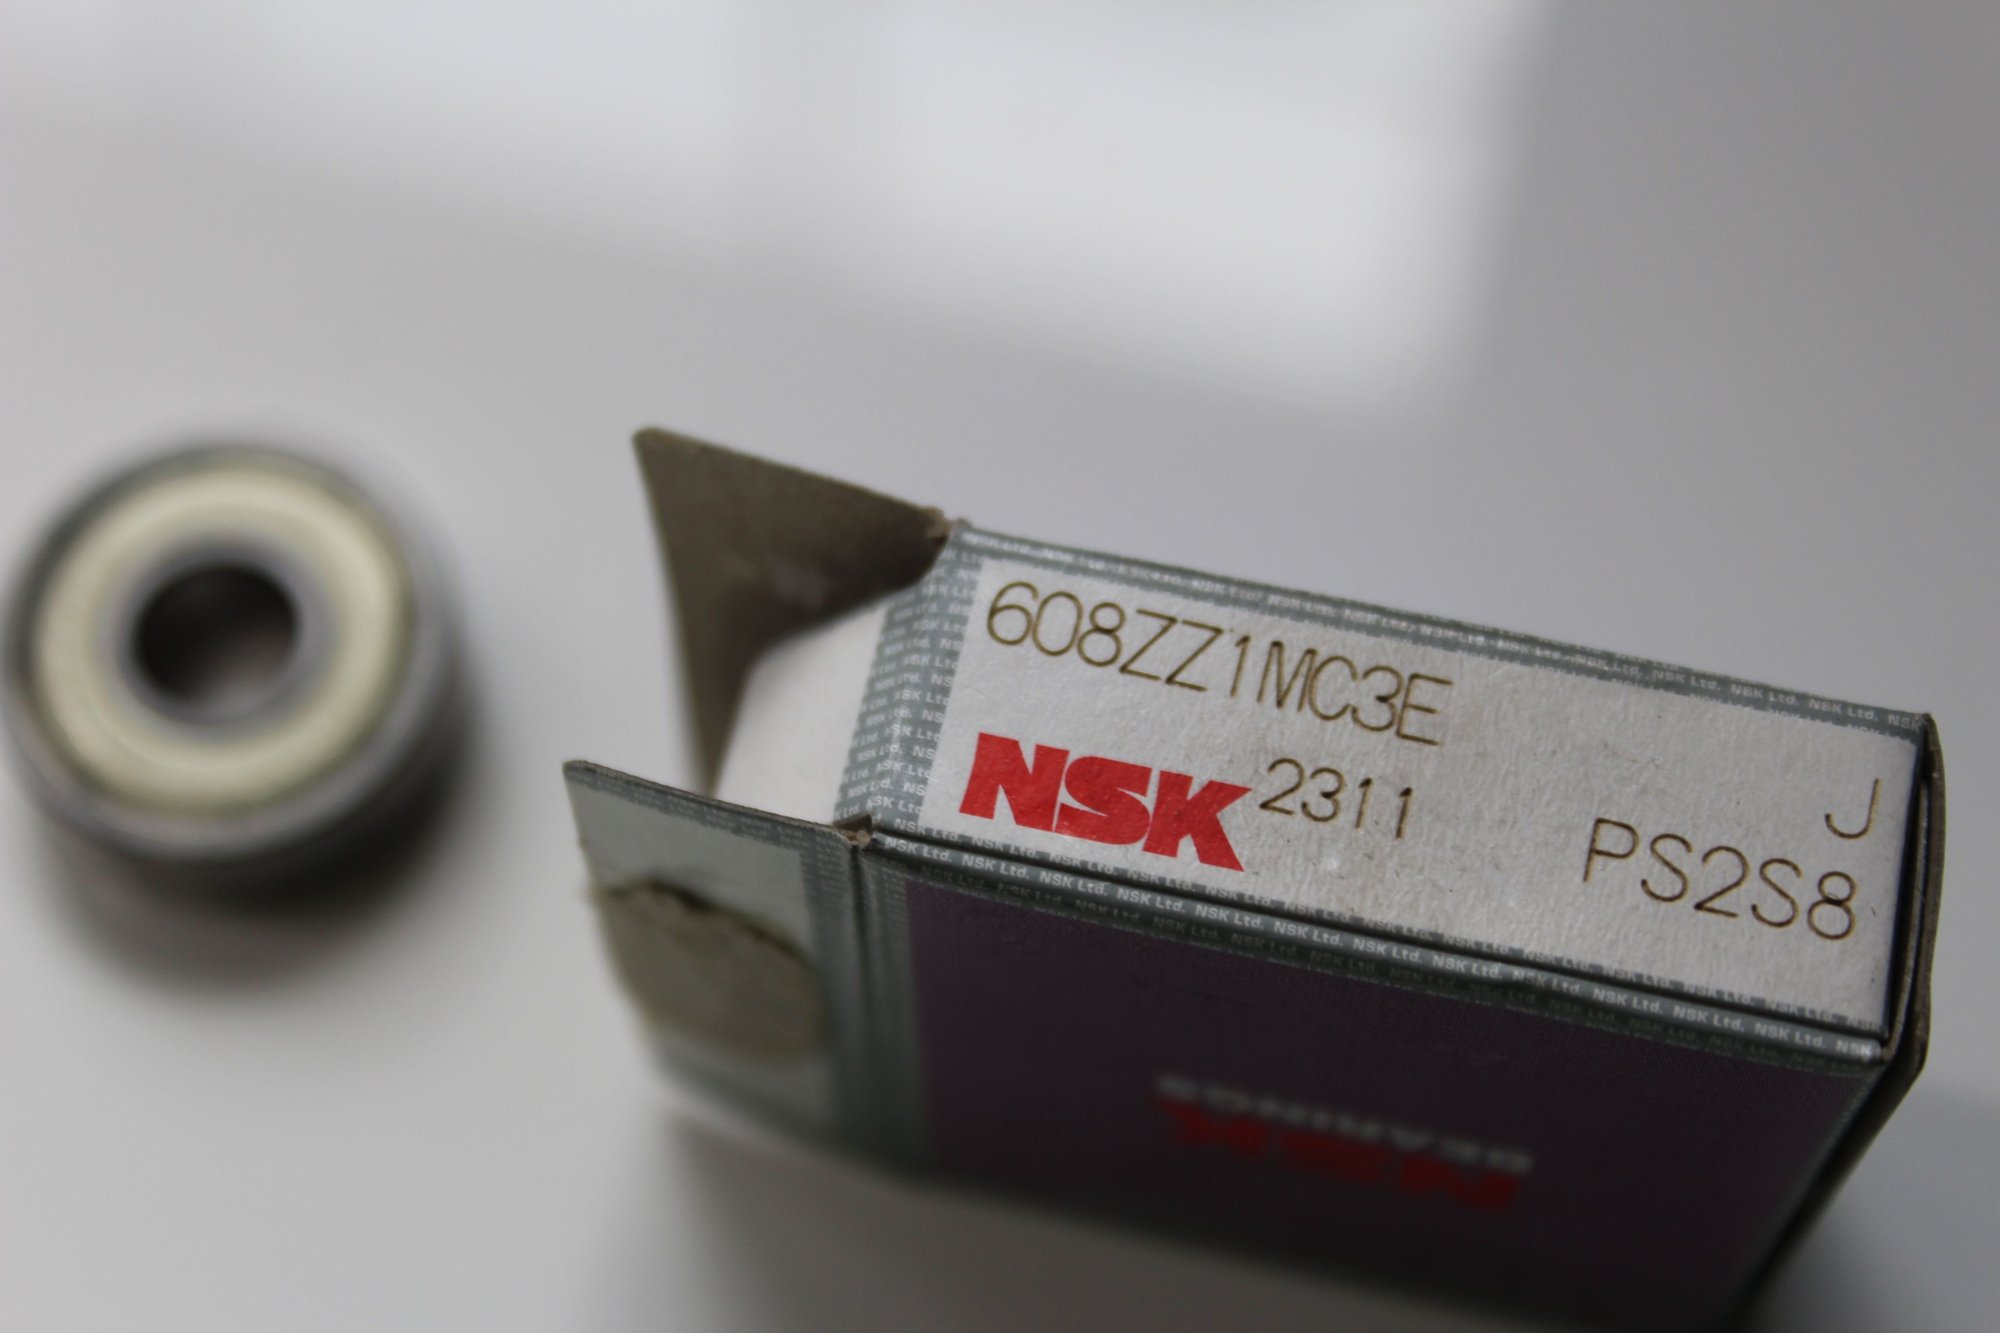
Change the bearing on both radiator cooling fans.
Passenger side started to make noise few week ago. It seized last weekend.
Change the driver's side while there.
I followed this thread: Writeup - Reconditioning S4 Radiator Fan - Rennlist - Porsche Discussion Forums
Thanks 928Miles.
BTW, I took a lot of pictures on every step of the whole procedure.
If you need more pics, just ask.
Last edited by Bertrand Daoust; 06-17-2024 at 08:41 PM.
The following 6 users liked this post by Bertrand Daoust:
Babado (06-17-2024),Brent A. (06-18-2024),dimi5928 (06-17-2024),Geo55 (06-18-2024),UKKid35 (06-17-2024),WestInc (06-20-2024) and 1 others liked this post. (Show less...)
It wasn't horrible. At least not in my case. After I scraped it as far as I could(farther than the picture), I softened it up a bit with rubbing alcohol. That way only the sticky stuff remained. A hair dryer and that plastic scraper did a pretty good job. It sort of rolled up, bunched up, like those rubber boogers that are on the back of a gift card. I wasn't concerned with getting it spotless. Any bits that remained were very sticky and I wasn't worried that it would be a hinderance to the new sticky pad. Straight forward, but you are right, it's not a quick job.
I recently finished the same job on my 81 928. Definitely not a job for the impatient as I am sure you can attest to. Trickiest thing for me was putting on the new pad. Found that it was best done from the center up and then the center down. I had a couple of "uh oh" moments but it came out relatively well.
Just replaced the cracked old reservoir with the Mercedes equivalent part (1075000149). Took a bit of creativity to get it to mount to the forward bracket, but it looks the part and functions well so far. Had to omit the washer neck due to the slightly offset return line, but I will figure out a solution to that in the future. Hopefully these same guys start making replacement bottles for our cars, it's almost identical except for the lack of a level sender fitting. Overall not a bad solution for ~$40.


 06-10-2024, 01:13 PM