
Ball joint
 03-21-2010, 11:33 AM
#1
Pro
Thread Starter

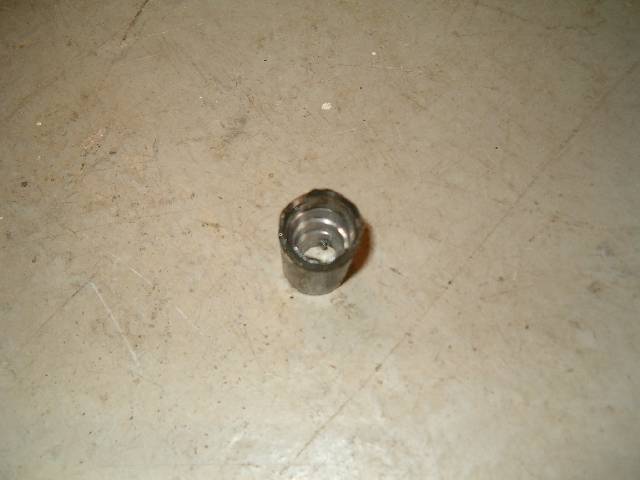
I am trying to remove a stuburn ball joint from the lower control arm. One of the tools I have been using is a ball joint separator shown below. The problem is that after many repeated attempts of the using the tool the threads on the tools screw are starting to strip and the bal joint has not moved at all. Any suggestions would be appreciated on how to get this F*#&(*% off.

Last edited by shadowknight; 03-21-2010 at 12:38 PM.
 03-21-2010, 12:31 PM
#3
Addict
Rennlist Member
Rennlist Member
With the nut loose, but still on the threads, hit the spindle where the ball joint shaft passes through it. Use a heavy hammer and the tapered shaft will pop right out.
03-21-2010, 12:38 PM
#4
Rennlist Member
With the nut loose, but still on the threads, hit the spindle where the ball joint shaft passes through it. Use a heavy hammer and the tapered shaft will pop right out.
__________________
Jeff H
1983 928s 5sp
__________________
Jeff H
1983 928s 5sp
03-21-2010, 01:15 PM
#6
if you can, give it a little heat, support the lower part of the knuckle off the floor if you can to make it stationary, then hit that ball joint stud with a nice 5 pounder. that will pop the bugger out.
03-21-2010, 01:47 PM
#7
Addict
Rennlist Member
Rennlist Member
Well, the nut is just to protect the threads from the hammer in case you miss. Give it a try, I've done dozens this way and have never had one fail to come loose.
Trending Topics
03-21-2010, 02:12 PM
#8
Rennlist Member

Don't know is you have access to get everything in there, but I would try putting the tool on ad tightening as much as you are comfortable, based on thread condition, to but the ball joint taper under pre-load, then as there suggest hit the side of the assembly with a large heavy hammer. you want to hit the to hit the outside of the housing the taper is pressed into, not the ball joint itself.
03-21-2010, 03:01 PM
#9
Nordschleife Master
I have one of those tools and have used it countless times. Make sure to hammer it on and then tighten. Once you have a moderate amount of pressure applied give the side of the hub (where the ball joint passes through) a good whack with the hammer. If still stuck smack the top just over the top of the joint.
 03-21-2010, 06:59 PM
#12
Rennlist Member
Spray some kroil on it and let it sit a while. Then try the "two hammer" method. Note that just pounding on one side of the knuckle may not do the trick, and may bend the knuckle if you get carried away.
Ideally you want two big hammers, one bigger than the other like a 2lb and a 3lb hammer. You are going to hit the joint perpendicular to the taper, but first back it up with the heavier hammer, and swing the lighter hammer. The idea is to turn the female taper into an oval shape for just an instant as the hammer strikes, this spits out the male taper like a watermelon seed.
If at first you don't succeed, kroil, kroil, kroil again.
A few more tips:
Once you get it apart, use a circular wire brush like they sell in the plumbing section of the hardware store for cleaning 1/2" copper pipe and clean ALL of the corrosion and stuff from the inside of the knuckle, also clean the male taper if you're not replacing it.
Reassemble with a very light coat of graphite anti-seize on the taper and threads.
Use a new nut every time you have to remove the nut. Torque to spec, no tighter. If the nut that was on there had been re-used many times, the locking feature of the nut weakens so even when using the proper torque more of that torque translates into pull on the taper, so it gets pulled in too tight.
Best guess as to the source of your problem: Dry assembly, over-torquing, age & corrosion.
03-21-2010, 07:19 PM
#13
Addict
Rennlist Member
Rennlist Member
Sometimes ball joints just won't come undone - I have a more robust version of the tool above and it is now bent beyond use. The ball joint in question finally succumbed - cut off the ball and drilled out the taper then sawed a groove into the remains of the tapered section to collapse it.
Try the hammer trick again but this time have your assistant hold a large hammer (8lb sledge) hard against one side of the knuckle that the taper goes through, hit the other side of the kncukle with your next smallest hammer. If there is room to do this with the balljoint splitter in place and loaded up even better.
I've been lucky with 928 balljoints - most just fall apart when you undo the nut - hard bit is making them seat enough to tighten the nut on re-assembly.
 03-21-2010, 08:12 PM
#15
Double hammer usually works for me. As a backing piece I have various pieces of steel rail line sections and hammers that I use as the dolly, which I use on the female cone section and I have a nice four pound copper headed hammer which I use on the spindle.
It would appear from what you said that the ball joints' thread is useless, so don't be gentle any more.
The idea is to increase the moment of intertia of the female section (so the shock loading is not absorbed into the suspension when you hit the spindle). Rest you heavier dolly on the female section where convenient and give the threaded spindle a sharp crack with a 4lb hammer and this should break the cone section out of the taper. You will note that the dolly you are using will jump slightly just after you hit the spindle, this is a good indication that the shock loading has been fully imparted into the cone section. If it does not jump slightly then you are not getting the desired shock loading to break out the tapered spindle.
Tails 1990 928S4 Auto