When you click on links to various merchants on this site and make a purchase, this can result in this site earning a commission. Affiliate programs and affiliations include, but are not limited to, the eBay Partner Network.
11 years down the road, and this thread is just as helpful as when written. This must be one of the best write-ups I have ever read.
Preparing to to this job on my 1989 GT due to a faulty ISV (confirmed by applying power to it.
Thanks Dwayne for your excellent explanations and quality pictures. I know it must have been a lot of extra work.
Agreed, this was an excellent step by step. Having just done this I'll offer the following additions/comments:
1) For the flappy stop nut, I drilled an additional hole, and added a long screw which passed thru the nut into the roll pin on the intake for increased mounting security.
2) While apart, check the heater hoses at the firewall, especially the return which gets squeezed behind some metal lines.
3) I think it was covered, but the for the manifold bushings, the fat end goes towards the head - helps control the location of the gasket.
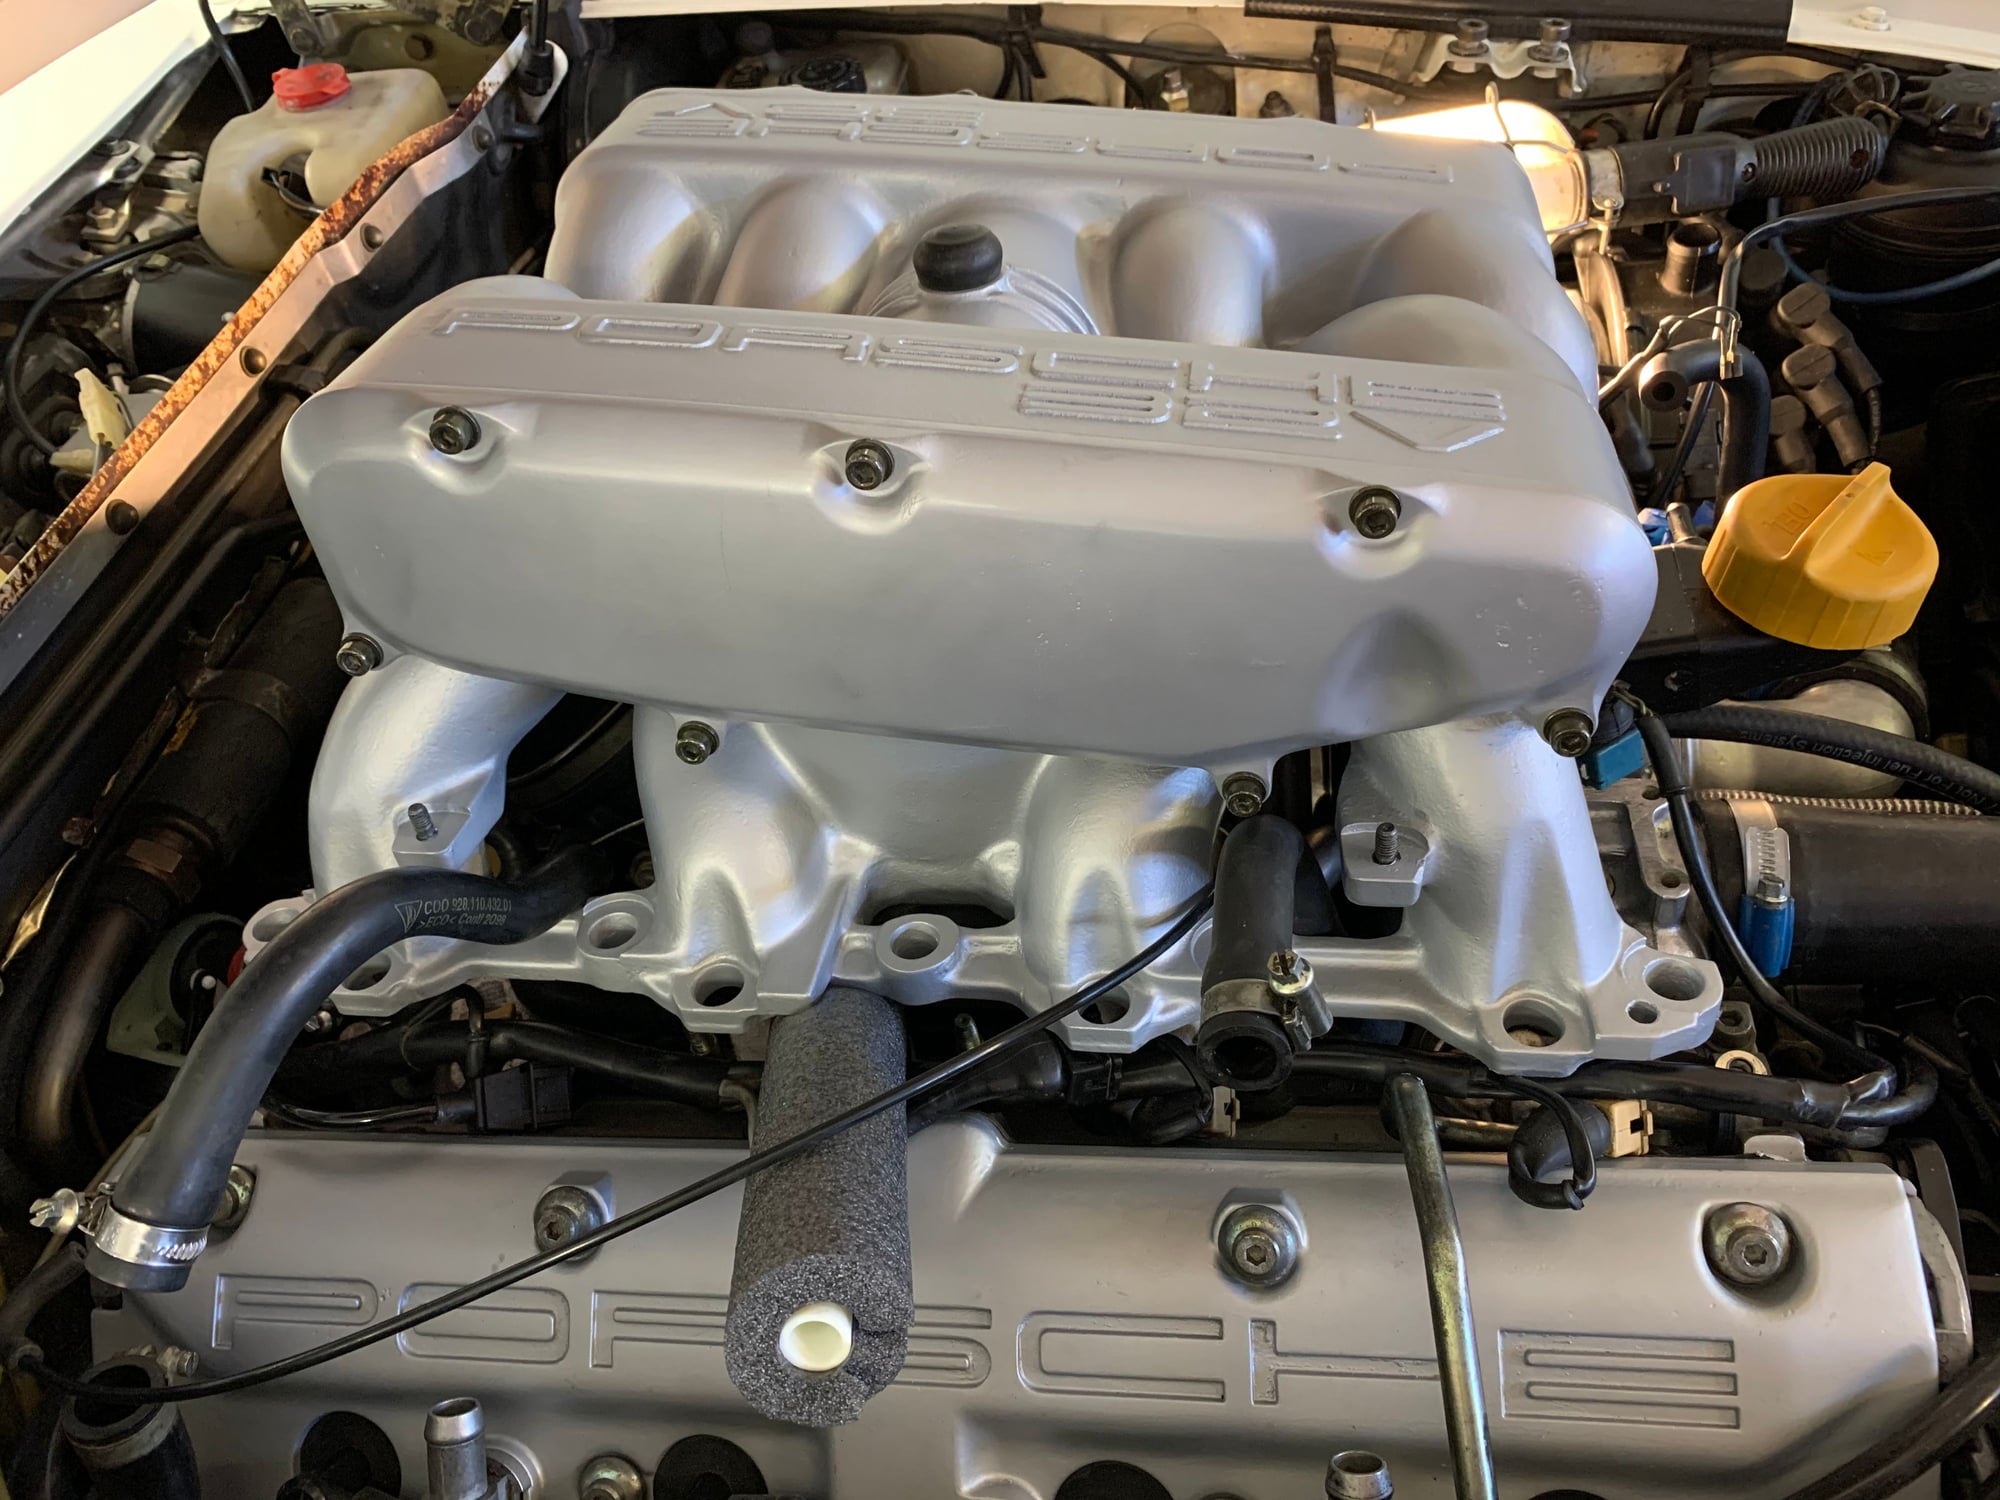
4) During reassembly, as others have noted in other posts, the lower throttle manifold can be assembled first, and hooked up. The intake manifold can be mounted after, by raising up the lower manifold. A second set of hands and something to prop it up helps. I used foam covered PEX pipe I had laying around.
2) While apart, check the heater hoses at the firewall, especially the return which gets squeezed behind some metal lines.
3) I think it was covered, but the for the manifold bushings, the fat end goes towards the head - helps control the location of the gasket.
2) Yes, that hose is in a squeeze there. Really odd that they placed it behind the steel line like that.
3) I agree. If placed up, it will prevent the rubber bushing from seating into the umbrella washer. It also fits perfectly in the hole in the gasket with the fat end down.

 07-04-2013, 04:48 PM