When you click on links to various merchants on this site and make a purchase, this can result in this site earning a commission. Affiliate programs and affiliations include, but are not limited to, the eBay Partner Network.
Any '78-84 cat should work as a replacement. You might be able to save the cat, hot tank the downpipes to before the matrix (don't let the matrix into the chemicals) and then blow compressed air in through the outlet. Worth a shot, just be careful when starting the car, you don't want a cat fire..
There's a commercial powdercoat shop here that has one of those 6 foot wide bead blasting cabinet, I just take the exhaust pieces to them and they bead them clean, then I paint the intermediate muffler with Stoddard high-temp gray.
I have a new in box power brake booster if you are interested. Gunar. “The 9" brake booster can be removed with the engine in, but that's a non-issue now. Definitely should be removed for the insulation project, send it and the brake master cylinder to the folks at https://abspowerbrake.com/. (Call first and make sure they have the rebuild kits).” I have a new in box power brake booster if you are interested. Gunar
Last edited by gbgastowers; Dec 30, 2024 at 07:09 AM.
A good local exhaust shop can install a cat and some pipework to match up to your existing manifolds. Finding that "good" shop is always the hardest part.
Apologies, forgot you've already separated the downpipes. Yes, get the downpipes dipped (Or if you're feeling enterprising you could probably get a combination of toilet scrub brushes and large engine cleaning bristle brushes (e.g. - https://www.jegs.com/i/Moroso/710/61820/10002/-1 or Harbor Freight equivalent with some simple green or lacquer thinner or gasoline and just roto-root them yourself.) Got a pic of the inlet side of the cat? How much crap is deposited on the matrix? Try blowing it out with compressed air from the outlet? You just don't want that oily residue catching on fire in the cat, on the good-bad scale that would be closer to bad.
Apologies, forgot you've already separated the downpipes. Yes, get the downpipes dipped (Or if you're feeling enterprising you could probably get a combination of toilet scrub brushes and large engine cleaning bristle brushes (e.g. - https://www.jegs.com/i/Moroso/710/61820/10002/-1 or Harbor Freight equivalent with some simple green or lacquer thinner or gasoline and just roto-root them yourself.) Got a pic of the inlet side of the cat? How much crap is deposited on the matrix? Try blowing it out with compressed air from the outlet? You just don't want that oily residue catching on fire in the cat, on the good-bad scale that would be closer to bad.
Hi Rob. This is the inlet side (flanges facing the engine bay.
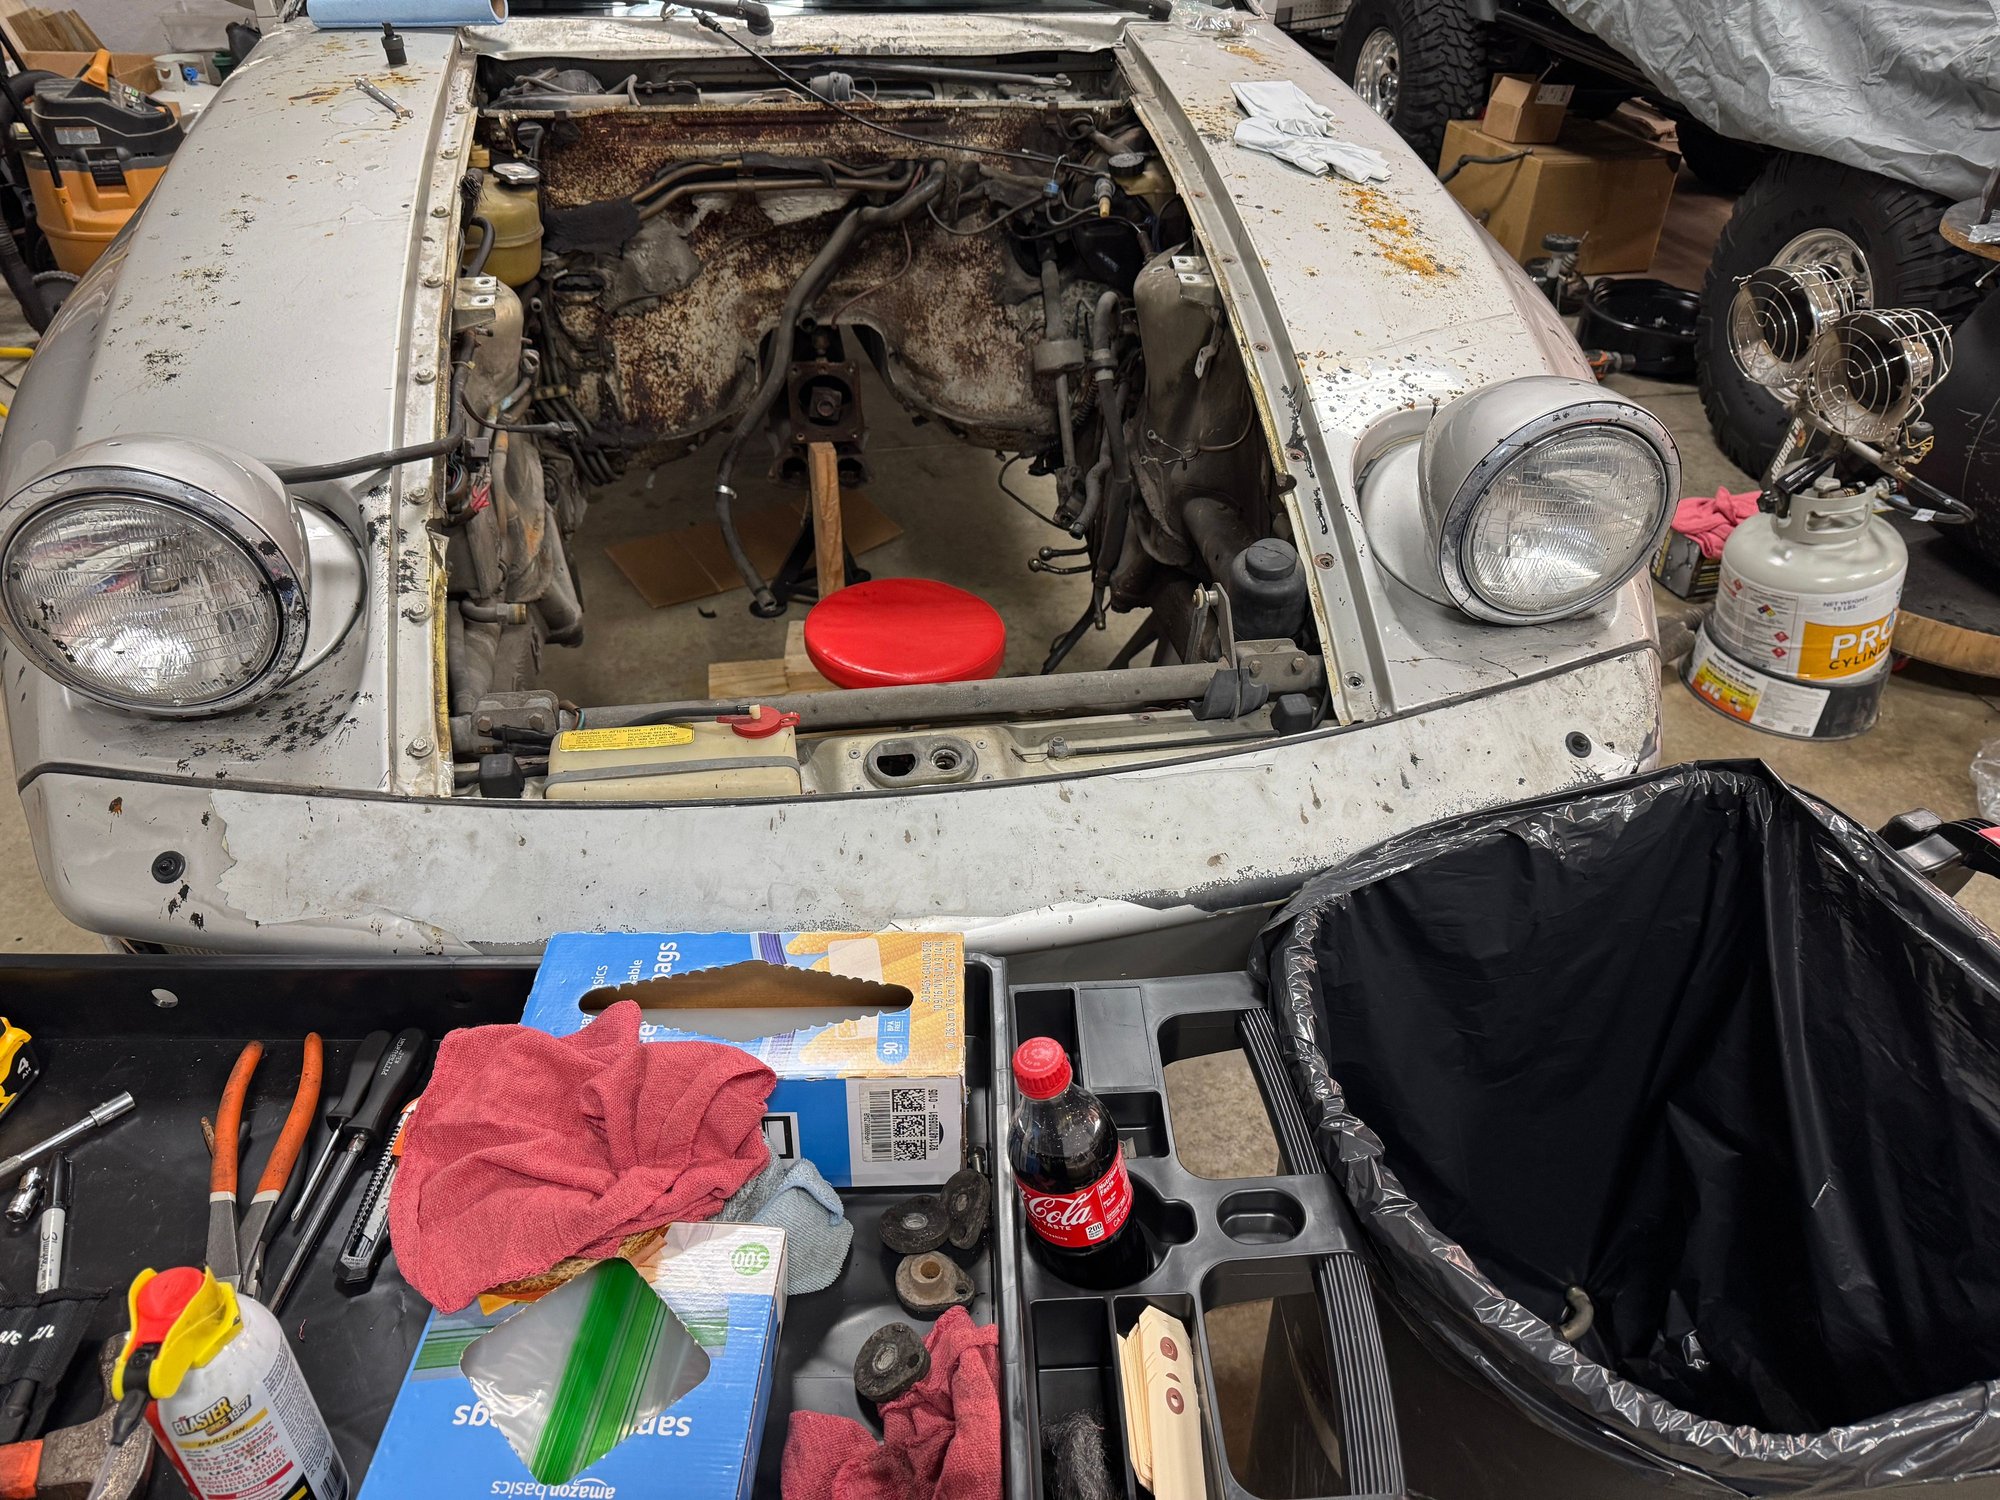
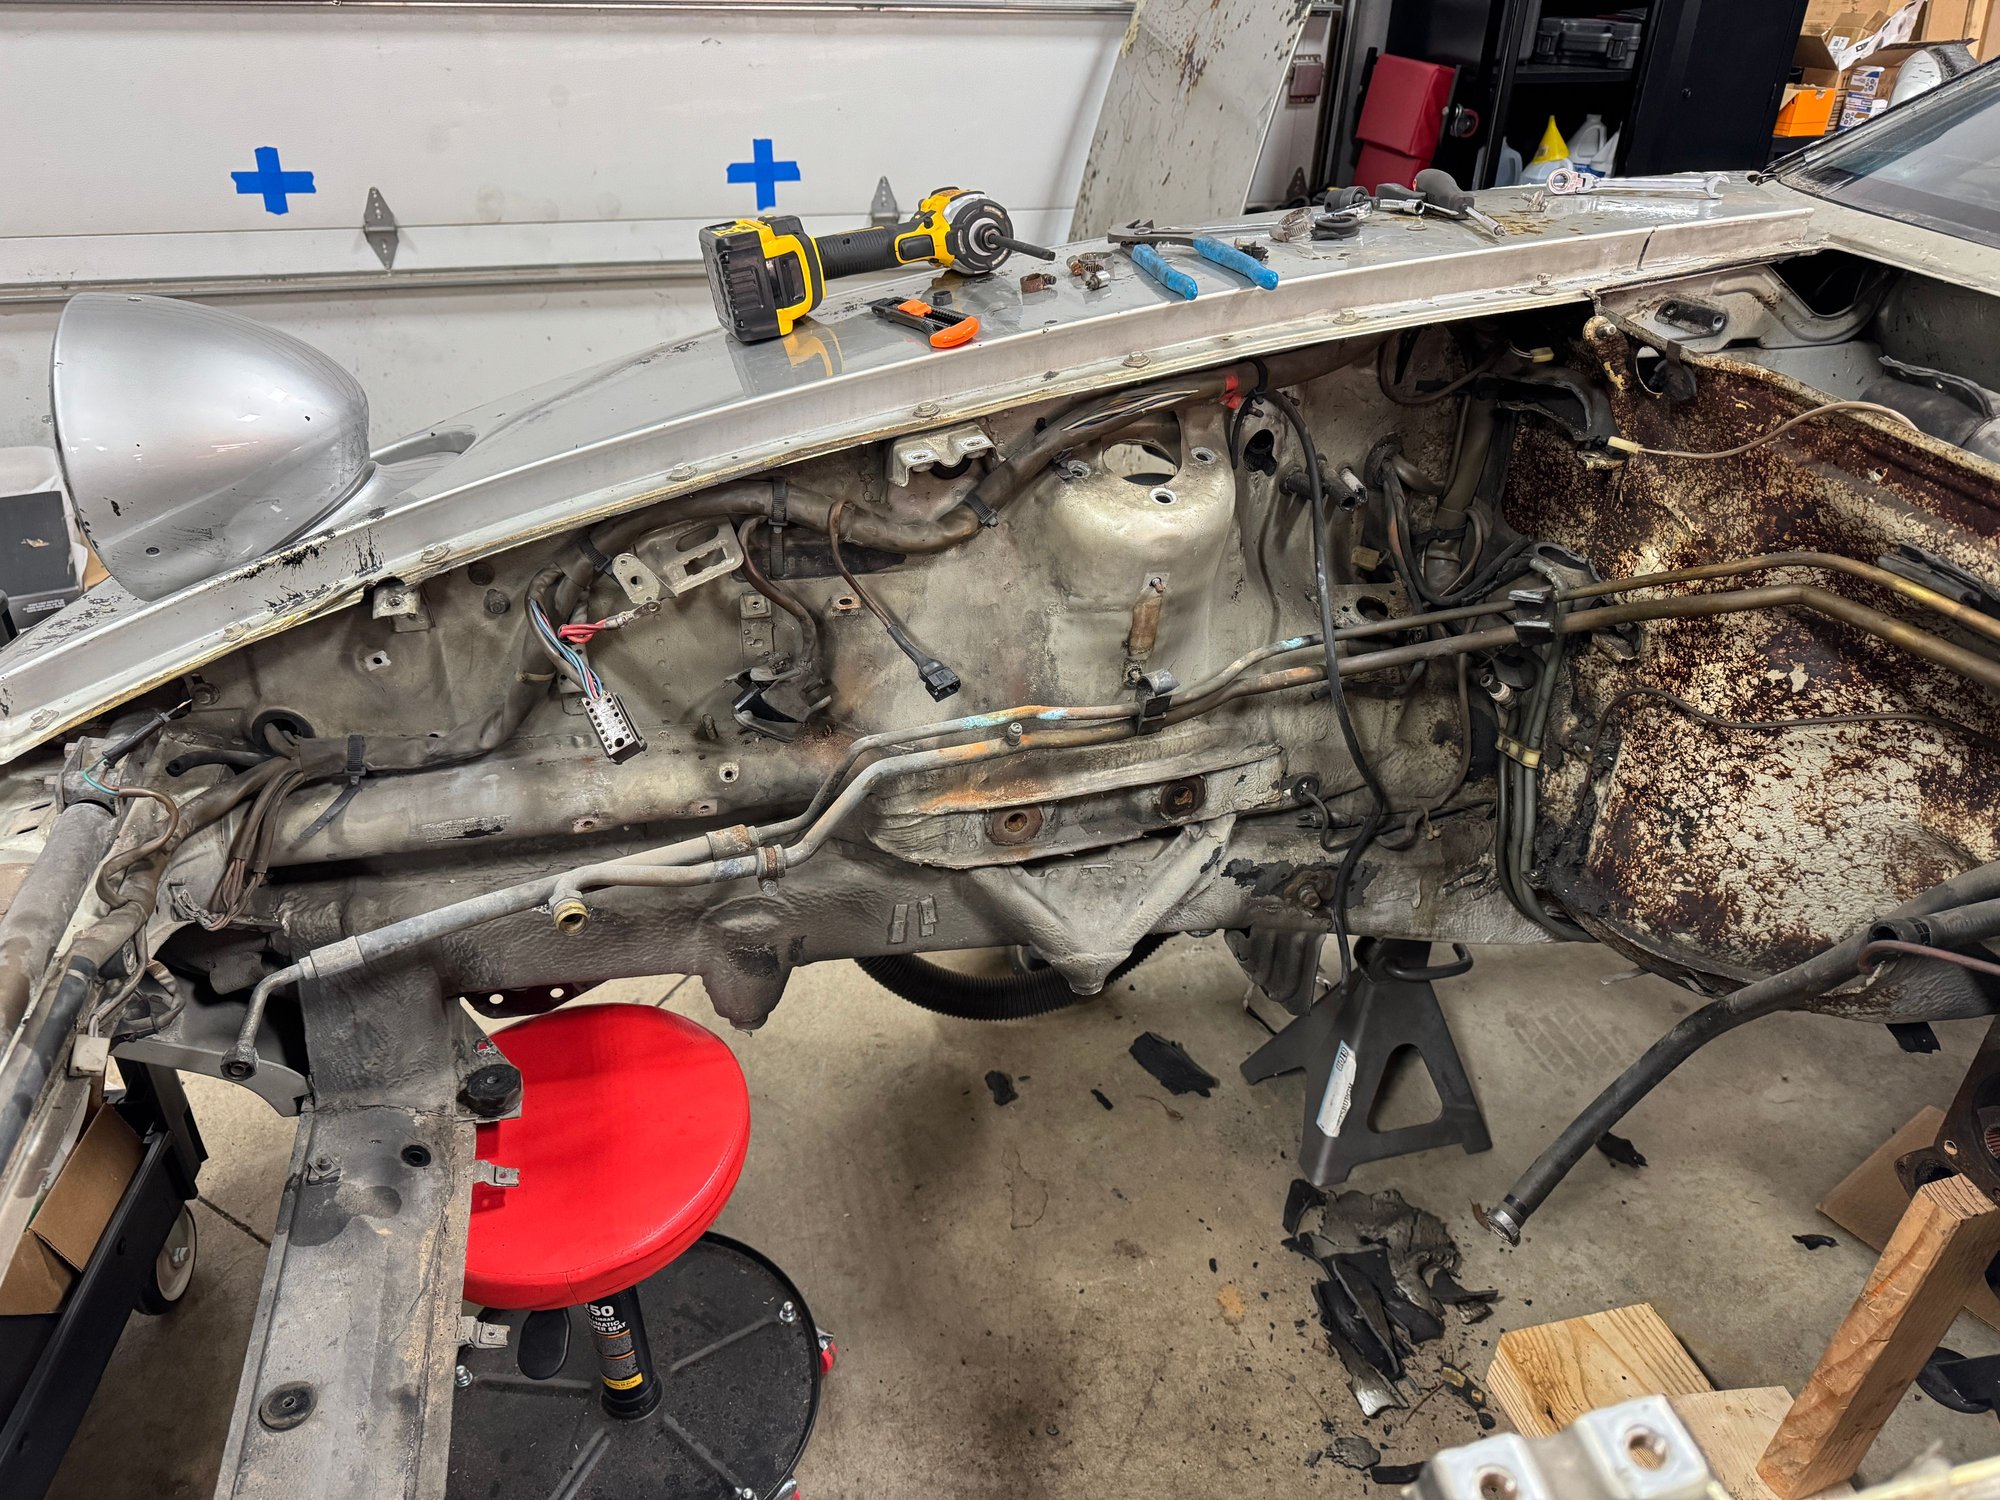
So far accomplished today…the remainder of the front end is out. Nothing too difficult, lots of unbolting, bagging and labeling bags of bolts.
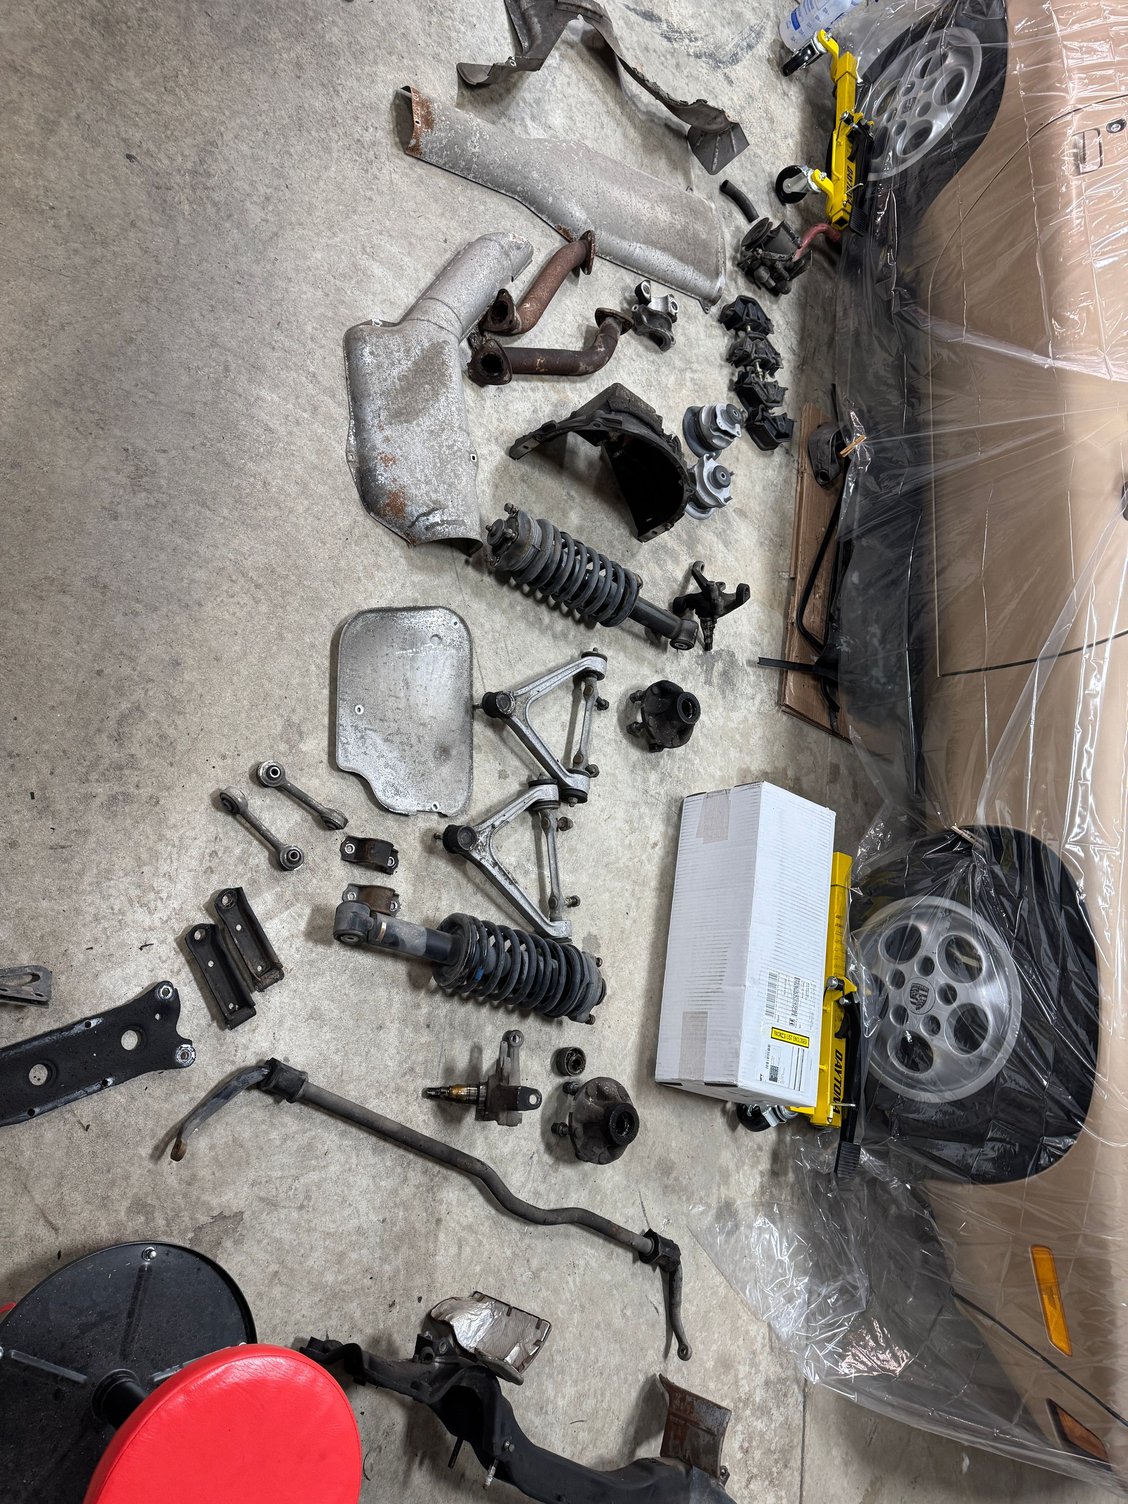
The motor mounts have seen better days (take-offs are in the center on the pic below). Hopefully I’ll make it back out to tear down the hubs, springs/shocks, etc.
Unfortunately I haven’t been able to do any “fun” stuff over the past couple of days. I’ve been cleaning/prepping parts to drop off for cerakote or powder coating. I’ve run into a potential issue that I’m hoping you guys can shed some light on. Well actually 2. I apologize, I’ve researched, but not in depth yet. I thought maybe you guys know the answer off the top of your head.
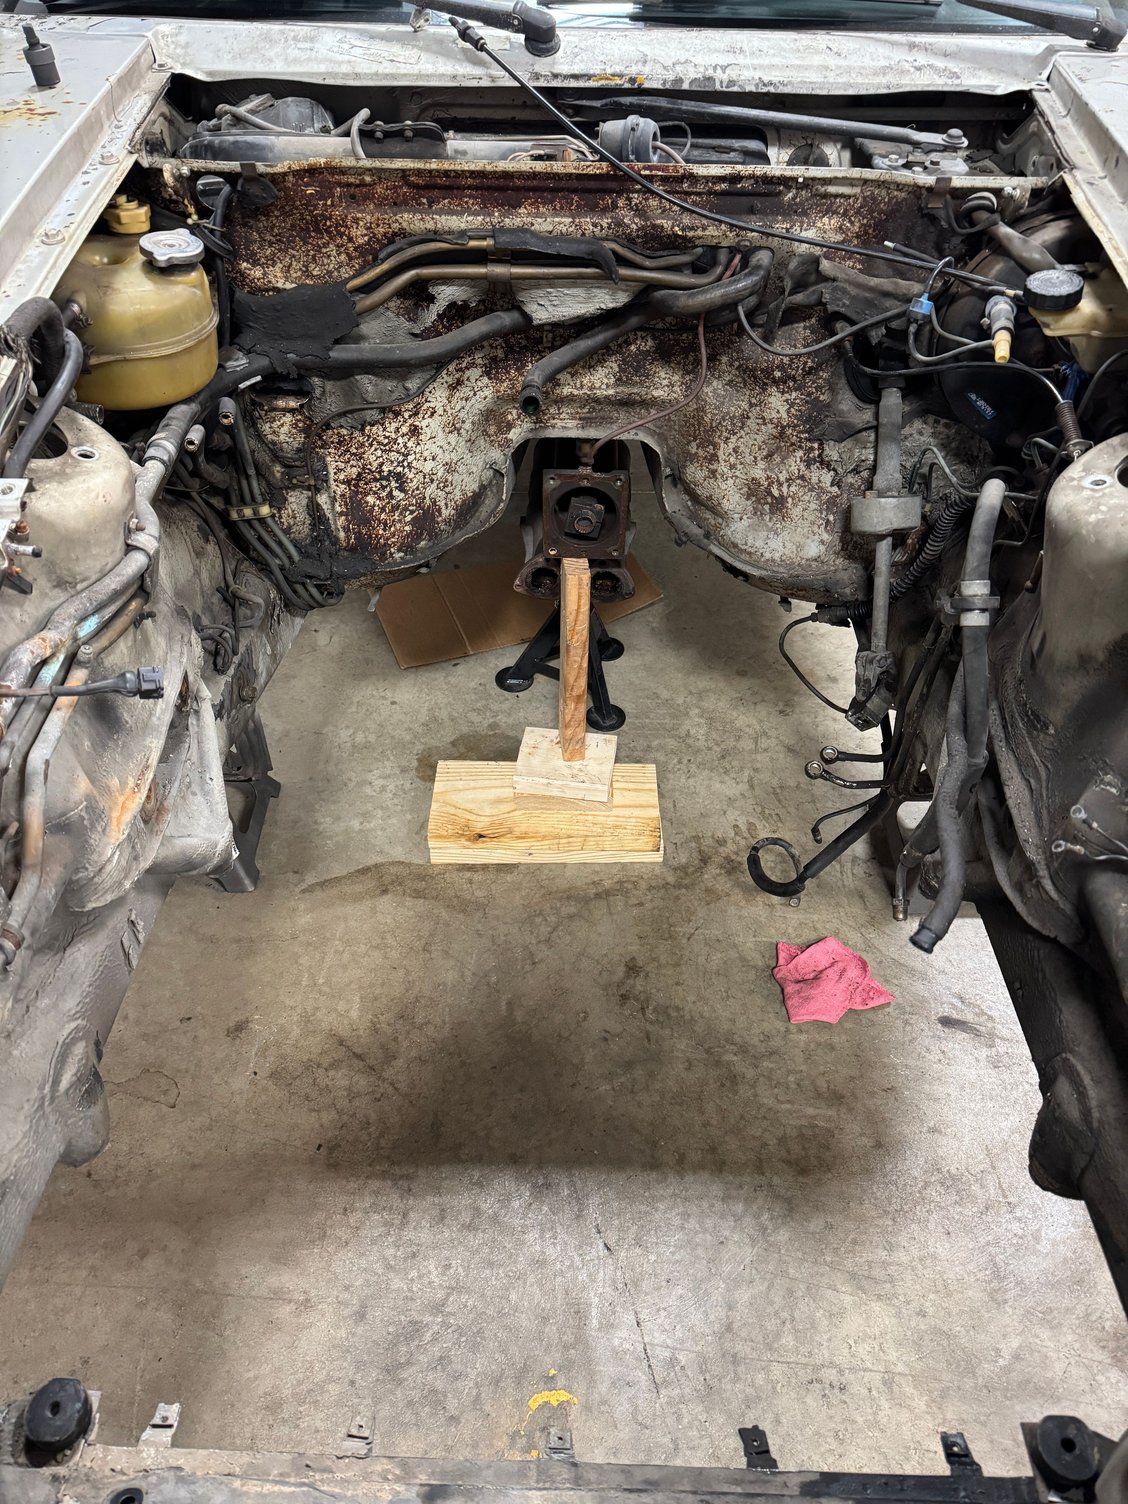
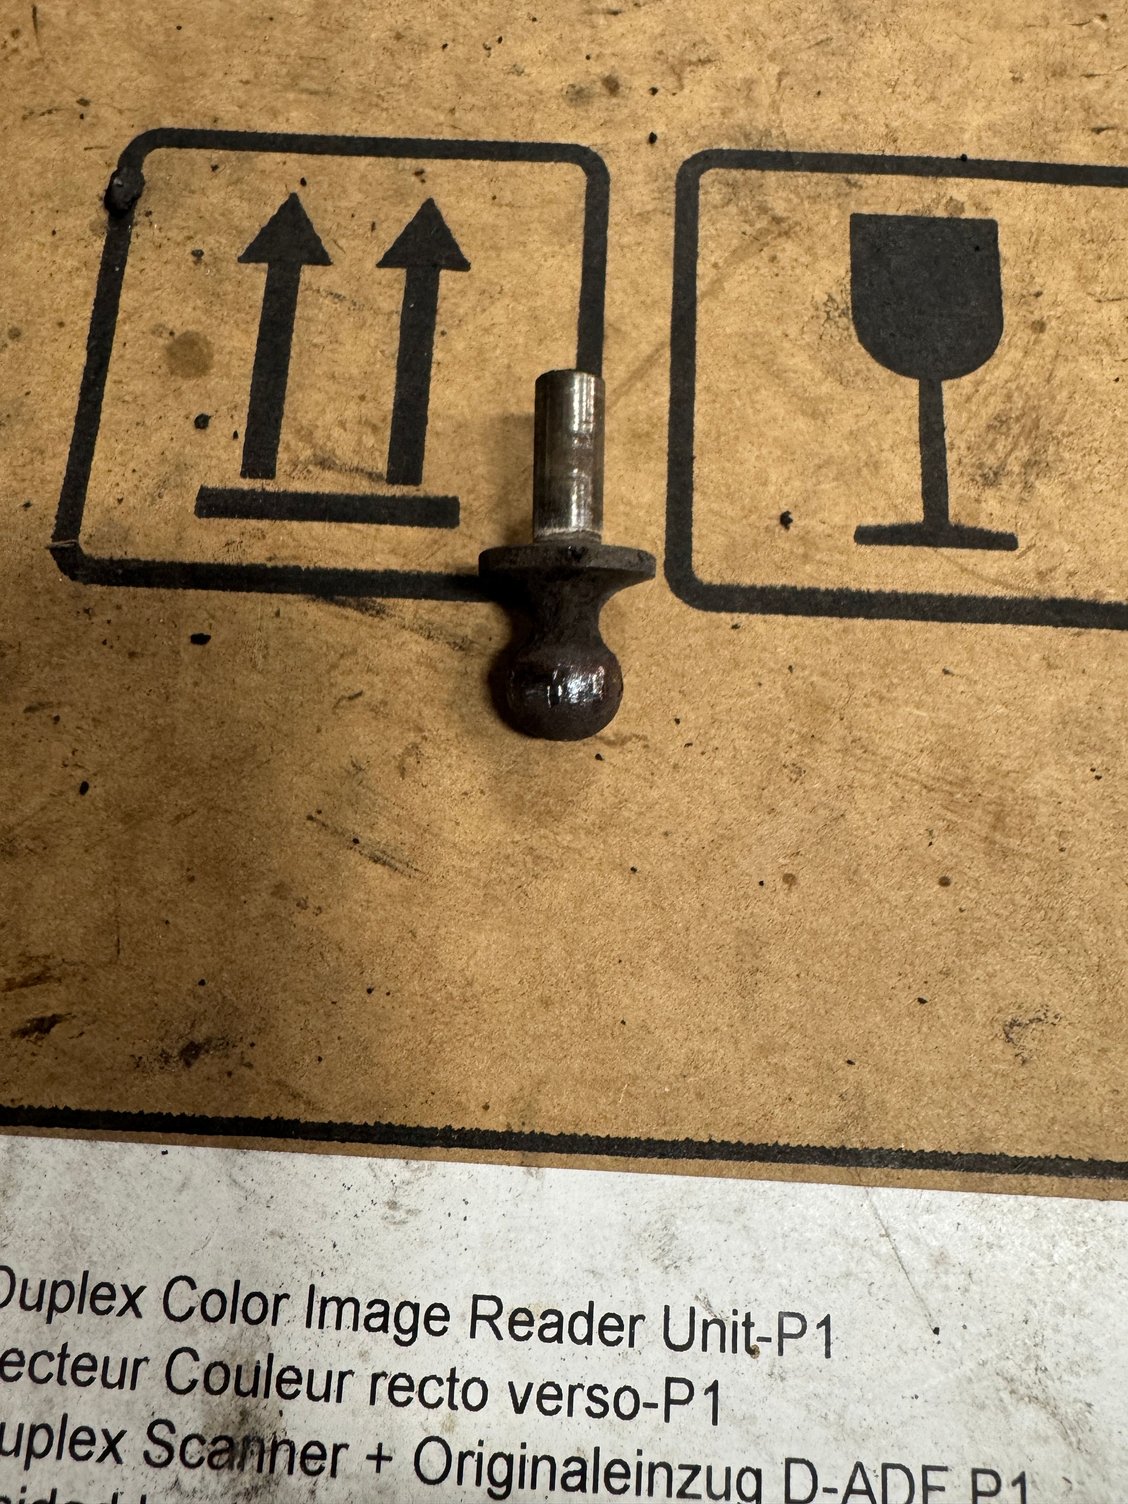
1. It seems Felix was one of the last 928s to come off the assembly line (per the WSM) with a driven-in bell housing clutch release lever small ball stud. (say that 3x fast). It took me a few minutes to figure this out, but once I did, it came out with some heat and a punch. To maintain originality and a few $$$, my plan was to thread a new, larger, ball stud in and keep the original bell housing. Goldie, my ‘79, has a larger ball, but I believe she still has the original bell housing, which I would guess is the same as a 78 (Goldie was built in ‘78). Is this accurate? Should I be good to go with my plan?
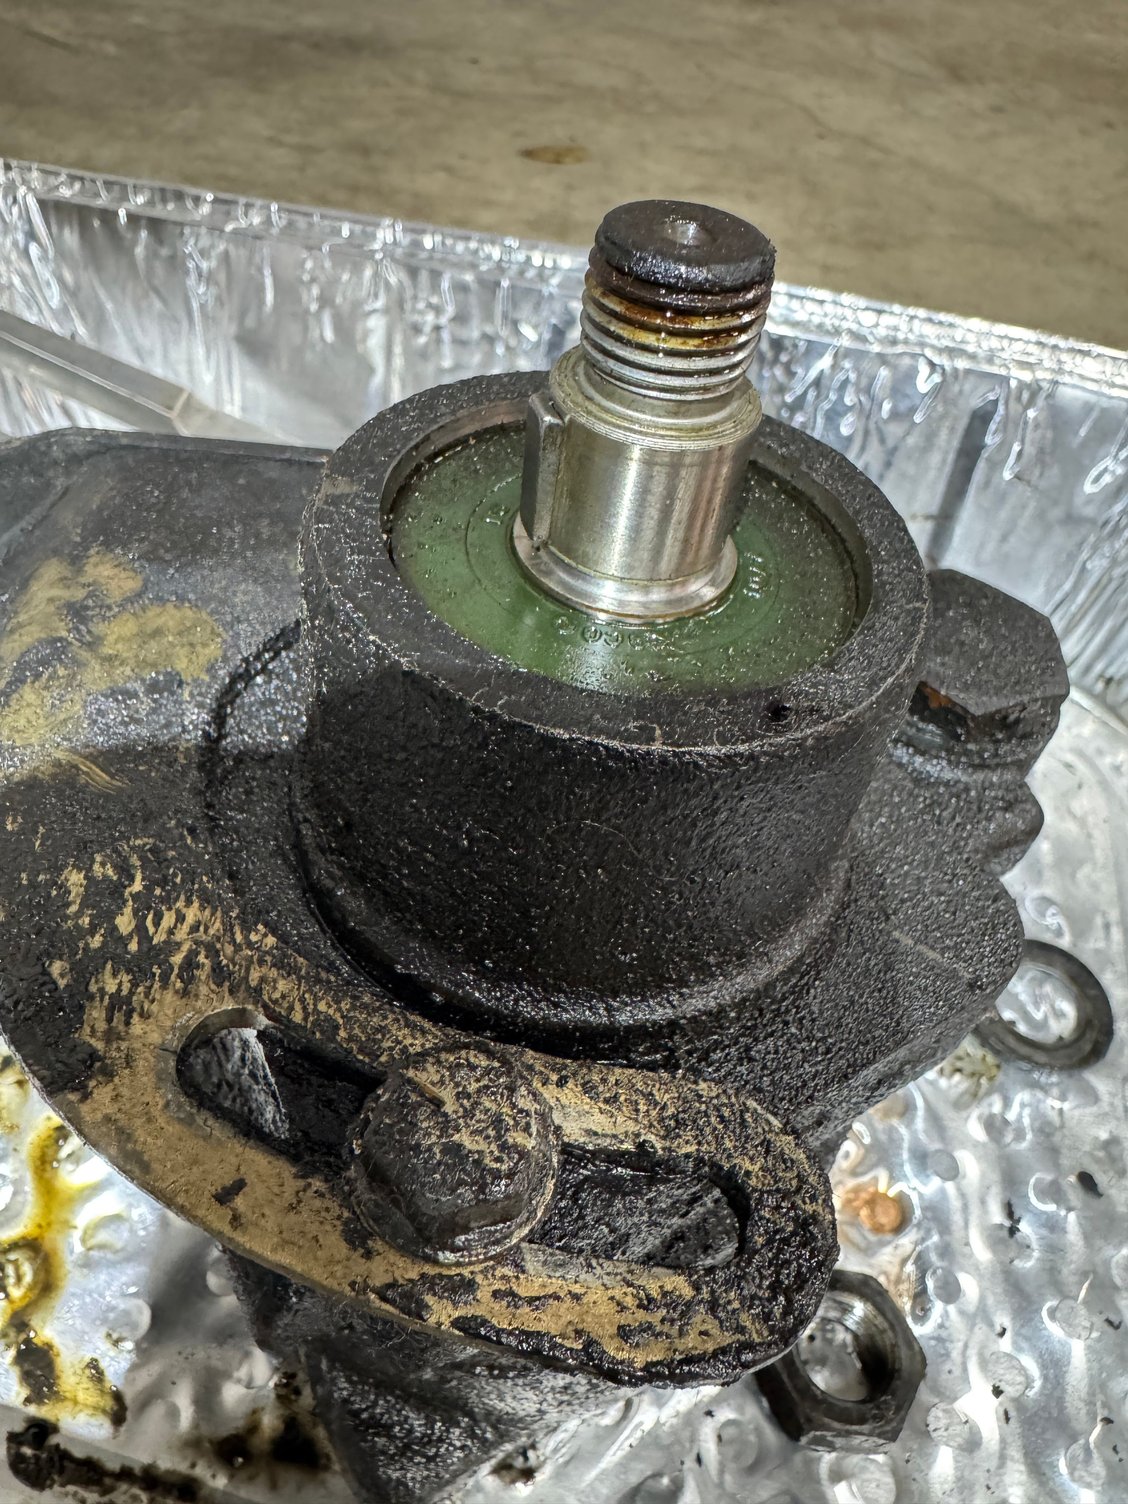
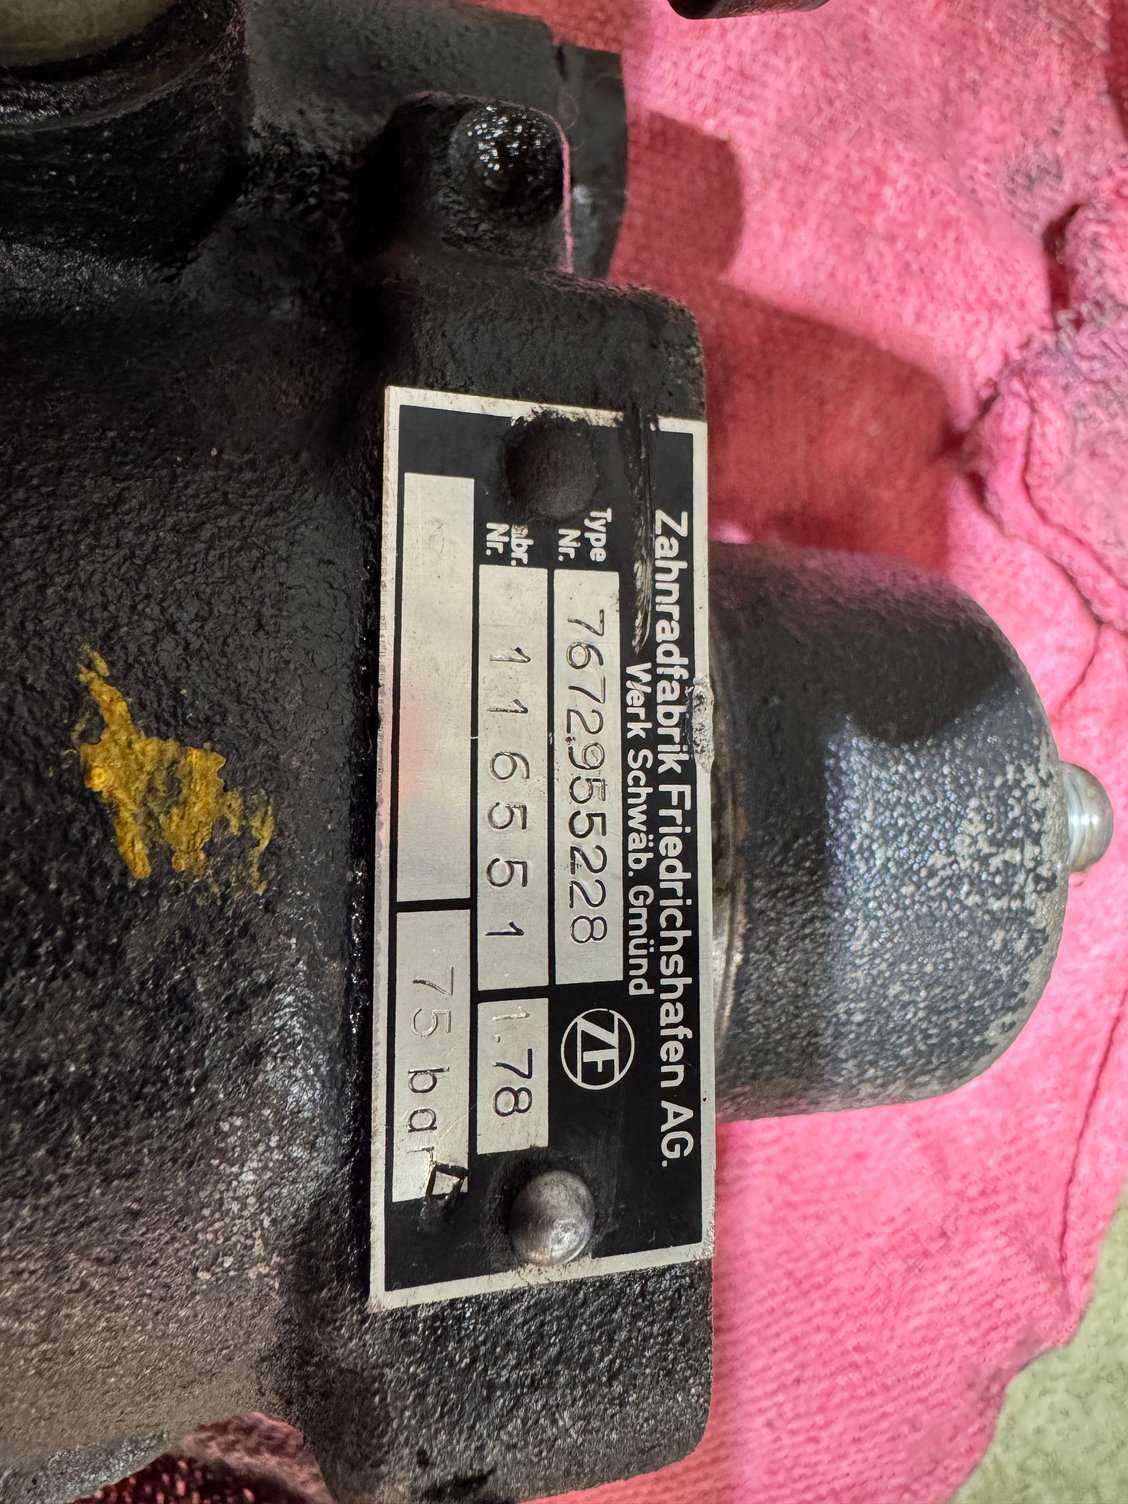
2. It appears the power steering pump is original based on the non-tapered shaft. To my knowledge, these are NLA. Again, to maintain originality, I feel an obligation to try and save it. I have no way of knowing if it is functional but based on its unknown history, I would think a rebuild would be a good idea.
A. I’ll shoot Roger an email, as a rebuild kit for a tapered shaft pump must be different than a ‘78 pump. Anyone know the differences?
B. If I end up getting a “new” ‘79 pump, it’s safe to say that I’d need a new pulley as well, correct?
That’s it for today. Hopefully I can move along to the engine compartment soon. " class="post_inline_image" data-size="2000x1504" loading="lazy" />
Doesn’t appear the air pump filter has been changed lately. I was able to use my fingers to tighten the puller…the pulley slid right off
I understand the early clutch fork ***** were superseded due to breaking off. I wouldn't consider using anything other than the currently available part, as noted in the workshop manual. There are notes about upgrading to the latest and greatest part.
That power steering pump looks like the one in my 1980 car, with a cast iron housing instead of aluminum? I rebuilt it 20 years ago with a kit from the local auto parts store, but not all the parts from the kit were correct. I have these notes about what else I used in addition to the kit:
No promises this is the same as yours, but hopefully it is helpful.
Hi Andrew. Thanks for the quick response. I apologize, I may have written in a confusing way. I have the correct, larger, threaded pivot ball on order. I just want to make sure the clutch release arm lever, which I still need to order, will fit through the hole in the older bell housing. Worse comes to worse, I’ll just have to do a little waiting if it doesn’t fit through.
The pumps look extremely similar but the 78 has a non-taper shaft. I’m guessing you are correct though, the vast majority of seals should be similar.
Page 30-21 in the WSM implies that upgrading the early pressed-in pin to the M8 threaded ball is just a matter of adding a timesert to the upper bellhousing. And there's only one part number for the upper bellhousing from 78-80 in the early parts catalogs. And come to think of it we did this on WIlliam's '78 #107 without incident or complication.
Page 30-21 in the WSM implies that upgrading the early pressed-in pin to the M8 threaded ball is just a matter of adding a timesert to the upper bellhousing. And there's only one part number for the upper bellhousing from 78-80 in the early parts catalogs. And come to think of it we did this on WIlliam's '78 #107 without incident or complication.
Thanks Rob. Appreciate that. I was looking at the only PET I have and it referenced 2 part numbers, neither of which indicate a year. You’d think I would have figured out how to read these things by now. Again, thank you for the pic. Very helpful.
Well, I’ve set up my office in the engine bay. I’m guessing I’m going to be spending a considerable amount of time here for awhile. I’ve included a couple pics below.
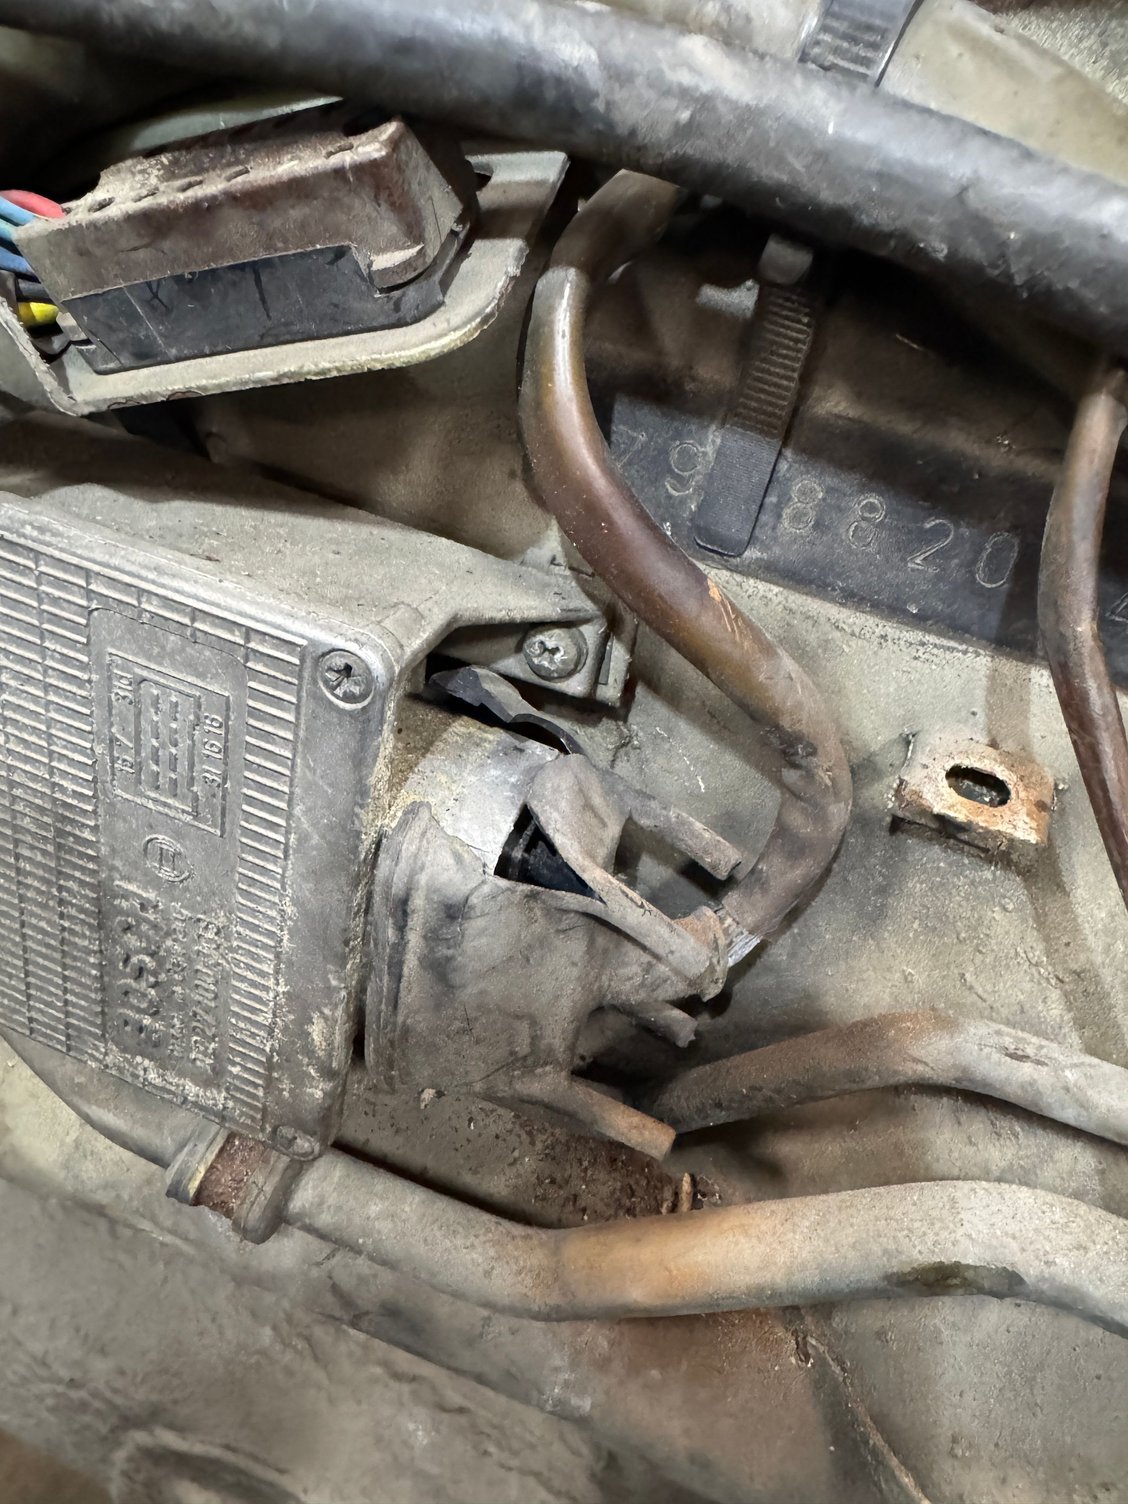
1. The rubber cover on the ignition control unit was split. It appears one of the electrical prongs has some corrosion. Any tips on determining if the TSZ is good? Also, @Mrmerlin recommended a leather cover to replace the split rubber one. Anyone have pics of a finished one or another alternative
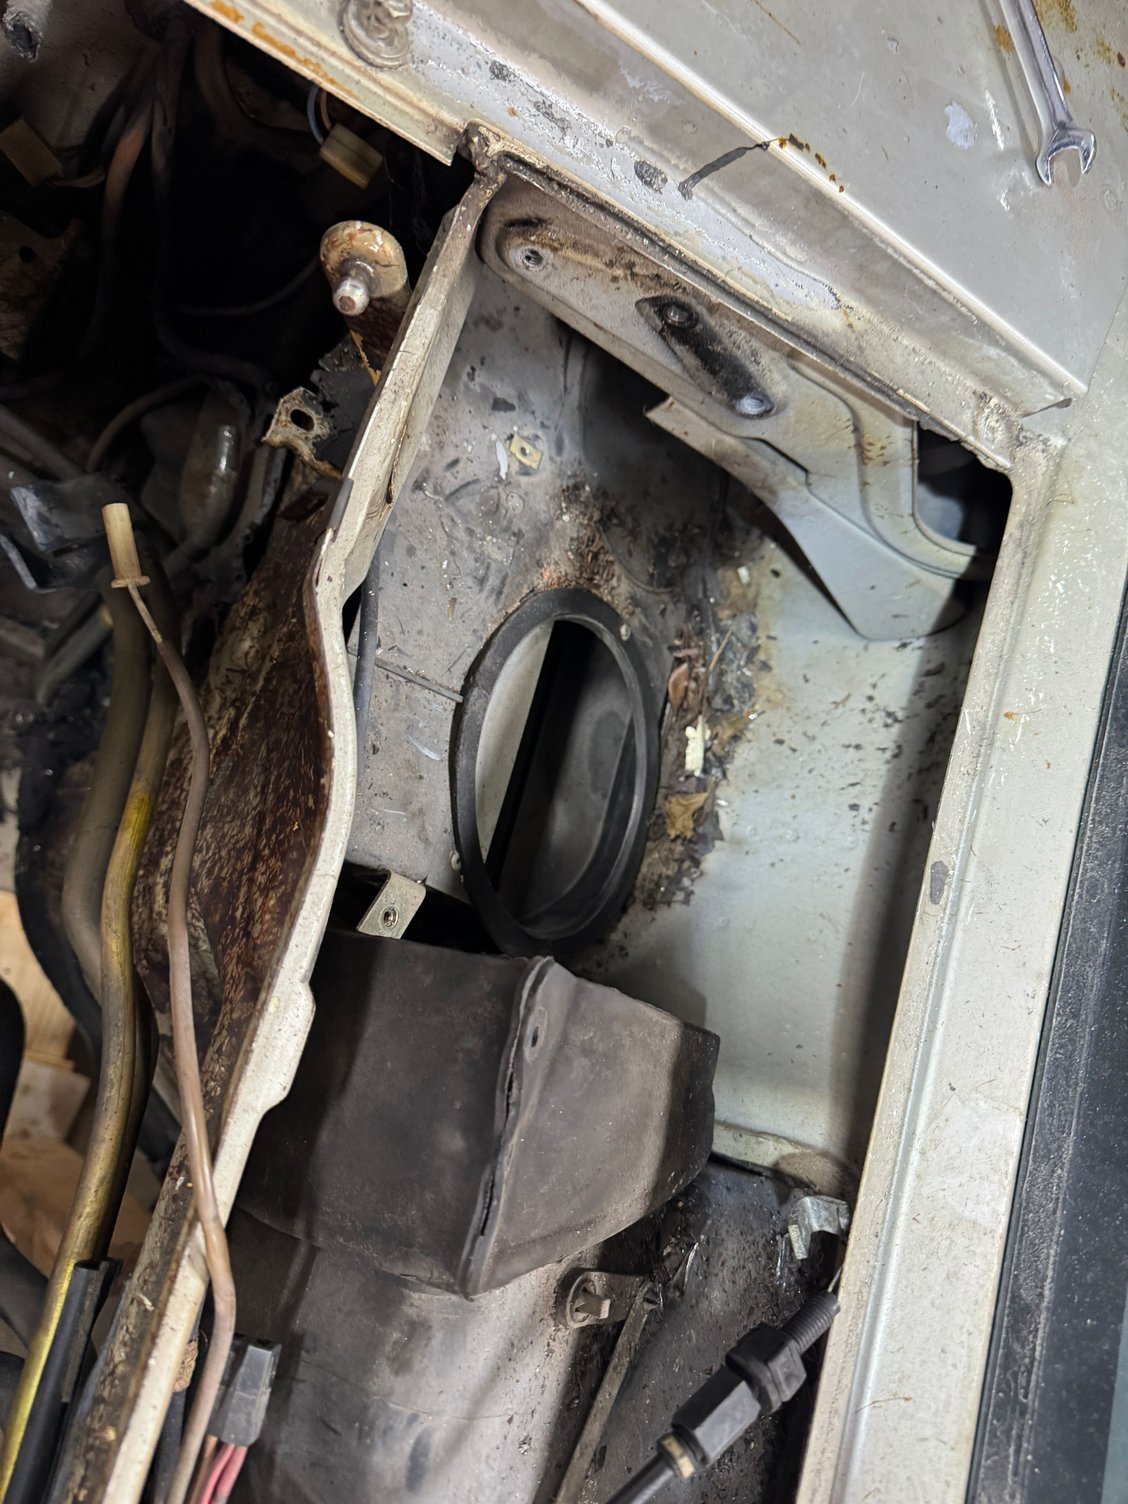
2. Found the production number tape affixed underneath the glove box…a cool find. @Rob Edwards told me what it would be. He was dead-on. I was down in the footwell trying to pull down the grate to get to the last screw holding the blower down. There was going to be no good way to remove it so I pulled out the borescope to locate the screw. Found it. Well there is little question that the grate needs a new seal, it doesn’t. Fingers crossed the actuator holds vacuum. Otherwise, I’ll have to figure out how to get to it. Good news, blower works with 12v connected to it. QUESTION: can I test the wiper motor in the same manner?
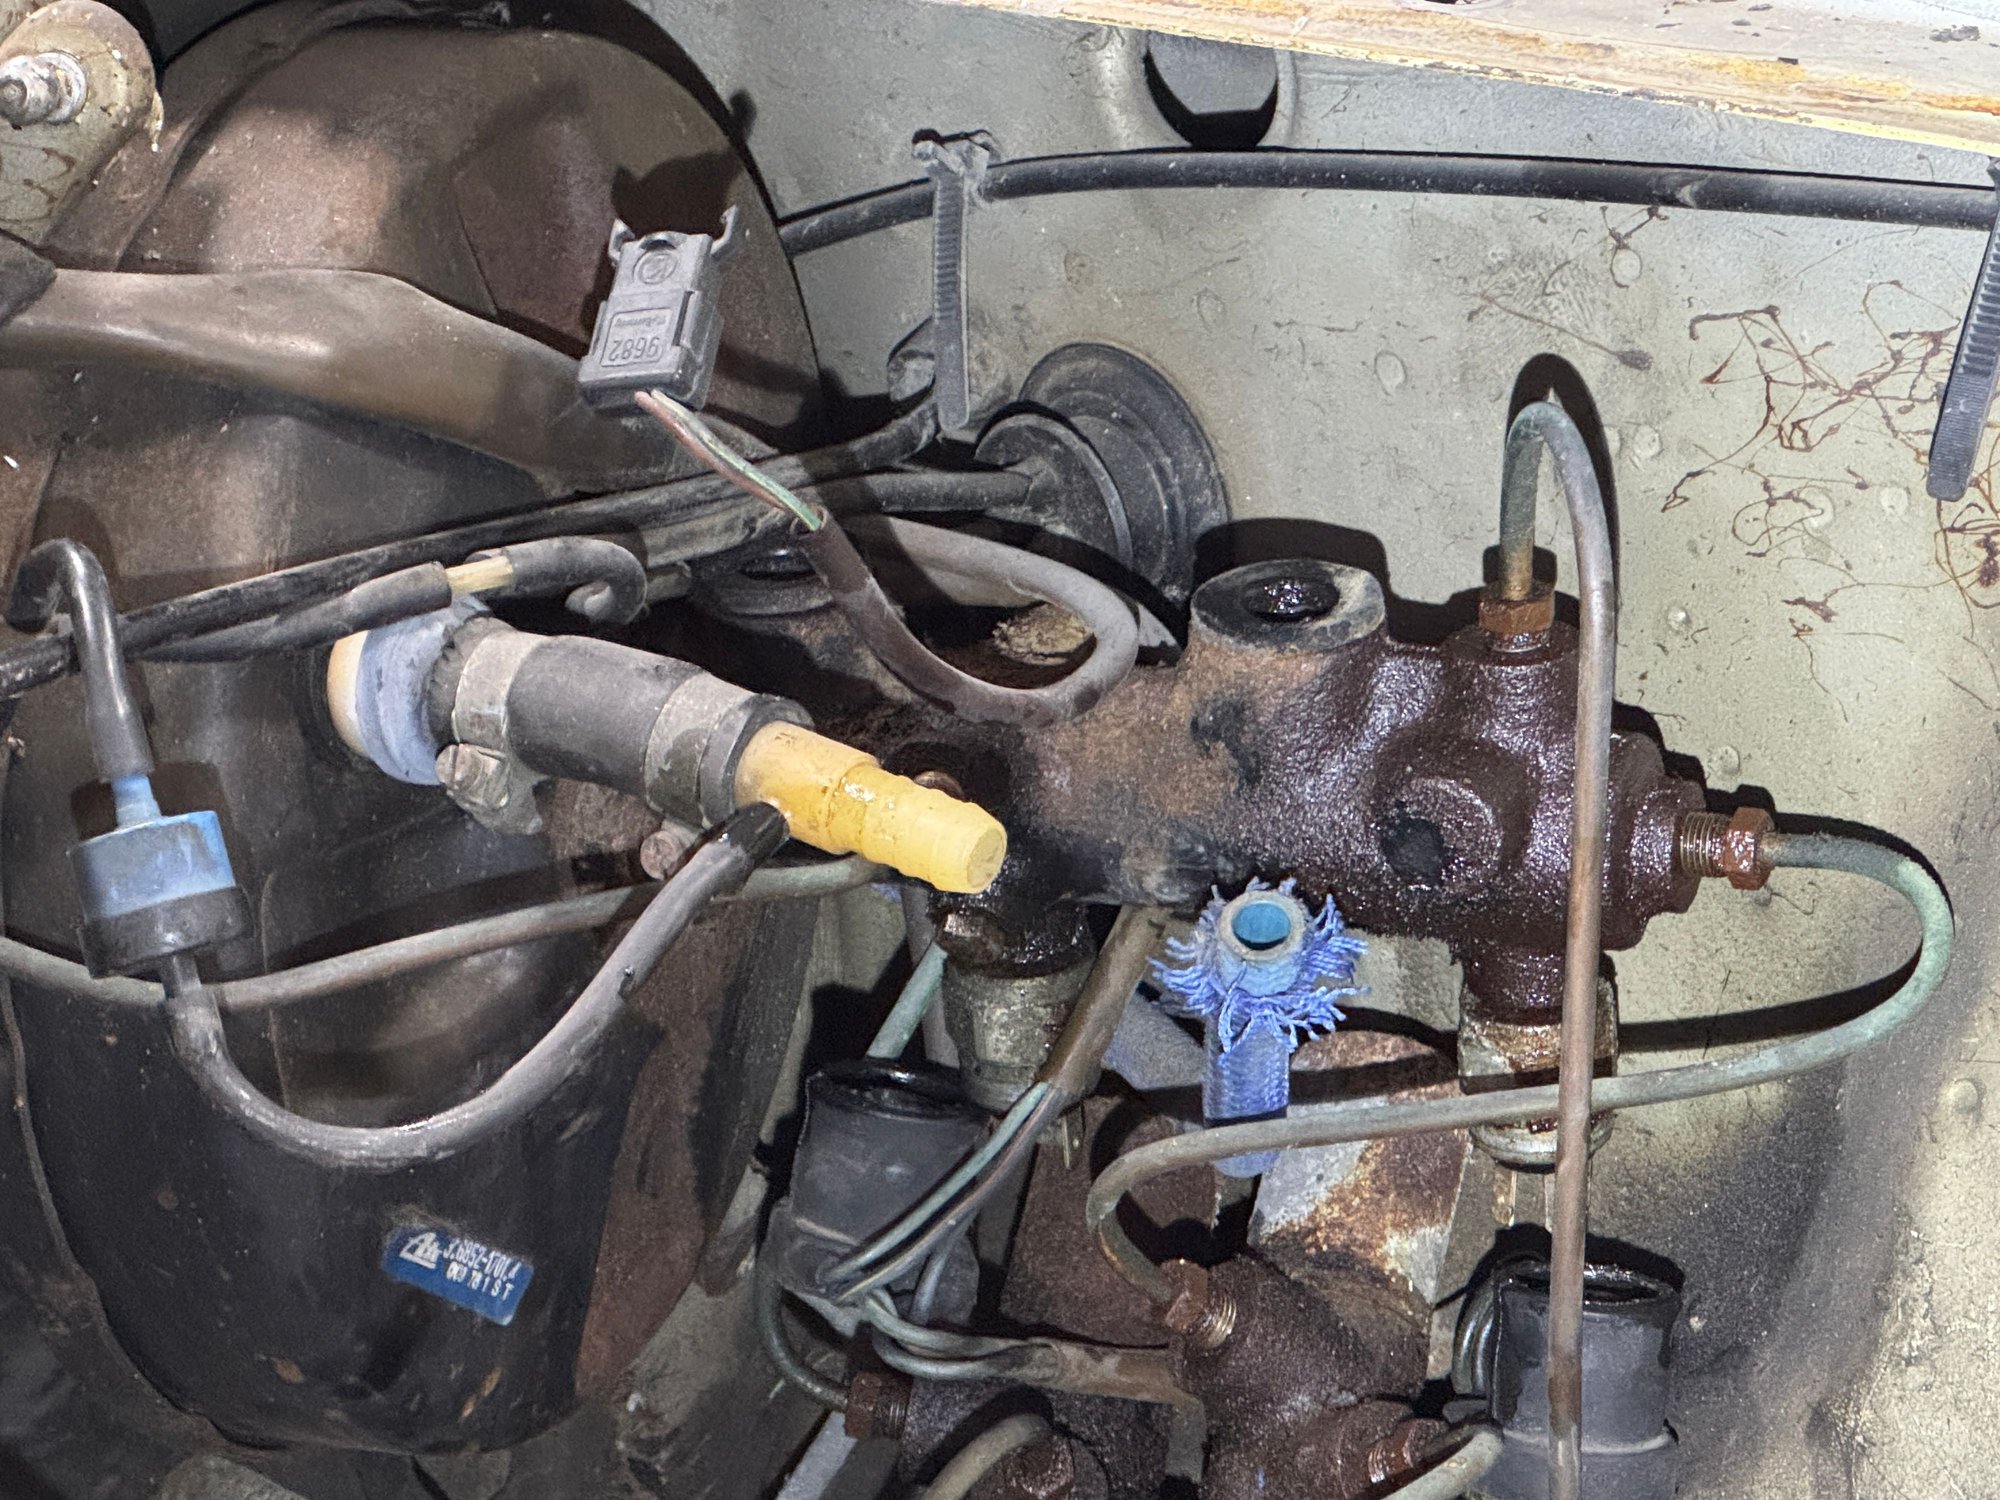
3. I was dreading to start on the MC but luckily the looks were deceiving. The lines nicely loosened. I’ll hopefully get the remainder of items out tomorrow or Sunday.
Lots of cleaning and further testing needed. My biggest concern is figuring out where to get or how to make the firewall protective cover. New Office


 " class="post_inline_image" data-size="2000x1504" loading="lazy" />


 " class="post_inline_image" data-size="2000x1504" loading="lazy" />