When you click on links to various merchants on this site and make a purchase, this can result in this site earning a commission. Affiliate programs and affiliations include, but are not limited to, the eBay Partner Network.
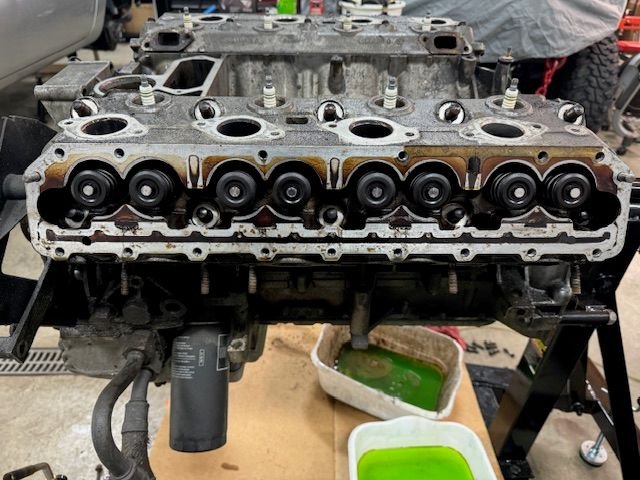
I got about as far as I’m comfortable with before pulling out the WSM. Happy to report, only one snapped bolt (rear passenger of the coolant bridge), although the exhaust manifold studs did come out on the majority. This is as far as I’ve taken down an engine. I will say, it is a heck of a lot easier doing this with the engine on a stand. CIS components will likely head off to Flowtech next week, and if the stars align, the heads/cam carriers will come off and go to the machine shop. Both of which are backed up with work.
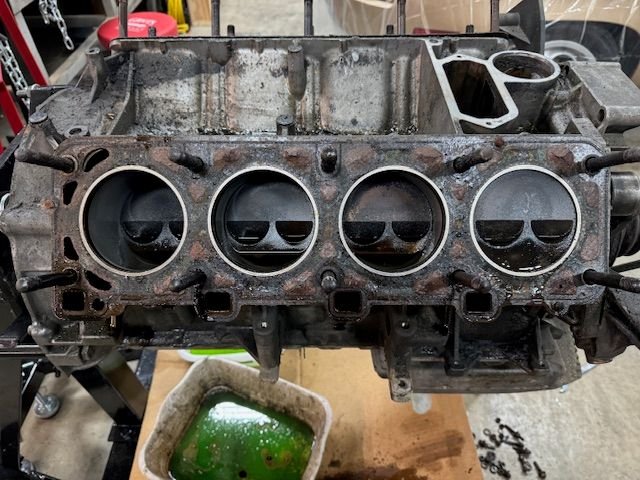
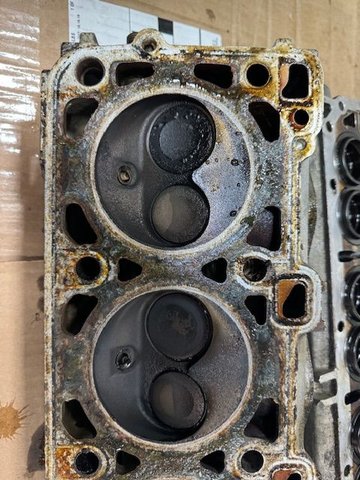
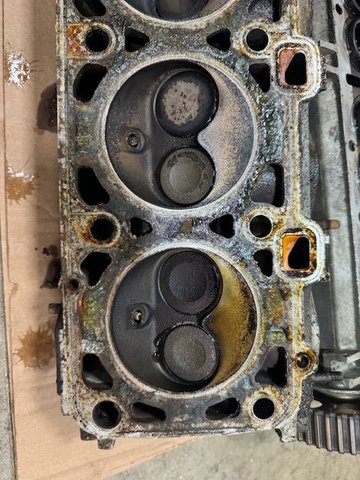
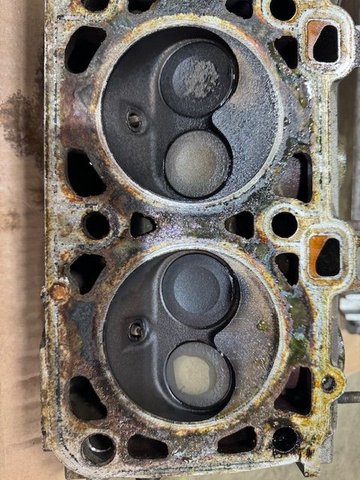
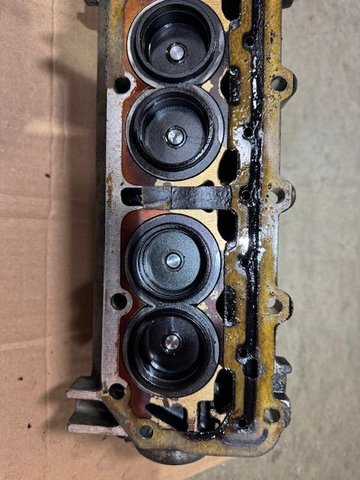
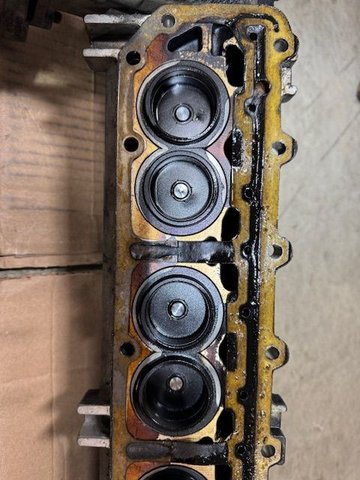
Okay. I need your guy’s eyes and advice. I got everything off without much trouble. Have not broken any additional bolts. It took a lot of patience but I’d rather go slow than get into trouble. First can you see anything concerning or are the pics to general to tell? Also, how can I safely go about cleaning? If I’m not mistaken, do not touch the pistons or cylinder walls but what about the water jackets? I was thinking about trying to spray distilled was in to flush out all the gunk that’s in there. Any advice on how to proceed would be great. Oh, also, although not pictured, the cam gears/pulleys are a bit shiny. Would those need to be replaced? Dwayne had mentioned that on his write up on his water pump service thread. I can take whatever pics will help you guys help me. 😬
dry out the pistons/cylinders,
then spray with WD40 then add some PB Blaster.
For the cam towers get an egg crate and put the lifters in them,
put each lifter in a bag and keep them ID `ed,
so they go back into their respective bores.
be careful cleaning the cam tower surfaces,
this gasket is very hard to remove use the razor blade held perpendicular to the surface,
Greg Brown makes a better than stock cam tower gasket.
the gears you have are probably OK,
if they are all square tooth make sure you also get a new belt with the proper teeth.
NOTE get a straight edge and check the block deck for flatness.
Thanks Stan. May I ask why to dry the cylinders/pistons out and then spray wd40 and PB blaster?
The machine shop told me to put the cam towers back on the head and they’ll take it from there. It is my first go around with having heads done, so I’m a little nervous in making sure everything is swapped out, where needed. i.e., seals.
Noted on the cam gears, block deck and getting the “upgraded” cam tower gaskets. Yes, ive been told they’re a PITA.
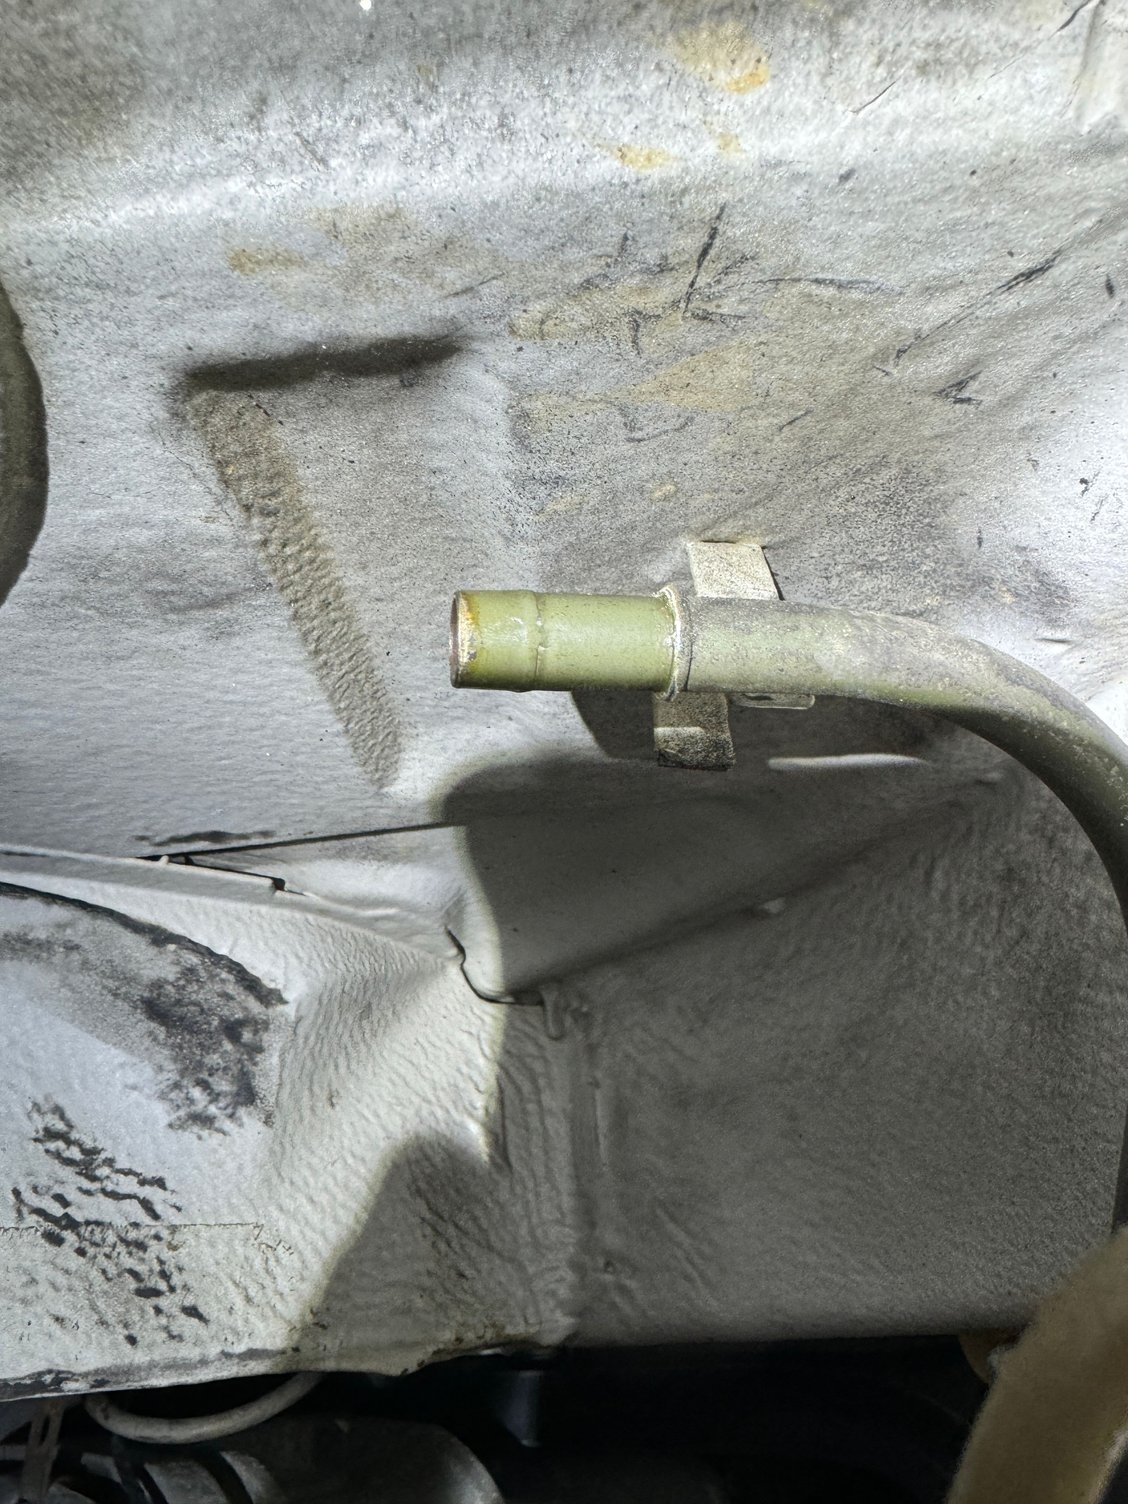
Taking a reprieve from Felix’s “heart” transplant as I’m waiting for a couple items to put a helicoil in…snapped a water pump bolt. Turned back to the rear fueling system components. I got the return fuel line coupler off. @Andrew Schauer ’s reminder to cut the fitting back worked like a charm. However, looking at the barb, there isn’t much of a flare on the line. Should I try and create a bit more of one or leave as is?
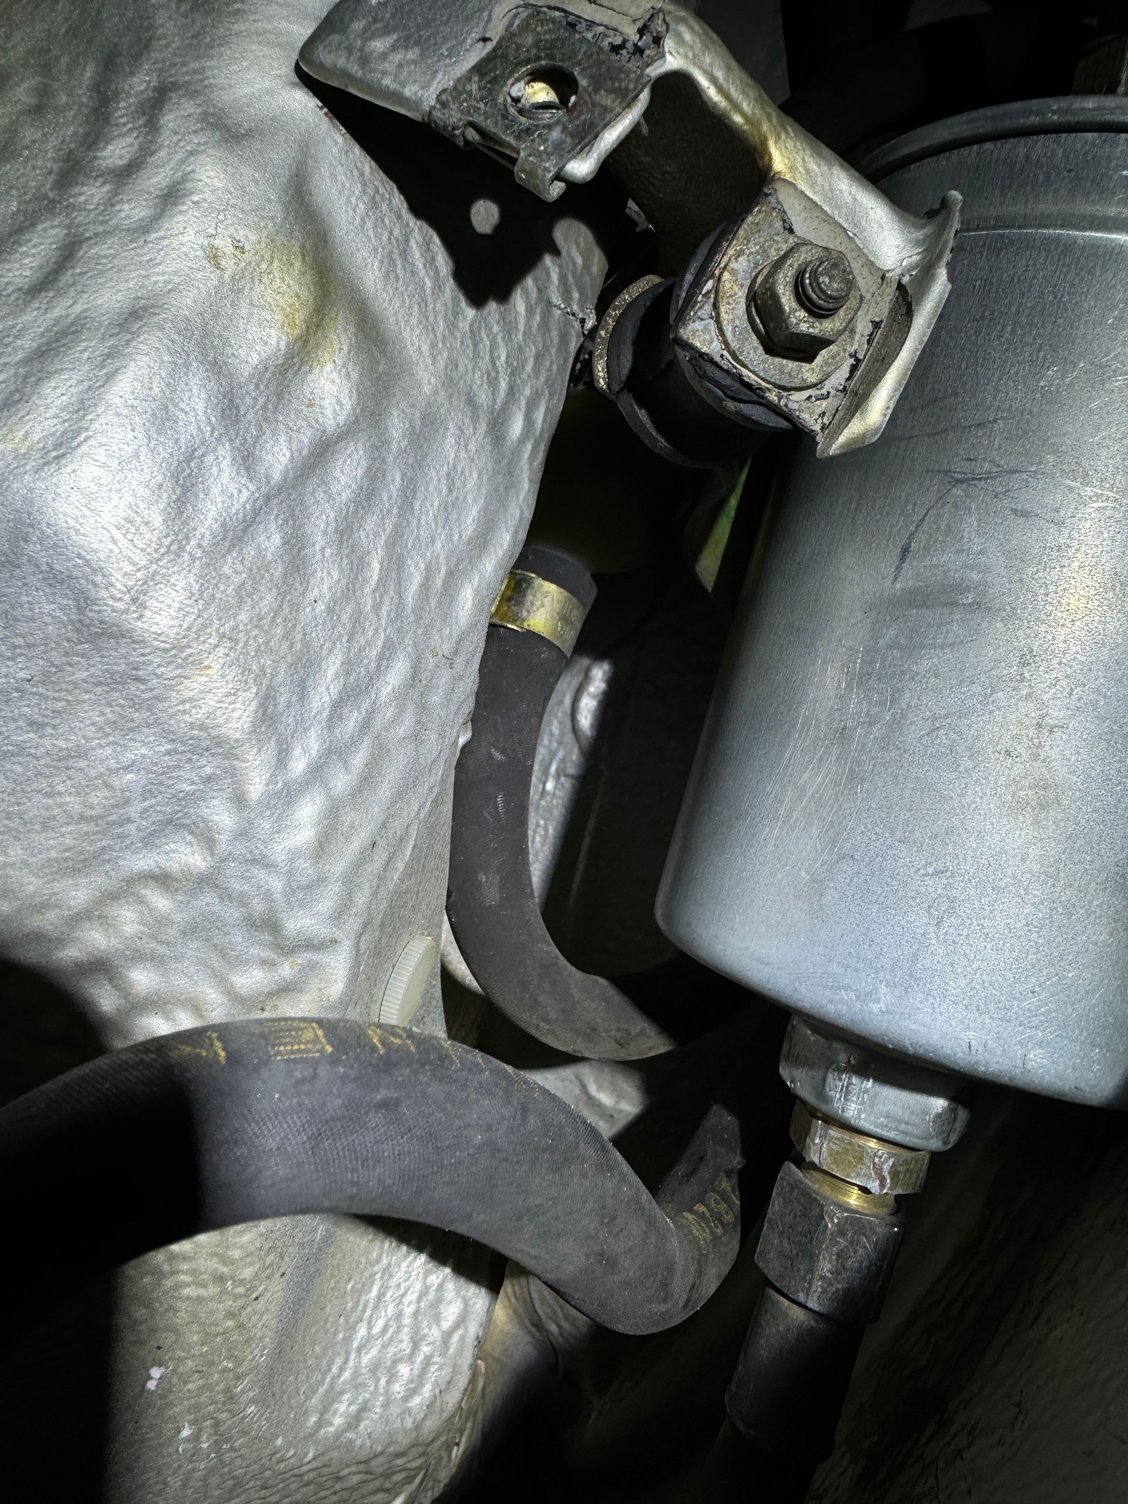
Also, a separate question. I know it is imperative to replace fuel lines, but does that remain true for the fuel accumulator’s vent line as well? The one there looks brand new but the date code would say otherwise. 😬
There's hardly any pressure on the return line back to the tank, I've run for years with a replacement hose and a good fitting hose clamp.
I suggest replacement of all the rubber hoses, a high pressure fuel leak could easily spell the end of any car if it finds an ignition source. Roger and Greg both offer excellent replacement hoses for everything I've needed, I suspect the same is true for a CIS car.
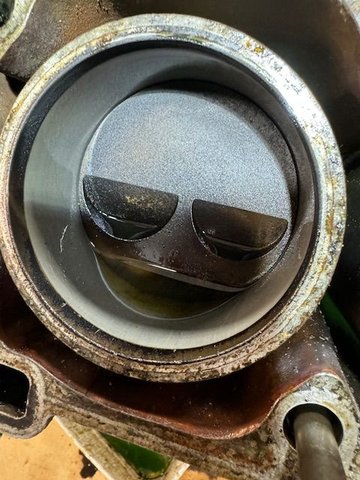
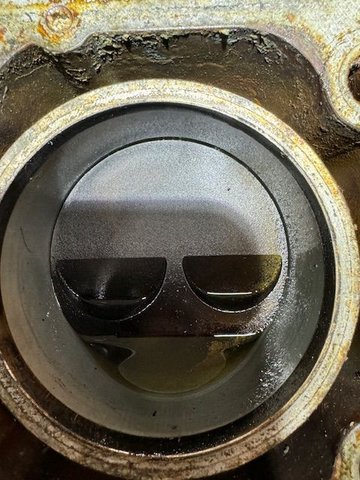
the reason to get the coolant out is because it contains water this will rust the rings,
spray with WD40 to disperse the coolant then PB blaster to control corrosion.
NOTE use compressed air around the piston edges this remove much of the coolant
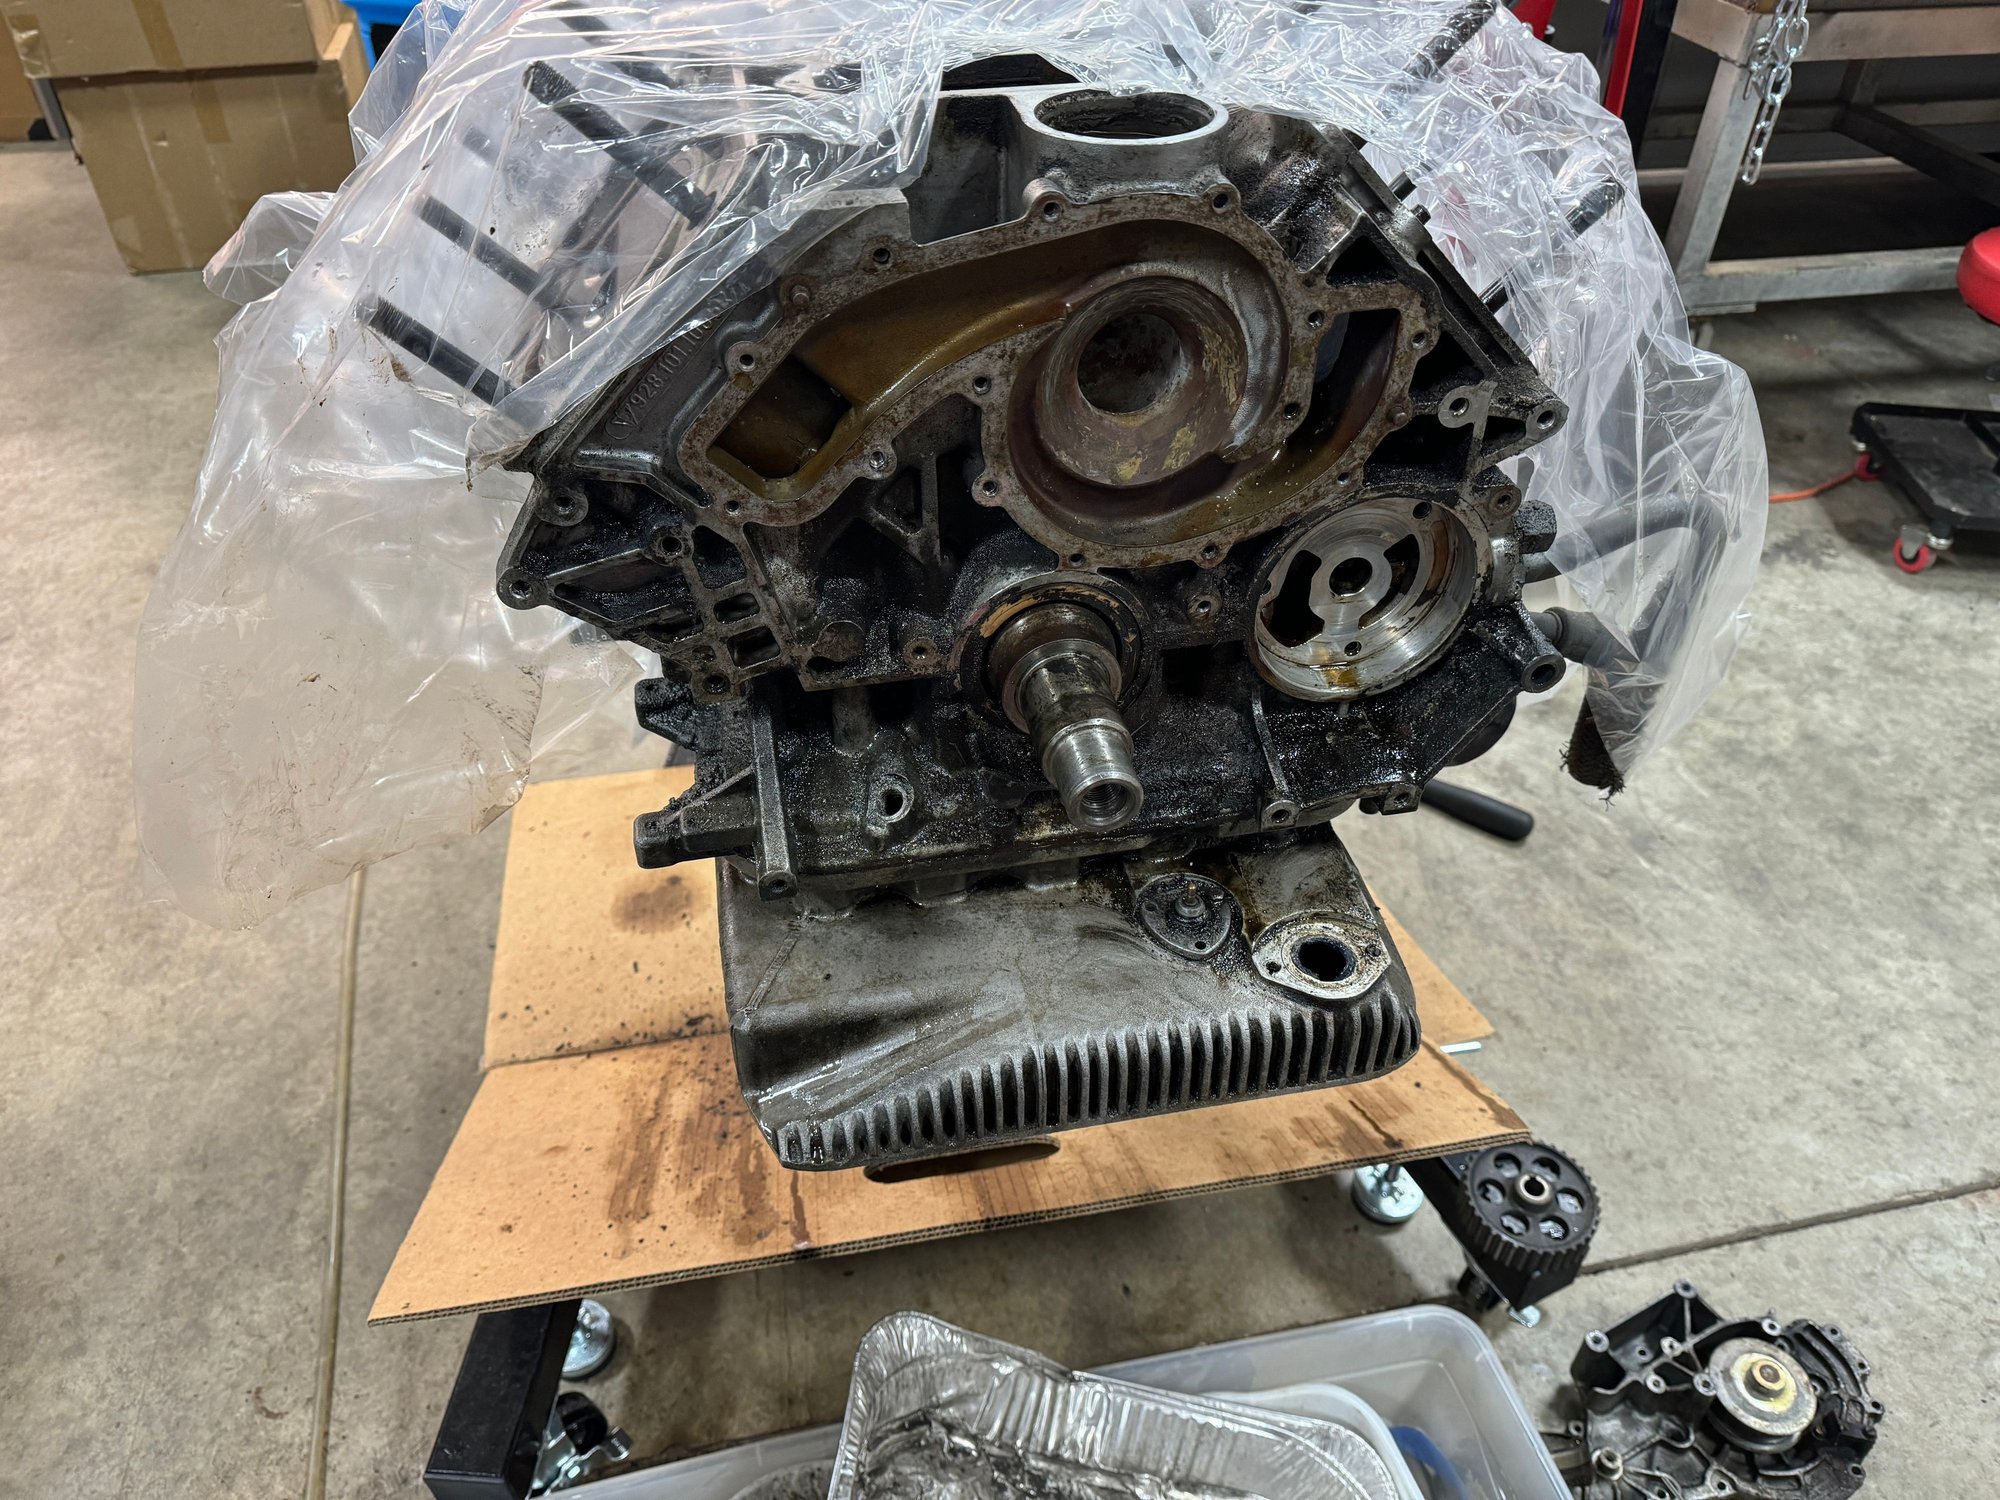
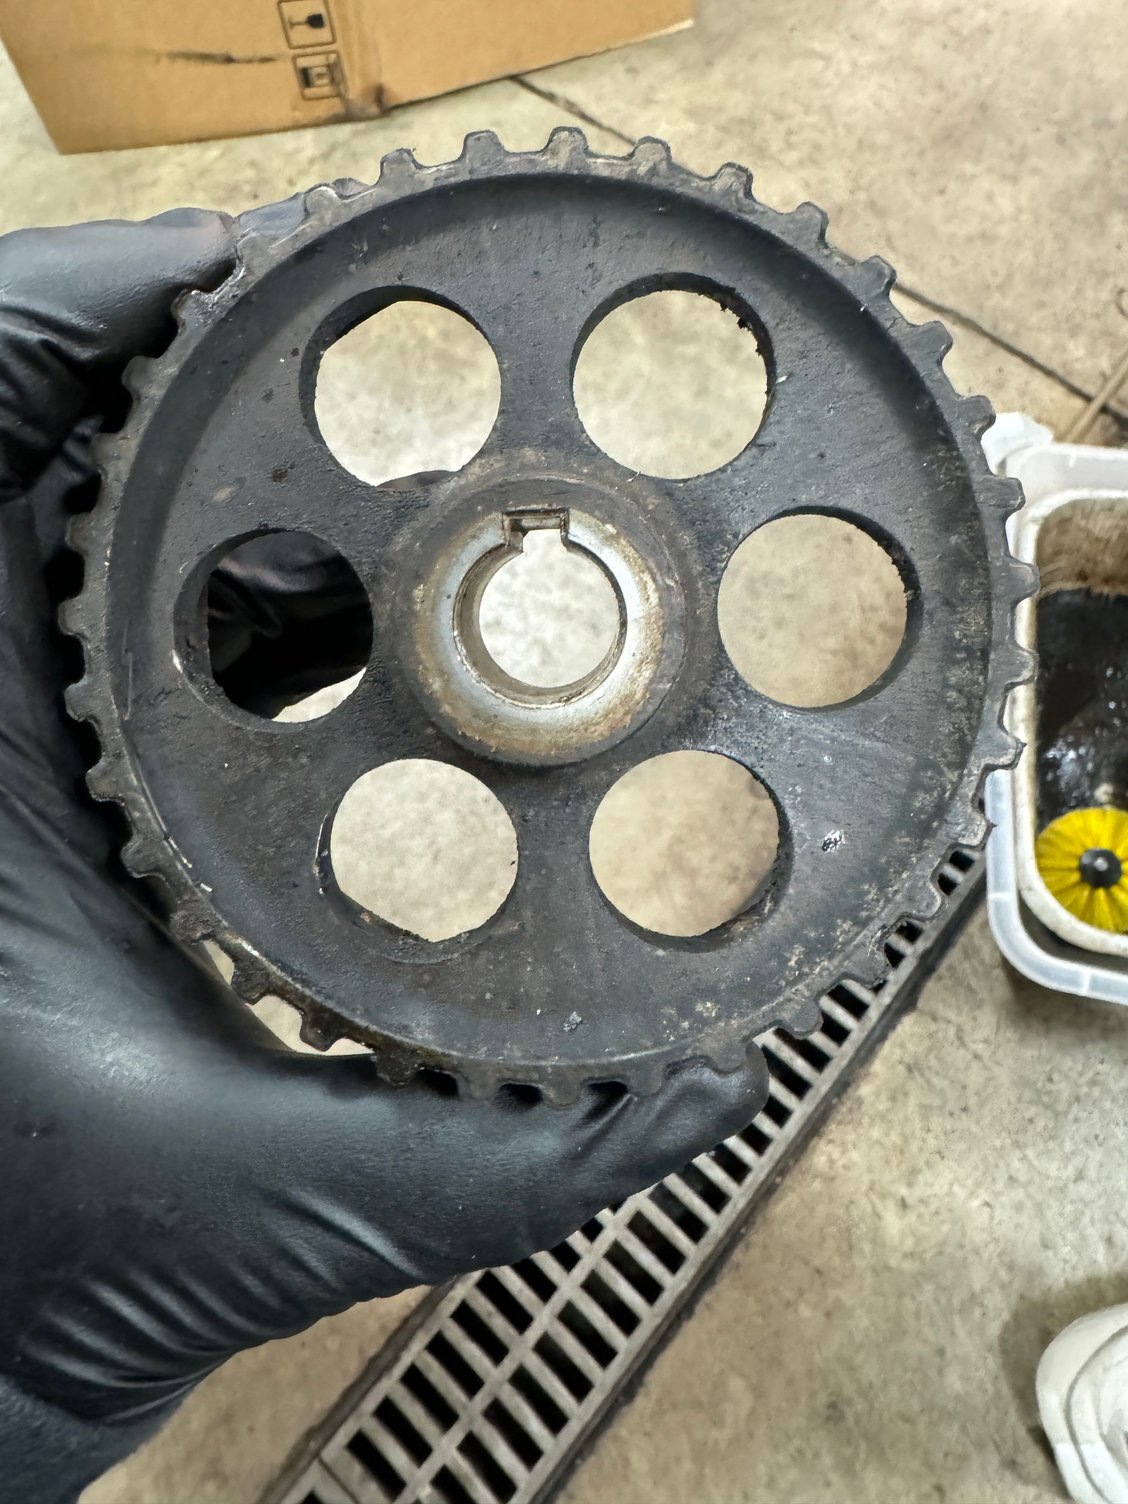
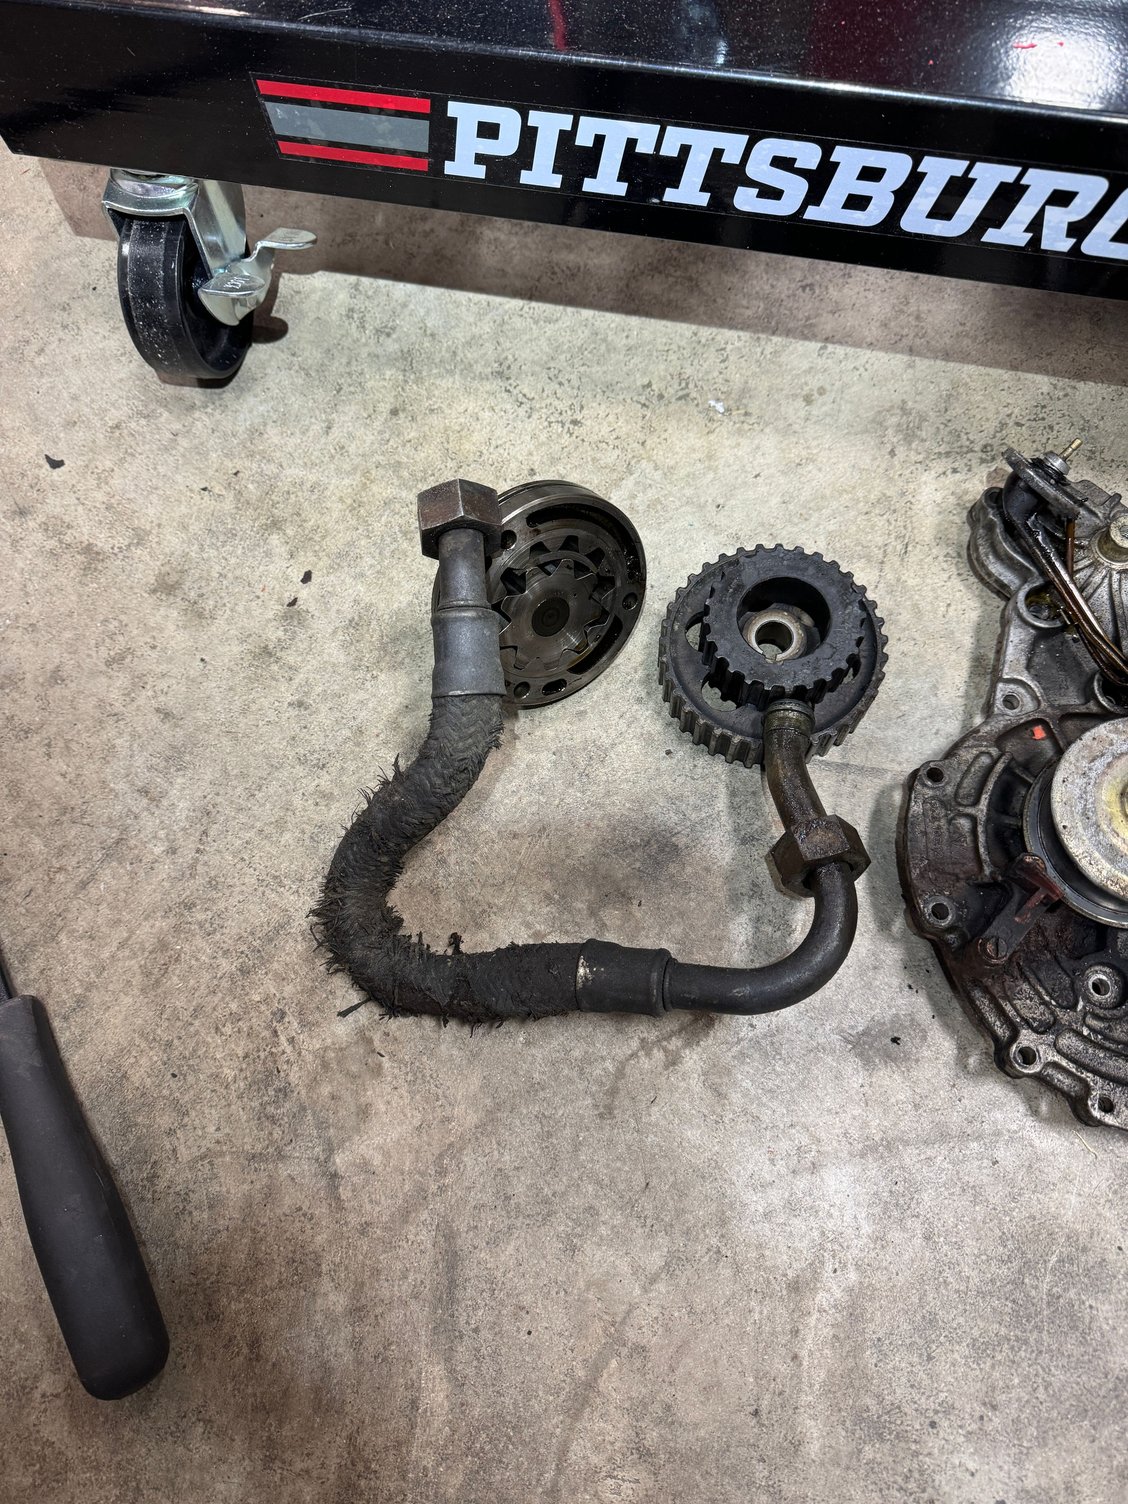
Now I’m waiting to have a hose rebuilt for the fuel accumulator vent, so I’m back at the engine. Got the 2 helicoils put in. It was my first time. I tried using a OTC drill-centering guide but it wasnt cooperating, so after cleaning and chasing all the bolt holes, I put the water pump back on with new bolts, thus using the water pump take-off as my drilling jig. Worked excellently. I’ve never had much success drilling/tapping but this time it went flawlessly. I know this is probably super simple for many of you, but I was pretty excited. Anyway, after finishing up the new helicoils, I continued front end disassembly. Nothing too exciting to report. The cam gear was a bear to get off but it’s off. I threw up some pics to make sure nothing looks too worn. Once finishing the disassembly, and cleaning, I’ll rebuild the oil pump utilizing some of the excellent write-ups here on RL. It is definitely a bit grimy, like the rest of the engine and there was not any evidence of the bolt O-rings. Finished half the front cleaning, will finish the rest tomorrow and then will likely drain the oil, flip her over and take the oil pan off, time permitting. It might take a bit cleaning up the mating surfaces at the water pump. After through cleaning, I was planning on using 1000 wet sandpaper to dress the surface?? Also, should anything be done about the light scoring from the WP impeller?
Last edited by streetsnake; Nov 28, 2024 at 09:52 PM.
I finished up cleaning the front and smoothing the water pump mating surface. Note: I’ll clean the oil pump area some more prior to reinstalling the pump. It’s still a bit dirty.
Turned my attention to draining the oil pan before flipping it over to remove the pan but it got me thinking. If I flip this engine over to remove the pan, any grit/crap is going to fall on top of the crank and piston areas. Would it make sense to remove pan from the bottom, like normal, to prevent this? I imagine so but that’s a bit of a bummer. I was looking forward to doing it the easy way.
Note: I have the radiator that went with this engine as well. I’m hoping the radiator/oil cooler are still good. The oil cooler loop made me question this. If this radiator isn’t good, hopefully Felix’s is. 😬 I’m pretty sure I can have either radiator re-cored but I didn’t know if the oil cooler section could be as well??
Rotate it so it's just past horizontal (engine valley pointing at 4 o'clock with the drain plug out and pointing down, and let it sit for 5 minutes, then take the oil pan off. Unless there's a lot of varnish in it (which you will already know since you can see into the pan down the oil filler chimney), you'll be fine.
Rotate it so it's just past horizontal (engine valley pointing at 4 o'clock with the drain plug out and pointing down, and let it sit for 5 minutes, then take the oil pan off. Unless there's a lot of varnish in it (which you will already know since you can see into the pan down the oil filler chimney), you'll be fine.
Thanks Rob. It’s definitely not clean down there but not sure how much varnish is too much??
Looks pretty dry in there, don't think you're going to upset much by just pulling the pan. Think of it this way- Whatever schmutz and varnish was in the oil that's now on the visible internal surfaces is also in the oil passageways in the cradle and around the main bearings too. So unless you're going to split the block and girdle (which I don't think there's any real upside to) I would just take the pan off, clean it out, maybe spray whatever you can knock off with some brake cleaner, and then count on one cycle of oil changes with Delo 15-W40 once the motor's back together and running. Let a high-detergent oil and an oil filter or two do the work.