When you click on links to various merchants on this site and make a purchase, this can result in this site earning a commission. Affiliate programs and affiliations include, but are not limited to, the eBay Partner Network.
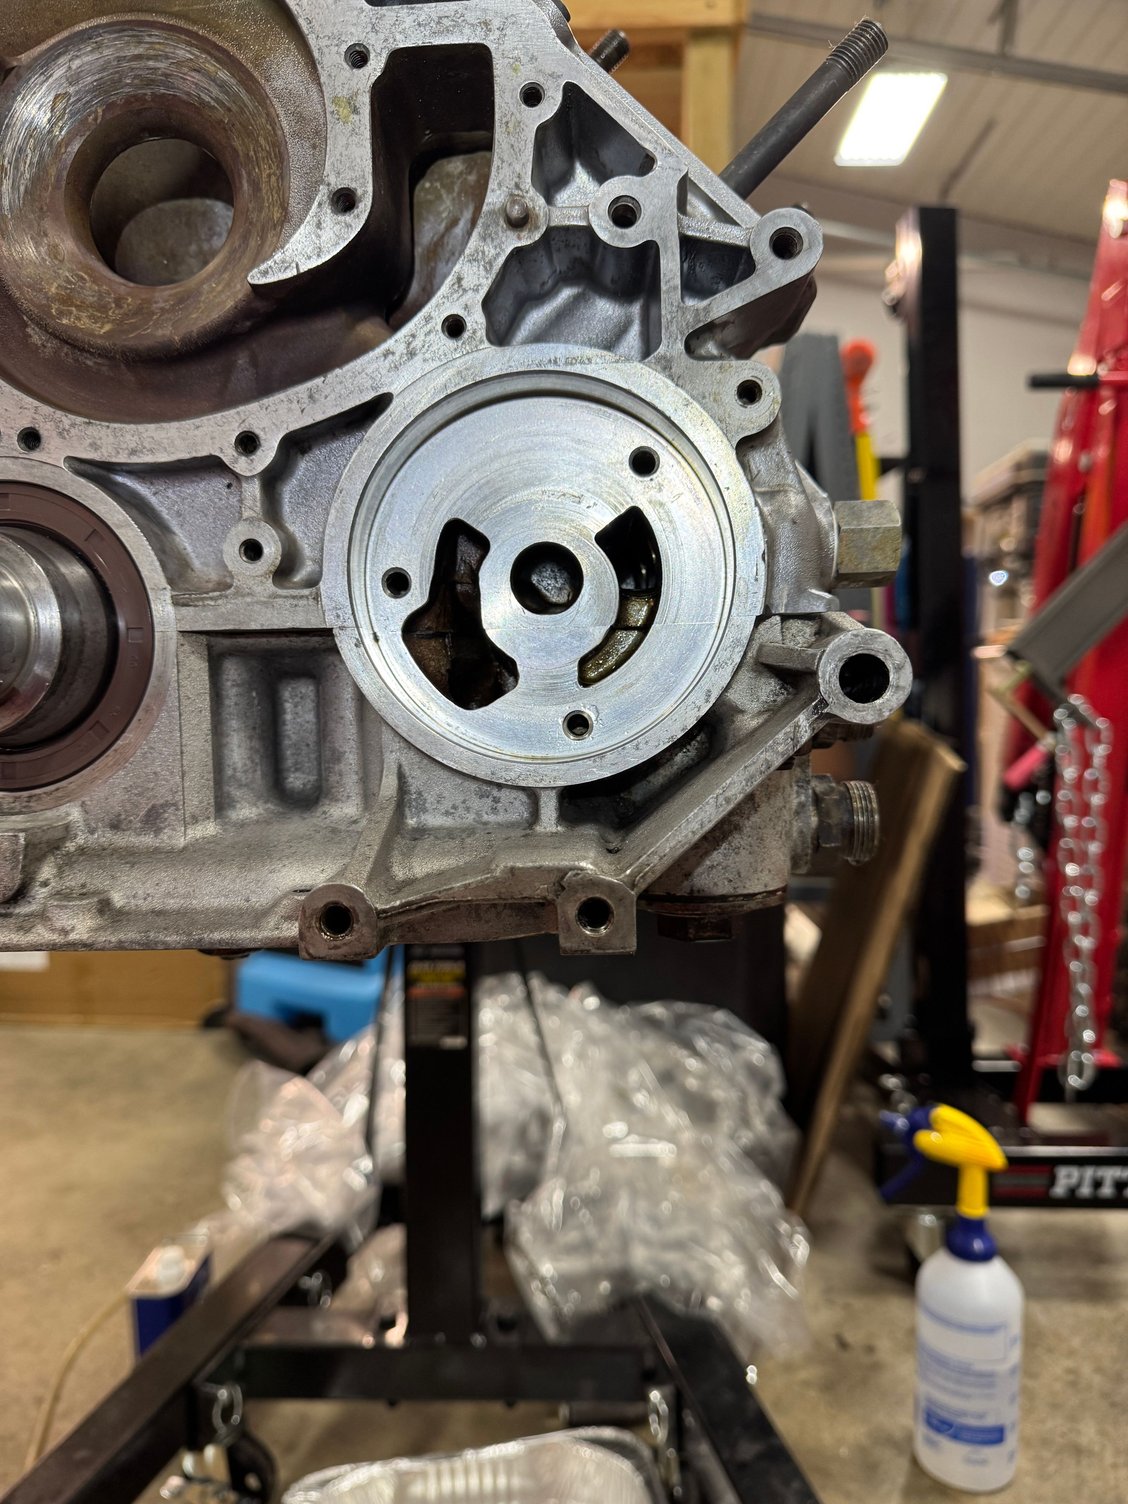
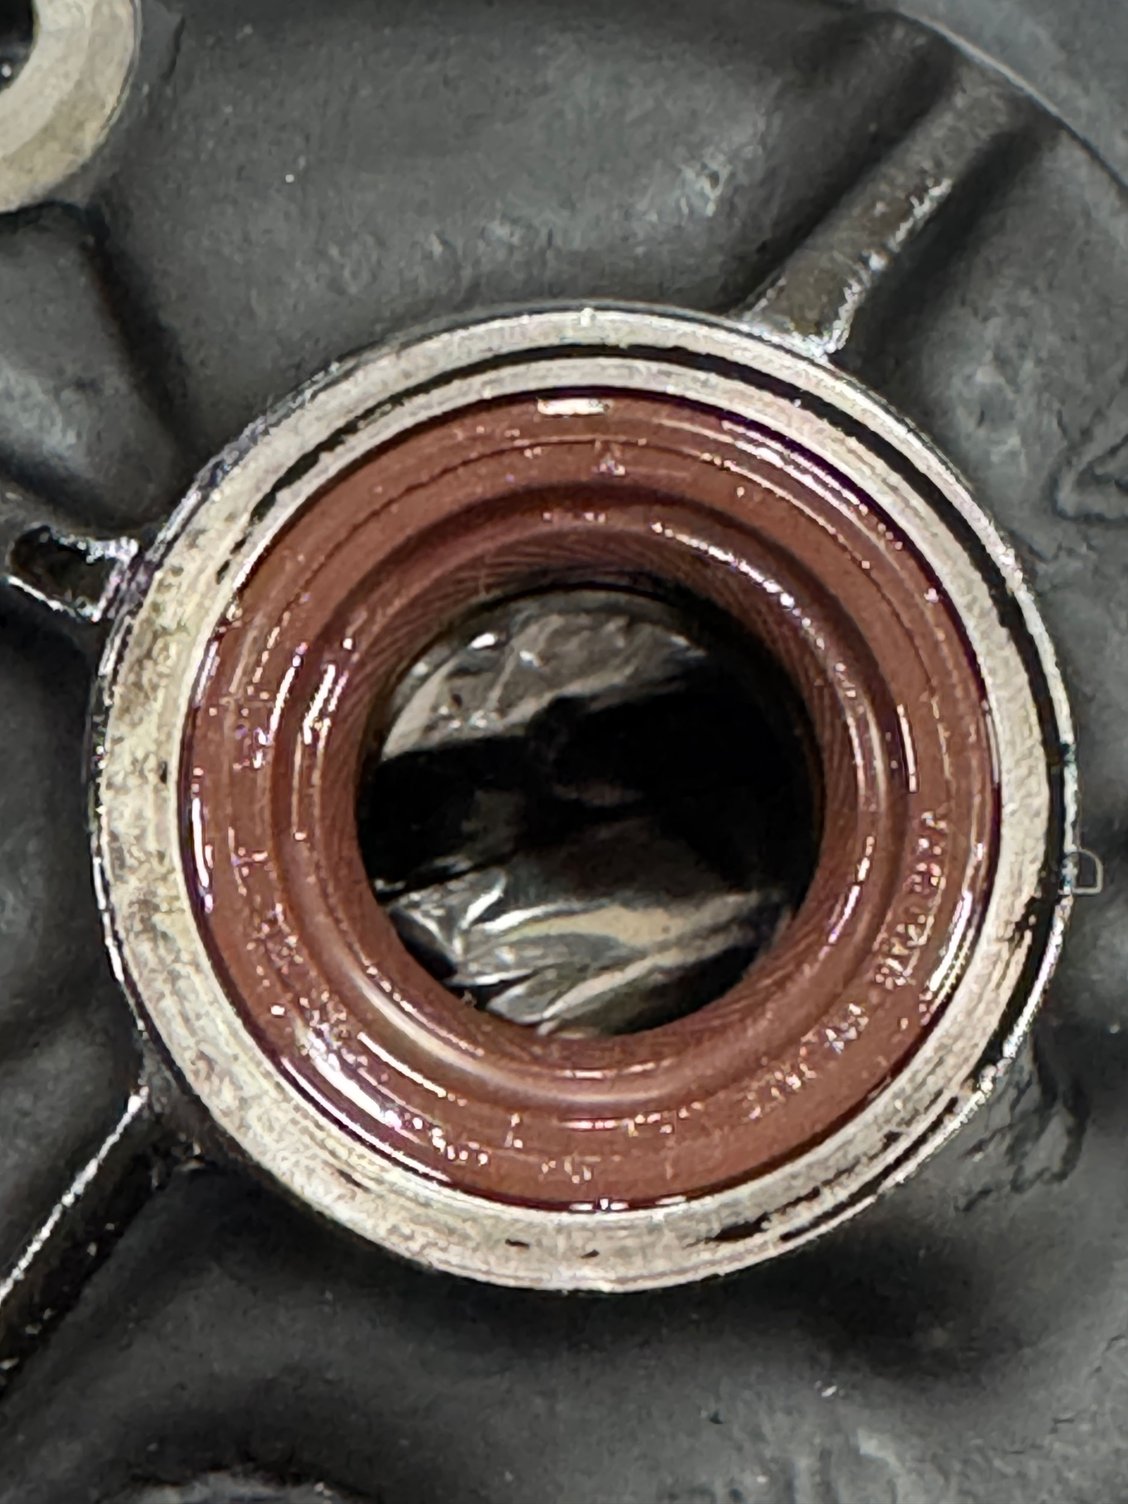
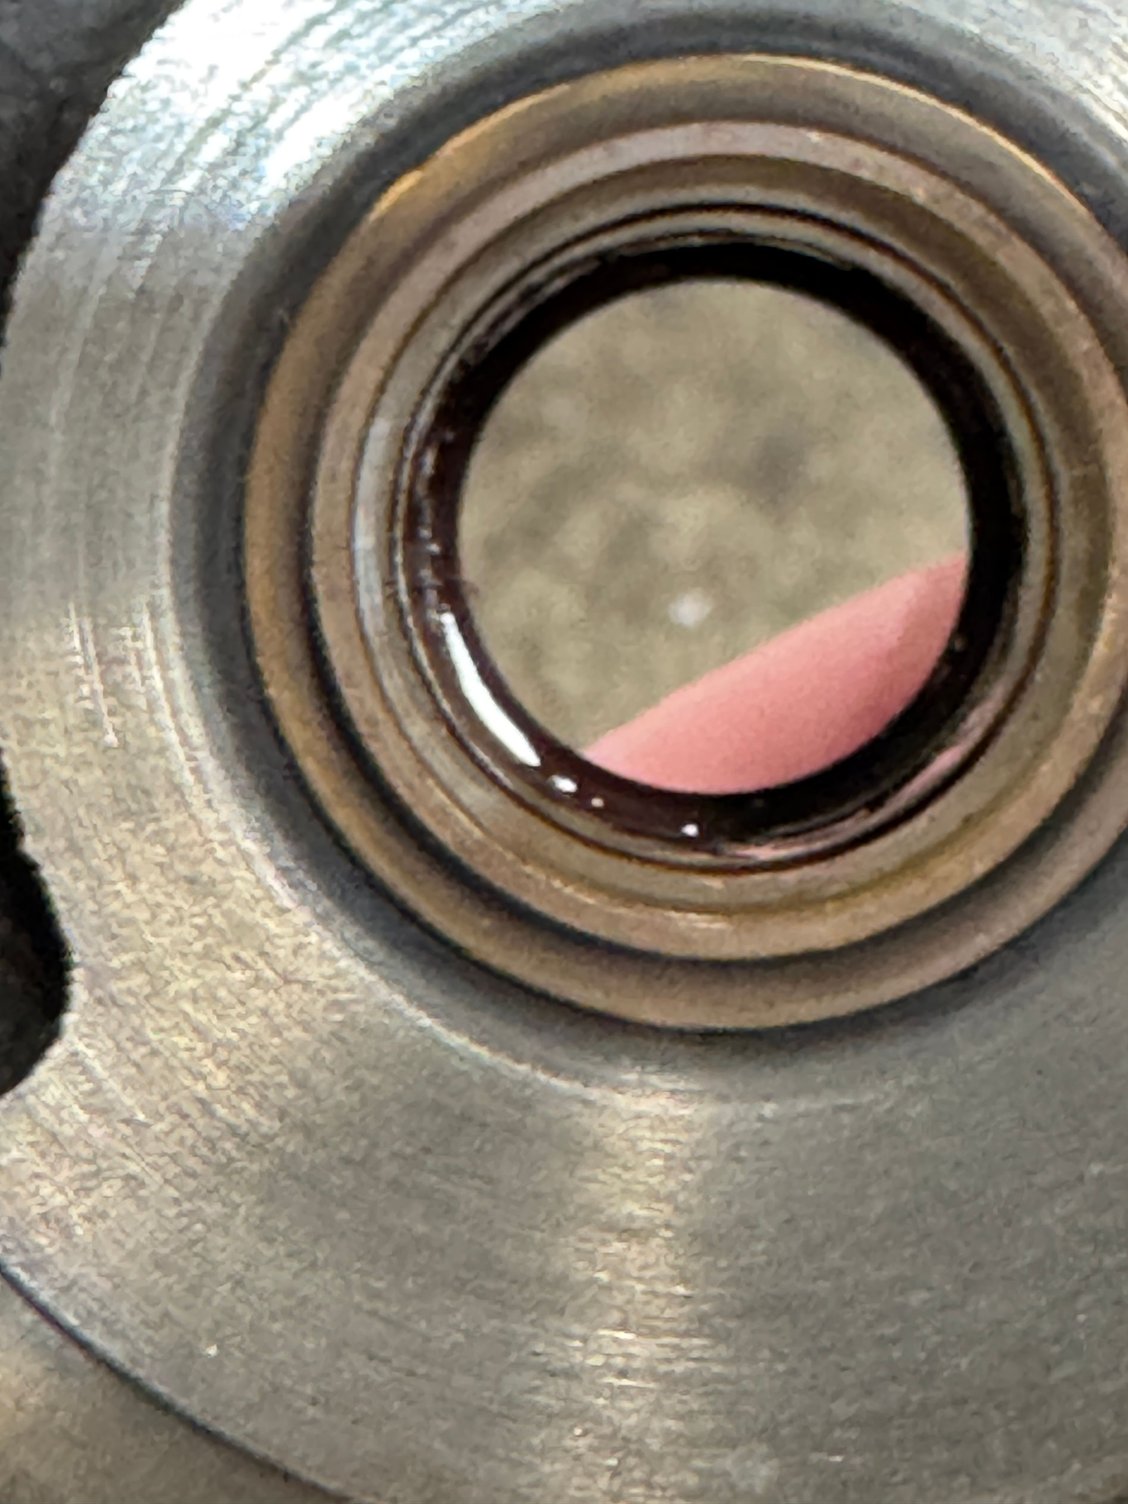
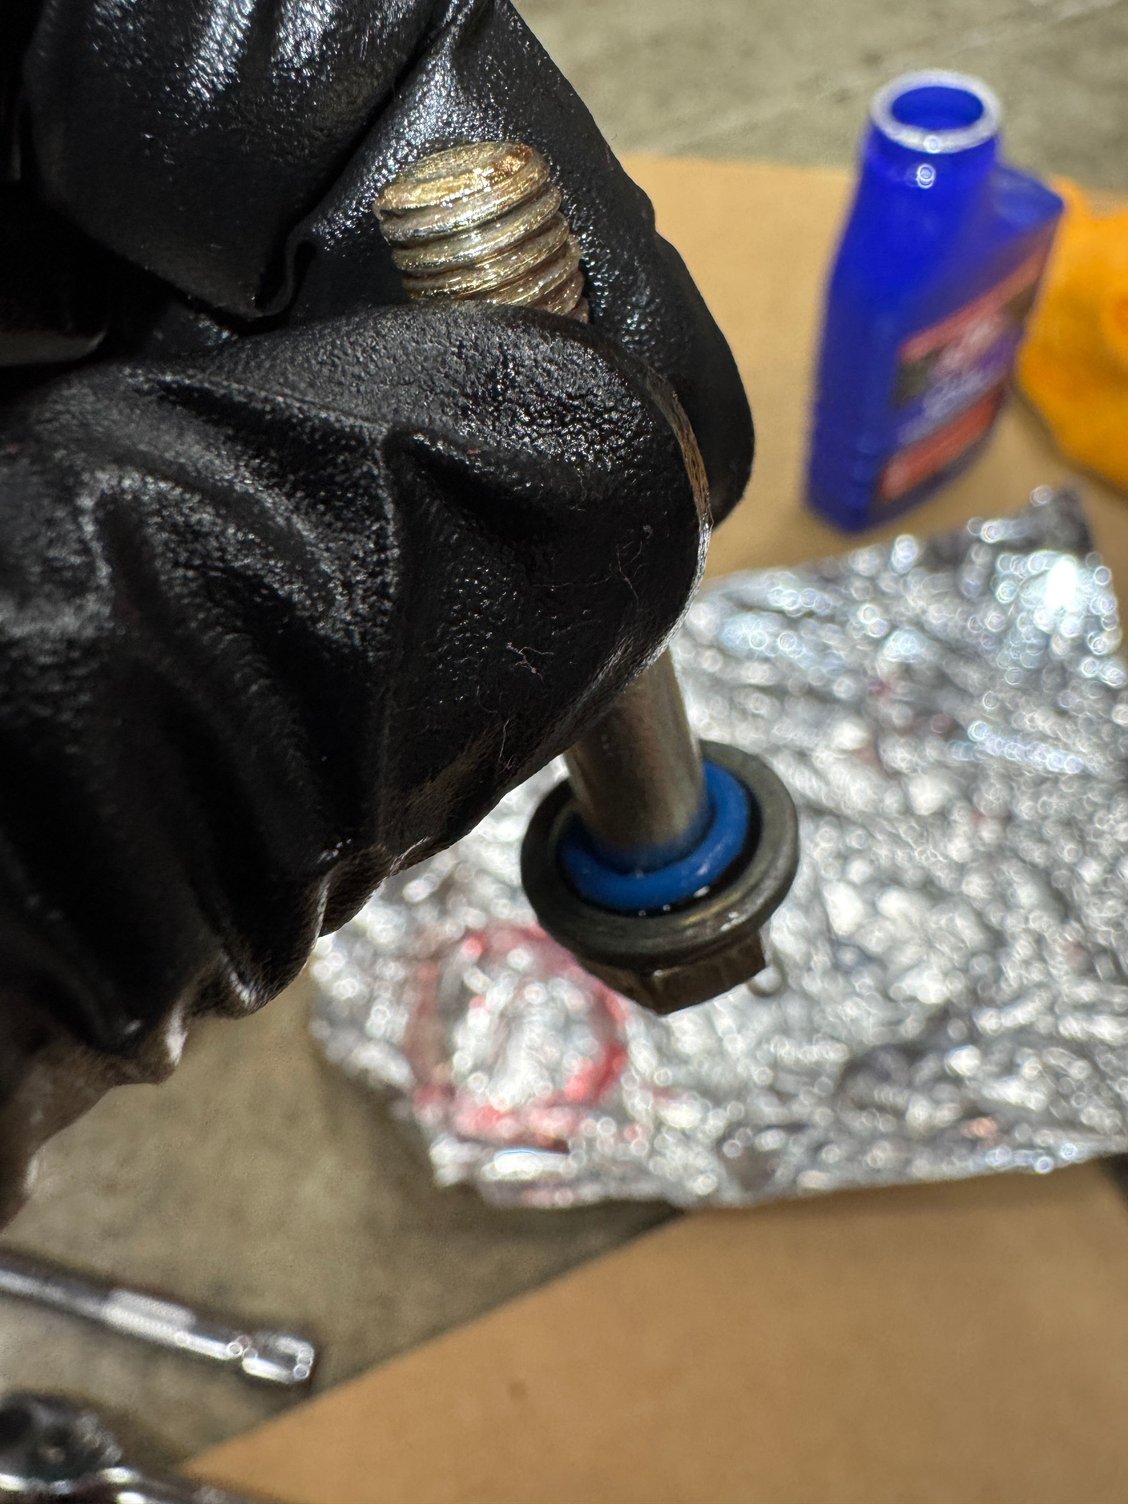
Finally a little progress. It took quite a bit longer than I was expecting, as I was going very slow, checking notes, write-ups, WSM, etc. Regardless, I couple steps forward. Everything lined up, ready to roll Seal installed easily Engine assembly lube applied Ditto on the lube…there is a bit more than there appears to be Filled the pump with STP. Both black dimples face the block 111 applied to all 4 o-rings and around the outside of the pump where it contacts the block. Dual stage torquing…15 to 20 ft/lbs FINISHED Final cleaning Decided to install dry. I really hope I don’t regret that decision. I understand the WSM does not call for any sealant but…. I really don’t want to end up with any types of leak. Finished up. Bolts torqued to 84 in/lbs " class="post_inline_image" data-size="2000x1504" loading="lazy" />
Half way done with the front…kind of.
Test-fit the center timing belt cover on and make sure you didn't already put a bolt where the cover gets bolted on. I usually forget and have to undo a bolt or two, not the end of the world. .
Test-fit the center timing belt cover on and make sure you didn't already put a bolt where the cover gets bolted on. I usually forget and have to undo a bolt or two, not the end of the world. .
Yep, been there done that (a couple times). Nice job Streetsnake. Keep up the good work!
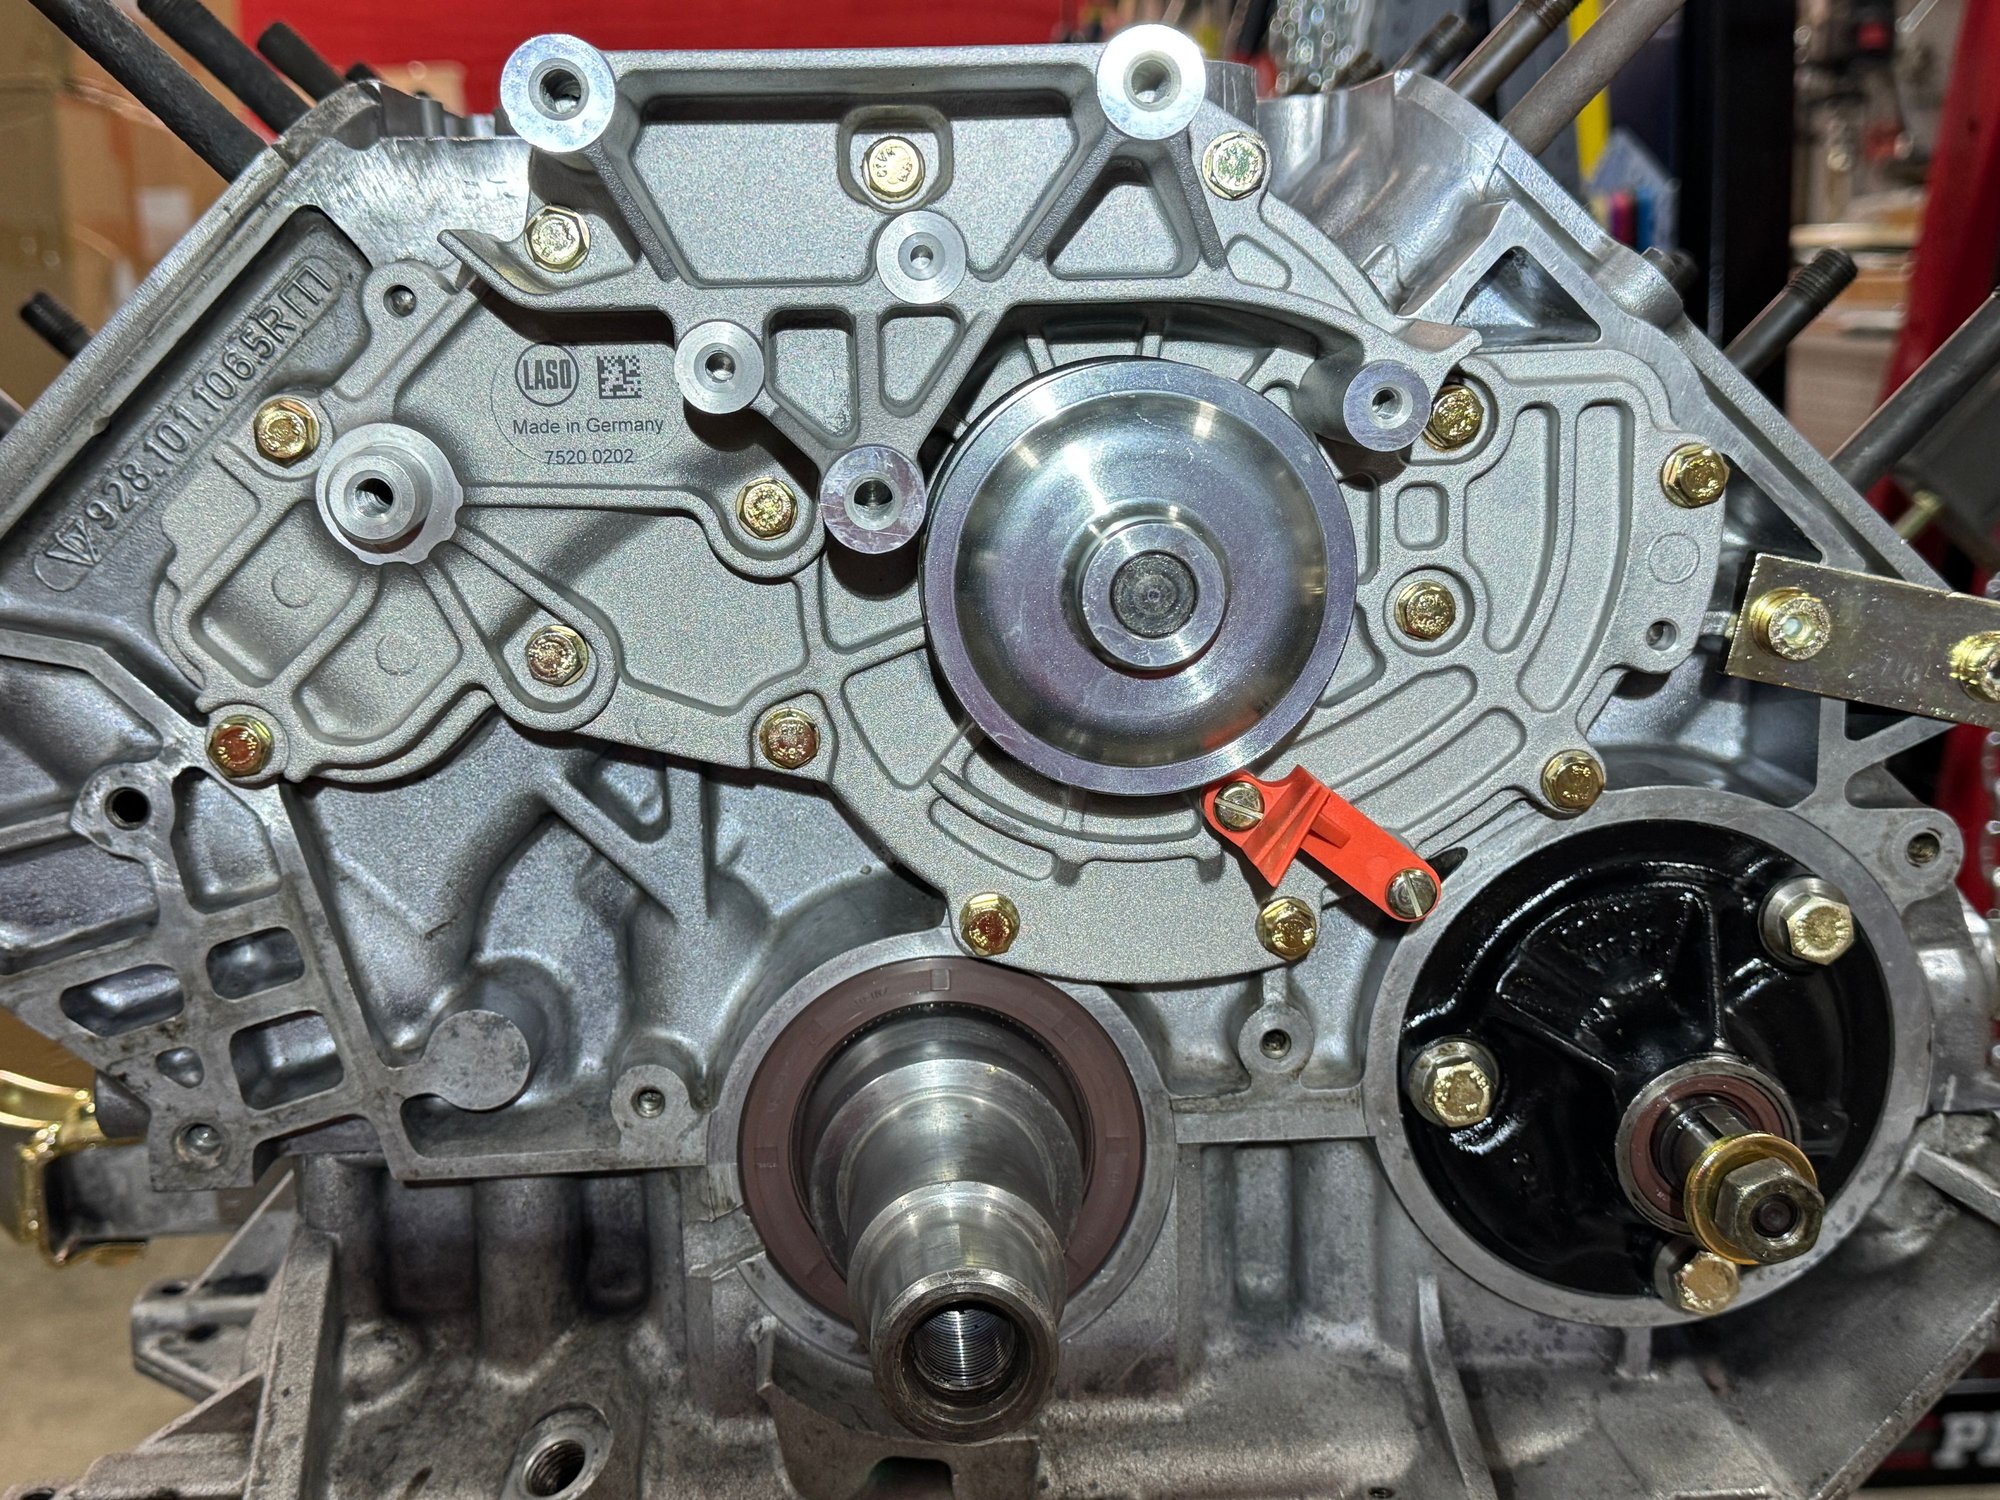
I’m about as far as I can go on the “new” engine until I get the heads/cam towers back. Finished installing the oil pump pulley, crank gear install, belt tensioner and idler pulley. Installed for aesthetics only. I had to order a 62mm bolt for the bottom of the belt tensioner. Once I get that, I’ll use Loctite 574 on the top right bolt and get it finished up. I guess it’s back to Felix’s rear fuel components. A good chance of scenery for you guys, I imagine. As always, if you see anything that Ive overlooked, please let me know (you’ll see the bolt on the water pump has been removed )
Man, I wish I could put the harmonic balancer and other pulleys on…patience is a virtue that I struggle with. lol You’ll see the clip from the old has been transferred to the new. Torqued to 15 lbs. I wanted to loosely put everything on to better understand how the belt ran and the belt tensioner functioned.
Great progress, Ben! I would suggest a new tensioner arm pivot bolt. They seem to be a bit of a weak point, and I personally had one snap many years ago, about a year after I installed a new water pump/belt.
Great progress, Ben! I would suggest a new tensioner arm pivot bolt. They seem to be a bit of a weak point, and I personally had one snap many years ago, about a year after I installed a new water pump/belt.
Hey Andrew. Thanks for the suggestion. As I'm constantly in a learning phase, may I ask why? Is it because it's a re-plated original or because my pics make it appear on the short side? I was having a hard time understanding why there was so much slop with the bearing and it had barely any threads exposed until I went to check it out on the pump itself. Once I saw the bearing slid over the WP housing and there was plenty of threads available for attachment, I was much happier. LOL However, to your point, it is a re-plated original so...
I suspect mine had been overtorqued by a previous mechanic, but didn't show any external signs of damage. When I ordered a replacement bolt from 928 International, Jim Bailey mentioned "oh yes, we sell lots of these for the same reason". This was about 2003 or so.
Yours might be fine, but for me it's cheap peace of mind to replace it at each belt change.
After having done this a couple of times on Goldie (my ‘79), I’ve gotten fairly proficient at it. Had it out in about an hour. Haven’t given it a close look-over yet. The biggest obstacle was getting the clutch release lever unseated from the ball stud on the top-side of the engine. I’m suspecting that when the PO blew the motor, all kinds of coolant, oil, etc went all of the engine compartment and leaked down into the lower bell housing. Clutch slave Rod end was rusted to the clutch release lever cup God only knows what all this nastiness is. Steel dust, correct? Resulting from lack of the proper lube? Pinned back the pressure plate And out!!
It’s odd, underneath, from the firewall (or so), back, the car is in excellent condition. The firewall, forward, a whole other story. 😬
Last edited by streetsnake; Dec 19, 2024 at 08:57 AM.
Another few, small, steps forward. Nothing earth-shattering. However, I wanted to document the process and also ask a couple quick questions.
Progress:
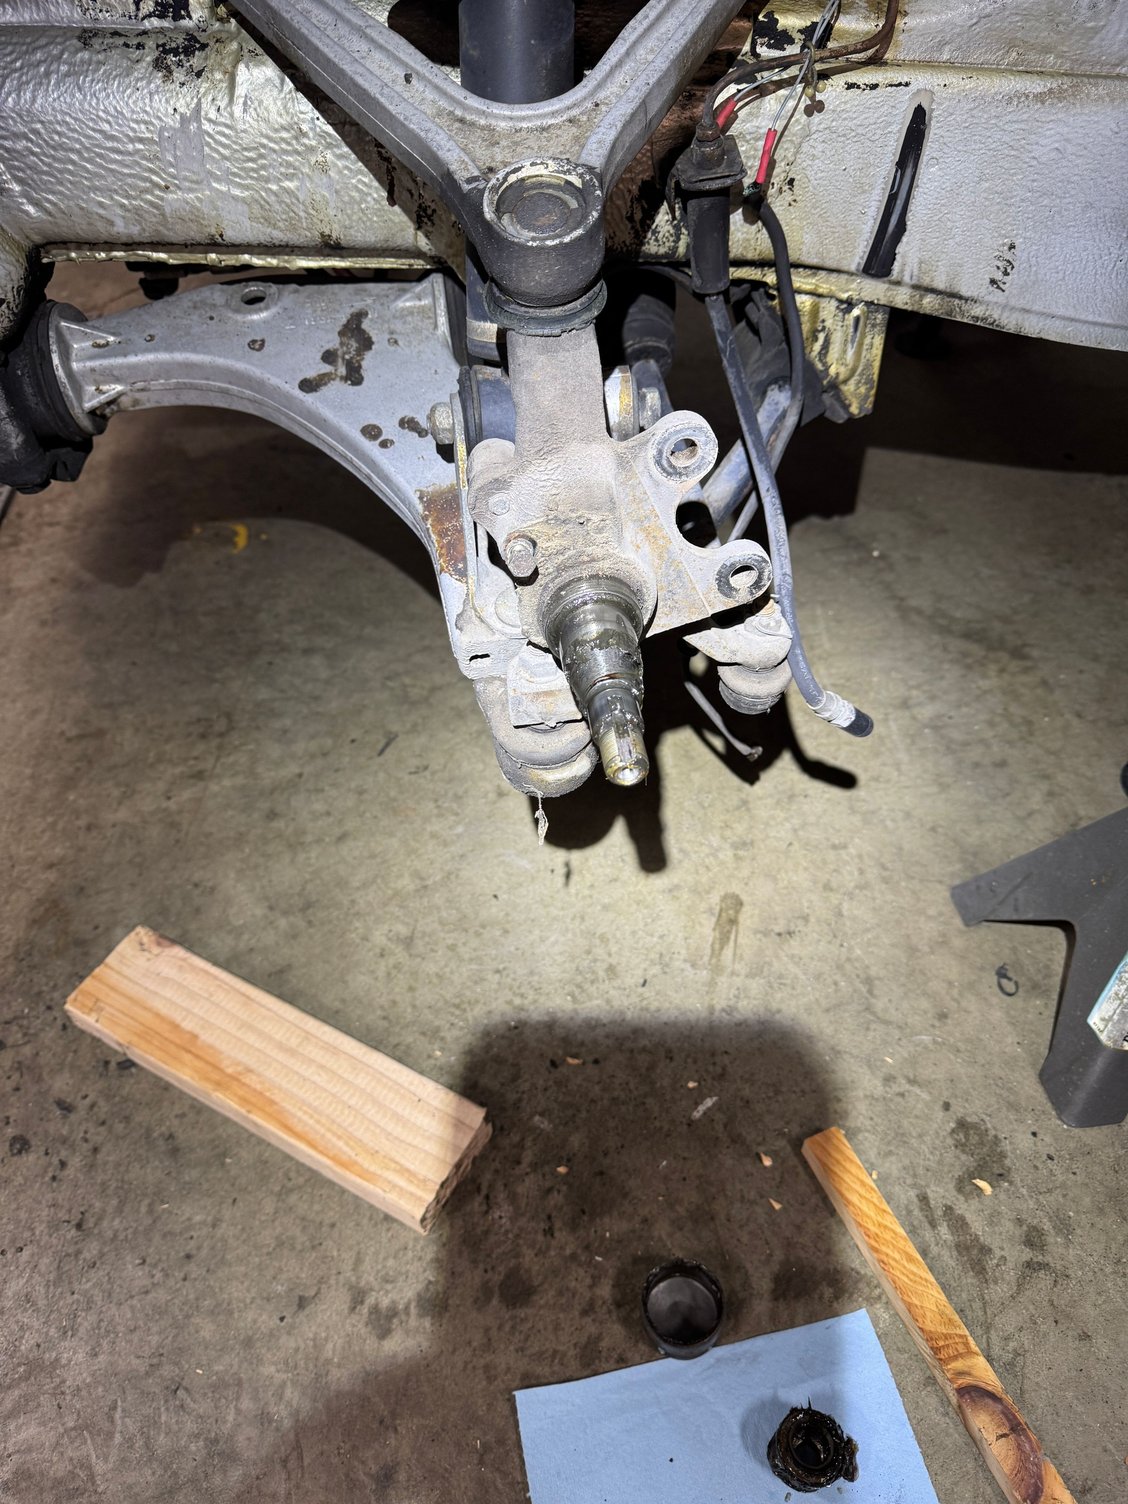
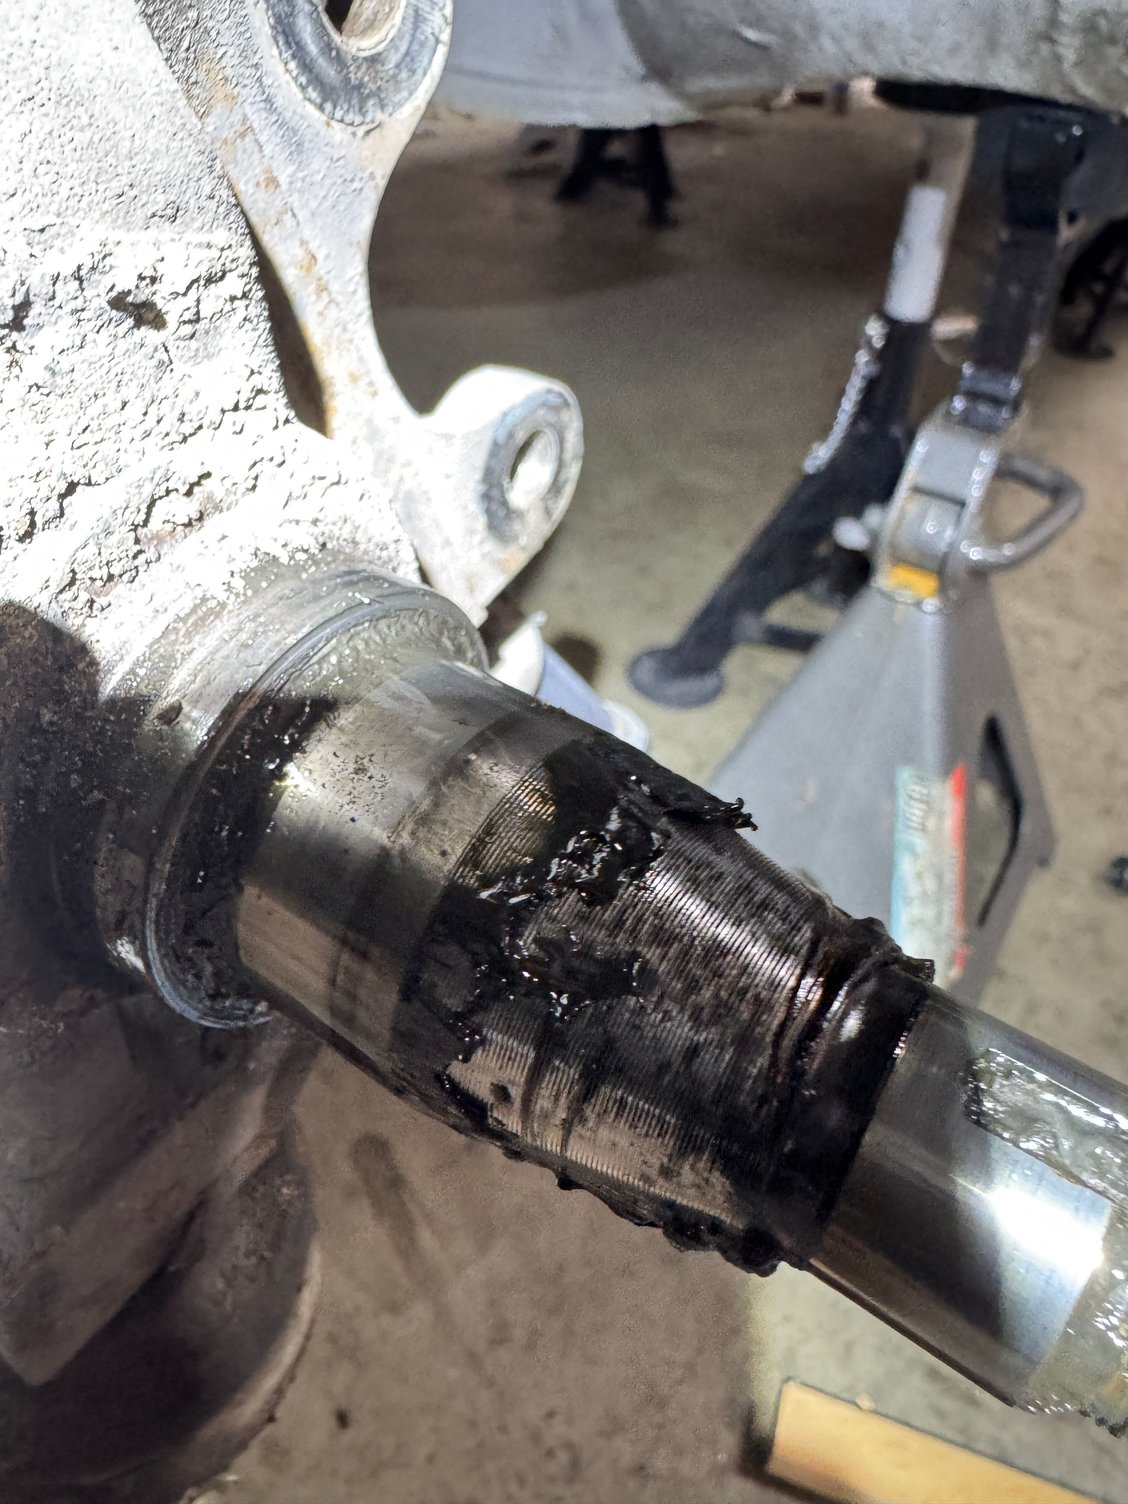
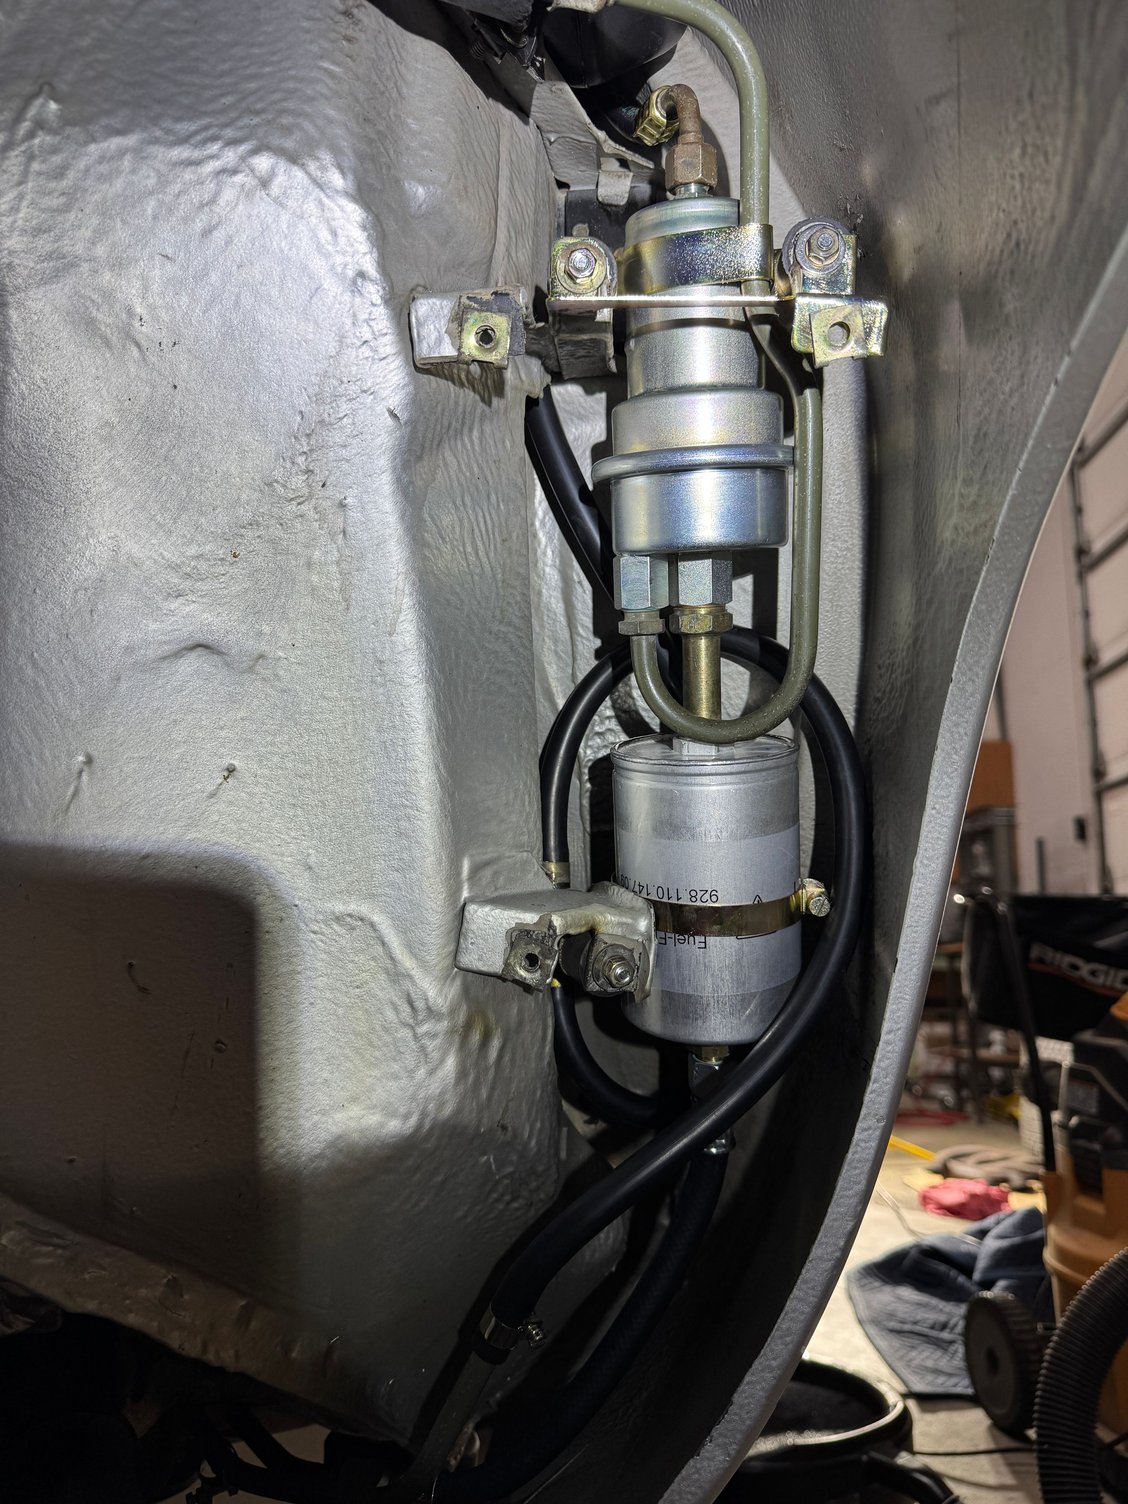
Got the new fuel accumulator, filter and associated fuel lines replaced. Also, pulled the brakes/rotors and needed to pull the front hubs off to get to the brush guards (wanted to get them cadmium plated when I send the brakes off to caliperhq).
Questions:
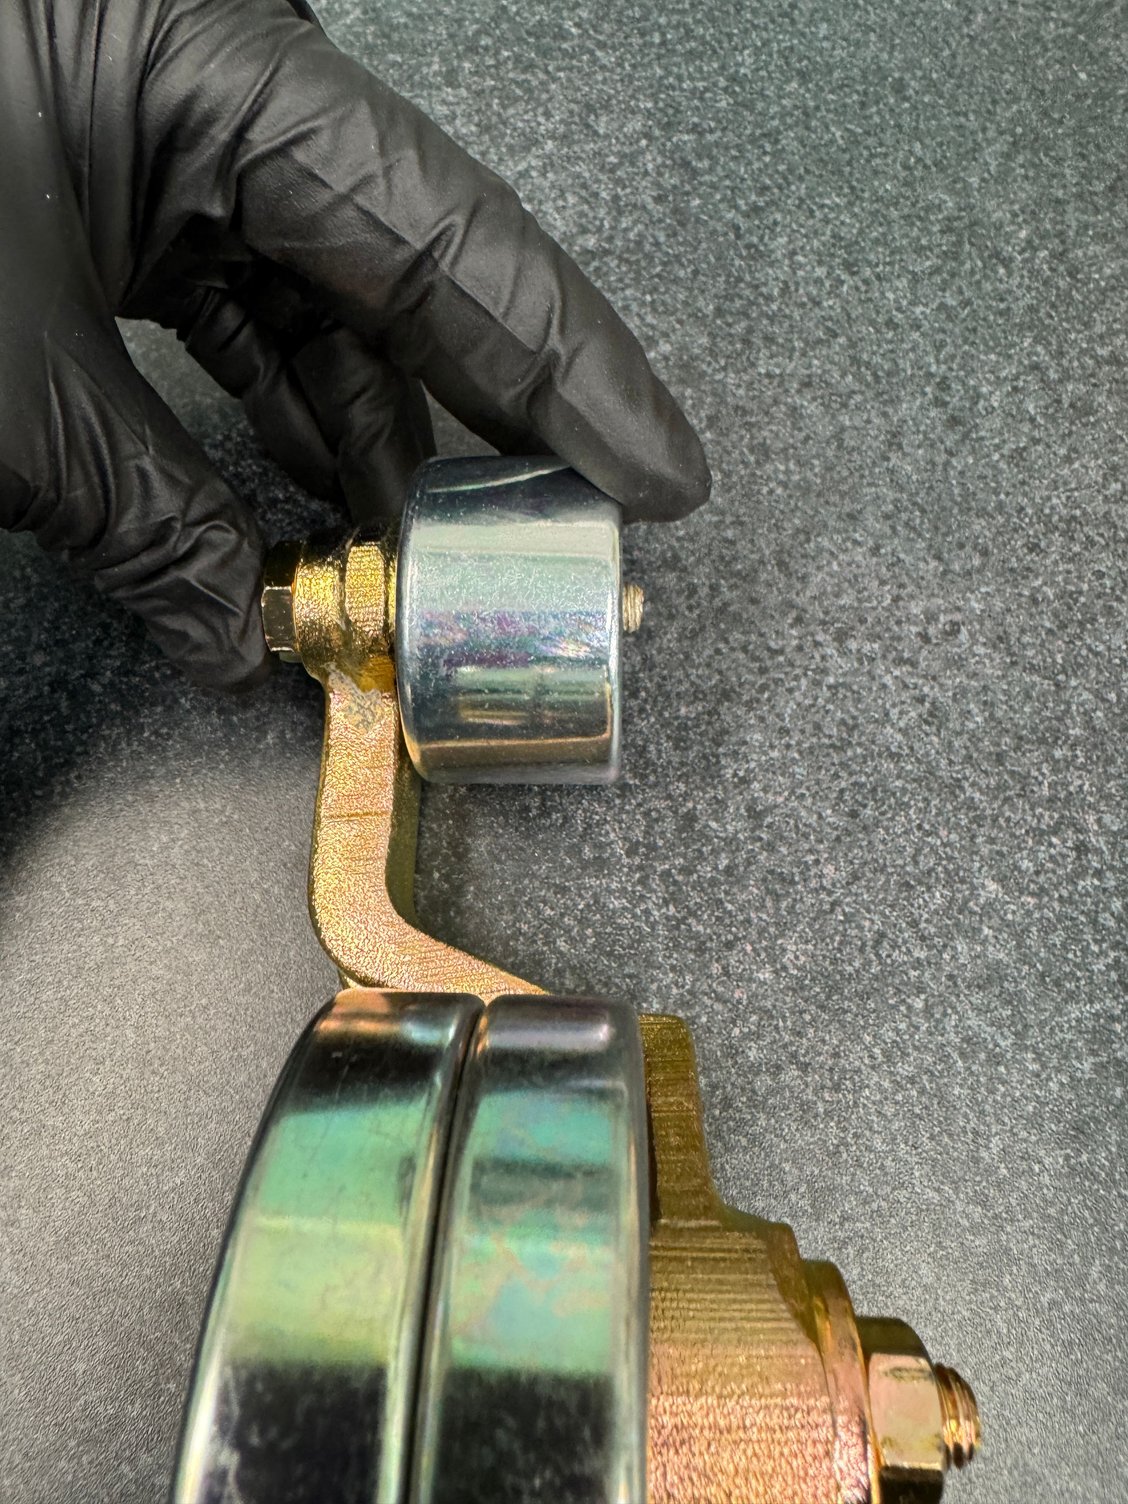
1. If you take a look at the pic below of the rear, fender-mounted fuel pump, you’ll see that the PO had a check valve utilized and it was capped. I’m thinking of just installing the proper banjo bolt but is there any advantage or reason I would leave the check valve and cap?
2. Does anyone have a pic or info on how to appropriately run the wiring for the fender-mounted pump and the back to the under-tank pump? Goldie does not have a fender-mounted pump, so I can’t sneak a peak. The PO had all the wiring pulled down as outlined in the initial pics and the beginning of the thread.
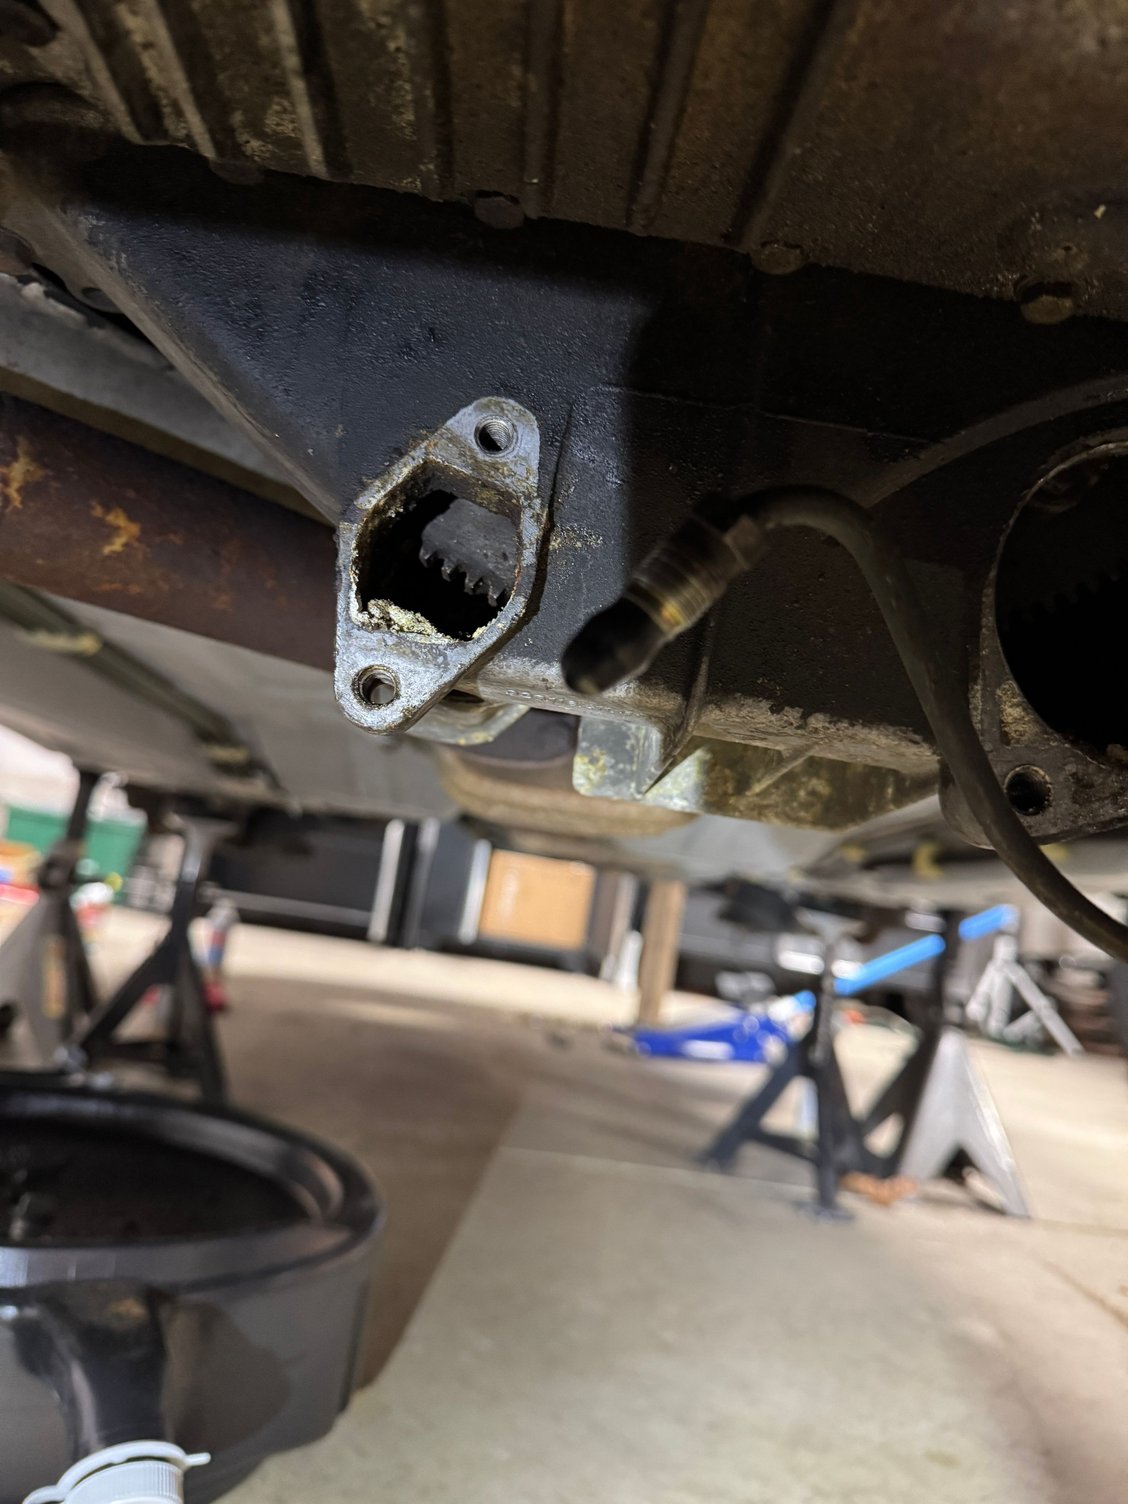
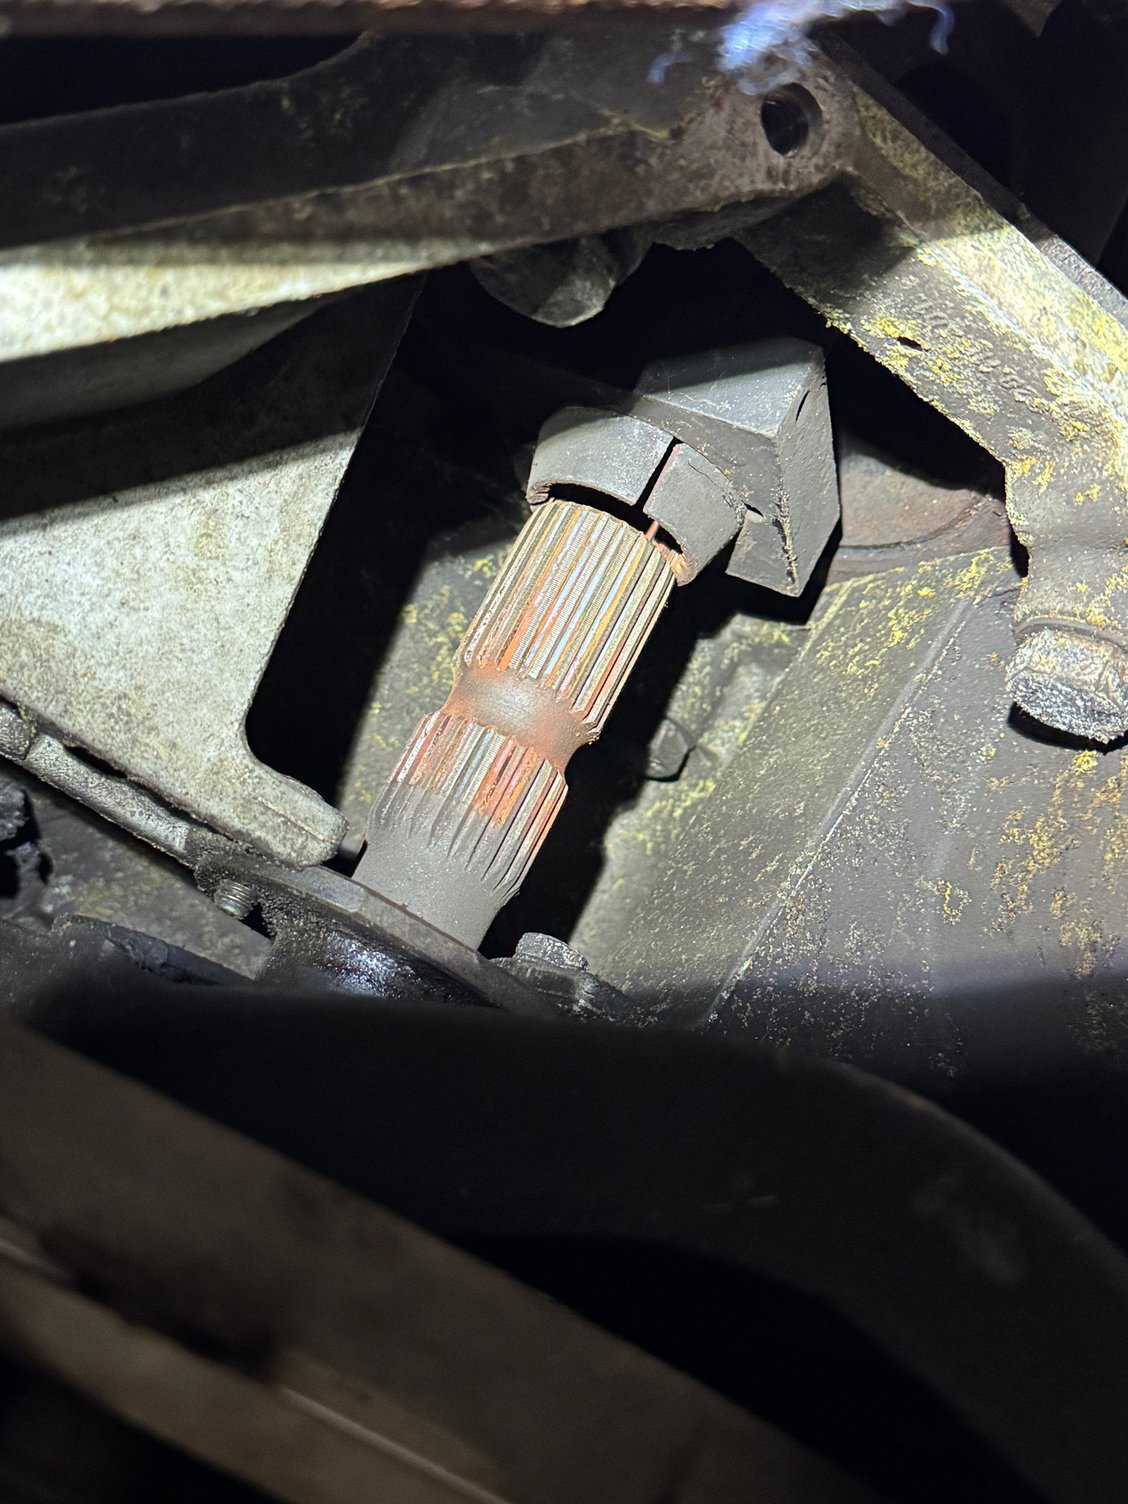
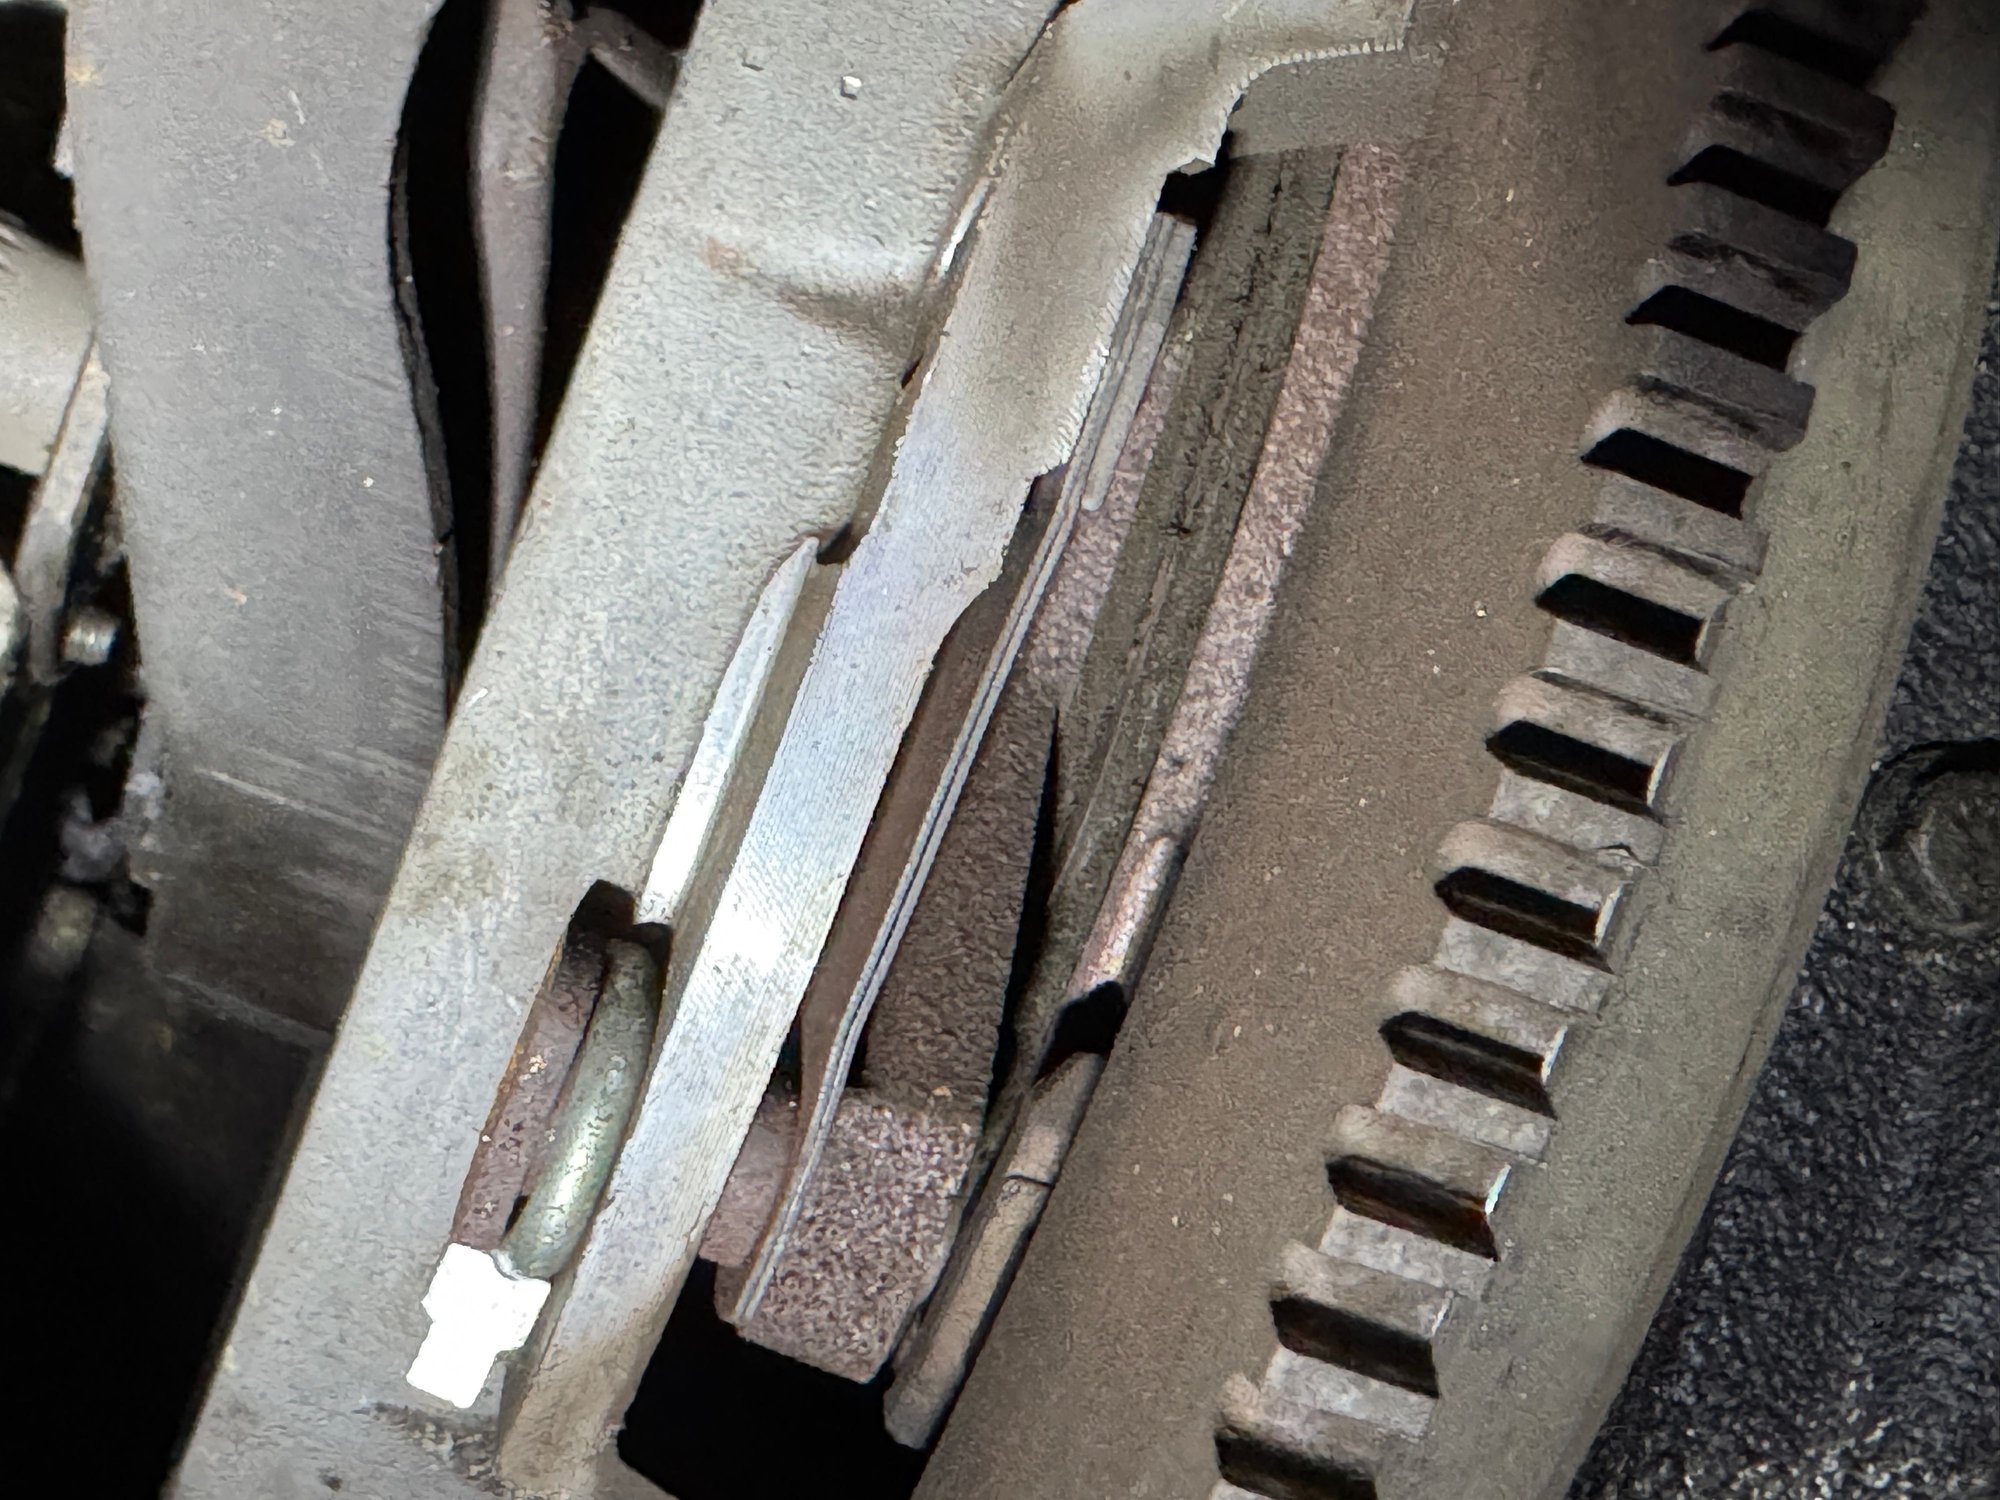
What’s a better way to cap off Christmas at the in-laws than working on Felix. 😂 Starting to prep everything for engine removal. On the underside, removed exhaust manifold flange bolts, lower bell housing bolts and motor mount bolts. On top, you can see below. Still aways to go on the top, bottom, and front but it’s a start.
No big commentary today. Everything came apart without incident.
I had 2 thoughts that I was hoping I could get some input on:
1. I have the radiator from Felix and also a radiator from the ‘79 euro (where I got the engine). Both have the integrated oil cooler. The problem is, I don’t know if both are perfect or both are bad. I was hoping to get one of them recored. My question: can both sections (radiator and oil cooler) be recored?
2. The condenser came apart well and looks to be in excellent shape, however, I do not know for sure. Can an A/C shop pressure (or vacuum) test the condenser to determine serviceability?
I would be surprised if you can find a local shop to re-core an original radiator. The cores are aluminum with crimped in-place plastic end tanks, not soldered brass/copper like earlier generations of radiators. At one time there were new end tank seals available, my car had a tank resealed prior to my ownership. Amazingly, it's been fine for 20+ years.
For the sake of your project, hopefully I am mistaken, and you find a local connection.
The oil cooler is likely just a loop through the end tank, maybe with some external fins on the loop. There's not much to repair unless the tubing has a hole. If you do find a shop that can re-core, they'll be able to look at the oil cooler once the end tanks are removed.
For the A/C condenser, there isn't much to test other than pressure/vacuum as you note.
Last edited by Andrew Schauer; Dec 26, 2024 at 09:54 PM.


 " class="post_inline_image" data-size="2000x1504" loading="lazy" />


 " class="post_inline_image" data-size="2000x1504" loading="lazy" />


 . Nice job Streetsnake. Keep up the good work!
 )
)