When you click on links to various merchants on this site and make a purchase, this can result in this site earning a commission. Affiliate programs and affiliations include, but are not limited to, the eBay Partner Network.
Hey @captainOCD thanks so much for the links and reference. That was super useful for me and as stared at the wiring diagrams it all made sense. The wiring diagrams of for your 86.5 and the 92 were more or less the same in terms of functionality the biggest difference was the the digital dash.
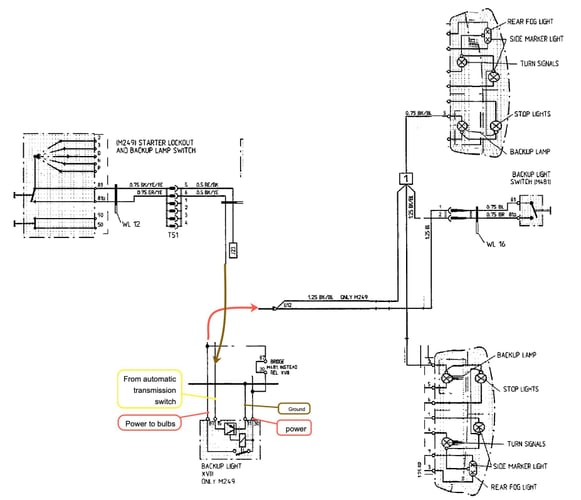
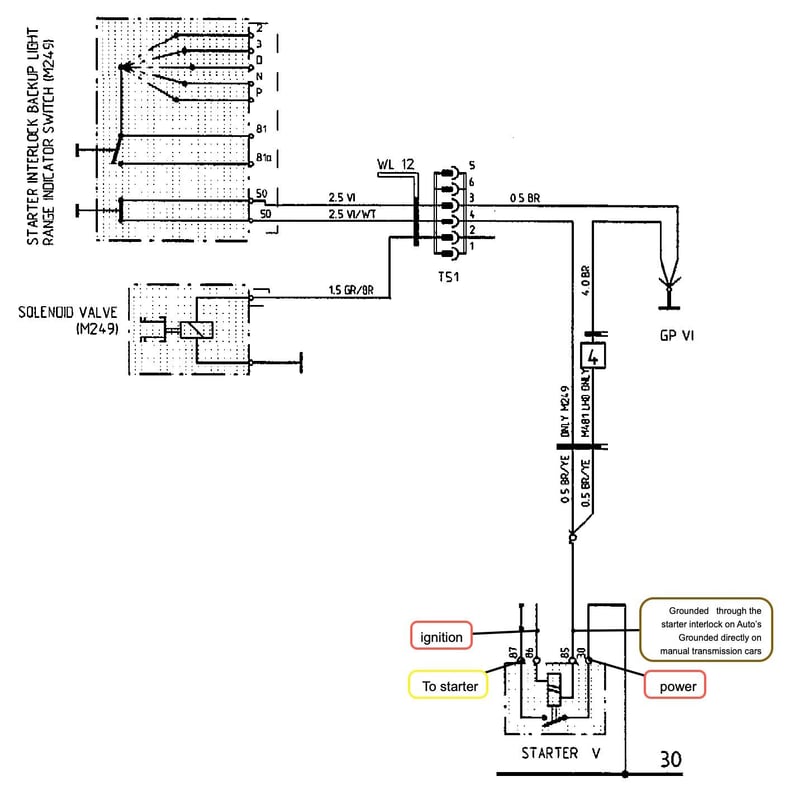
In looking at the backup harness I determined the switch of the manual transmission would be wired to pins 5 and 6 on the 6-pin harness in the tire well. Based on the good advice above bypassing the starter interlock, I was able to determine that pin's 3 and 4 should be bridged to always present a ground to the starter relay as the manual cars do. This was a lot easier to figure out than the backup light.
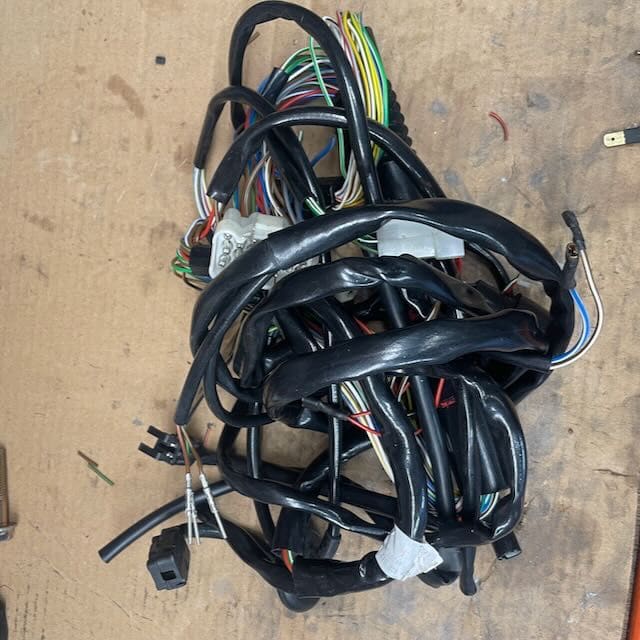
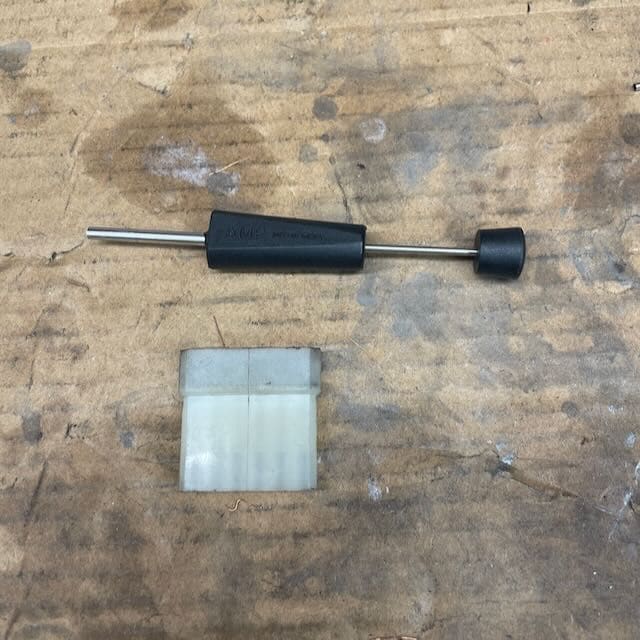
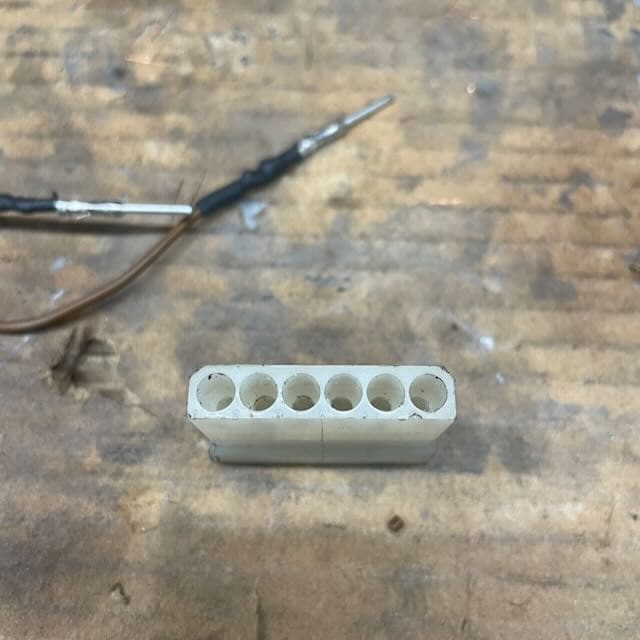
Armed with this insight I went to work making a harness that would address both objectives. I was able to scavenge a connector and some pins from my bin of wiring harnesses
De-pinned the connector and got to work.
First up was the ground loop for the starter interlock for pins 3 and 4.
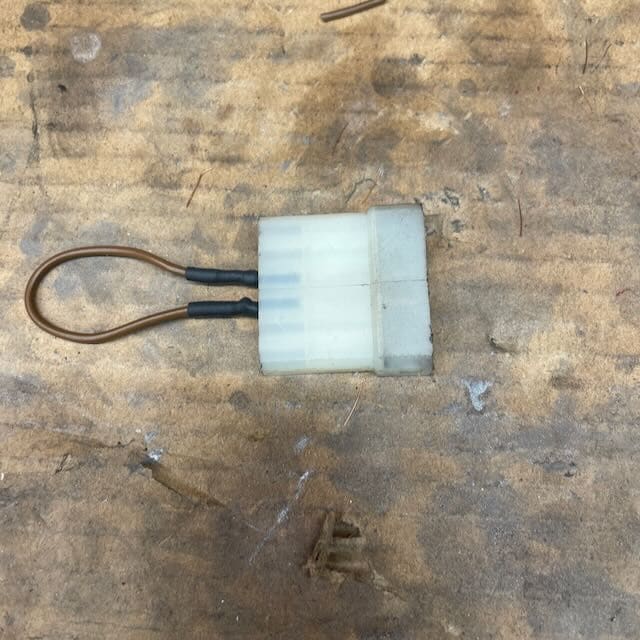
Next up solder up the pins on the harness for the manual transmission backup light switch.
All done, plug and play! I think it turned out pretty good and no harness damaged in the process. Now we just need a transmission to plug it
i am curious if there are any other electrical concerns I will need to address? I seem to remember some connector in the steering column that was specific to automatics.
Looks like it's going great.
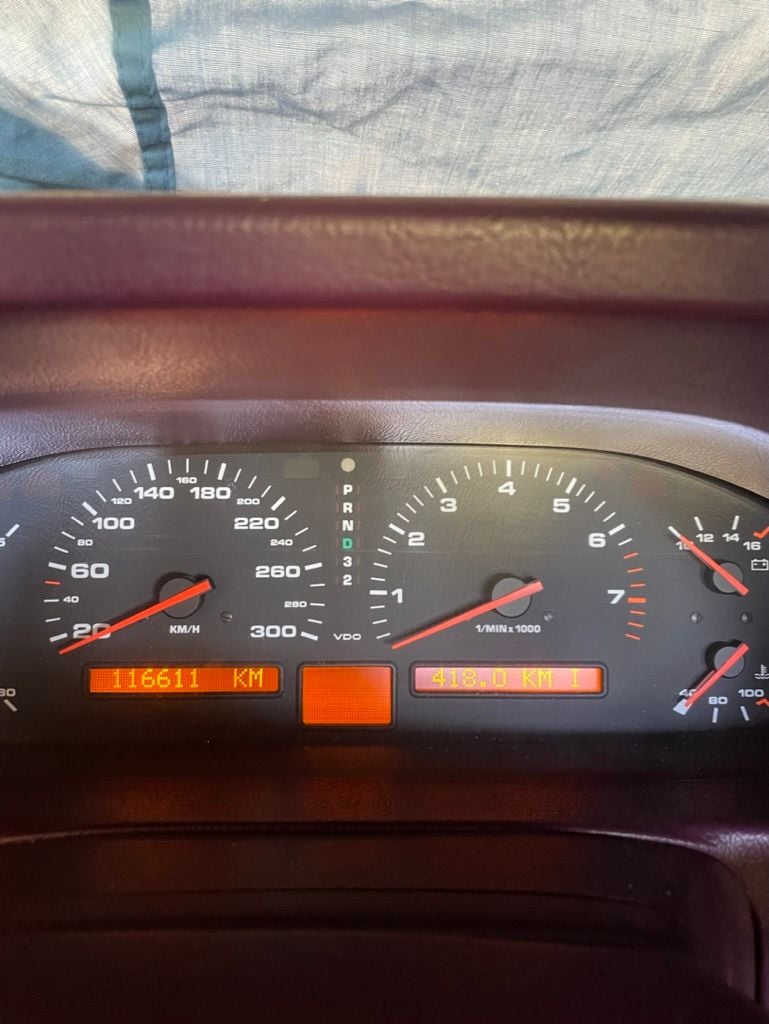
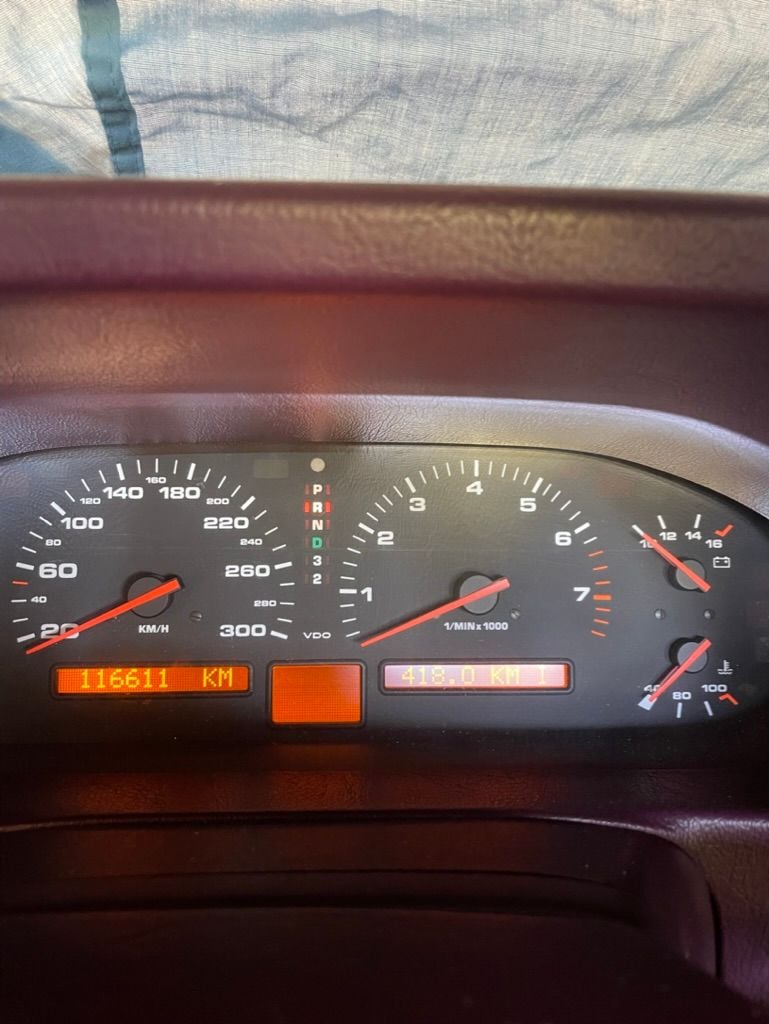
What are your plans for the instrument cluster? Leaving it with the PRNDL or sourcing a non-AT one?
replacing the cluster is on the optional to do list but after I get the basic drivetrain up and running. The transmission overhaul was unplanned, but necessary, and it ate into my budget so for now I’ll stick with the auto cluster.
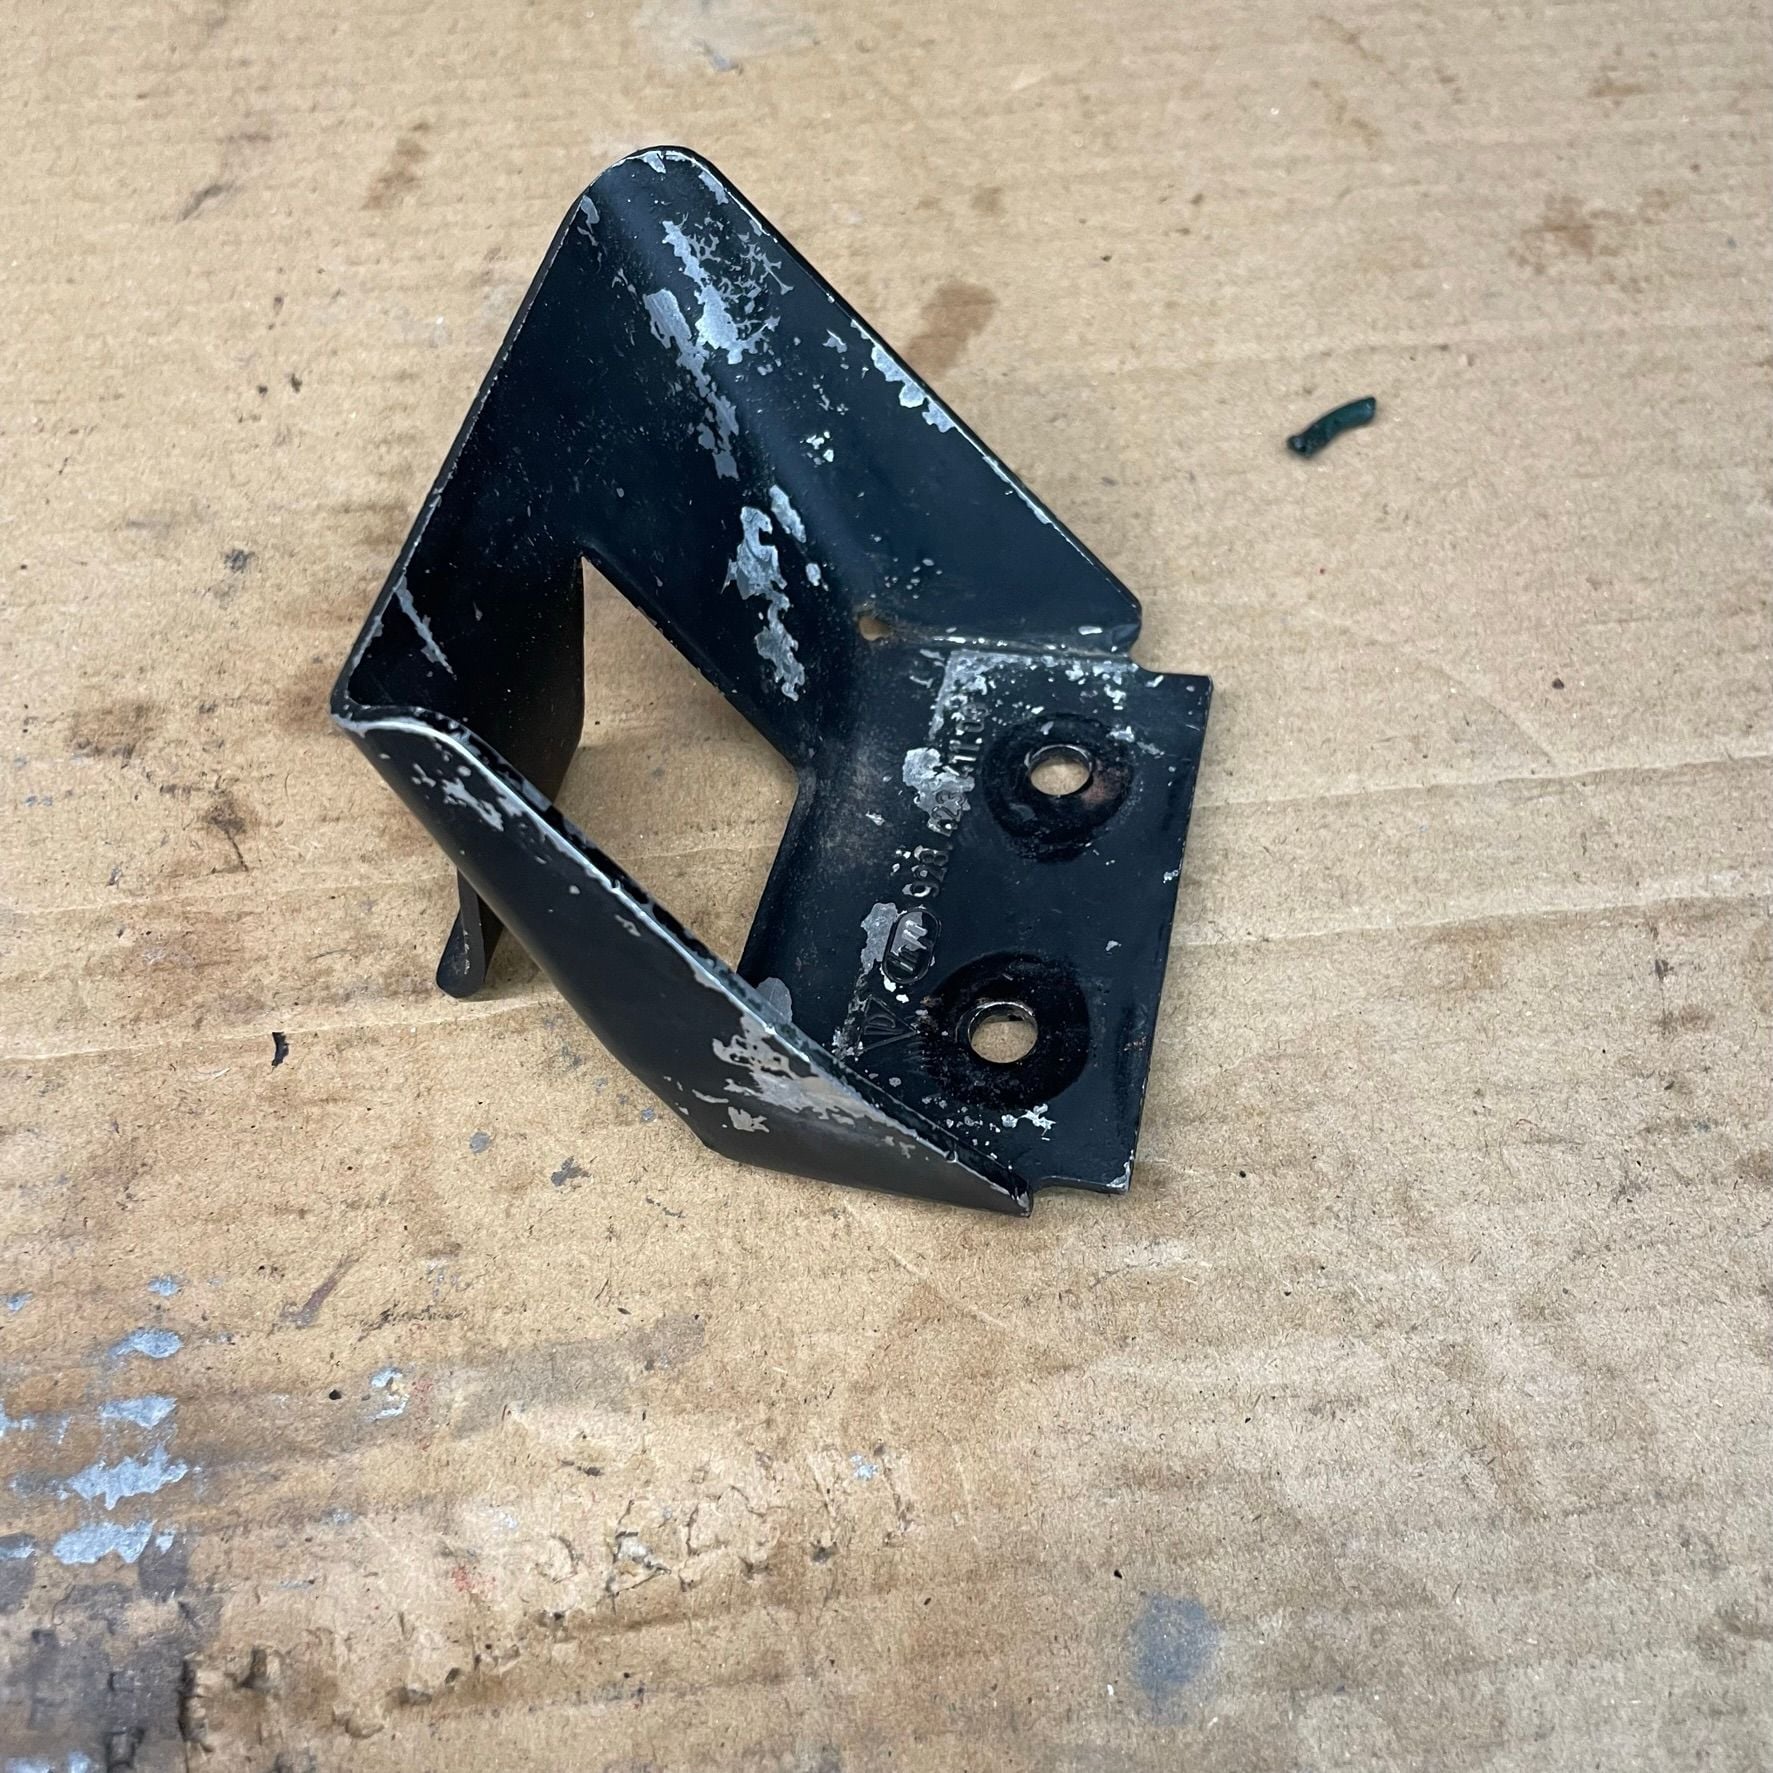
As I was removing the kickdown switch and replacing the worn out accelerator cable. I noticed this mystery part mounted under the accelerator pedal.
What is this metal bracket mounted under the accelerator pedal? It seems to limit the travel of the accelerator pedal such that it does not contact the kick-down switch unless really forced by flexing the pedal. It's not listed in PET, but does has a Porsche part number (928.423.411.03) but I cannot find and reference in PET or dealer websites. I searche through RL and didnt see any photos of the bracket in others pedal assemblies. I am wondering if this some sort of weird restrictor used in Japan market cars.
My US model '91 had it as well.
It's interesting to be sure and since it's not found in the PET, it must not be considered a regular serviceable part.
Kevin thinks that it could be a dealership installed throttle stop and that seems plausible.
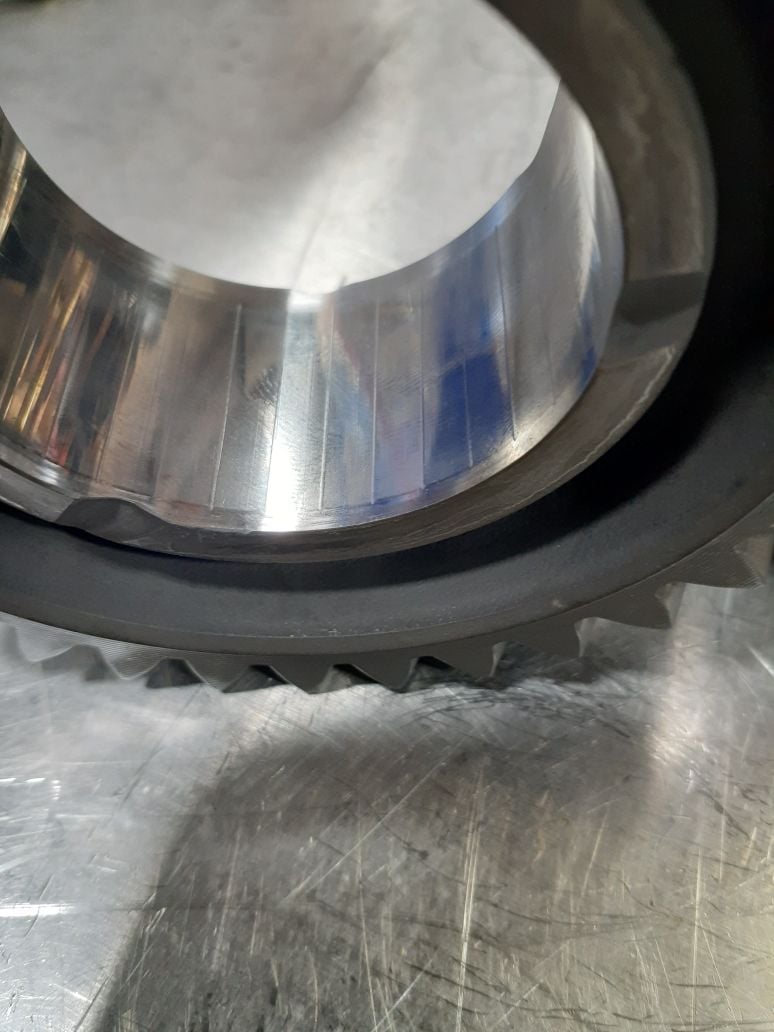
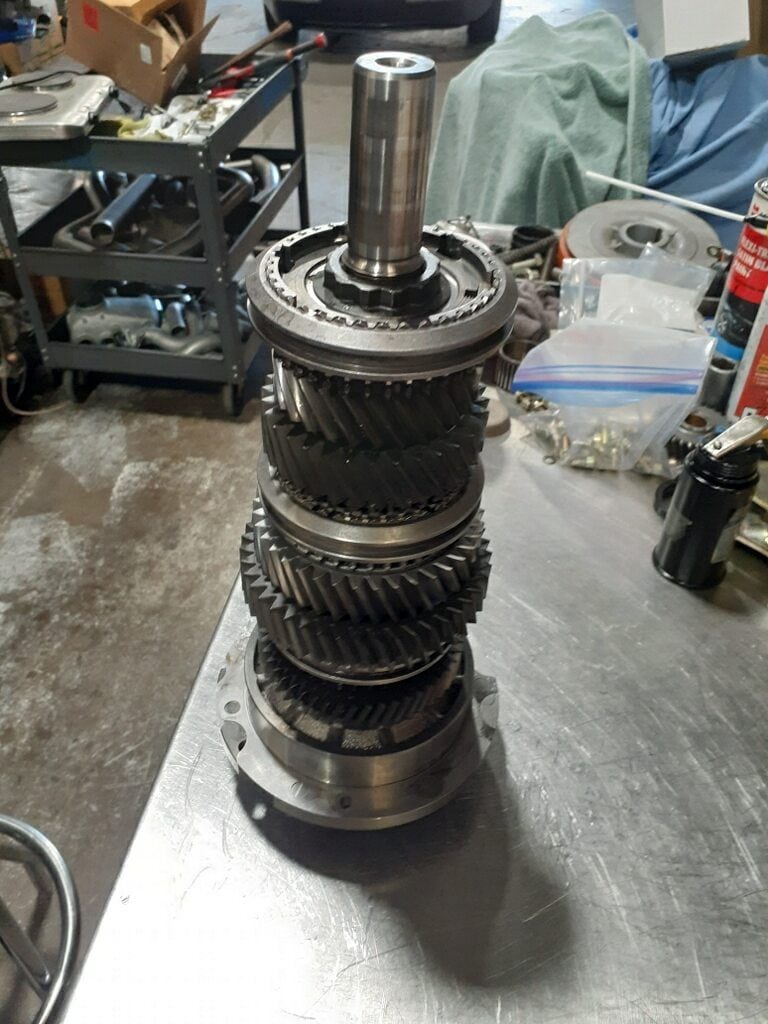
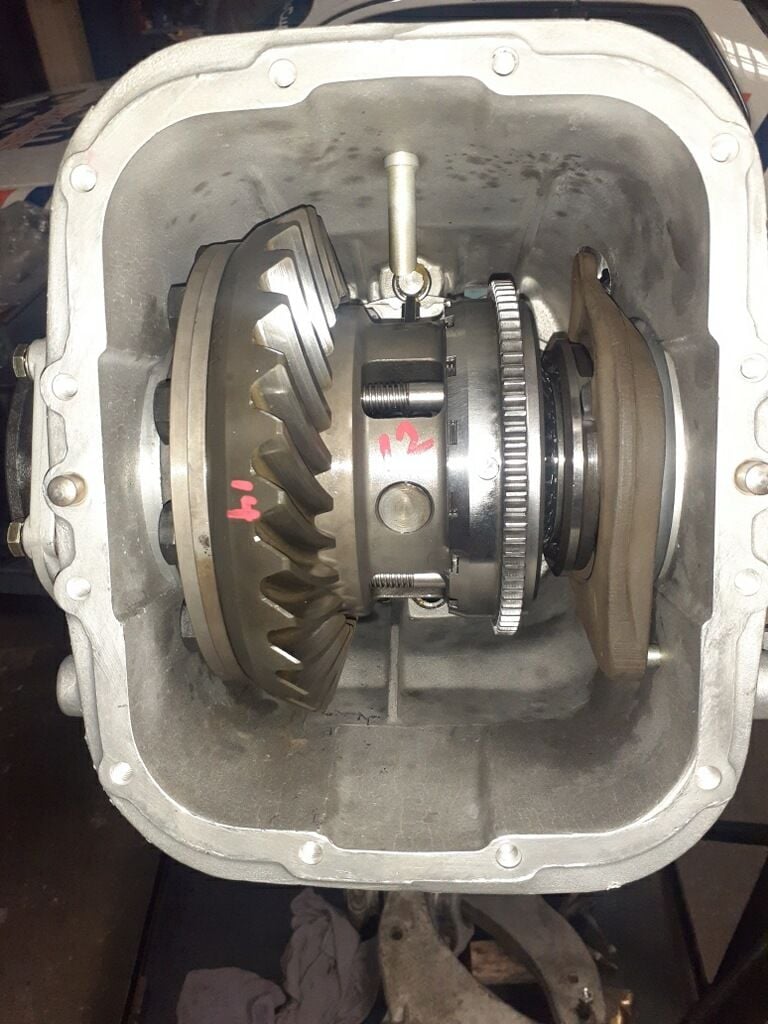
Big news! The rebuilt transmission arrived today safe and sound! Thanks to @GregBBRD and his crew for doing the excellent work. Despite the pictures early in this thread showing very nice looking internals, this transmission was pretty severely worked over. Lots of worn out bearings, syncros, and we had to replace 3rd gear. Plus all the standard refresh parts like seals etc. As you can imagine all that adds up pretty quickly. I dont fully understand all the parts that were worn or replaced. Hopefully Greg will chime. I am just happy to have it back with piece of mind that this rare trans has new life breathed into it. I'll be working to install the transmission over the next couple days and I am sure I'll have questions. Stay tuned.
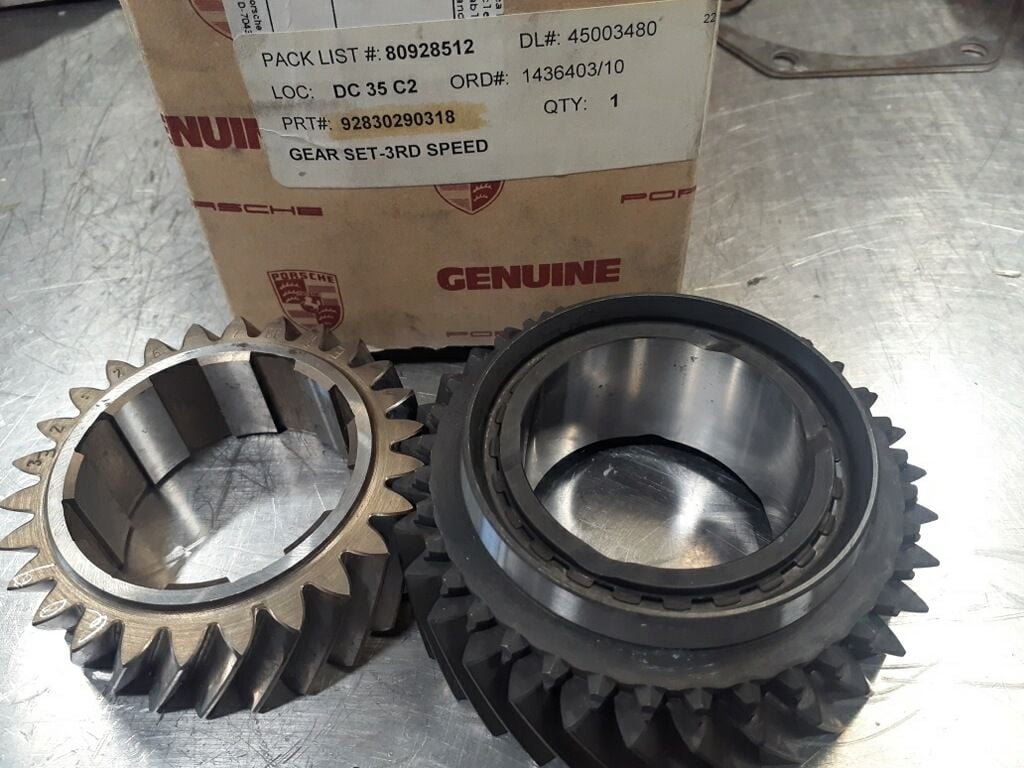
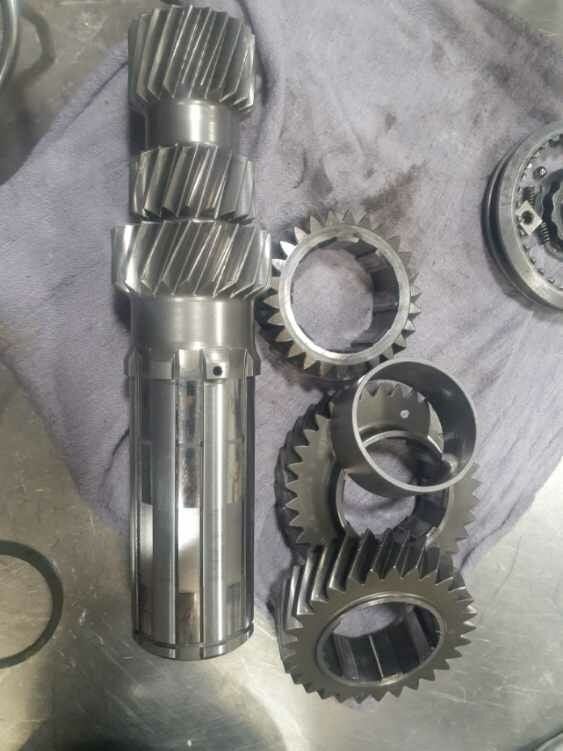
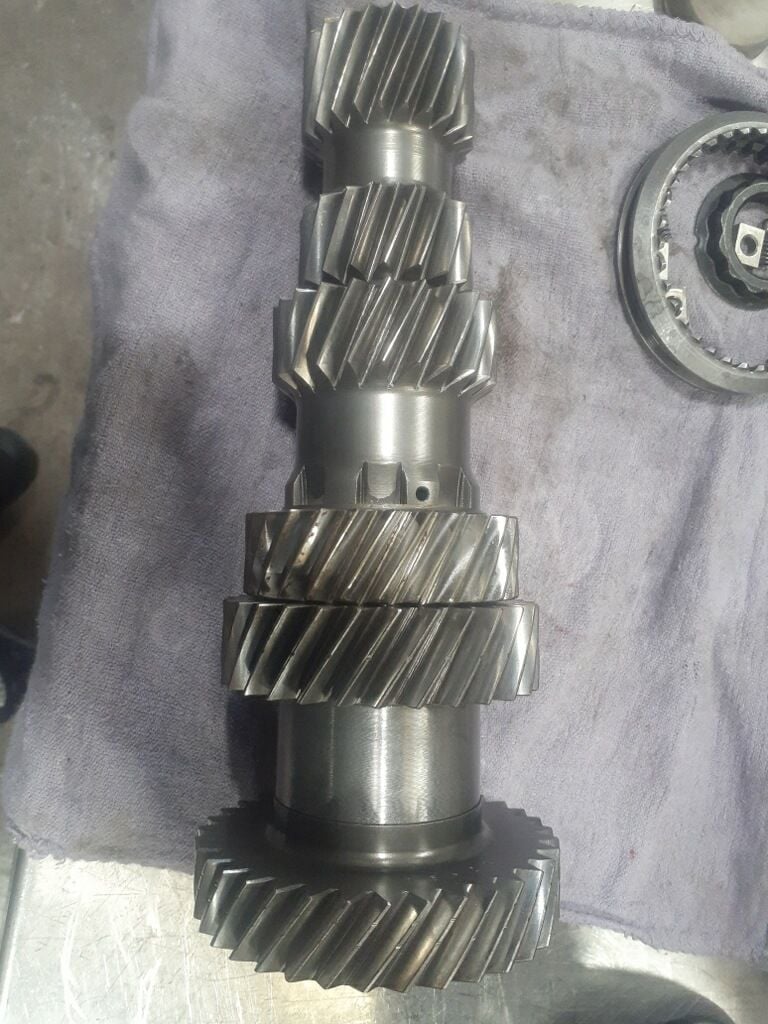
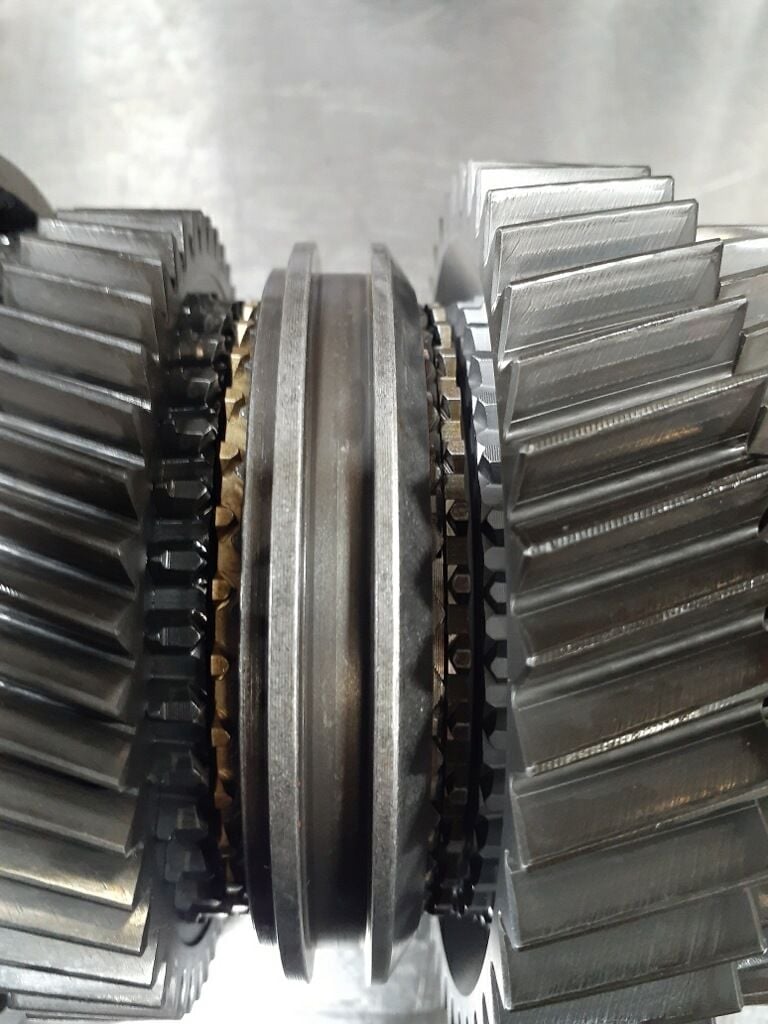
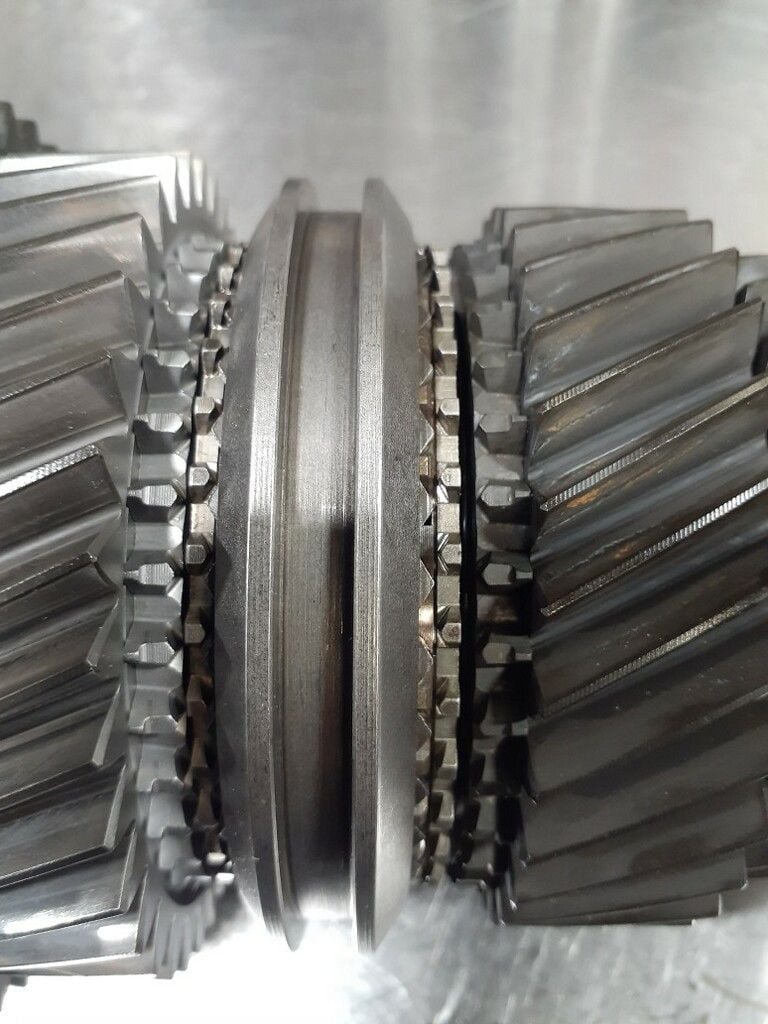
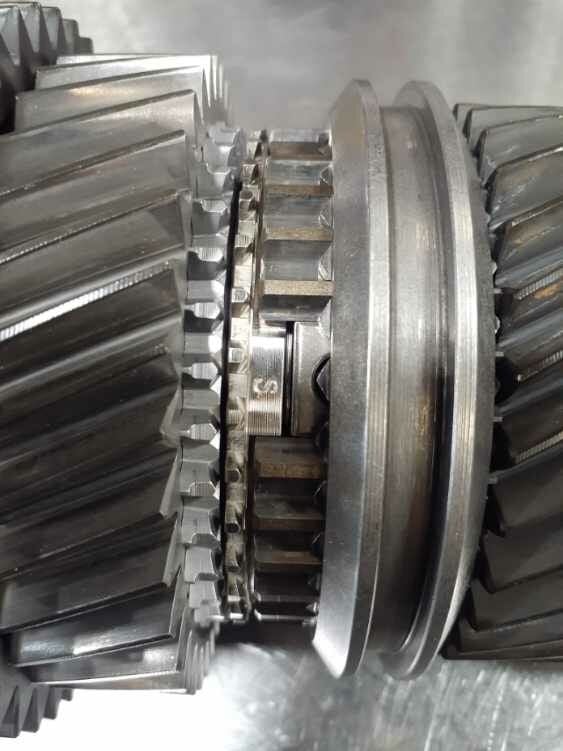
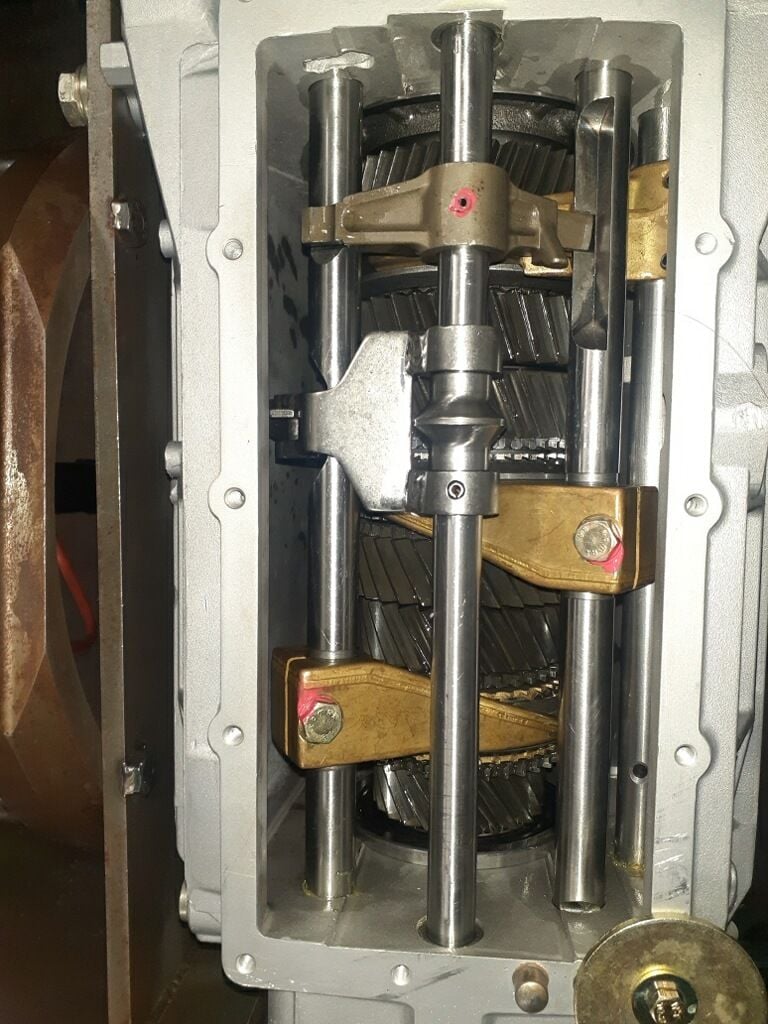
Here are some of the photos of internals that were replaced and some commentary from Greg 3rd gear was badly brinnelled, on the inside....junk New 3rd gear set from Mark Anderson, I'm also going to want a new bearing and race, for the gear. I'm also worried that the other 3 bearings and races are too old and worn to trust.
Carbon fiber synchro can be seen in 1st along with new reverse synchro. 2nd and 3rd you can see new carbon fiber synchros, along with new 3rd gear. PSD pivot screw was miss-adjusted to set the car up as 100% lock all the time. Rebuilt and re-adjusted the rear differential and PSD pivot to correct position. Ready for covers Last look inside before covers go on. All done ready for the cooler
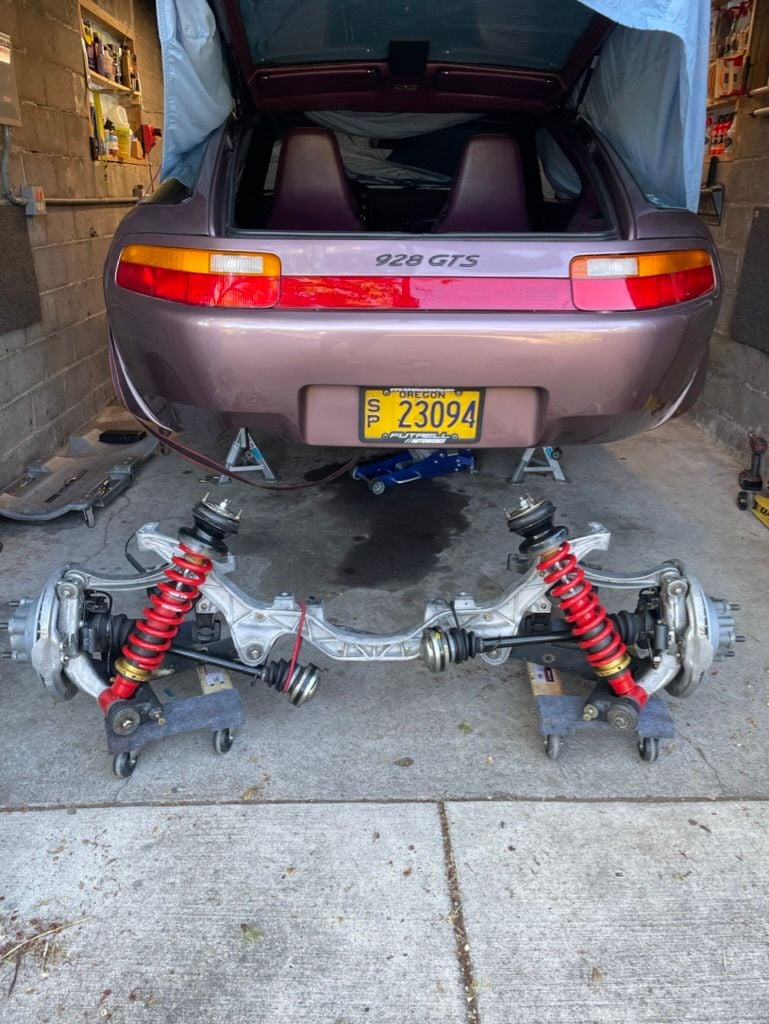
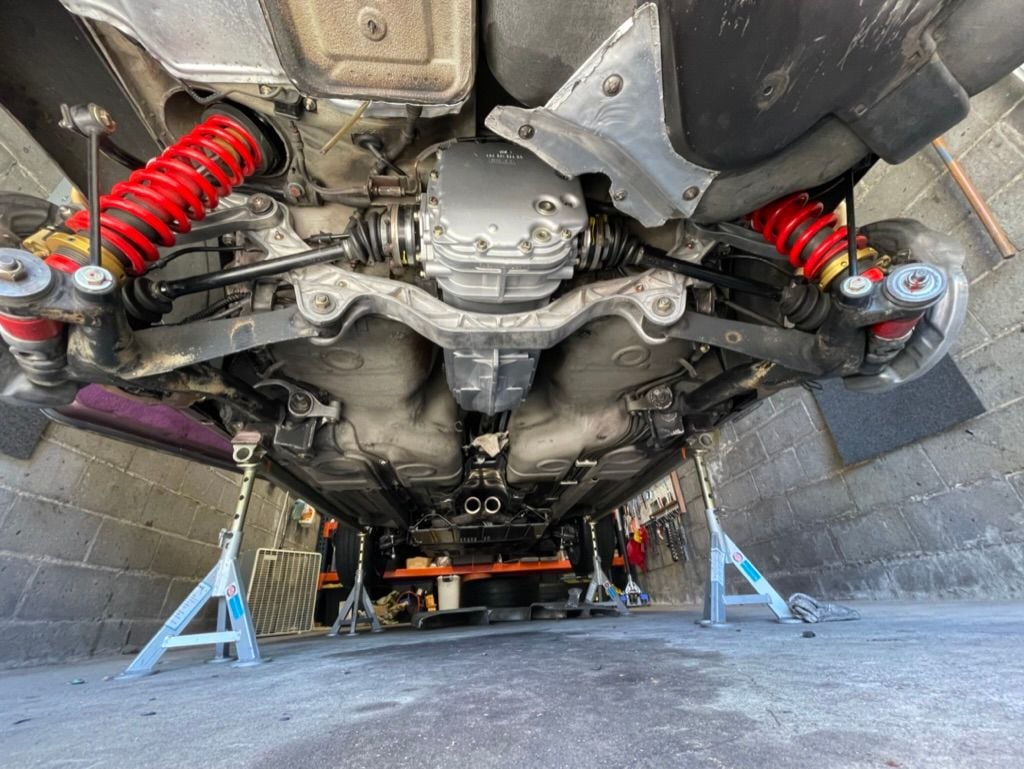
It's been hot as hades the past 10-days up here in the PNW so progress has been limited due to the heat. I've been able to pick off small chunks of work here and there. Here is a bit of an update...
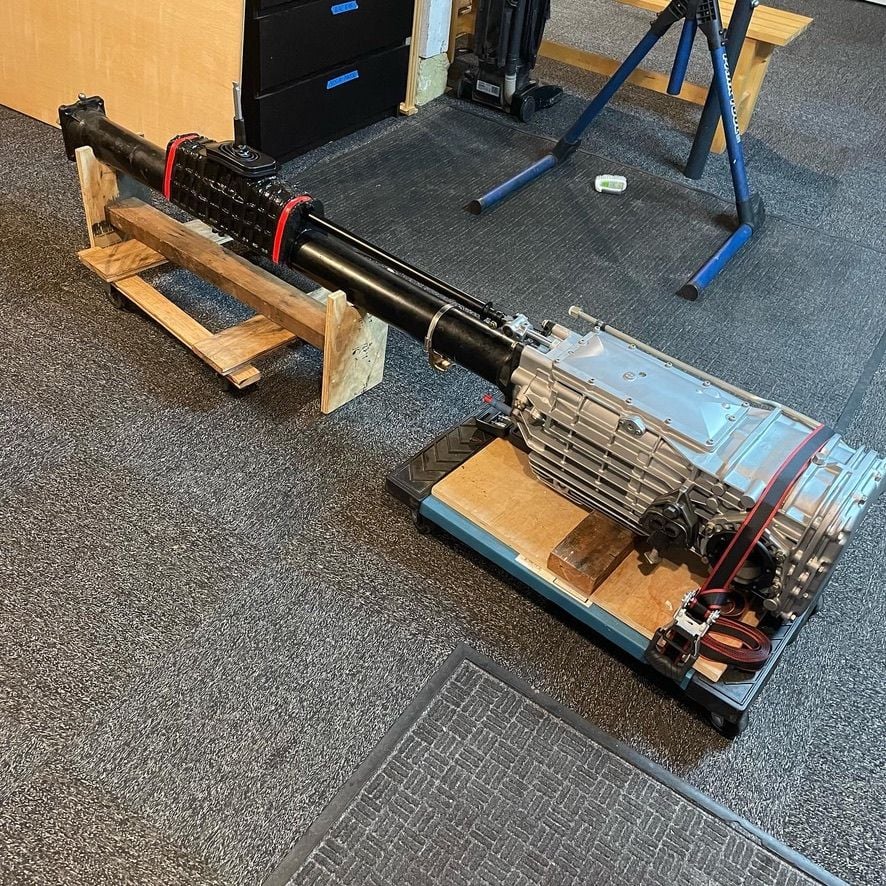
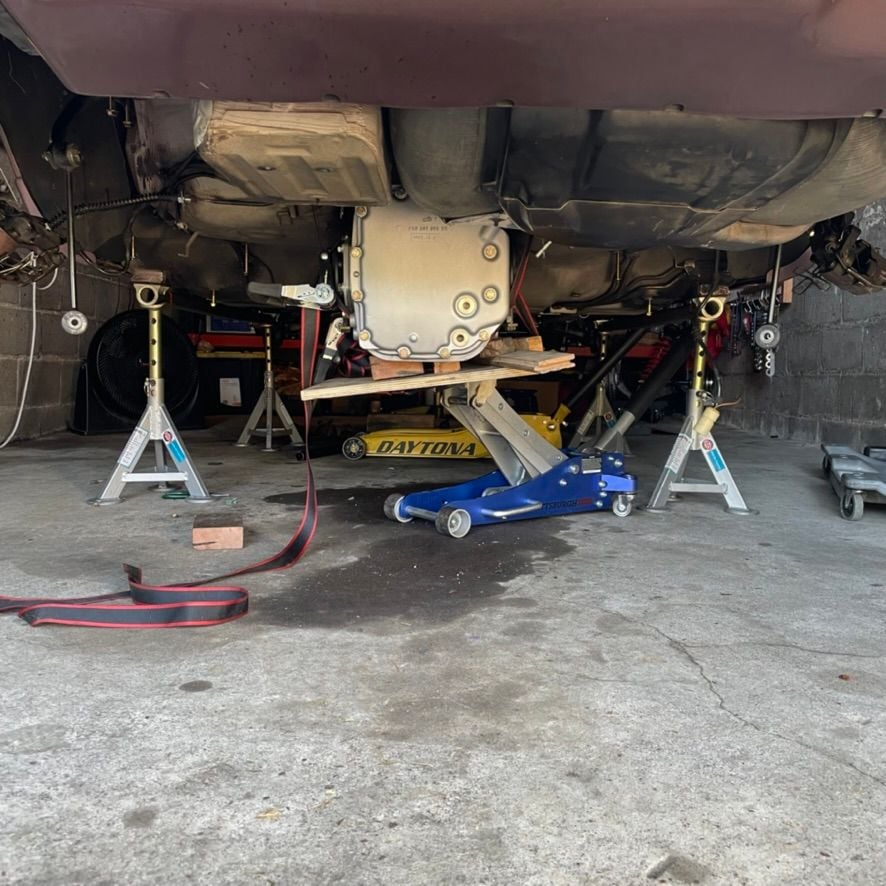
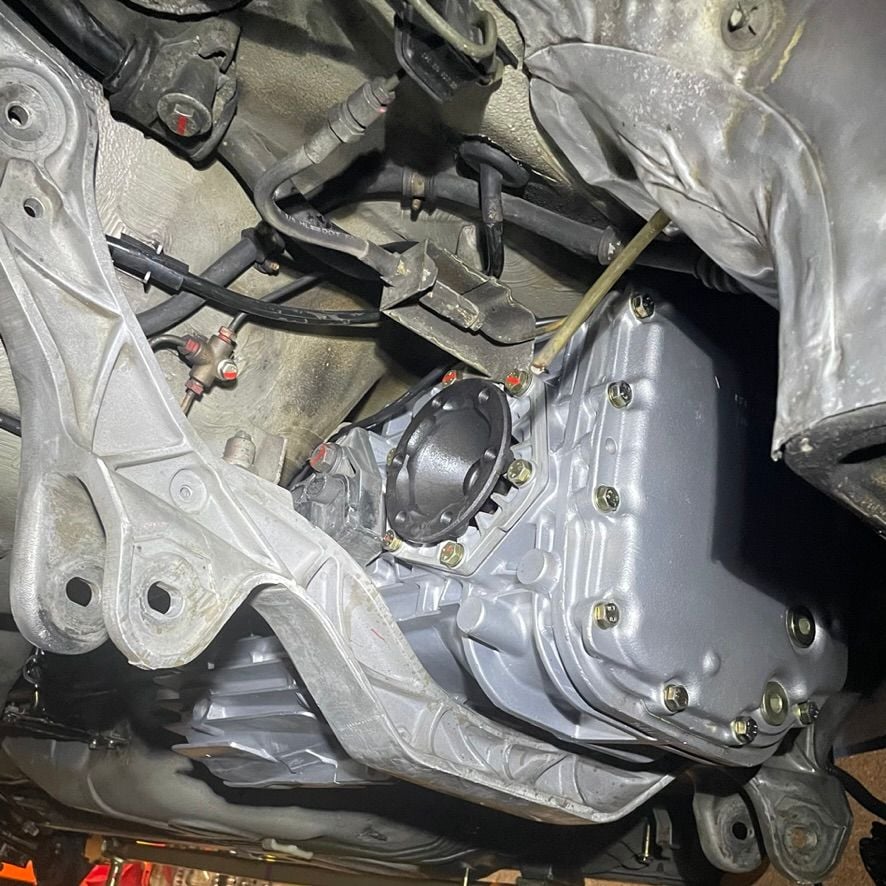
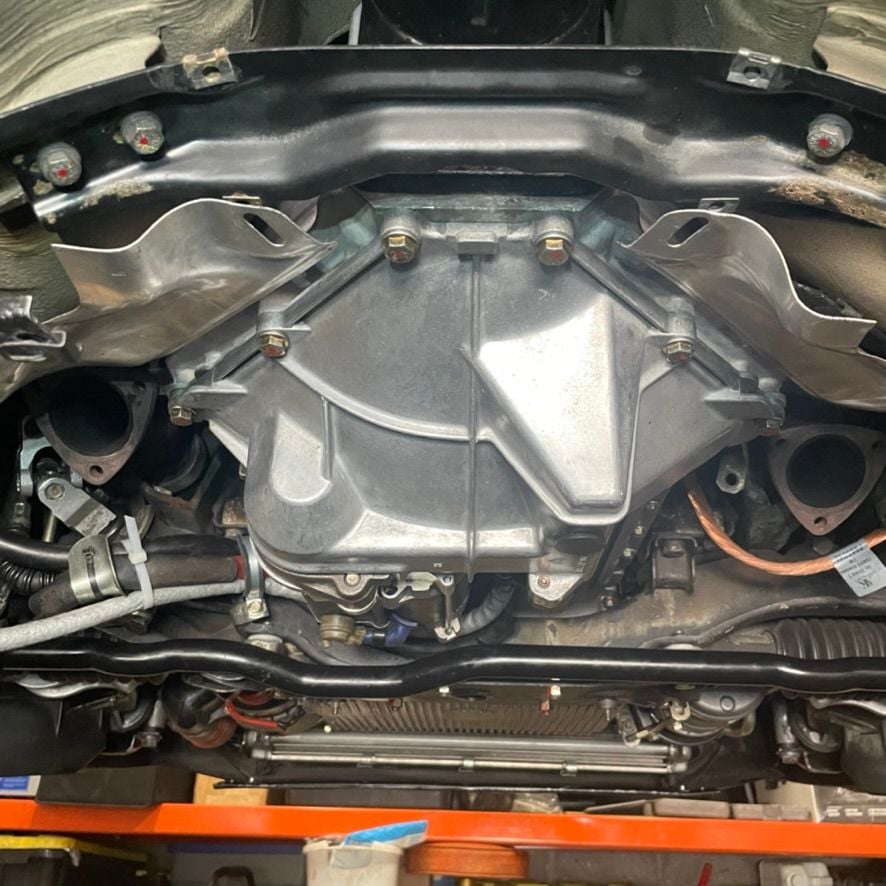
I was able to pre-assemble the Shifter / TT / Transmission assembly inside my cool basement and then roll the assembly into the garage/oven. Lifting the assembly into the garage was a bit of a **** show using a jack on the front and a strap on the back. The strap would rotate the trans as I cranked it so I used another jack to counter rotate is. (FYI the straps are rated for 1000-lbs). After much effort, swearing, and wishing I had a helper. I had the the transmission secured by the cross member. I am not proud of the hoist method but it's done now so I can not spend any more time worrying about it.
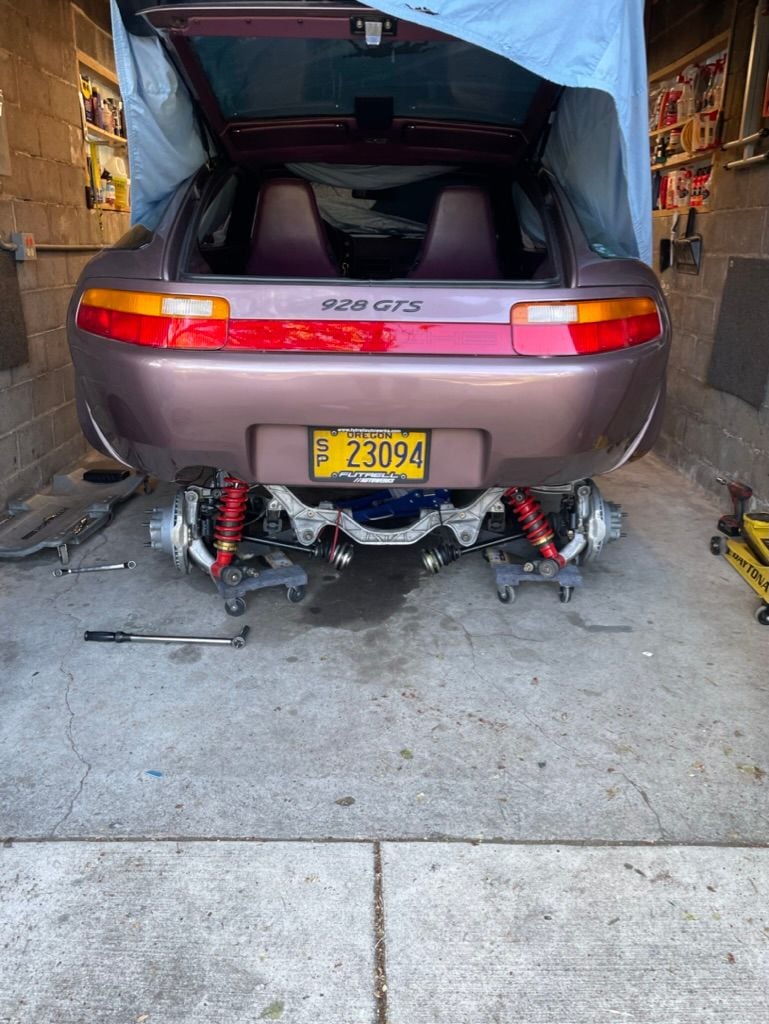
The cross member pictured here is the incorrect version for a dual exhaust car. I am temporarily using this this until the replacement arrives. Special thanks to @Kevin in Atlanta for selling me the correct cross member which is on its way to the PNW.
Installing the TT allowed me to get to the clutch installation....
Since I last posted, I have been able to make a lot of progress.
Clutch
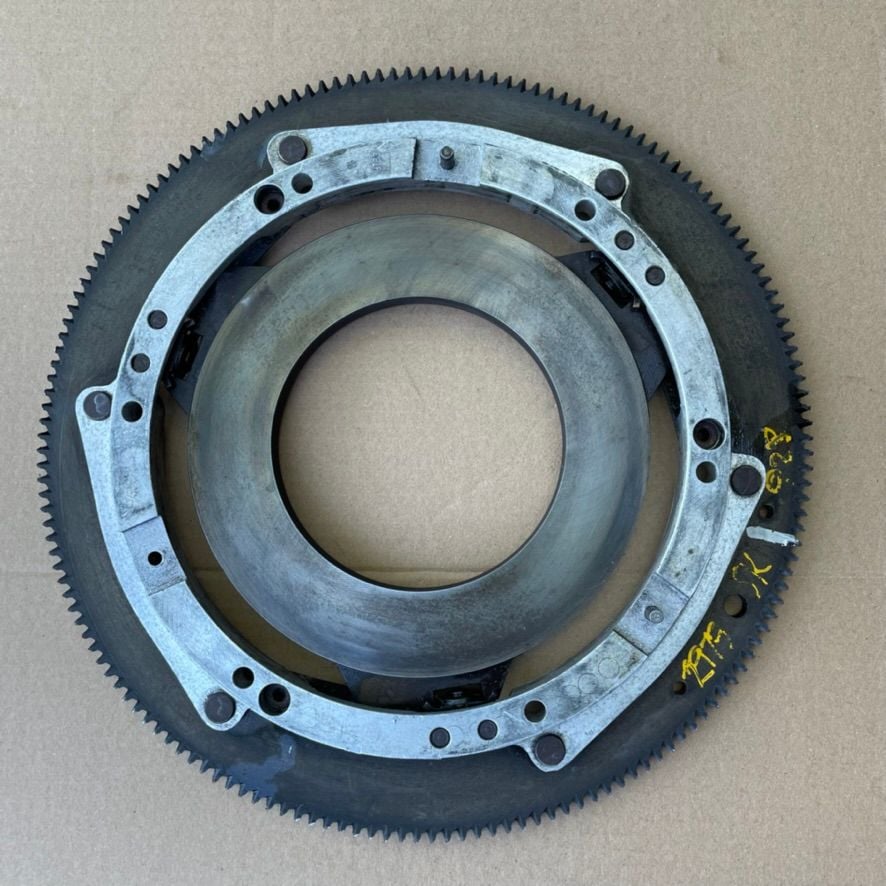
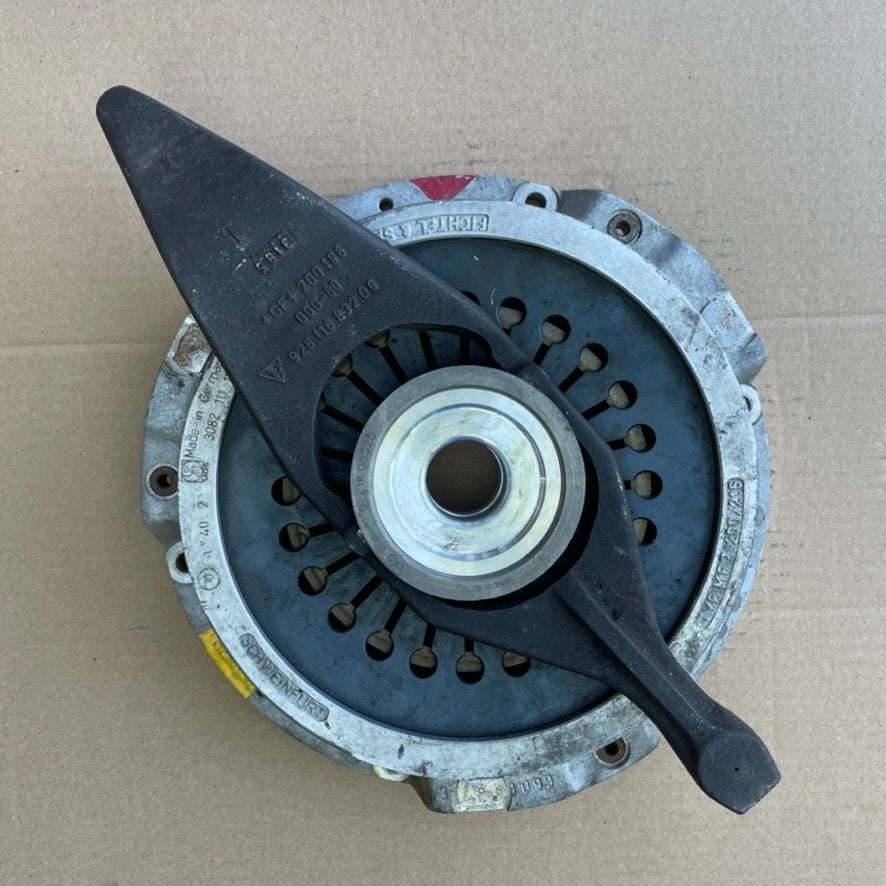
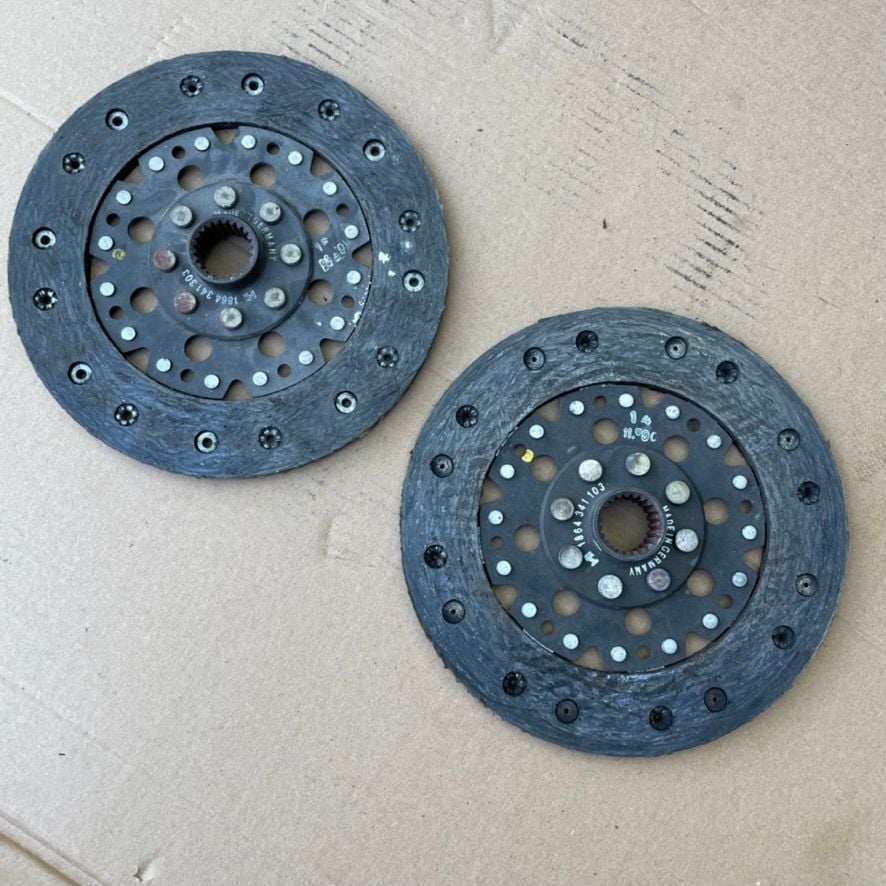
I installed the dual disc clutch from the pre-1986.5 models. Special thanks to Colin @Lizard928 who not only sold me the car (on behalf of one if his client) but also help pull together the parts needed for the hybrid flywheel and dual disk clutch. Colin was also kind enough to help guide me with some of the installation challenges of the clutch assembly. it was a very tough job for me being a first timer, but I think it would be a lot easier now that I understand how to do it.
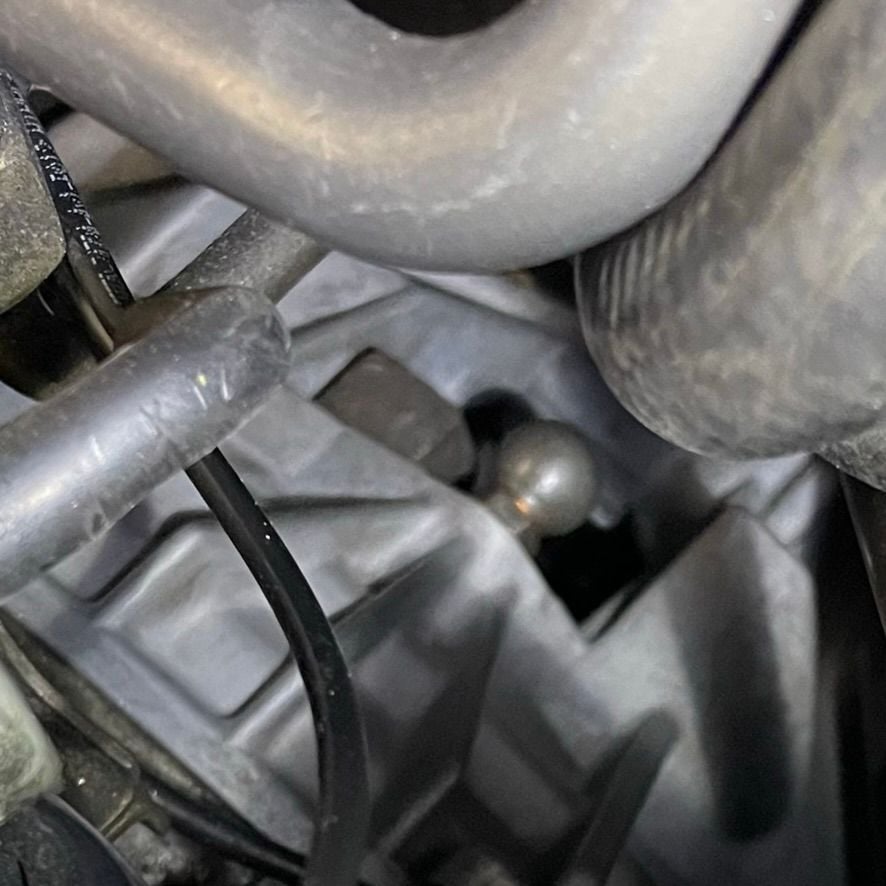
Getting the clutch fork on the pivot ball was actually super easy once I figured out a plan. I used a jack and a block of wood to position the for on the same plane as the ball. Then I attached a come-along strap to the bottom the fork and to the passenger side tow hook and pulled the fork back... Continuing to crank the strap pulled the socket into position once there was enough clearance. Then I repositioned the strap so that one end was on the clutch fork and the other was on the passenger rear jack point and with couple pulls with the strap, the fork eased into position. The whole process took 10min.
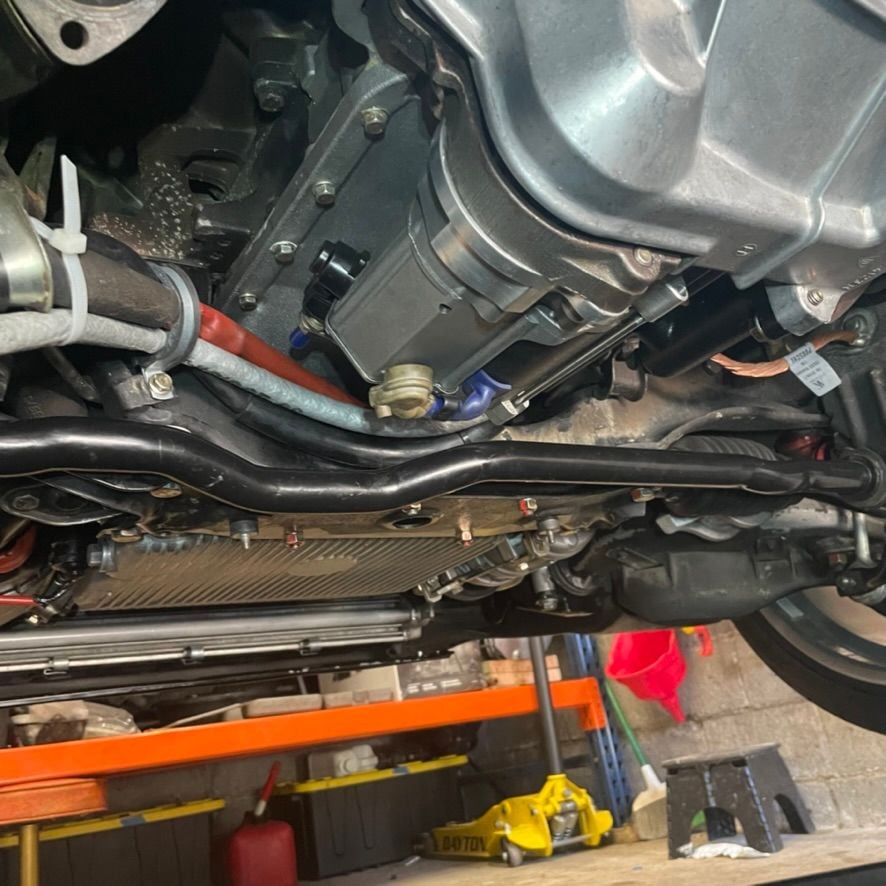
I had previously installed the slave cylinder and bleed the clutch hydraulic circuit. So now all I had to do was install the lower bell-housing and install the slave and test the assembly. It feels nice and smooth! Here are some pics of the final installation. You will note the flex line from @GregBBRD .
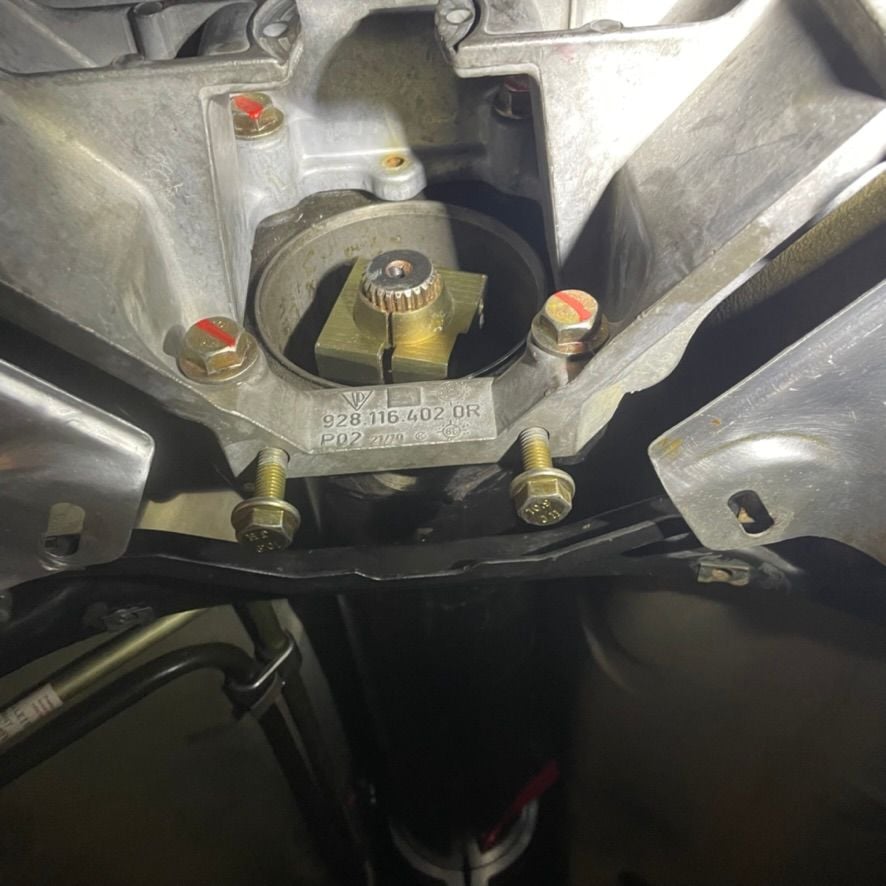
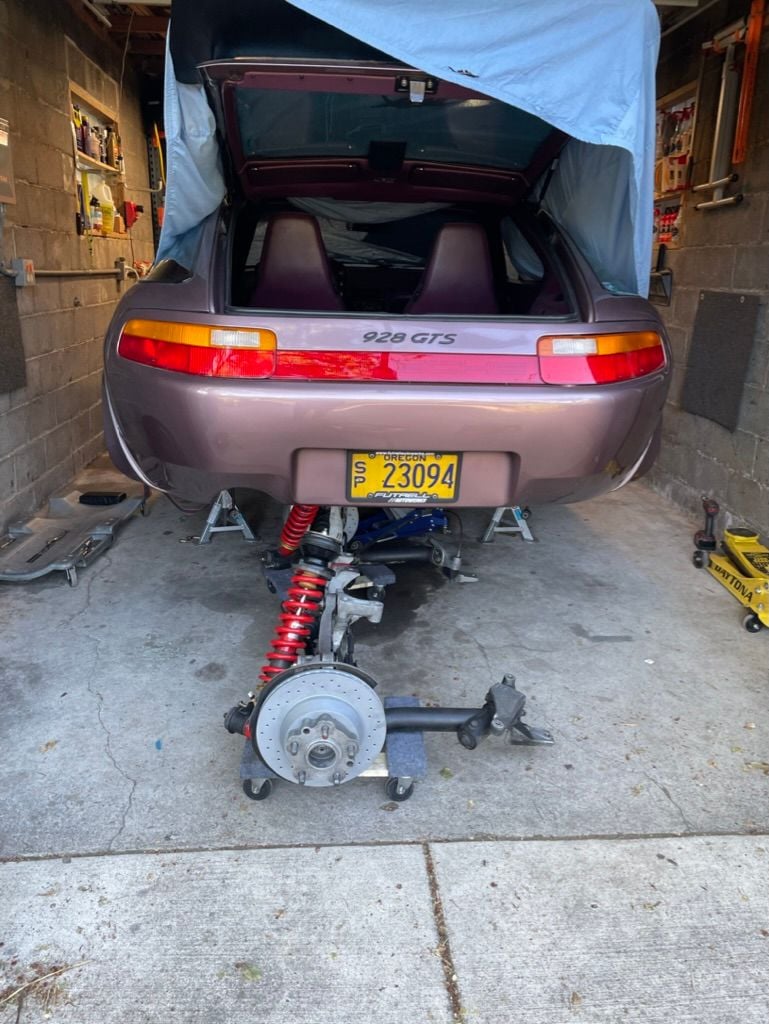
Correct cross member @Kevin in Atlanta was kind enough to sell me his cross member and I was able to build it up with the hubs and get it installed without much fuss
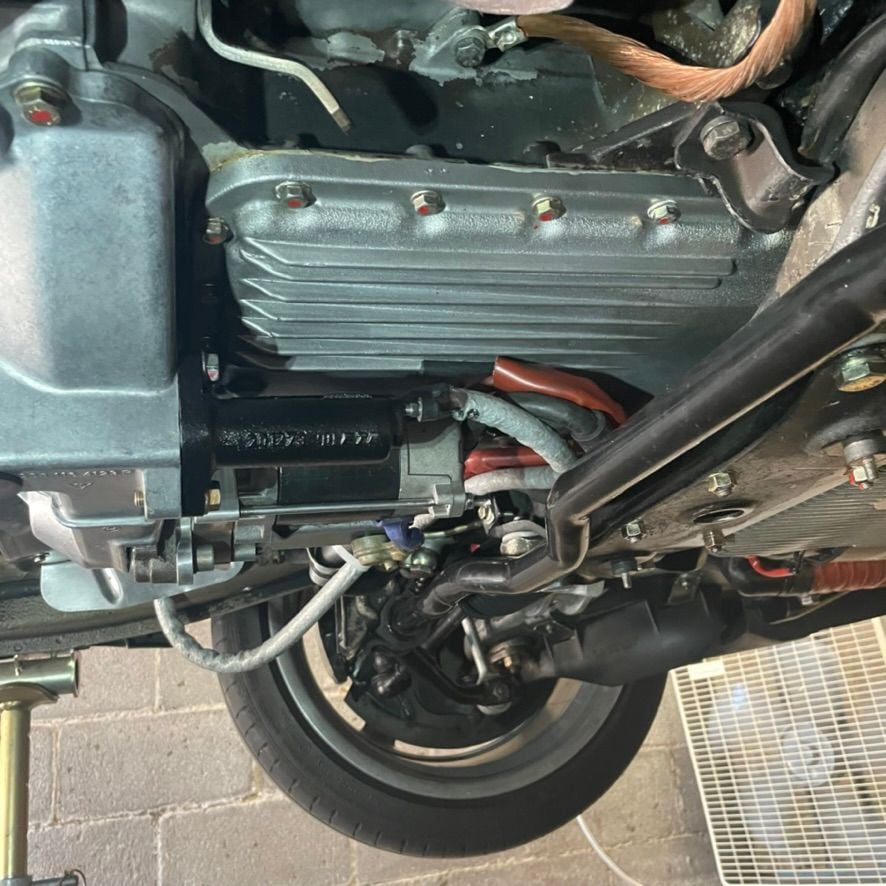
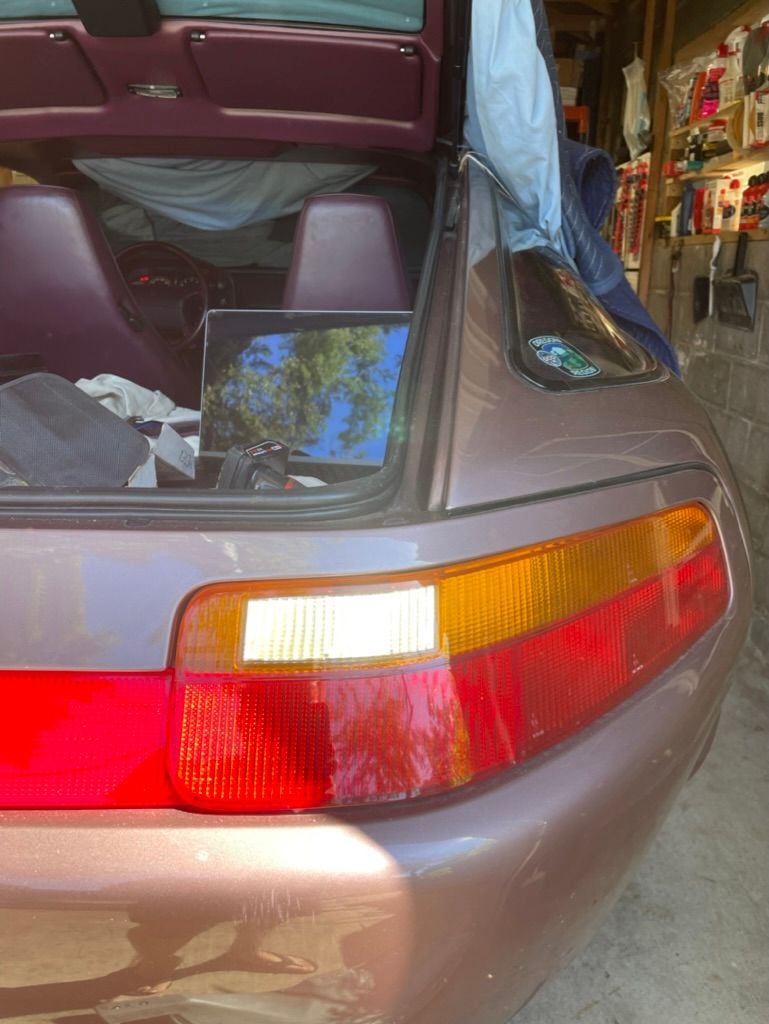
Reverse Lights
I was able to test the reverse lights today after figuring out my reverse switch was stuck in the on position, which is a little off because that was a new switch. A little cleaning with DeOxit restored the switch to normal operating condition. Here you can see the dash R is illuminated when in reverse
The last hold out
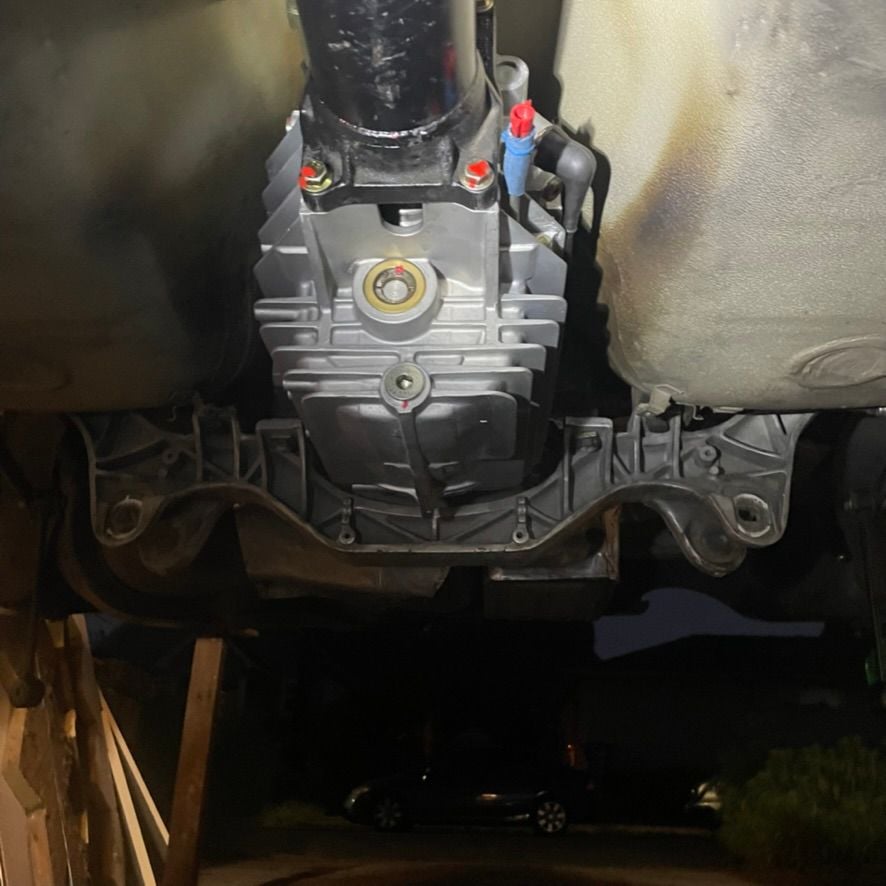
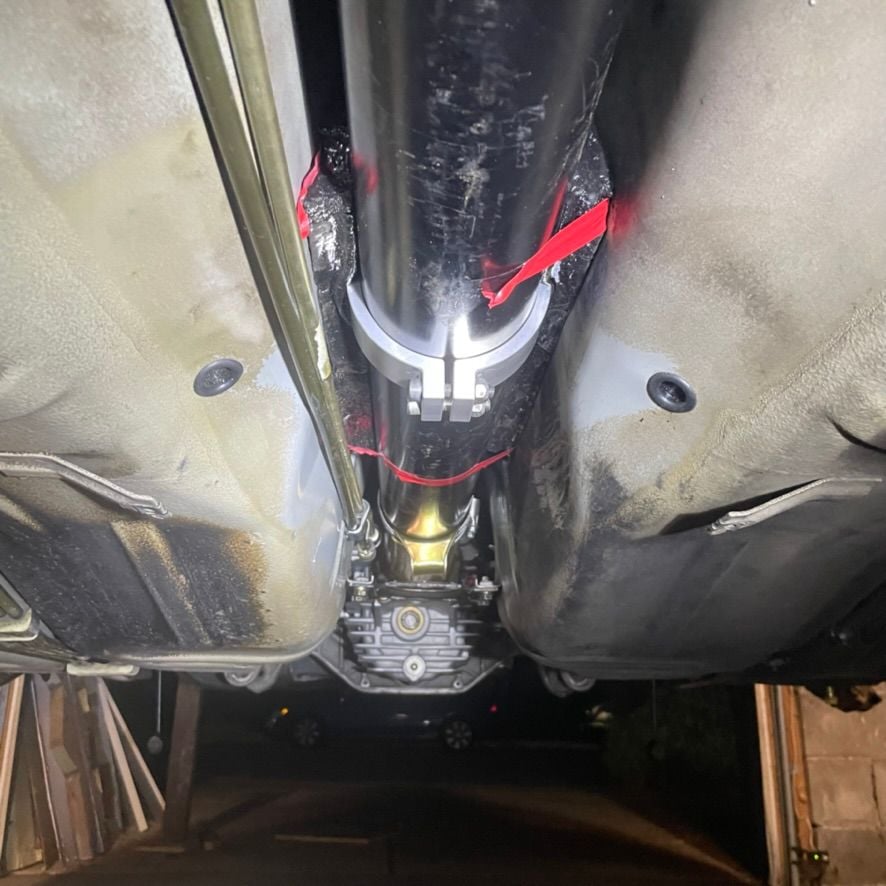
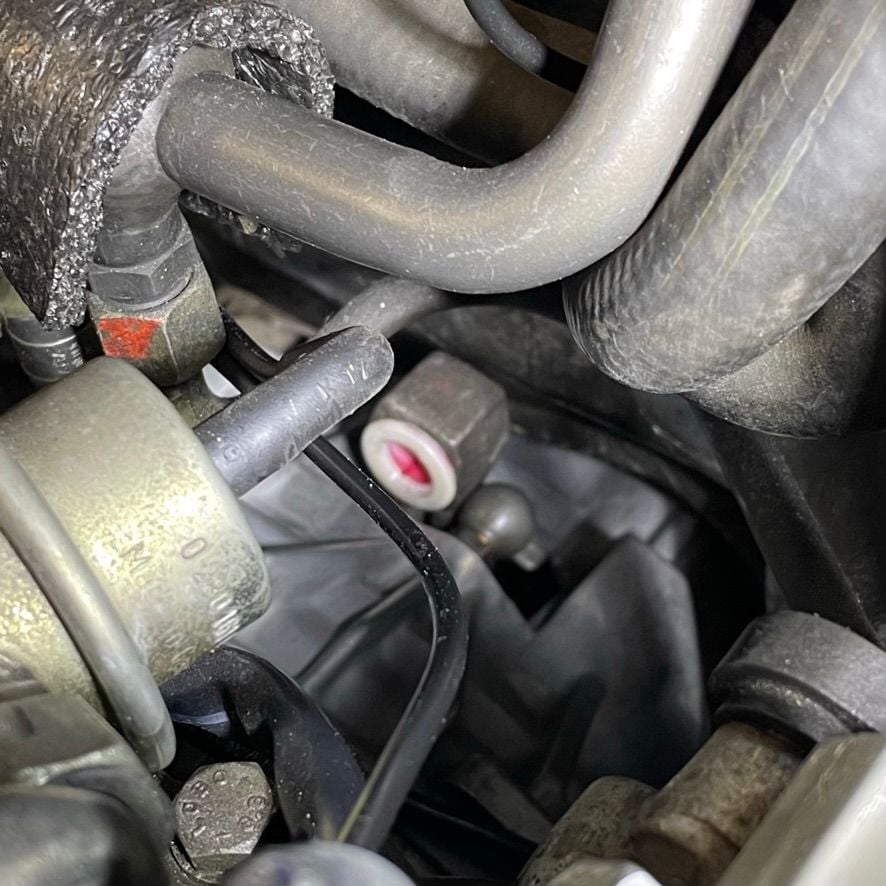
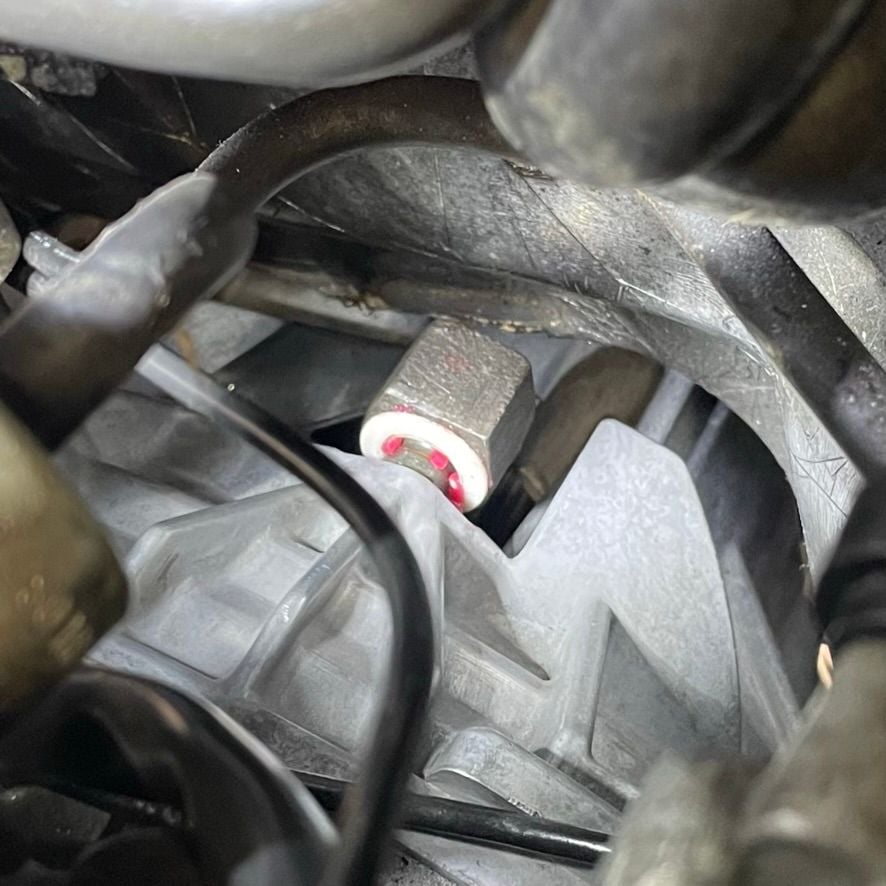
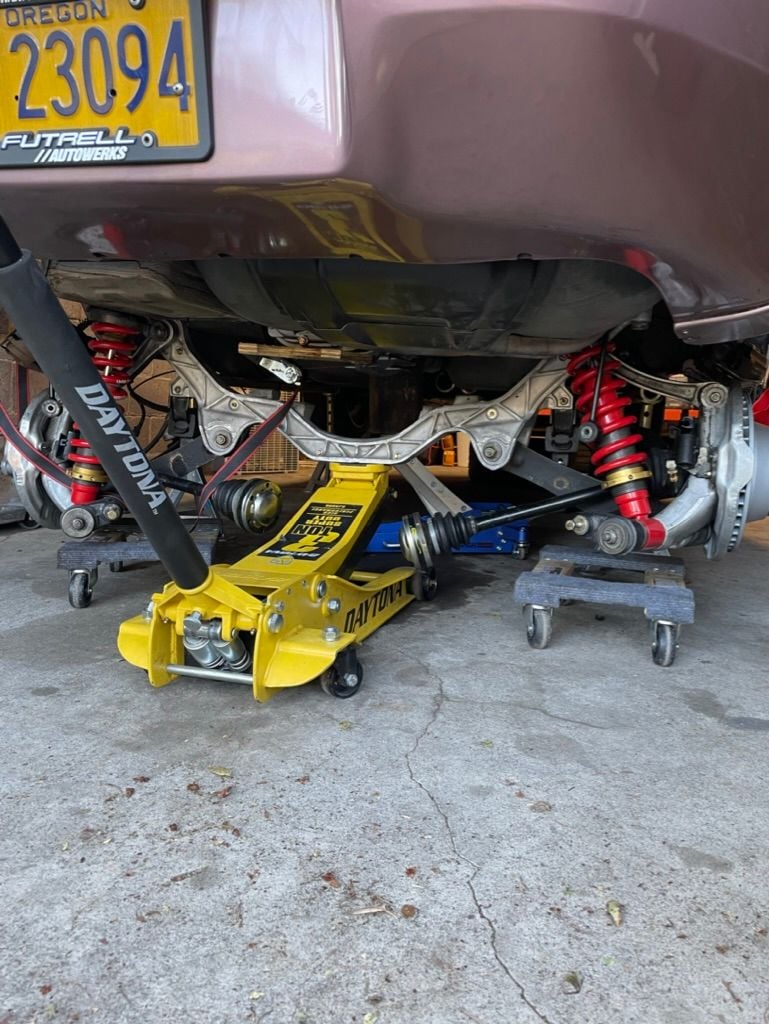
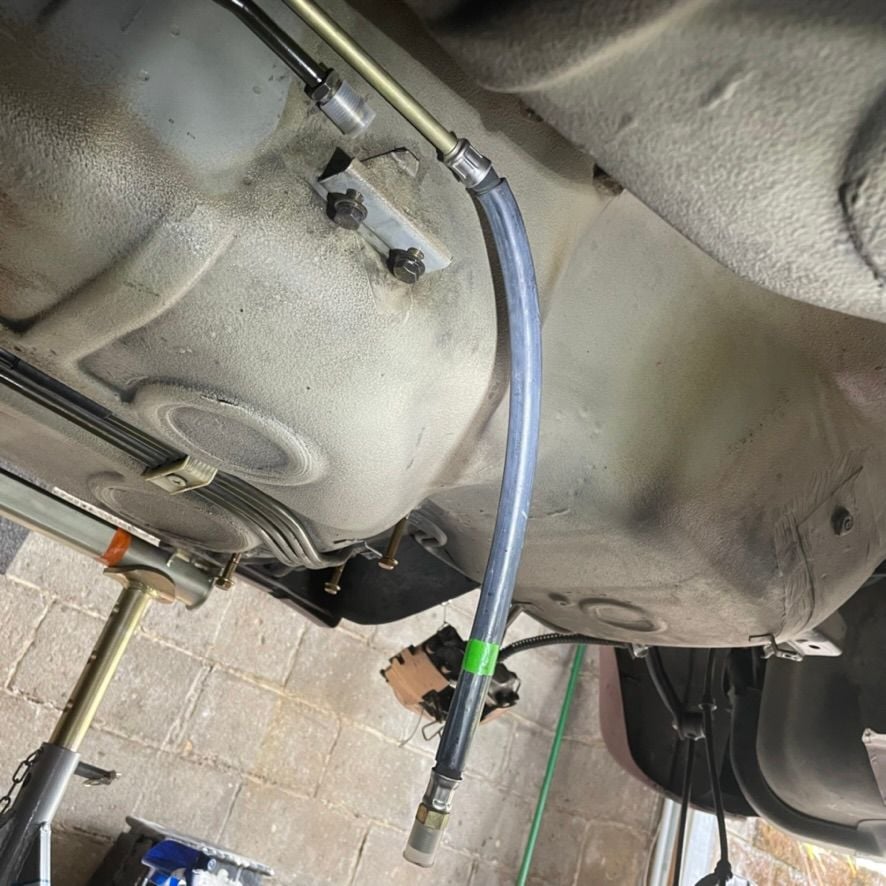
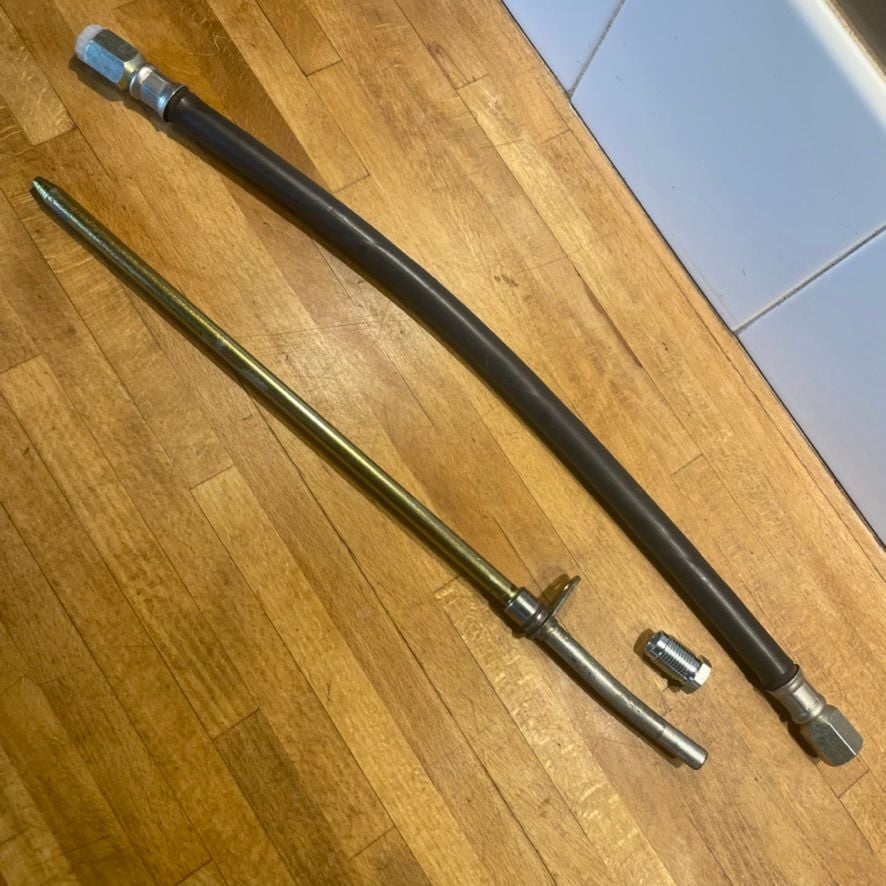
It's all coming together well but I am stuck with connecting the transmission oil cooling system. I have the pump side all plumed up with OEM flex line. You can see the return line with the plastic cap on it. That also has a flex line that connects to the transmission oil sprayer wand.
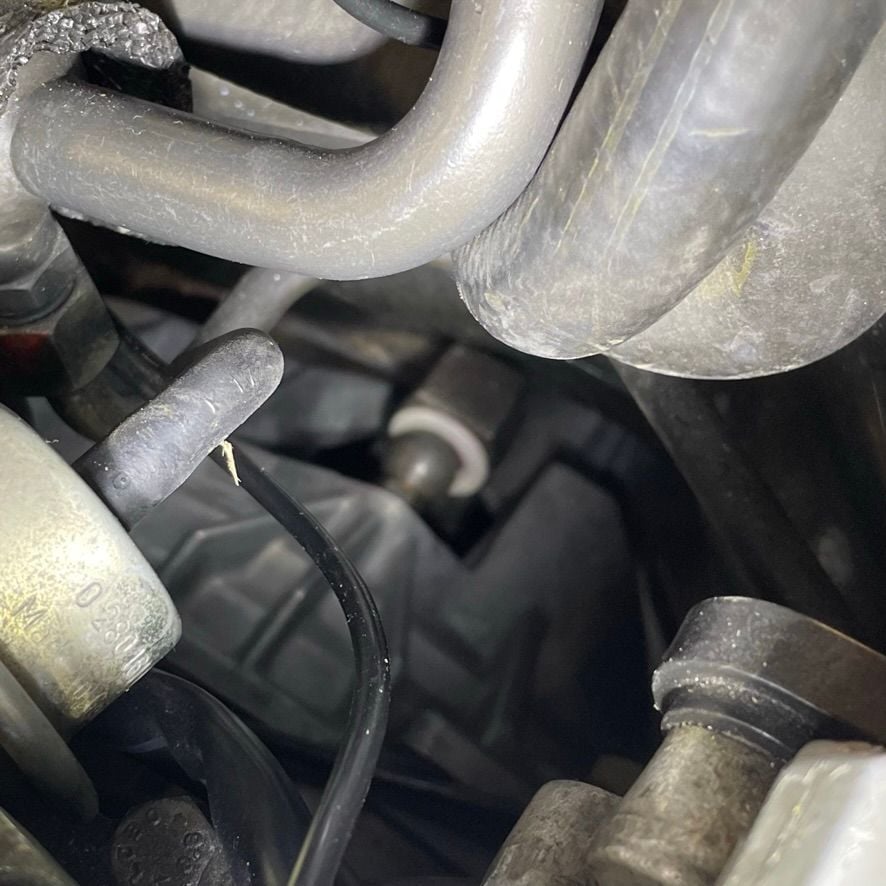
Below you can see the flex line that connects the supply side hard line in the tunnel (pictured above) to the transmission wand. The wand in my transmission was damaged. Someone had cut off the bubble flare that would threat into the flex line. The part is not longer available and Greg was not able to repair it in the transmission service. I have been having a bear of time finding someone local with heavy duty metric bubble flare (aka ISO flare) tool that will do 10mm hard line. Hopefully Monday I can extend my search and find a hydraulics shop that has the appropriate tooling.
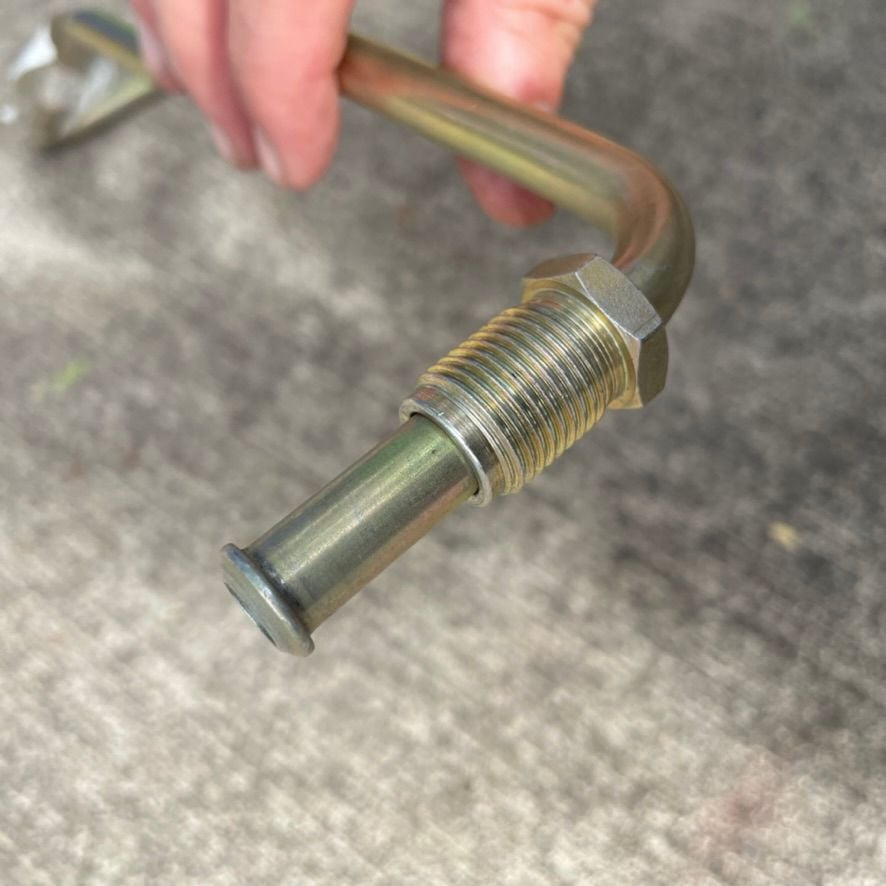
This is what the flare should look like
If anyone has one of these wands the want to sell LMK. Or, at the very least could you measure the length of the line from the mounting bracket to the flare?
Once I have this line connected, I'll be able to get the exhaust on and start the car and test the systems.
to put the bushing on the ball take a Dremel and open the cup up a little bit so it will go over the ball easier put it in hot water let it warm up for some and then press the bushing onto the ball
the release arm will fit easily over the back end of the bushing
Use silicone grease on the bushing if you use use petroleum grease it will make the bushing disintegrate faster
Also I would suggest that you remove the clutch flex line from that P clamp no need to risk pinching this fluid line zip ties work well here
Since I last posted, I have been able to make a lot of progress.
Clutch
I installed the dual disc clutch from the pre-1986.5 models. Special thanks to Colin @Lizard928 who not only sold me the car (on behalf of one if his client) but also help pull together the parts needed for the hybrid flywheel and dual disk clutch. Colin was also kind enough to help guide me with some of the installation challenges of the clutch assembly. it was a very tough job for me being a first timer, but I think it would be a lot easier now that I understand how to do it.
Getting the clutch fork on the pivot ball was actually super easy once I figured out a plan. I used a jack and a block of wood to position the for on the same plane as the ball. Then I attached a come-along strap to the bottom the fork and to the passenger side tow hook and pulled the fork back... Continuing to crank the strap pulled the socket into position once there was enough clearance. Then I repositioned the strap so that one end was on the clutch fork and the other was on the passenger rear jack point and with couple pulls with the strap, the fork eased into position. The whole process took 10min.
I had previously installed the slave cylinder and bleed the clutch hydraulic circuit. So now all I had to do was install the lower bell-housing and install the slave and test the assembly. It feels nice and smooth! Here are some pics of the final installation. You will note the flex line from @GregBBRD .
Correct cross member @Kevin in Atlanta was kind enough to sell me his cross member and I was able to build it up with the hubs and get it installed without much fuss
Reverse Lights
I was able to test the reverse lights today after figuring out my reverse switch was stuck in the on position, which is a little off because that was a new switch. A little cleaning with DeOxit restored the switch to normal operating condition. Here you can see the dash R is illuminated when in reverse
The last hold out
It's all coming together well but I am stuck with connecting the transmission oil cooling system. I have the pump side all plumed up with OEM flex line. You can see the return line with the plastic cap on it. That also has a flex line that connects to the transmission oil sprayer wand.
Below you can see the flex line that connects the supply side hard line in the tunnel (pictured above) to the transmission wand. The wand in my transmission was damaged. Someone had cut off the bubble flare that would threat into the flex line. The part is not longer available and Greg was not able to repair it in the transmission service. I have been having a bear of time finding someone local with heavy duty metric bubble flare (aka ISO flare) tool that will do 10mm hard line. Hopefully Monday I can extend my search and find a hydraulics shop that has the appropriate tooling.
This is what the flare should look like
If anyone has one of these wands the want to sell LMK. Or, at the very least could you measure the length of the line from the mounting bracket to the flare?
Once I have this line connected, I'll be able to get the exhaust on and start the car and test the systems.
Why a dual disc clutch?
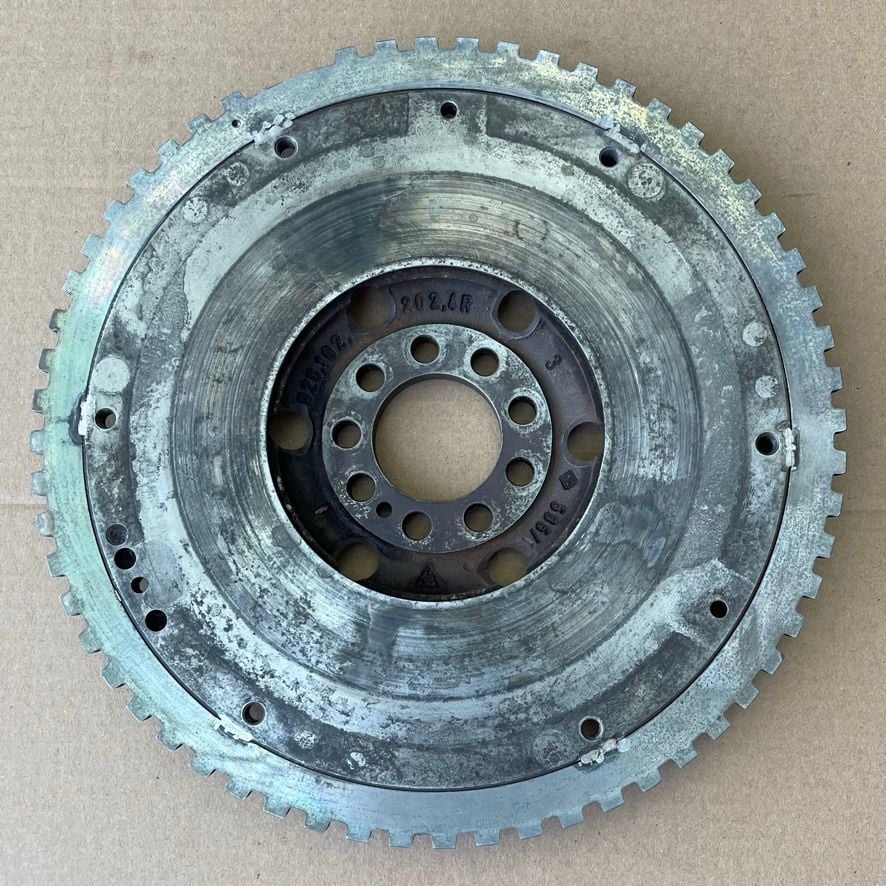
The flywheel material and the trigger ring are very, very different types of steel and take a special rod to weld together.
The welds are extremely prone to cracking.
I can't expand your picture, but the weld at 3 o'clock appears to have a line going through it.
I'd carefully inspect all of the welds for cracks.
Additionally, the welds were put exactly where the mounting bolt holes are. Note that this is also where the intermediate plate has to sit on the flywheel....perfectly flat.
If the welds are sticking up, even tiny amounts, the intermediate plate will not sit flat and the clutch will never be smooth.
Hopefully, you resurfaced that flywheel....it's got ugly hot spots.
And if it was surfaced, hopefully they surfaced out past the welds, so they are not "proud" of the flywheel surface.
That flywheel is from a model year that requires three dowels to keep the intermediate plate and flywheel centered. One of those dowels is larger on the flywheel side....it's a stepped dowel. In your picture, it is not present. Make sure that all three of the dowels are there and are in the flywheel, intermediate plate, and pressure plate, before tightening down the pressure plate bolts. Otherwise, the clutch will be out of balance and shake your fingernails off.
Or, at the very least could you measure the length of the line from the mounting bracket to the flare?
Hi Mike- Here's a shot of the dimension from the front face of the flare to the back face of the mounting flange- about 95-96 mm. I'm afraid I need to keep this wand for my spare G28.57 that I really should assemble....

 07-16-2022, 09:29 AM