When you click on links to various merchants on this site and make a purchase, this can result in this site earning a commission. Affiliate programs and affiliations include, but are not limited to, the eBay Partner Network.
My previous thread was "1985 928S" where many of you gave me the encouragement to bring this upstate NY barn-find into my garage in suburban Boston MA. Thank you all!
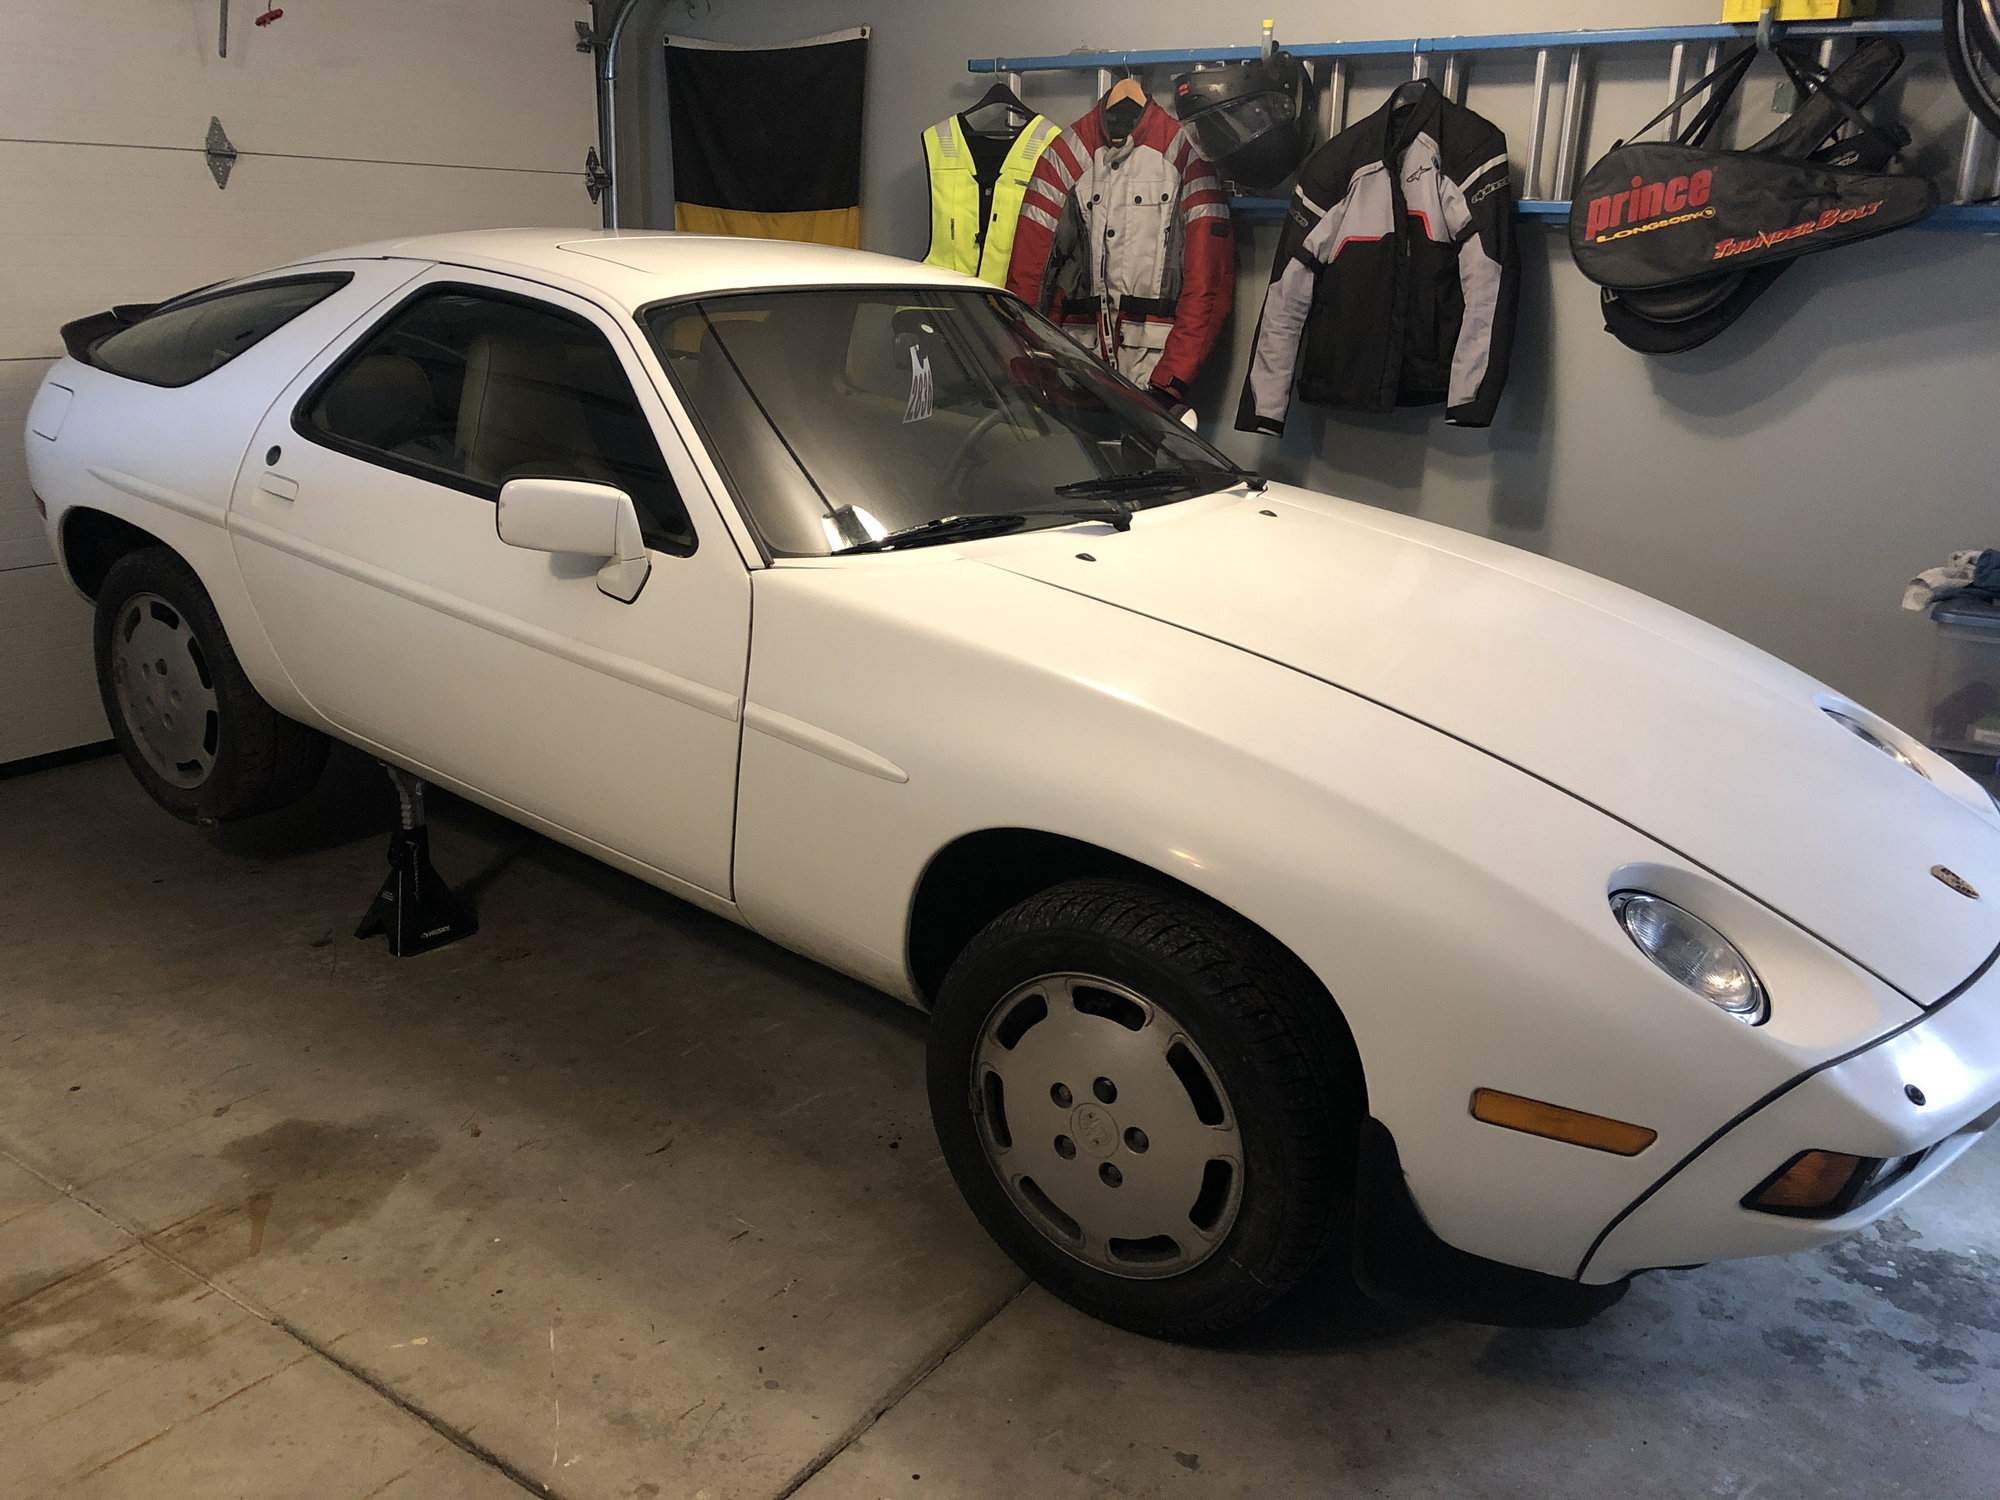
It's in my garage now and I'm ready to start what I expect will be a few years and a few more thousands of dollars' project of bringing this car back to life. The car was owned by my late brother's brother in law. My dream would be to have our shared niece or nephew drive this car at a wedding or other festive occasion.
First order of business will be to drain what fluids remain and inspect the trans linkage cable. I presume it's broken and when replaced I'll be able to get the car into neutral. The cabin will need to air out. It stinks of mothballs and mold. I was thinking of taking off the hood and the hatch (both have broken hydraulic struts) for easy access. I'll be looking for a shop manual before going beyond draining the fluids.
I've read all the intro forum basics, had a couple of DMs and even a phone call with the luminaries on the list. Again thank you for that, and thanks in advance for all the other advice I'll solicit from you.
You don't need to take the the hood or hatch "off" to replace the struts. Use a broom handle to hold each up as you replace each one. The hatch is very heavy!
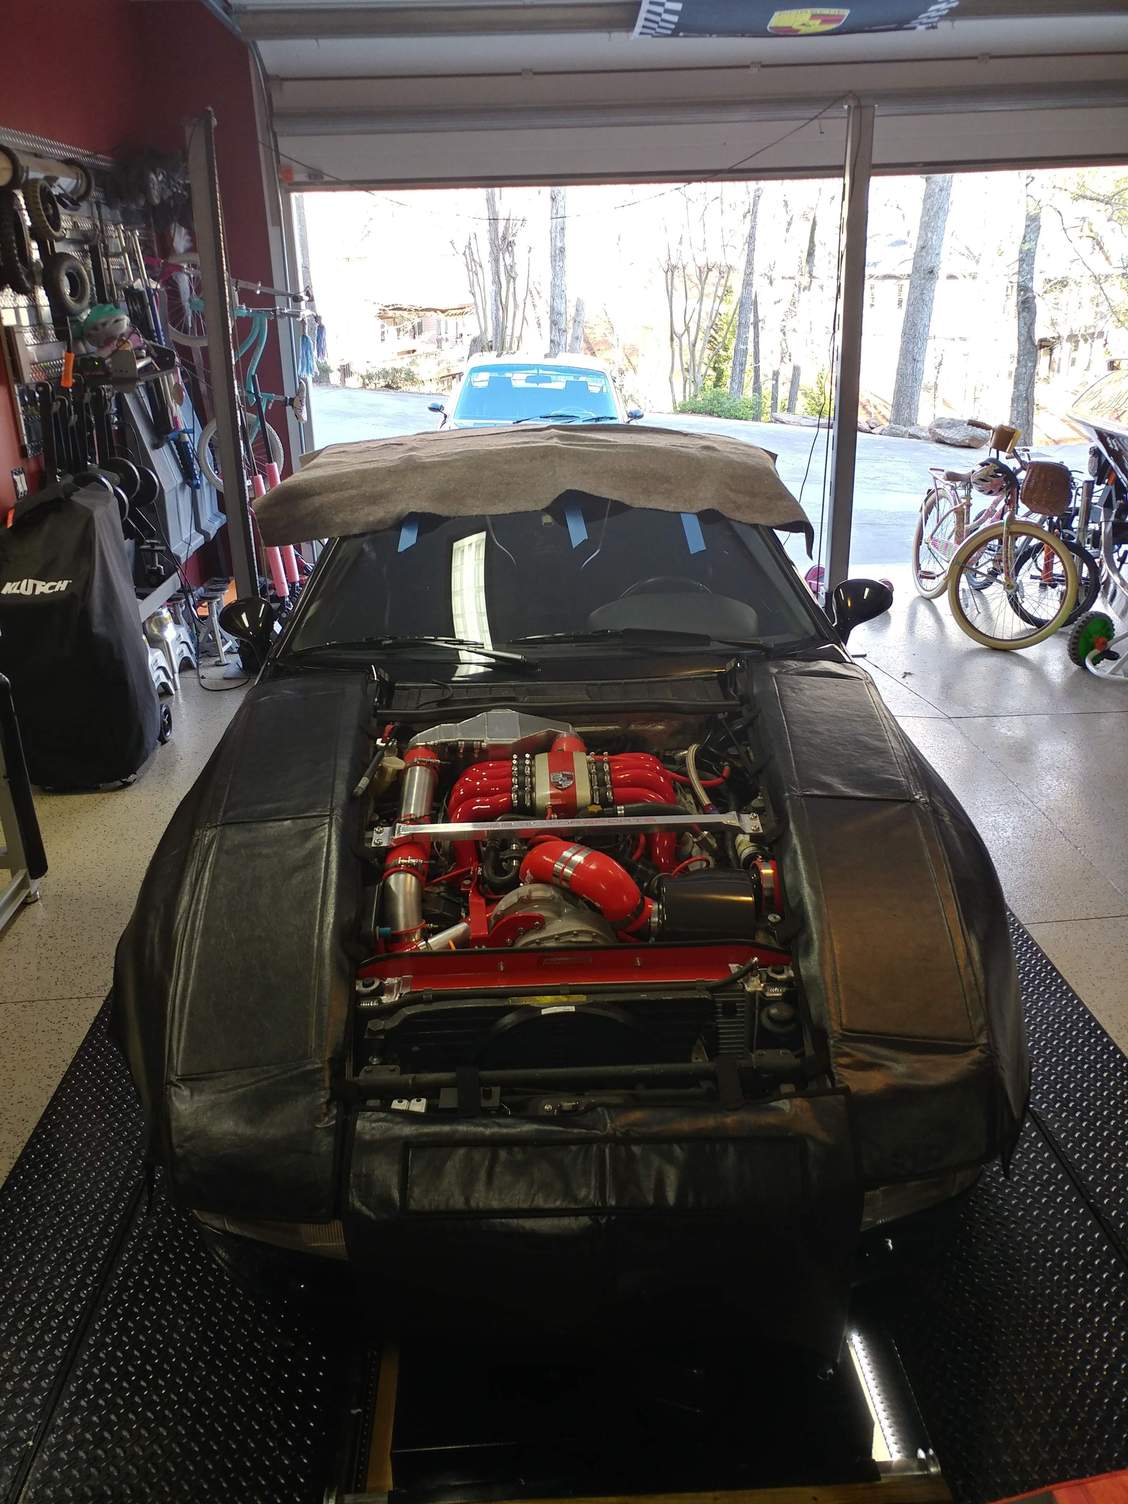
If you mark the hood position to the brackets with a marker, the hood is actually pretty easy to remove since it's aluminum - easier with 2 people for balancing it, but actually doable by yourself. Put a thick moving pad on the roof and then you can rest the hood on the moving pad to get it up and out of the way if doing a lot of work in the engine bay, as that makes things easier. I used some blue painters tape to secure it to the windshield glass while it was up there so couldn't slide or get bumped off. Plus, while it's off you may want to replace the heat shielding on the bottom side and it's much easier than working upside down.
I confirmed that the transmission shifter cable was broken close to the shifter inside the car. When I took the trans shifter cable off the linkage on the transmission I was easily able to move it into neutral but the wheels still didn't move. But this was because the brakes (both parking brakes and caliper brakes) were stuck. After some prying, heating and banging everything came free. And when in gear the wheels moved in the opposite directions confirming that the differential was doing its thing.
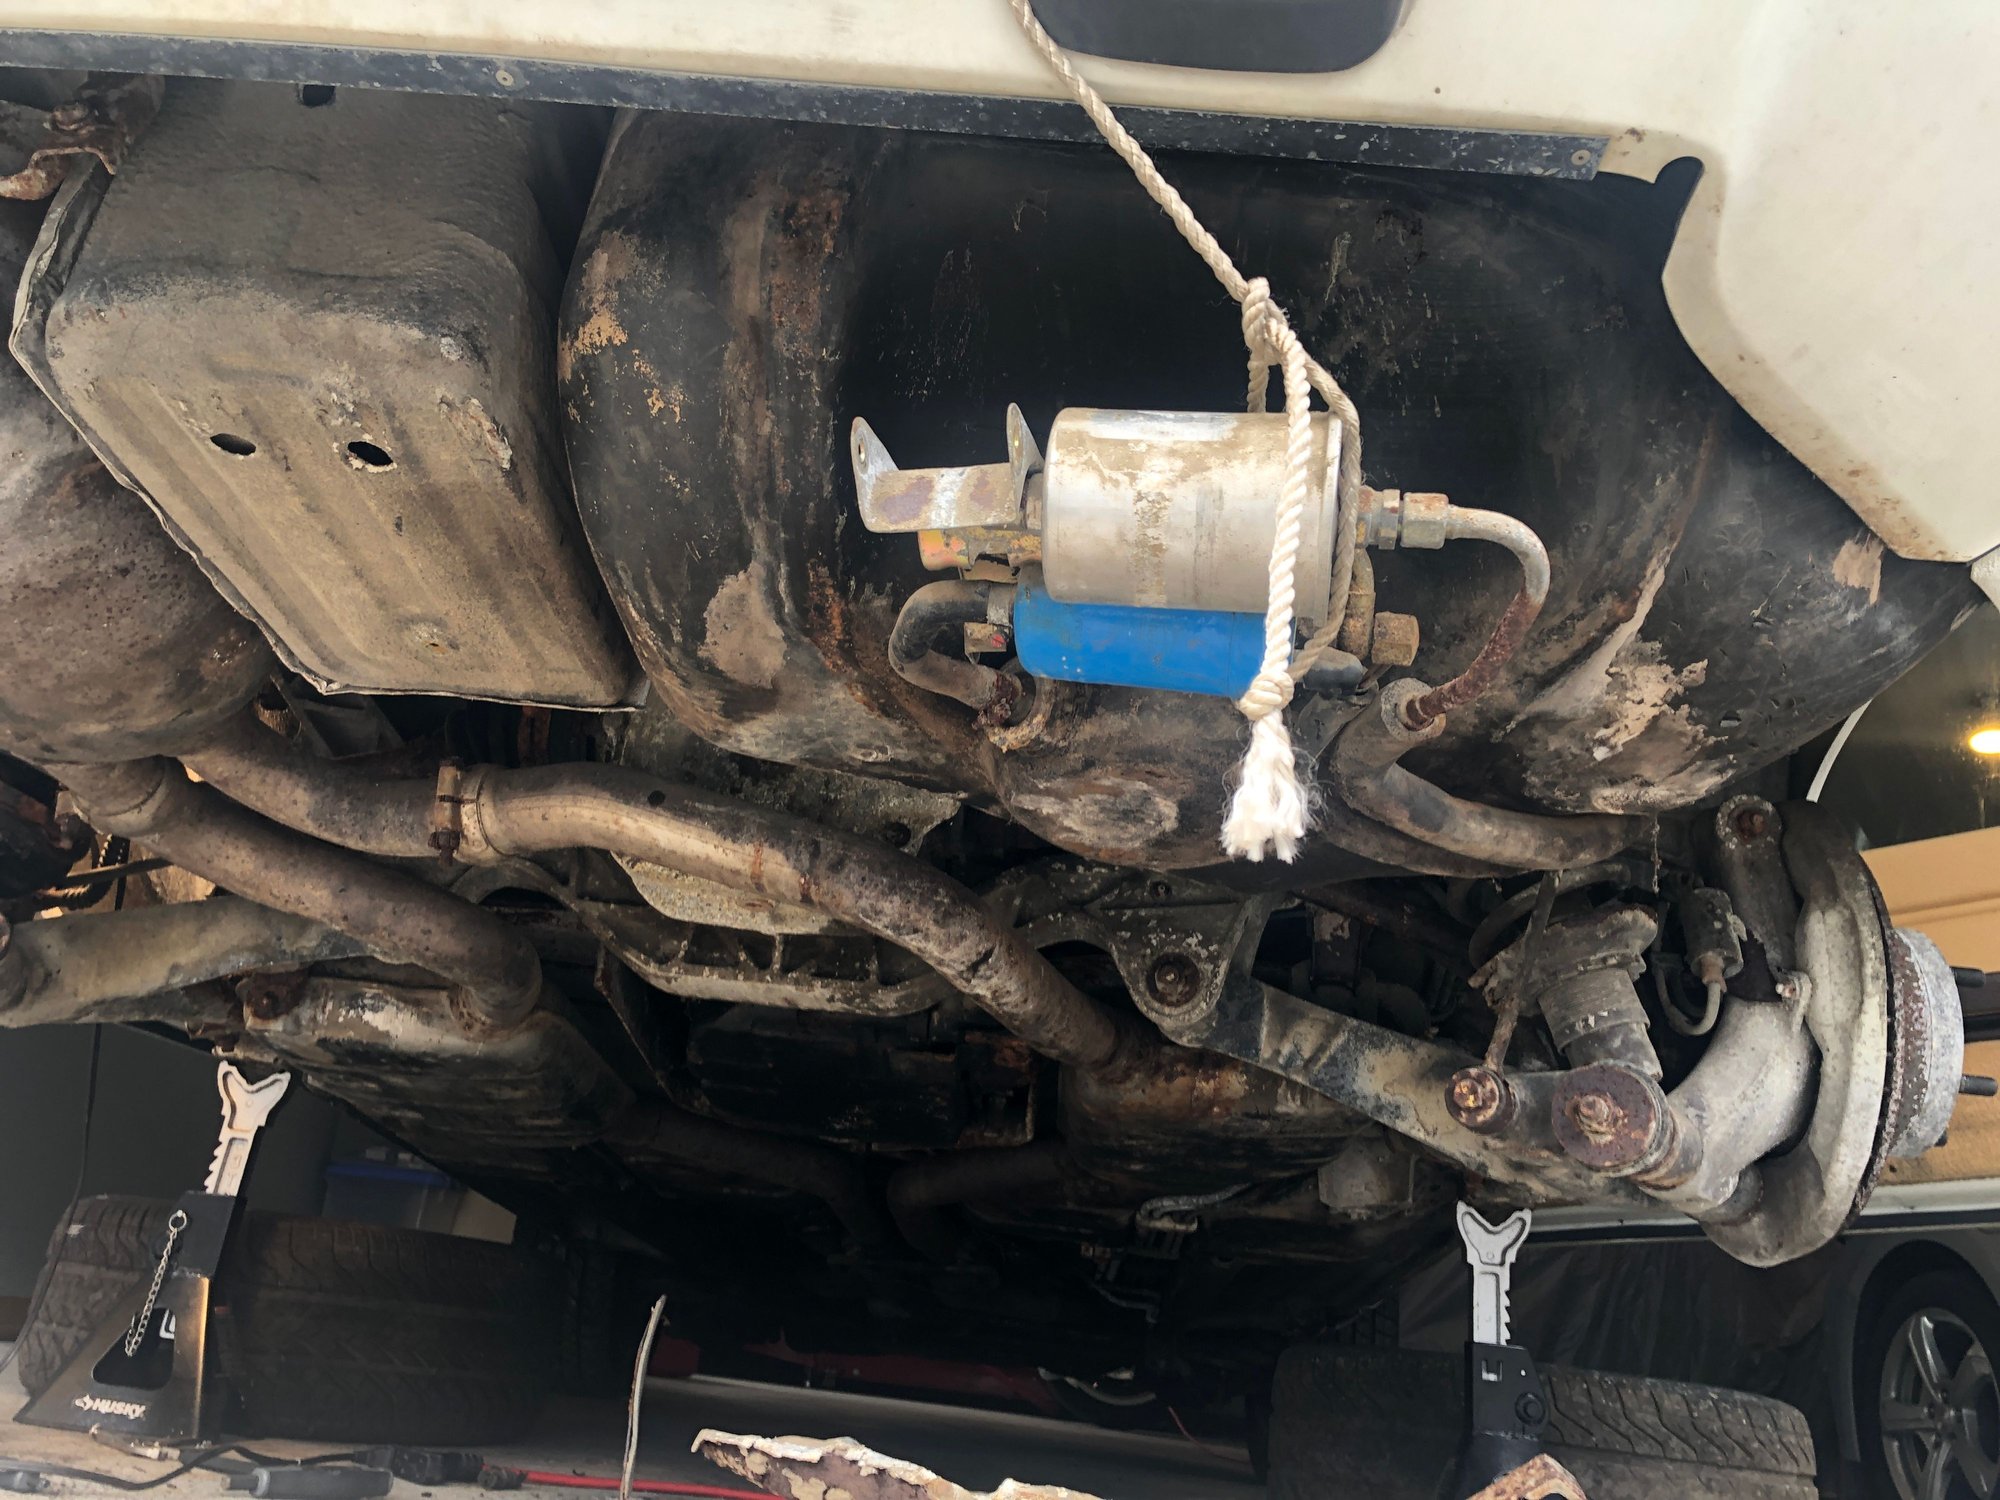
I took off the fuel pump / filter protector which was basically all rust anyway.
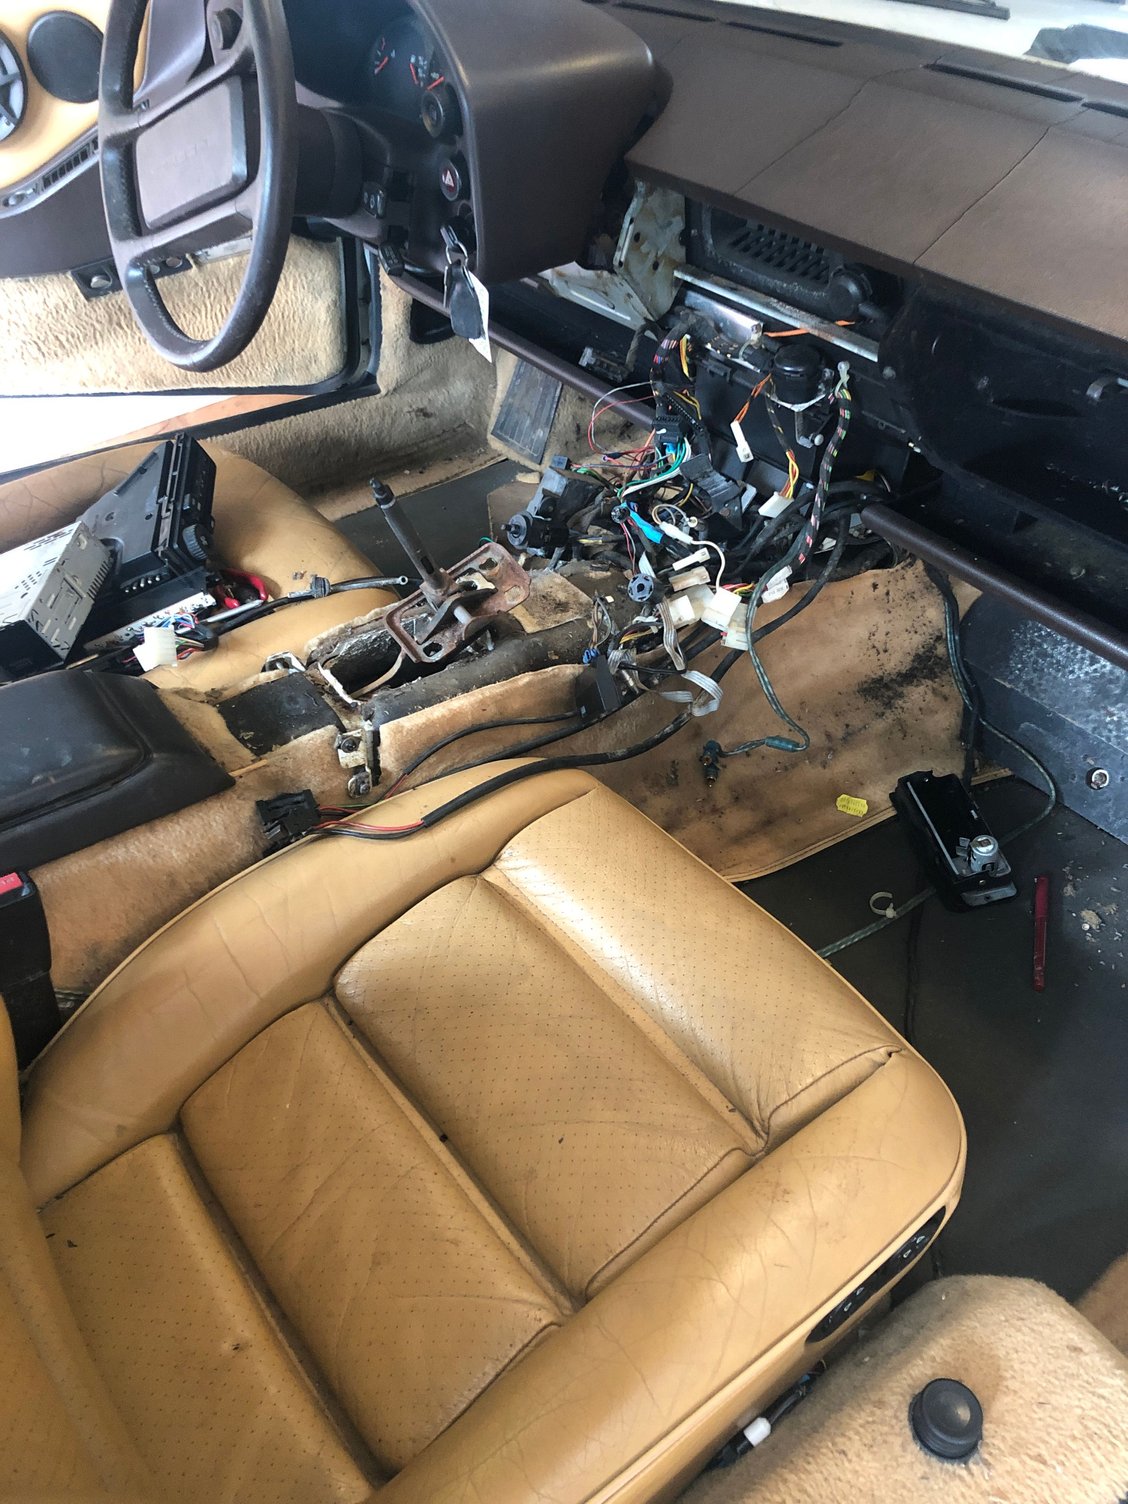
The car had a bunch of aftermarket wiring for a music system and I ripped all that out.
I took out the loose carpets, vacuumed, sprayed everything down with 50/50 vinegar and water, vacuumed and did an ozone treatment.
I vacuumed up al the heat foam under the hood which had fallen off. The air filter had housed a creature. It ate through the filter and nested in the airbox. Fortunately the screen into the intake was intact. It chewed off the tops of wires coming off the distributors. Who knows what else.
Next steps:
Drain the fuel (I only have a couple of 2 gallon gas canisters and the tank is ~20 gallons). I'll need a new solution for this. The Porsche dealer agreed to take all the spent fuel.
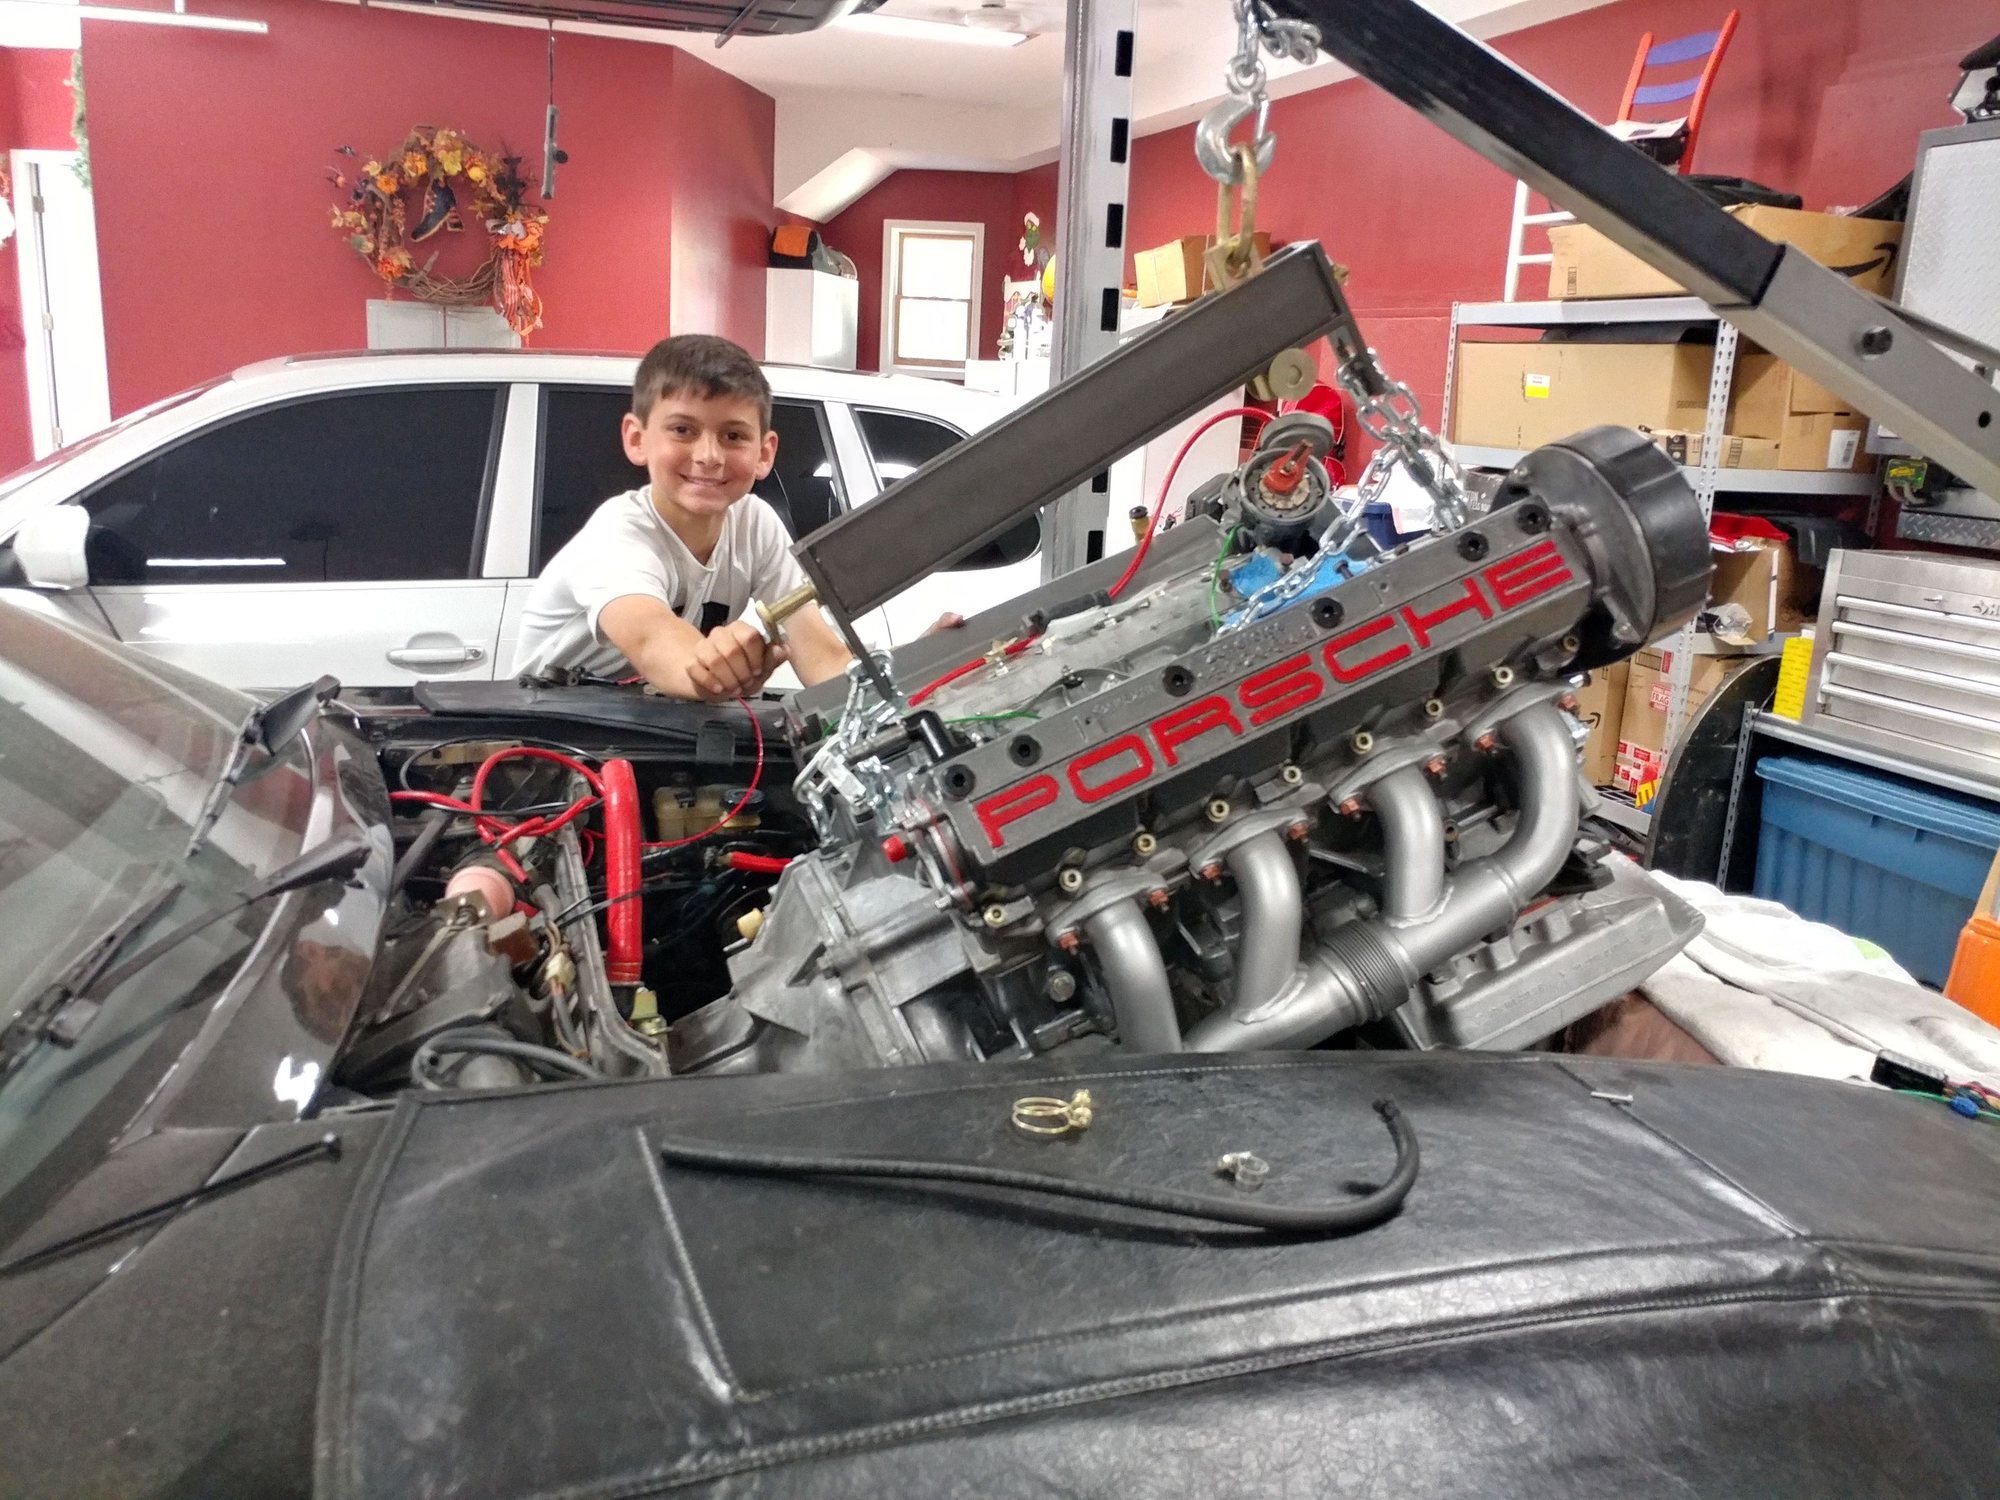
Manually turn the engine to make sure it's not seized.
Buy PB B'laster to try to get all the stuck bits unstuck, like the dipstick that won't move.
Call to Mark at 928 International to find a replacement tank cover and cover.
Call to Roger at 928srus for big kits of replacement parts for front and top of engine bits. It also needs new cable to pop hood and about a million other things.
Huge thanks to Brian (BRB-83-911SC) who drove over, wrenched and gave me invaluable advice. And he let me drive his 1984 928S!! Wow what fun that was and what a beautiful car - in perfect shape.
As always I'm open to tips, suggestions and advice from you generous people.
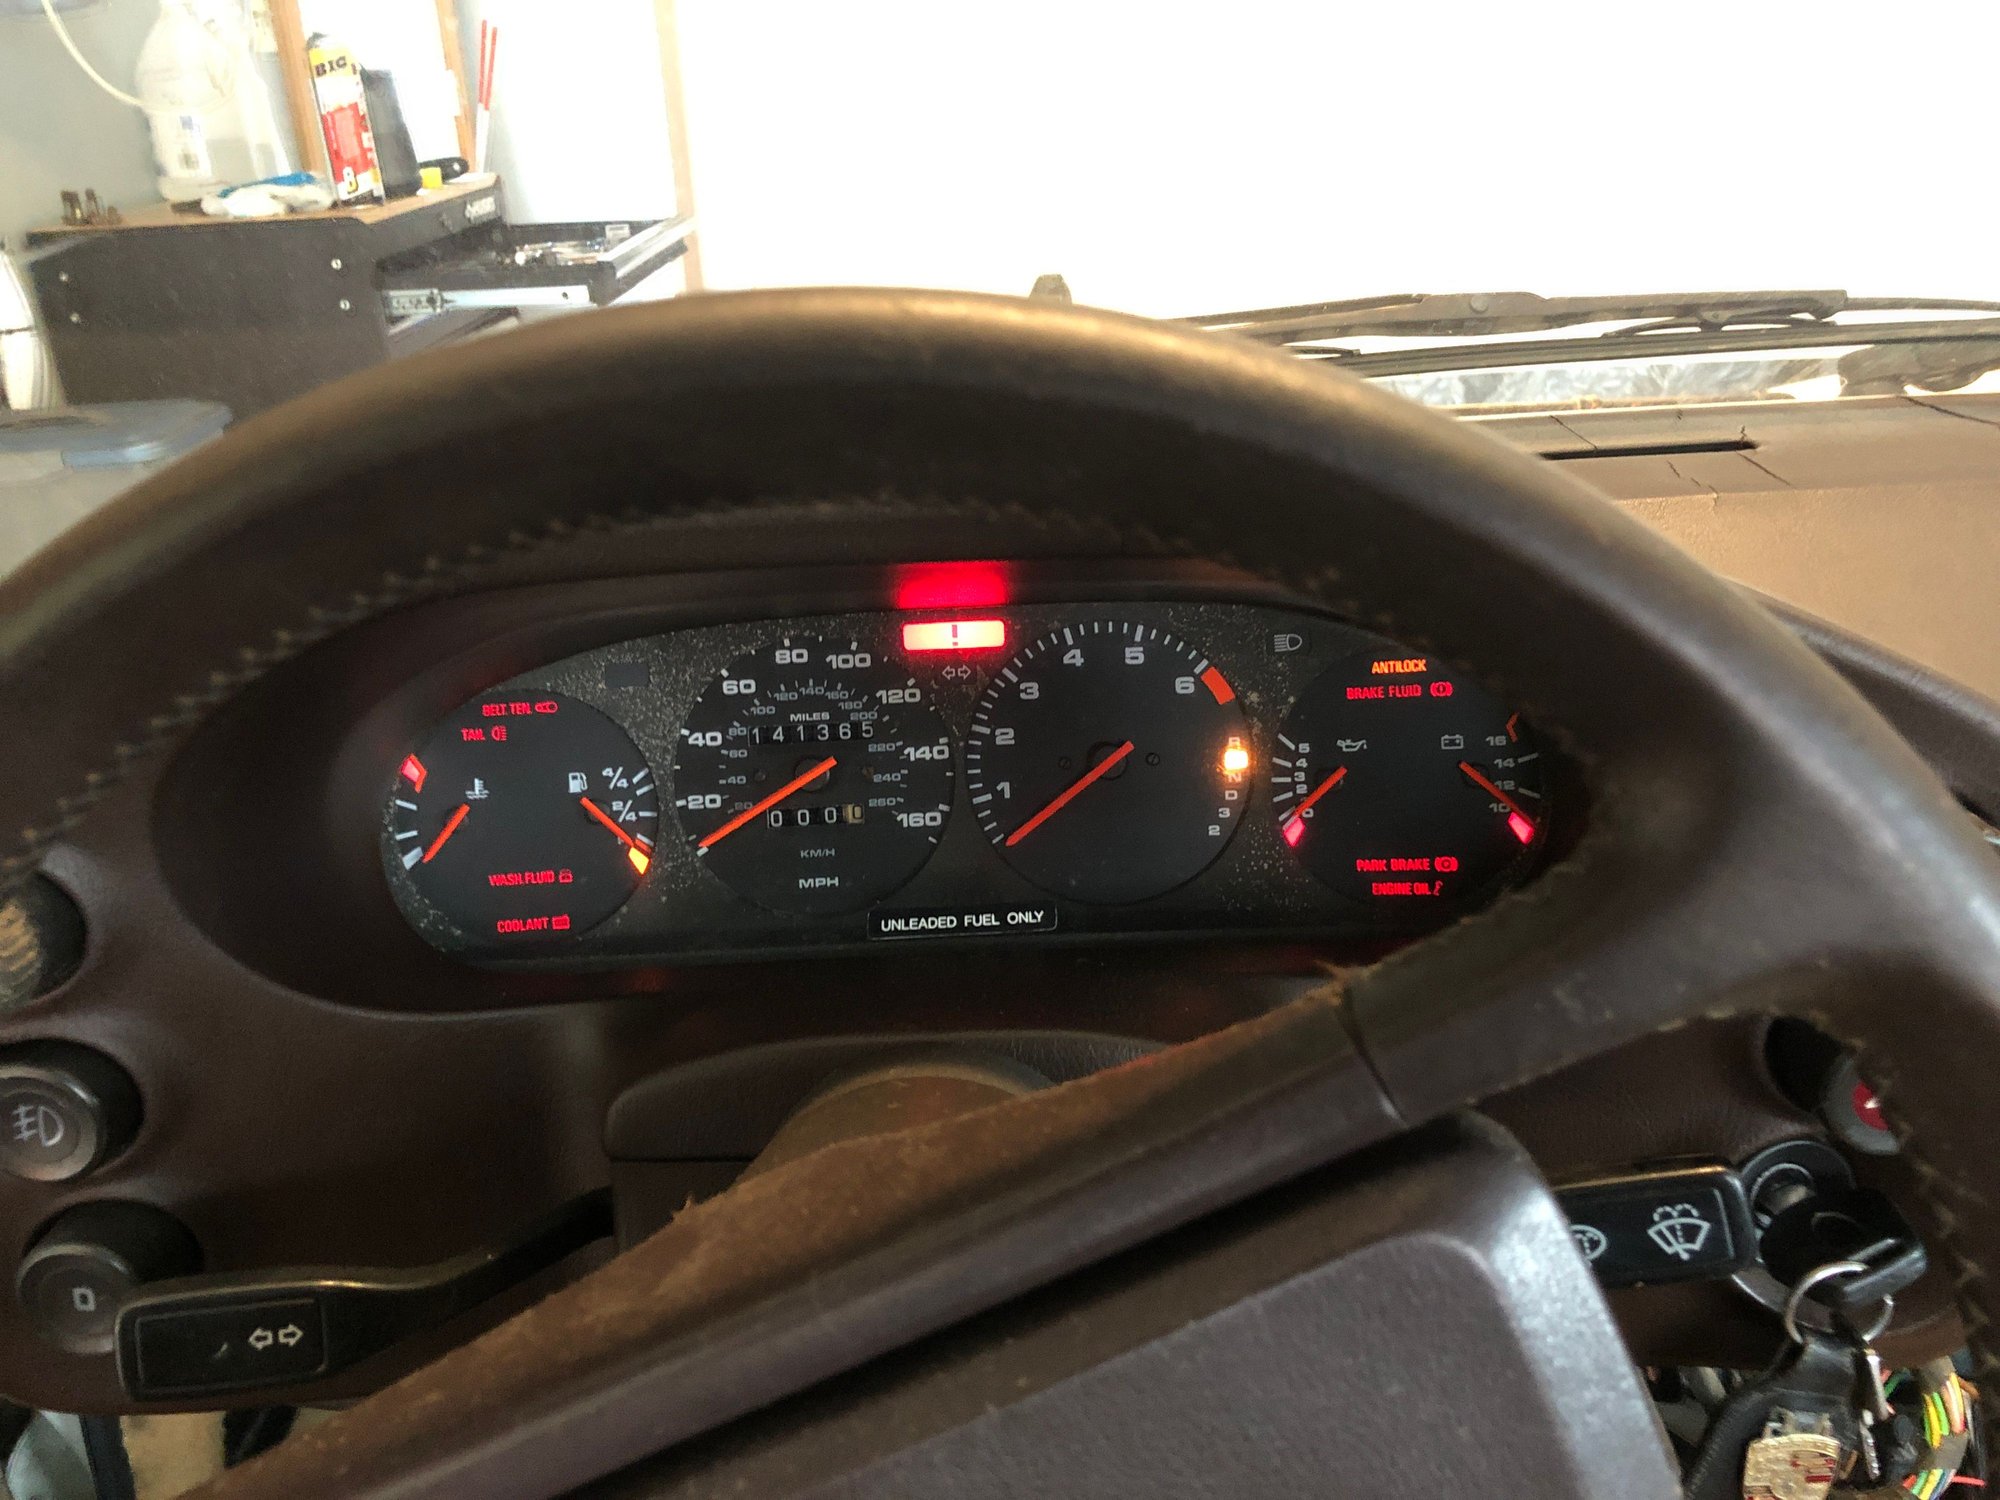
I hooked up a battery. Things generally turned on, but the headlights are staring up at the ceiling and I can't get the windows or sunroof to move. Happy to see that the transmission correctly notes the gear it's in.
The dipstick freed up with a little PB B'laster.
I bought a 22 MM socket to hand crank the engine but it didn't fit. Parts diagram makes me think it's a 18 mm. Can anyone confirm the size?
I started to put together my parts list. Open wallet - remove credit card...
The windows are often the switches. You can take them apart to clean them but often they fail again. You can get them cheaply online or through our vendors. Sunroof is usually the cables all gunked up but could be the switch too. I would just pull the 6 fasteners and pull the panel. Then ypu can pull the cables out to clean and lube them.
I bought a 22 MM socket to hand crank the engine but it didn't fit. Parts diagram makes me think it's a 18 mm. Can anyone confirm the size?
I just went out to my car and put a 27MM deep socket on the crank pully bolt. I can't say for sure if it's the same for your year, but I think it is. 22MM was a bad guess on my part - sorry.
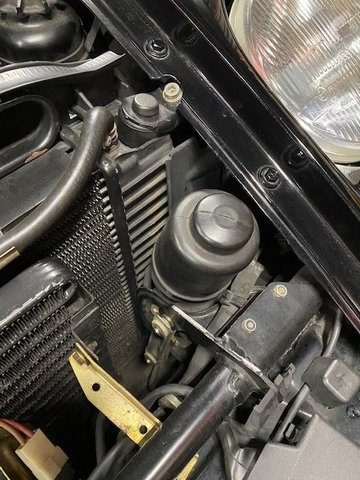
I would bet that the headlight mechanism and/or headlight motor has fallen victim to corrosion and is frozen. There is also a relay that could be suspect.
You could try to crank them up by hand. Picture below shows the manual lift mechanism. Remove the rubber boot and see if they crank up by hand.


 11-16-2020, 09:41 PM