When you click on links to various merchants on this site and make a purchase, this can result in this site earning a commission. Affiliate programs and affiliations include, but are not limited to, the eBay Partner Network.
Hello friends!
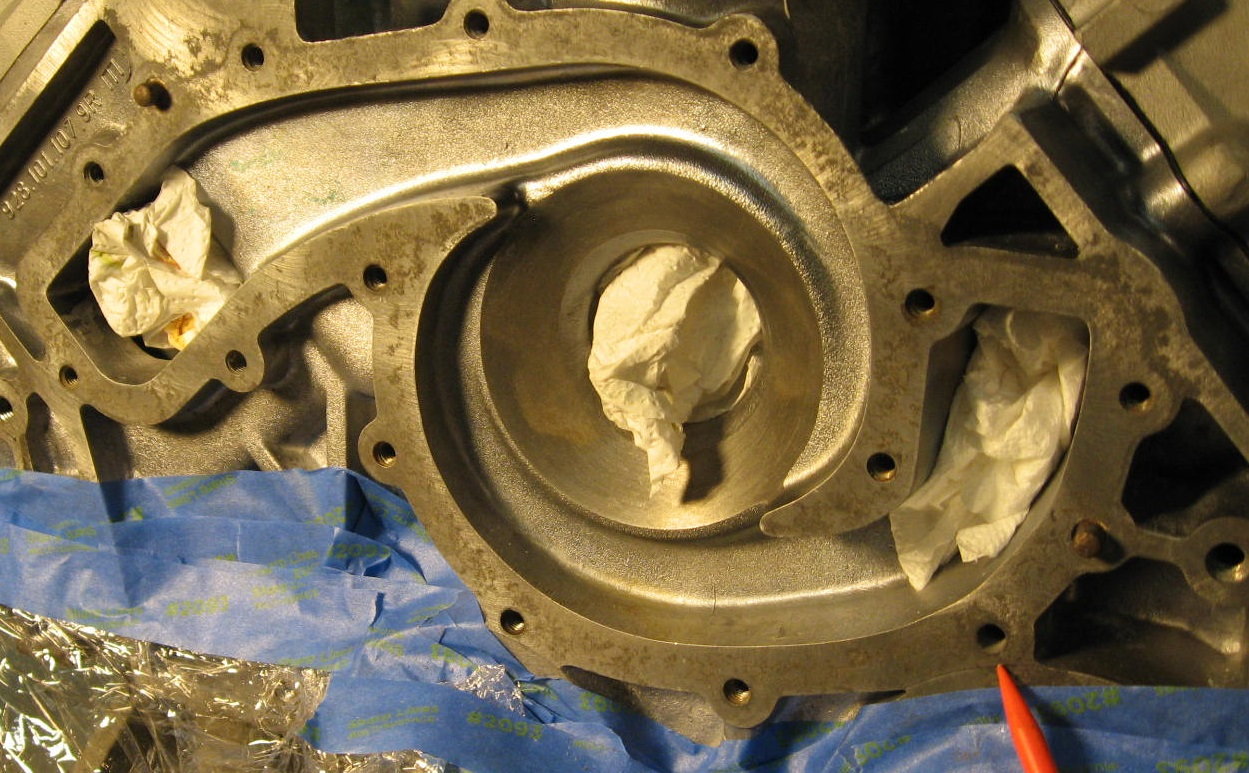
I have a stripped bolt hole used for mounting the water pump.
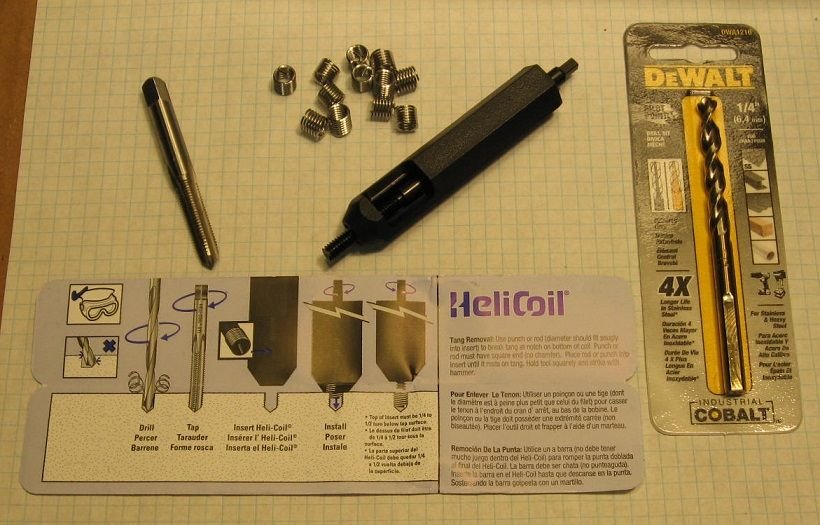
I decided to learn how to repair this type of damage using HELICOIL.
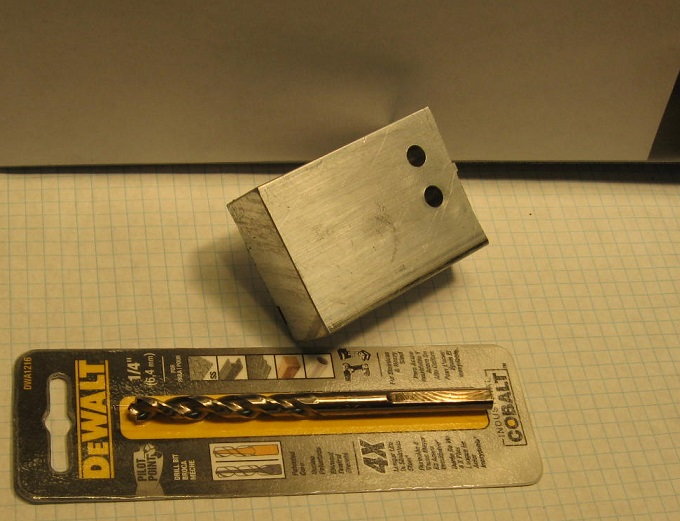
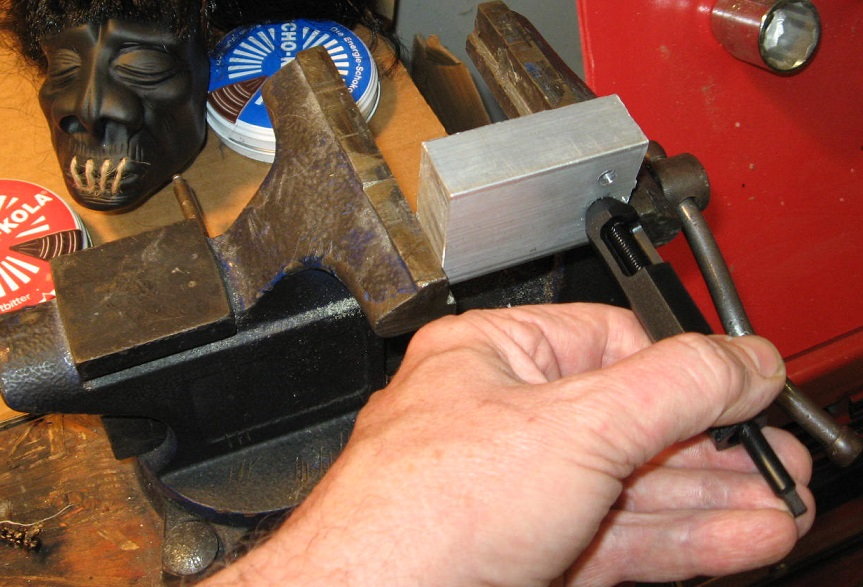
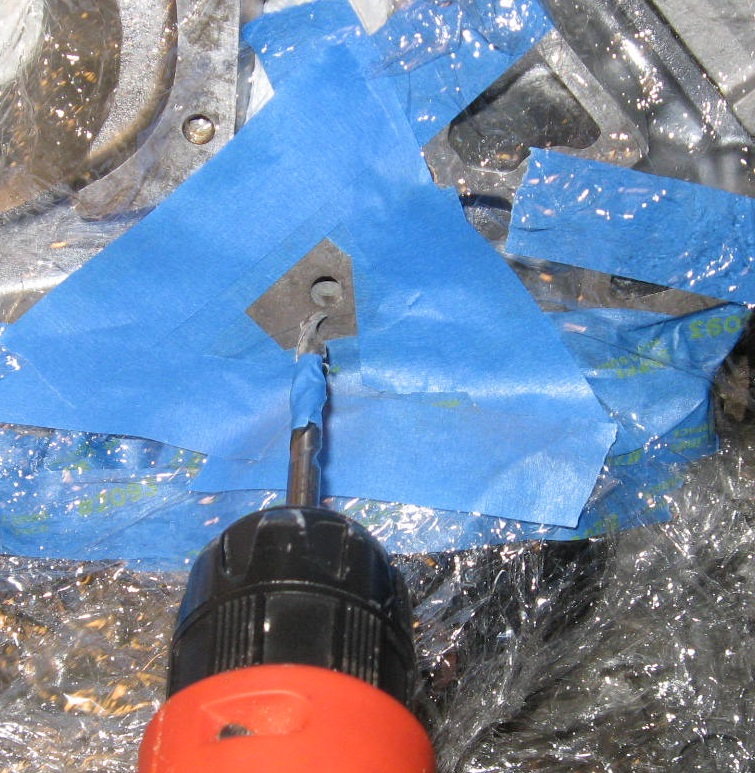
The M6 x 1.0 repair kit requires the drilling of a 1/4 hole. I did not want to practice on my block, so I drilled 2 1/4 holes in a piece of scrap aluminum.
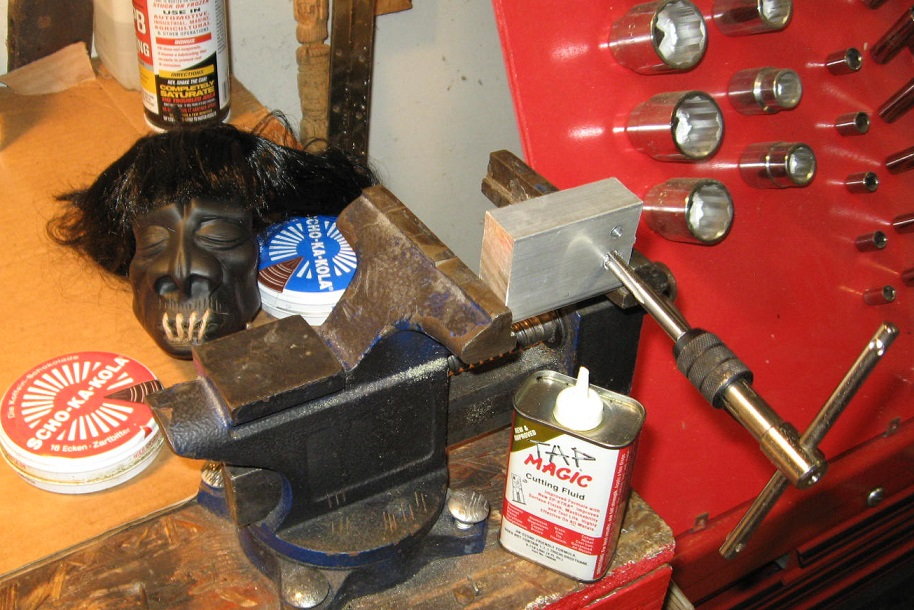
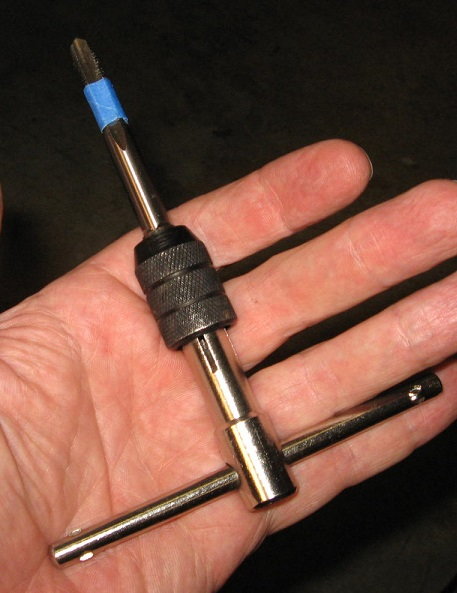
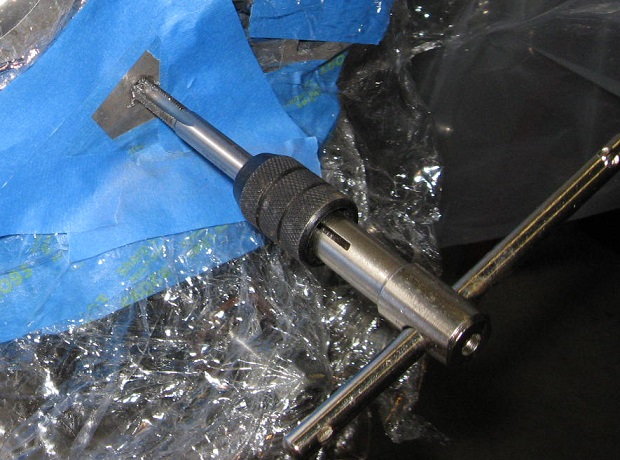
The next step is to use the supplied tap to prepare the 1/4 hole for the HELICOIL insert.
I used some Tap Magic to help the cut ( I used it on the 1/4 drill hole also)
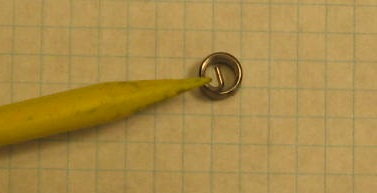
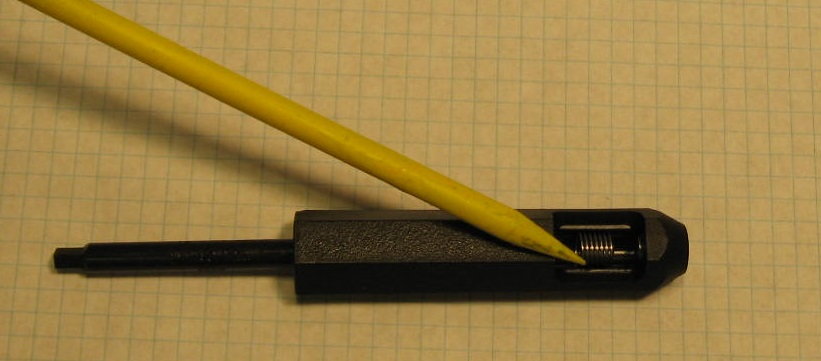
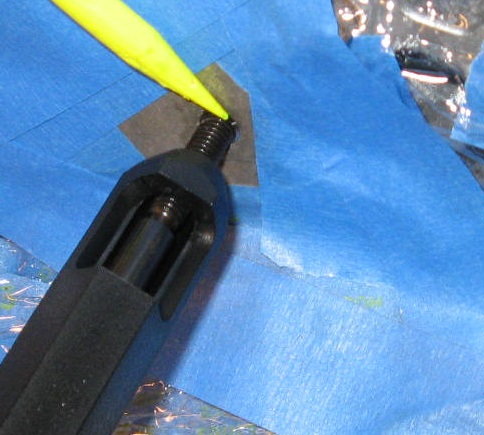
Next, you load the HELICOIL insert in the tool, with the tang positioned to sit in the bottom of the new hole.
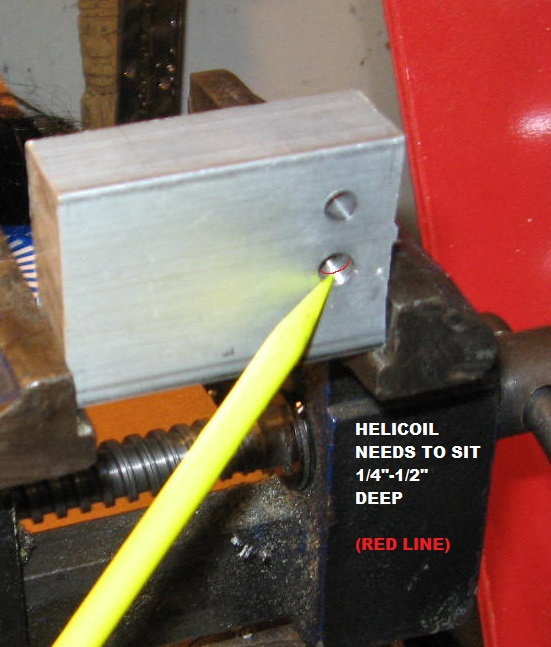
The HELICOIL insert needs to sit 1/4 - 1/2 inch below the surface.
OK, I practiced twice. Now I have 200% more experience than before.
It is still a sickening feeling to go at your engine block with a drill.
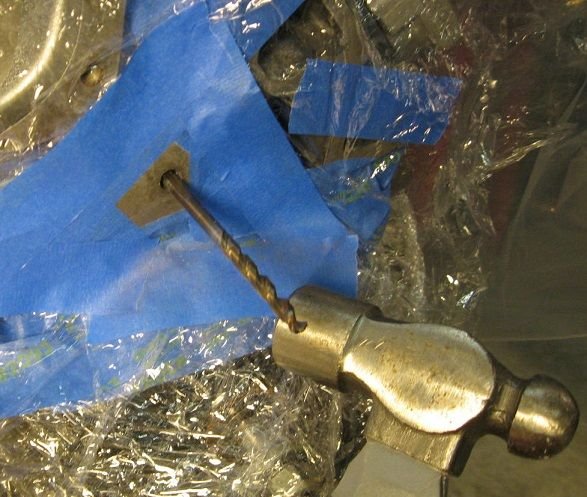
I marked the drill bit with blue tape for a depth gauge.
The 1/4 hole was easy to drill. The aluminum near the block surface was powdery, very much degraded.
Next comes the tap, again indexed with blue tape for proper depth.
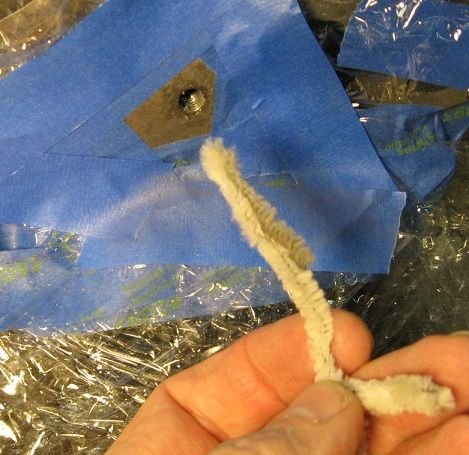
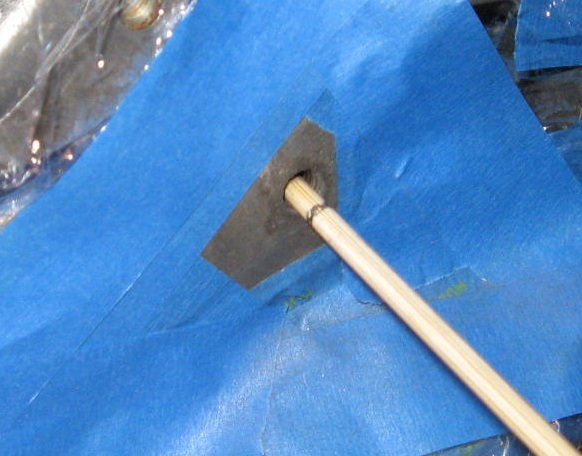
Now to clean the debris out of the new hole in preparation for HELICOIL. A pipe cleaner.
Now, the HELICOIL insert goes in, and depth is measured to ensure the proper 1/4 - 1/2 inch depth below the block surface.
I used an old bill drit and a sharp hammer tap to break off the tang on the HELICOIL. I used the pipe cleaner again to get the tang fragment out.
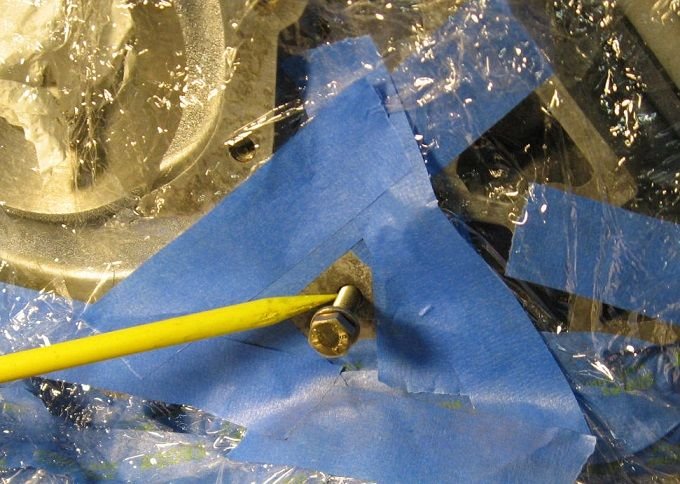
This was a great repair. The correct bolt goes in snug and straight.
I was worried about jacking up my block, so the practice on the aluminum scrap really helped with confidence and getting a feel for the process.
If I can do this, anyone on Earth can do it.
Thanks for taking the time to read this.
Last edited by Daniel5691; 09-06-2020 at 12:53 AM.
Thanks for showing us real world example in a dreaded location! Been lucky enough to avoid stripped threads so far, but have always kept an eye on helicoil etc discussions as they're always somewhere in the future with old cars!
I had a similar thing happen to me for one of the idler pulleys on my 944. Your approach is much more methodical than mine, in that you practiced, and taped things off much better than I did for protection from the swarf. I used a TimeSert, but the dread of drilling into my engine block was just the same. It worked, and thank goodness for these tools being available, but it's nervewracking! Good work.
I specify helical coils almost exclusively in my designs when using alloys such as aluminum. Normally, the insert is installed 3/4 to 1.5 turns (pitches) below the surface (per NASM33537). In this case, being a repair, I can see why the insert would need to be installed much deeper - the hole/threads near the top are most likely buggered, so for strength, the insert needs to sit within sound parent material deeper in the hole.
Also, for the future, there are "tangless" inserts available (NAS1130 - which is all I use) that do not require breaking the tang off - the tang is a major FOD issue in my industry.
Thanks for all the positive comments.
I am really trying to take my time and get this engine back together perfectly.
I am learning something new at almost every step it seems.
My main obstacle is "REAL LIFE"... there are weeks and months that go by when I just don't have the time to pursue the hobby due to work...
It makes even the tiniest accomplishment even more fun.
I did really consider the TIMESERT method.
Considering the low torque on this bolt and unfortunately cost did also play a role, I went with HELICOIL.
I would like to try TIMESERT at some point. Hopefully I won't need to anytime soon... ha ha
dan
Very well done sir.
I did one ad hoc and remember the nauseous feeling of drilling into the block as well.
I briefly considered studs, but figured there was a reason nobody used them the water pumps.
I really like your utilization of 'disposable' practice materials to make sure you knew how to do it right.
Helicoils are a reasonable choice for some things, but personally, I have chosen to go with Time-serts in the block itself.
One reason is that I pulled a trashed helicoil out of one of the power steering bracket holes. The larger diameter of the time-sert allowed me to fix it with no drama.
Yes, they are quite a bit more expensive, and that can be a factor.
Everything is a trade-off.
Not that I hate helicoils. I have one in my pod, holding the long bolt that goes up along the cluster.
When I did my TB/WP I had 1 bolt that wouldn't hold the torque. I ran a straight tap in as far as it would go, and changed to a longer bolt, which worked for me. Using a bottom tap would be even better. So, there is another option to try before going down the insert road, if one wishes.


 09-06-2020, 12:50 AM