When you click on links to various merchants on this site and make a purchase, this can result in this site earning a commission. Affiliate programs and affiliations include, but are not limited to, the eBay Partner Network.
I'm just catching up again with this work and it looks like you've been making some good progress. I don't know where you are with the gasket scraping, but I wanted to pass along a tip from 944-land, where there's a pretty well known German guy that posts great YouTube tutorials.
Anyway, his tip for cleaning up the mating surfaces on the block is to make a scraping tool out of a piece of copper pipe, where one end is hammered down nice and flat, then (probably) sharpened a bit. His thinking is that the copper will be softer than the block and help to avoid scratches.
Apologies if this comes too late to help with your work but perhaps it will be of use to someone else.
Cheers
Yeah I have been through that nightmare. I tried all different ways and each one played its part. I would be keen on the youtube link. I still have the TB and WP to do.
More progress today.
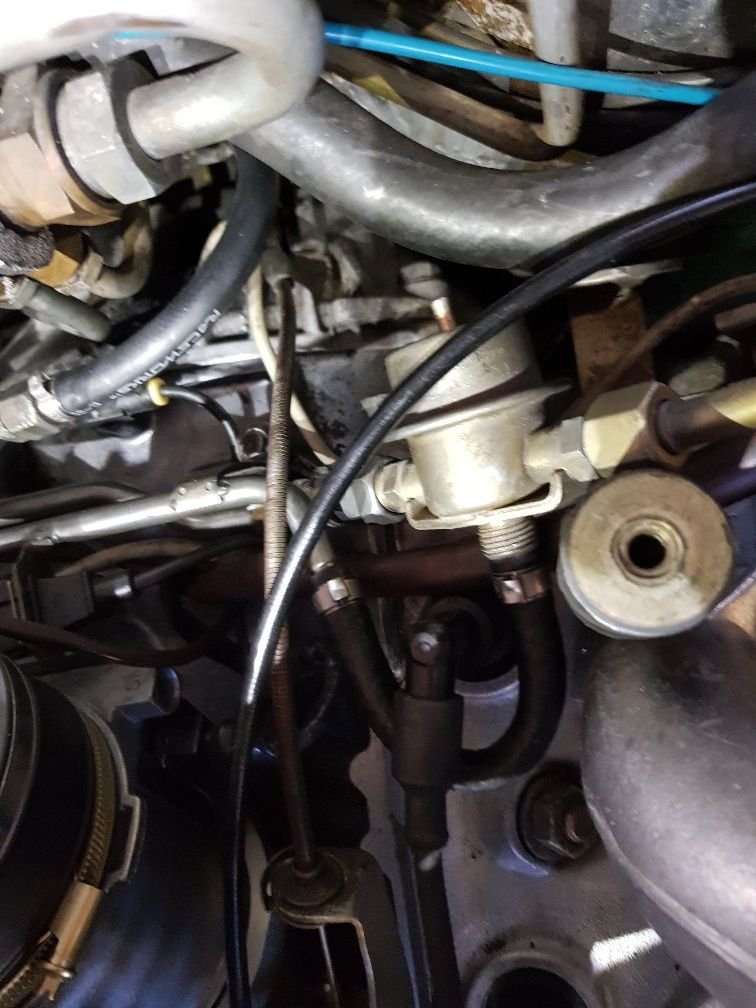
Most everything is fitted up. Just finished a fuel leak down check by jumping the relay. Only one union wasnt done up. Thats why we do a leak check first. DC111 used on all rubber parts including the injectors o-rings. New VAC lines in the engine bay area. Tomorrow I will fit the radiator and fill with oil and water to see if she runs. My biggest concern is if I have disturbed an old wire somewhere and that I have fitted the twin dizzy belt correctly and lined things up ok. I have tripple checked all the HT leads. Not sure if I am a big fan of bending standard fuel hose but it seems to still flow.
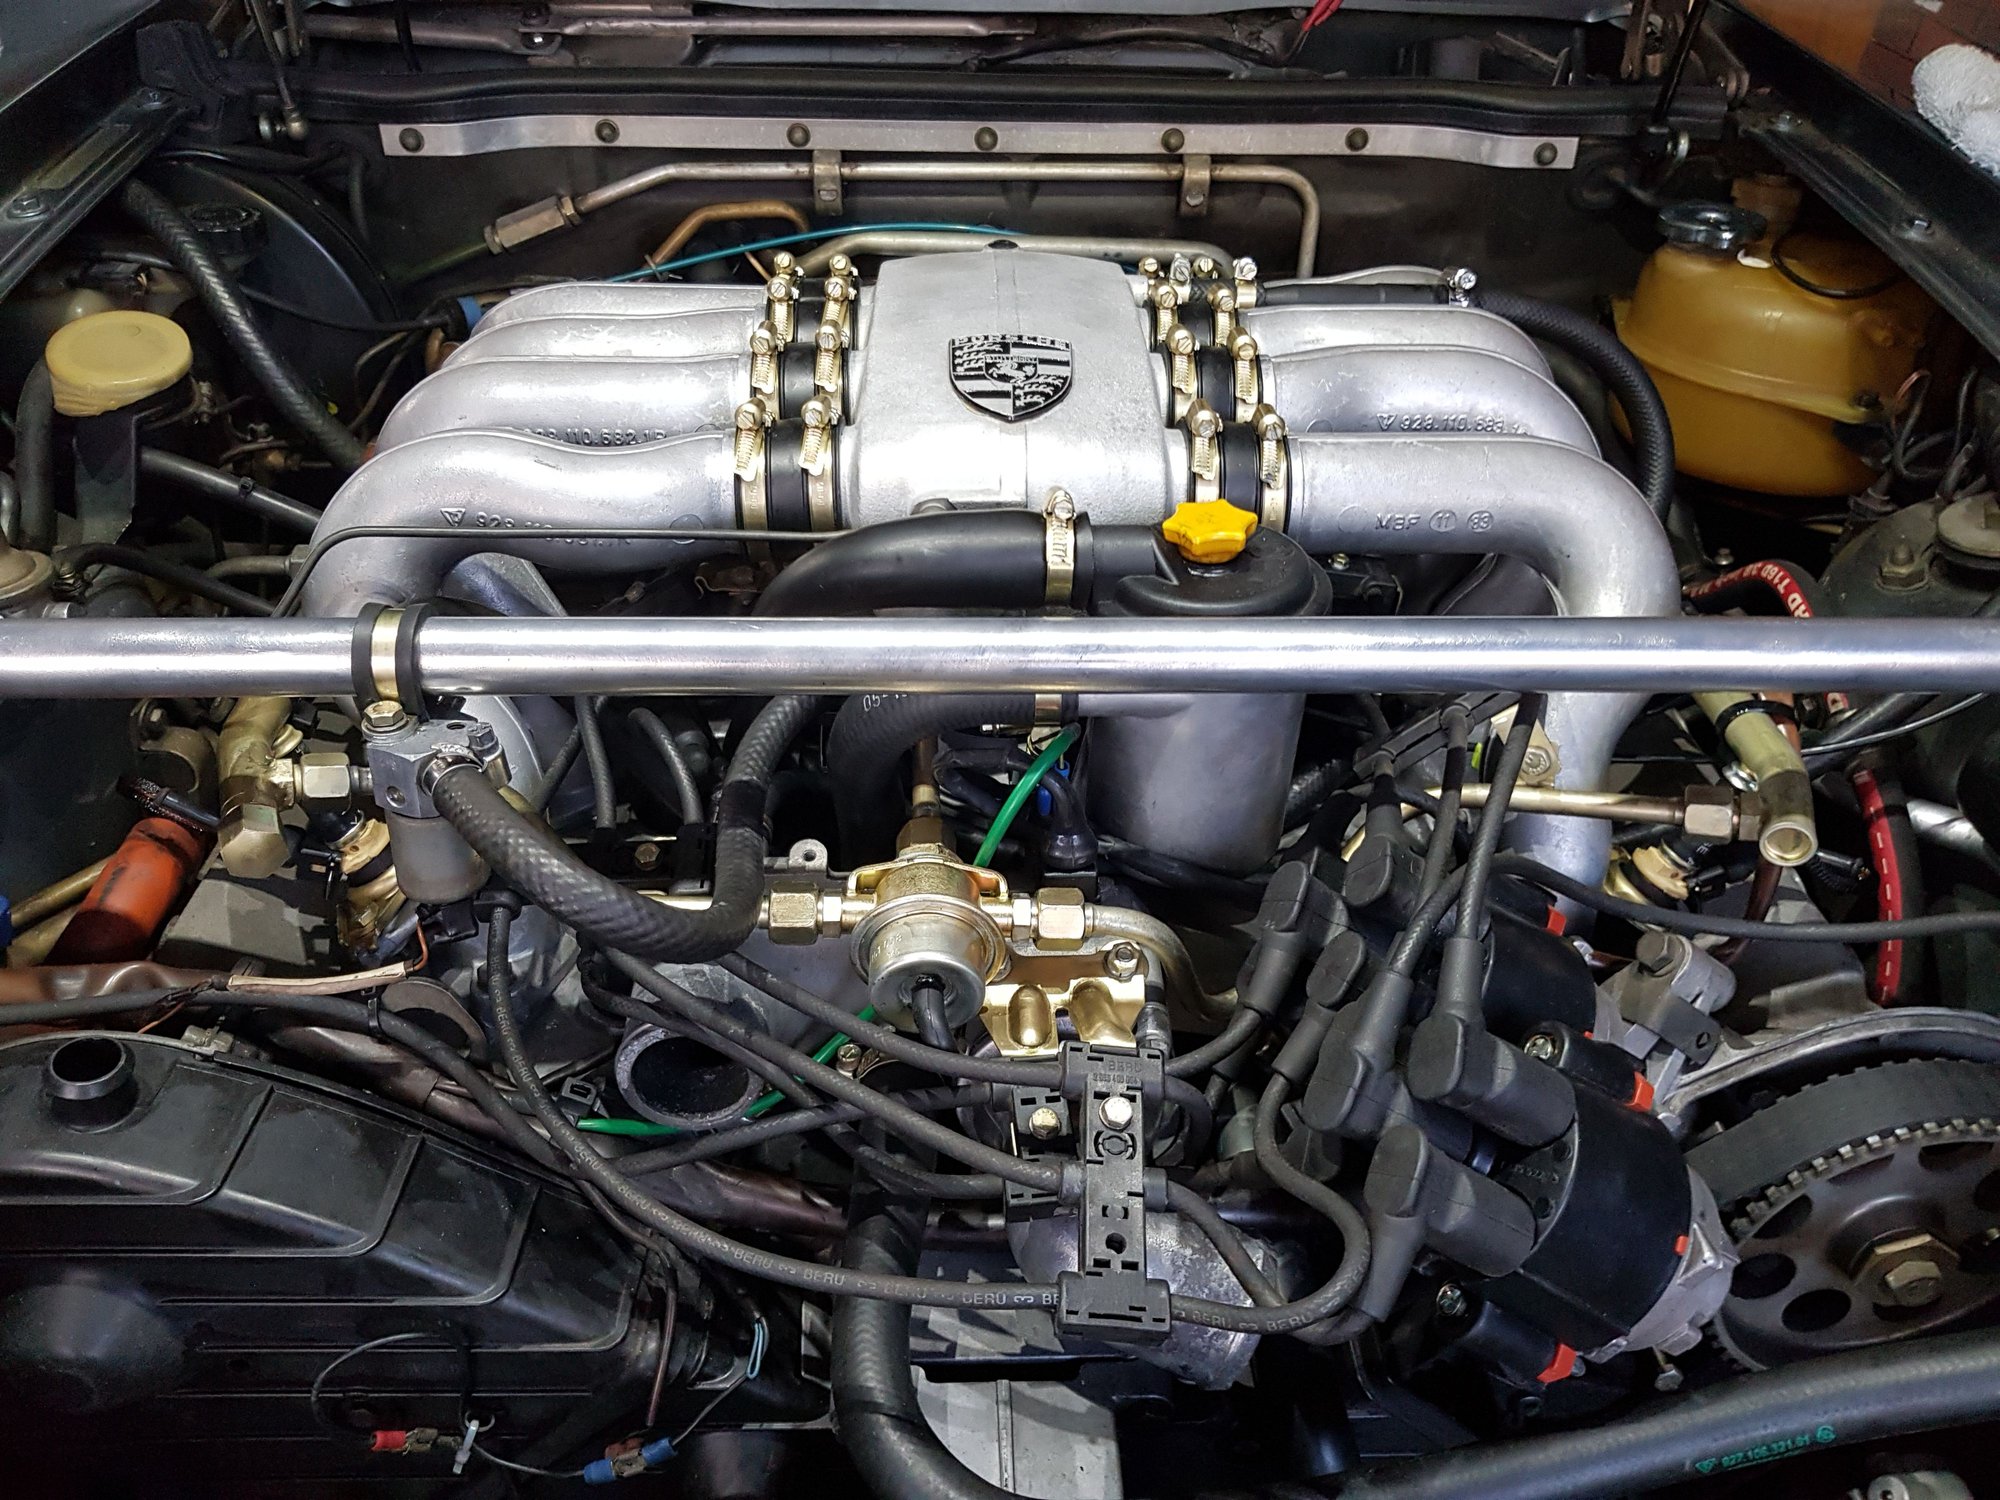
Here is the final look. No road test yet. I am not sure I like the blue intake couplers. I thought it was a good idea a year ago when i bought it. This is the first time the car has had the intake and air box fitted since I have had it. Not sure its all ligned up correctly. The offset of the rear mounts and the need to get the correct torque to hold down the intake was difficult to work out. I still need to tidy up the intake snouts. I didn't want to rush it. Also I still need to fit the bonnet protector.
Looks great, Greg.
I'm not a fan of bright colors in the engine bay, but yours looks very nice. I prefer black and neutral grays, tans, etc.
Thanks,
Dave
So I had a good day today. The car never felt like it was running the best. A few backfires and hiccups and a lot of moisture out of the exhaust. I must admit I did a quick check of the MAF CO setting when it was out and it read 1000 ohms. I tried a quick adjustment then and no movement so I fitted it anyway. I pulled a couple of plugs from each bank of the twin dizzy and both were quite wet. After a quick check of all my leads and the twin dizzy rotors I pulled the MAF and checked the CO setting again. For some reason it adjusted this time. I wound it down to around 450 ohms and all seems well. It seemed to drive ok but now the plugs are a little gummed up. Keep in mind I am only driving it up the street as it is no registered yet. Its pretty nervy driving this thing for the first time. I bought it as a non runner.
A couple of small things to tidy up before I take it in for a check. I am not sure how the radiator shroud goes in with the aftermarket radiator but mainly if anyone has a close up pic of what the bonnet seal looks like fitted that would be great. Also the horn doesn't work. I will check the fuse tomorrow.
Thanks guys for the pics. The end shot is perfect. I am just going to get it from my local rubber place...hopefully.
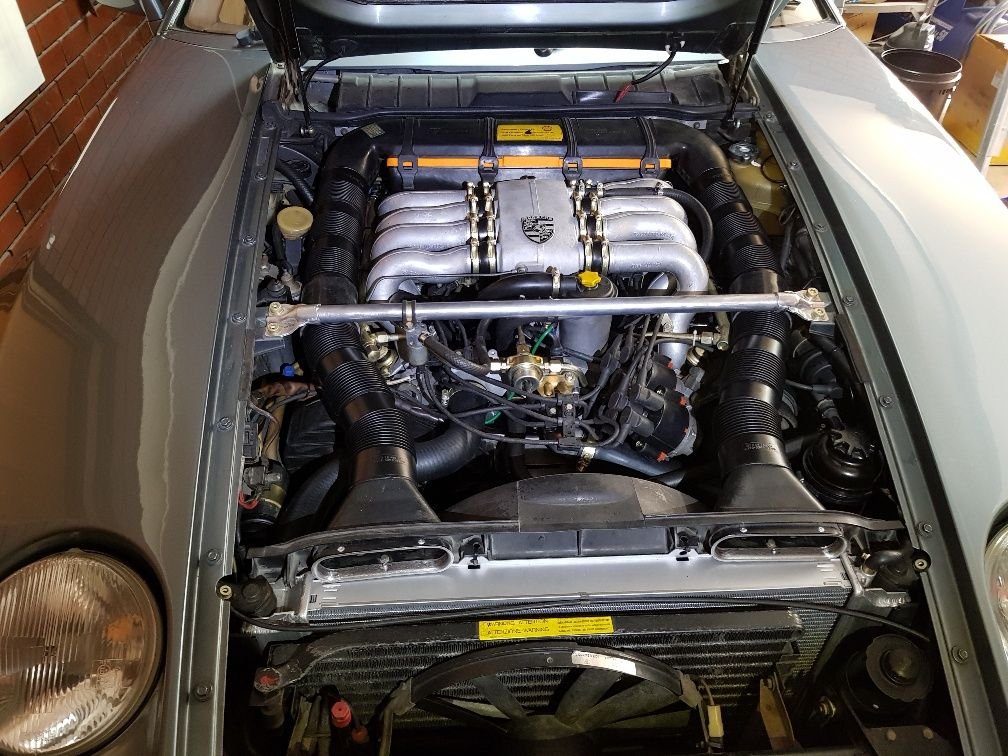
I also changed out the blue silicon inlet couplers to black. As if I dont have enough other stuff to do than do things twice.
Thanks guys for the pics. The end shot is perfect. I am just going to get it from my local rubber place...hopefully.
I also changed out the blue silicon inlet couplers to black. As if I dont have enough other stuff to do than do things twice.
Your bonnet actually rests on the strip across the top of the air intakes. Check out your bonnet and see the marks where it rubs then measure down from the rear of the engine bay. It's just a thin strip of rubber or vinyl pushed on the edge. The idea is to have all the air enter the two vents for the intakes not have the air pass over the top. The hot air from the radiator is sucked and blown through and escapes through the large side gaps of the bonnet. A poor seal on the top effects the designed engine cooling.
Talos Takes Your 991 Porsche 911 GT3 to the Next Level for a Cool $1.13 Million
Slideshow: Talos Vehicles has transformed the Porsche 911 GT3 RS into a carbon-bodied, race-inspired machine that costs well over $1 million before the donor car is even included.
9 Vehicles Porsche Helped Engineer that Aren't Porsches
Slideshow: Long before engineering consulting became trendy, Porsche was quietly helping other automakers build everything from supercars to economy hatchbacks.
9 Features and Characteristics That Only Porsche People Understand
Slideshow: Some brands build cars. Porsche builds traditions, obsessions, and a few habits that stopped making sense decades ago but somehow became part of the charm.
This Builder Is Turning Heads With Its Slantnose 911 Creation
Slideshow: A small Polish tuner has reimagined the Porsche 911 Slantnose for the modern era, blending 1980s nostalgia with widebody tuning culture and serious performance upgrades.
Porsche 911 GT3 Artisan Edition Pays Homage to Japanese Culture
Slideshow: Porsche has created a Japan-only 911 GT3 Artisan Edition that blends track-ready hardware with design cues inspired by traditional Japanese craftsmanship.
Porsche Reveals Coupe Variant of the Electric Cayenne With a Fresh Look
Slideshow: Porsche's latest electric Cayenne Coupe blends dramatic styling with supercar acceleration, turning the brand's midsize SUV into a 1,139-horsepower flagship.