When you click on links to various merchants on this site and make a purchase, this can result in this site earning a commission. Affiliate programs and affiliations include, but are not limited to, the eBay Partner Network.
Thanks for the confirmation.
Still not sure what to do with the fuel lines inside and out to clean them up.
Think I may keep them away from the ultrasonic it seems to not treat the plating too well. Well the hose clamps looked rubbish coming out of it. Might be the wrong solution.
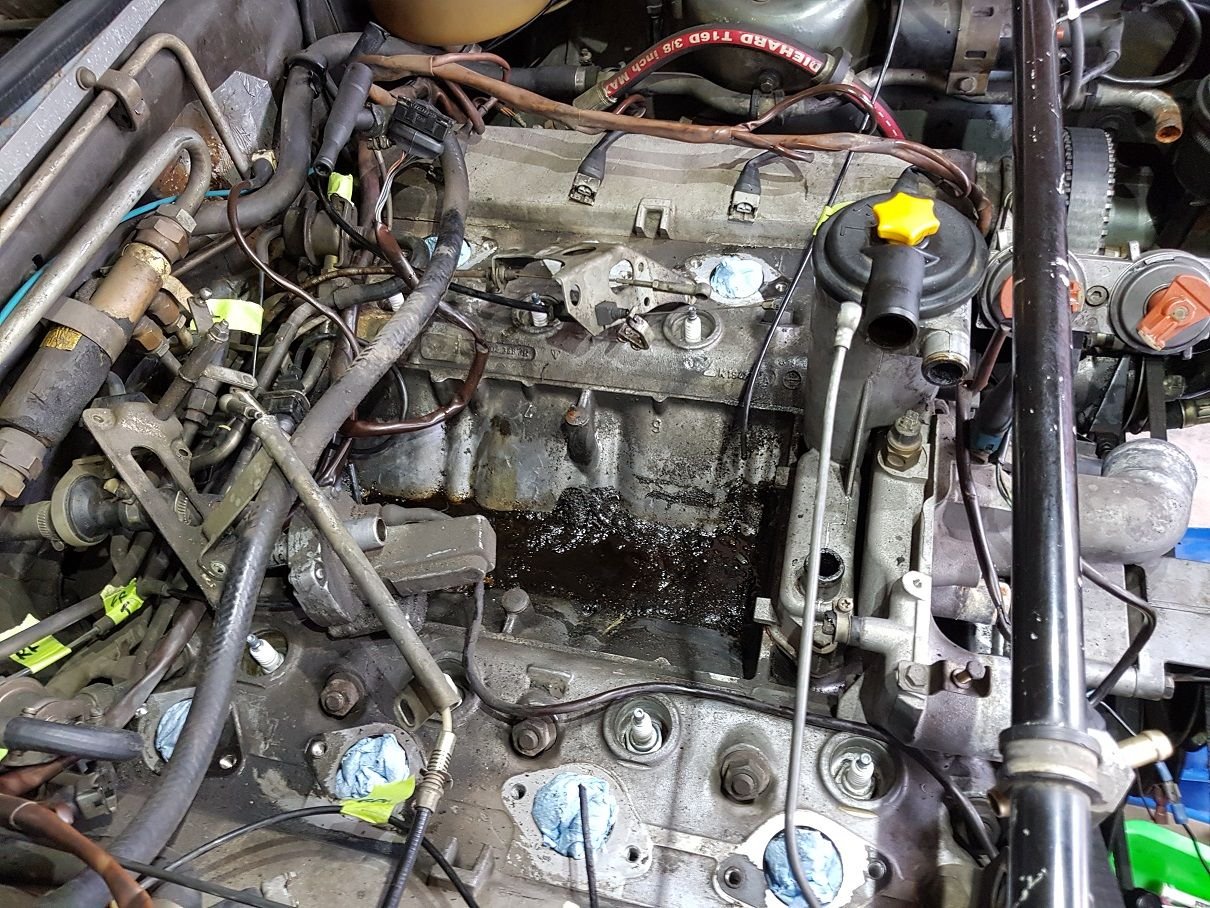
A bit more stripping and cleaning today. Sorry not very exciting. All been done before. Lots of oil not sure where it comes from. Hopefully nothing too sinister.
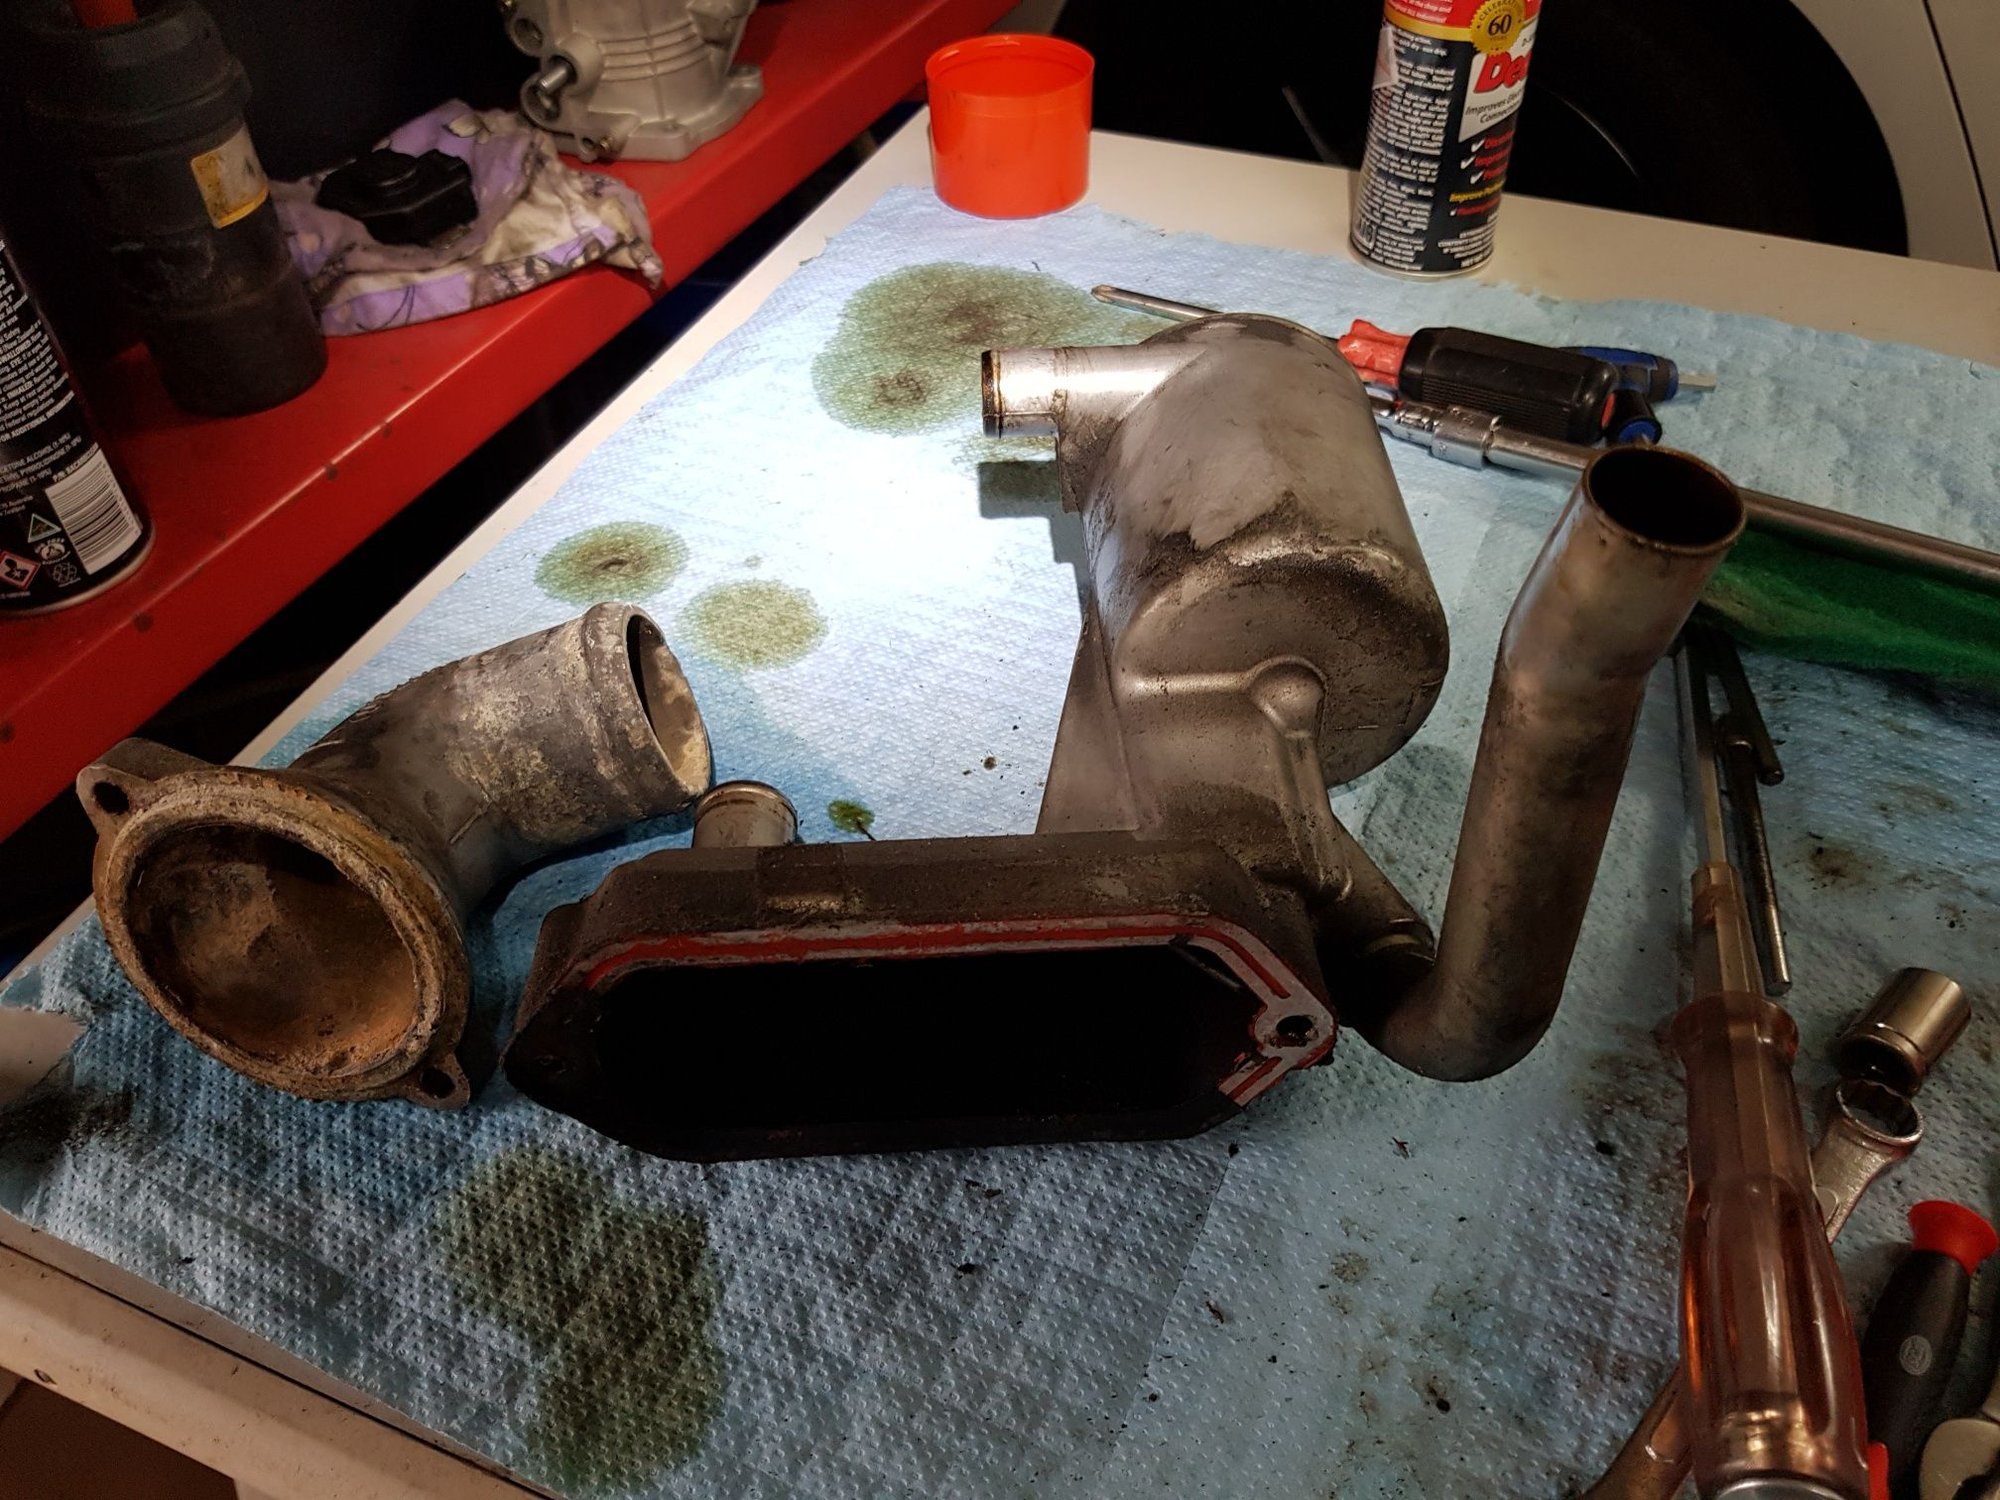
Throttle Body
Getting there.
Looks like a fire waiting to happen. Still not sure of the best way to clean up the fuel lines. I guess they will never look shiny again.
Lower part of the throttle body cleaned up. Stuck in in the Ultrasonic. Thinking about doing the main part but would need to remove the TPS...not sure what dangers present doing that.
I love reading about what you're doing. Every time I use either a media blaster or an ultrasonic bath I think it's a little bit of magic how nicely things come out looking.
Anyway, if there's one thing that's been drilled into me from my reading it's the potential disaster waiting to happen from old fuel lines. I have this saved in my project idea list as an example of a future path to take:
Have you considered going with non-stock fuel lines? I'm not suggesting a full changeover to AN fittings (I don't really want to do that, myself) but seeing if there's a way to make these kinds of braided lines work with the standard fittings.
I know Greg Brown does some aftermarket stuff that might be what your talking about. I will see what they are worth however feel they are a little extravagant for my first project. I have the whole car to get through and I am not on the road yet since my ownership. I think i will stick to just replacing the rubber hoses with clamps. I am not sure yet. Maybe i will go the GB units. I mainly want to try and make the actual plated hard lines look less tarnished. But its all practicality at the moment. Just want to see her run nicely.
I have just been reading up on where my oil leak may be and its the oil filler neck. Thats all coming off so hopefully I can fix it. There was a theory it could be the three plugs in the valley but most seem to disagree.
The TPS won't get hurt in the ultrasonic, depending of course on the chems you are using there. They do have a habit of getting oil-soaked though, so cleaning is always a good idea if they don't need to be replaced. Use care if you are using d-limonene in the cleaner bath.
The electrical connectors (MAF, TPS, etc) are AMP connectors with pieces that are available from Roger. It looks like the wiring and insulation are still in good shape, giving you the rather simple option of de-pinning the connectors to allow a new piece of plastic tube, shrink tube, and maybe some FireSleeve to go on. Roger has the connector shells, the pins and the boots in stock for both. In my casual restoration experience, the self-vulcanizing tape is an okay just-to-get-by option for a roadside repair. But it's really "too good", as it's a bit of a chore to get off safely without wire damage when you get around to making a permanent repair. Short-circuit the temporary tape repair process and go directly to the permanent repair. You have the best access now that you'll ever have. The shells are crispy from heat and age, the boots are gone, so no better opportunity. @SeanR uses the plastic tube, shrink tube and FireSleeve on his replacement wiring harnesses. It wouldn't be that tough to get the bits you need shipped with the connector parts and such through Roger. Look hard at the FI connections too, for the same treatment. The little de-pinning tool is the same. Get pins too if your wire insulation demands some repair, along with the specific crimping tool.
Re the fuel lines - The GB lines are from the firewall lines up to the engine. The supply and return. Are they expensive? Yes. Are they worth every penny? In my opinion, yes, 2 times over. Do some searches on engine fires. Those lines from Greg are built to last. Highly recommended.
Just one opinion.
Looking great. BTW - what size ultrasonic do you have? I think I need one.
dr bob - thanks for the tips. A few WYAIT things creeping in. Is D-Limonene good to use in an ultrasonic. I just used some random degreaser I had lying around. Not sure its working the best.
dlagerstom - I went the 15L Ultrasonic. Probably a little large as you need to feed it chemicals. I think higher versus wider is the go. 10L would probably work. I still had to flip the plenum/distributor due to shallowness.
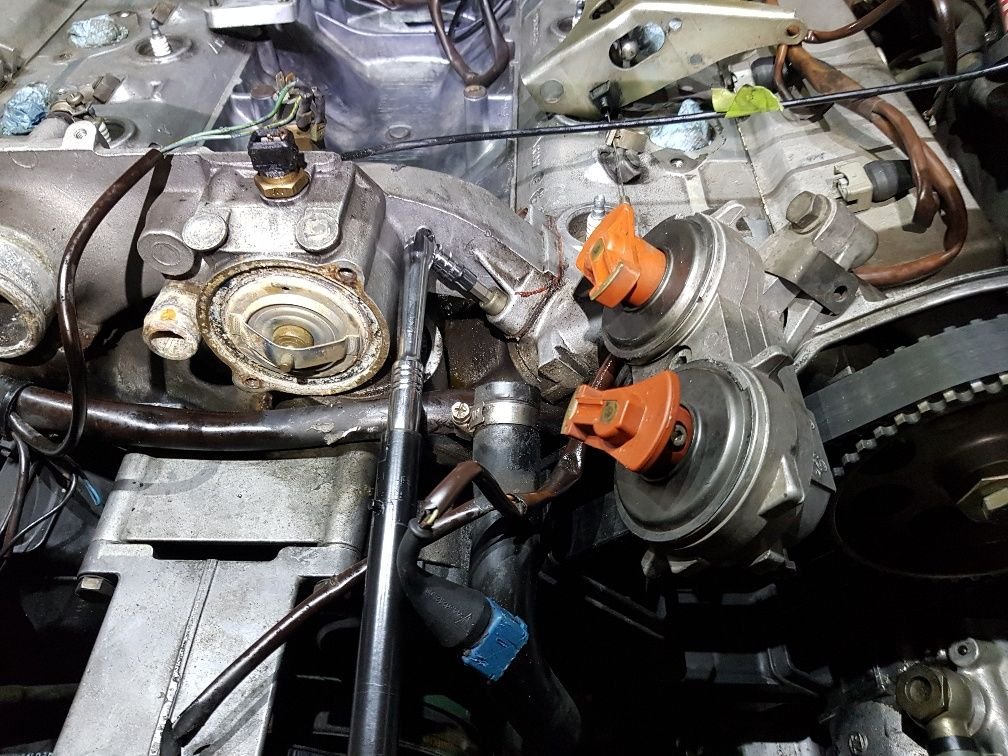
Looks like an attempt to seal in an oil leak. Is this what is recommended before it goes back in.
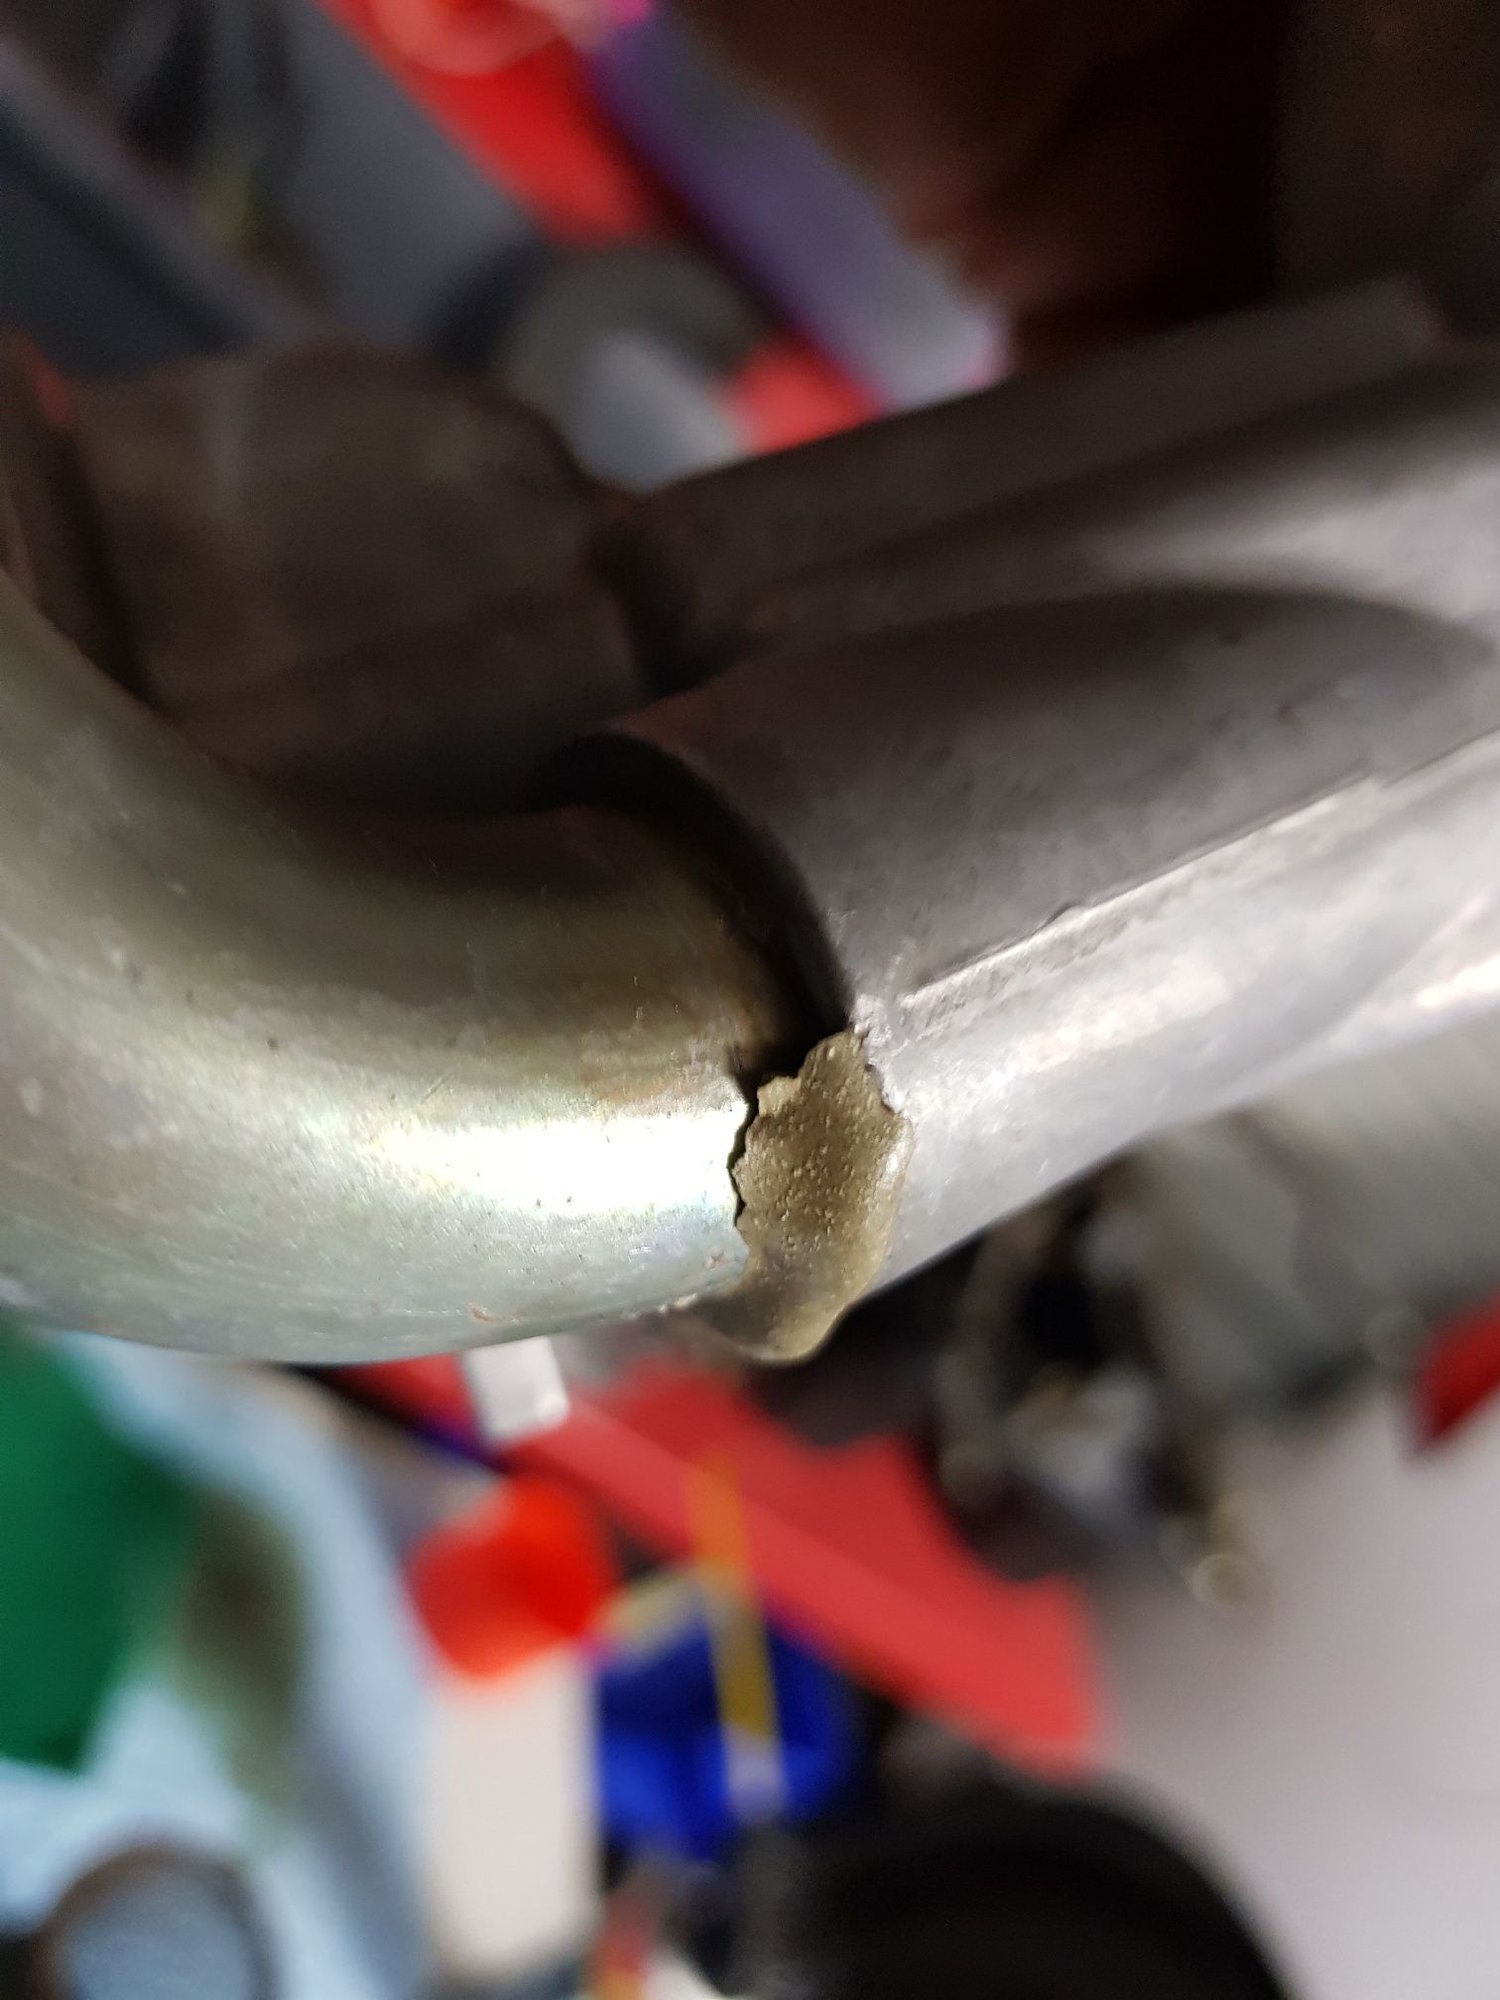
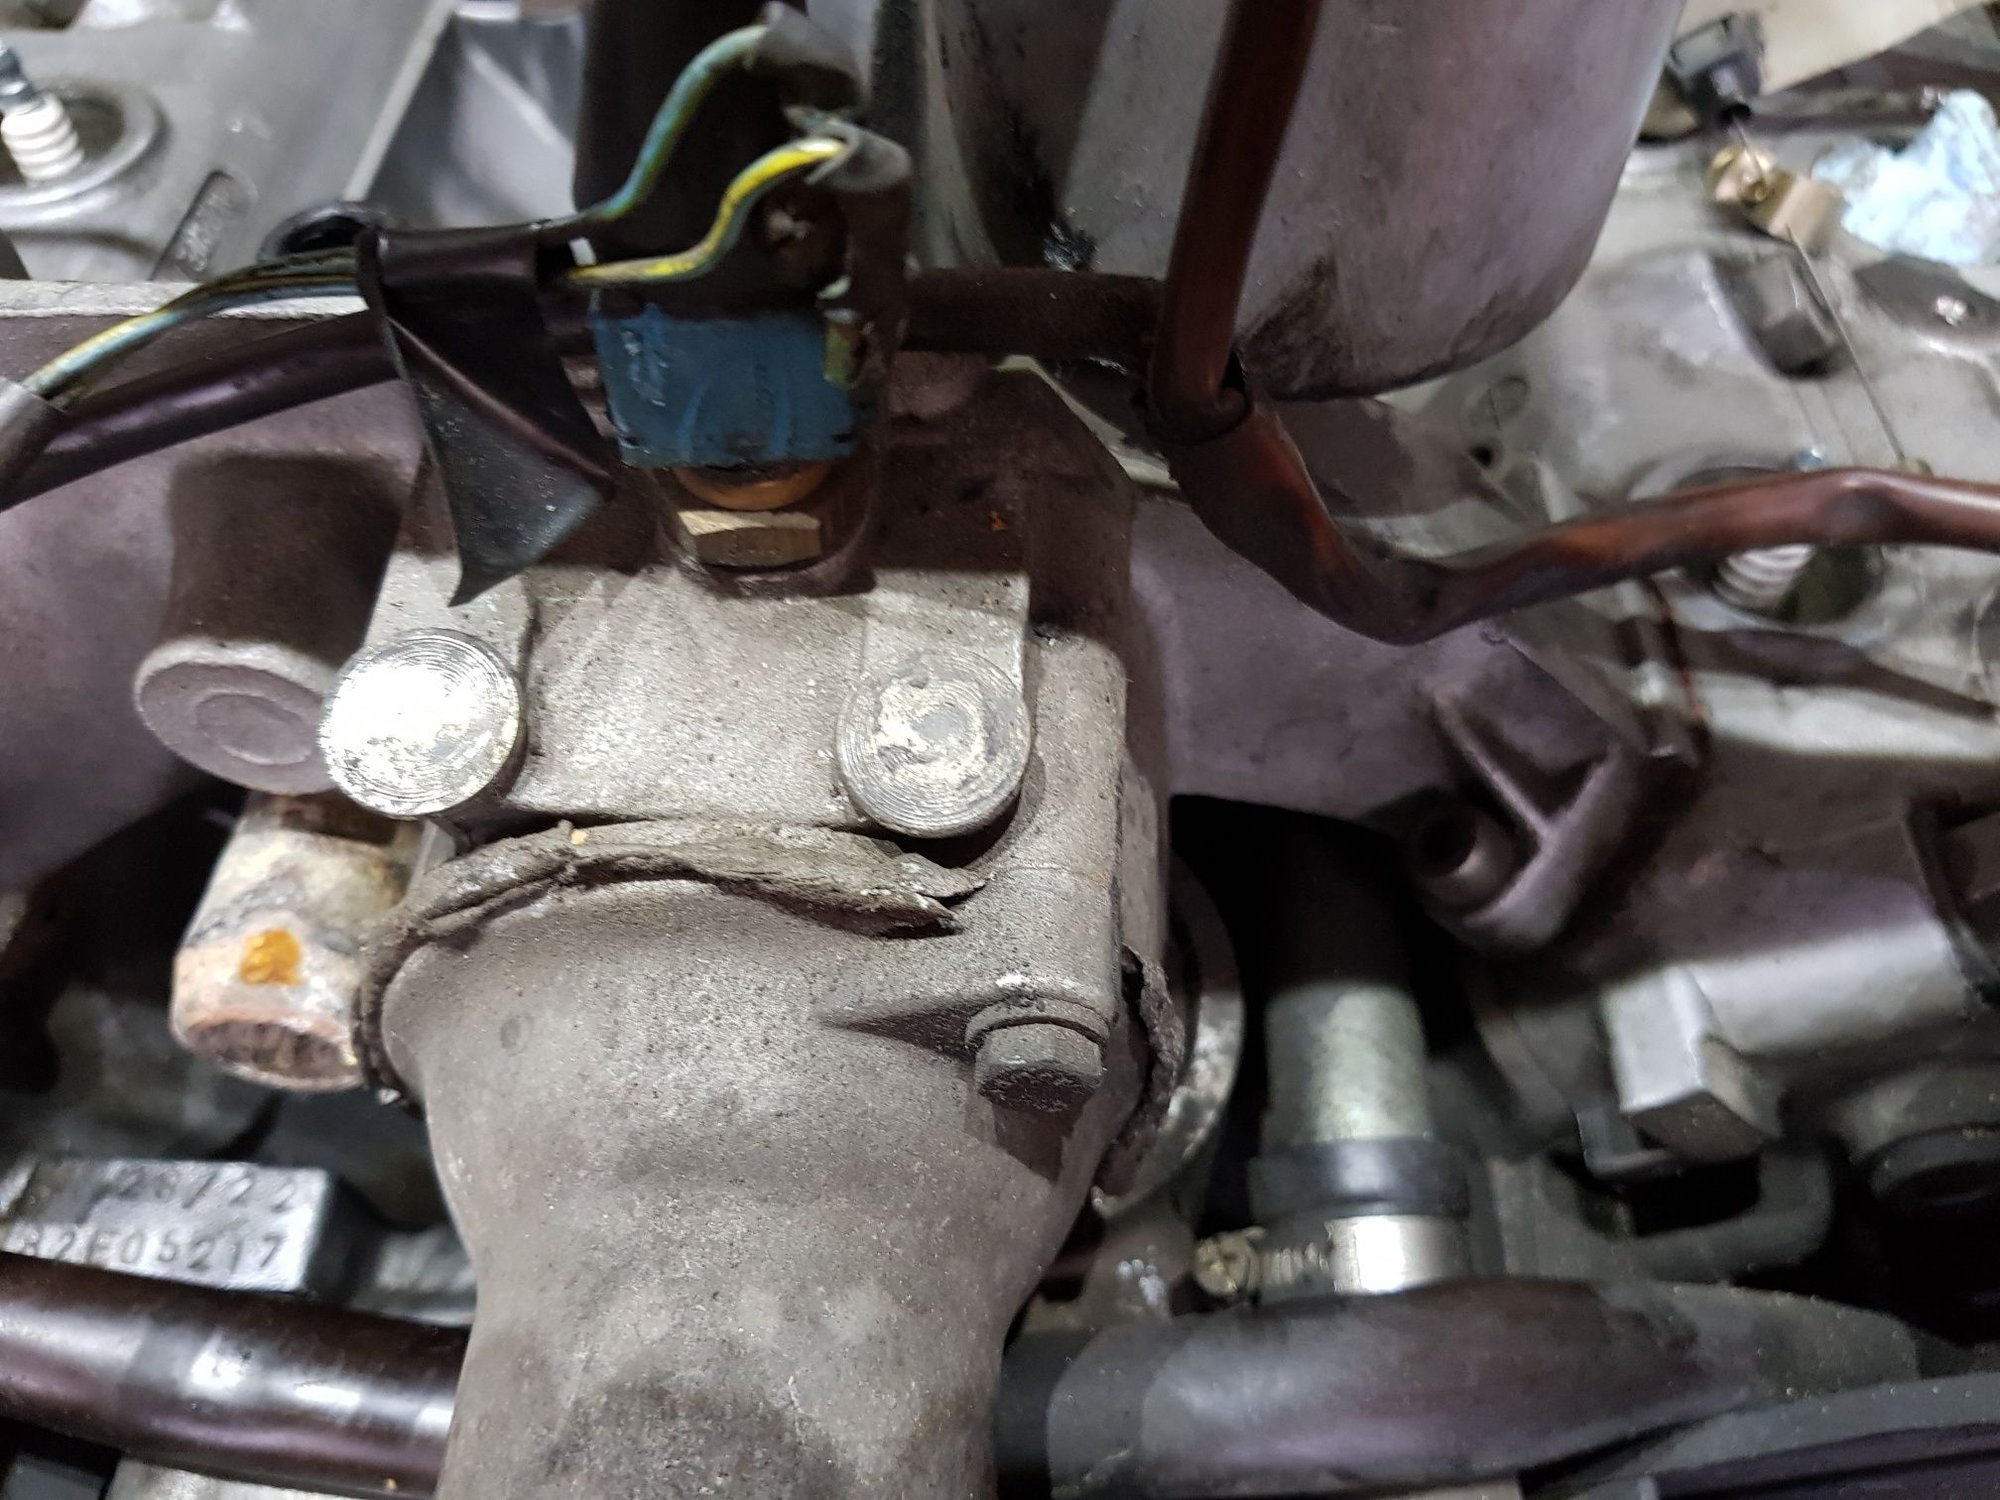
Some broken air inlet mounts. I know there are threads on it I will look up the process to get them out.
I didnt know but looks the same under the bracket attached to the water bridge.
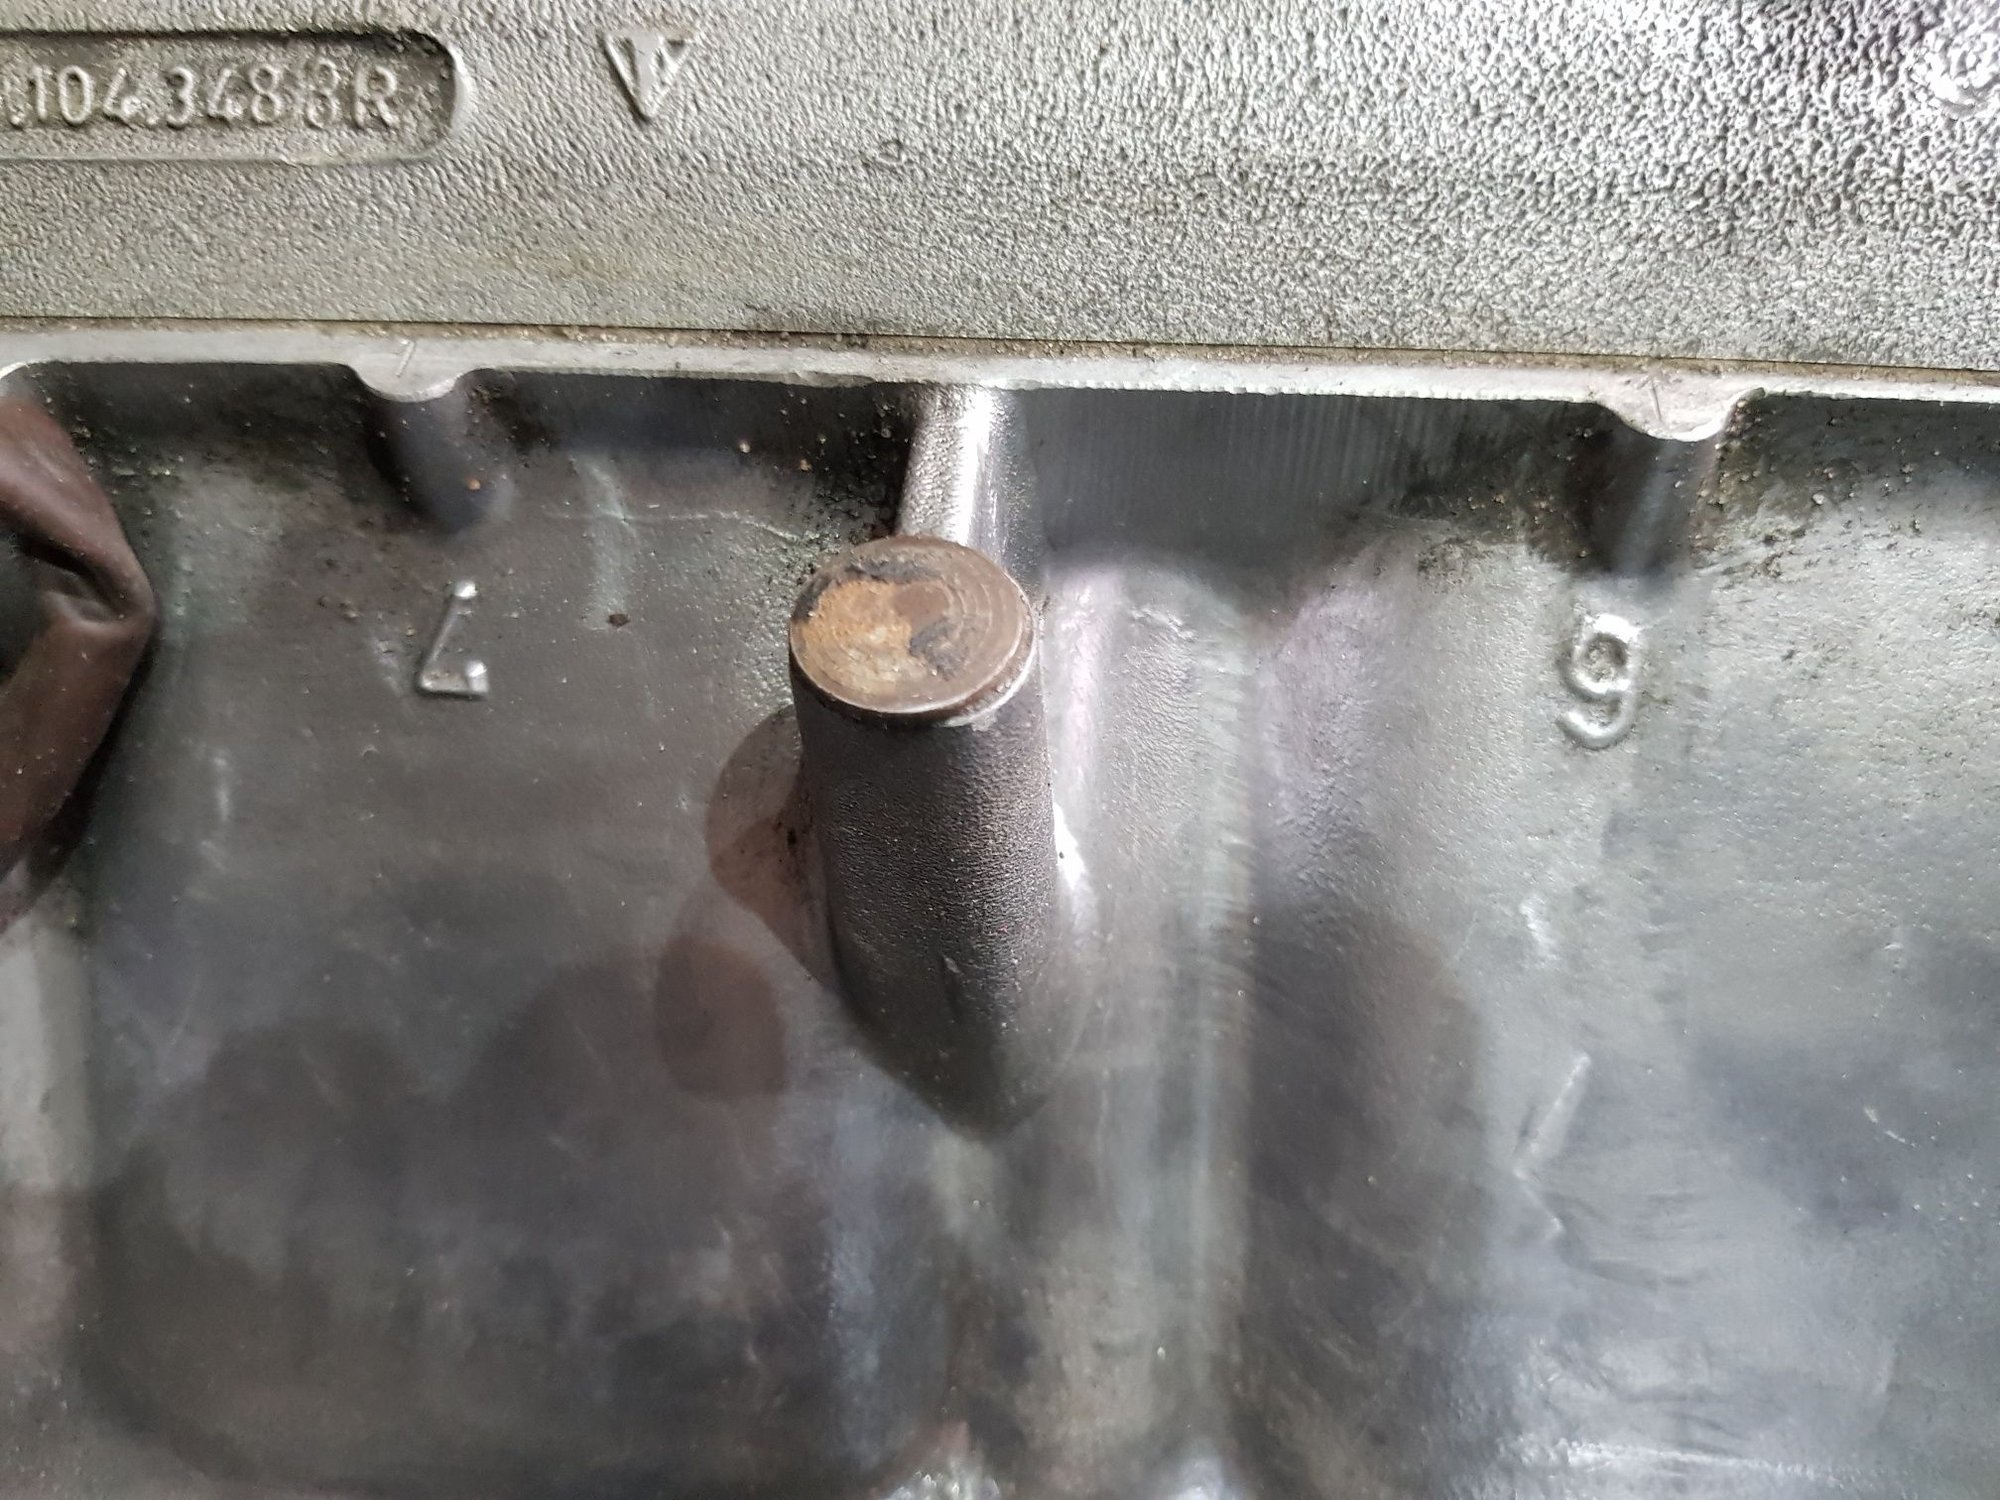
Then there are these horrible dusty bolts that hold the water bridge on. One is still stuck. Not game to lean on it yet at the late stages of the day. I fear I have quite eroded internals due to the car sitting so long with whatever in there.
Some broken air inlet mounts. I know there are threads on it I will look up the process to get them out.
I didnt know but looks the same under the bracket attached to the water bridge.
Then there are these horrible dusty bolts that hold the water bridge on. One is still stuck. Not game to lean on it yet at the late stages of the day. I fear I have quite eroded internals due to the car sitting so long with whatever in there.
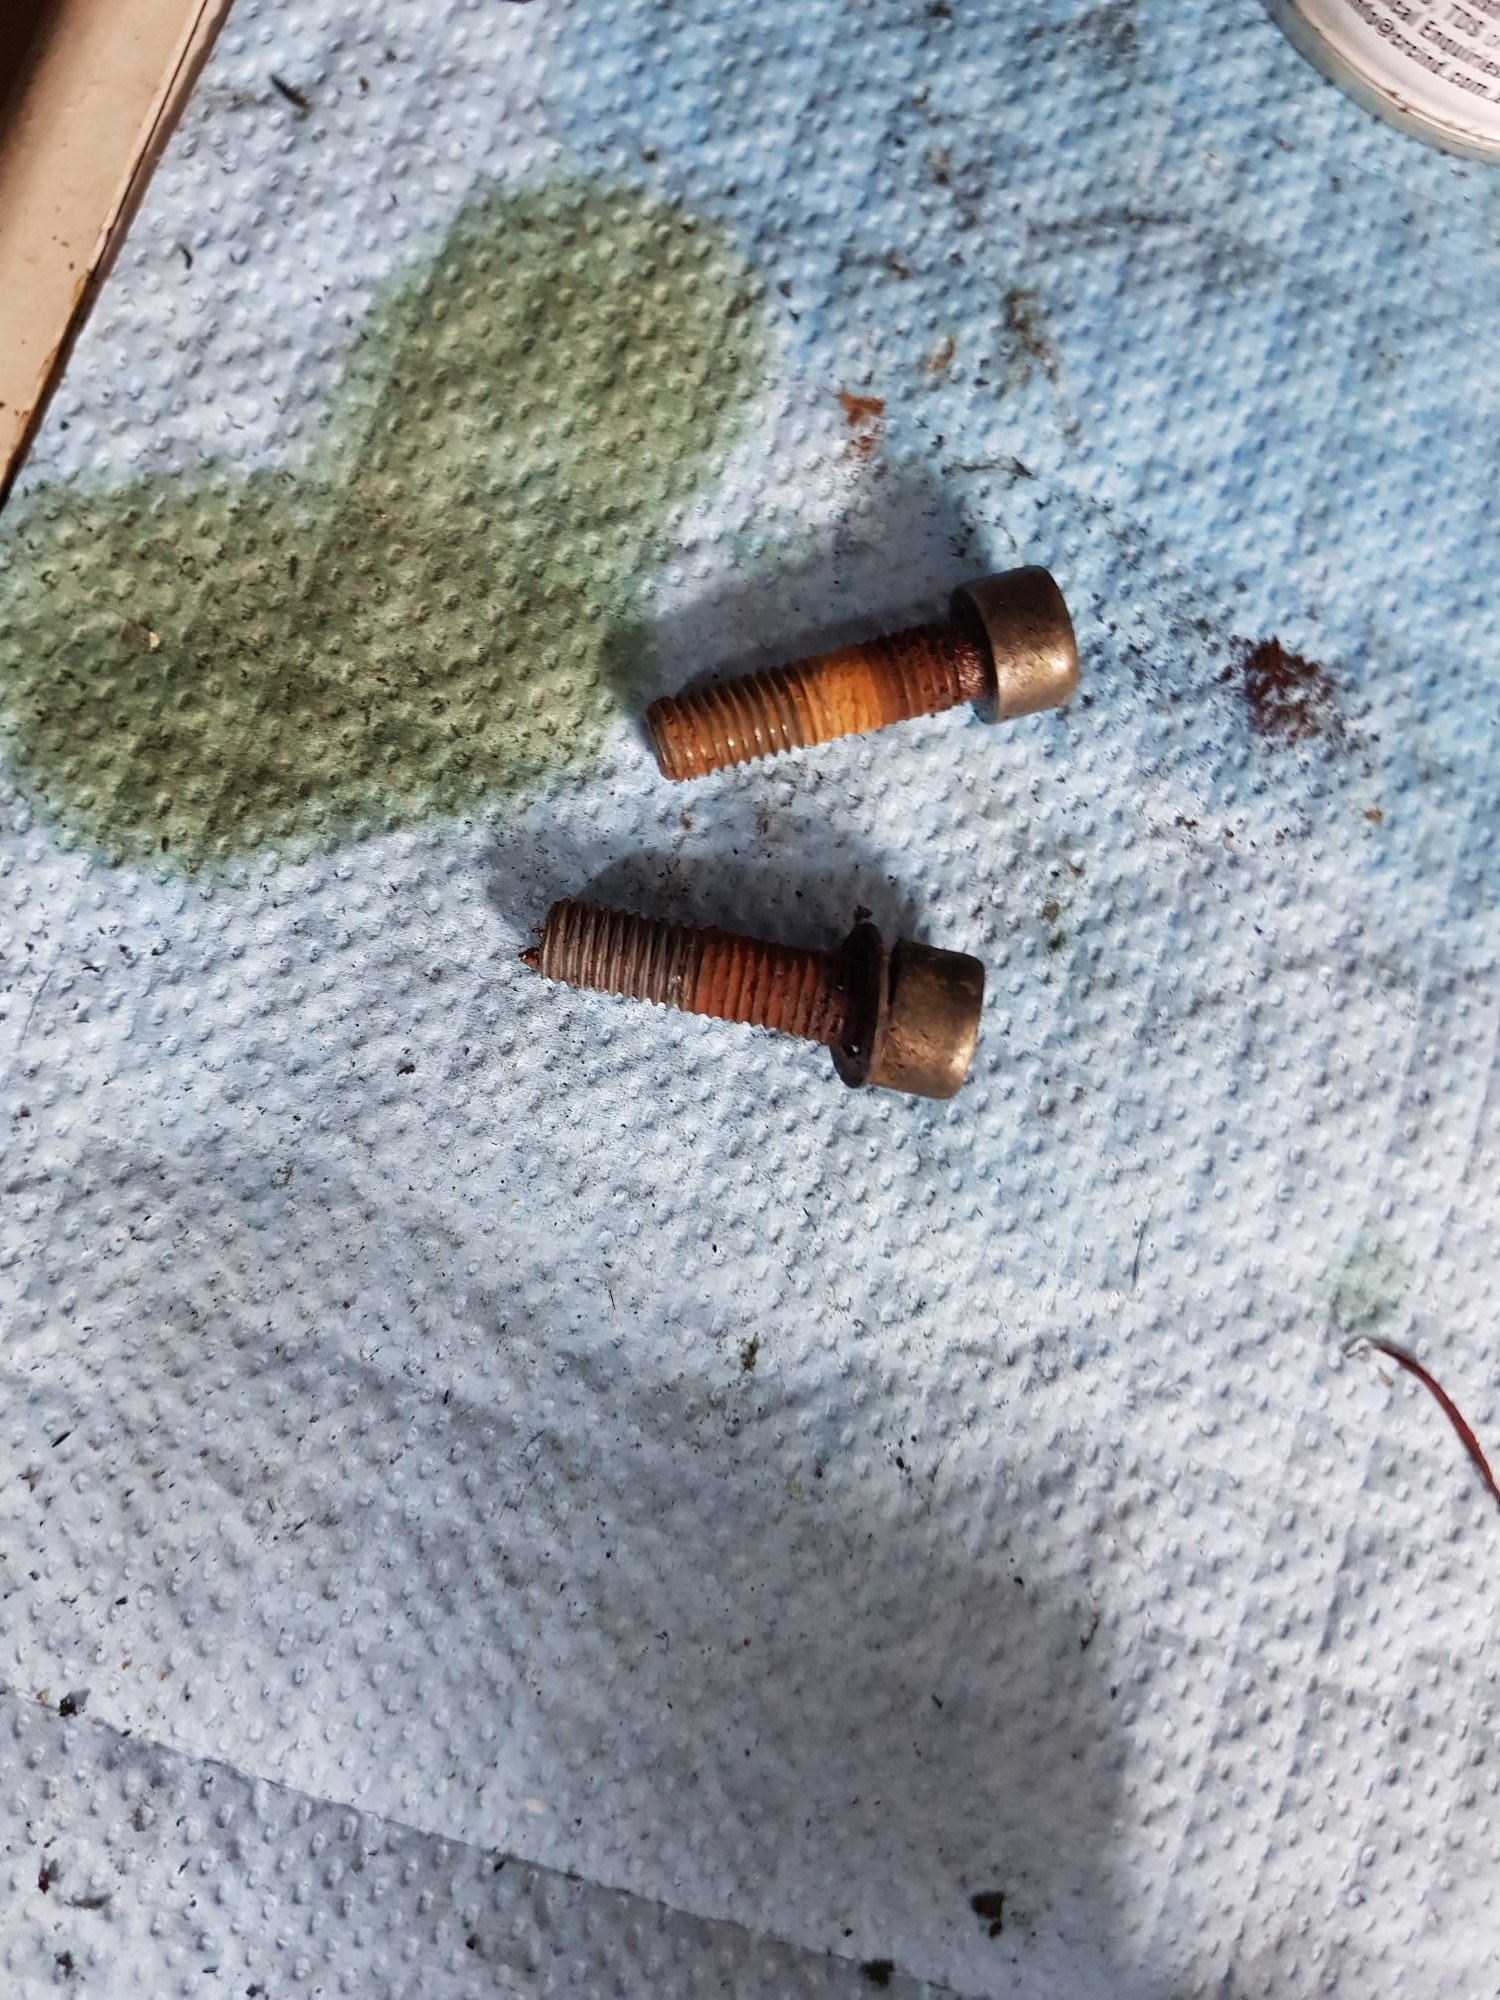
To remove the broken bumper bolts, you can grab the disc with a good quality vice grip, that has a straight "bite" when clamped shut, then just turn it out. These bolts aren't heavily torqued, but they are rusted in. Soak well with PB blaster or your favorite penetrant first. If that doesn't work, dremel a slot in it and use a screwdriver to get it out. When installing the new ones, be sure to use a good thread sealant, so that in the future you don't have the problem.
As to the water bridge bolts, I can guess which one is the one you can't remove yet (the driver's side, rear?). Those bolts are very hard to remove. If it's that one, that's where I had a problem too. A big part of the problem is getting an alan tool in there at the proper angle to get purchase in the screw head. I suggest making a tool - get a regular alan head angled tool, cut it, and fit it in there. You might try an alan socket with a swivel on a 1/4" ratchet. Bath that bolt in PB blaster first. Tap it also while you soak it (soak for at least a day, and tap it from time to time during the day). These bolts get heavily rusted in. When reassembling, use the thread sealant on these too (Loctite XXXX, it is white, I forget the brand number of it). Stan (MrMerlin) will know the exact Loctite to use, or I'll look in the garage later and let you know.
Thanks Ed.
You have confirmed a suspicion I had that the disc as you see it is part of the mount and not a permanent fixture. Also the bolt in question is actually the one to the right of the thermostat housing. Front right being passenger for for me RHD.
Got the pesky bolt out today. Back at work so not too much time spent on the refresh. It took half a dozen attempts and heaps of penetrate. It looks pretty ugly. I didn't have the heart to lift the water bridge off yet. Is it worth running a tap through the bolt hole to clean it up. I dont like the look off the corosion on most internal bits. I fear internally it may be the same. Lets see how long it lasts when I get it running. Another thread showed up today with a 16V engine head removal and a lot of corrosion. I wonder if mine could be the same.
Not enjoying getting the old crusty hard fuel hoses off. Trying to keep the top hats. Still considering having all the fuel rails plated again.
For the water bridge, after you remove it, then clean the threads out with a thread cleaner - you can use a new bolt with a couple of grooves dremeled into it longitudinally. I don't think you need to re-tap the hole, and that could damage it if the tap doesn't go in straight. However, if screwing in a new bolt to clean the threads shows problems, then re-tap it.
I am now starting to wonder if i should replace my regulators and damper on spec. They are probably original. Gee they seem expensive. How do the after market ones perform.
You and I, we are on the same path. All of this looks so familiar. I'm going to keep watching here. I go very slow, but I'm just about at the point where I start putting things back on. 1978 top end refresh
Lots of help on rennlist but feel free to PM me if you see something that I might have an answer for.
All the best,
Josh
Talos Takes Your 991 Porsche 911 GT3 to the Next Level for a Cool $1.13 Million
Slideshow: Talos Vehicles has transformed the Porsche 911 GT3 RS into a carbon-bodied, race-inspired machine that costs well over $1 million before the donor car is even included.
9 Vehicles Porsche Helped Engineer that Aren't Porsches
Slideshow: Long before engineering consulting became trendy, Porsche was quietly helping other automakers build everything from supercars to economy hatchbacks.
9 Features and Characteristics That Only Porsche People Understand
Slideshow: Some brands build cars. Porsche builds traditions, obsessions, and a few habits that stopped making sense decades ago but somehow became part of the charm.
This Builder Is Turning Heads With Its Slantnose 911 Creation
Slideshow: A small Polish tuner has reimagined the Porsche 911 Slantnose for the modern era, blending 1980s nostalgia with widebody tuning culture and serious performance upgrades.
Porsche 911 GT3 Artisan Edition Pays Homage to Japanese Culture
Slideshow: Porsche has created a Japan-only 911 GT3 Artisan Edition that blends track-ready hardware with design cues inspired by traditional Japanese craftsmanship.
Porsche Reveals Coupe Variant of the Electric Cayenne With a Fresh Look
Slideshow: Porsche's latest electric Cayenne Coupe blends dramatic styling with supercar acceleration, turning the brand's midsize SUV into a 1,139-horsepower flagship.