When you click on links to various merchants on this site and make a purchase, this can result in this site earning a commission. Affiliate programs and affiliations include, but are not limited to, the eBay Partner Network.
Late to the party (as usual), but just wanted to throw in my .02...my 78 (serial #30) does not have the AC idle valve. My �79 euro has it, and the �82 has it. All (3) are stick shift. Don�t know if this has any significance, and is of any help at all...just wanted in on the dogpile!
Great work and keep on posting!
Ron, you might find this thread interesting too as it relates to the AAV.
my 78 (serial #30) does not have the AC idle valve.
Ron, by any chance do you have a pic of the area around your aux air valve (front right corner of the motor)? I'd be interested in seeing the hose routing on such an early '78.
Ron, by any chance do you have a pic of the area around your aux air valve (front right corner of the motor)? I'd be interested in seeing the hose routing on such an early '78.
Here are some from Blumaxx from when I did my top end refresh. I have lots of pictures from that job, in various stages of disassembly.
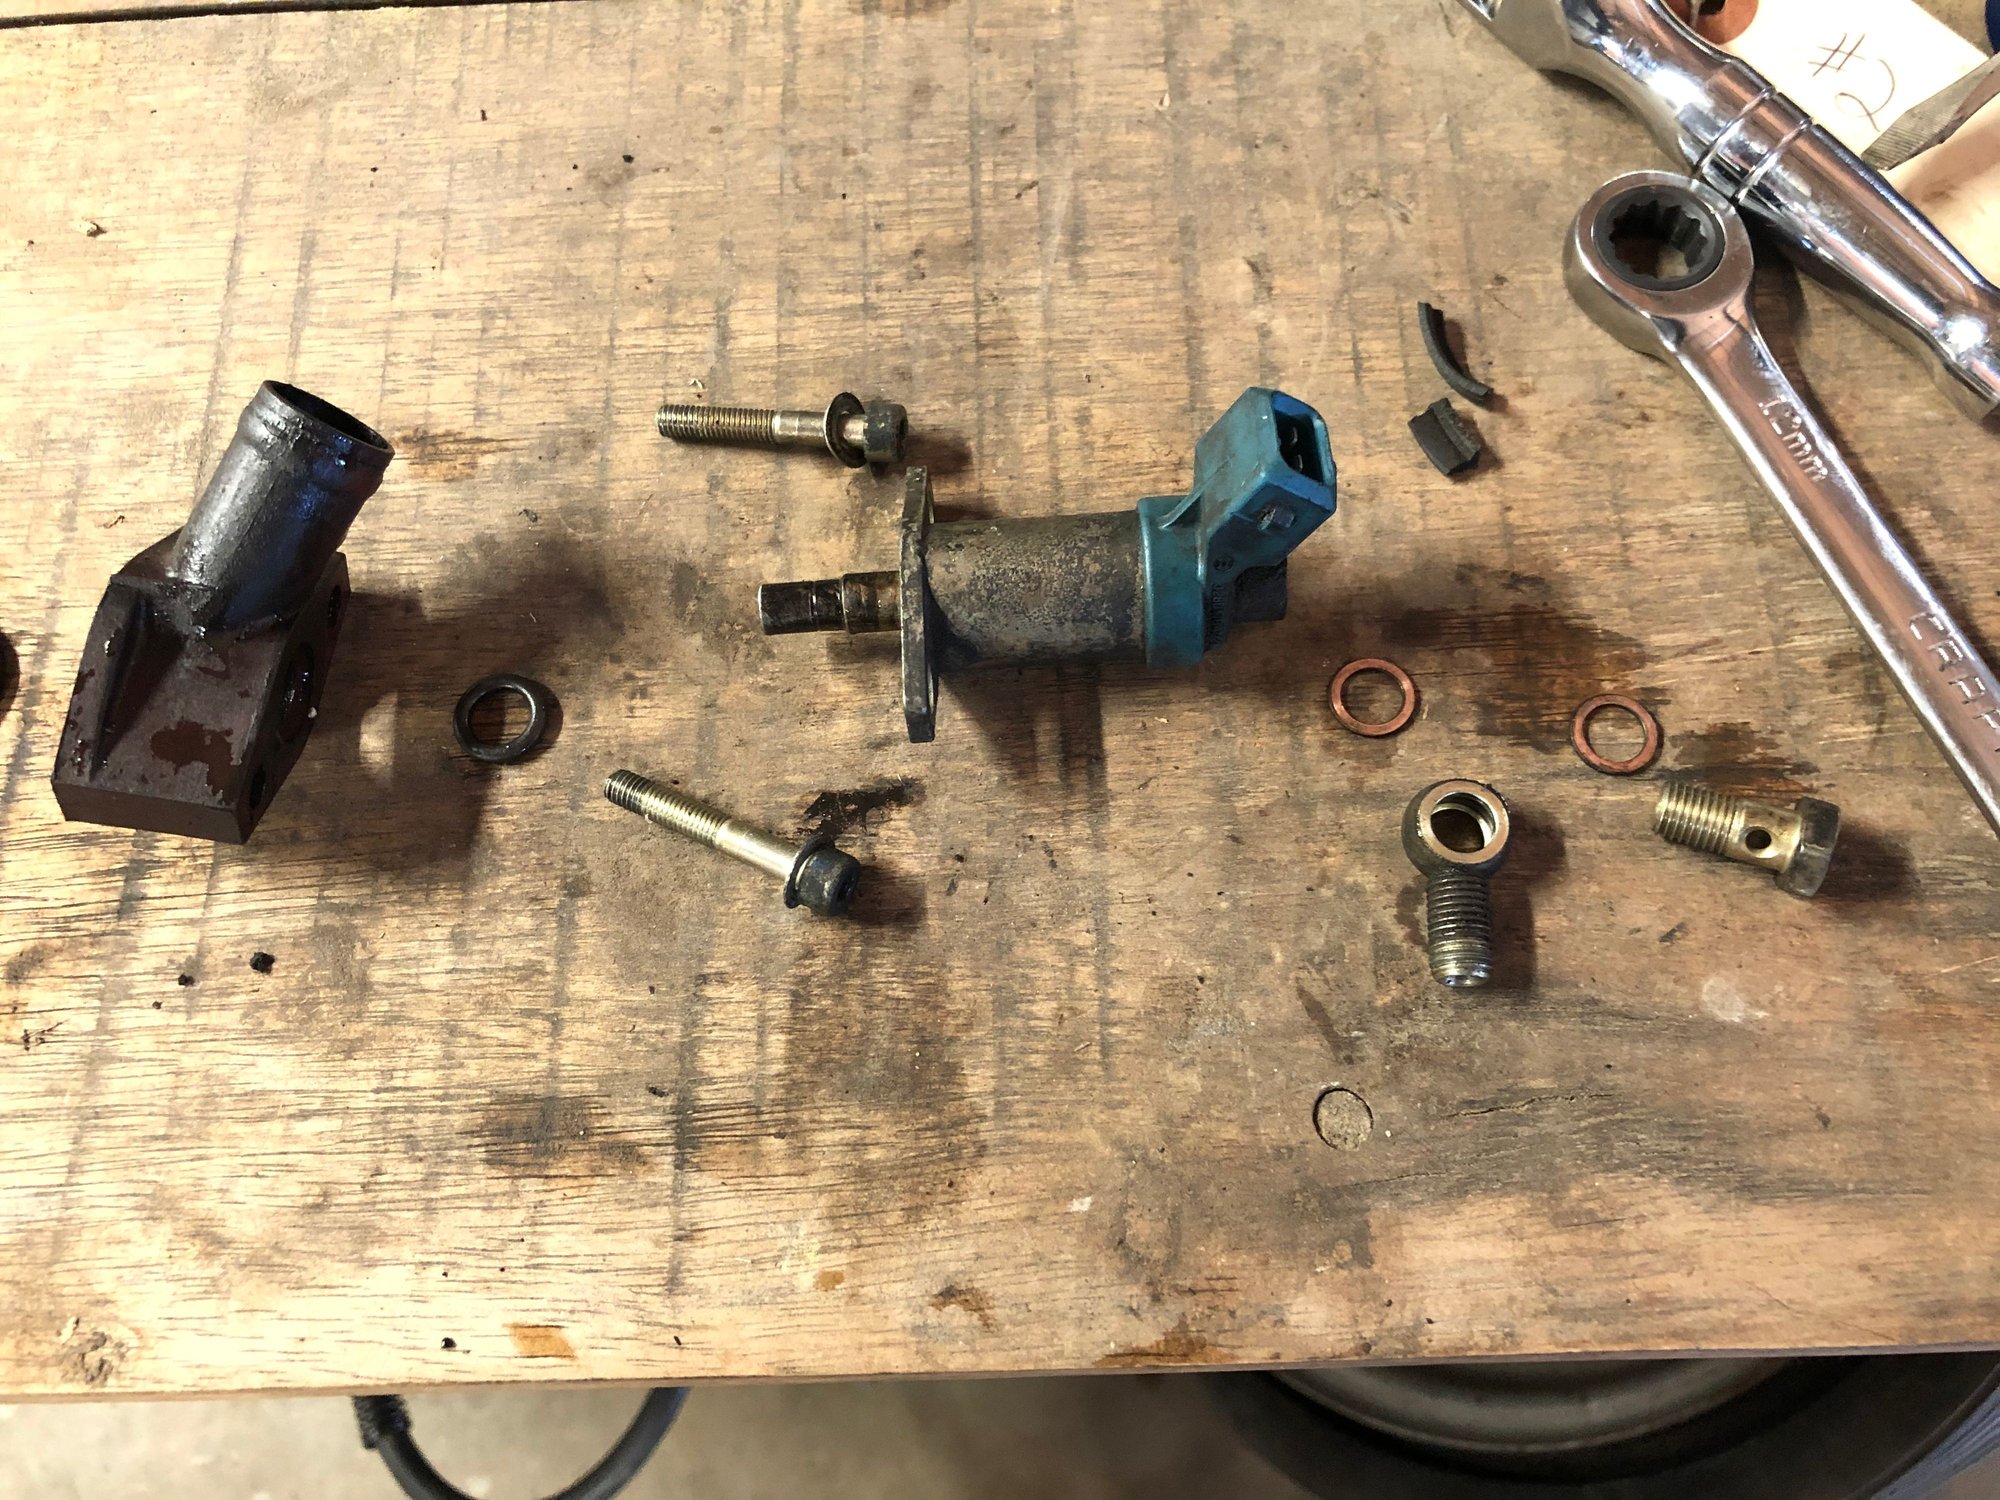
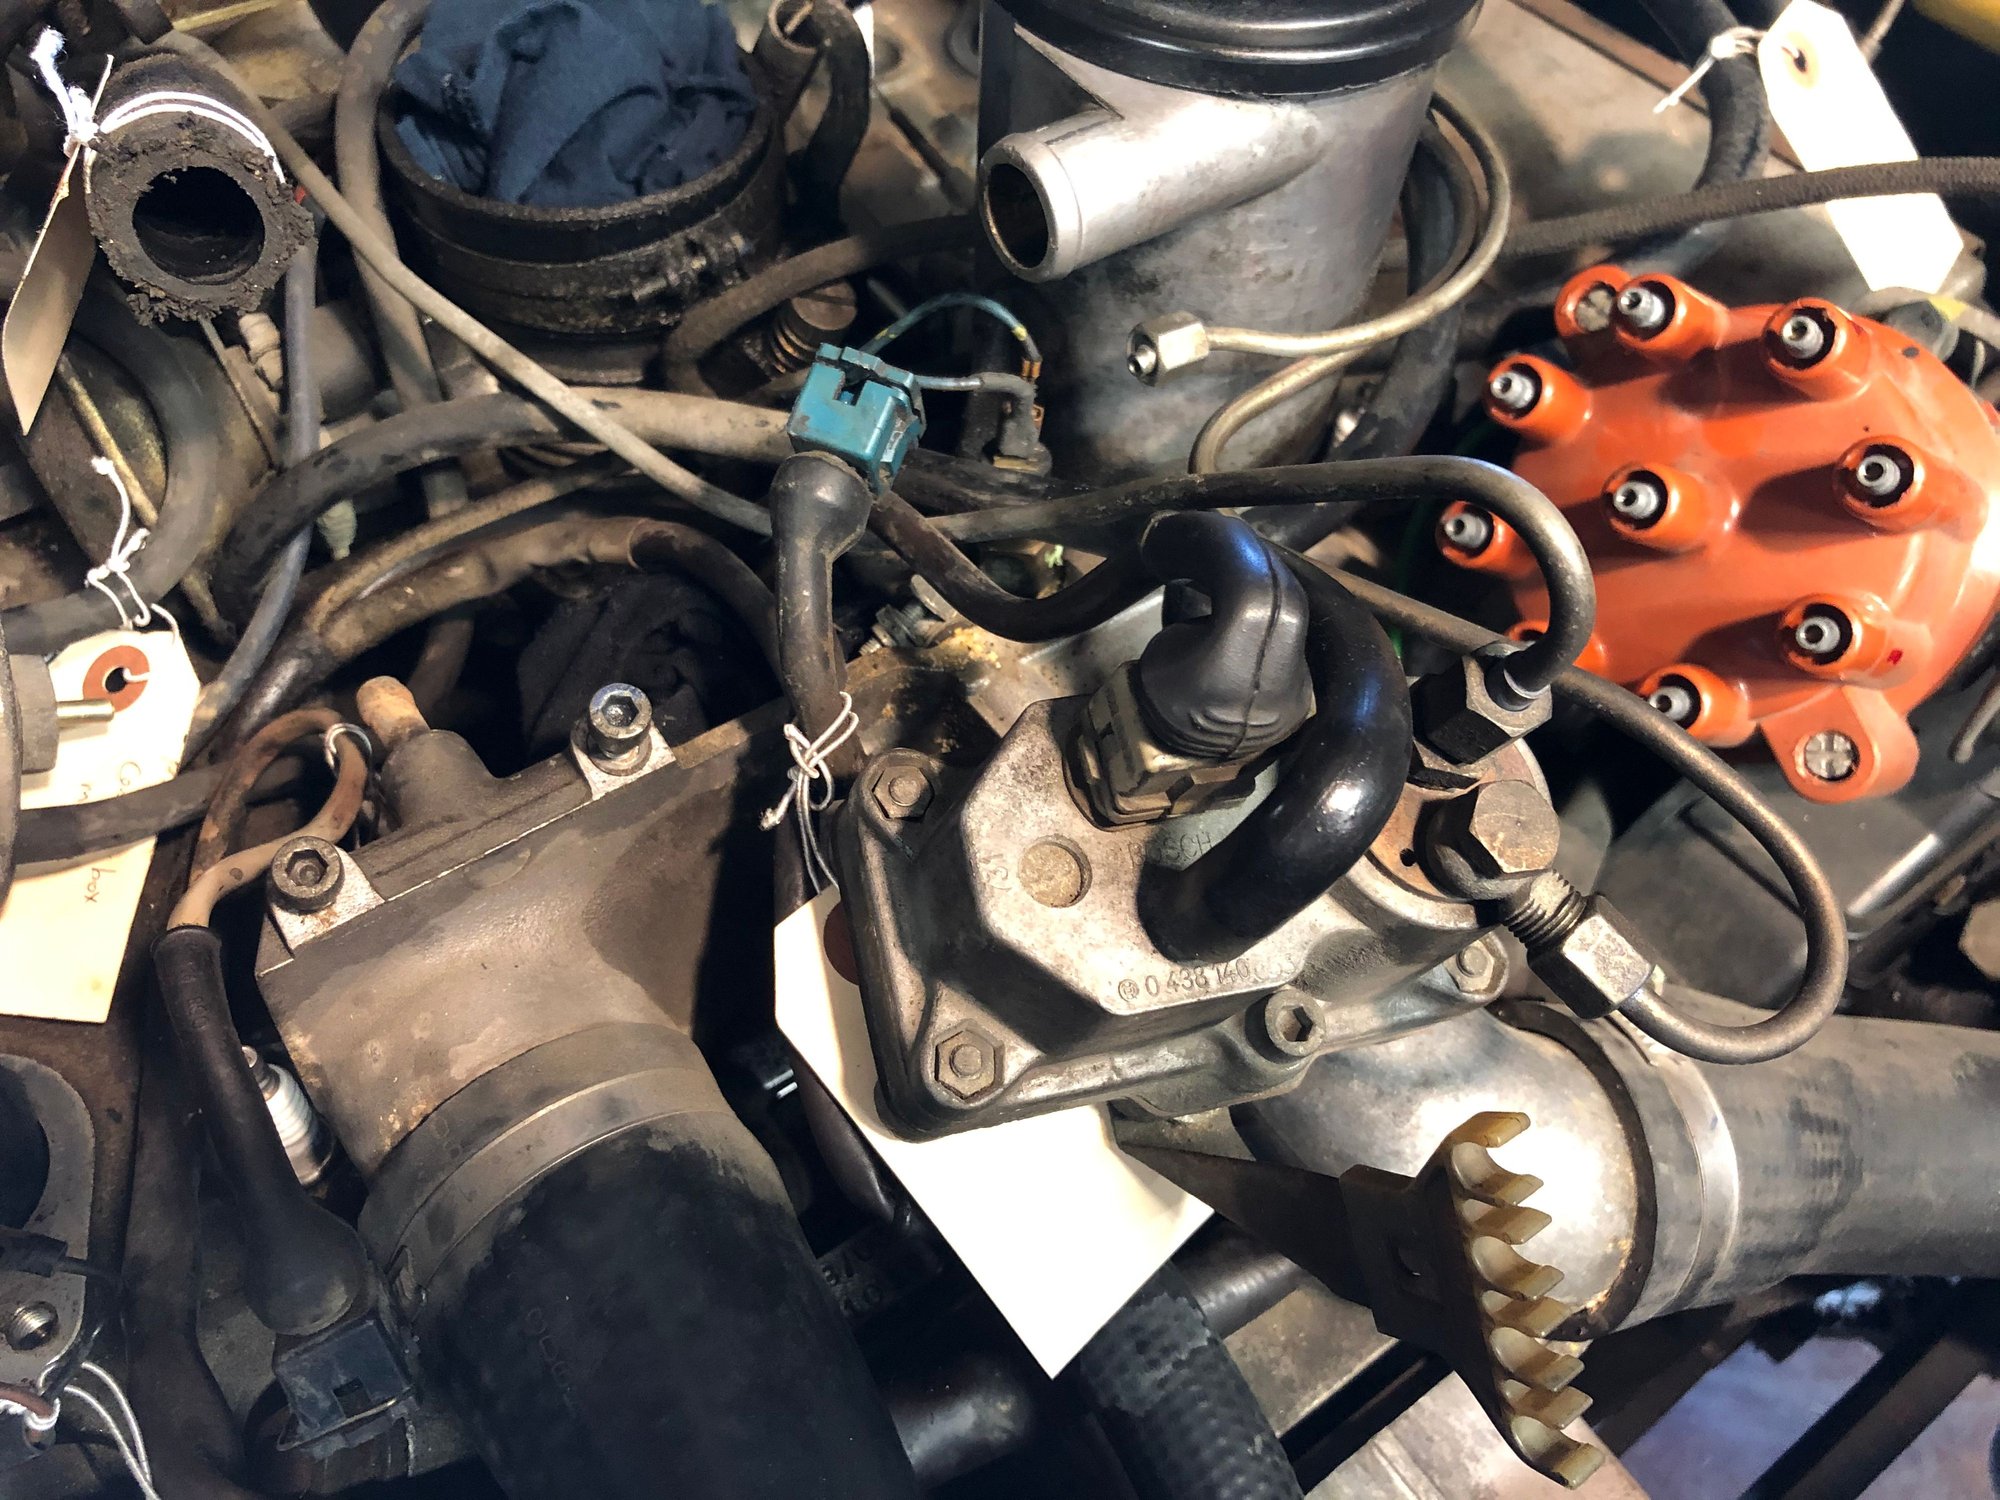
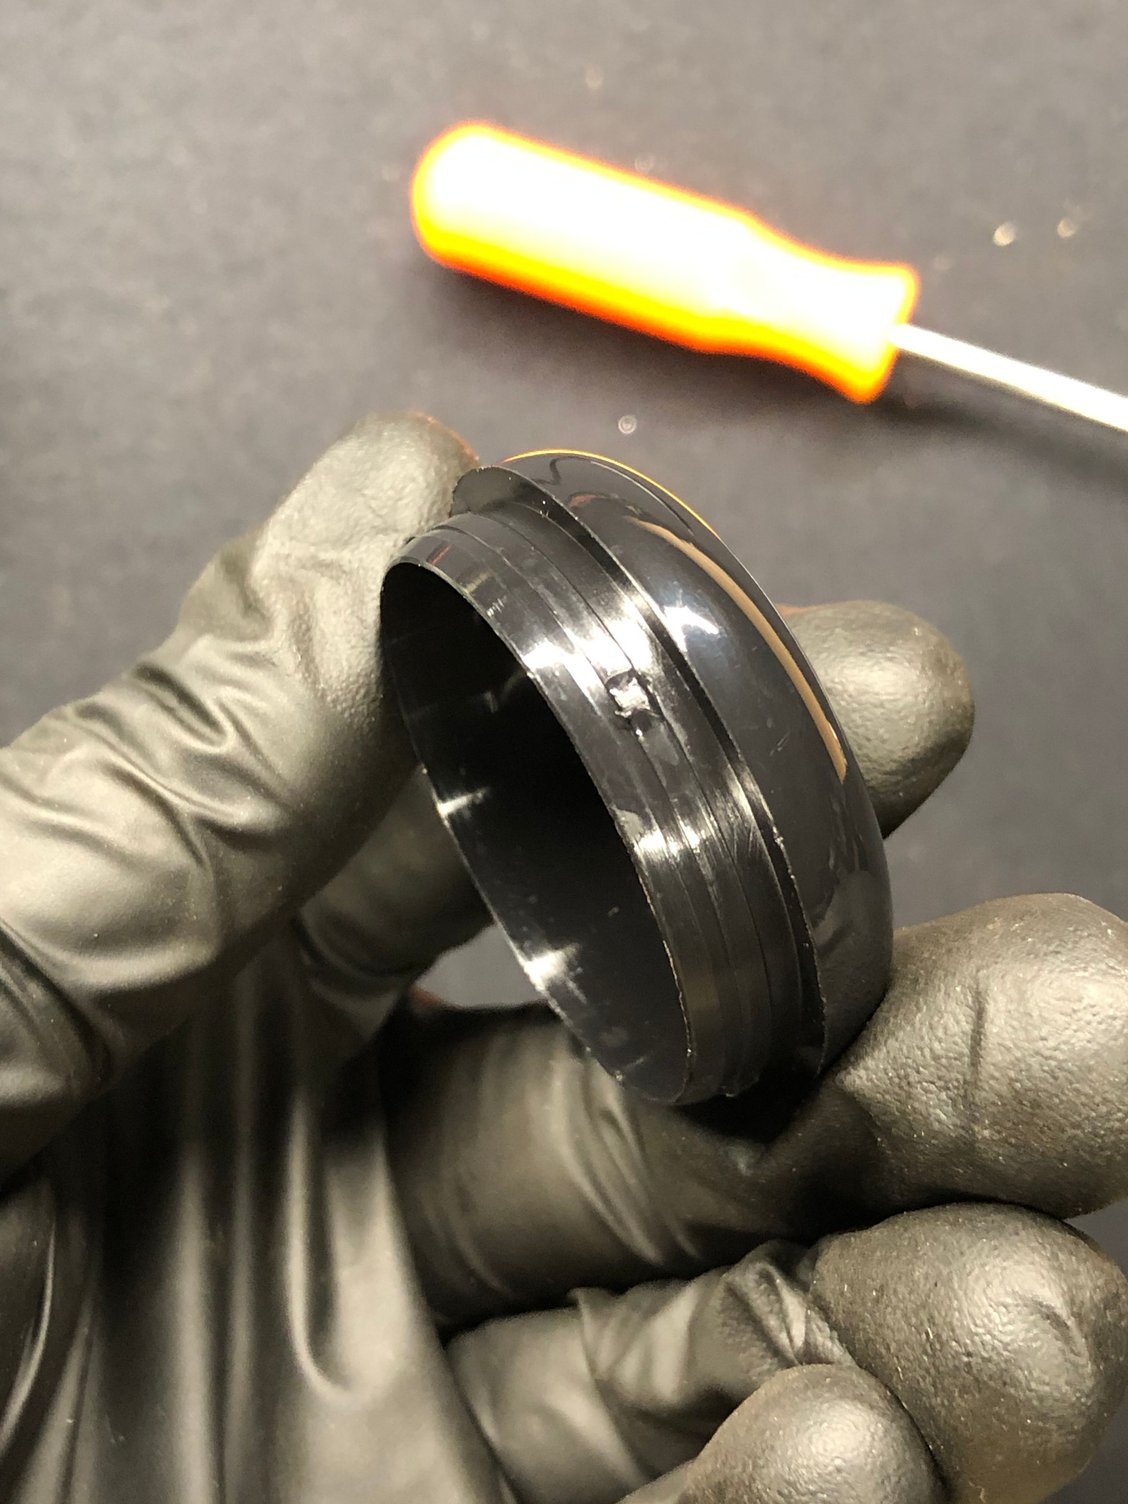
Disassembled the cold start valve for cleaning and replacing the o-rings. Removed the warm up regulator - two bolts, hose, electrical connector, and metal fuel lines.
In the time since I disconnected the vacuum hose from the brake booster, a puddle of brake fluid has formed on the floor under the master cylinder. Hard to tell where it's coming from because of all the leaky mess in that area developed over time. Like a lot on this car, I don't think the brake booster or master cylinder have been replaced. I think it's probably time to replace both, but is there something that I've done so far that would make it let go all of a sudden? I did a brake bleed a month before I started all this so it surprised me.
cold start injector apart for cleaning warm up regulator about to come off
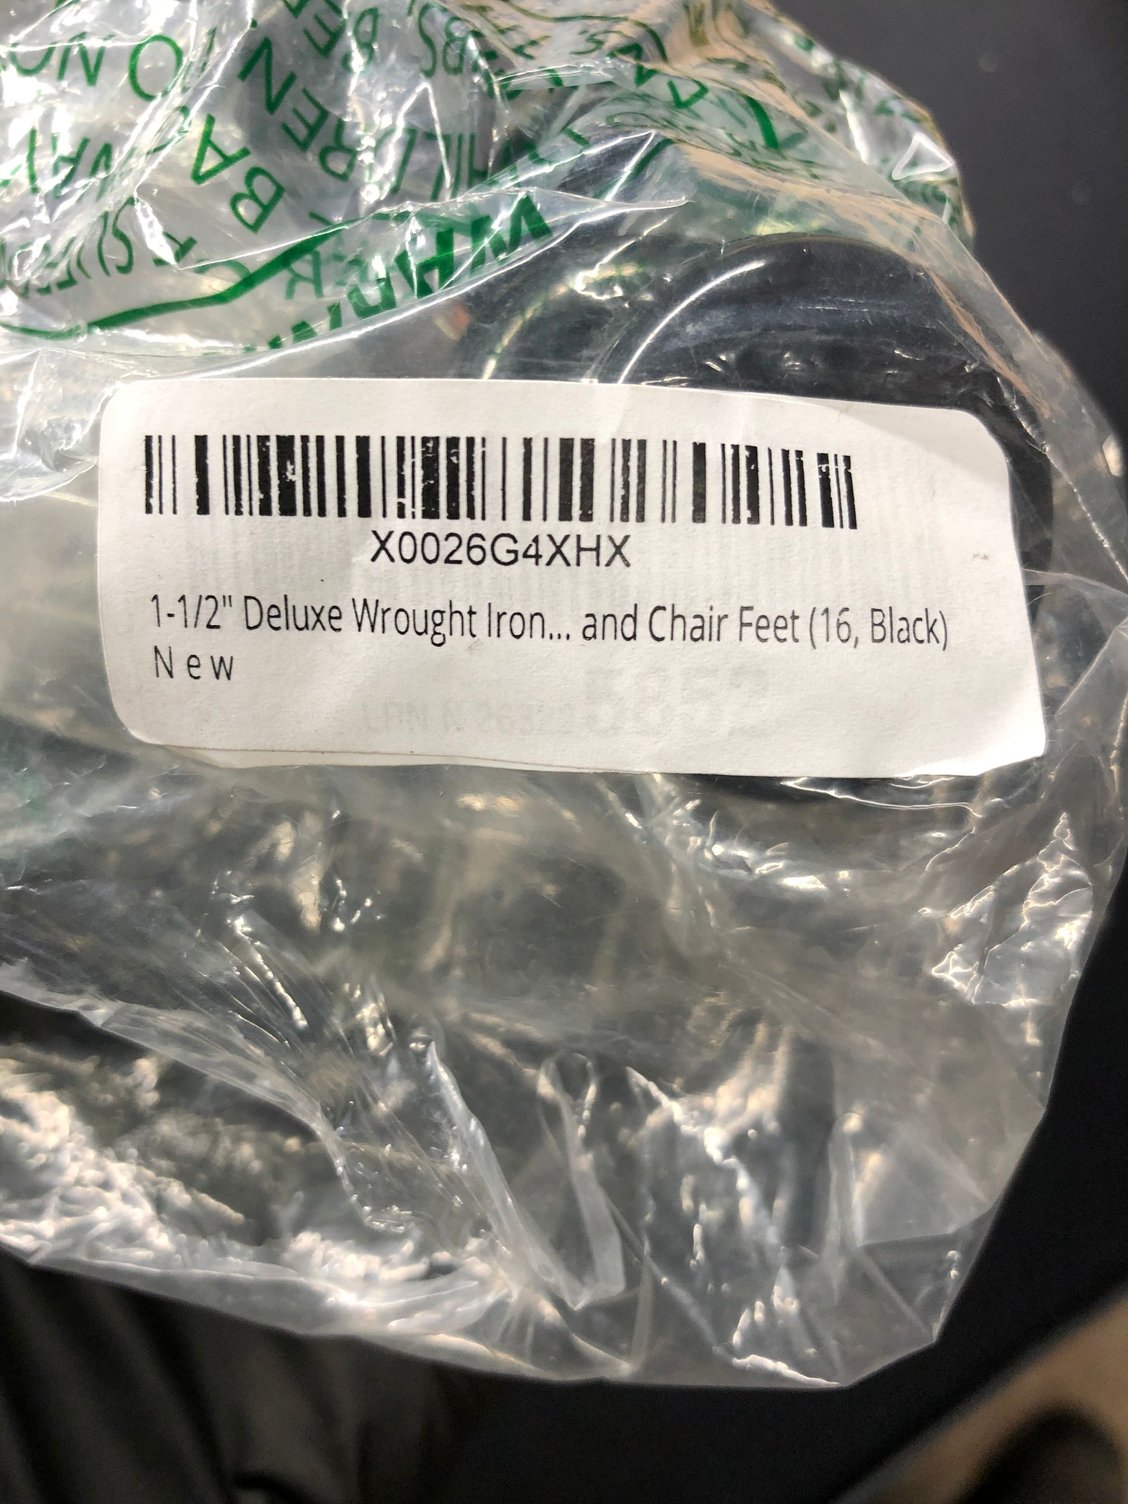
So much help from Rennlist. I wanted to throw out a handy tip I've discovered (this may be the only tip I have to offer). I was also fixing up some old patio chairs and I had to redo the old plastic glides on the feet. Got some replacements on amazon (search
I�ve got a basic ultrasonic cleaner and some Extreme Simple Green This cleaner really works well and does not attack aluminum.
.
Hey there loving your thread. Great help for my future projects. I am about to take on an intake refresh and had a ULTRASONIC in mind. What size is that? I was thinking about a 10L version. Did it fit the intake runners in ok?
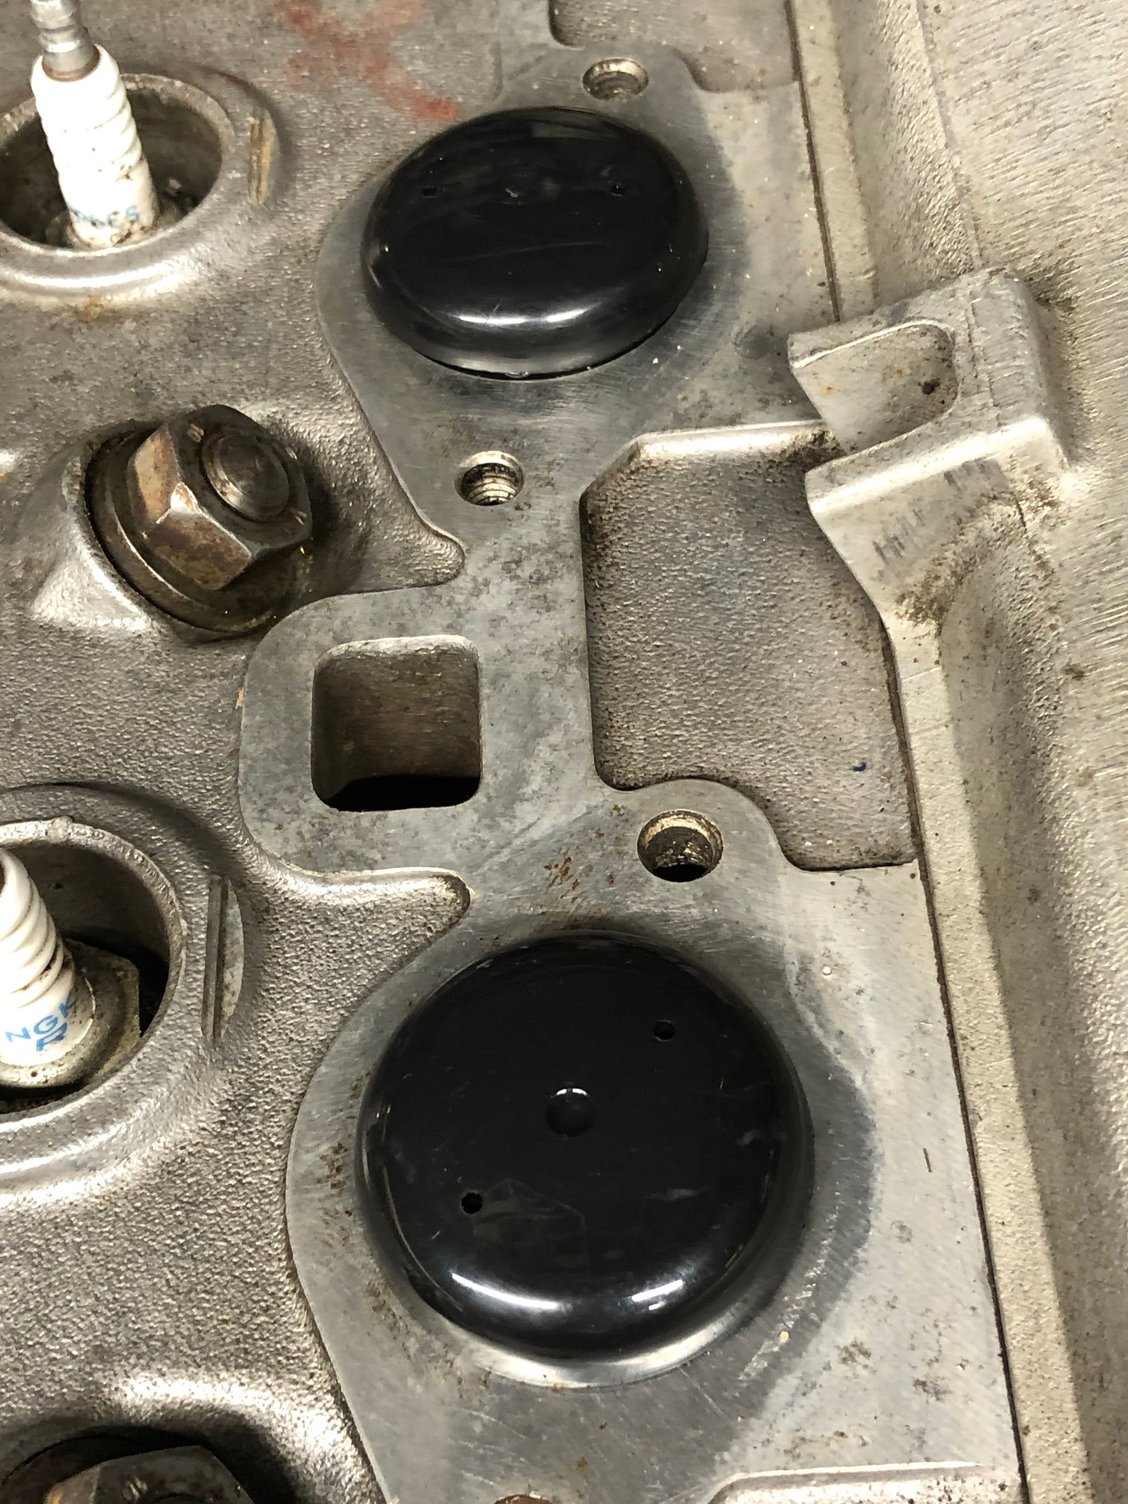
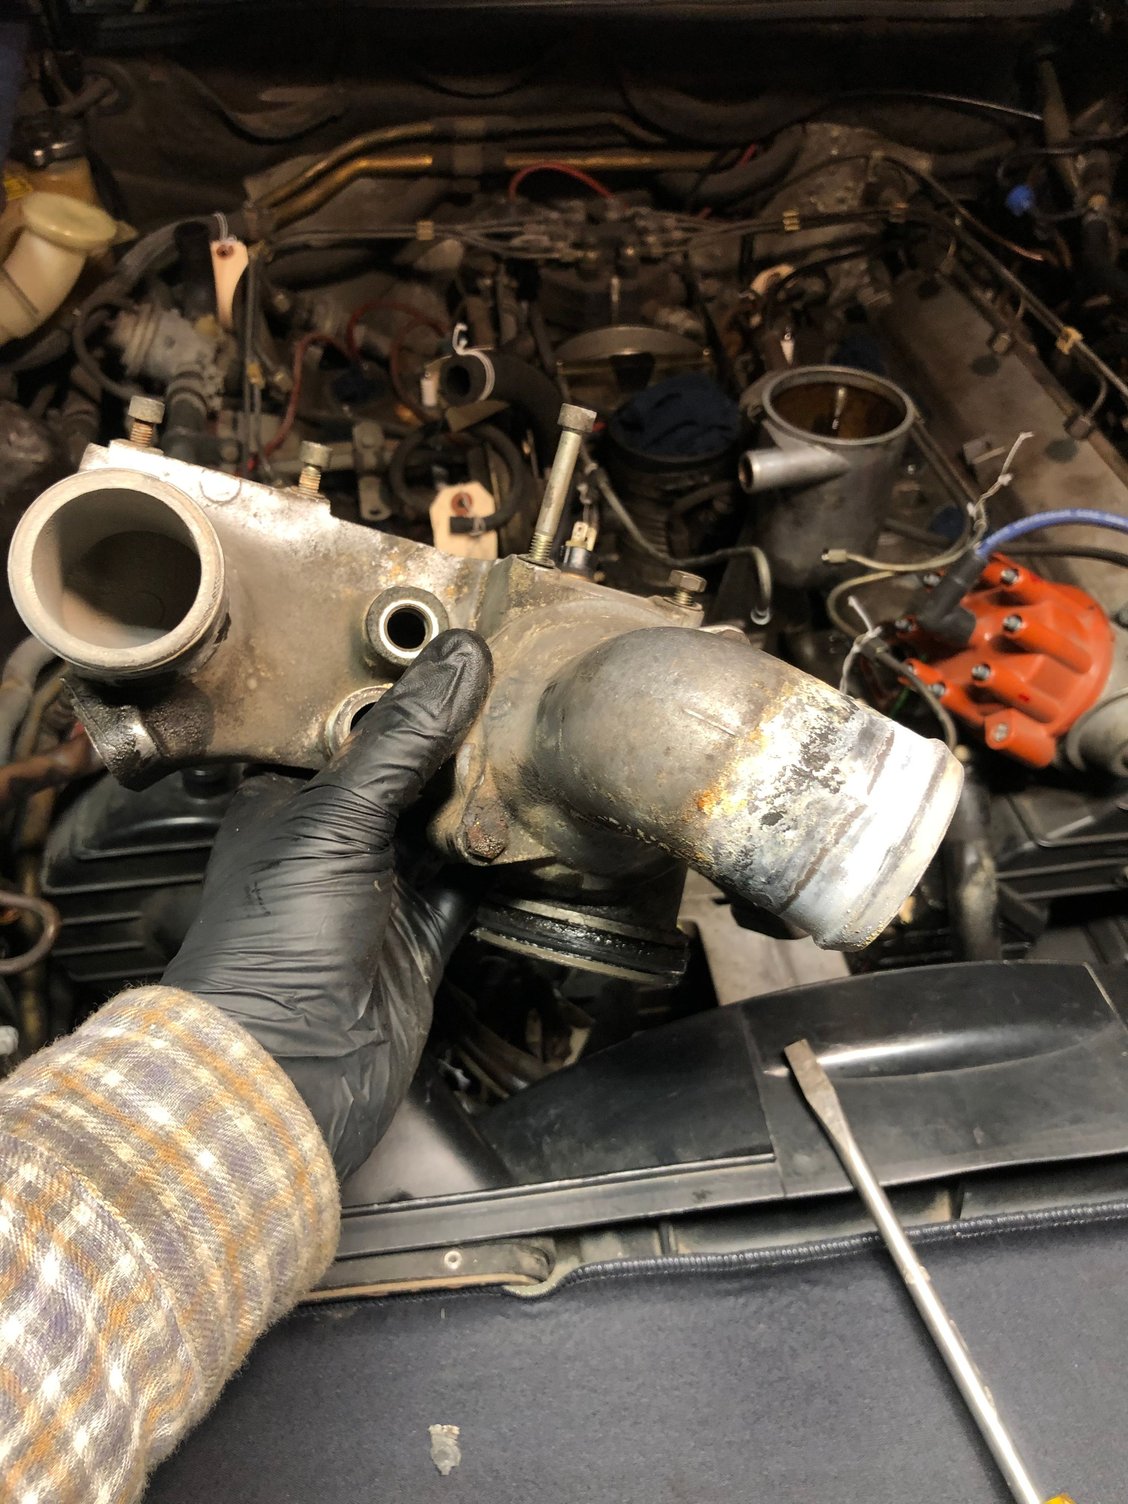
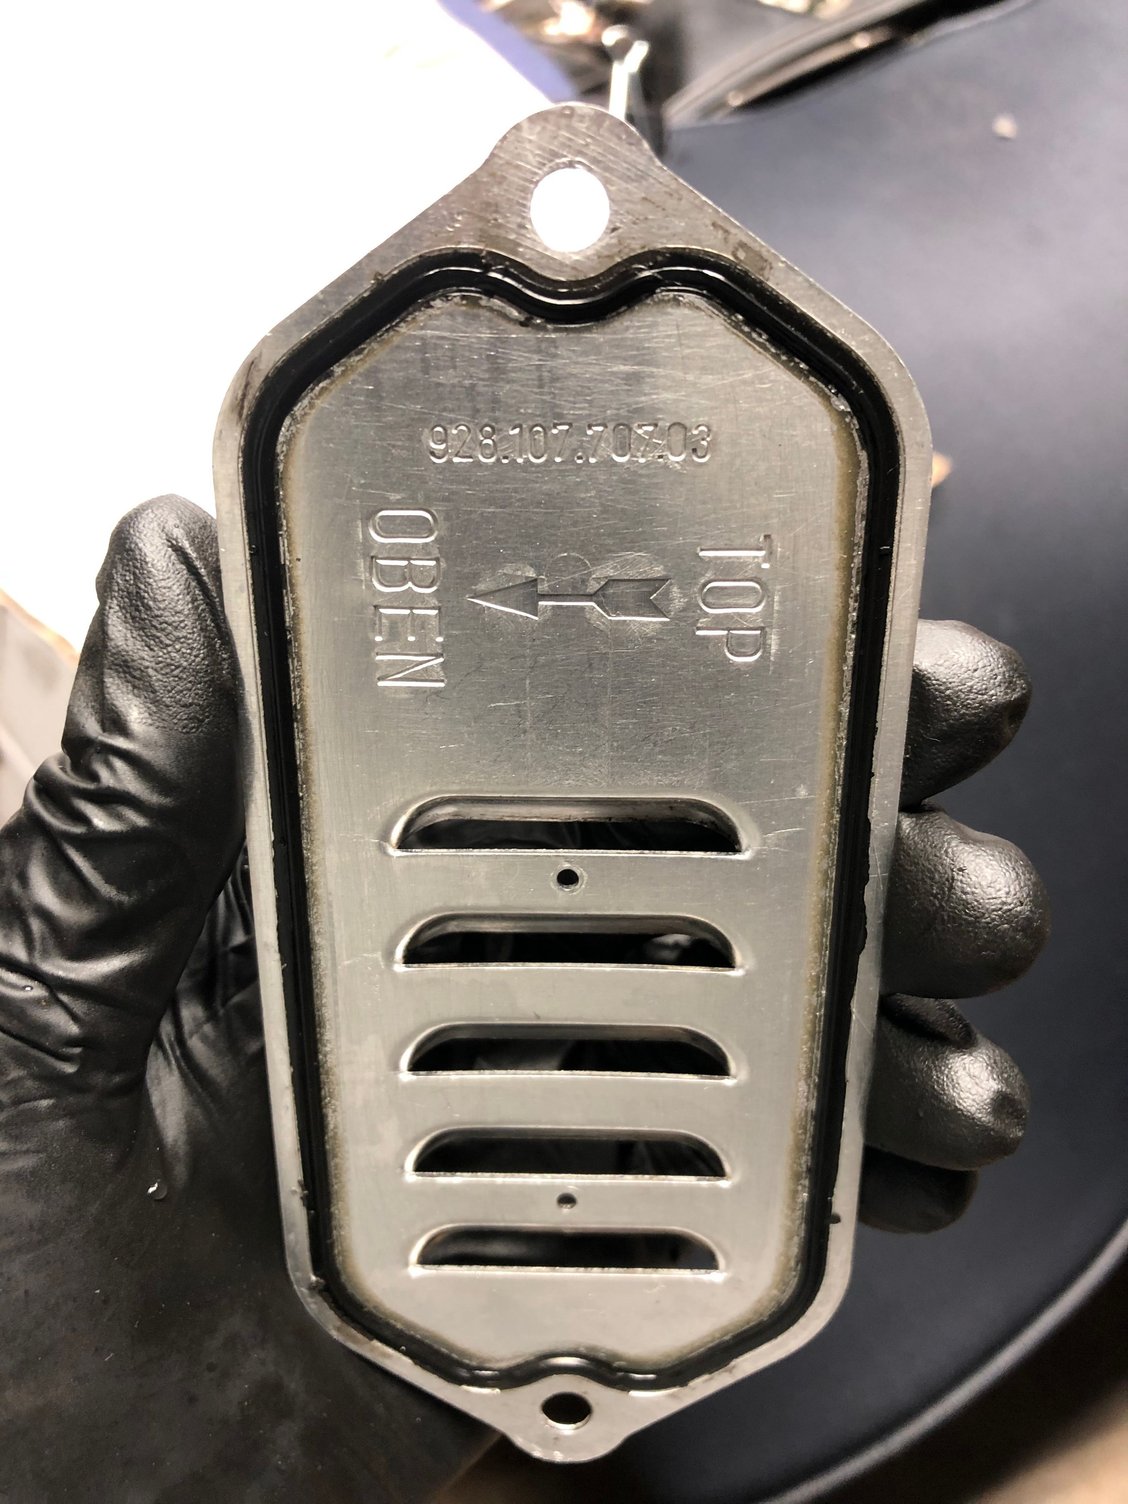
Starting to remove everything from the water bridge and the top radiator hoses. Everything came off pretty easily. Started to take of Oil Filler/Separator (don't get fooled by that bolt on the inside under the basket), but water bridge has to come off first. Felt lucky that I didn't break any of the 4 water bridge bolts. Tough, but they came out OK. Corroded enough to need replacement though. Lots of old leaked oil in all the valley and crevices. Found this baffle under the Oil Filler/Seperator. Part 928.107.707.03 This doesn't look original and I don't think the gasket is doing anything. Water bridge out. Mystery baffle. Not from 78 and I don't think it was doing anything as a gasket. Oil all over the place.
I'm not an authority, but the baffle is to keep oil slung from the cam from being sucked up into the crankcase breather airflow through the oil filler area.
Not sure about the seal, but I'm sure one of the more experienced techs or owners will chime in soon.
Here you go. https://928motorsports.com/parts/oilcontrolbaffle.php
I was thinking about getting one when I do my refresh.
Must mean yours has been apart before.
It will be interesting to know what people think of them. My car had a lot of oil in the throttle body chamber. Also oil in the V when I got it. There is probably a correct way to install it. Look up Dwaynes garage I think he installed one. I will try and find it.
I'm not an authority, but the baffle is to keep oil slung from the cam from being sucked up into the crankcase breather airflow through the oil filler area.
Not sure about the seal, but I'm sure one of the more experienced techs or owners will chime in soon.
Exactly right. It's a very useful addition. My car is supercharged and has more crankcase pressure from blowby because of it. I added Carl's (928 Motorsports) baffle which is a very similar design to what you have pictured along with a Verus Air/Oil Separator and combined, those two items prevented the oil ejection that was coming our of my breather vent and getting all over everything under the car and on the cars behind me. Now the only thing that escapes from the AOS vent hose is air.
If you have enough clearance you can use an OEM filler neck gasket between the engine and the baffle and between the baffle and the filler assembly. Alternatively, you can cut your own gaskets using your wife's craft cutter (Criket, Silhouette, etc). I made custom silicone water bridge gaskets this way by scanning a brand new OEM one, then using a thick material cutting pen in the Silhouette.
Worked like a charm and I've done this for a few other gaskets since then.
Custom AOS Install. It's a dual-chamber unit so I vented the two valve covers into one inlet chamber and the crankcase into the other inlet chamber, then vented both outlets to atmosphere. Separated oil actually drains back to the oil pan so no need to empty the AOS.
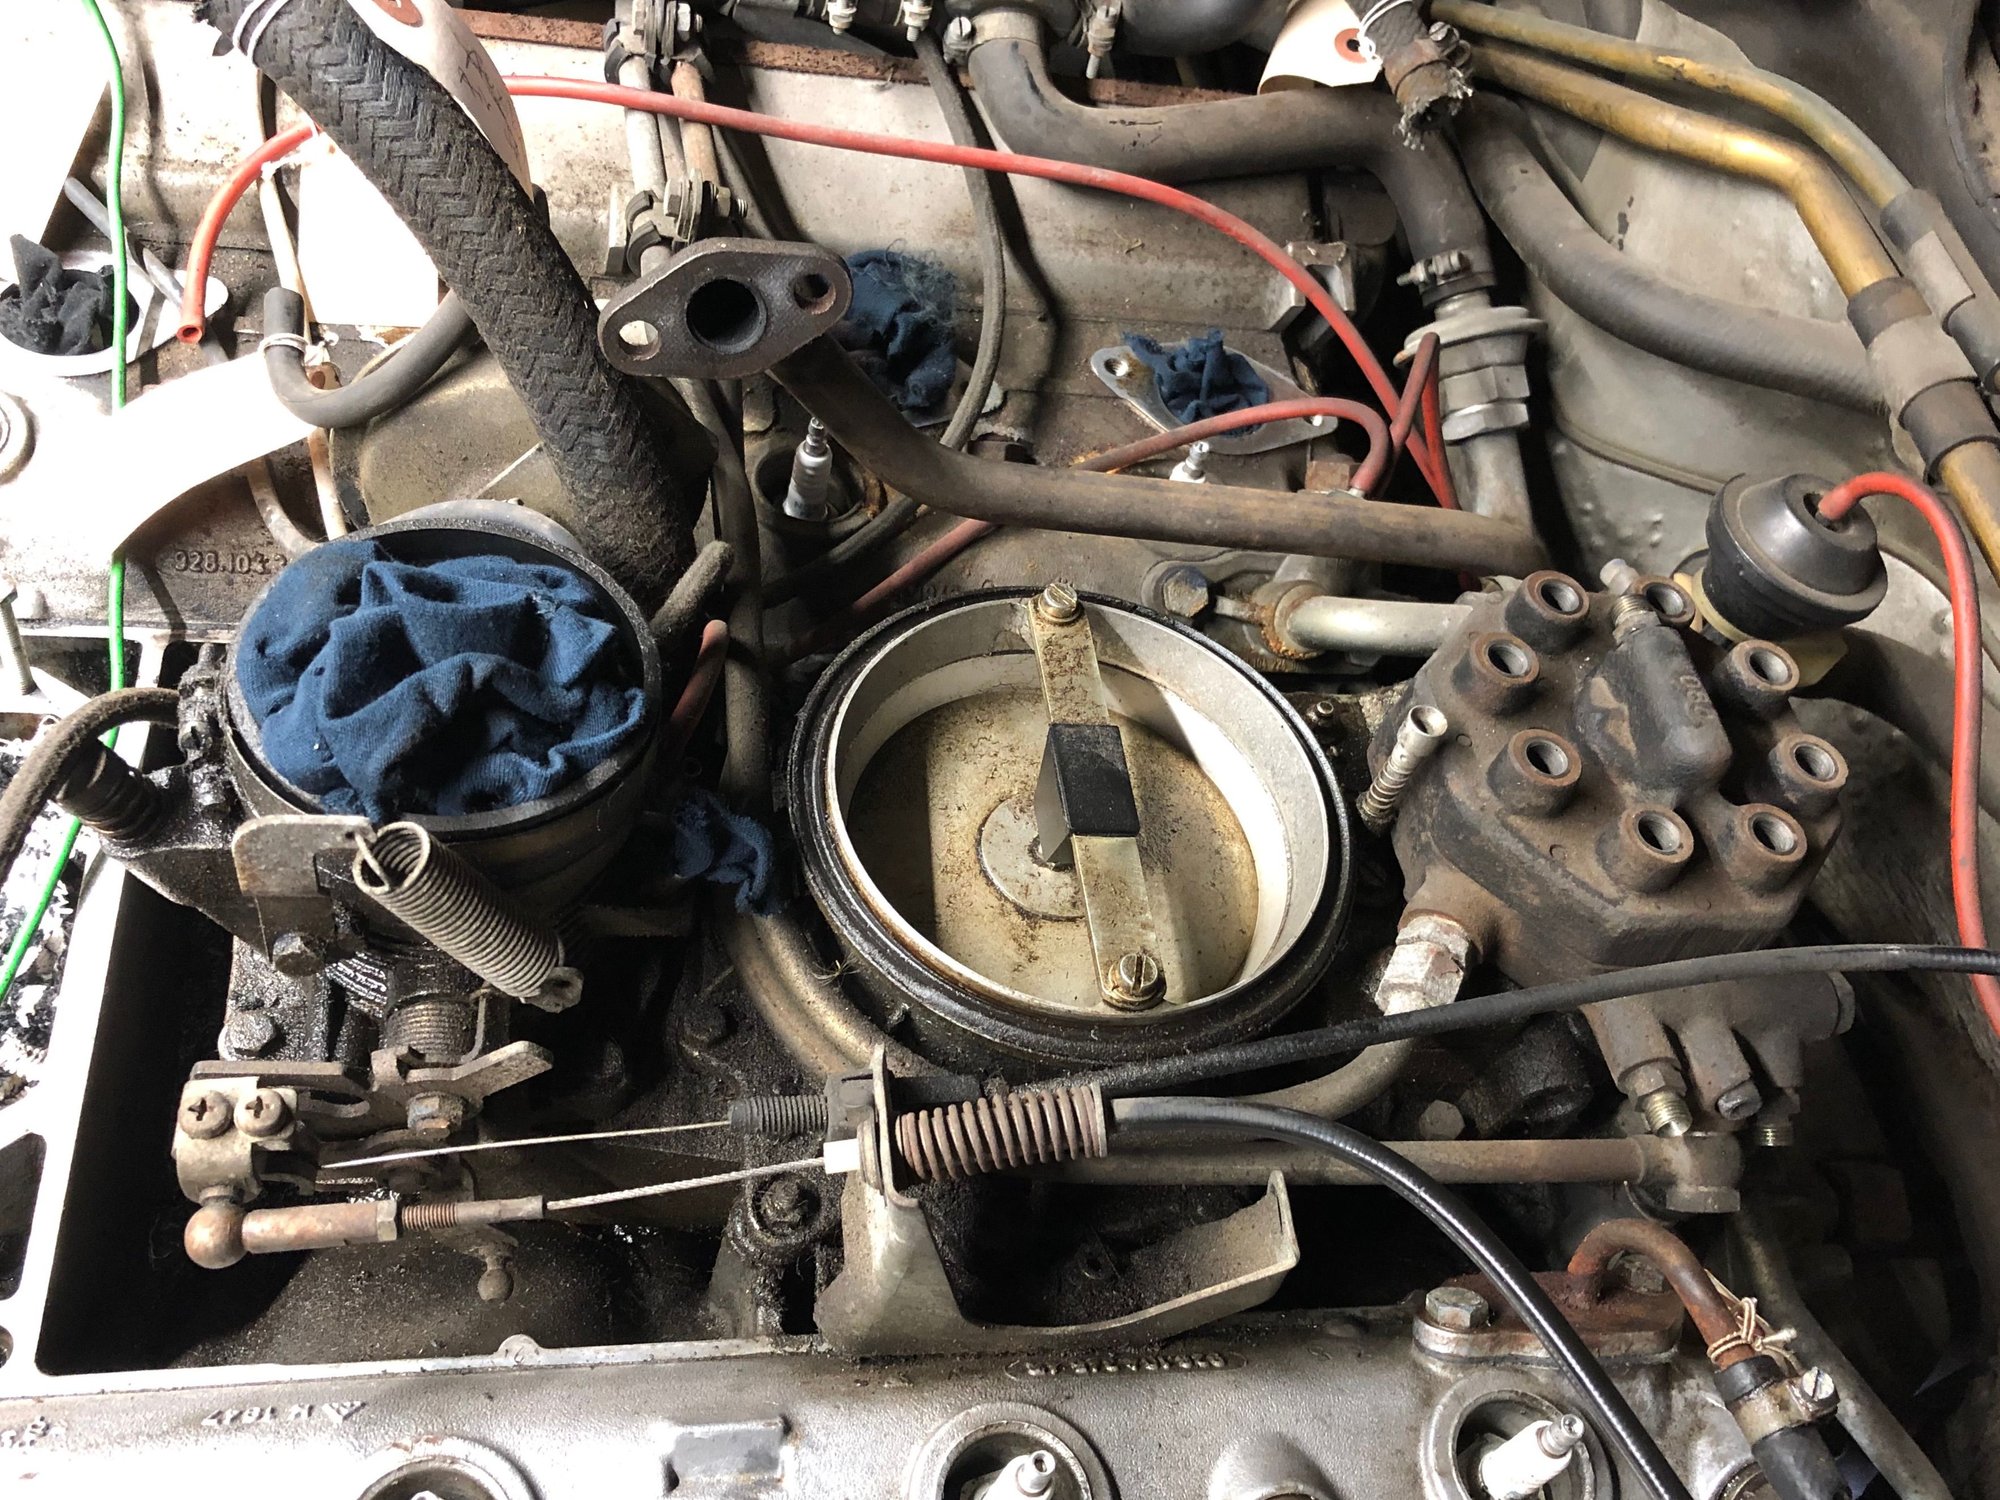
Cut your own gaskets at home. That's pretty cool. That motor looks like something old Beelzebub would have installed in his car. Looks like a screamer. I figure that baffle is an 80's Porsche part that is NLA. Clearly someone has been in this far before. I think the main problem is they just put it on with no gasket (either on top or on bottom). There's some sort of gasket material built into the baffle but it doesn't seem substantial enough to do it's job alone. Between this and the crusty hoses, there is old oil all over the place. Next things I removed were all the hard fuel lines into the fuel distributor
and the throttle linkages.