When you click on links to various merchants on this site and make a purchase, this can result in this site earning a commission. Affiliate programs and affiliations include, but are not limited to, the eBay Partner Network.
Project: LED illumination of shifter indicator "PRND32"
Project: Add LED backlit illumination to shifter (auto) indicators. Easy installation, no cutting/drilling, completely reversible. Results: Very nice upgrade, matches other interior LED lighting. Easy and inexpensive. Not dimmable. Reason: Some 928 (Automatics) had factory illuminated shift indicators near the shift handle. My ’89 does not. (I’ve heard that Porsche stopped when the shift indicator was added to the instrument cluster.) In any event, I wanted to see if I could add it as I upgraded the rest of my interior to LED .
I purchased a used factory wiring part with a bracket that had two small bulbs, thinking I could modify it using LEDs. While having the factory wiring (that pigtails into the ashtray illumination) is nice, otherwise this option was not desirable, as the bulbs are an odd size, it would require fabrication of a bracket, and I’m not sure it would result in “even” illumination.
So, after some trial and error, this is the solution I ultimately found the best: Parts required:
(A) 12v LED strip lighting, adhesive backed, with (+) and (-) pigtails and ability to cut to length. Amazon has these, 12” strips for $14.99 per 4/pack. You will only need one of four included for this project.
(B) (2) 6” pieces of 16 gauge shielded electrical wire, and wire tape.
(C) (2) male spade connectors, and (2) female spade connectors.
Procedure:
(1) Remove the shifter plate, which incorporates the “PRND32” translucent panel that you will be lighting. (I will let you consult the factory manual or this forum for the best method to remove the shift plate.) IMO, this was the most “difficult” or “tricky” part of this project.
(2) Disconnect negative battery post to prevent accidental shorting of factory wiring.
(3) Gain access to the factory wires that illuminate the ashtray. I removed the passenger side footwell/center console panel for access from the side/back of the center console, but I have replaced my ashtray with a clock. So, you may be better off just removing the two Phillips screws that hold in the ashtray and pull it out to access the wiring.
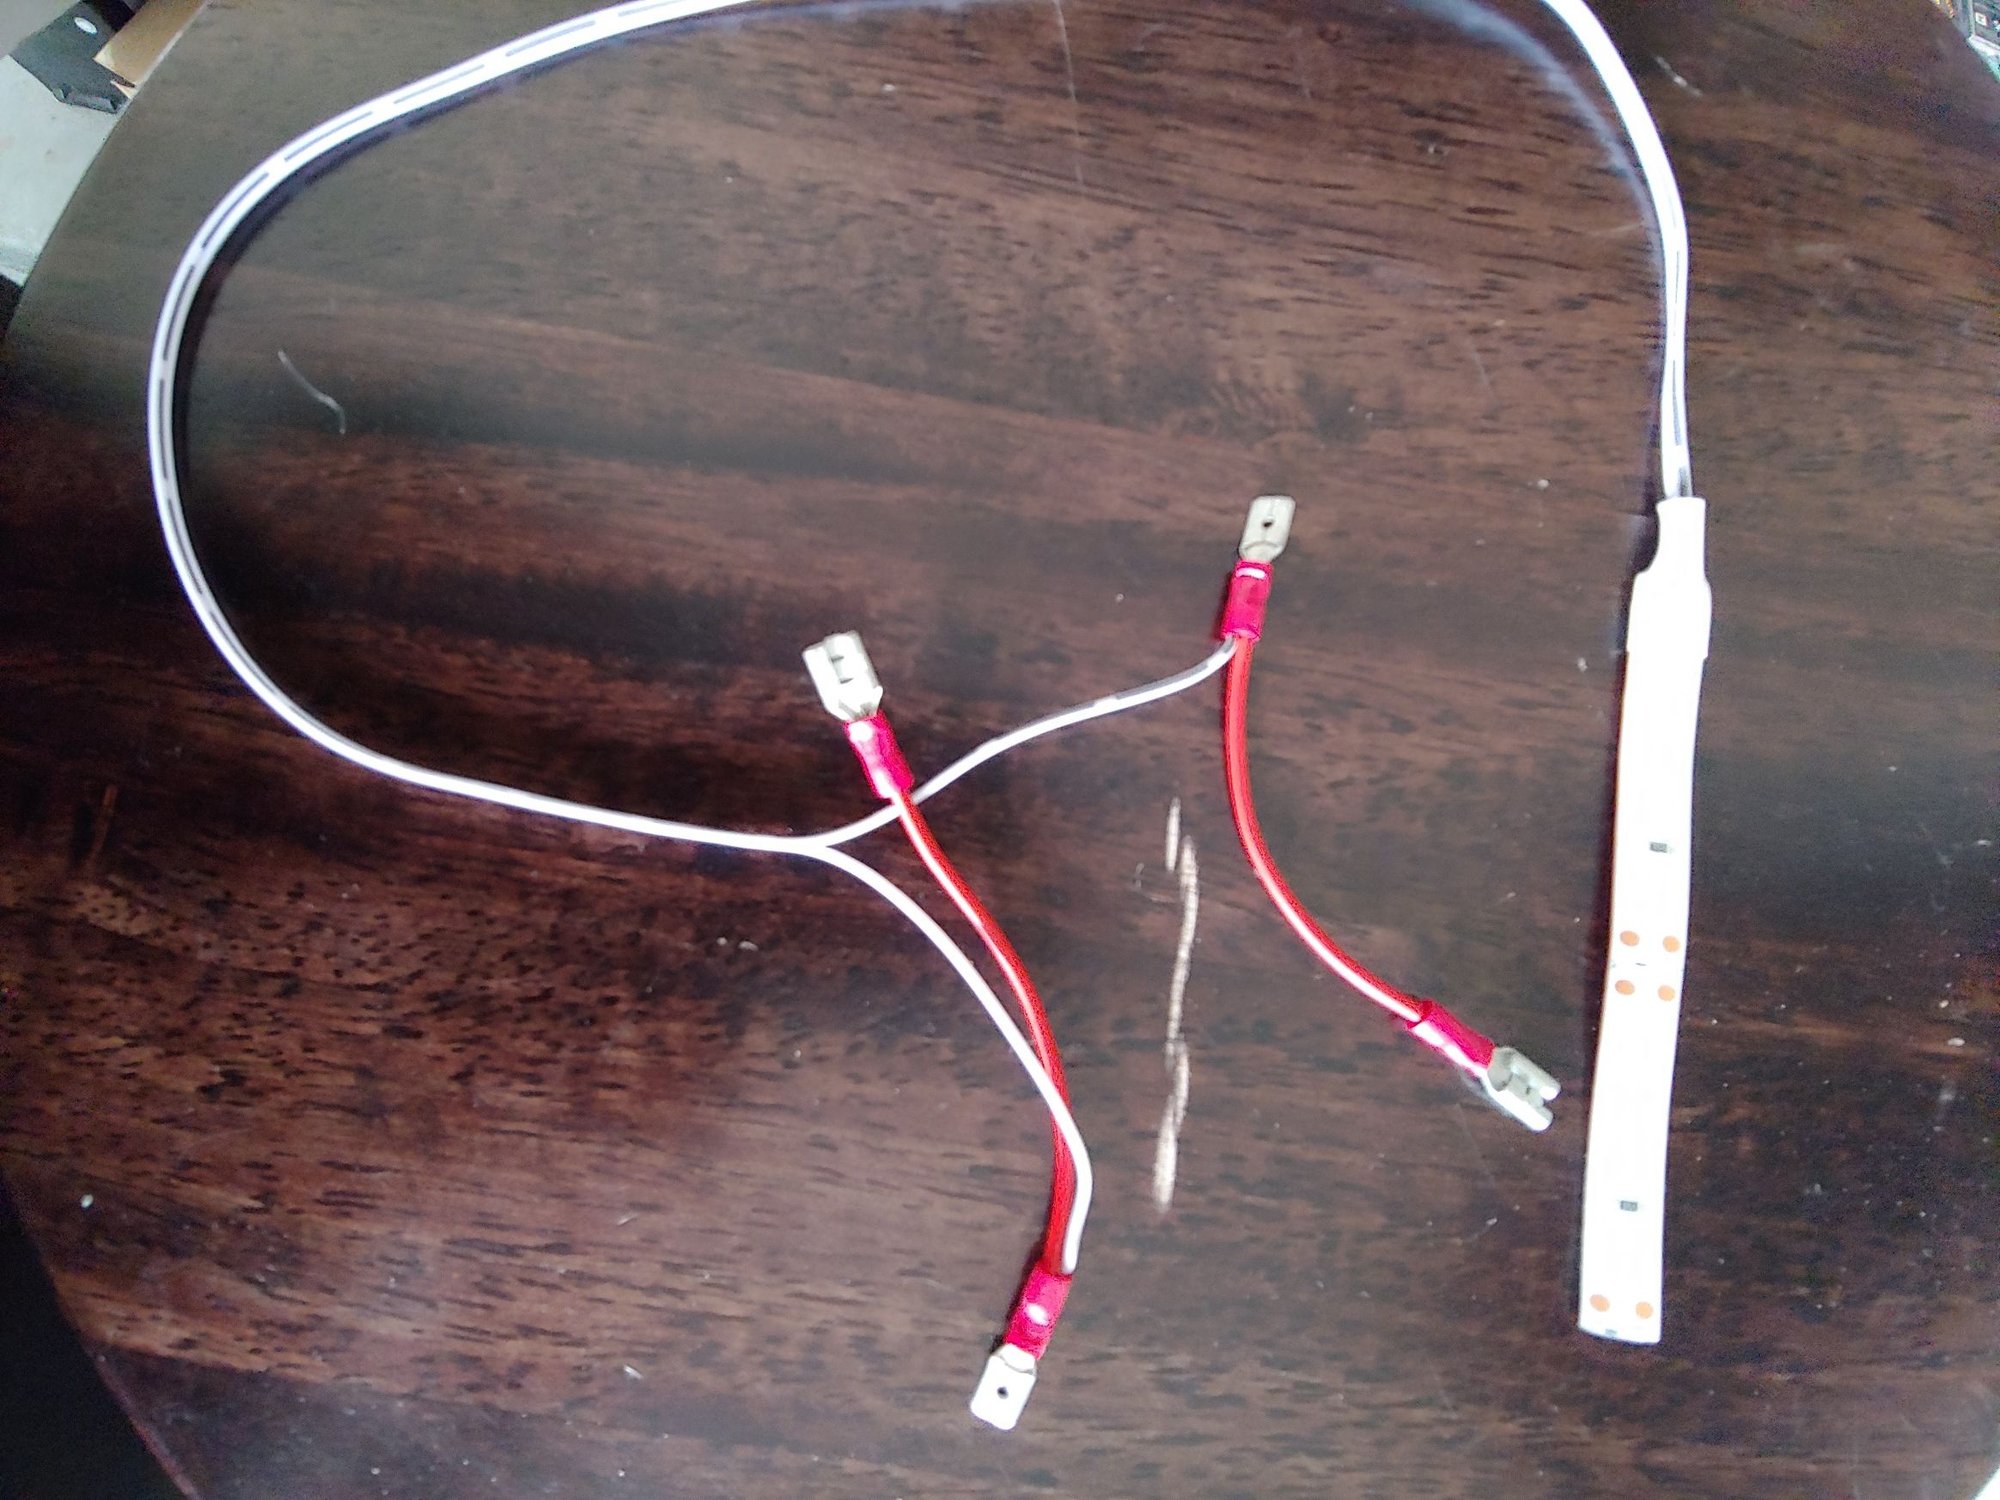
(4) On your workbench, determine the (+) and (-) leads of the LED strip and mark them, using a known 12v source. (As delivered, my leads had one white and one white with black lead—and the all white was (-), which is opposite of “normal” marking of (-) black….so check yours.) (See pic 1)
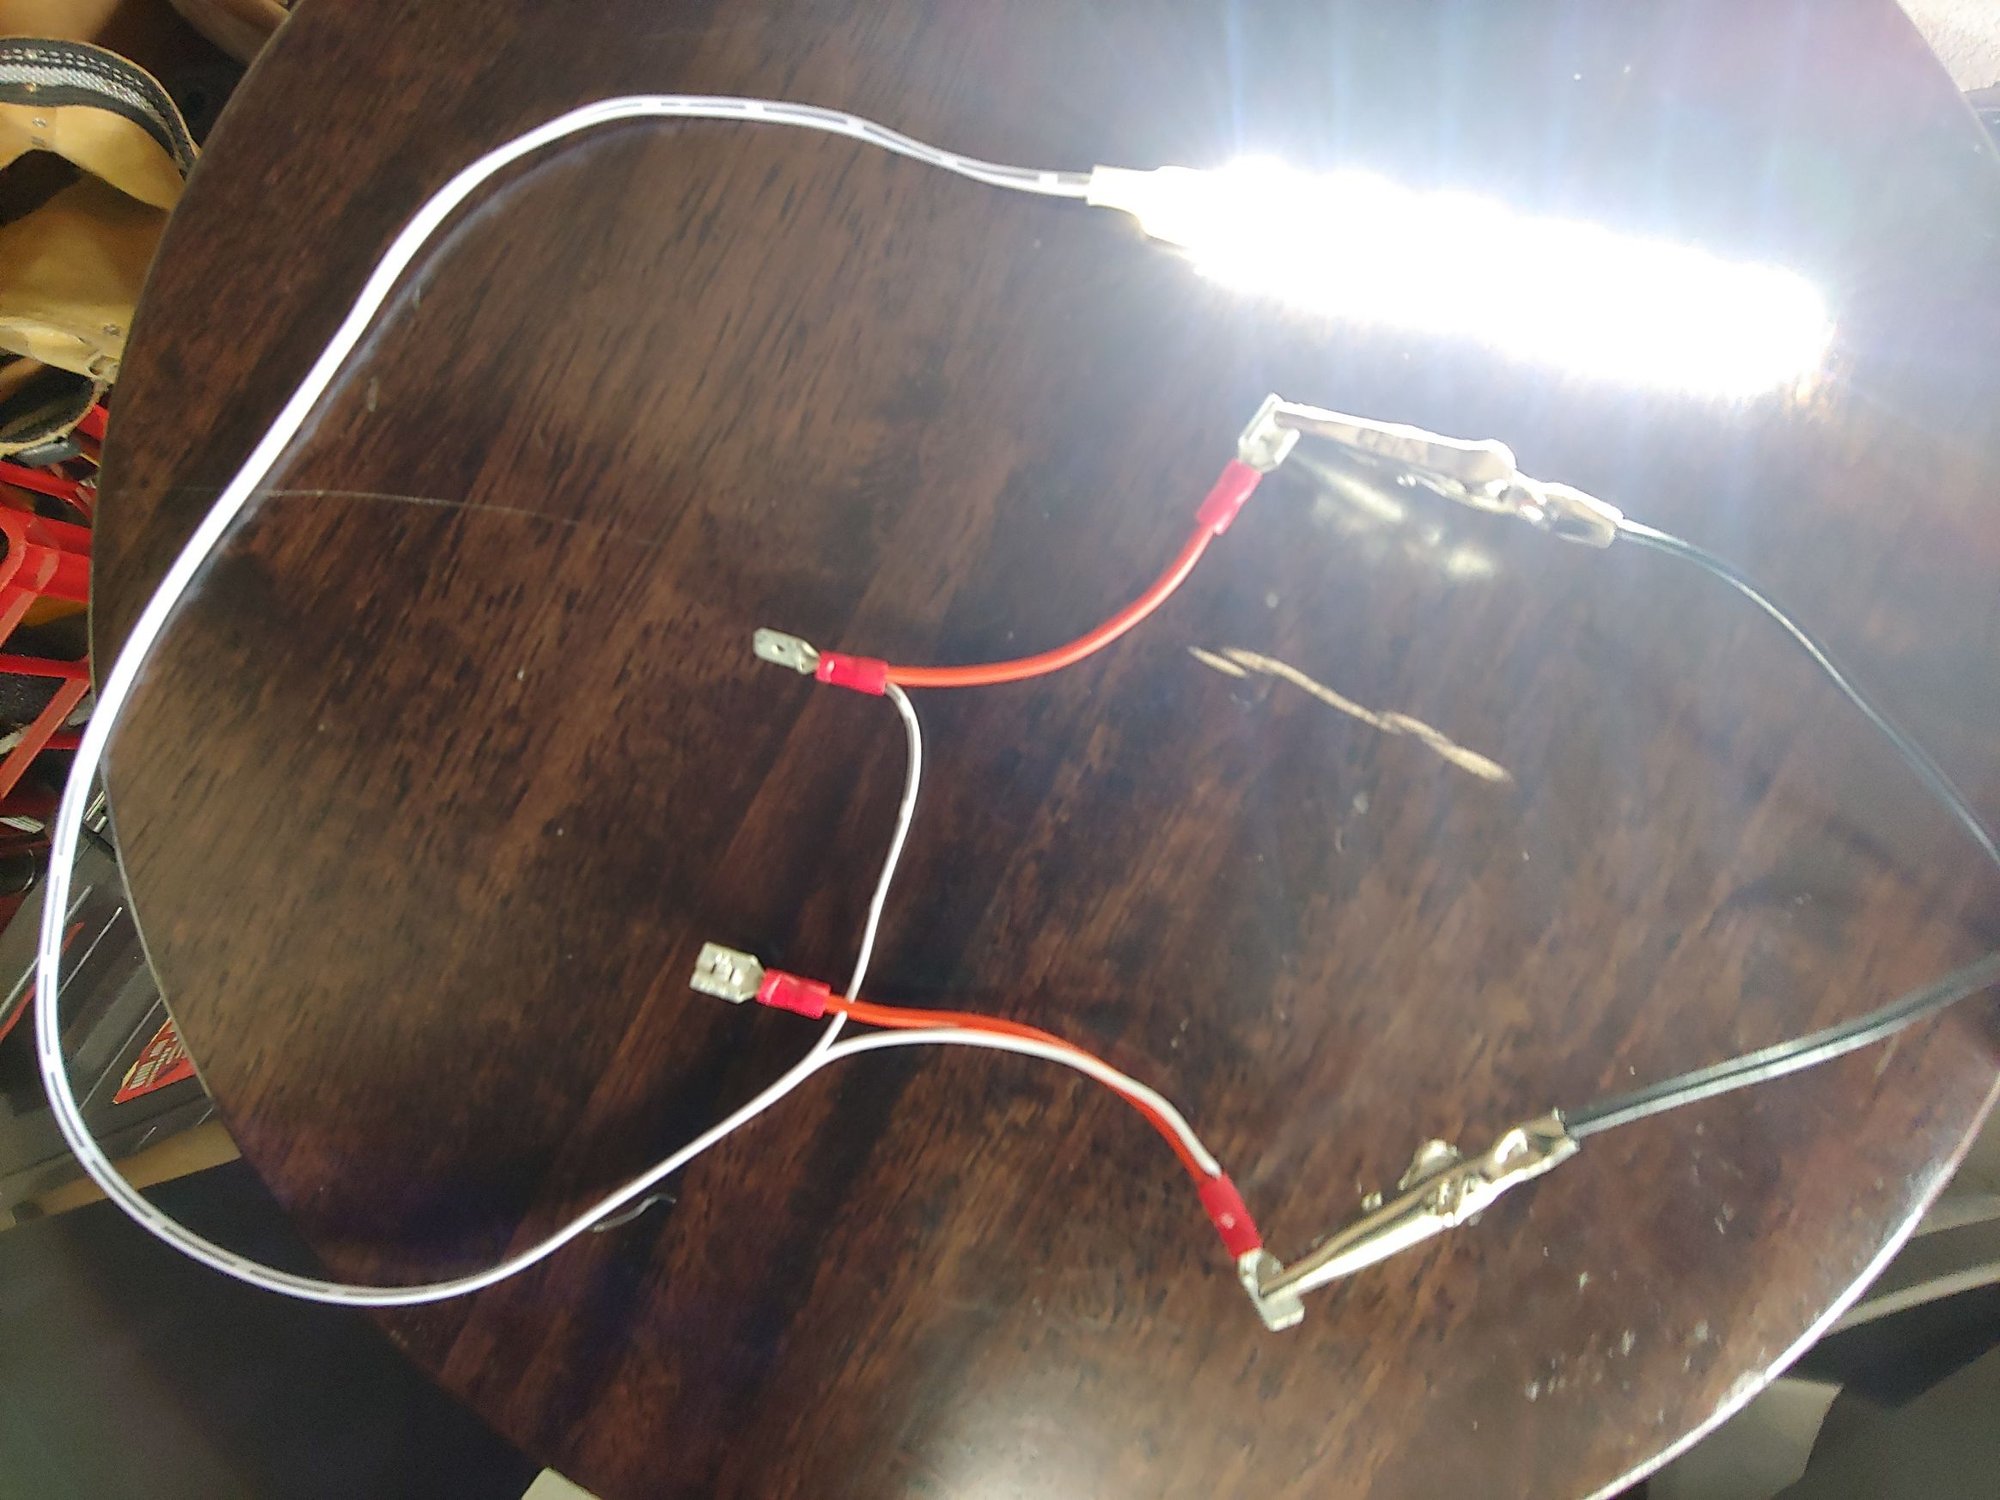
(5) For each pigtail lead of the LED strip, cut and strip a 6” piece of the 16ga. wire. Twist together one end of the wire with the end of an LED lead and crimp together with a male spade connector. On the remaining end of the 16ga wire crimp a female spade connector. Do this for each of the 2 leads of the LED strip. (see Pic 2)
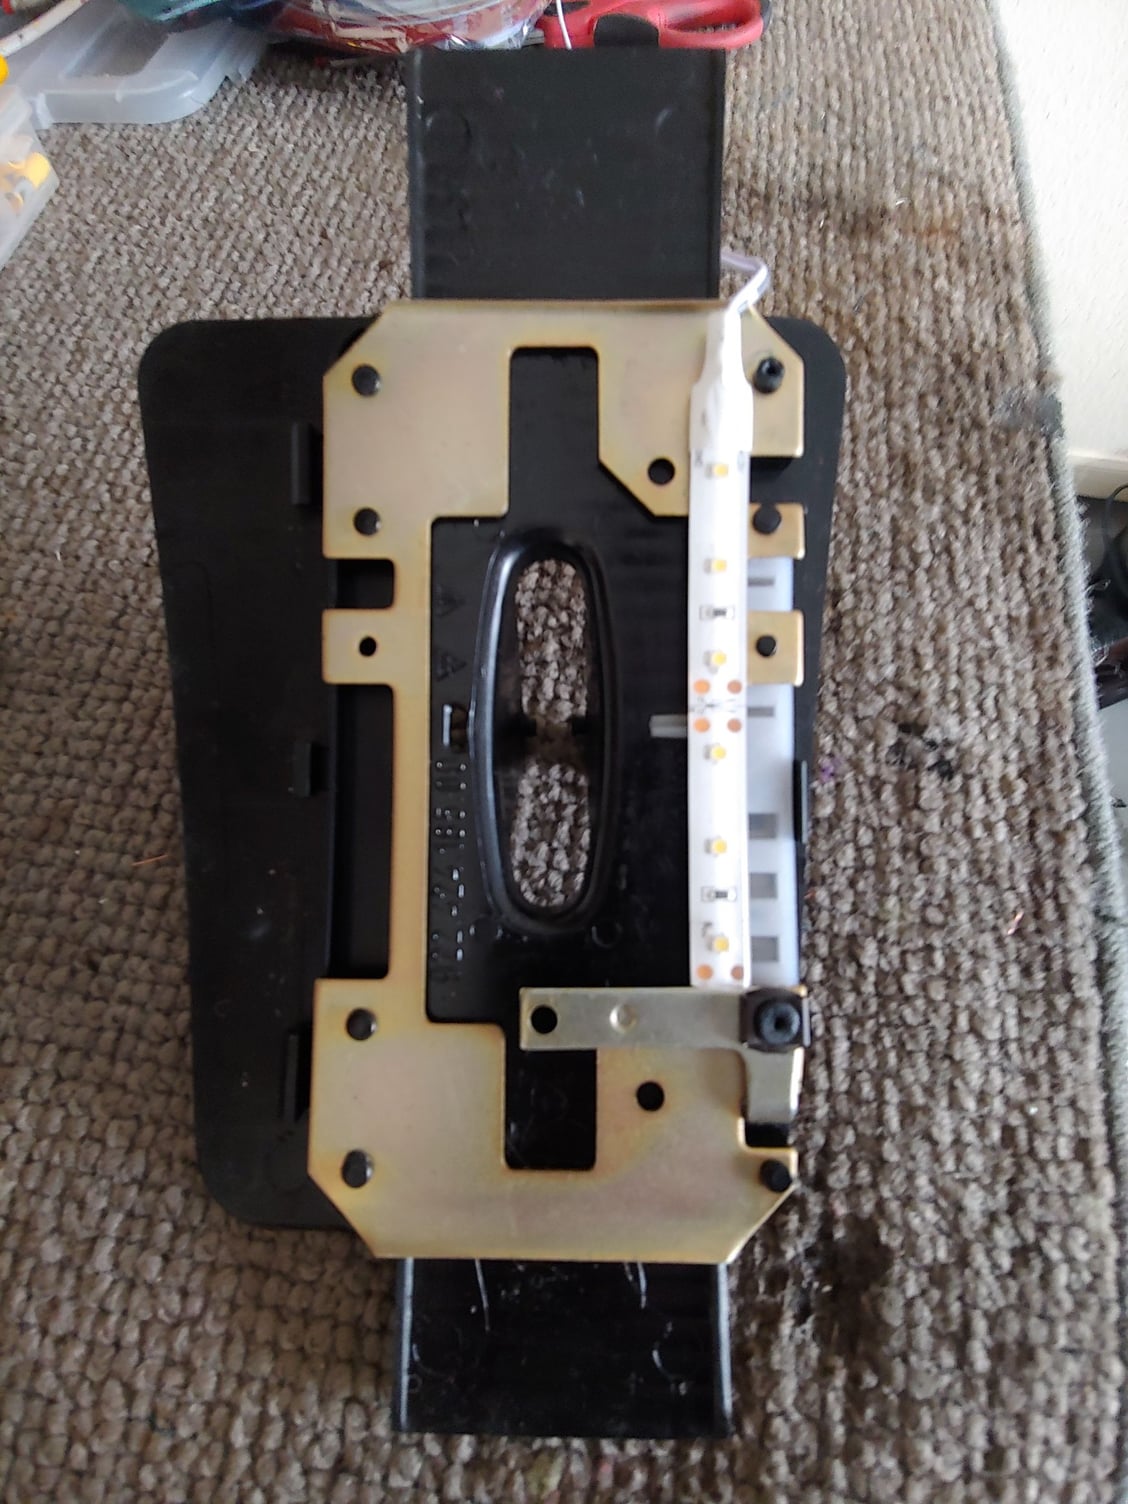
(6) Turn the shift plate over and position the LED strip on the right metal strip next to the translucent plastic, to check fitment. I determined that cutting the strip down to 6 LED’s was perfect length. Then remove the adhesive backing and adhere the LED strip to the shift plate metal strip, with the wires toward the front of the car. You are sticking the LED strip to the metal piece, not the translucent plastic. Yes, the LED’s will be facing “down” once installed, but this results in proper brightness and an even illumination of the lettering and the “arrow” once the shift plate is installed. (See pic 3).
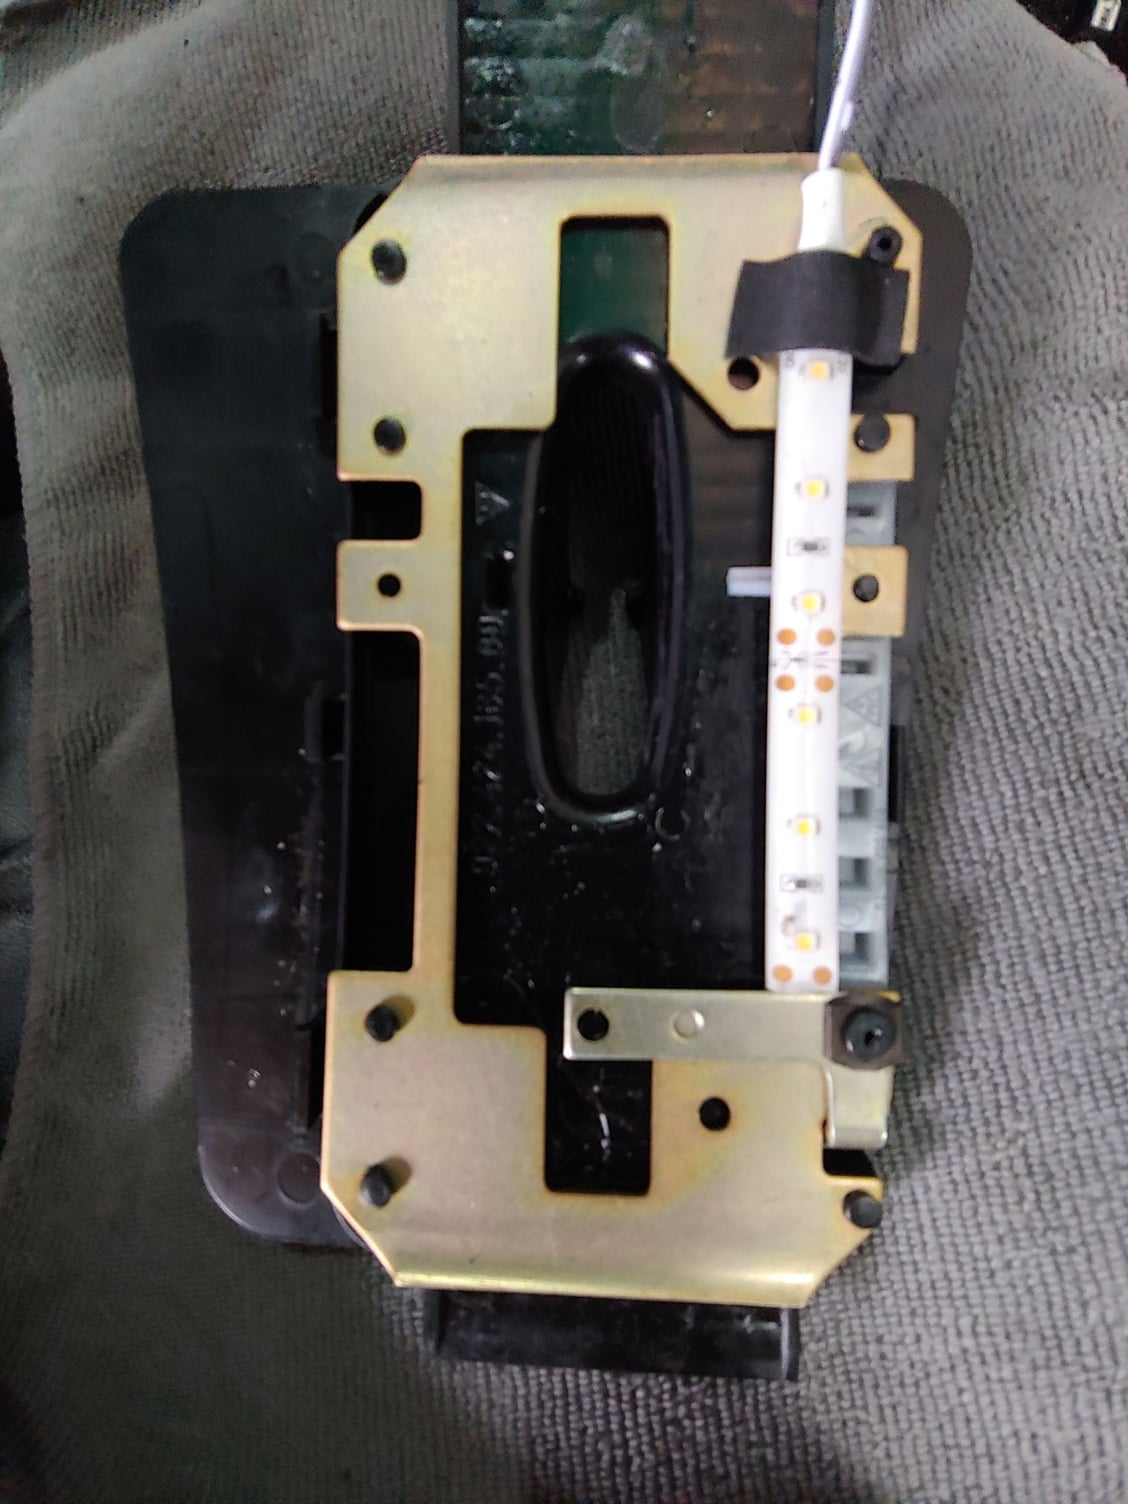
(7) I also added a piece of strong adhesive tape at the end of the LED strip where the wires start, just to make sure in case they are “tugged” on later. You will see the piece of black foam tape in (Pic 4). Also, you may notice that my shift plate was missing the “L” shaped lock-lever near that area. (I understand these commonly break off). If you still have one, or don’t remove it, you will need to work around it.
(8) Loosely place the shift plate over the shift handle and “snake” the wiring up into the center console area near the back of the ashtray. Don’t snap the shift plate back into place until you test everything.
(9) Unplug the negative (-) factory wire to your ashtray (brown wire that attaches to a spade built into the metal of the ashtray). Plug it into the male spade you added to (-) LED strip. Plug the (-) female spade you added on your kit, onto the male ground of the ashtray. Repeat this for the (+) factory wire to the ashtray light bulb. Same process, colored wire not brown. Add electrical tape to insulate and secure the connection of your (+) wires.
(10) Make sure the wires are snaked in a way that they will not snag or be interfered with by the shifting motion or future removal of the center console. Test your lighting. If satisfied, reinstall shift plate, boot, shift handle.
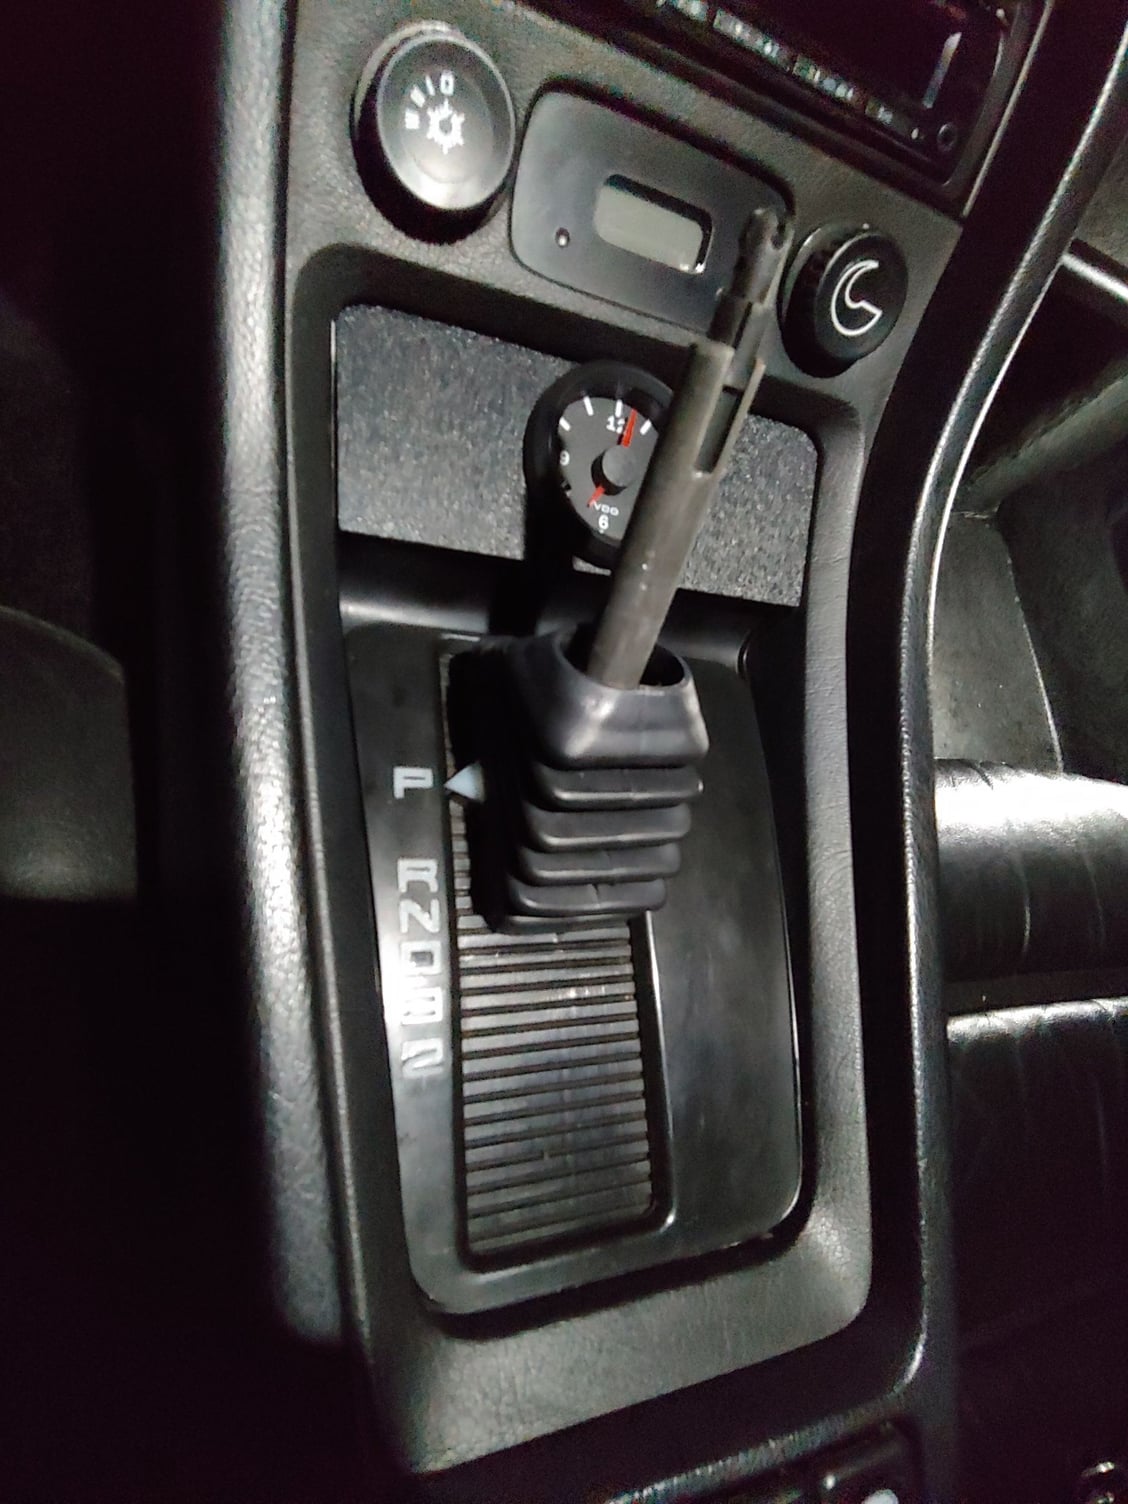
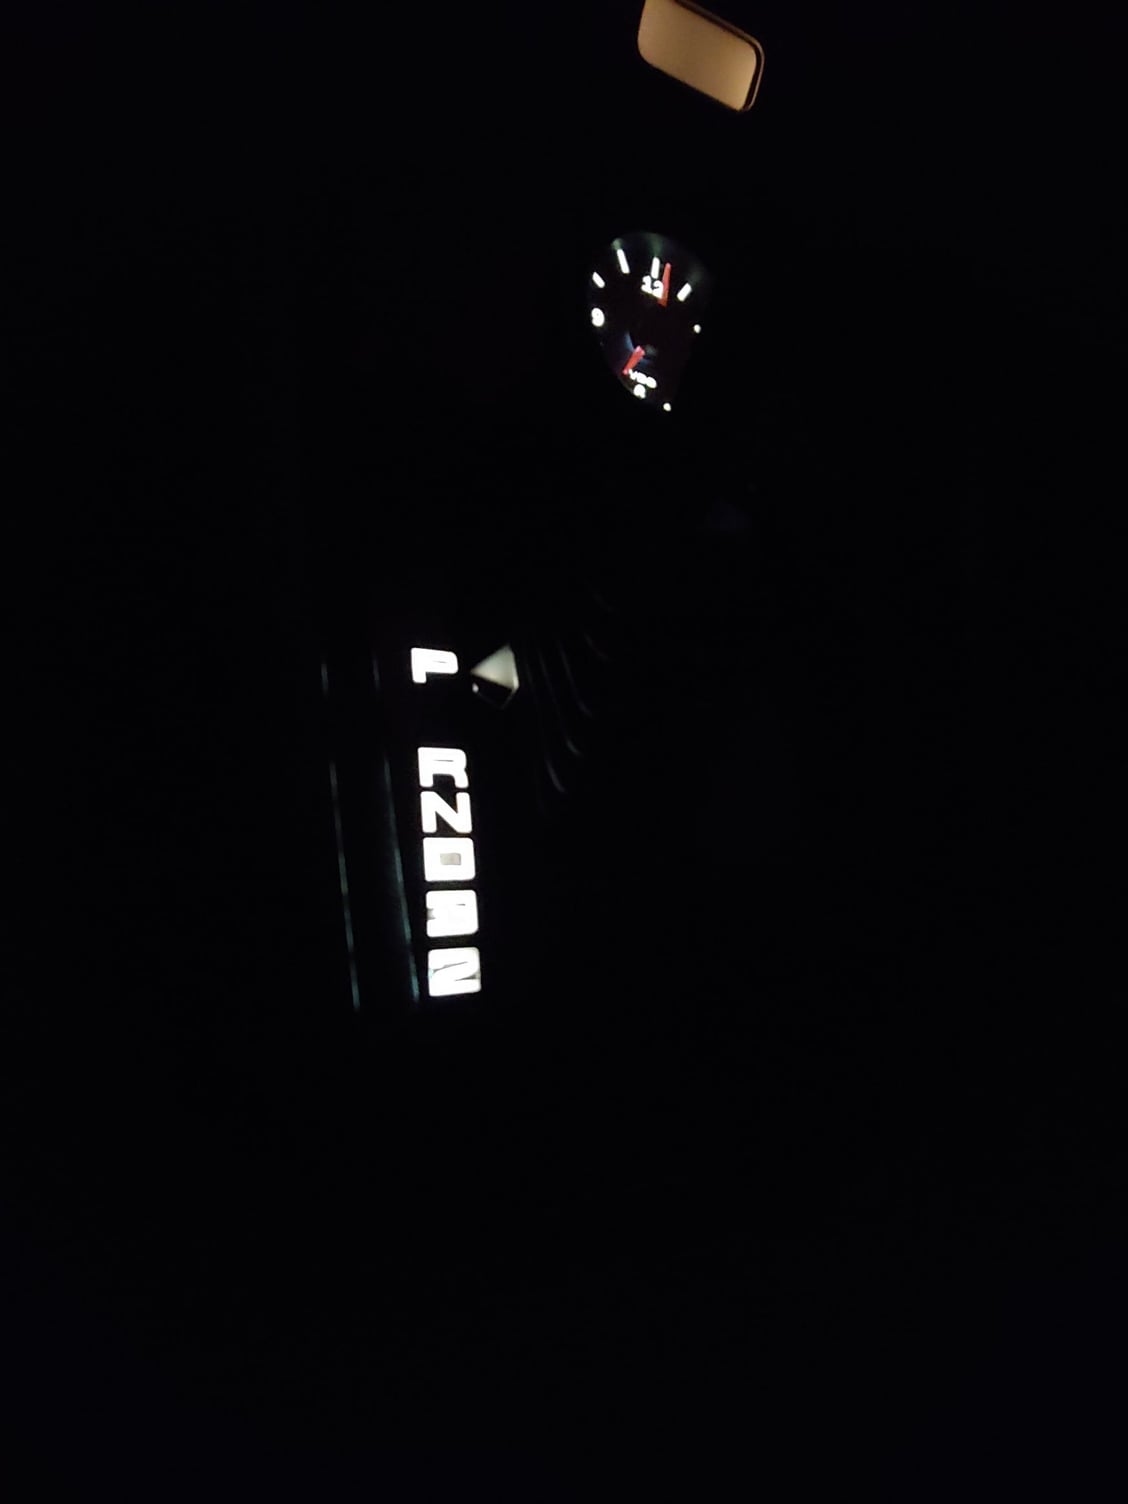
(Pic 5) is taken before I went dark so you can see perspective of (Pic 6) which is the final result in the dark. (This picture makes it look brighter than it actually is...my phone camera does not have aperture adjustment.) The lighting is a perfect match to my VDO LED backlit gauge and the other Pod switches. (I have not done the gauges yet). One con, is that it does show off that the black on the "D", “2” and “3” has worn off a bit, but maybe a I can fix that. Finally, the LED strips on Amazon come in different colors if that is your thing.
(11) Replace blown fuse if you did not follow step (2) and you accidentally blew the fuse for the cig lighter.
Conclusion: Overall I am very pleased. It is functional, looks modern but appropriate, and in my opinion adds a bit of backlighting to an otherwise "black hole" area of the center. Additional suggestions for improvement are welcome. (Also, someone come up with a good way to use the extra three LED strips we now have!)
Now I'm thinking that my cluster lights may just get replaced with a set of the small LED strips like you used in the gear shift legend.
This would be cheaper and more reliable than the modified light pipes that I've seen, and wouldn't require me refinish the light pipes either... (Mine have the reflective coating blackened and peeling.)
Shocki your GTS lighting looks great. I really like the lighted door sill. I picked up the stuff to do that to my S4 but it's low on the list of priorities.
Shocki your GTS lighting looks great. I really like the lighted door sill. I picked up the stuff to do that to my S4 but it's low on the list of priorities.
Hi Schocki - Is the arrow indicator on your shifter also illuminated, or is it just from the ambient light of the PRND32 LED strip? Your arrow seems brighter than Jason's; and if it is, I'm wondering how you did that.
Hi Schocki - Is the arrow indicator on your shifter also illuminated, or is it just from the ambient light of the PRND32 LED strip? Your arrow seems brighter than Jason's; and if it is, I'm wondering how you did that.
I used standard LEDs with little self fabricated holders, they might be brighter then the EL strip too. But if you use a wider EL strip it should illumnate the little arrow too.
I used standard LEDs with little self fabricated holders, they might be brighter then the EL strip too. But if you use a wider EL strip it should illumnate the little arrow too.
Okay--thank you. I'll do this along with trying to light-up the two rear A/C *****. Hoping it will be as easy as doing the fan **** on the HVAC head.

 04-03-2019, 03:10 PM