When you click on links to various merchants on this site and make a purchase, this can result in this site earning a commission. Affiliate programs and affiliations include, but are not limited to, the eBay Partner Network.
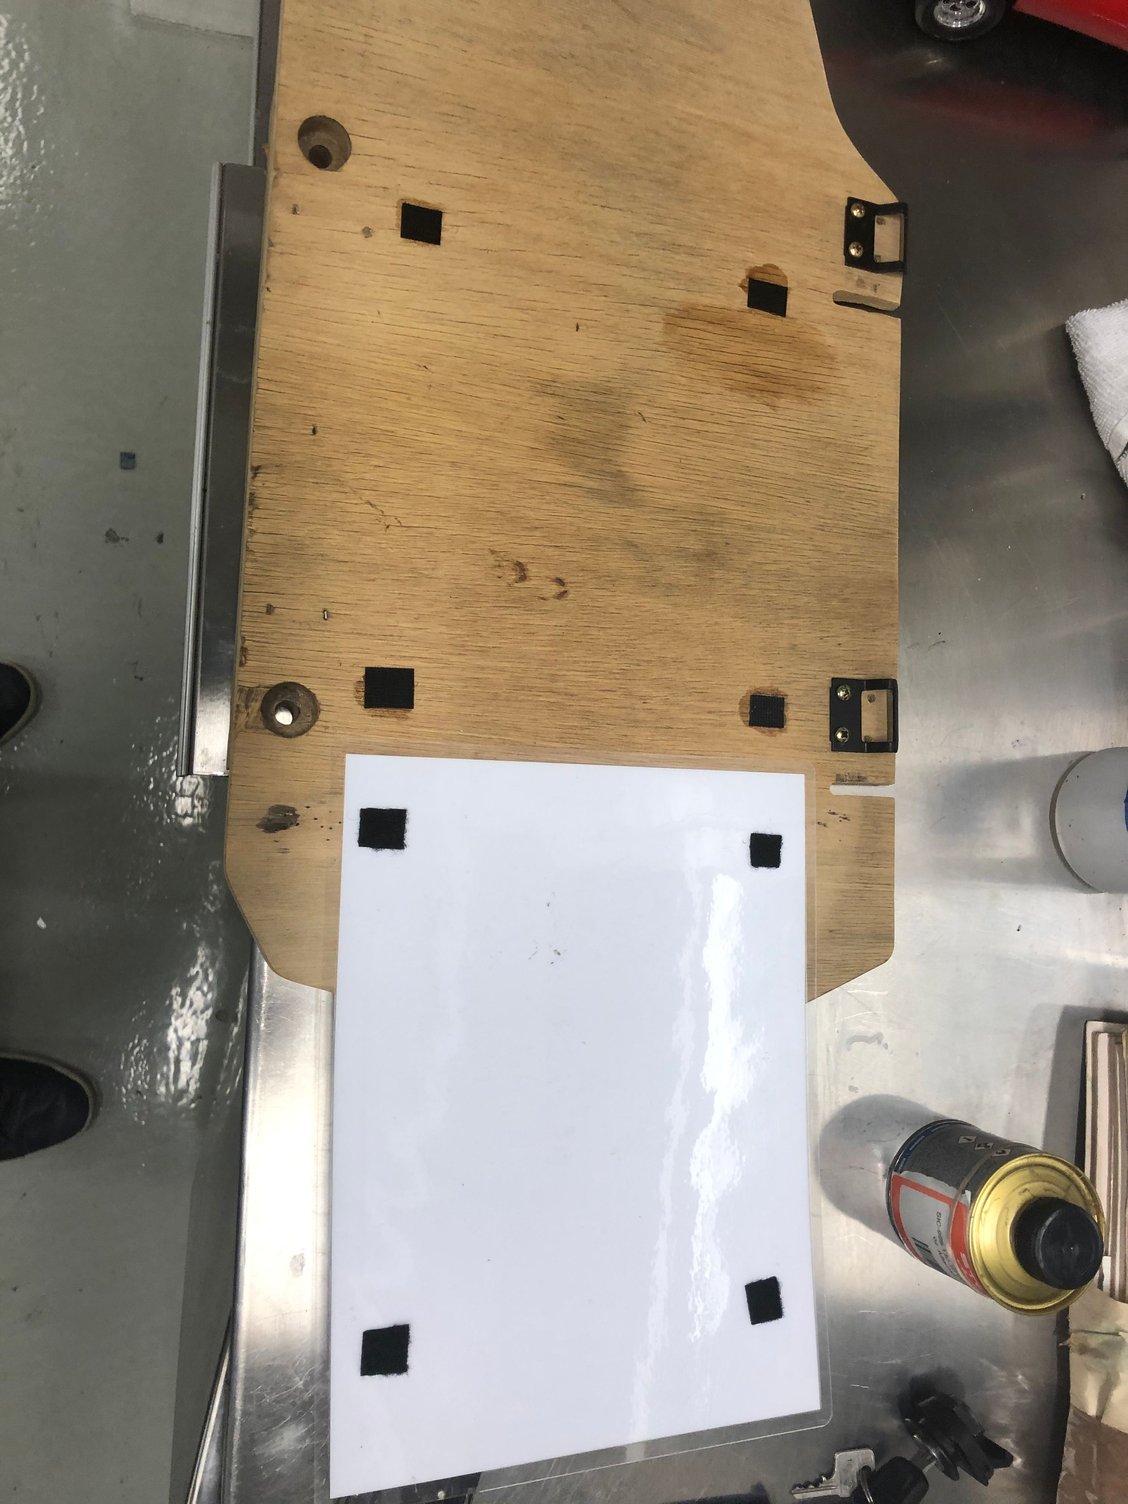
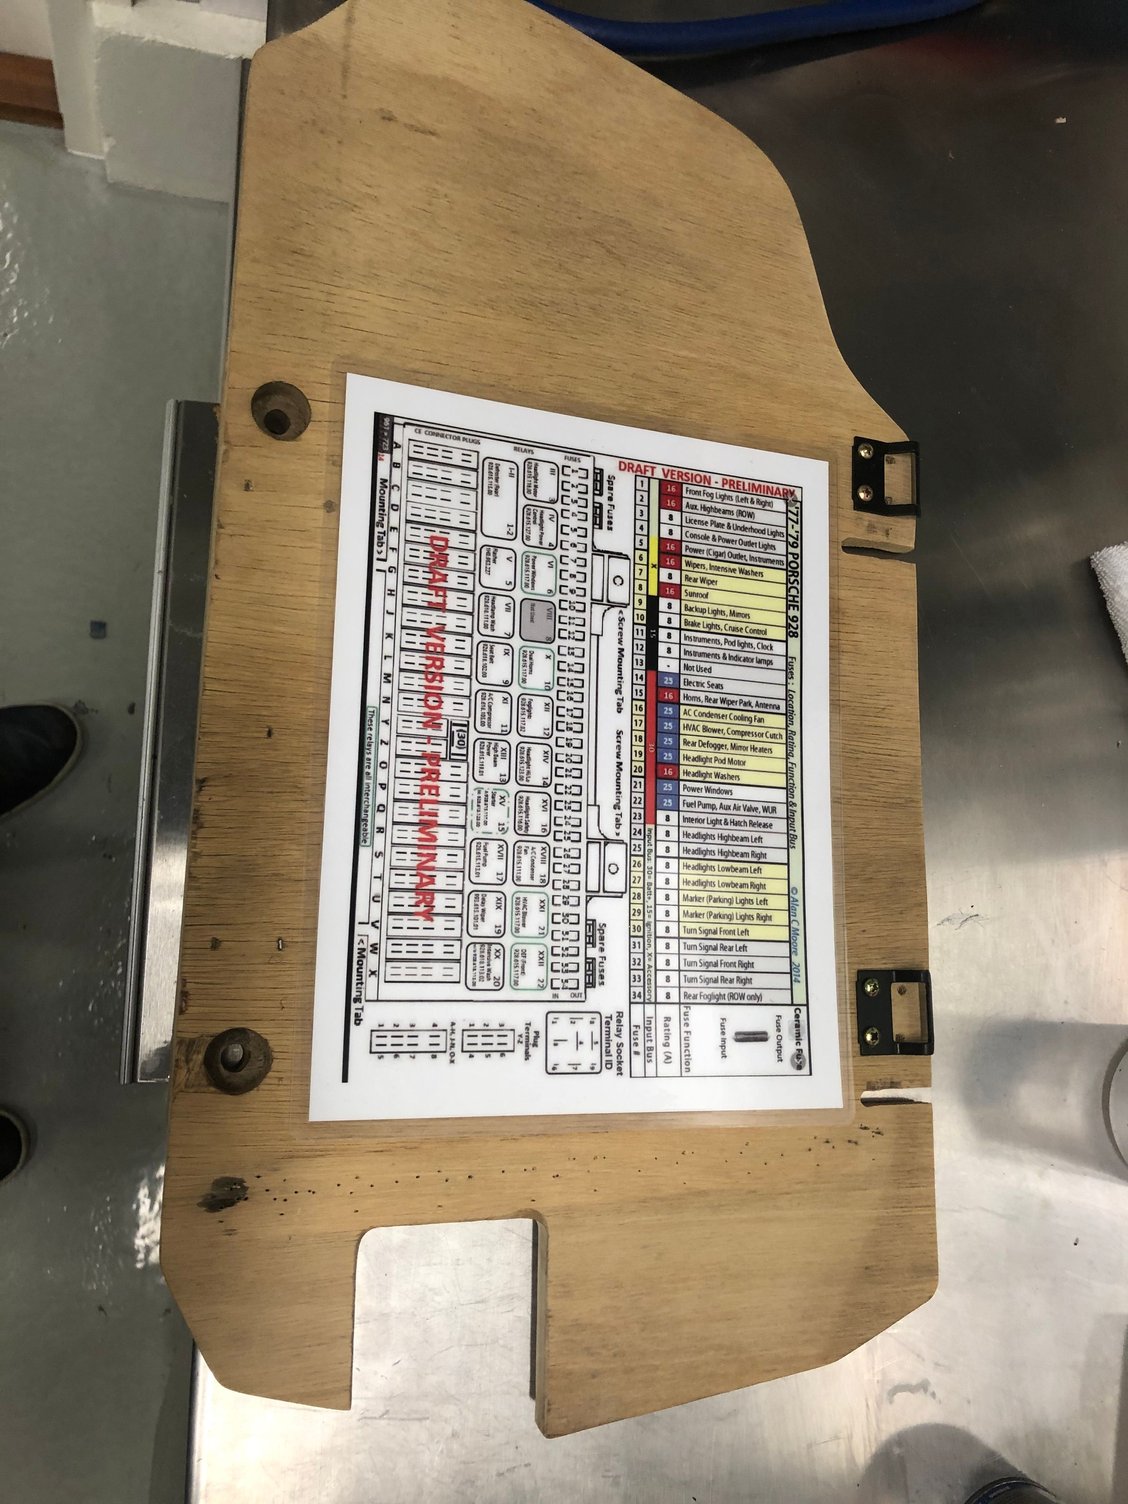
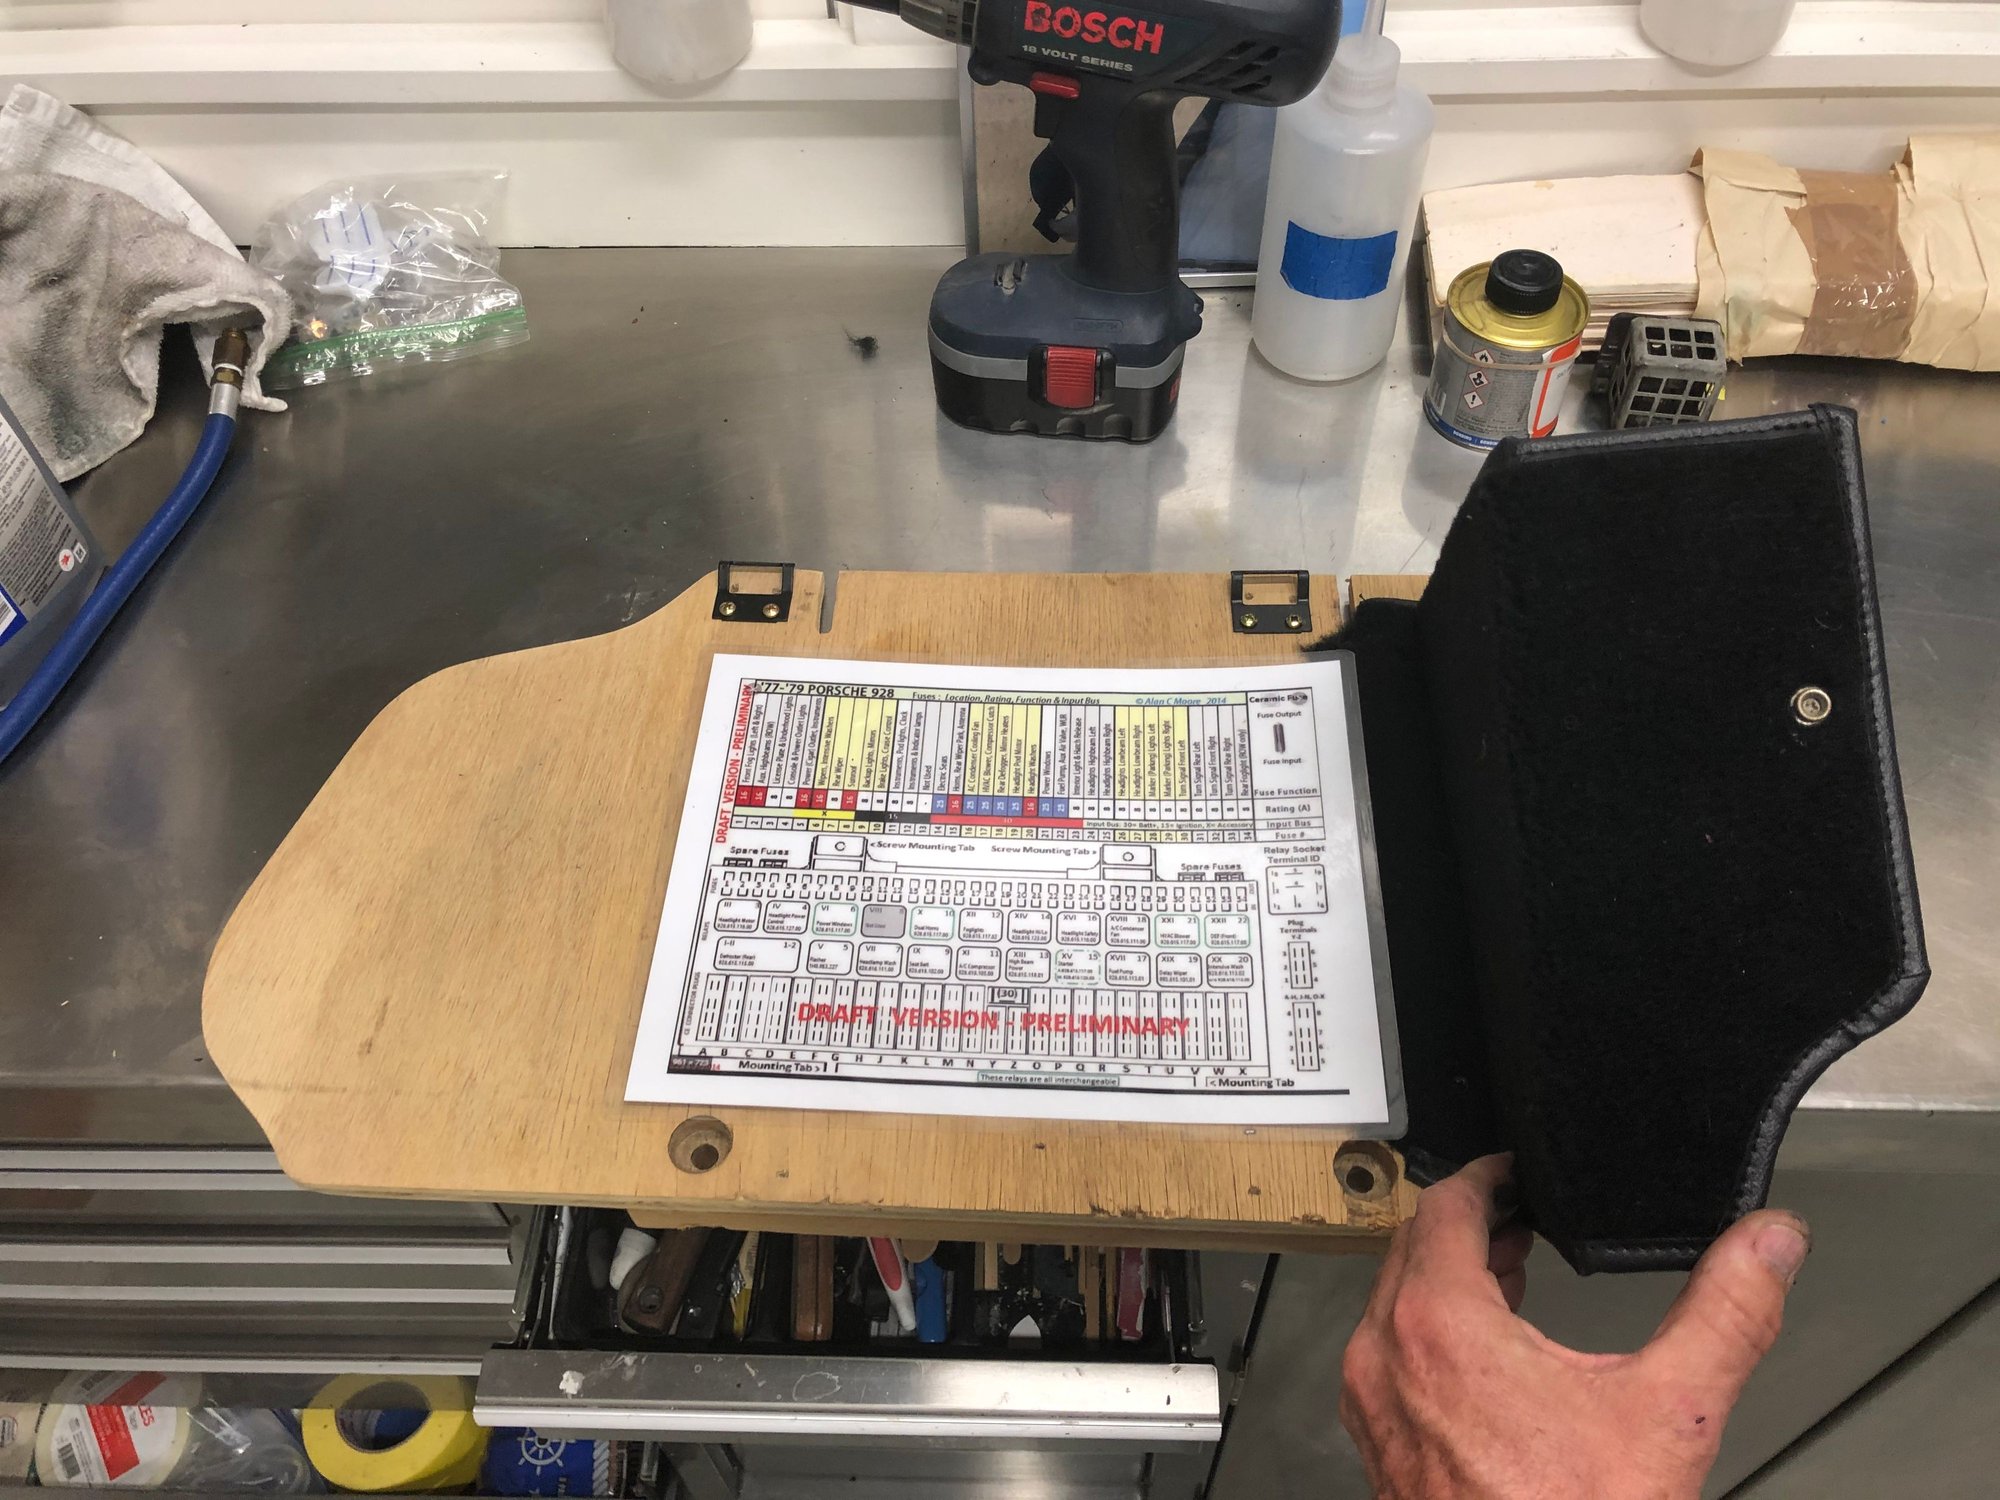
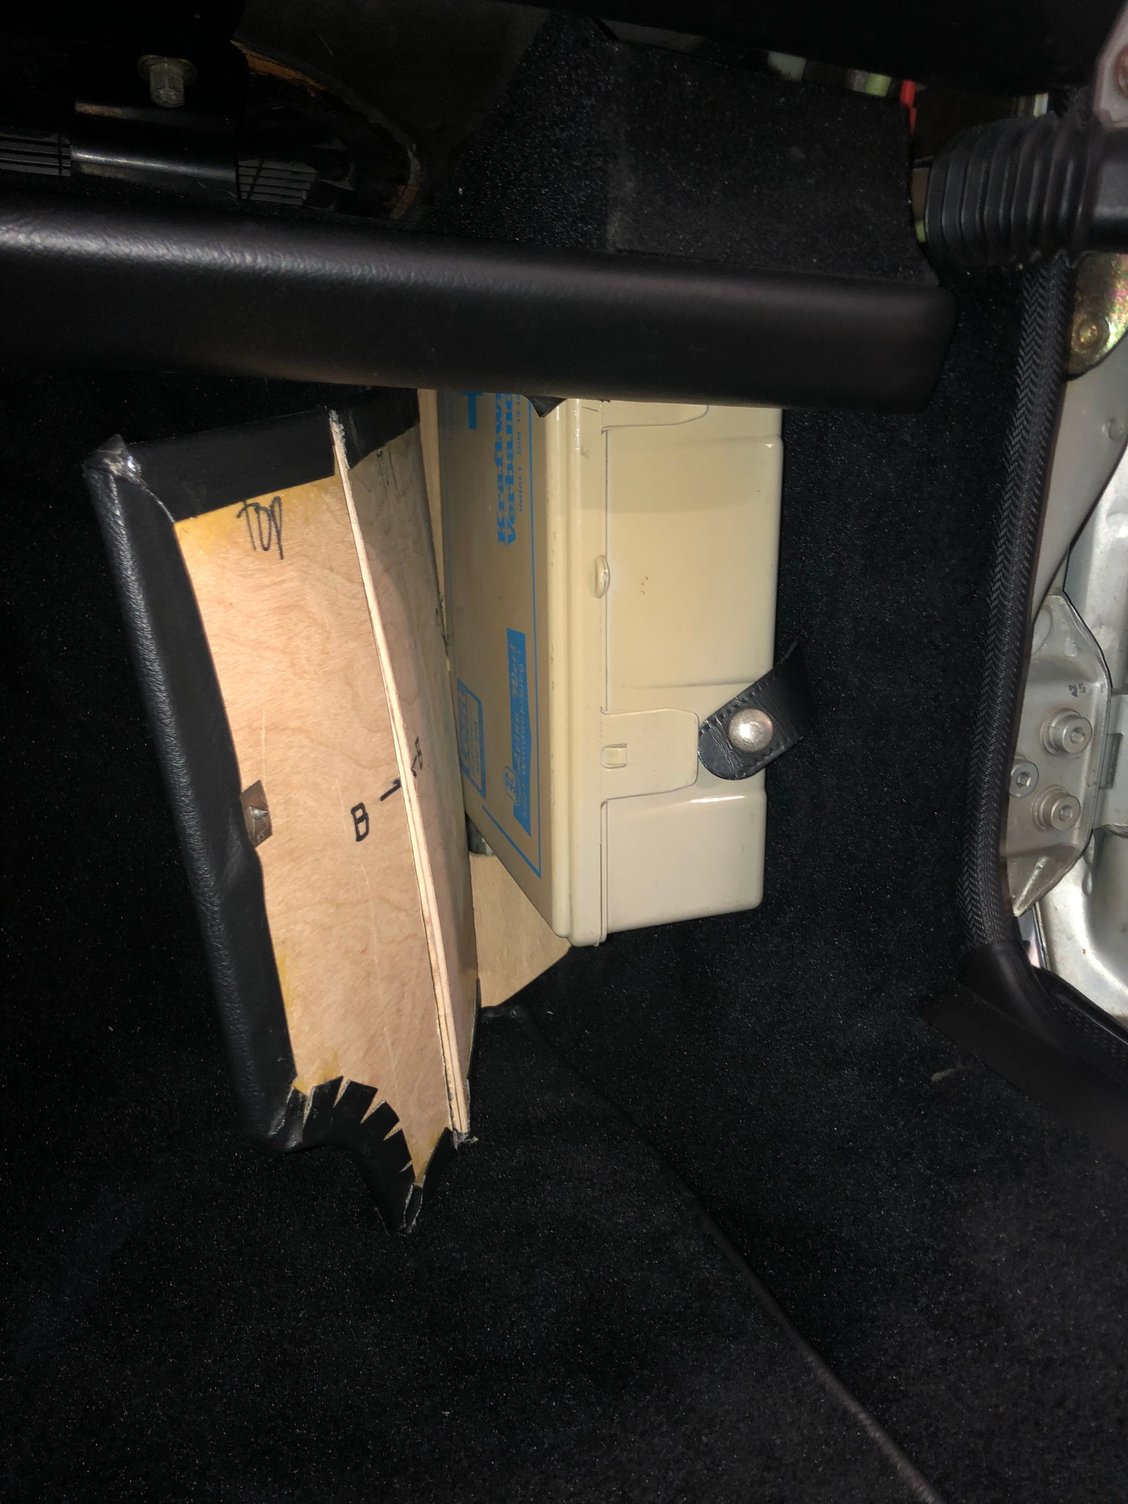
With the carpeted corner back from the upholsterer it was time for final assembly of the CE panel. For the past year, I could not live without the fuse and relay drawing (thank you to 928sRus for the high res. color image). This laminated relay drawing is not original -but a very functional addition to the wood CE panel. The four black squares are Velcro hooks.
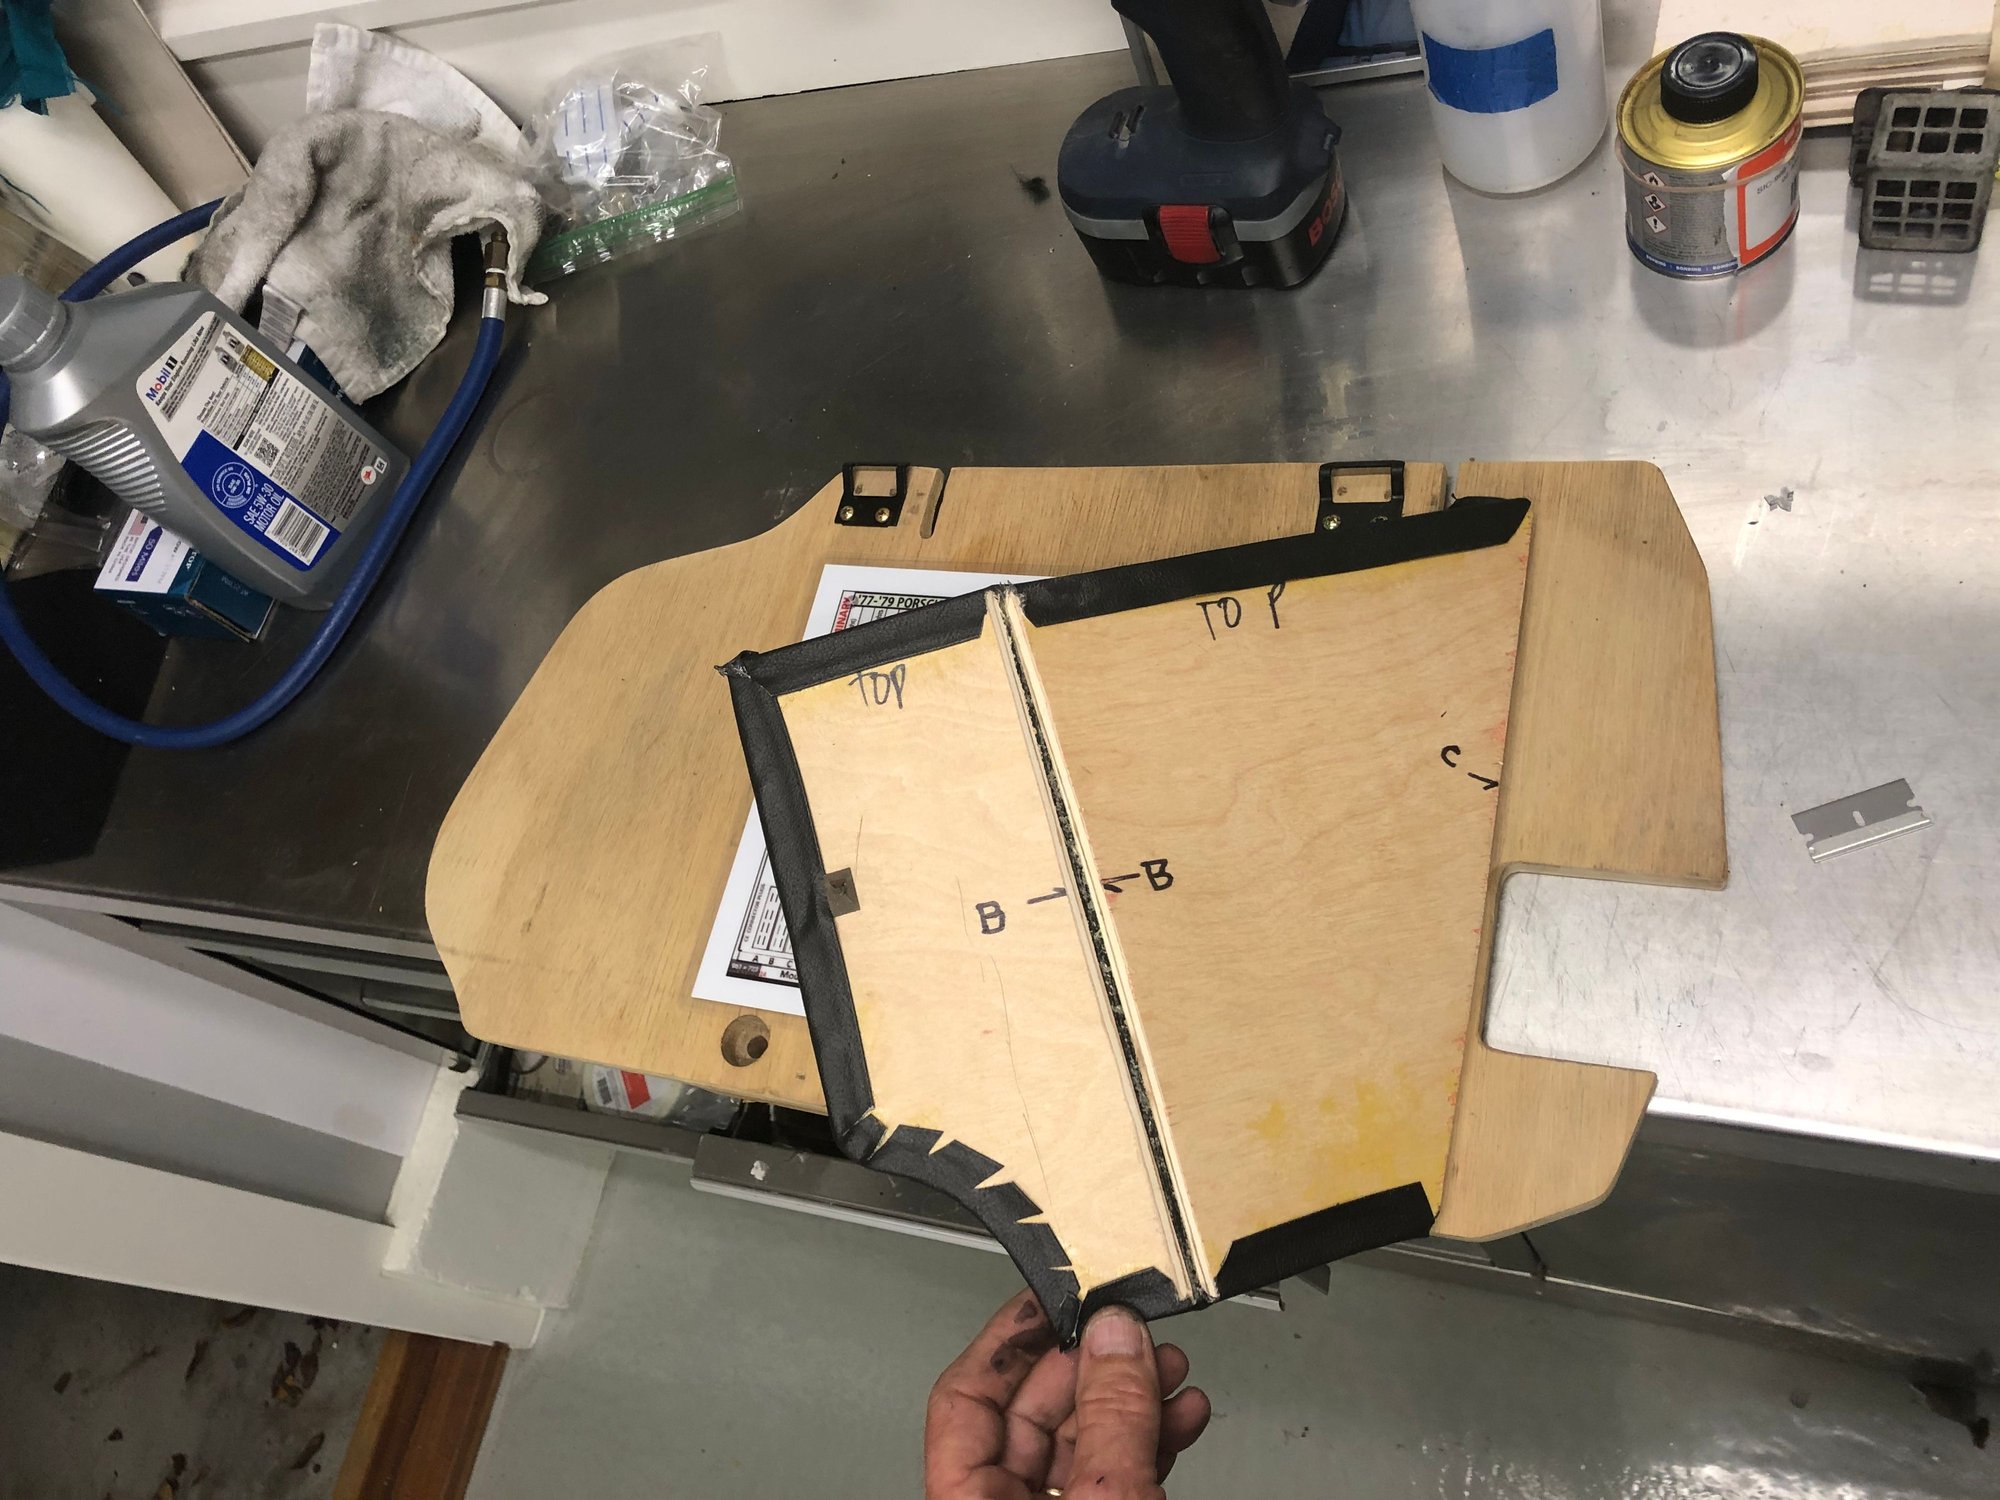
Velcro applied to both sides Laminated fuse and relay diagram mounted for quick access. (not that I'll ever need it again) Ha! Carpeted wood boards to wrap around the first aid kit. New boards where fabricated out of 1/4 inch (5 ply) wood. Original were MDF and absorbed decades of moisture -all warped like a potato chip. Complete First Aid kit including 41 year old band-aids, carefully placed into the notch on the CE board. Final snap holding it all in place.
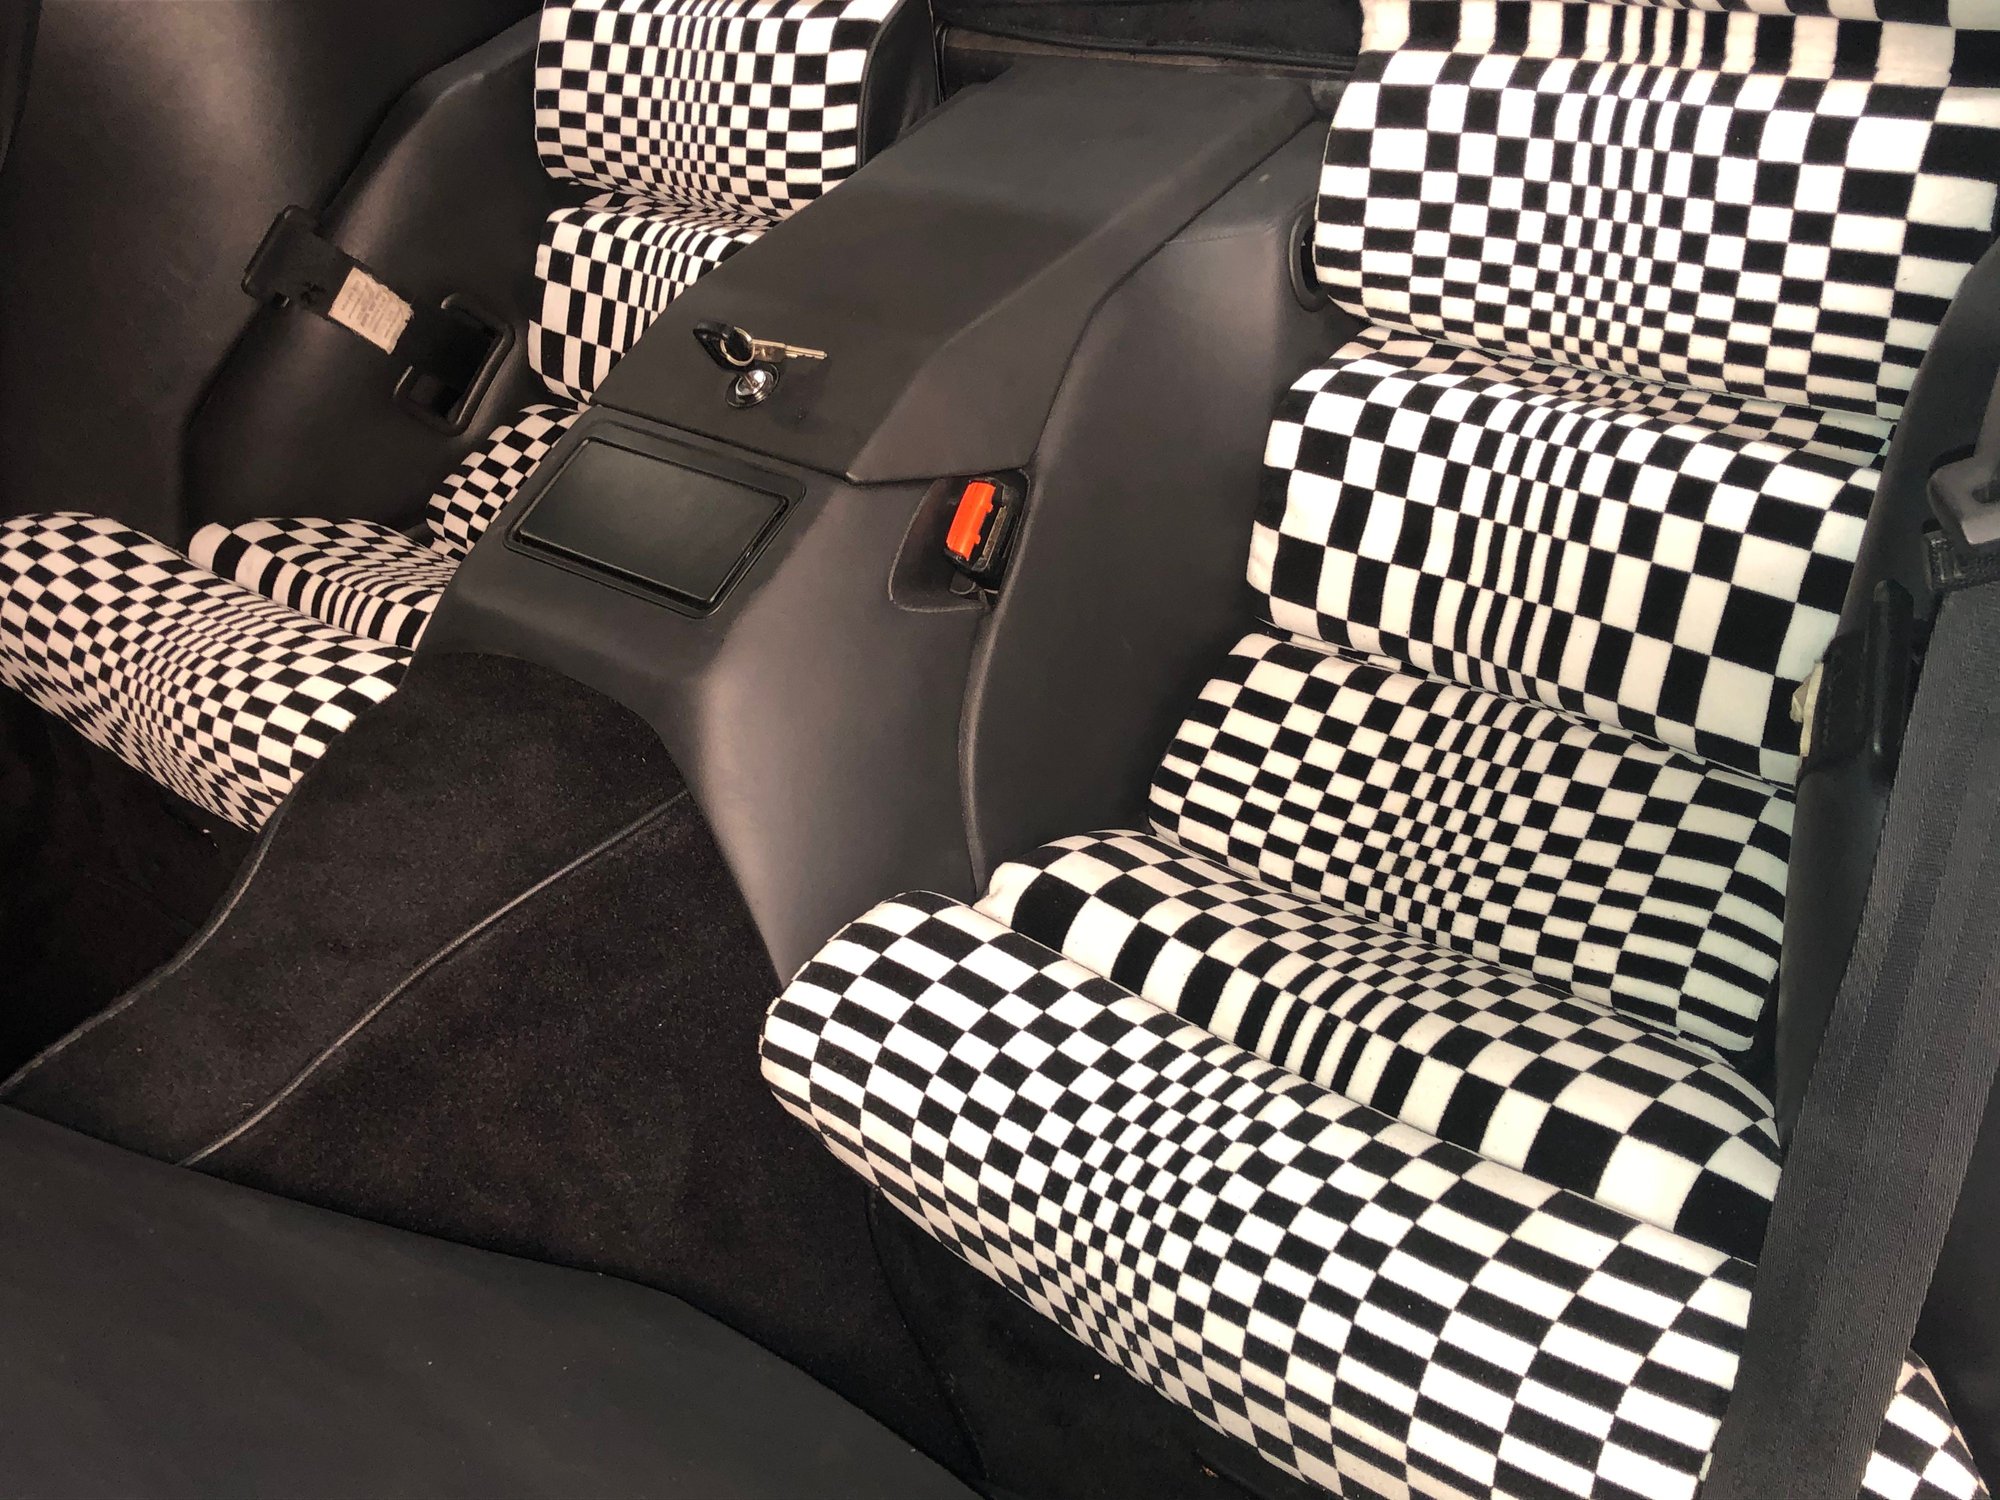
After two attempts I finally finished the Rear Center Console. After combing through all the available center consoles - I struck gold and found one with a working original Porsche Key still in the lock assembly. Ransom was paid and it is now part of the 01117 Key ring collection. I can't image ever wanting / need to use this lock. But it is a small, bitchen finishing touch to the rear 'occasional' seating area. new black leather was used to on the top cover of the console. Right, left, and front of console are all original leather just re-dyed in matte black.
Trigger Warning: The following images are of Non-OEM parts being fitted to 01117. If causes you anxiety or heart palpitations see your doctor within four hours.
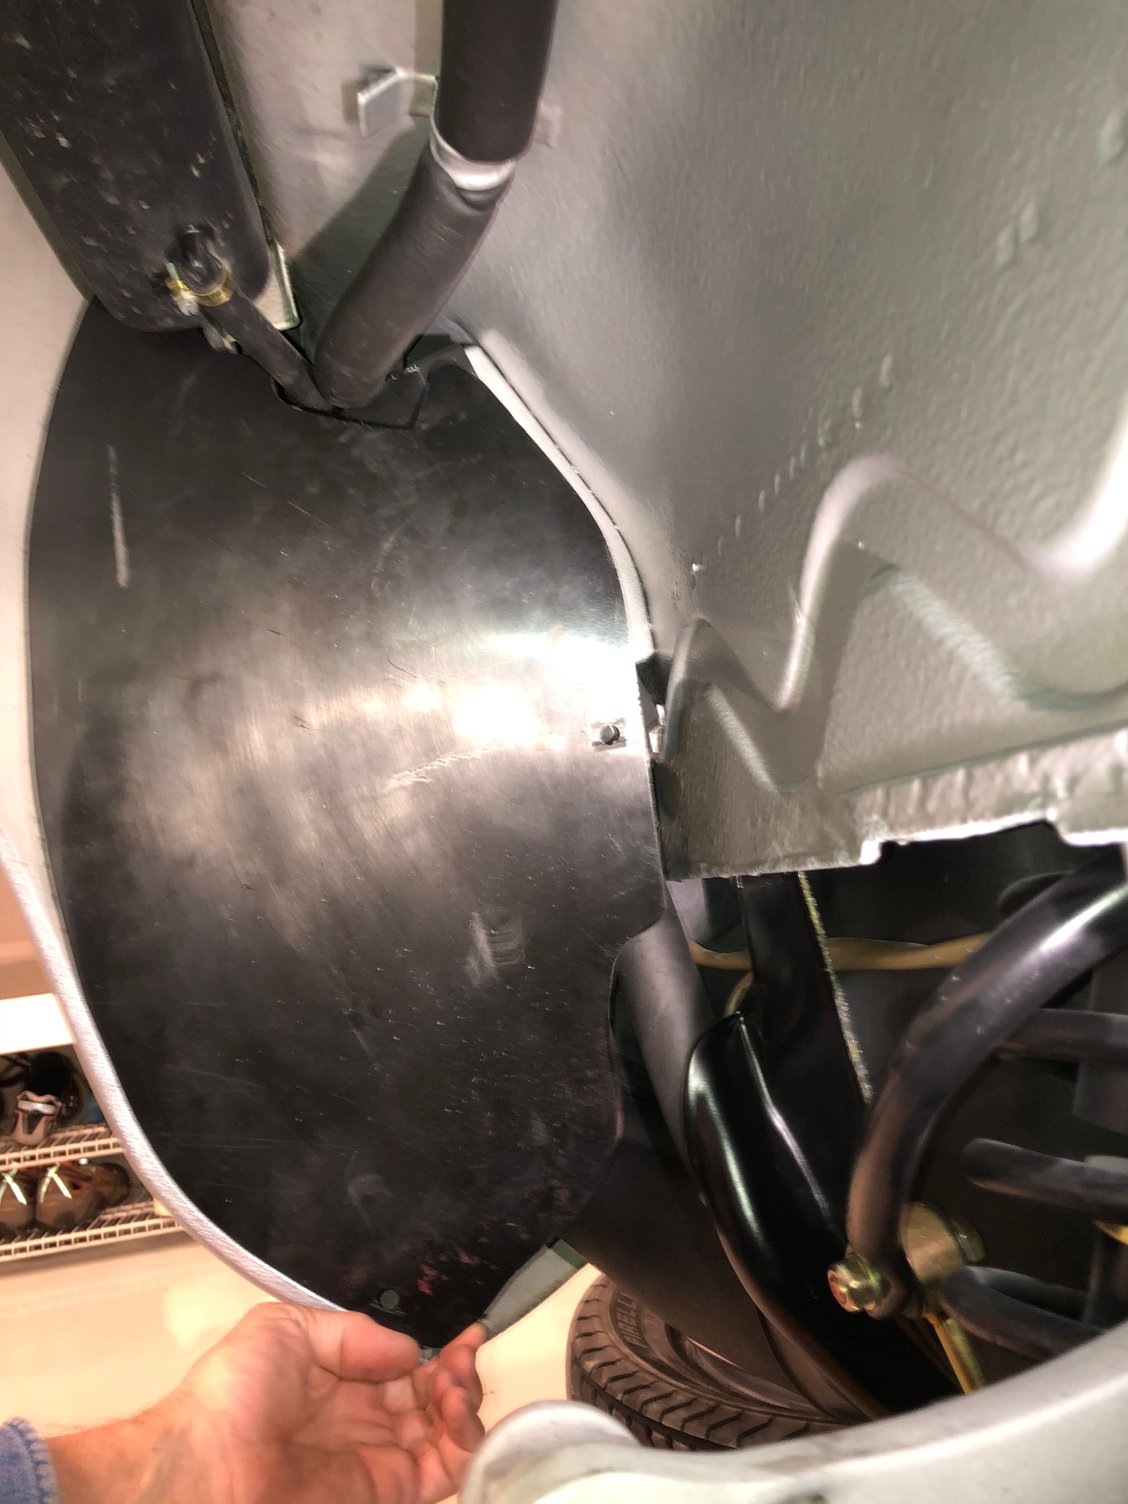
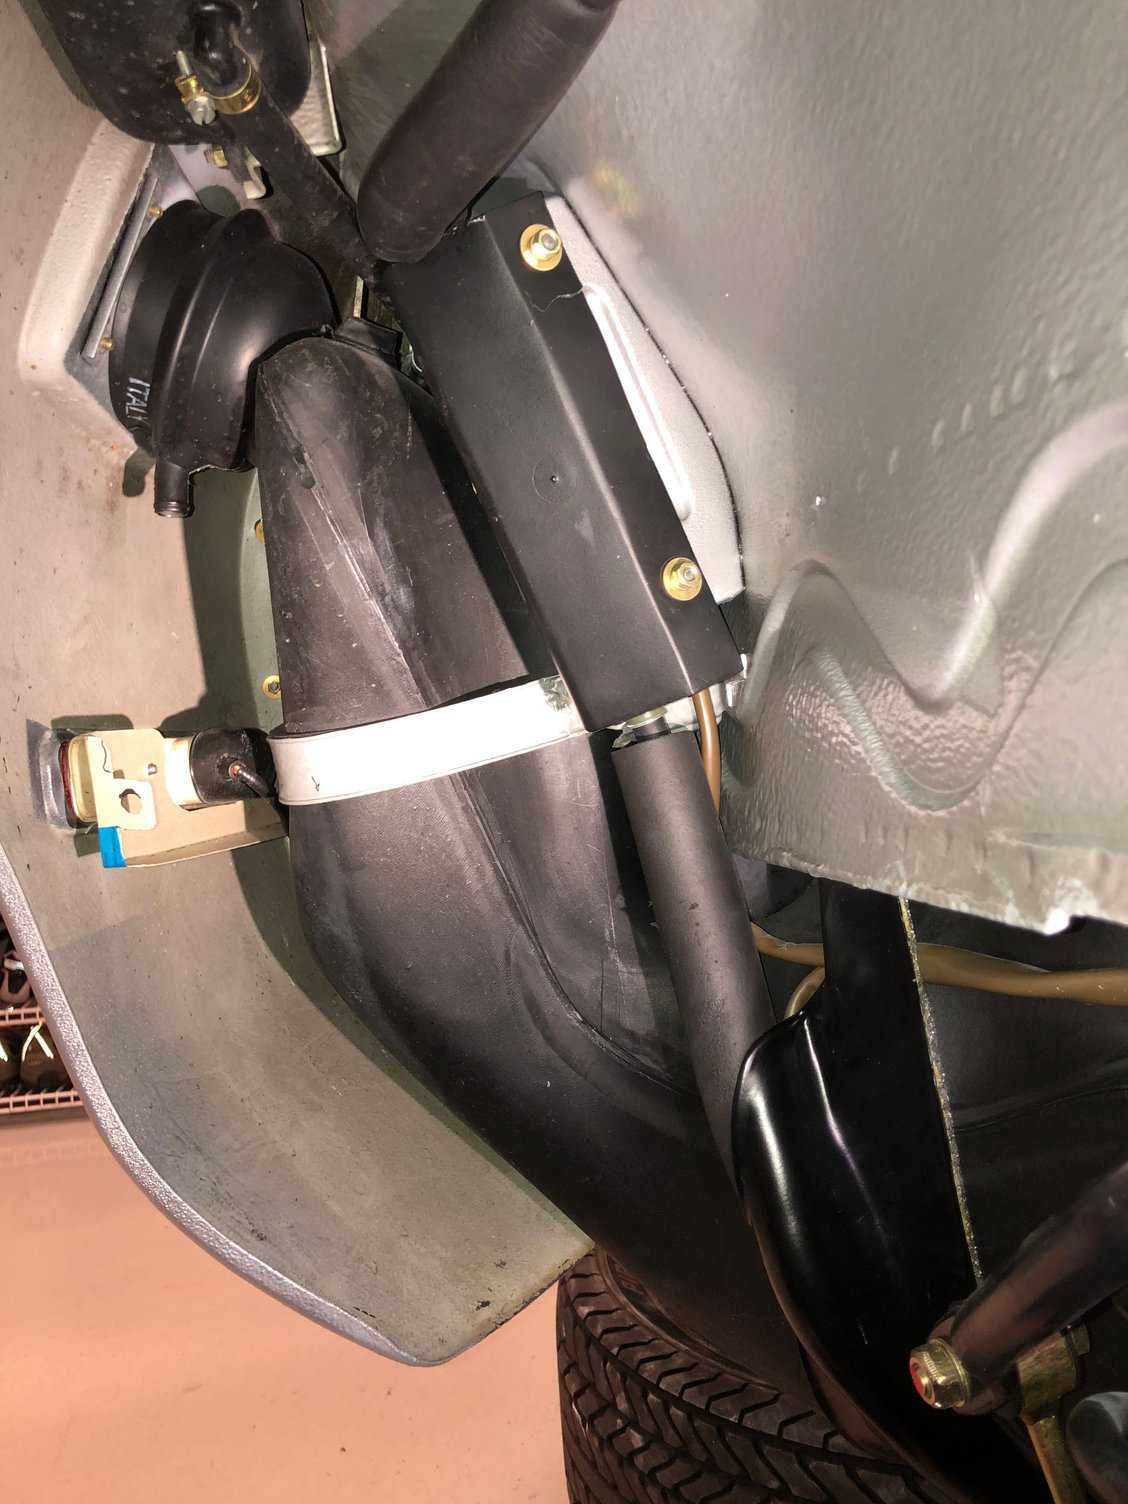
Earlier in the project we commented on the bizarre lack of an inner fender shield to protect the 2nd fuel pump and fuel lines. Almost every other corner of the car got coverage and later models eventually got one on this trailing right rear fender well.
Although it is not original, we are going to re-purpose a left side cover (flipped) and trim it -to fit the features in the right side wheel well. Plus some new bracketry to mount it. Not to worry, no OEM animals will be harmed in the process and it is easily removable.
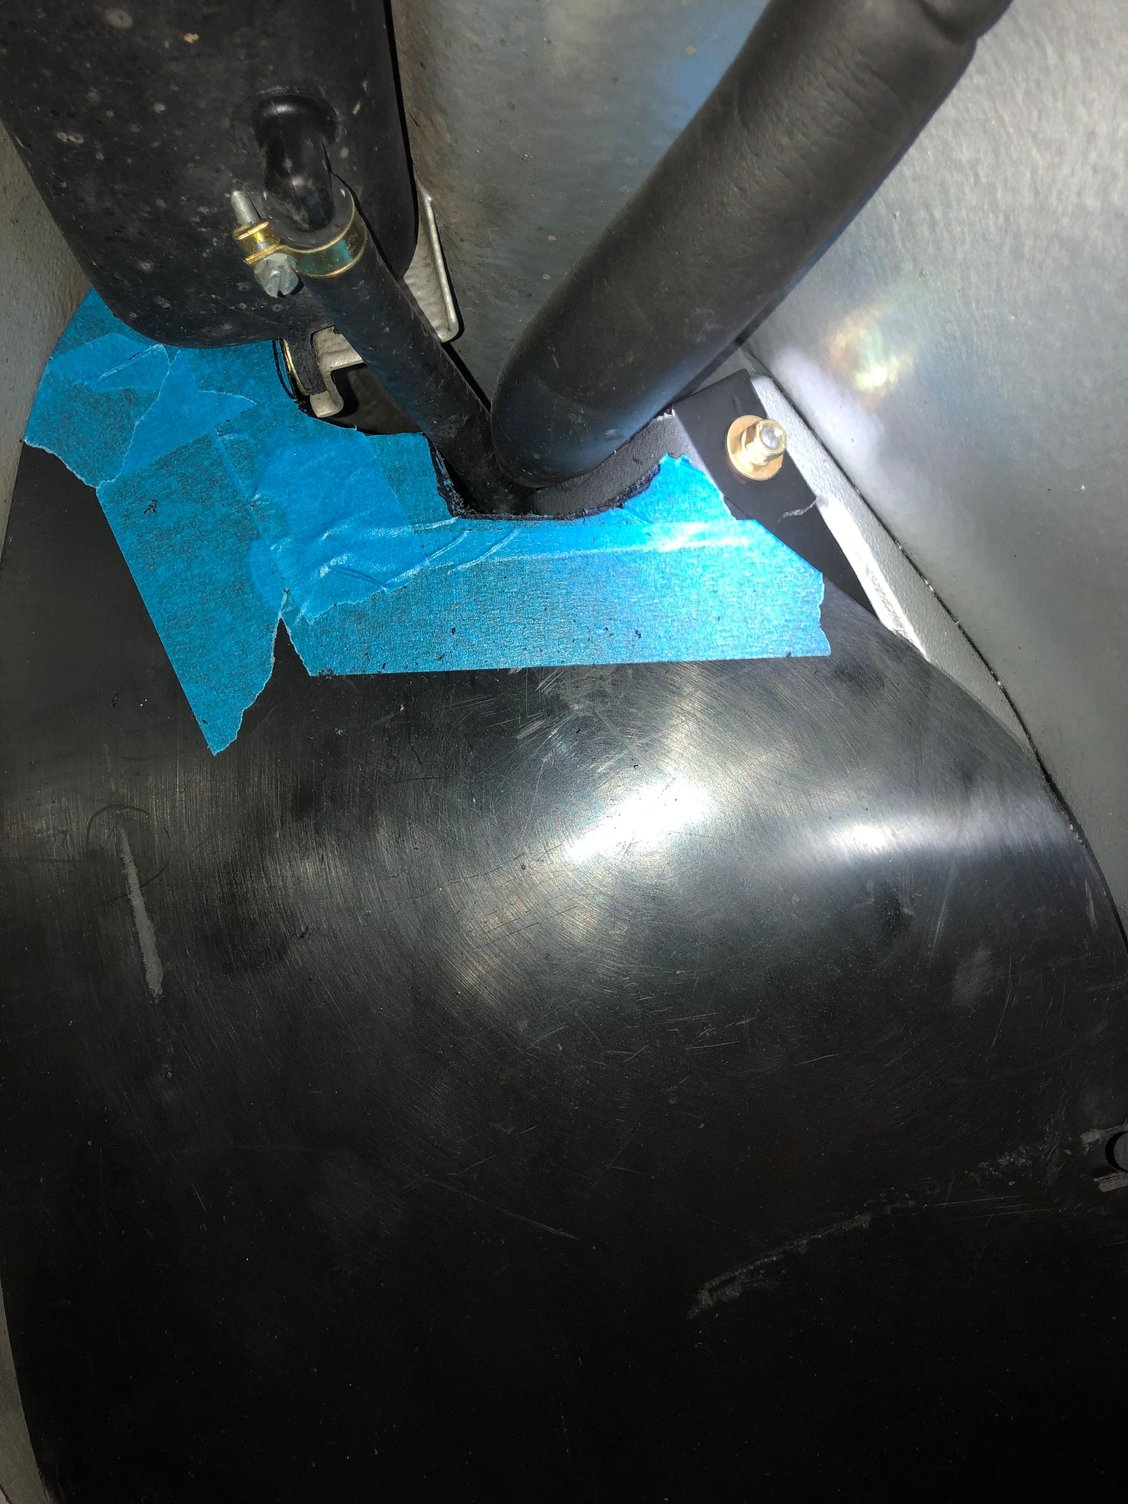
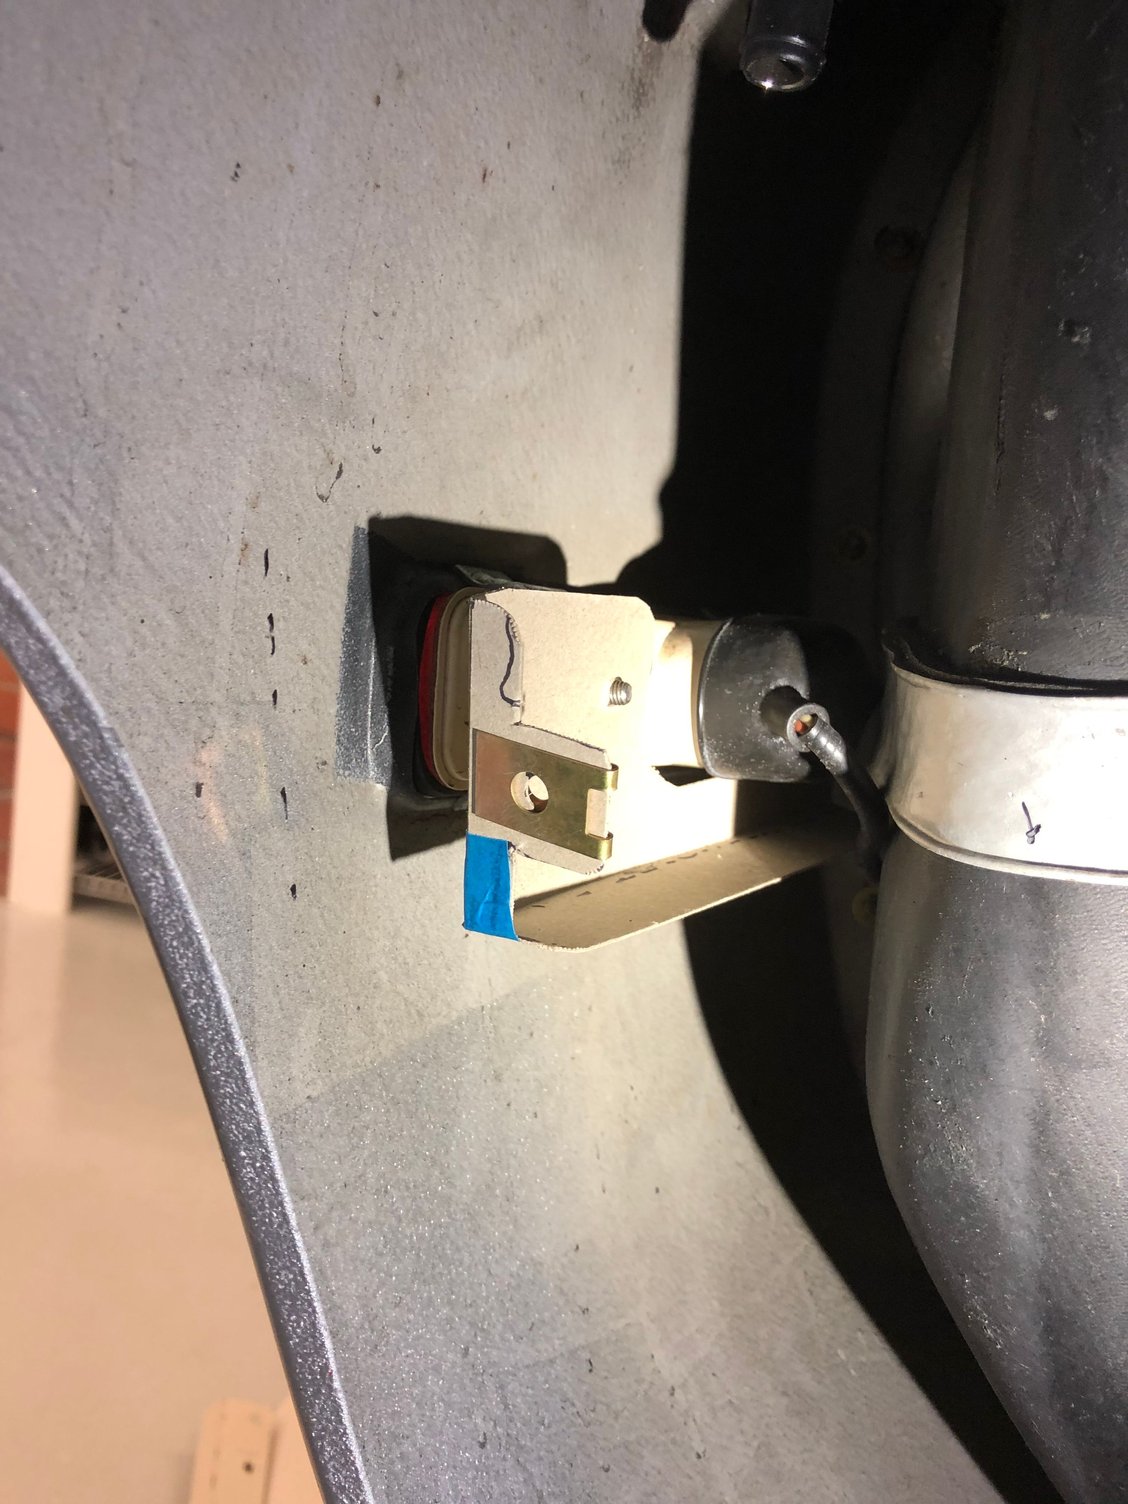
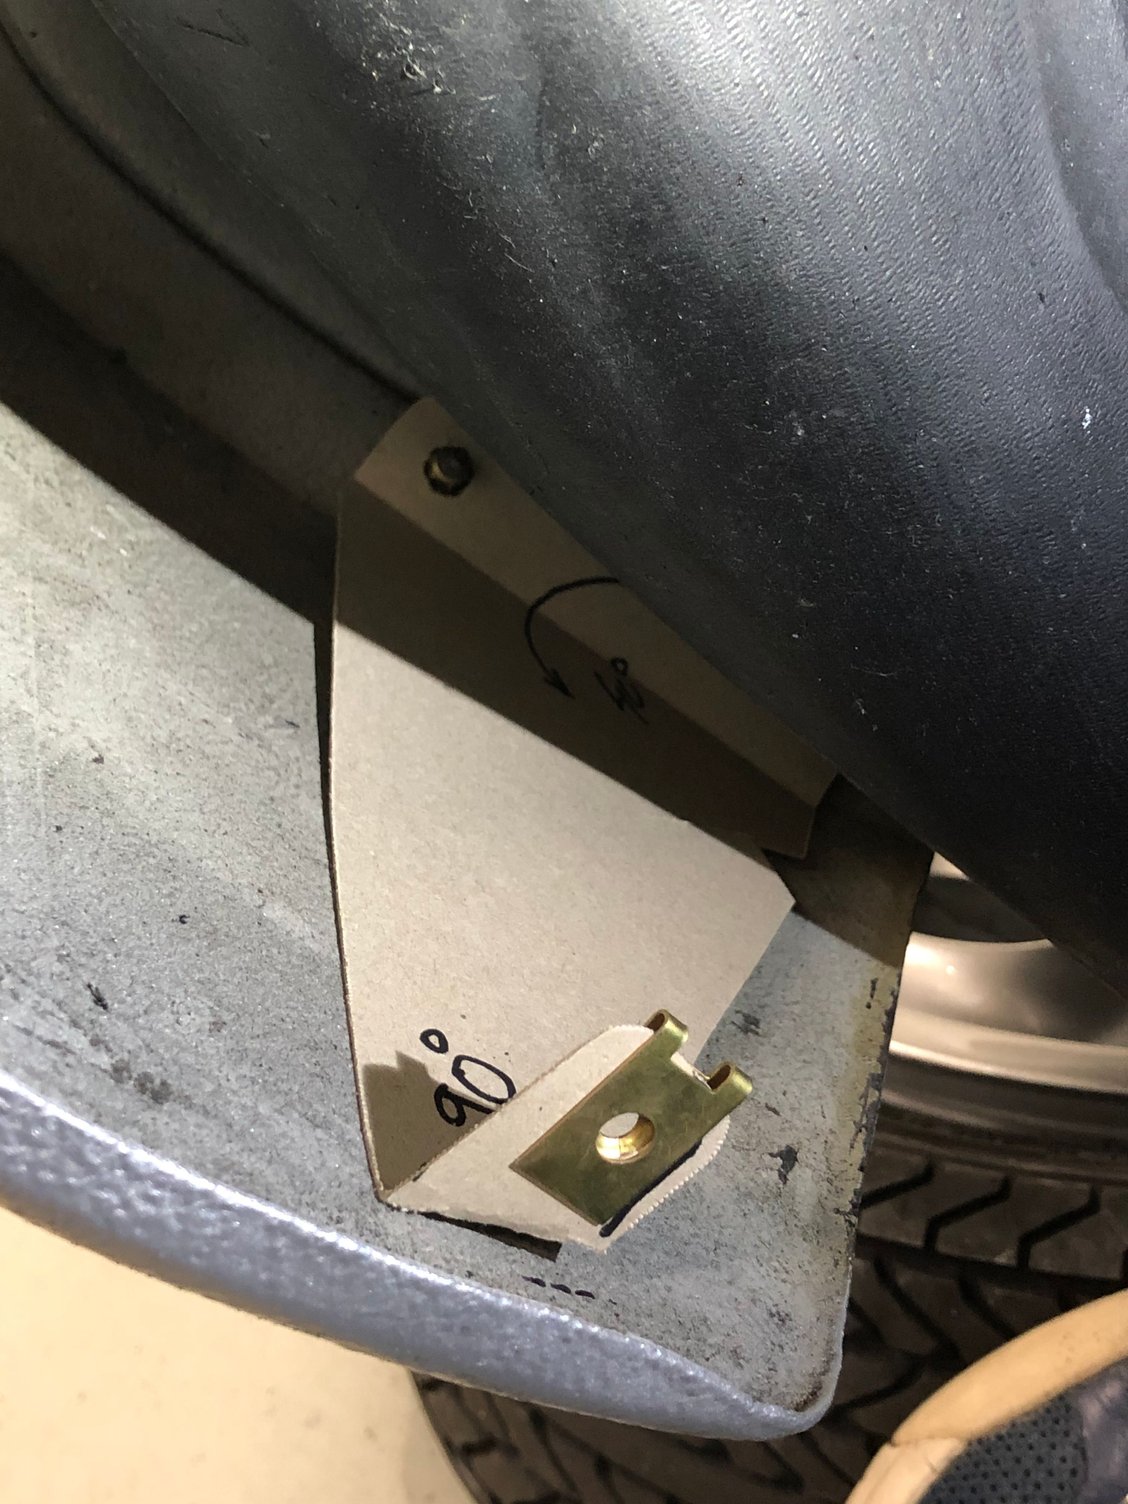
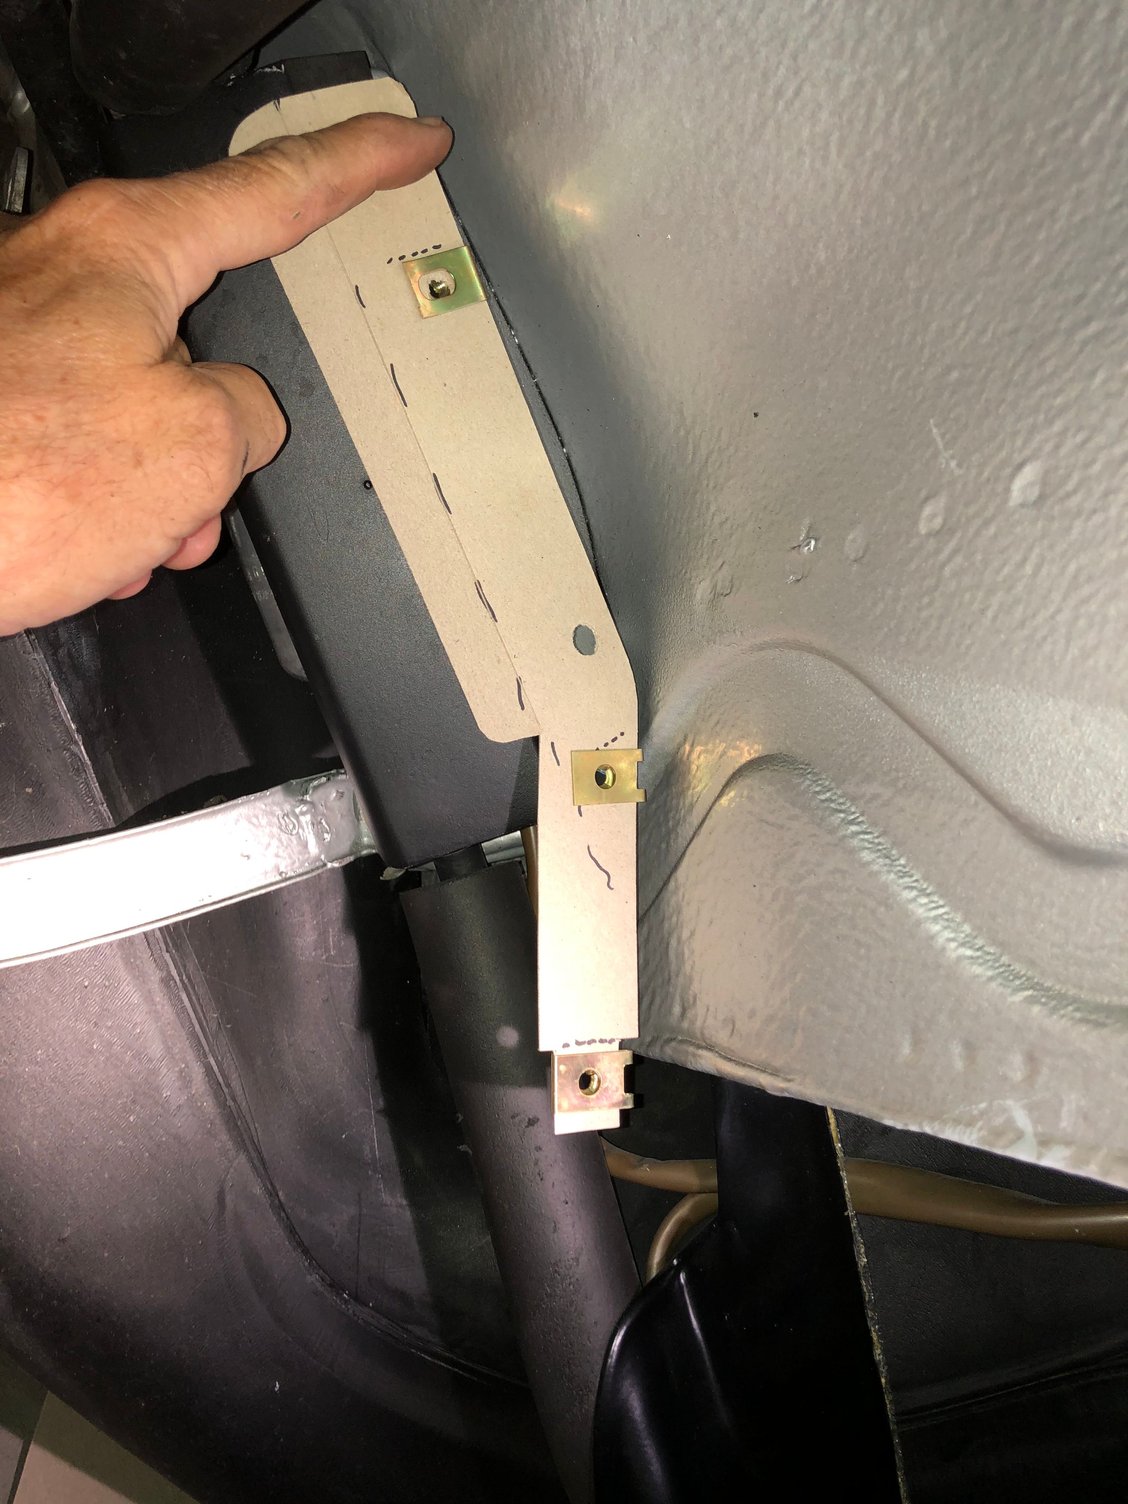
This is the left side inner fender cover after trimming. Note the original (tiny) plastic cover over the fuel pump. Most of the trimming was at the top of the inner fender. Basic fender curvature was perfect when fitted to the right side. New mounting bracket that will fasten to the rear reflector bracket New bracket at the bottom. Model of new inner bracket in cardboard. Back soon in mild steel with the correct fasteners.
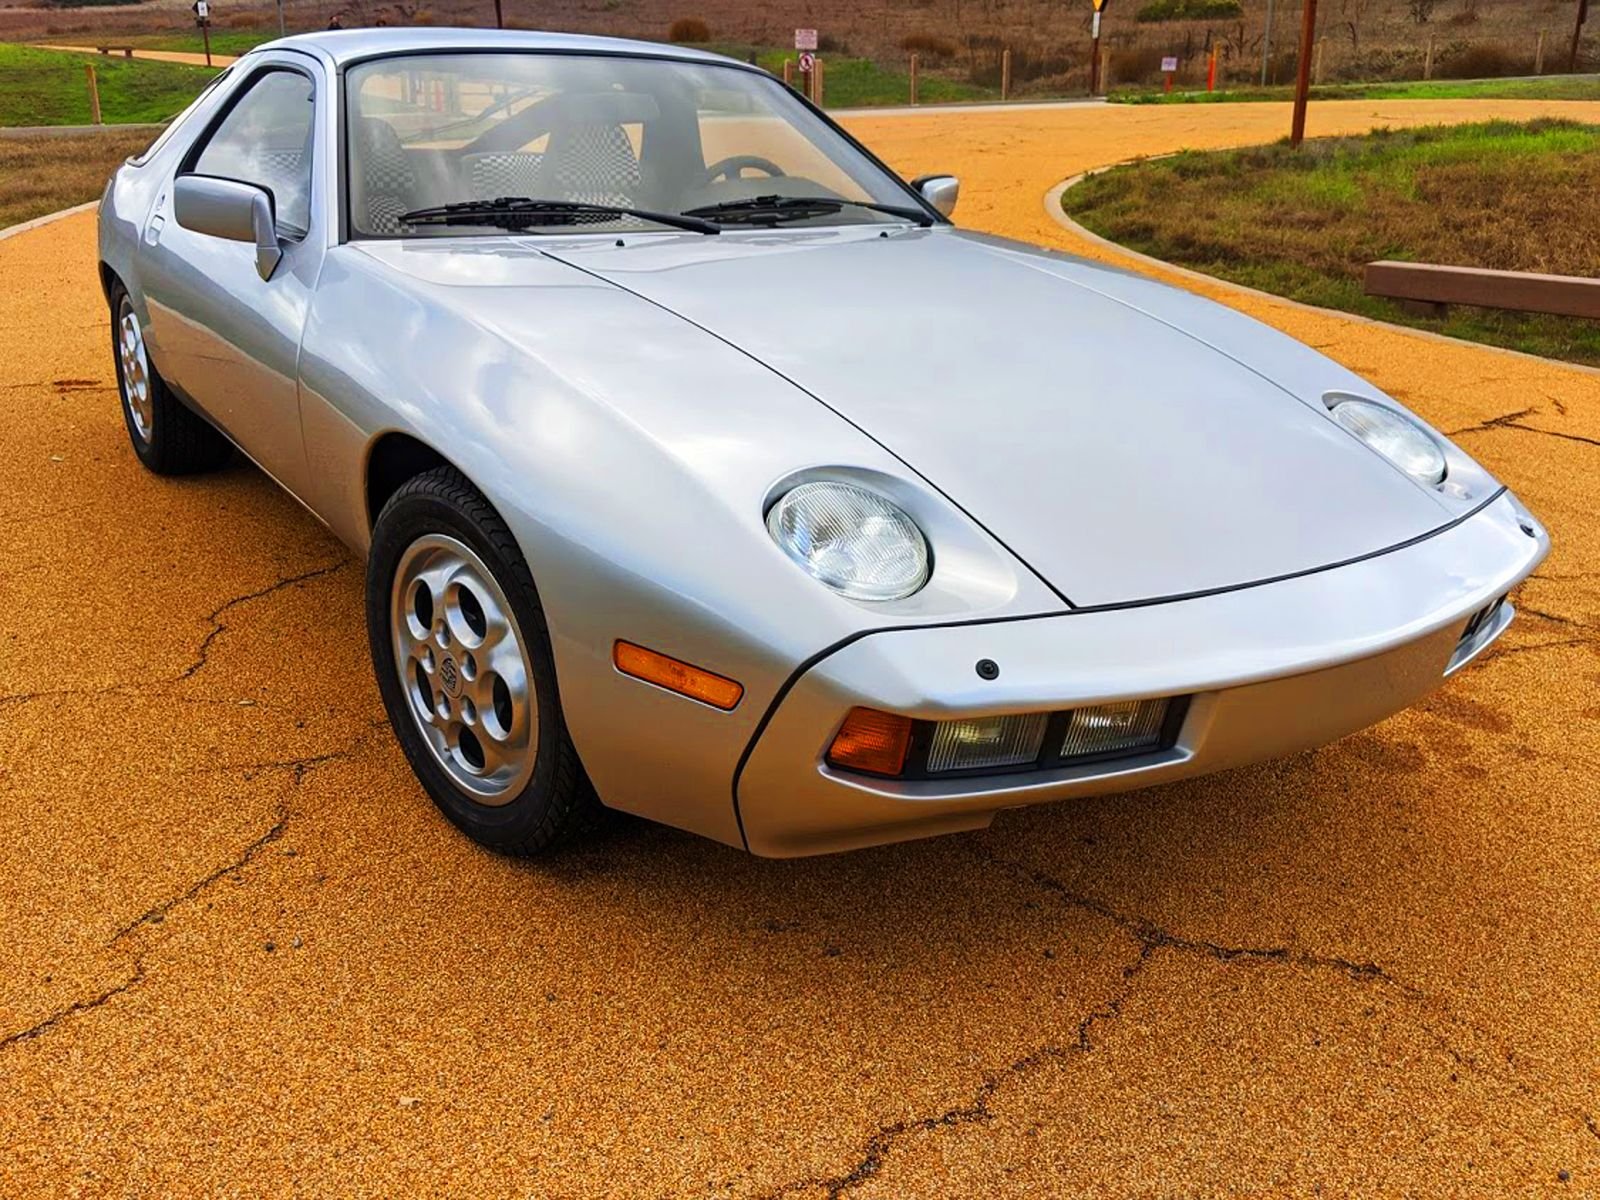
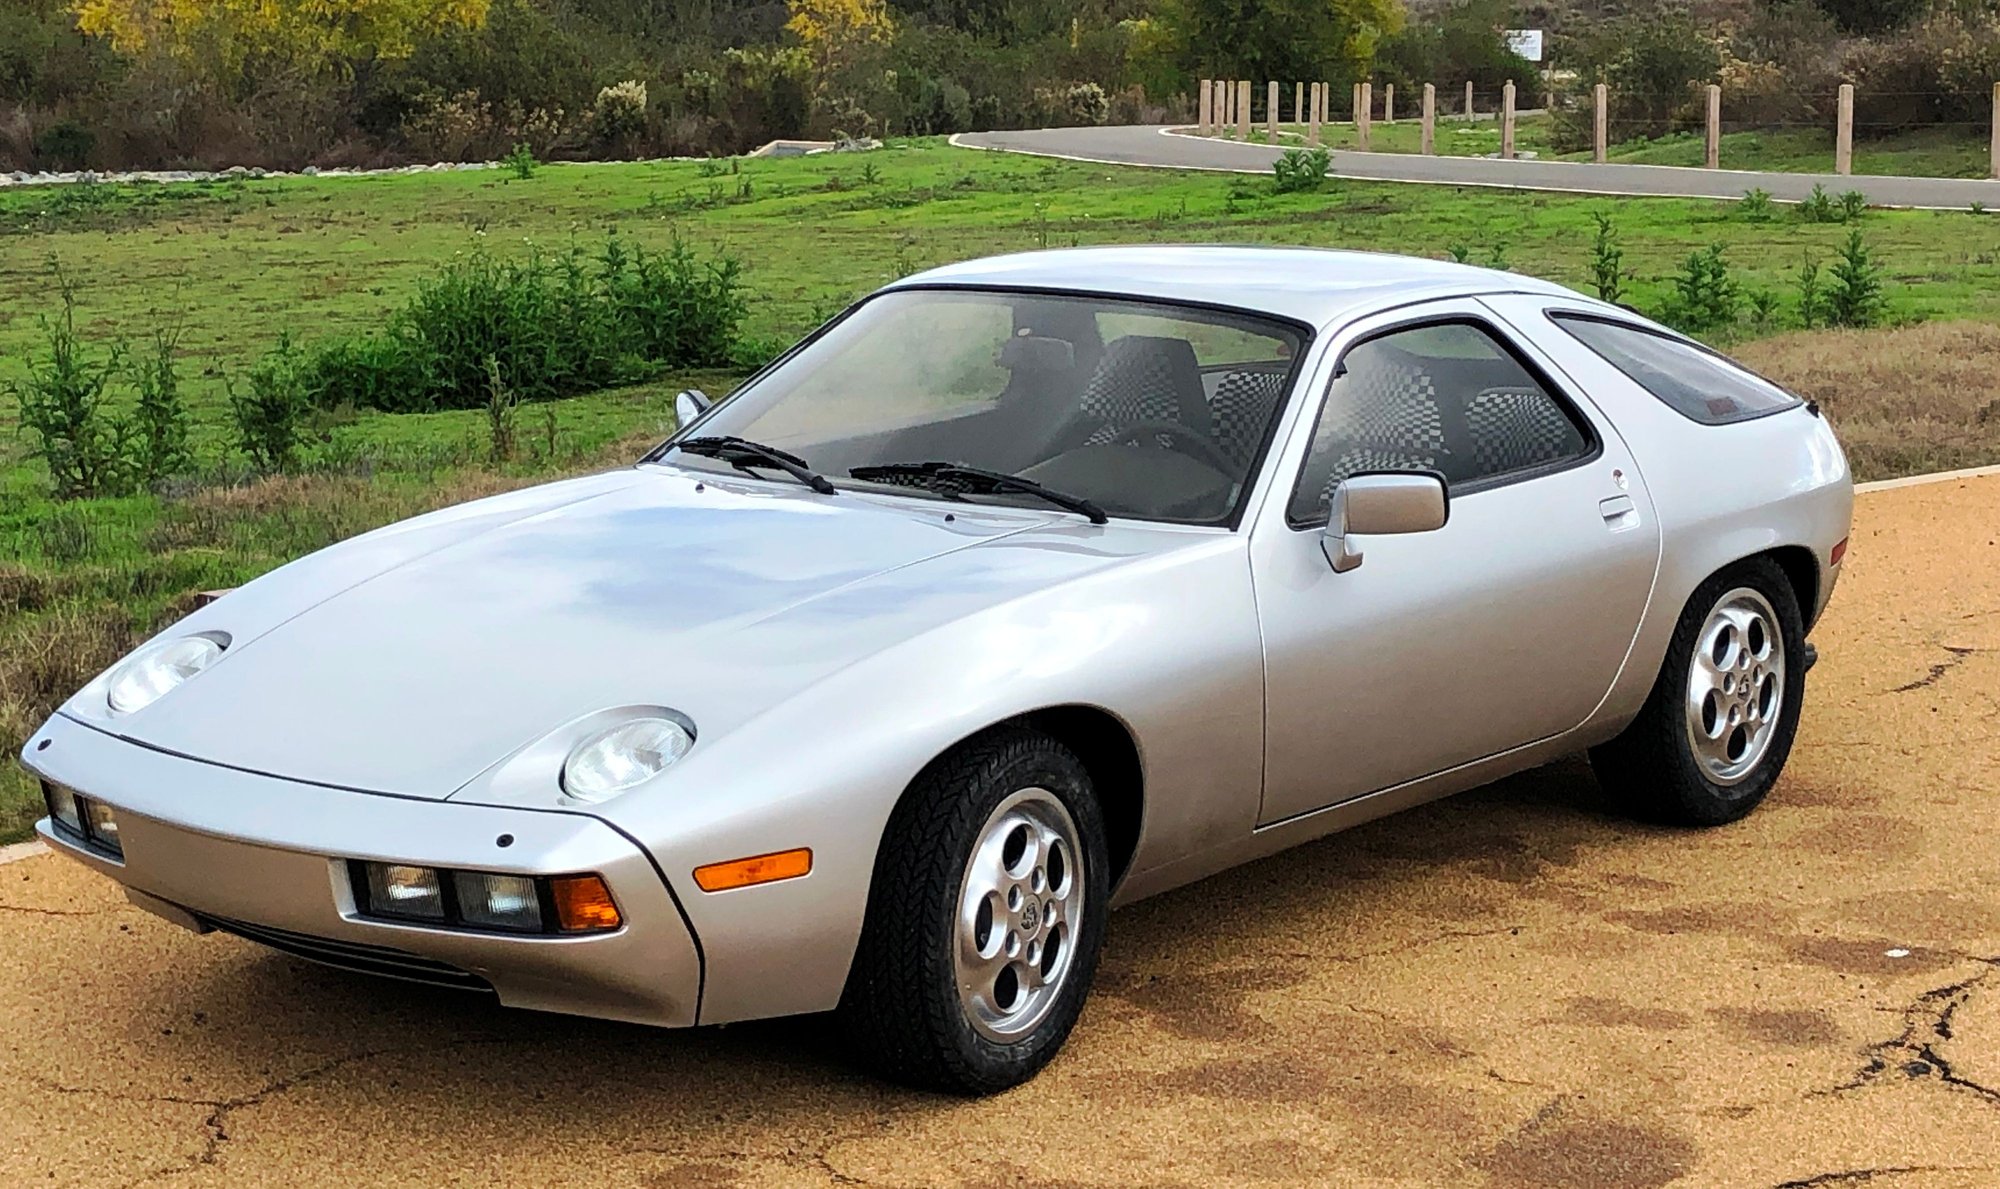
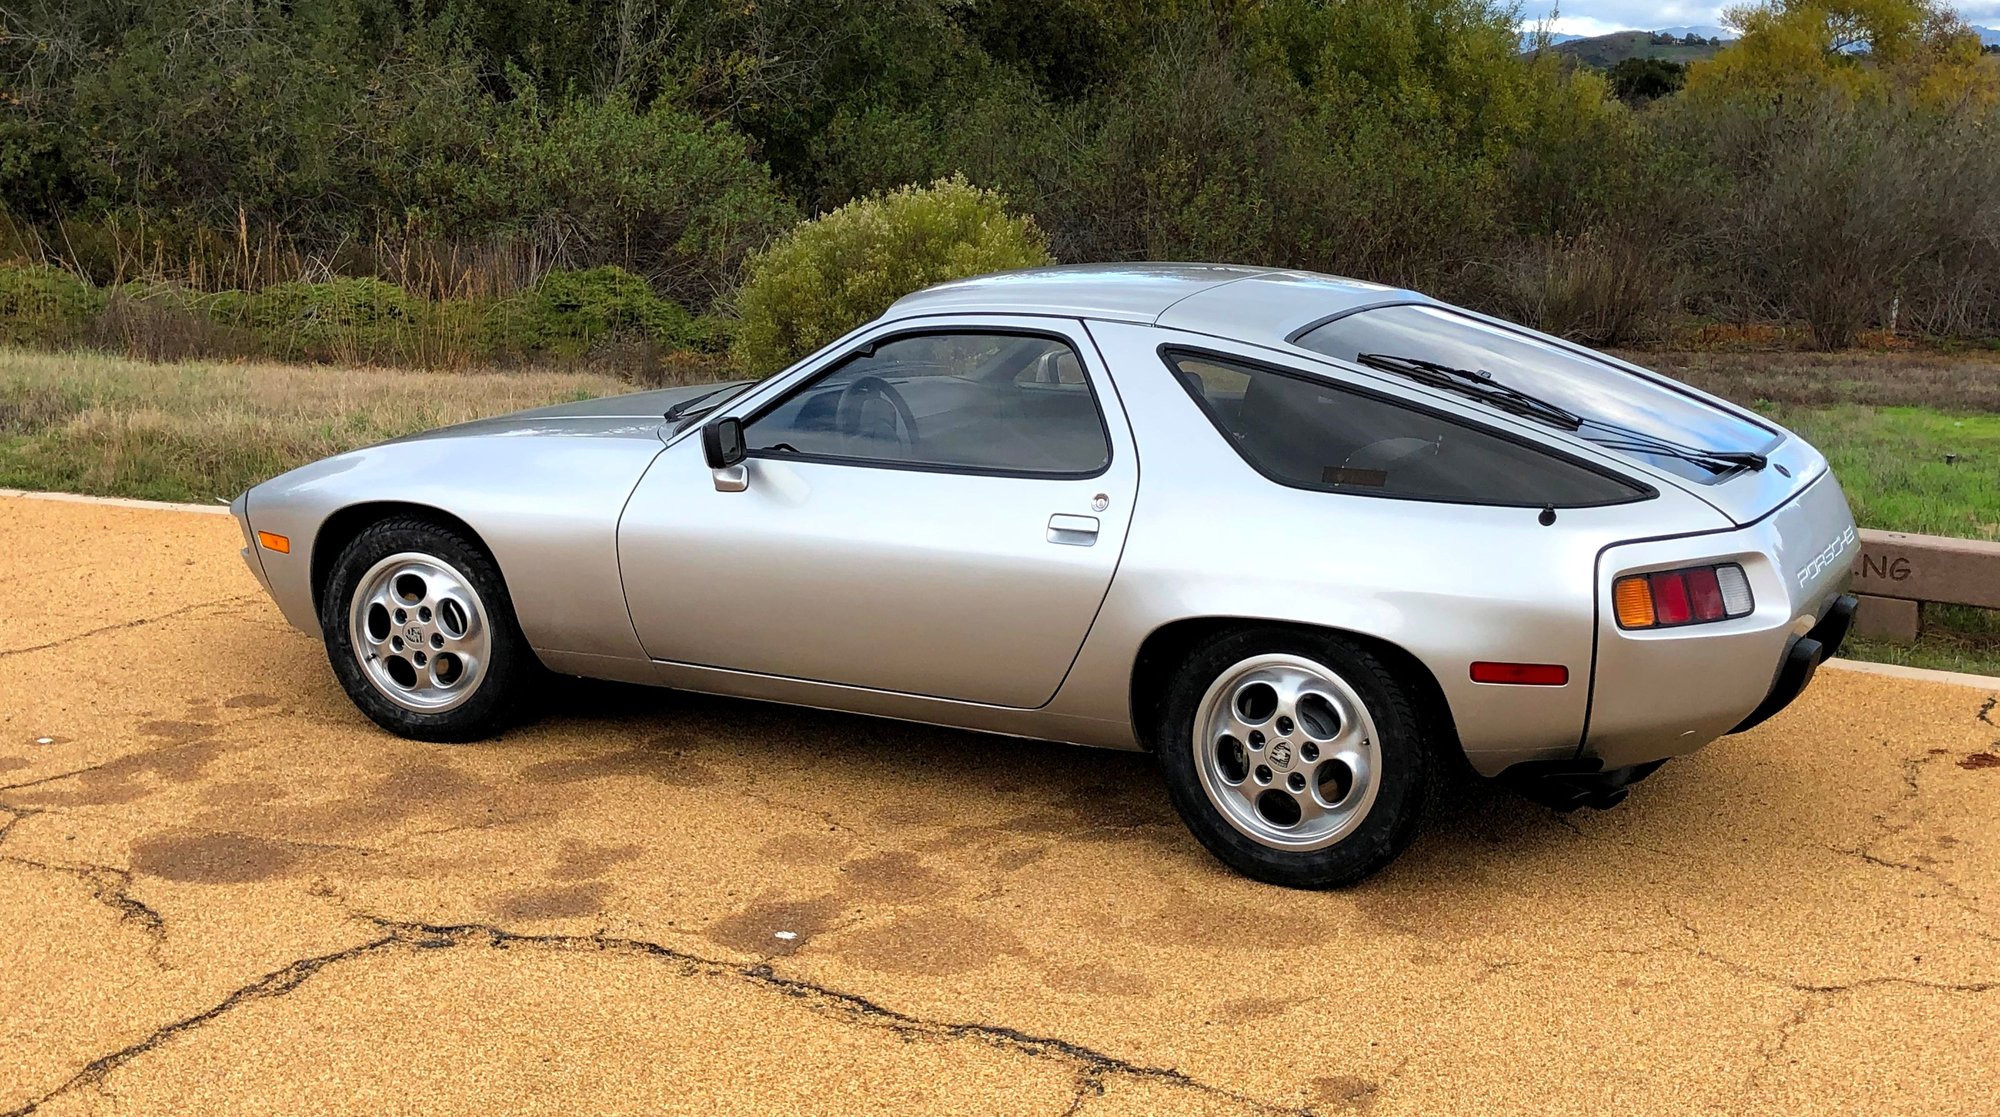
Thanks to Rob Edwards Photography and the Irvine conservancy for lending us their background of the yellow brick road. 130 miles of test drives and working on the second punch list of fixes. Things like fuel gauge calibration, warning lamps that refuse to go out, repainting the wheels for a second time, seat belt fixes, A/C relays, etc. The list is getting shorter. Fully assembled and out for test runs on the second batch of fixes (A/C, seat belts, 2nd repaint on wheels, inner fender wells, etc).
This restoration is to a level that few shops if any could provide. The amont of hours and dedication it has taken would cost a fortune if you were paying to have it done. Definately a labor of love.
I had the pleasure of driving it and it drives as nice as it looks.
As always, you (and your associates) in this project have done a fabulous job. Truly a work of art and equivalent (or maybe even better) than the day it left the factory. And, seeing the many pictures of the e9 you previously owned, I'm not at all surprised!!!


 12-03-2019, 11:12 PM