

Ben's 1982 928 S "restoration"
 04-03-2020, 09:01 AM
#91

Next with the harness
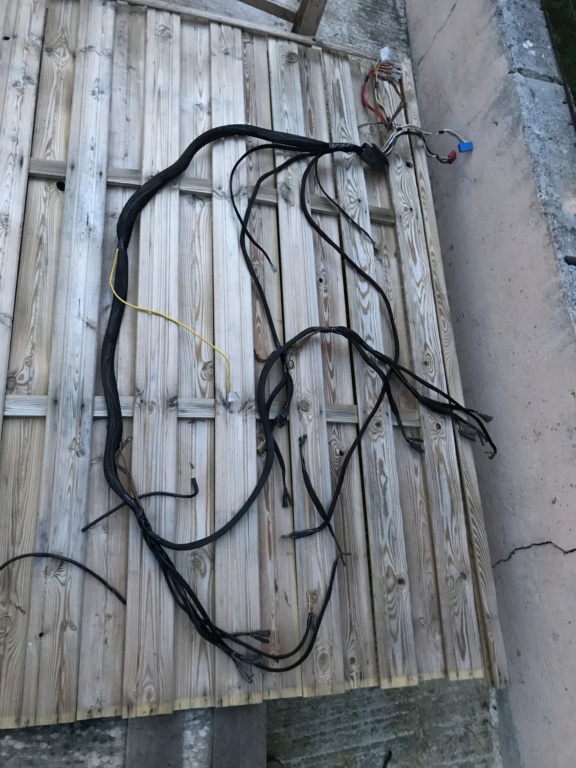
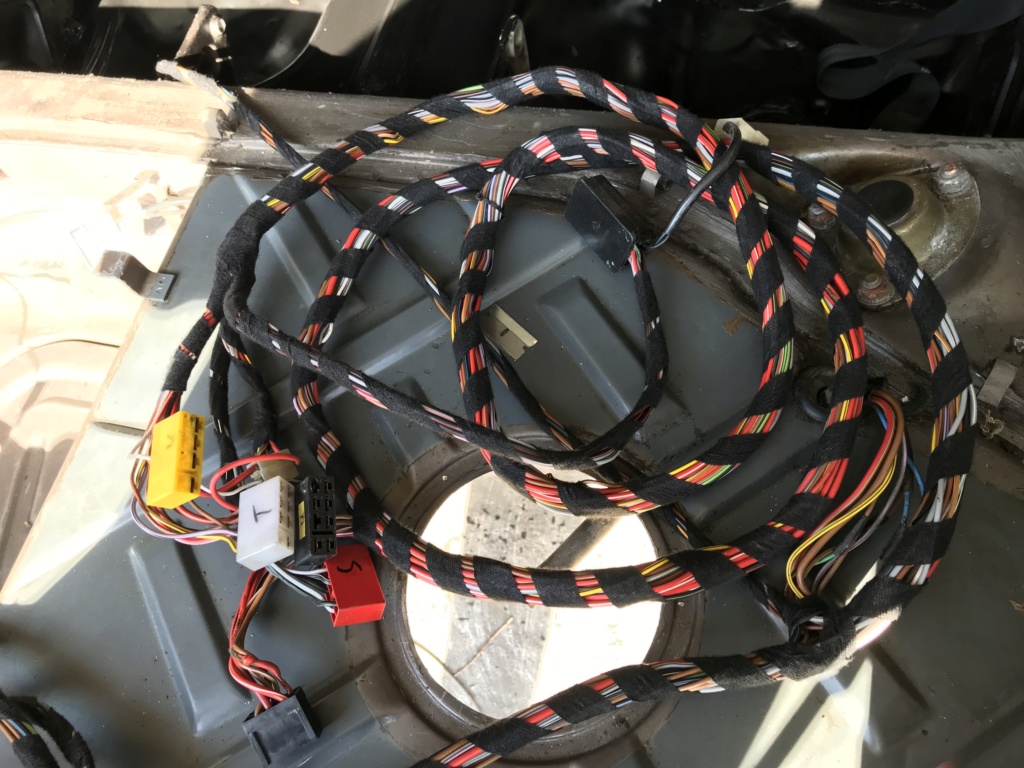
I removed the harness completely :
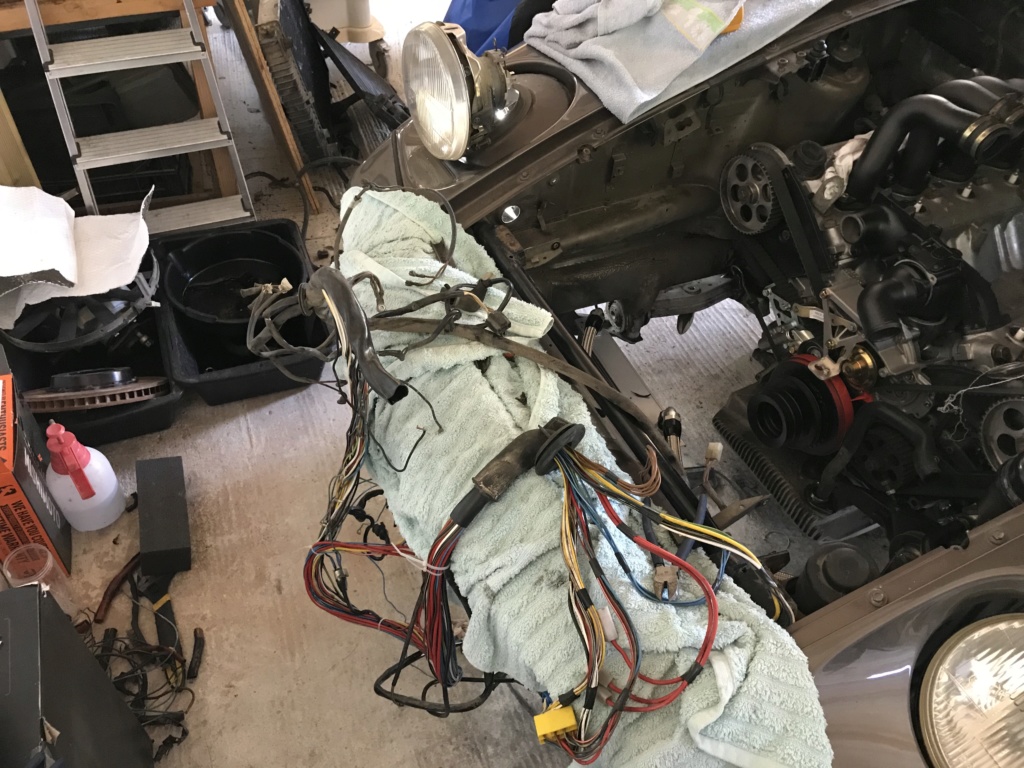
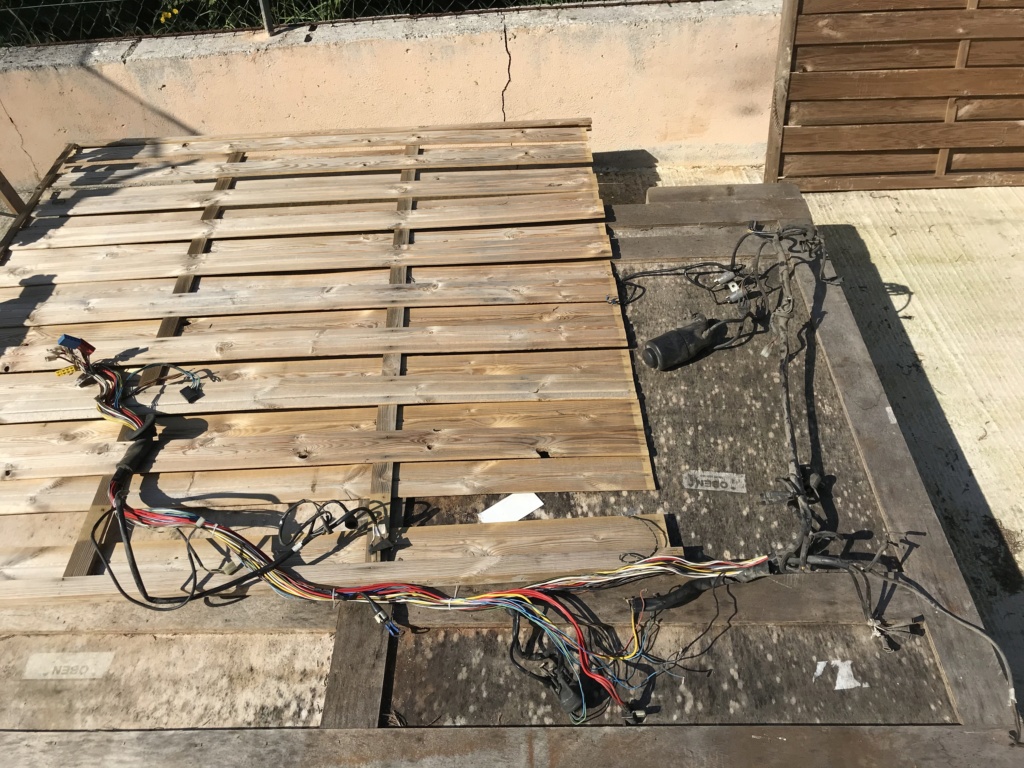
Removed what I didn't need
Then used nylon sheath.
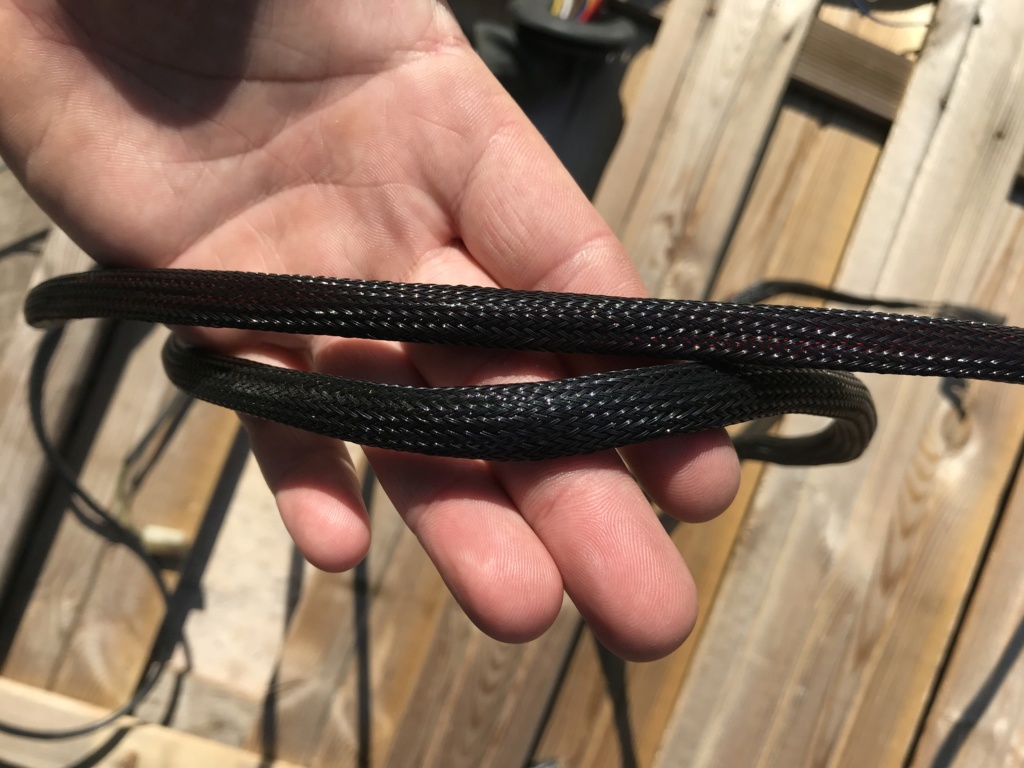
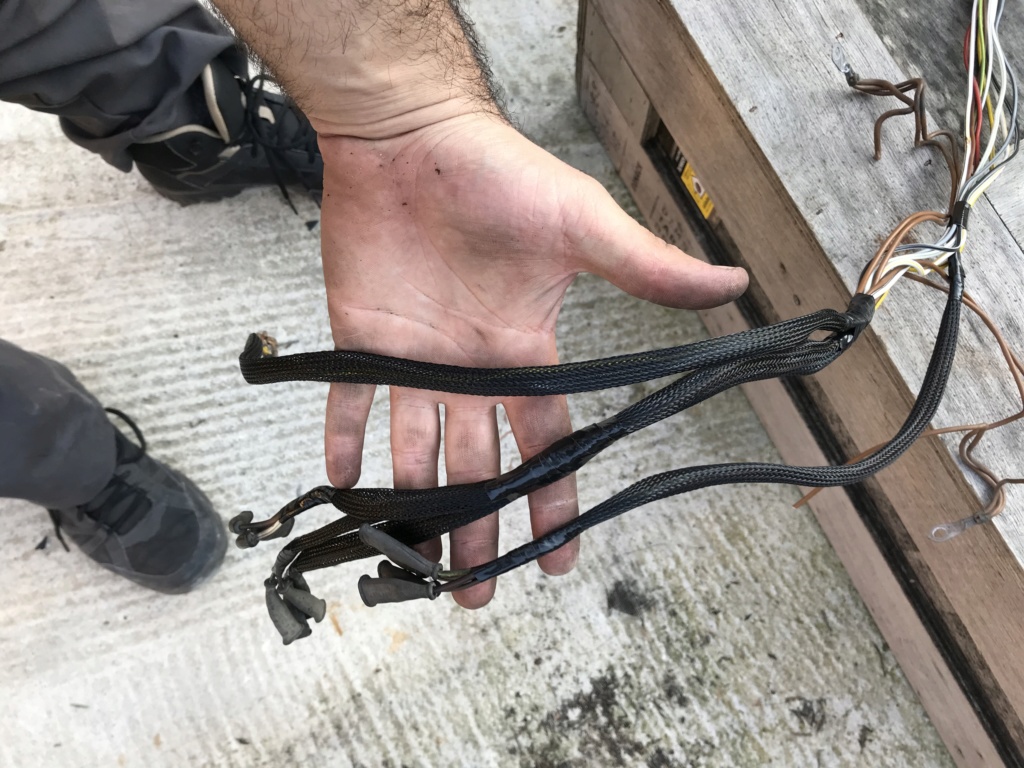
After a few hours, it's done.
It's more flexible than before, so I can route it around the stuff that will come later.
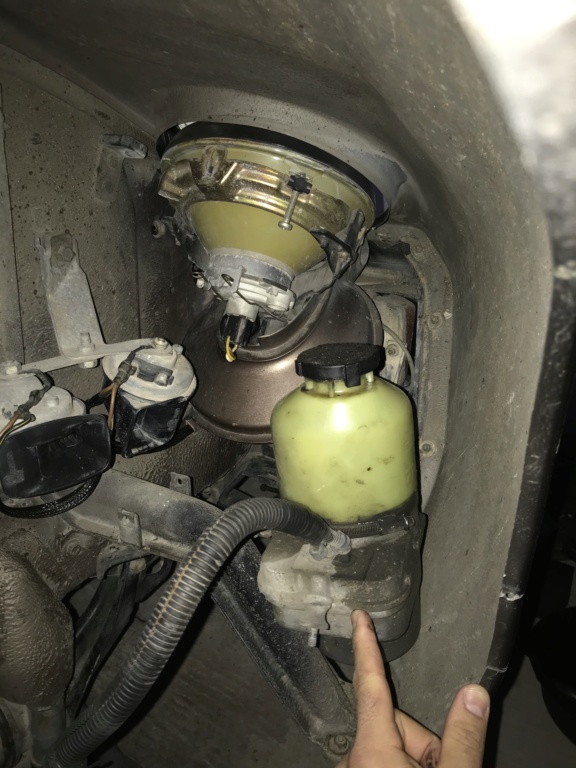
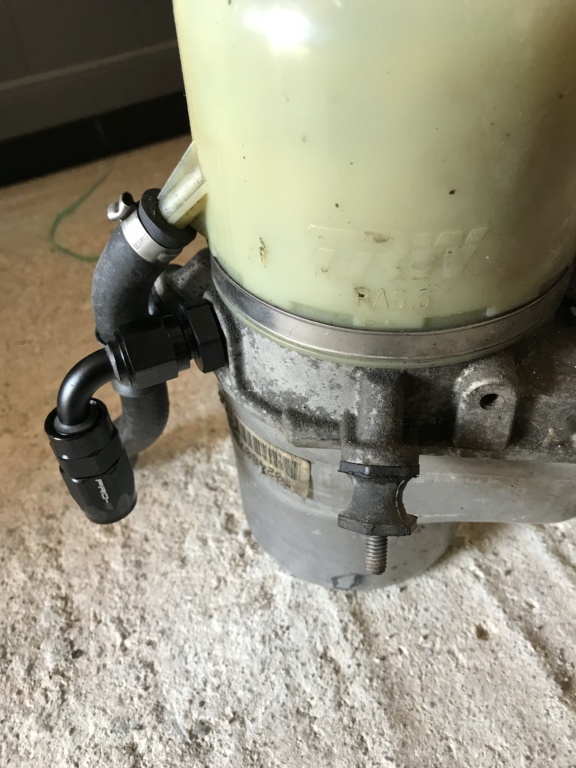
I've got an electric power steering pump !
A TRW, the same used on Porsche cup cars... and Opel cars ^^
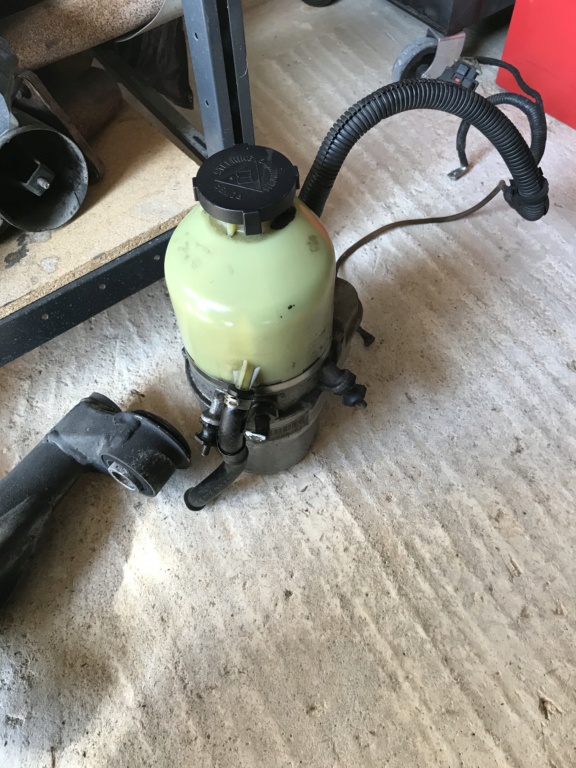
i'll have to weld an AN fitting for the lines
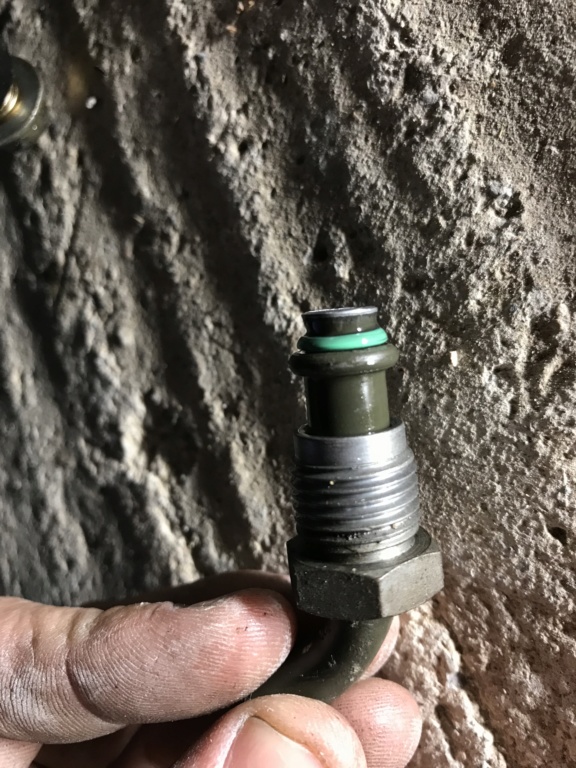
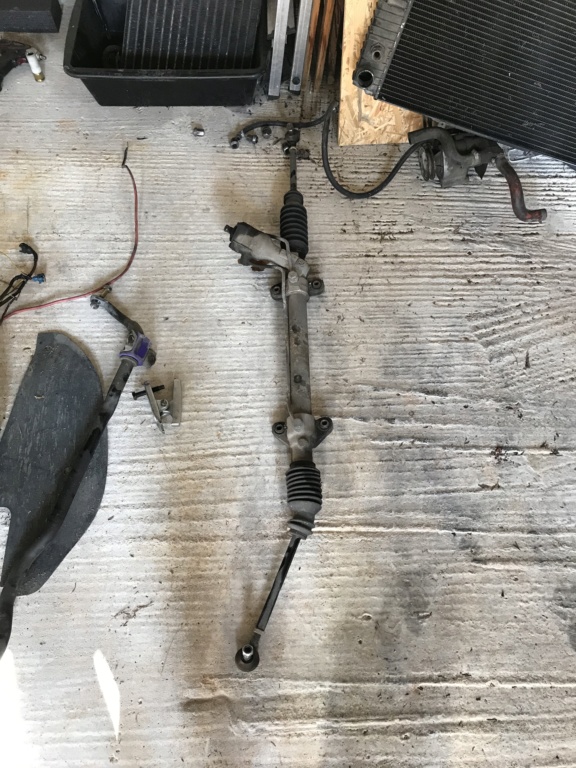
Speaking of steering ...
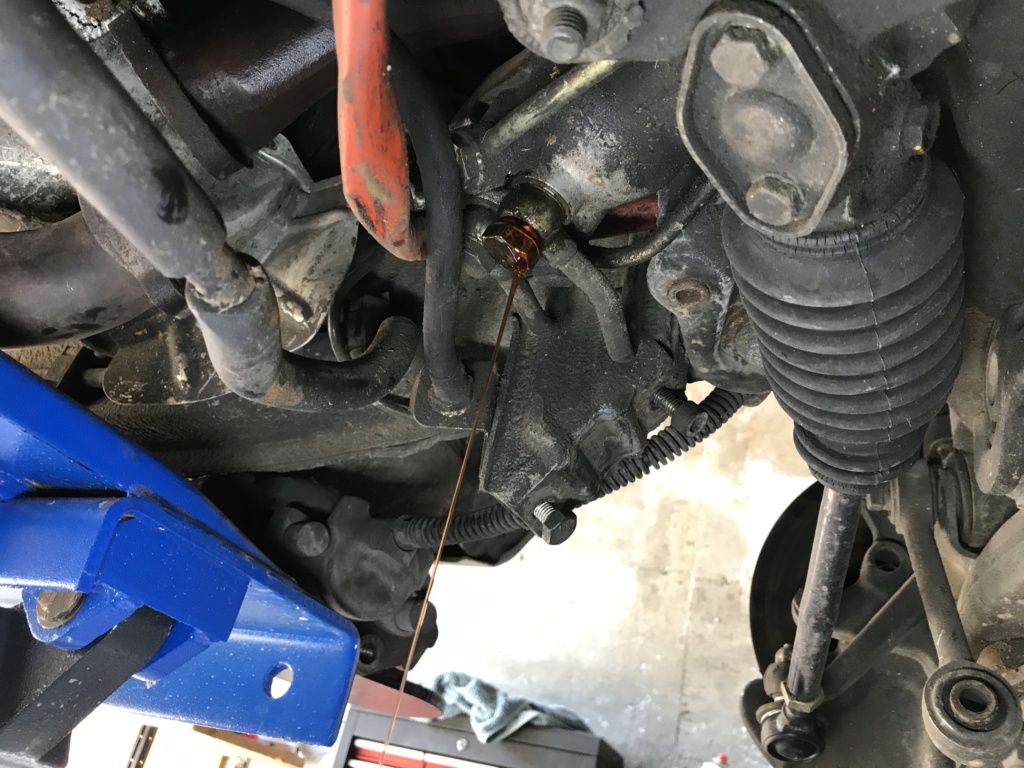
I printed some spacer so I could plug it.
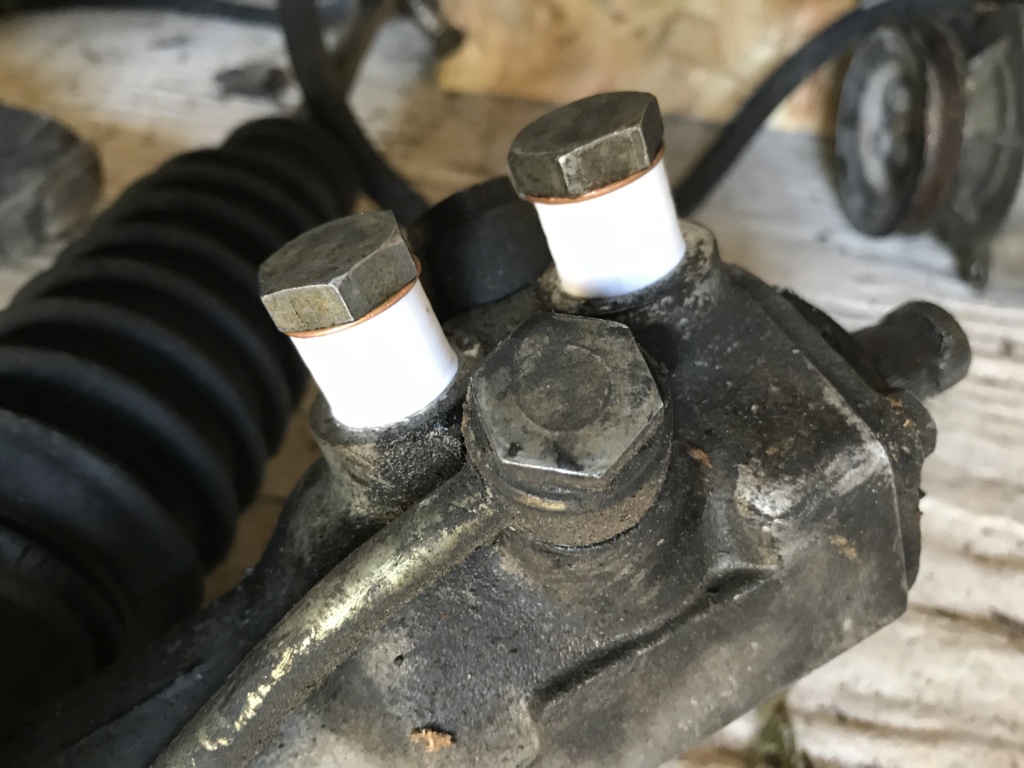
I removed it to make solid mounts !
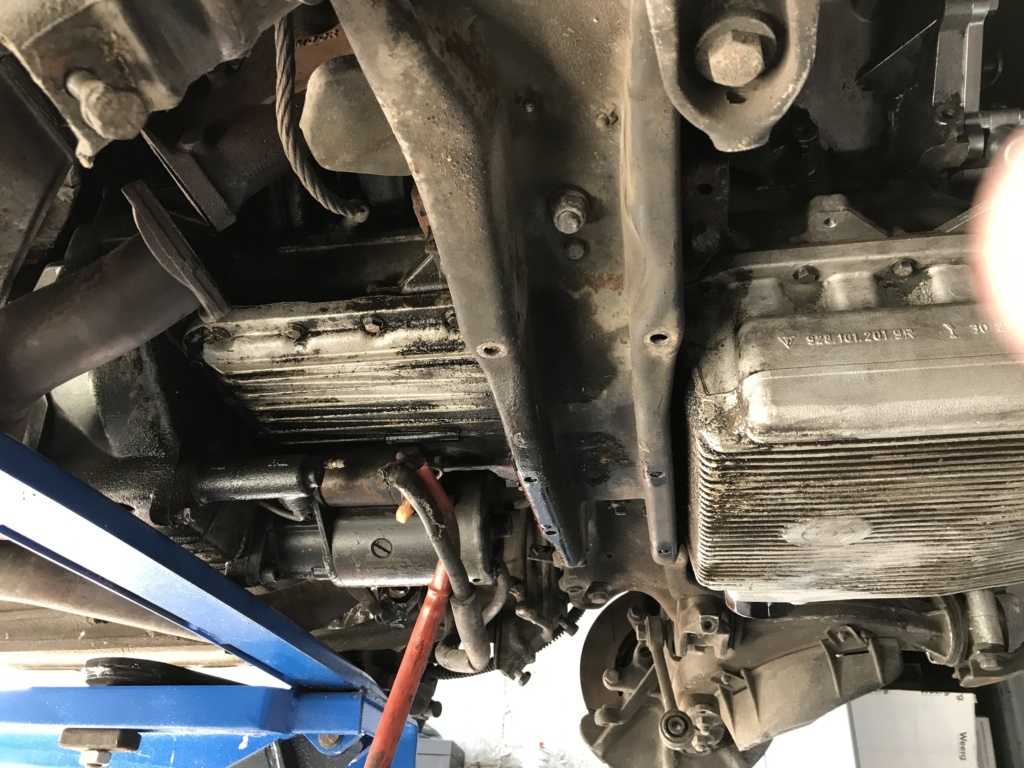
I took the opportunity to clean a bit more.

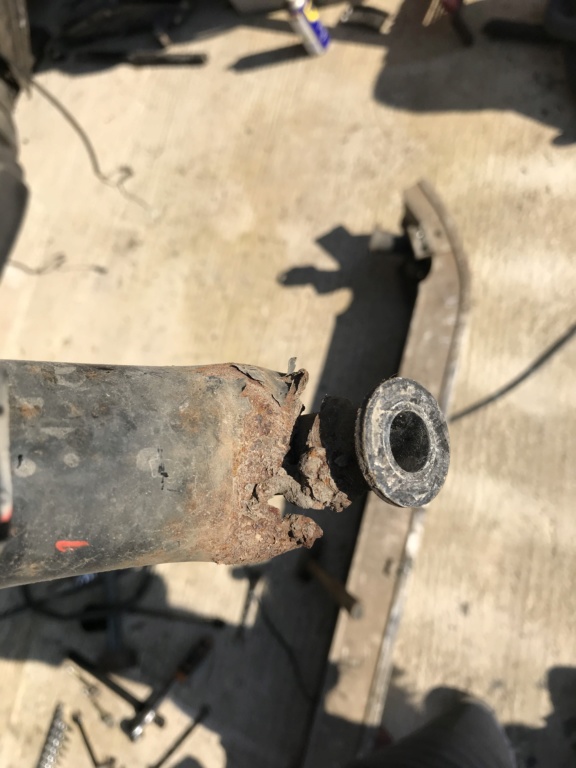
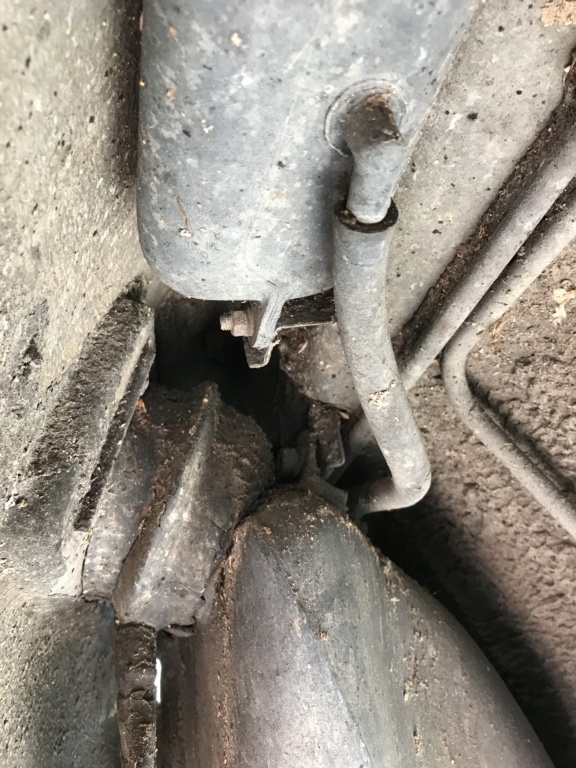
Removing the exhaust with the help of my WD40 friend...
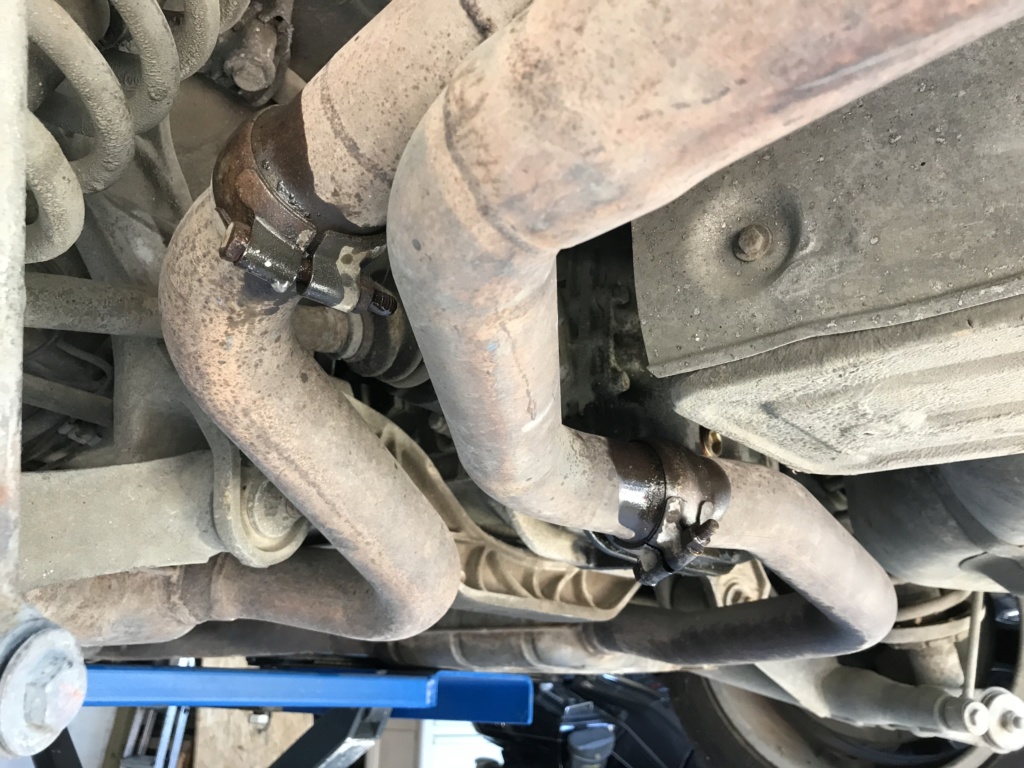
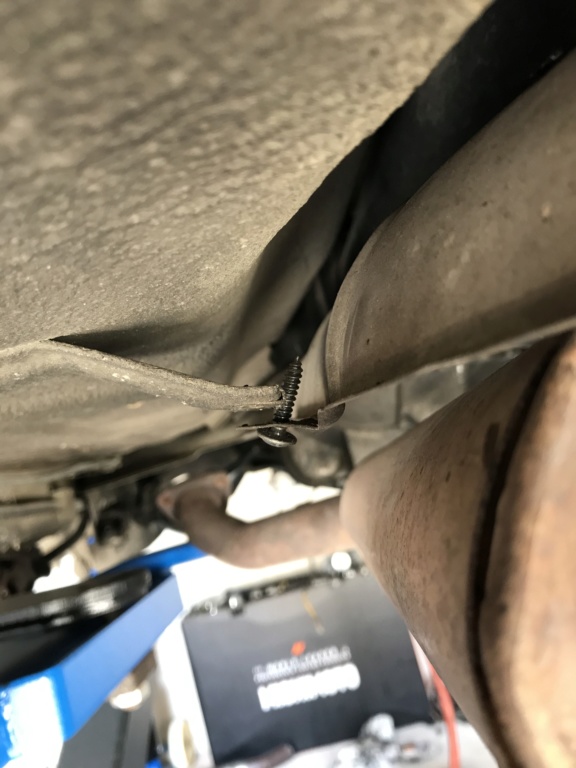
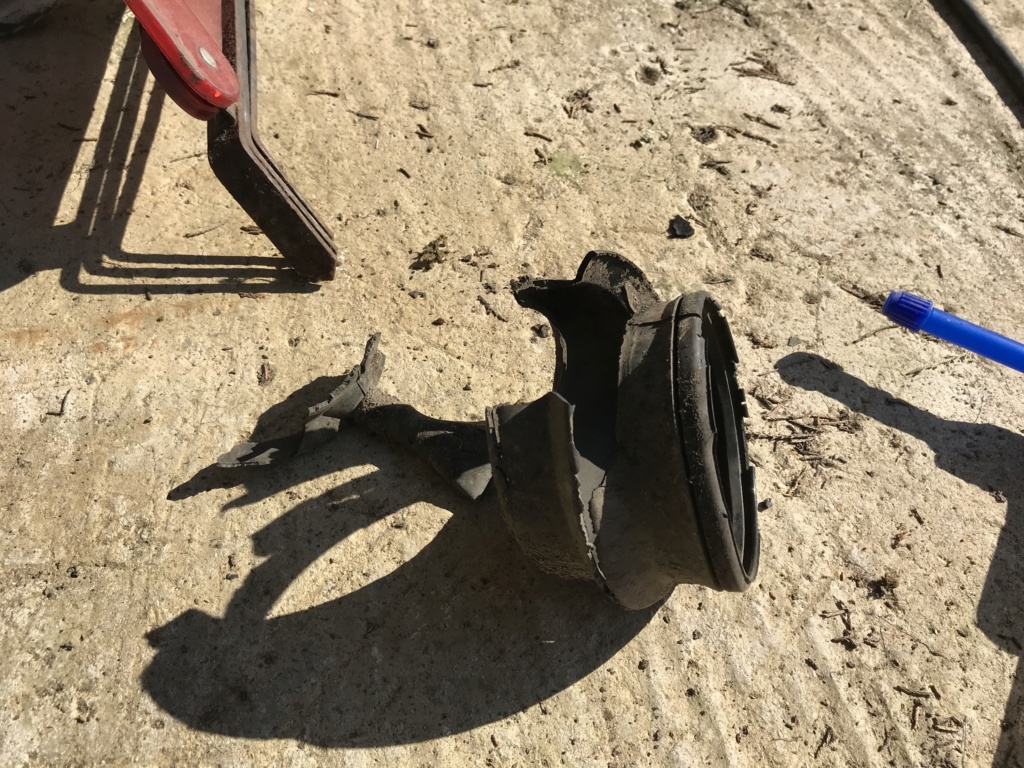
What the hell is that ?!
Ah crap...
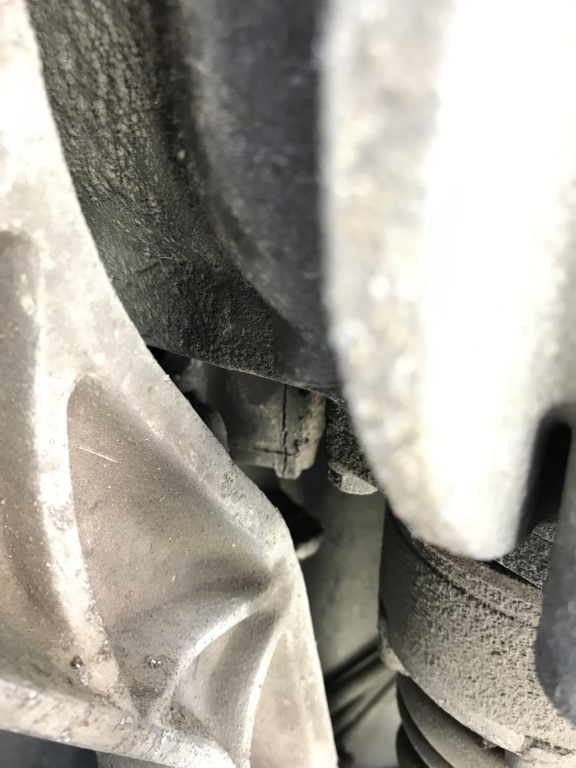
I bet it was too hard for the previous guy to scraw that properly...
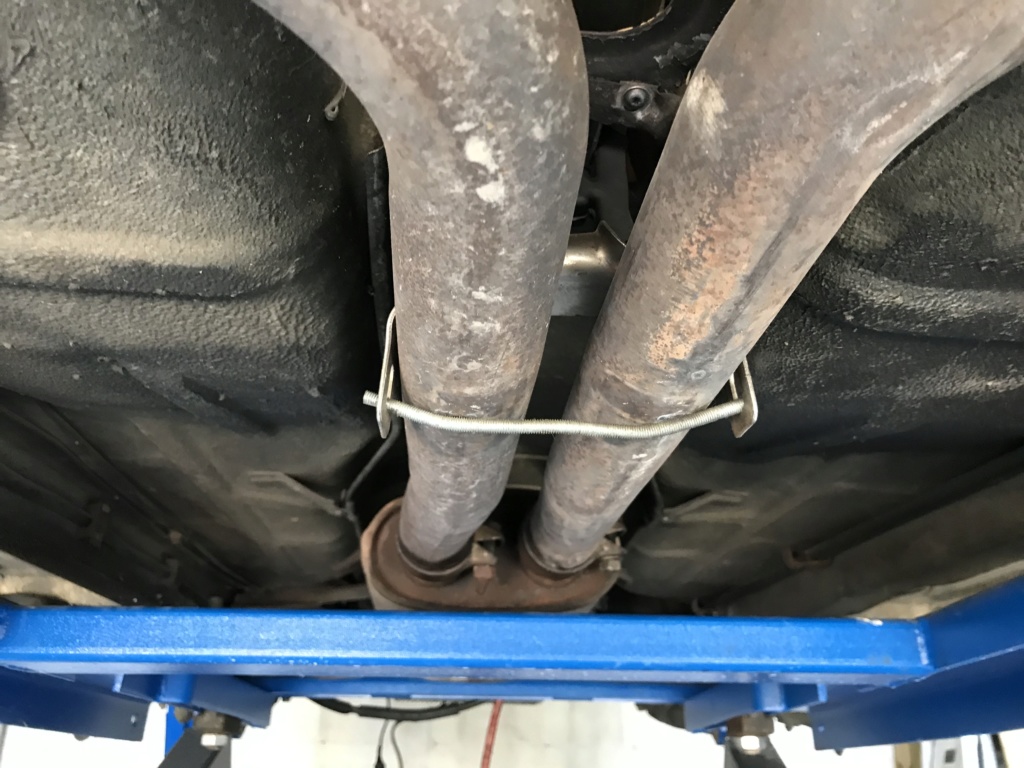
Exhaust, out !
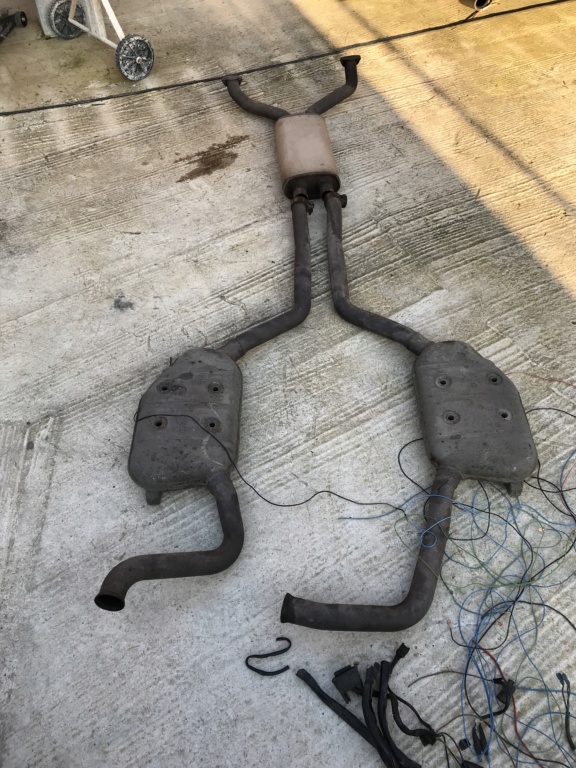
Started cleaning the "muffler"
OOps, it's a mess...
Ben.
I removed the harness completely :
Removed what I didn't need
Then used nylon sheath.
After a few hours, it's done.
It's more flexible than before, so I can route it around the stuff that will come later.
I've got an electric power steering pump !
A TRW, the same used on Porsche cup cars... and Opel cars ^^
i'll have to weld an AN fitting for the lines
Speaking of steering ...
I printed some spacer so I could plug it.
I removed it to make solid mounts !
I took the opportunity to clean a bit more.
Removing the exhaust with the help of my WD40 friend...
What the hell is that ?!
Ah crap...
I bet it was too hard for the previous guy to scraw that properly...
Exhaust, out !
Started cleaning the "muffler"
OOps, it's a mess...
Ben.

The following users liked this post:
LargeFarva (05-04-2023)
04-03-2020, 09:04 AM
#92
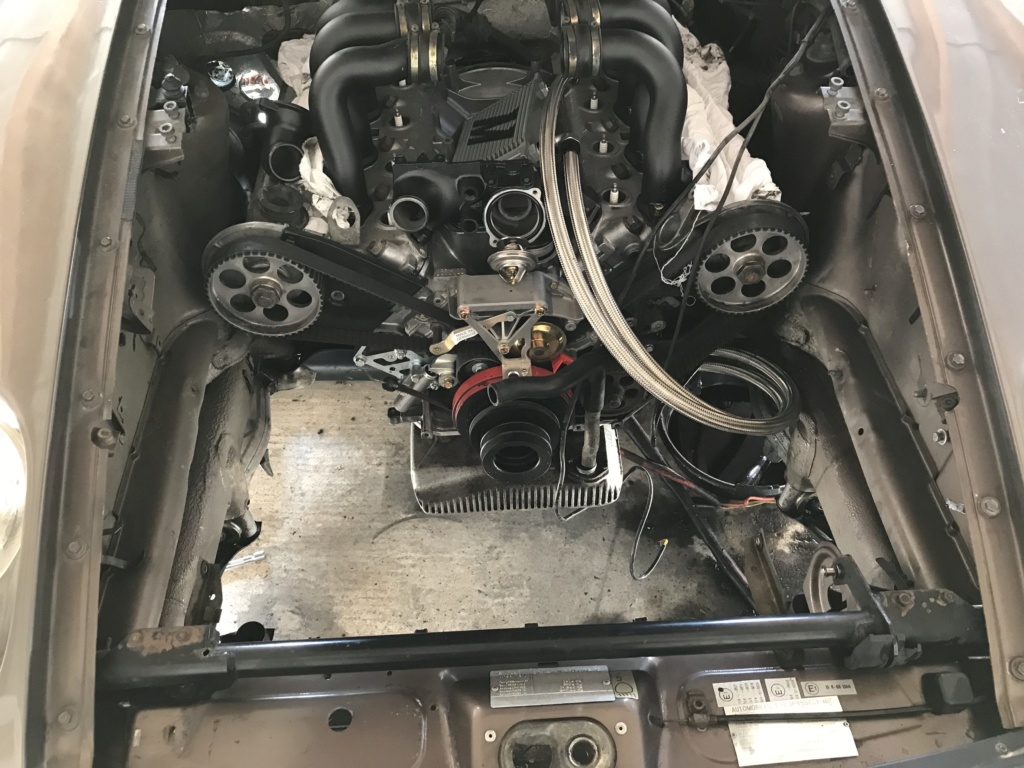
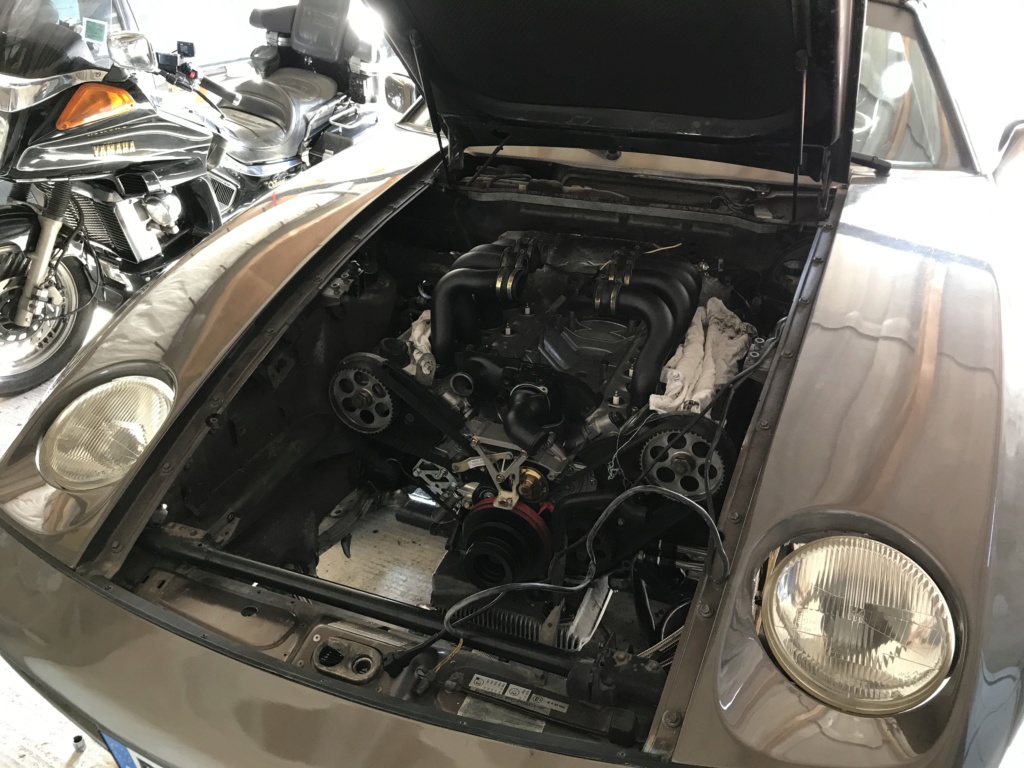
Next :
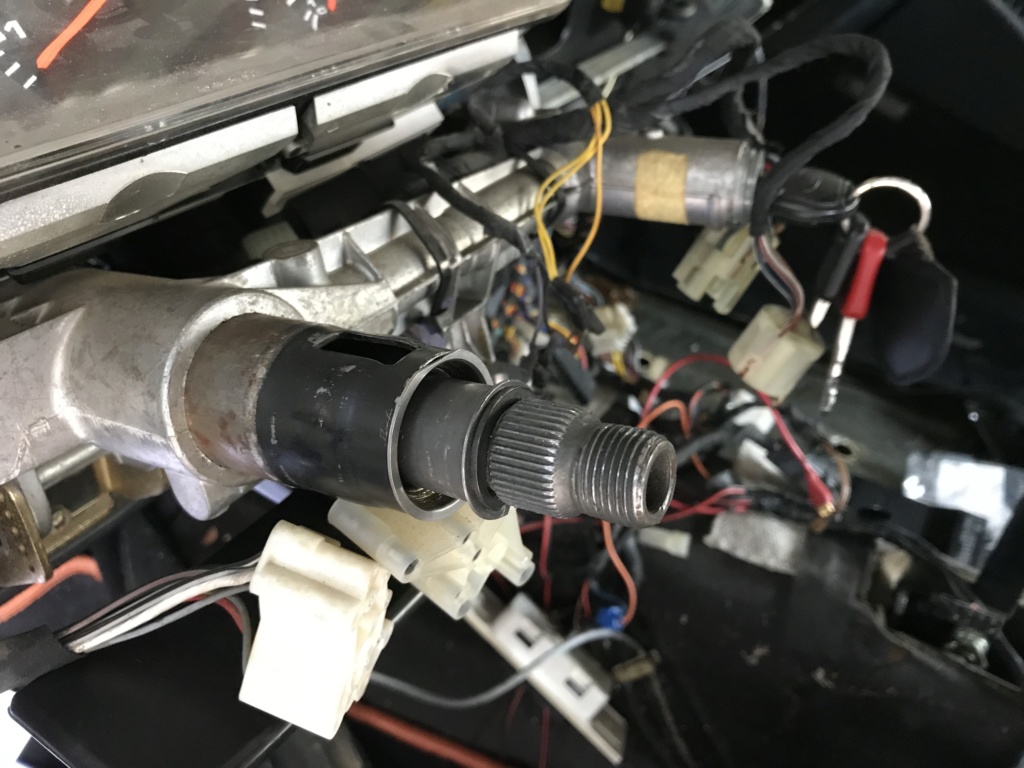
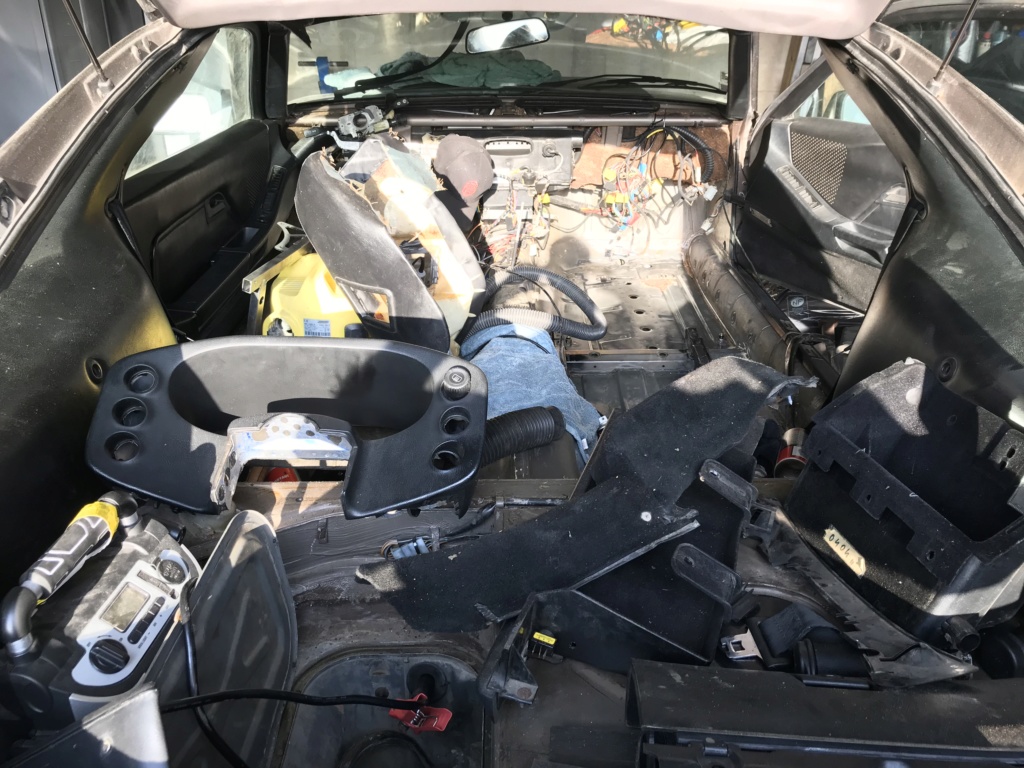
I finally did the steering column... works perfectly now.
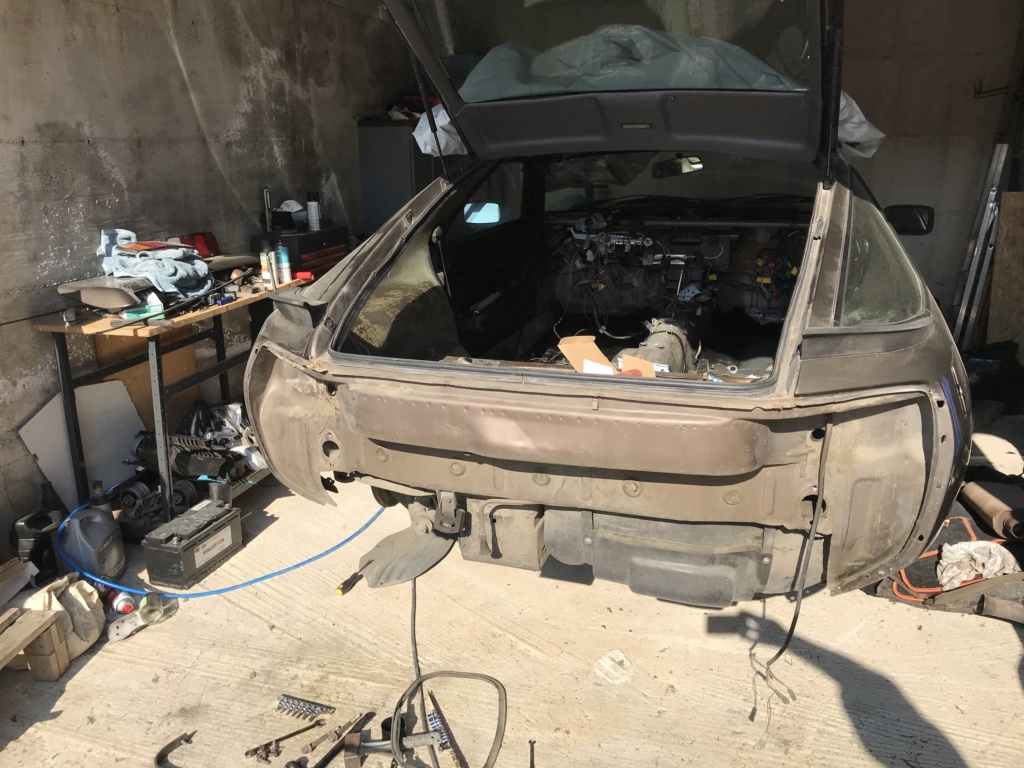
Then I got crazy on the interieur and started to strip it !
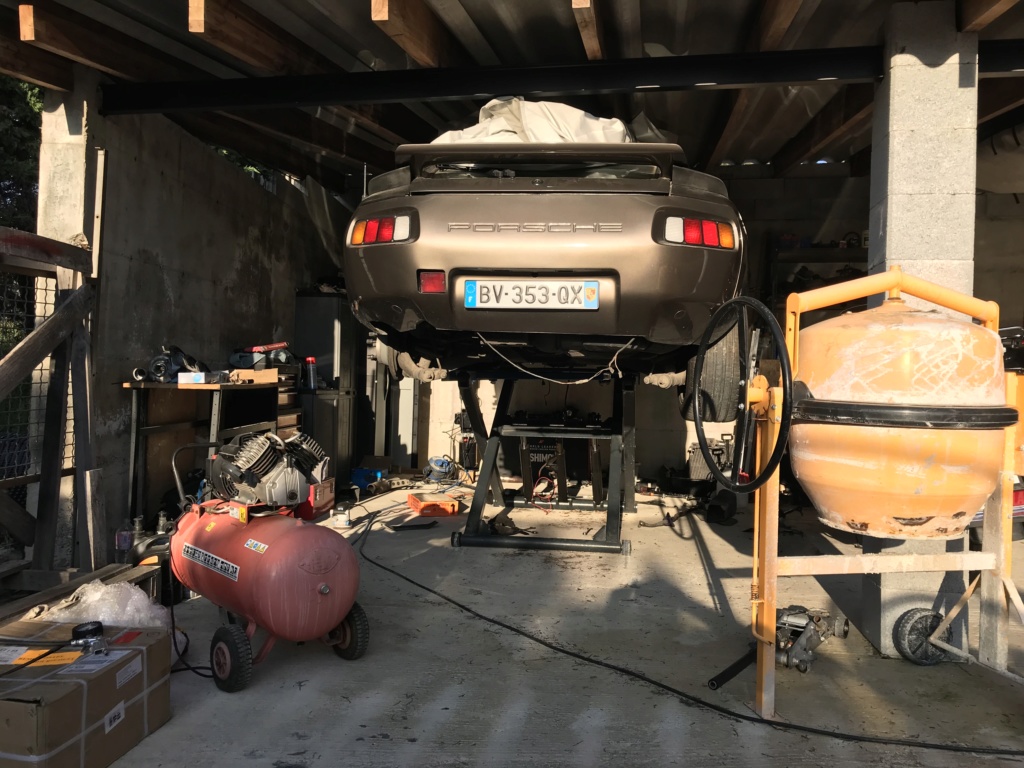
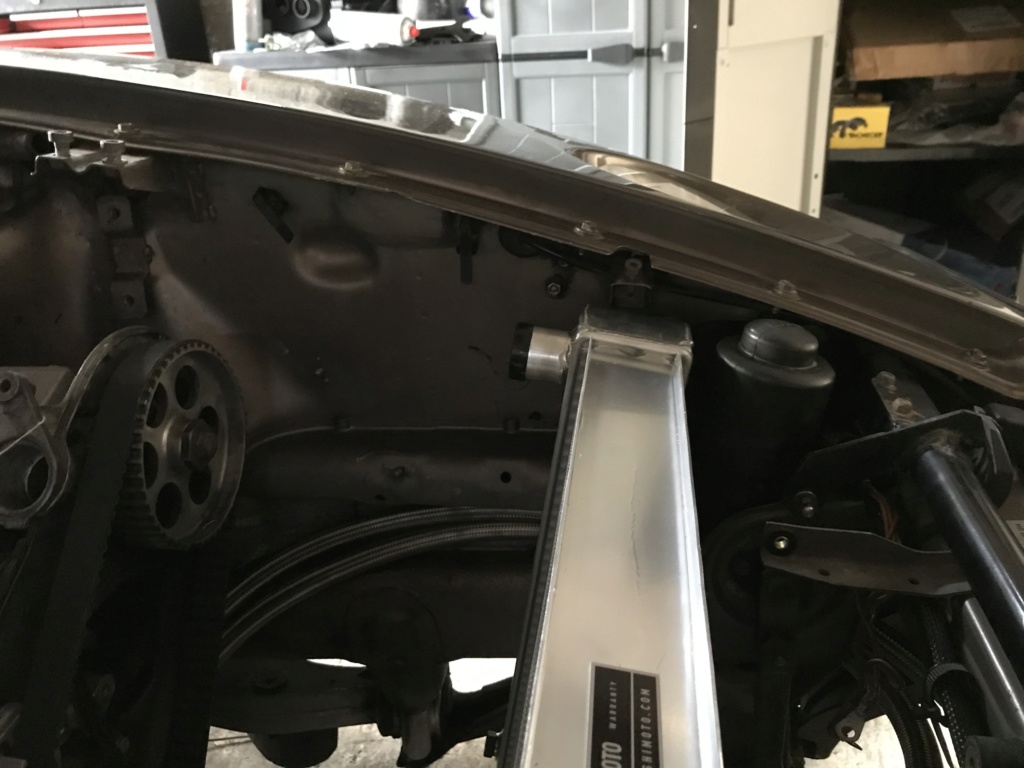
Trying to see how the radiator will fit :
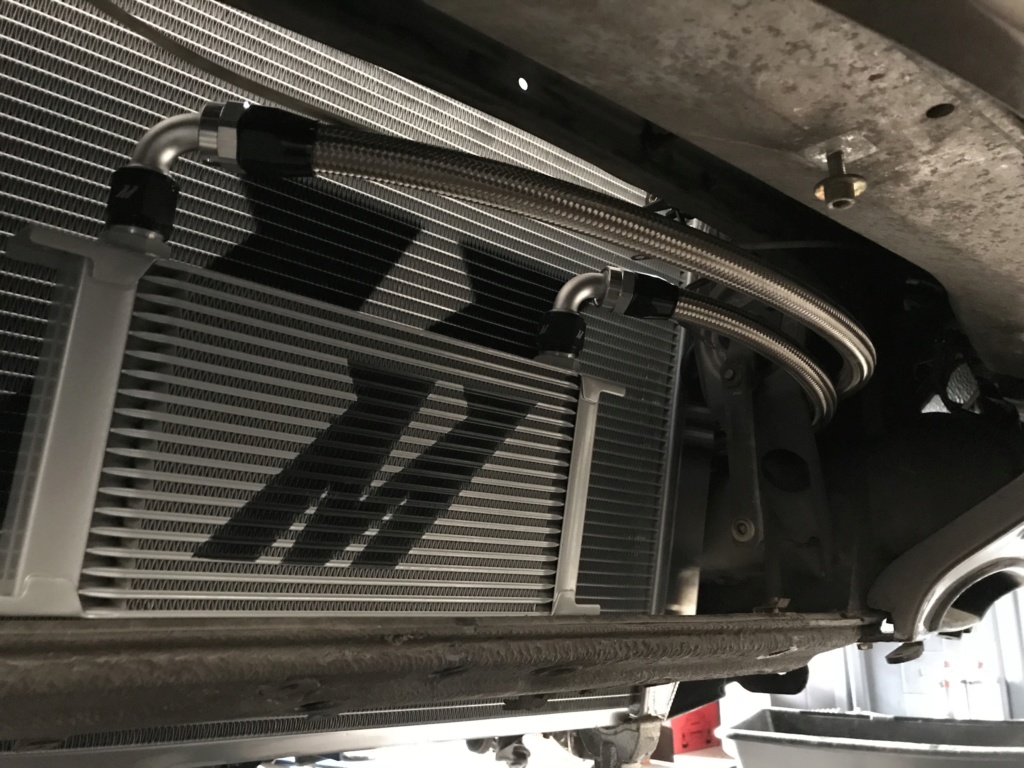
I might be able to reuse the top supports.
Ben
I finally did the steering column... works perfectly now.
Then I got crazy on the interieur and started to strip it !
Trying to see how the radiator will fit :
I might be able to reuse the top supports.
Ben
04-03-2020, 09:07 AM
#93
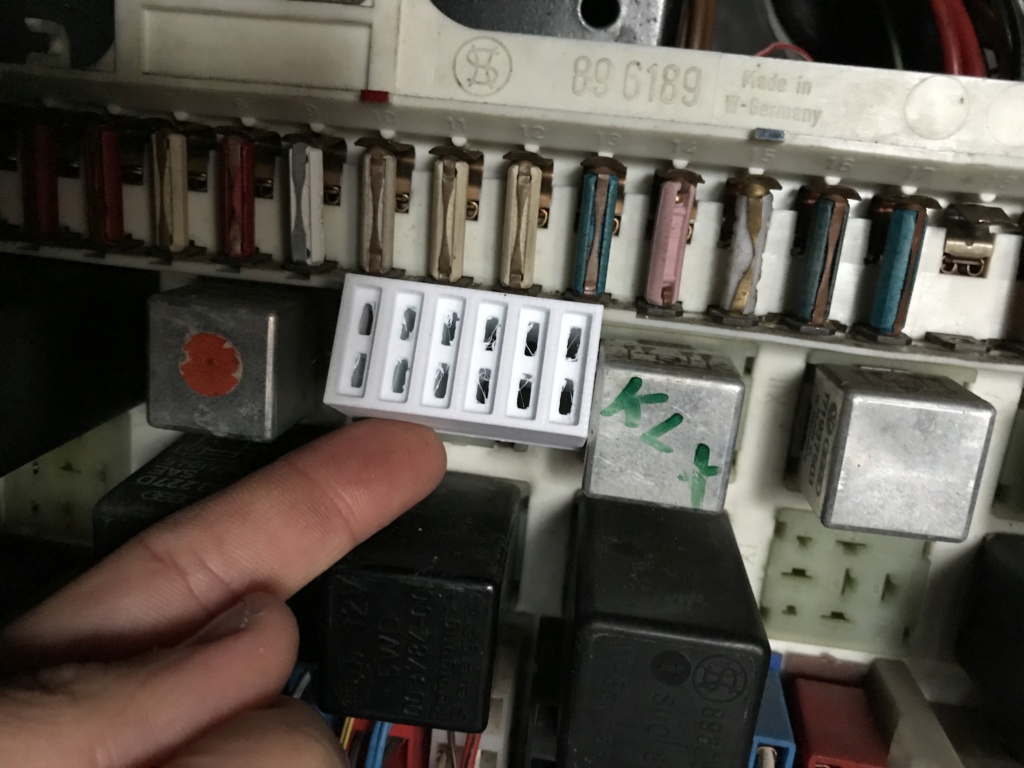
I printed a test for the new fuse holder for modern fuses !
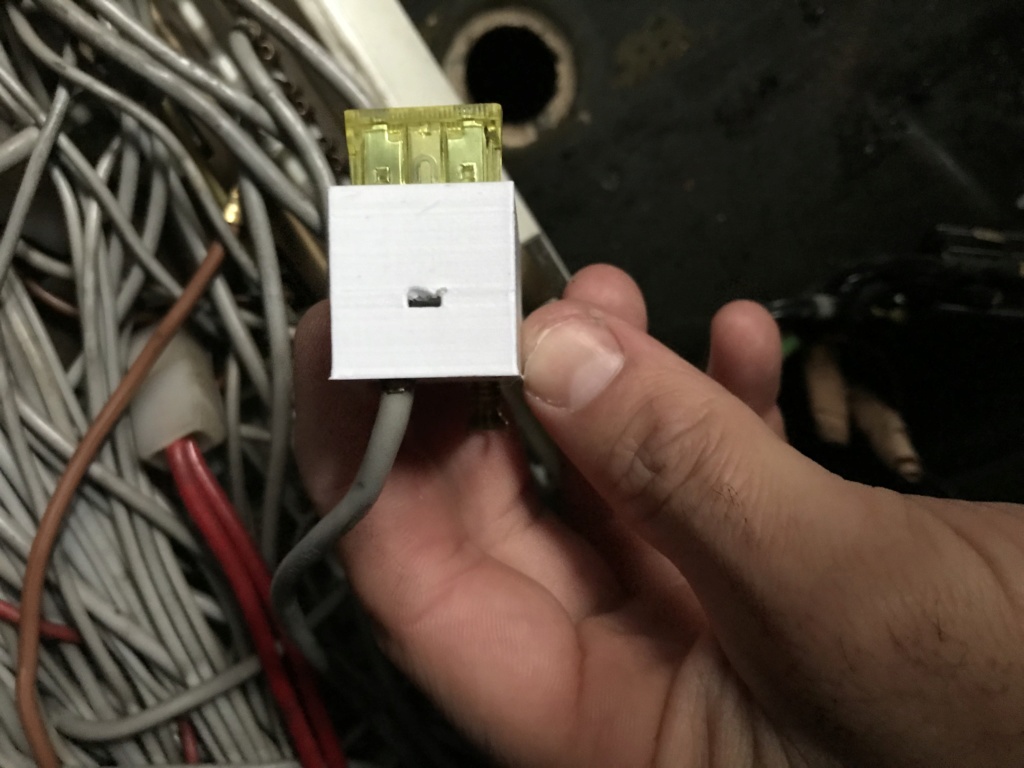
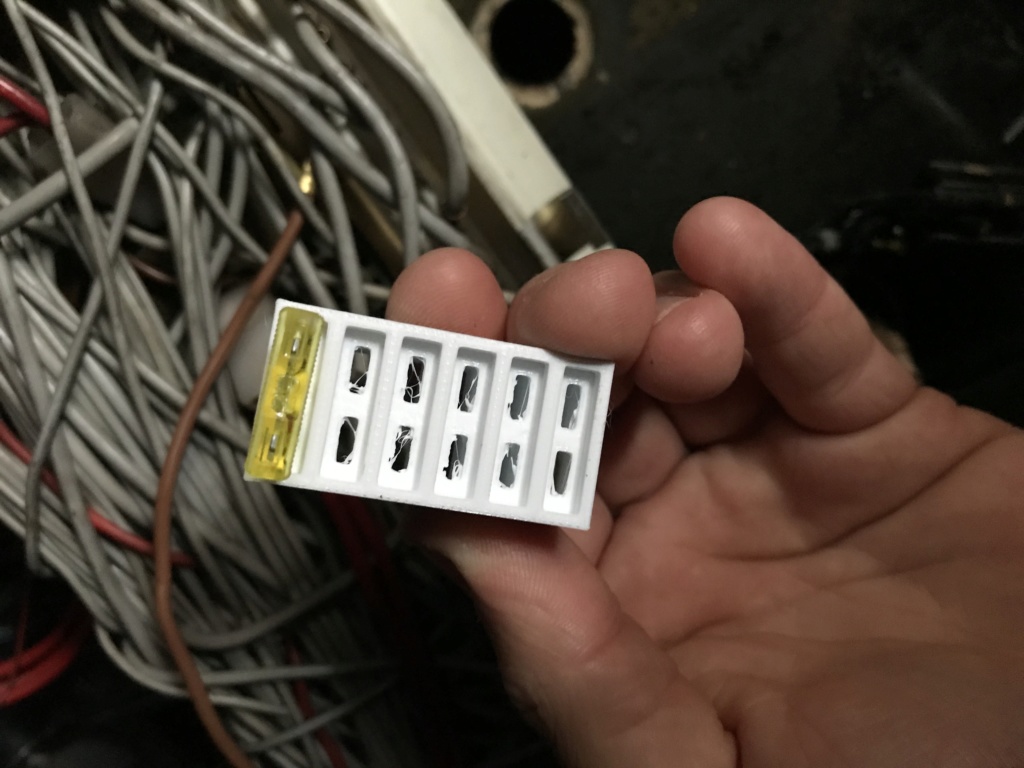
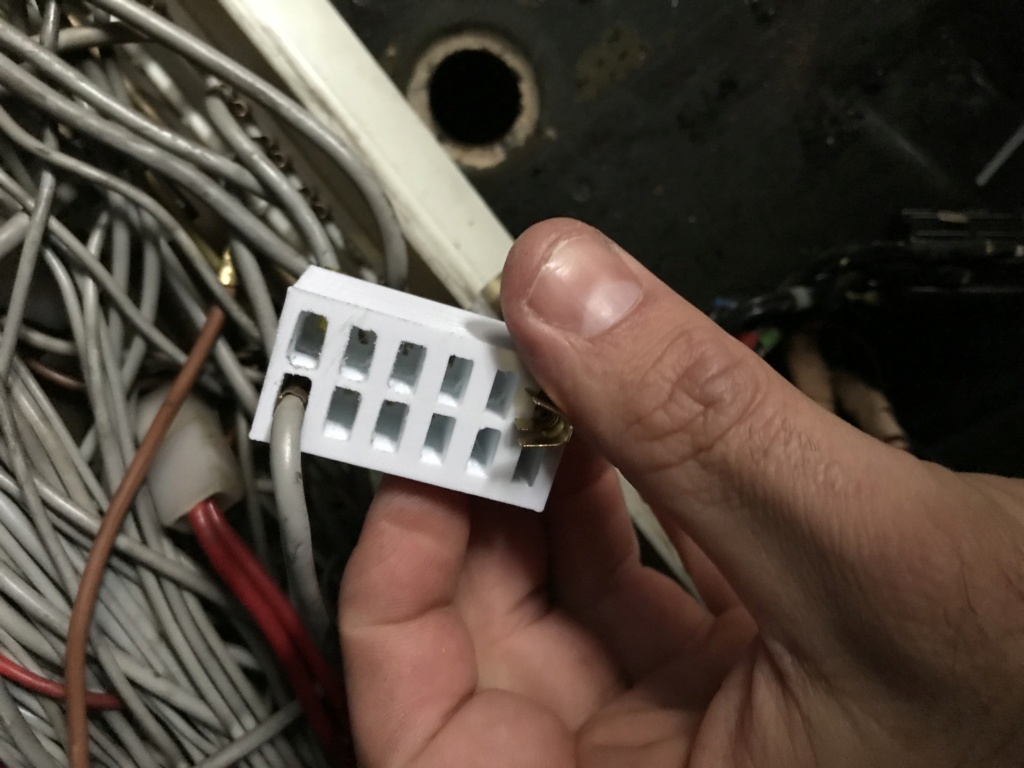
More compact that before, connections are protected from each others.
The power steerign pump might end up there :
Or, in the trunk with a rigid line going back to the front. I don't know yet.
More compact that before, connections are protected from each others.
The power steerign pump might end up there :
Or, in the trunk with a rigid line going back to the front. I don't know yet.
04-03-2020, 09:09 AM
#94
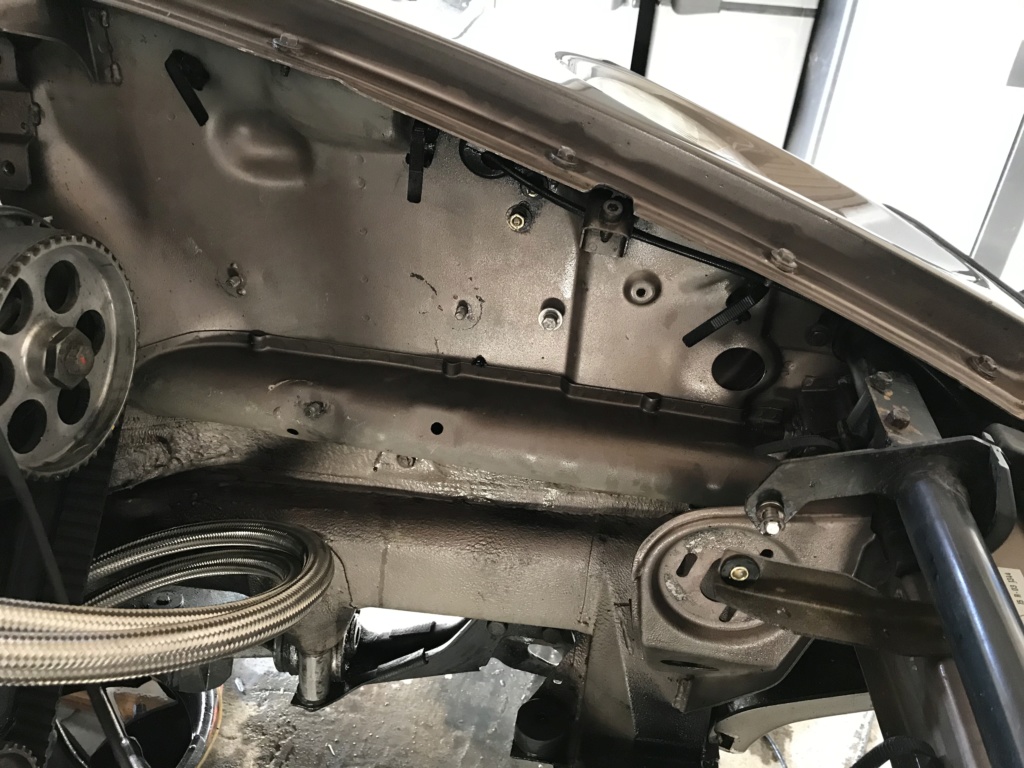
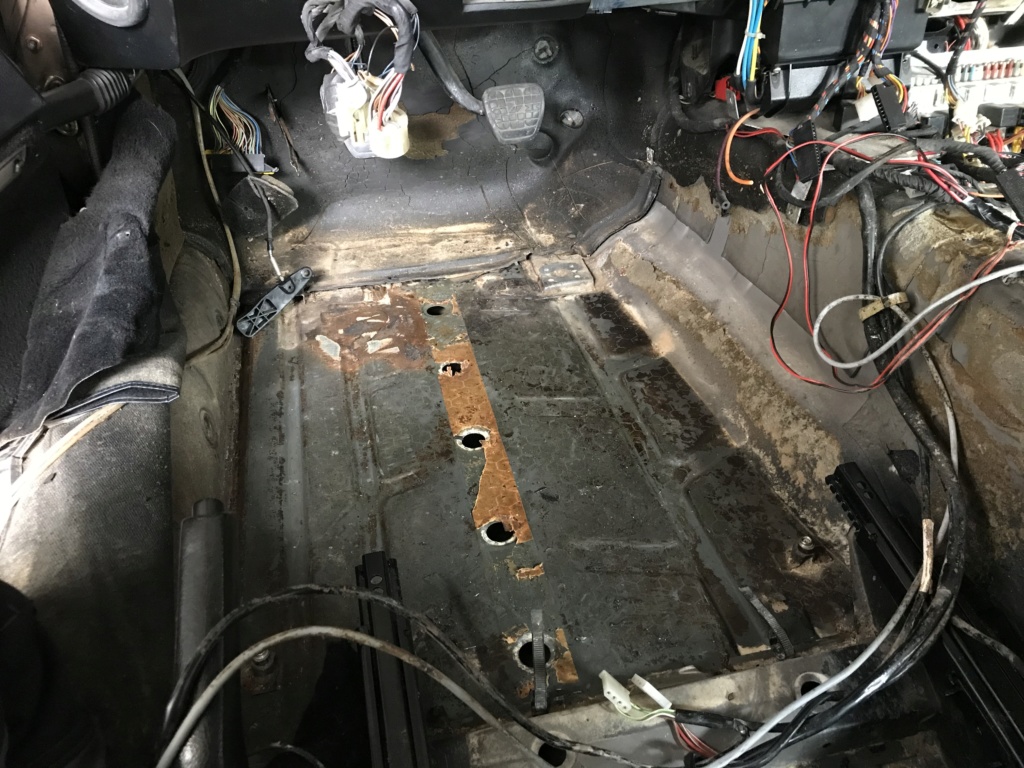
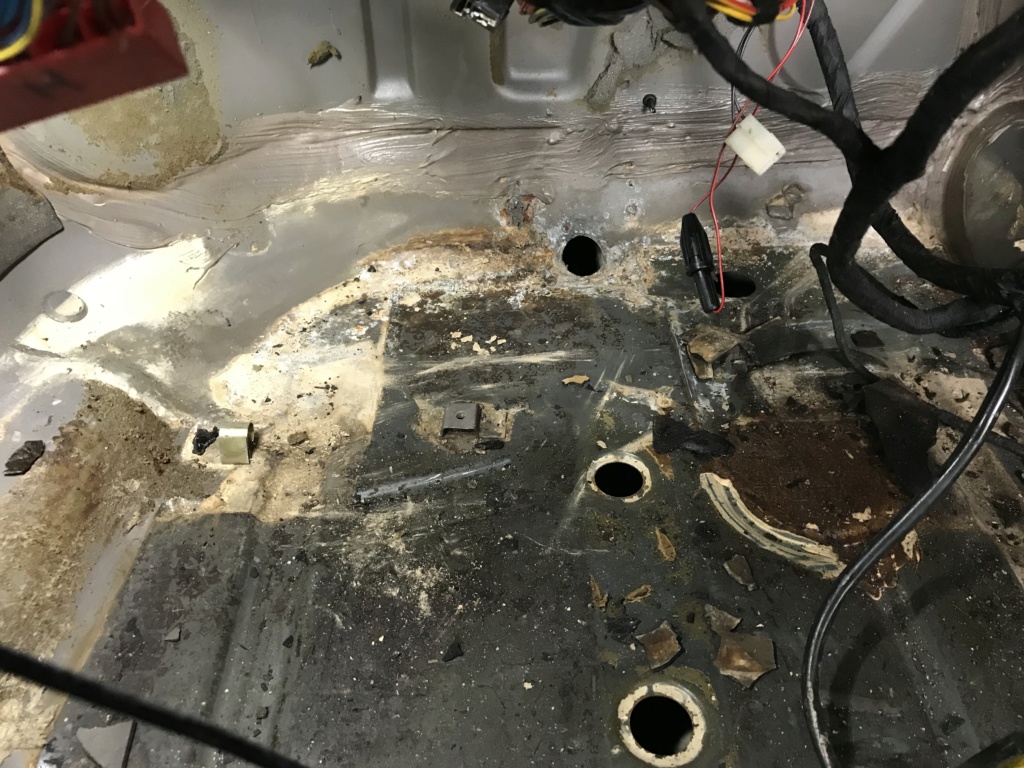
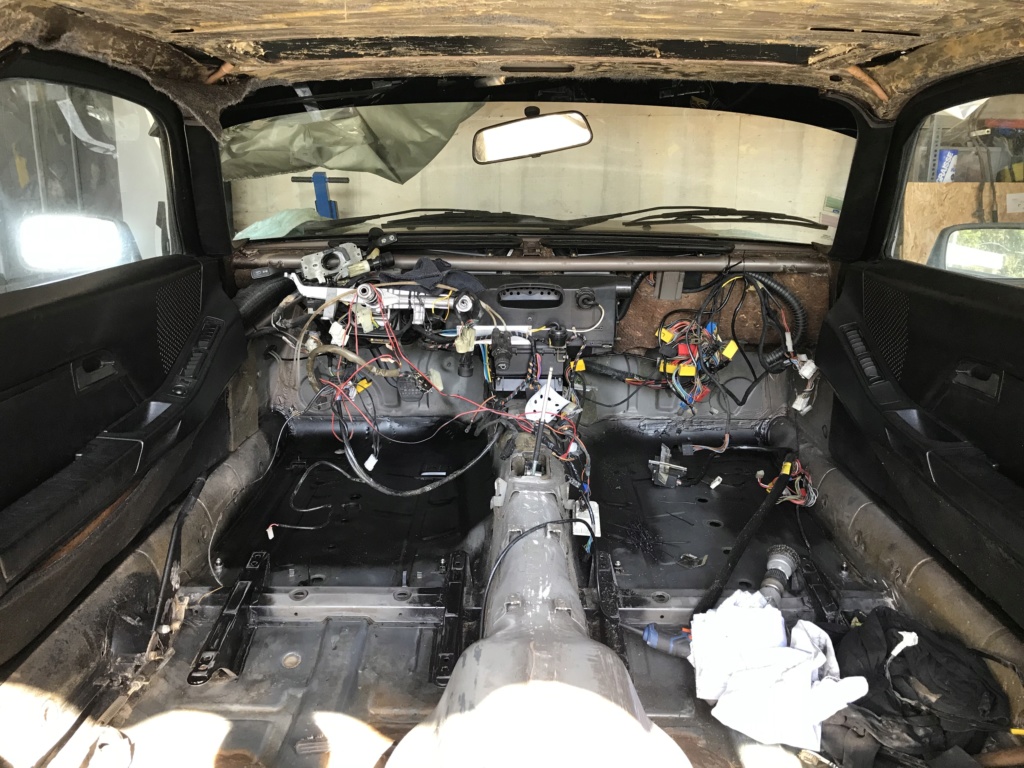
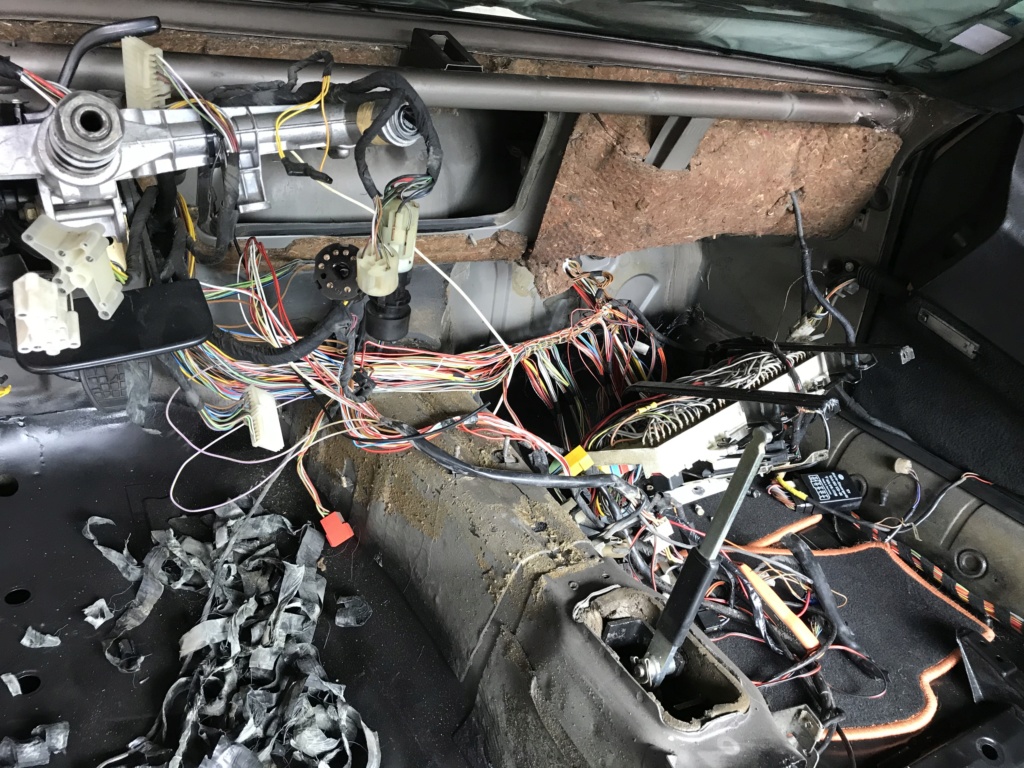
I removed the dash board to get a better access and started to clean everything behind, lots of crap back there...
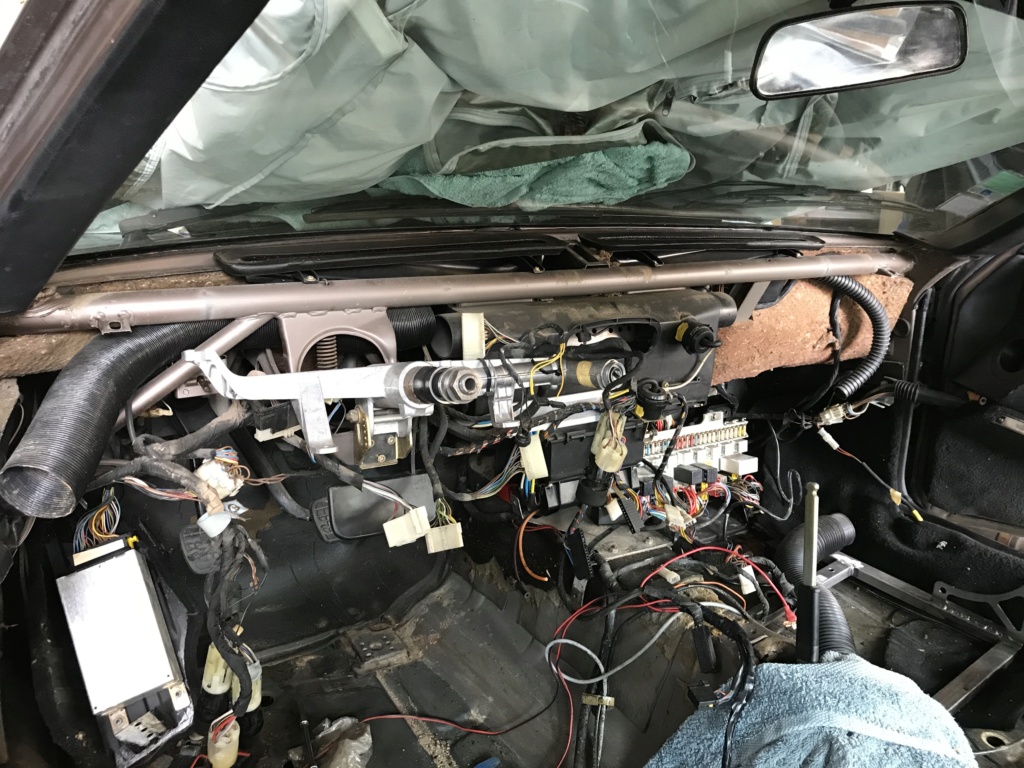
The frame has some rust but that's easily fixed.
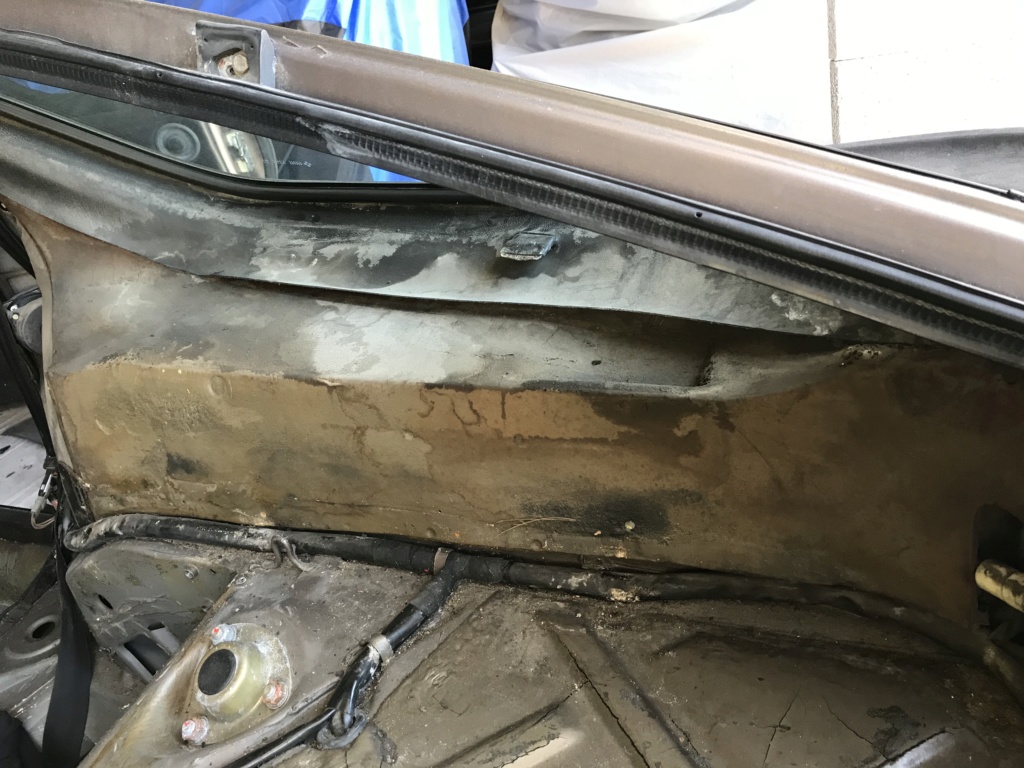
With the dash out, this became an eyesore... I wanted to keep the firewall isolated, but I can't keep that there !
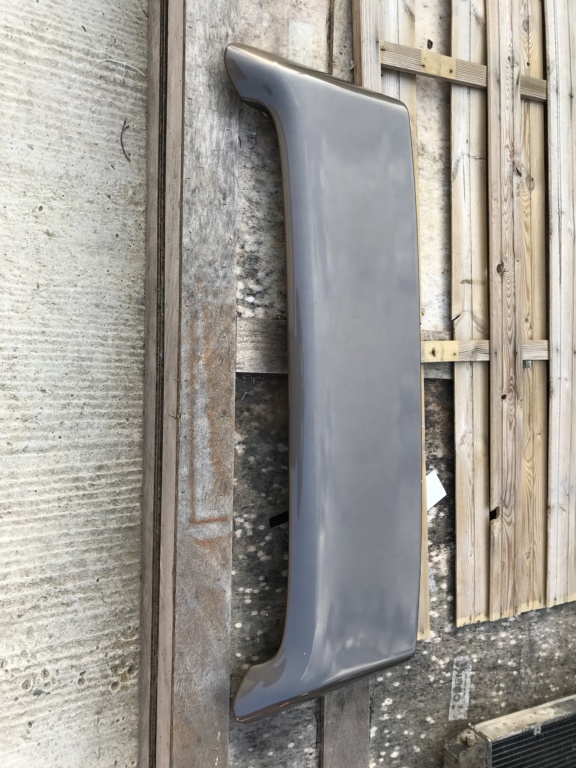
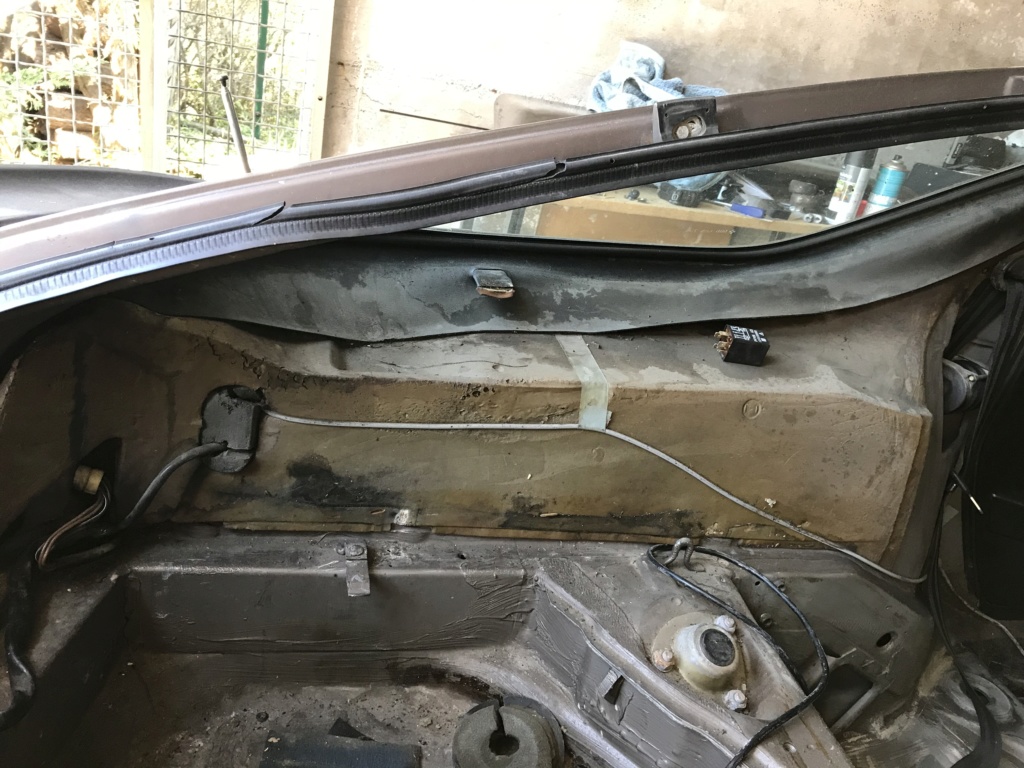
So...
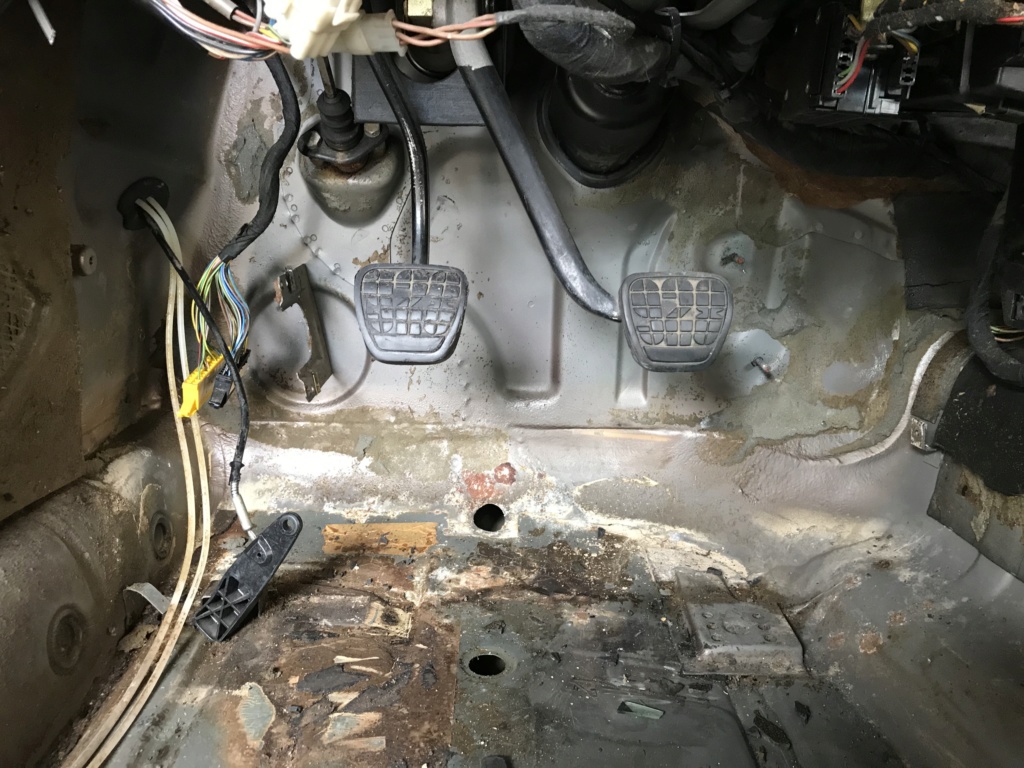
Got the wing out ! Who wants a GT wing in meteor grey ?
The frame has some rust but that's easily fixed.
With the dash out, this became an eyesore... I wanted to keep the firewall isolated, but I can't keep that there !
So...
Got the wing out ! Who wants a GT wing in meteor grey ?
04-03-2020, 09:22 AM
#95
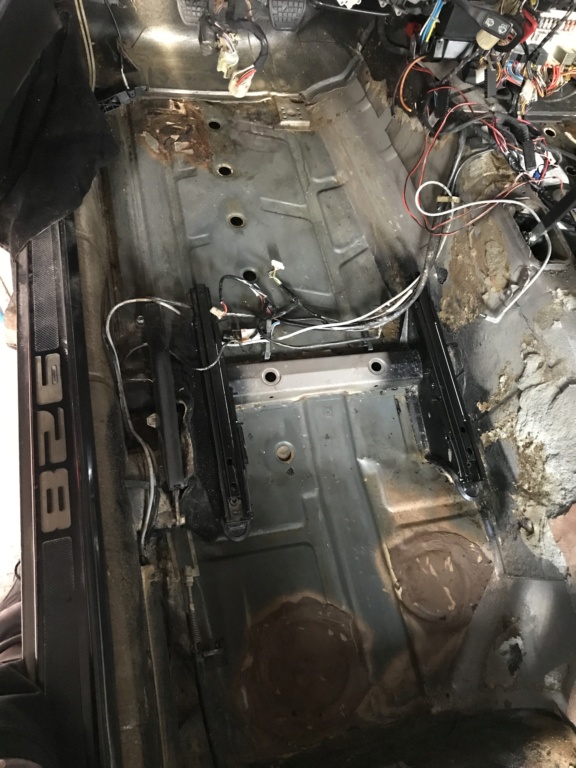
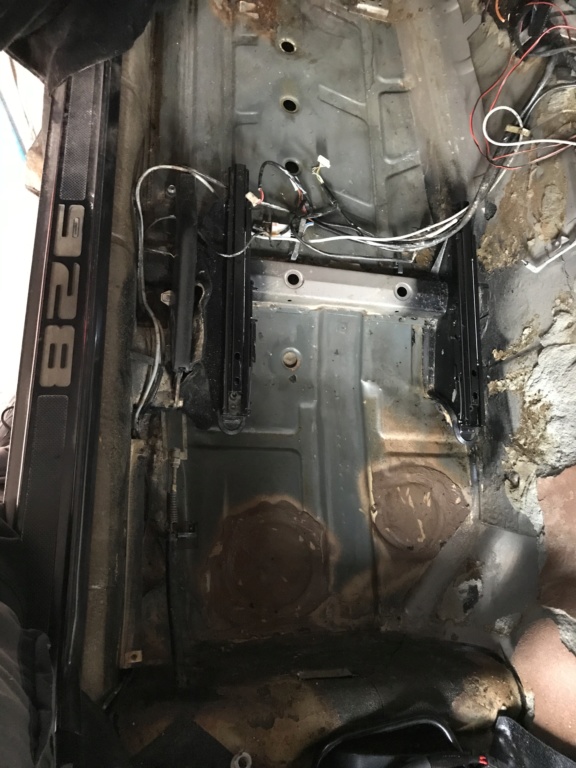
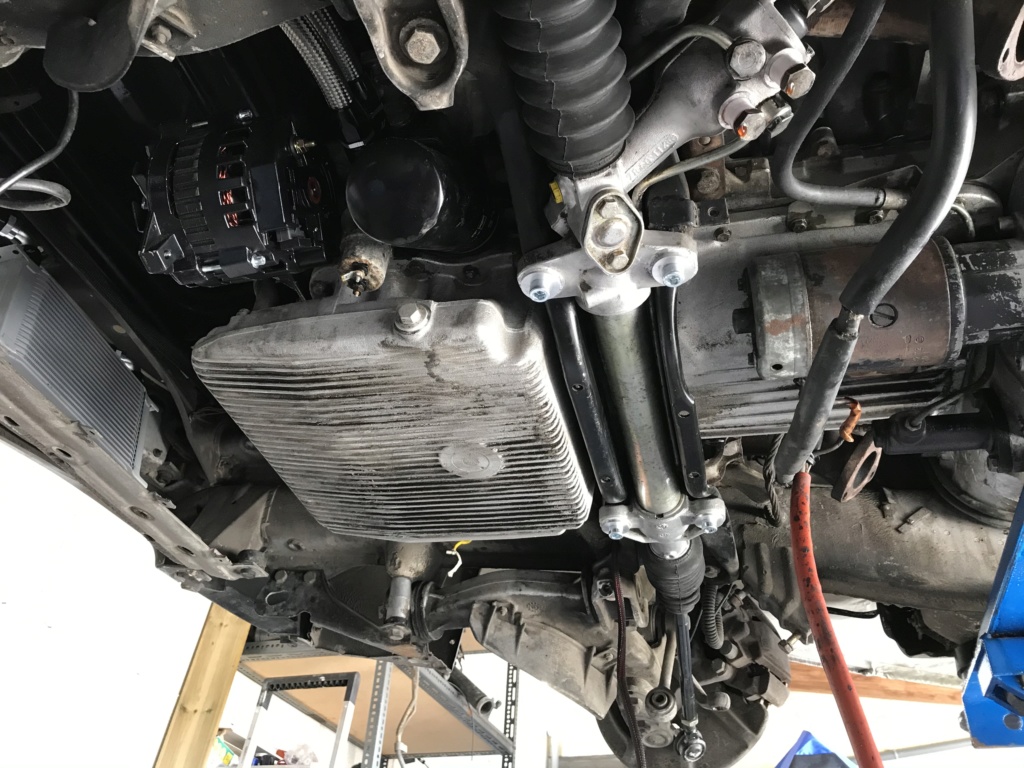
Steering rack back on with the solid mounts !
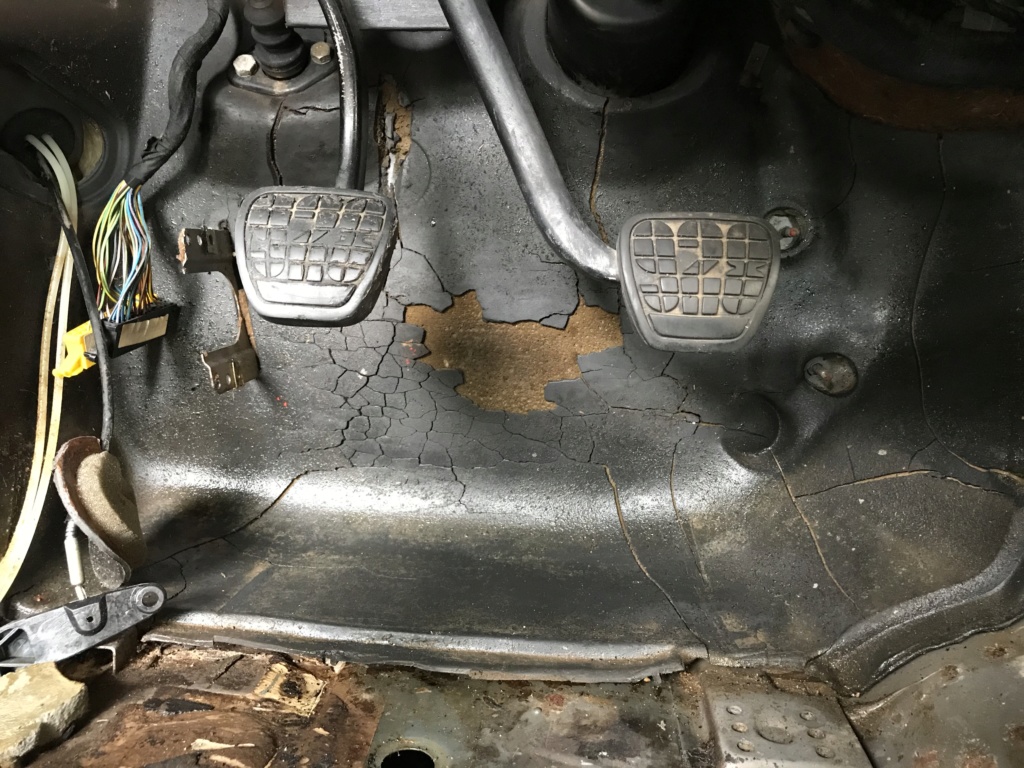
Floors somewhat clean, I just received the solvant to clean the rest of the glue today !
Ok it's a mess...
Dash board didn't like humidity...
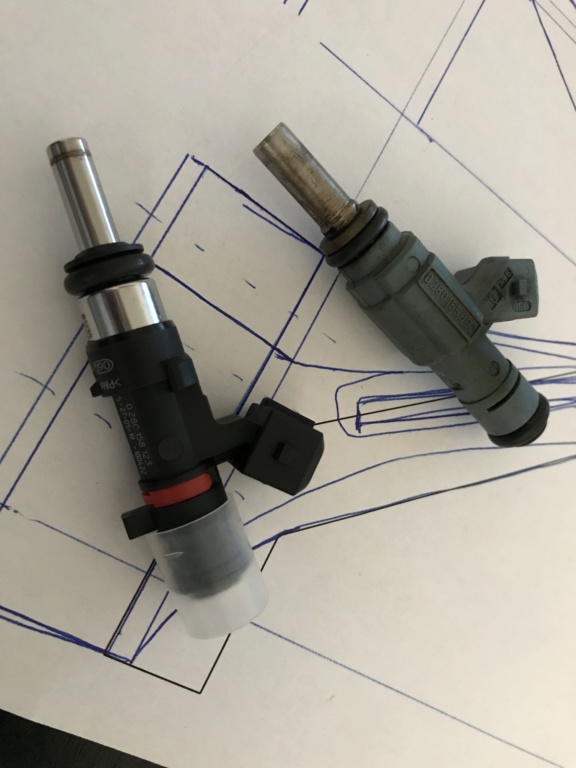
I have new injectors ! 590cc ones... should be enough for the future ! And, they are new, not used...
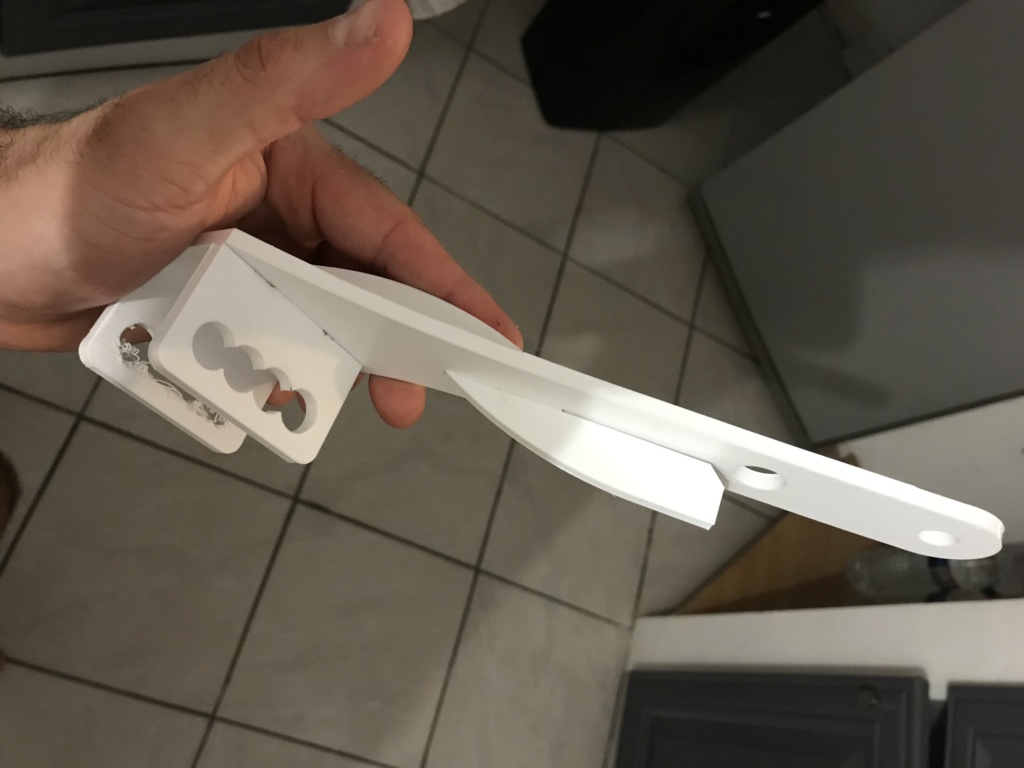
I started a prototype for new steering arms, adjustable, with bump steer correction.
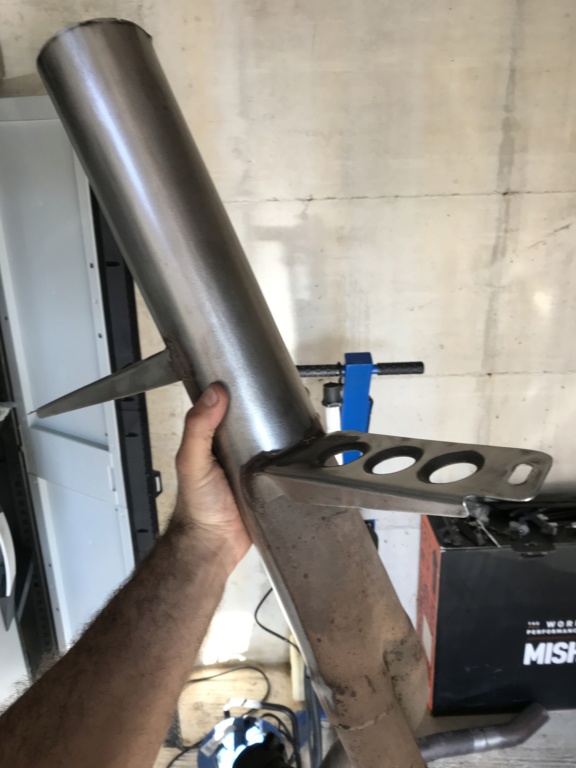
I also welded the O2 sensor bung, first I tested on a piece of Macan exhaust I had. Very thin.
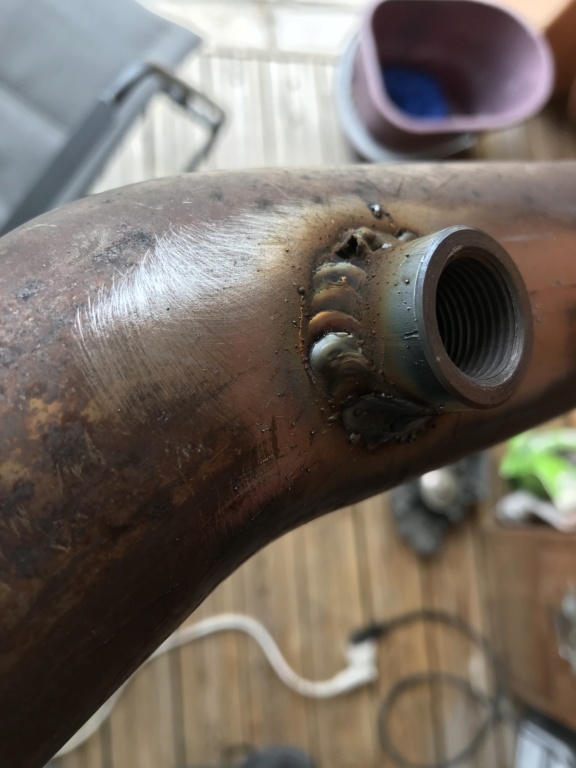
No holes, should be good for the thicker 928 exhaust !
Traced the position.
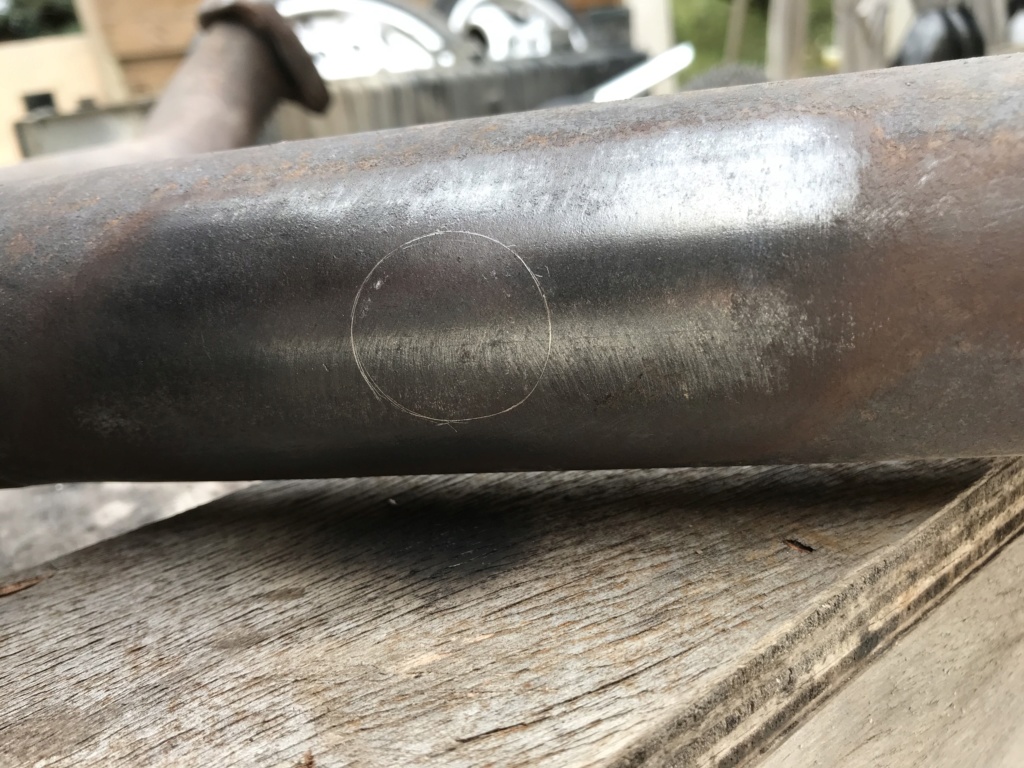
Drilled and positionned the bung.
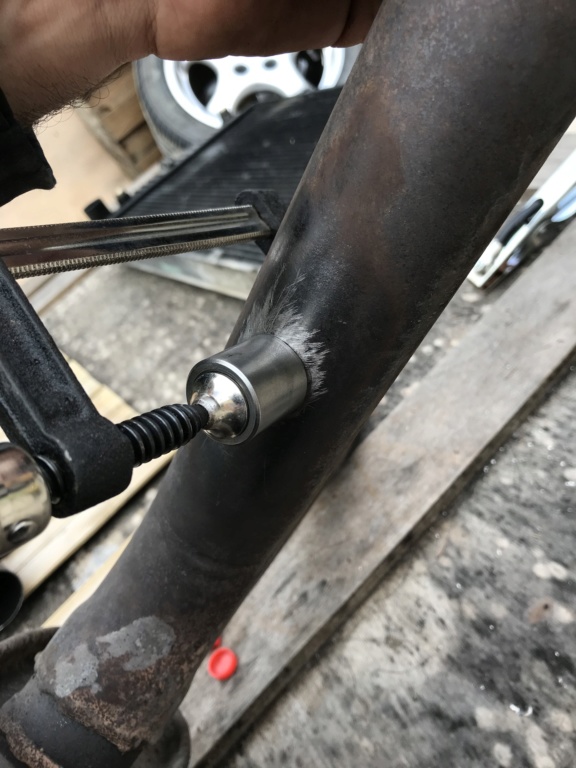
Tacked to verify the hole is centered
Then finish welding it... isn't the pretiest, but will do.
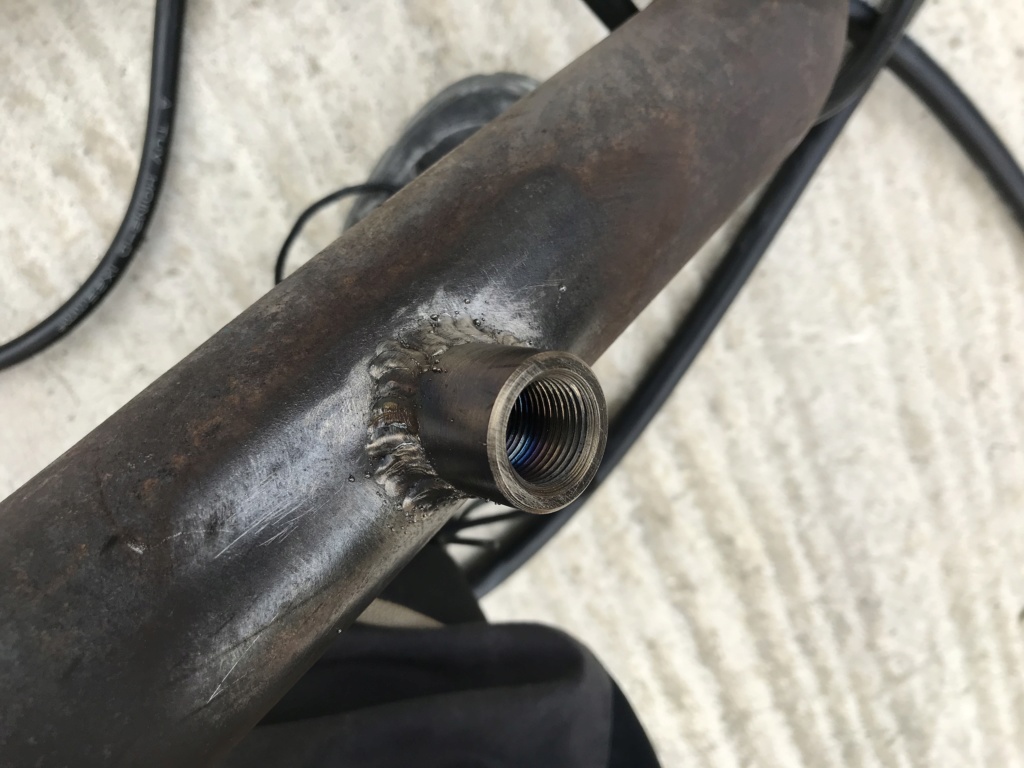
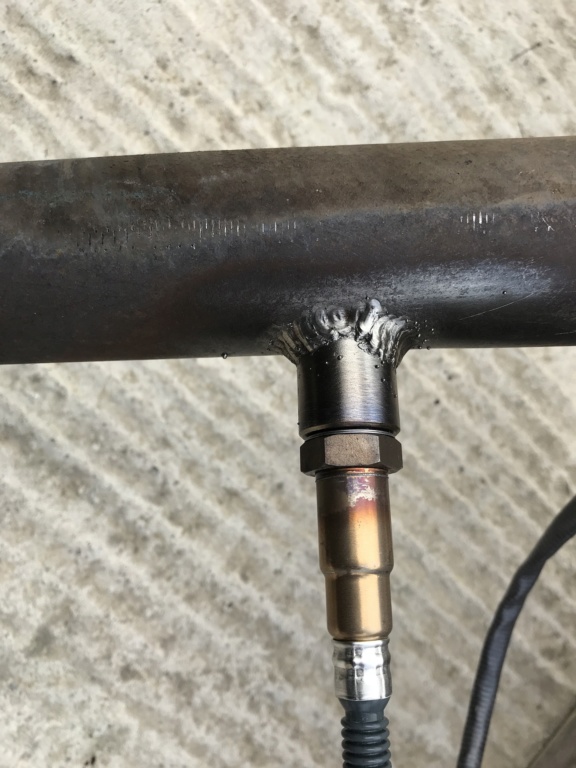
I have to clean the flange's faces to be sure they seal when putting it back.
I received my solvant today and sanding pads, I will be able to finish the interior, put back the dashboard and a few other stuff then move on to the seat frames !
For the suspension, I don't have a press, so I can't install the bushings...
For the front, I will probably go all tubular with the help of a friend that, unlike me, know how to weld ^^
I chose to go with GAZ coilovers because I became a vendor for them in France, so I want to try them before putting them up on my website, that's the perfect opportunity !
For the brakes, I can't find GTS front discs, so I'll probably go for 993 turbo ones, and for the calipers, I don't think I'll use the big 991 CS 6 pistons, but the smaller carrera 4 pistons.
That's all for now !
Ben
Floors somewhat clean, I just received the solvant to clean the rest of the glue today !
Ok it's a mess...
Dash board didn't like humidity...
I have new injectors ! 590cc ones... should be enough for the future ! And, they are new, not used...
I started a prototype for new steering arms, adjustable, with bump steer correction.
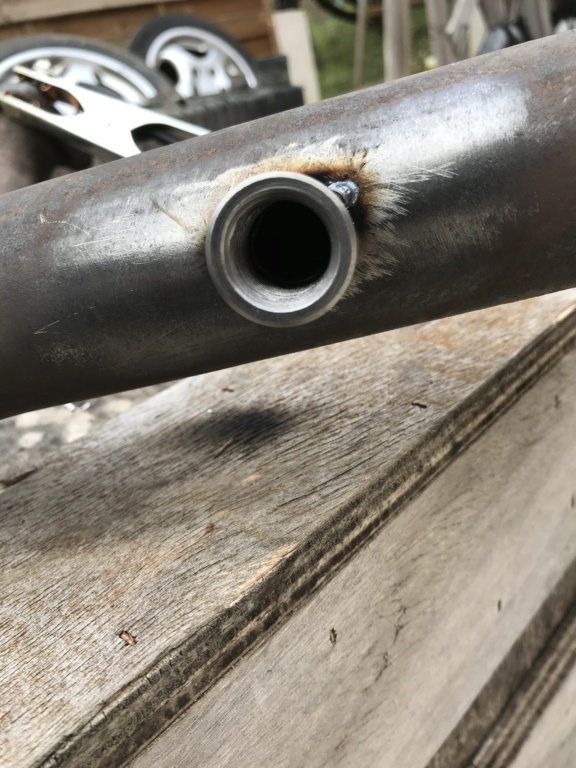
I also welded the O2 sensor bung, first I tested on a piece of Macan exhaust I had. Very thin.
No holes, should be good for the thicker 928 exhaust !
Traced the position.
Drilled and positionned the bung.
Tacked to verify the hole is centered
Then finish welding it... isn't the pretiest, but will do.
I have to clean the flange's faces to be sure they seal when putting it back.
I received my solvant today and sanding pads, I will be able to finish the interior, put back the dashboard and a few other stuff then move on to the seat frames !
For the suspension, I don't have a press, so I can't install the bushings...
For the front, I will probably go all tubular with the help of a friend that, unlike me, know how to weld ^^
I chose to go with GAZ coilovers because I became a vendor for them in France, so I want to try them before putting them up on my website, that's the perfect opportunity !
For the brakes, I can't find GTS front discs, so I'll probably go for 993 turbo ones, and for the calipers, I don't think I'll use the big 991 CS 6 pistons, but the smaller carrera 4 pistons.
That's all for now !
Ben
04-03-2020, 10:10 AM
#96
Three Wheelin'
nice project Ben ! keep the pics coming ….
don't wire the Innovate O2 sensor gauge as they propose in the manual.... i have 3 cars with those in and already had 3 sensor failures….They could not explain it , but what i found is they heat up to fast in a cold exhaust with condens... and thermoshock ruins them. I wired the +12V over a switch now and wait til engine is warm to activate it. So far they keep working now ! The oem sensor(s) are much slower heated by the ECU who controls it ….also the O2 gauges from "Stack" are believed to have that more controlled heating.
Innovate also told me it is not good to run the engine without the sensor activated…. for example if i forget to switch it on..... which is not true imho … the one in my rally car was used years for thousands of km's and only very rare activated to check... and it kept working , no problem. Finally i ruined it myself, i added once 2stroke oil to lubricate the Weber carbs….killed the sensor
04-03-2020, 02:50 PM
#98
nice project Ben ! keep the pics coming �.
don't wire the Innovate O2 sensor gauge as they propose in the manual.... i have 3 cars with those in and already had 3 sensor failures�.They could not explain it , but what i found is they heat up to fast in a cold exhaust with condens... and thermoshock ruins them. I wired the +12V over a switch now and wait til engine is warm to activate it. So far they keep working now ! The oem sensor(s) are much slower heated by the ECU who controls it �.also the O2 gauges from "Stack" are believed to have that more controlled heating.
Innovate also told me it is not good to run the engine without the sensor activated�. for example if i forget to switch it on..... which is not true imho � the one in my rally car was used years for thousands of km's and only very rare activated to check... and it kept working , no problem. Finally i ruined it myself, i added once 2stroke oil to lubricate the Weber carbs�.killed the sensor
This sensor will be controlled directly by the ECU, should be fine

It's true that they recommend against running the engine without the O2 sensor running, I don't really understand why though...
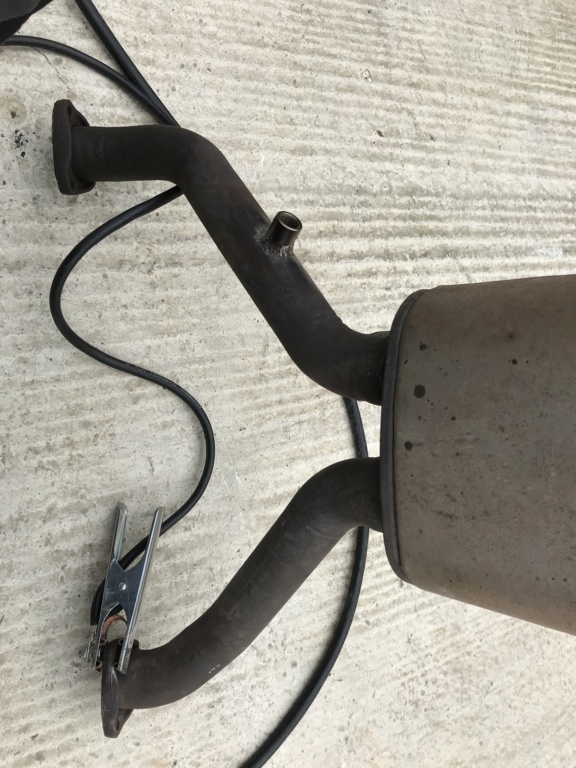
I was searching for the model of this exhaust !
How much do they go for ? I'll keep mine because I love how it looks, but curious
04-08-2020, 04:03 PM
#99
Hello !
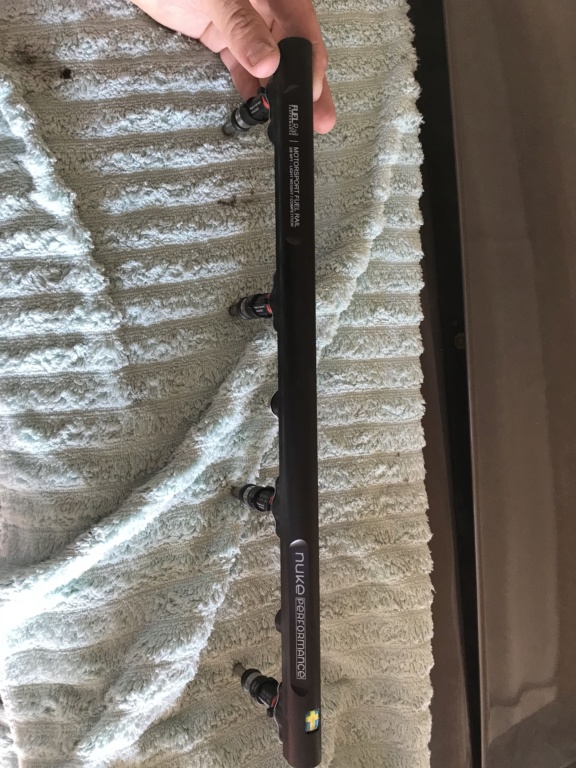
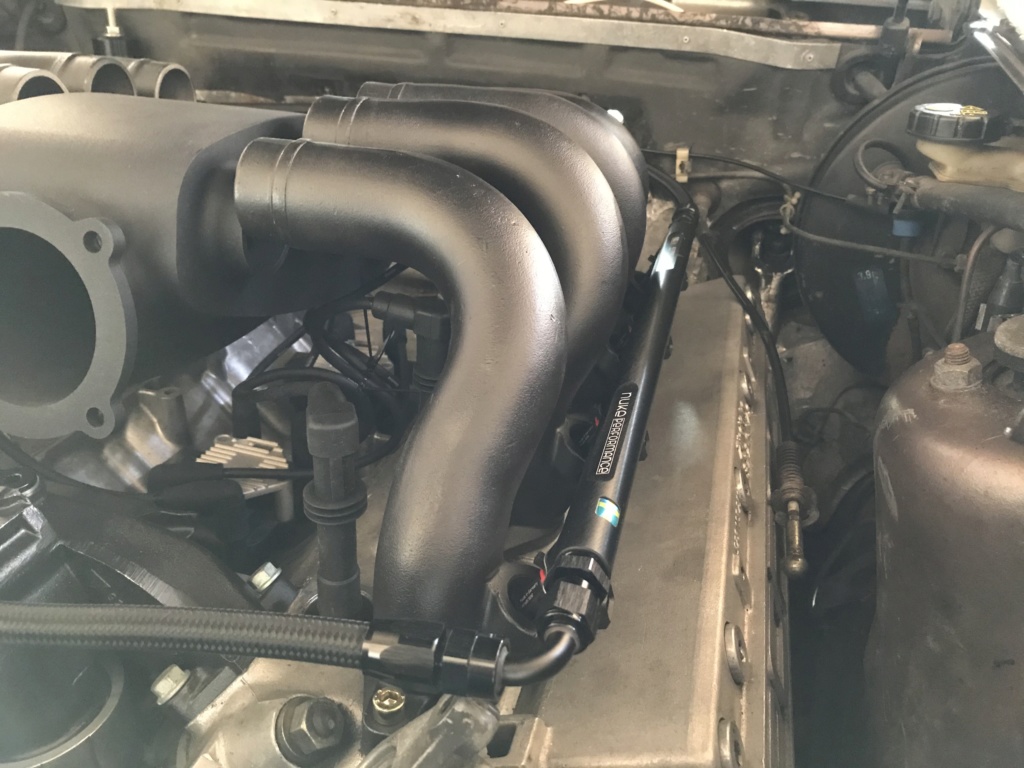
Good news ! My Nuke Performance fuel rails are on their way !!! I can NOT WAIT !!!
I did this...


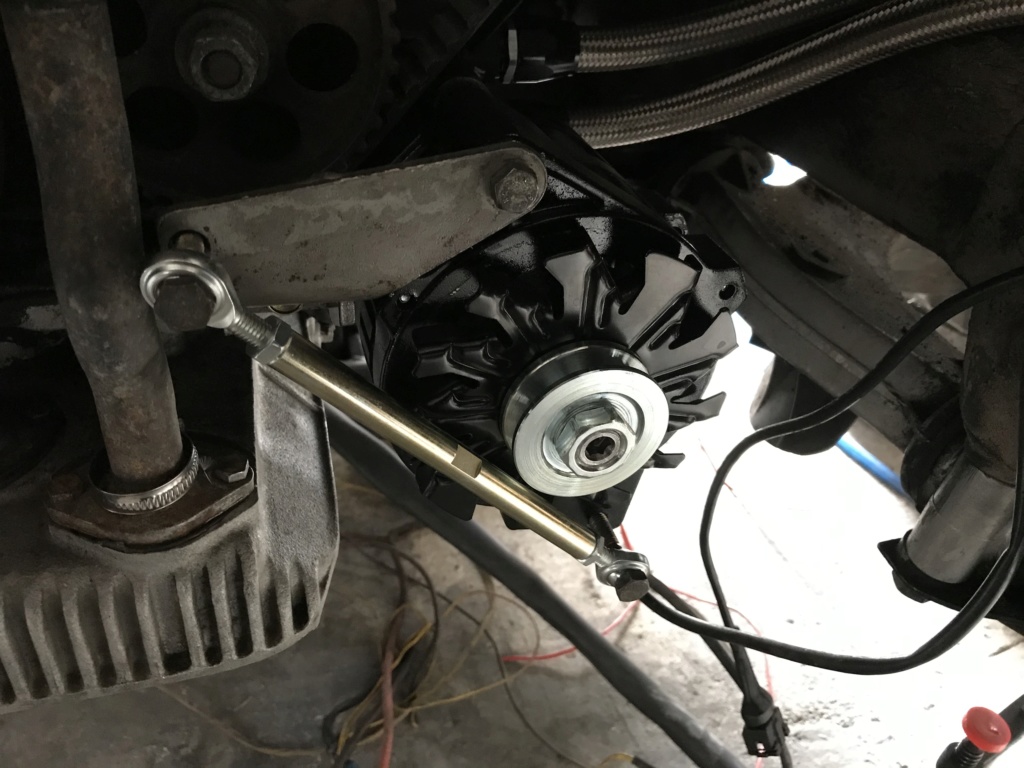
And the alternator... Since I got the wrong one...


Now it fits !

I just need to machine a spacer to align the pulleys.
For the tensionner, I'll use something like this :

So yeah it's not the right size turnbuckle, but it will be soon

One belt screams race car to me ! ^^
I might cut the two unused pulleys too...
I'm waiting on a lot of packages still...
But the "end" is near !
Good news ! My Nuke Performance fuel rails are on their way !!! I can NOT WAIT !!!
I did this...
And the alternator... Since I got the wrong one...
Now it fits !
I just need to machine a spacer to align the pulleys.
For the tensionner, I'll use something like this :
So yeah it's not the right size turnbuckle, but it will be soon
One belt screams race car to me ! ^^
I might cut the two unused pulleys too...
I'm waiting on a lot of packages still...
But the "end" is near !
04-11-2020, 05:46 PM
#100
I see the light at the end of the tunnel !
I hate working on the interior ...
Erk...
I got back to it...
 $
$
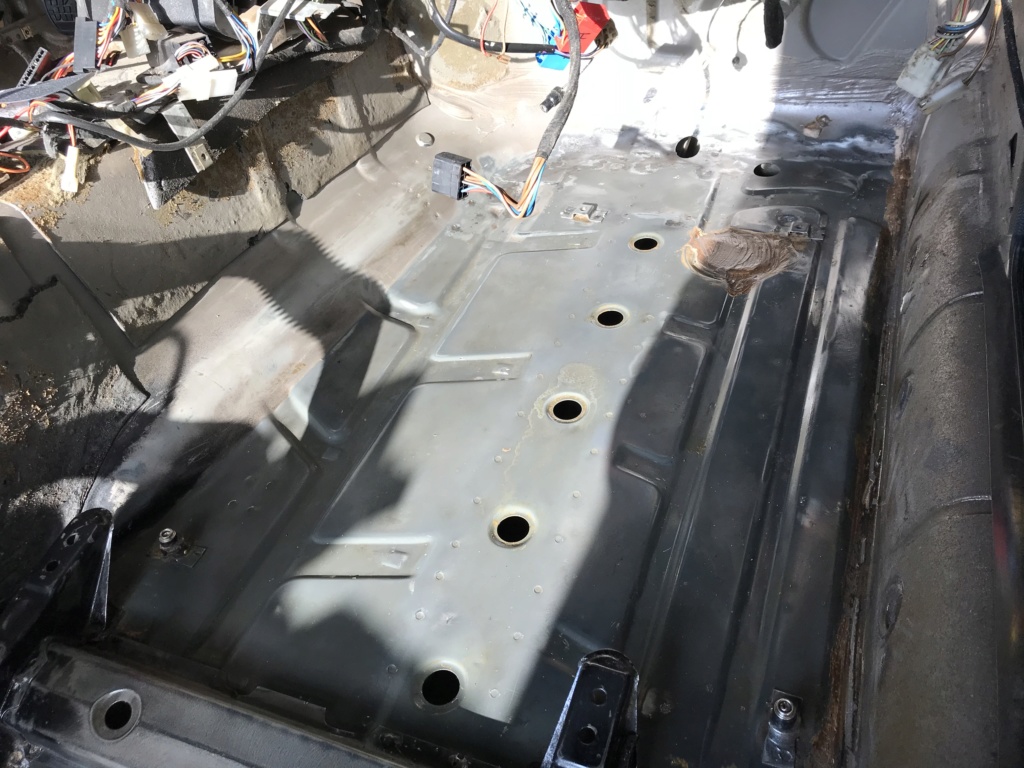
Then...
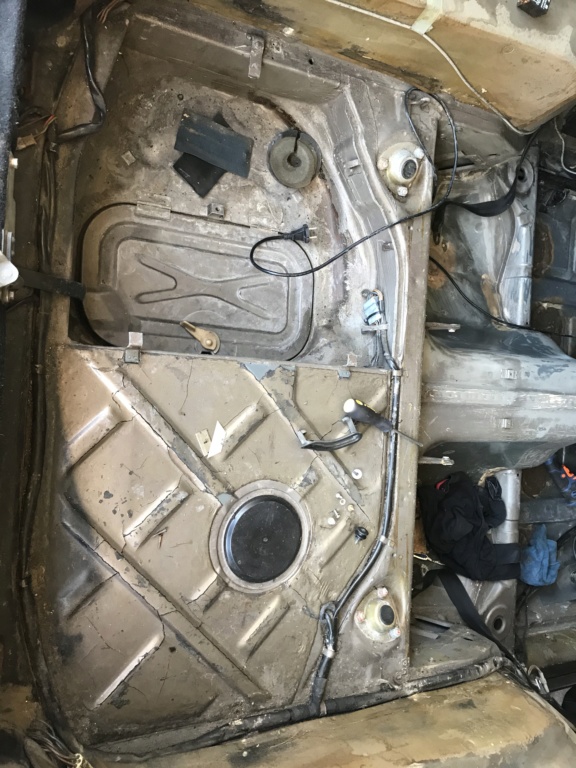
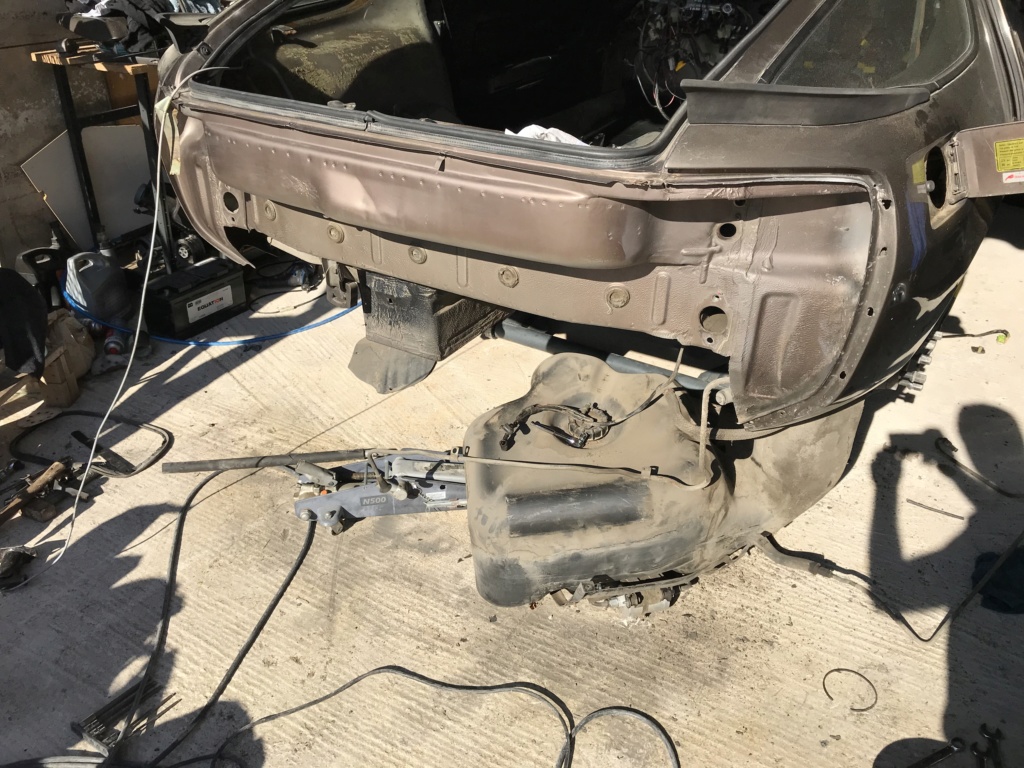
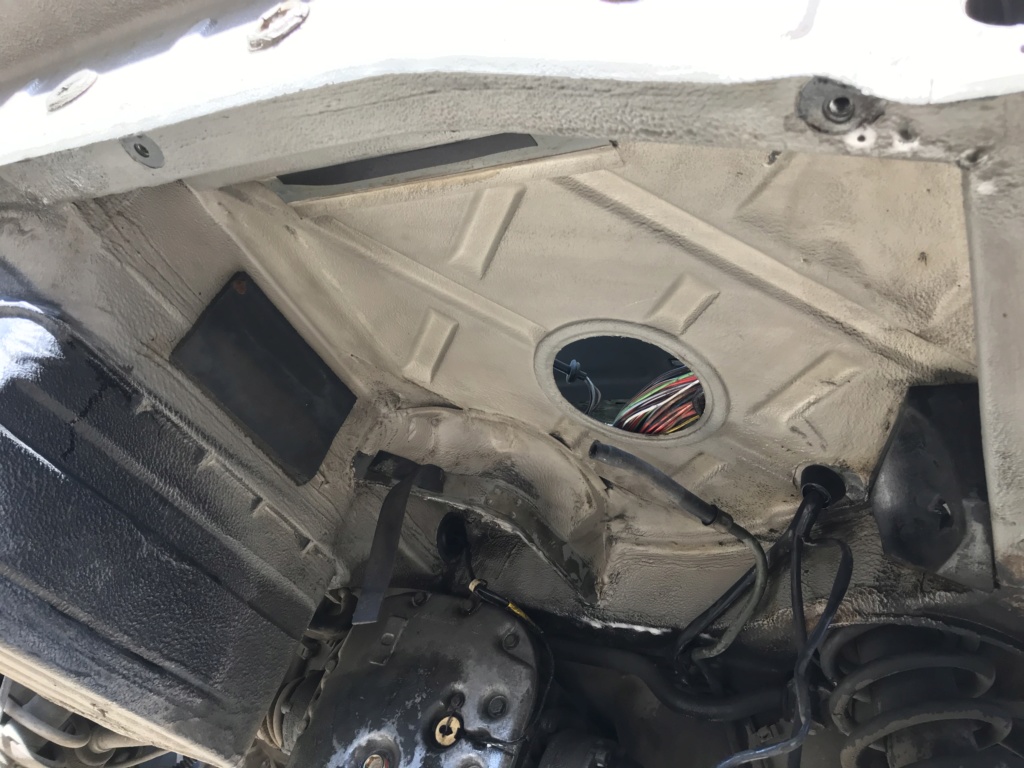
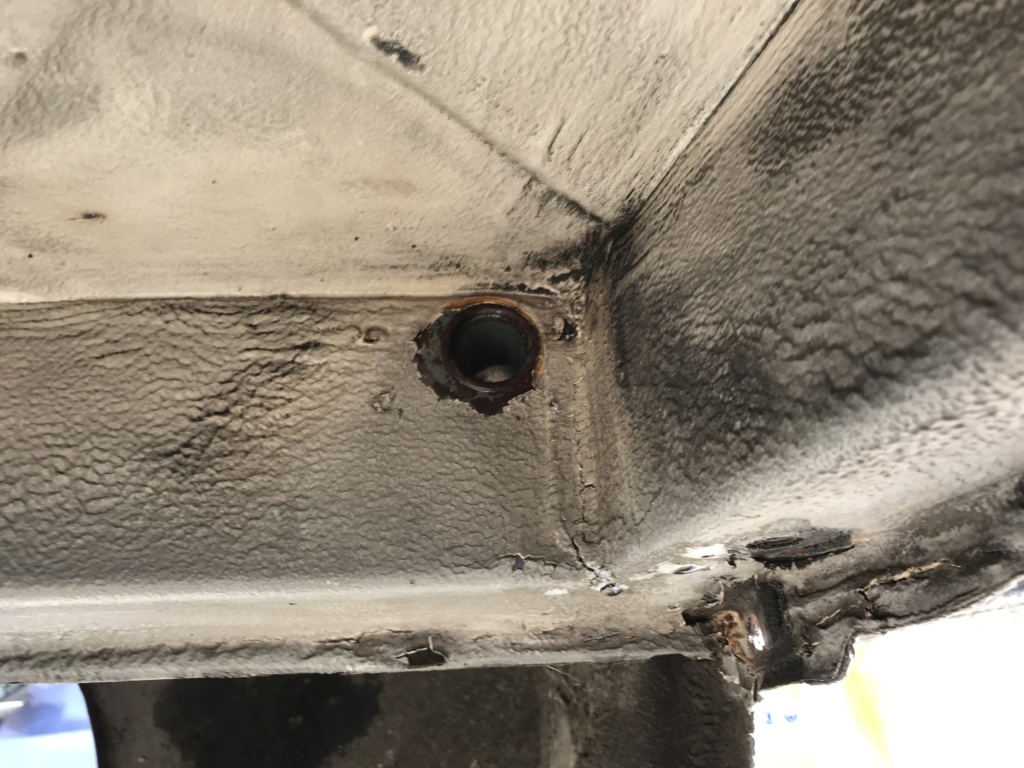
Ah ?
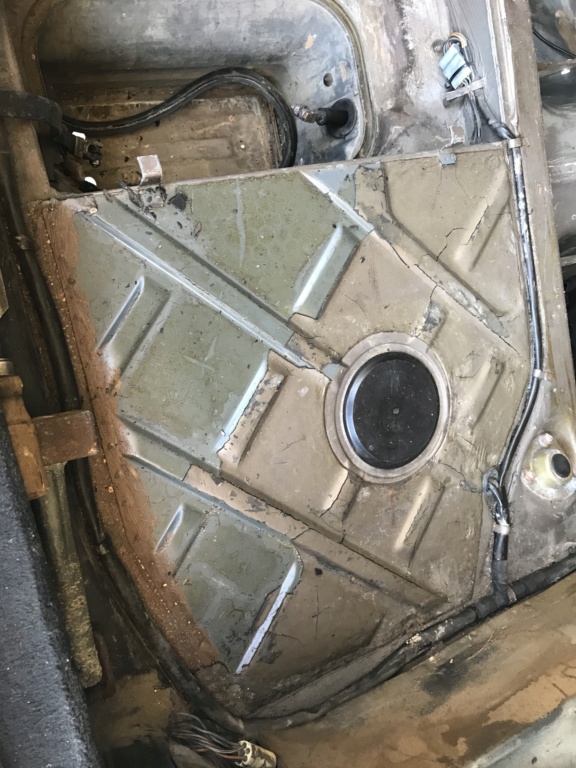
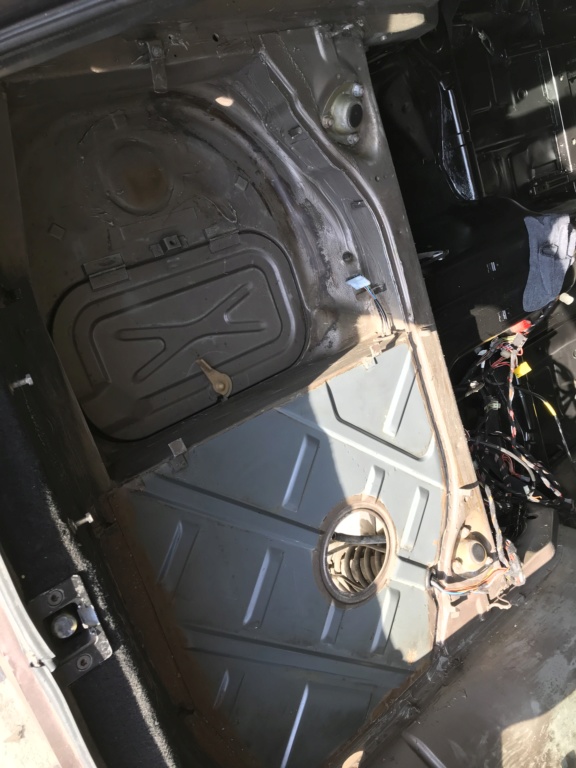
Bad news, fuel vapor for 40 years have dried the coating here, and it leaves the bare metal exposed... The tank has to come out !
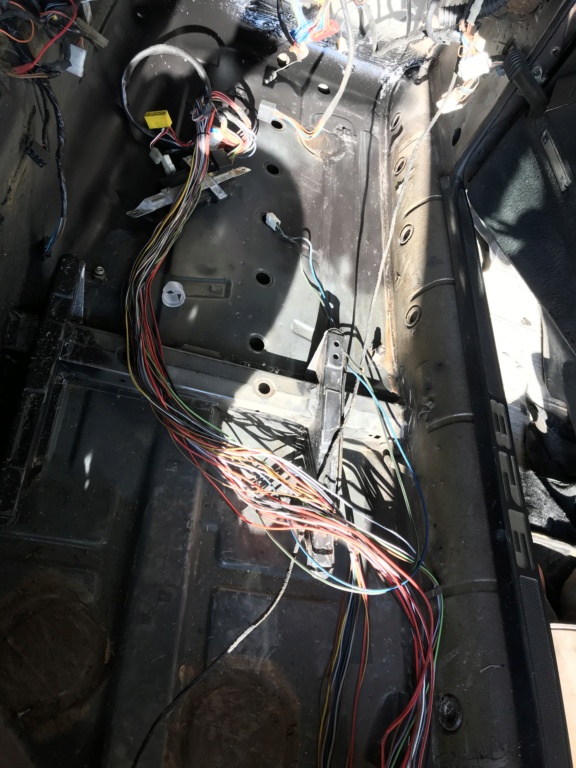
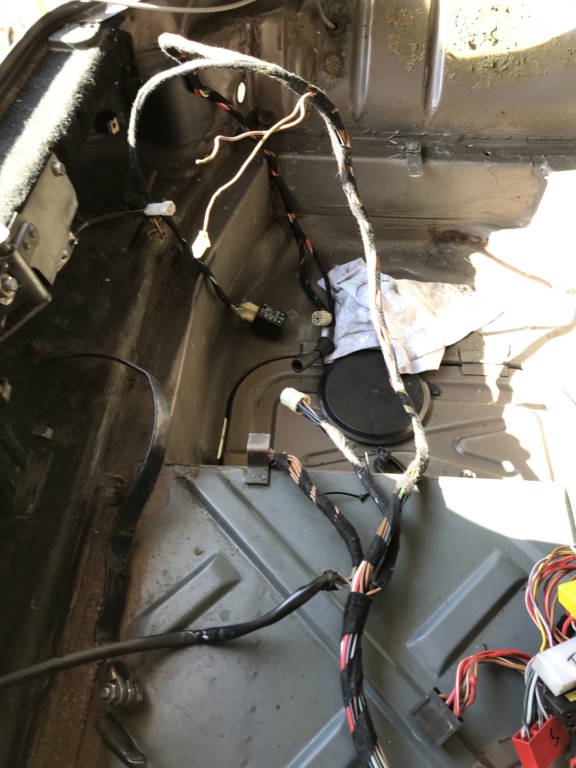
While I was inside... I worked on the rear harness.
The next day...
Ah ?
Oh...
Hop Hop
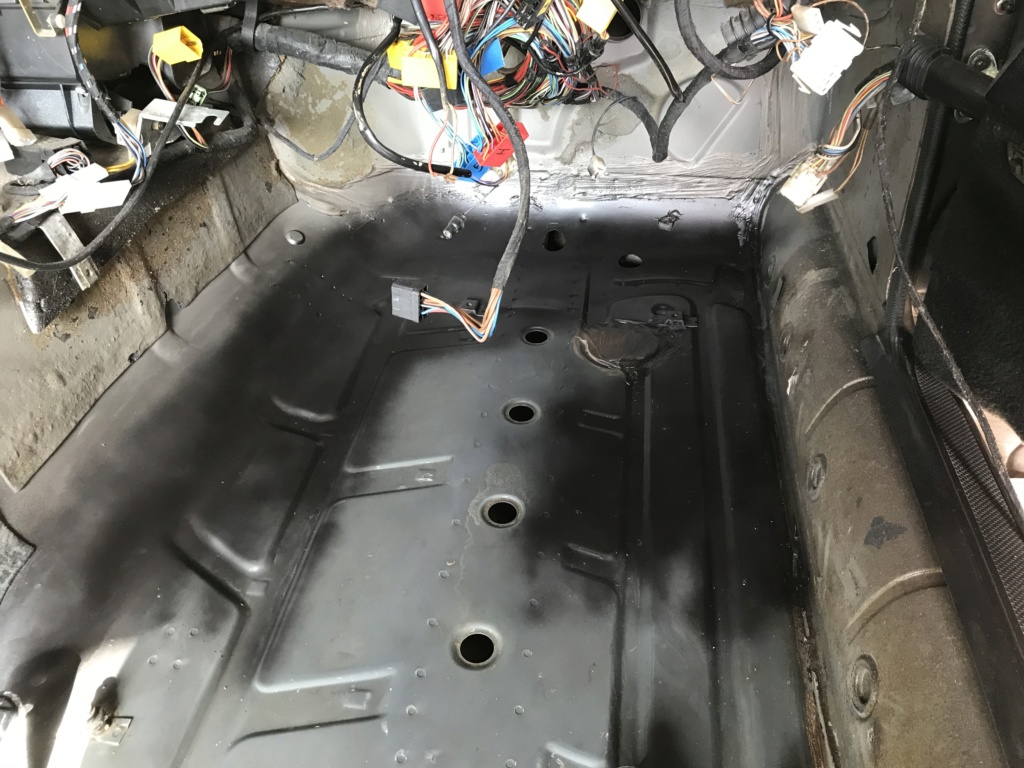
That's what I want to protect.
Clean clean clean.
Washing the tank too.
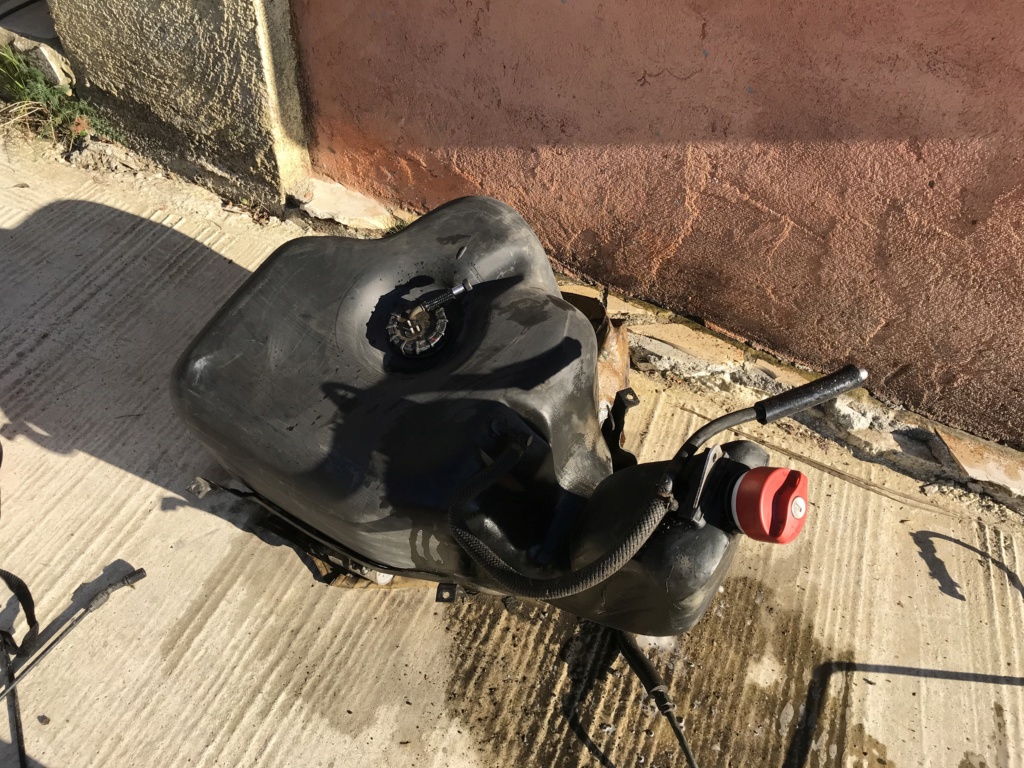
Now I'll replace all the hoses around the tank, the fuel pump, and the fuel filter.
And I'll probably re-wire the fuel pump because it's going to be controled by the new ECU.
I hate working on the interior ...
Erk...
I got back to it...
$Then...
Ah ?
Bad news, fuel vapor for 40 years have dried the coating here, and it leaves the bare metal exposed... The tank has to come out !
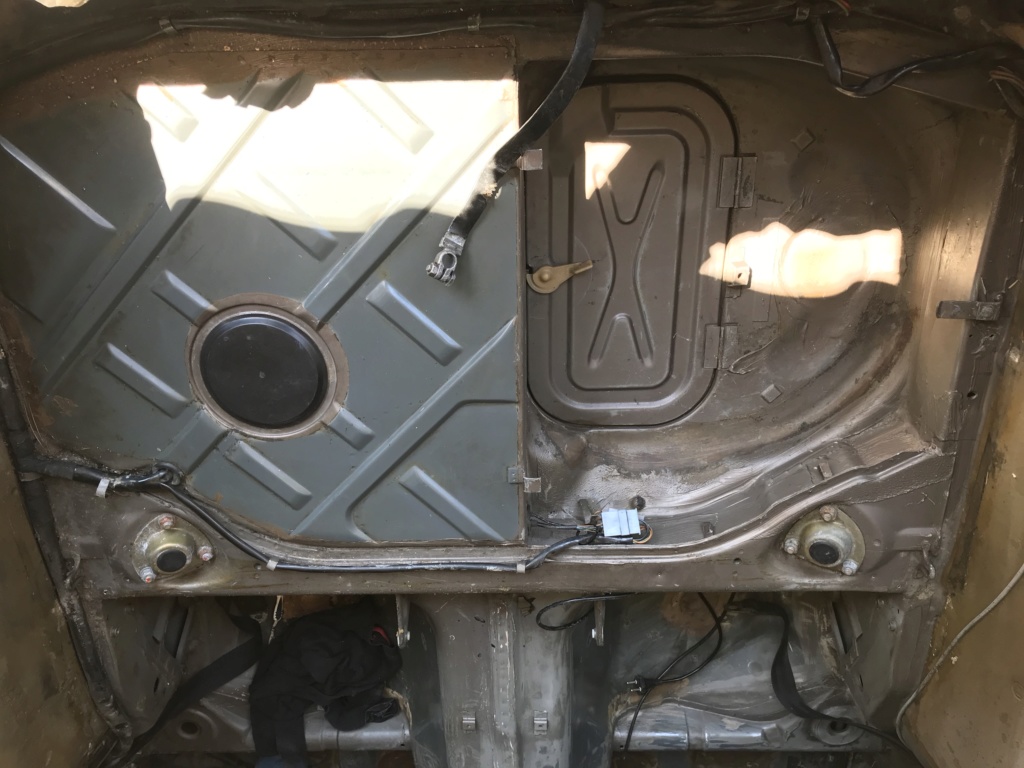
While I was inside... I worked on the rear harness.
The next day...
Ah ?
Oh...
Hop Hop
That's what I want to protect.
Clean clean clean.
Washing the tank too.
Now I'll replace all the hoses around the tank, the fuel pump, and the fuel filter.
And I'll probably re-wire the fuel pump because it's going to be controled by the new ECU.
04-15-2020, 07:33 AM
#101
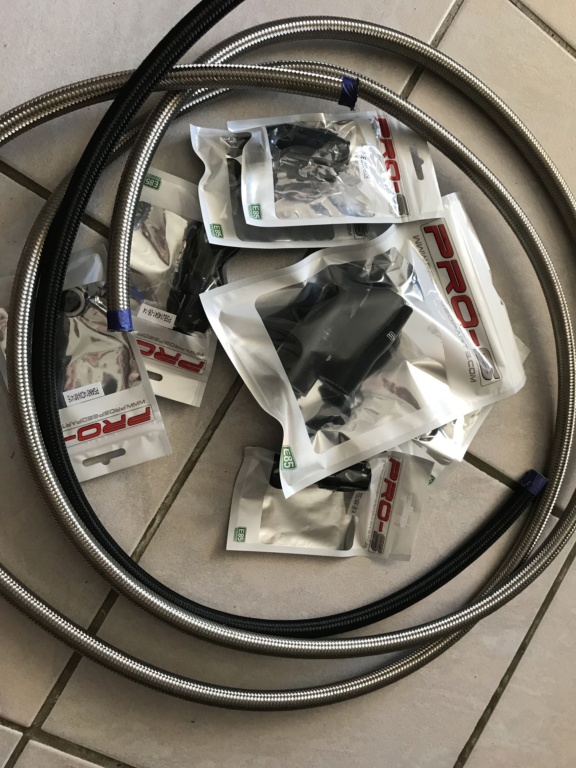
Big packages yesterday !!
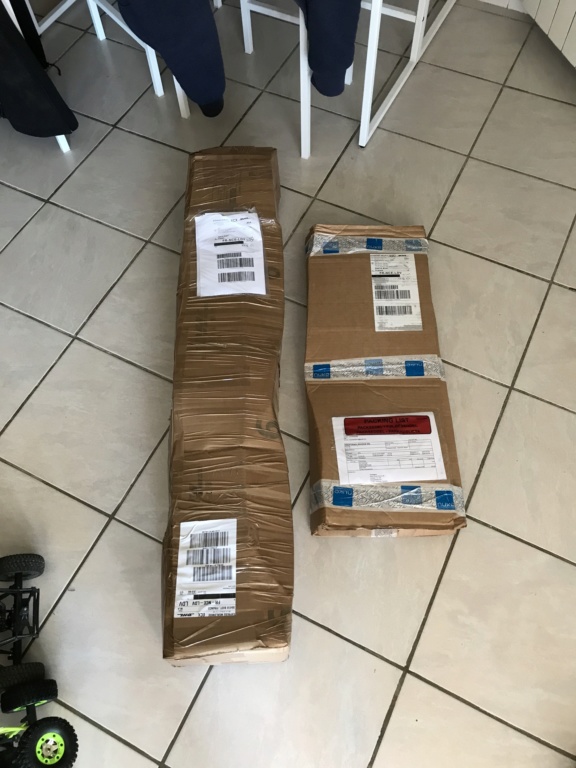
Felt like Christmas
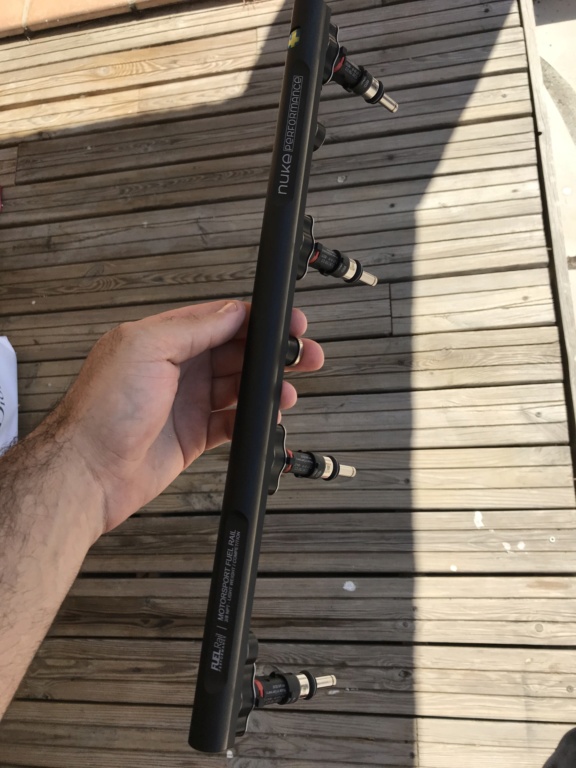
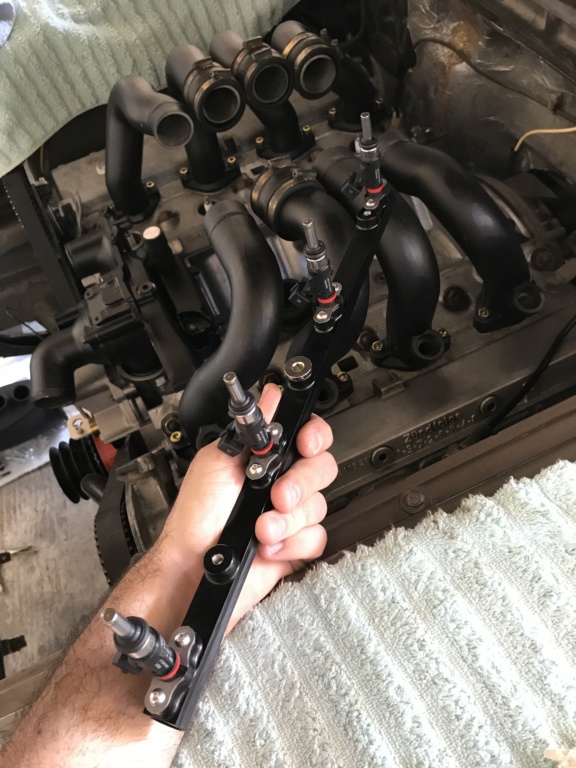
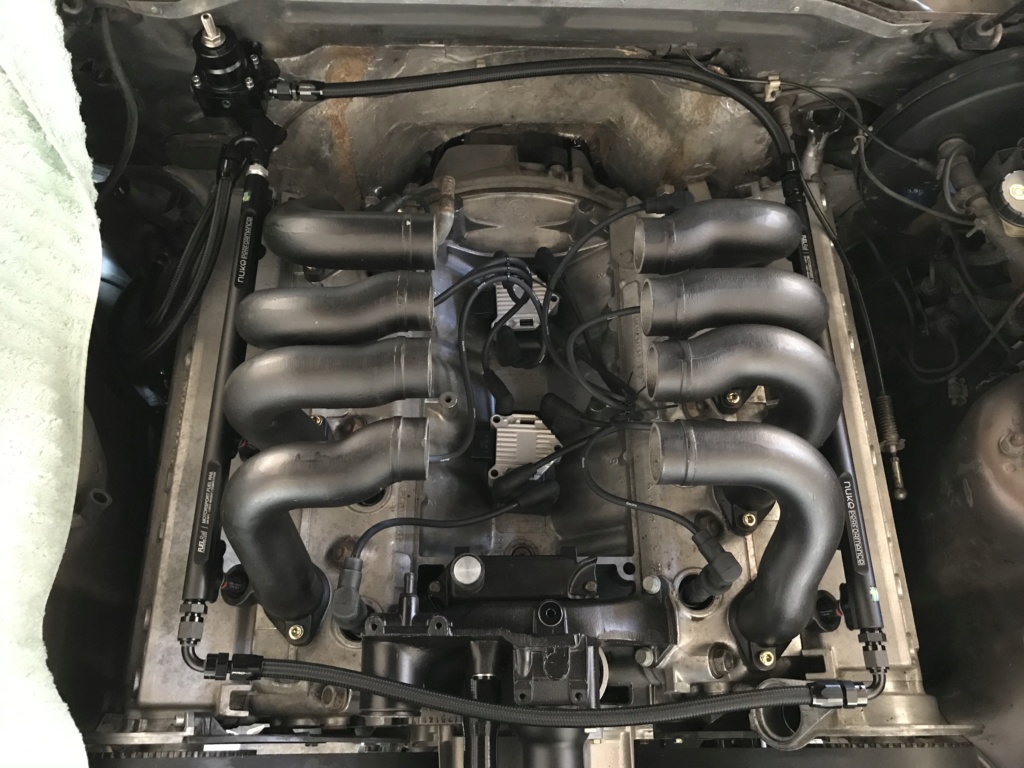
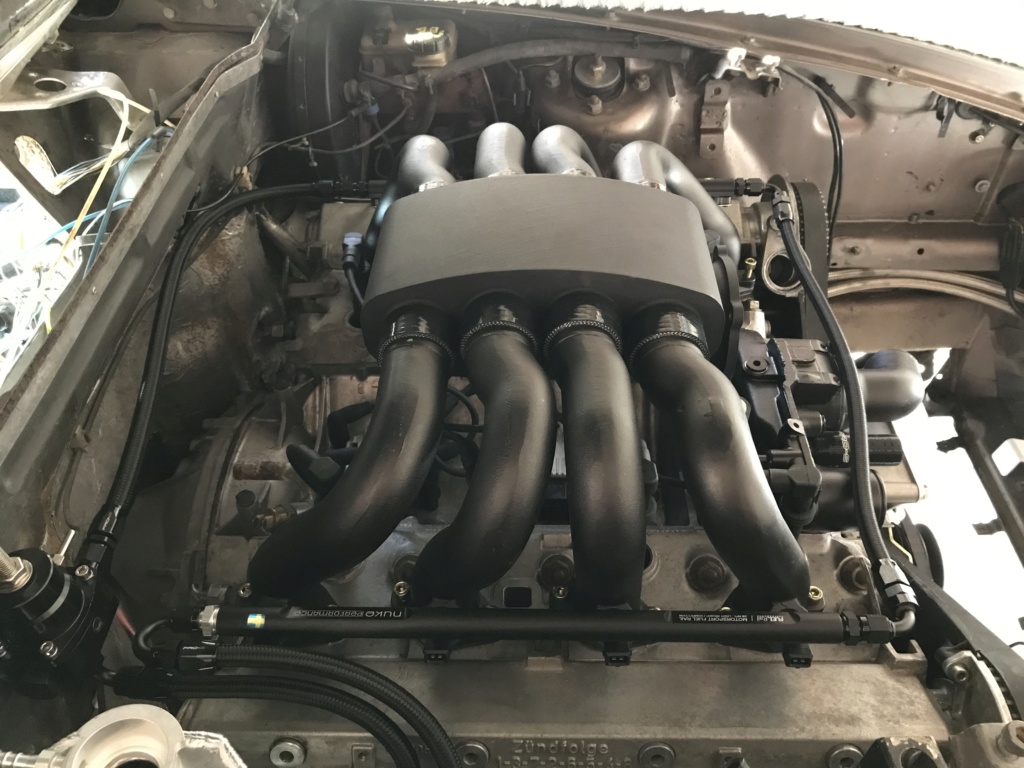
I quickly put the injectors on the rails to see how it would look !
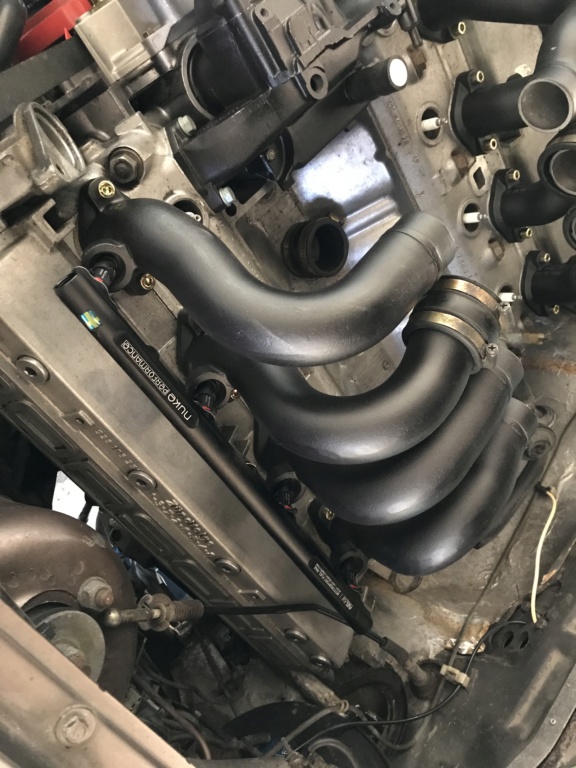
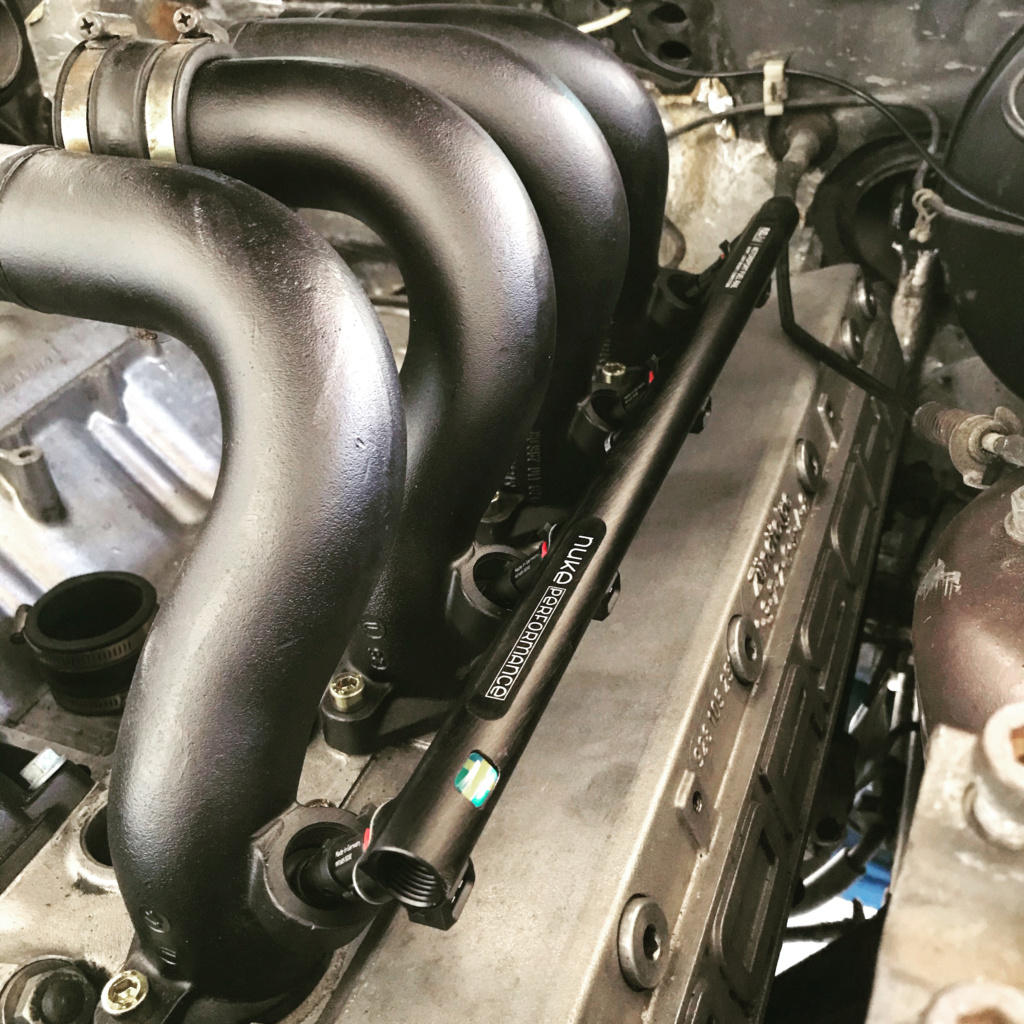
Injectors are held with stainless steel clips, they will go nowhere !
Power steering fitting too.

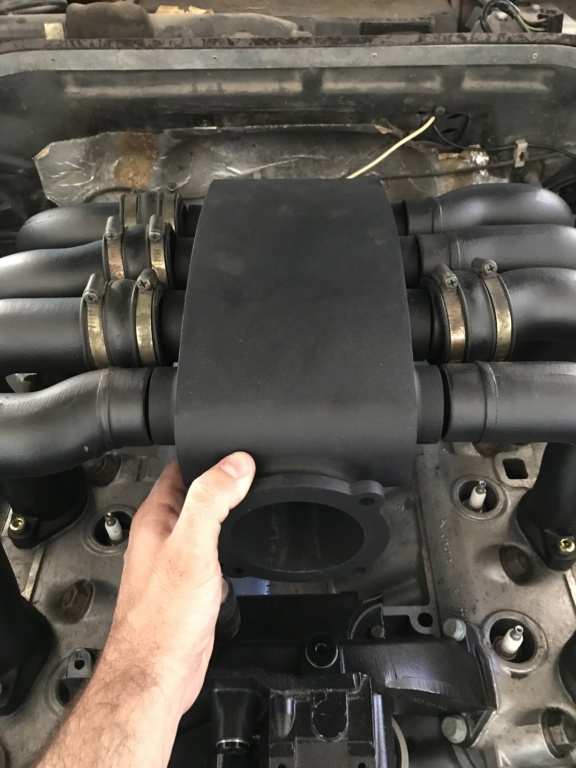
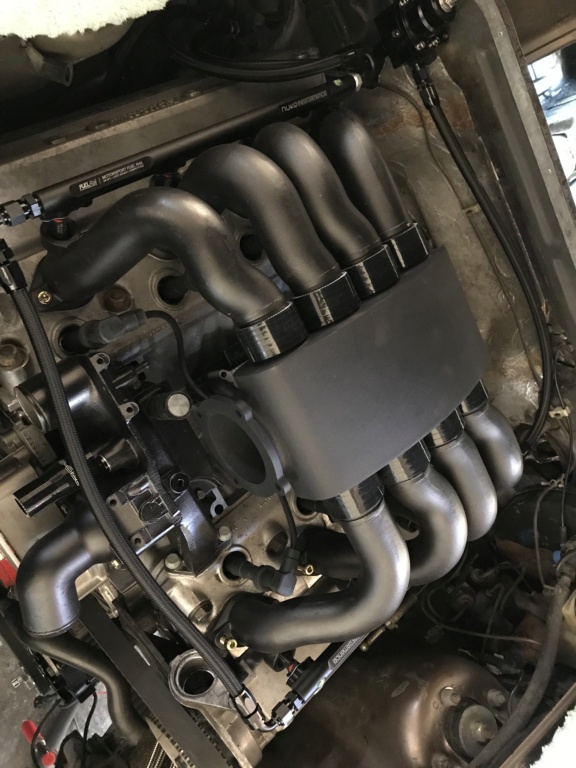
And silicone tubing to make new intake boots. I'll receive the clamps later this week.
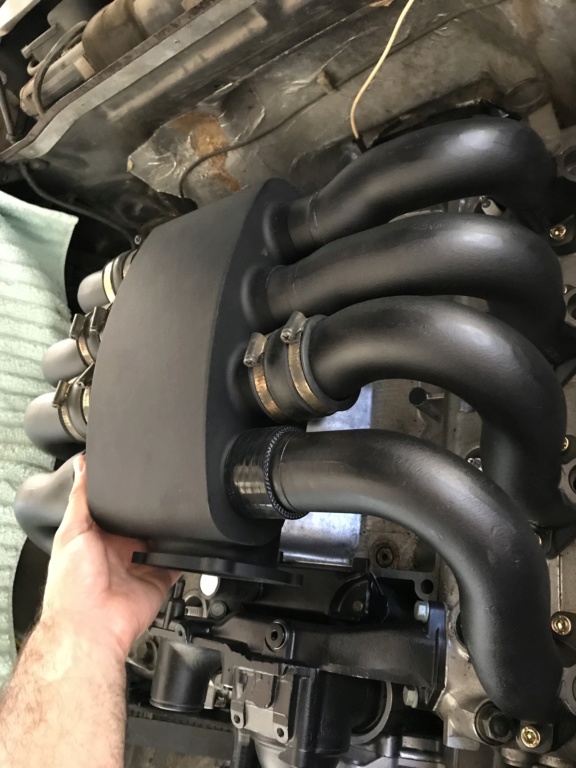
They are shorter than stock.
Less gap between the plenum and intake runners.
I'm almost done with the chassis wiring harness too.
And I've ordered the GAZ coilovers
Felt like Christmas
I quickly put the injectors on the rails to see how it would look !
Injectors are held with stainless steel clips, they will go nowhere !
Power steering fitting too.
And silicone tubing to make new intake boots. I'll receive the clamps later this week.
They are shorter than stock.
Less gap between the plenum and intake runners.
I'm almost done with the chassis wiring harness too.
And I've ordered the GAZ coilovers
04-24-2020, 05:15 PM
#102
Remember when I said I was almost done with chassis harness ?
Ah, that was a good time ...
First, clean up rear harness, DONE !
Then connect the wires back to the fuse box, easy !
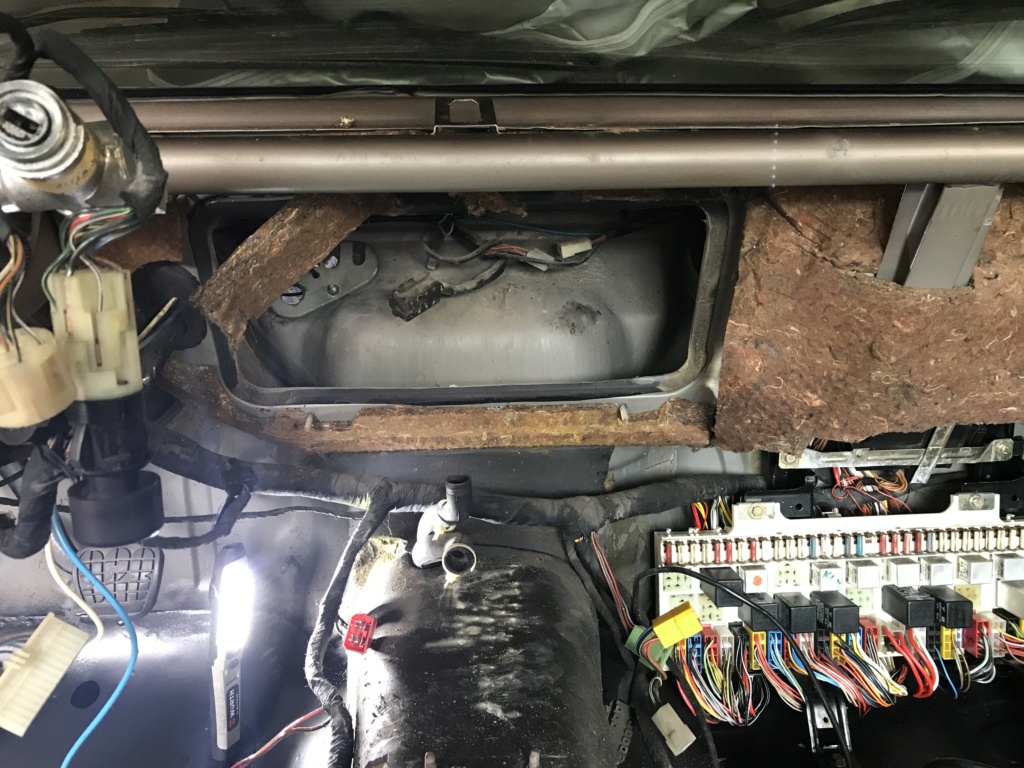
Well, working near the HVAC system, I started to realize that it was now the filthiest part of the car... Not going to do it for me !
Before :
Everything started to go downhill around the time I took this photo...
!
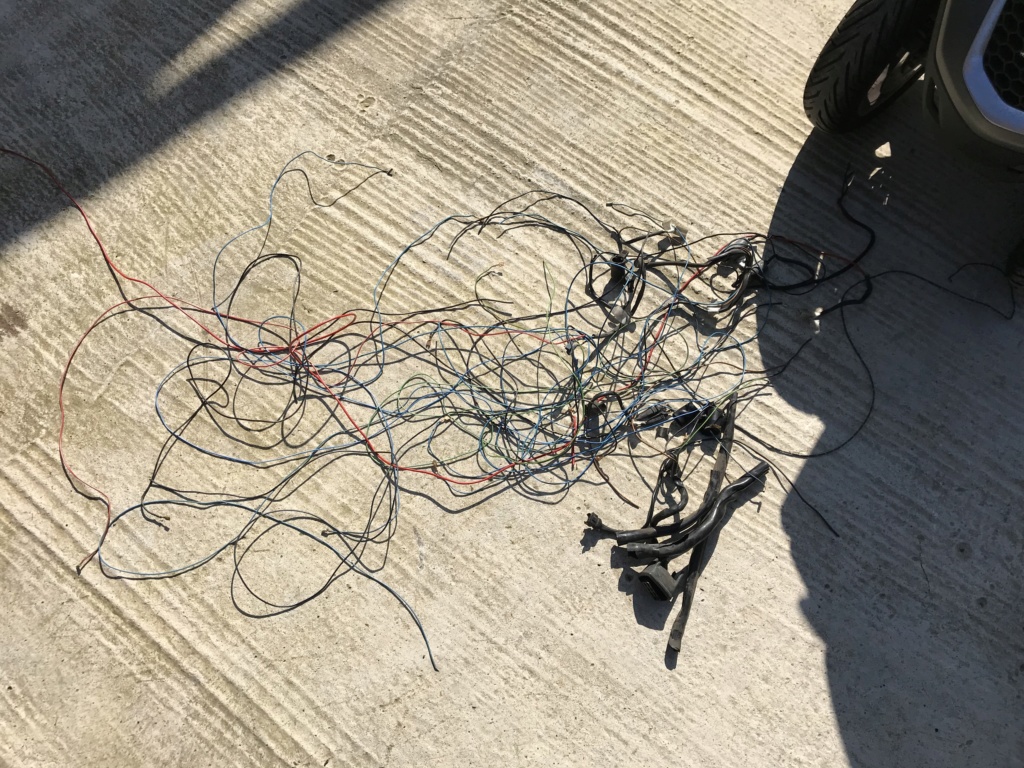
Then I started removing all the now unused wires in the main cockpit harness : radio/stereo, alarm, and now, HVAC.
Also received the alternator tensionner. I have to fit it properly now.
I'm wondering how much the car will weight once done ? I'll be happy if it's around what my Boxster was (1450Kg with a half tank and driver).
Ah, that was a good time ...
First, clean up rear harness, DONE !
Then connect the wires back to the fuse box, easy !
Well, working near the HVAC system, I started to realize that it was now the filthiest part of the car... Not going to do it for me !
Before :
Everything started to go downhill around the time I took this photo...
!
Then I started removing all the now unused wires in the main cockpit harness : radio/stereo, alarm, and now, HVAC.
Also received the alternator tensionner. I have to fit it properly now.
I'm wondering how much the car will weight once done ? I'll be happy if it's around what my Boxster was (1450Kg with a half tank and driver).
04-24-2020, 05:42 PM
#103
To the trash !

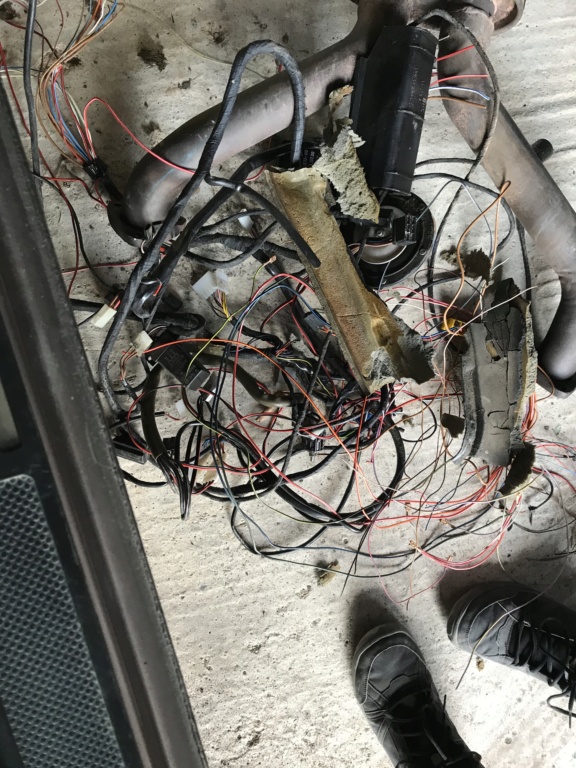
Joking, I'm keeping the wires ! I always need wires !
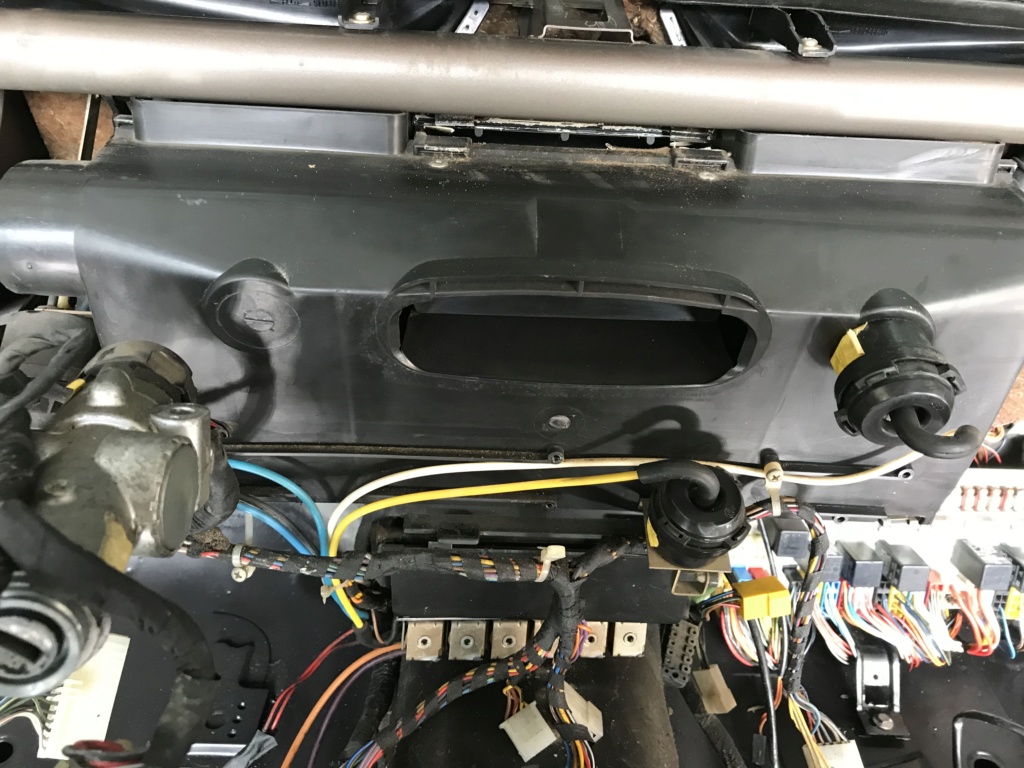
I removed the HVAC... But I still need it... not the original one though.
The main thinking is that the heater core is 38years old... and costs 400€... And the whole system is way too complex for what it does,
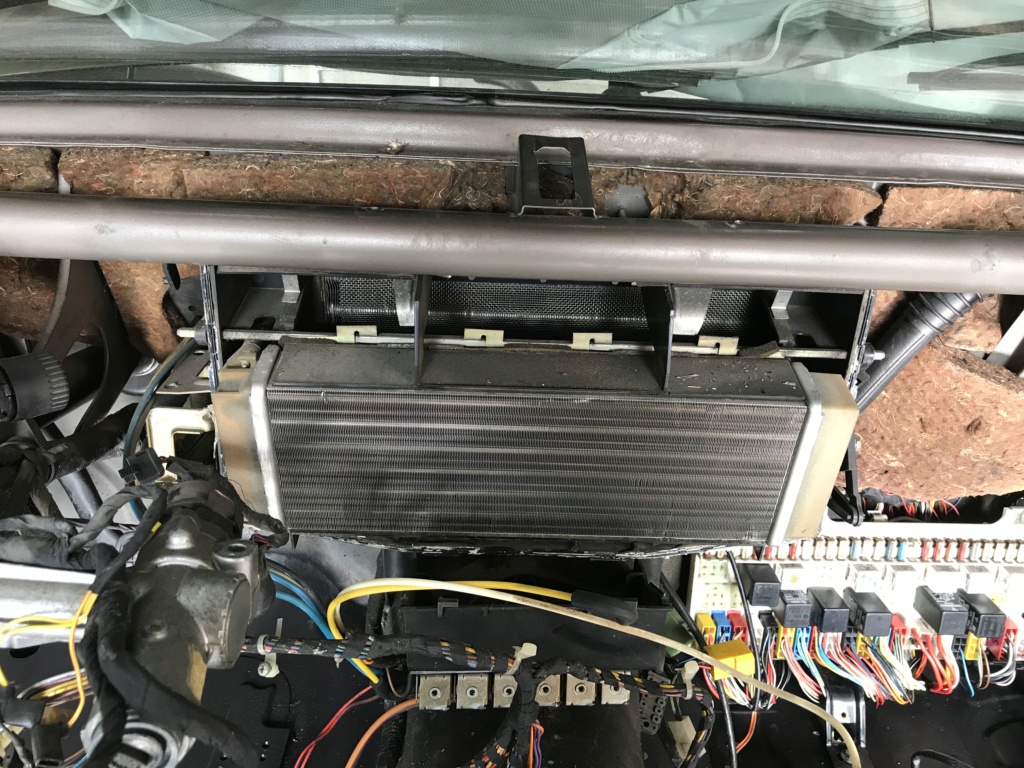
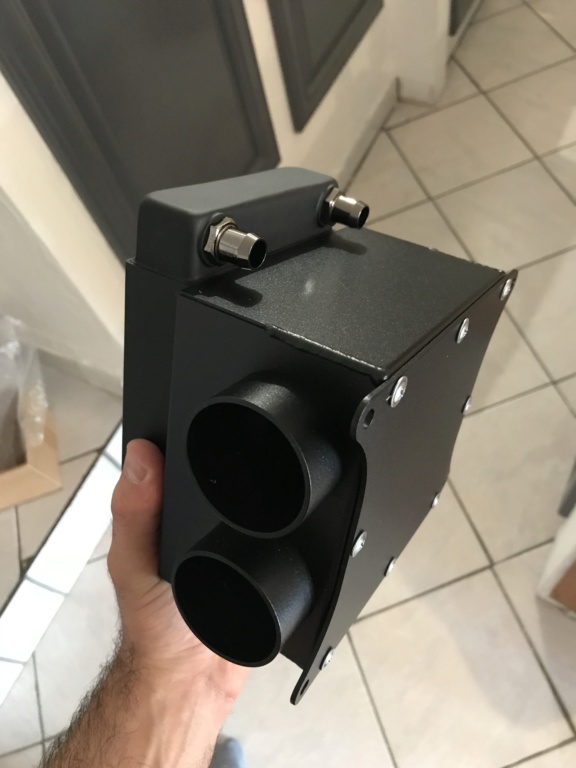
So... Yay motorsport heater !
More powerfull than I though, metal core, and very compact ! Love it !
I've finally received all the A/N fittings and adapters

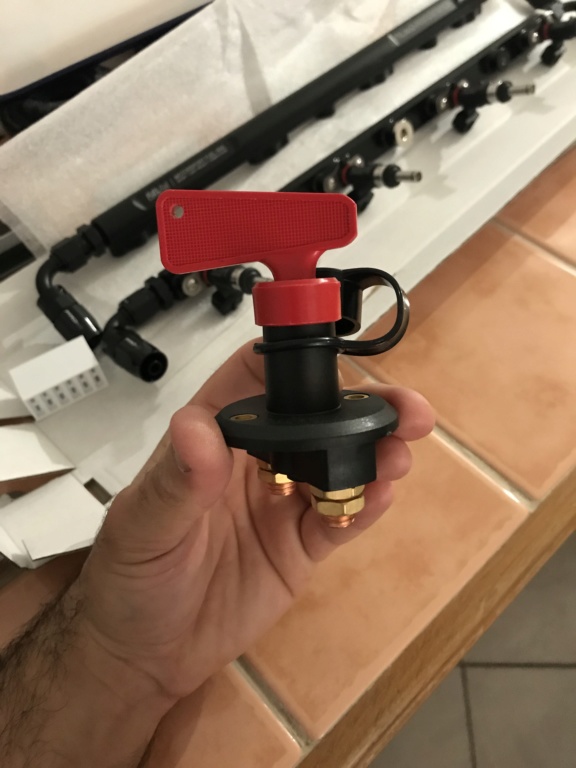
And a battery switch.
Joking, I'm keeping the wires ! I always need wires !
I removed the HVAC... But I still need it... not the original one though.
The main thinking is that the heater core is 38years old... and costs 400€... And the whole system is way too complex for what it does,
So... Yay motorsport heater !
More powerfull than I though, metal core, and very compact ! Love it !
I've finally received all the A/N fittings and adapters
And a battery switch.
04-24-2020, 05:54 PM
#104
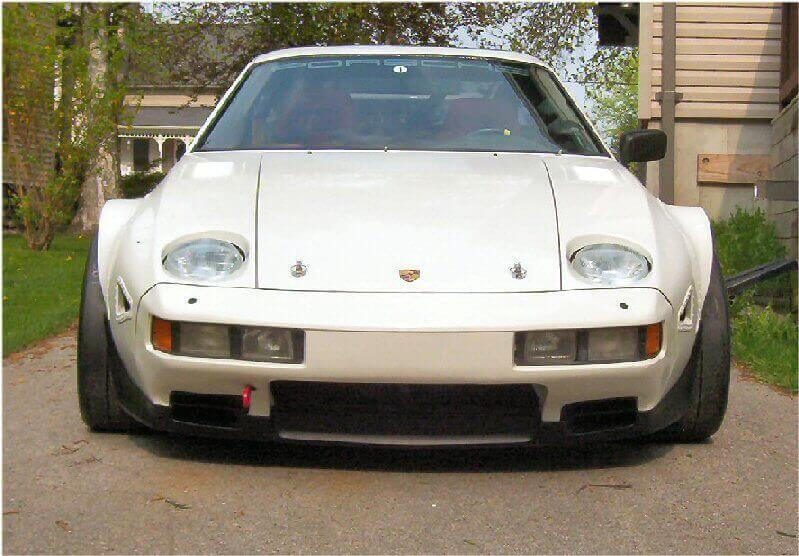
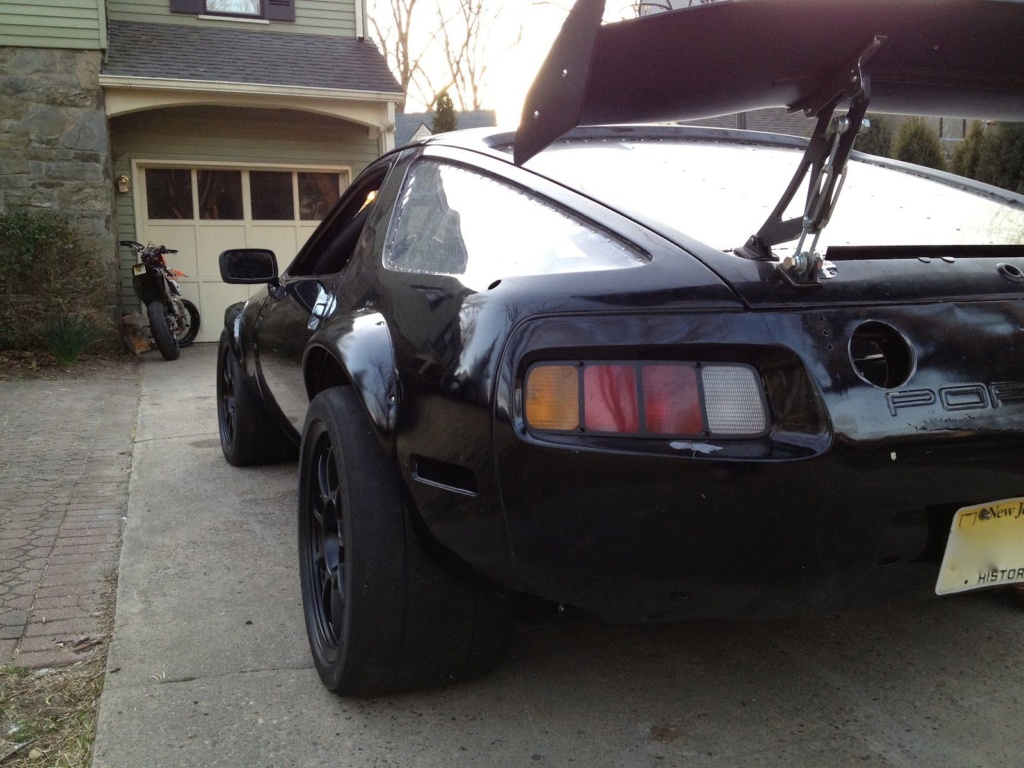
I'm drooling on these two cars ! But mine should stay more subtle !
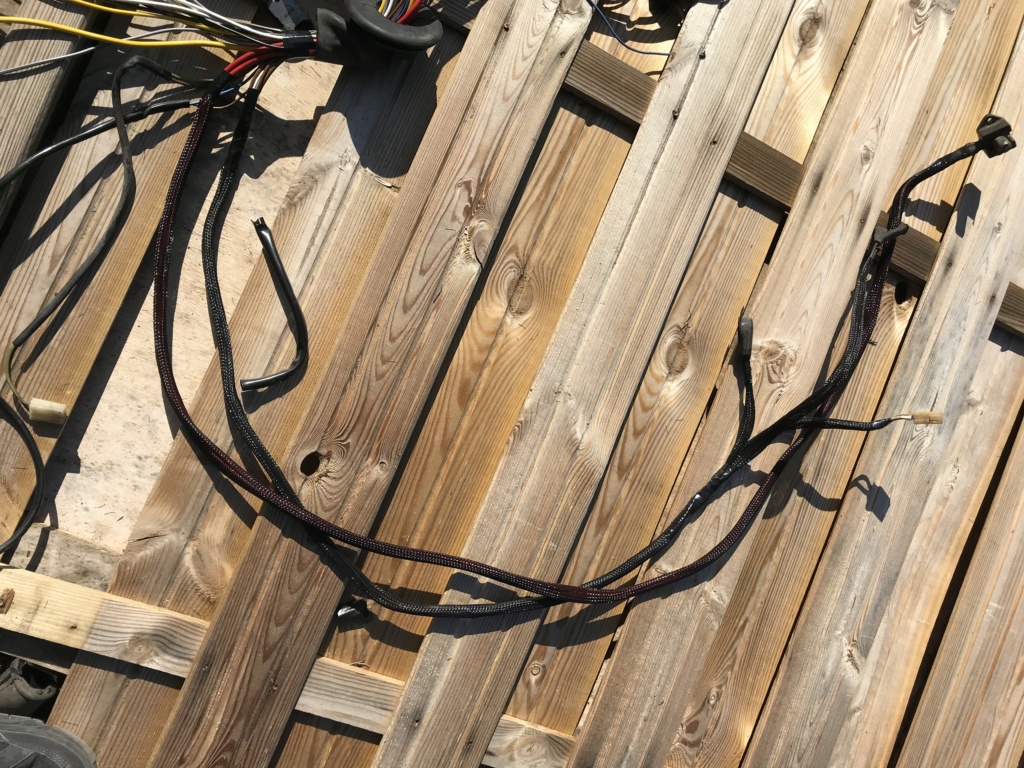
I received the ignition wires ... Of course they look like crap... but that will do it until I decide to make custom ones... which should happen in about a 100 years !
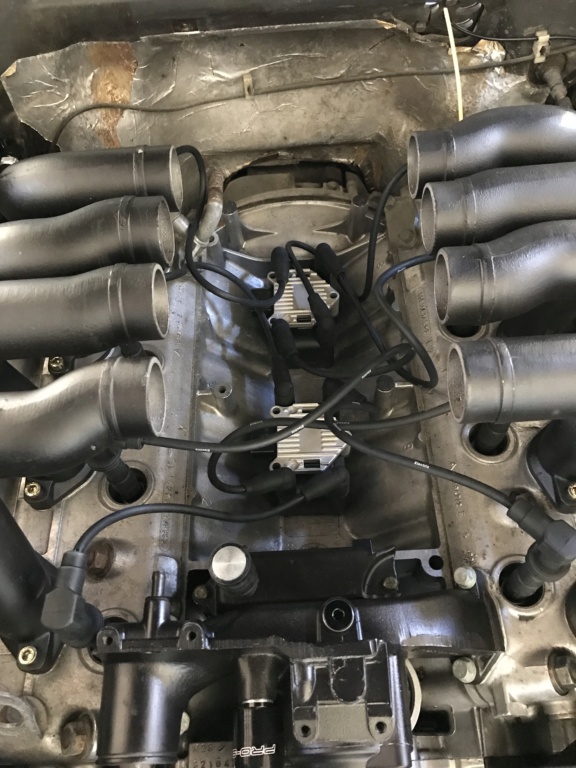
It'll look better once I tidy that up !
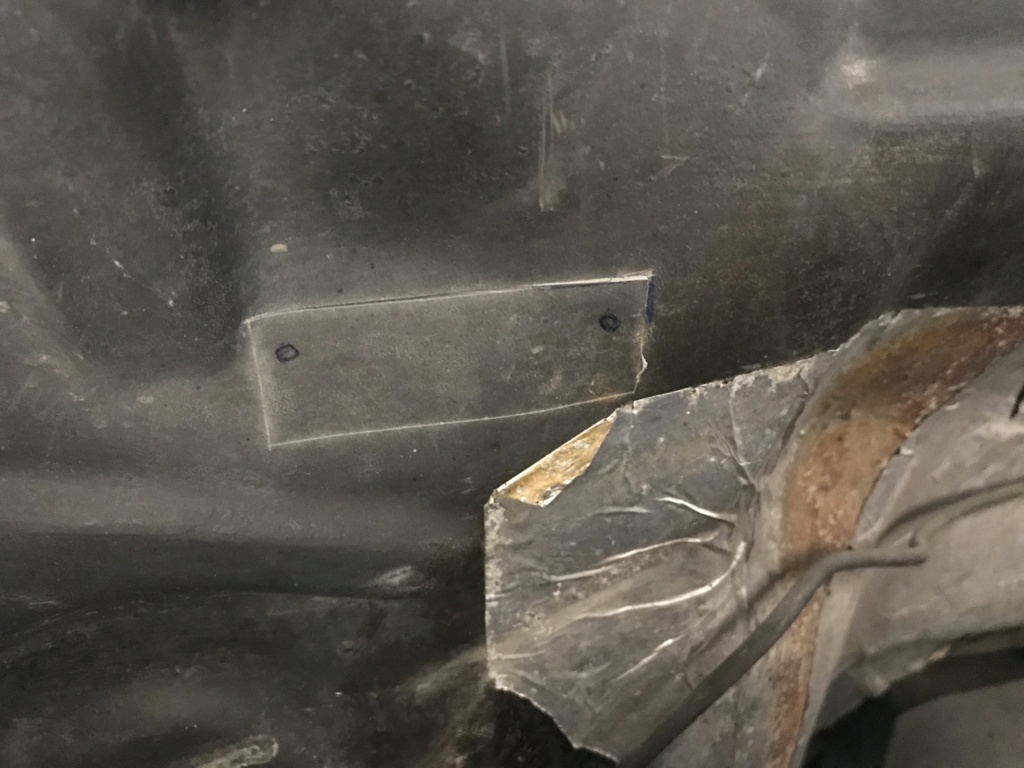
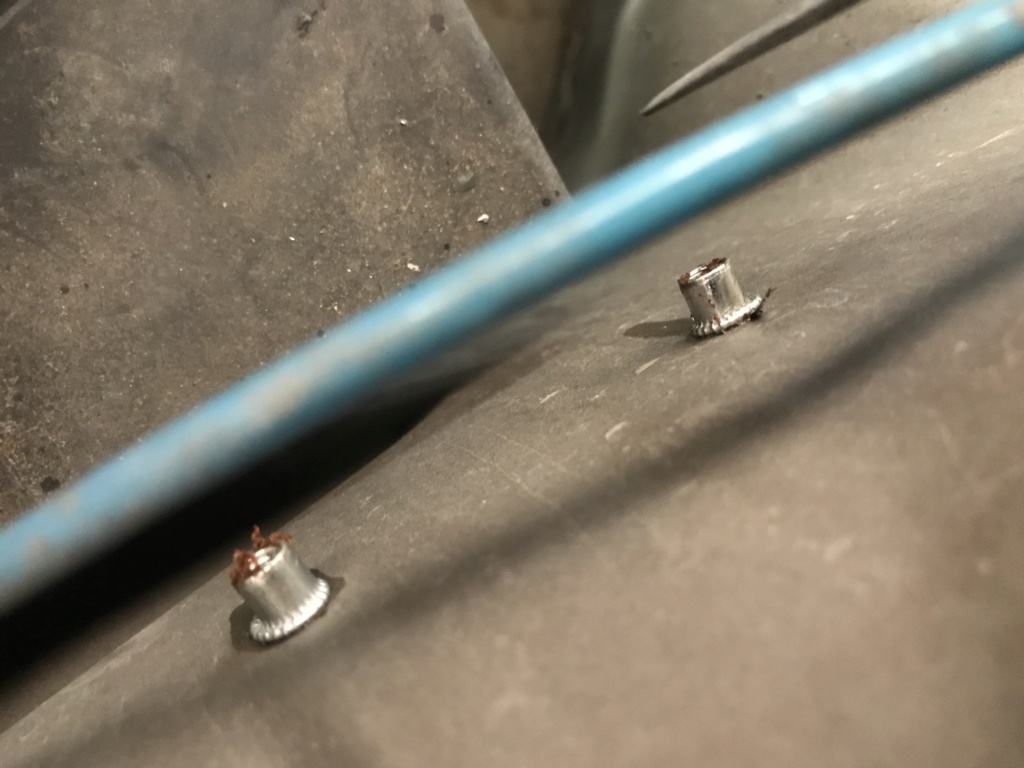
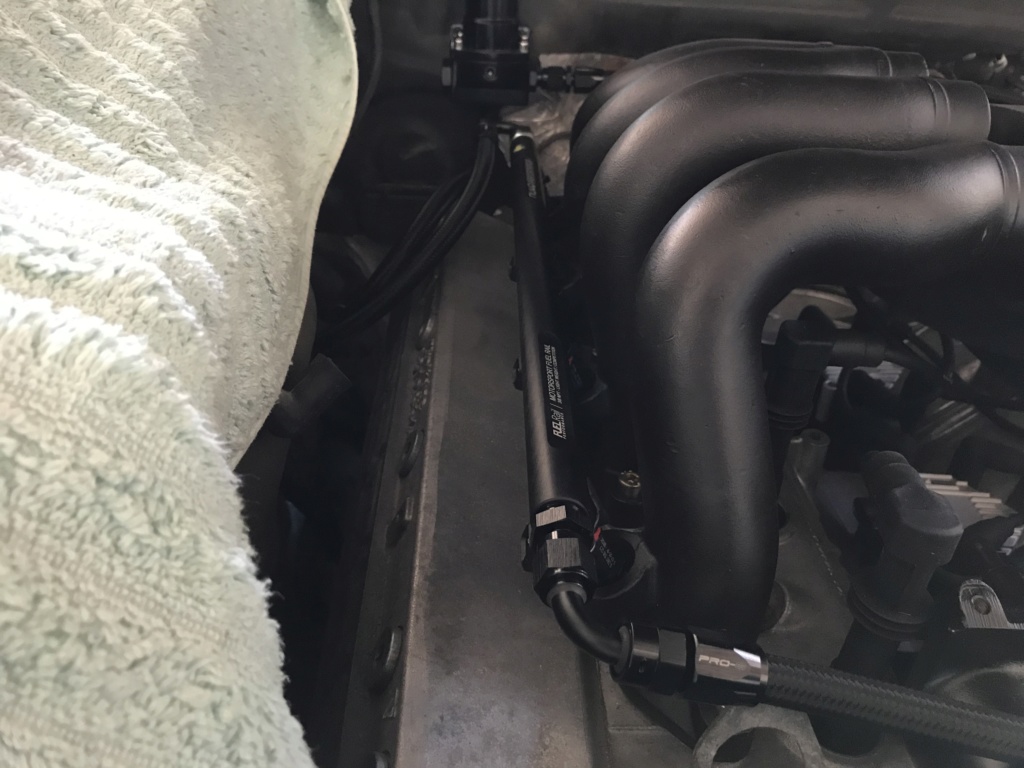
I then started putting the fuel lines together, I printed soft jaws for the fittings :
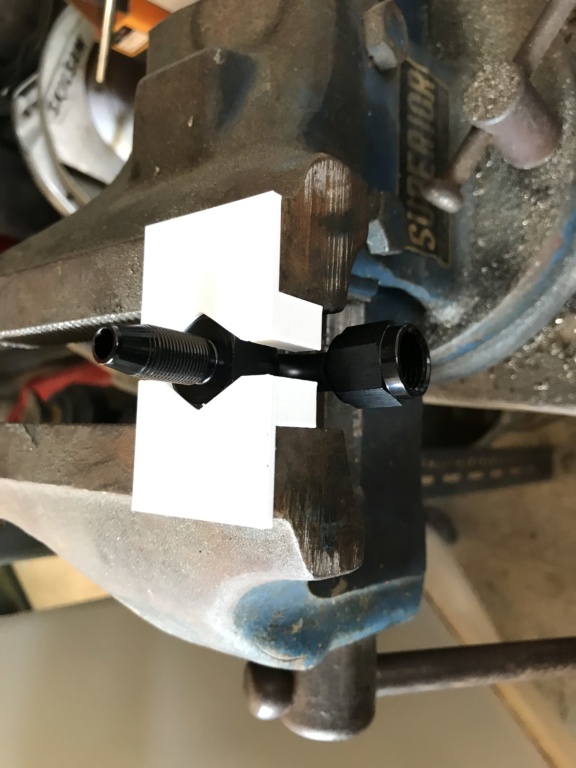
then got to work !
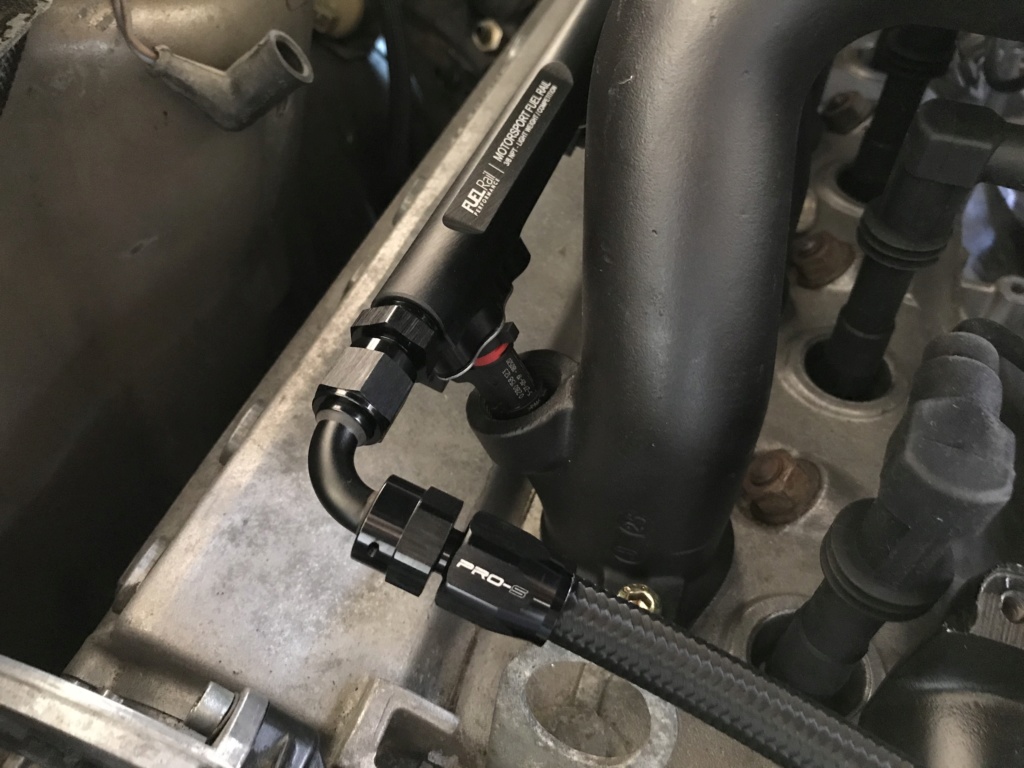

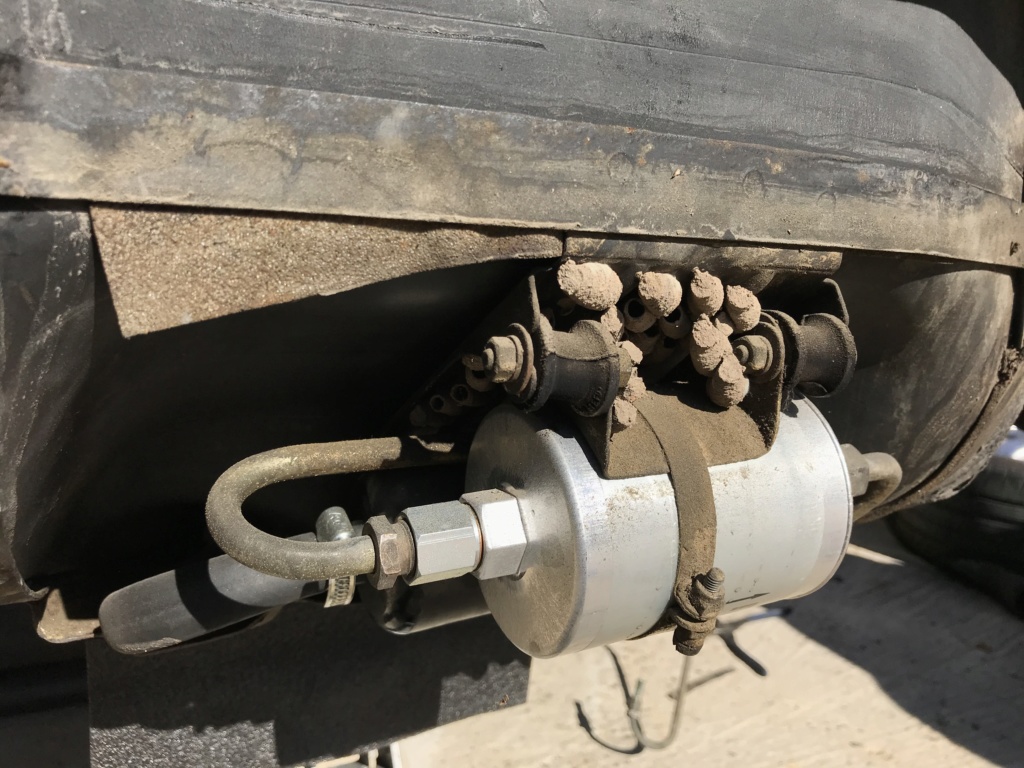
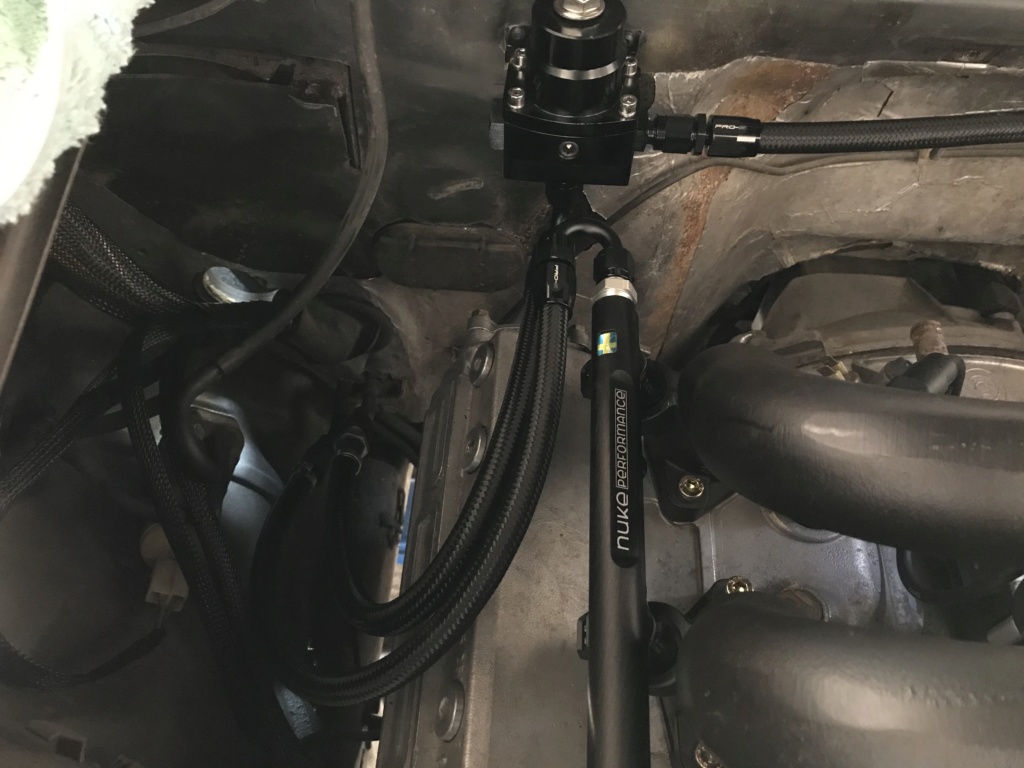
I decided to put the FPR here :
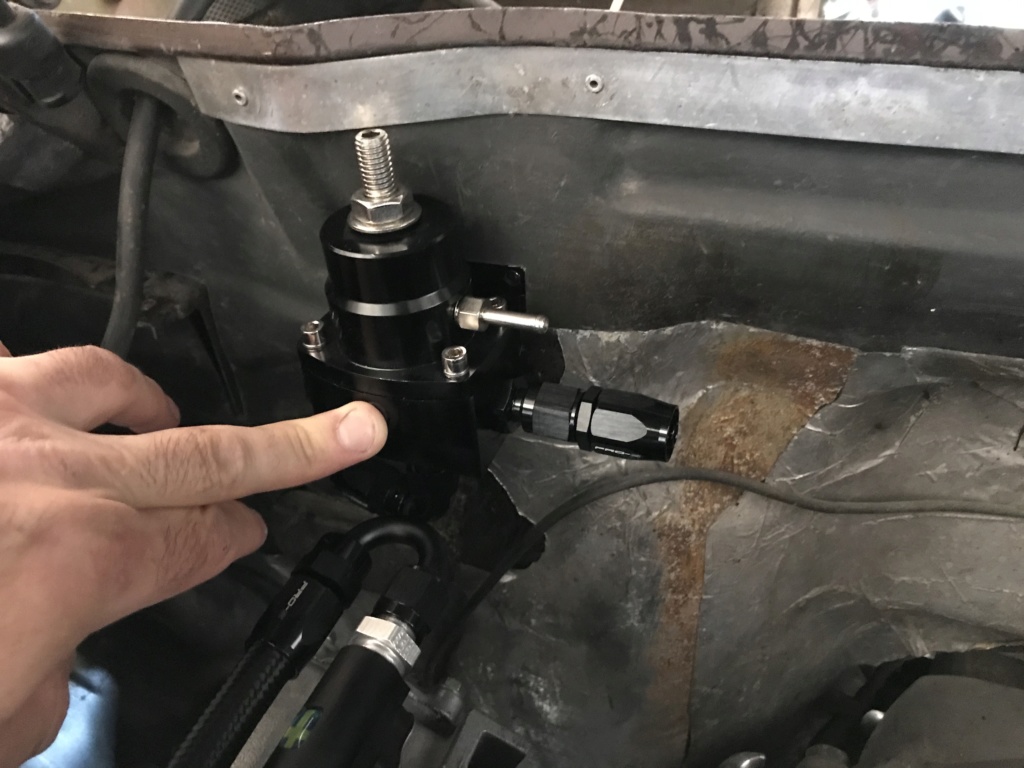
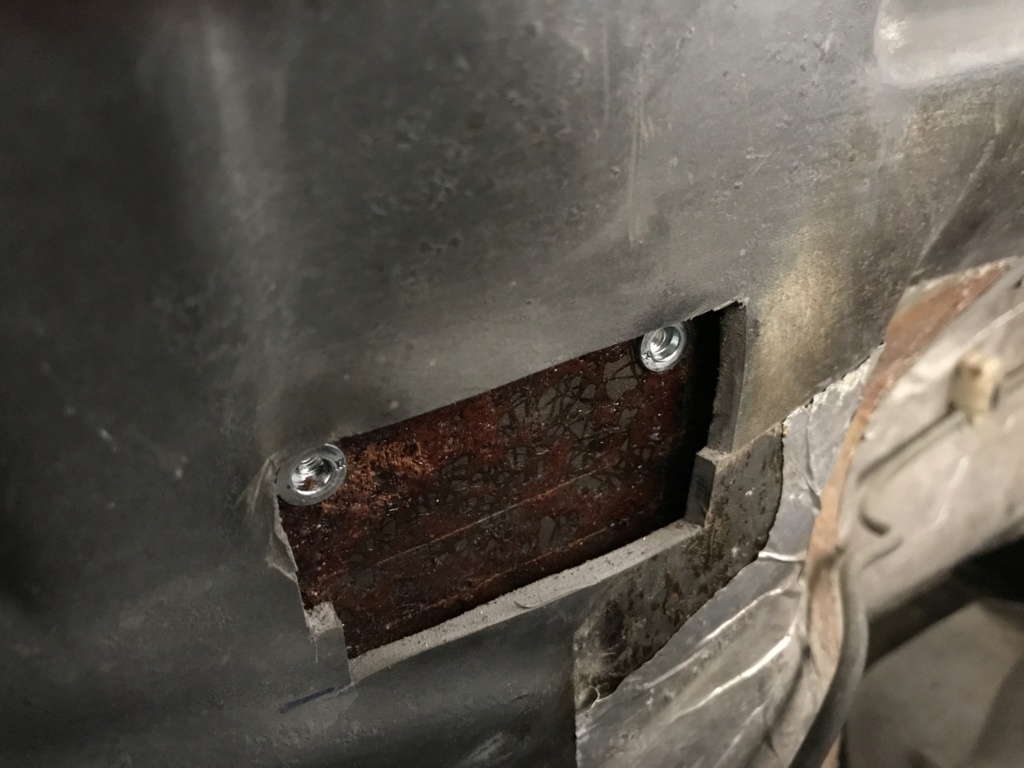
Done !
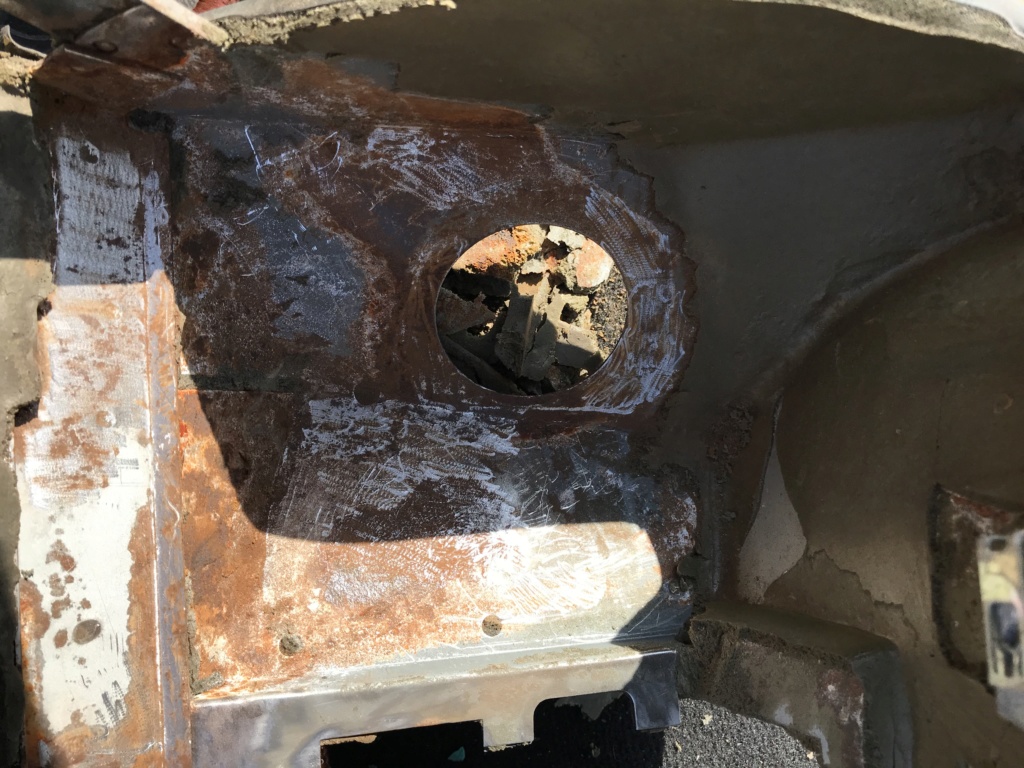
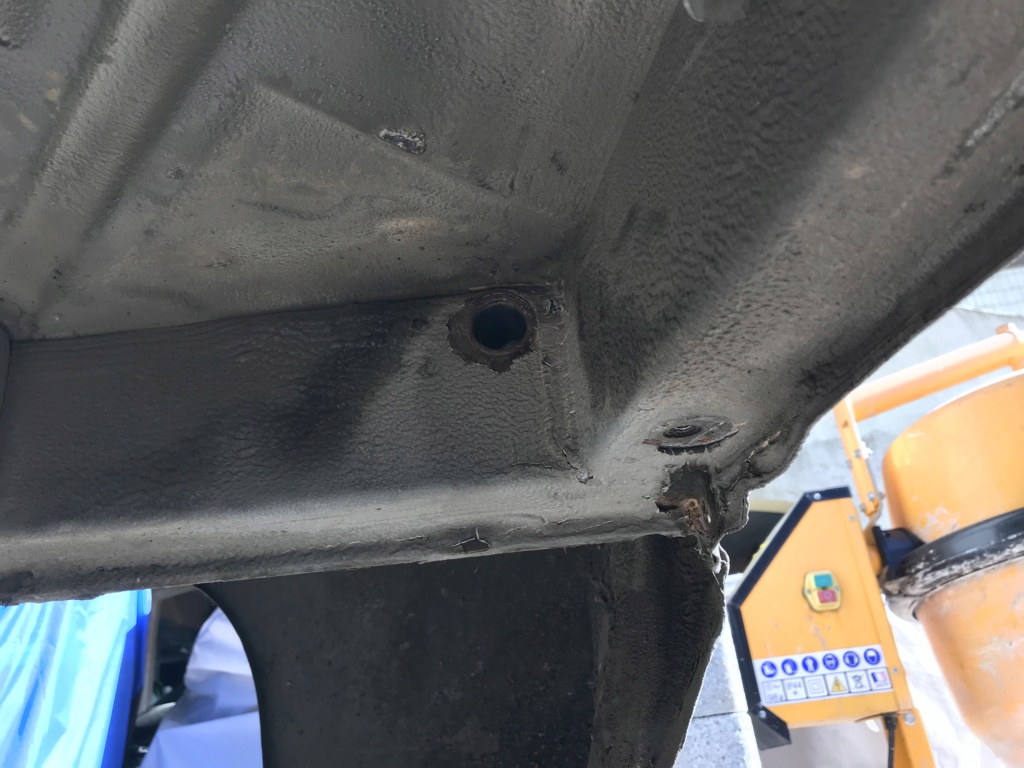
I've spent the rest of the day cleaning the rust from the fuel tank craddle... the foam around the pressure fuel line kept water and it's pretty rusted around it...
I received the ignition wires ... Of course they look like crap... but that will do it until I decide to make custom ones... which should happen in about a 100 years !
It'll look better once I tidy that up !
I then started putting the fuel lines together, I printed soft jaws for the fittings :
then got to work !
I decided to put the FPR here :
Done !
I've spent the rest of the day cleaning the rust from the fuel tank craddle... the foam around the pressure fuel line kept water and it's pretty rusted around it...
04-24-2020, 06:08 PM
#105
Here is the craddle cleaned and with new foam :
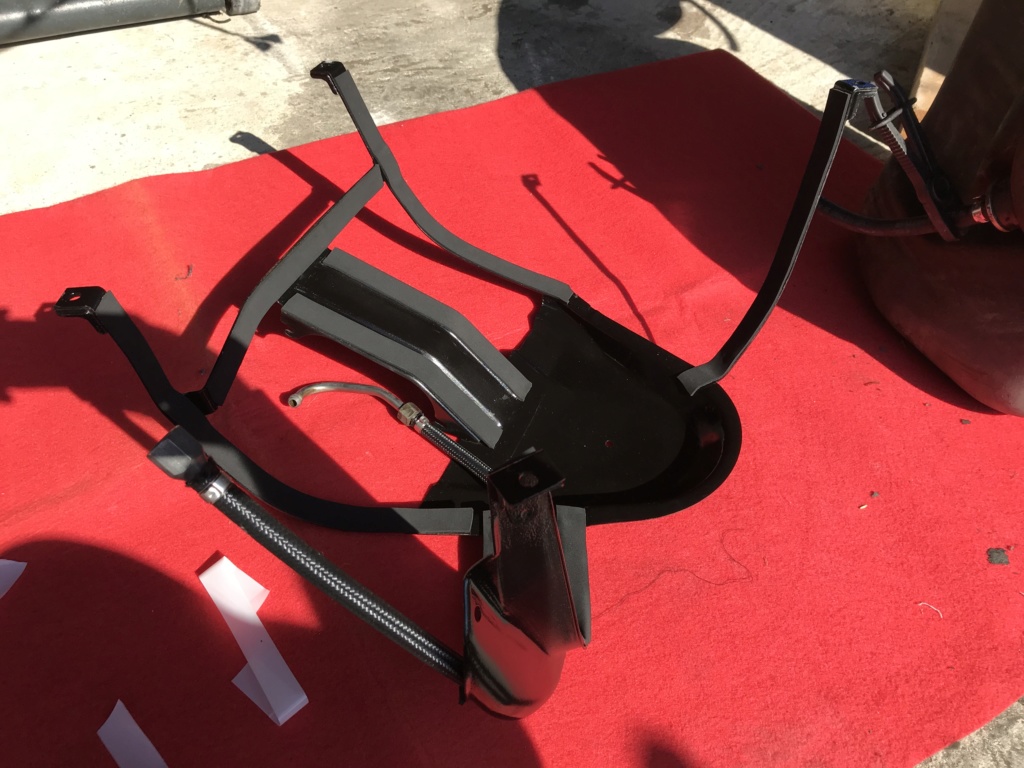
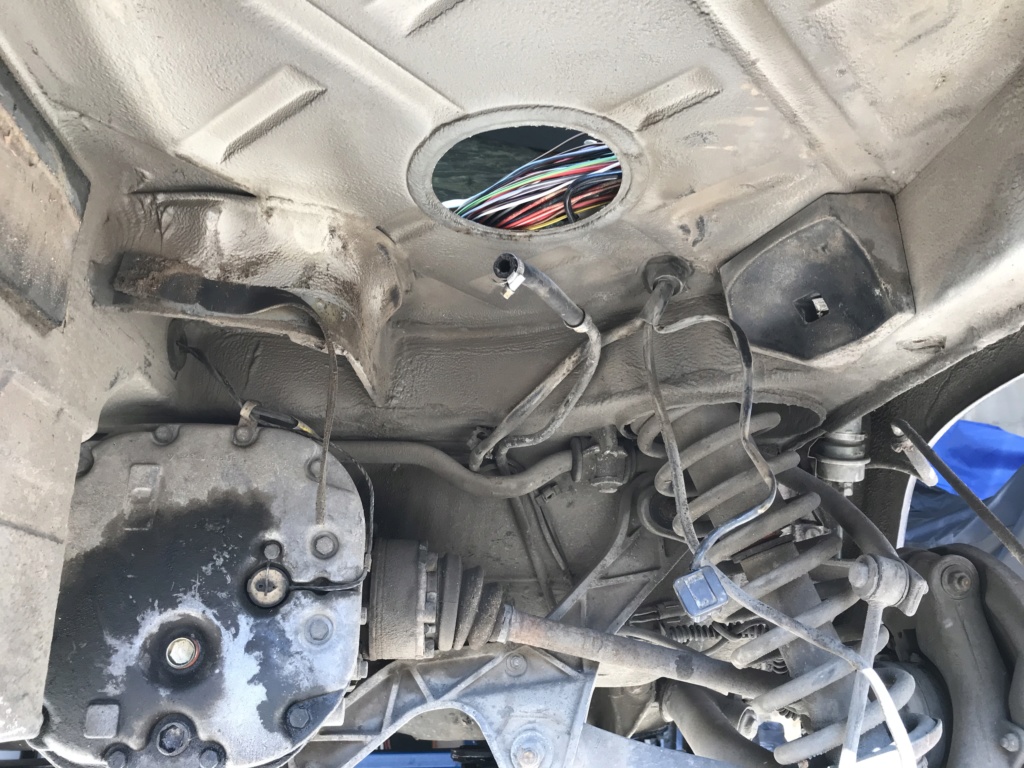
Tank in !
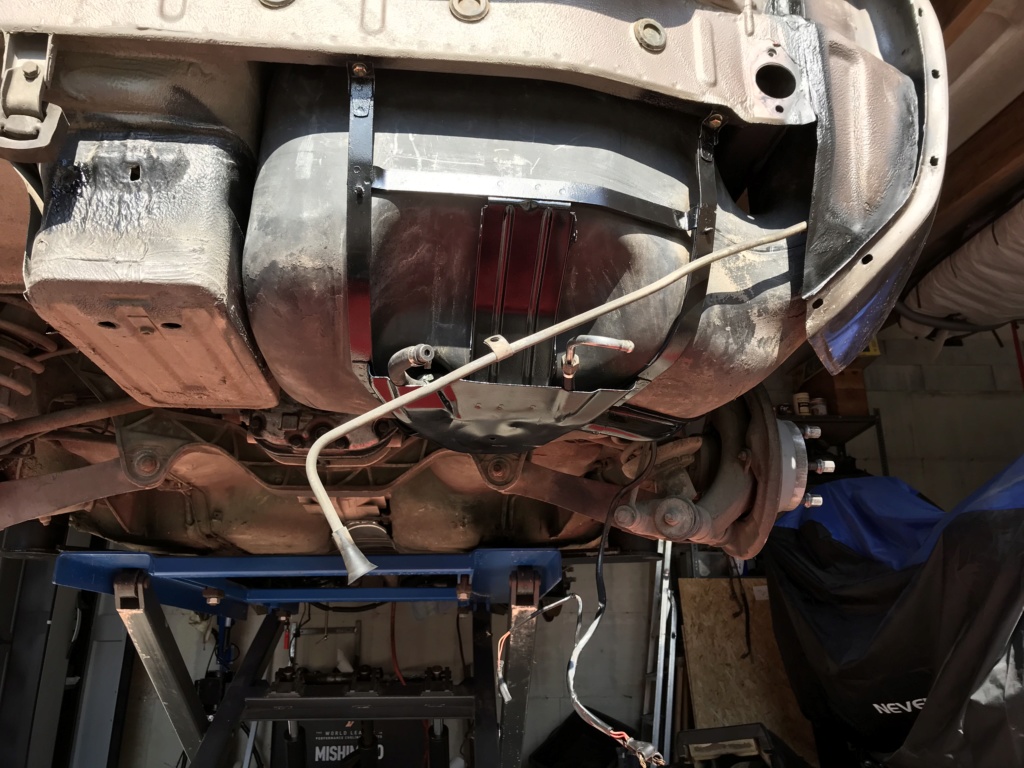
Or about to be in...
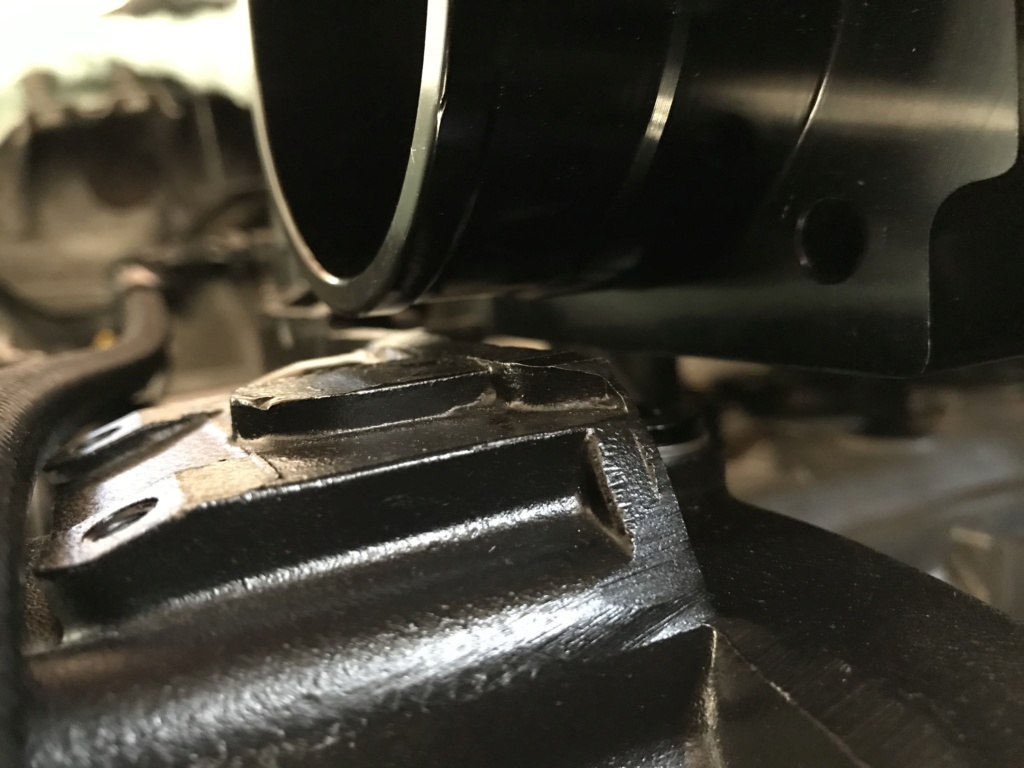
The hose I used for the ventilation is too stiff and doesn't let the tank go all the way in... about 3/8" from the final position !
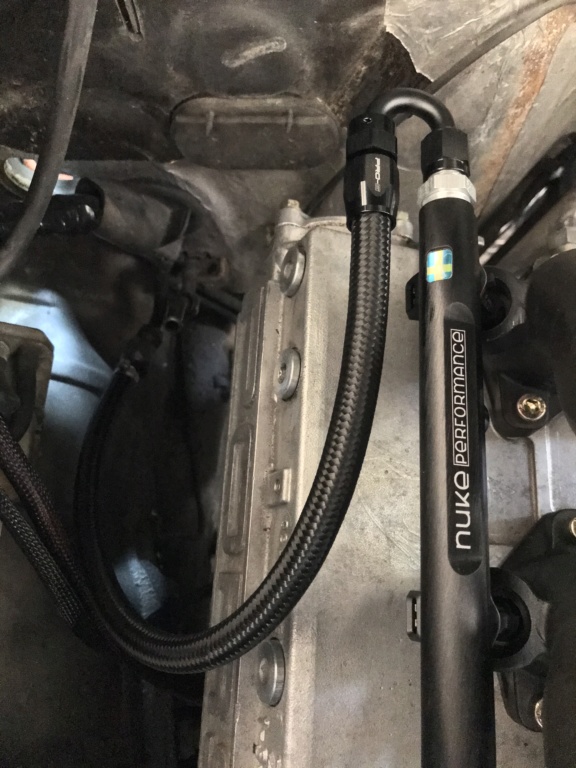
Here is how I routed the fuel feed and return lines :
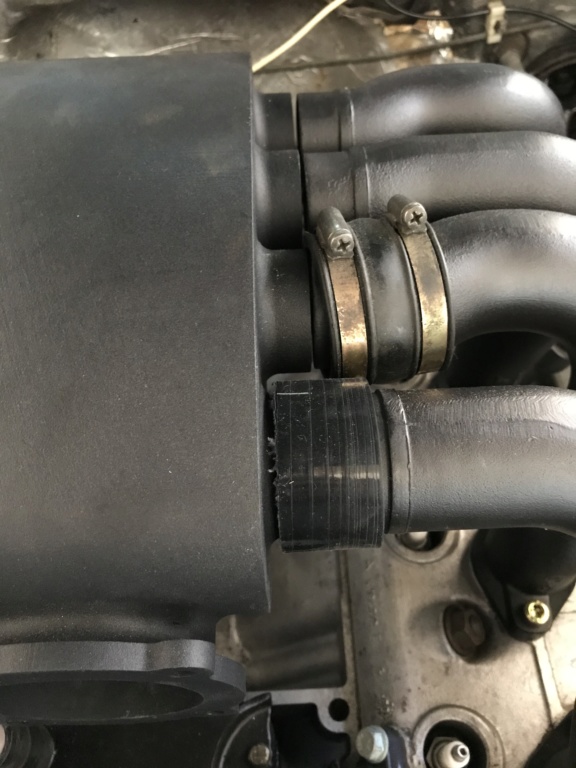
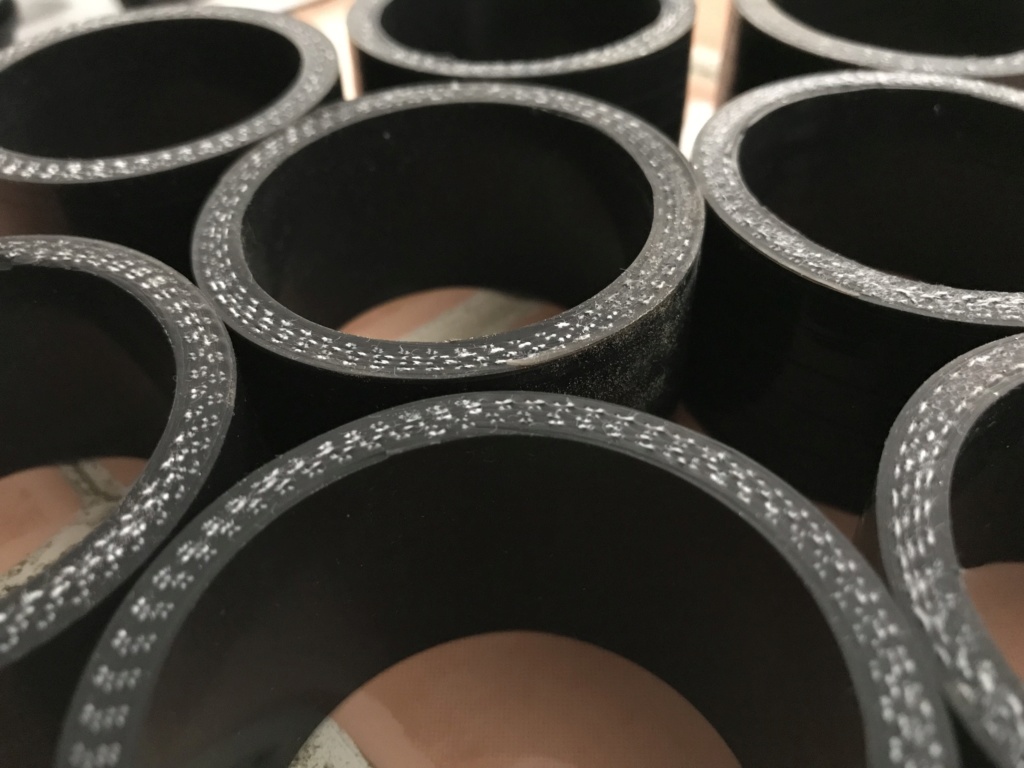
Then I tackled the painful task of cutting the new intake boots !
If you've ever tried to cleanly cut a reinforced silicone hose, you know how easy it is to screw up !
But with the lathe, it's pretty easy ! And I'm really satisfied with the result !
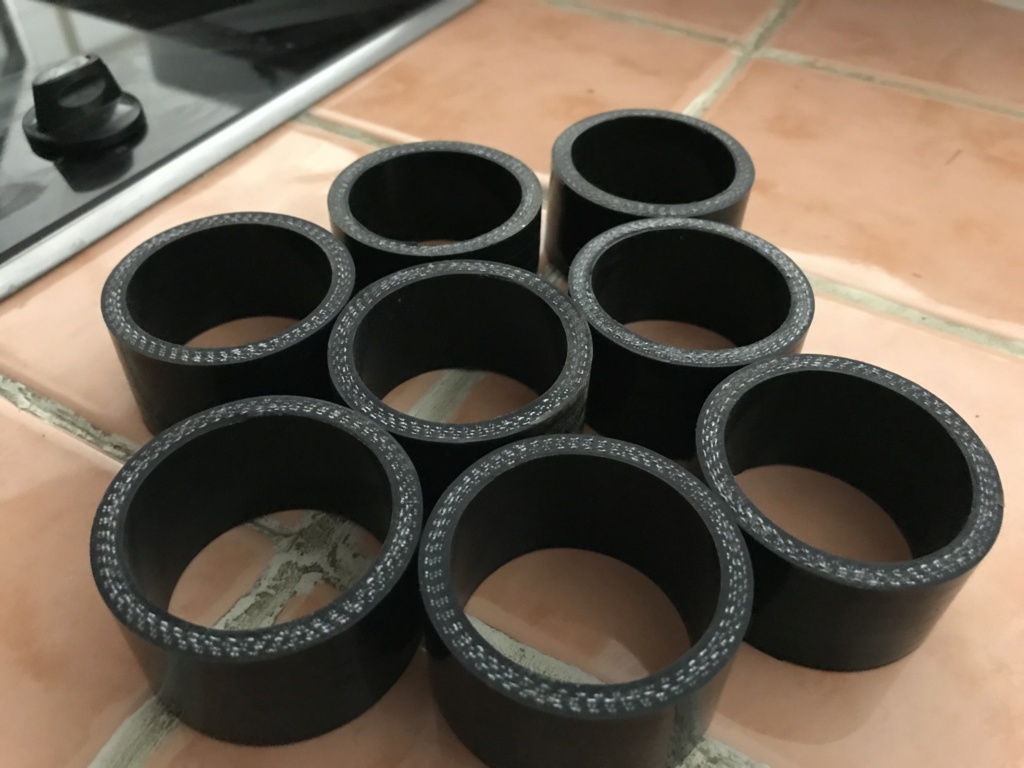
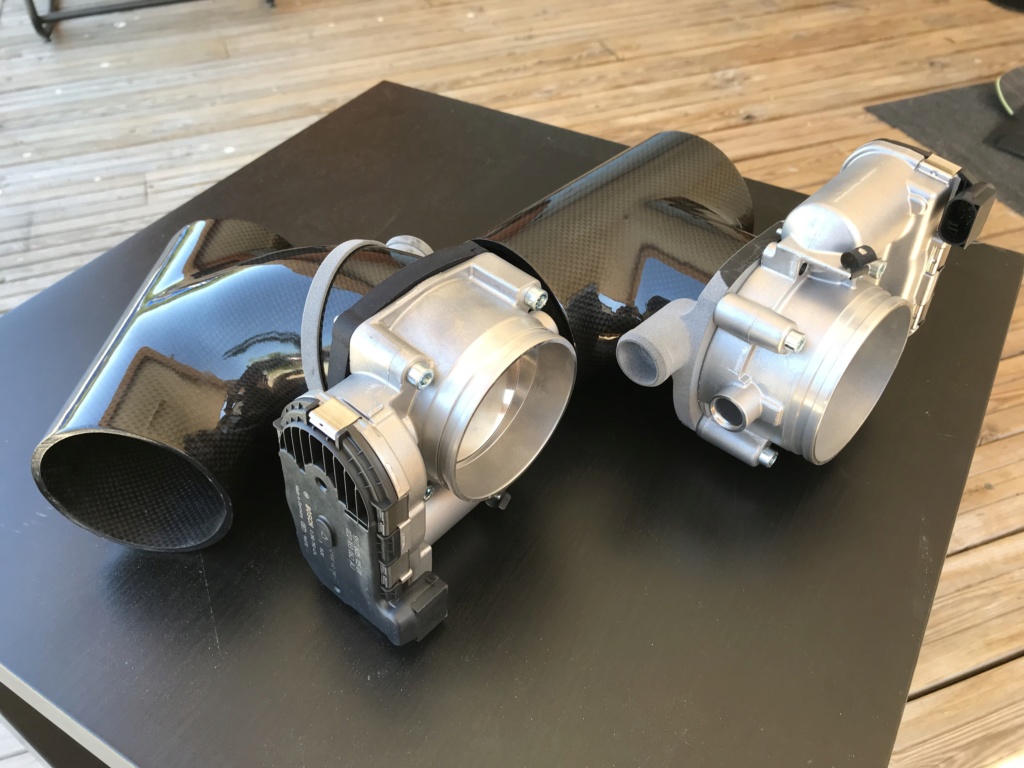
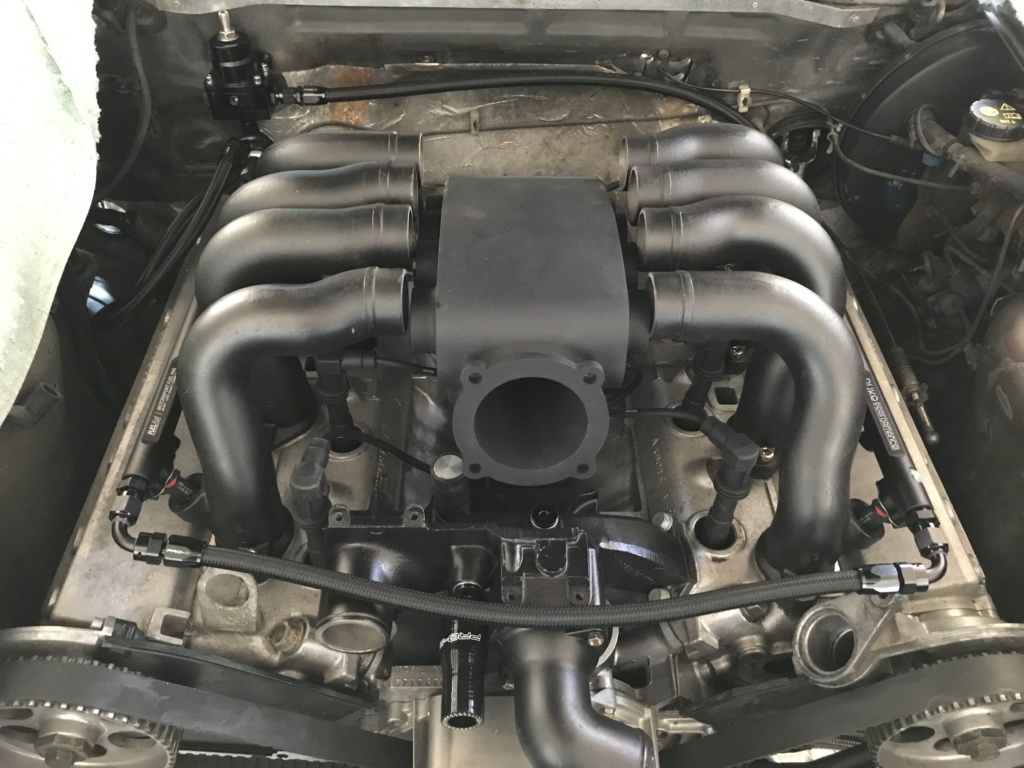
Blank fitting of the plenum :
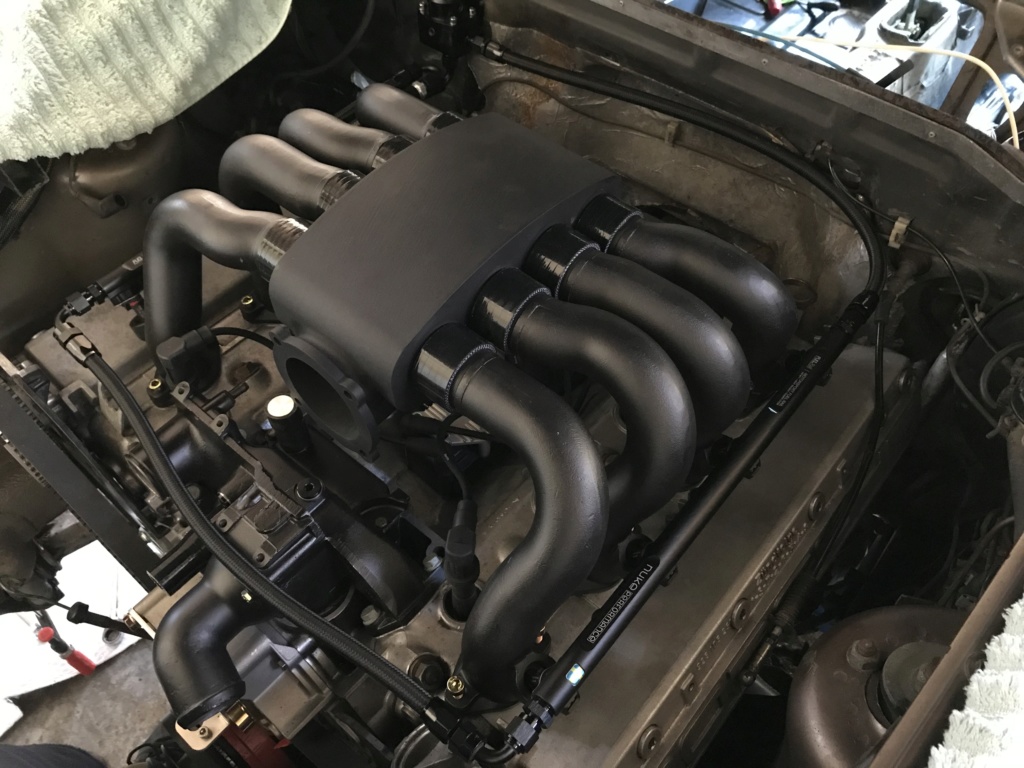
With the throttle body :
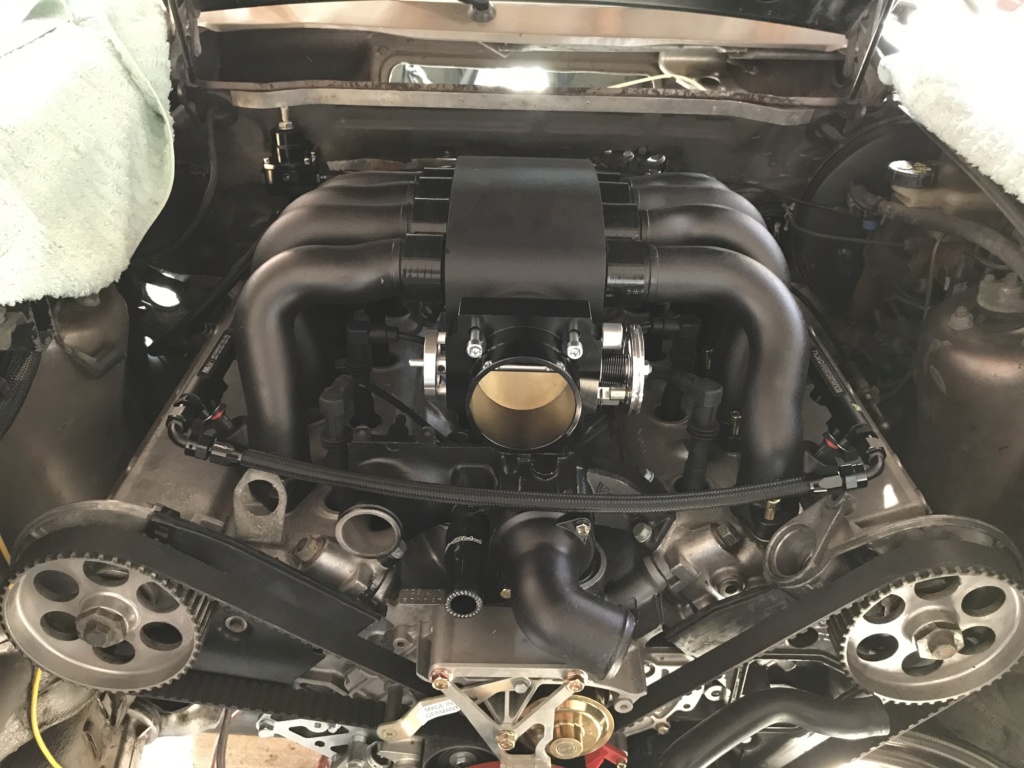
Tight, but works !
I still have a TON to do, that I would like to do before the end of the confinement...
Confinement that makes me want to quit my job as a Porsche tech... I realized that not only I still make money (when I don't spend it all on parts ^^), but I also feel a lot better like that... we'll see.
Ben
Tank in !
Or about to be in...
The hose I used for the ventilation is too stiff and doesn't let the tank go all the way in... about 3/8" from the final position !
Here is how I routed the fuel feed and return lines :
Then I tackled the painful task of cutting the new intake boots !
If you've ever tried to cleanly cut a reinforced silicone hose, you know how easy it is to screw up !
But with the lathe, it's pretty easy ! And I'm really satisfied with the result !
Blank fitting of the plenum :
With the throttle body :
Tight, but works !
I still have a TON to do, that I would like to do before the end of the confinement...
Confinement that makes me want to quit my job as a Porsche tech... I realized that not only I still make money (when I don't spend it all on parts ^^), but I also feel a lot better like that... we'll see.
Ben