
Piston Mods and Machining
 01-10-2004, 12:13 PM
#31
User

Join Date: Oct 2001
Location: Cincinnati, Ohio
Posts: 380
Likes: 0
Received 0 Likes
on
0 Posts
Tim,
Regarding the re-balance....my JEs were 20 grams lighter than stock. The guy who did the balance work said that little would probably not be felt if the crank was left alone.
He ended up taking a few grams out of the crankshaft in two spots and balanced the pistons to within less than one gram. I think the factory matches them up to within 4 grams.
Nonetheless, I would still get it all balanced since it is apart.
 01-10-2004, 04:28 PM
#32
Addict
Lifetime Rennlist
Member
Lifetime Rennlist
Member
Thread Starter
Im still not rulling out new pistons..i have 9, 951 pistons down on my bench, all the same tolerance group. Used..perhaps not in the best shape though. Once you get into diffrent pistons your looking at either
1) compatability issues ...forged/clearances...alusil etc)..
2) new rods..machining here an there..etc etc. You cant just throw 951 pistons in and be done.
At this point im just seeing how this works out. Simplicity ,minimal time and expense to lower the CR of the S4 and run with a greater detonation margin than those currently doing it. Throwing a thicker gasket isnt the ideal way to lower the CR as we know. Sure would be nice to pull your stock S4 pistonss out...machine them...throw them back in with new rings and have a macthed set up like you did before. Just an alternative route im looking at, thats all.
01-20-2004, 06:35 PM
#34
Addict
Lifetime Rennlist
Member
Lifetime Rennlist
Member
Thread Starter
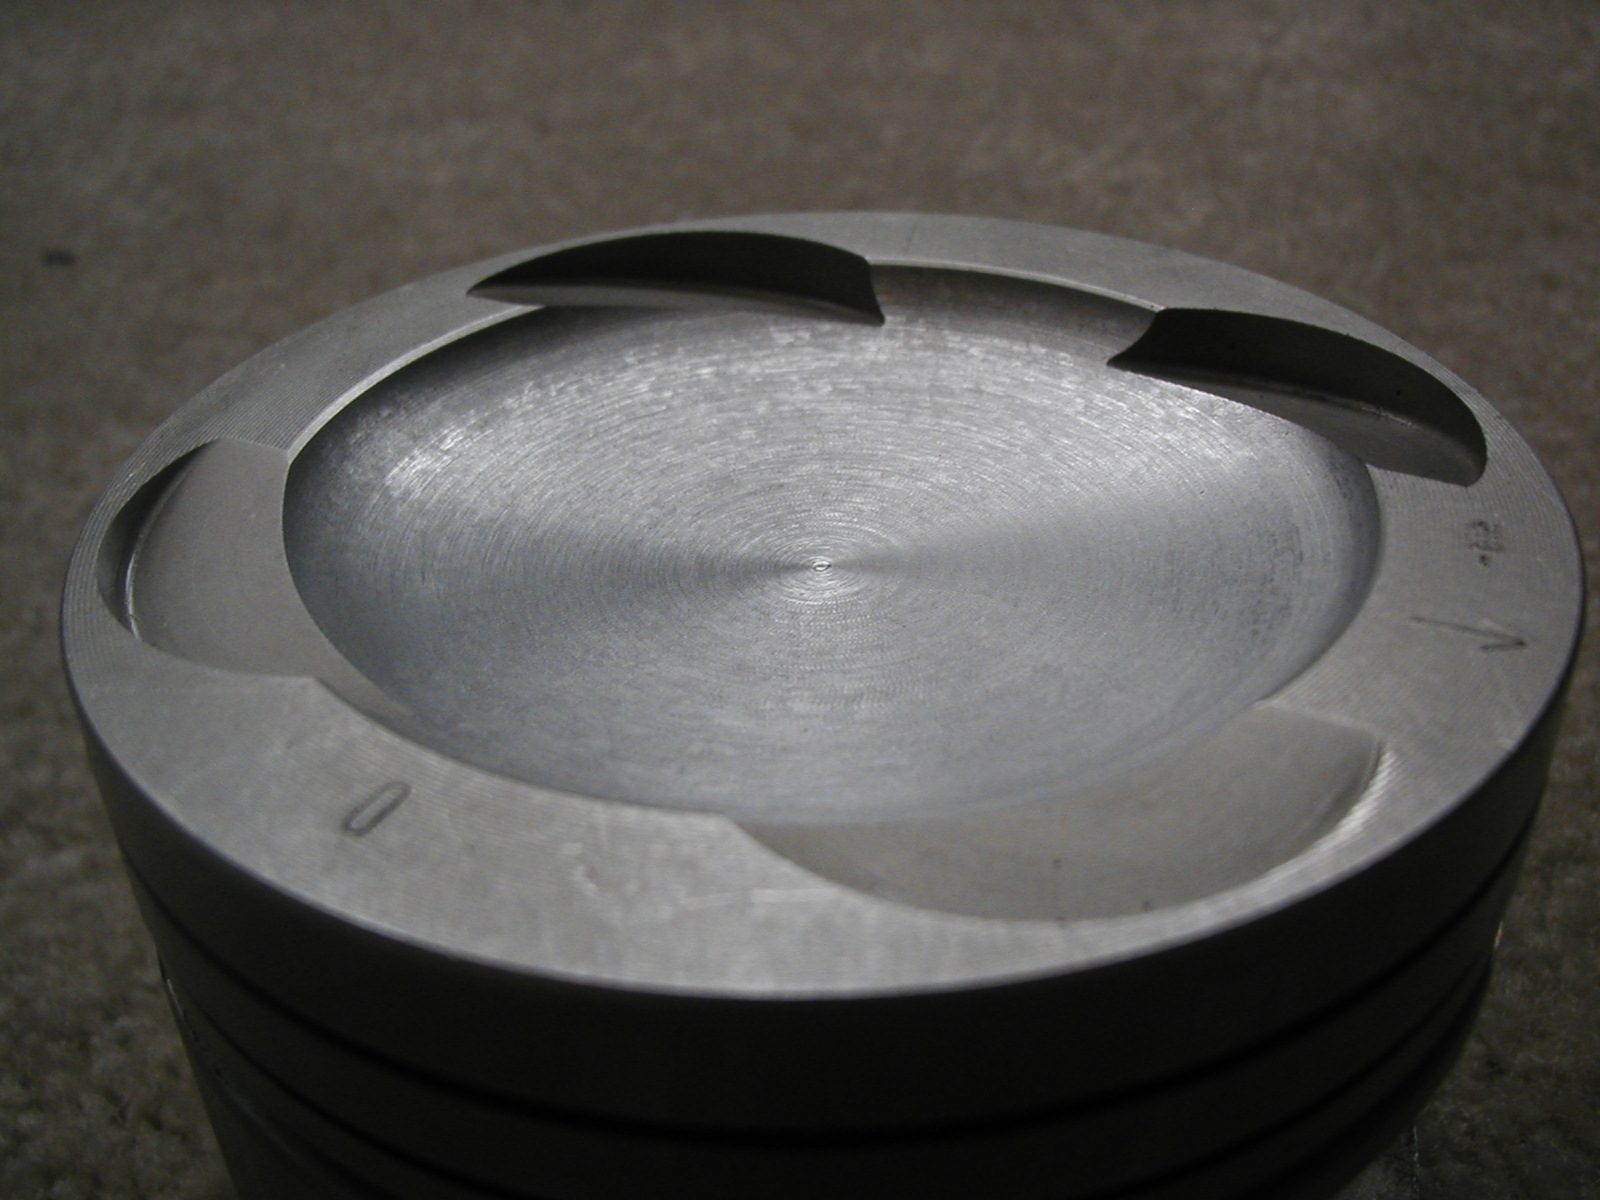
Just got my piston back from the machine shop. Looks like i pretty much got my 6cc's. The new dish by itself was 25cc...1 cc more than the total stock piston (24cc). This was measured by the rendering in the shops program without ANY valve cutouts.. So with the valve cutouts now im at 30cc . Give or take the accuracy of my cc'ing. Im giving myself 8.75 on the low side to 8.952 on the high side with a min thickness anywhere along the profile of .30". (see previous posts)
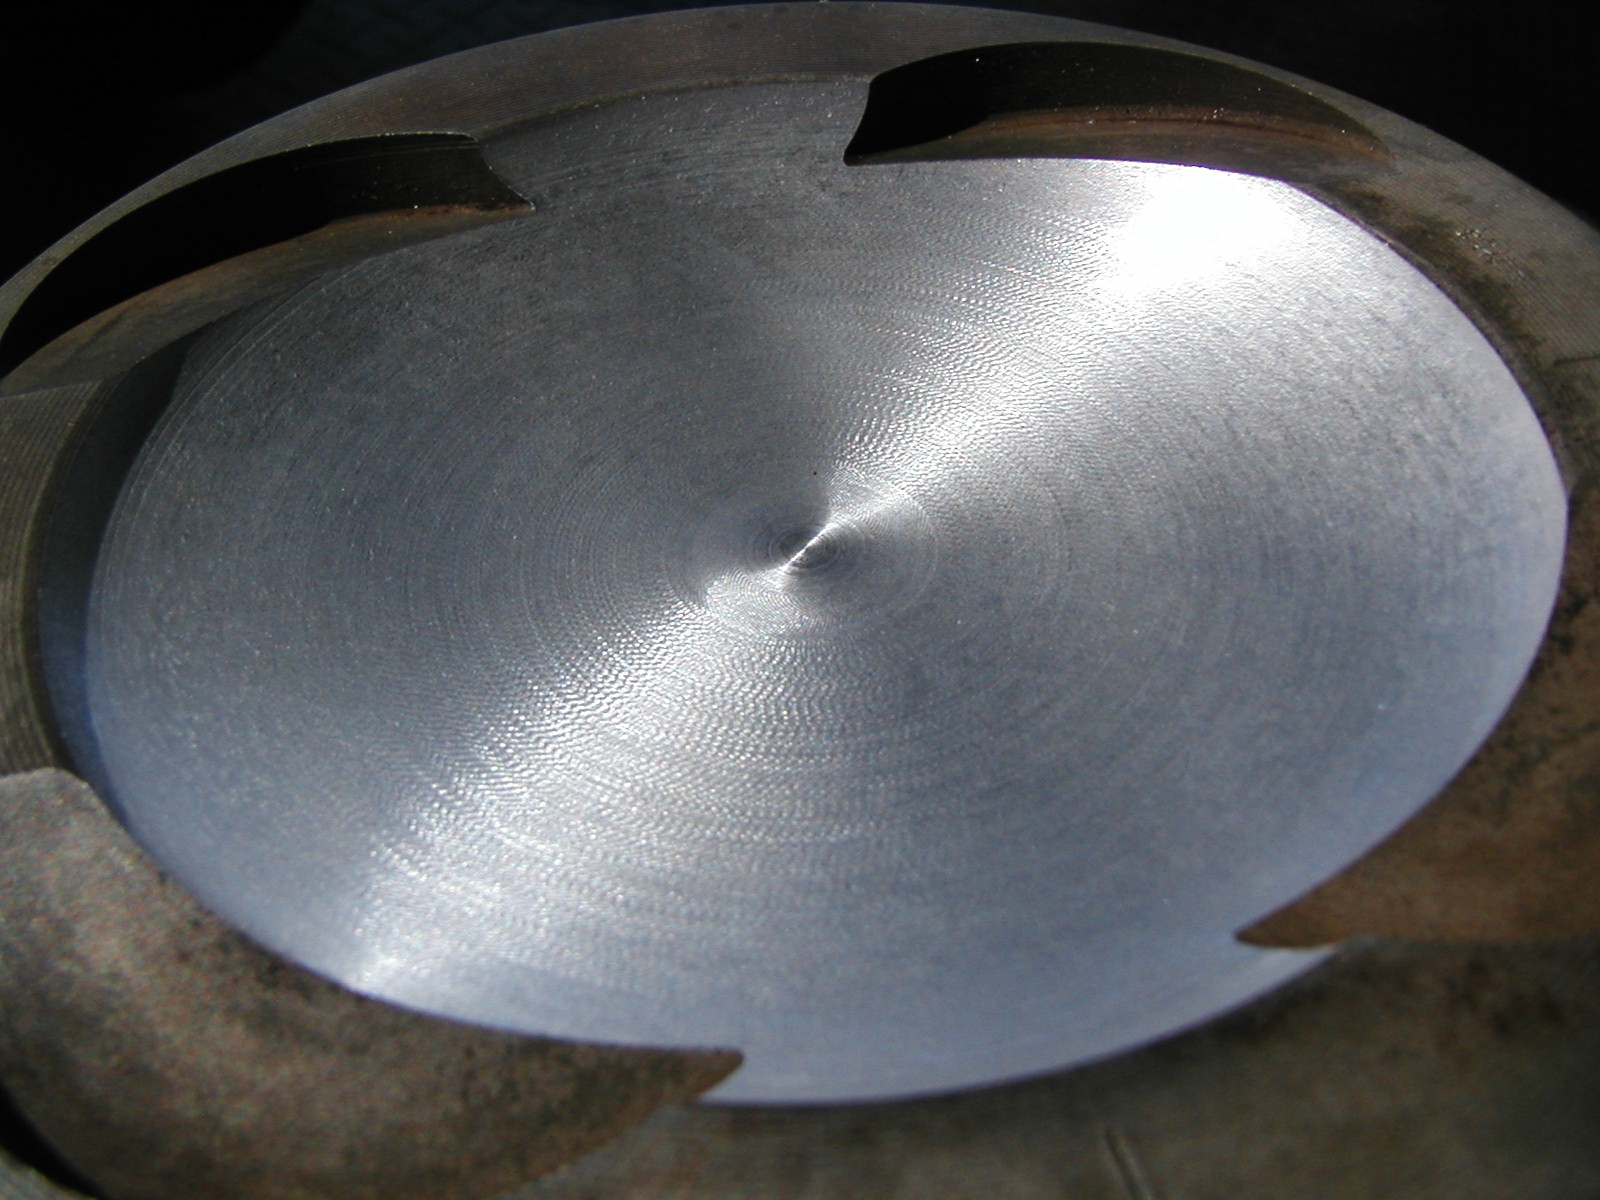
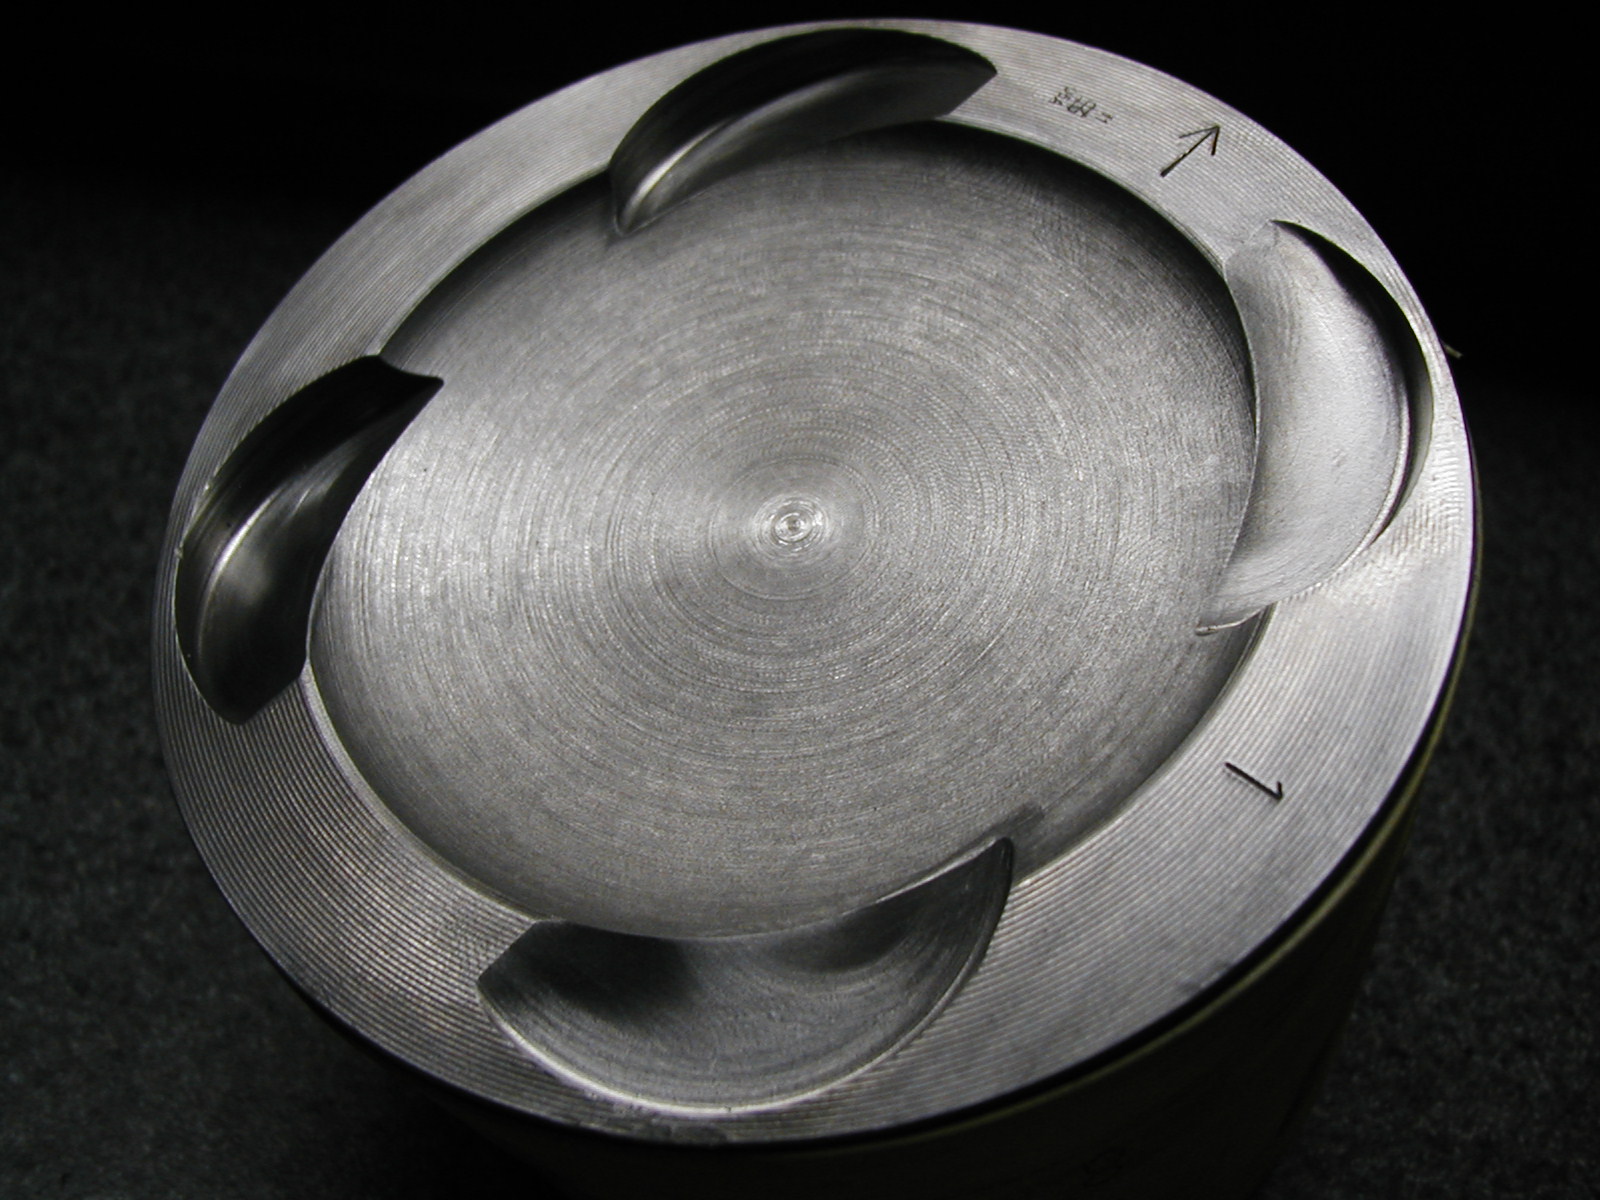
.30 is the stock thickness at the center of the stock piston before any machining took place. The squish area around the perimeter of the crown wasnt touched as you can see.
Poifect, i think!!.
Question now is whether to cermaic coat or treat the machined face? Anyone?
INPUT is REALLY appreciated....
Bore(Inches) 3.9370
Stroke(Inches) = 3.1063
Connecting Rod Length(Inches) = 5.9055
Cylinder Head Volume(cc) = 40
Deck Height(Inches) = .003
Head Gasket Bore(Inches)= 3.947
Head Gasket Thickness(Inches) =.045
Piston to Cylinder Wall Clearance(Inches) = .00098
Top Ring Land Height(Inches) = .3346
Piston Dish Volume(cc) = 30
Bore / Stroke Ratio: 1.267 : 1
Rod / Stroke Ratio: 1.901 : 1
Total volume: 699.728 cc's
Compressed volume: 79.94 cc�s
Compression Ratio: 8.753 : 1
FYI..a dish volume of 28cc yeilds the 8.952:1
Time to make some more measurements and pull my pistons.
The machined piston........
01-20-2004, 07:15 PM
#36
Drifting
Join Date: Jul 2002
Location: Los Angeles, CA
Posts: 3,348
Likes: 0
Received 0 Likes
on
0 Posts
Looks really cool...
I've heard good things about ceramic coatings in high temp combustion chambers.
Others with better knowlegde should chime in eventually.
But regardless, I think it is a *great* idea, to be able to just re-use stock components,
when building a supercharged engine....
Really simple research, and great results!
I hope it works...
You should use them and find out!
Or sell a set to someone else who is looking for piston choices to lower CR...
I think it is a worthy avenue of exploration...
01-20-2004, 07:24 PM
#37
Addict
Rennlist Member
Rennlist
Site Sponsor
Rennlist Member
Rennlist
Site Sponsor

Tony you may want to smooth the sharp edges where the cut meets the valve reliefs ....sharp edges some say can be "hot spots" and initiate detonation .
01-20-2004, 07:58 PM
#38
Addict
Lifetime Rennlist
Member
Lifetime Rennlist
Member
Thread Starter
Yeah, i hope it all works out. What I had planned as a simple idea is turning into a pretty feasible idea to lower the CR on my motor for more detonation margin at "X" boost.
Obviously ANYTIME you remove material from a piston you compromise its structural strength and at some level of boost im sure the piston will become the weak link . At the levels i plan on running however, i dont see that as an issue.
Im sending the piston off to have it looked over by a few people. It will probably cross your desk in a few days Jim. I may plan on radiusing the edges of the valve cutouts a bit but they are actually not much different than they were stock.
01-20-2004, 08:14 PM
#39
Rennlist Member
Tony,
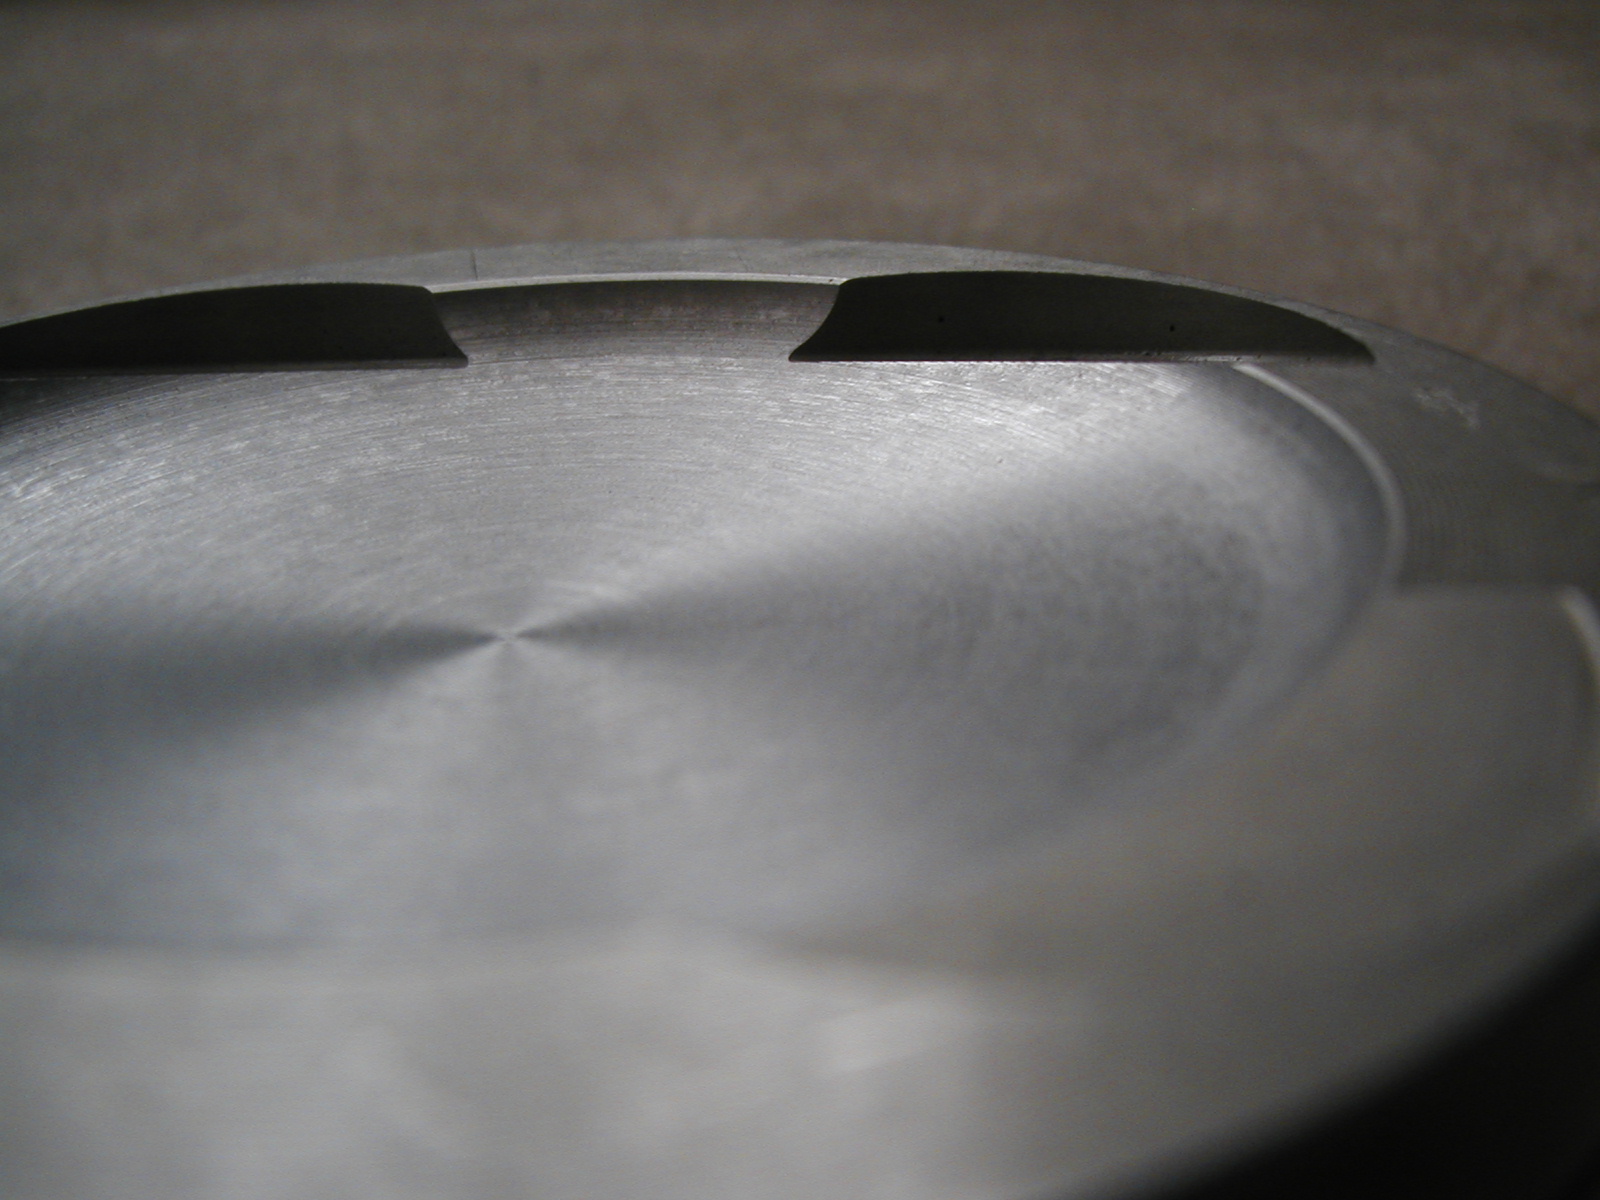
Do you see any potential issues regarding the sharper slope near the outer perimeter?
Just looking at your x-sections, it seems the dish now has 3 arcs instead of 1. Or looking at this way; 1 arc w/ serious deflection at both ends.
Noted, I'm not familiar w/ the physics of an explosion in a combustion chamber. But I am curious as to how this change will affect it.
Do you have references of other piston dish geometry?
Tony,
Great work and great detail! I may have missed past threads, but I'm definitely interested in the scope of your project.
01-20-2004, 09:20 PM
#40
Rennlist Member
Hi Tony,
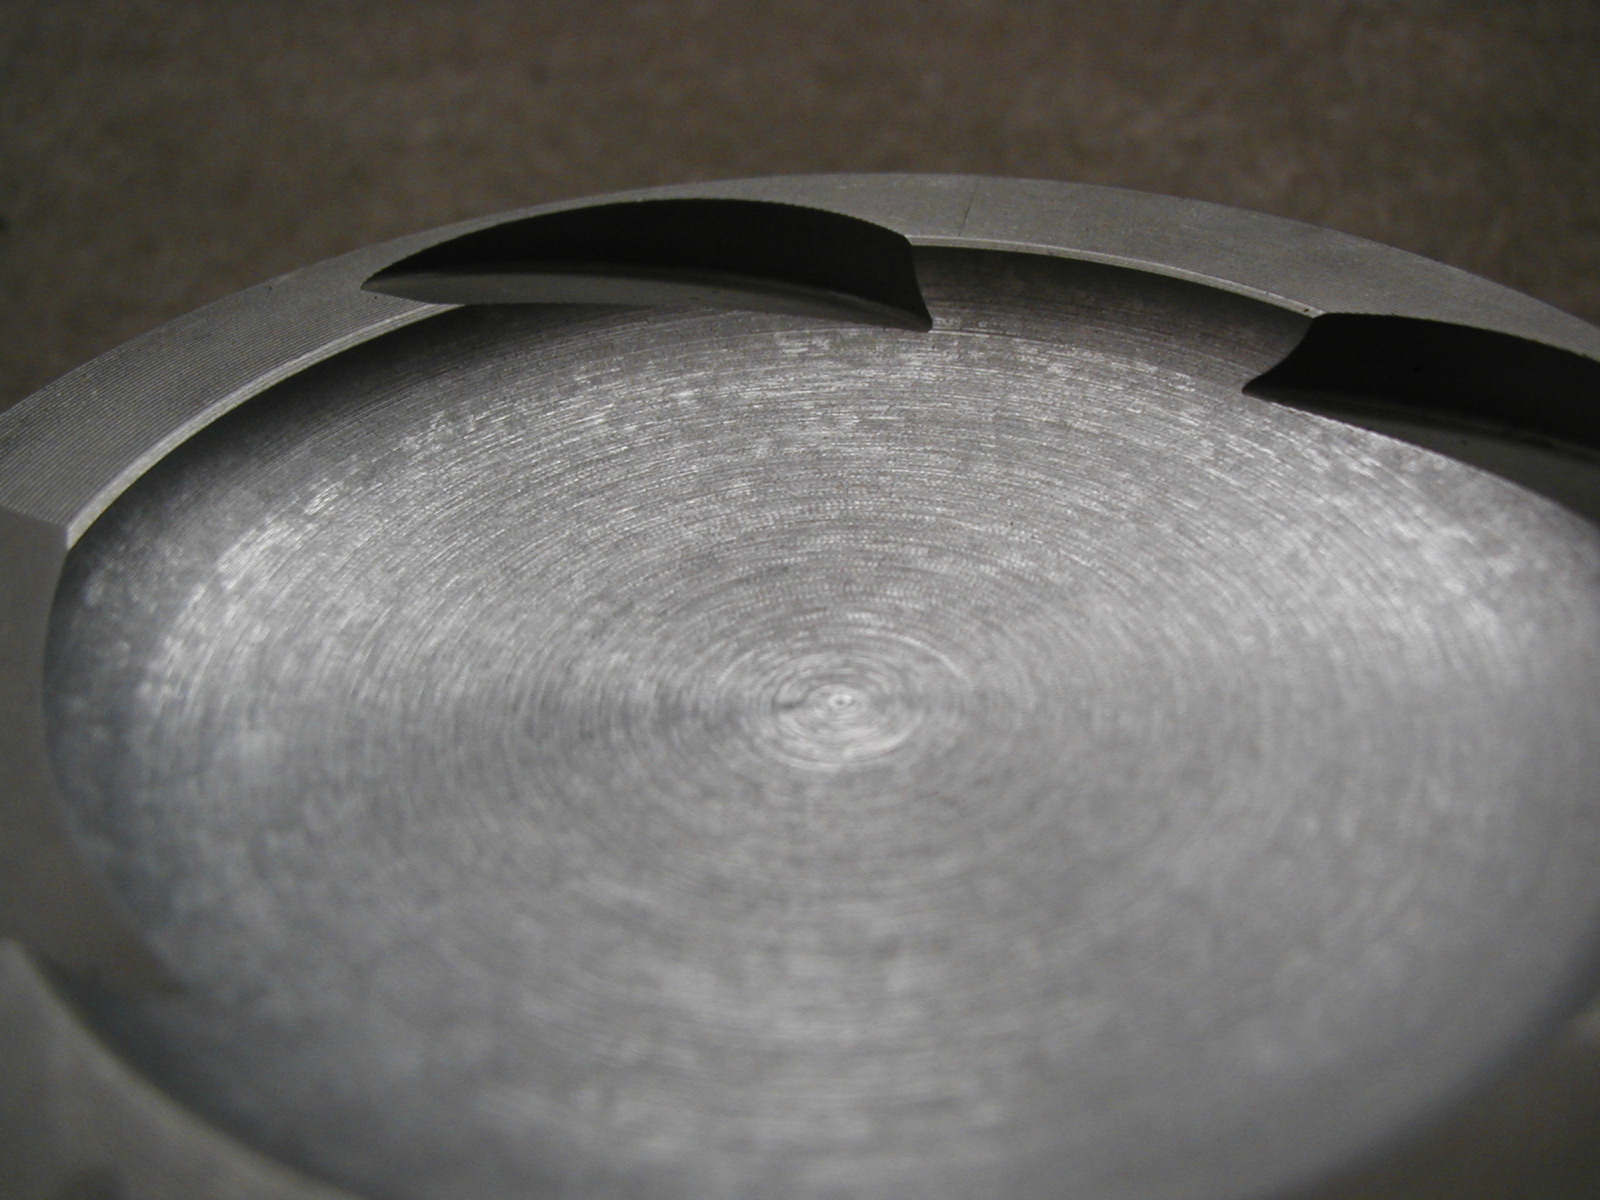
The piston dish looks much more textured than stock. A TB coating would probably help to smooth it all out amount other things. Is the finish as rough as it looks in the pic? Might attract some carbon build up if so, which would also contribute to hot spots on the crown.
Looks like a viable option to piston replacement for low-mid boost motors.
01-21-2004, 01:09 AM
#41
Addict
Lifetime Rennlist
Member
Lifetime Rennlist
Member
Thread Starter
Just looking at your x-sections, it seems the dish now has 3 arcs instead of 1. Or looking at this way; 1 arc w/ serious deflection at both ends.
Look at the first pic on this page http://www.928sg.com/block.htm (Sterlings)
Left is stock..right is the JE that he used. It has less flat crown and a dish just as steep near the edge, if not steeper. Im sure his squish area has been altered..unles the head was machined to mate up.
Heck, guys have put 951 pistons in there with out any mods to the piston..except valve cutouts. I think i can split hairs and worry a whole bunch about the "design" and implications of this and that etc... but looking at what other pistons are running in 928s now (951-968..which have to be modified to fit) i dont think i need to worry to much. ......
I hope : )
As for the surface texture it looks rough in the pictures but is actually VERY smooth. Thats a HQ picture on a Macro setting. If you were to drag your nails across the dish then the crown, your nail would actually catch more on concentric grooves in the crown.
I have my plan but Im still looking at options from this point as to where to go next. Im all ears.
Last edited by Tony; 01-21-2004 at 01:27 AM.
02-05-2004, 06:53 PM
#43
Addict
Lifetime Rennlist
Member
Lifetime Rennlist
Member
Thread Starter
From an idea to this.....
Bore(Inches)=3.9370
Stroke(Inches)=3.1063
Connecting Rod Length(Inches) =5.9055
Cylinder Head Volume(cc)=40cc (my ref notes say 42?)
Deck Height(Inches)=.003
Head Gasket Bore(Inches)=3.947
Head Gasket Thickness(Inches)
Piston to Cylinder Wall Clearance(Inches)=.00098
Top Ring Land Height(Inches)=.3346
Piston Dome Volume(cc)=-30.2 (just cc'd a random piston from the batch)
Negative number is dished piston. Positive number is a domed piston.
TAH DA!!!
Compression Ratio: 8.763 : 1
Bore / Stroke Ratio: 1.267 : 1
Rod / Stroke Ratio: 1.901 : 1
Total volume: 699.629 cc's
Compressed volume: 79.841 cc's
Thats its....done!
If i were to use a cyl head volume of 42 per some notes i have that yeilds..8.5731:1
So with a 2cc error on the large side i drop to 8.573:1
Anything between there(8.5:1) and 9.0:1 was the goal.
8.763:1....is what im working with.
BTW..im building a V16. Gotta keep up with the new Caddy!
Dont ask to use my chapstick : ) A great use for CARMEX! Sealing your piston/glass while CC'ing!

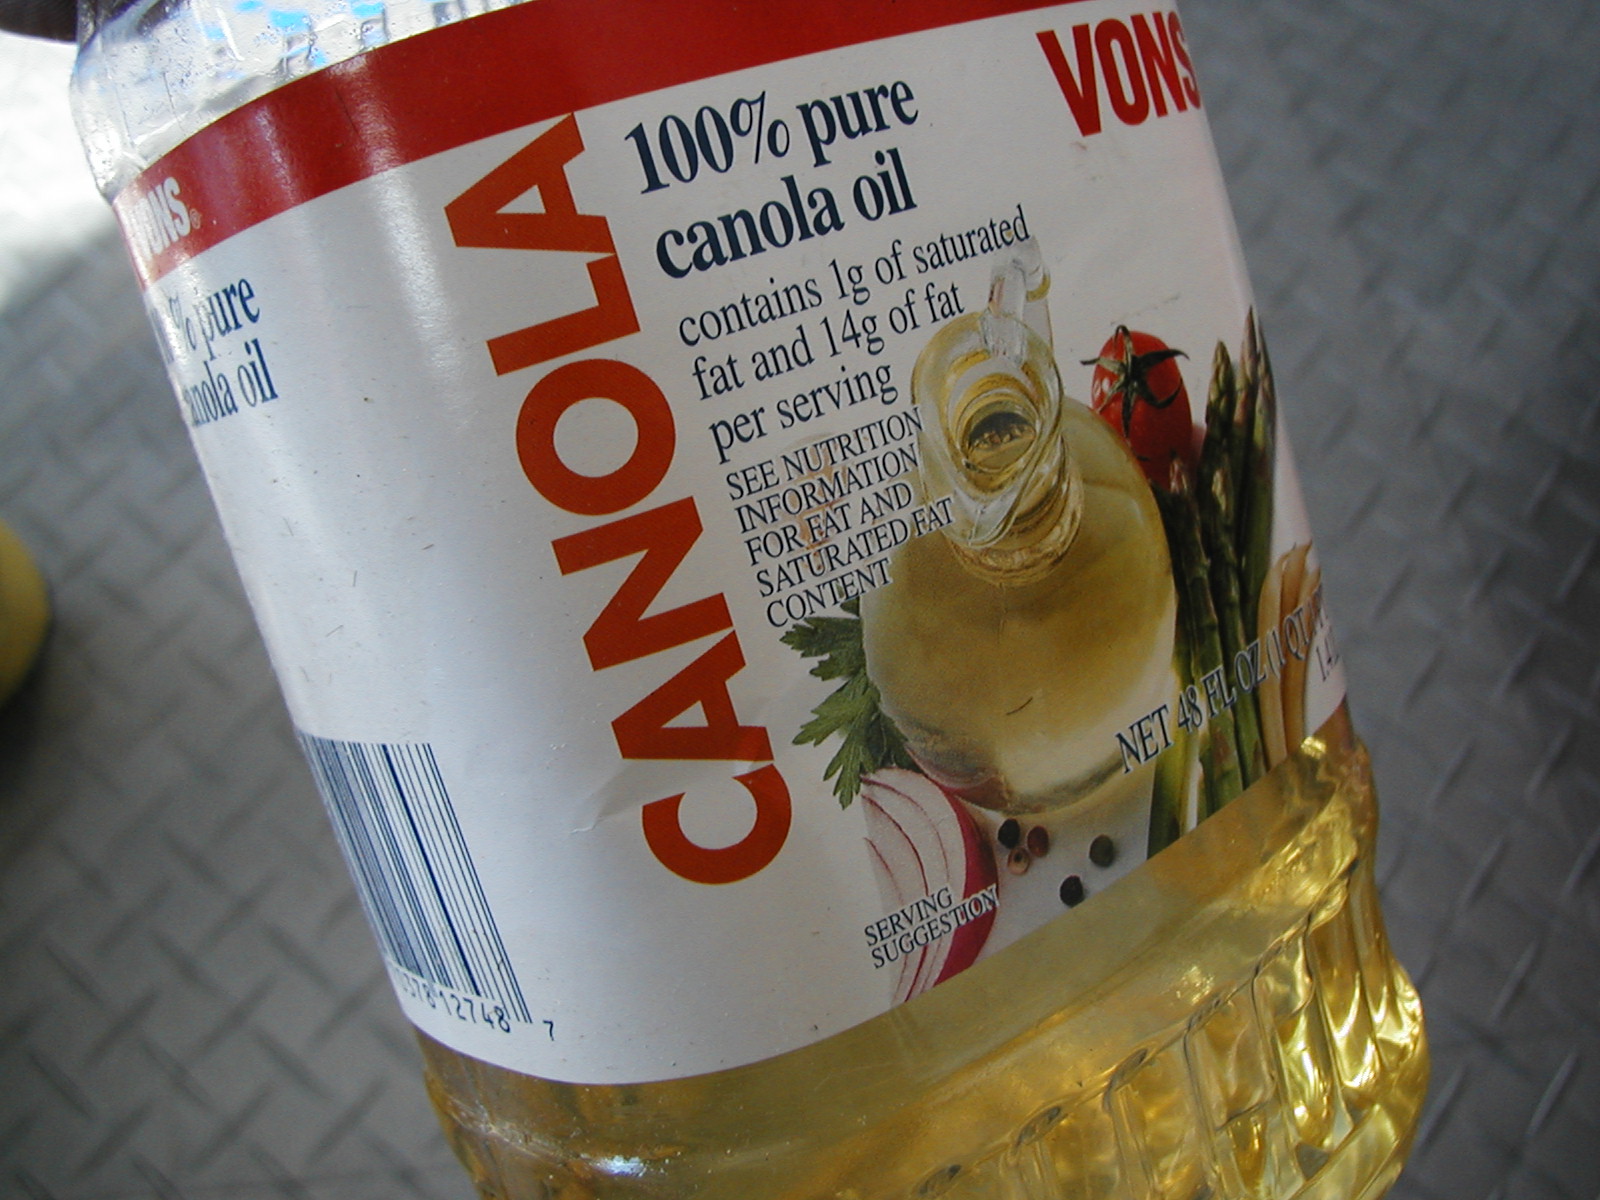
Canola Oil...worked better than water and not a smelly mess like tranny fluid. The yellow color still makes it easier to see. Wife is gone for the day.
Just as accurate as a burette i think...
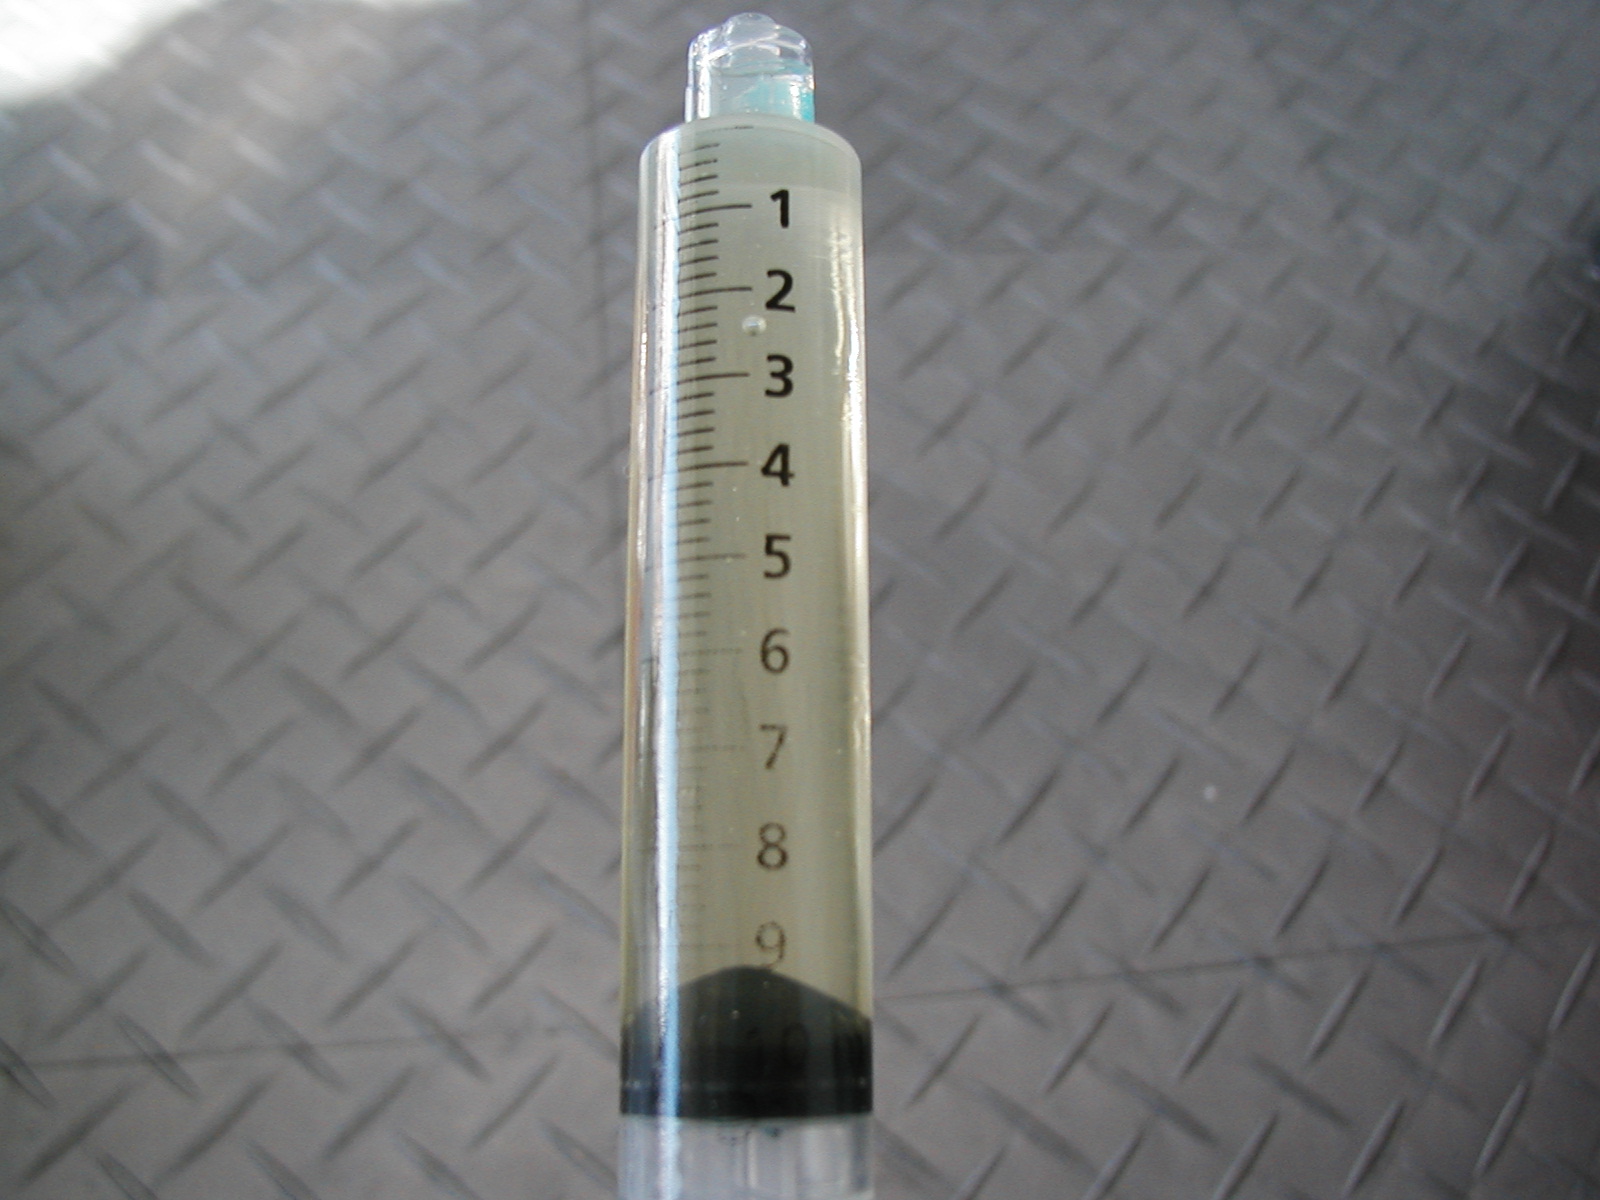
Just a couple of very small bubbles that wouldnt budge.

This was the raw idea i had earlier using my dremel to cut the material away...and the thickness remaining. The pistons above have the profile shown below..give or take .Xmm

next i plan on radiusing the edges a bit as i seem to get that comment the most.
Input???..........
Bore(Inches)=3.9370
Stroke(Inches)=3.1063
Connecting Rod Length(Inches) =5.9055
Cylinder Head Volume(cc)=40cc (my ref notes say 42?)
Deck Height(Inches)=.003
Head Gasket Bore(Inches)=3.947
Head Gasket Thickness(Inches)
Piston to Cylinder Wall Clearance(Inches)=.00098
Top Ring Land Height(Inches)=.3346
Piston Dome Volume(cc)=-30.2 (just cc'd a random piston from the batch)
Negative number is dished piston. Positive number is a domed piston.
TAH DA!!!
Compression Ratio: 8.763 : 1
Bore / Stroke Ratio: 1.267 : 1
Rod / Stroke Ratio: 1.901 : 1
Total volume: 699.629 cc's
Compressed volume: 79.841 cc's
Thats its....done!
If i were to use a cyl head volume of 42 per some notes i have that yeilds..8.5731:1
So with a 2cc error on the large side i drop to 8.573:1
Anything between there(8.5:1) and 9.0:1 was the goal.
8.763:1....is what im working with.
BTW..im building a V16. Gotta keep up with the new Caddy!
Dont ask to use my chapstick : ) A great use for CARMEX! Sealing your piston/glass while CC'ing!
Canola Oil...worked better than water and not a smelly mess like tranny fluid. The yellow color still makes it easier to see. Wife is gone for the day.
Just as accurate as a burette i think...
Just a couple of very small bubbles that wouldnt budge.
This was the raw idea i had earlier using my dremel to cut the material away...and the thickness remaining. The pistons above have the profile shown below..give or take .Xmm
next i plan on radiusing the edges a bit as i seem to get that comment the most.
Input???..........
Last edited by Tony; 02-06-2004 at 02:18 AM.
02-05-2004, 07:20 PM
#44

This is great Tony. Absolutley great.
Now lets get cracking on that next block of yours. I vote for sleeves!

Now lets get cracking on that next block of yours. I vote for sleeves!
02-06-2004, 02:23 AM
#45
Addict
Lifetime Rennlist
Member
Lifetime Rennlist
Member
Thread Starter
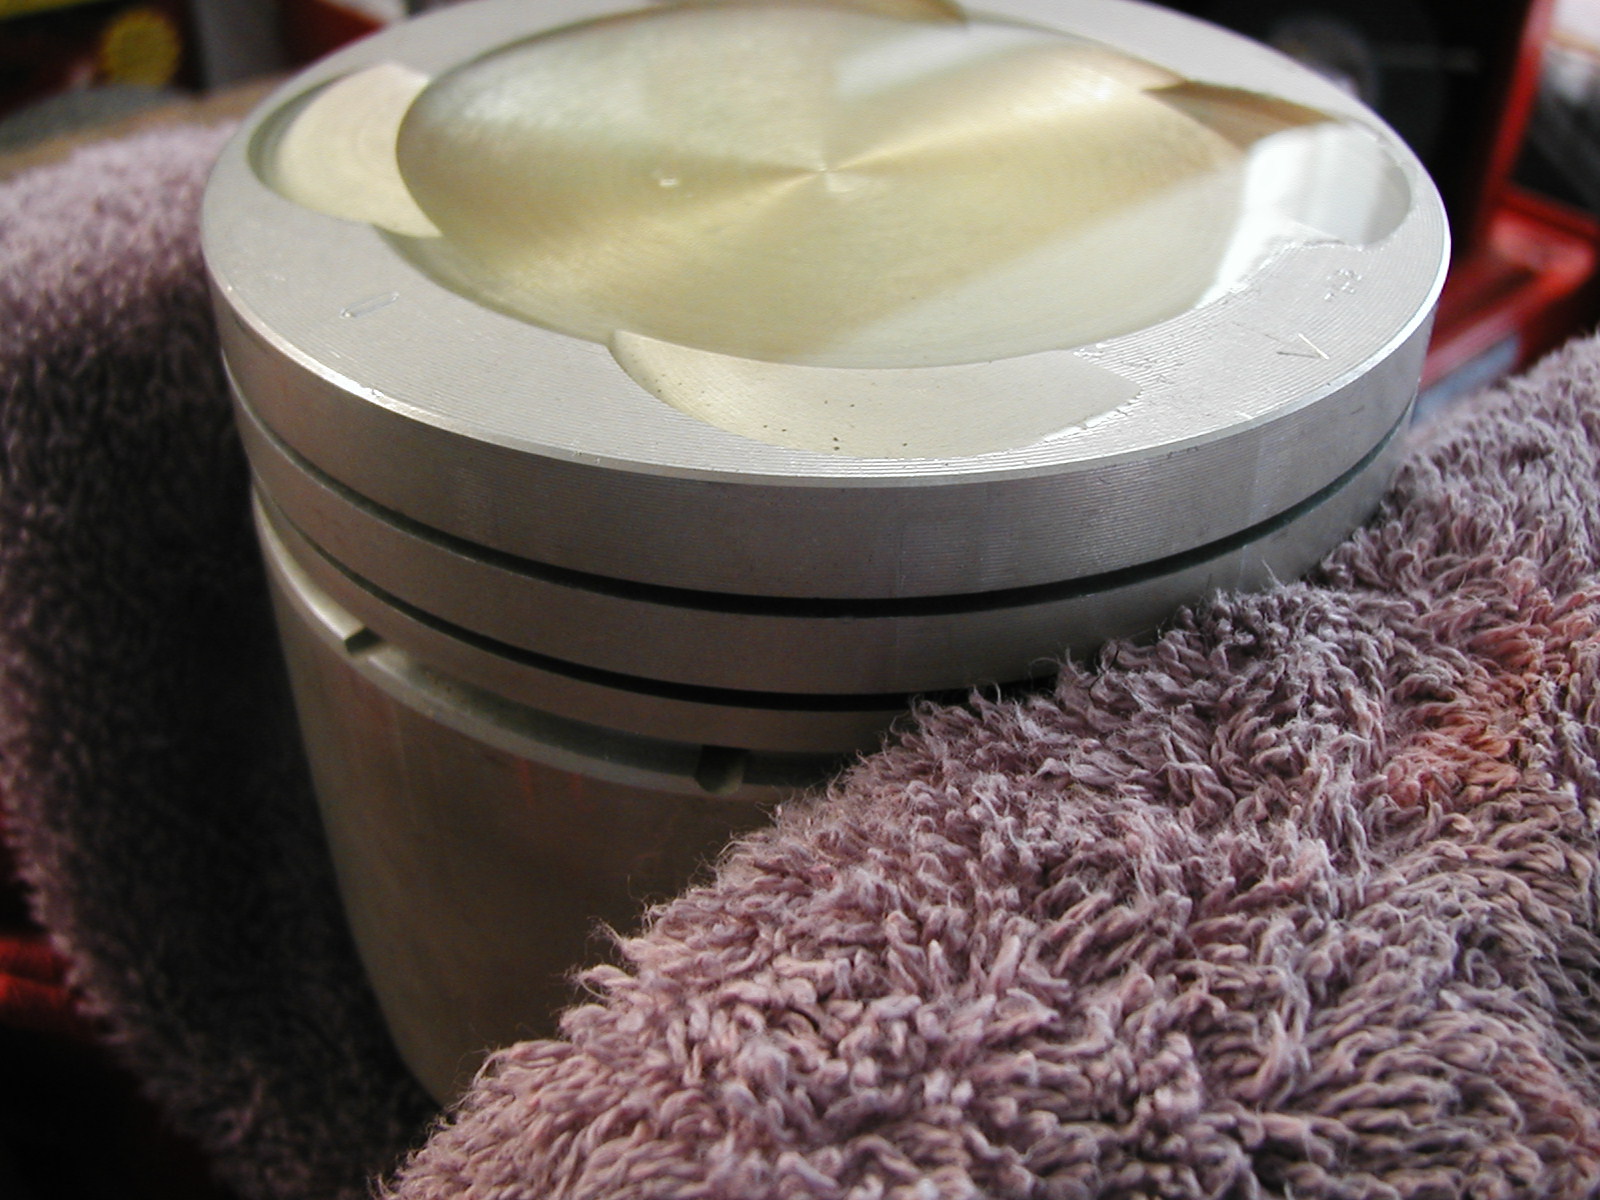
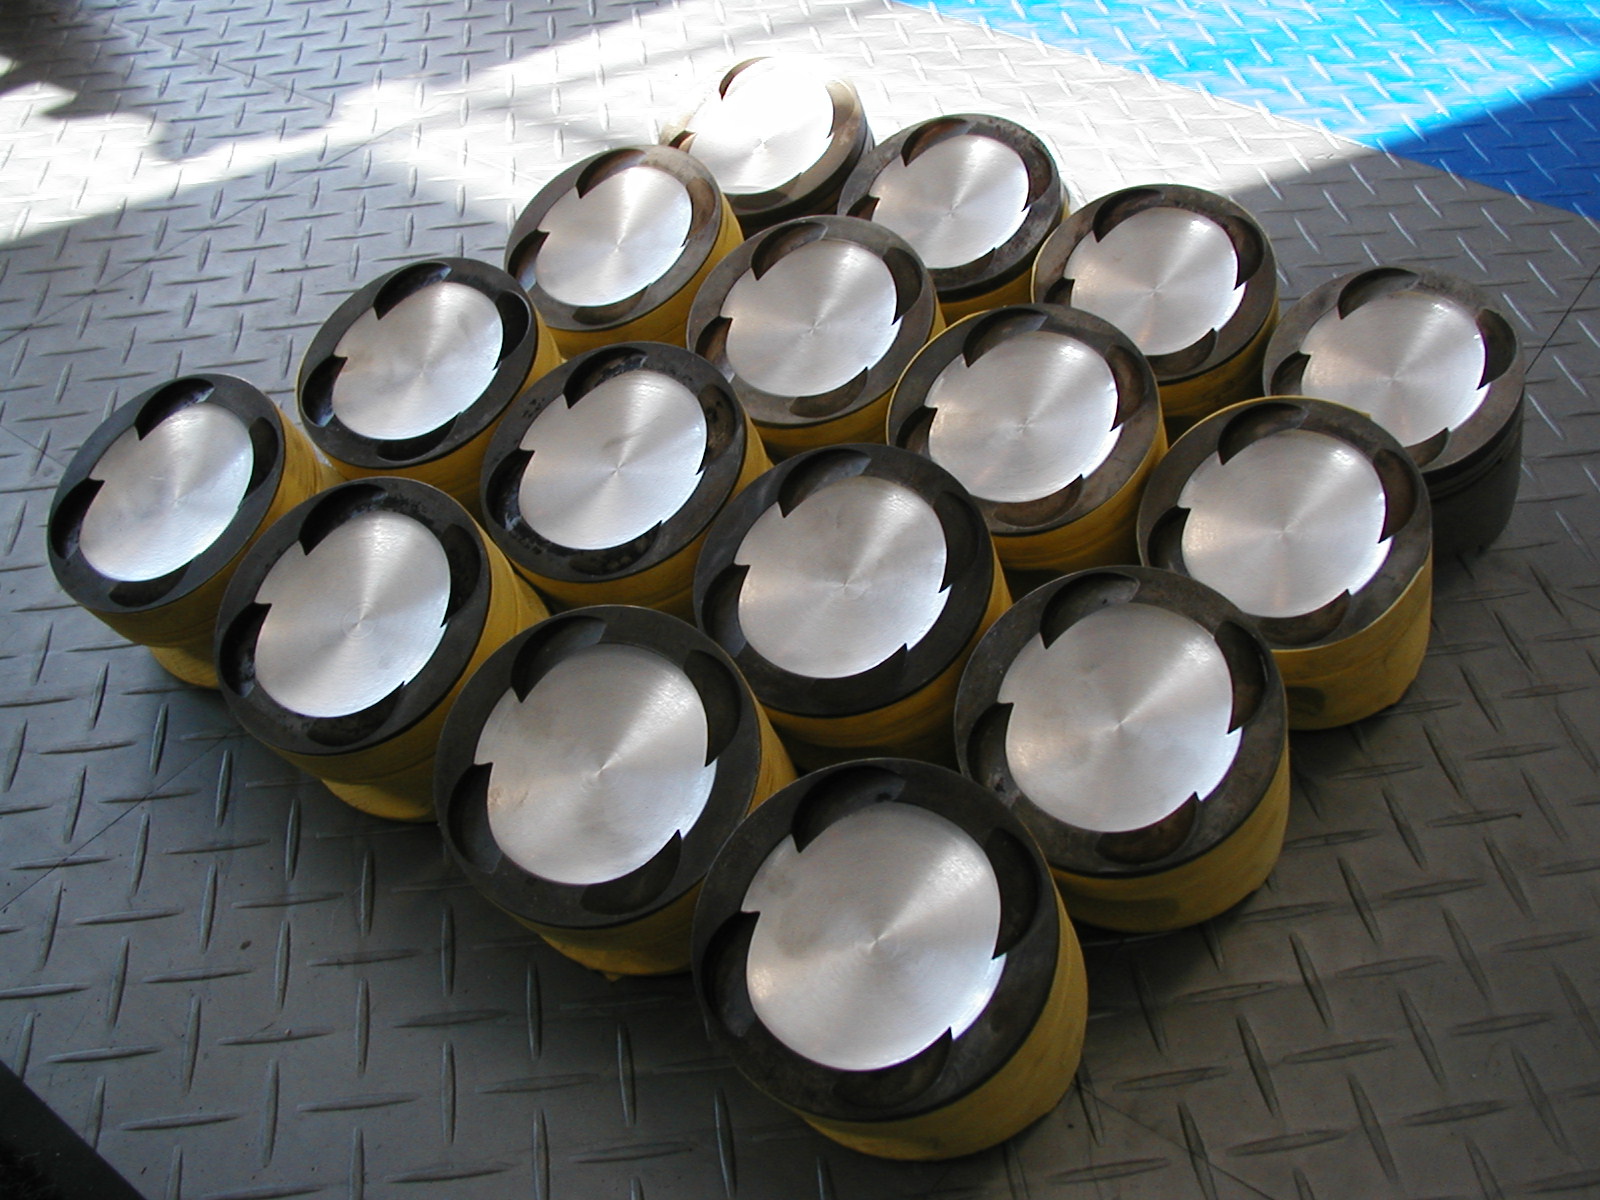
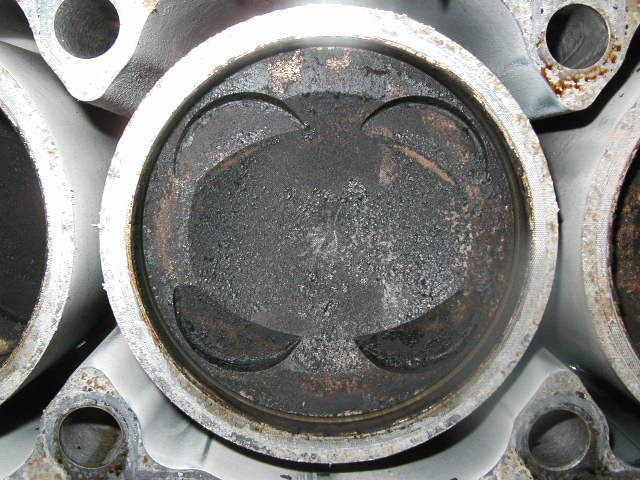
They all cleaned up well, with a bit of time and the dremel. Now to soften the edges a bit here and there.
Before......
After...same piston.
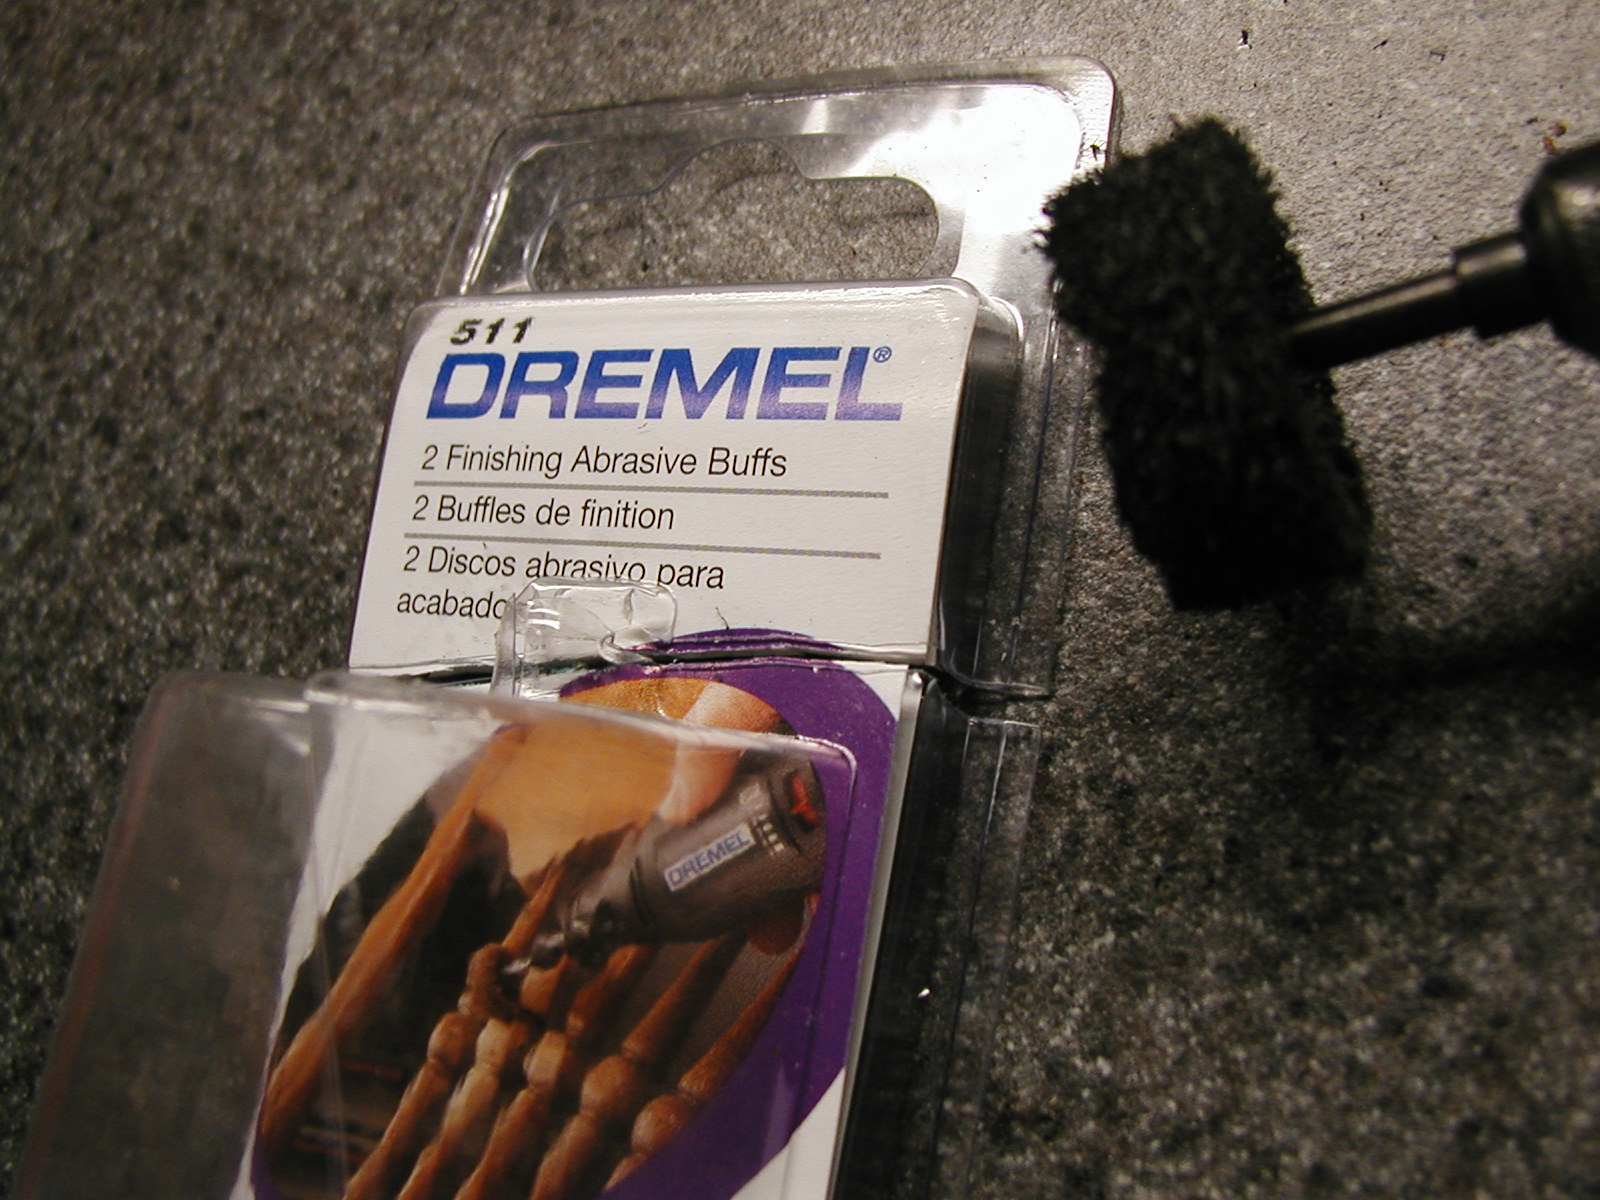
This is the pad i used to clean the pistons and the the block. I went through a few of them! They wear pretty quick which is fine with me as they dont mess up the metal surface when cleaning.
The yellow things you see around the pistons (pics above) are rubber gloves cut off at the wrist. They work great protecting the piston and skirts from scratches and minor dings while they sit around.
Before......
After...same piston.
This is the pad i used to clean the pistons and the the block. I went through a few of them! They wear pretty quick which is fine with me as they dont mess up the metal surface when cleaning.
The yellow things you see around the pistons (pics above) are rubber gloves cut off at the wrist. They work great protecting the piston and skirts from scratches and minor dings while they sit around.