I might have a problem
 02-17-2019, 11:54 PM
#166
Rennlist Member

 03-17-2019, 01:32 AM
#167
Burning Brakes
Thread Starter
I wanted to see how well the various seals we're functioning in the car now. The hatch seal was replaced, but all the rest are probably original. Surprisingly they seem to be working fairly well apart from the crispy sunroof seal.
03-17-2019, 03:41 AM
#168
Rennlist Member
03-17-2019, 09:03 AM
#169
Burning Brakes
Thread Starter
Matt, I'm sorry I didn't see this when you posted it but....The Stepson ate a brand new alternator belt from O'Reilly's. O'Reilly's carries a warranty just as I am sure that Autozone does. I took the alternator belt to O'Reilly's and they gave me another brand new belt. It maybe too late for you now, but it's something to keep in the back of your mind.
03-17-2019, 02:02 PM
#170
Rennlist Member
Things are coming together...
Congratulations!
03-17-2019, 05:42 PM
#171
Burning Brakes
Thread Starter
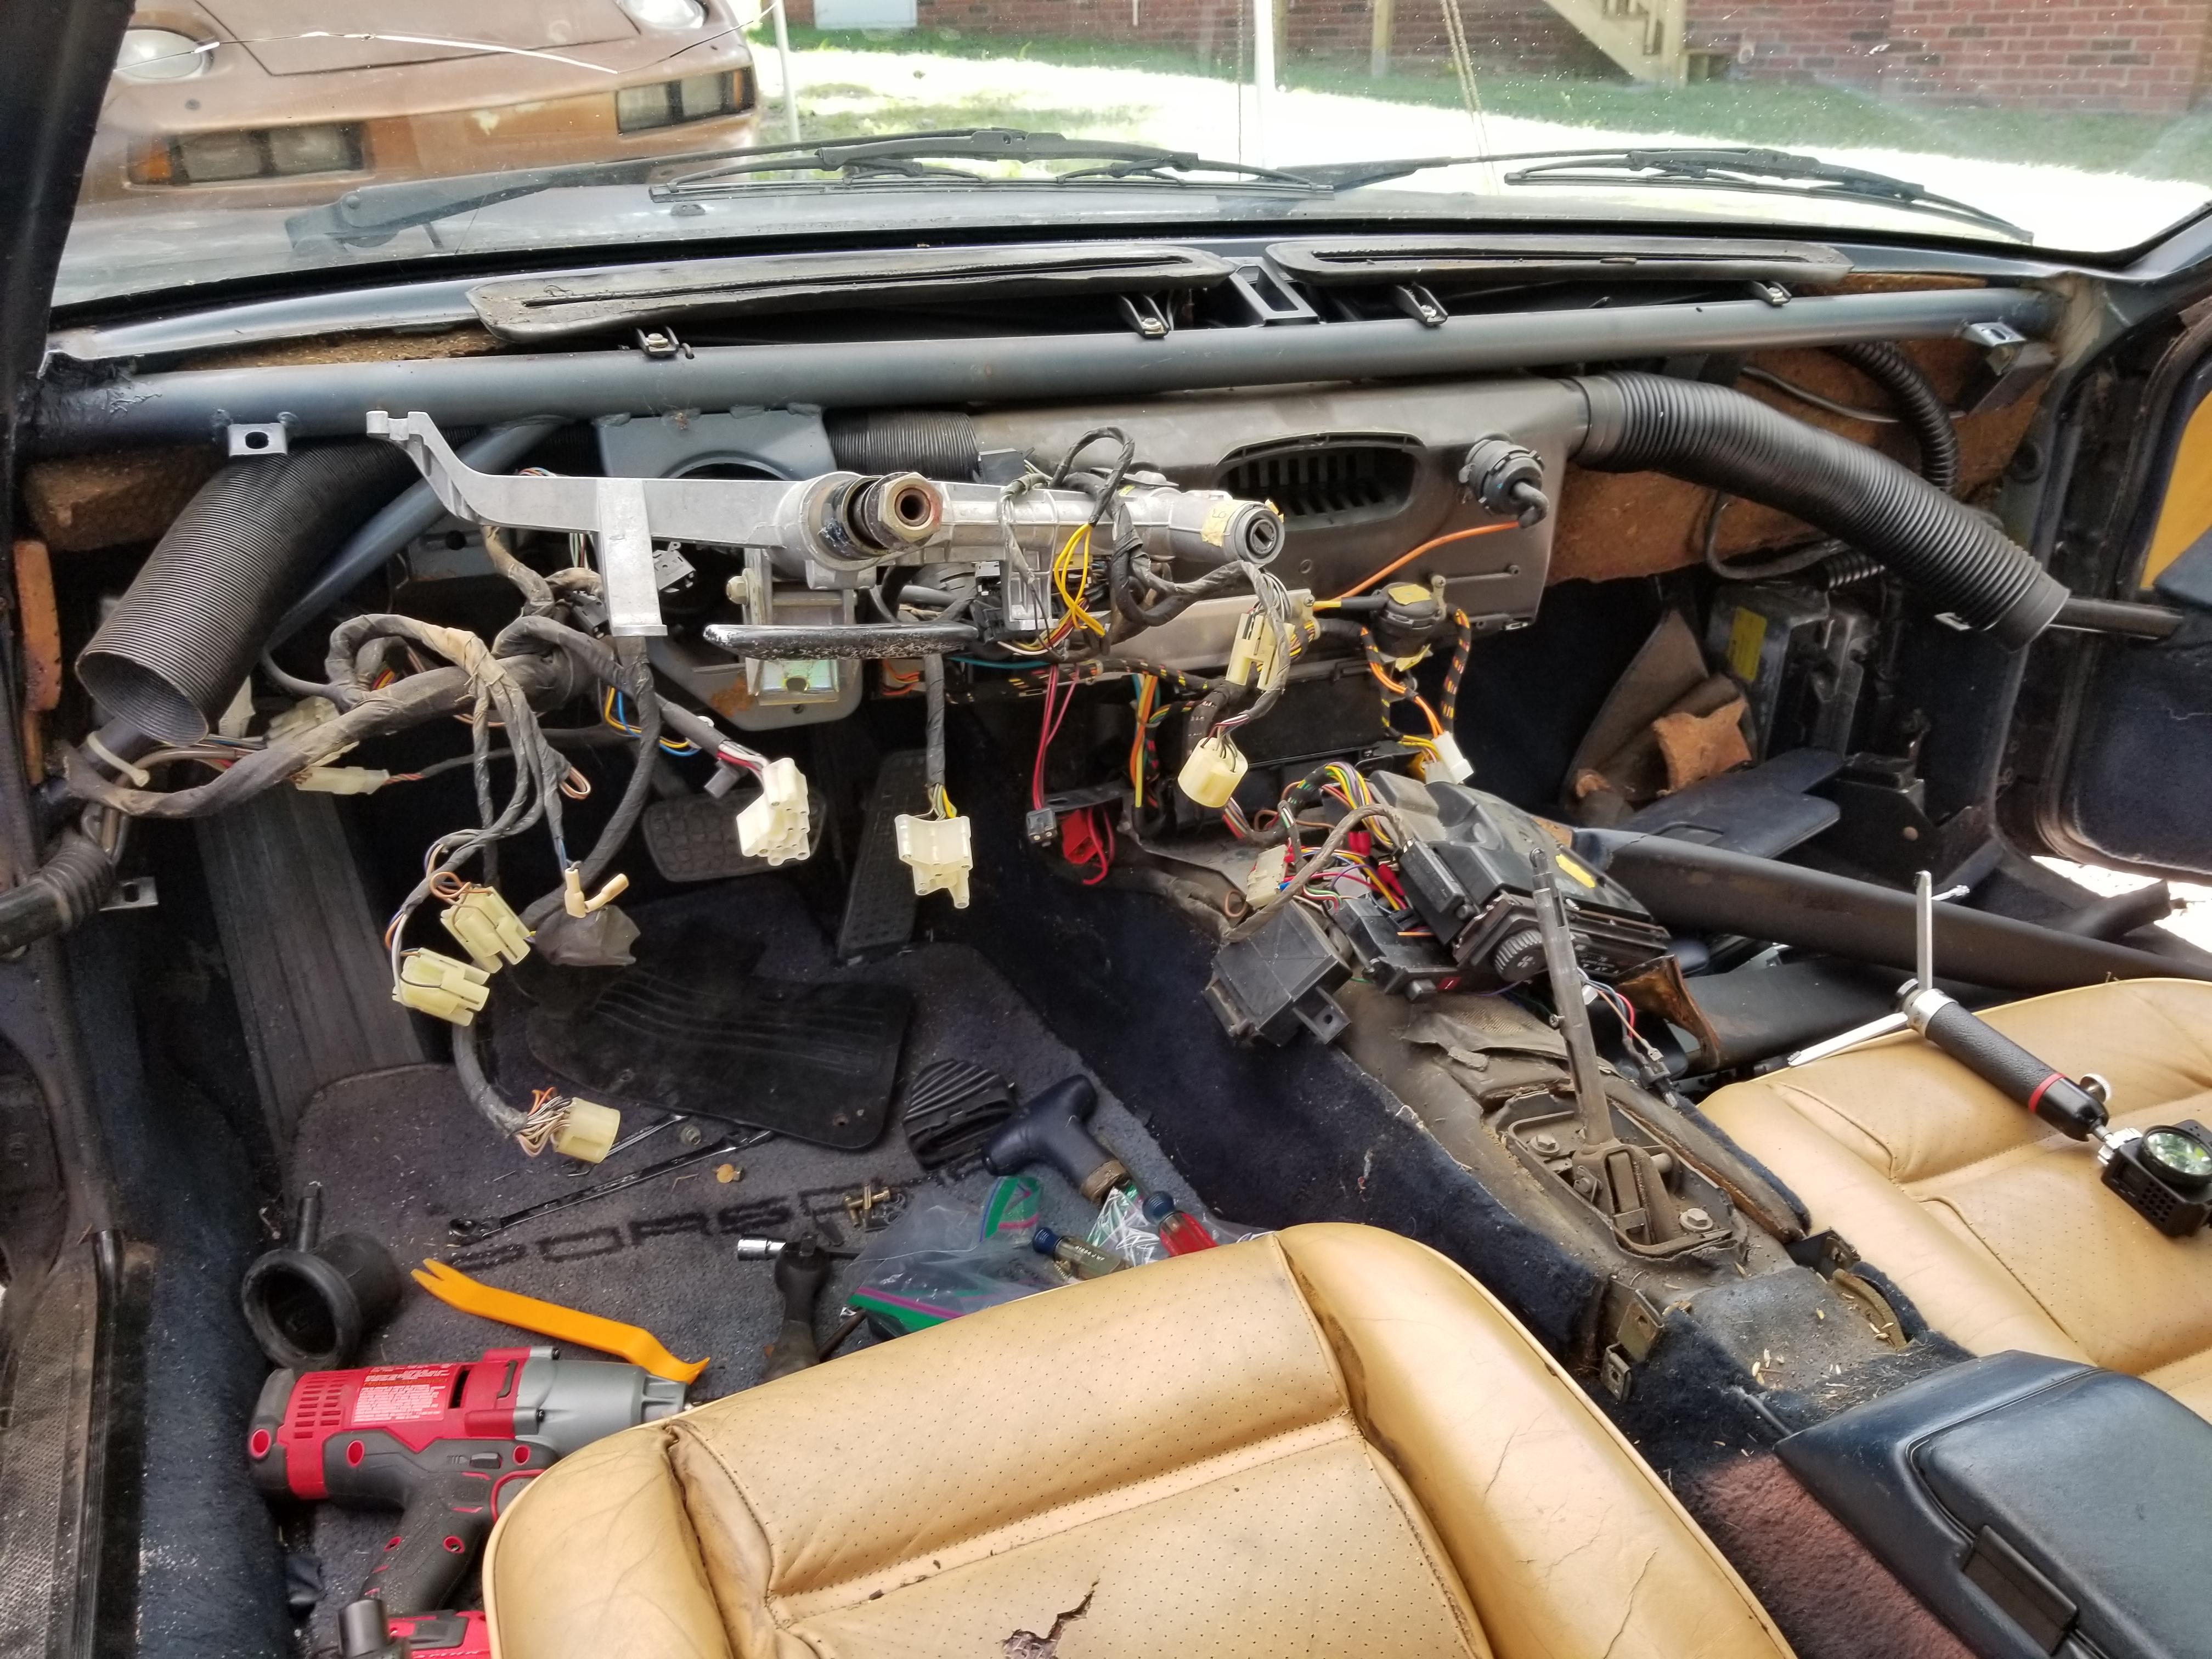
It's running pretty decently now. Time to start on cleaning up the interior. I pulled the dashboard from the parts car and think I'm going to try and fiberglass it and maybe flock it.
03-24-2019, 01:50 PM
#172
Burning Brakes
Thread Starter
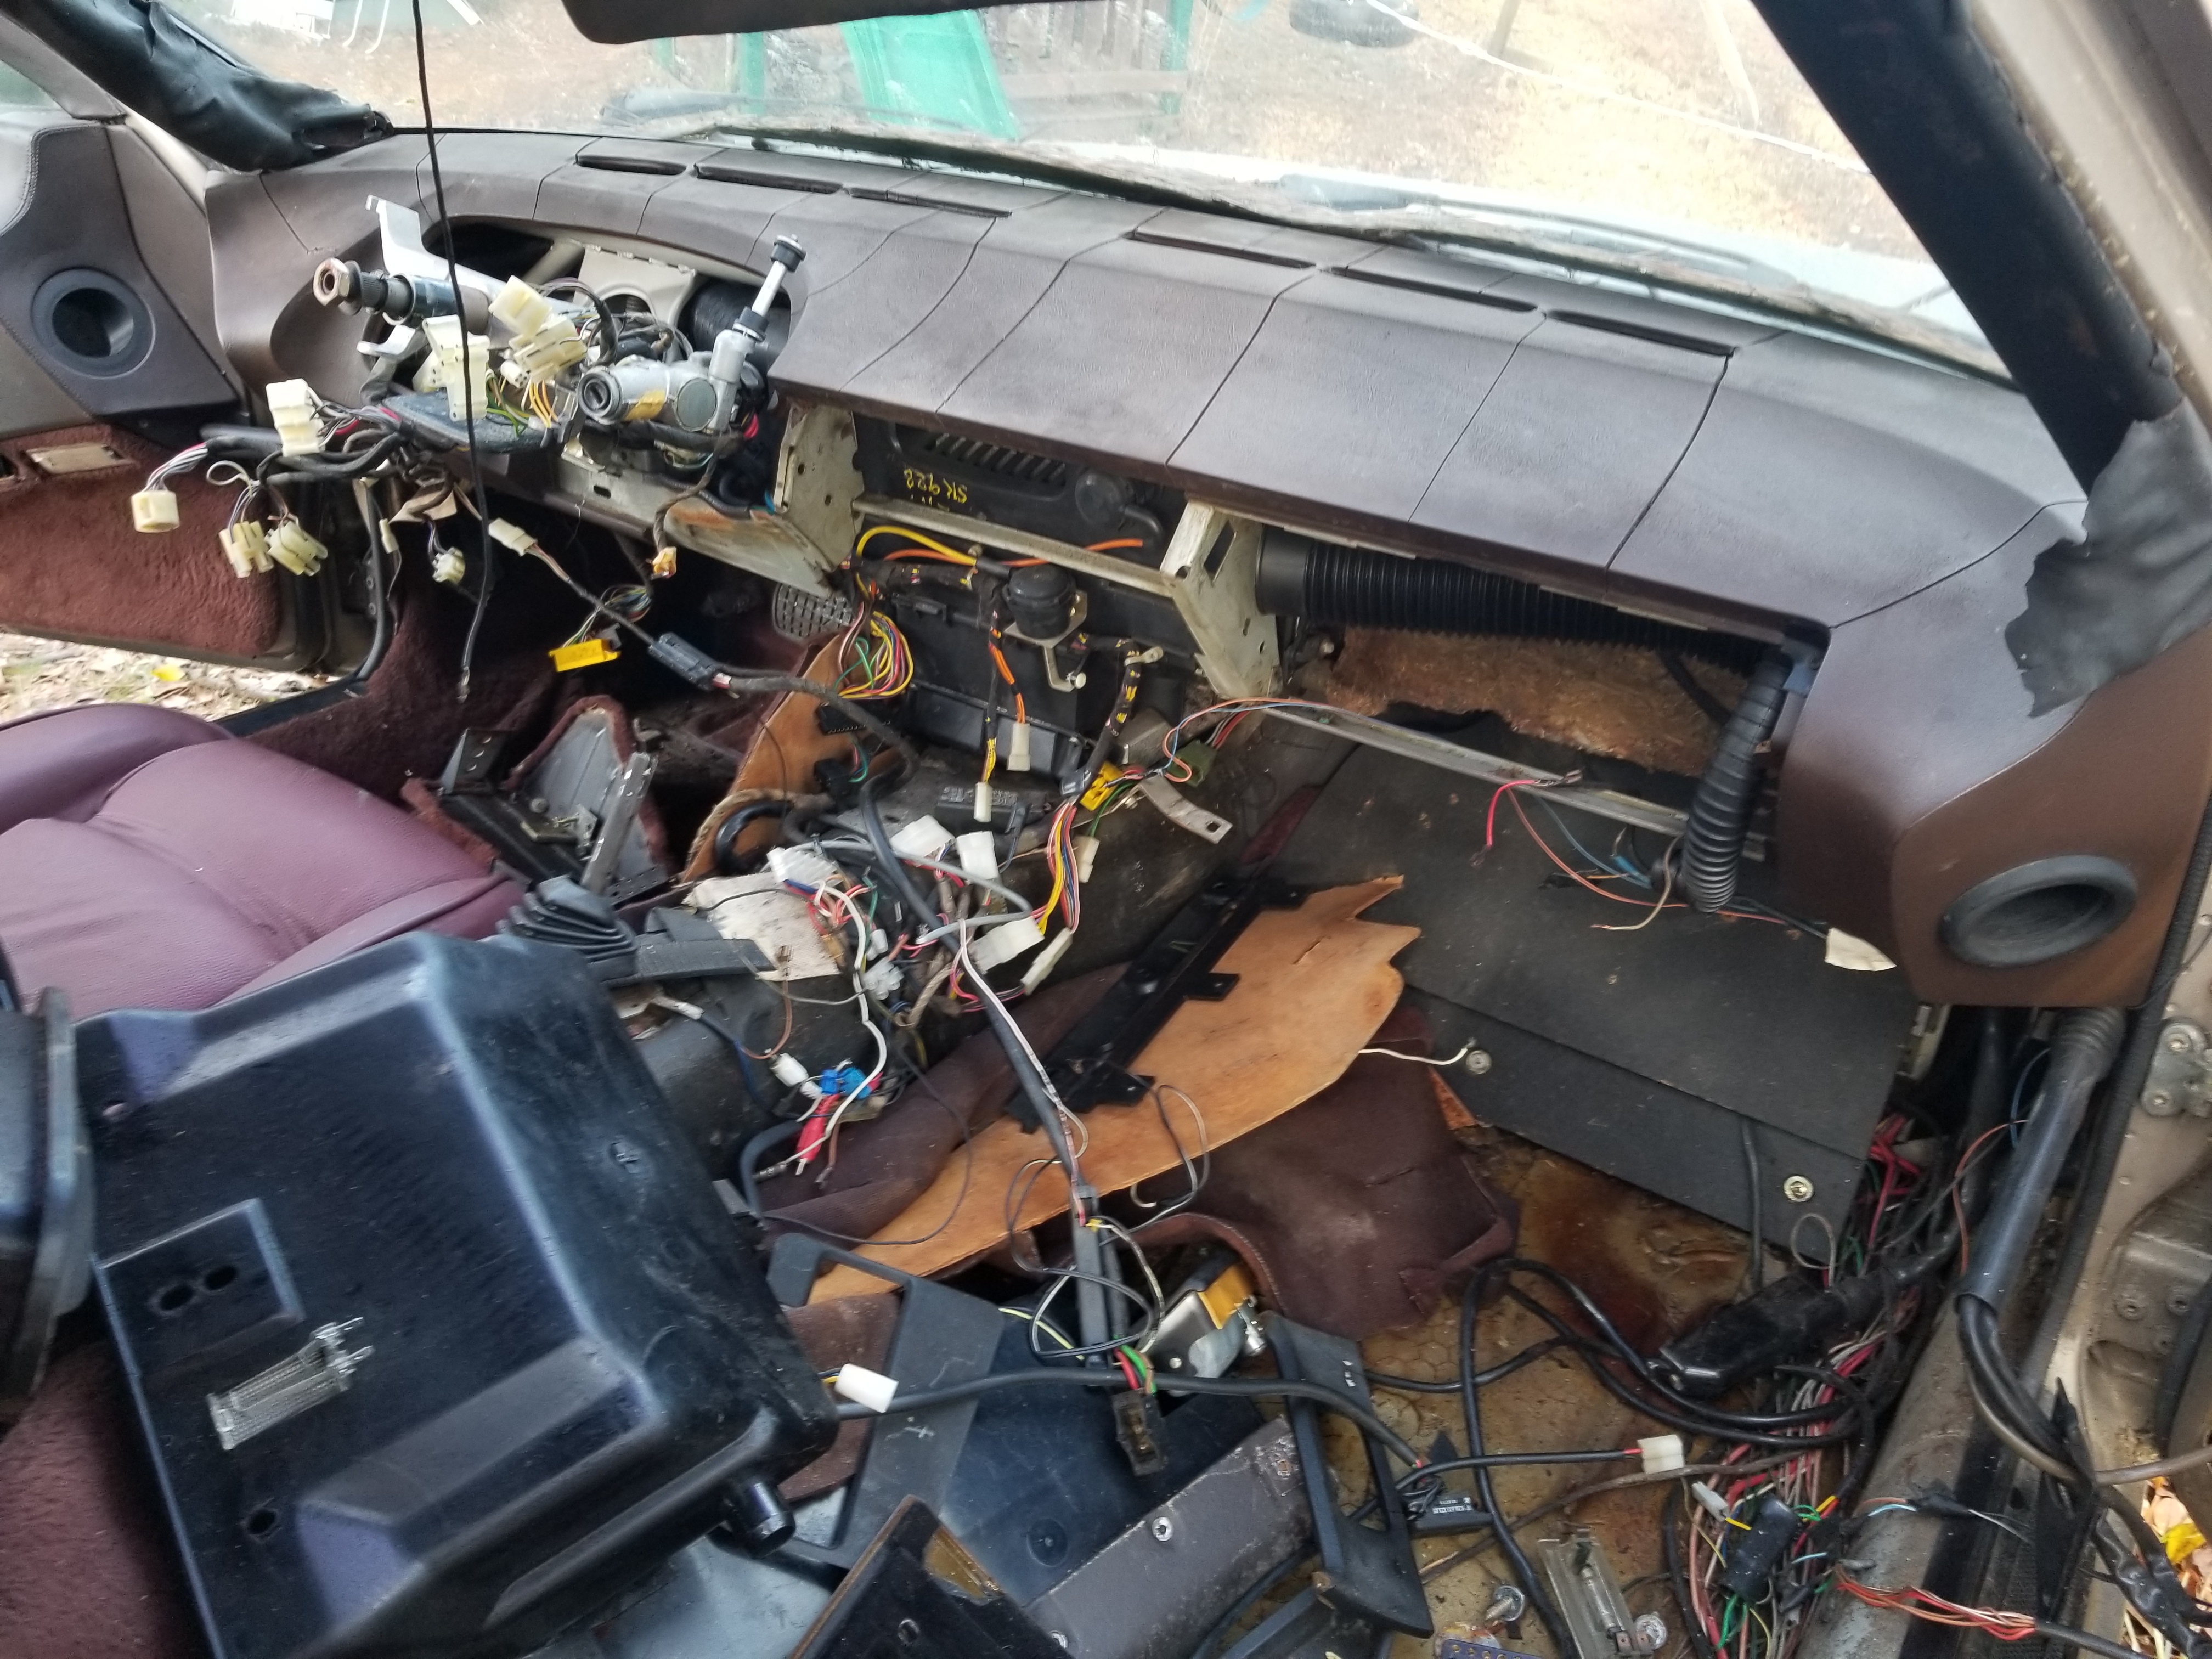
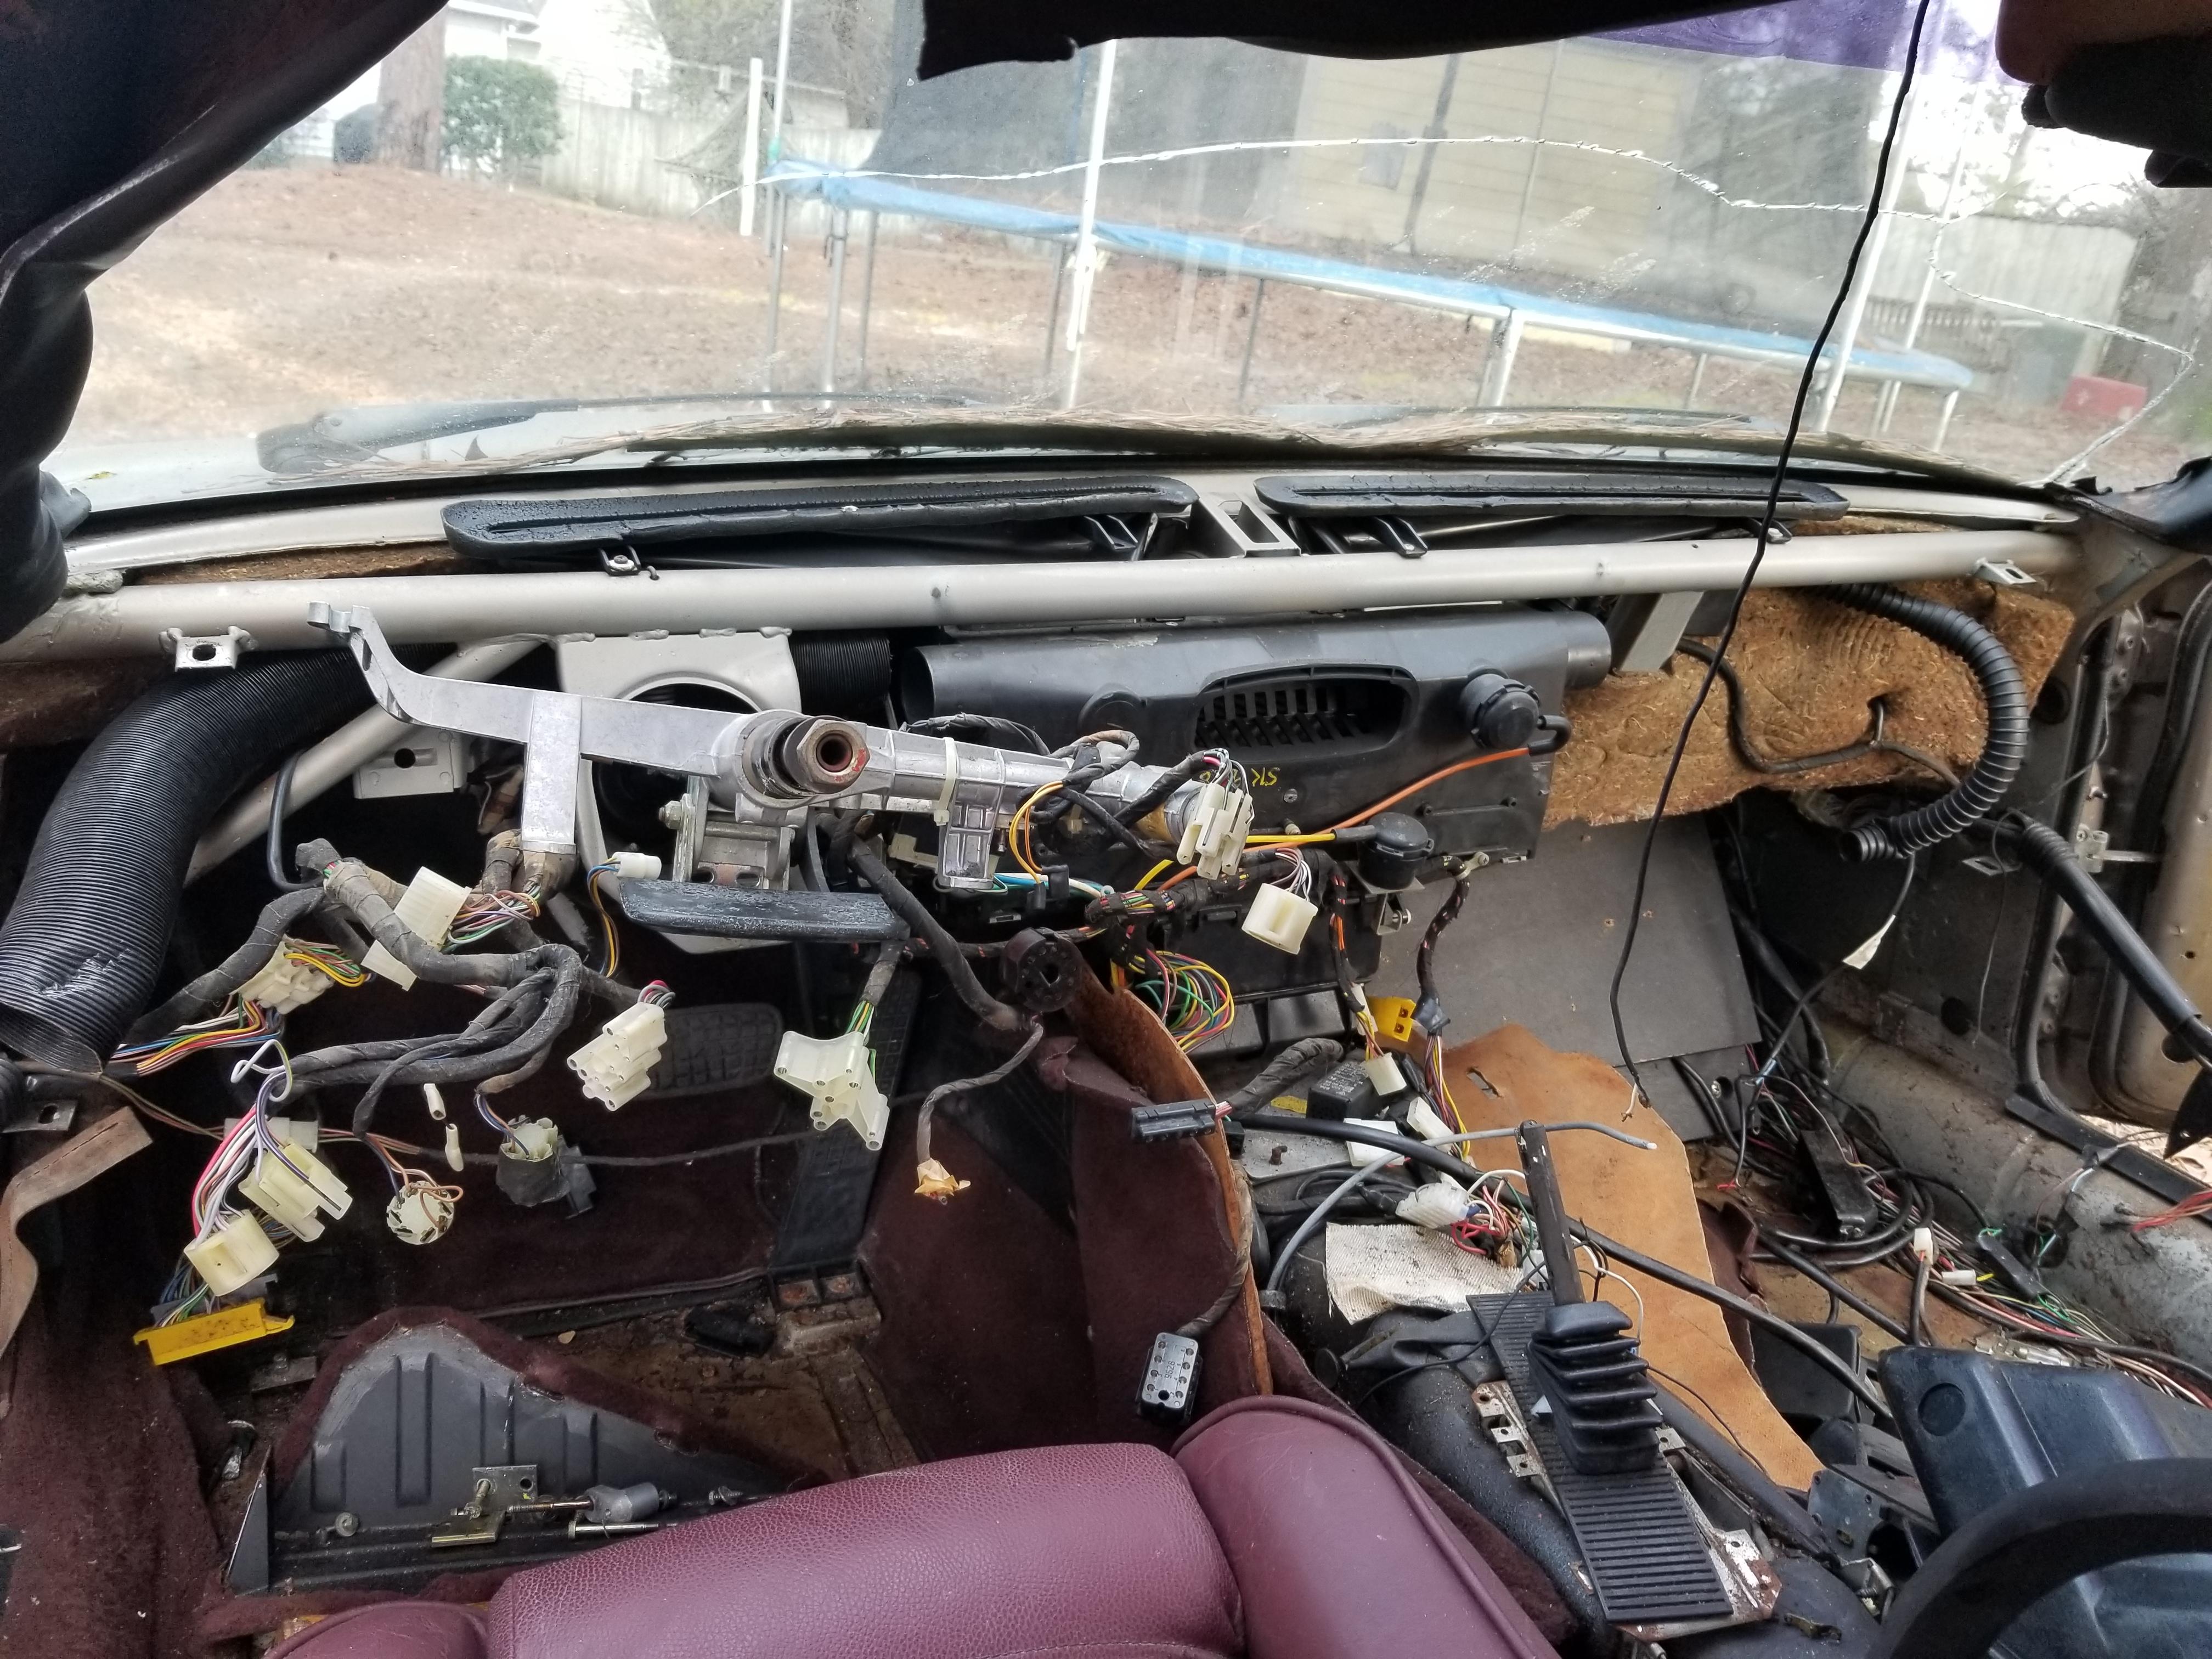
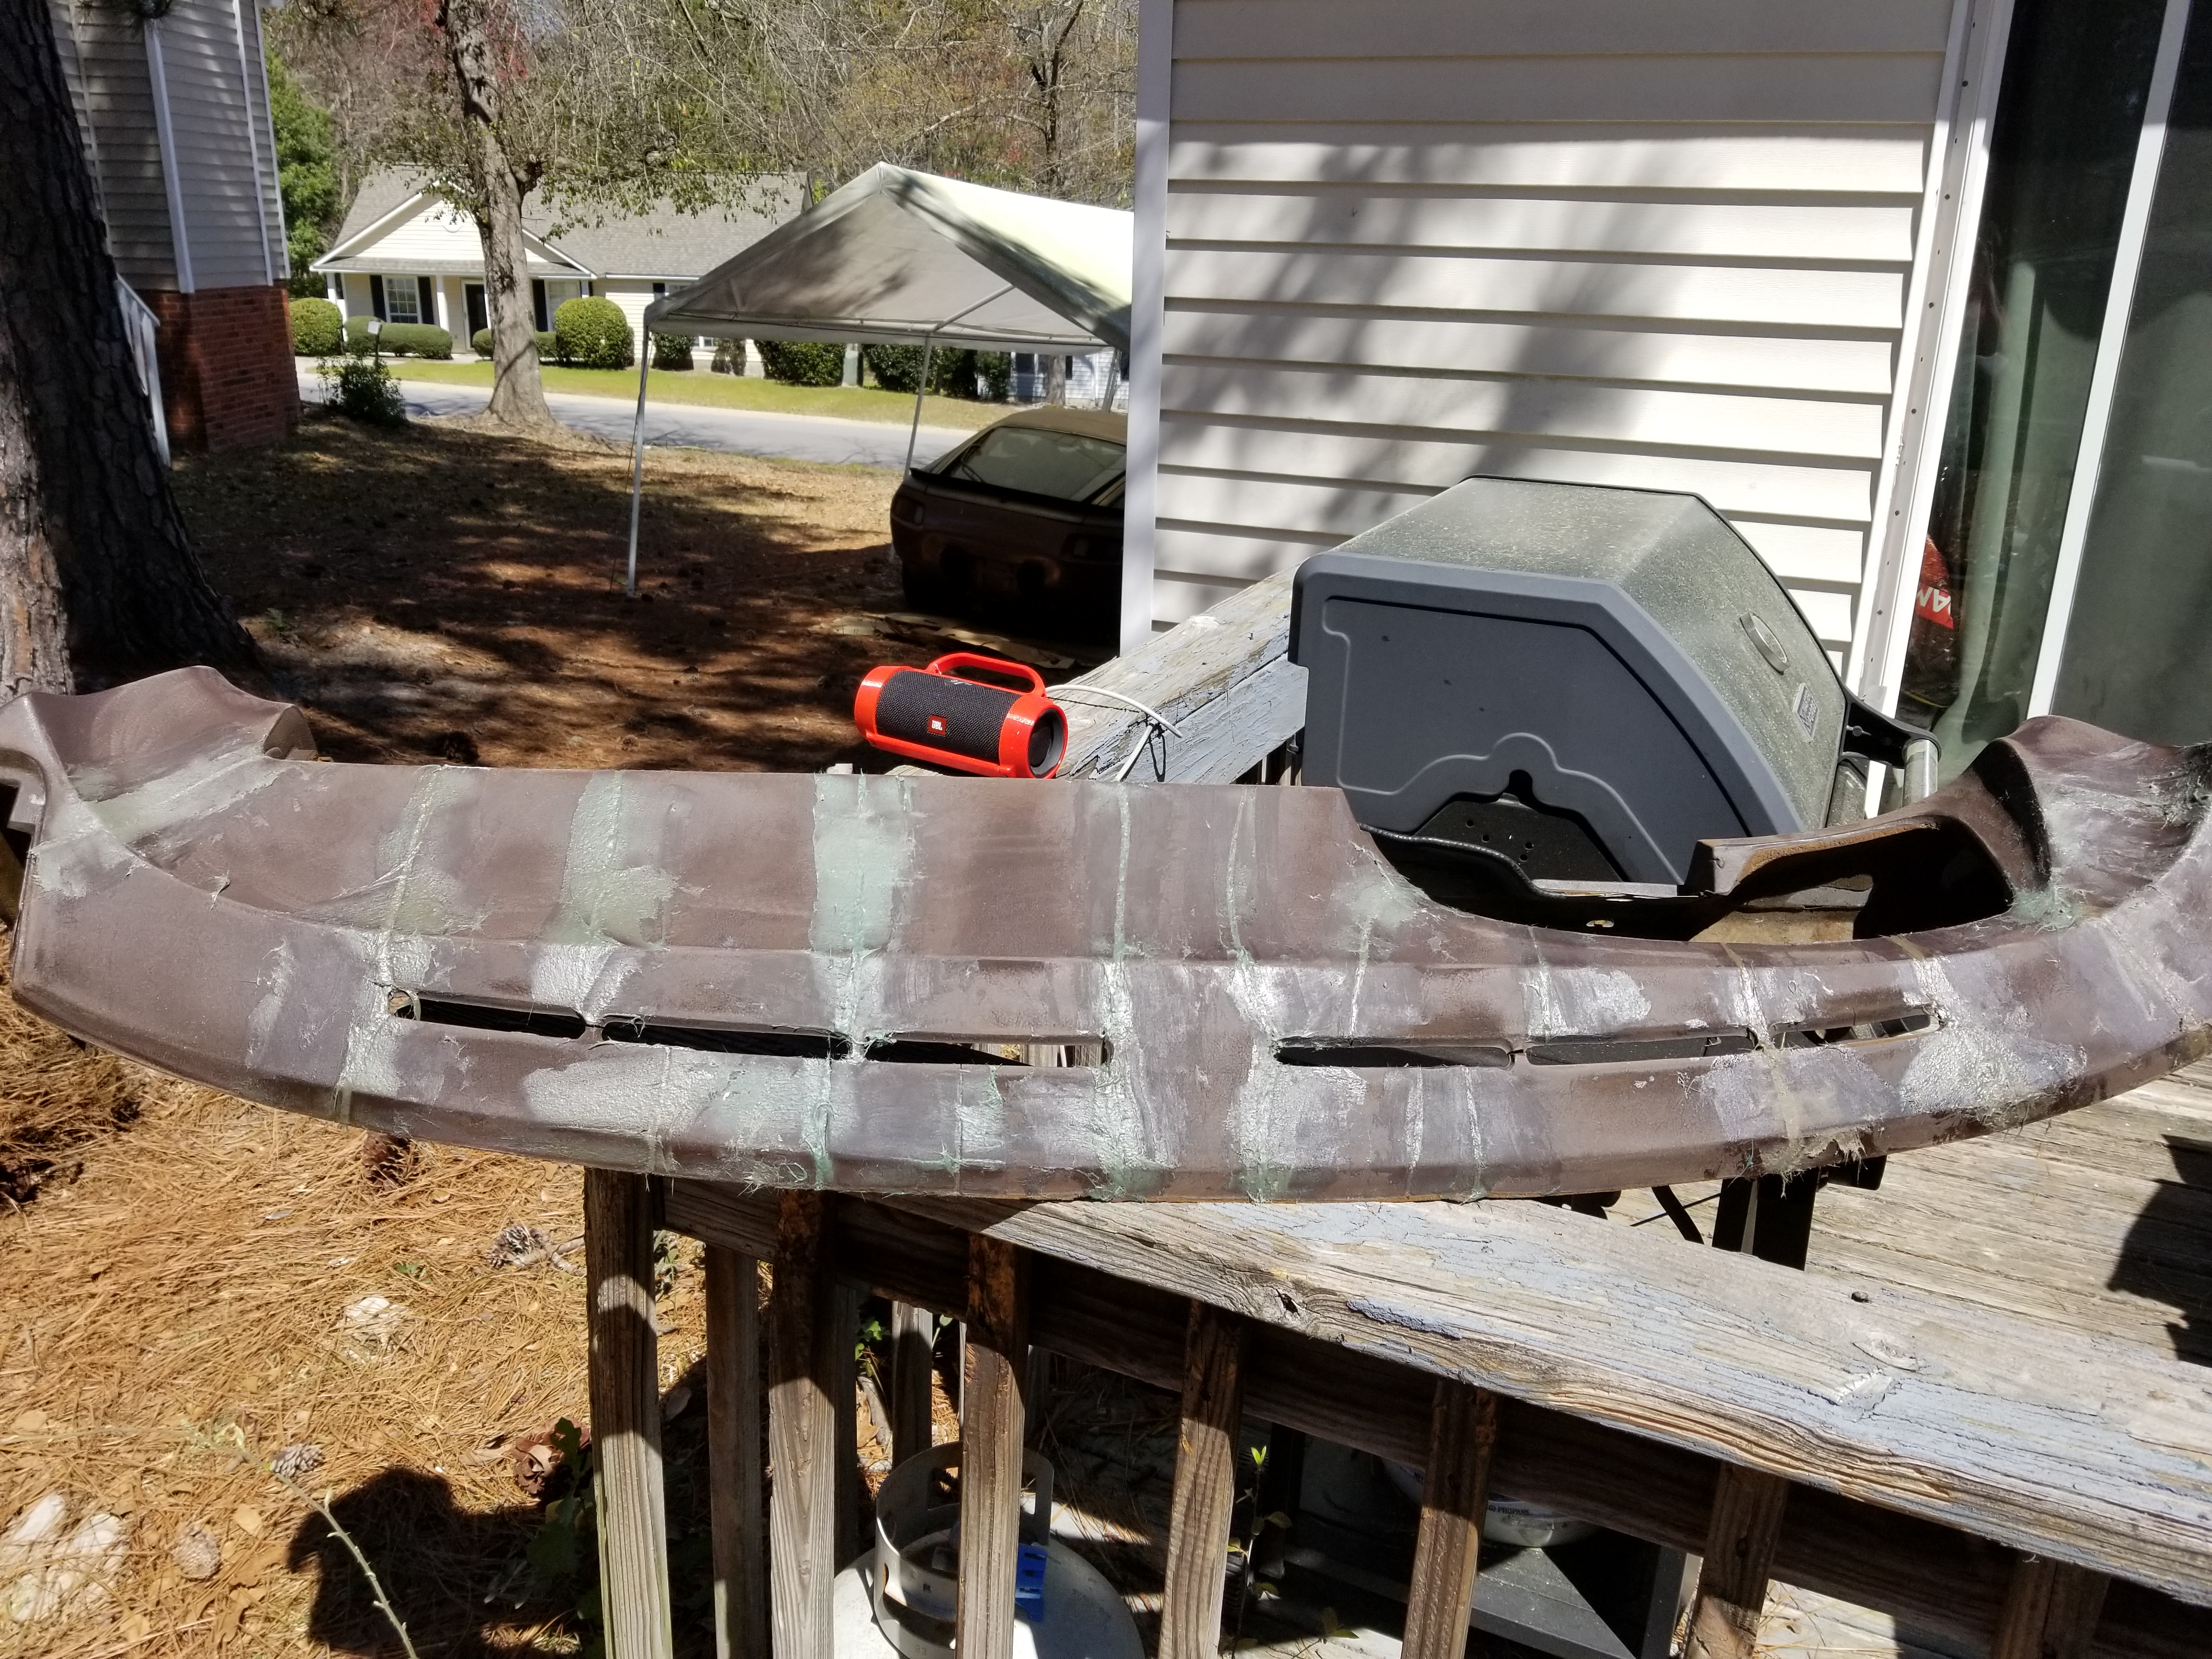
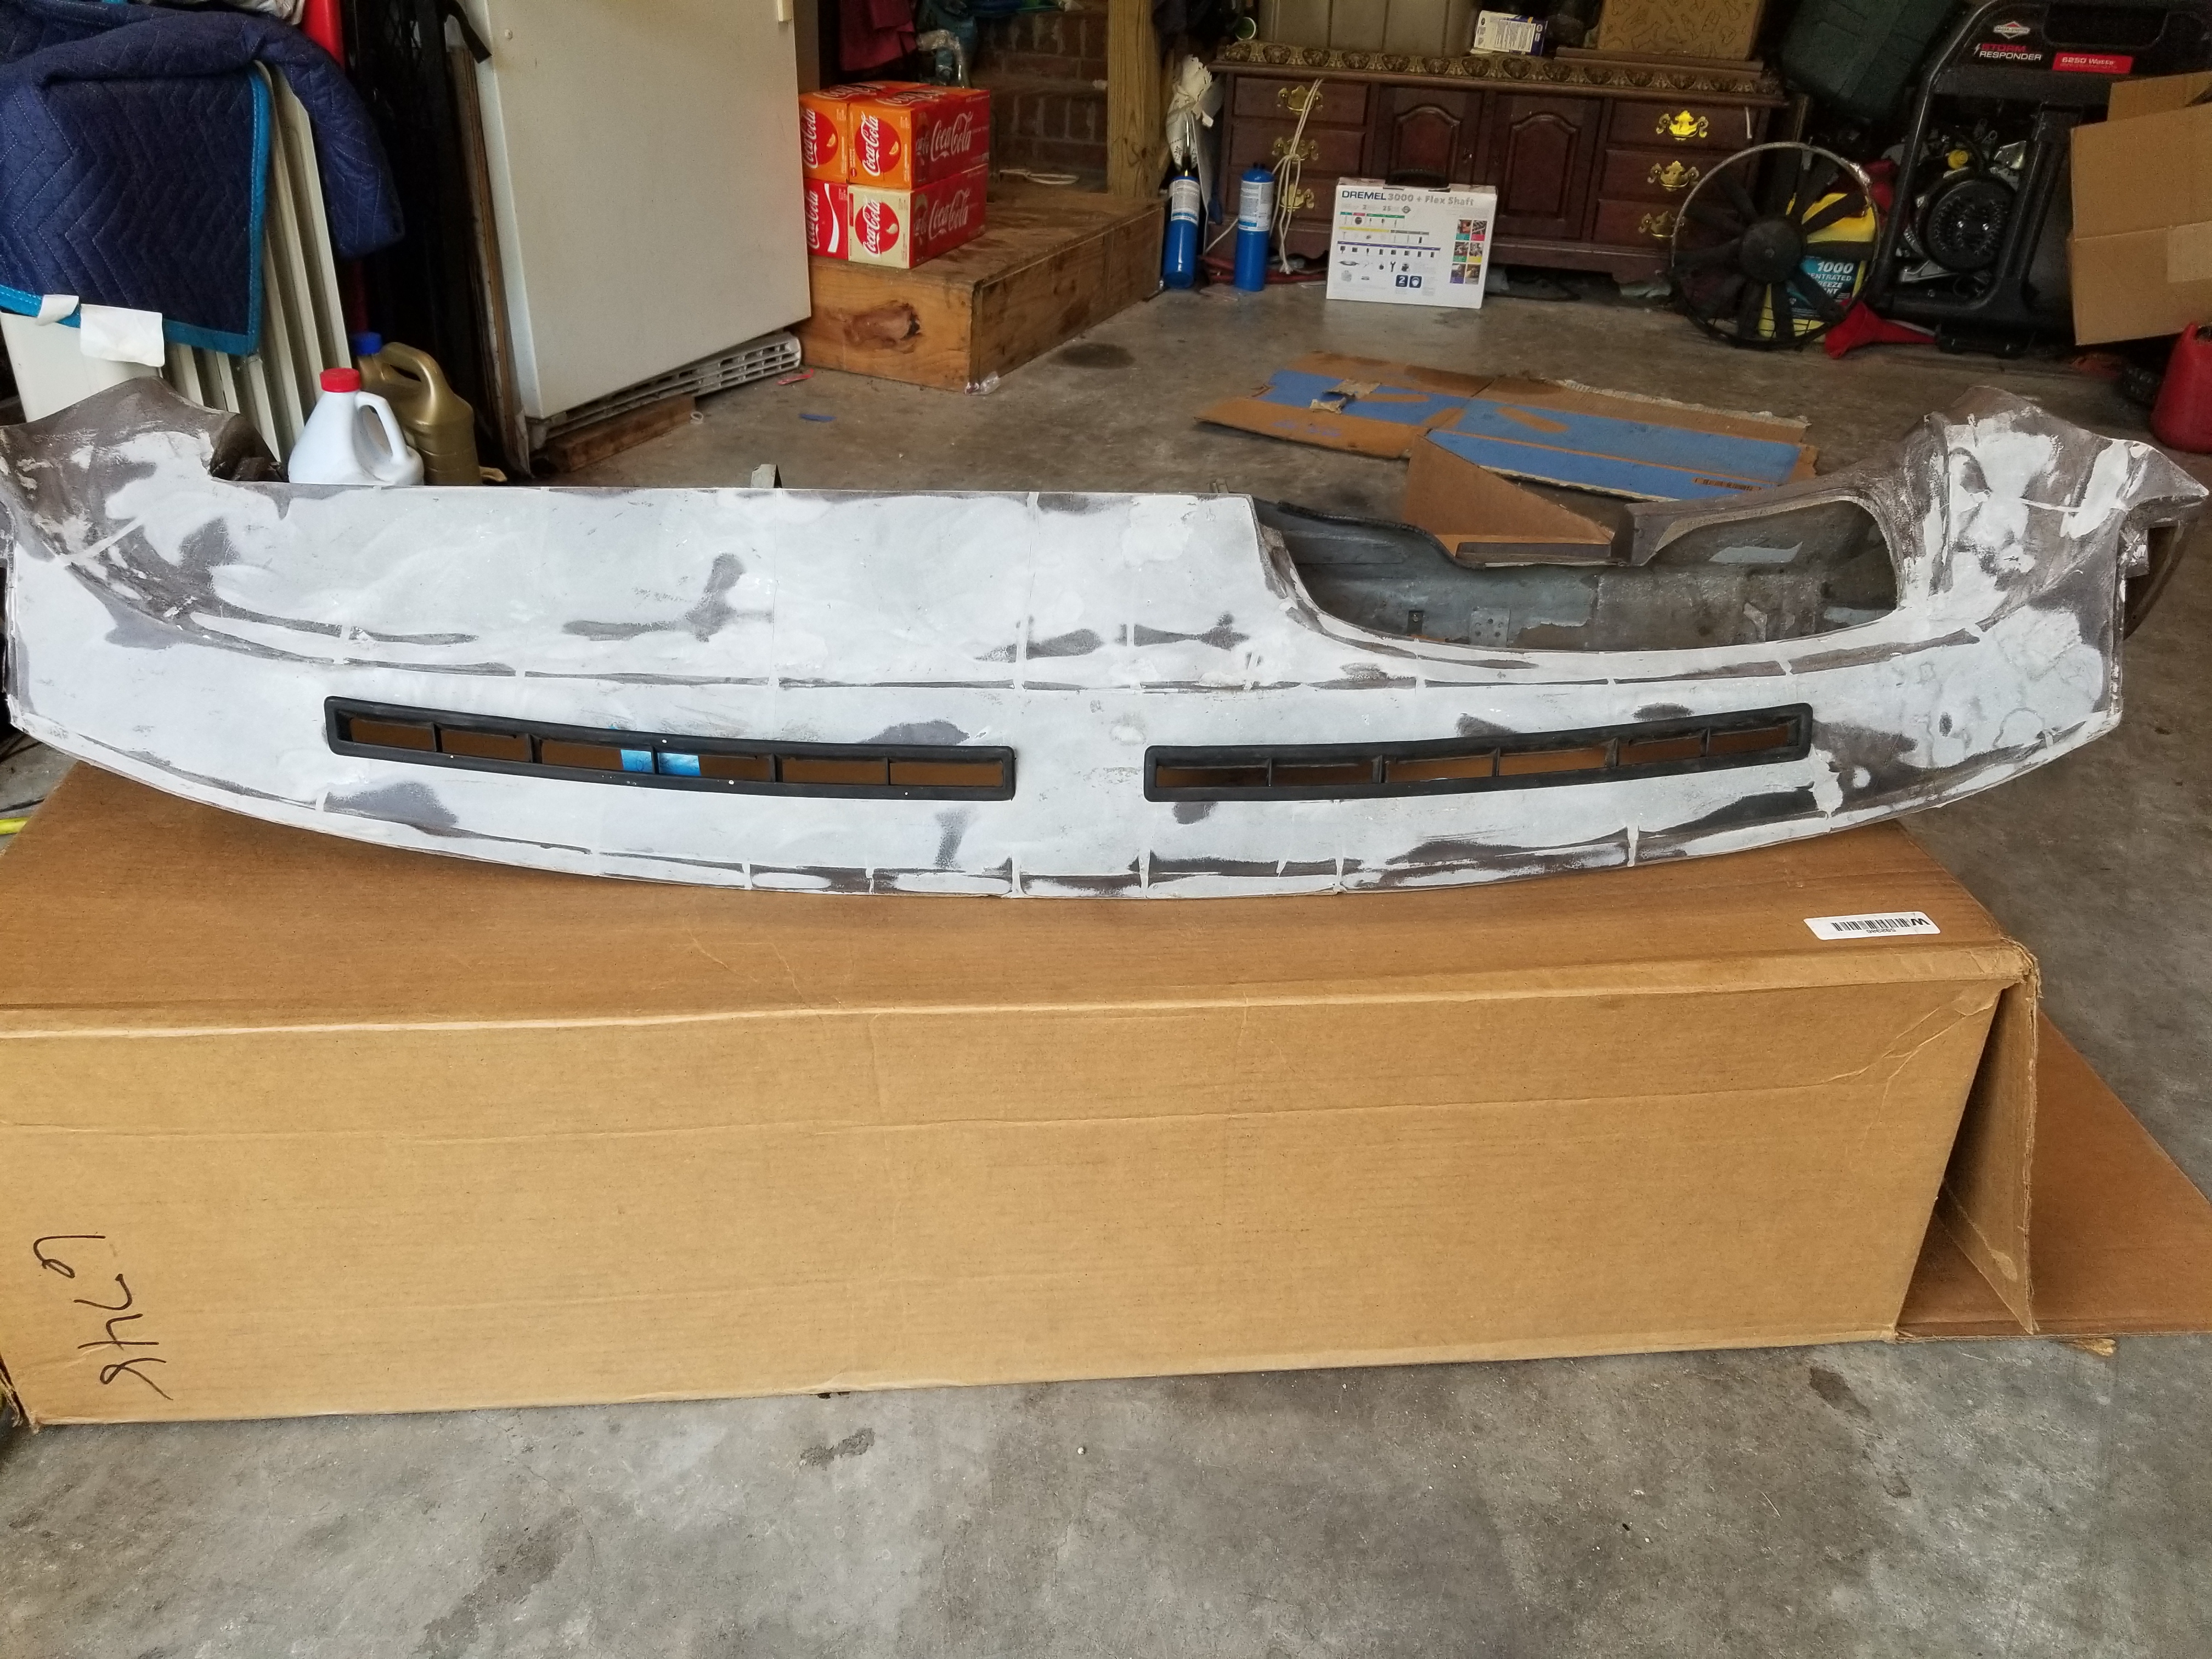
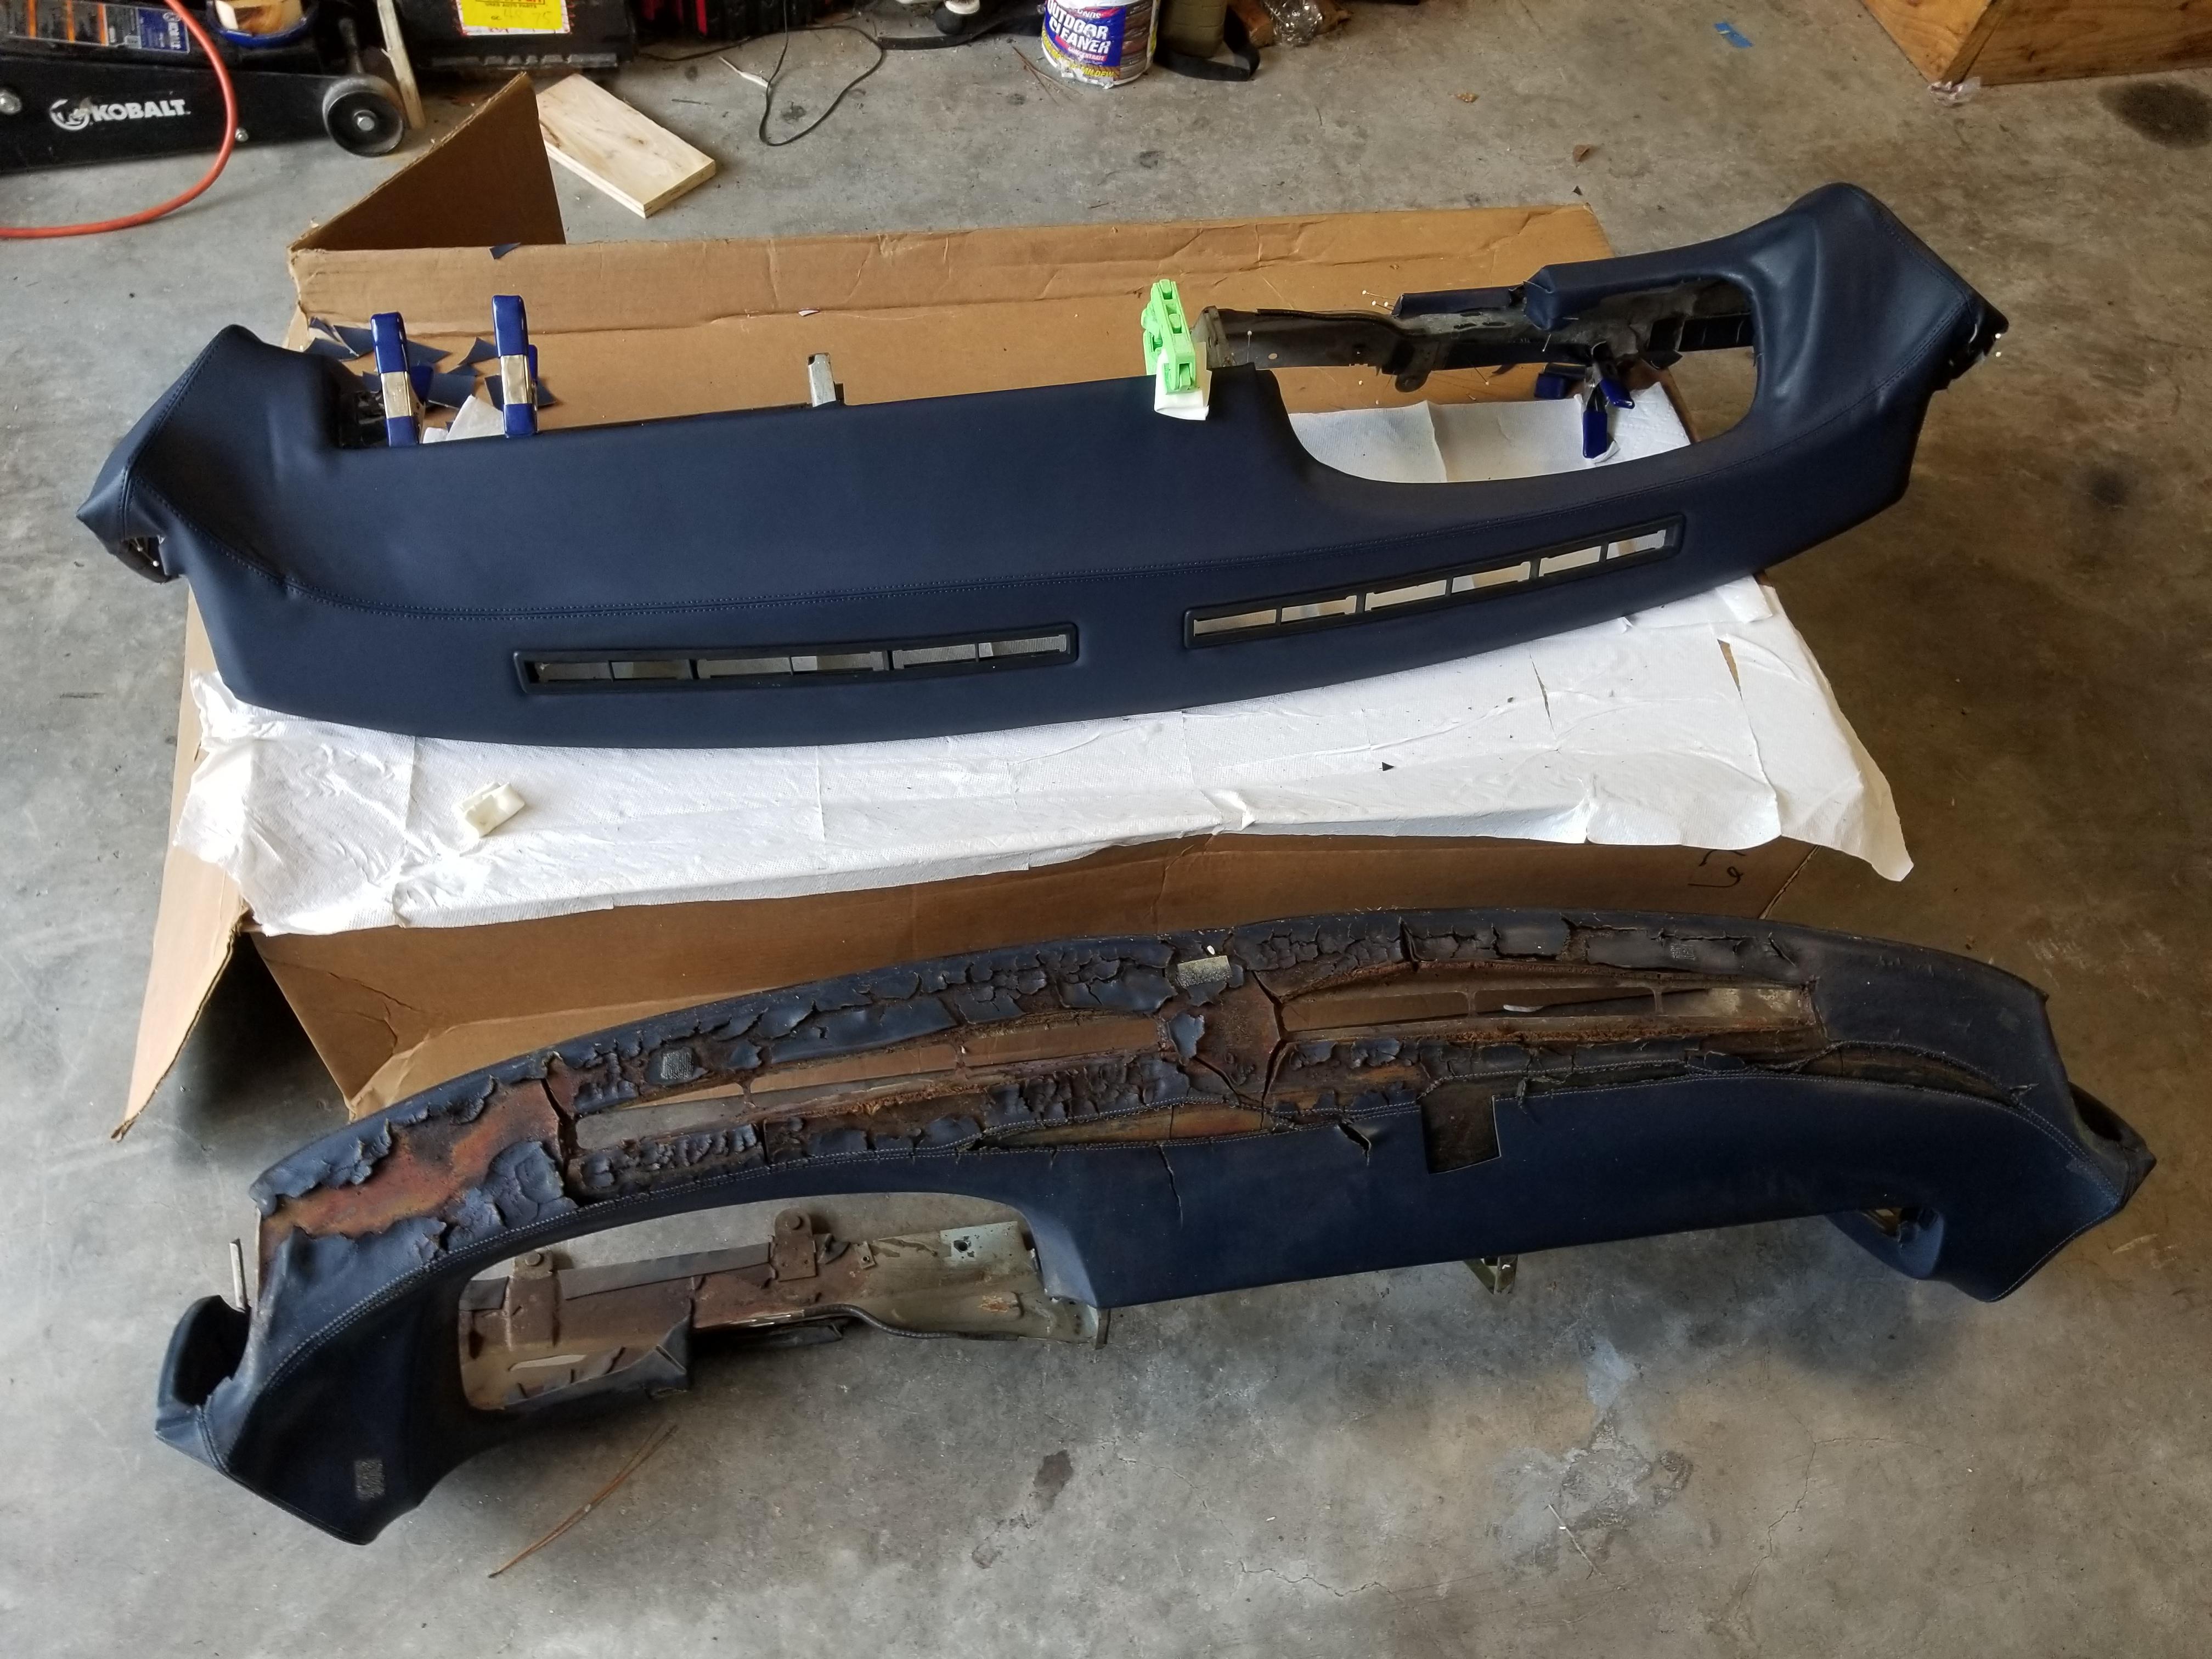
I decided that fixing up the interior some would be a good project now, so I figured I'd start with the dashboard since it's in really bad shape.
The leather got ruined by the sun.
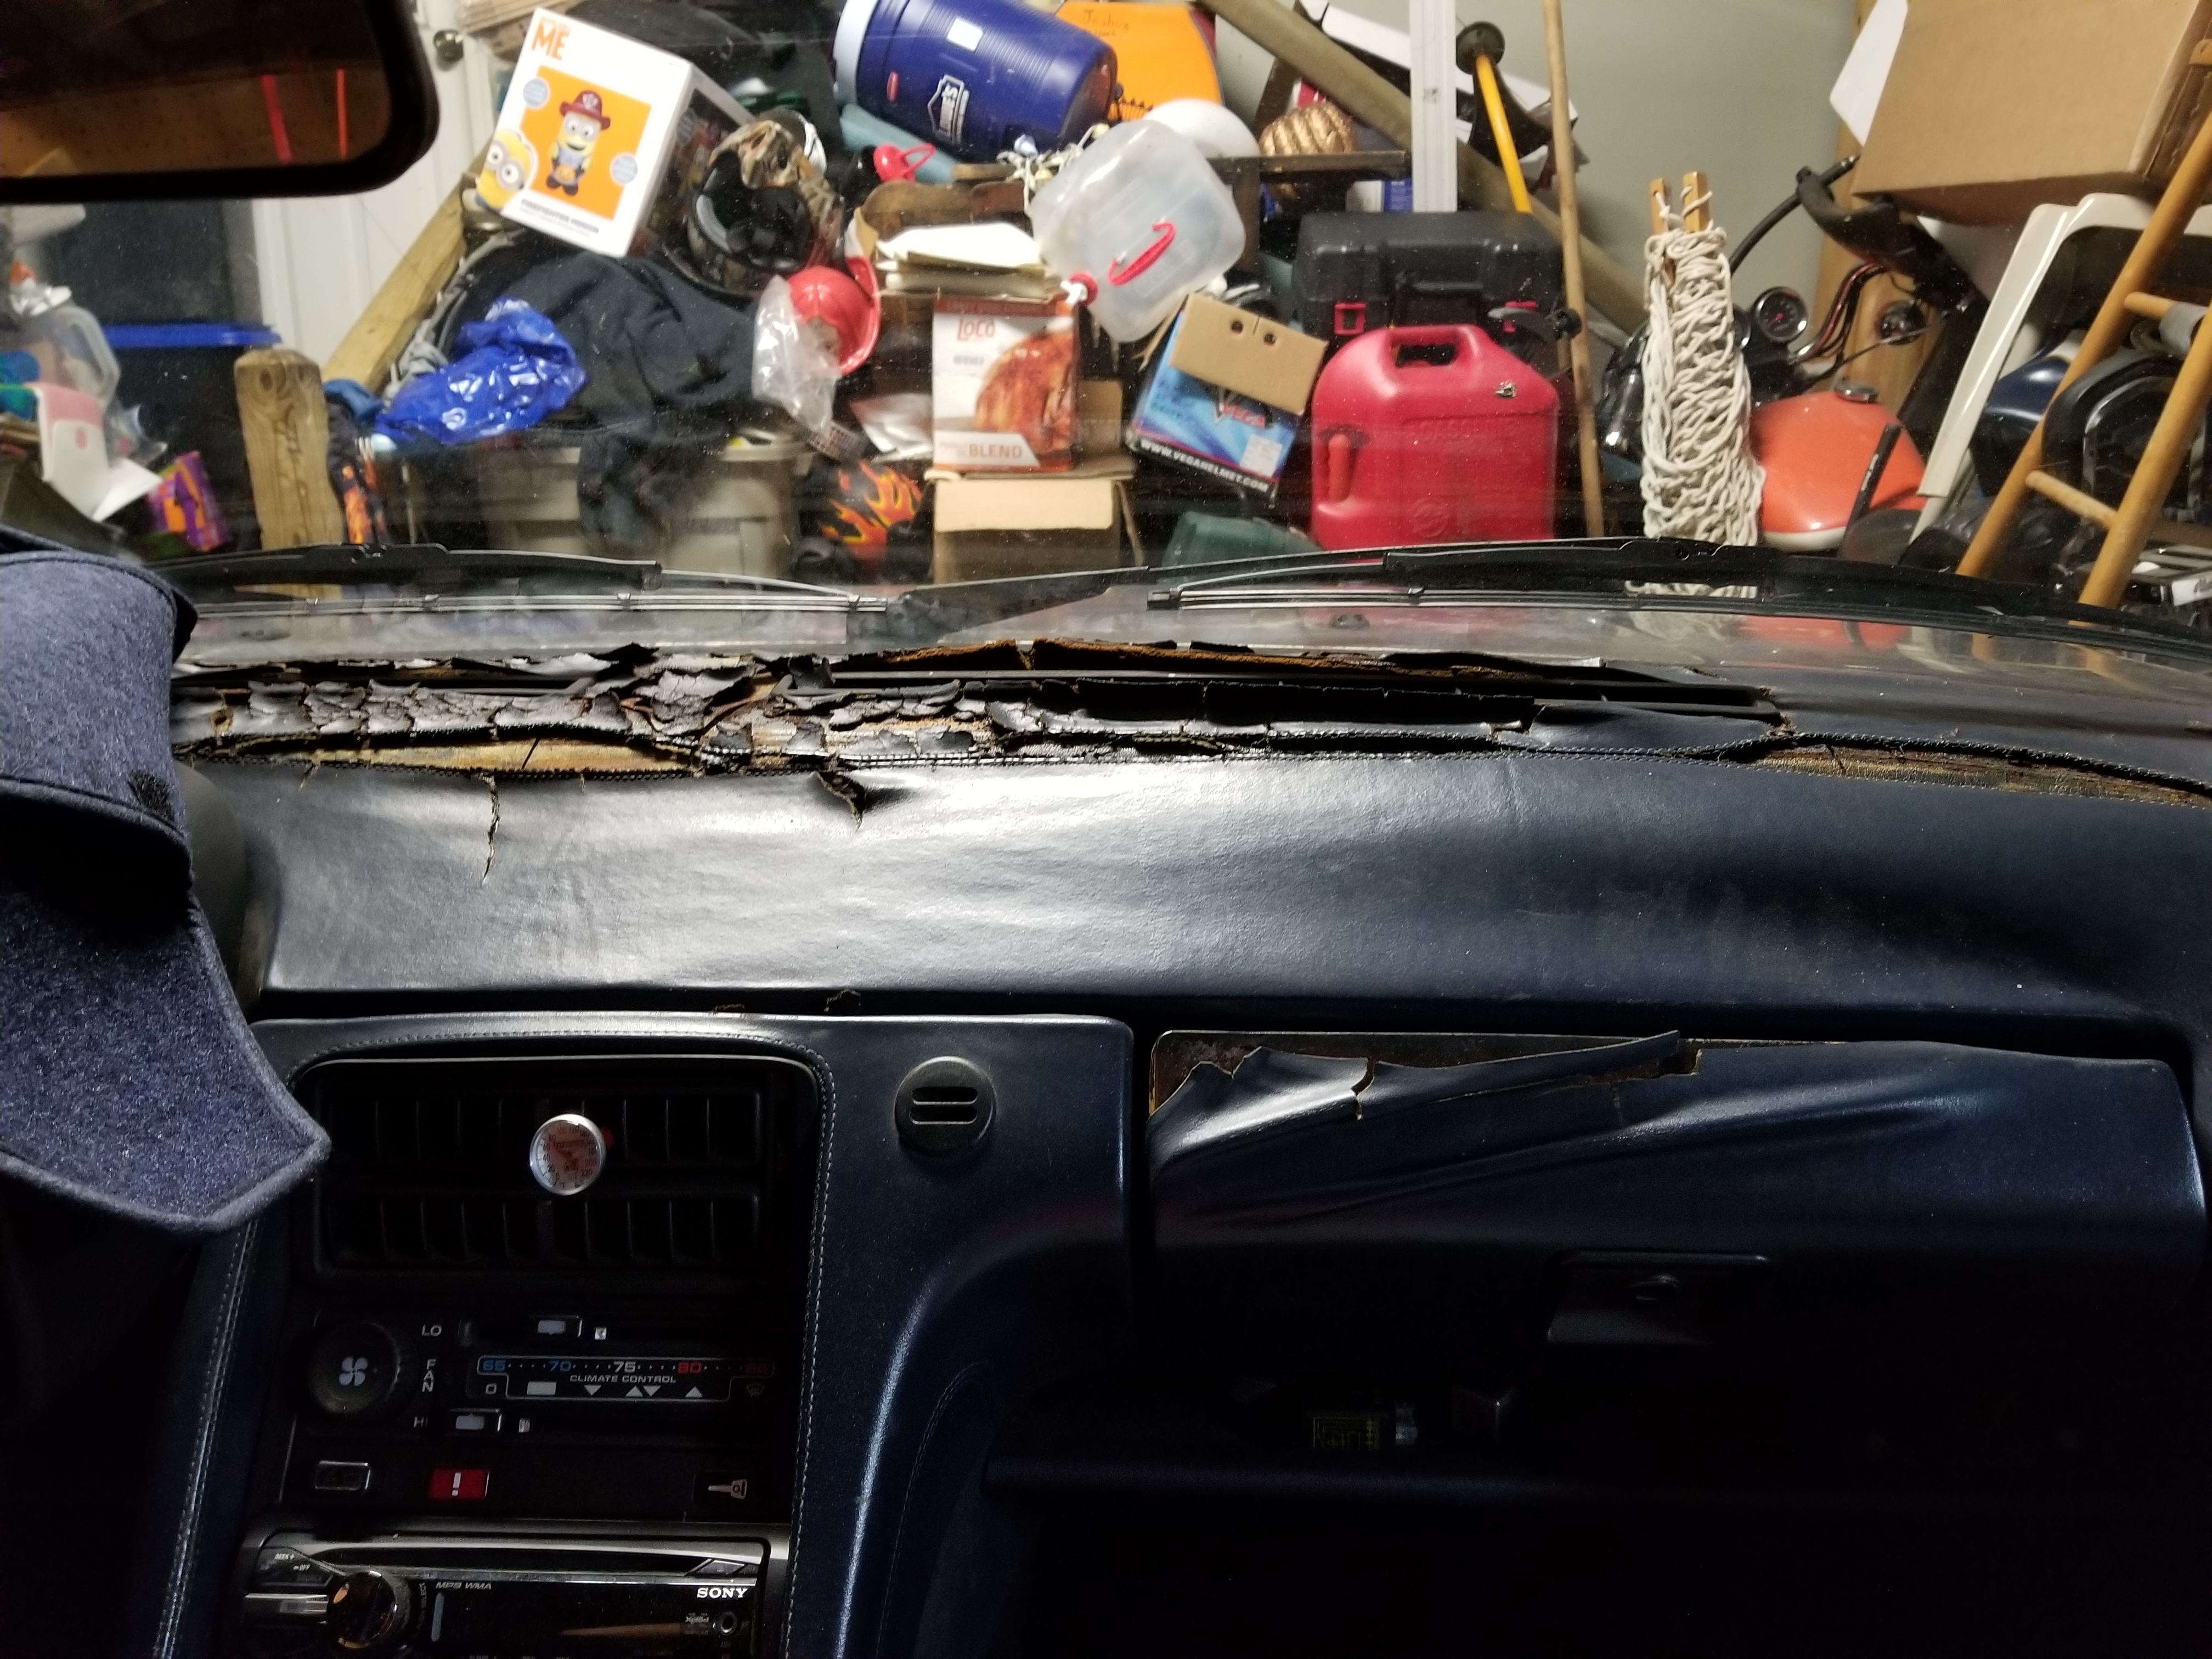
Since the dash under the leather on the blue car looks like it's past it, I figured I'd work on getting the dash from the 84 parts car ready to be recovered, then it can just go straight into the blue car once it's ready. It's got cracks, but seems repairable.
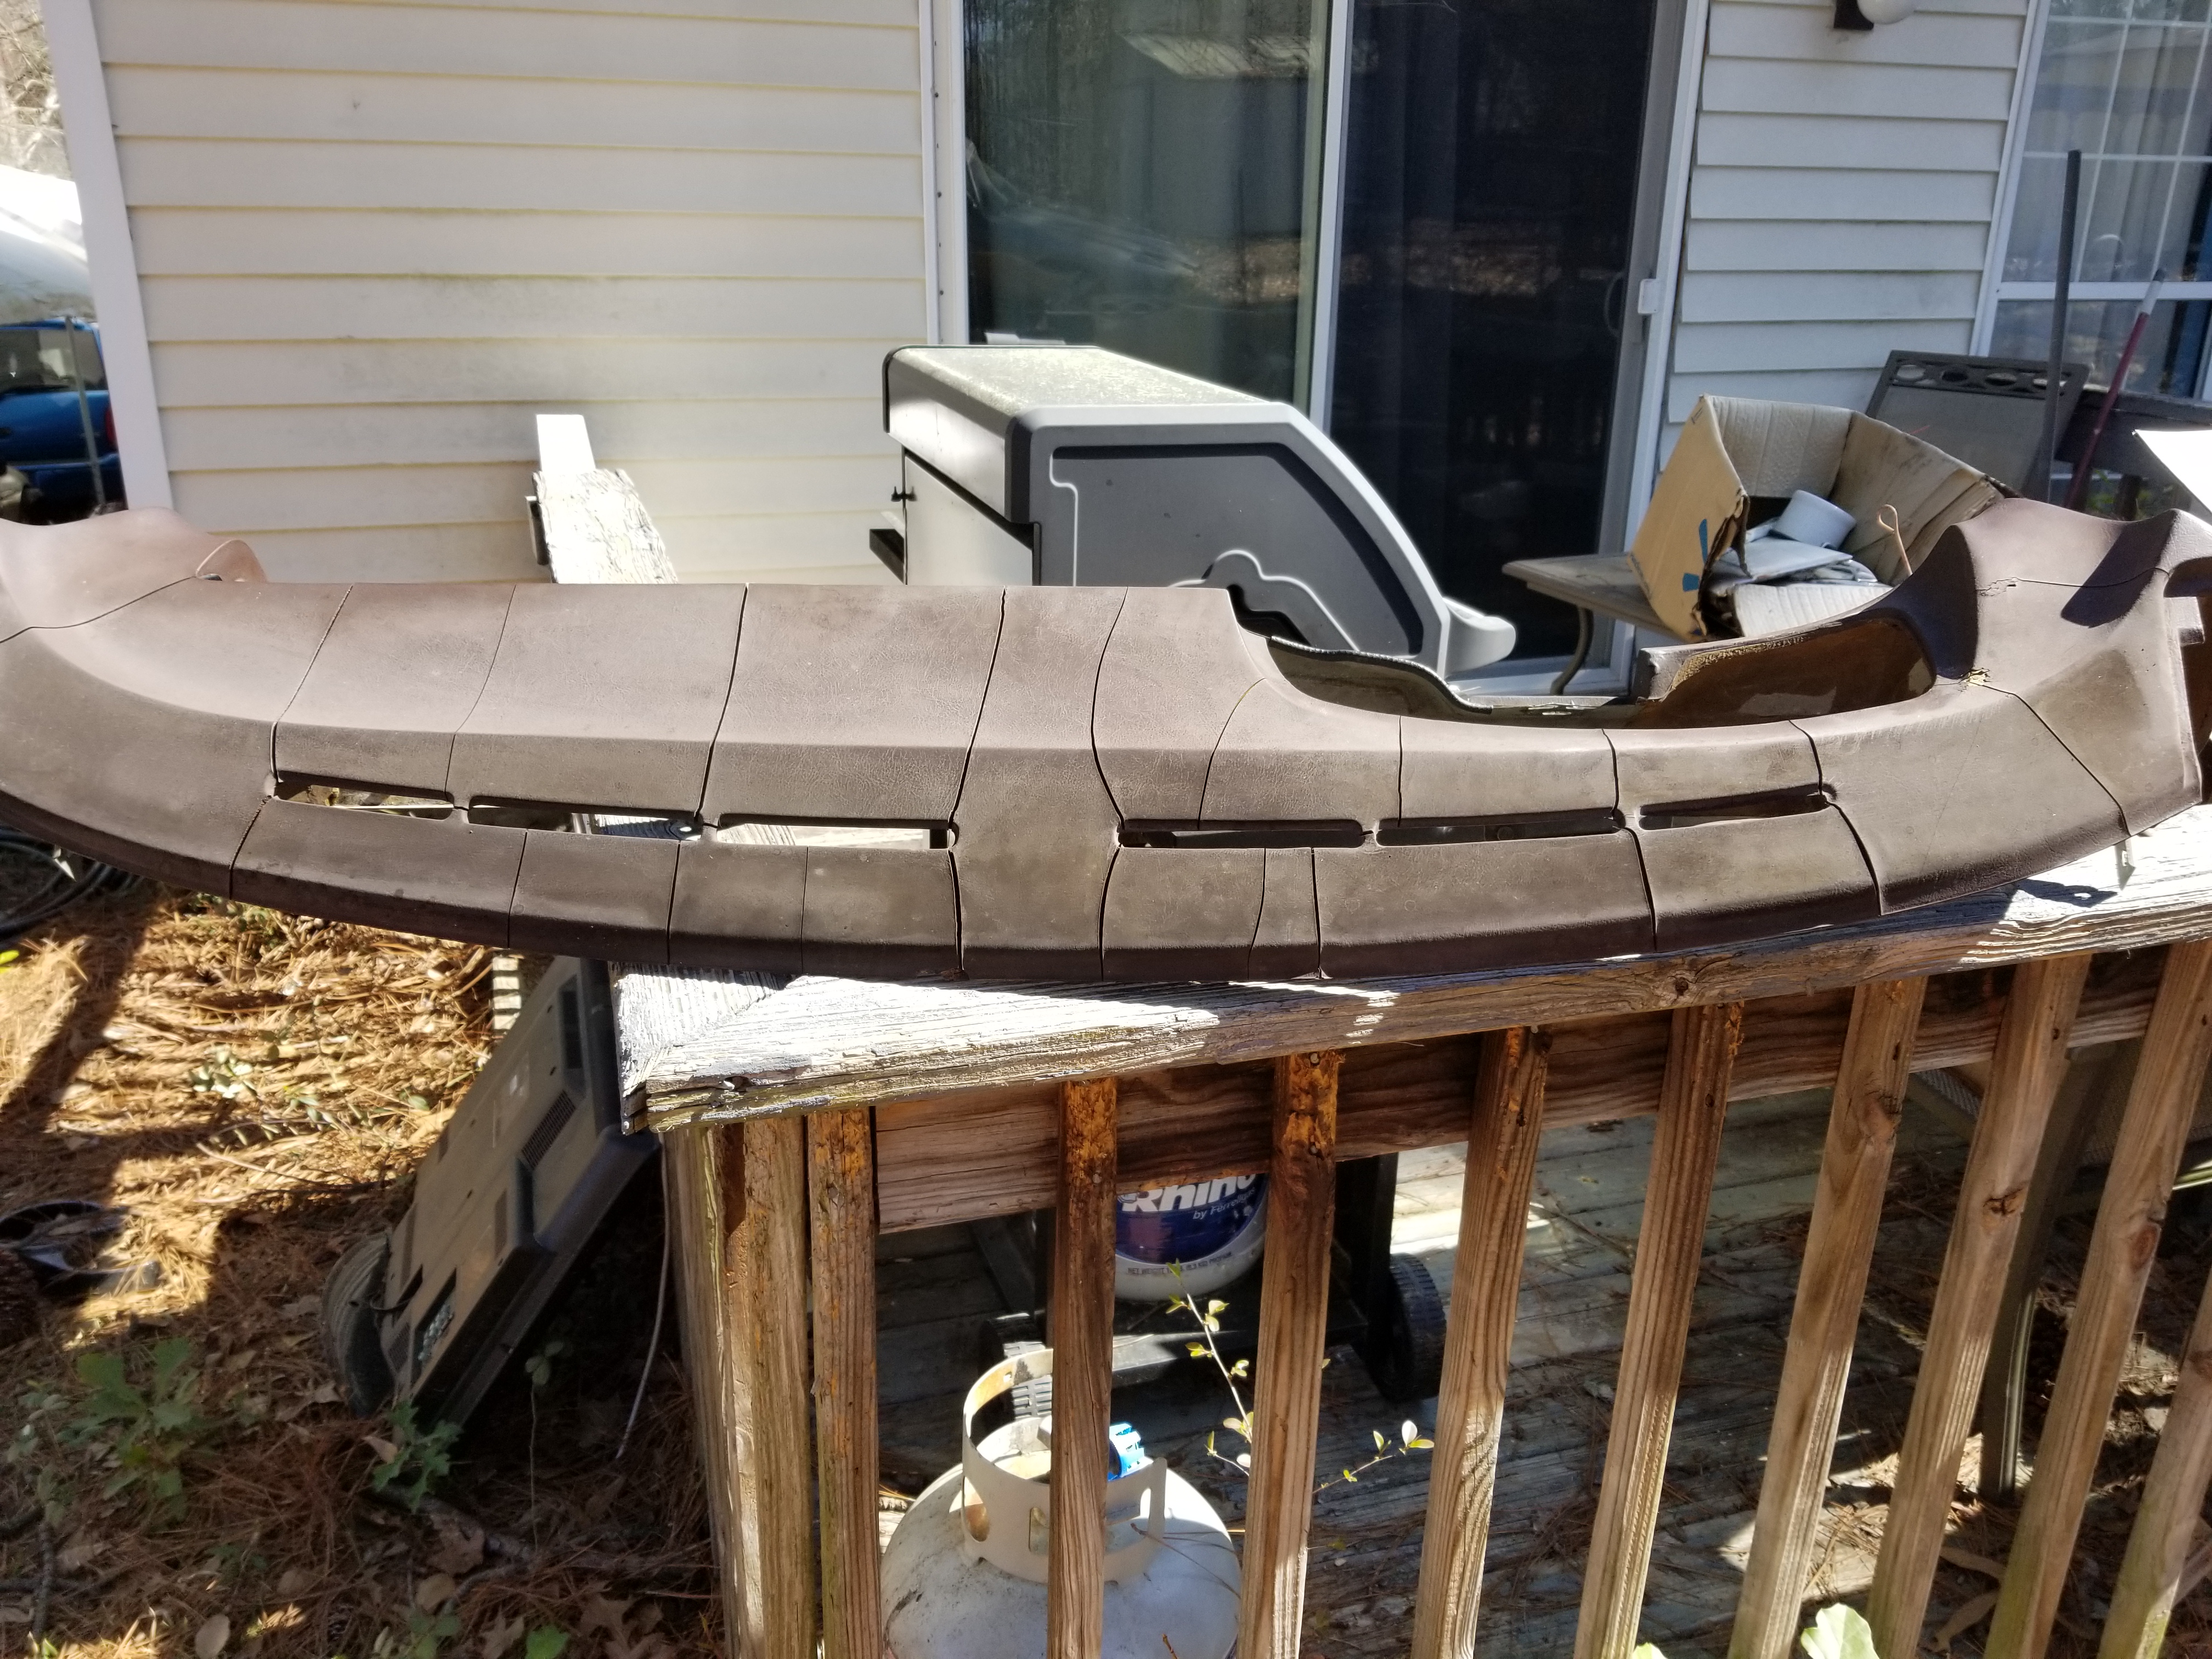
Got the cracks flattened off and ground out for filling.
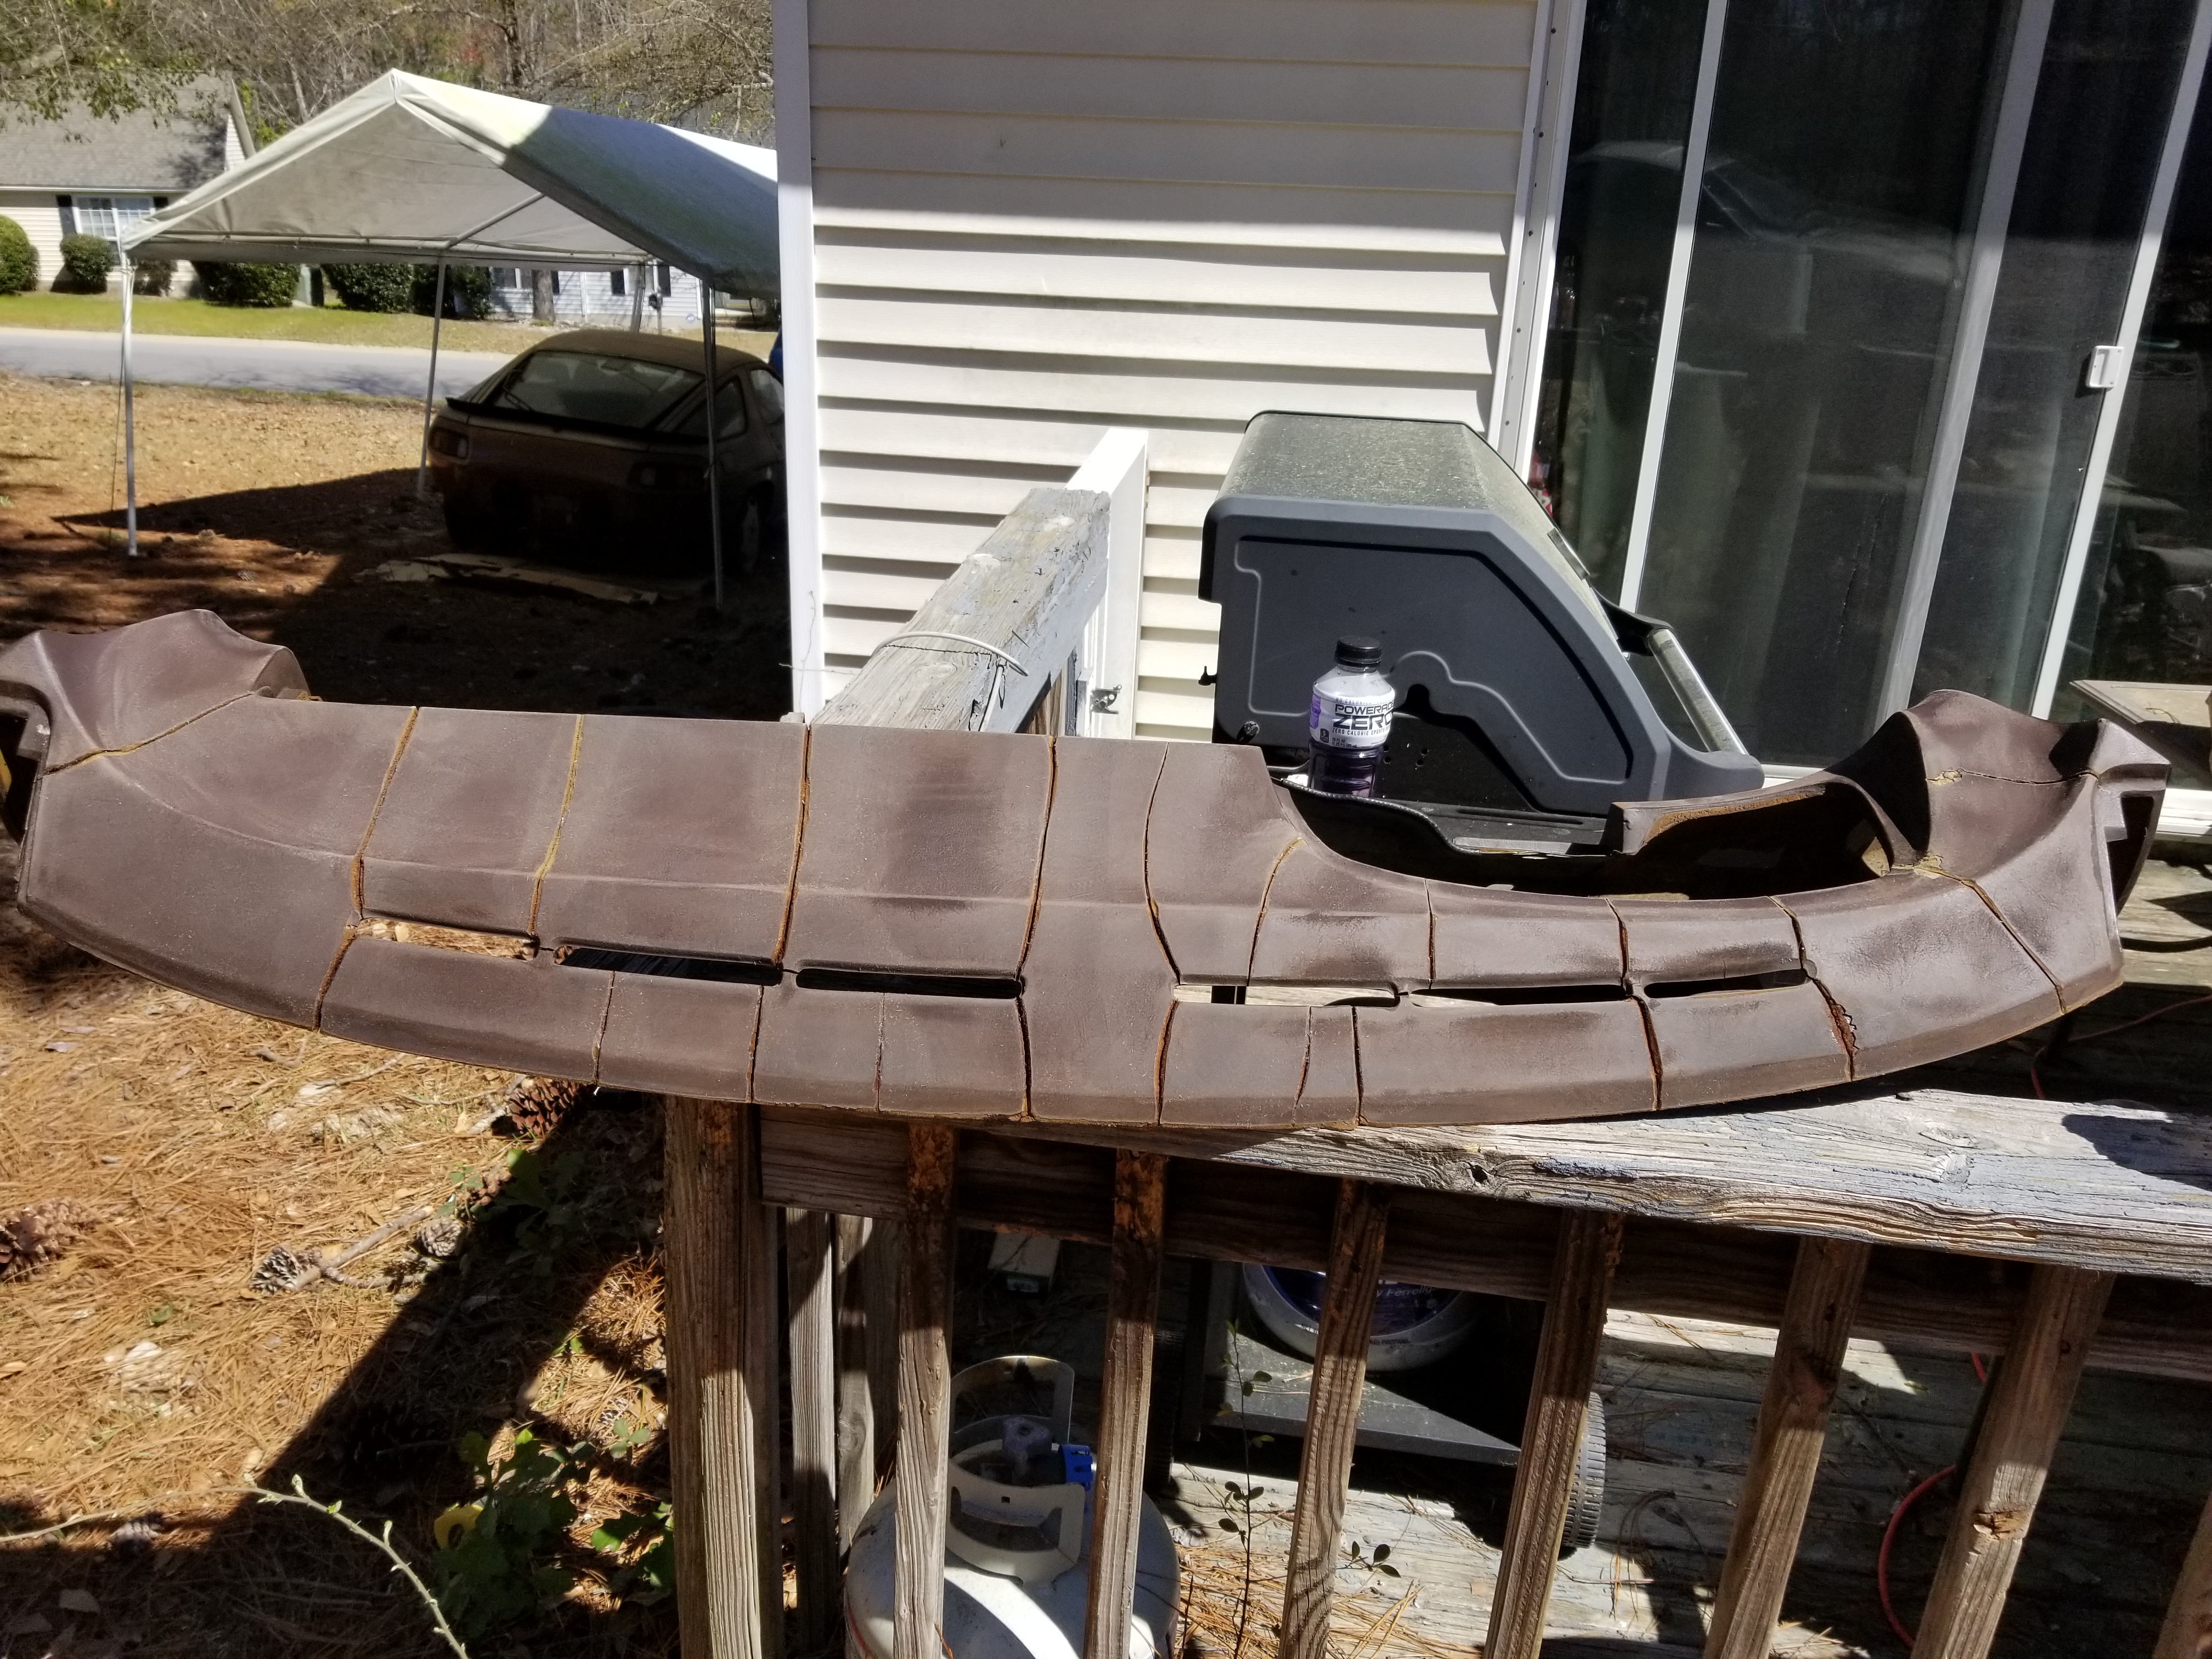
Filled them in with fiberglass bondo.
Sanded that down until it was smooth to run your fingers across the cracks.
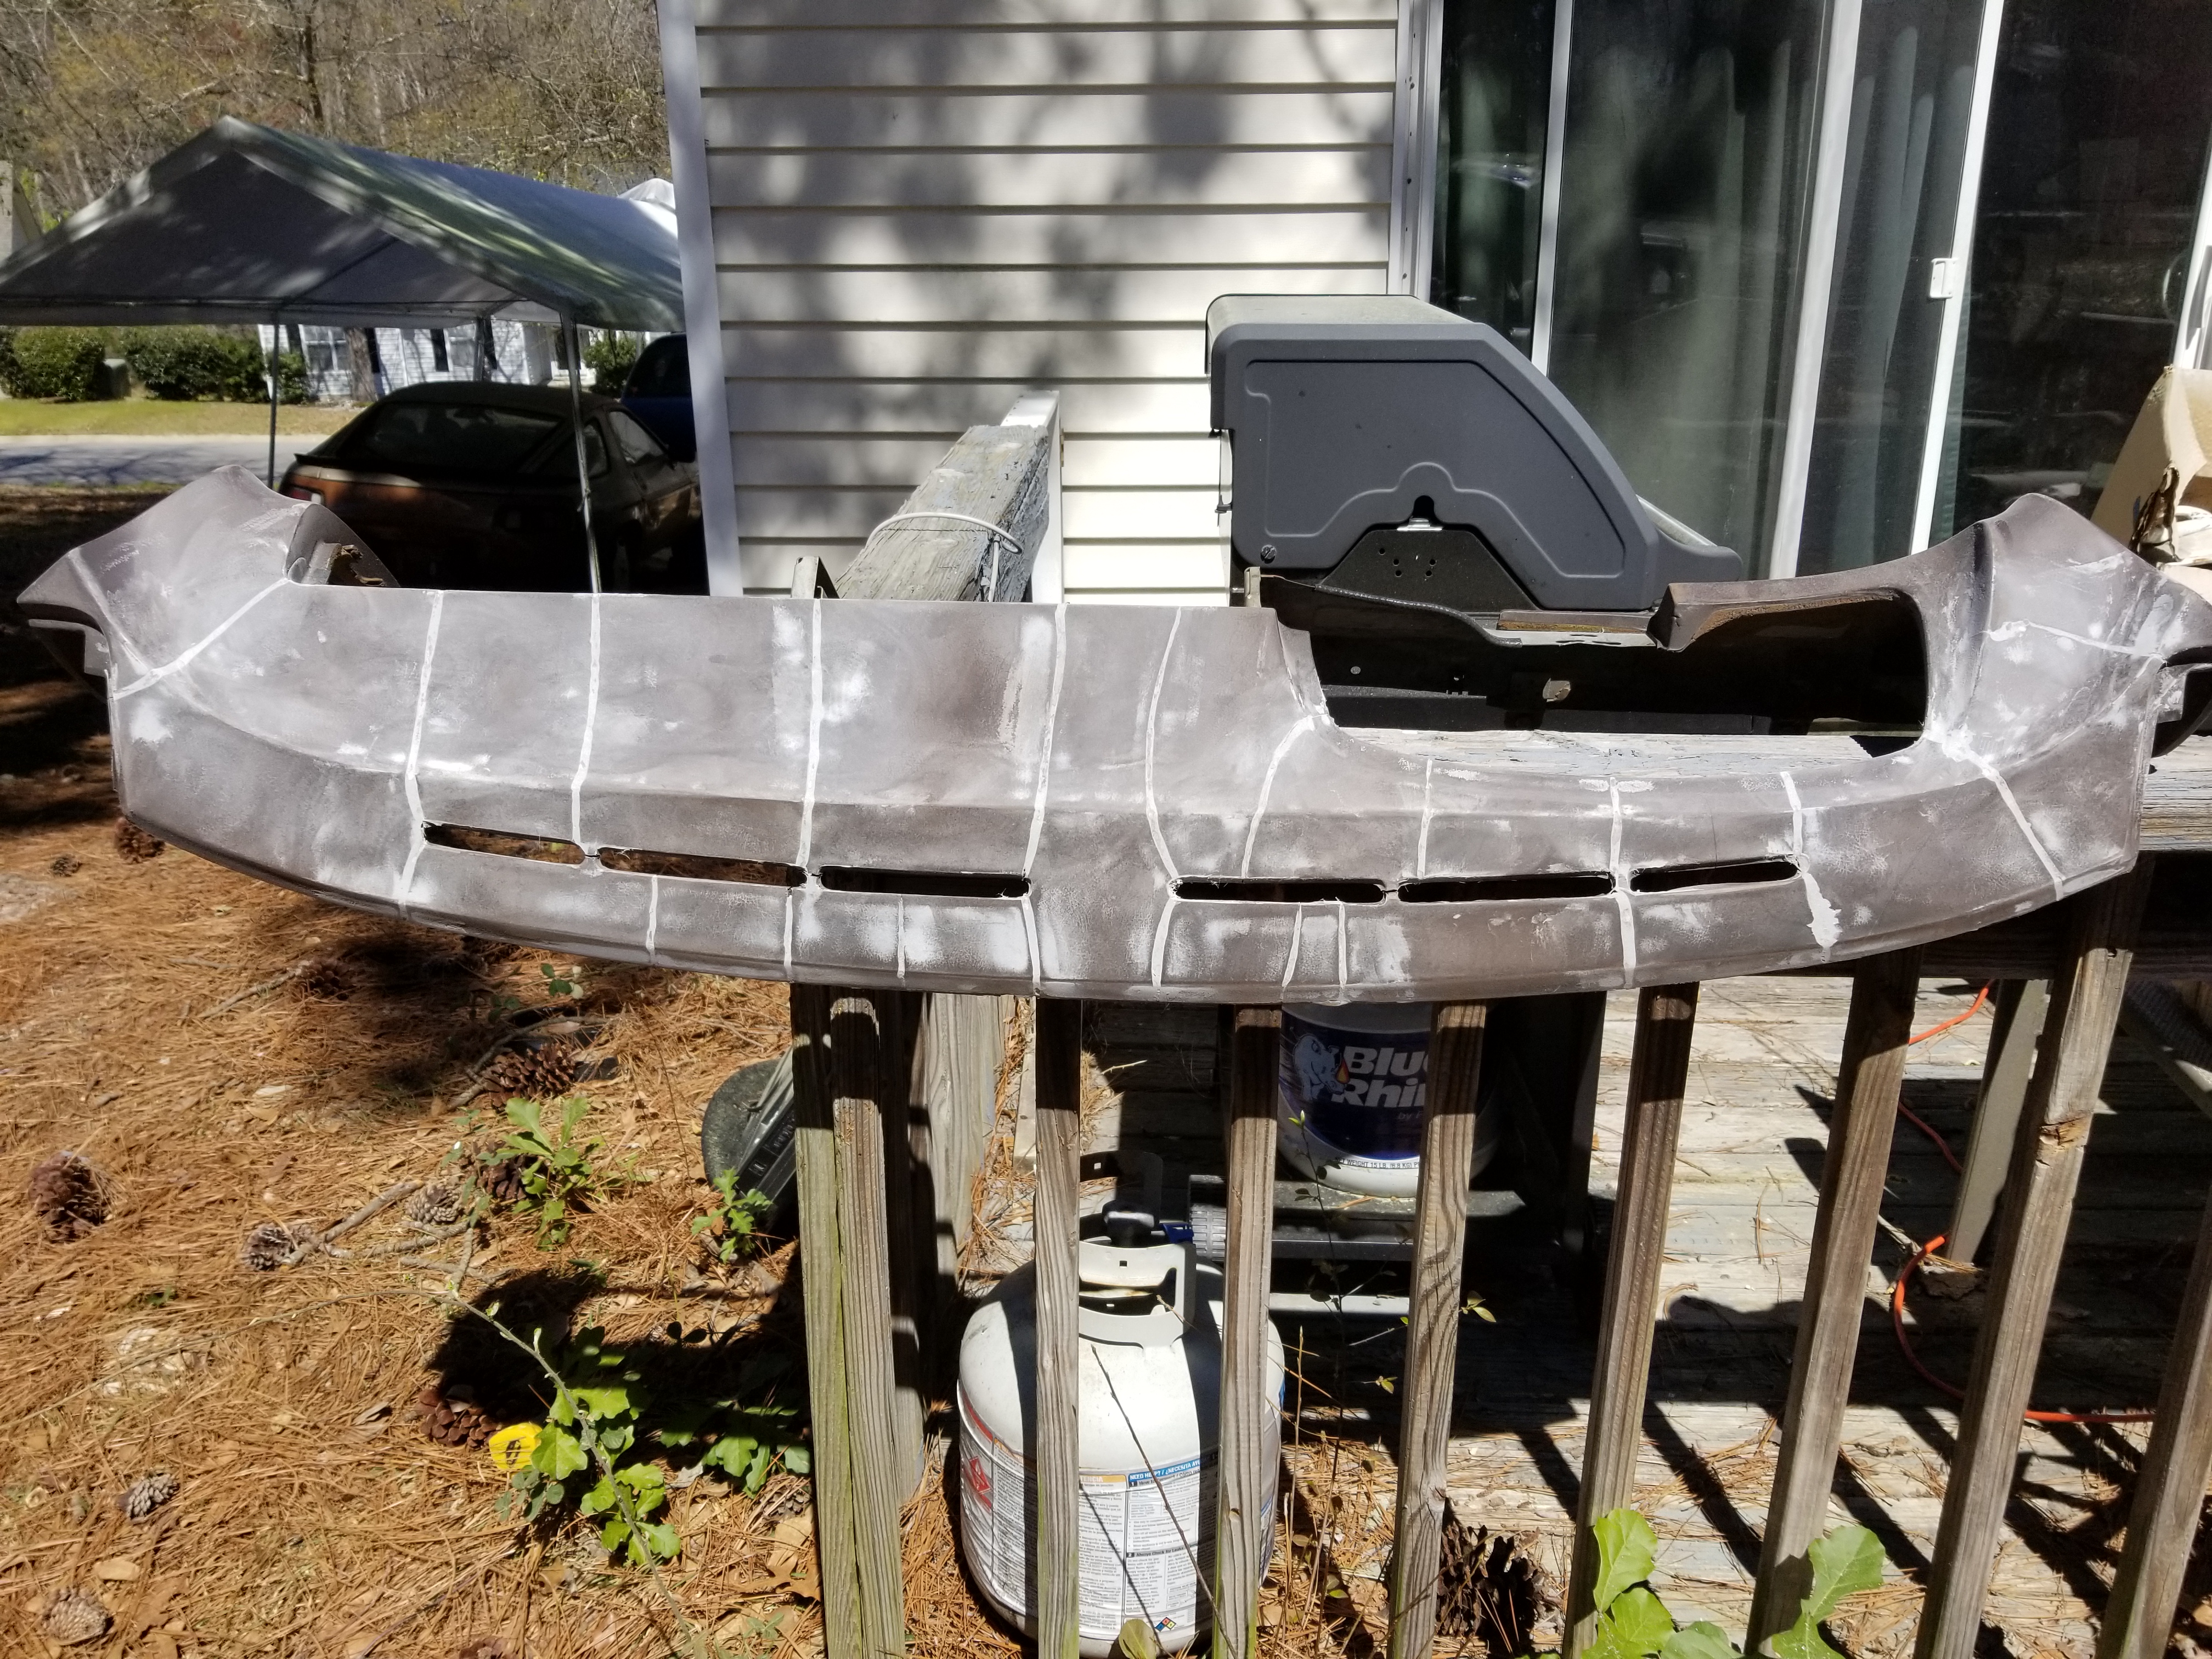
Gave it a thin layer across the top of the dash.
And sanded that smooth.
That last layer both worked to level off some areas that were a bit warped and hopefully will give it some more strength around the cracks so that hopefully they won't crack more, and hopefully won't have any new cracks form.
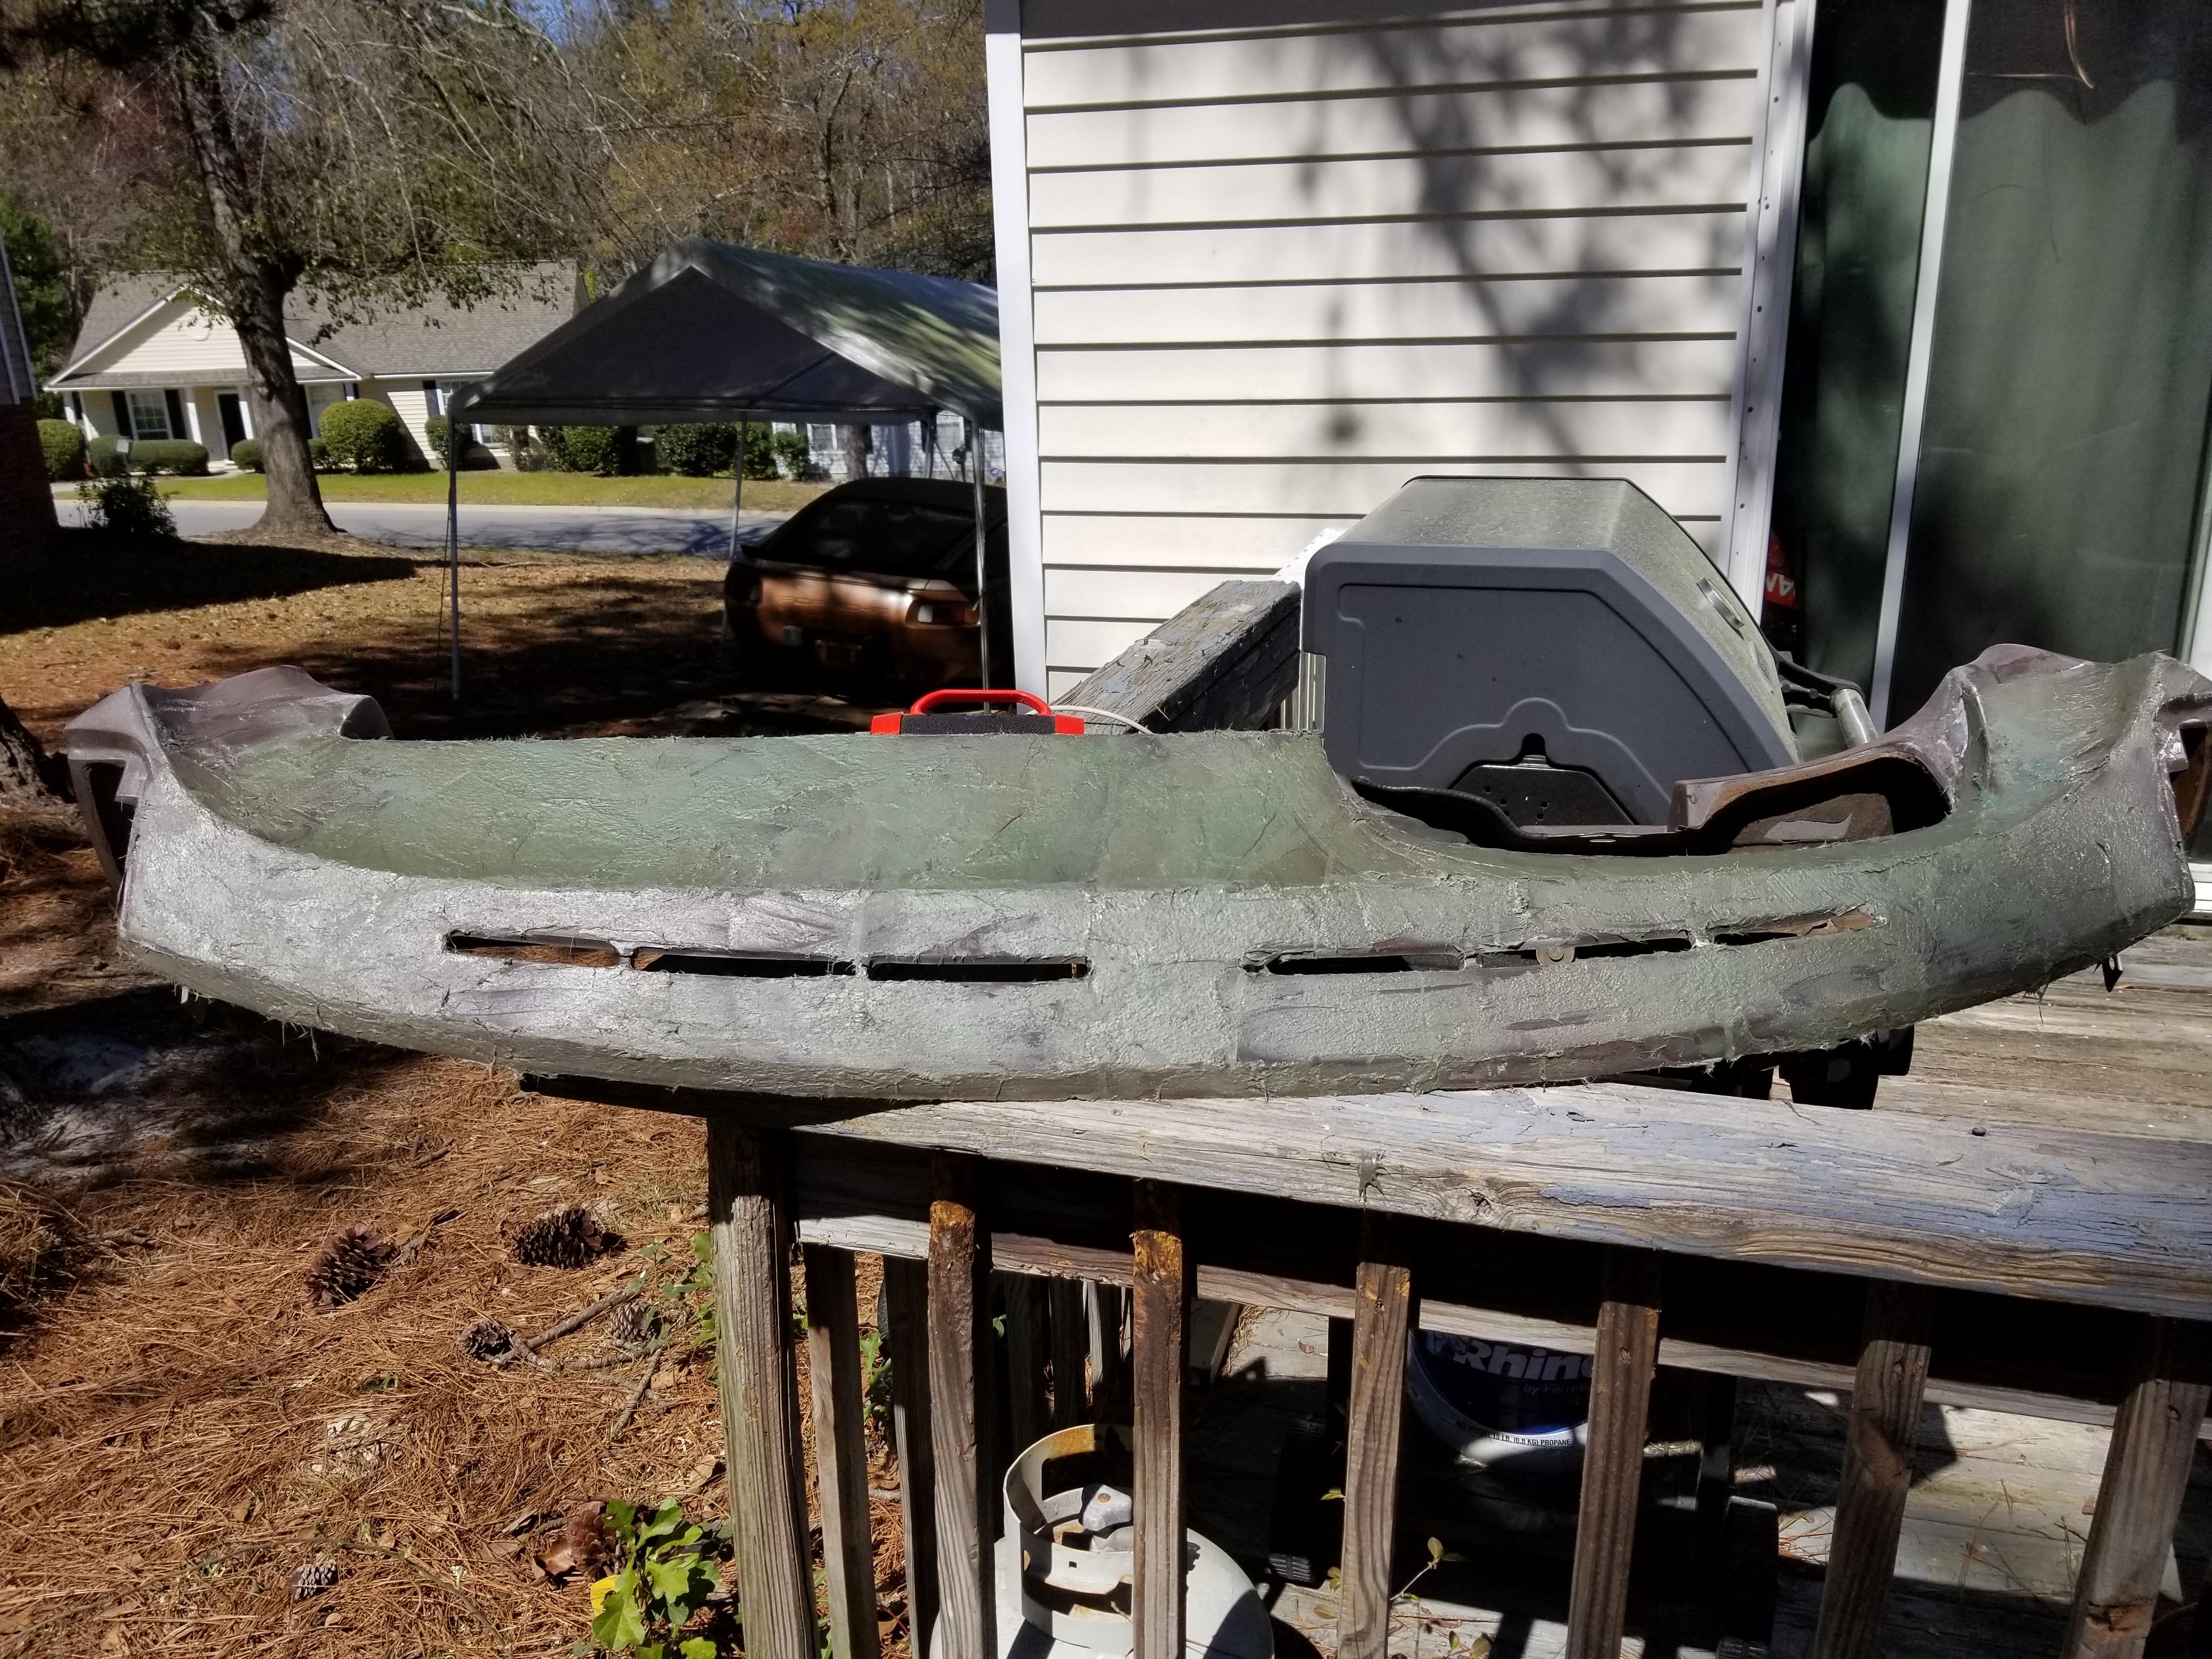
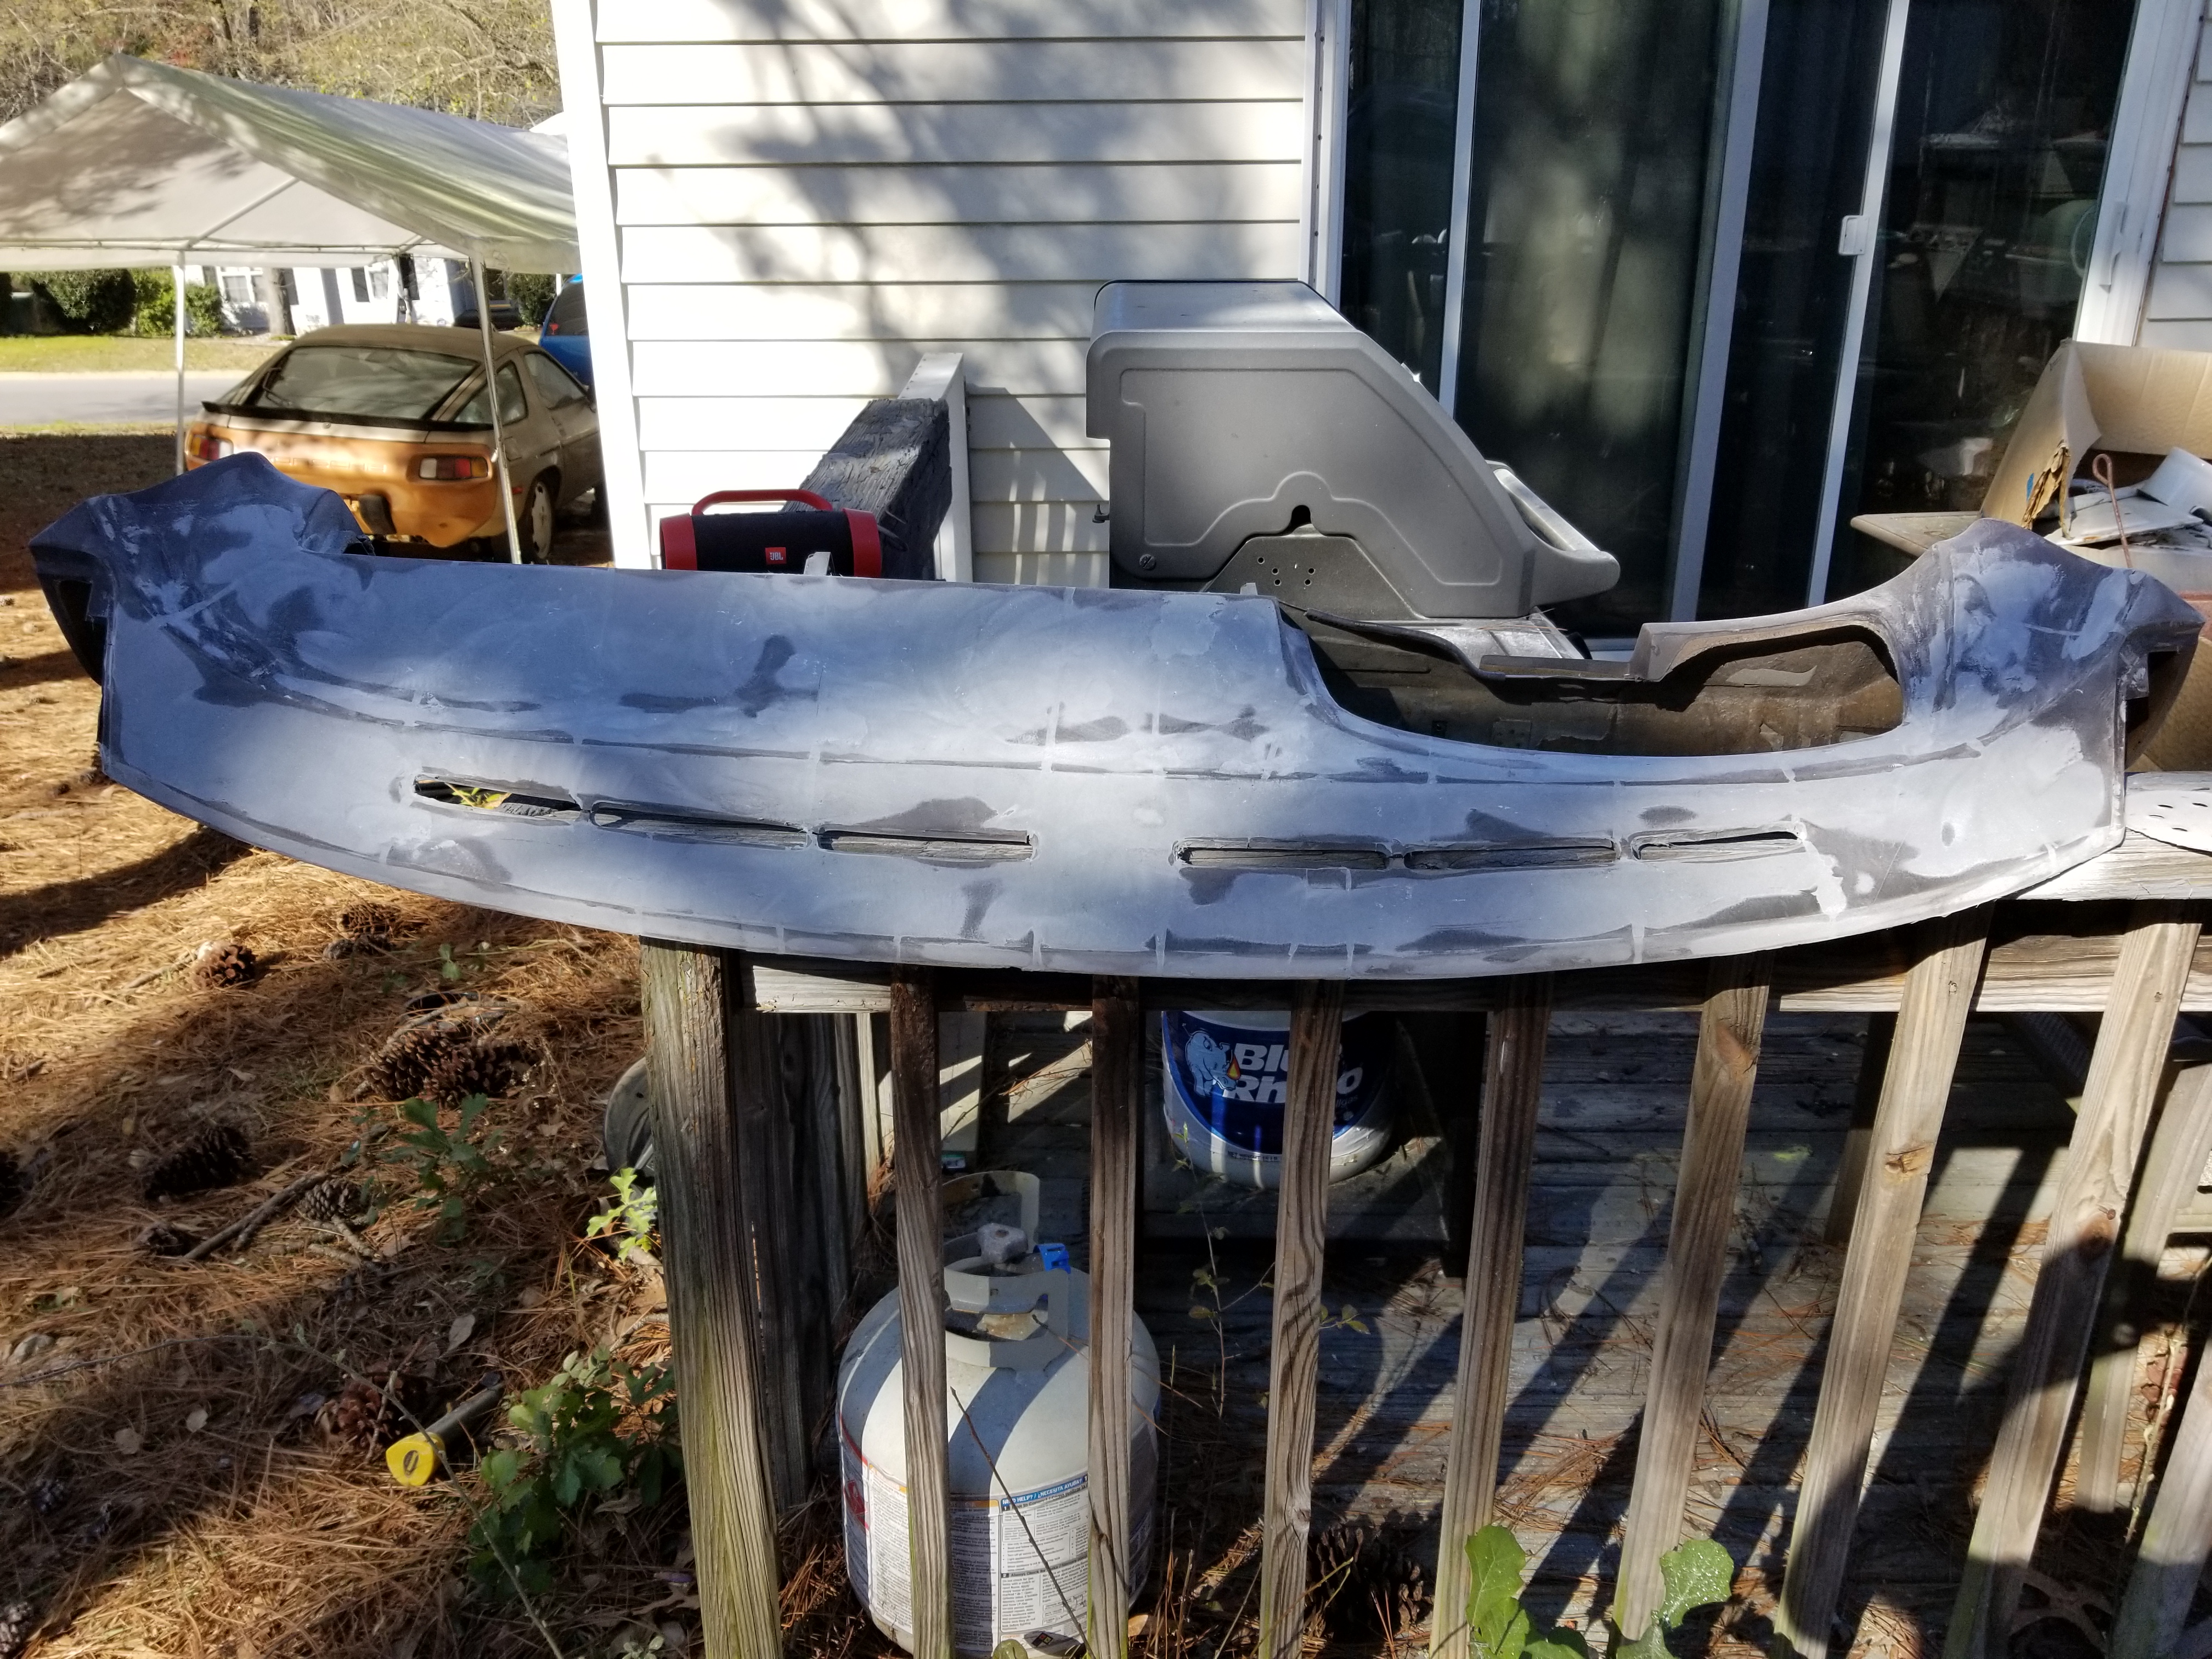
Now that the dash is repaired I think I'm going to get a cover from classic 9 leather shop. I might give a couple local places a call to see what they could do, but I'm not sure that they'd be able to match the rest of the interior or do it for that price either. Only thing I'm not completely sure of is what this blue interior's color is called. Looks like there are a couple different blues.
The leather got ruined by the sun.
Since the dash under the leather on the blue car looks like it's past it, I figured I'd work on getting the dash from the 84 parts car ready to be recovered, then it can just go straight into the blue car once it's ready. It's got cracks, but seems repairable.
Got the cracks flattened off and ground out for filling.
Filled them in with fiberglass bondo.
Sanded that down until it was smooth to run your fingers across the cracks.
Gave it a thin layer across the top of the dash.
And sanded that smooth.
That last layer both worked to level off some areas that were a bit warped and hopefully will give it some more strength around the cracks so that hopefully they won't crack more, and hopefully won't have any new cracks form.
Now that the dash is repaired I think I'm going to get a cover from classic 9 leather shop. I might give a couple local places a call to see what they could do, but I'm not sure that they'd be able to match the rest of the interior or do it for that price either. Only thing I'm not completely sure of is what this blue interior's color is called. Looks like there are a couple different blues.
04-22-2019, 06:36 PM
#173
Burning Brakes
Thread Starter
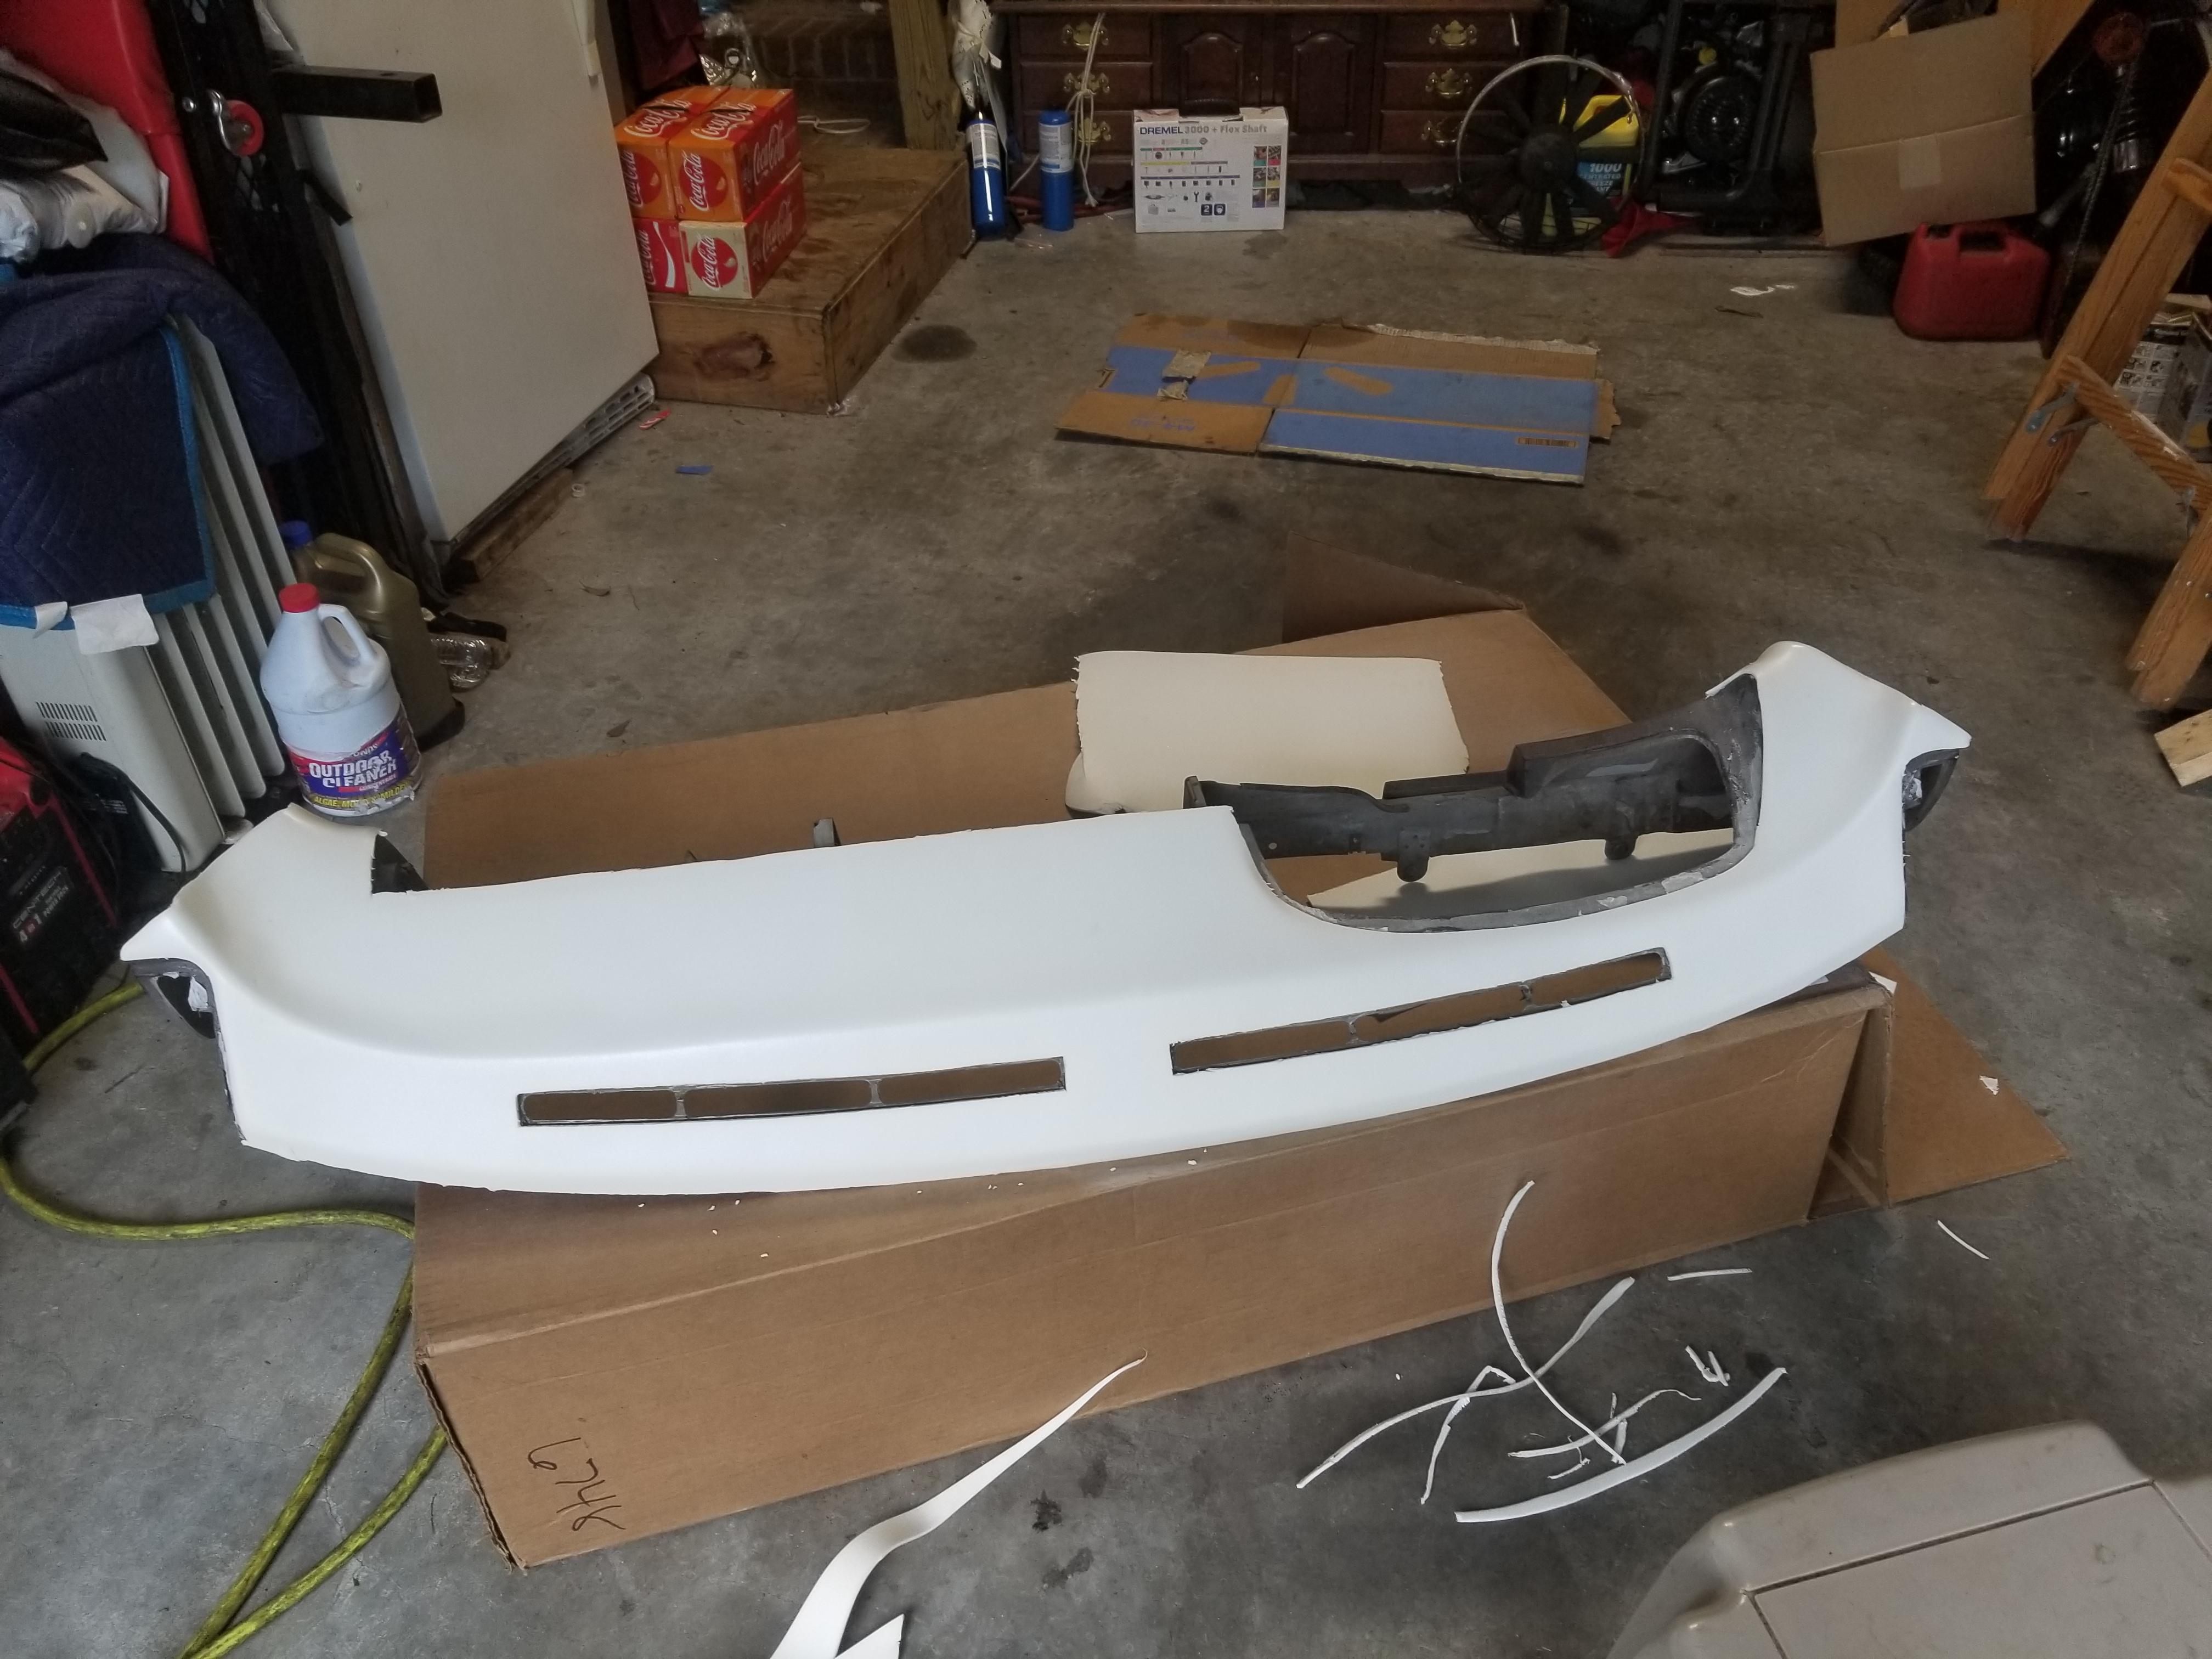
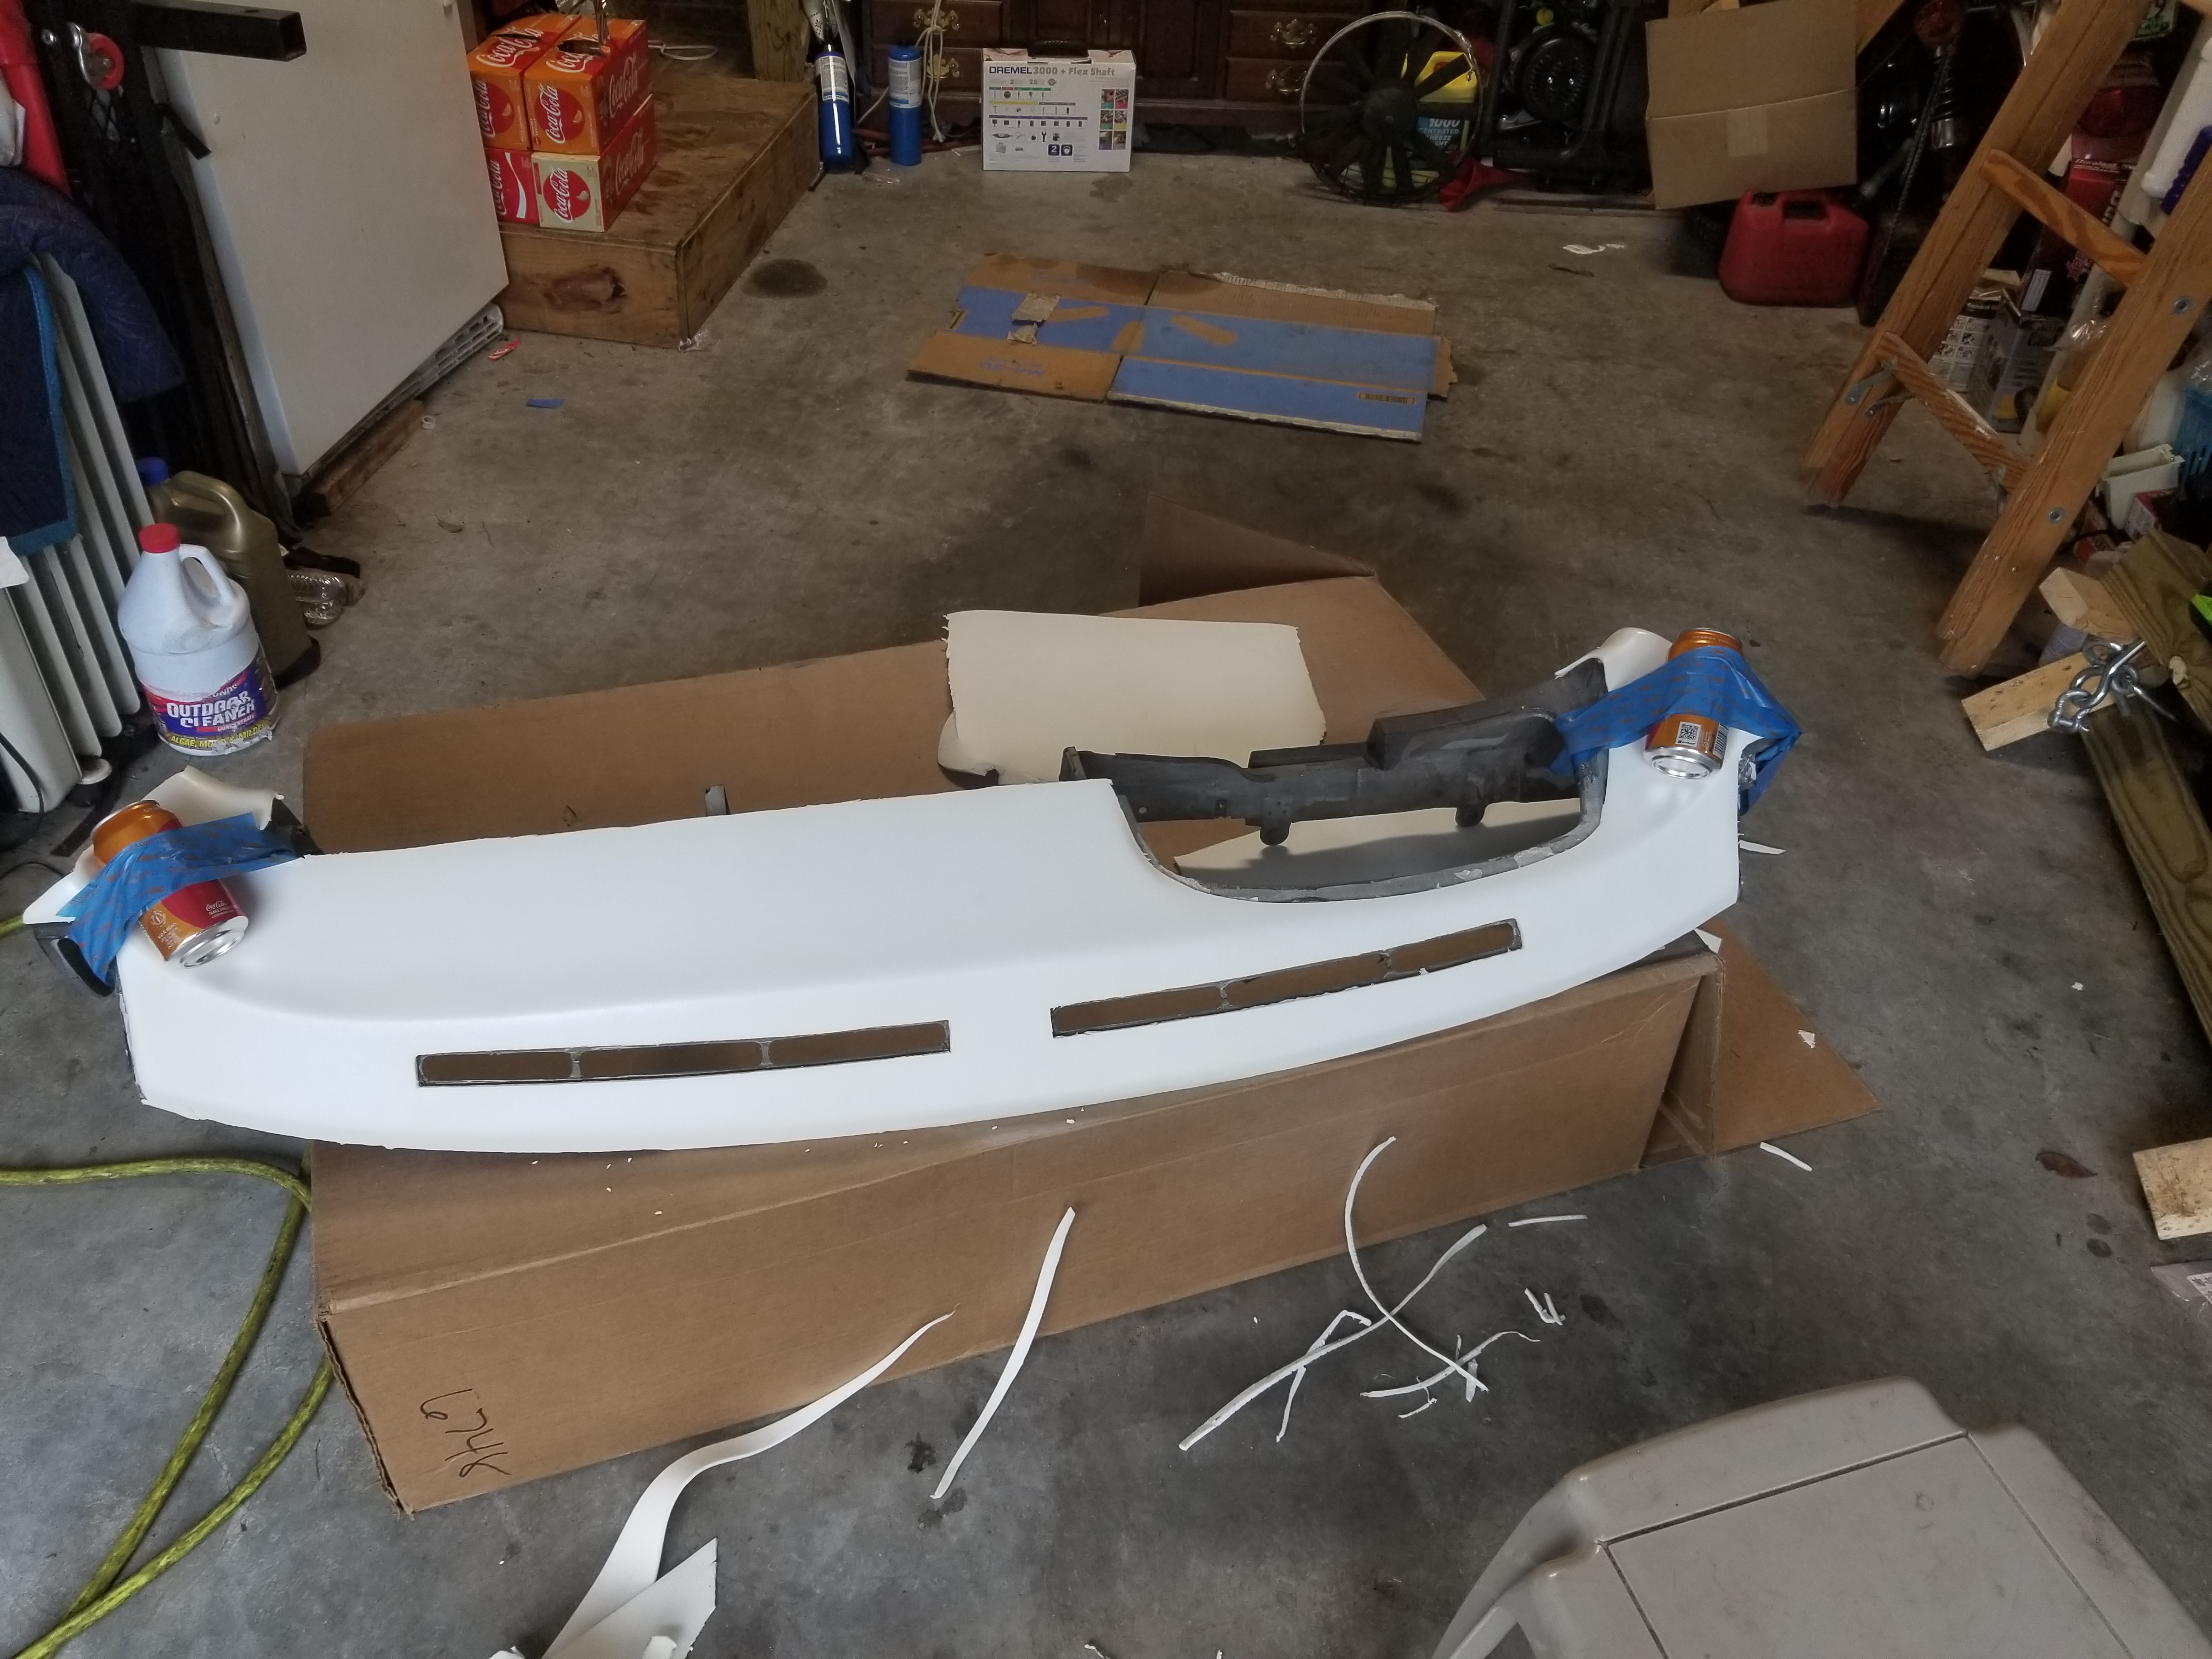
Still waiting for the dash cover, but in the meantime I'm scheming up what to do next to start tackling some of the exterior bodywork.
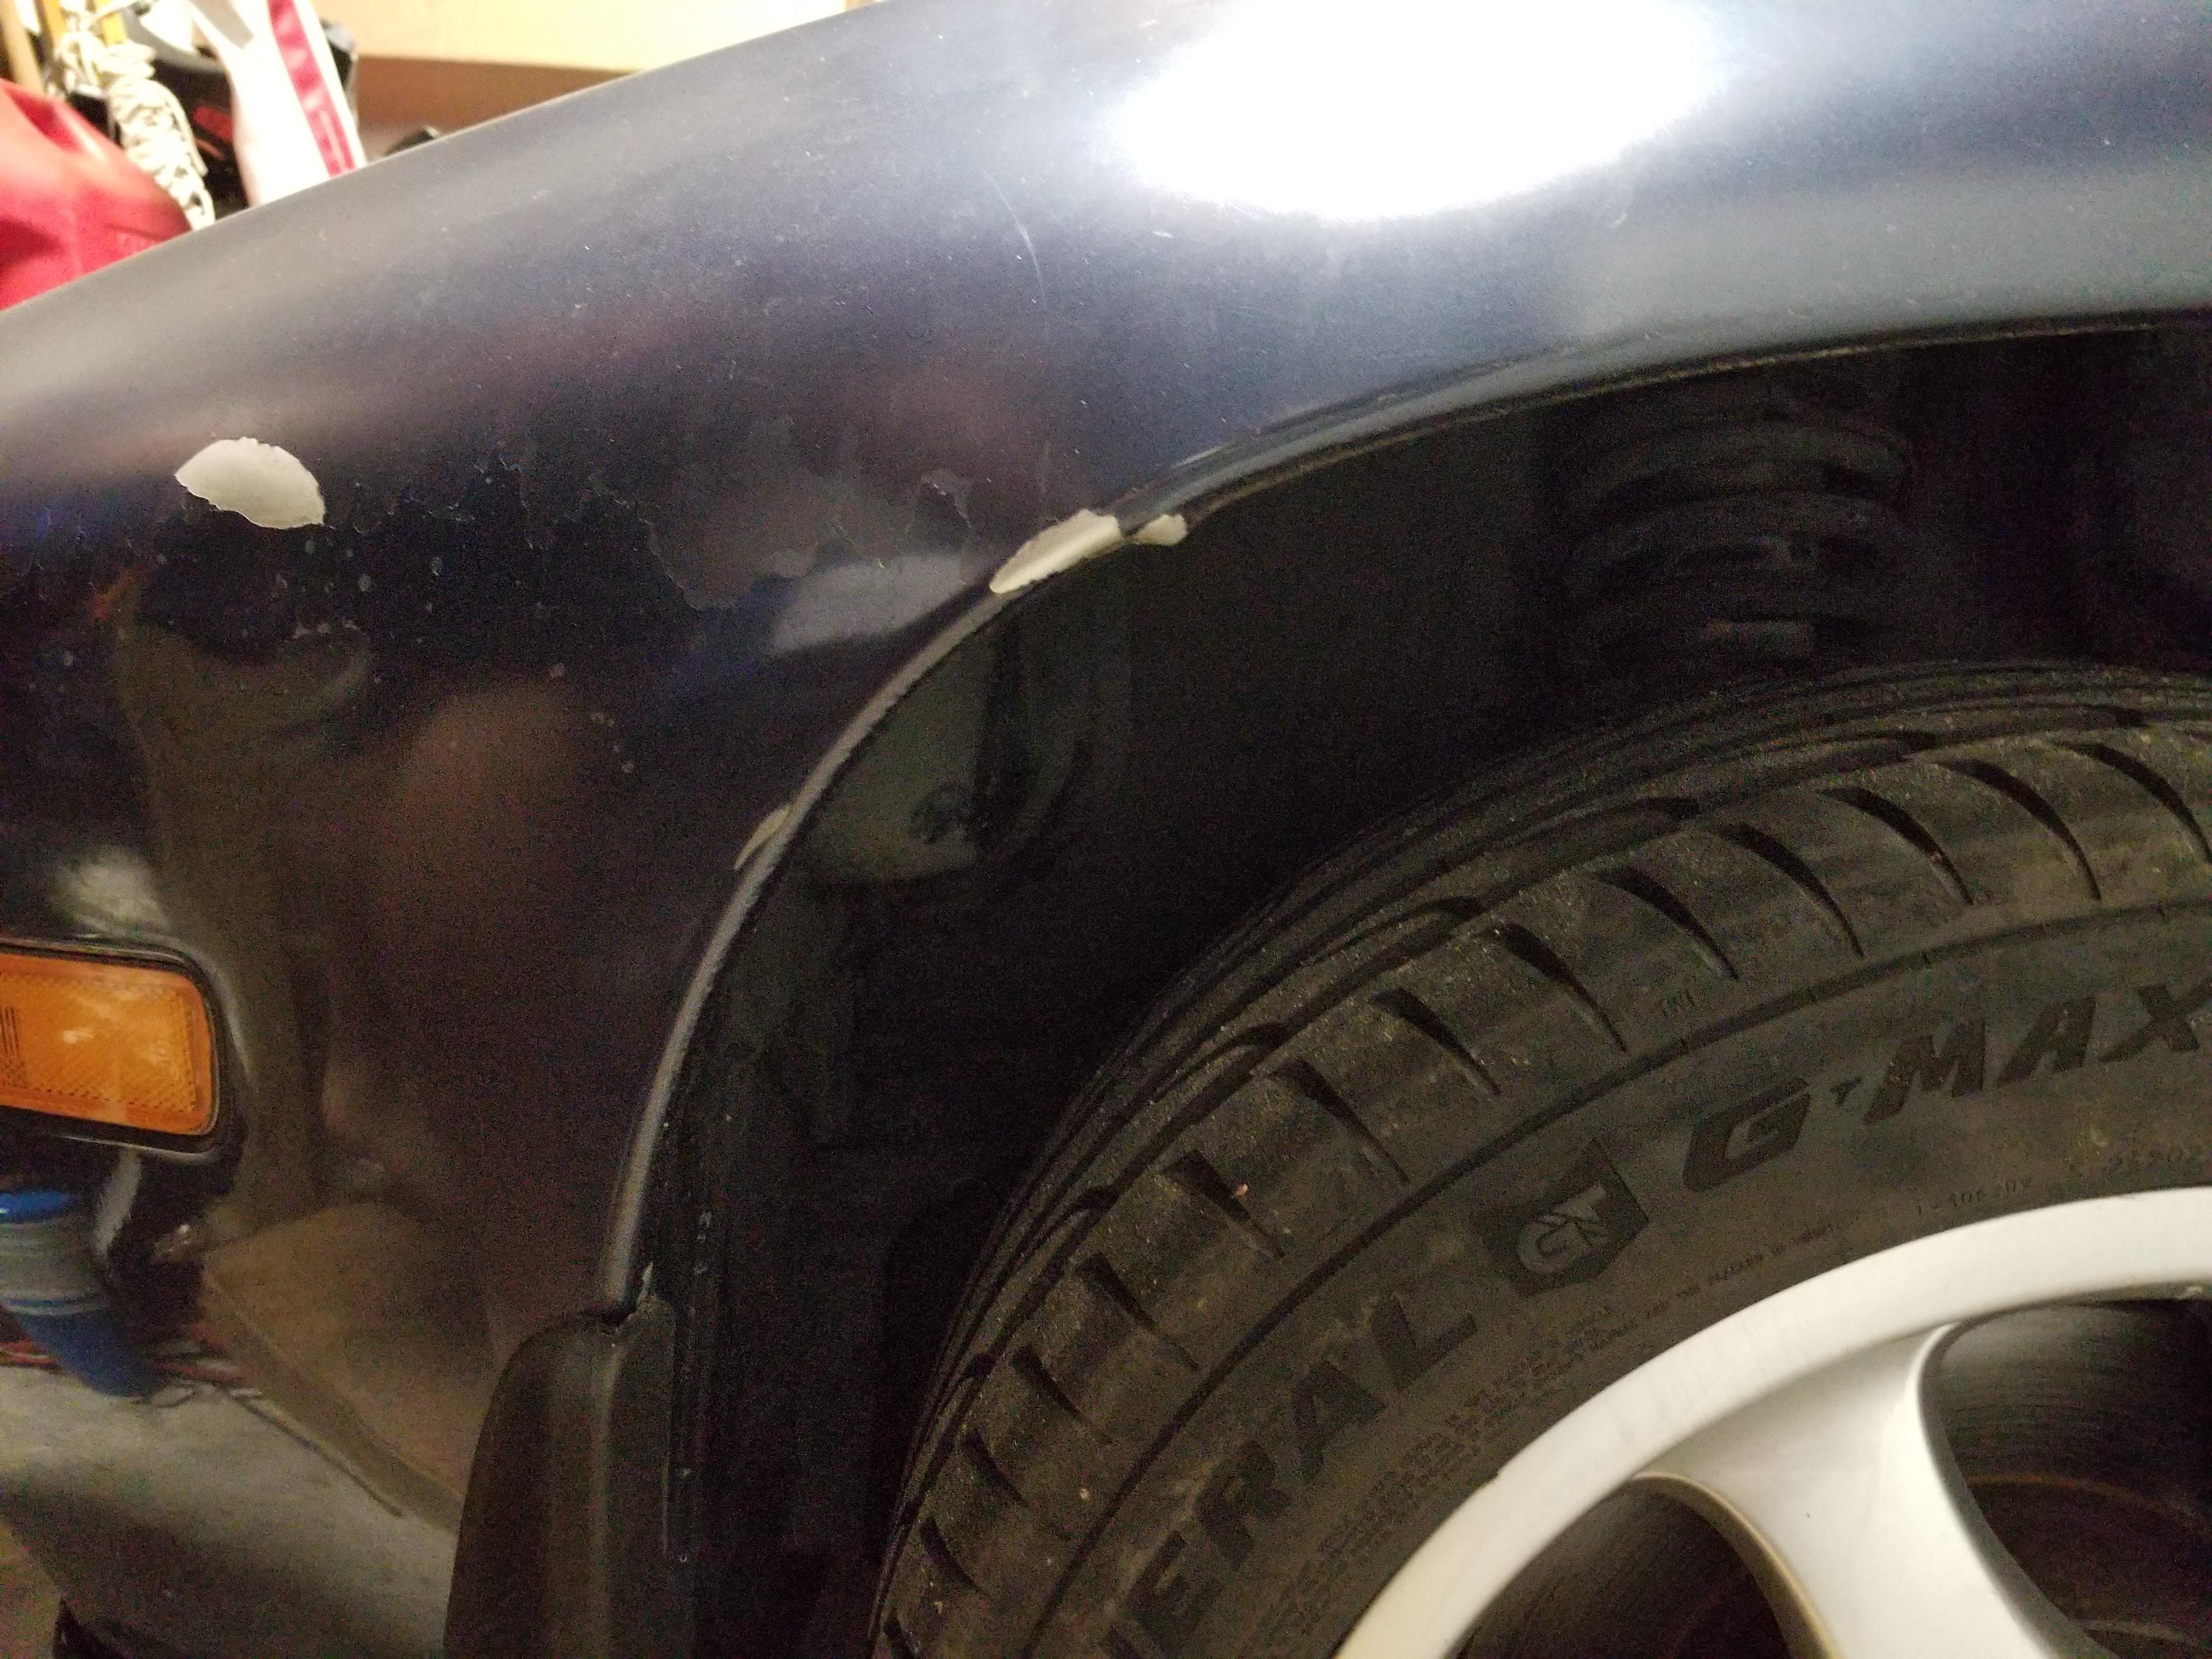
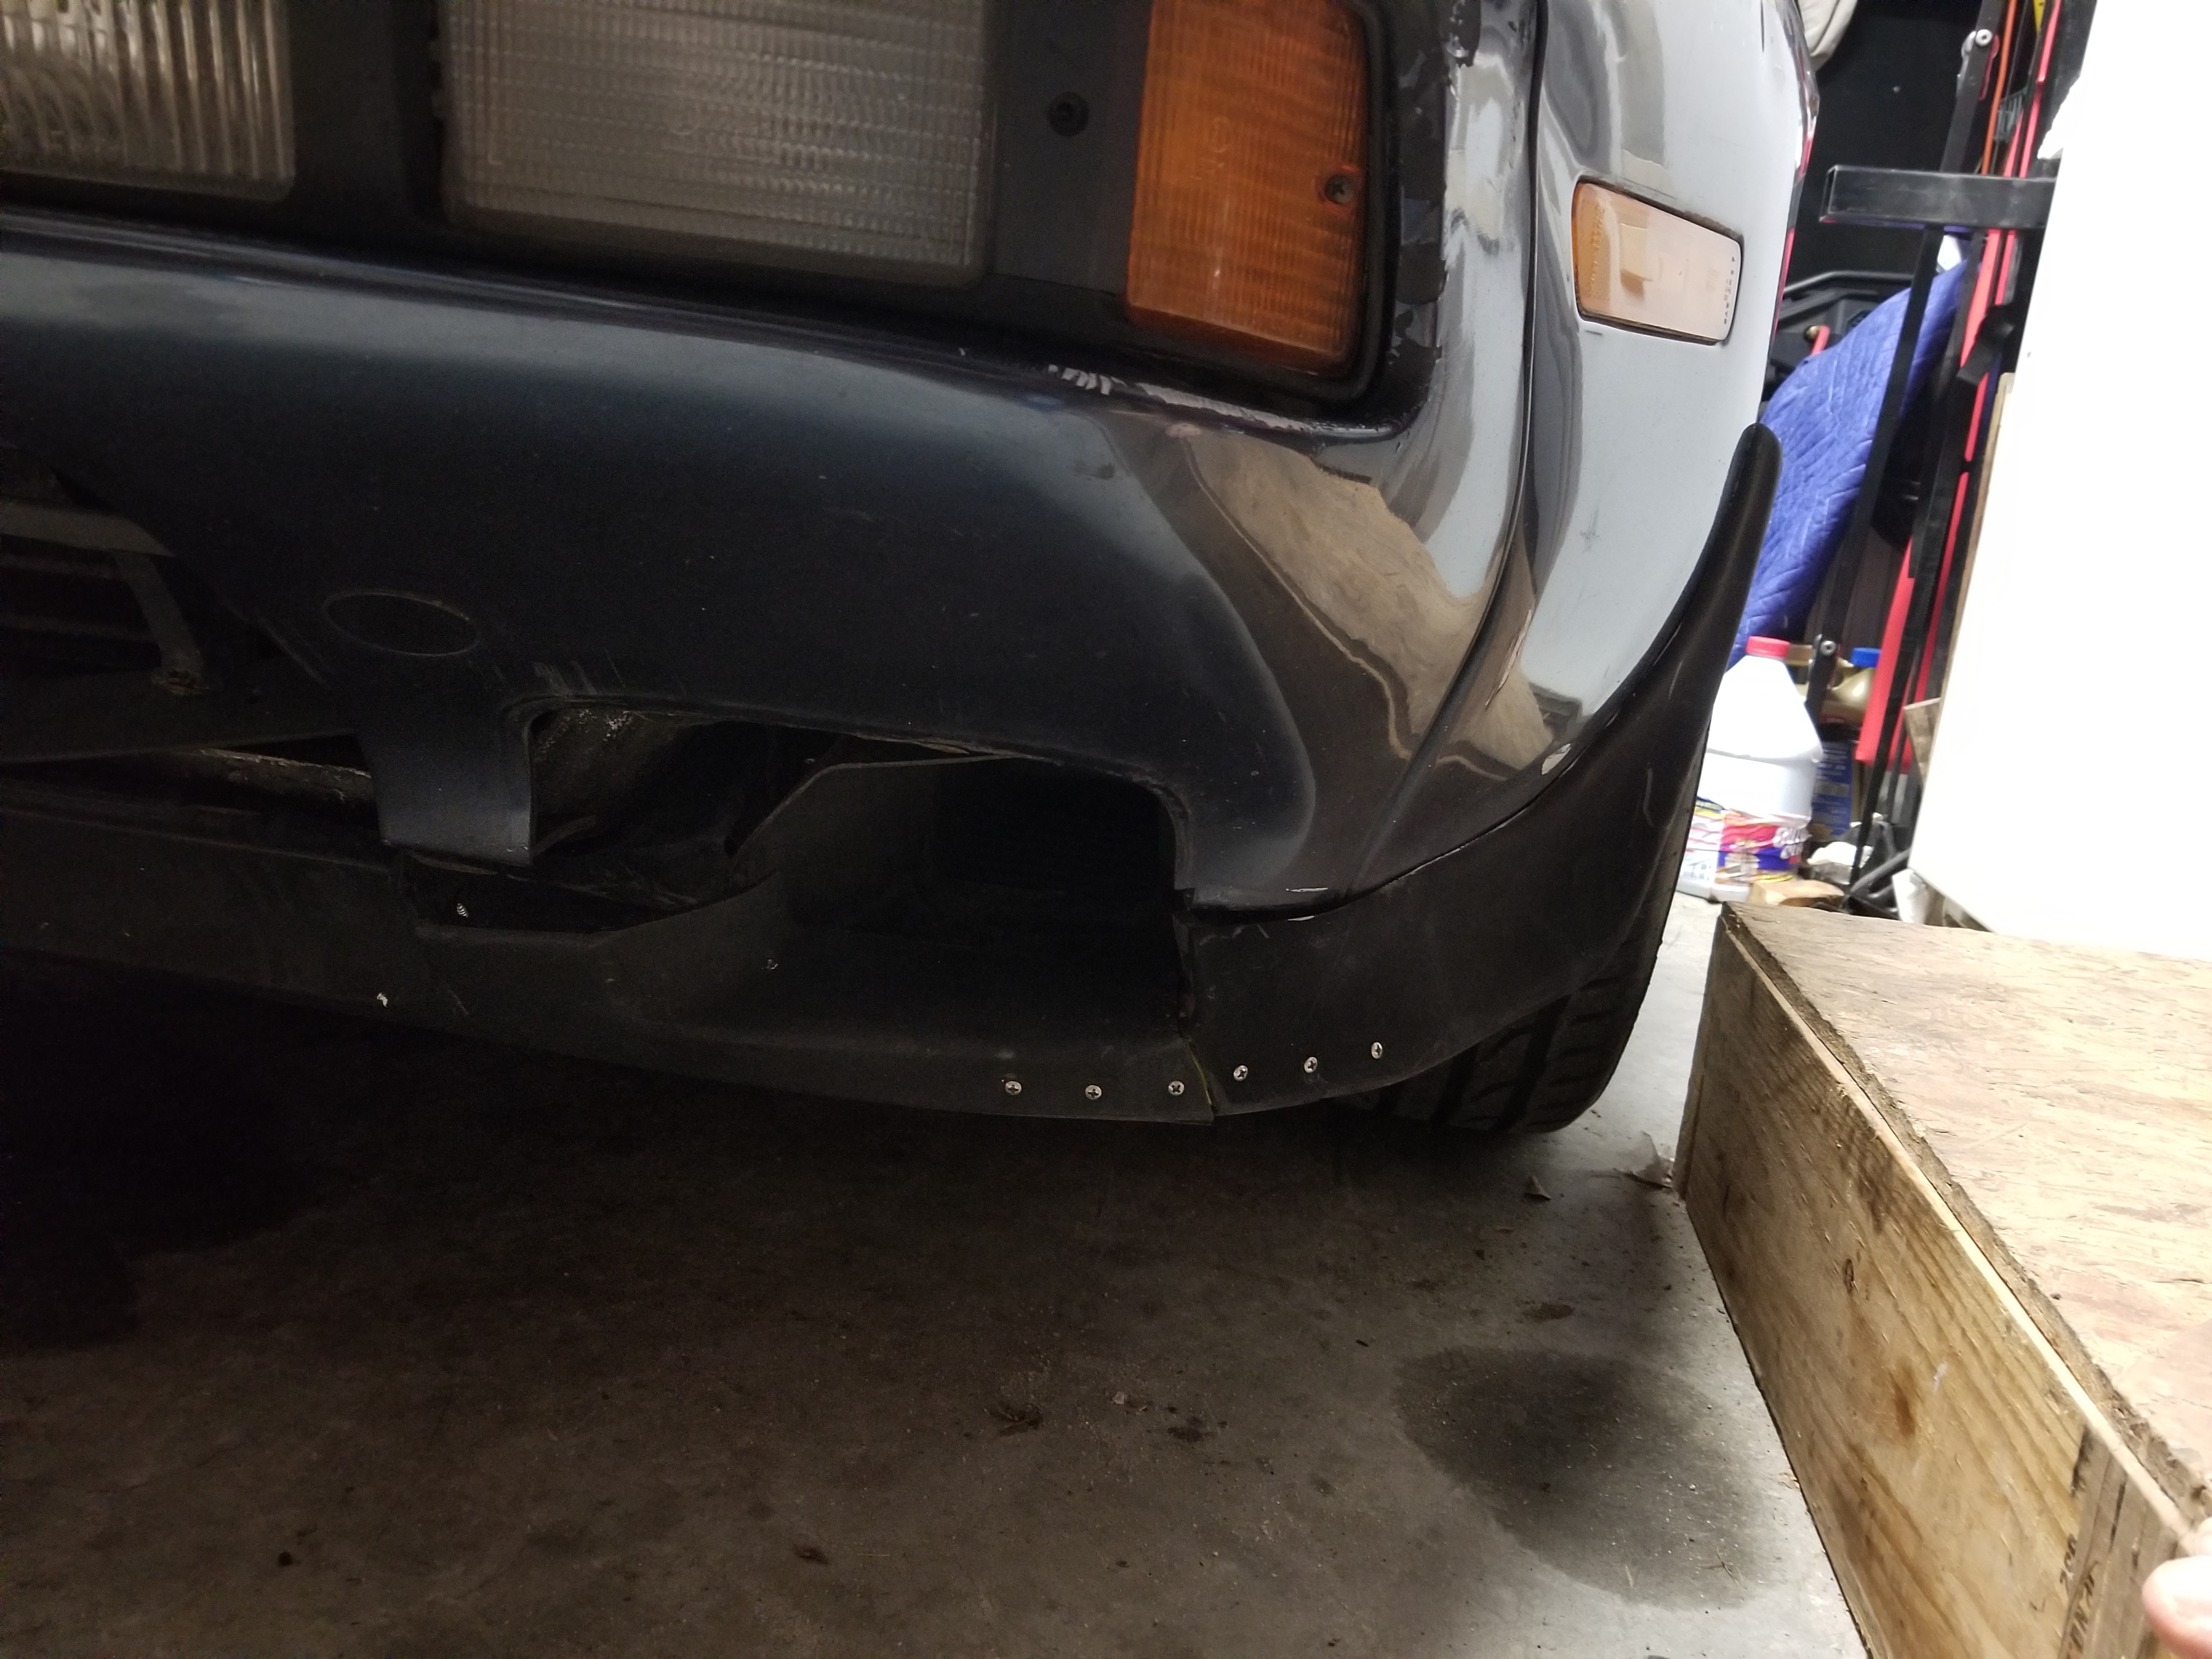
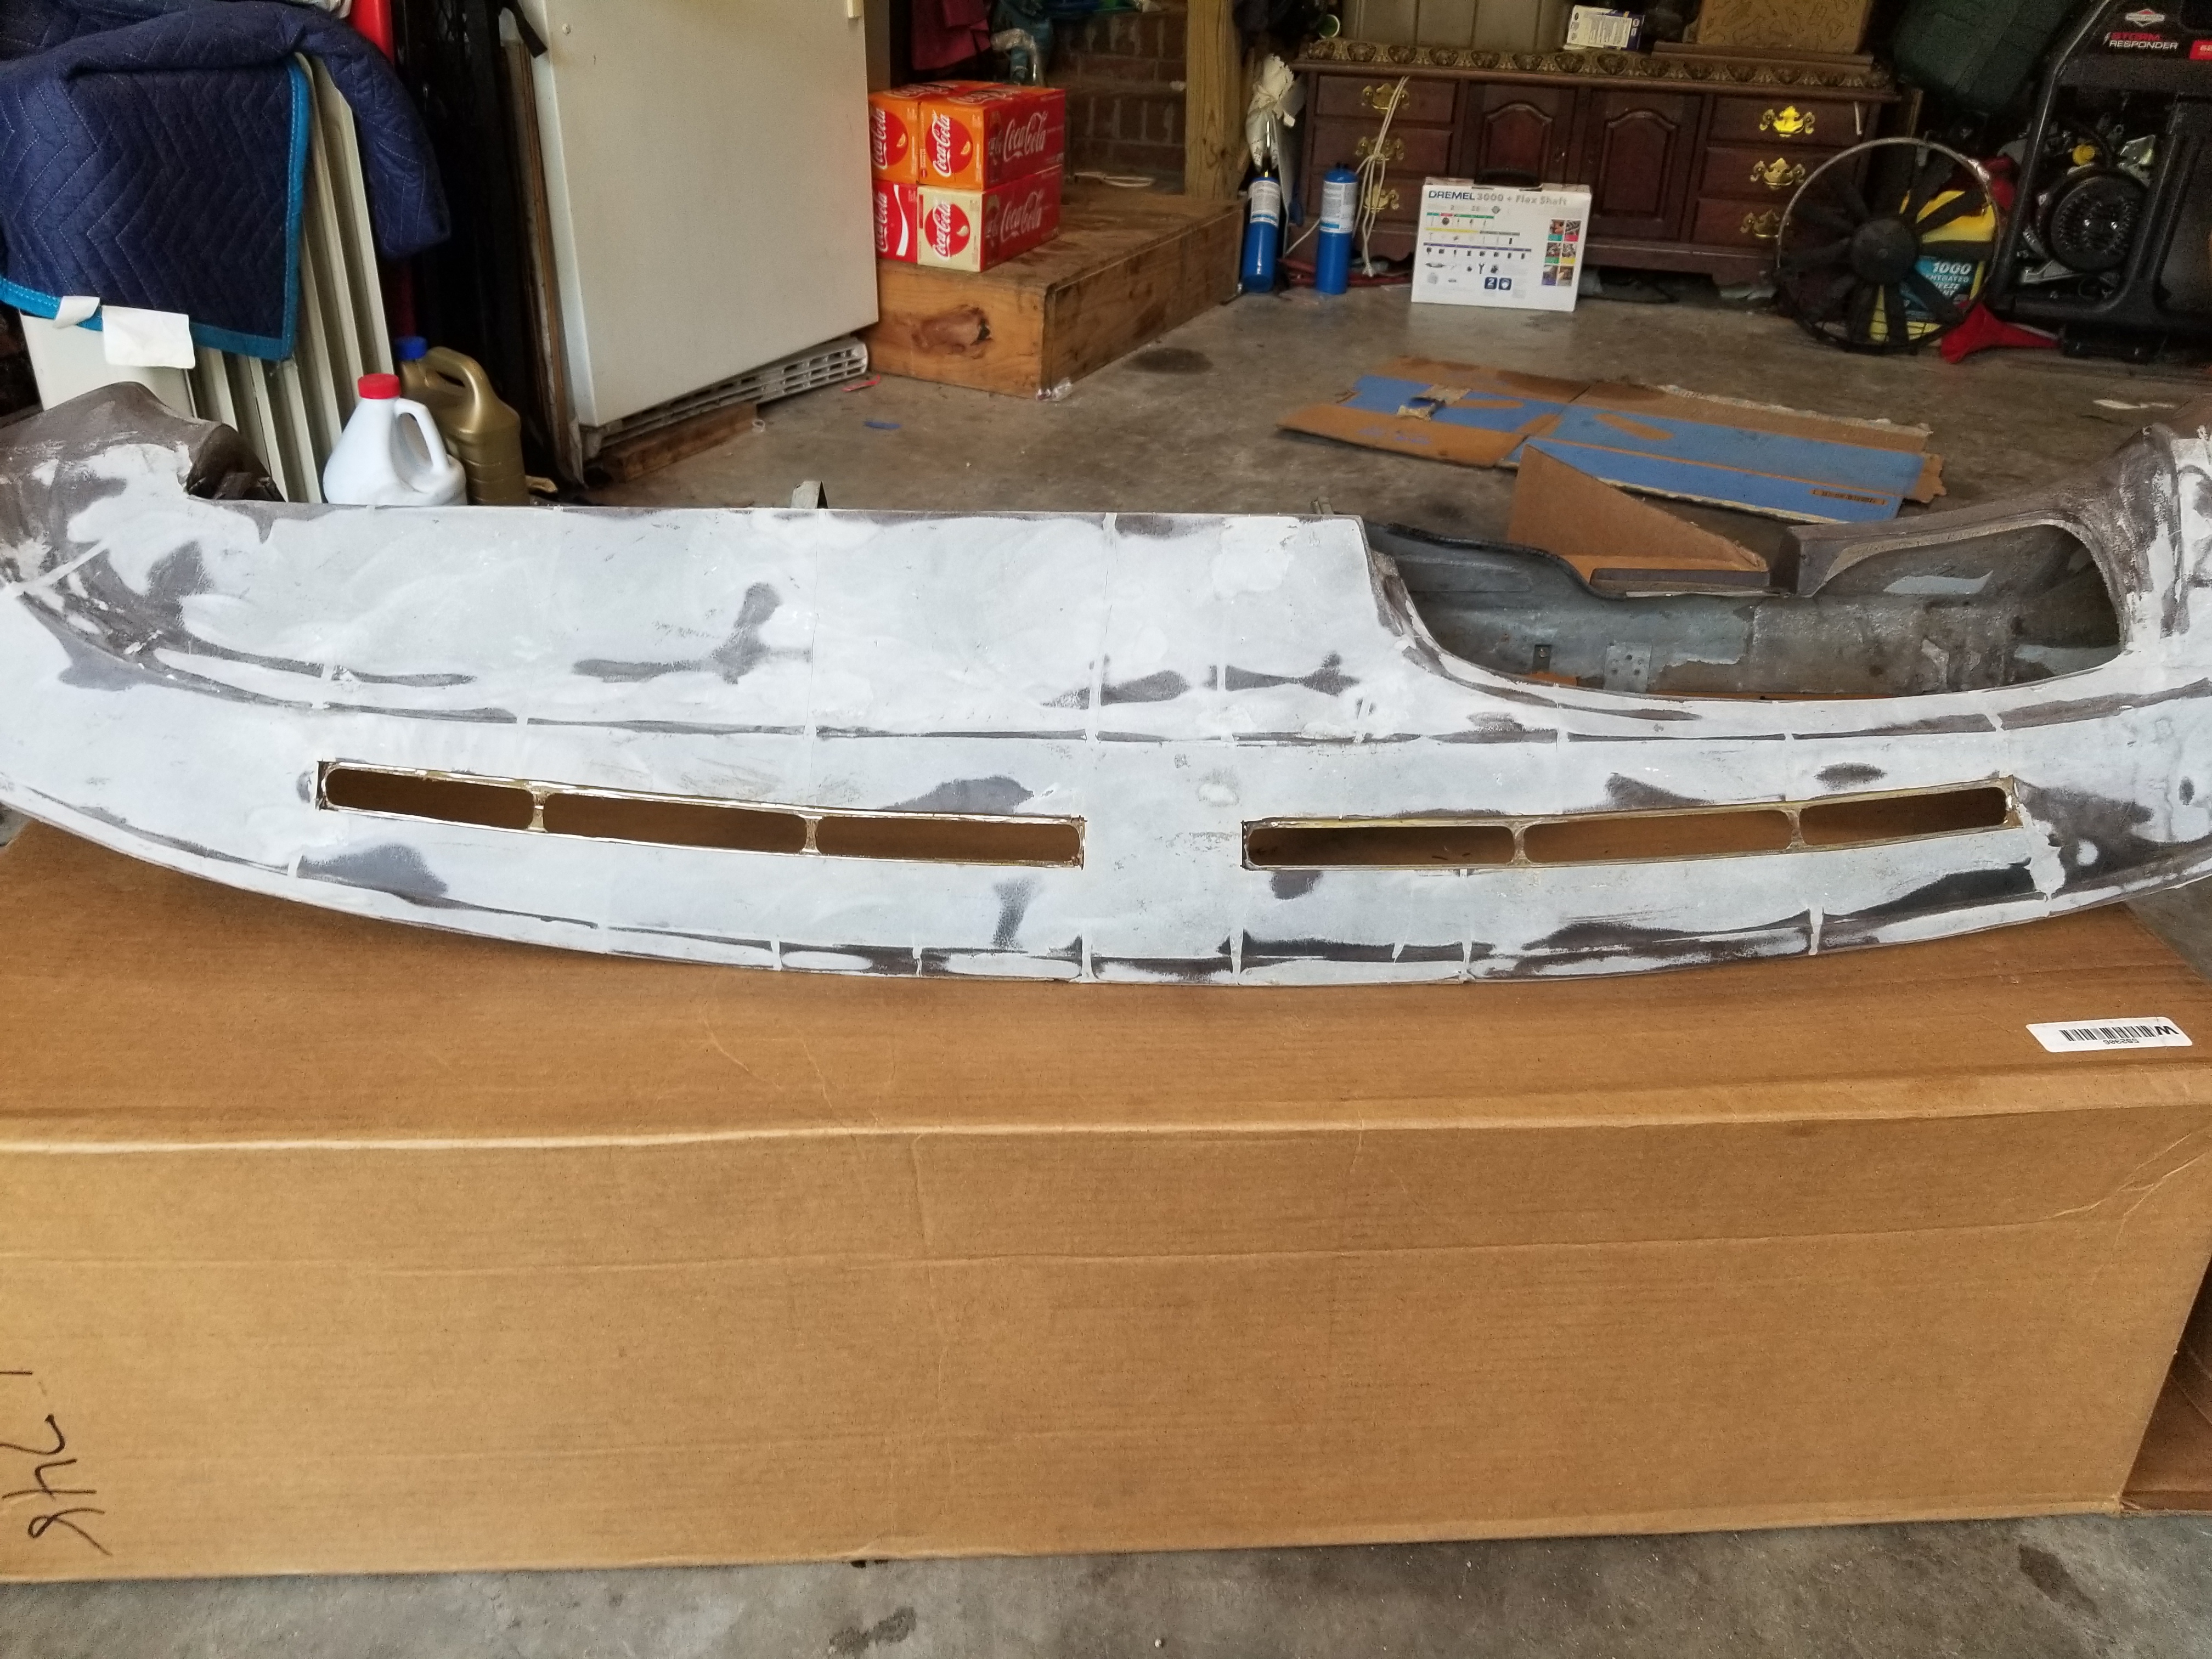
I have a bit of a kink in the front driver's side fender, and that's making the bumper cover fit funny. I'm planning to take the seemingly good fender from my 84 parts car and putting it on the blue car. I think I'm also going to use the front bumper cover I already took off that car too since the one on the blue car is a bit warped around the driver's side fender.
(yes, I'll have to get a new spoiler)
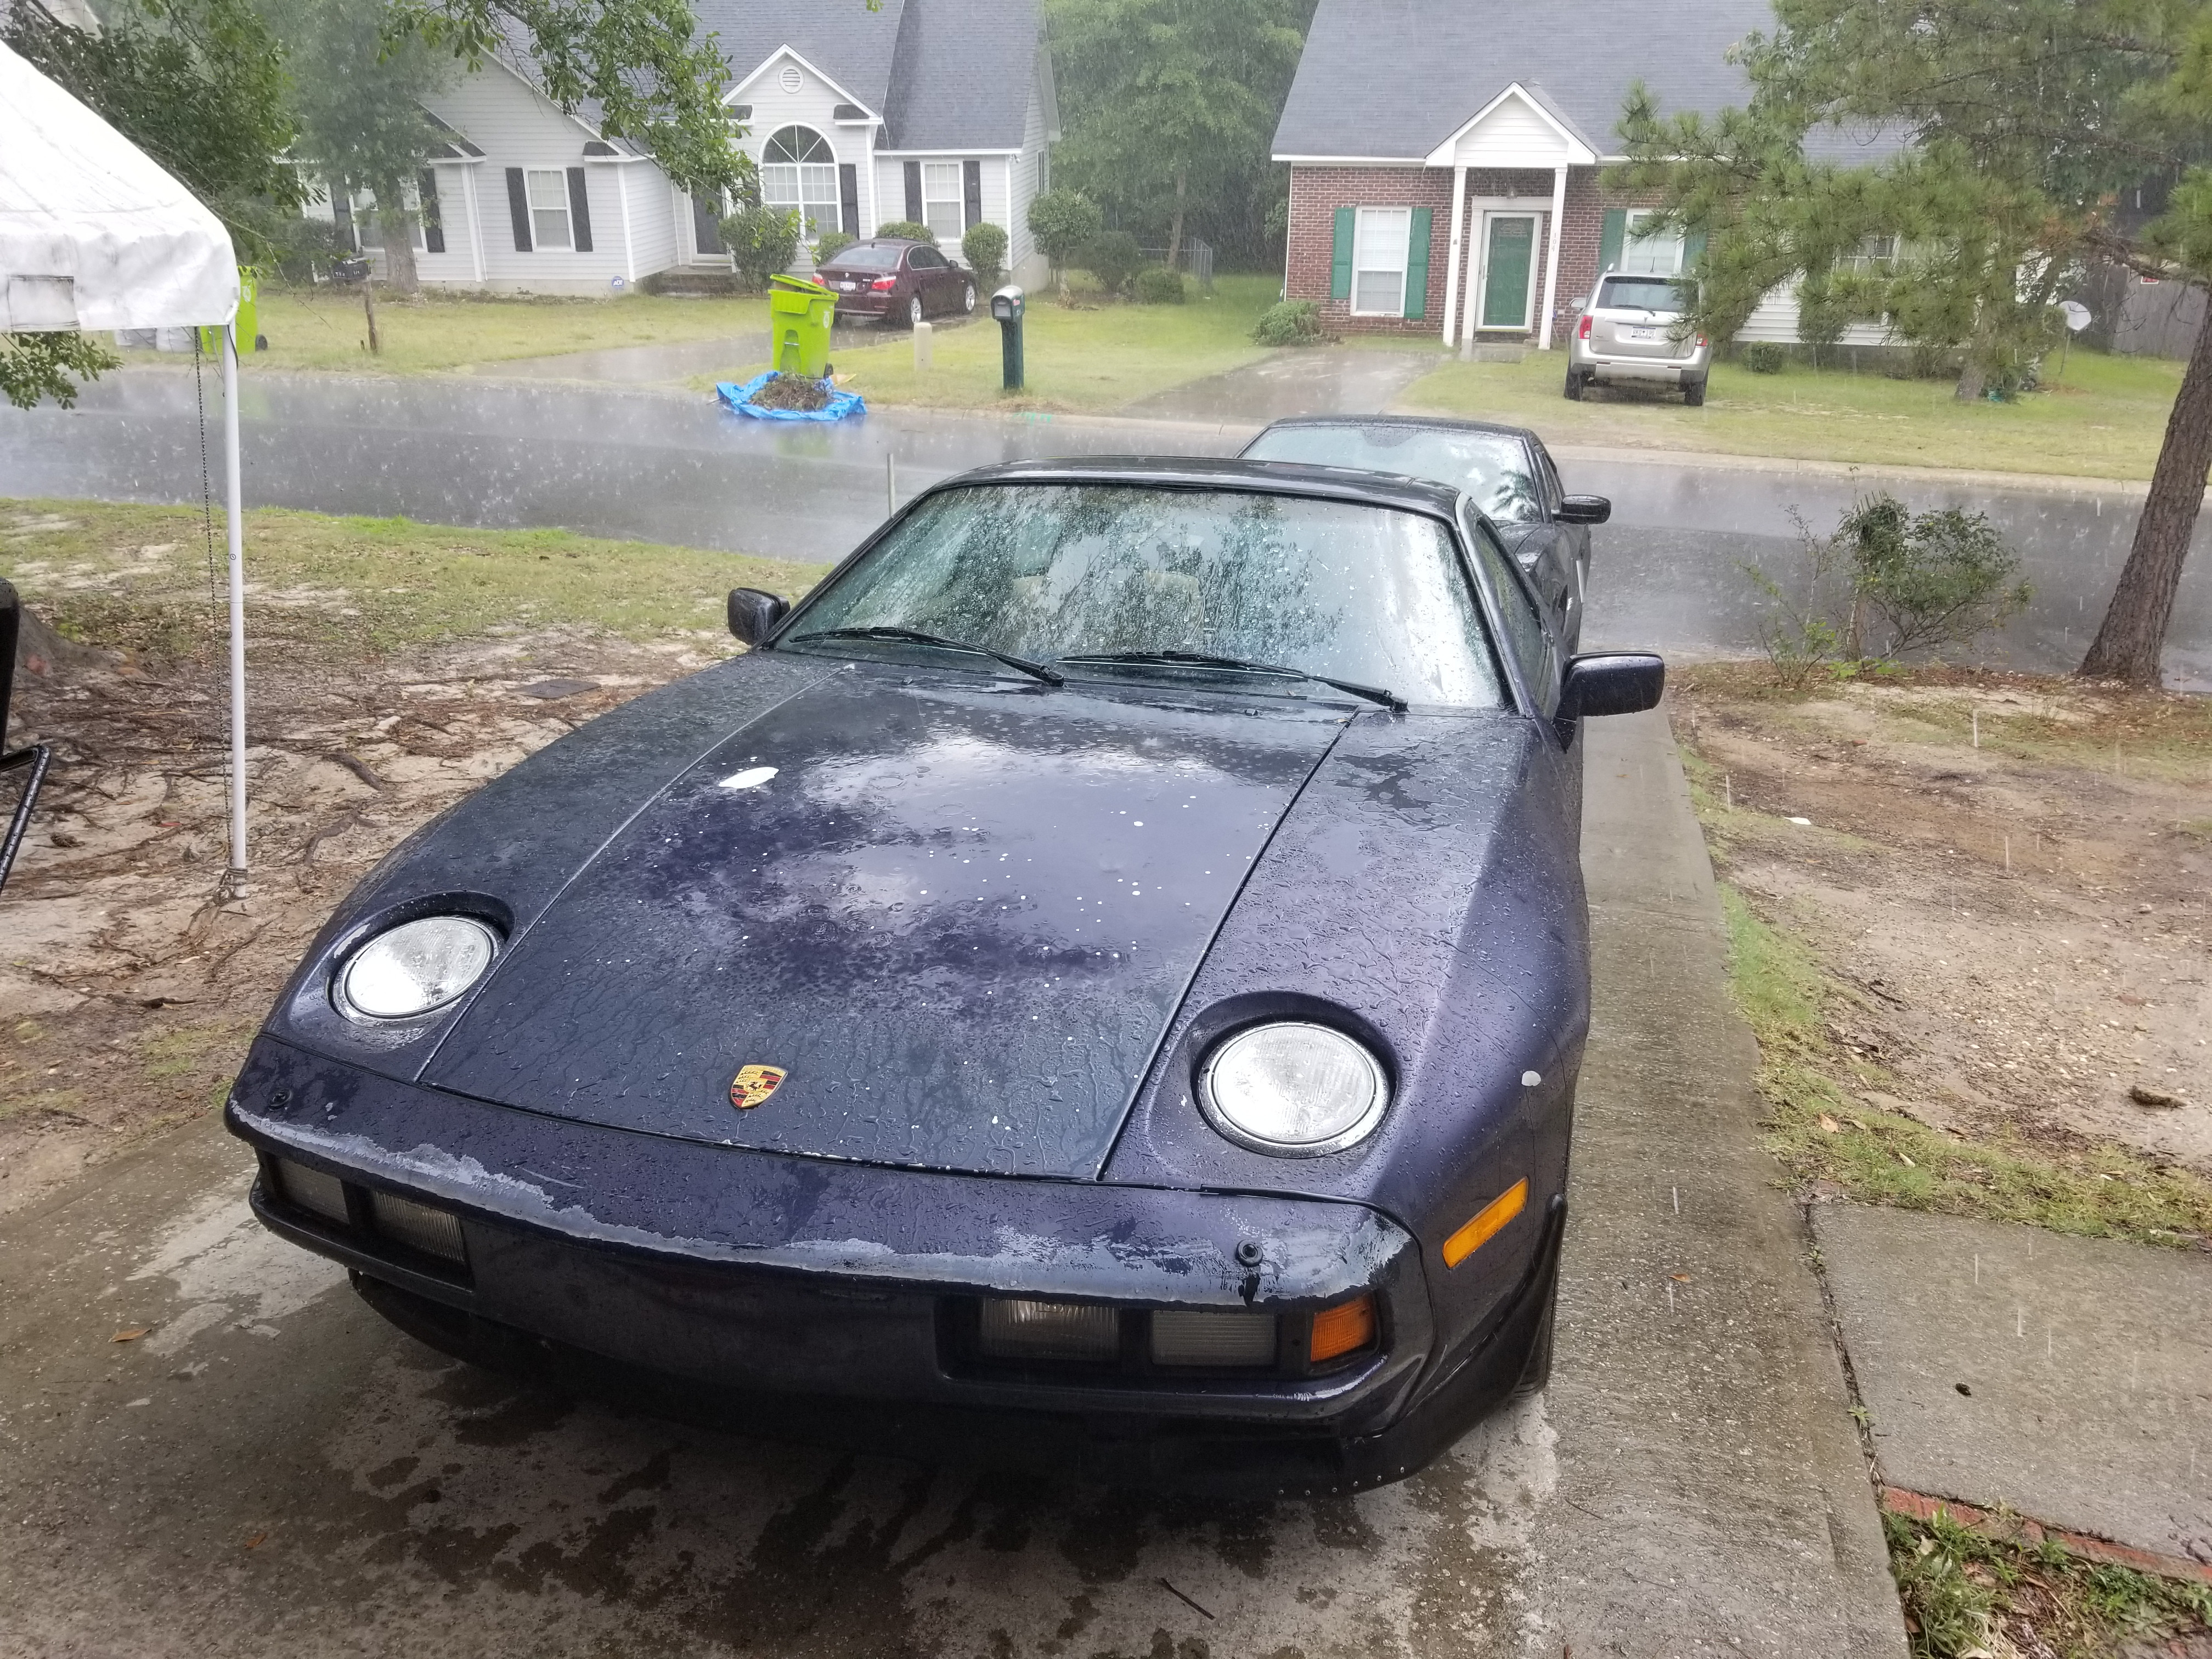
Other than that damage it seems like the rest of the car is straight, it's all just the paint (or lack thereof). So my plan is to get the car all straight and prepped, get all the supplies together, and paint the car. I know it's not going to be a concurs paintjob or anything, but this car is a project for me and I want to try something new. I'm going to build some kind of booth, whether in the garage or some structure outside, and get good materials.
Hopefully that'll get done within the next couple months here.
Aside from that I am going to need to get the car aligned soon. The steering wheel has been off a bit since I did the engine mounts (guessing from messing with the control arms). It still drives straight, but I want to get it taken care of before it starts eating up new tires.
I have a bit of a kink in the front driver's side fender, and that's making the bumper cover fit funny. I'm planning to take the seemingly good fender from my 84 parts car and putting it on the blue car. I think I'm also going to use the front bumper cover I already took off that car too since the one on the blue car is a bit warped around the driver's side fender.
(yes, I'll have to get a new spoiler)
Other than that damage it seems like the rest of the car is straight, it's all just the paint (or lack thereof). So my plan is to get the car all straight and prepped, get all the supplies together, and paint the car. I know it's not going to be a concurs paintjob or anything, but this car is a project for me and I want to try something new. I'm going to build some kind of booth, whether in the garage or some structure outside, and get good materials.
Hopefully that'll get done within the next couple months here.
Aside from that I am going to need to get the car aligned soon. The steering wheel has been off a bit since I did the engine mounts (guessing from messing with the control arms). It still drives straight, but I want to get it taken care of before it starts eating up new tires.
05-12-2019, 09:56 PM
#174
Burning Brakes
Thread Starter
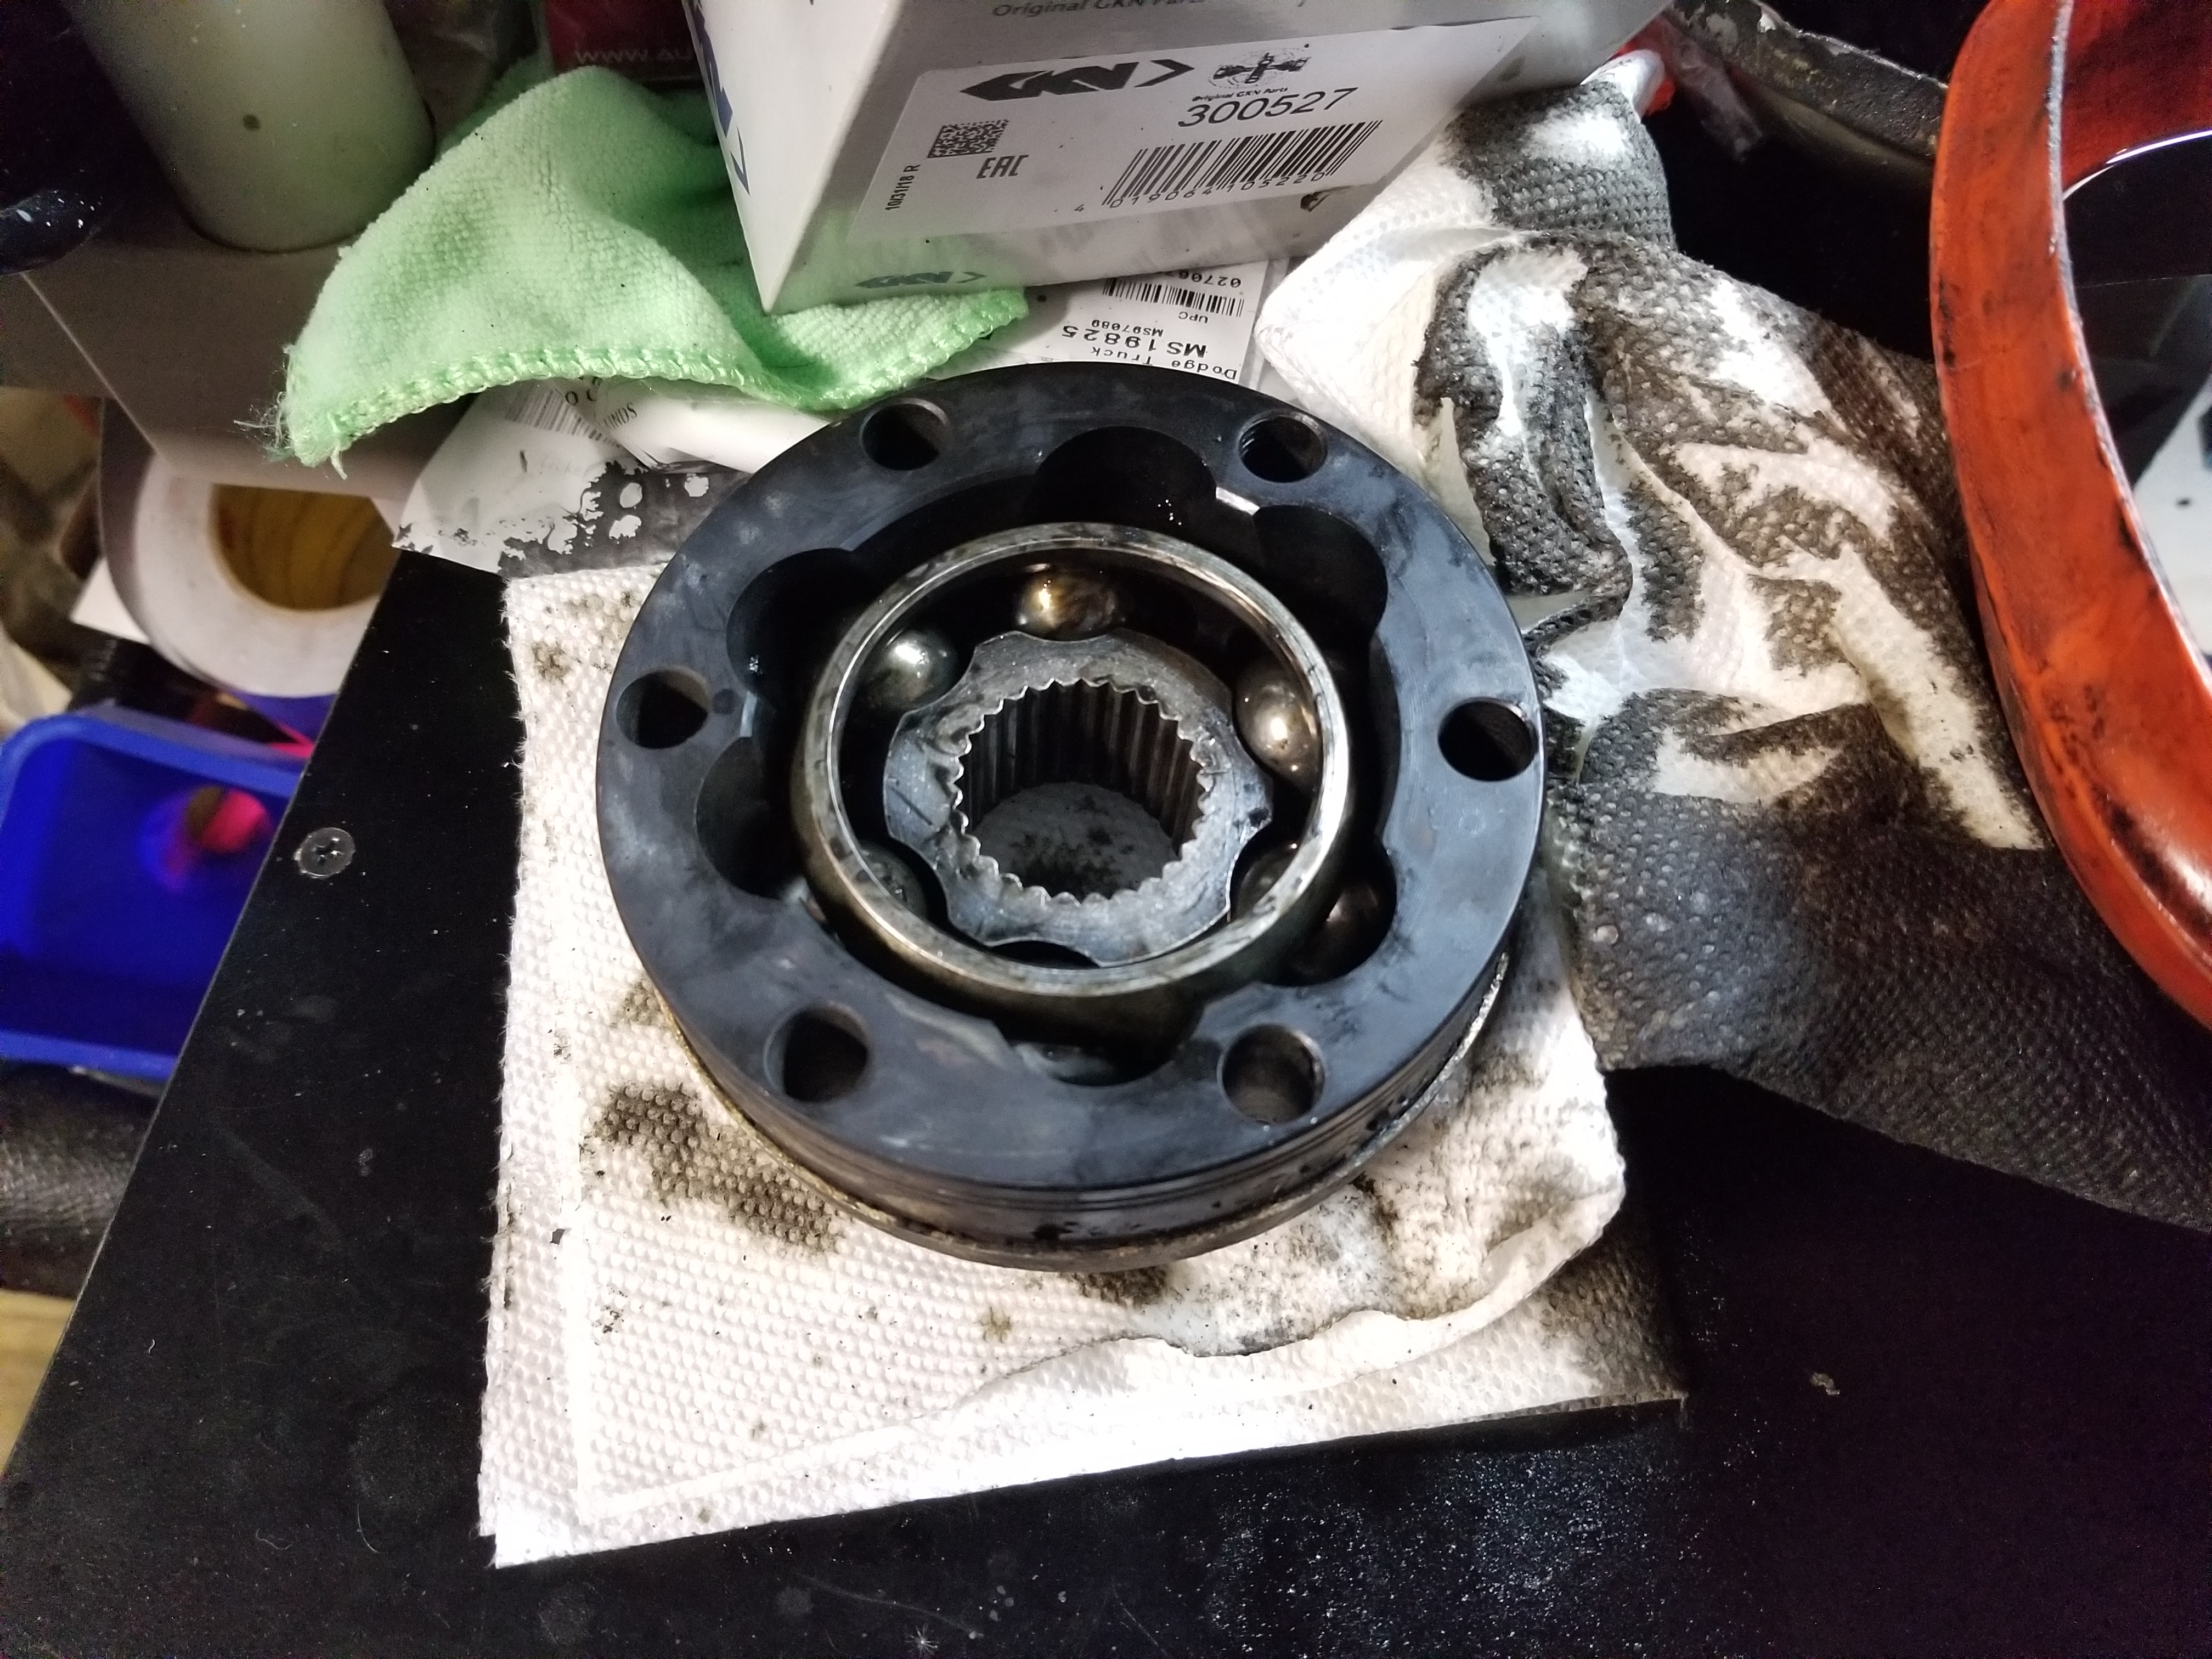
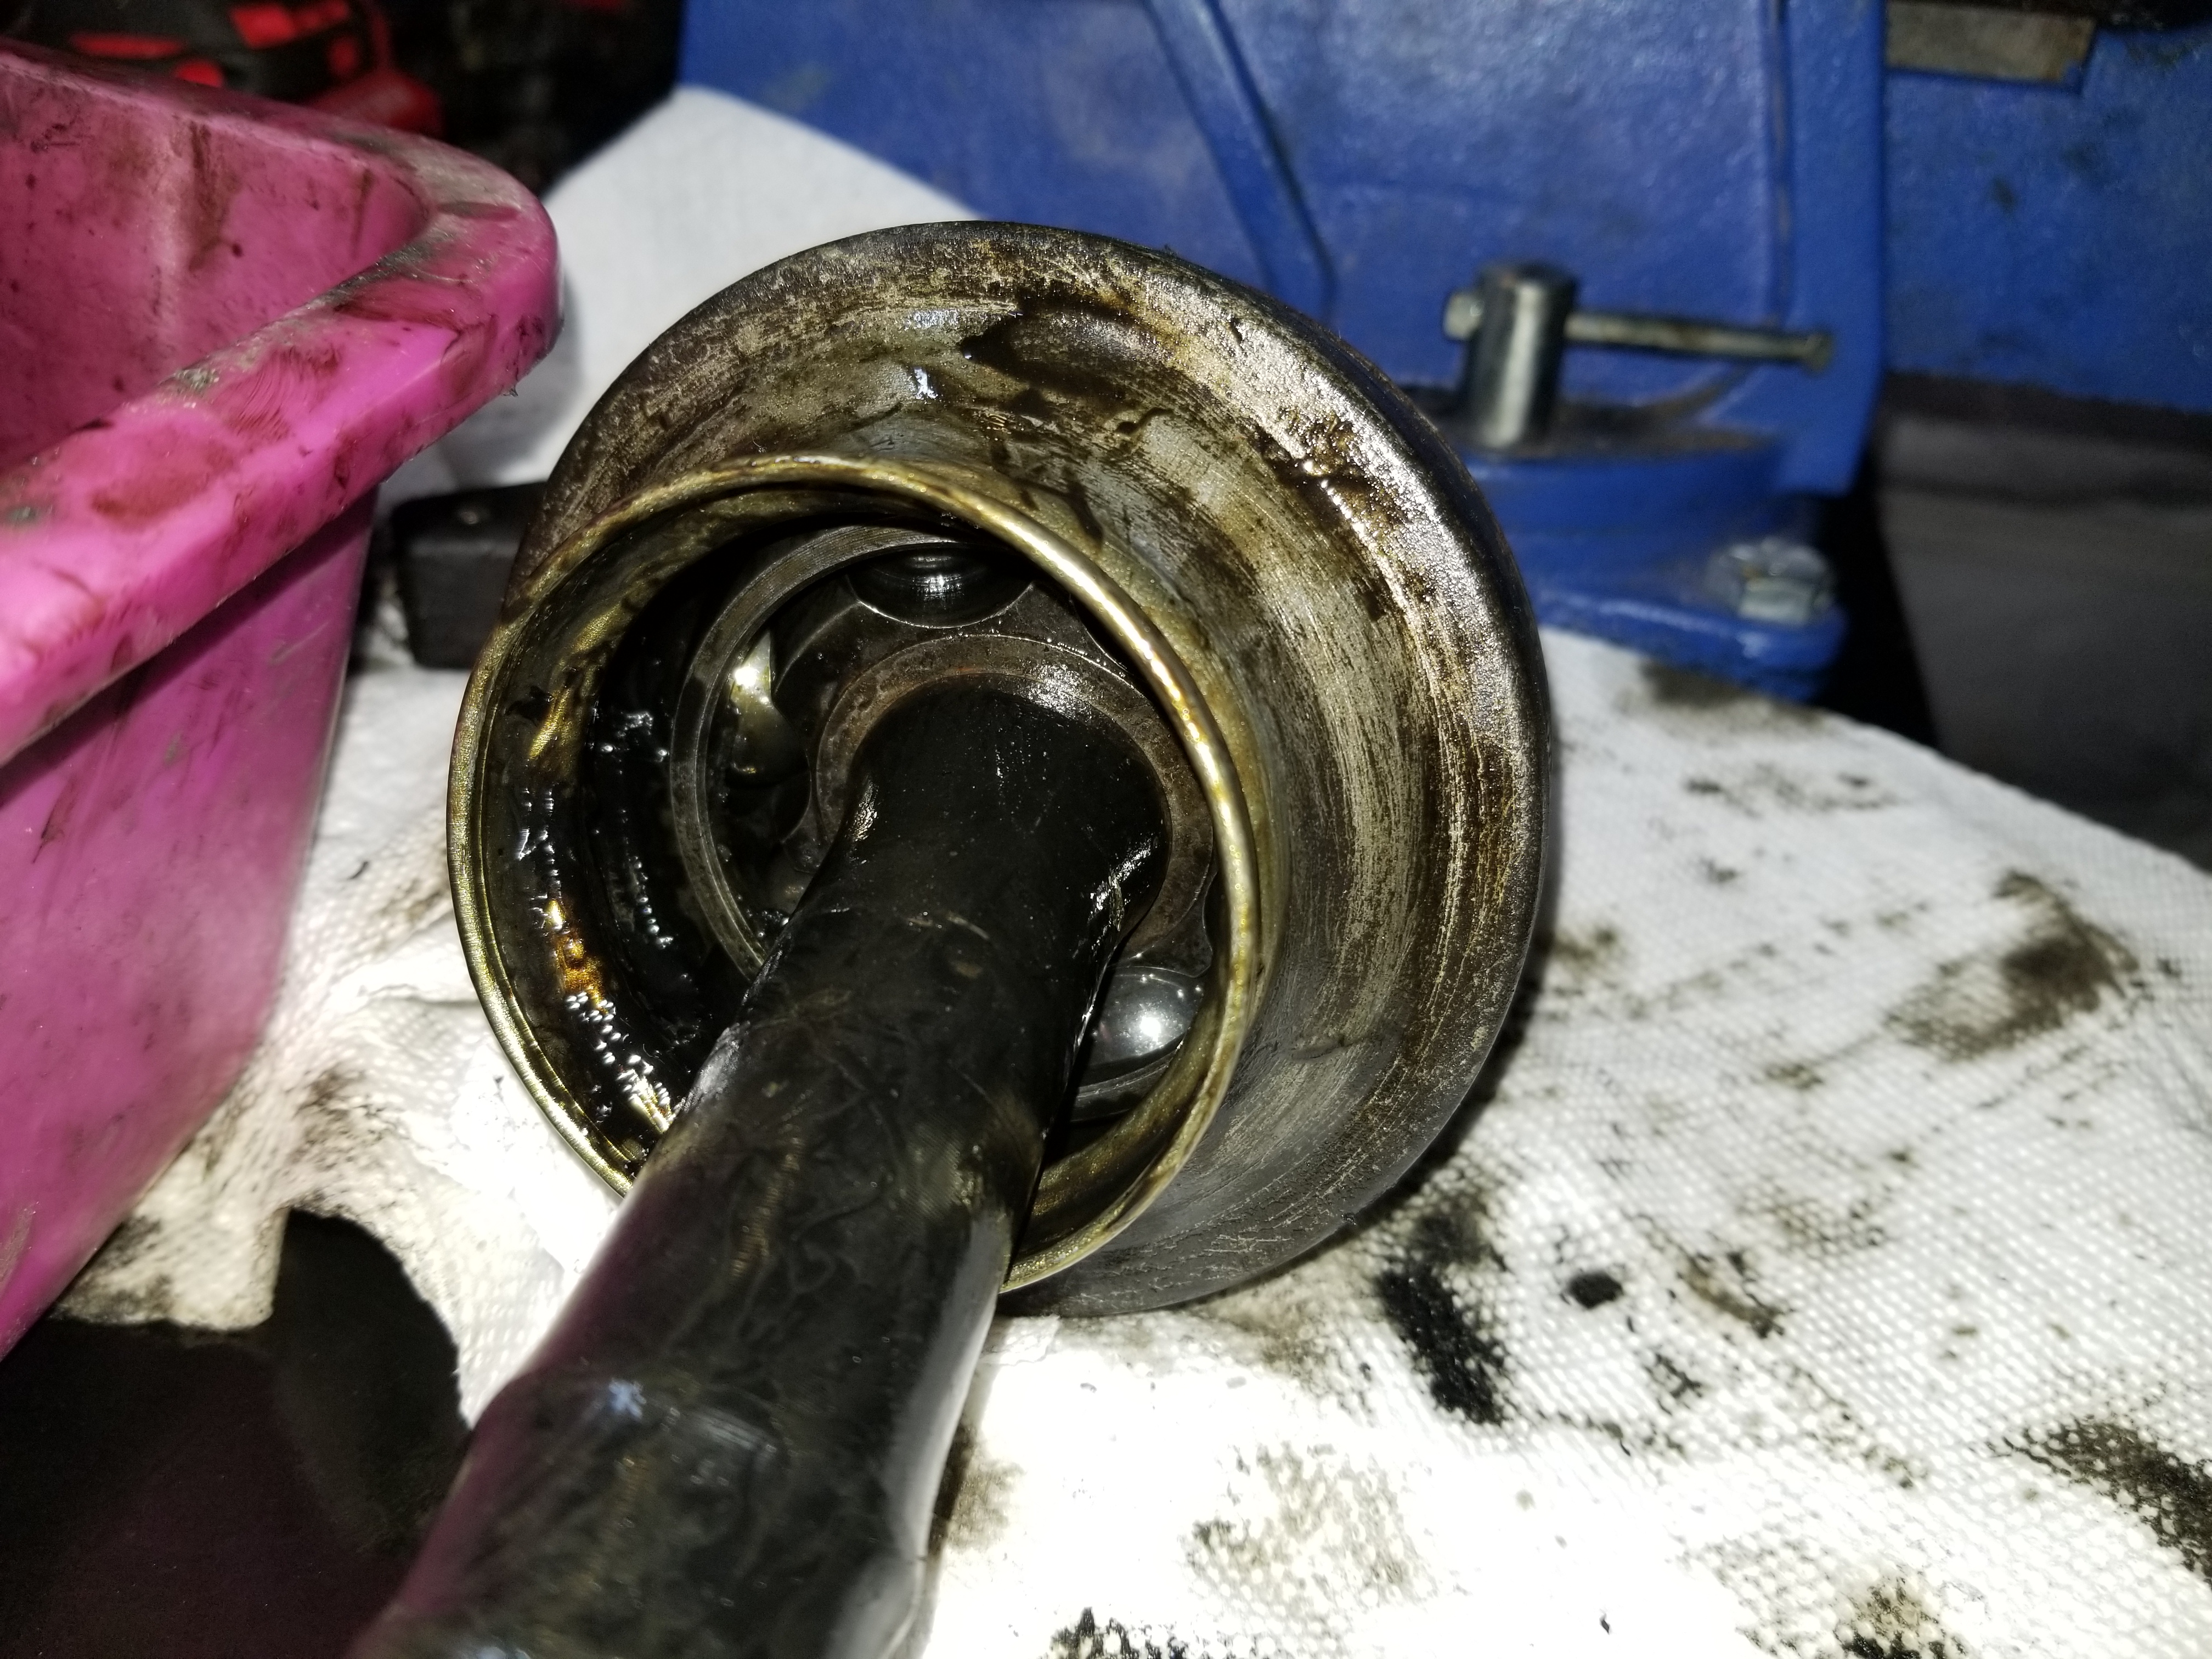
The car got new cv axle boots this weekend. The passenger's side came apart easy with some sockets and a small deadblow hammer. The driver's side was a complete pain and had to be completely taken apart to hammer the joint apart. Dwayne's method of sucking the grease in worked well too.
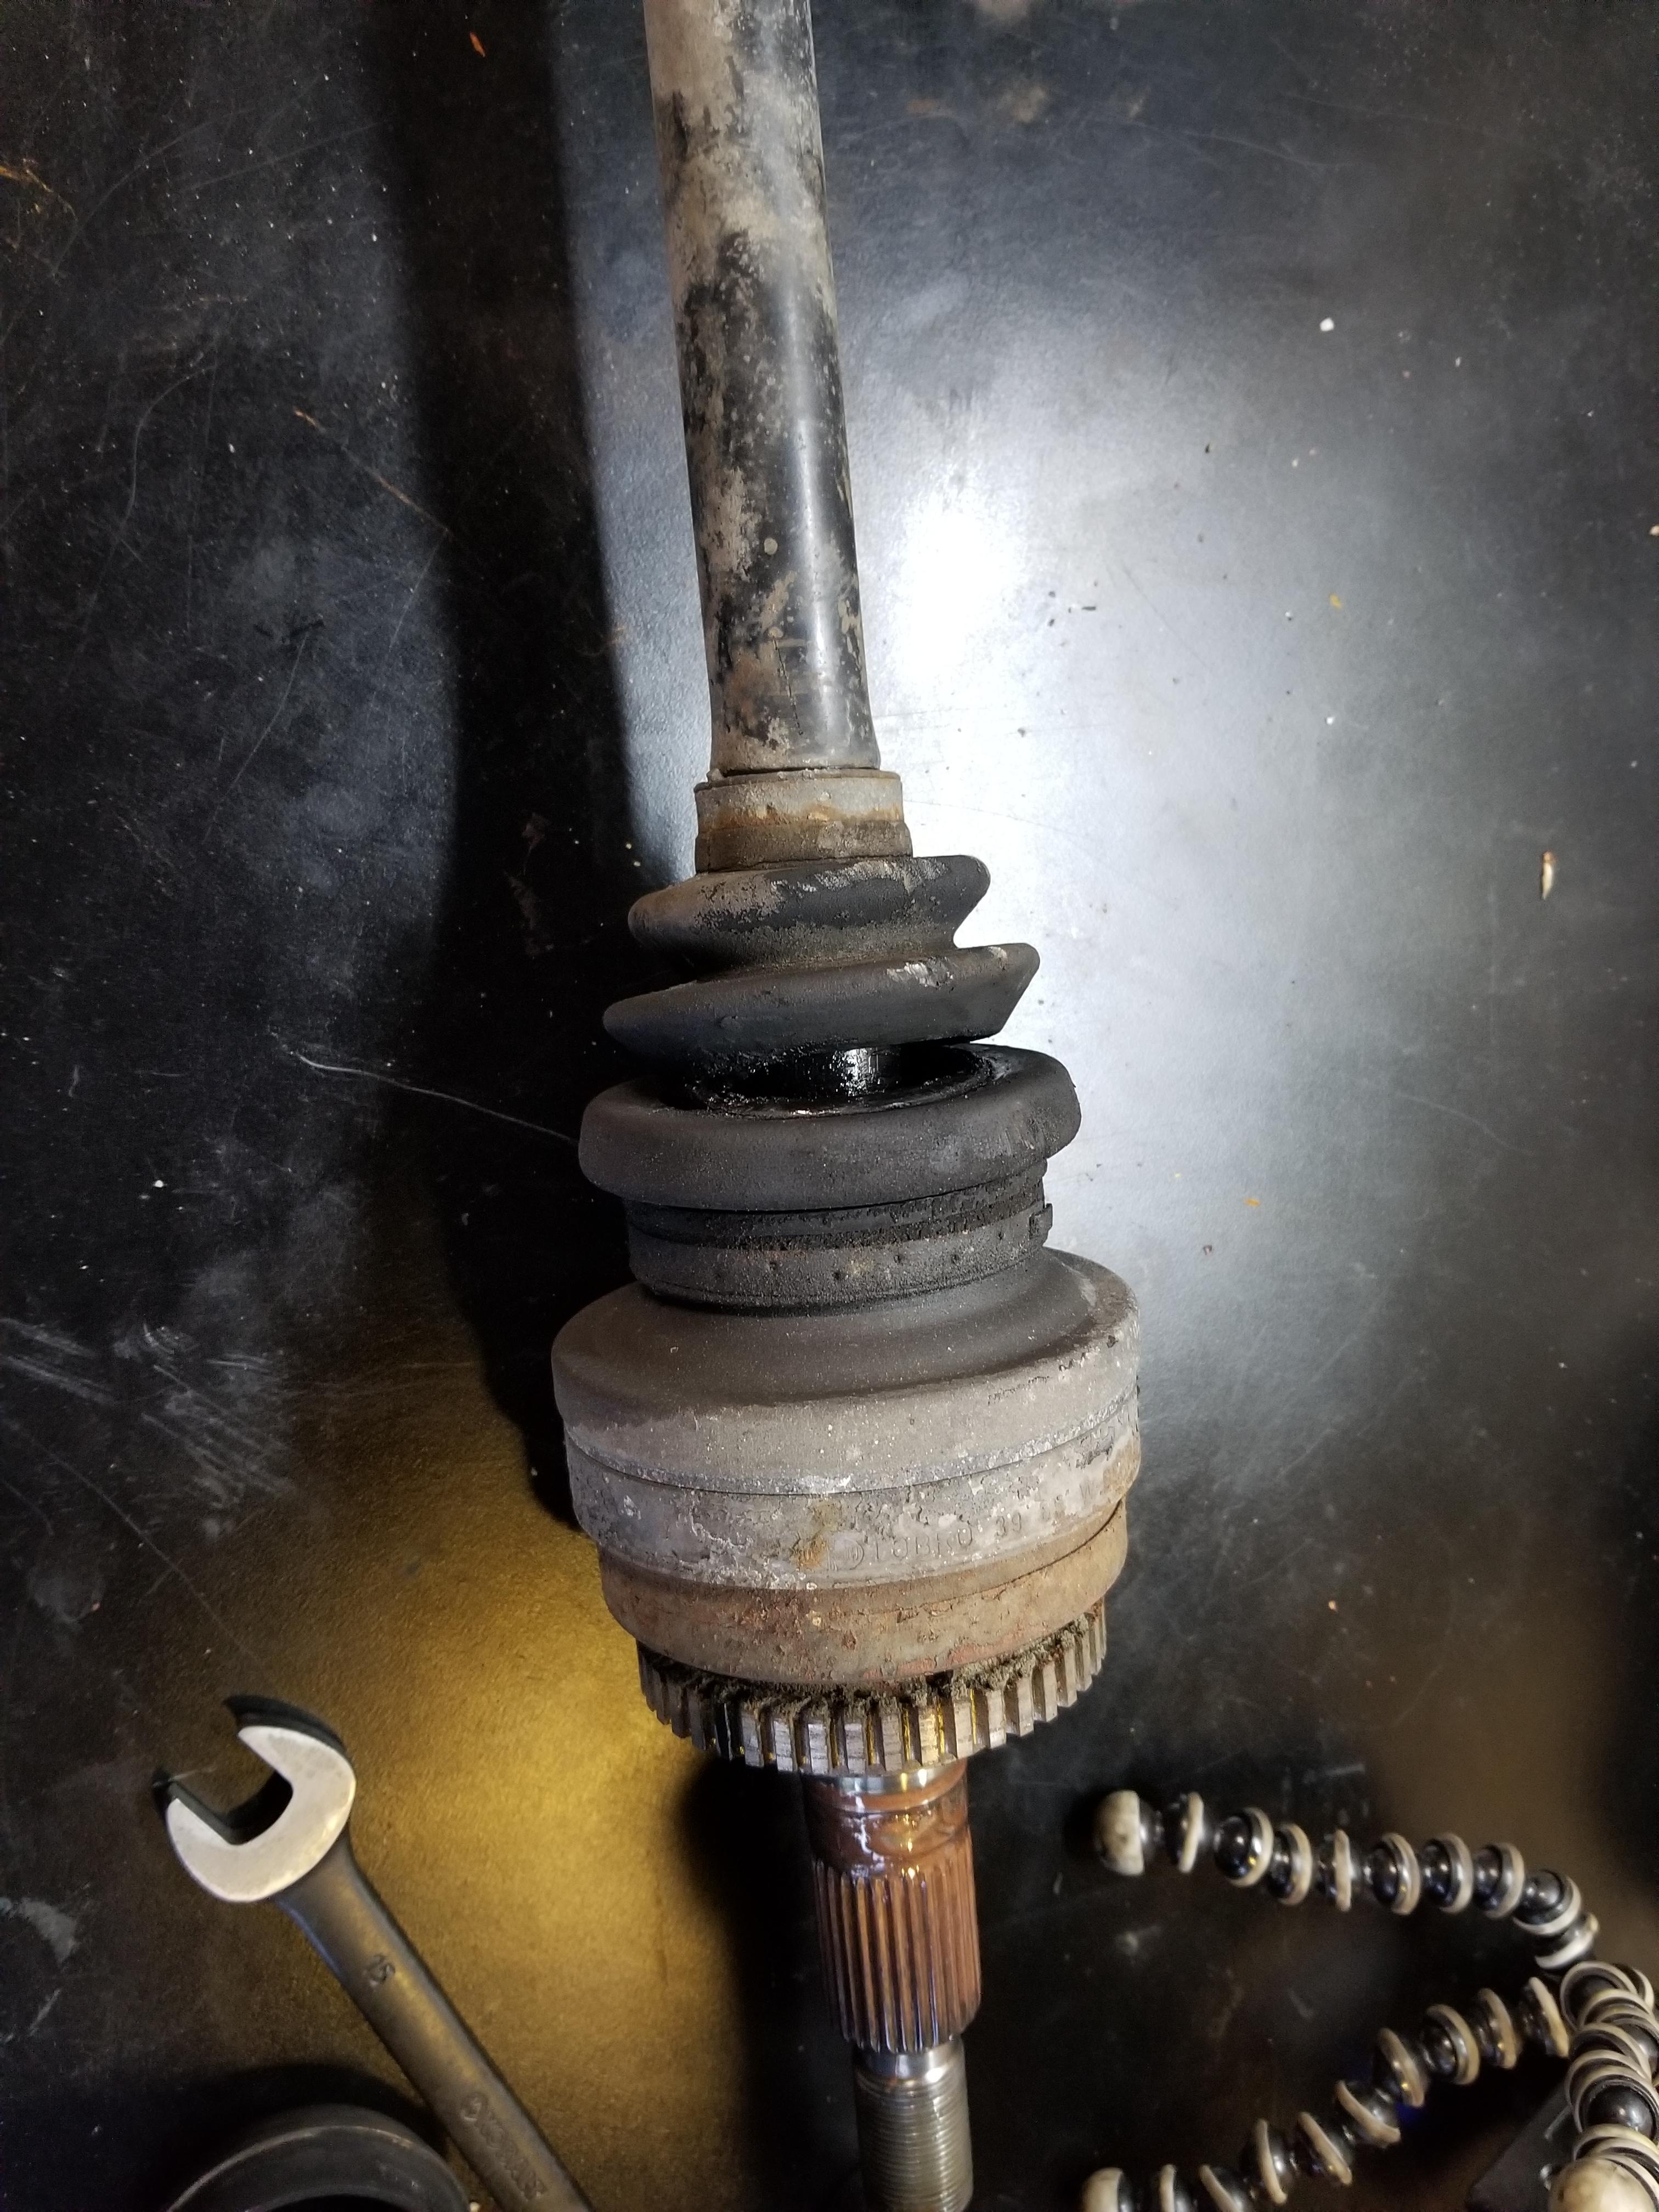

The good news is once they were cleaned up, there wasn't any slop, flat spots, etc to be found.
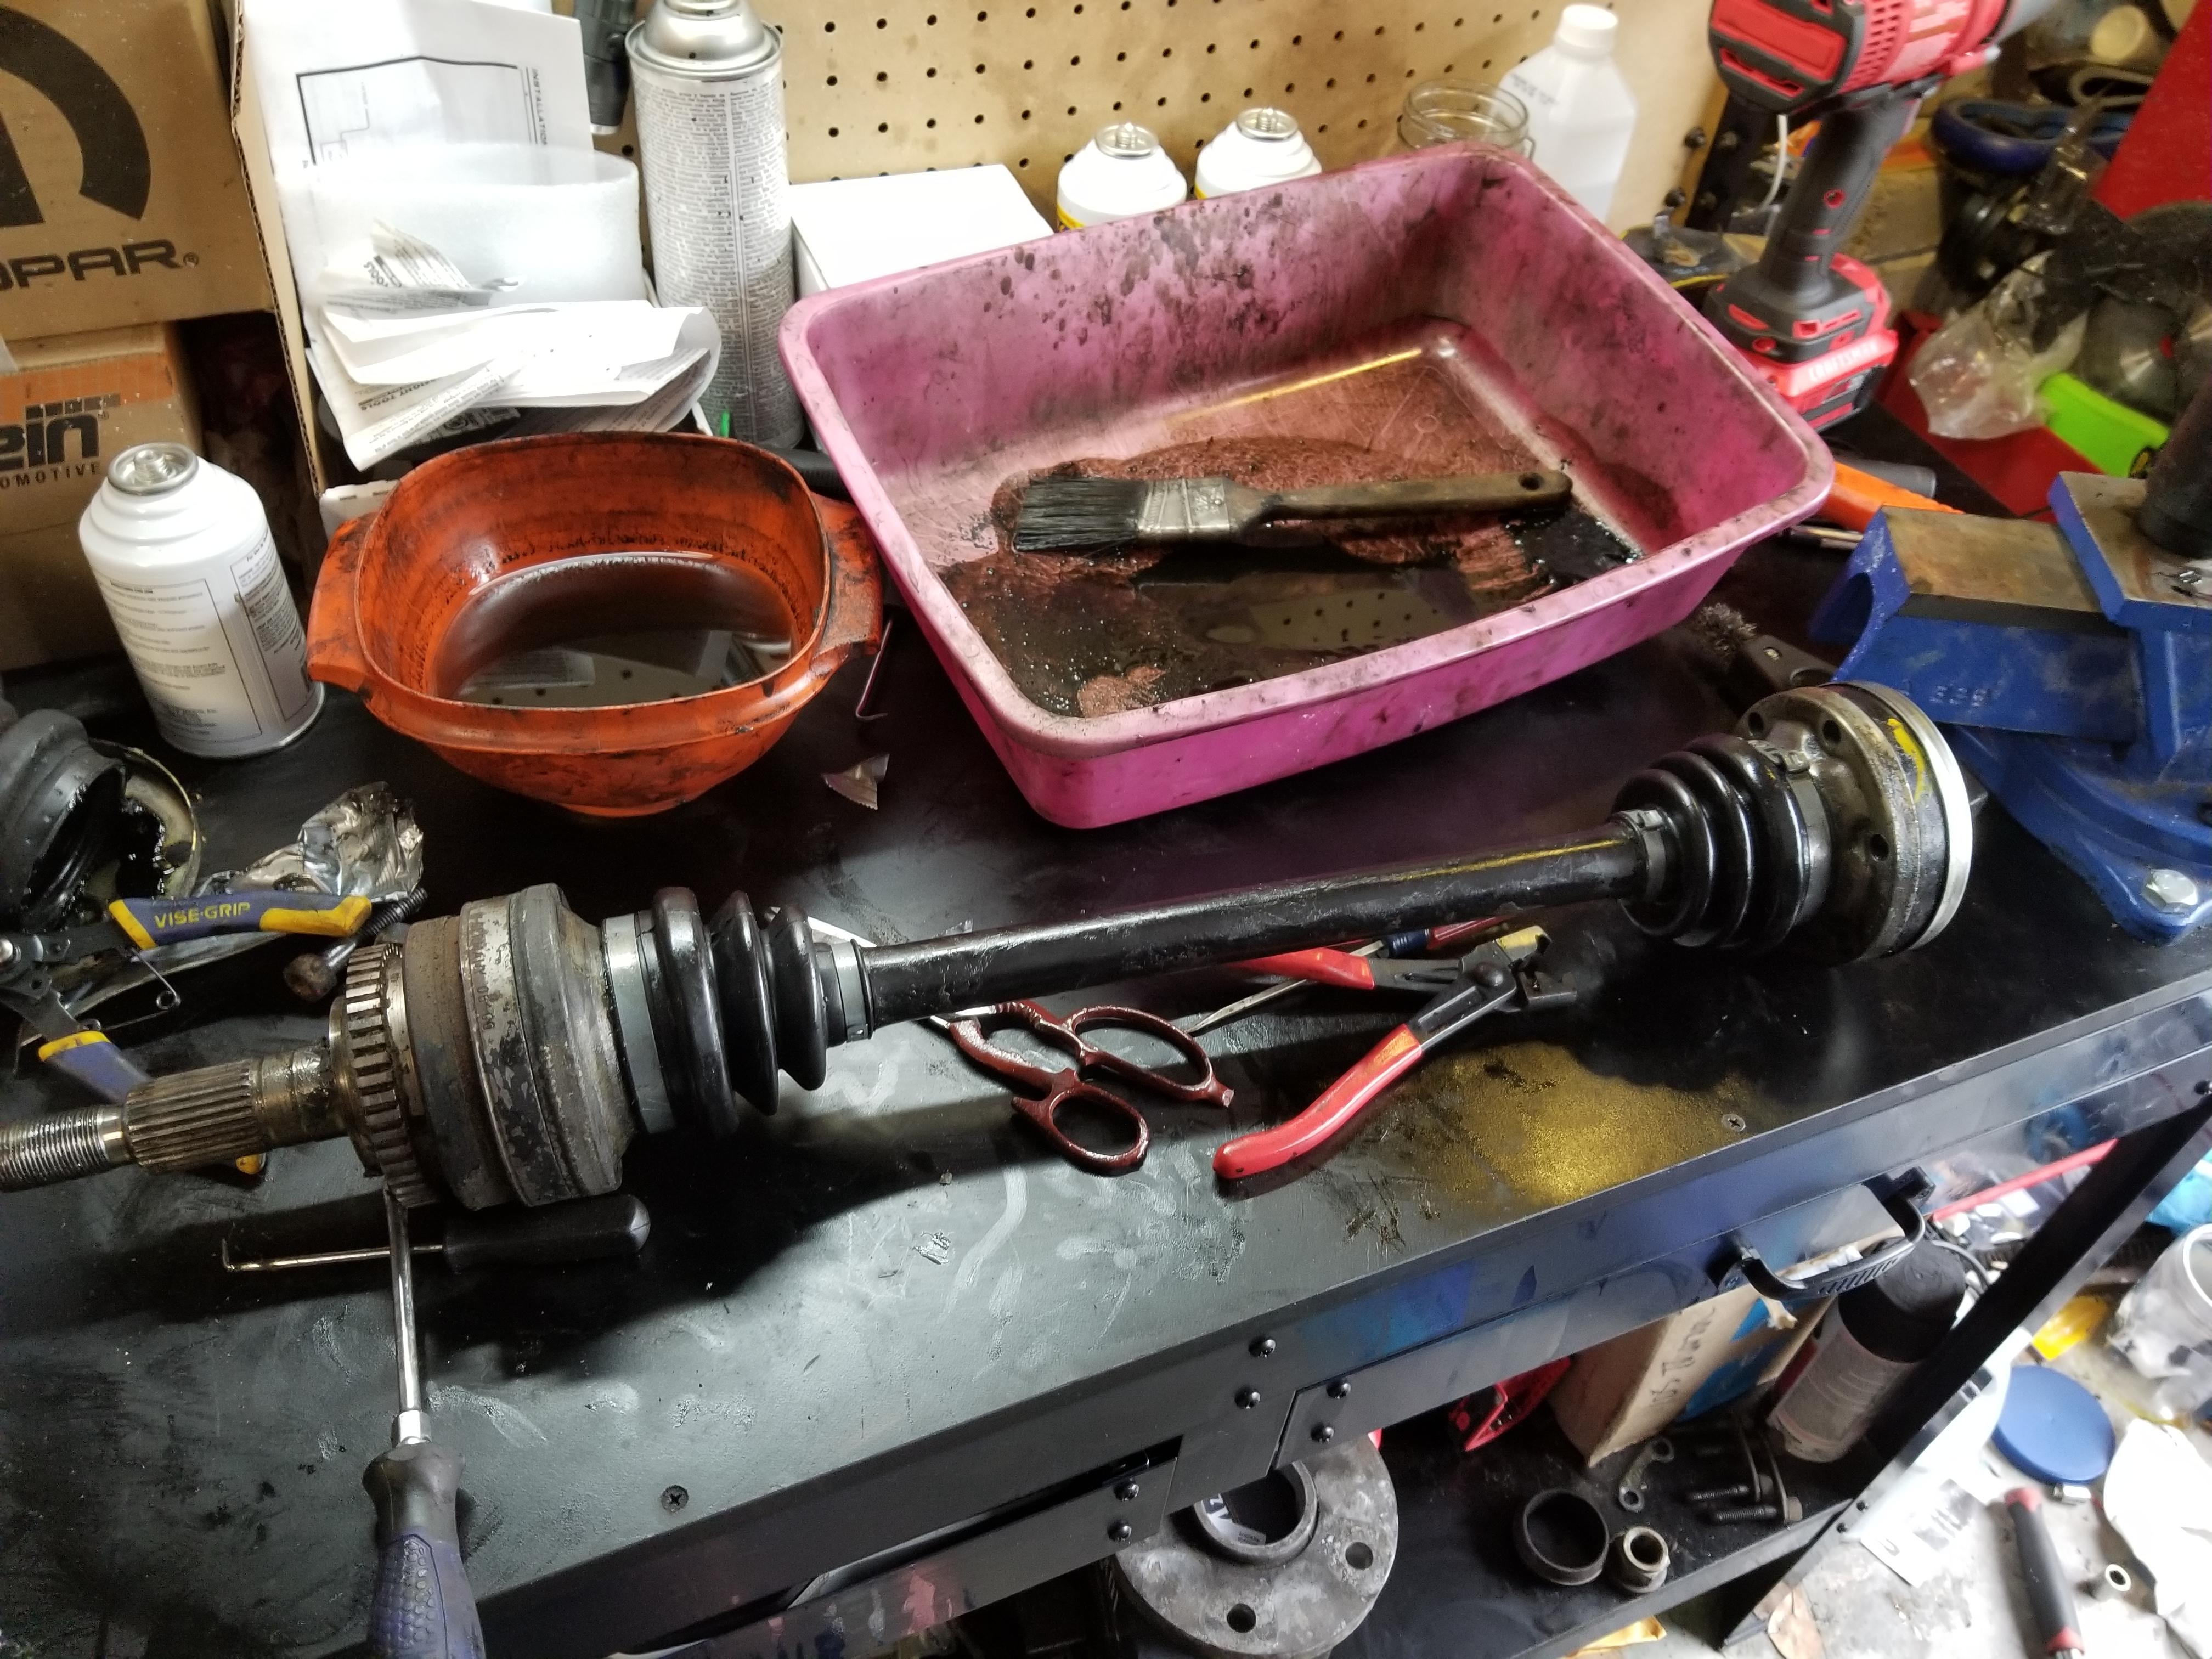
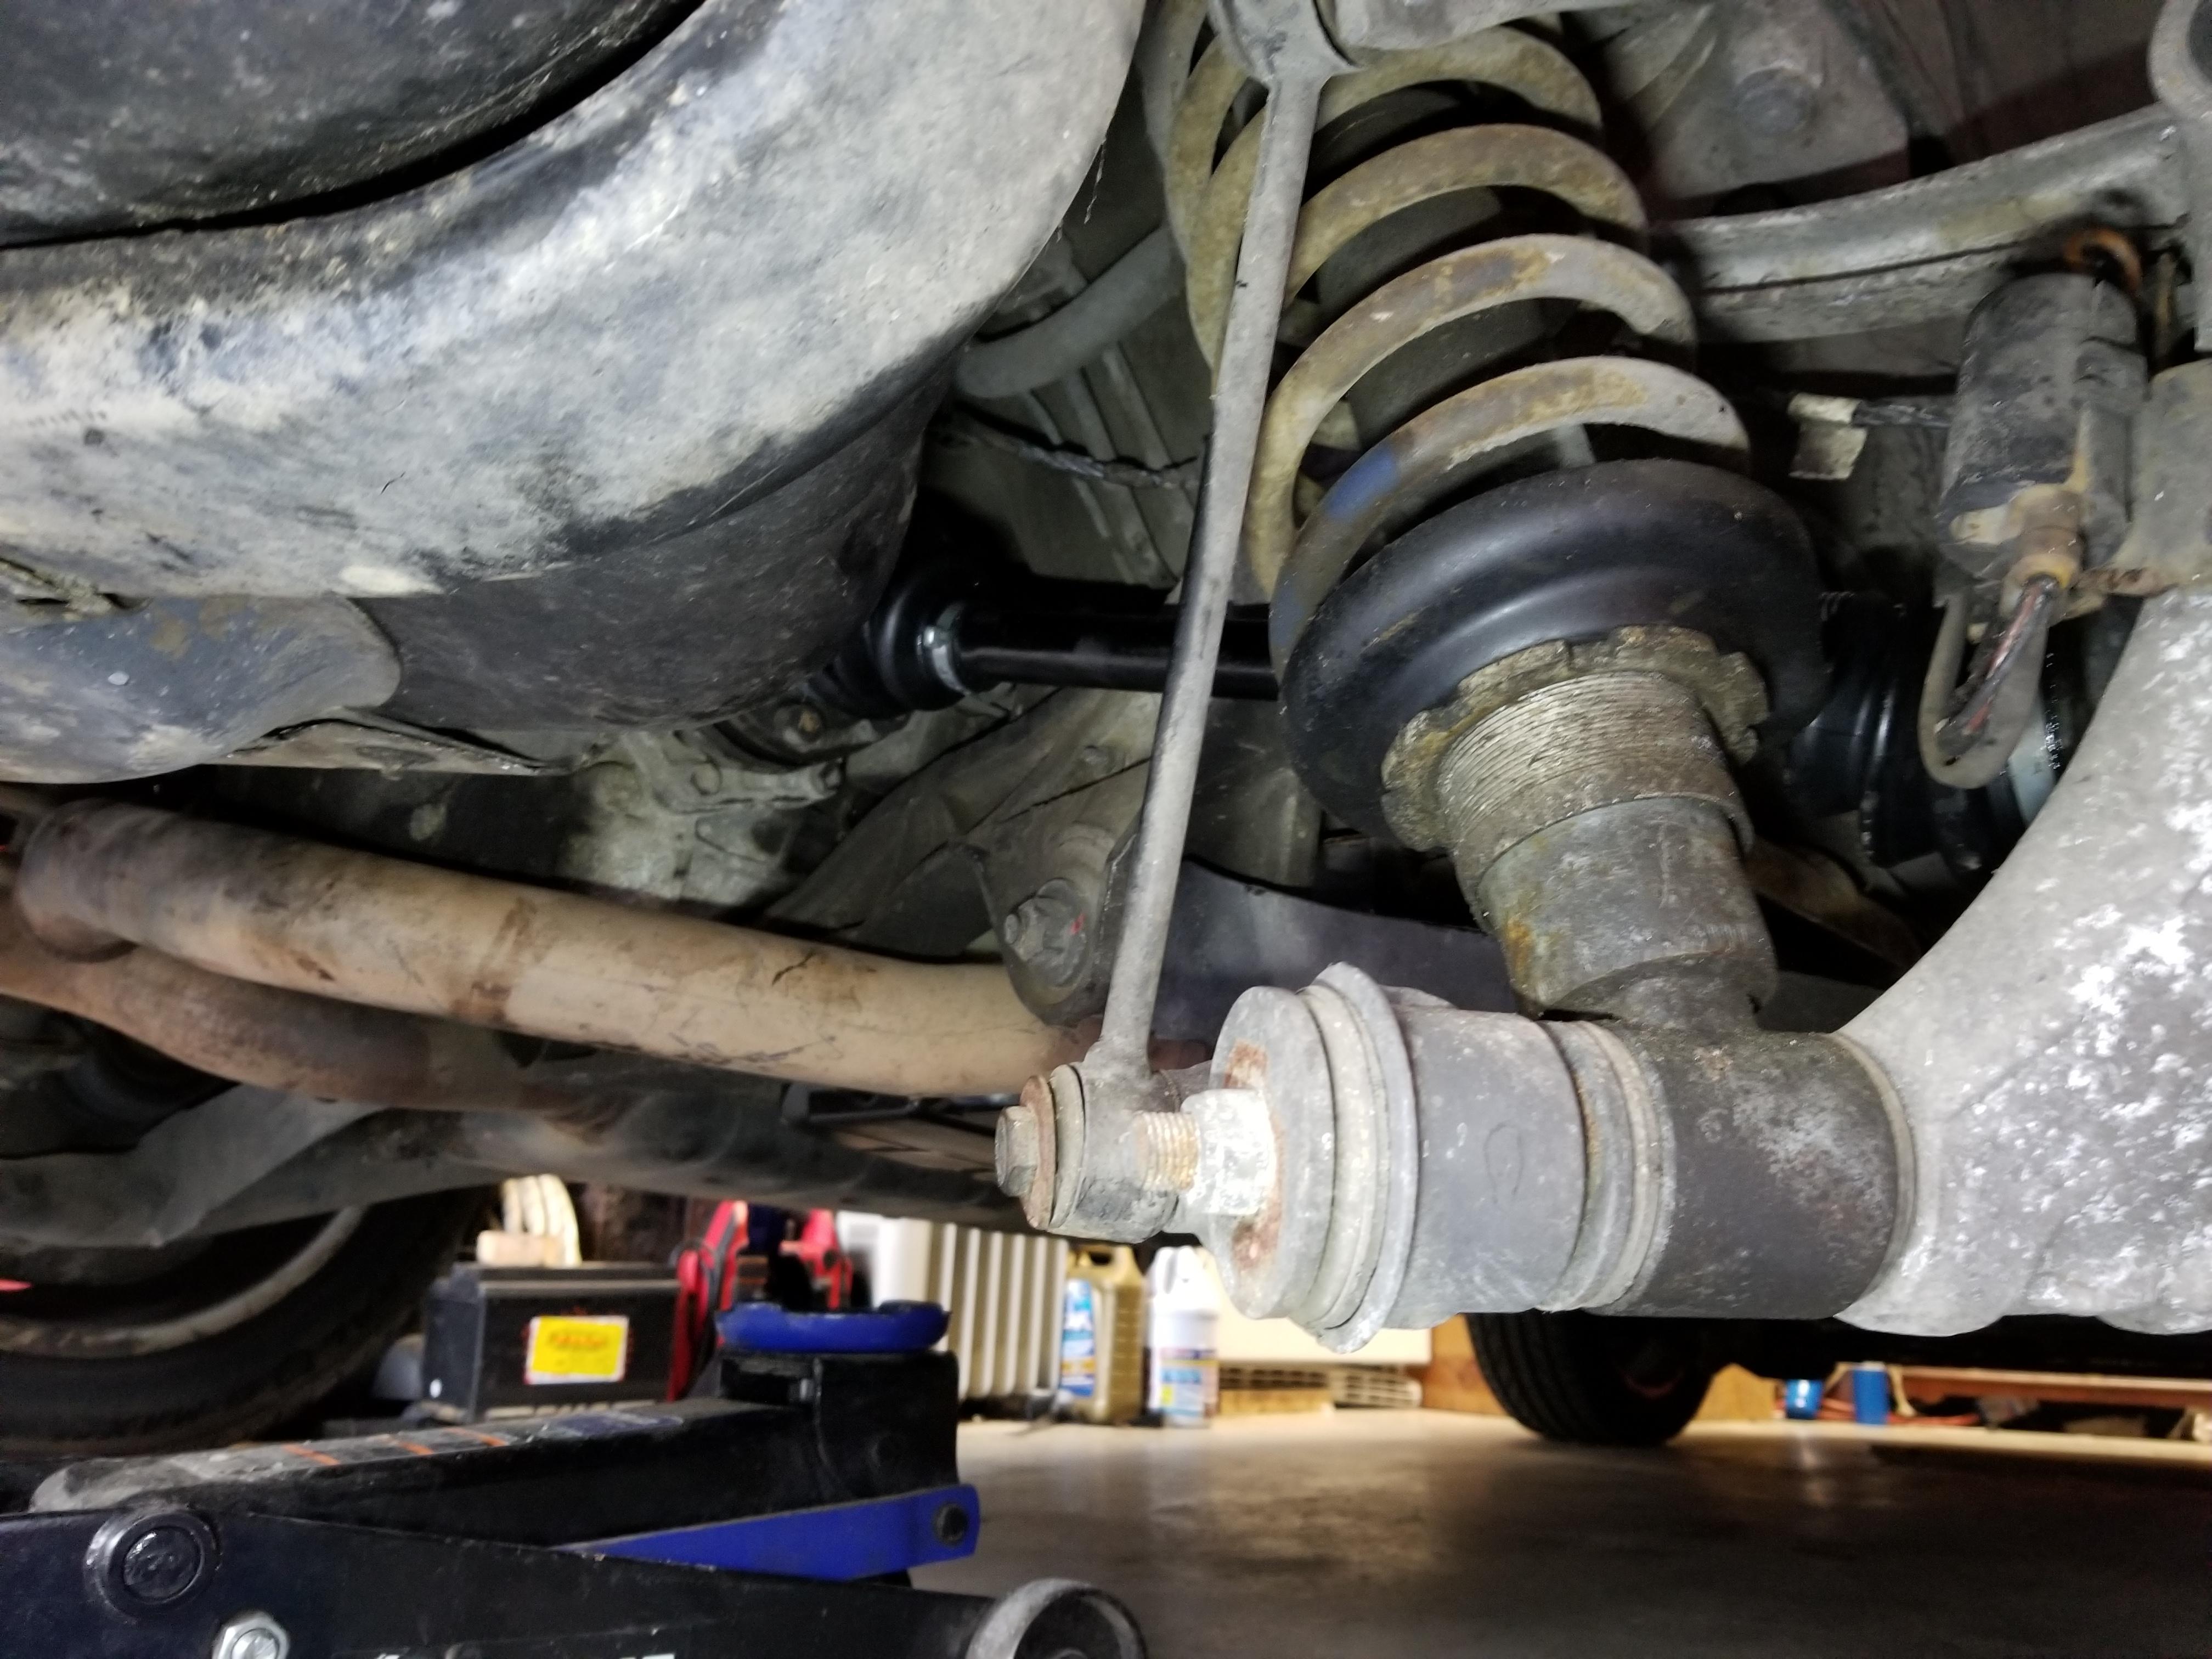
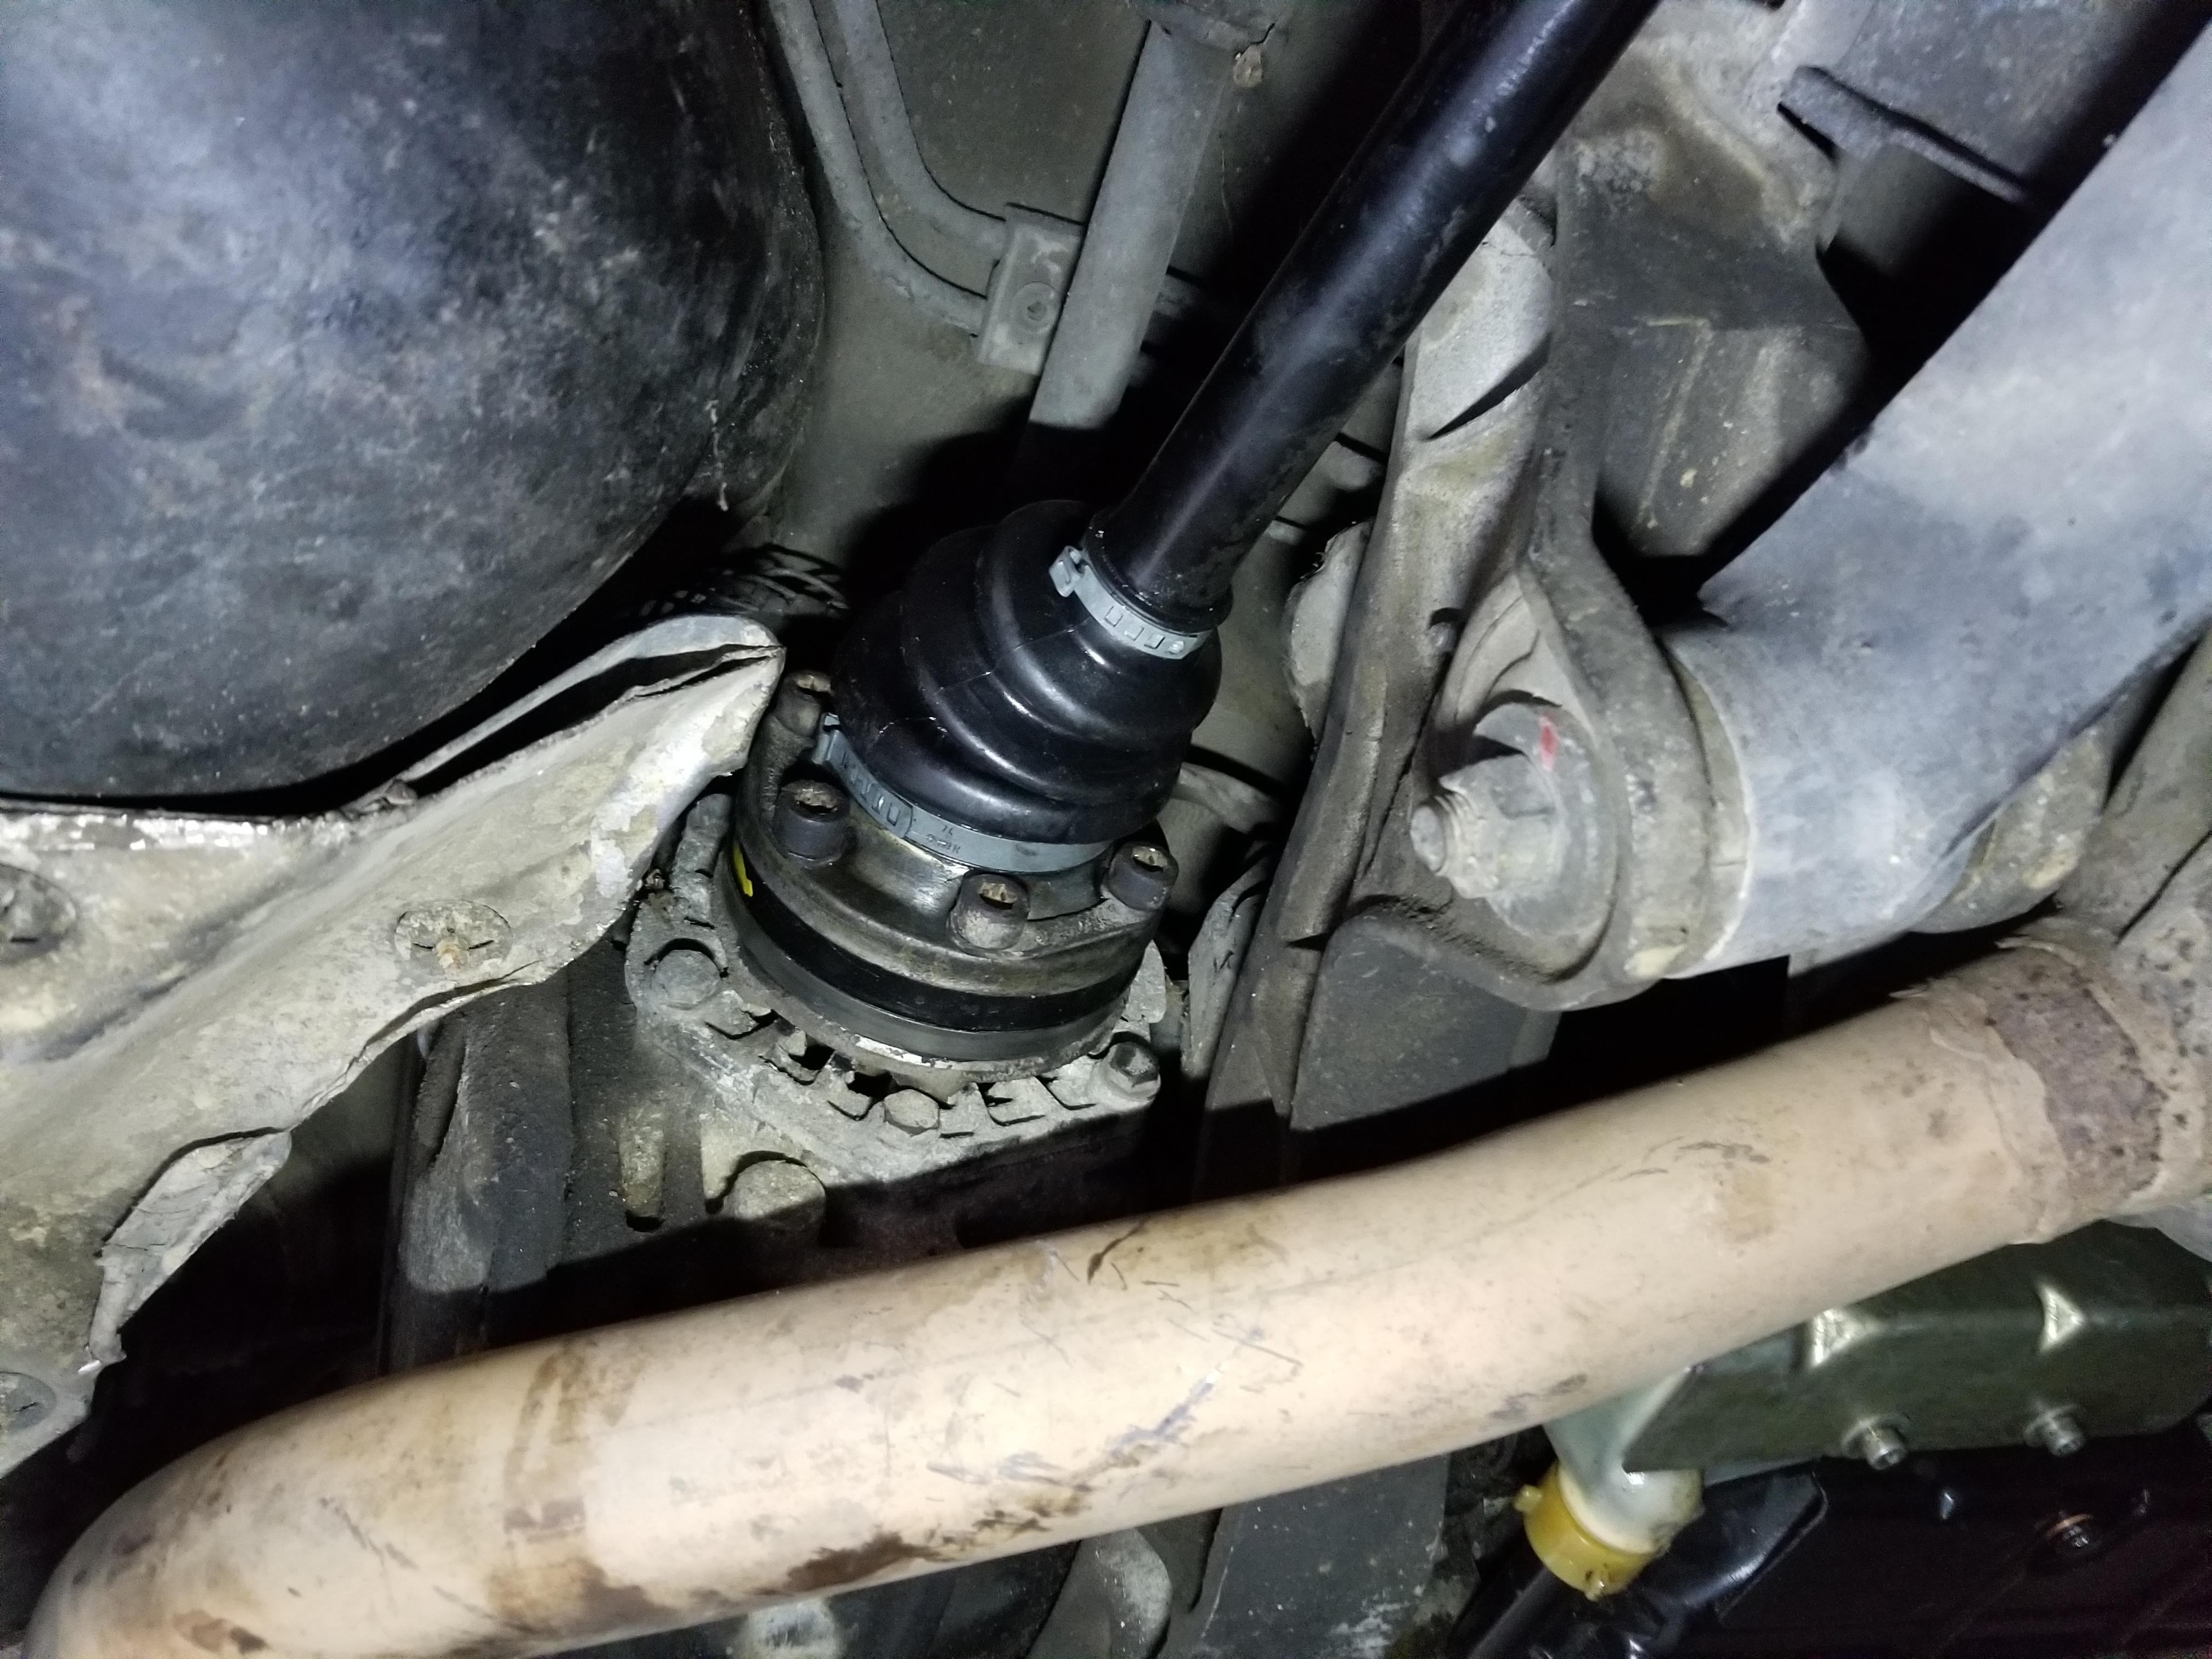
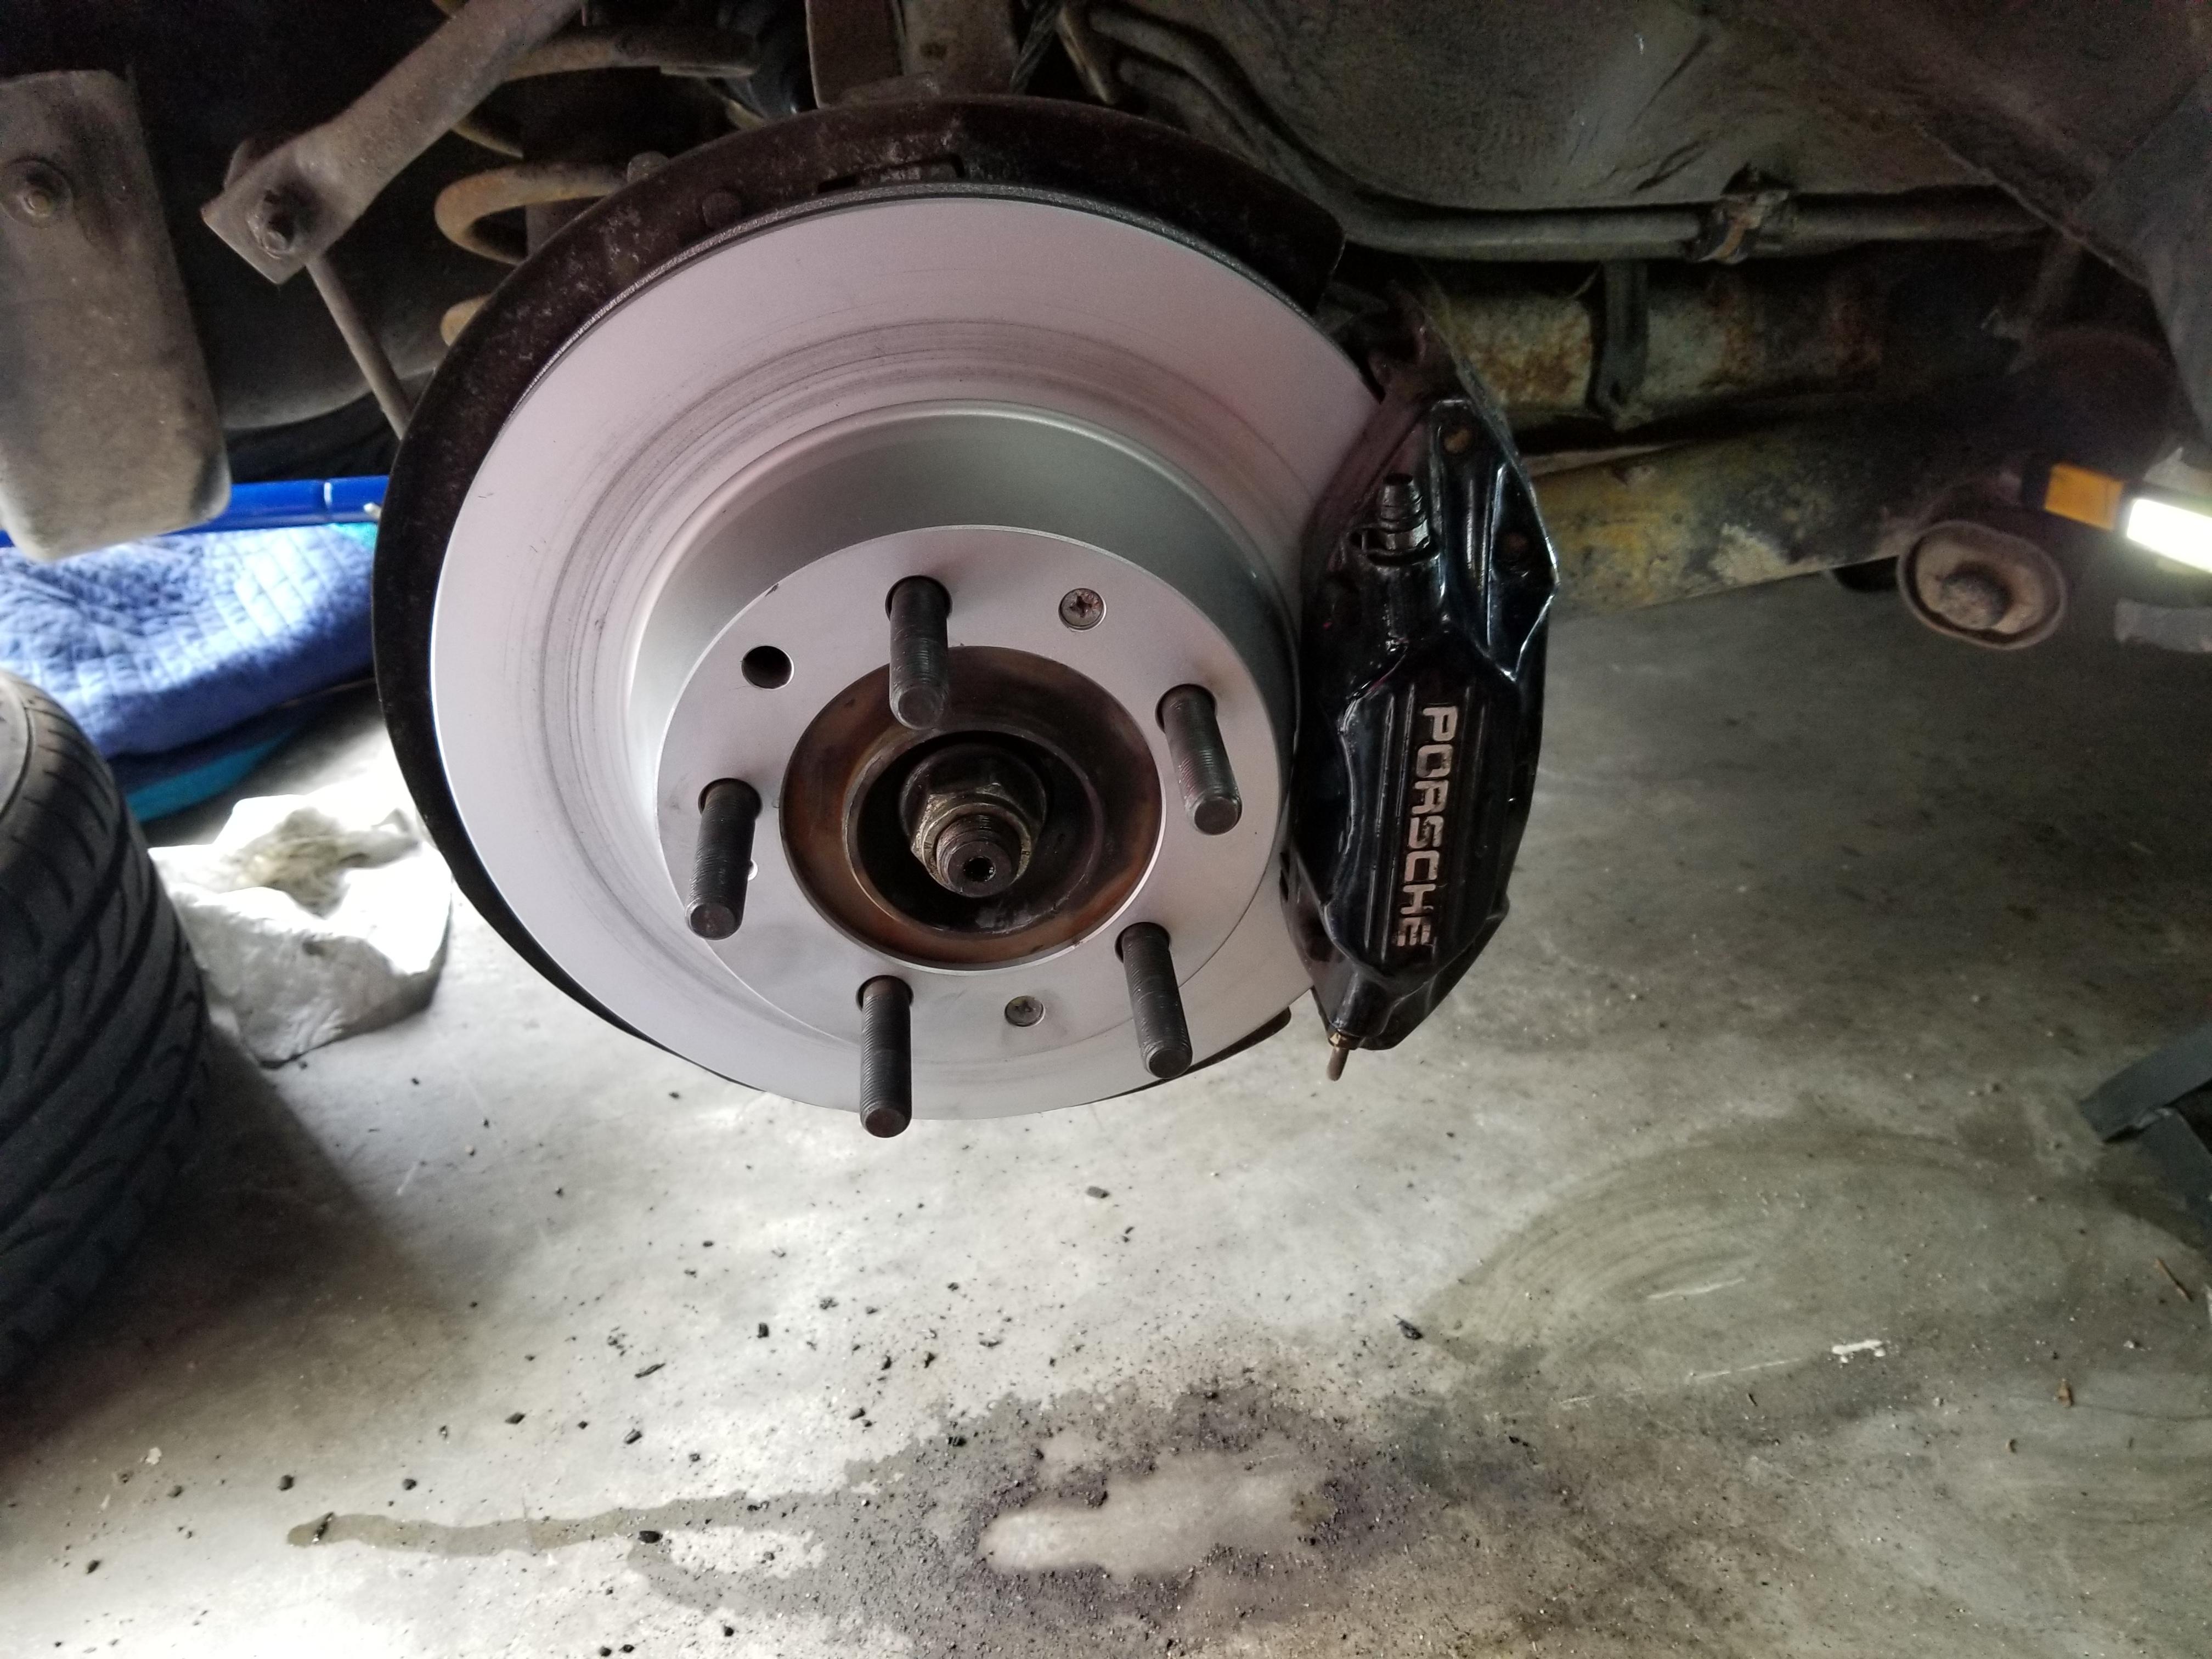
Also threw some new brakes on the back since the old rotors were worn well past the min thickness.
The car is driving good so far around town. I need to get it back out on the highway and see if anything here cured the vibration that was coming on at 75mph+ (completely independent of engine speed).
The good news is once they were cleaned up, there wasn't any slop, flat spots, etc to be found.
Also threw some new brakes on the back since the old rotors were worn well past the min thickness.
The car is driving good so far around town. I need to get it back out on the highway and see if anything here cured the vibration that was coming on at 75mph+ (completely independent of engine speed).
05-23-2019, 01:01 PM
#175
Burning Brakes
Thread Starter
Drove the car to work this morning on the interstate. I don't know if it was the brakes or the axles, but that bad vibration was gone. It would start at 75 and keep getting worse (didn't want to go over 90 it was so bad). I went up to 85 this morning with no trouble.
07-04-2019, 08:36 PM
#176
Burning Brakes
Thread Starter
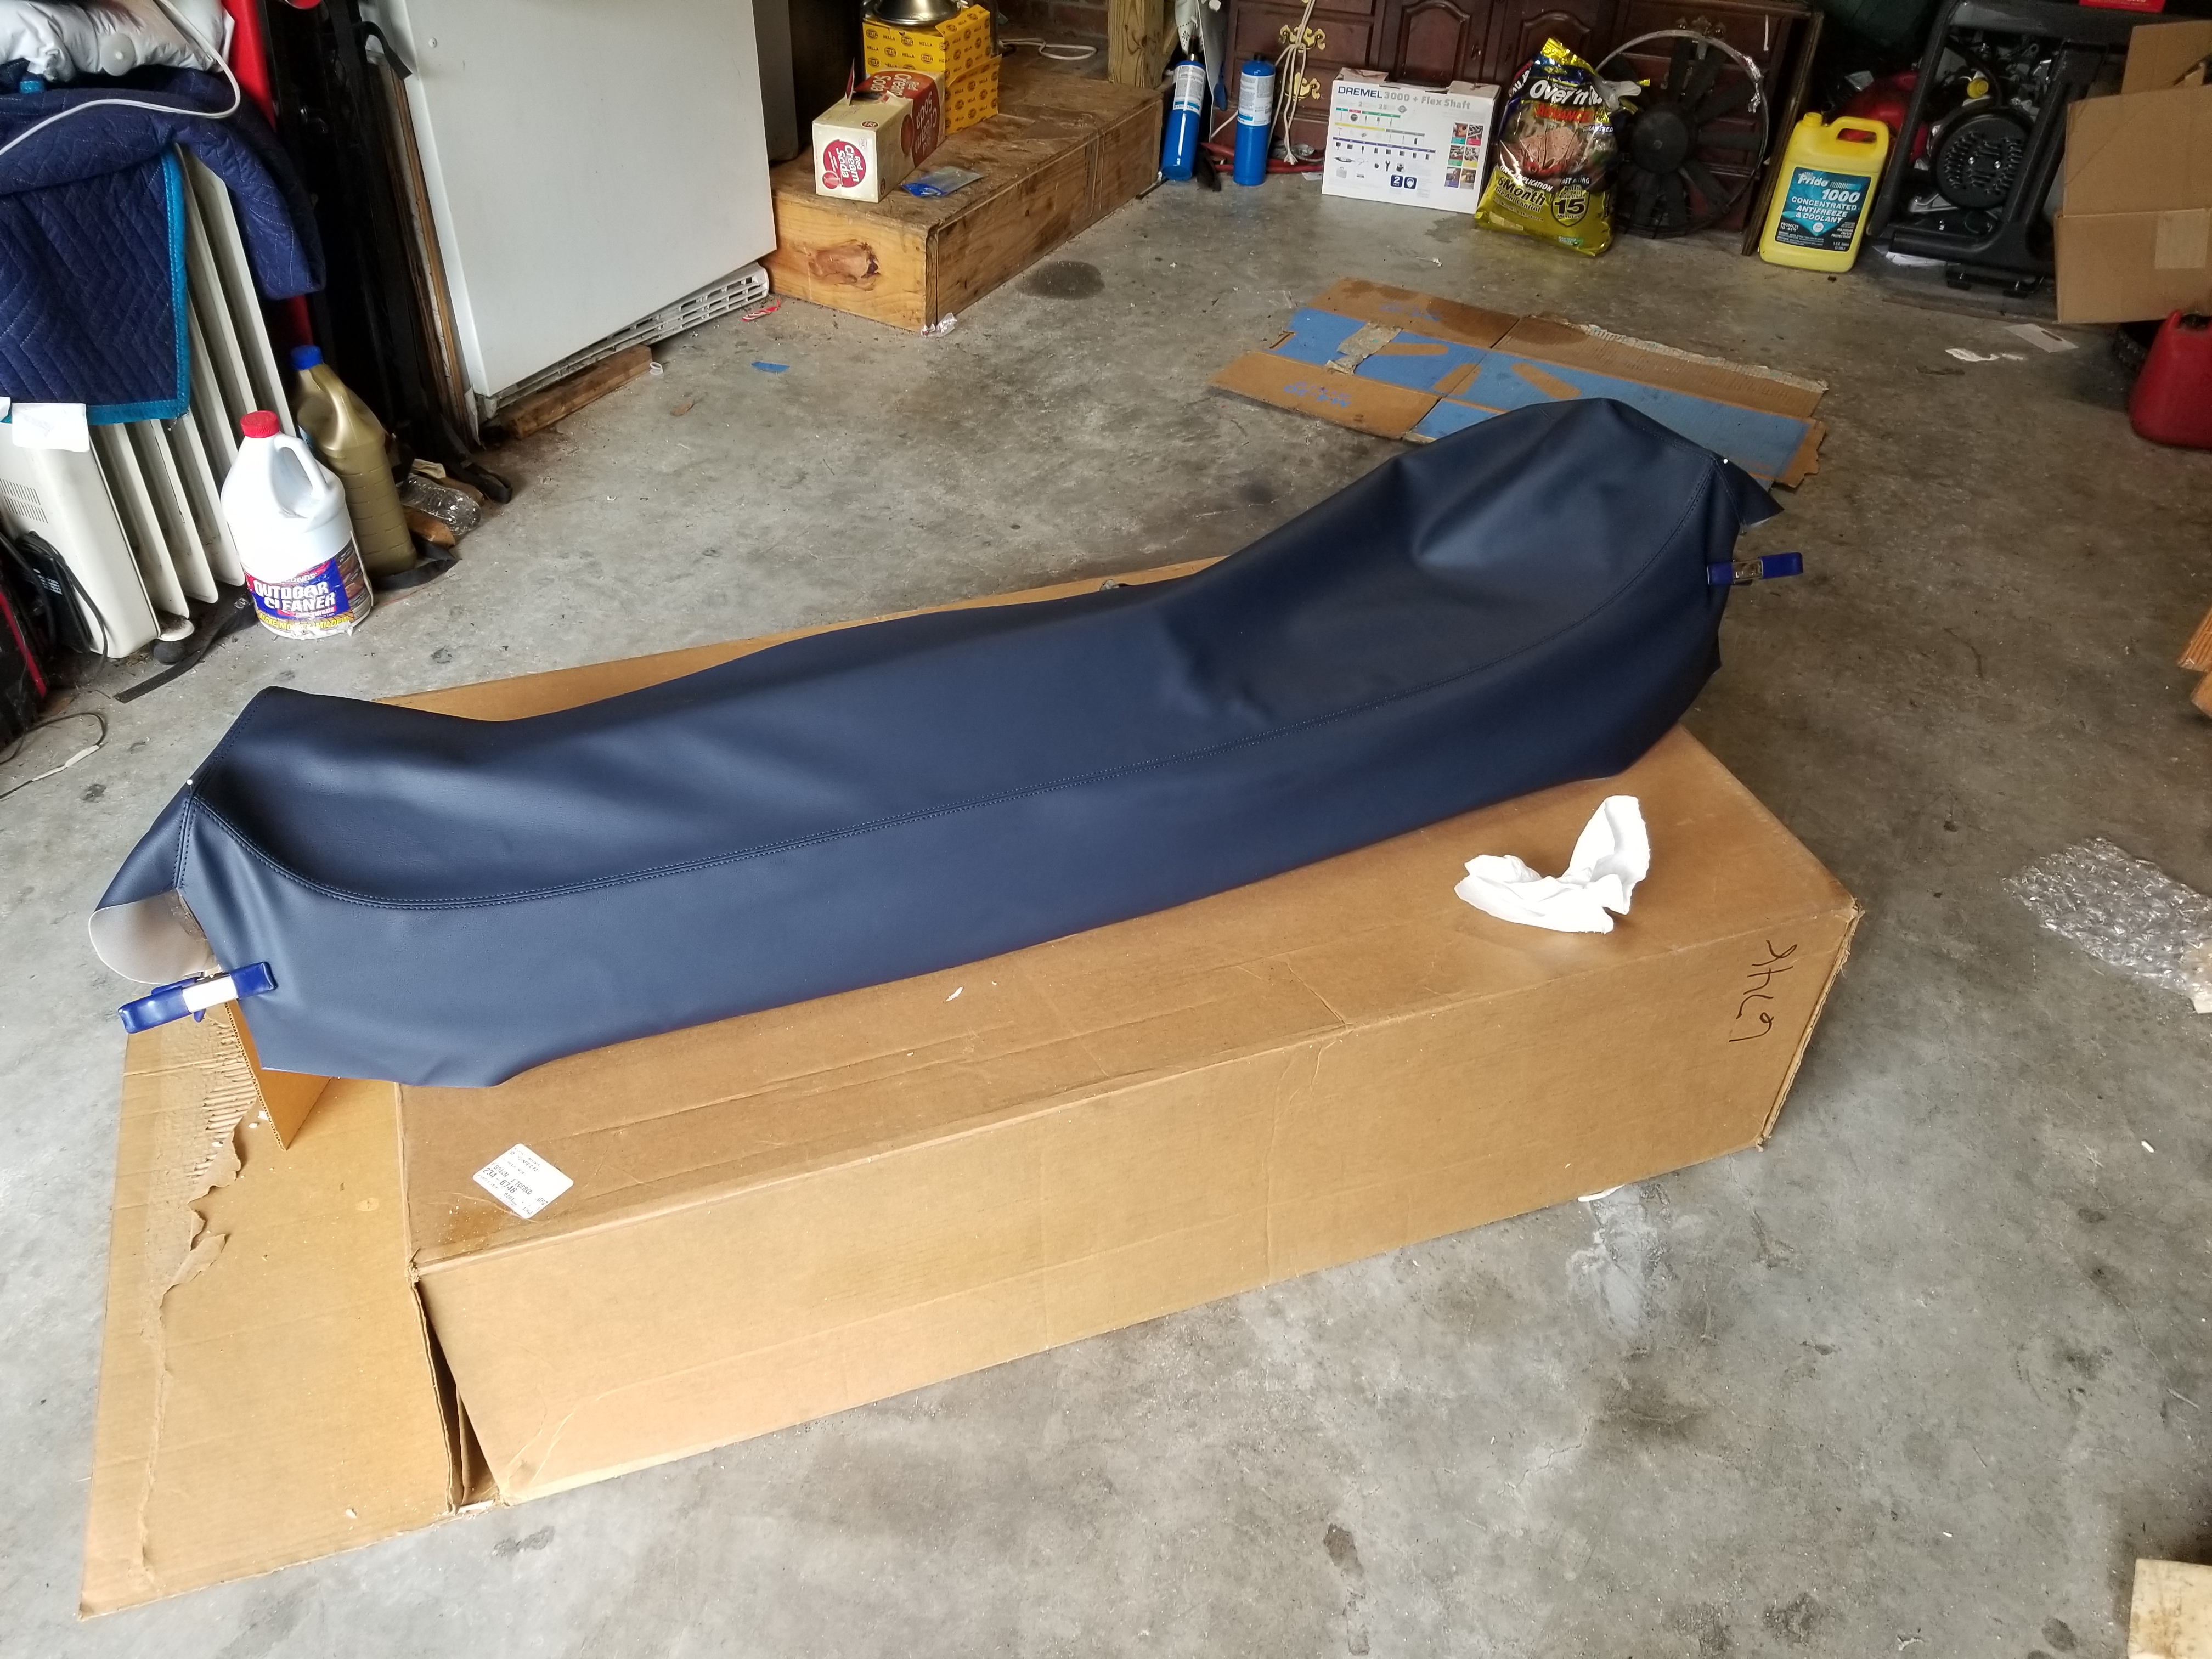
My dash cover came in from classic9 (got to deal with both Robert and Andrew who's taking over in Robert's retirement) and started working on that some this morning.
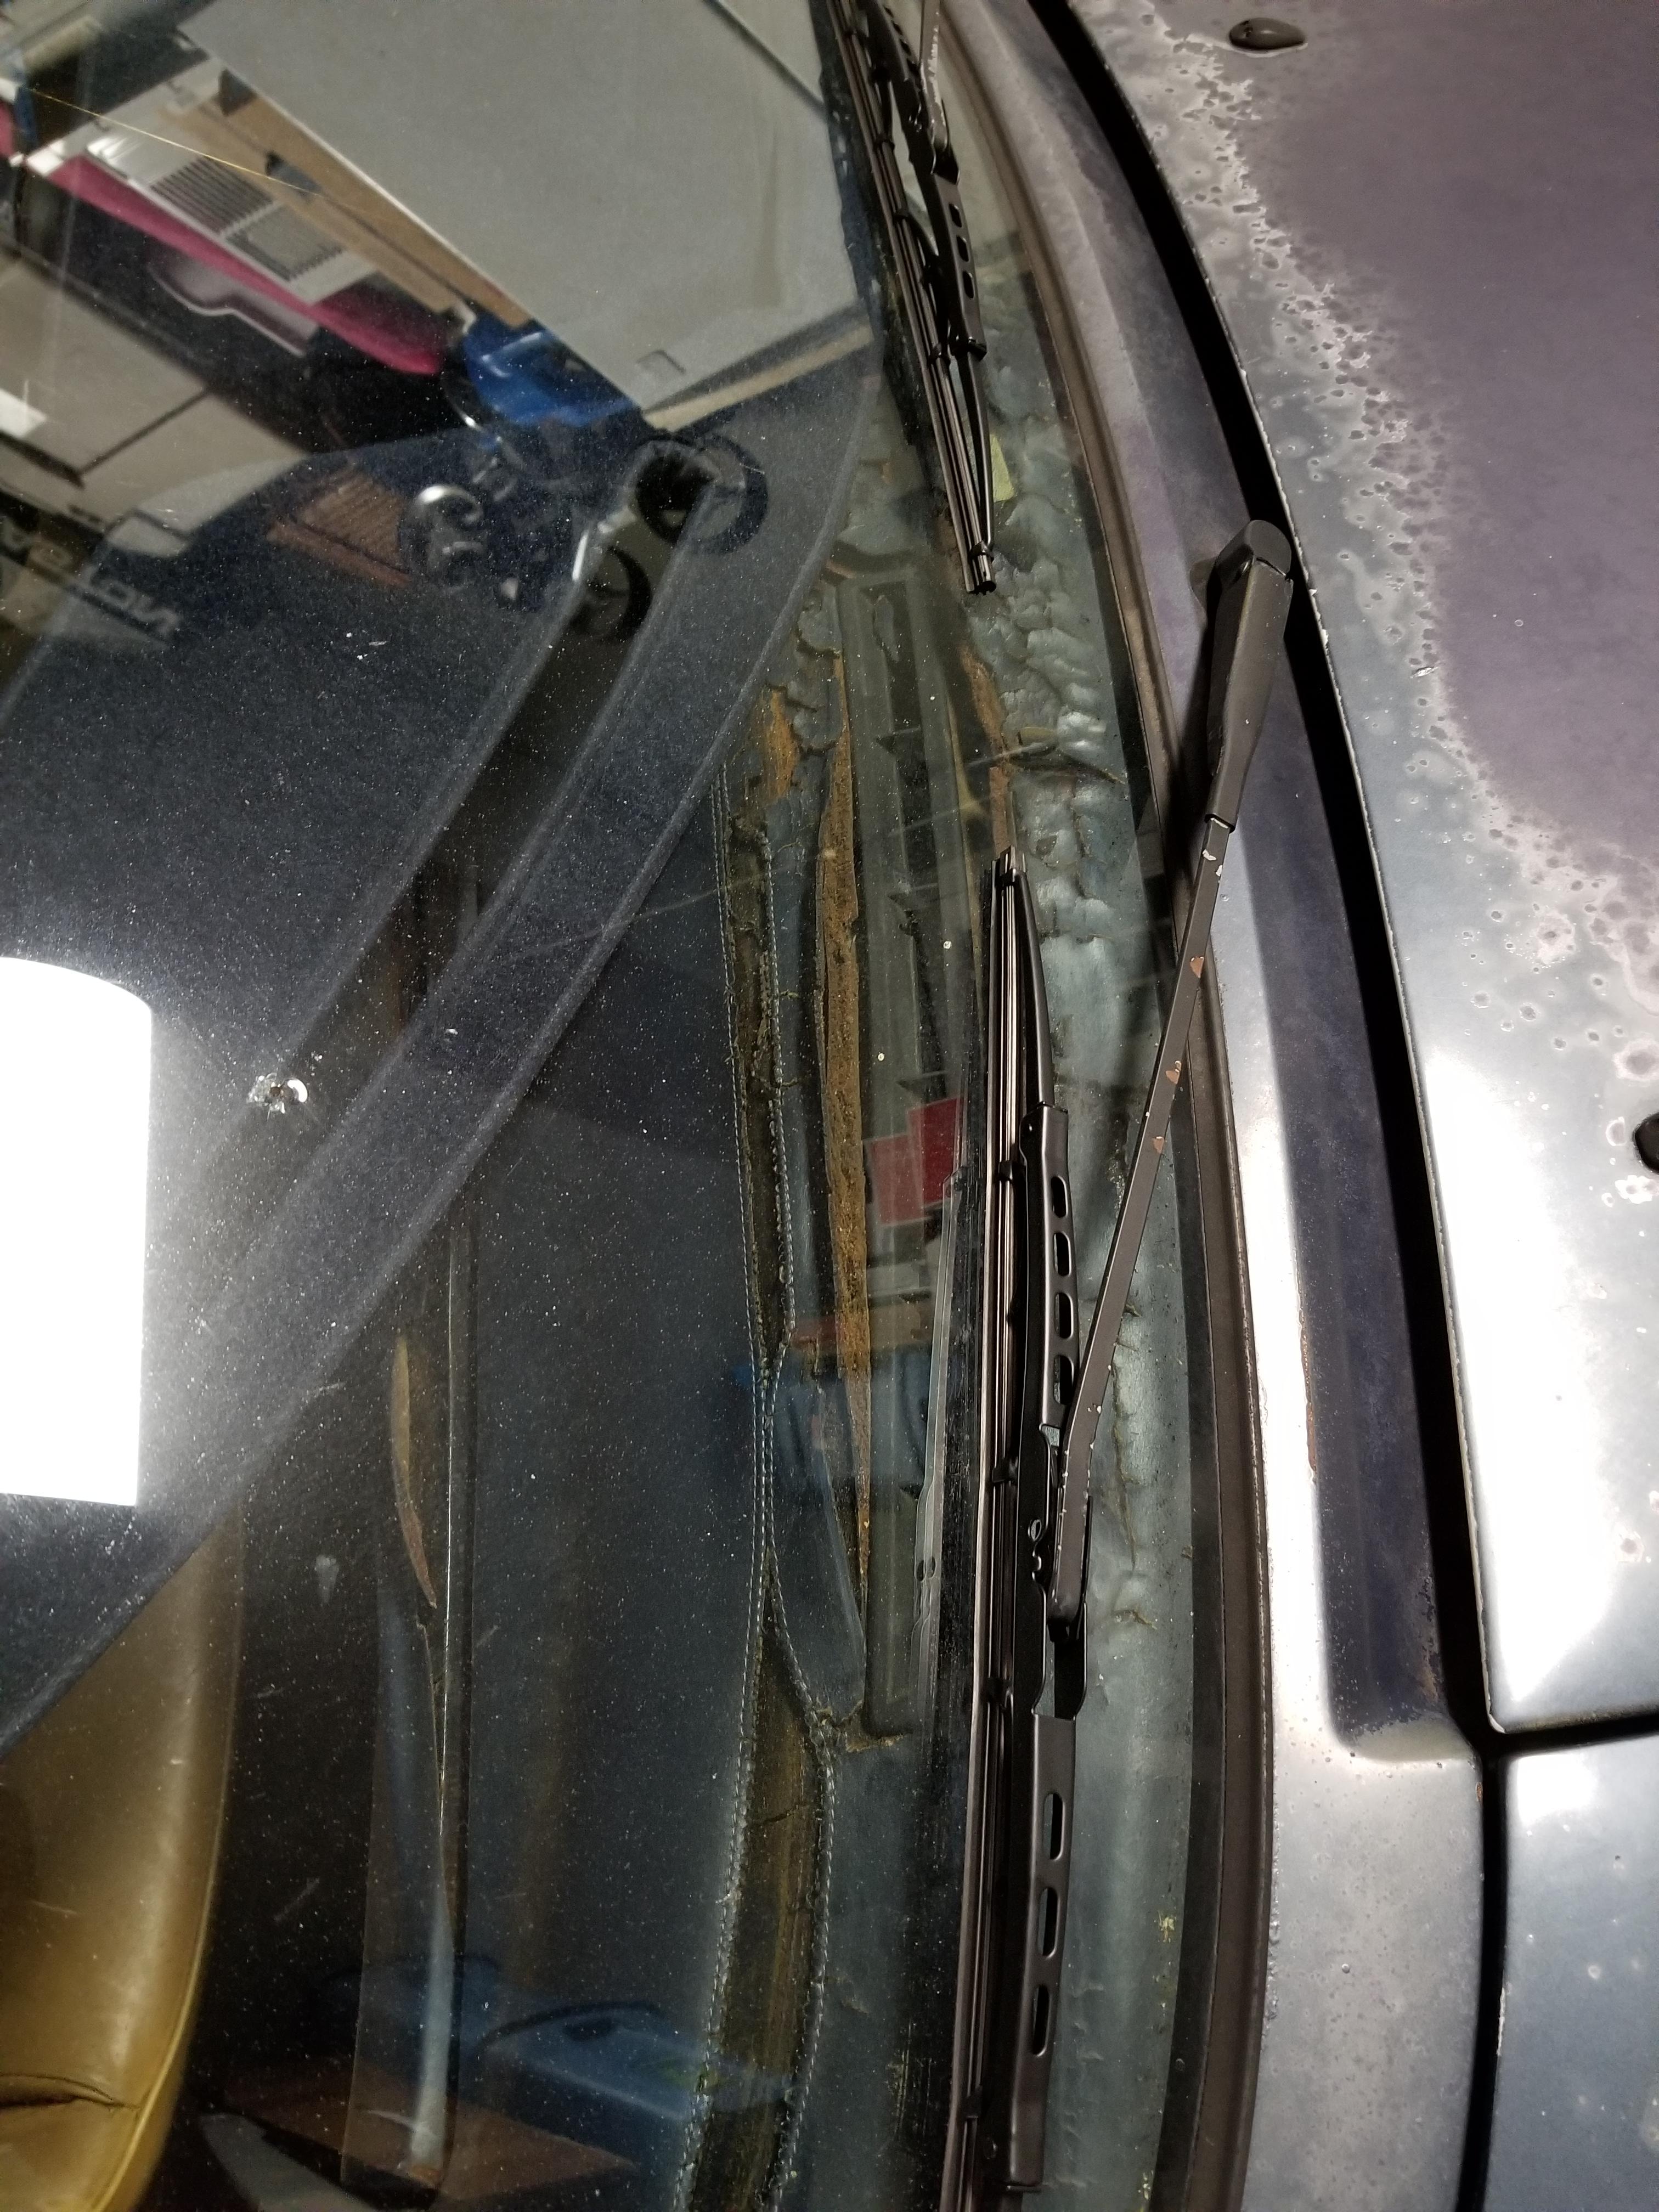
I managed to extract the defrost vent trim from the car's original dash without breaking them fortunately. You can see how awful that dash is too.
I carefully cut out around the defroster vents on the dashboard that'll be going in (it wasn't a leather dash originally).
Didn't snap the vents all the way in to test fit (didn't want to risk breaking them getting them out again), but they look like they'll snap in fine.
Got the foam glued to the dash, and cut out roughly.
And employing some redneck engineering to hold the foam down to the contours of the dash.
At that point I had to put all the dash stuff away to get the car back in the garage. It started downpouring outside and the car needed to come back in the garage since the (new to it) hatch seal still leaks.
So another day I'll have to get back to trimming and sanding the foam to fit the cover to the dash.
I recorded my work on it today. Feel free to laugh and tell me I'm doing things wrong, I'm sure I am.
07-20-2019, 08:28 PM
#177
Burning Brakes
Thread Starter
I got the dash cover installed and the dash in the car now.
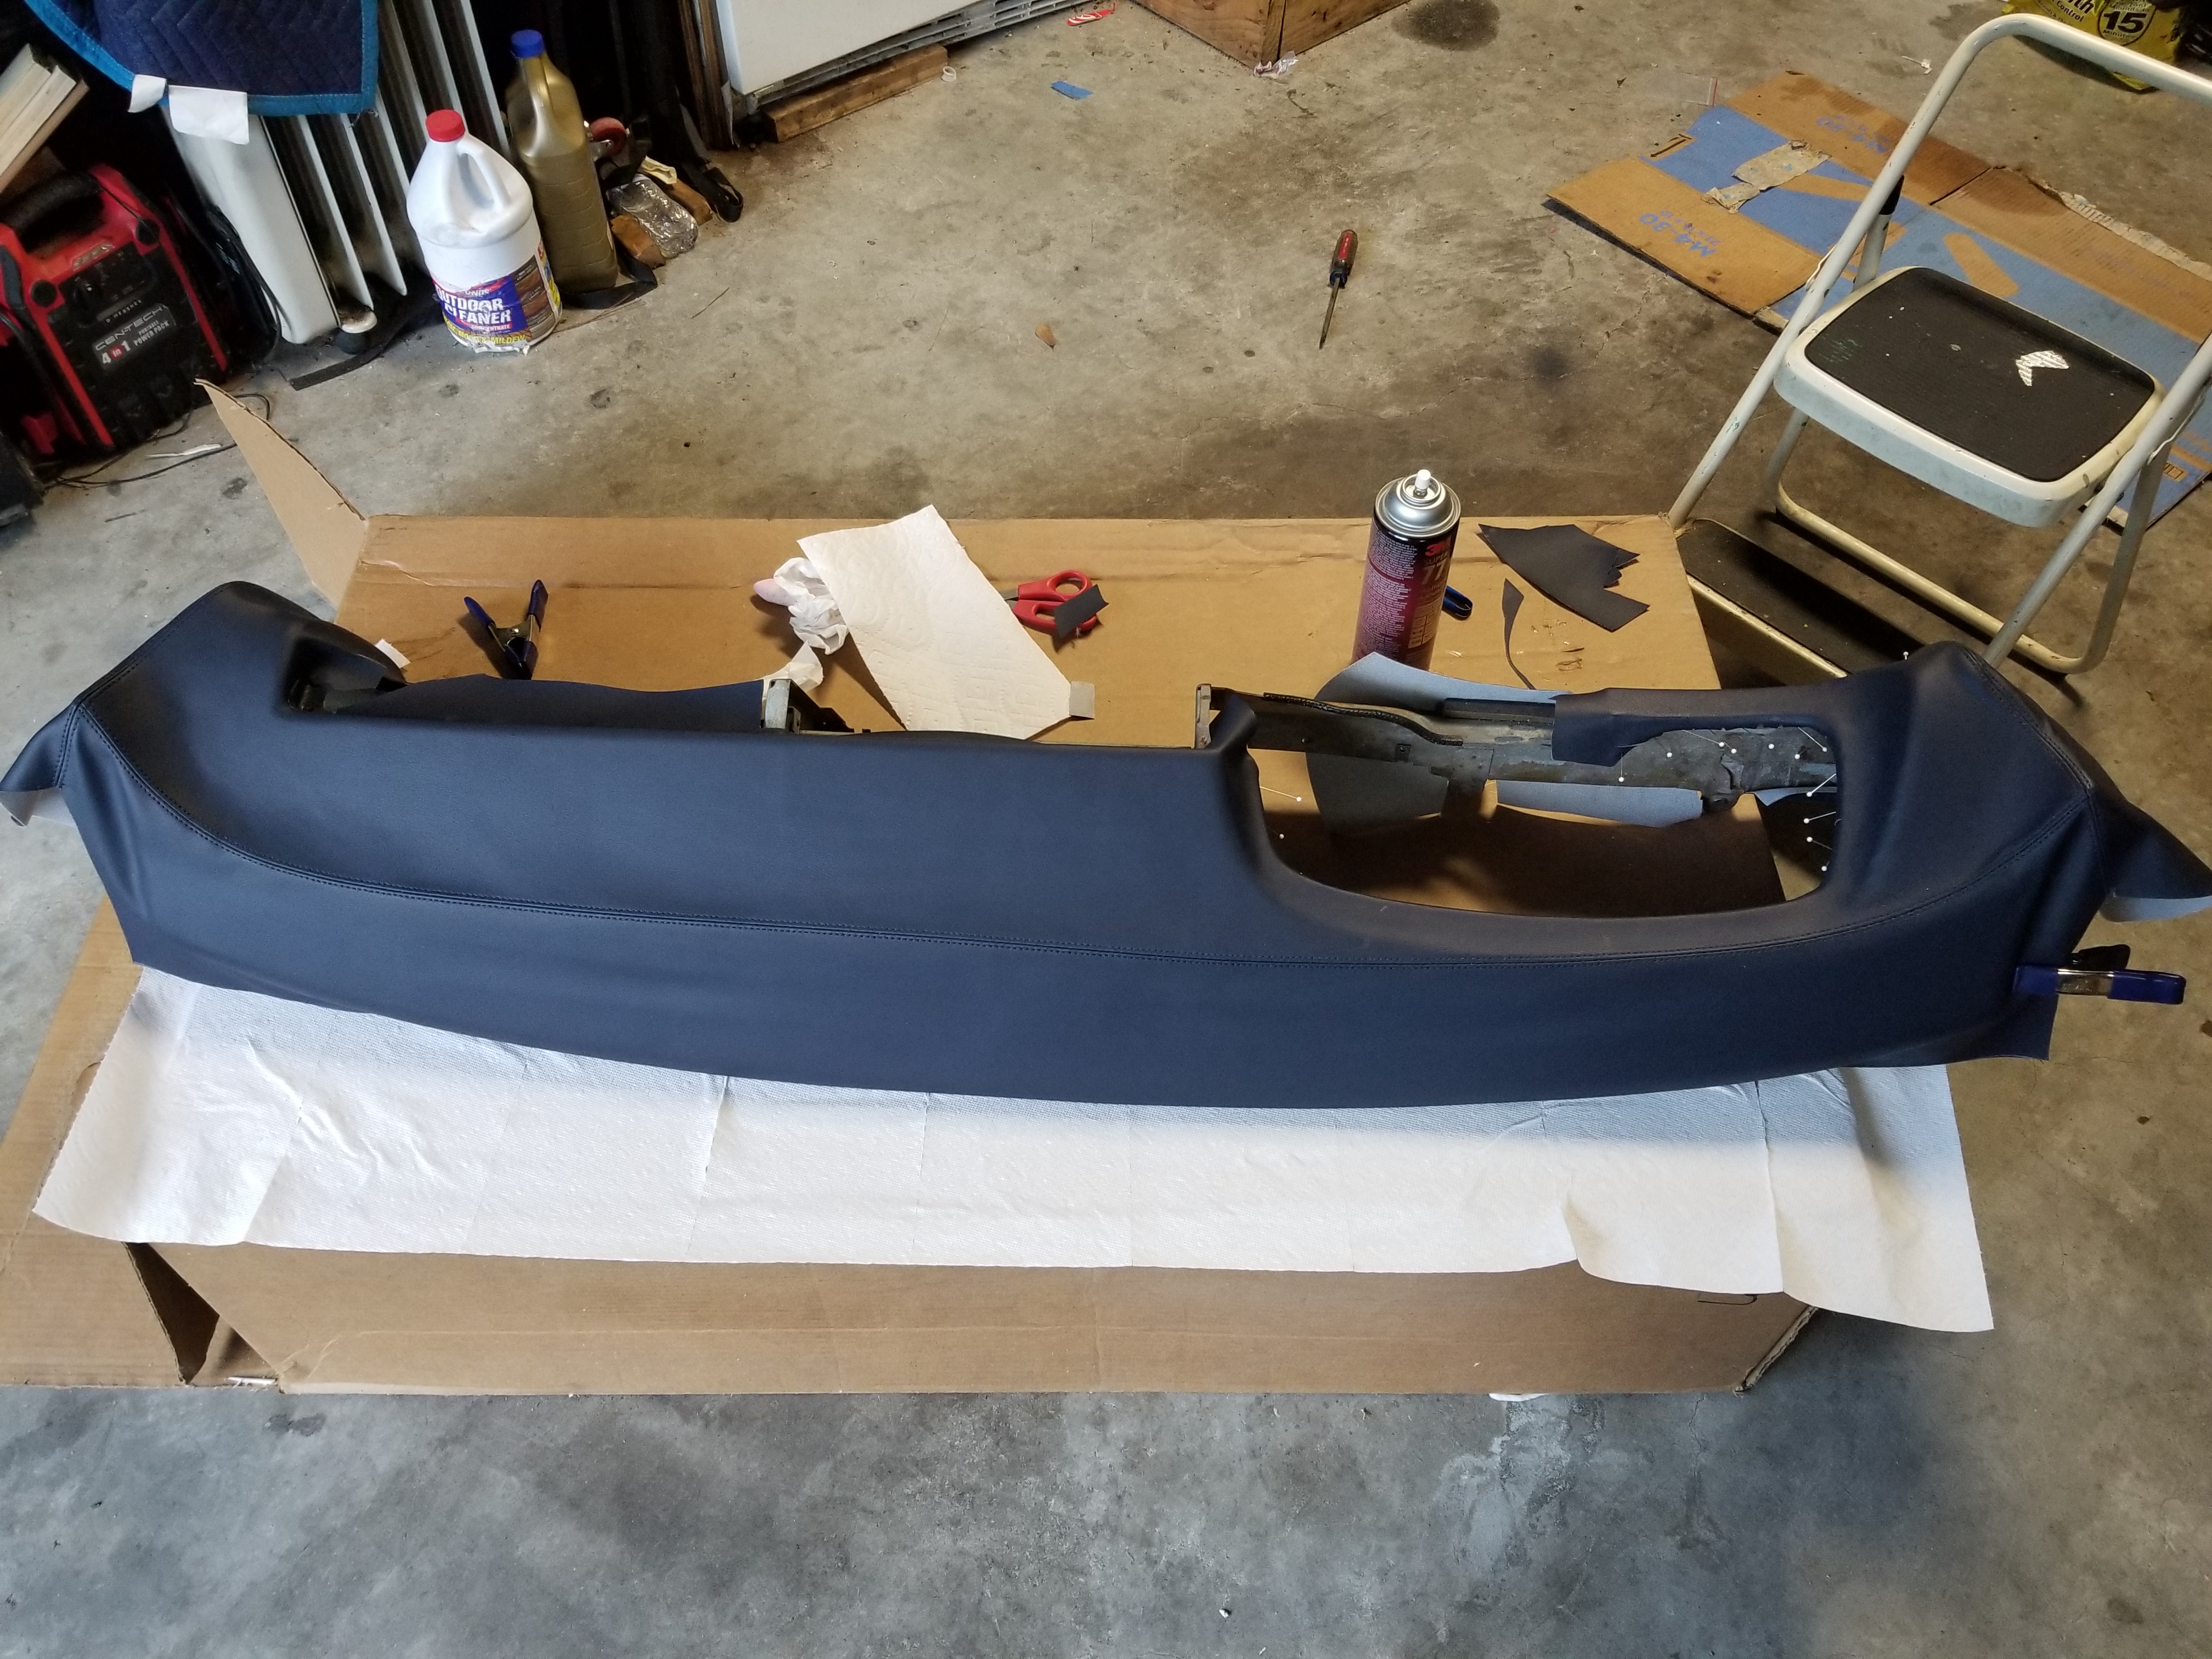

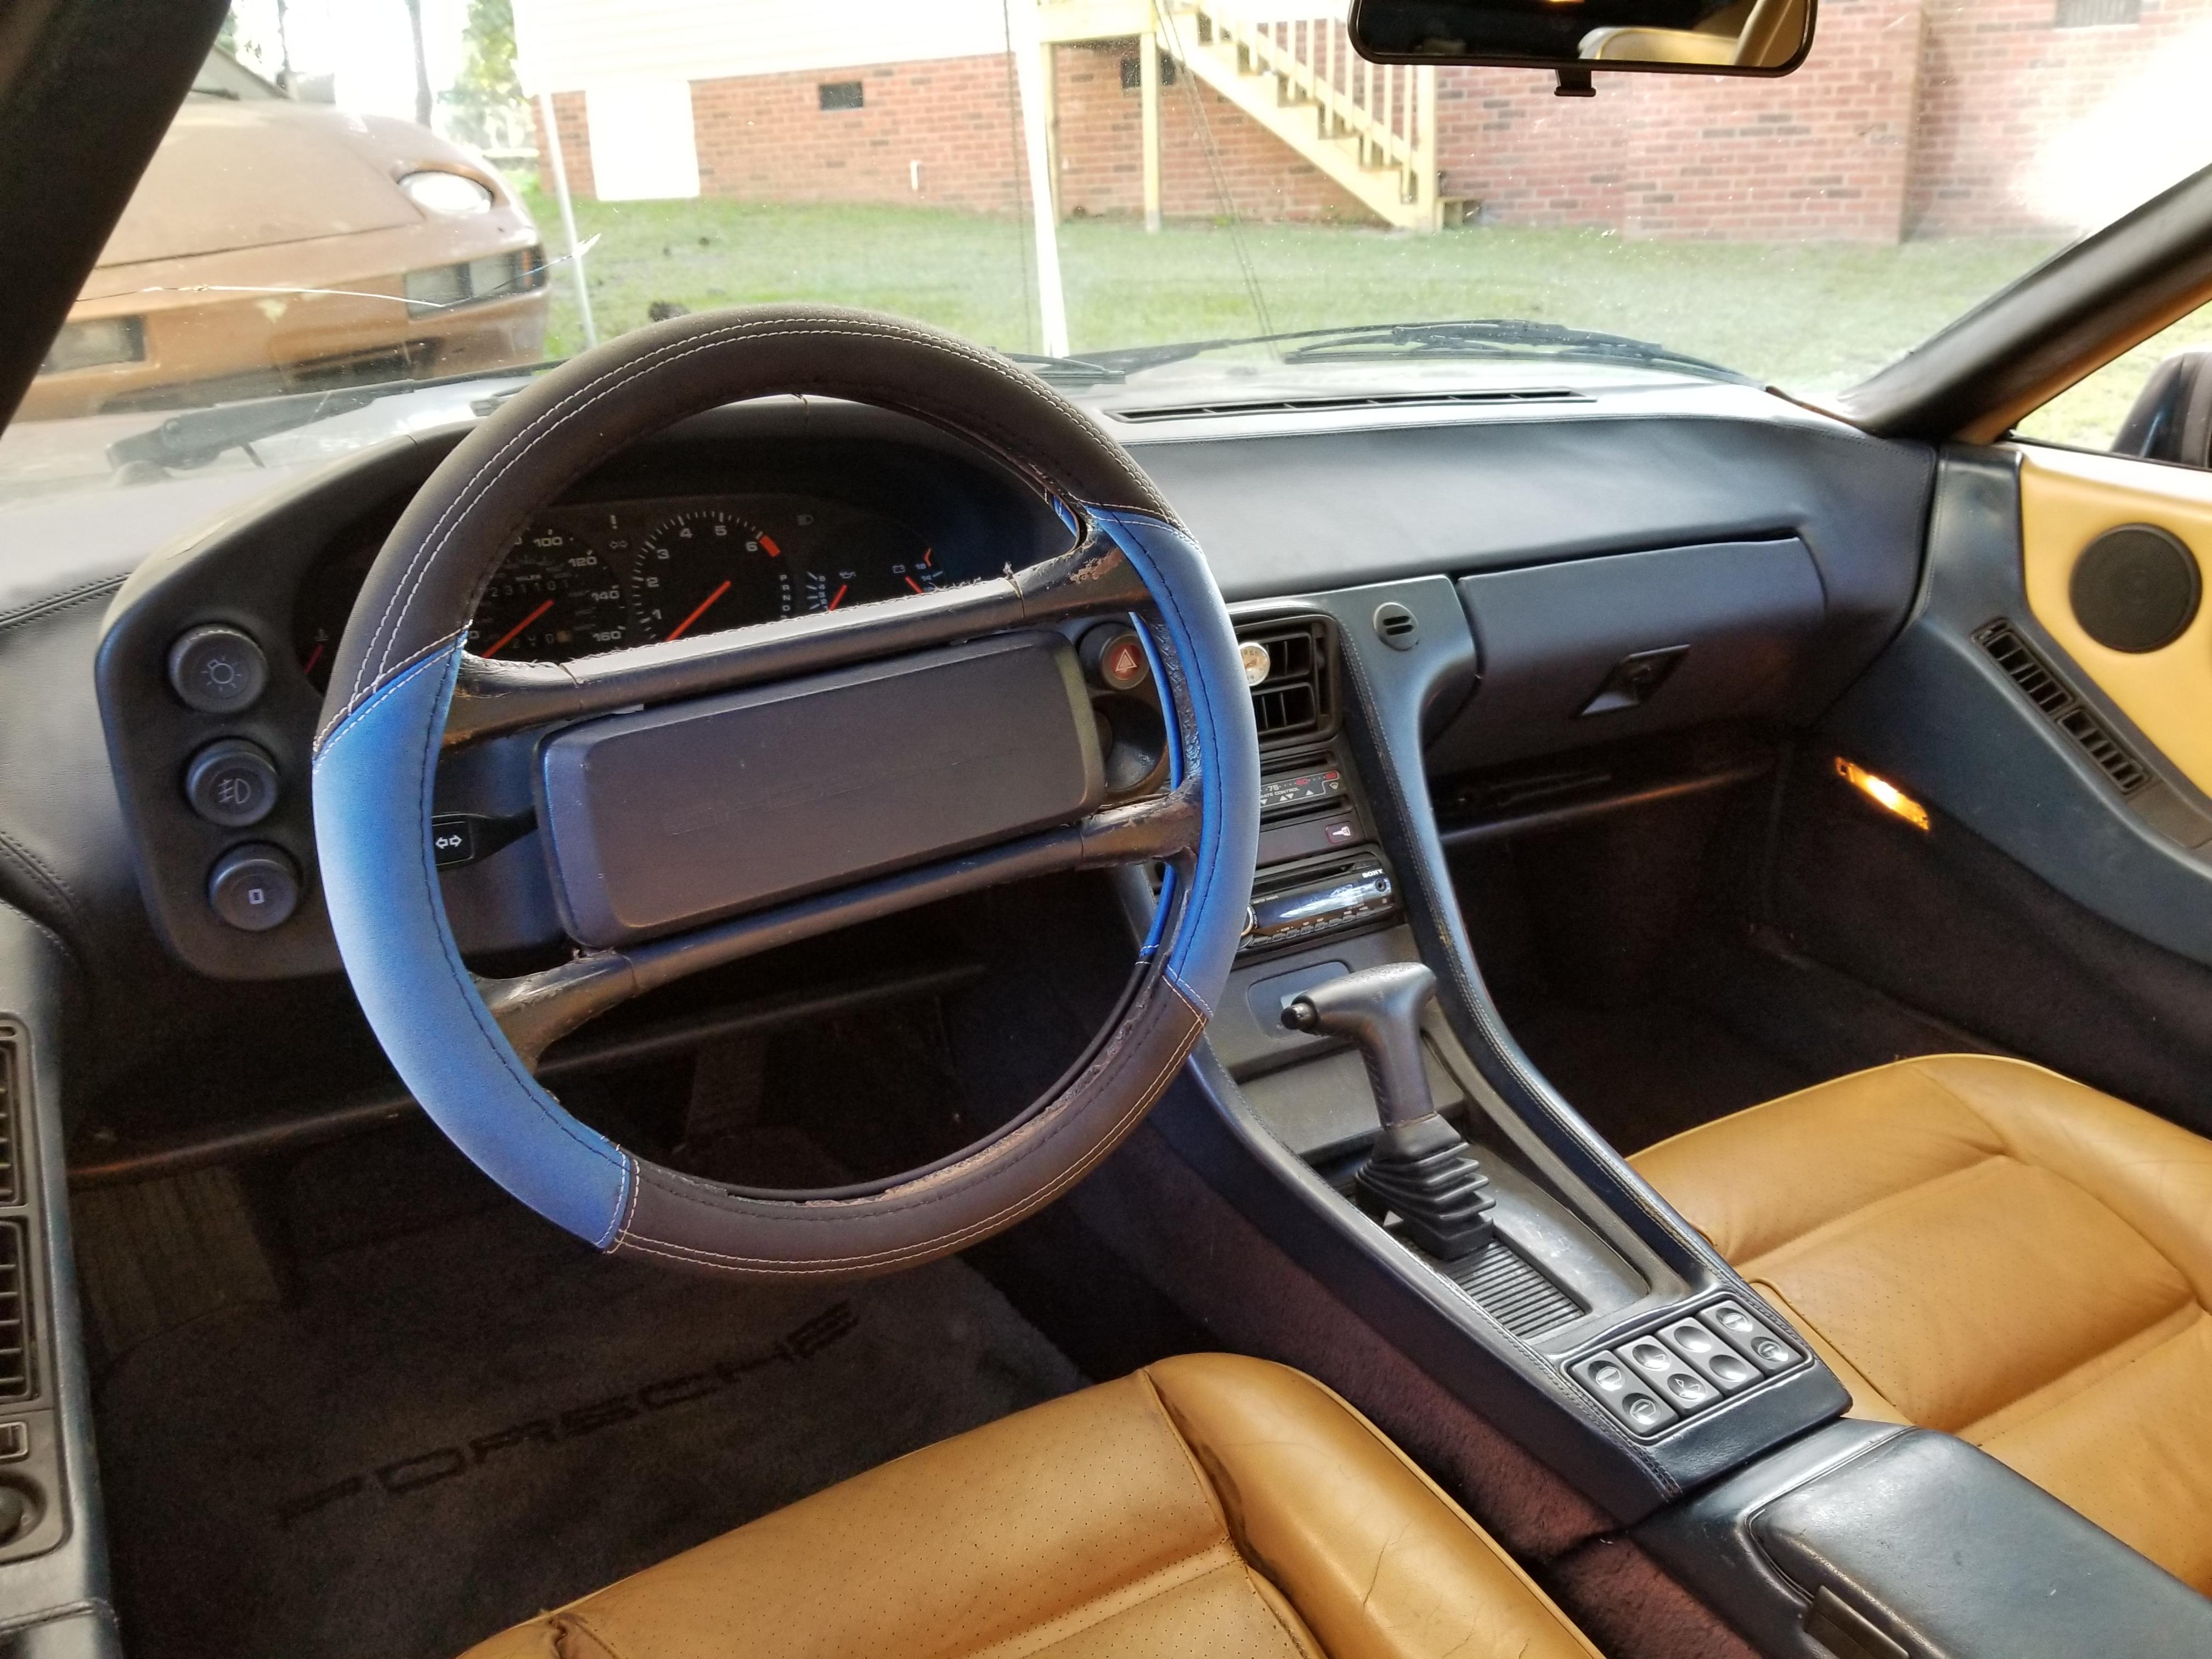
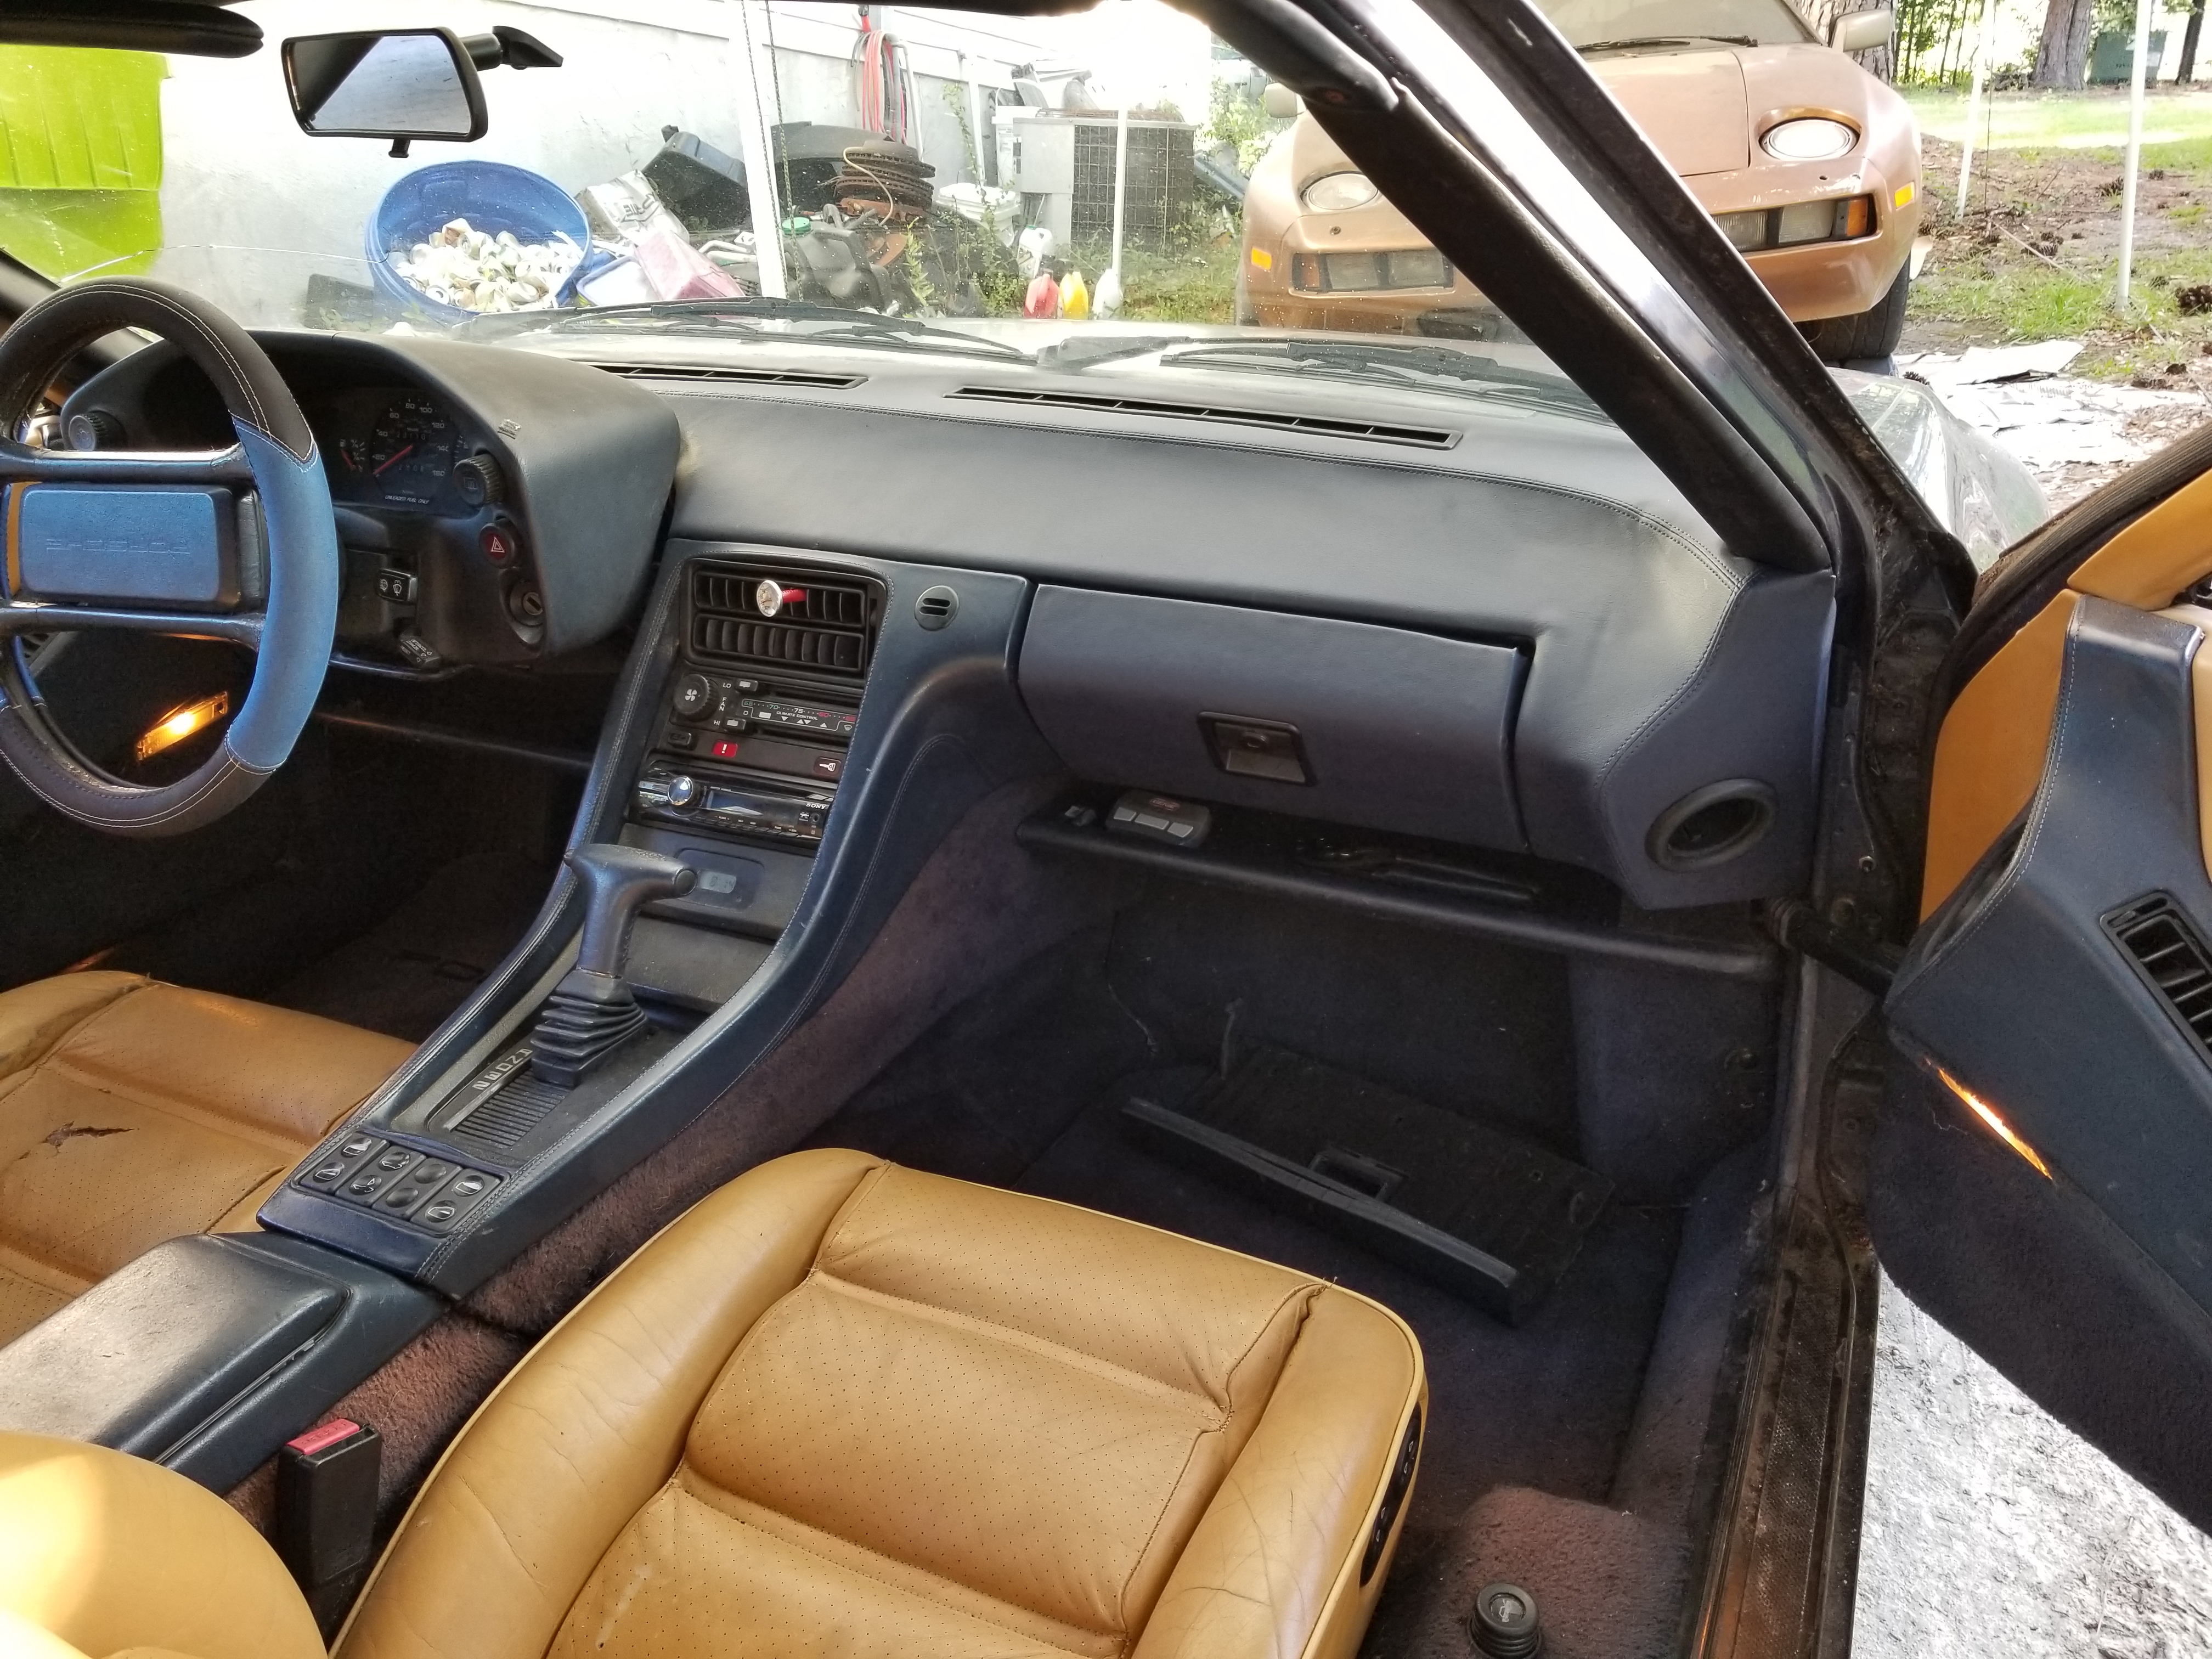
I wound up with those marks on the sides of the dash from setting it upside down the box I was working on it on. Hopefully they'll come out in the sun. I need to do a bit more massaging on the corners of the glove box lid, but otherwise I think it came out ok.
I wound up with those marks on the sides of the dash from setting it upside down the box I was working on it on. Hopefully they'll come out in the sun. I need to do a bit more massaging on the corners of the glove box lid, but otherwise I think it came out ok.
07-28-2019, 12:15 PM
#180
Burning Brakes
Thread Starter
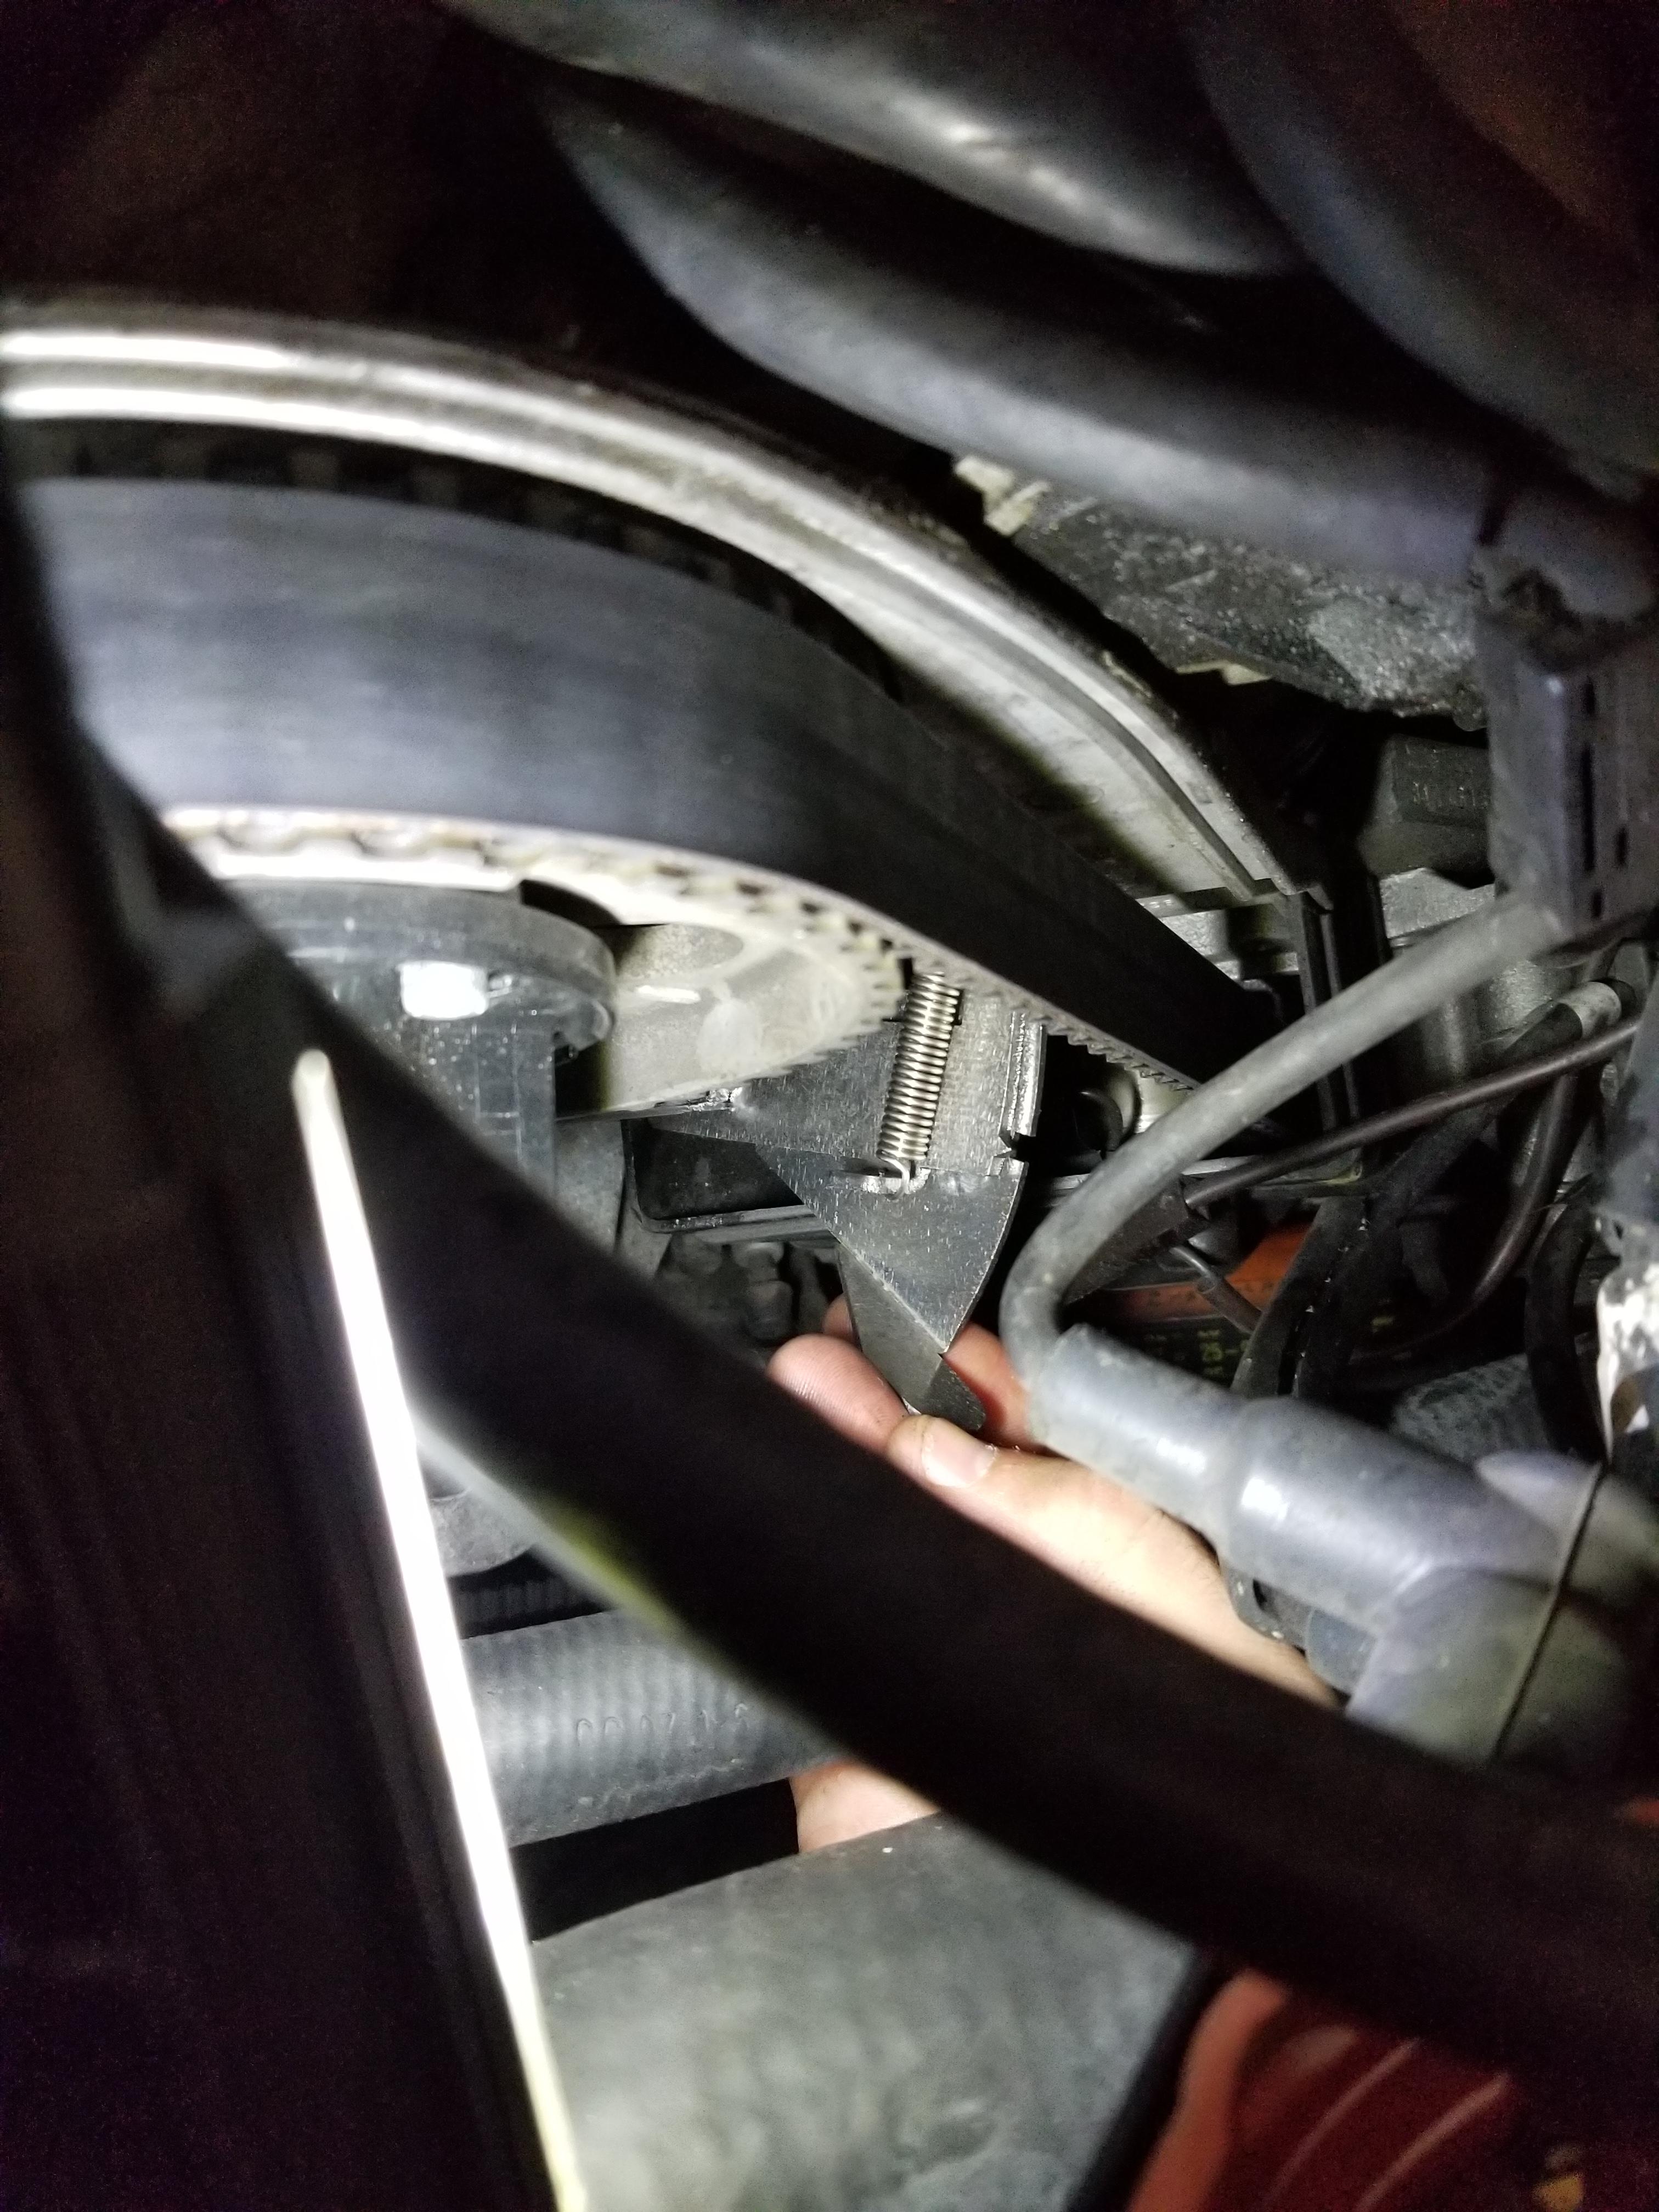
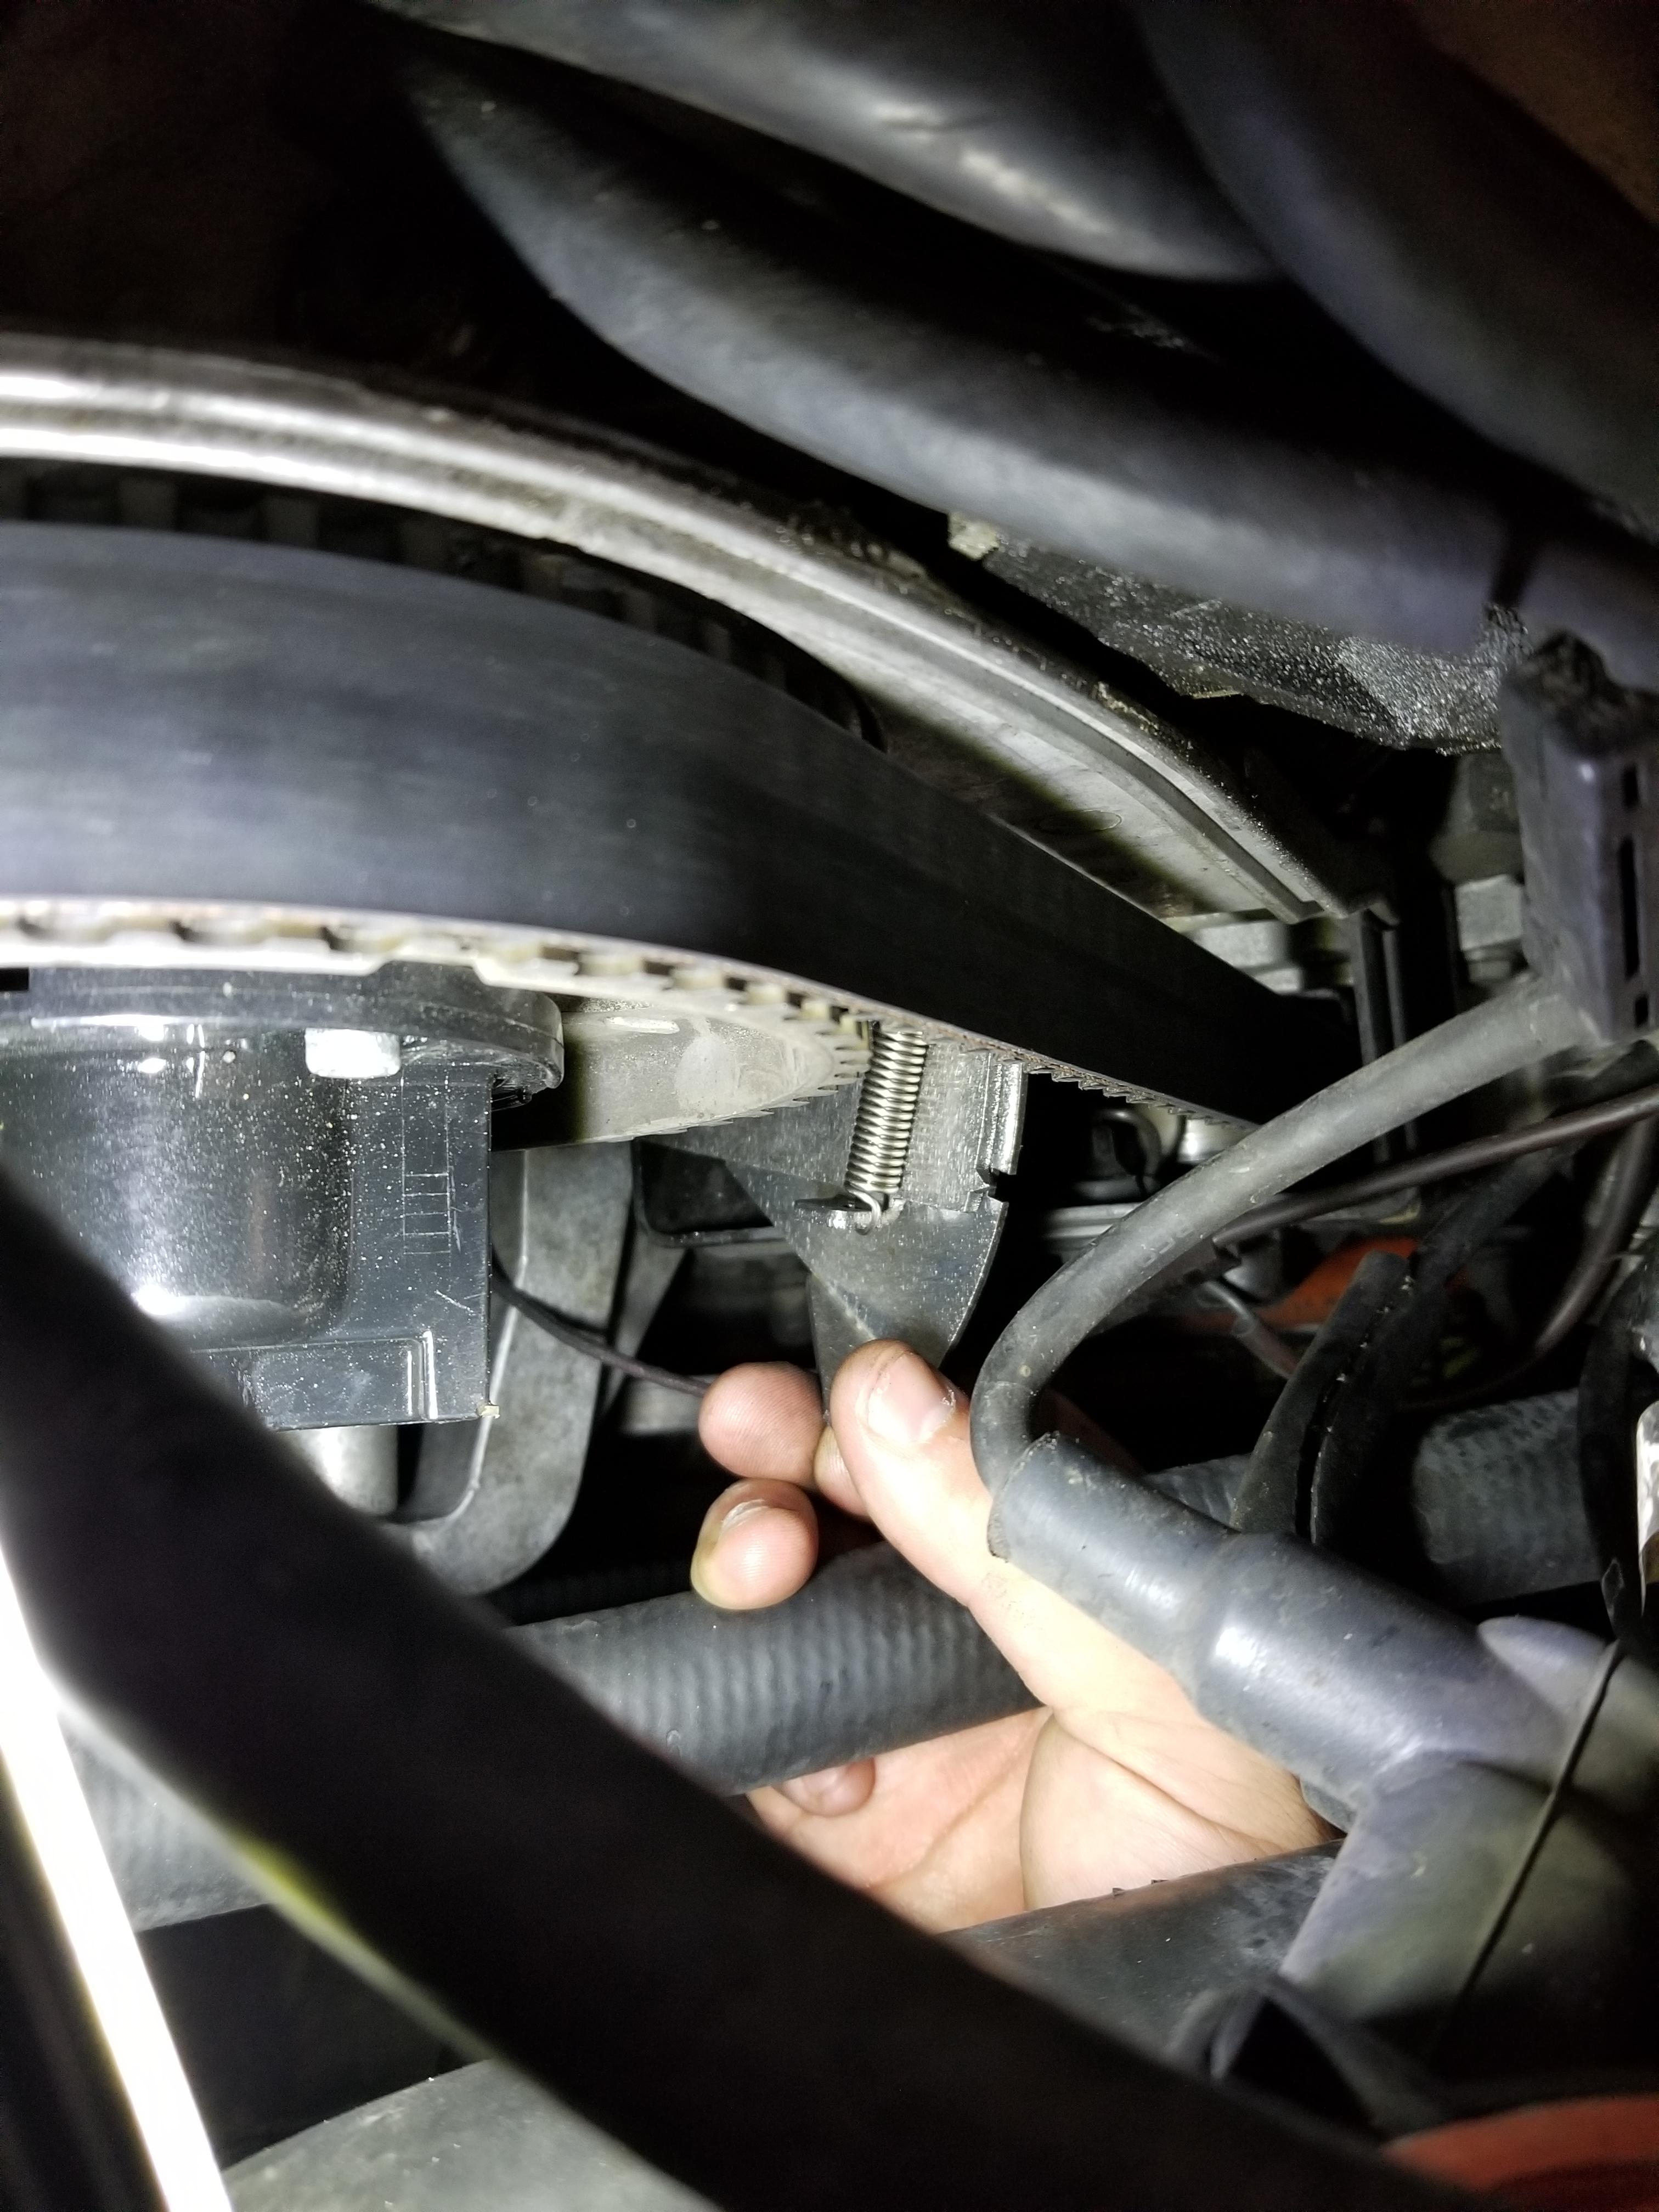
It's only been 1300 or so miles since I did the timing belt, but it has been over a year, so I wanted to check it today. It still falls in the normal range of the kempf tool with the motor at TDC, so I didn't adjust anything. Here is the tool between both of the pairs of teeth closest to the center cover.