When you click on links to various merchants on this site and make a purchase, this can result in this site earning a commission. Affiliate programs and affiliations include, but are not limited to, the eBay Partner Network.
Mine can also not be adjusted on the car, only prior to putting the complete coilover together. The only part we will adjust is the ring around the collar when the car is finished.
The guy that is helping me told me he will put my car on weight scales: as the car is basically a 'box' the scales will show what wheel pushes down more than the other, even when any misalignment might not be visually recognisable.
Makes sense now, but I probably never would have thought of that myself.....
Menheer Smitje,
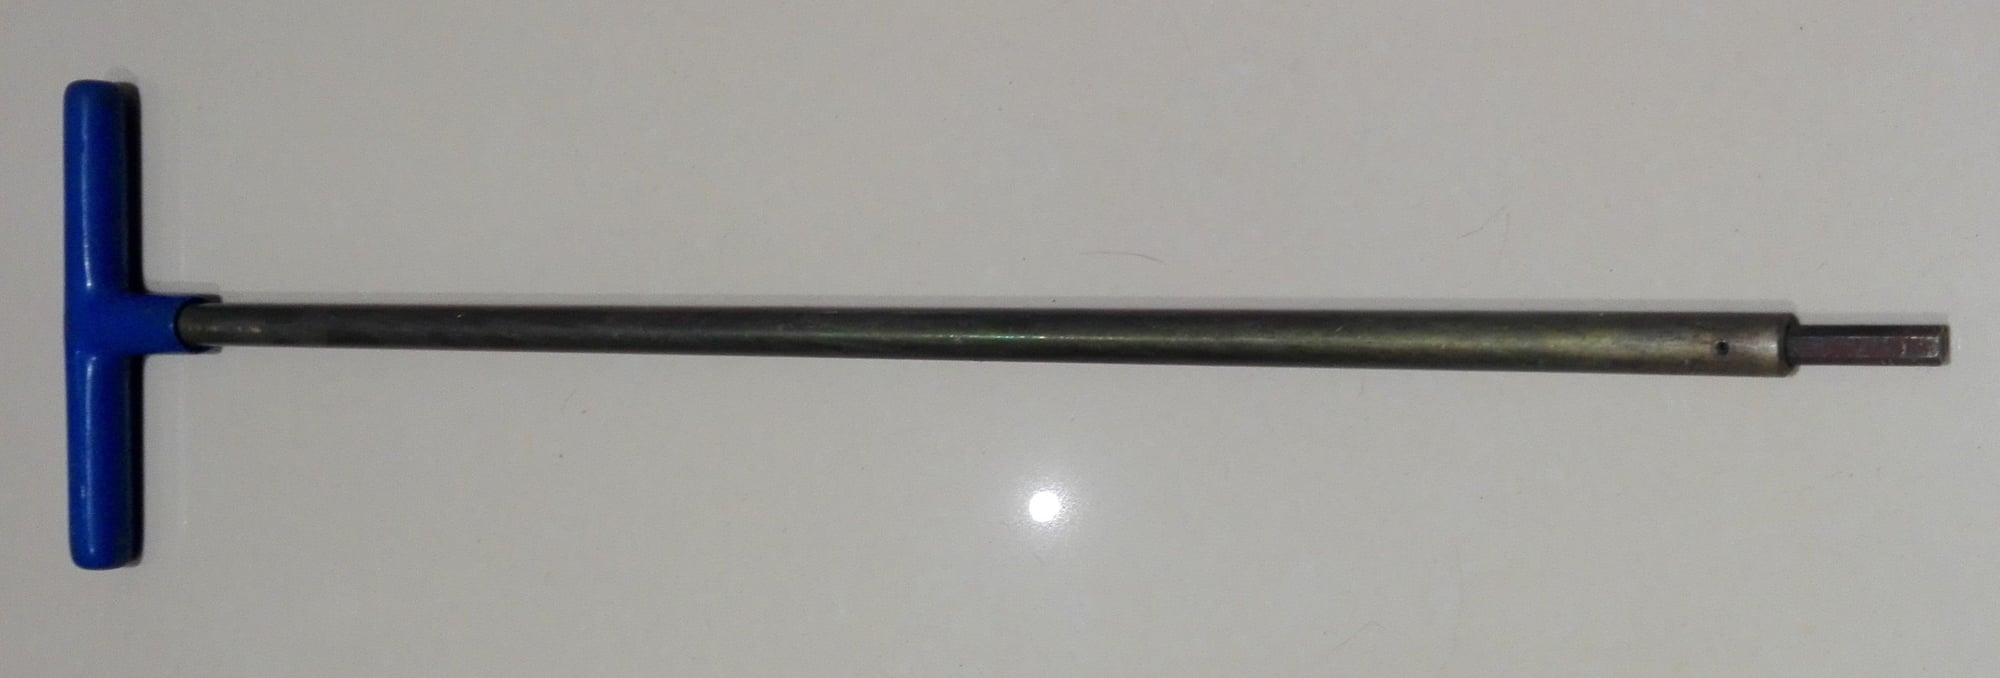
Not sure you understood my comment as written but I believe your shock is adjustable whilst on the car [as mine is] but they are called internally adjustable units. To adjust you use a tool as in the pic below which is basically an Allen key on a long shaft. You simply remove the top nut from the shock and then you have to push the piston down into the unit until it bottoms and then twist to suit the adjustment needed. The weight of the car keeps the spring under compression but do not try this if the car is on axle stands! When you have finished the piston will return to full extension as you remove downward pressure on the tool.
Corner balancing is often overlooked but it does not take much for wheel loads to be quite a bit out. In round terms each wheel should read 400kgs but this needs to be read with the suspension fully settled. If the springs have consistent spring rates then the adjusters should sit at roughly the same height. I tried to balance my car with a full tank of fuel and myself in the driver's seat and ended up with a noticeable difference in the rear adjuster heights. To do the job properly you need 4 load cells- one under each wheel. What happens in practice is that the diagonal axes end up with one predominant and one minor in terms of load. Raising the unit increases the load on that diagonal and lowering transfers load to the other diagonal- simple physics really. I reasoned that if you can get the balance to within about 20kg per wheel you are doing OK.
Rgds
F
Hi Fred,
I'm afraid you got me there: the way you describe it should work! I do not have the tool yet, but I will do my best to get one! As a wise man once said: "One can never have enough tools"......
Thanks so much for your comment and advice one balancing the car! It will take a while before we are at that stage, but your thoughts help a lot in deciding what approach to follow!
It has been a while since updating this tread, but quite a bit has been done since!
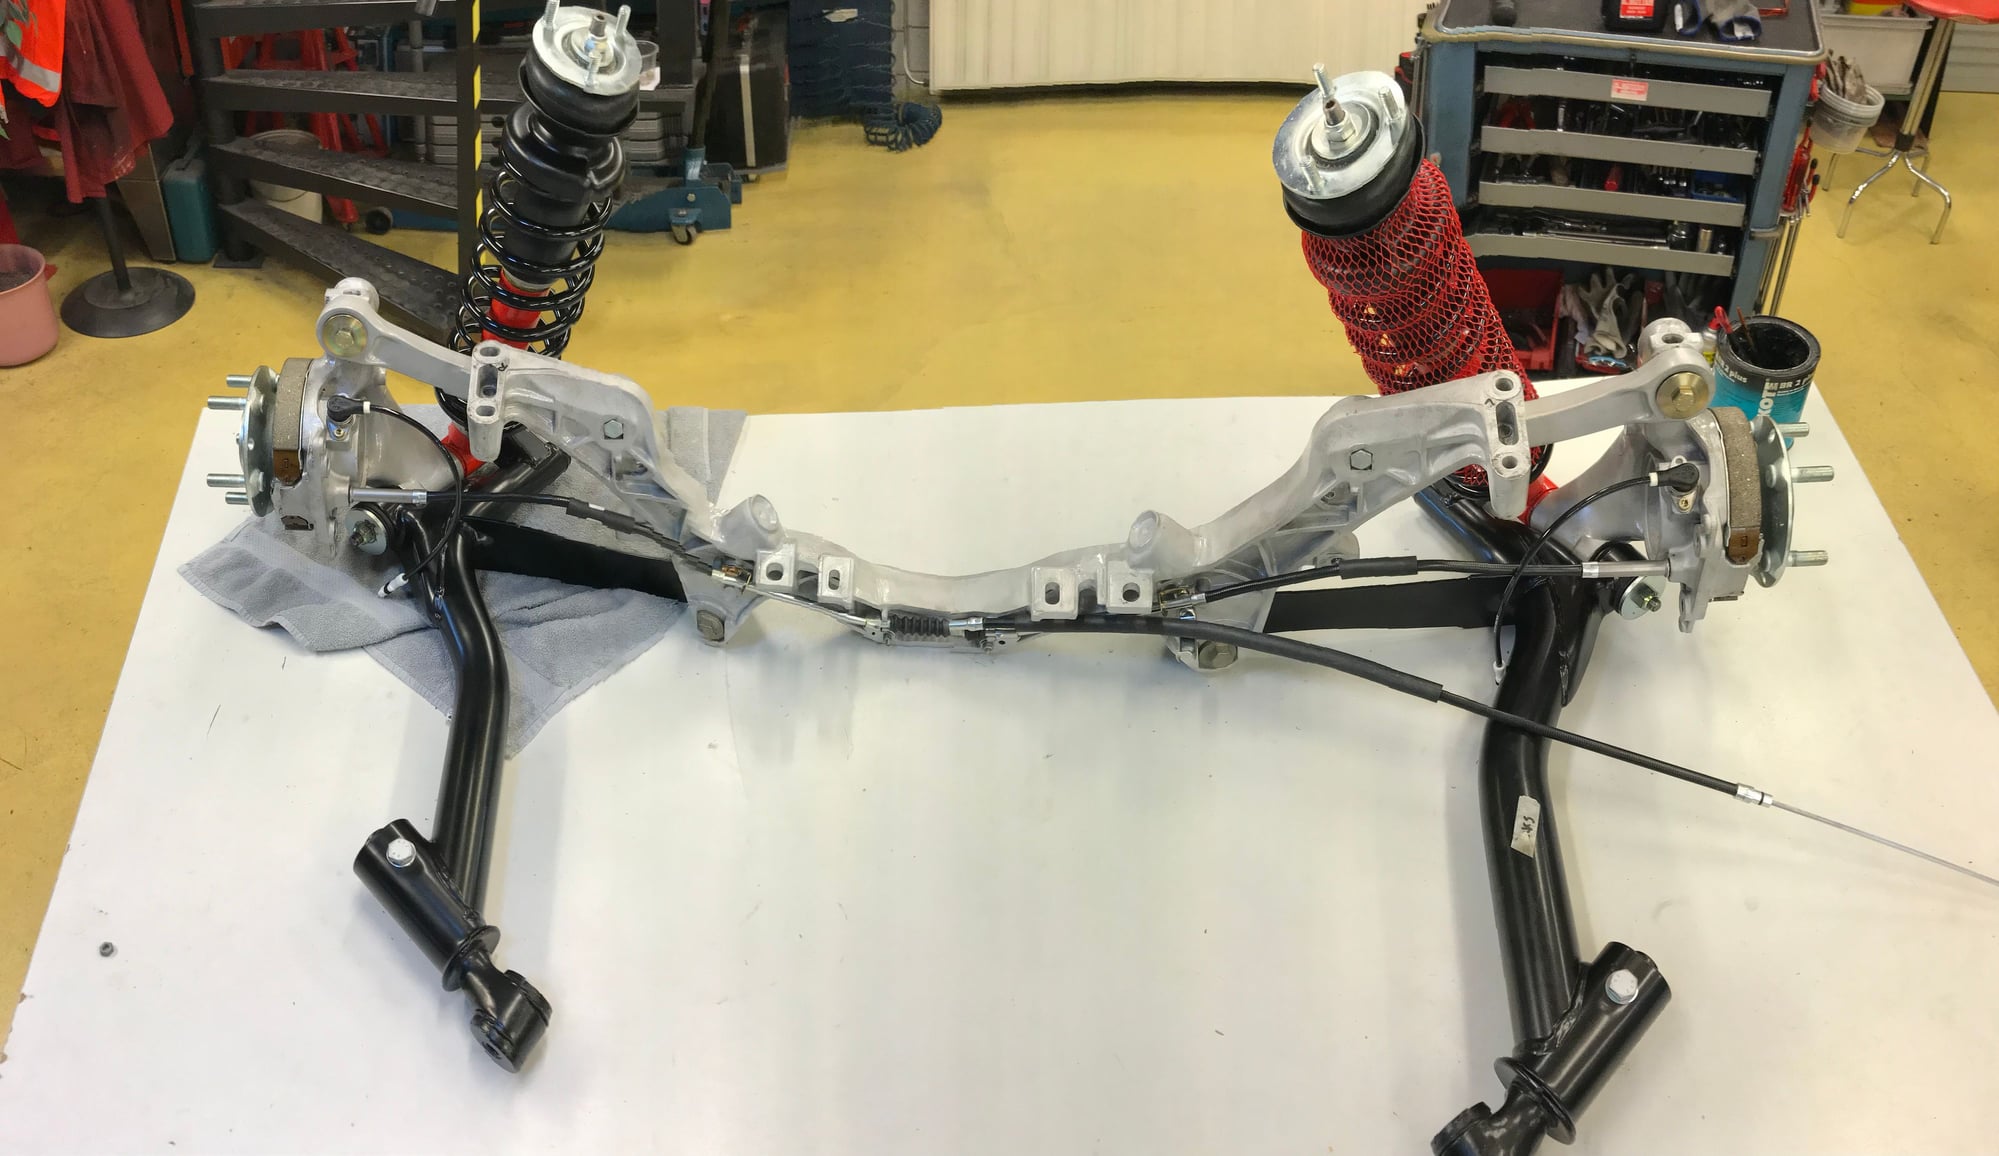
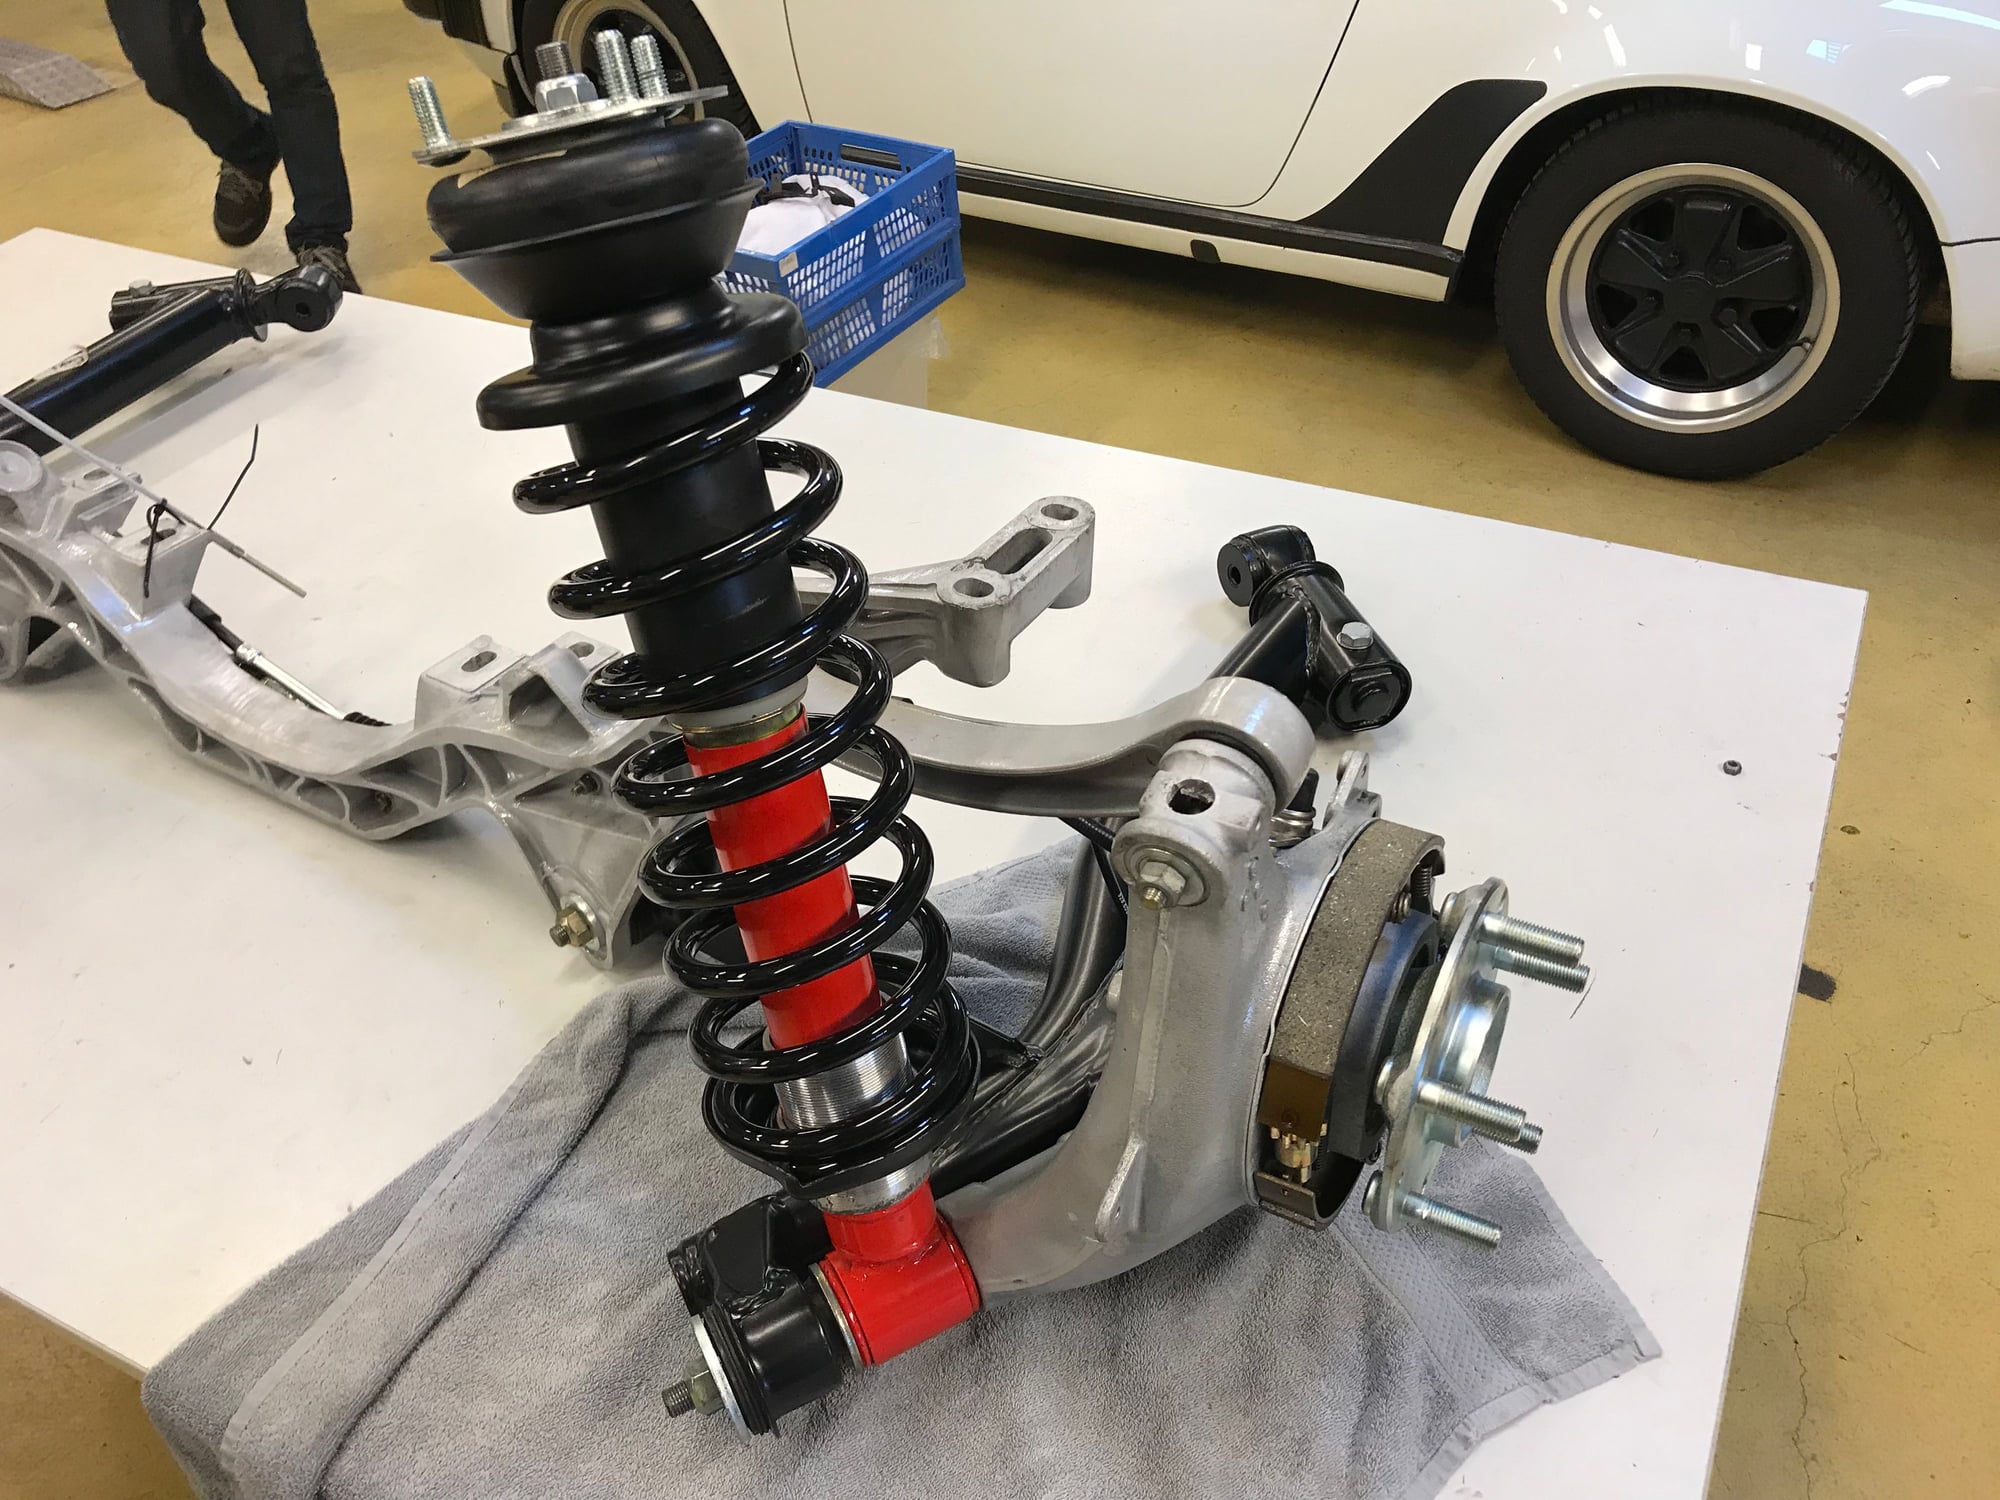
After having the damaged spring powdercoated again it was time to assemble the rear suspension.
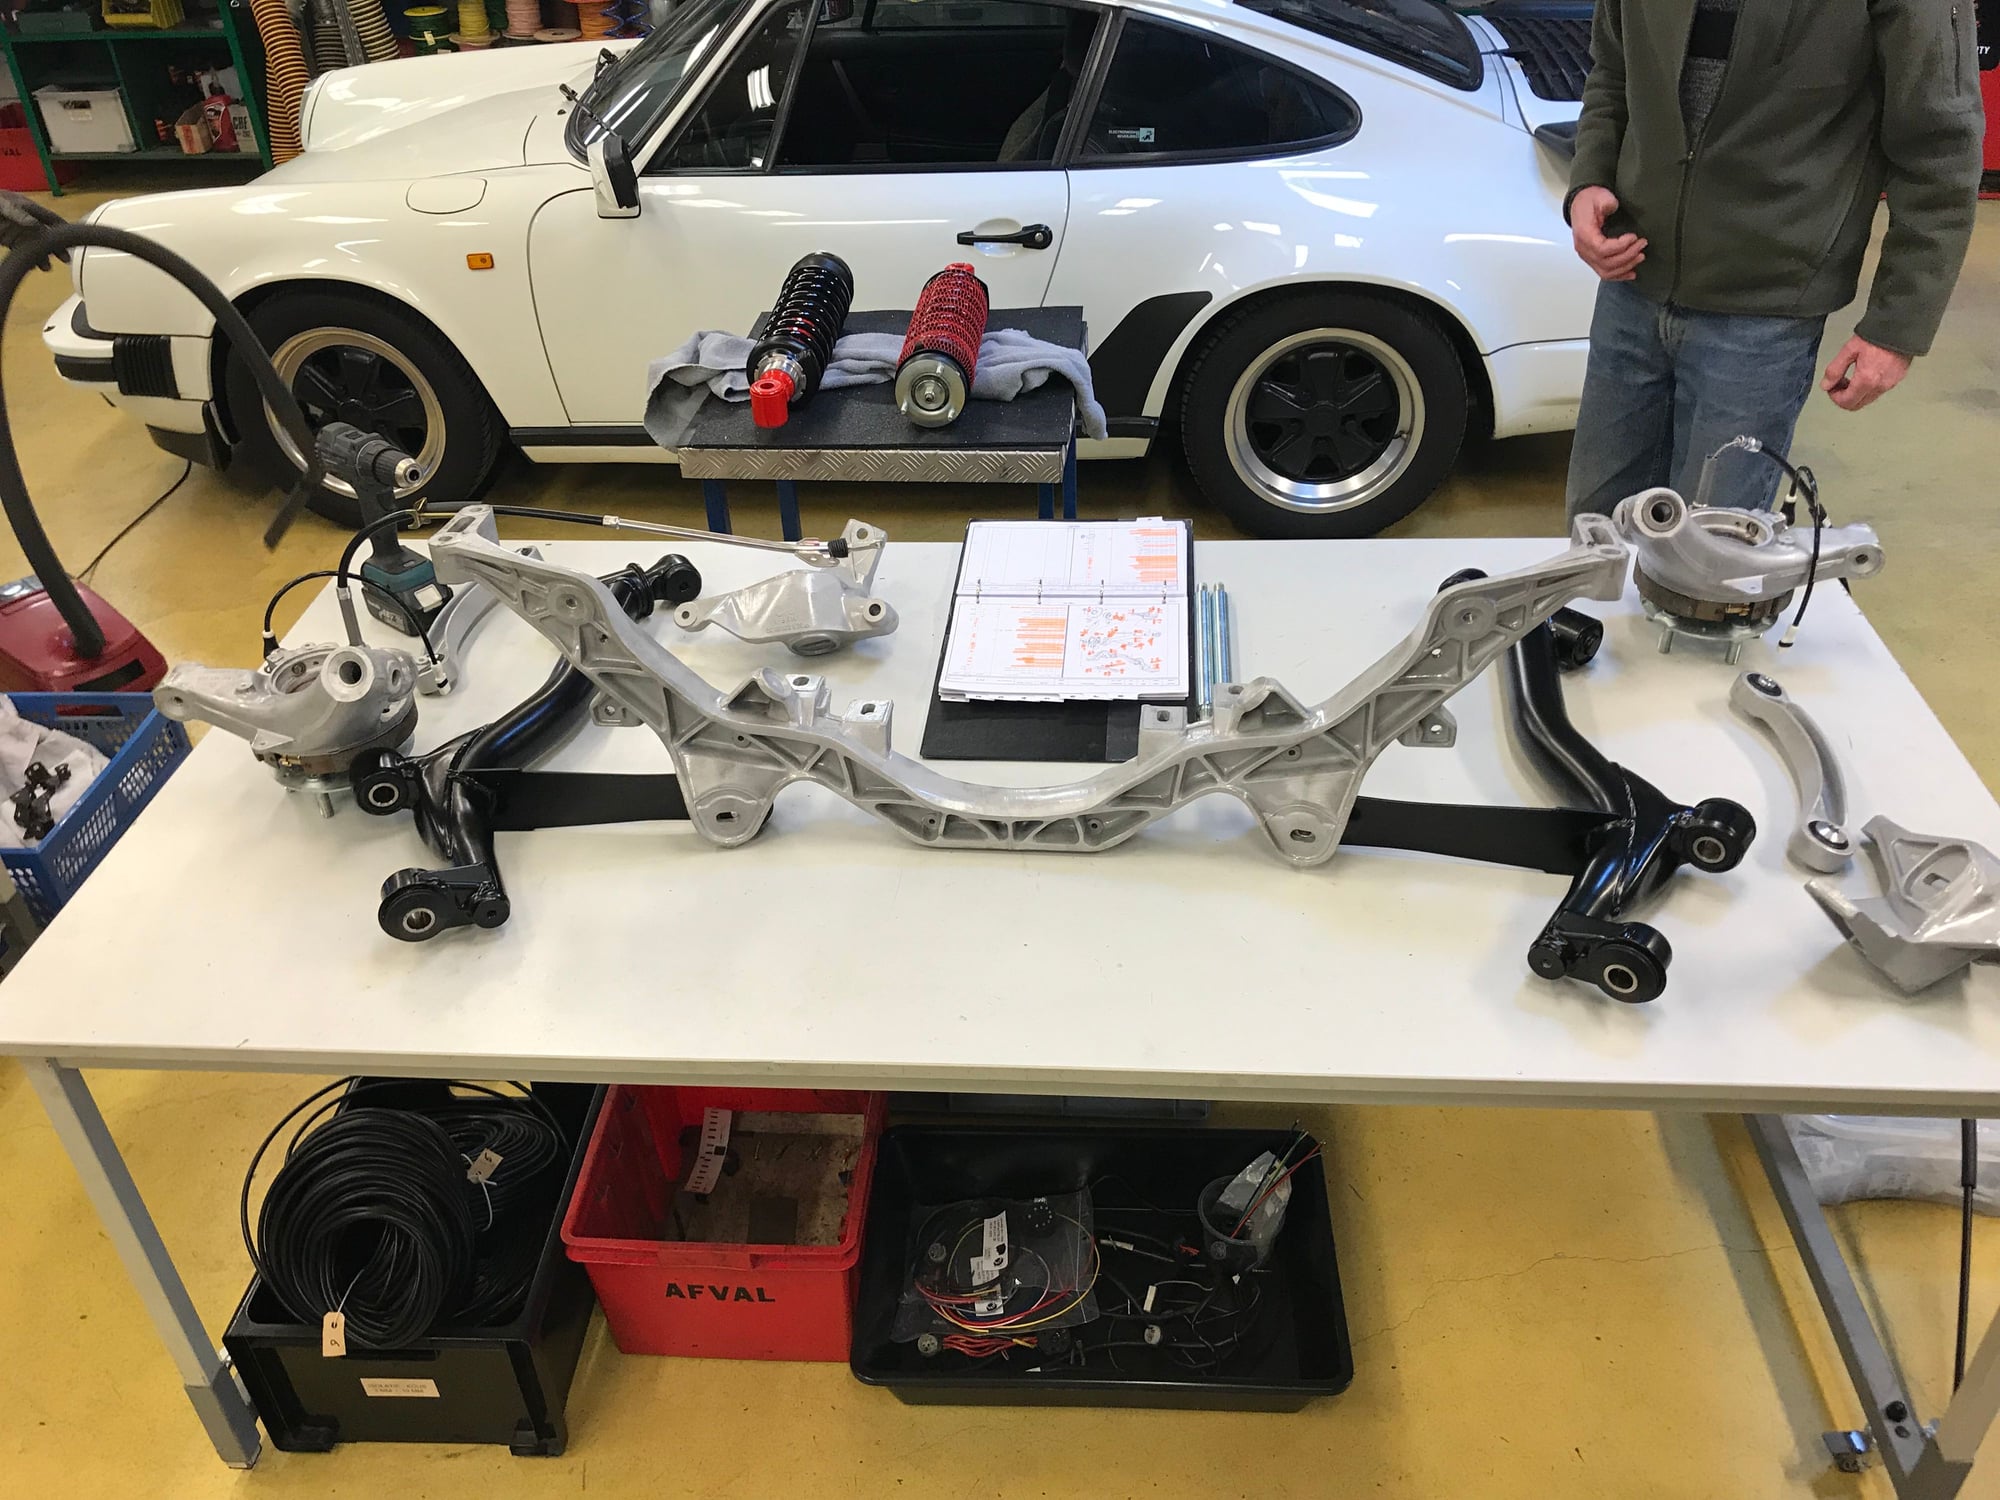
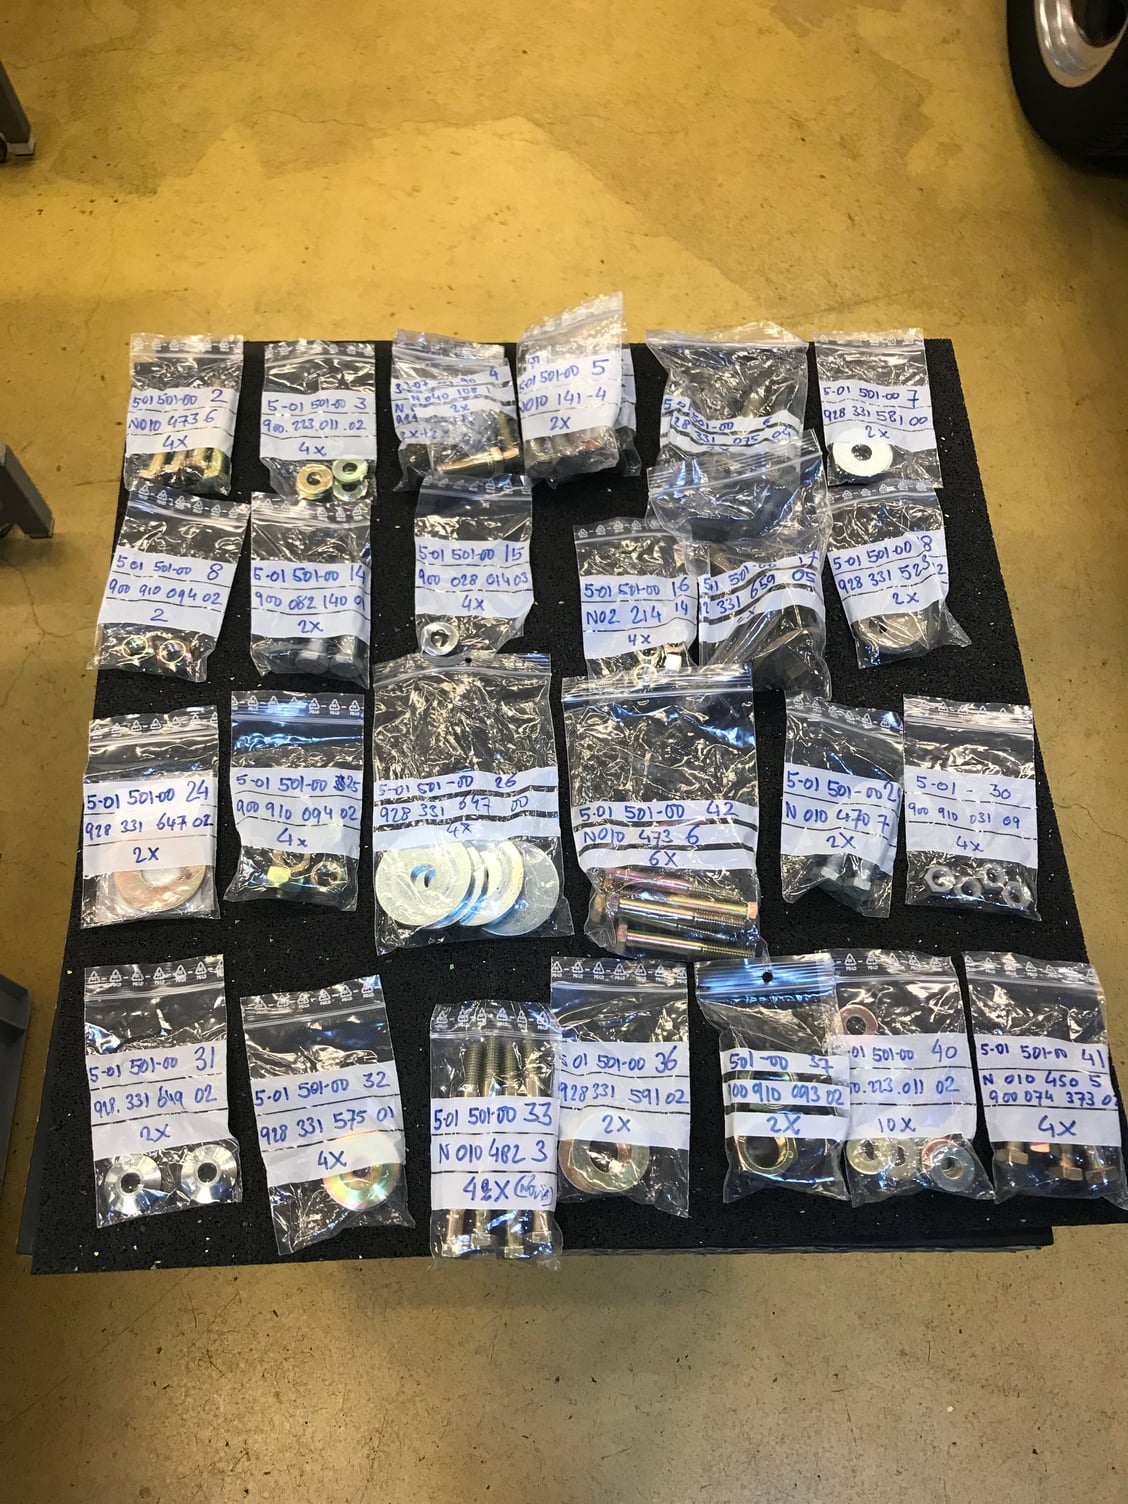
We started by laying all parts and components on a large table:
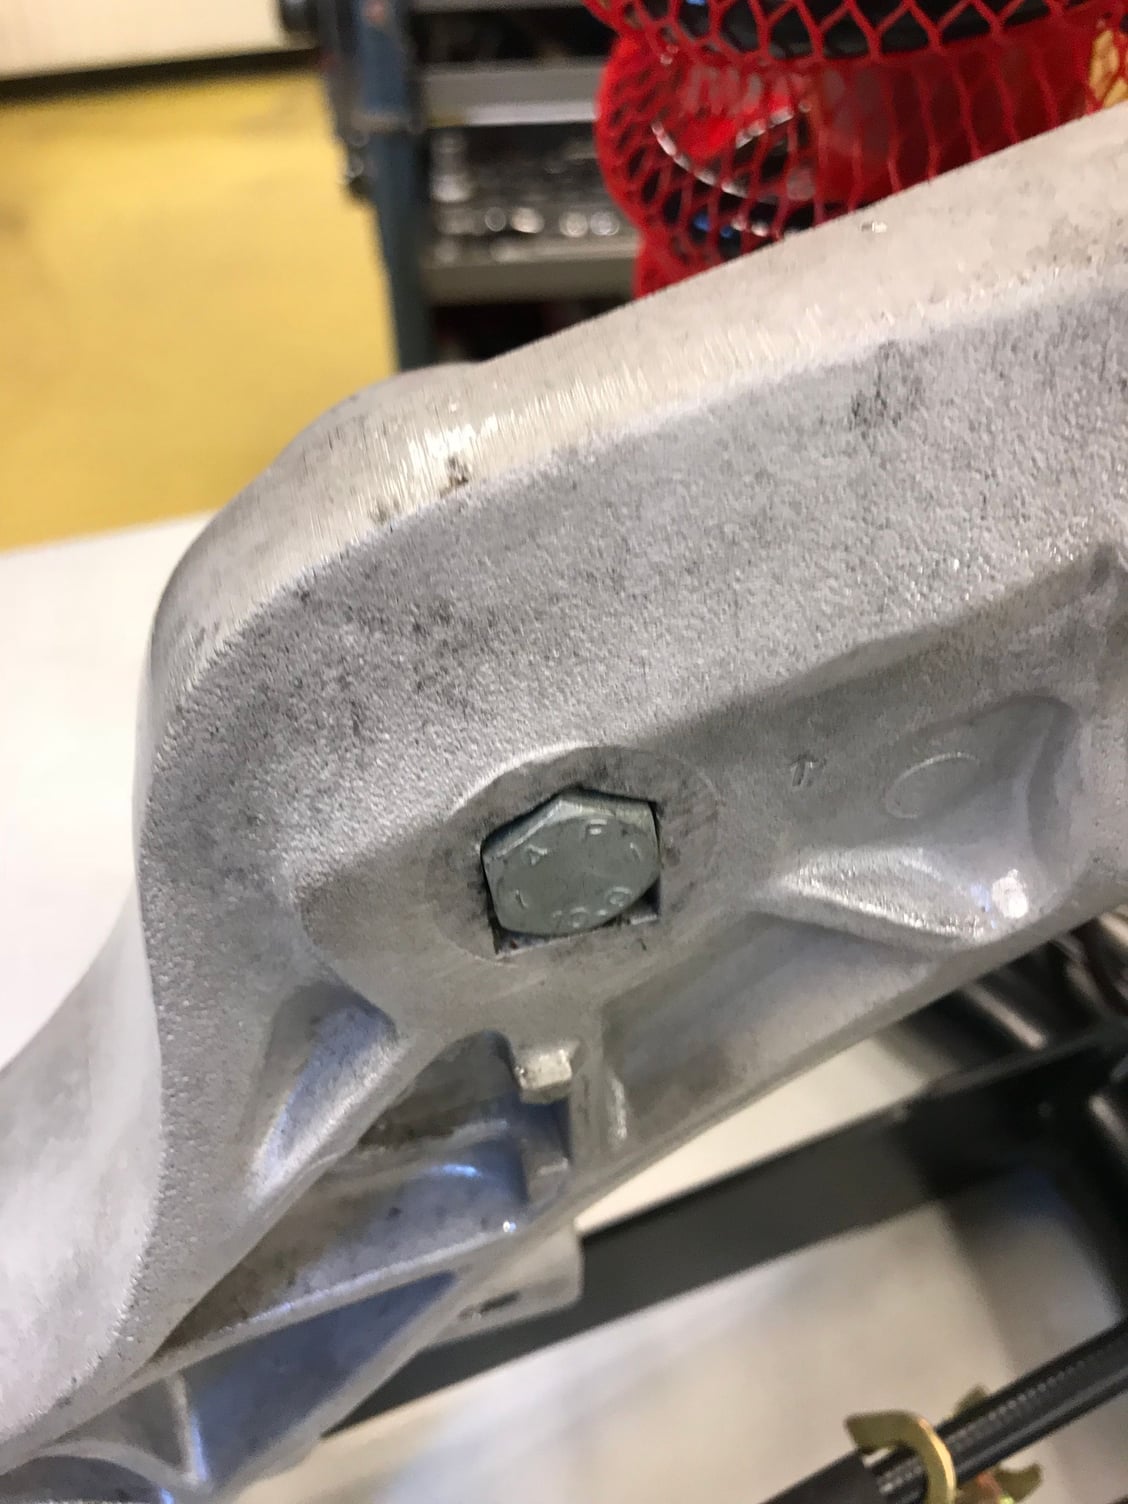
Next we had to remove a broken bolt that will eventually hold the protective plate. Unfortunately I overlooked it before having the wheel hub blasted:
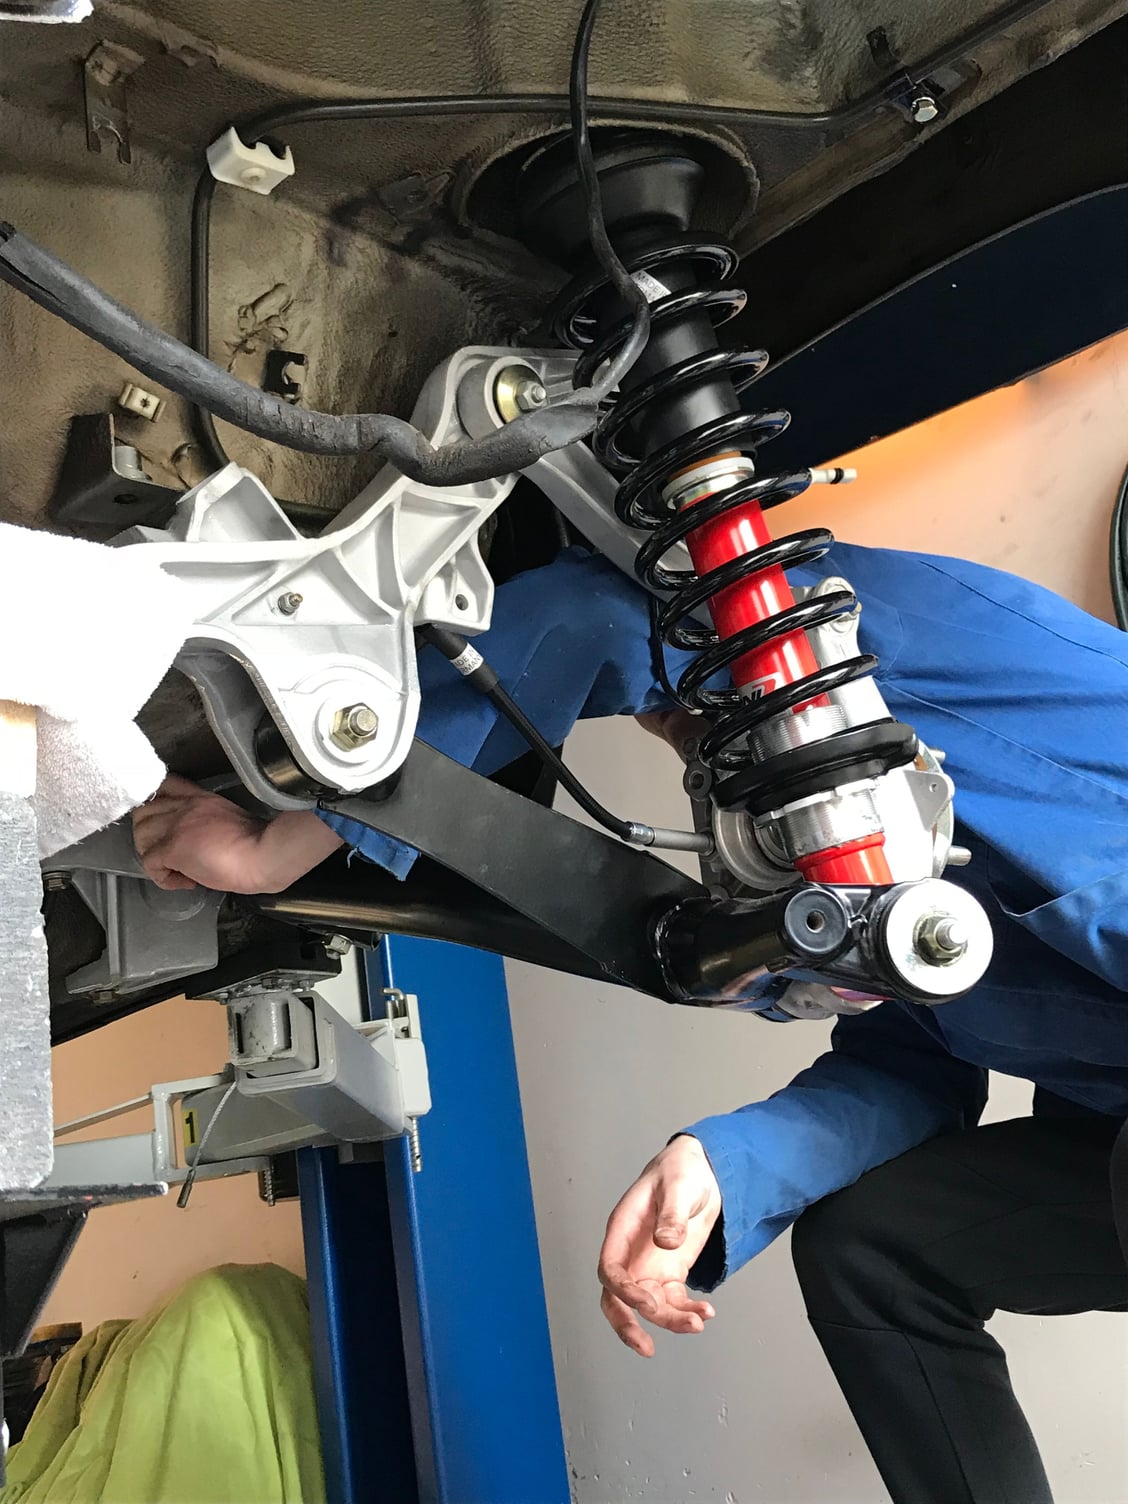
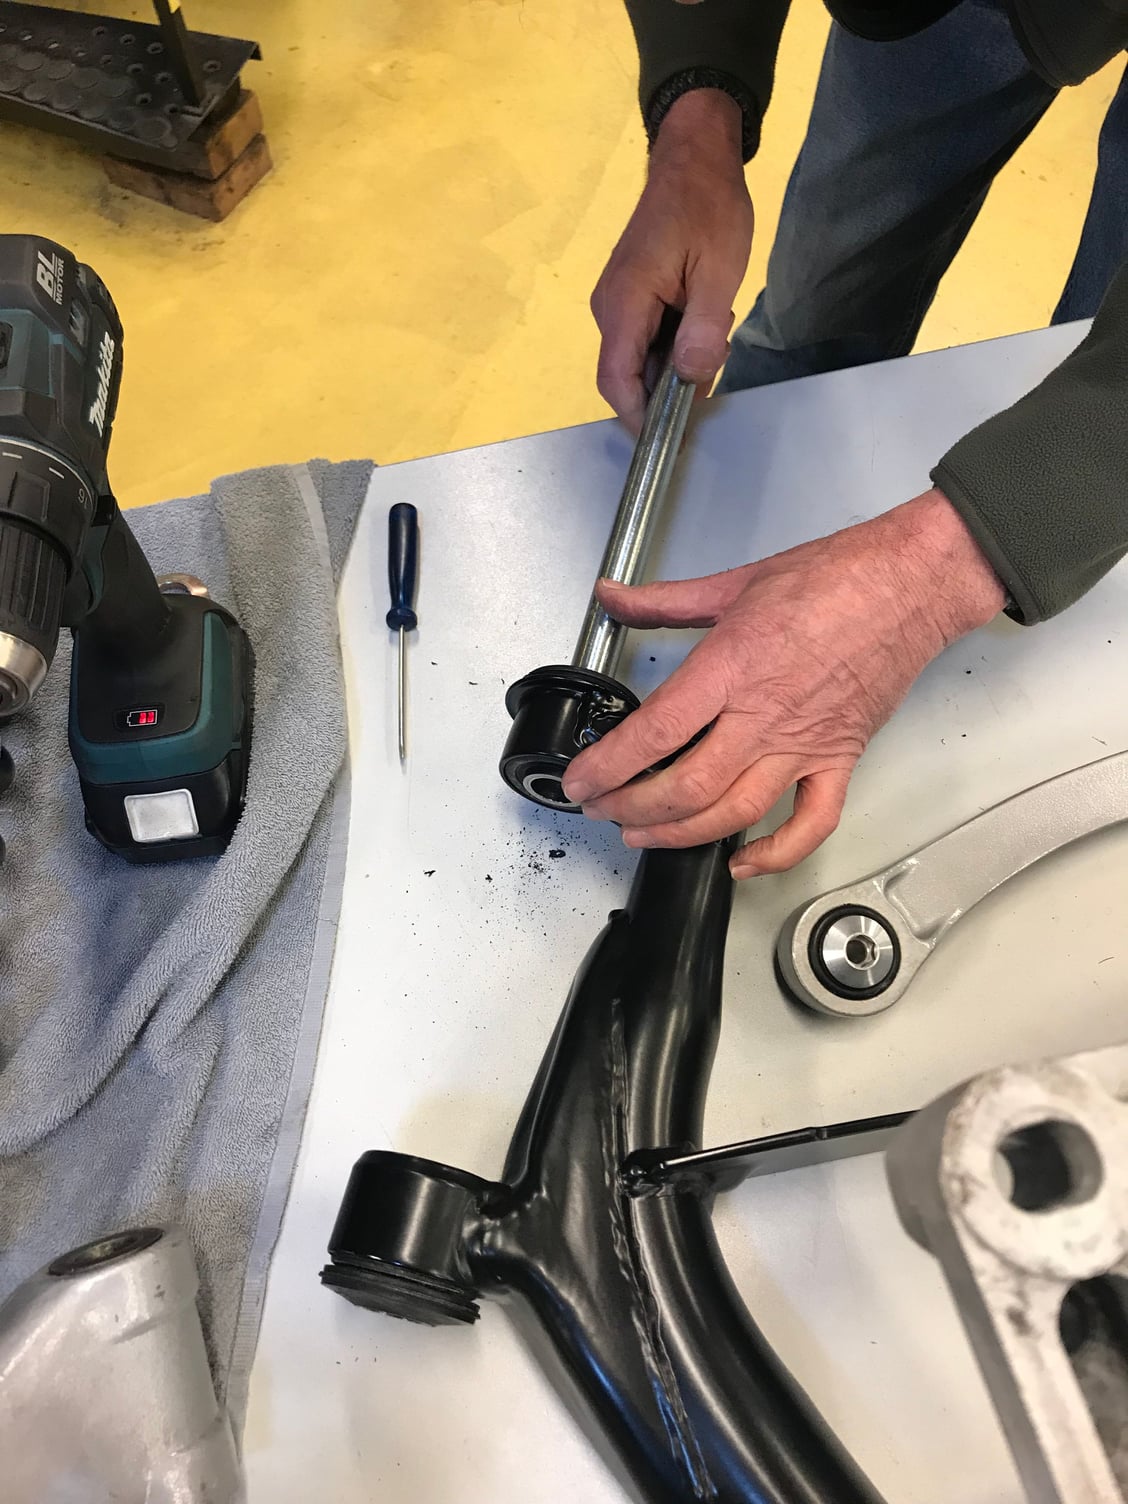
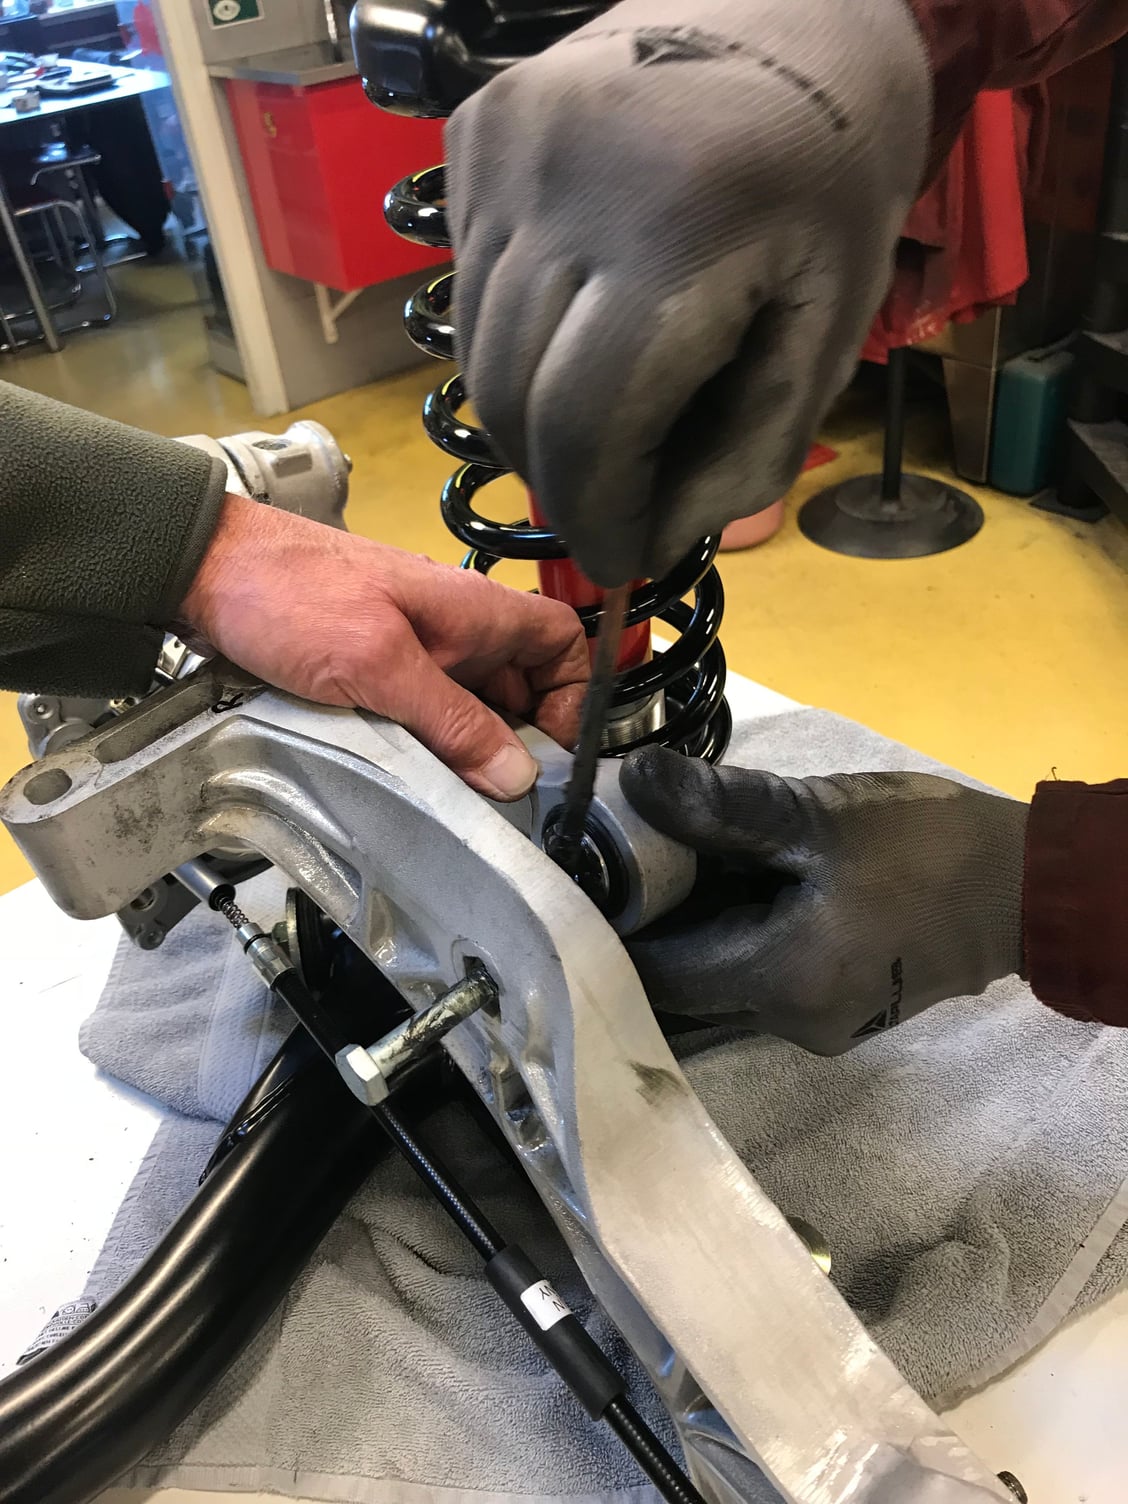
Next job was gently hammering in the pin that holds the bottom of shock absorber and the wheel hub in the control arm. Unfortunately the pin didn't fit well, so we had to basically widen the inner diameter of the bushing:
Take a look at the picture above and check the way the shock is put in: it has a slight angle at the bottom and it turned out we put in on the wrong way....
We only discovered this when we just couldn't get the rear suspension mounted to the car�..
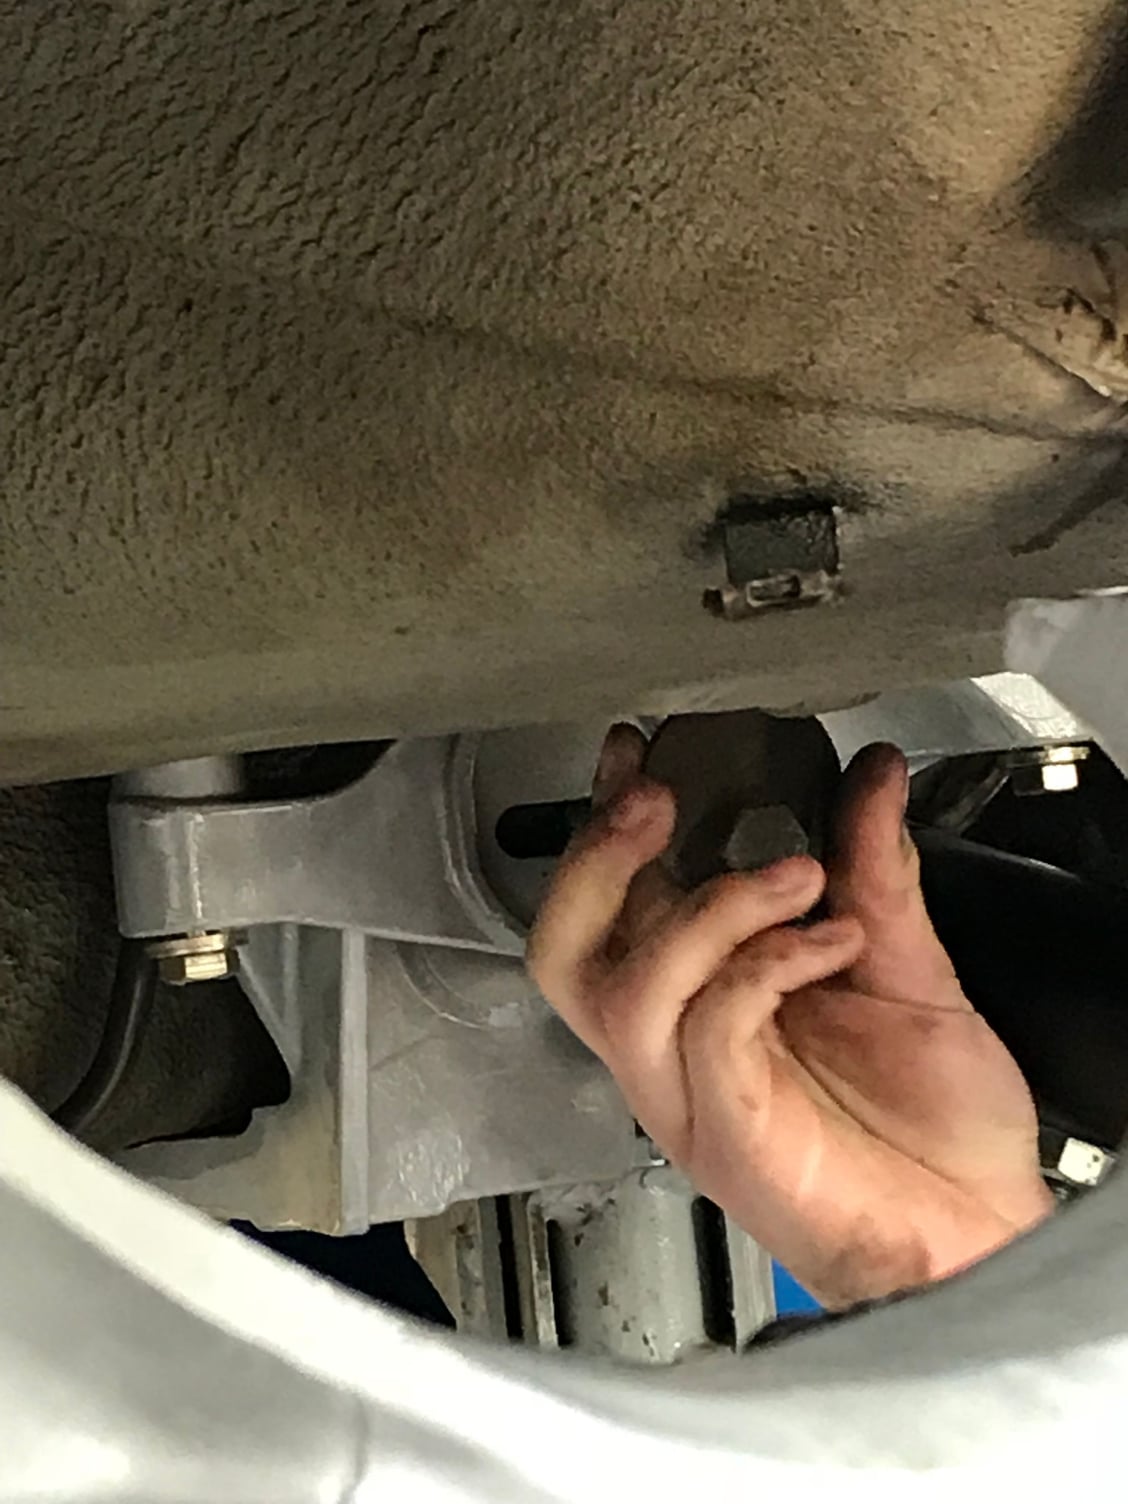
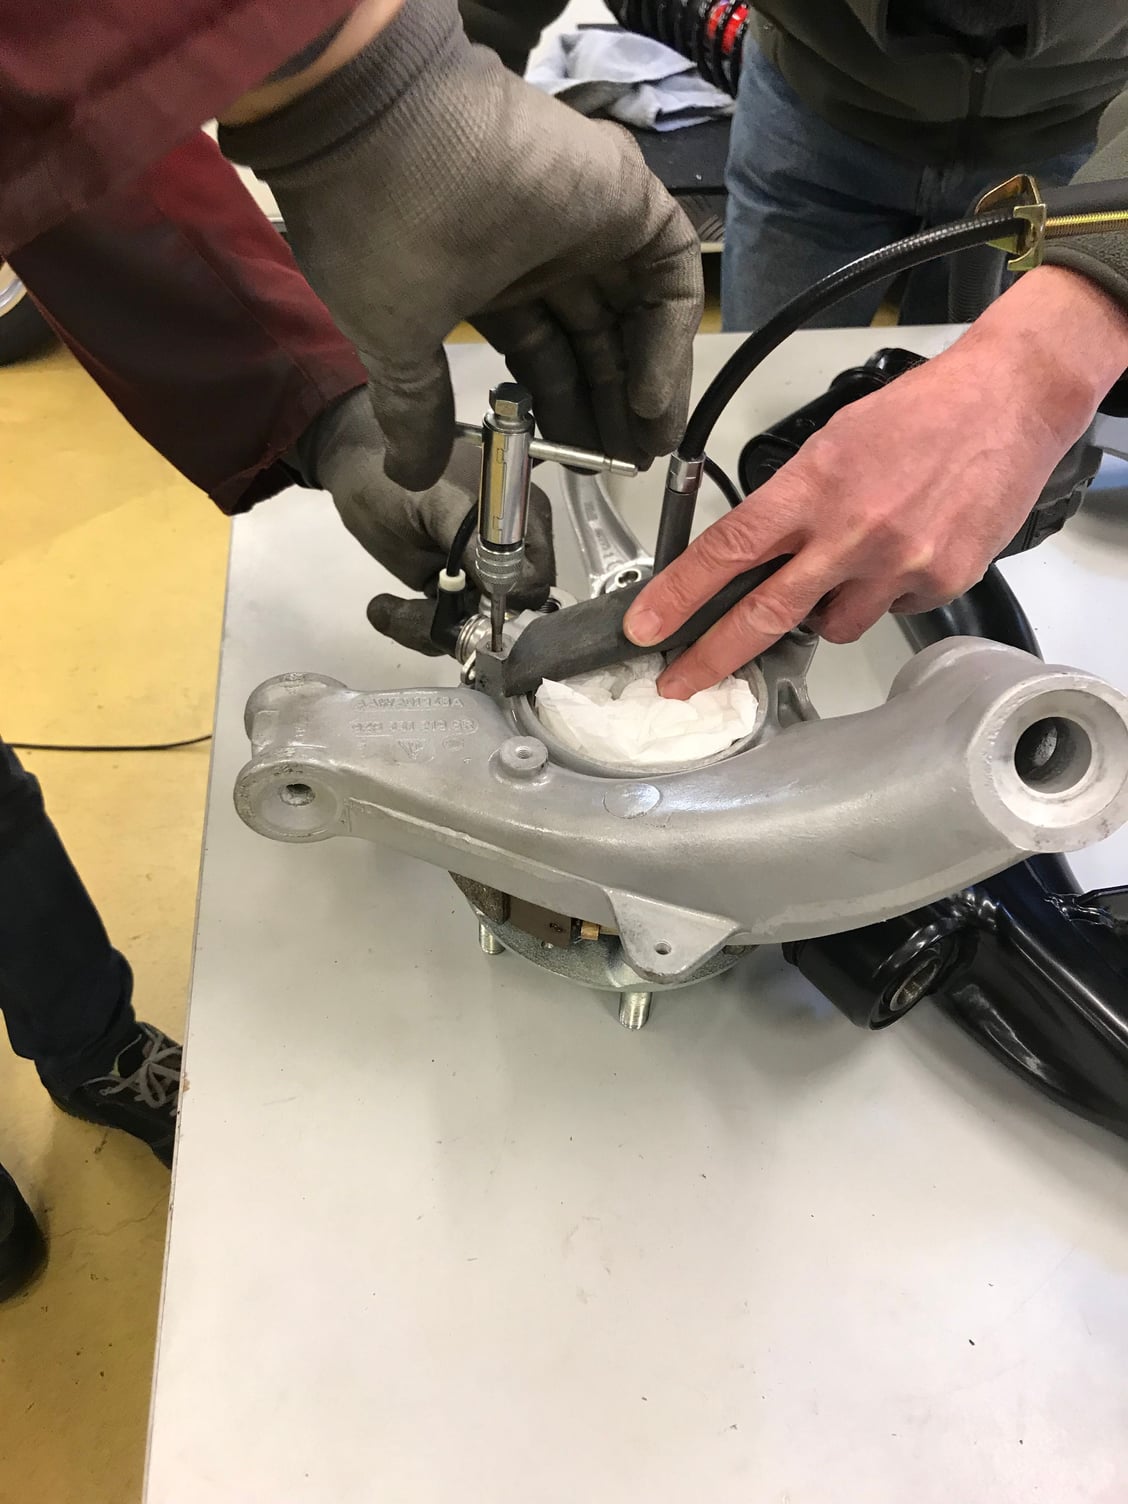
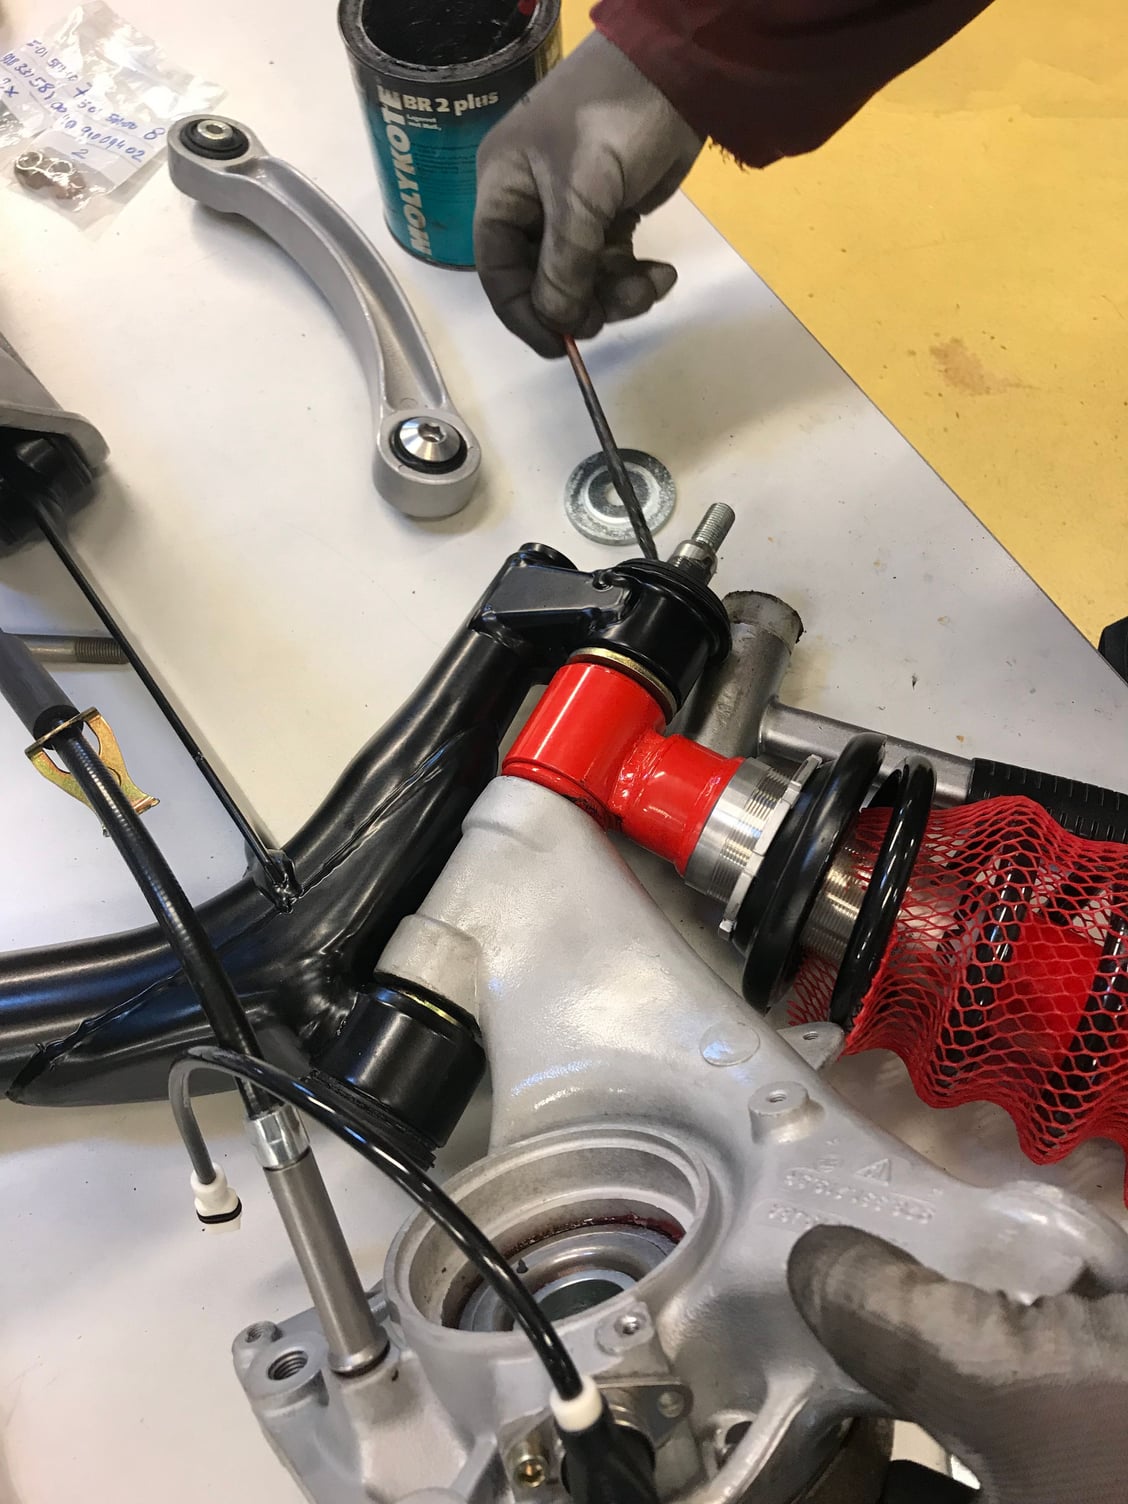
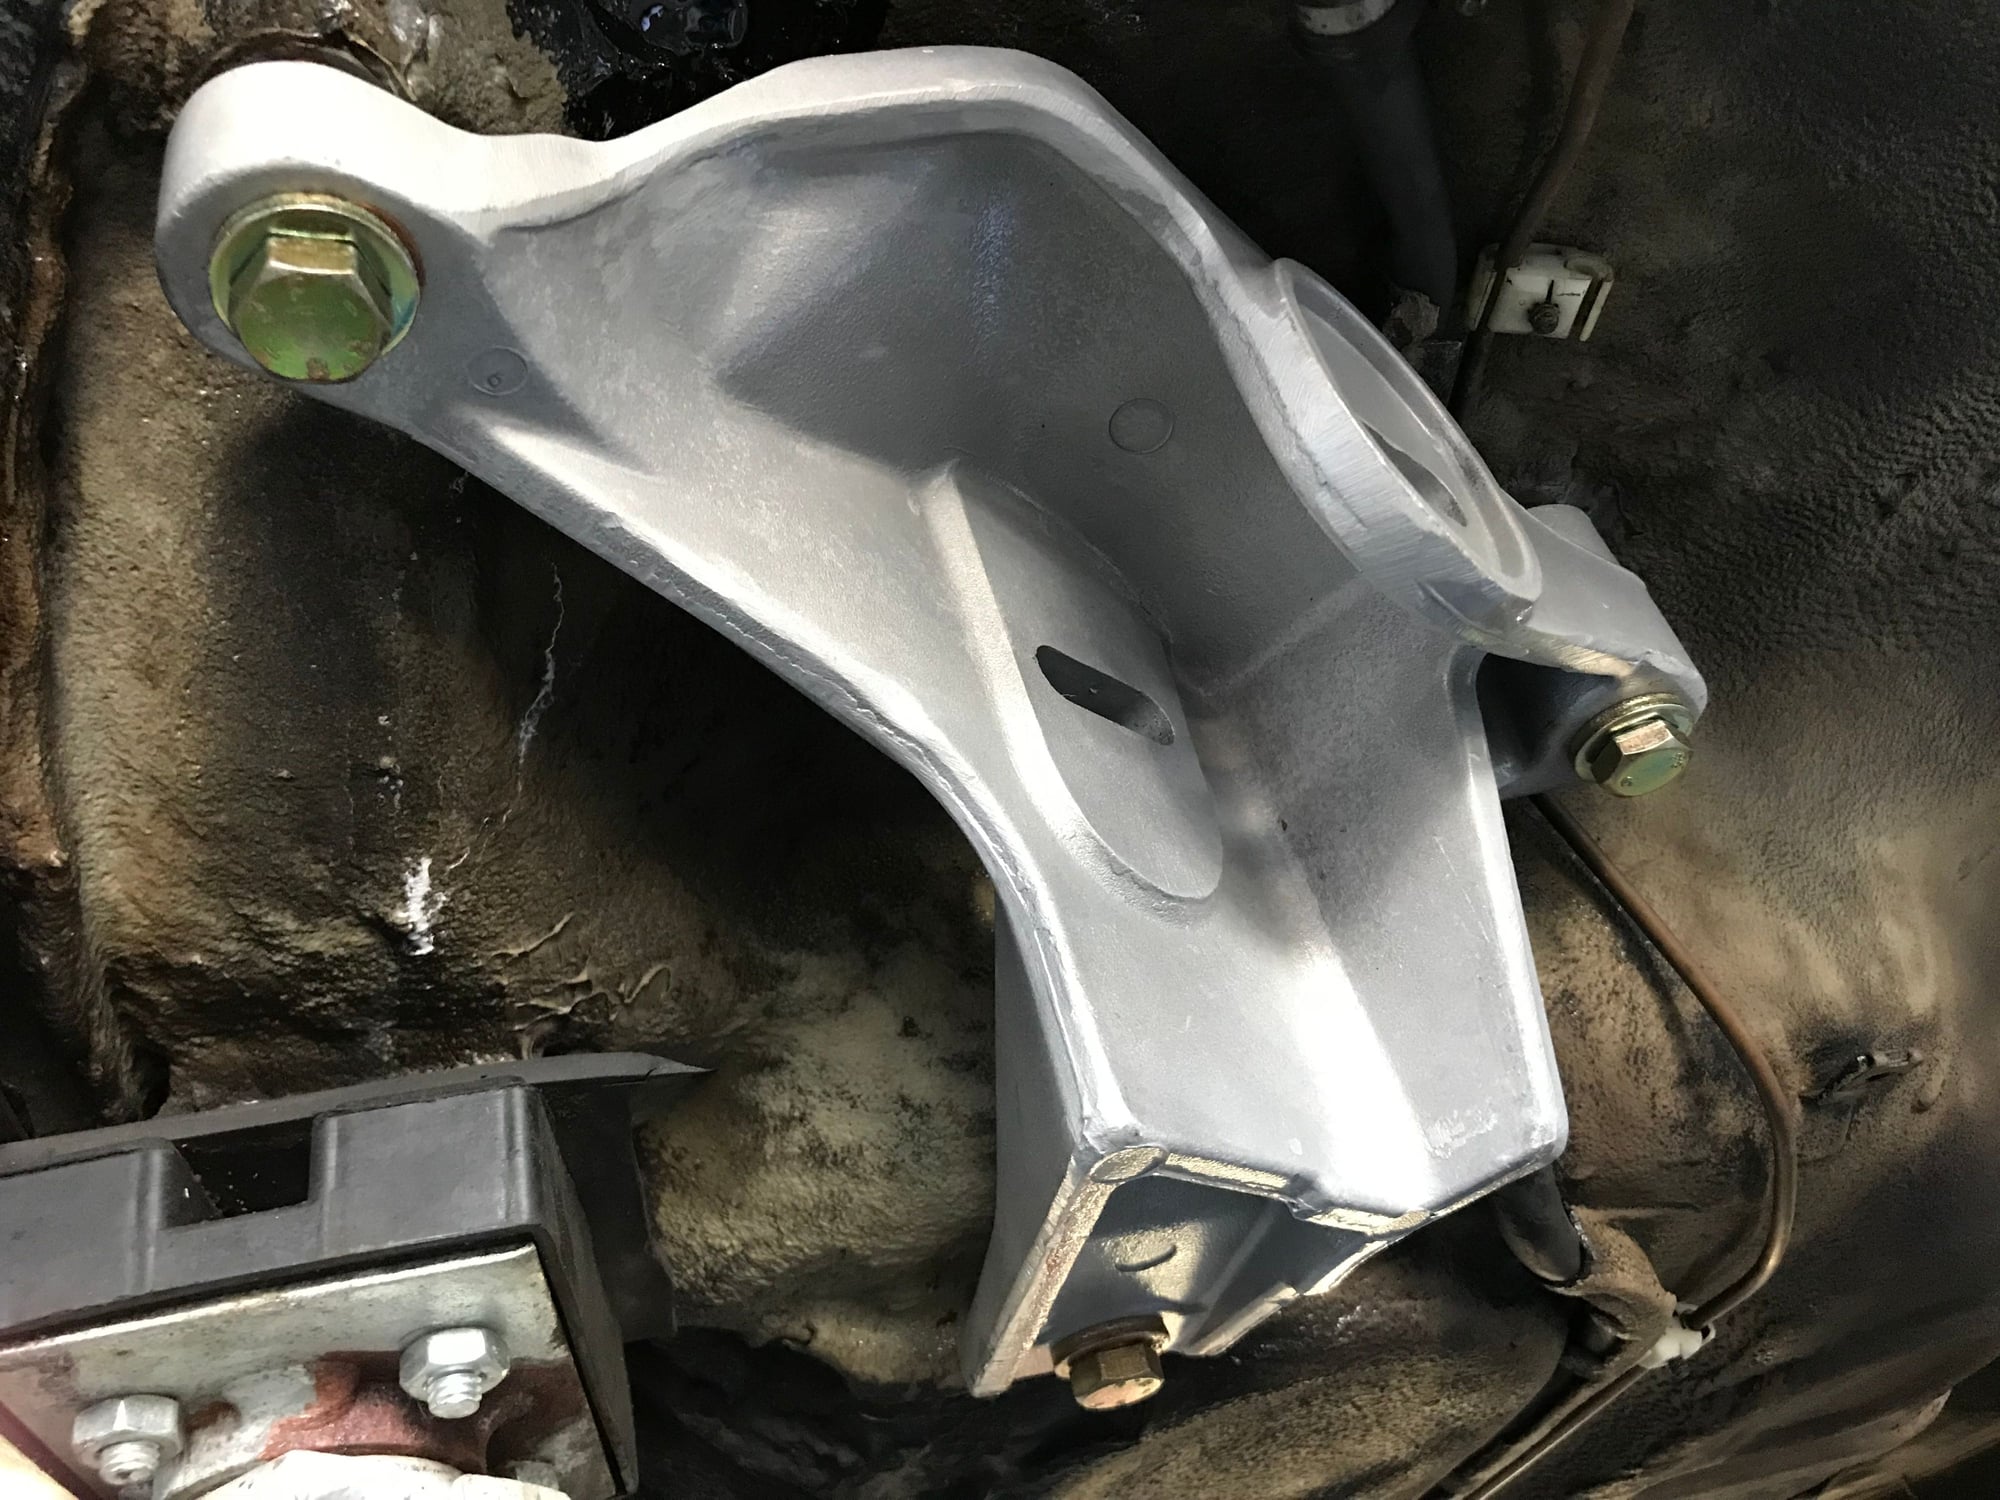
Next job was to attach the control arms to the wheel hubs and cross member. This hexagon-head bolt is a tight fit:
Adding grease where we can��.
Putting in the bolt to attach the control arm to the crossmember:
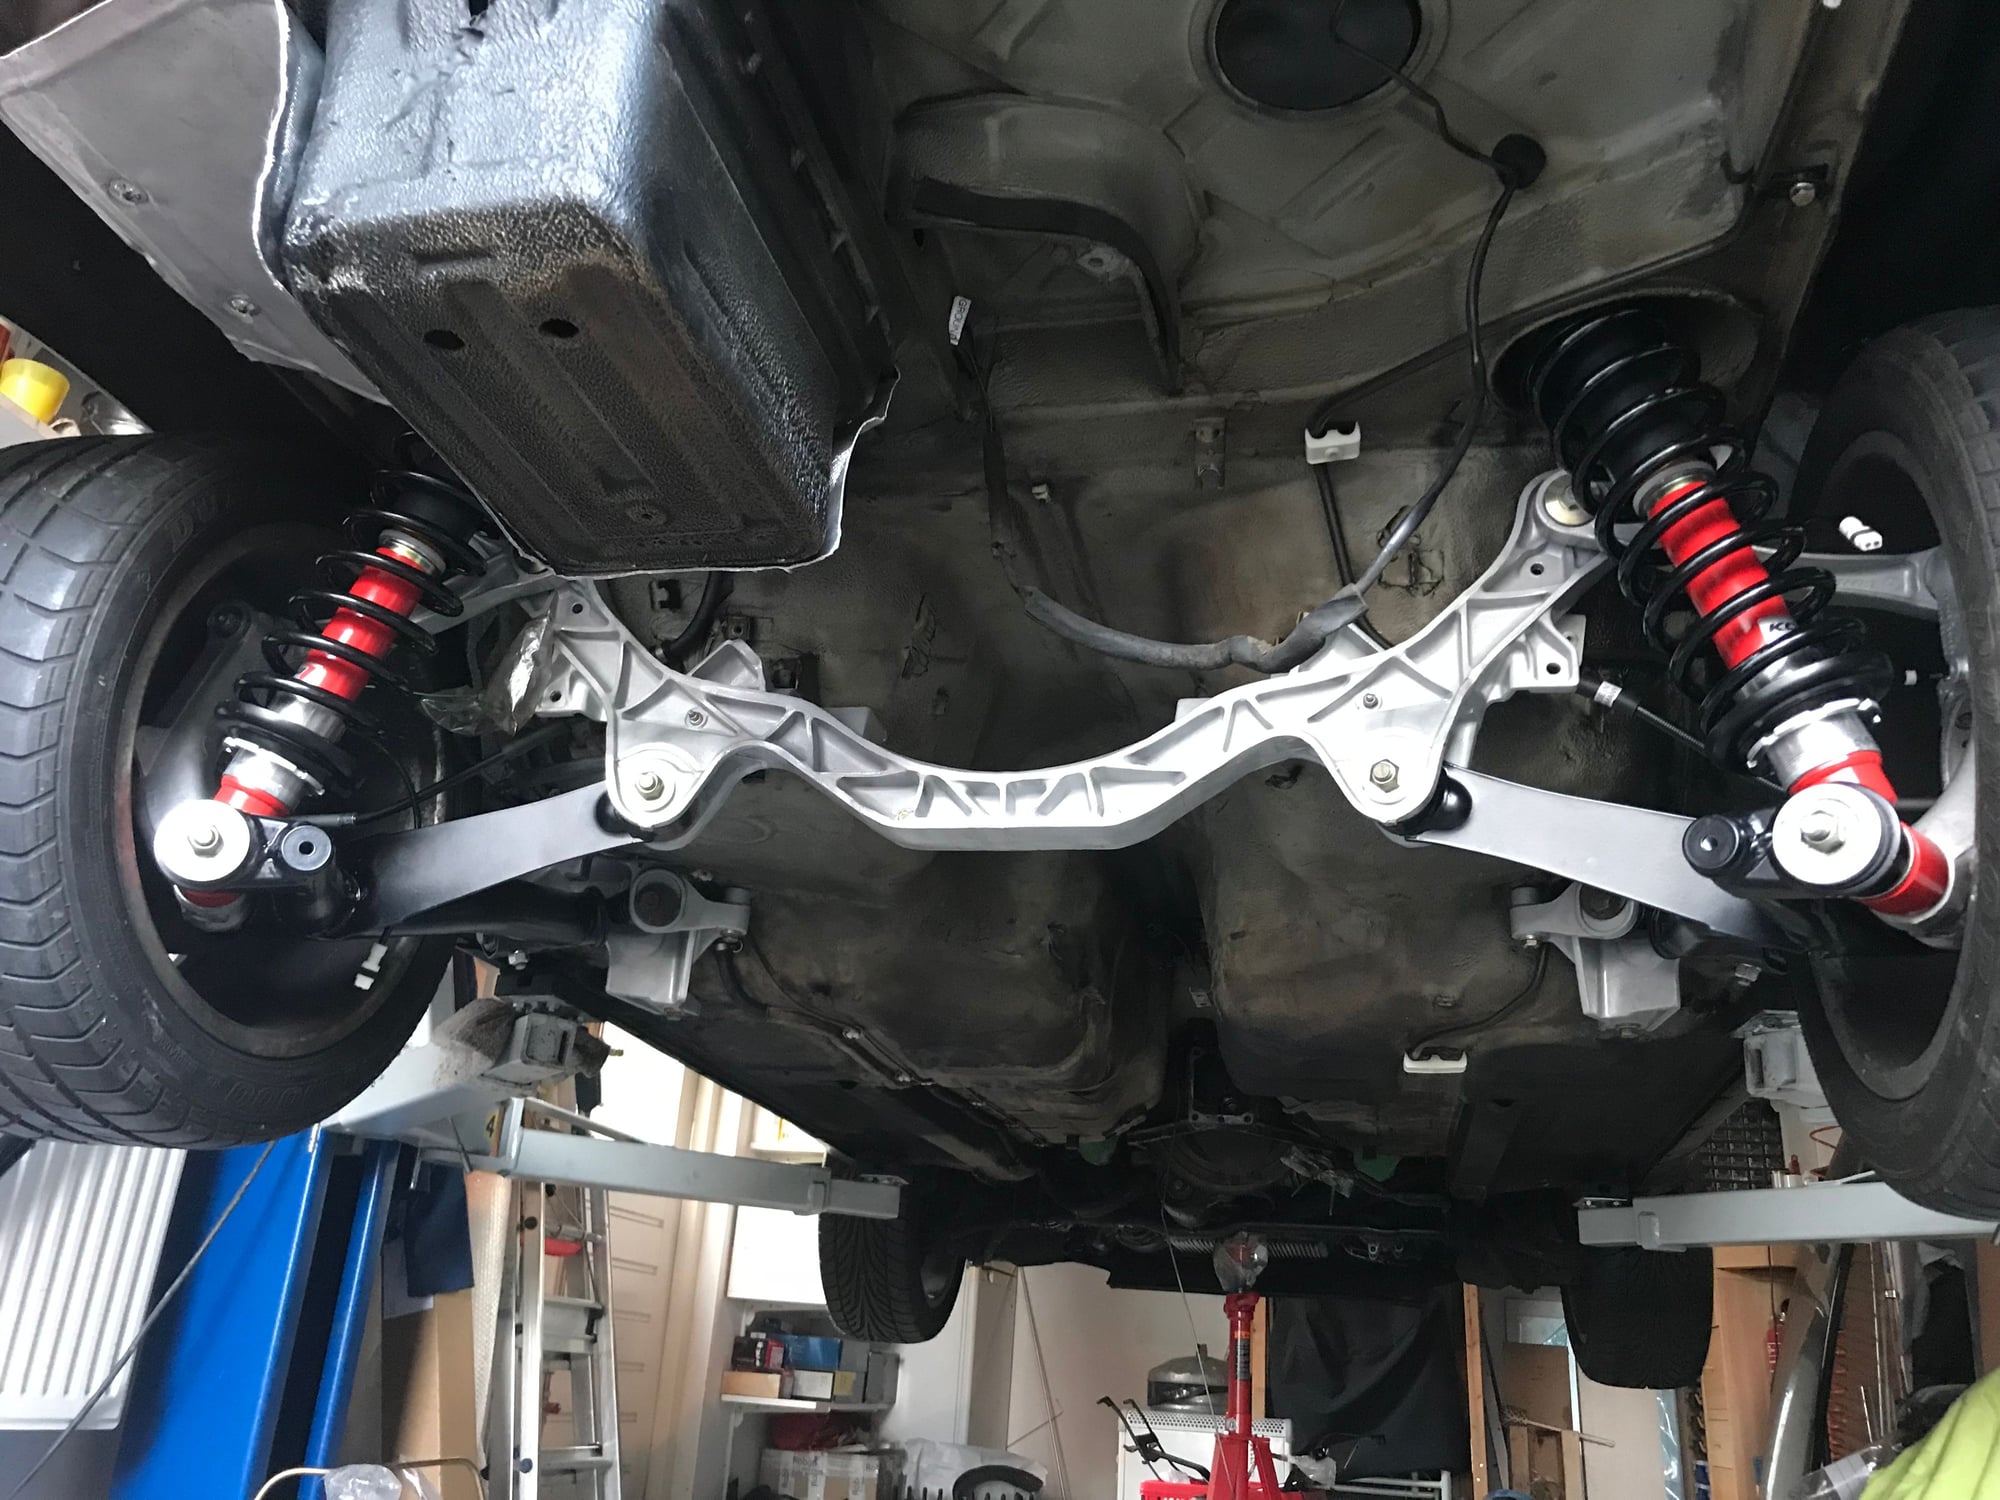
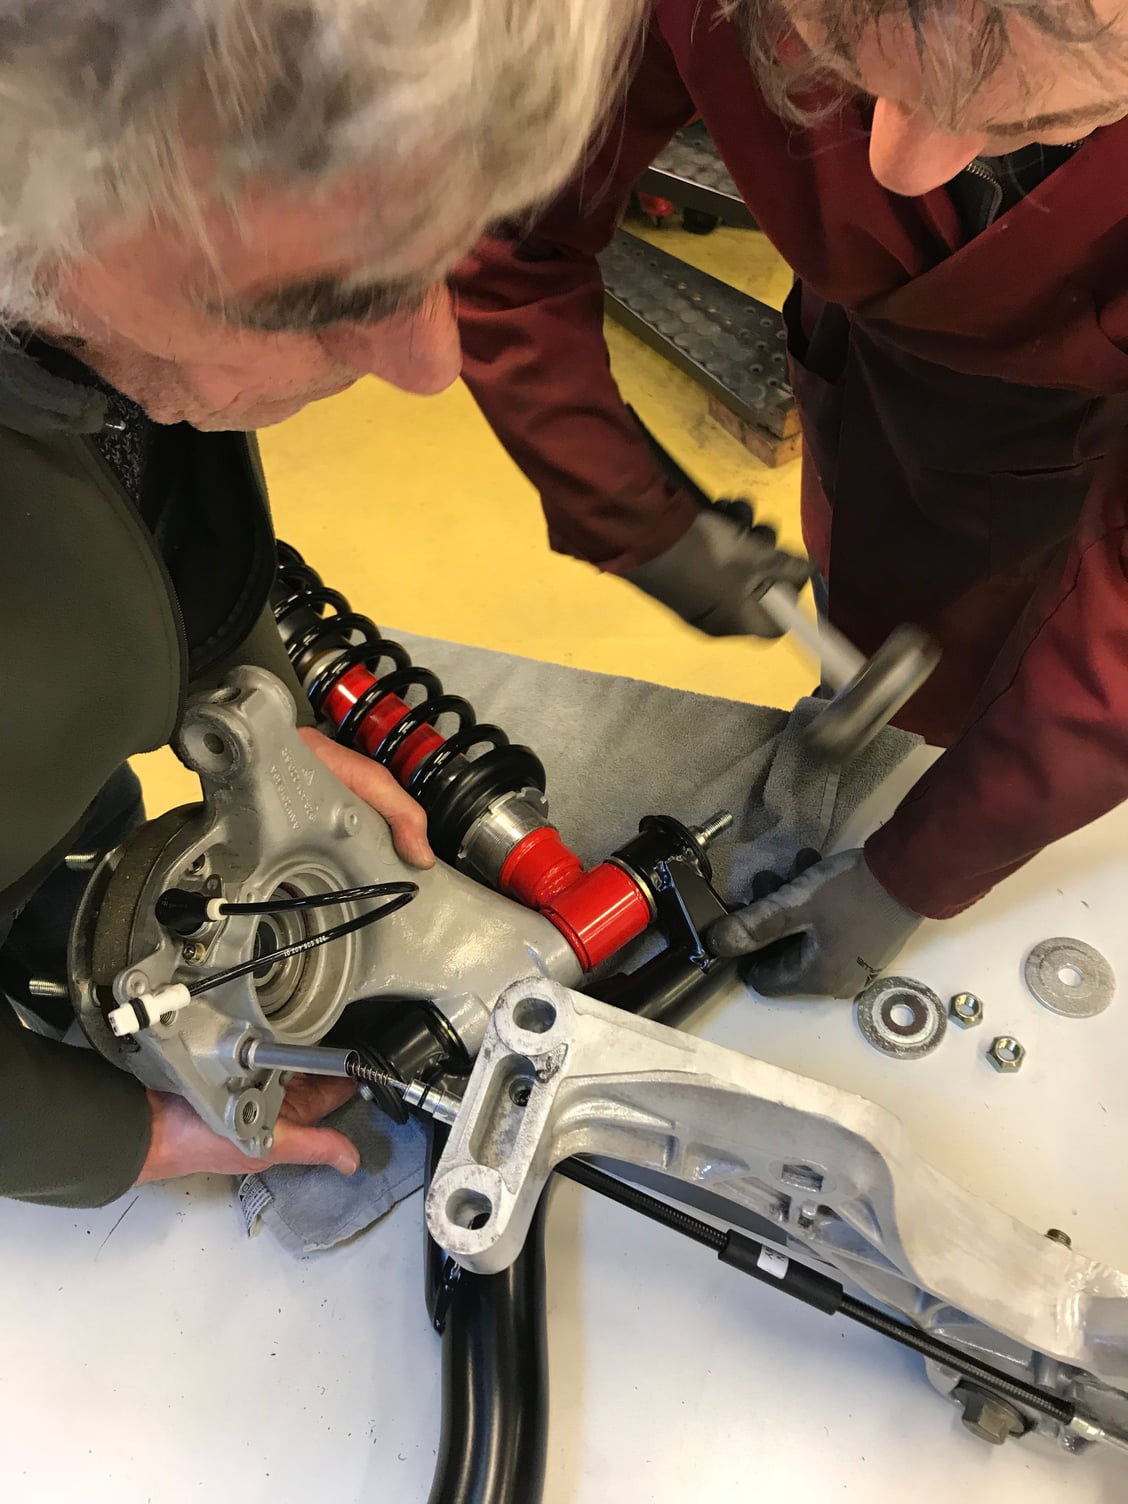
And here is the final result�:
Putting the link bearing back on the car:
The initial plan was to put everything back together (torque tube, transmission and rear suspension) but after talking it all through with mechanic Bob we decided to temporarily put the rear suspension back in place so the car would be moveable.
In doing so we can move her to Bob's garage to take the front apart and take out the engine. The new plan is to start building her up again starting with the engine and then attaching TT, Trans, rear suspsension and the fuel tank.
I would recommend installing the trans and torque tube with the rear suspension. There is a front support that will hold the torque tube up while you move it.
Agree with Sterling- you also don't want to roll the car around with 500+ kg weighing on your brand-new rear wheel bearings un-clamped between the axle shaft stub and the hub. Install the transmission, torque tube and axles now, so you're that much closer to being able to drive the car once the engine's back in.
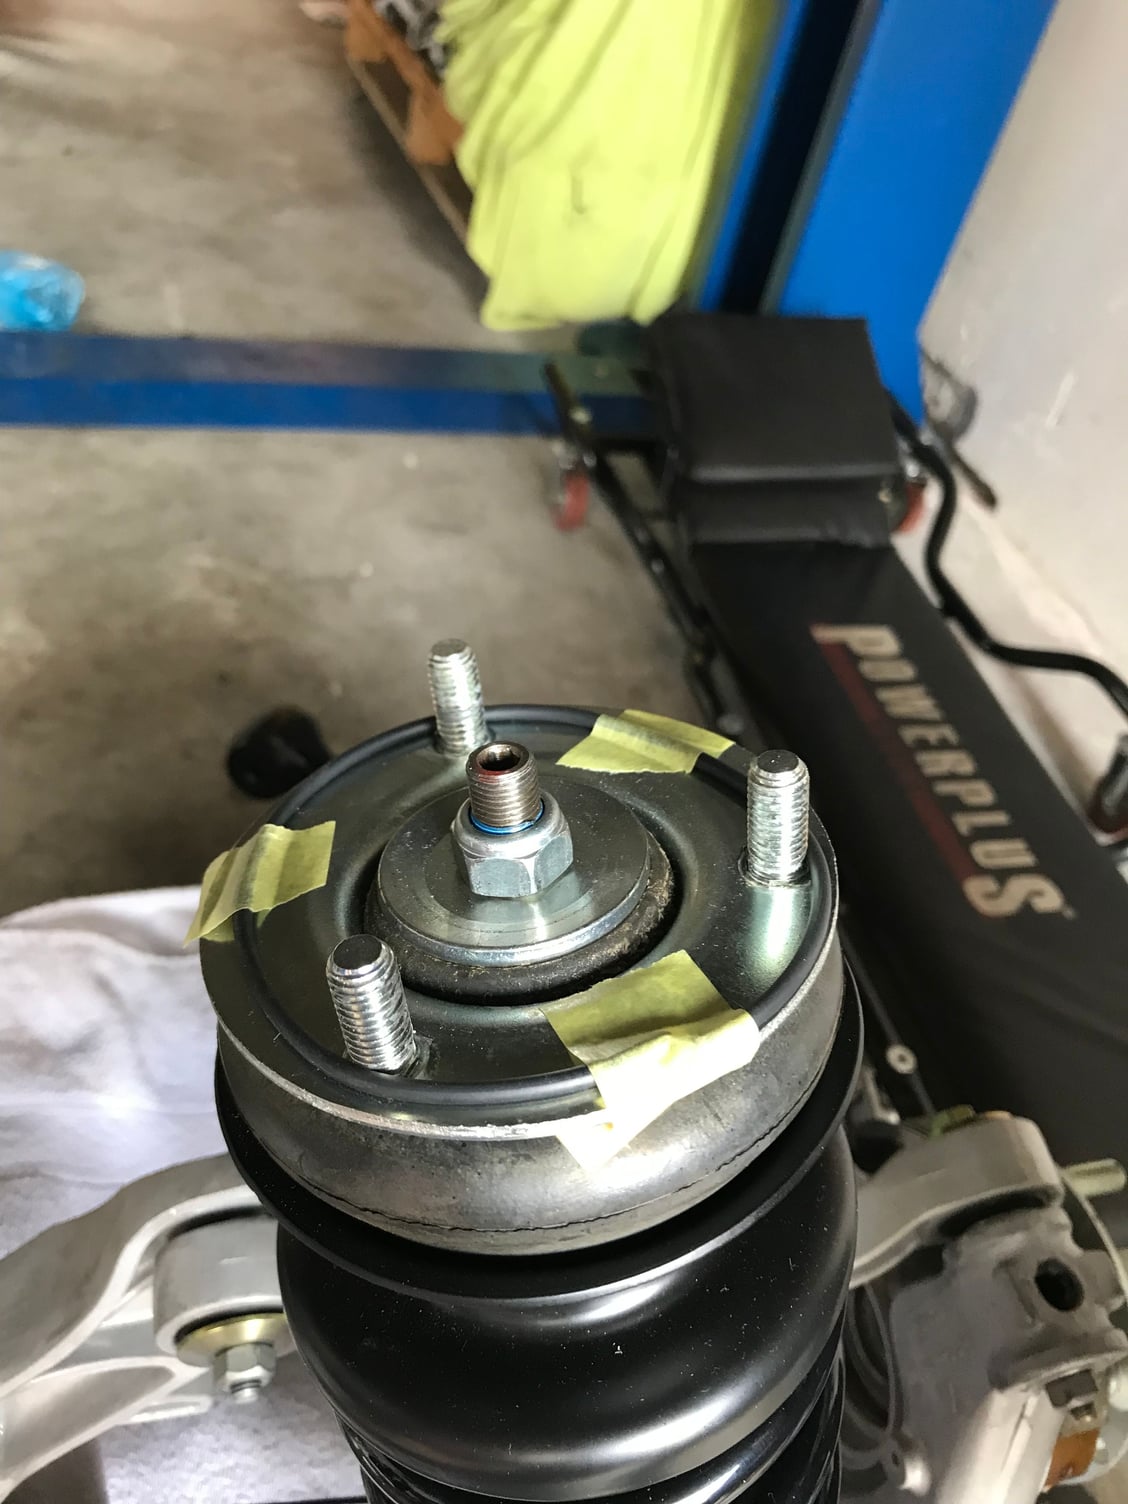
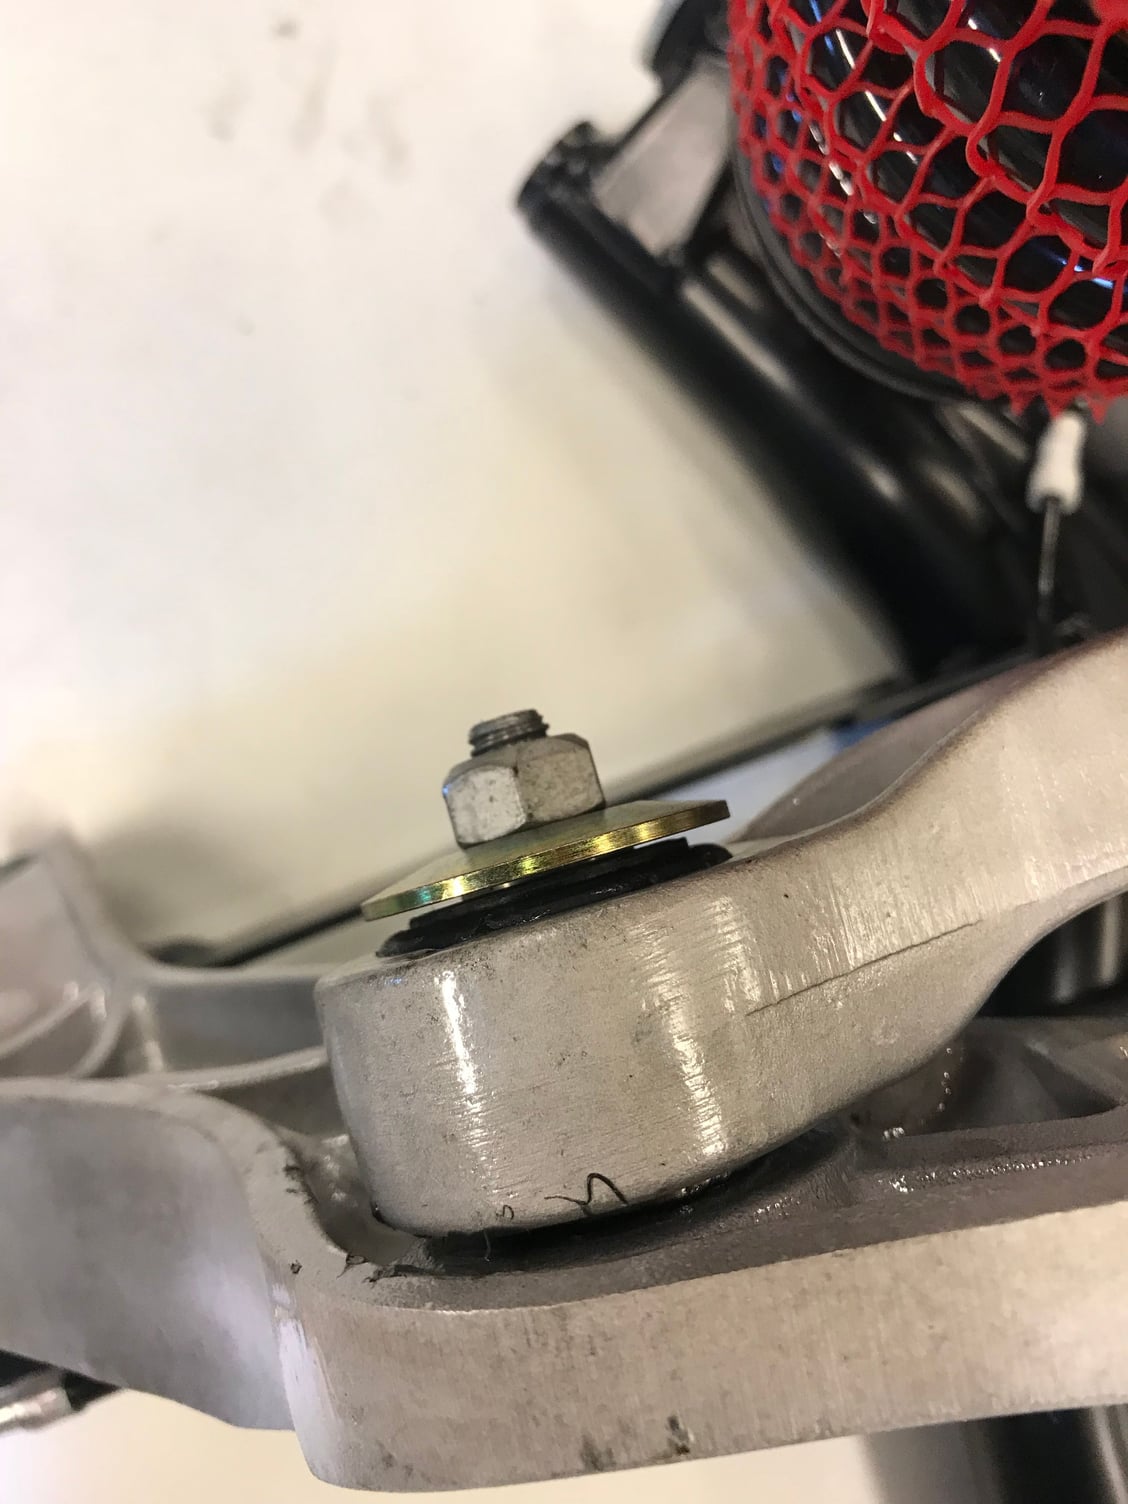
Not sure if it's just me but my manual shows that concave washer oriented the other way. Even in PET it shows the other other way round. If not I've just put mine on backwards.
I would recommend installing the trans and torque tube with the rear suspension. There is a front support that will hold the torque tube up while you move it.
Originally Posted by Rob Edwards
Agree with Sterling- you also don't want to roll the car around with 500+ kg weighing on your brand-new rear wheel bearings un-clamped between the axle shaft stub and the hub. Install the transmission, torque tube and axles now, so you're that much closer to being able to drive the car once the engine's back in.
Thanks for the help on that, I understand your point. Unfortunately the CV joints are out and being refurbished, so no way I can install them. But the biggest obstacle is how to get the torgue tube and transmission in place in my home garage. I do have a 2-post lift but the risk of damaging the transmission in the proces outweighs the risk on damaging the wheel bearings (the transmission almost fell during removal�.).
Maybe I had to add that we only needed to move the car a few meters onto the trailer, and from the trailer a few meters into the mechanic's garage. I'll explain and show the pictures in part 5...
Not sure if it's just me but my manual shows that concave washer oriented the other way. Even in PET it shows the other other way round. If not I've just put mine on backwards.
Hi DeWolf, thanks for your sharp eye�! I've been cracking my brain on how we could have missed that. Just checked a few pictures of when we took the rear suspension apart and those clearly show you are totally right:
The suspension will have to come off again when we install engine, torque tube and transmission, so we will definitely turn those around the correct way. Thanks again for pointing that one out te me!!!
We decided that (what we thought) the best option was to have the suspension back on the car temporarily so that we could move her to my mechanic's garage to have the engine taken out.
During that proces we discovered we had the shocks on the wrong way....made us sweat for a while but we got it done. Next we installed the suspension on the car.
Dwayne's write-up showed the sealant he used between the top of the shocks and the body. As thsi was just a temporary fit we decided to just put in some small rubber band that is held in place by tape:
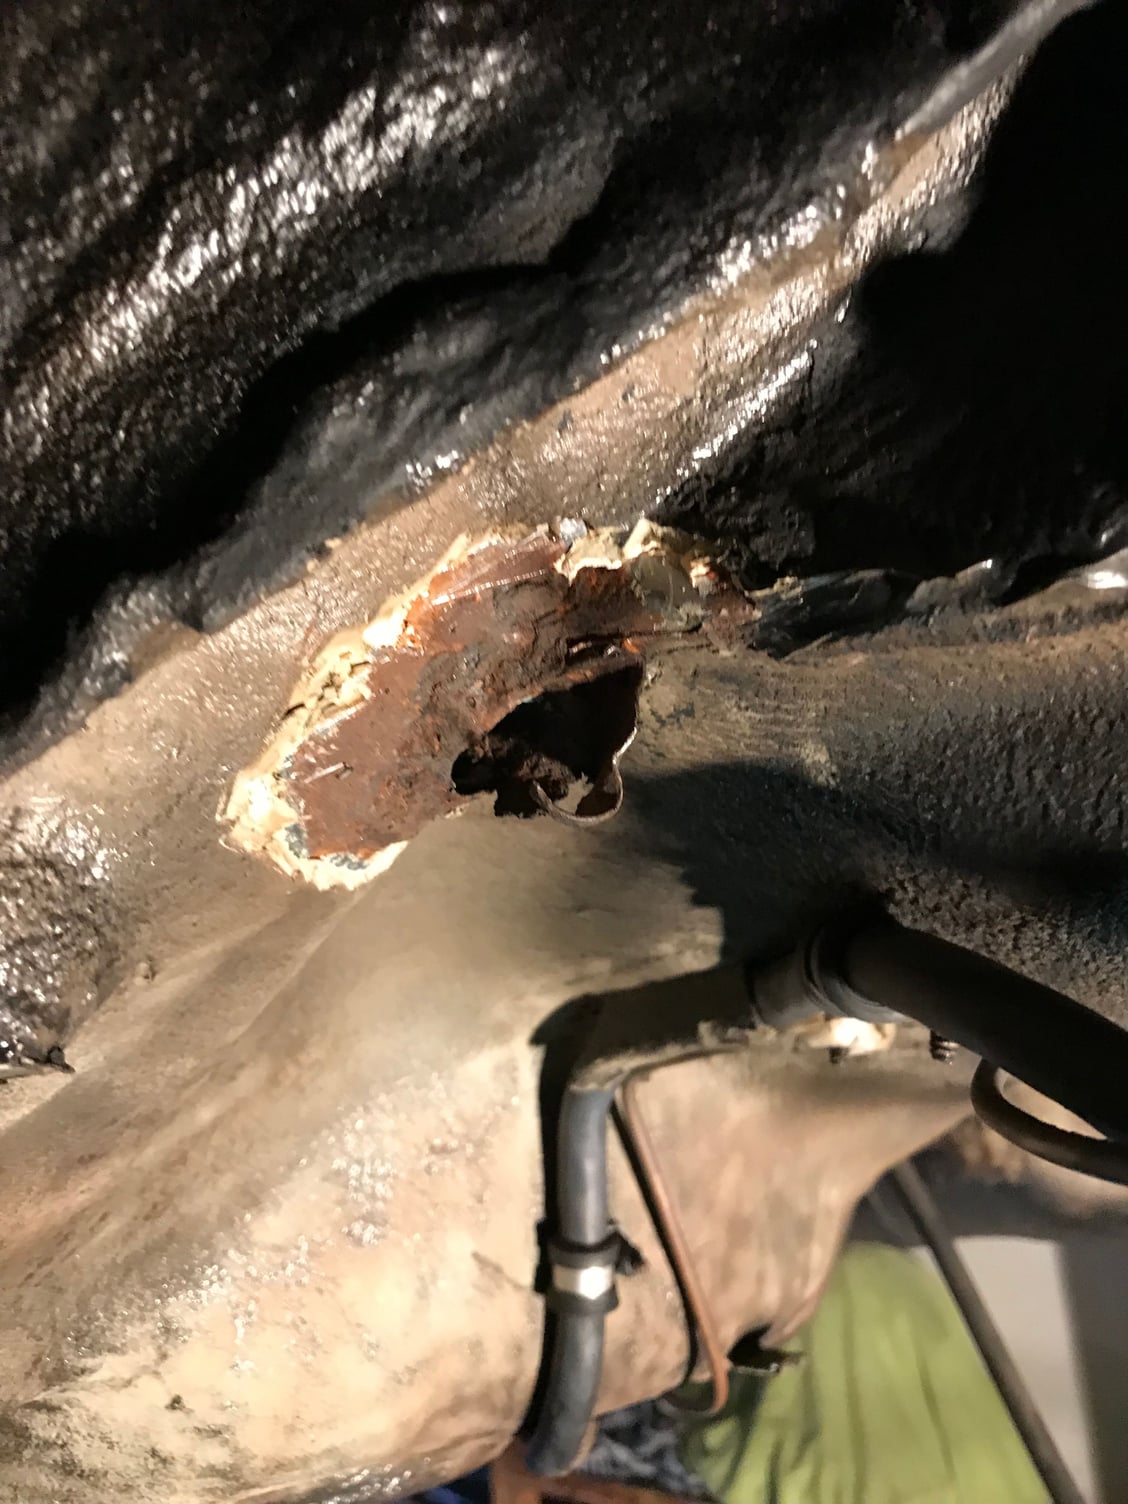
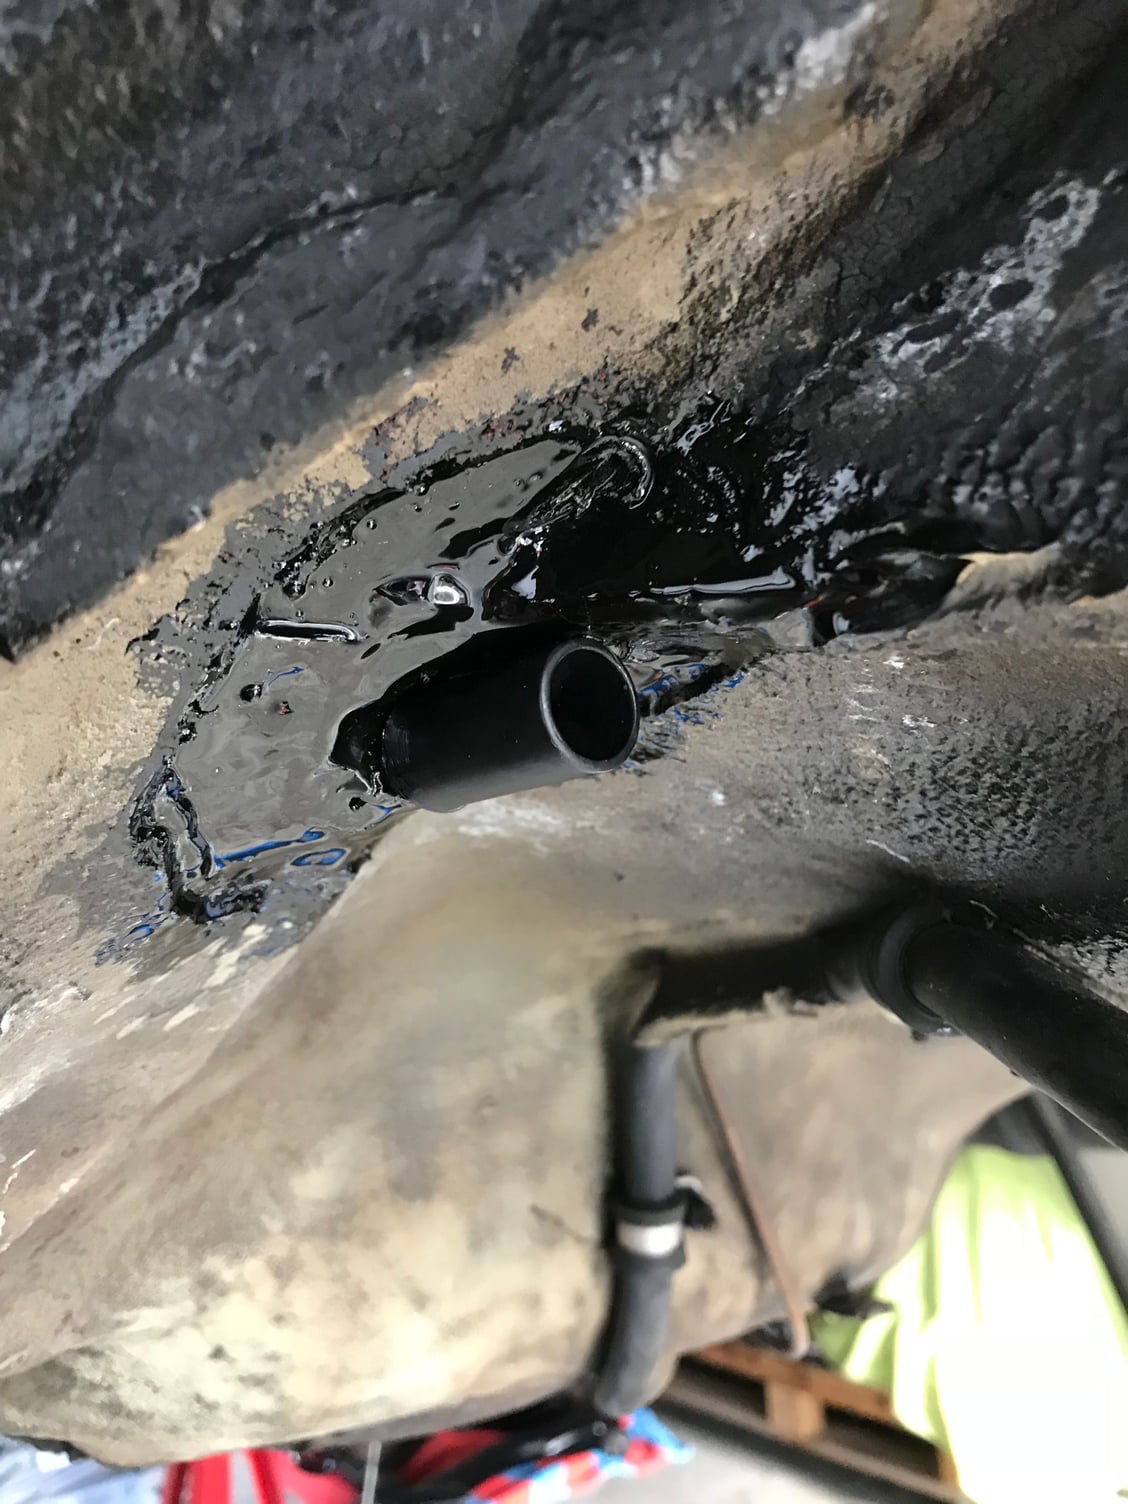
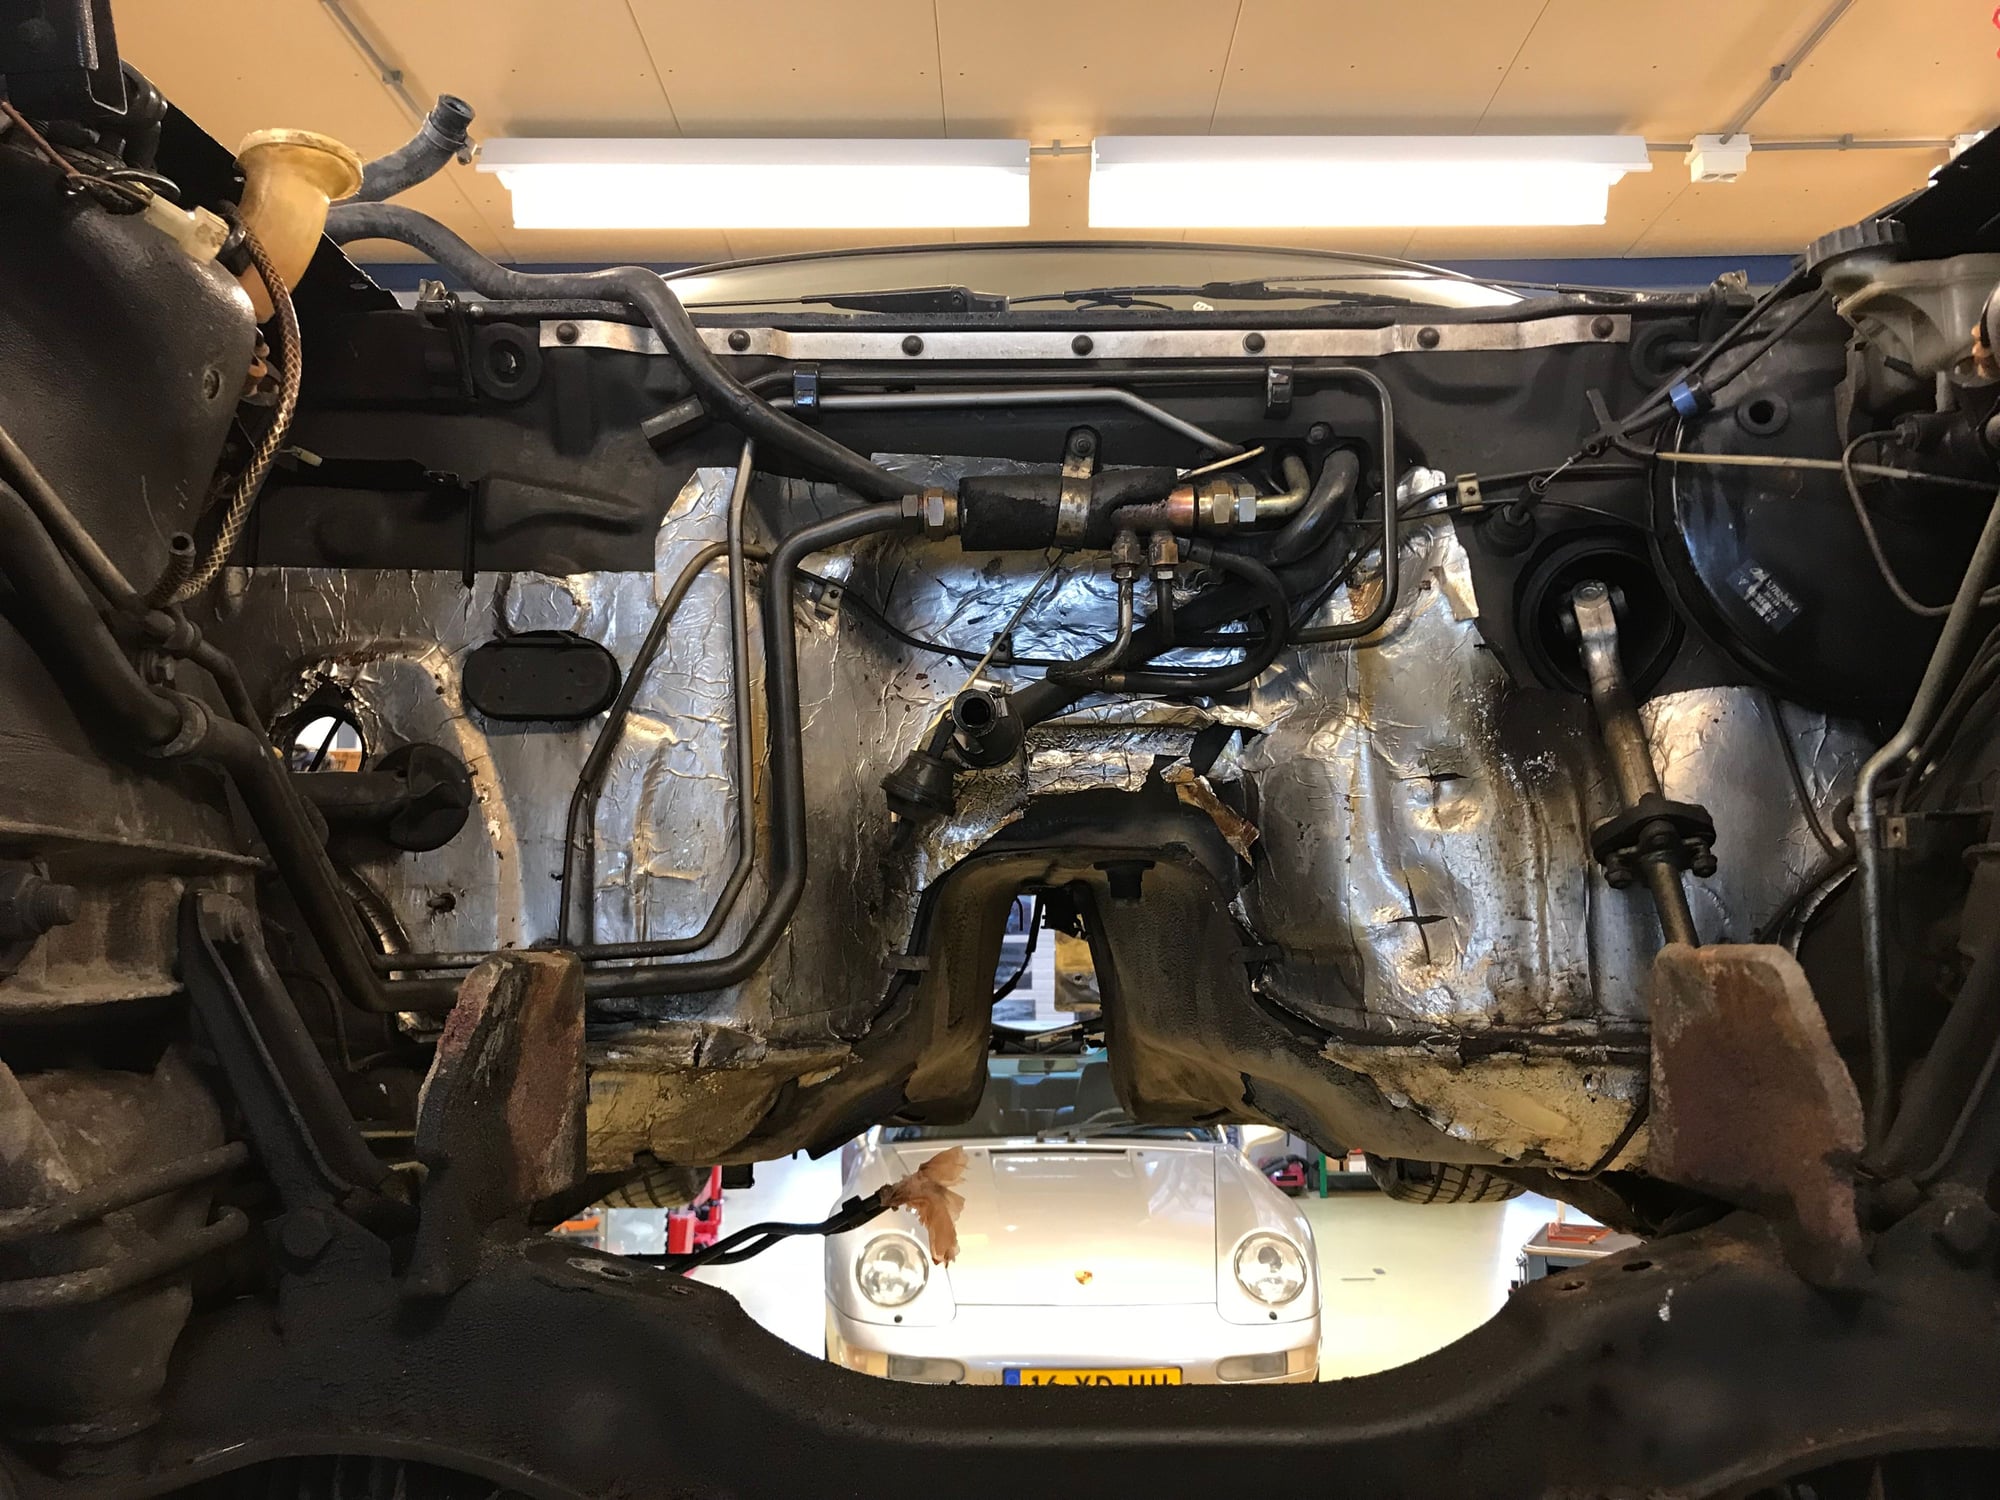
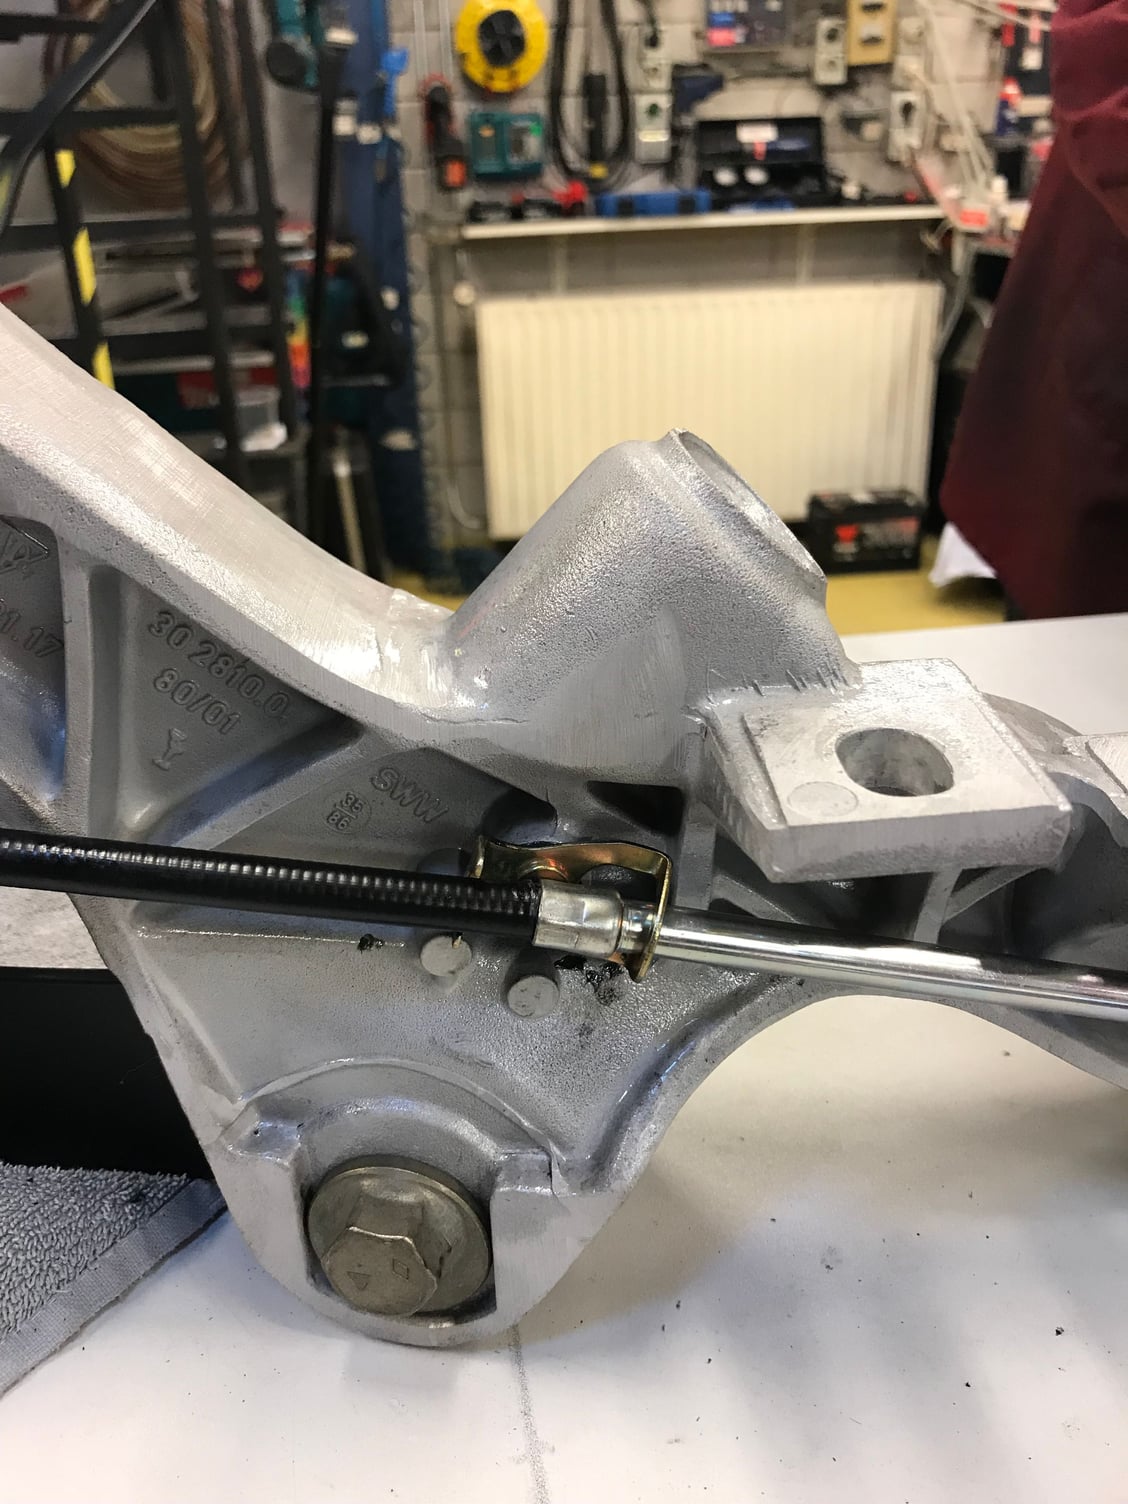
A small sidestep before I continue. I had to repair the small tube where the handbrake cable is led through the body. The old one was shattered and the area around it was rusty as well:
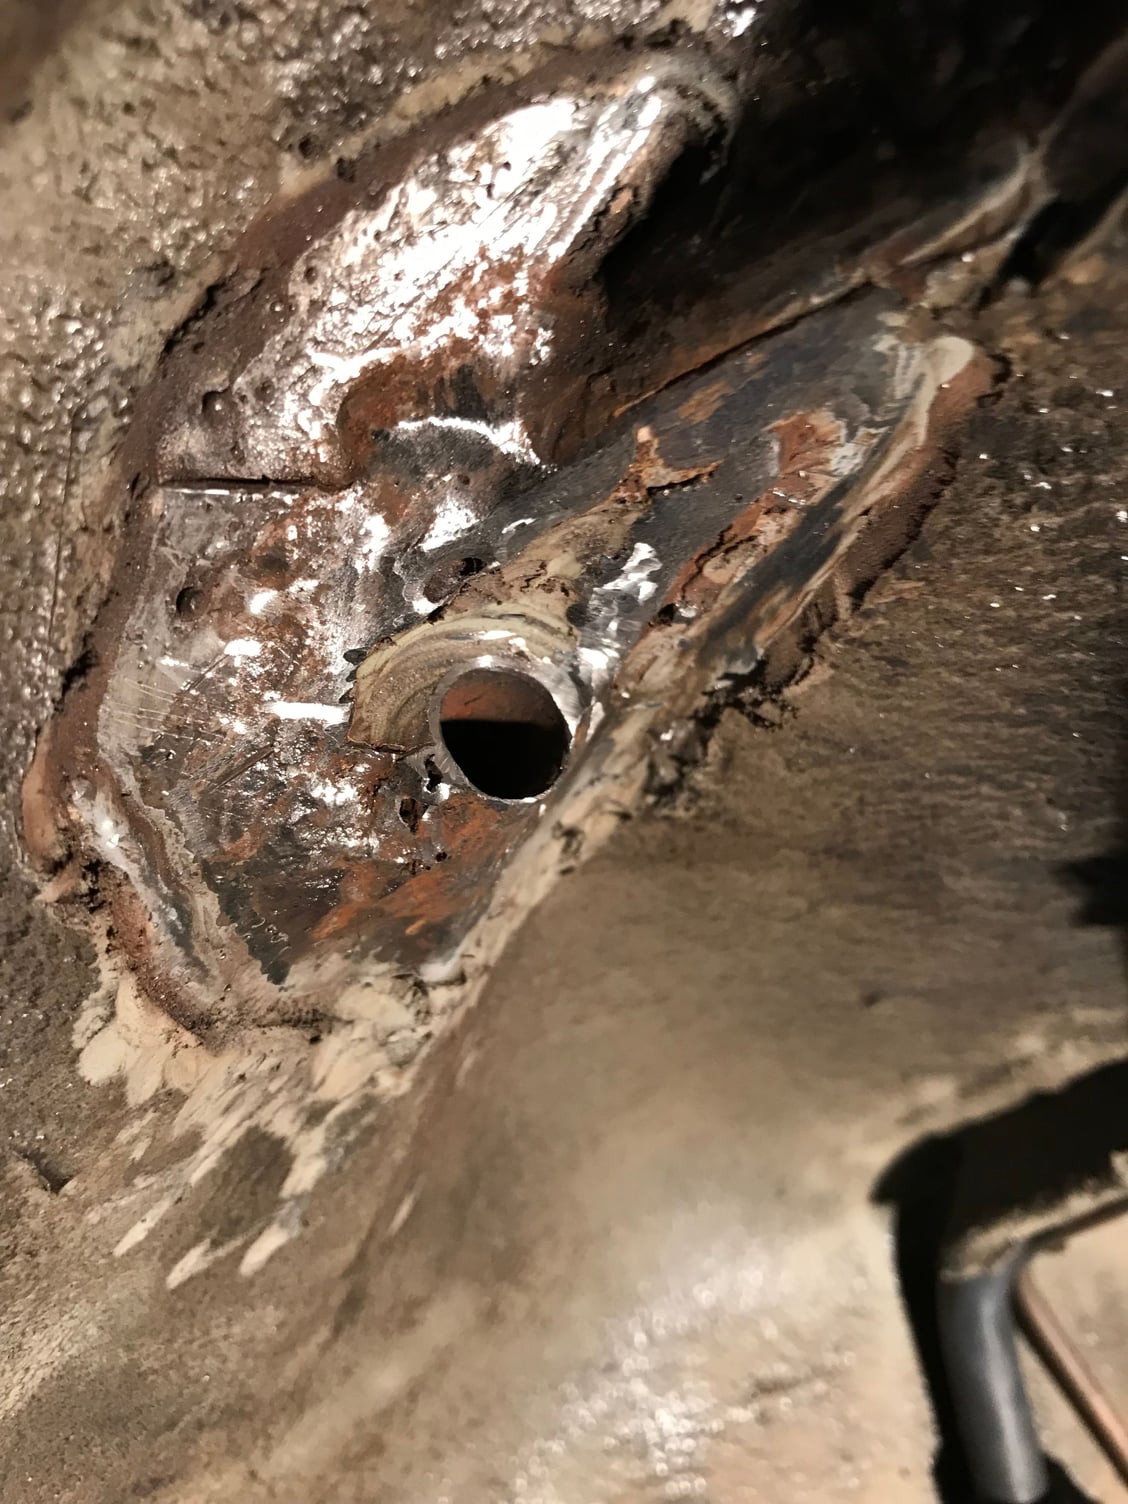
First step was to use the Dremel tool and cut out the rusted part of the old tube. Next was using a wire brush to clean the area...
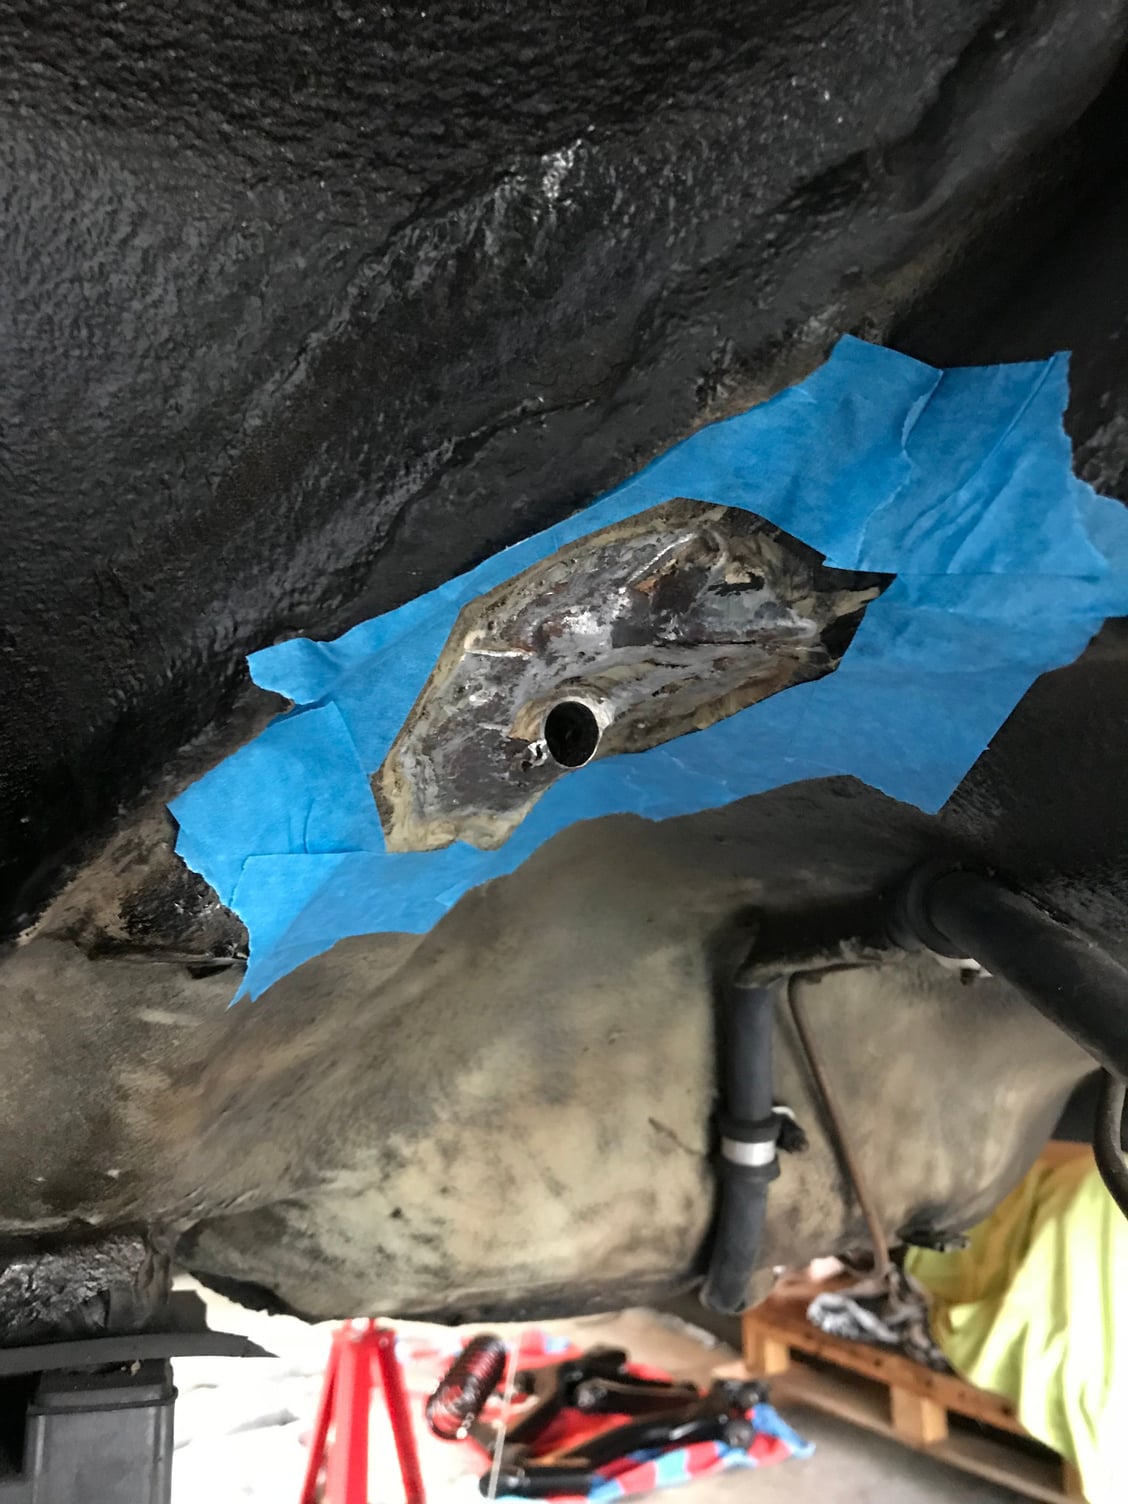
...masked off the area with tape and used the cleaner and chemical treatment that came with my POR15 set....
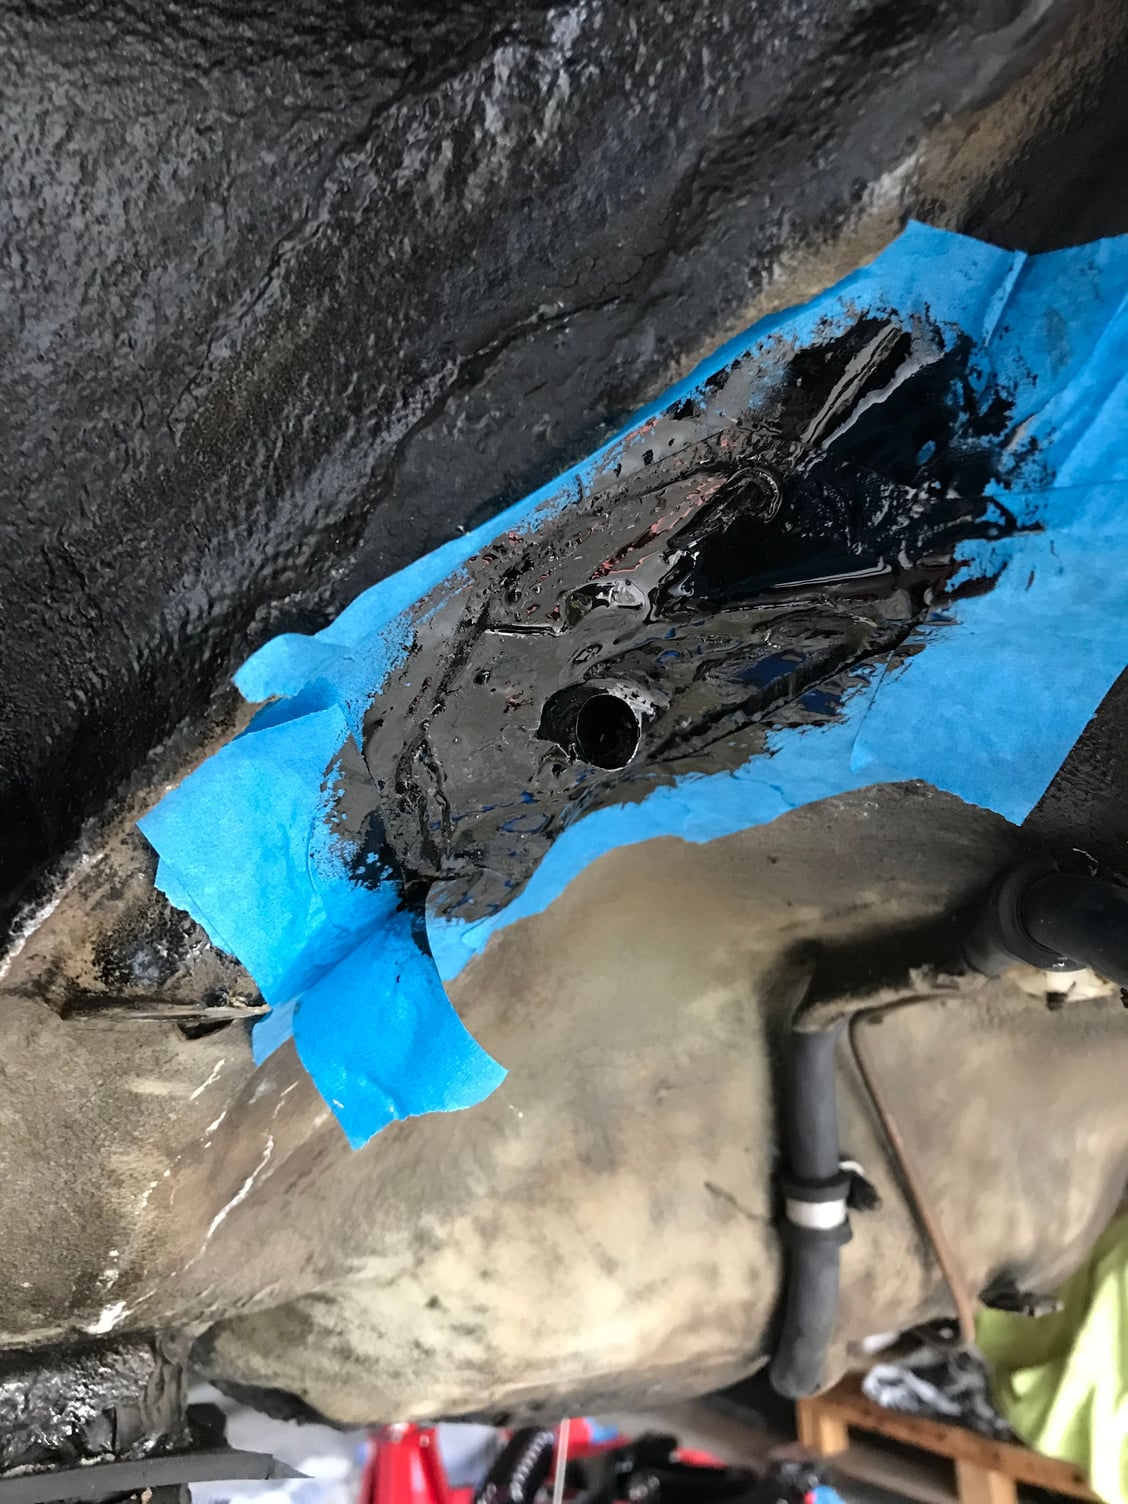
...and then painted the whole area with POR15:
I painted both the inside of the old tube as well as the outside of the smaller diameter part new tube to prevent any reactions between the metals. I'm quite happy with the result:
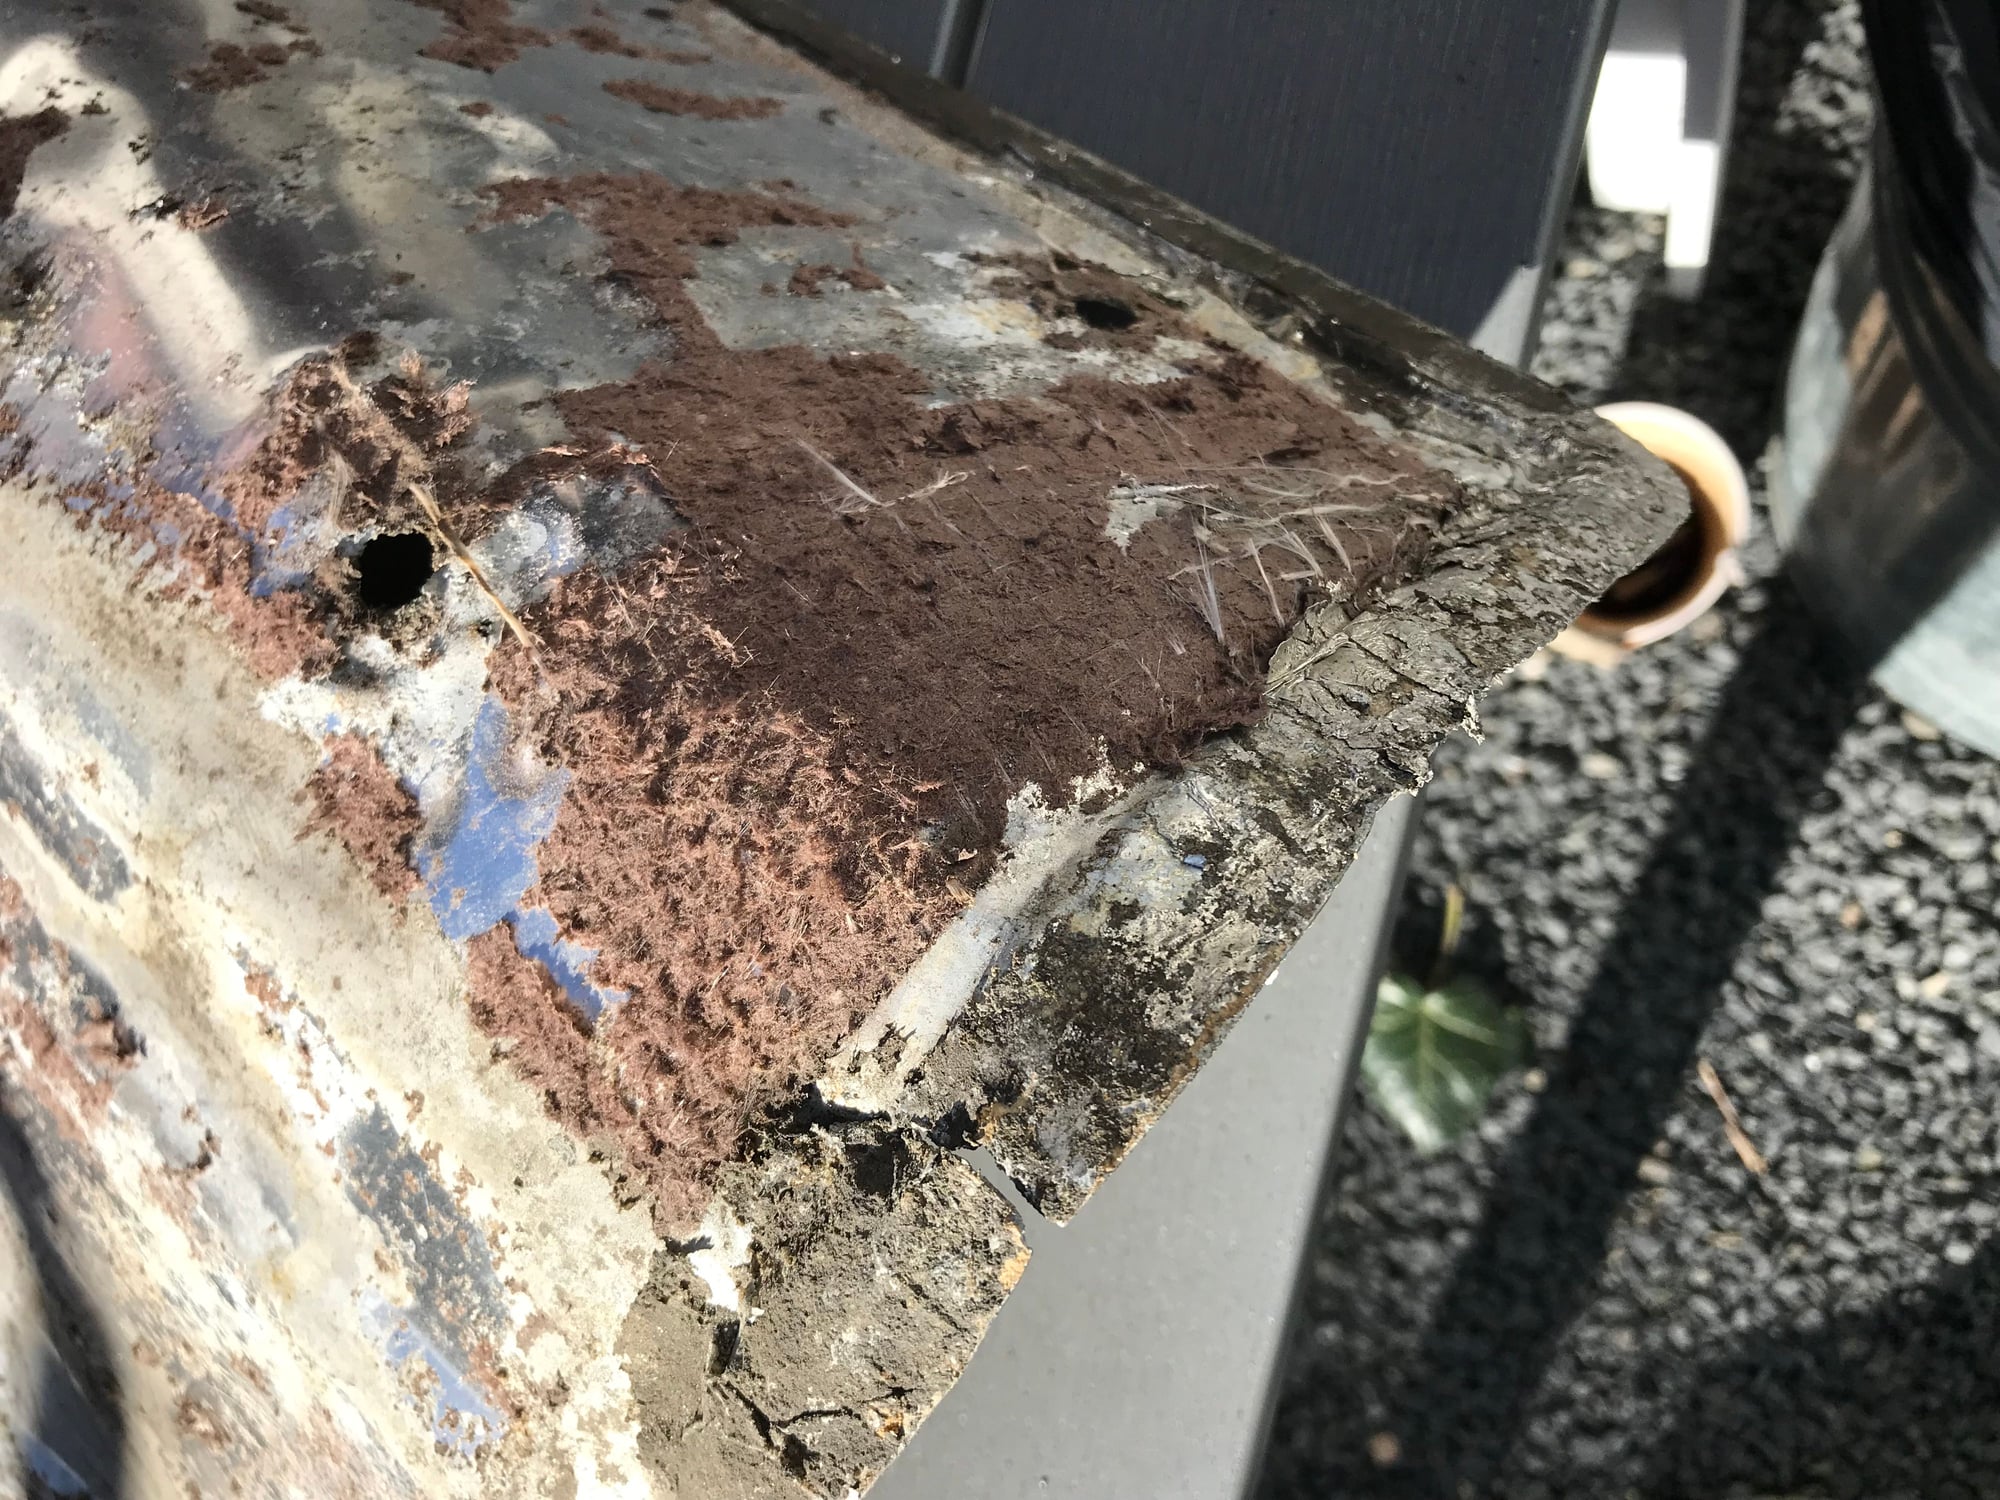
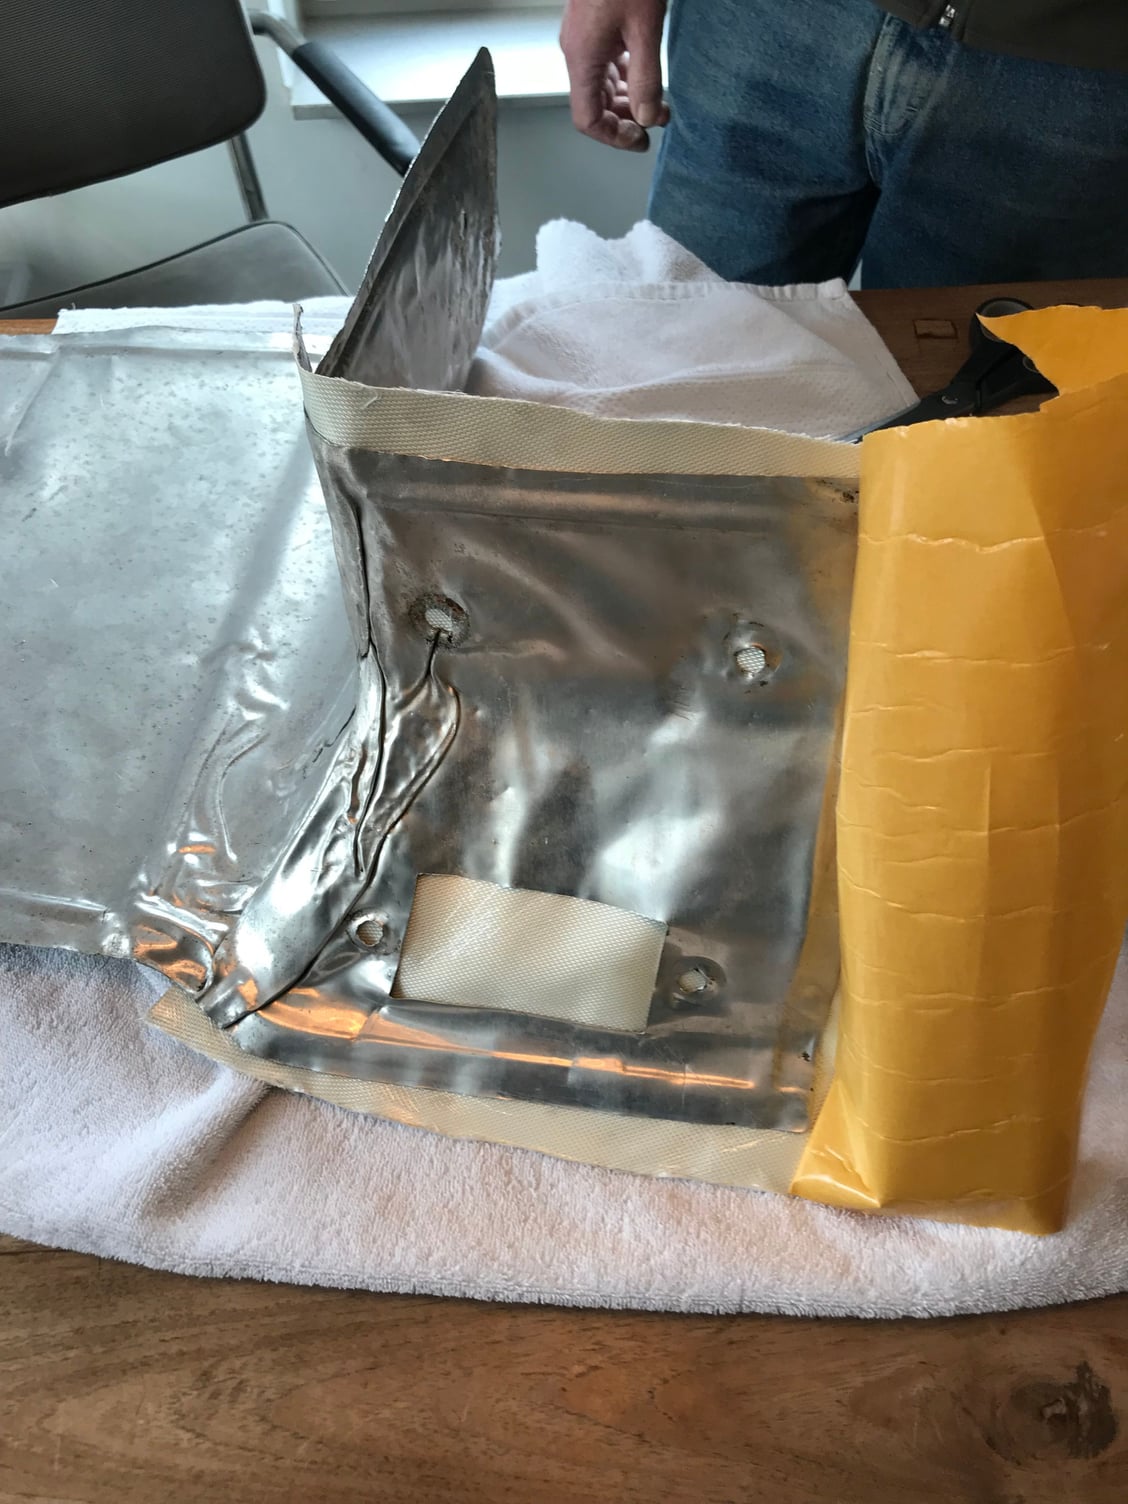
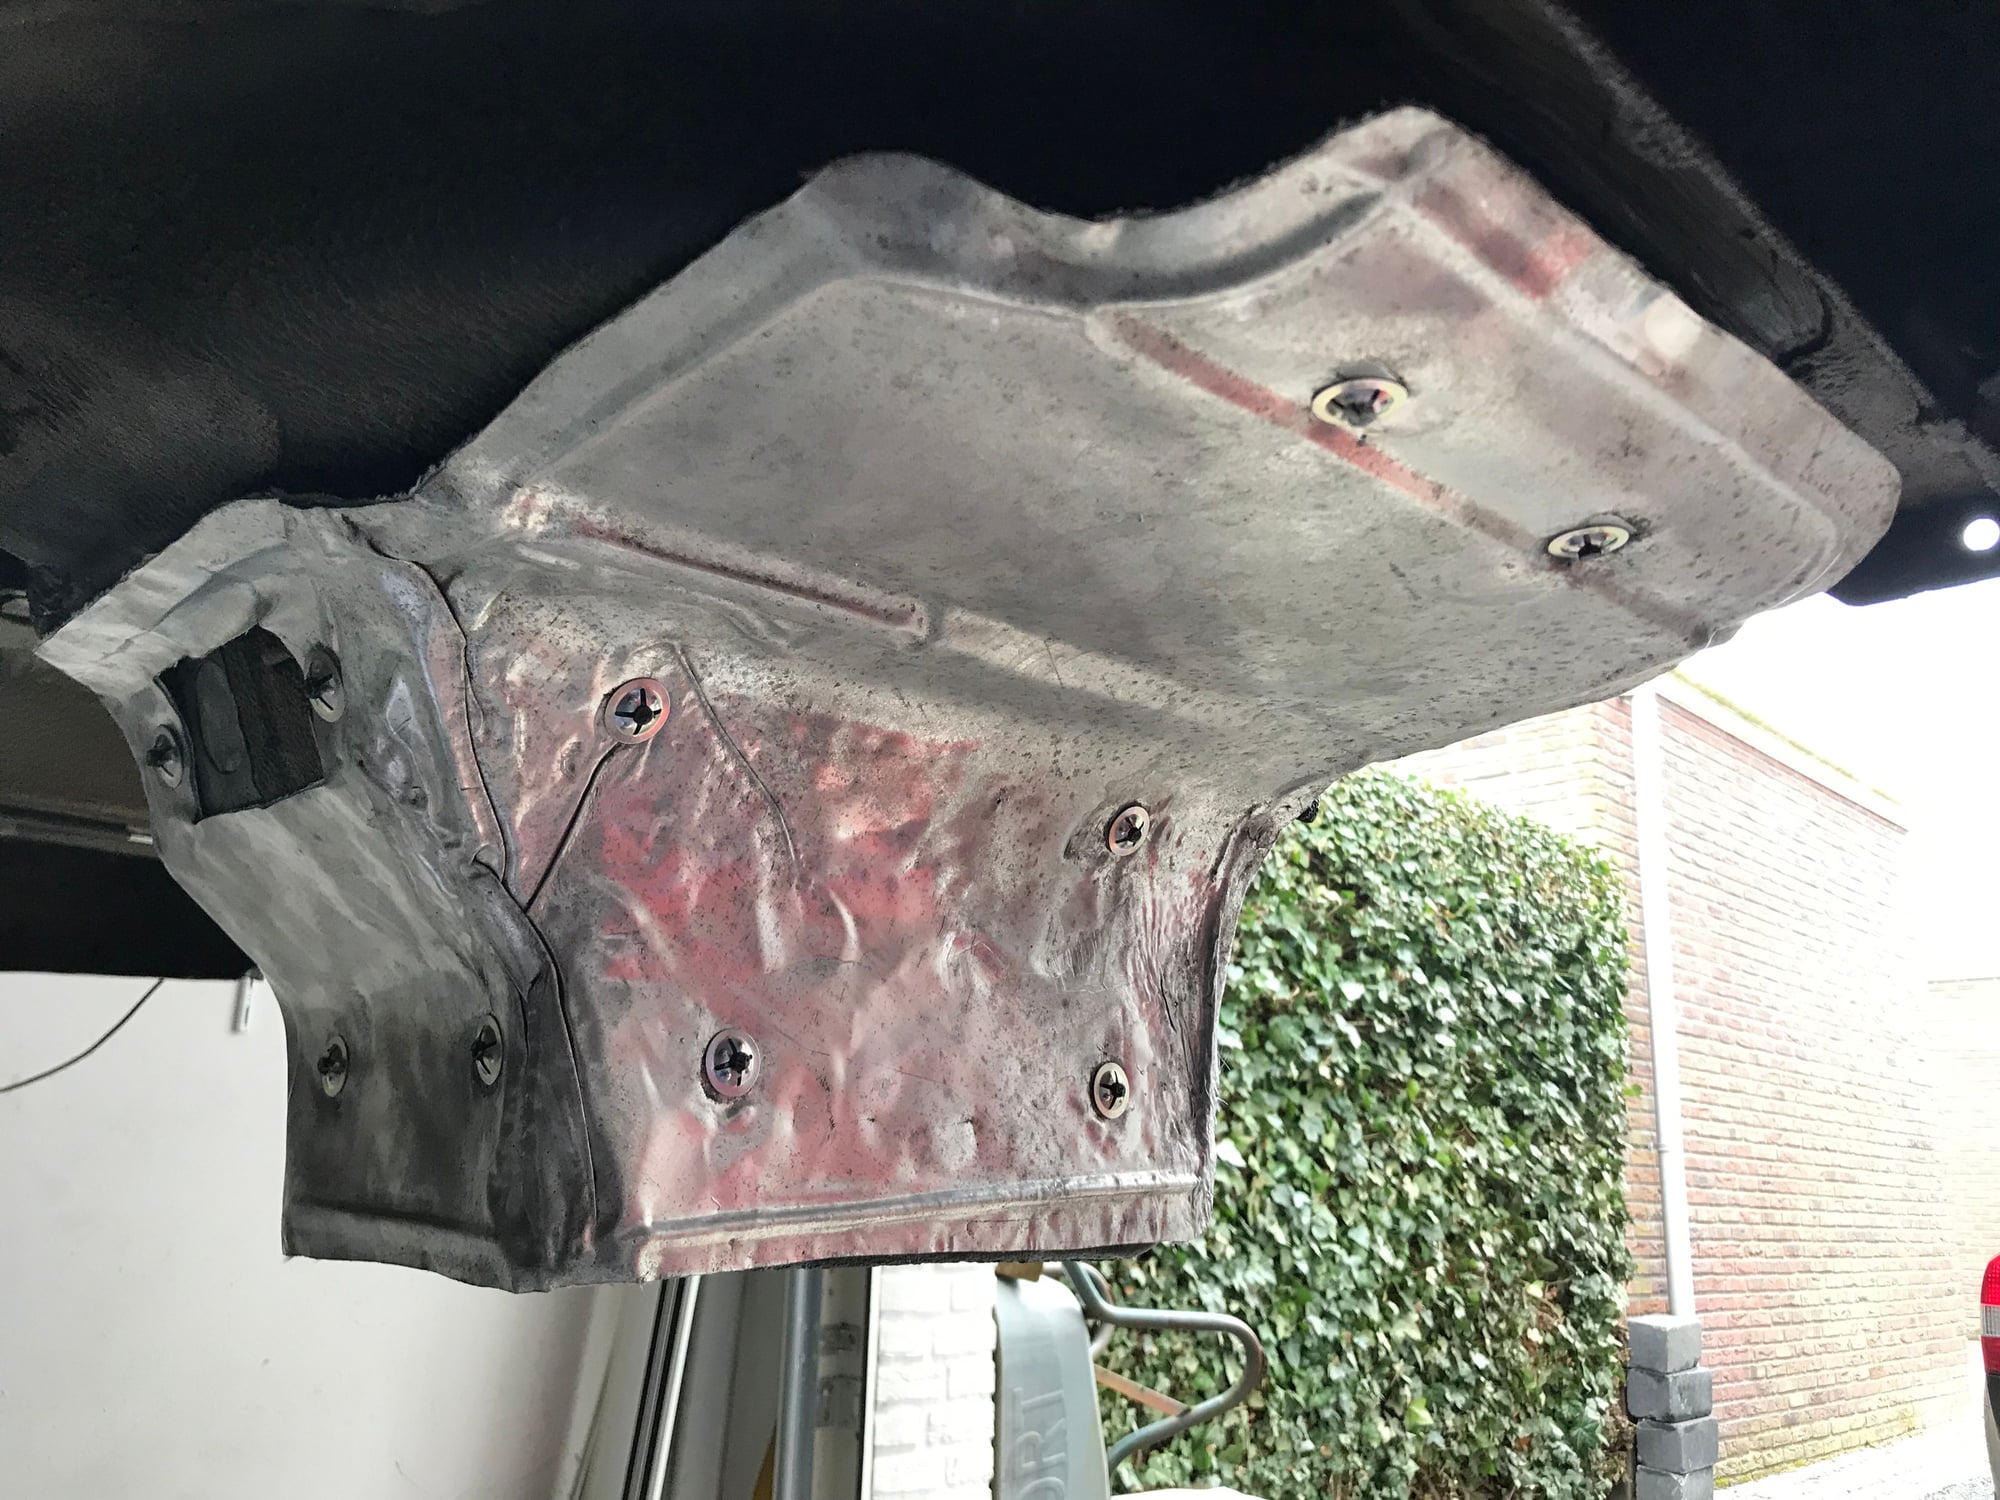
Second thing was the heat shield around the battery box. As this part is NLA we tried to clean it up and replace the heat shielding material on the inside.
No surprise to see it was in a rather bad shape:
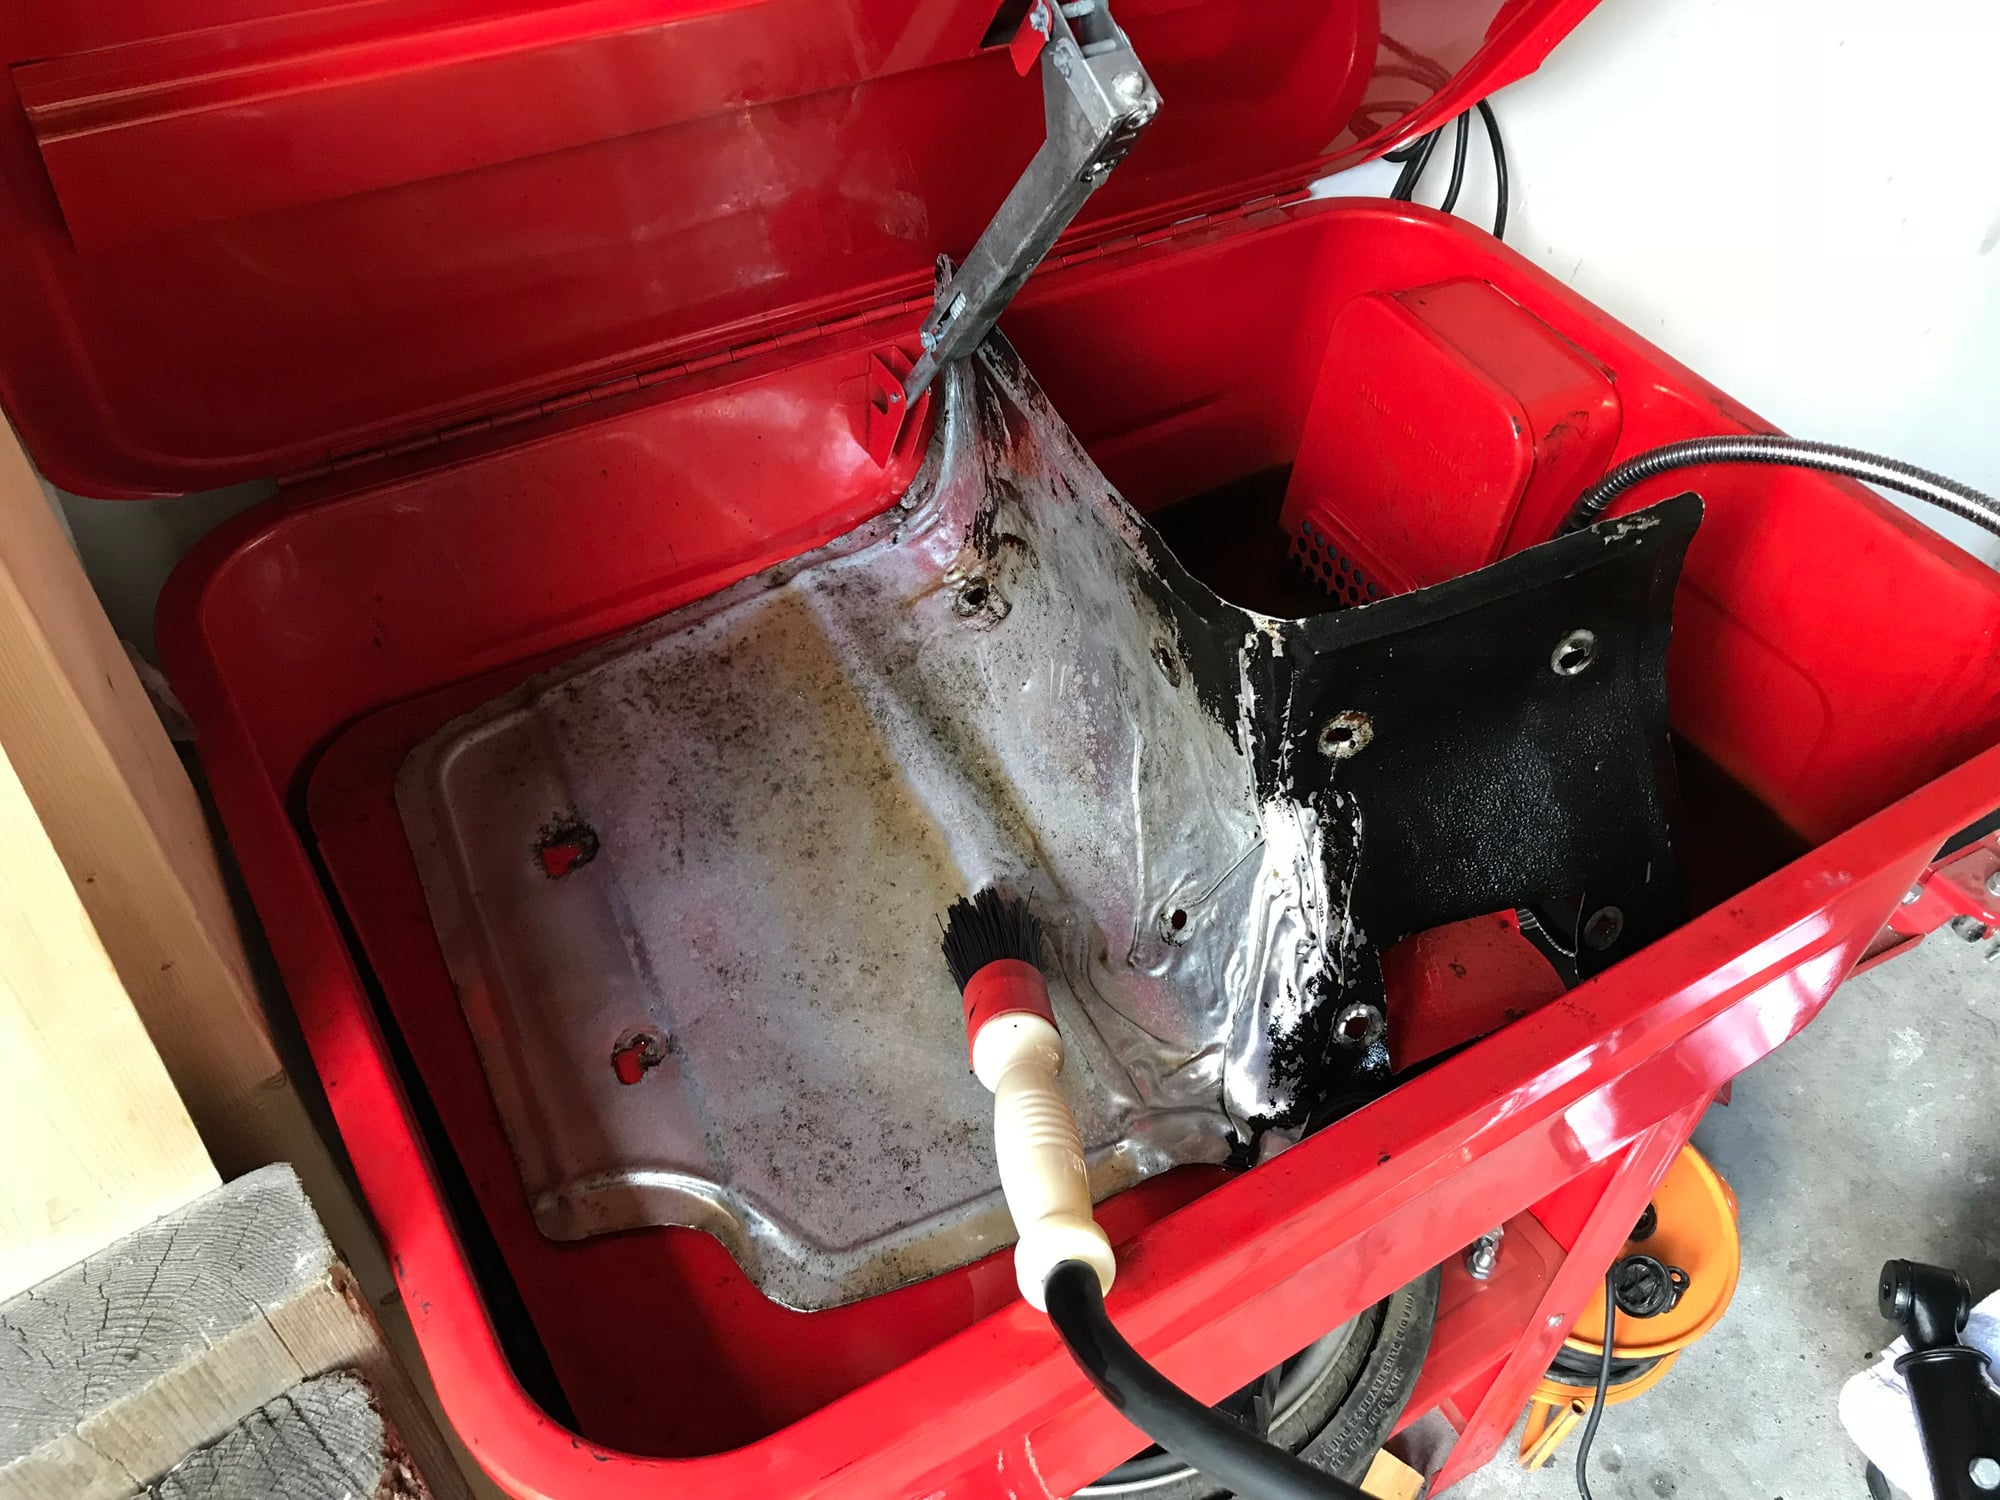
a lot of dirt, tar and other residu....
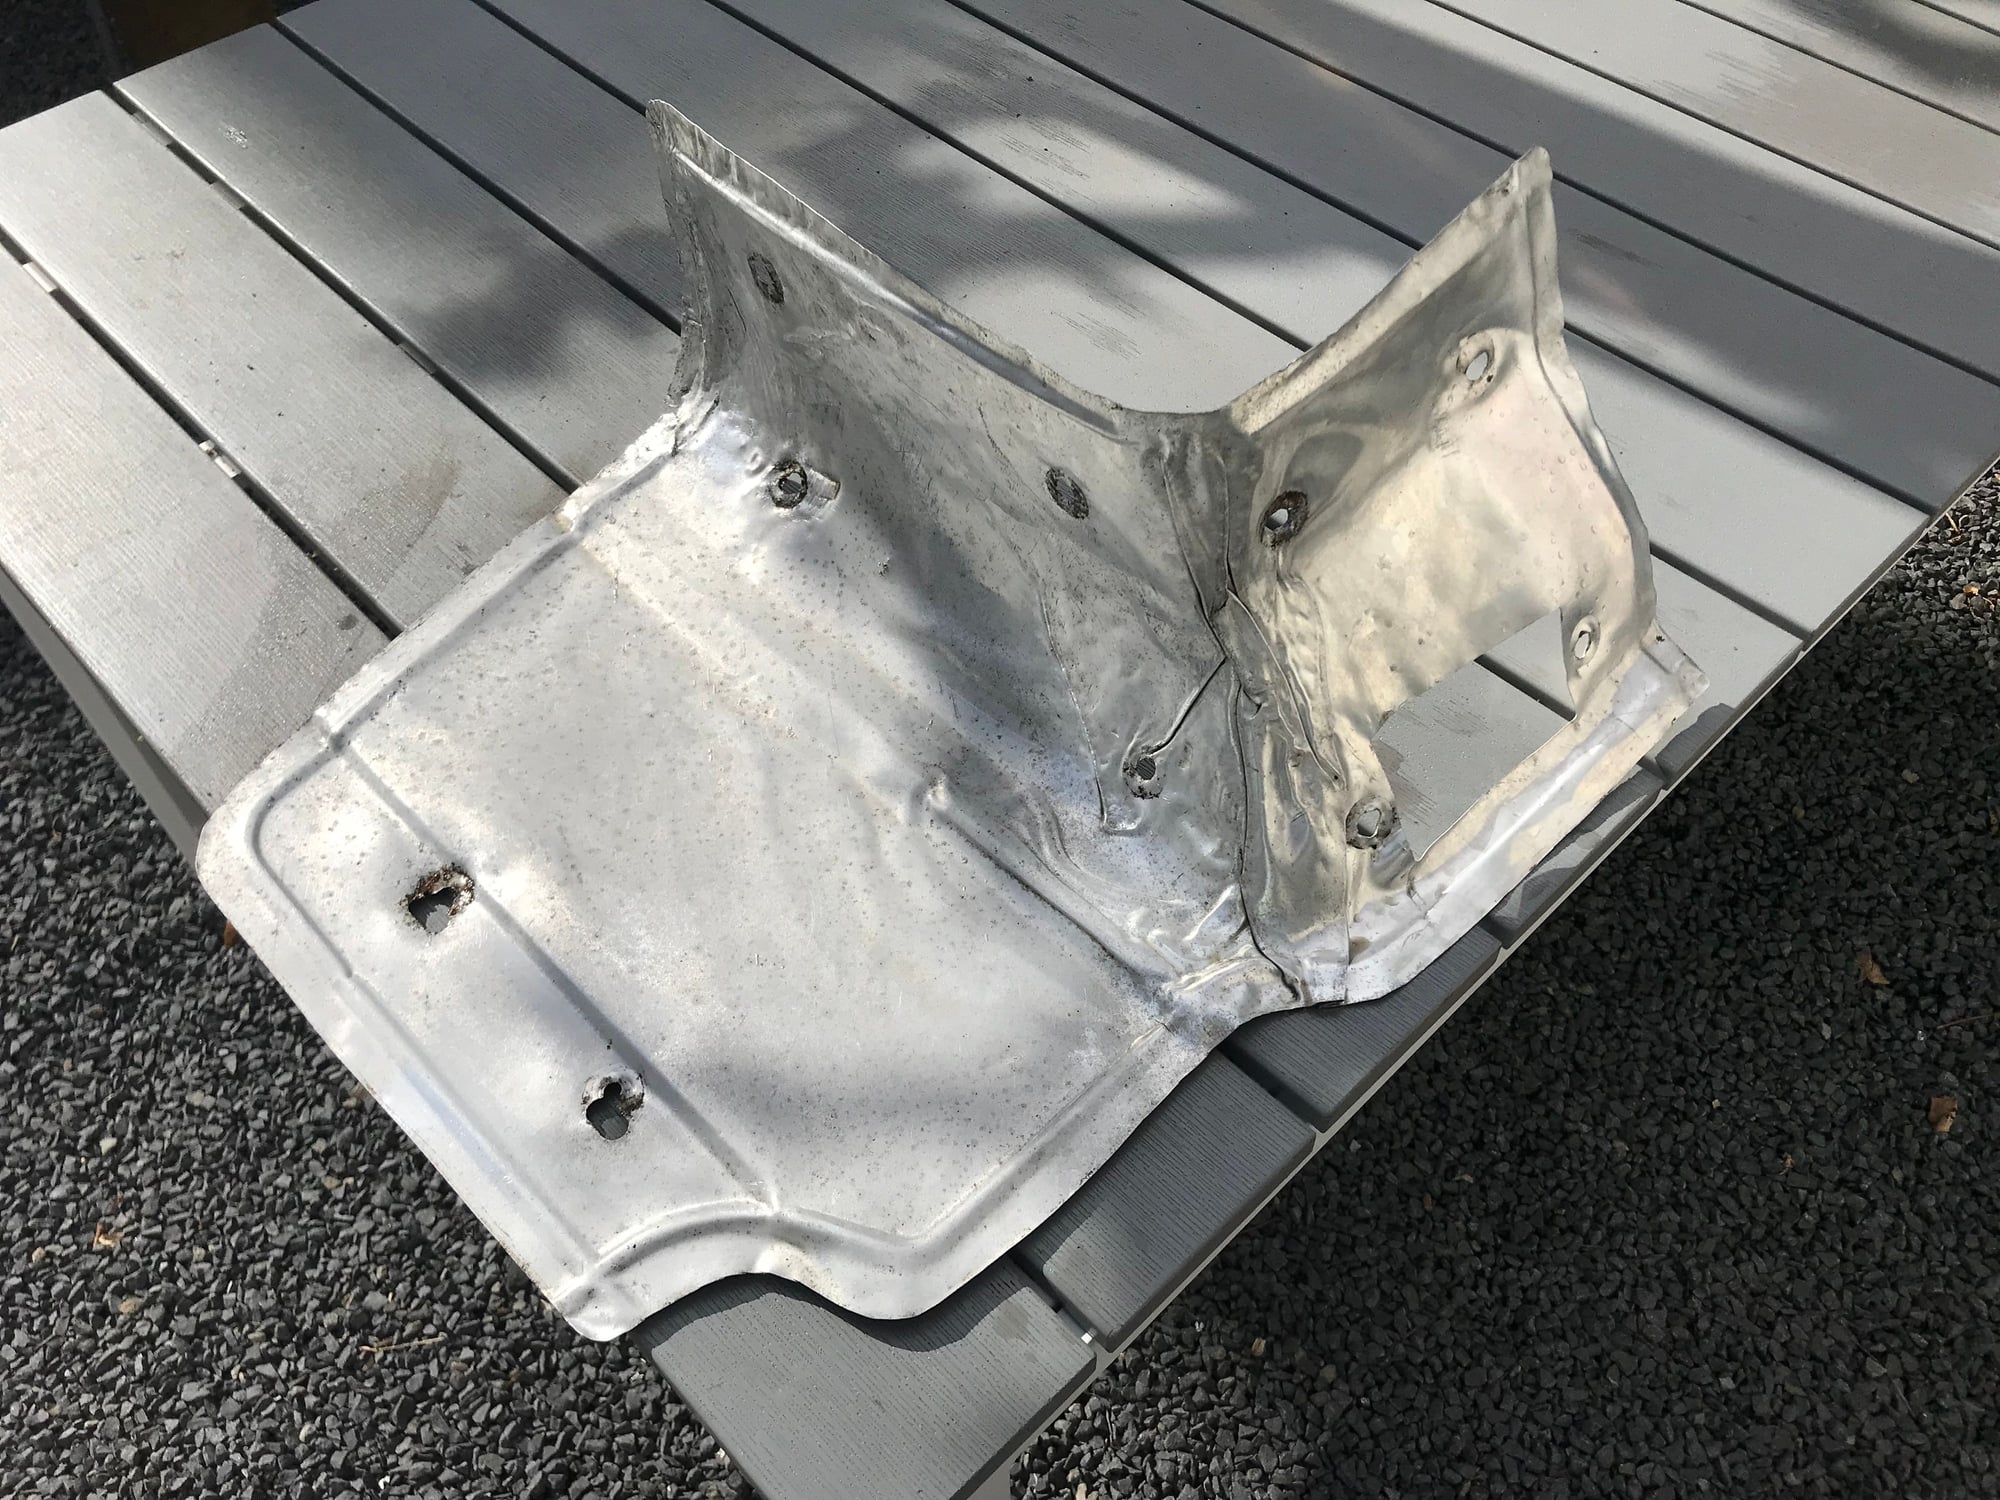
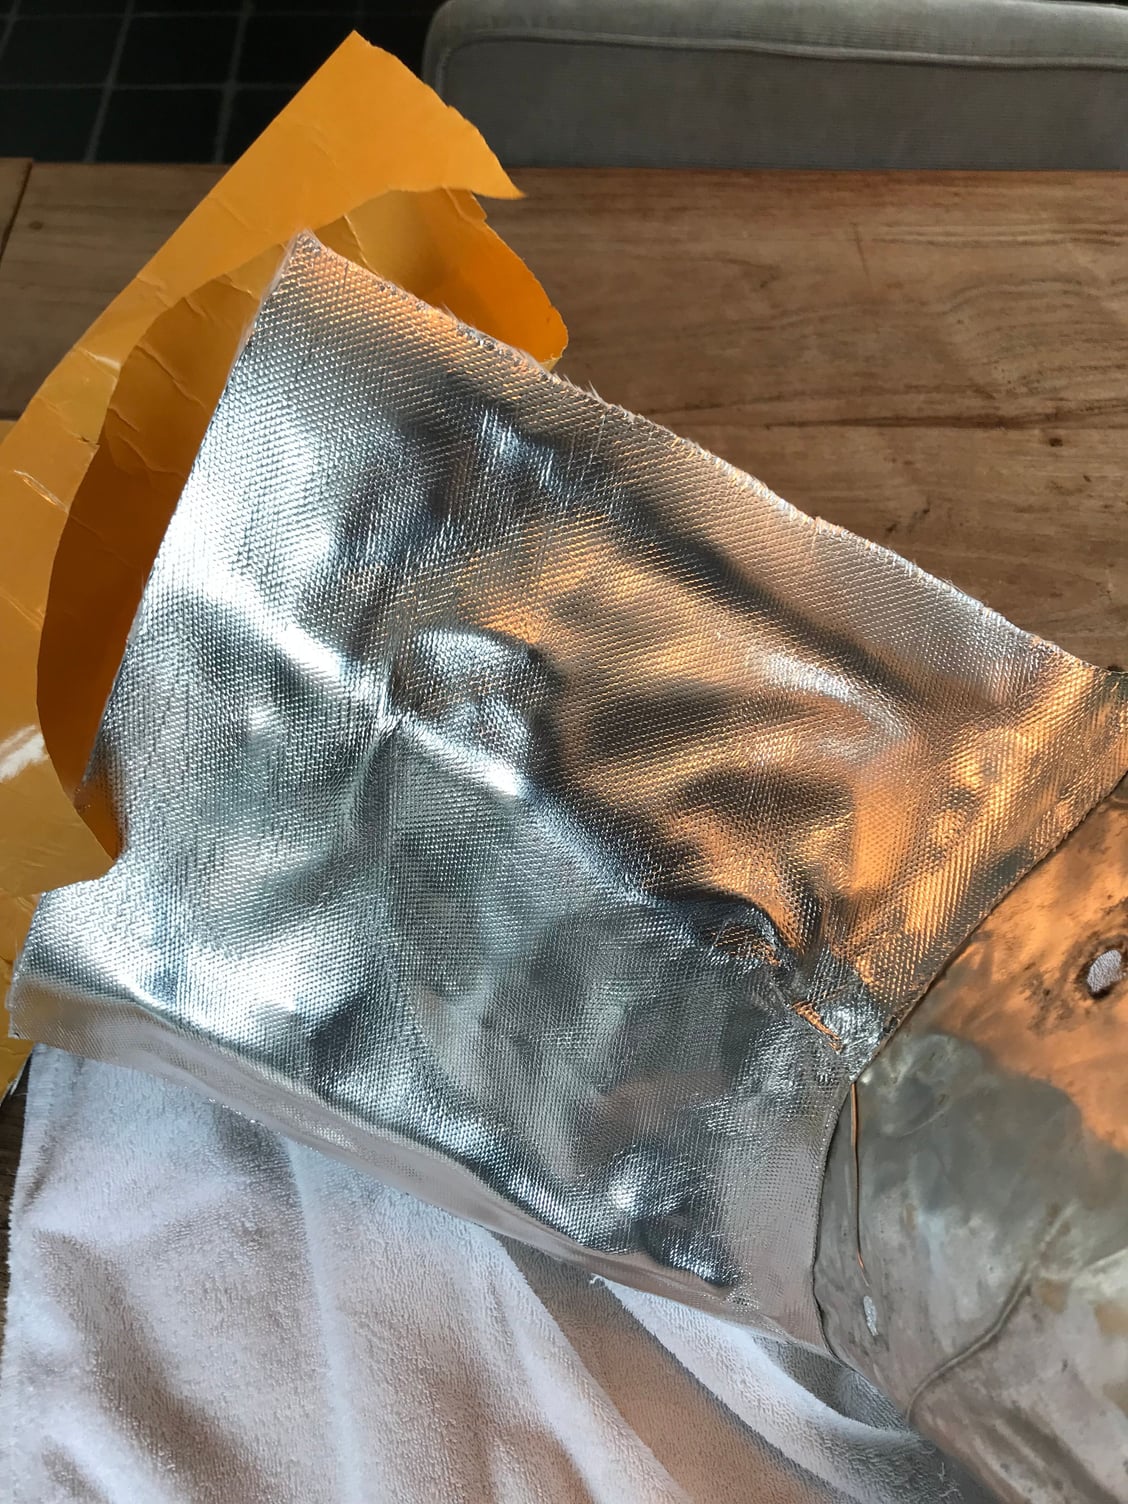
It cleaned up well, and we had to level out a few bumps and cracks.
Next job was to apply new heat shielding on the inside:
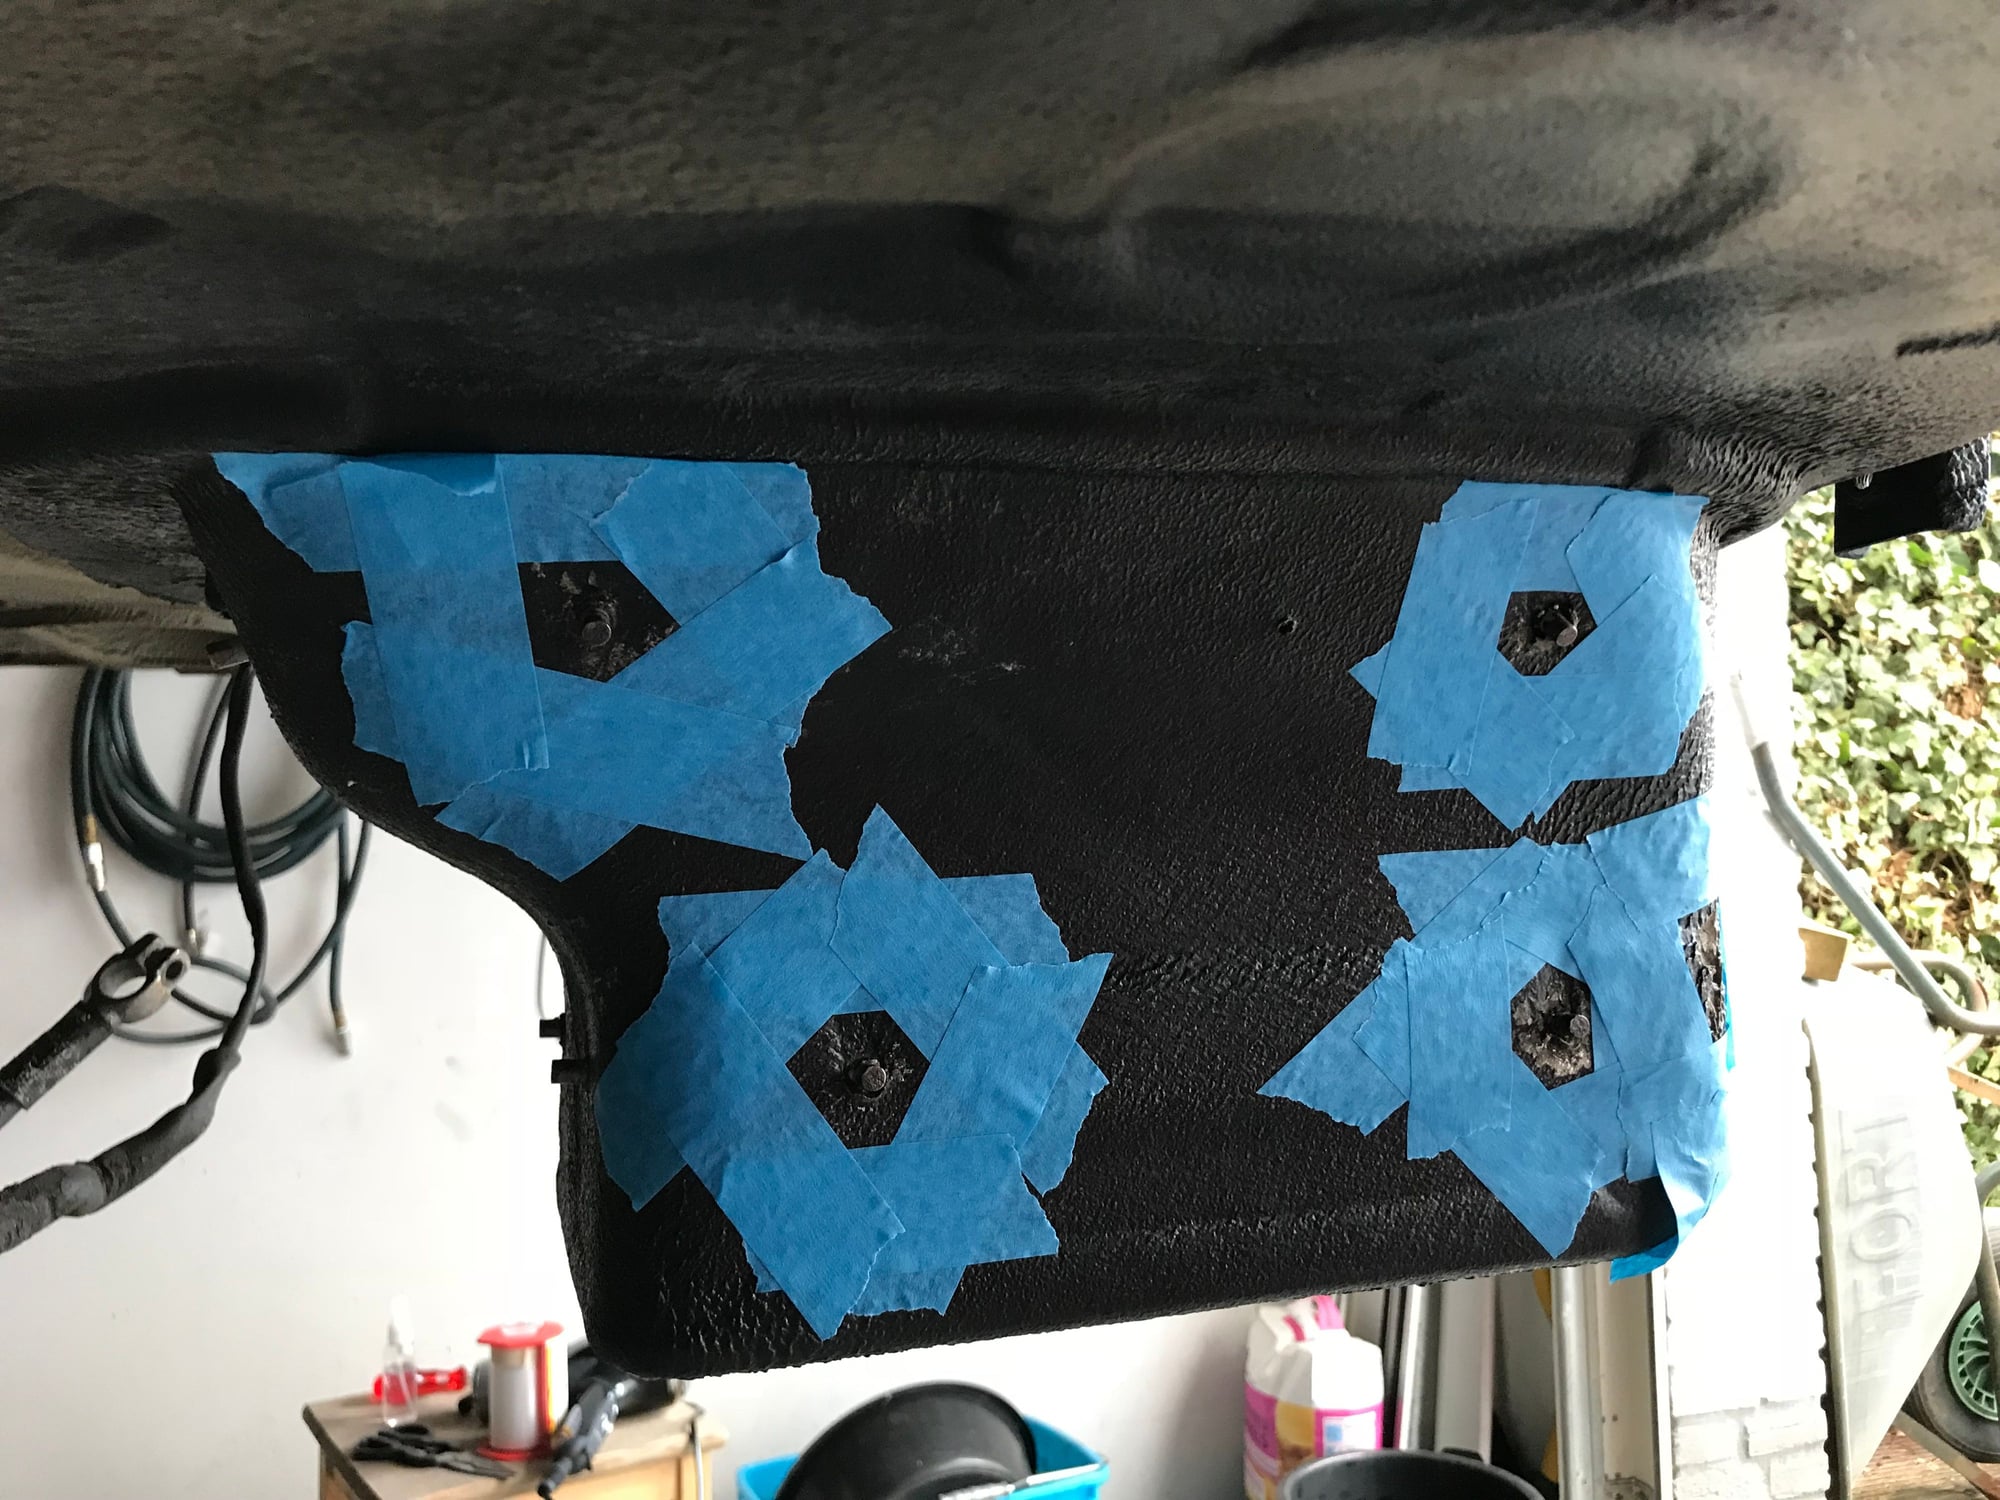
The battery box itself had a few issues on the outside as well. A few areas where the rubber coating was gone, and also the small rods where the heat shield was to be connected to where rusty.
I cleaned it all up an used POR15 to prevent any further rust:
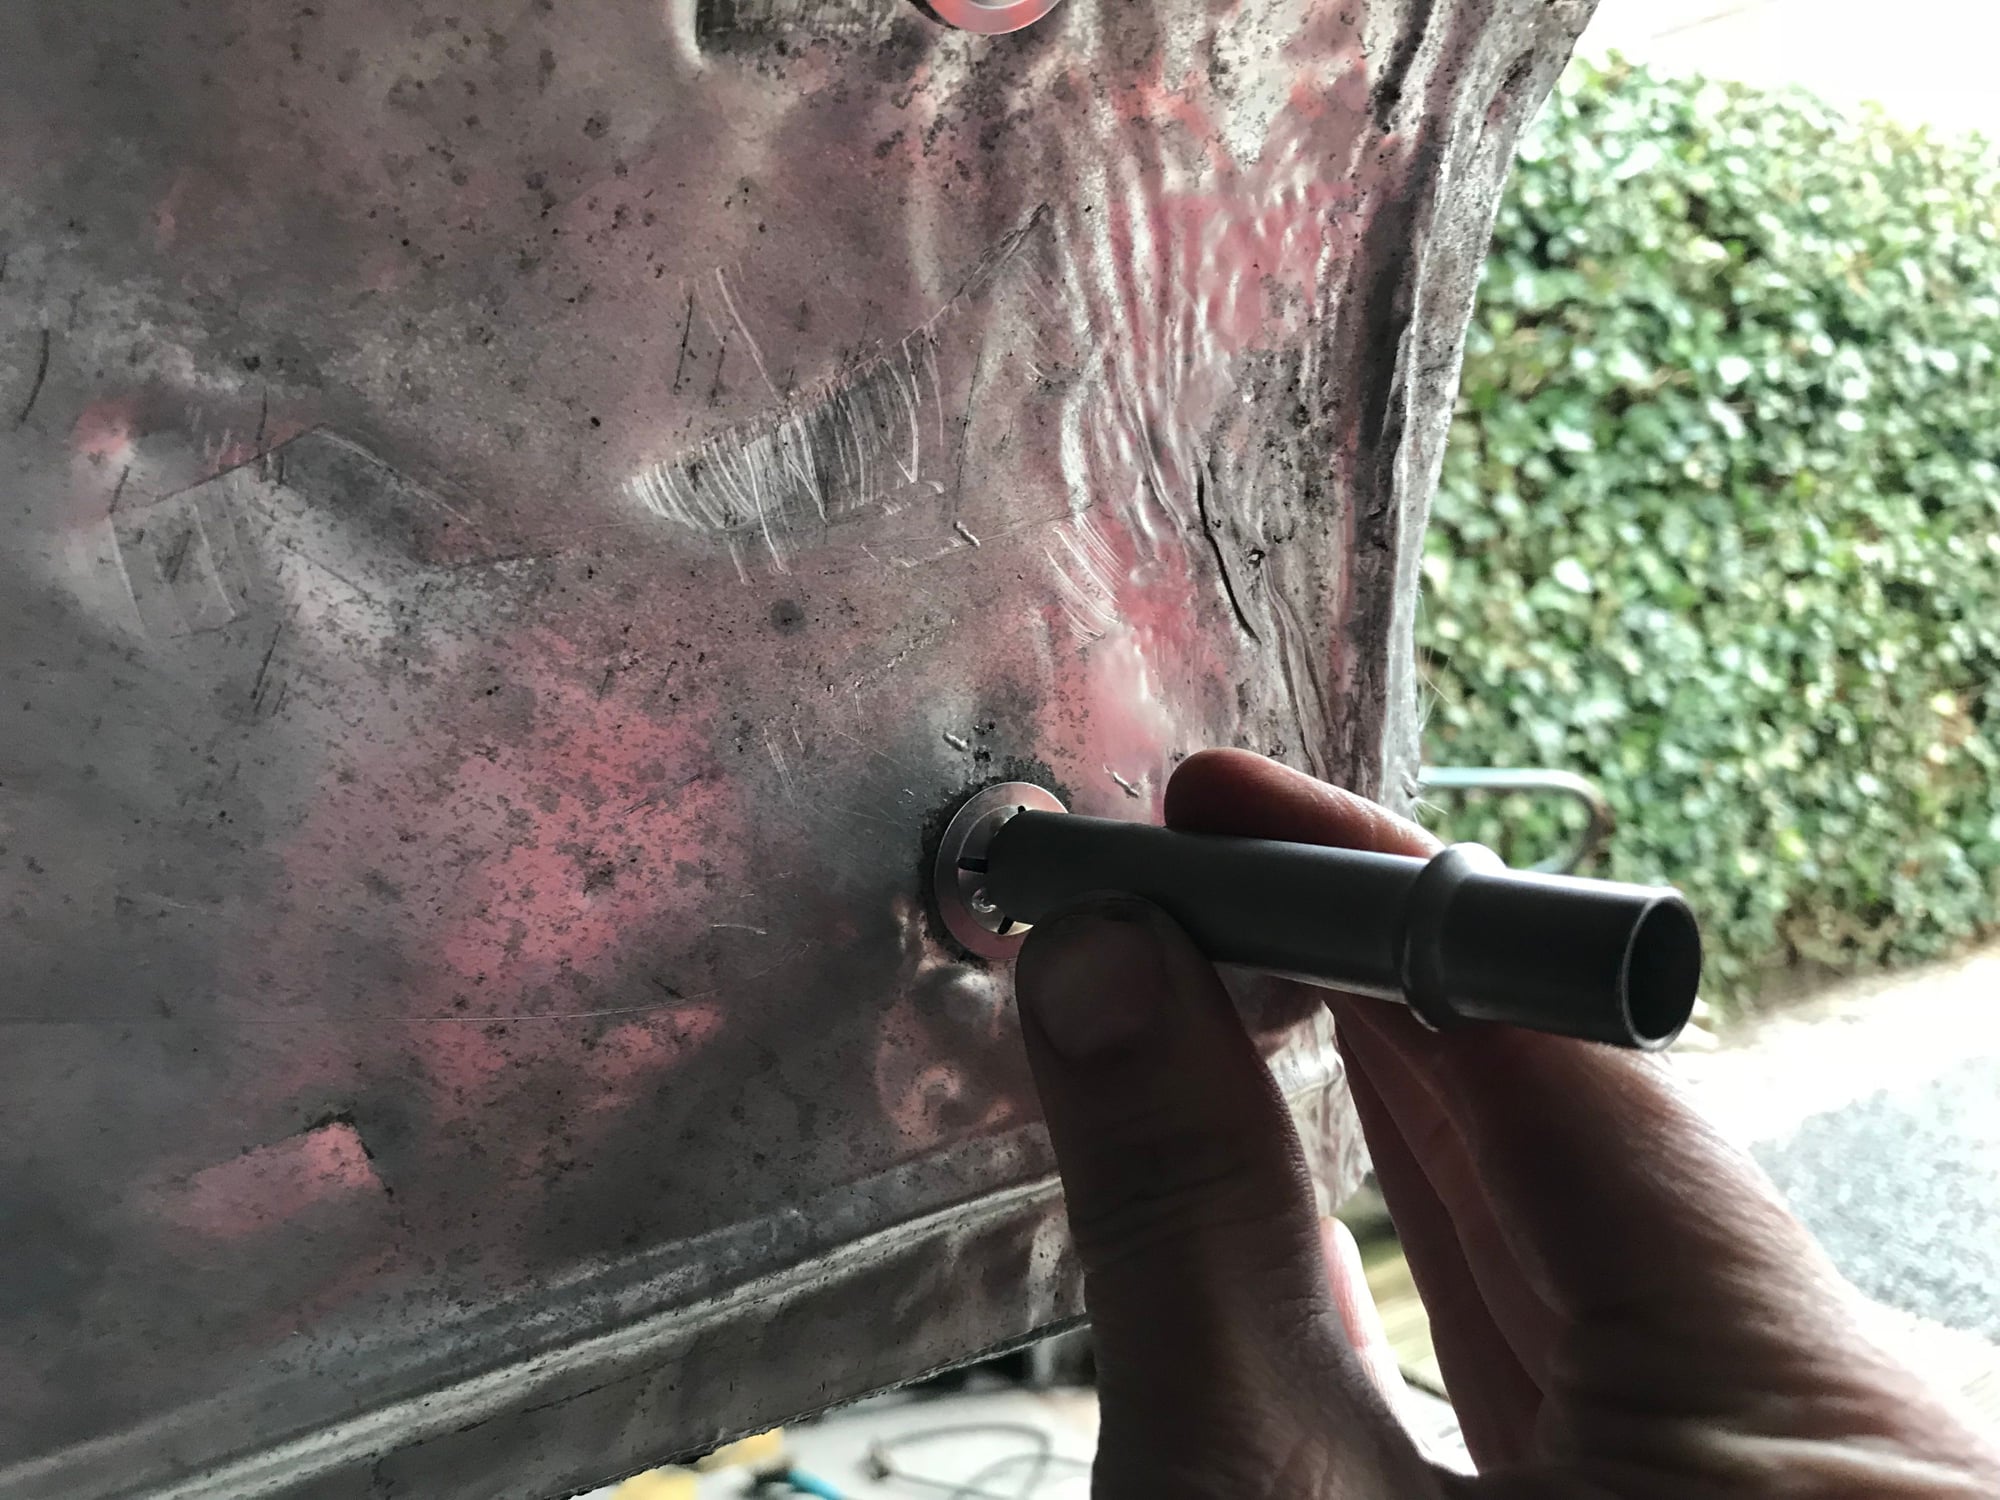
Put the heat shield back in using a small metal tube to gently hammer the new rings in place:
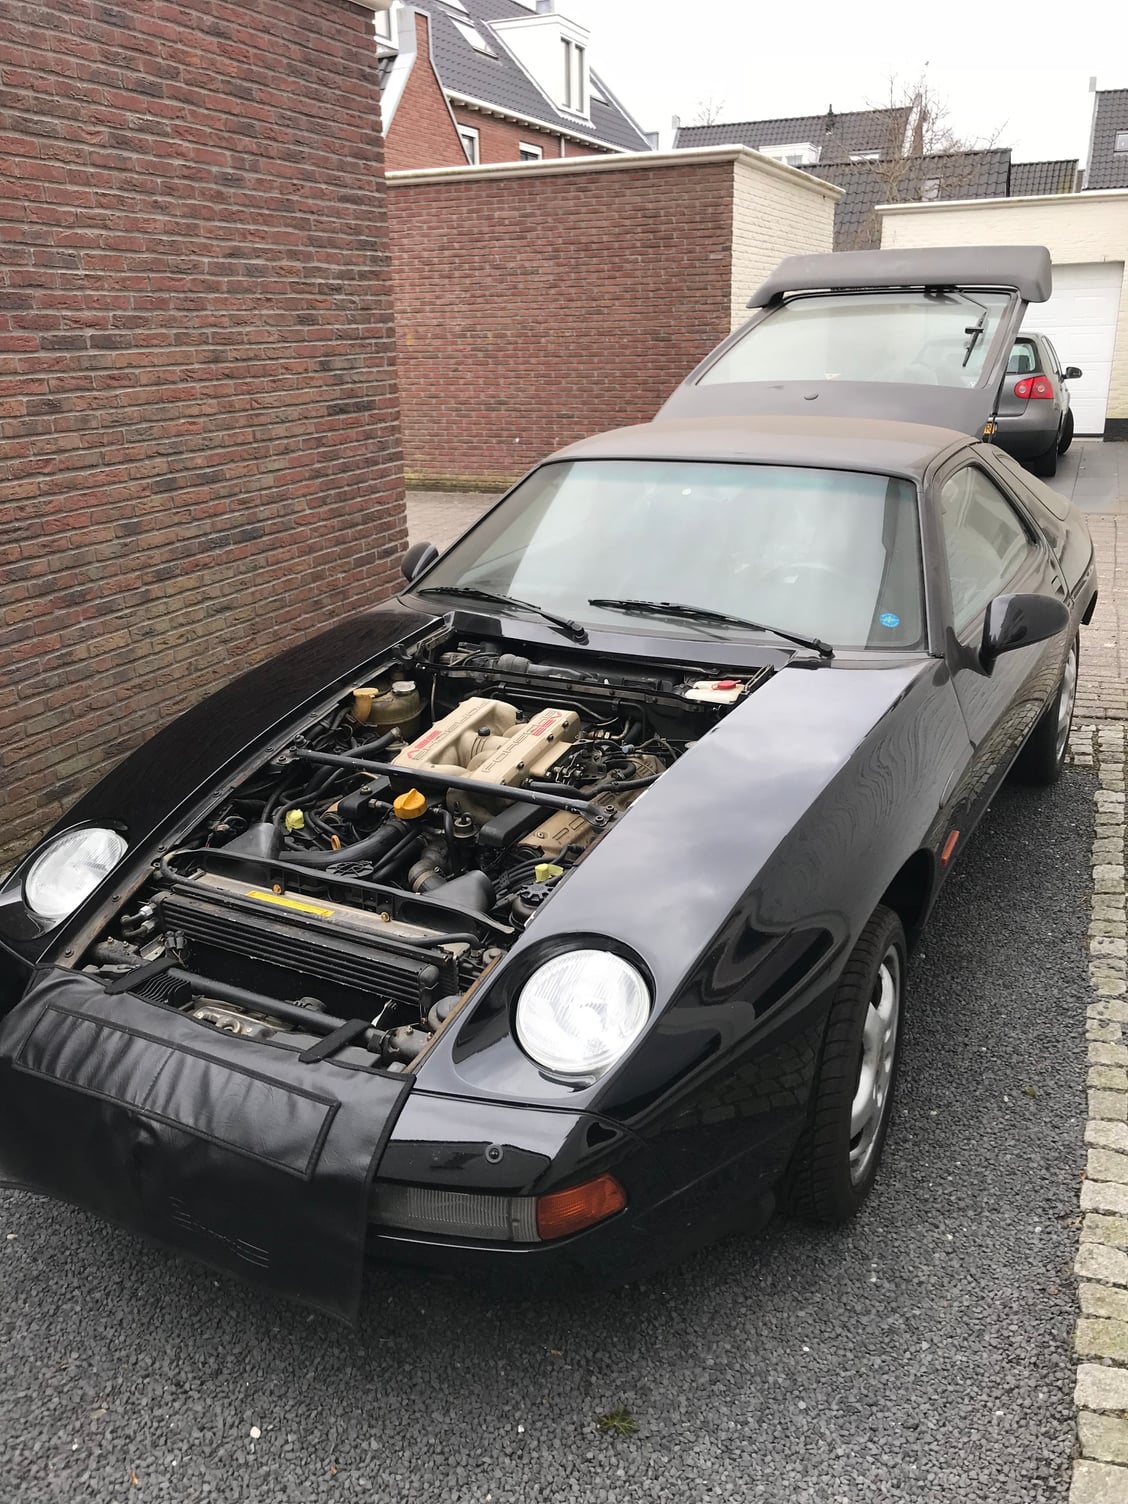
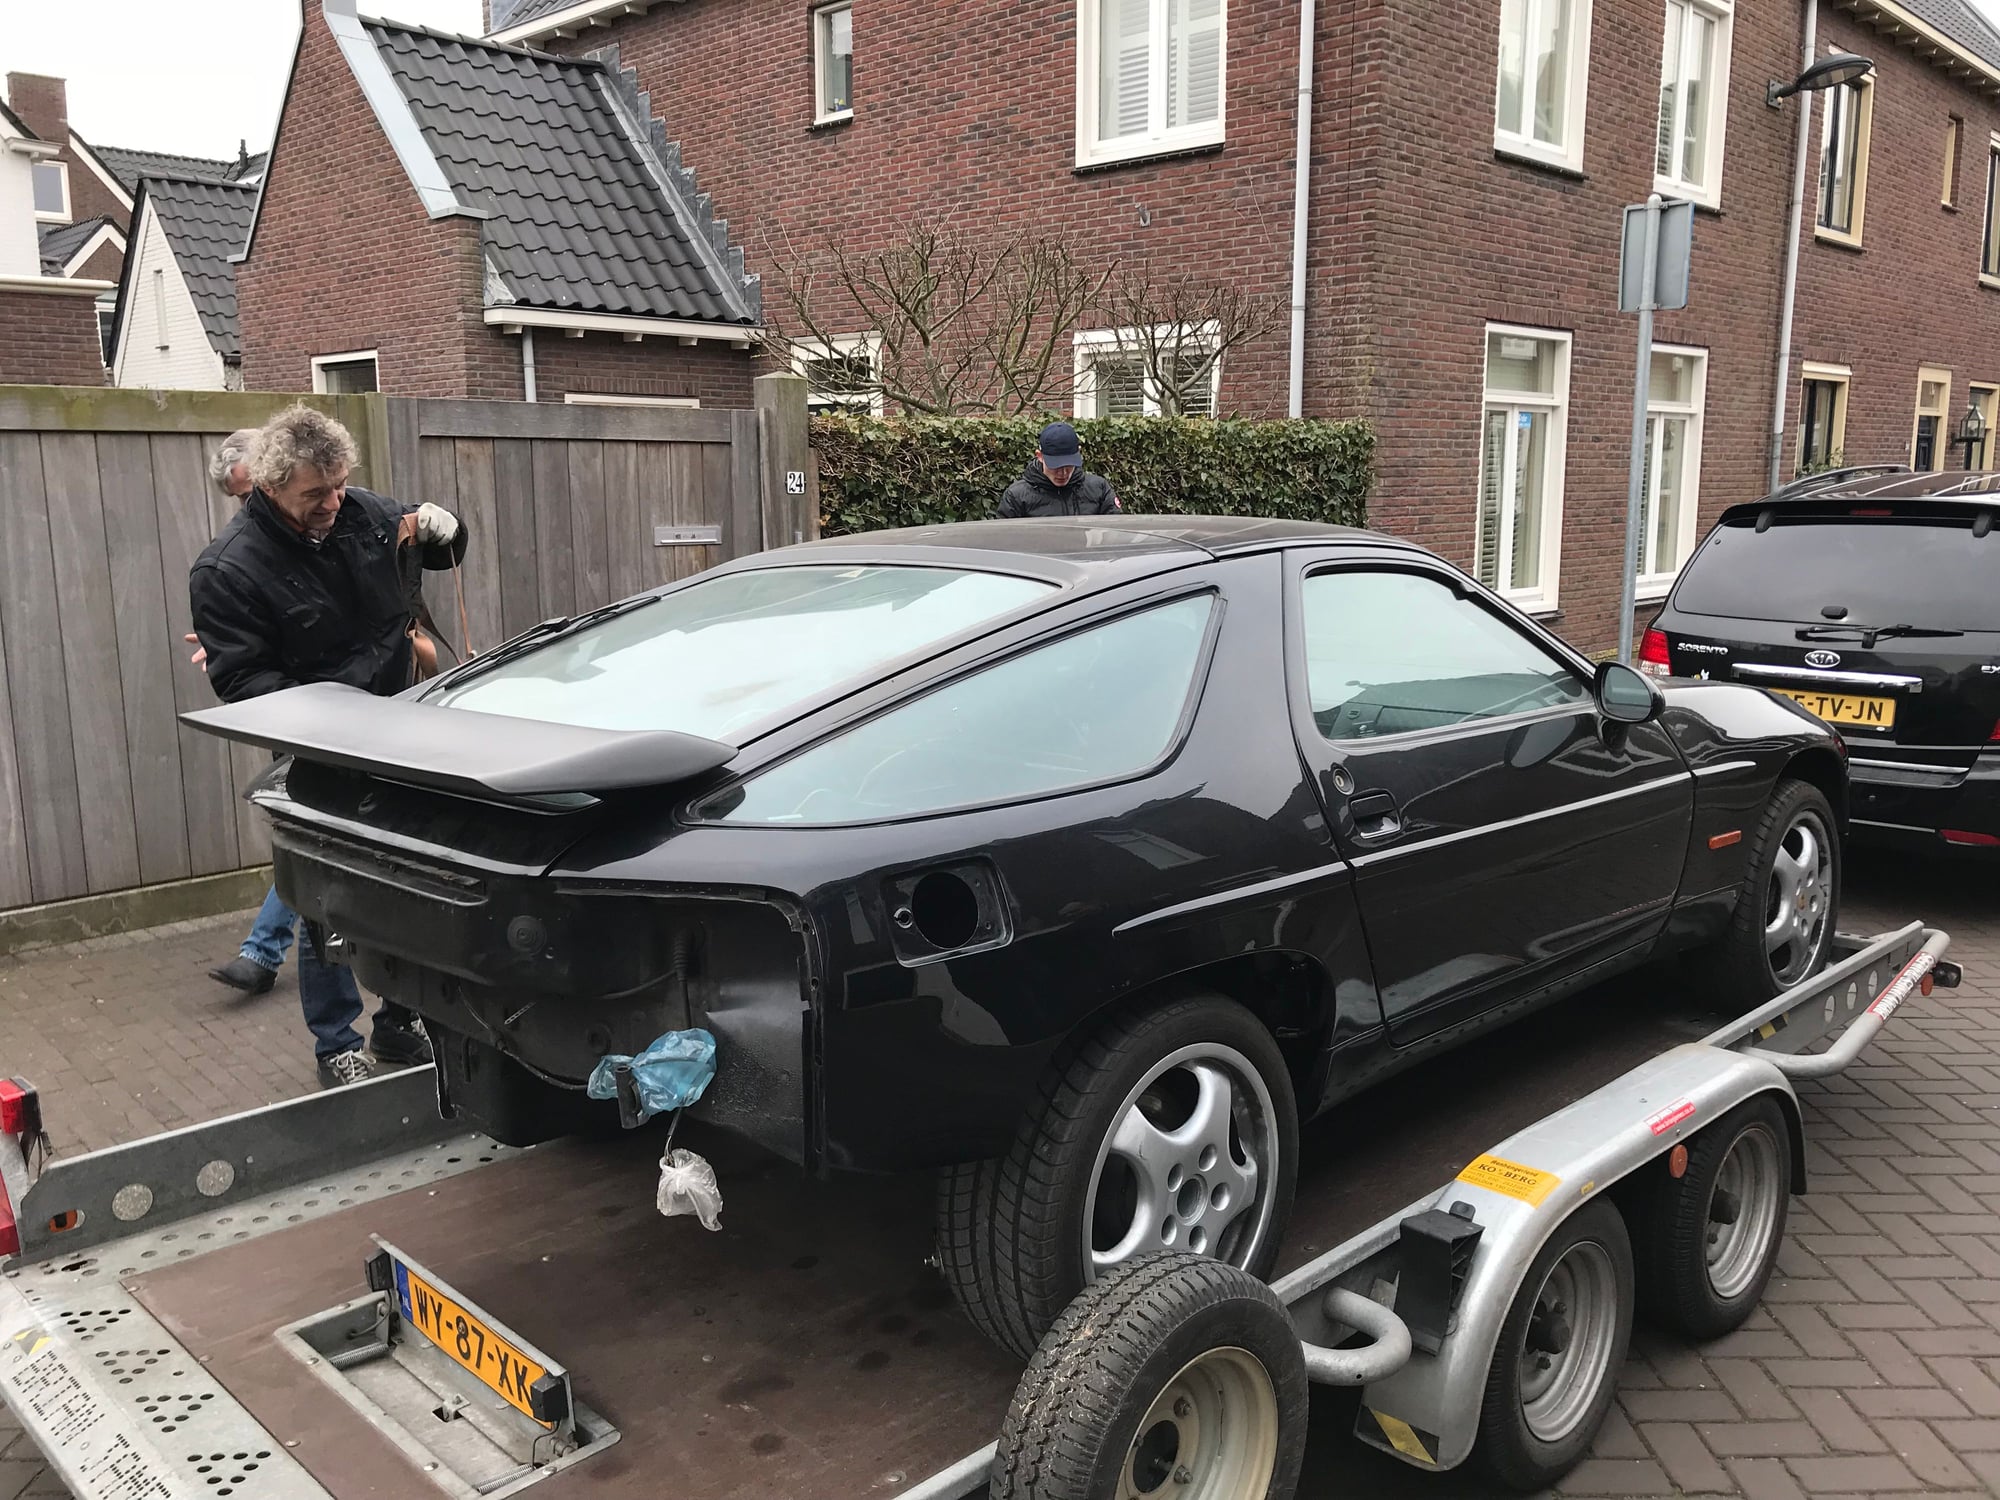
And then it was time to let the car see the light of day for the first time in almost 14 years��.
On the trailer and off to the garage to lift the engine:
�..which we did in the meantime but I will put that in another thread. I will update this thread again when we install the rear suspension (including the torque tube and transmission) properly.
Ran across your post whilst looking for info on my '86.5 rebuild. Nice job on "everything at the back". Where did you order items 21 and 21a (emergency brake cable assy) on the hand brake diagram?
Ran across your post whilst looking for info on my '86.5 rebuild. Nice job on "everything at the back". Where did you order items 21 and 21a (emergency brake cable assy) on the hand brake diagram?
I ordered it new from my parts supplier. Can't remember what I paid though, would have to look that up.
But checking online with Rose Passion nr 21 sells for 134 euro, nr 21A for 110 euro.
Last edited by Smitje 928; 09-30-2021 at 05:14 PM.
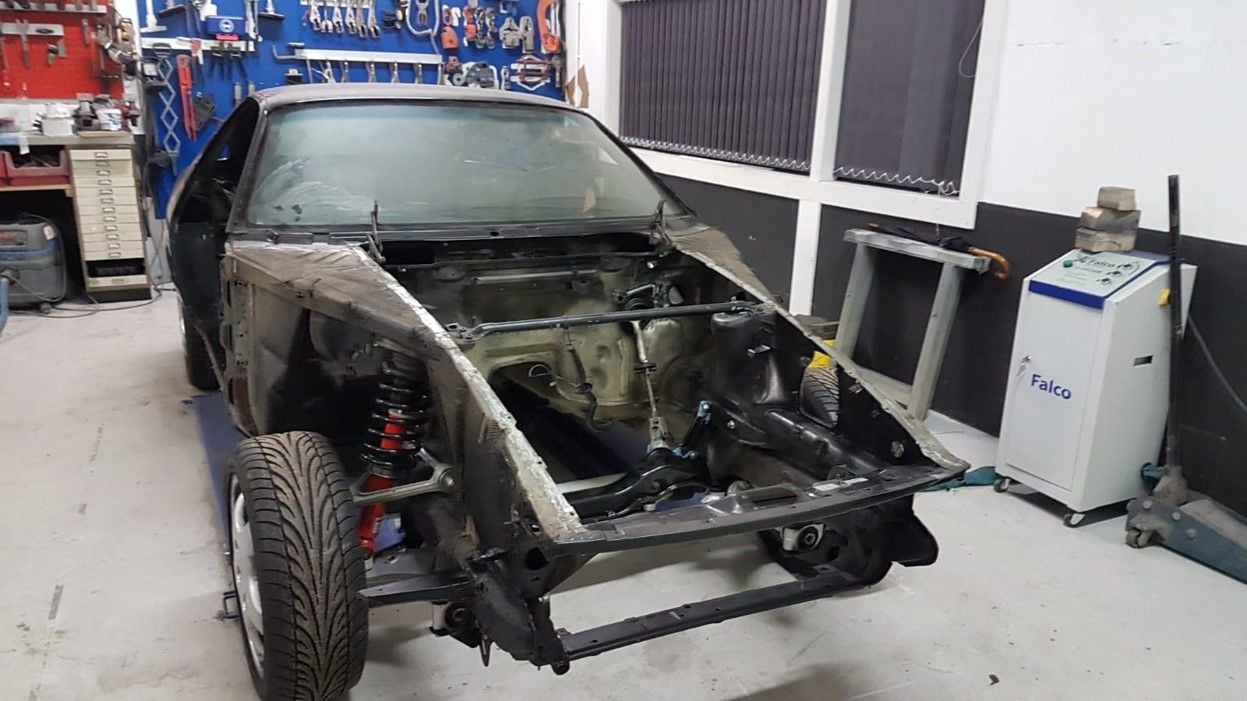
Still busy with the car! We also rebuild the front suspension and put it back under the car for the time.
After pulling the engine I stripped the engine bay:
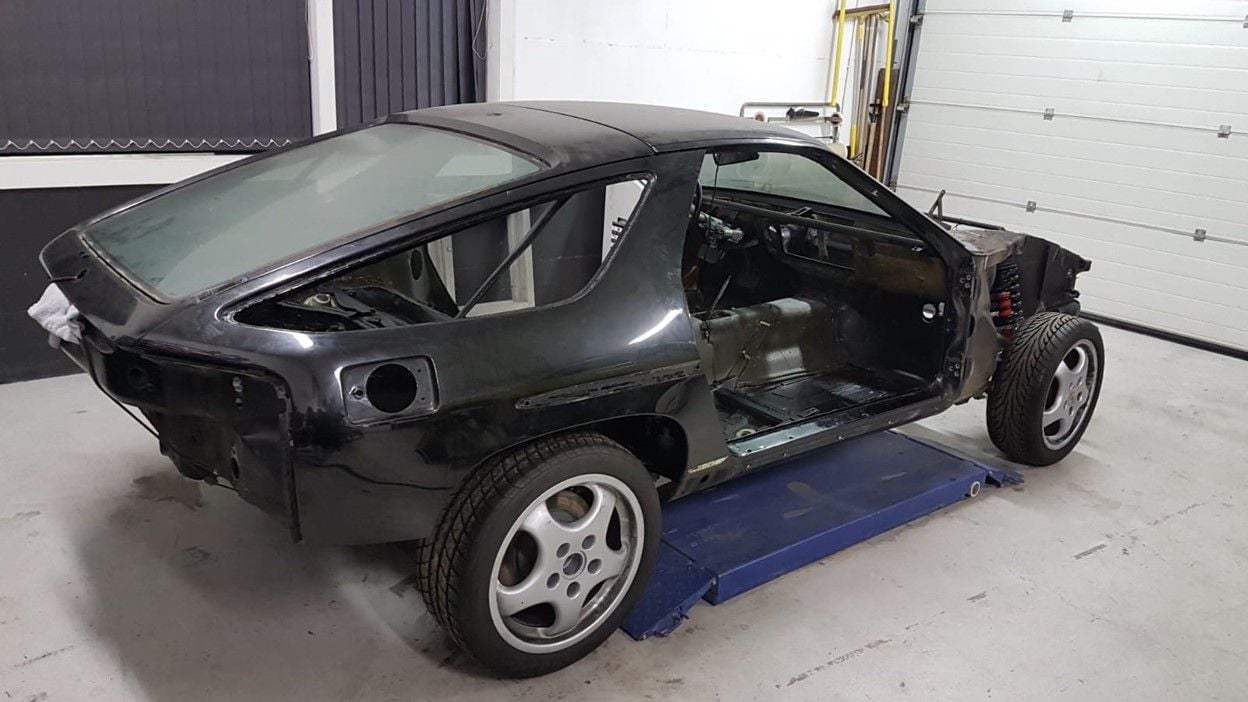
.....and removed the interior including all the wiring harnesses:
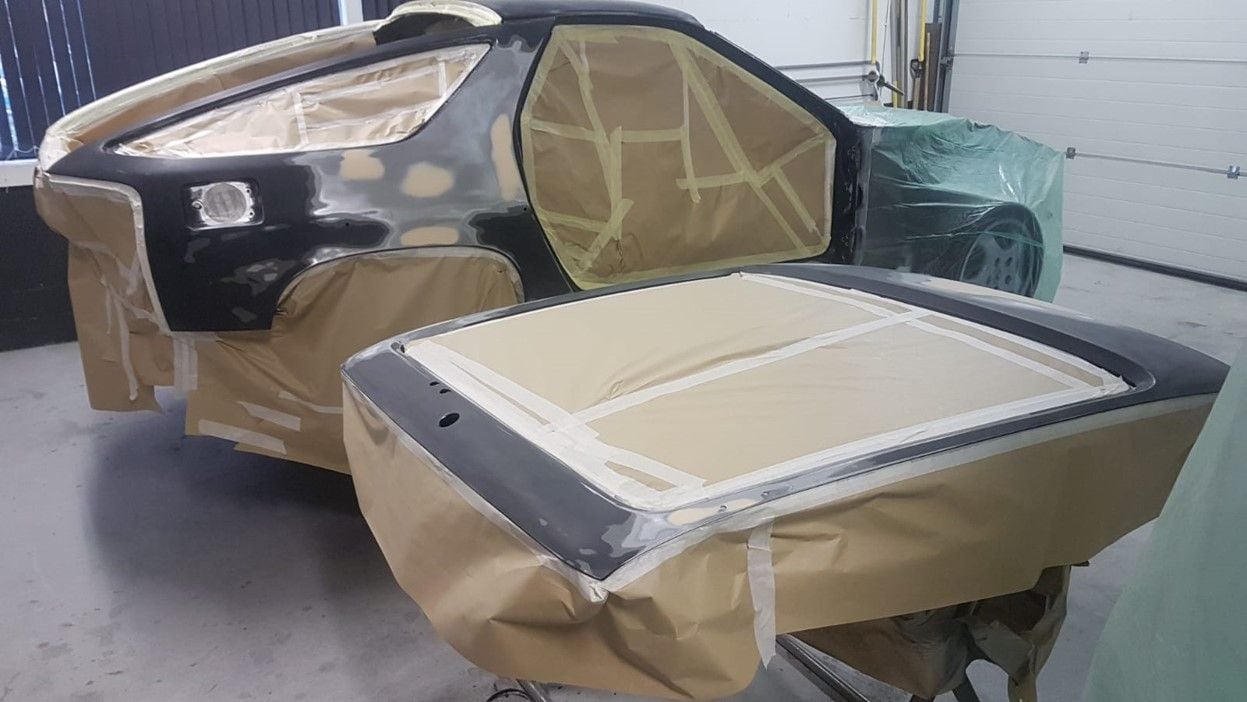
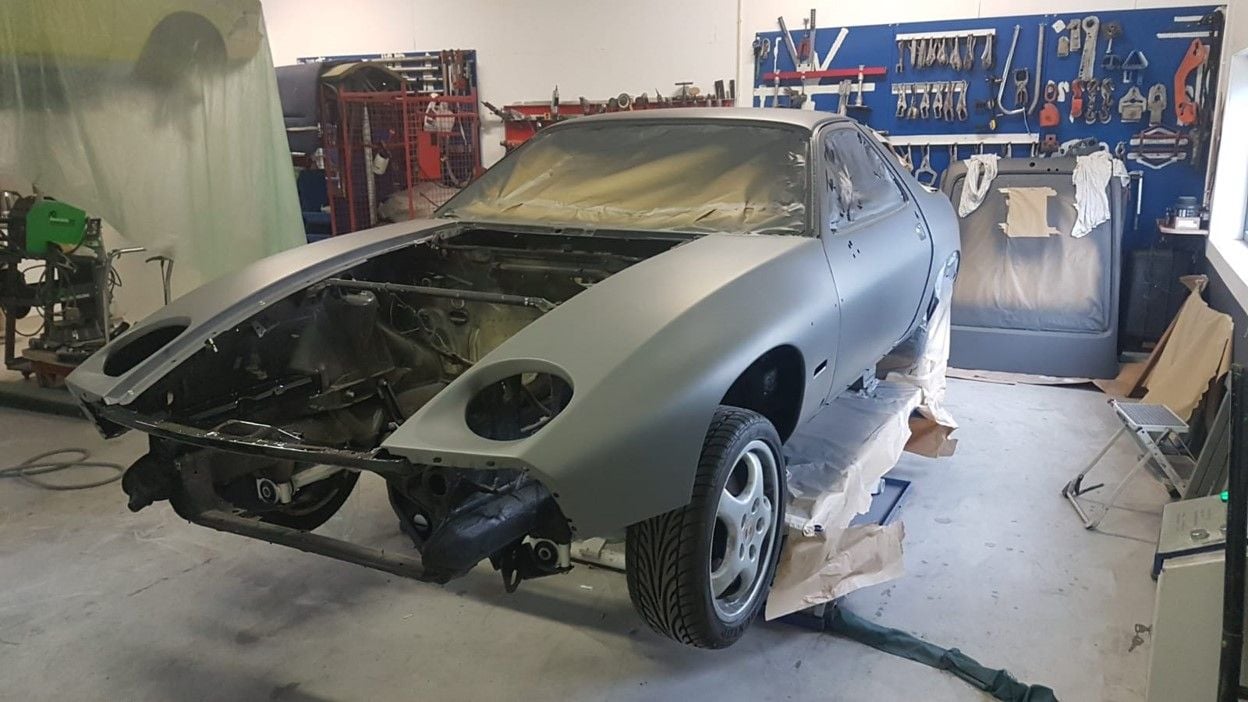
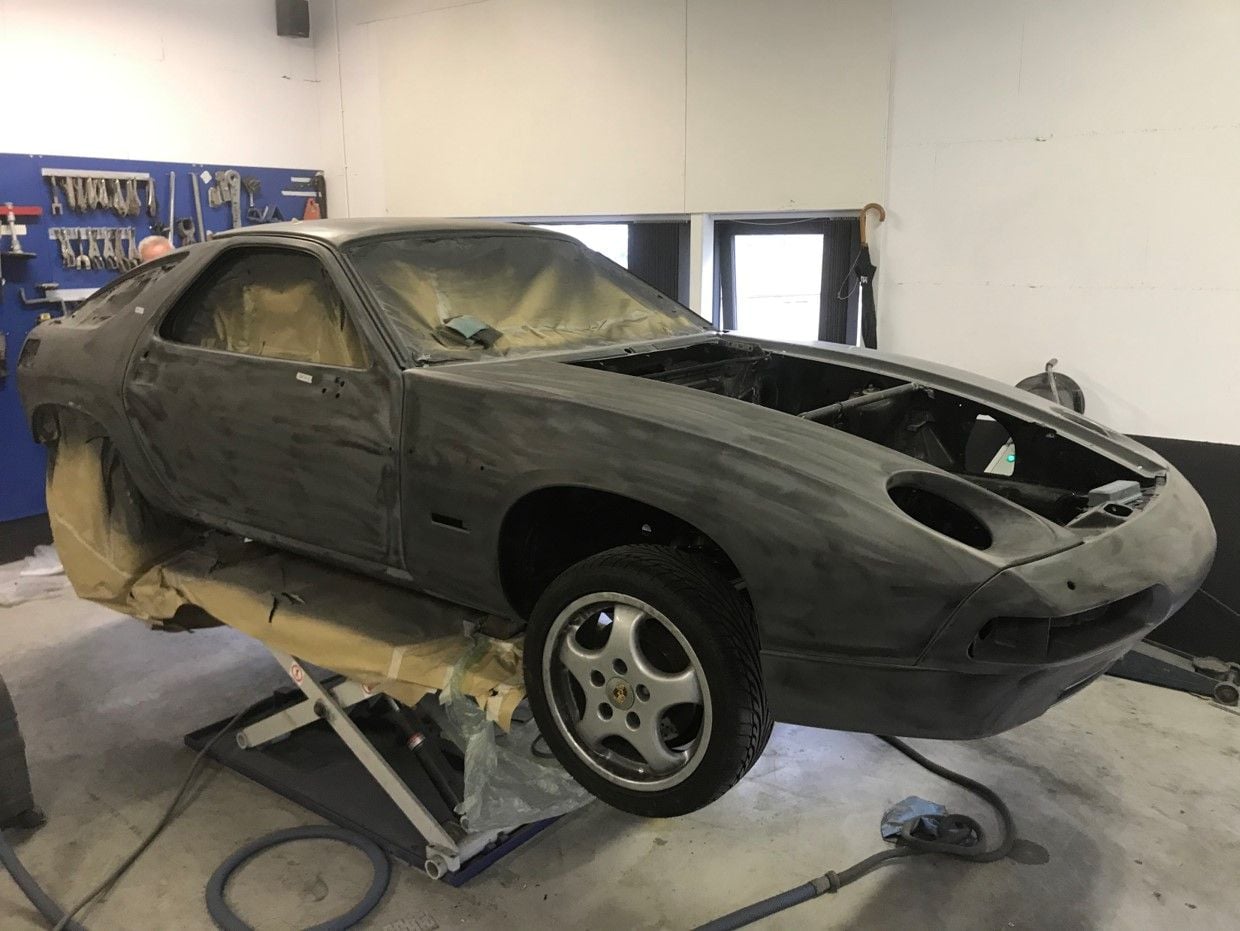
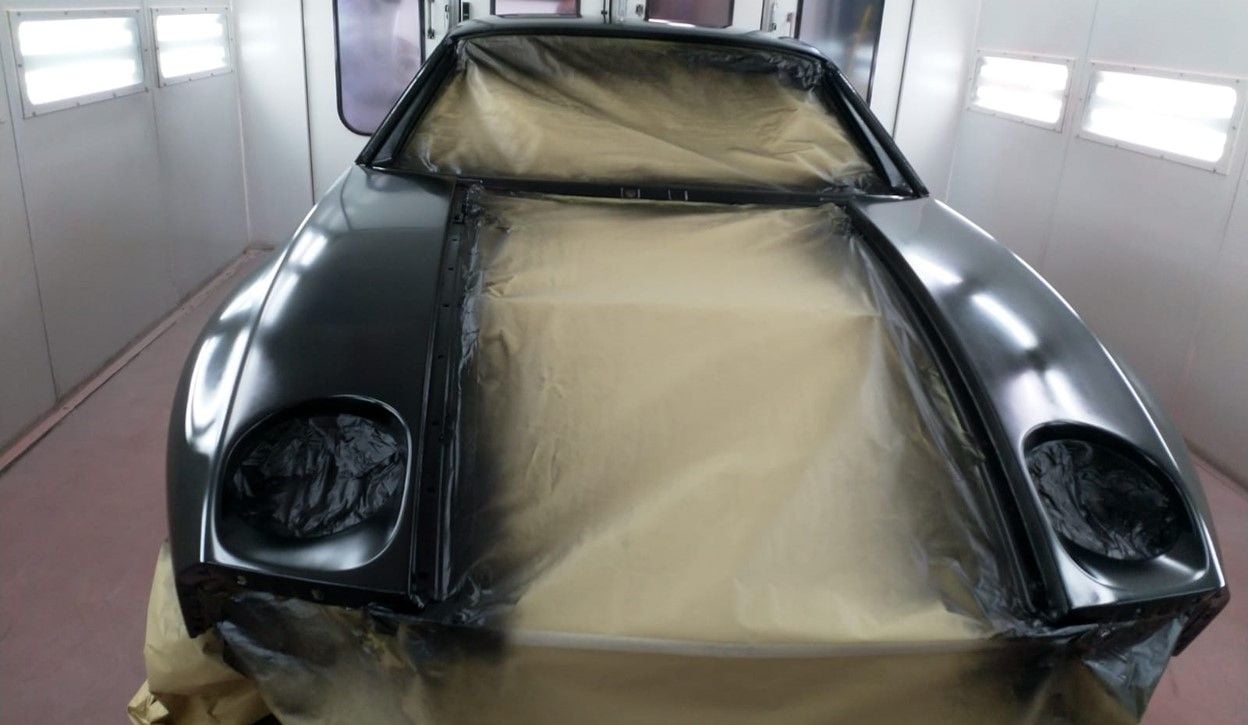
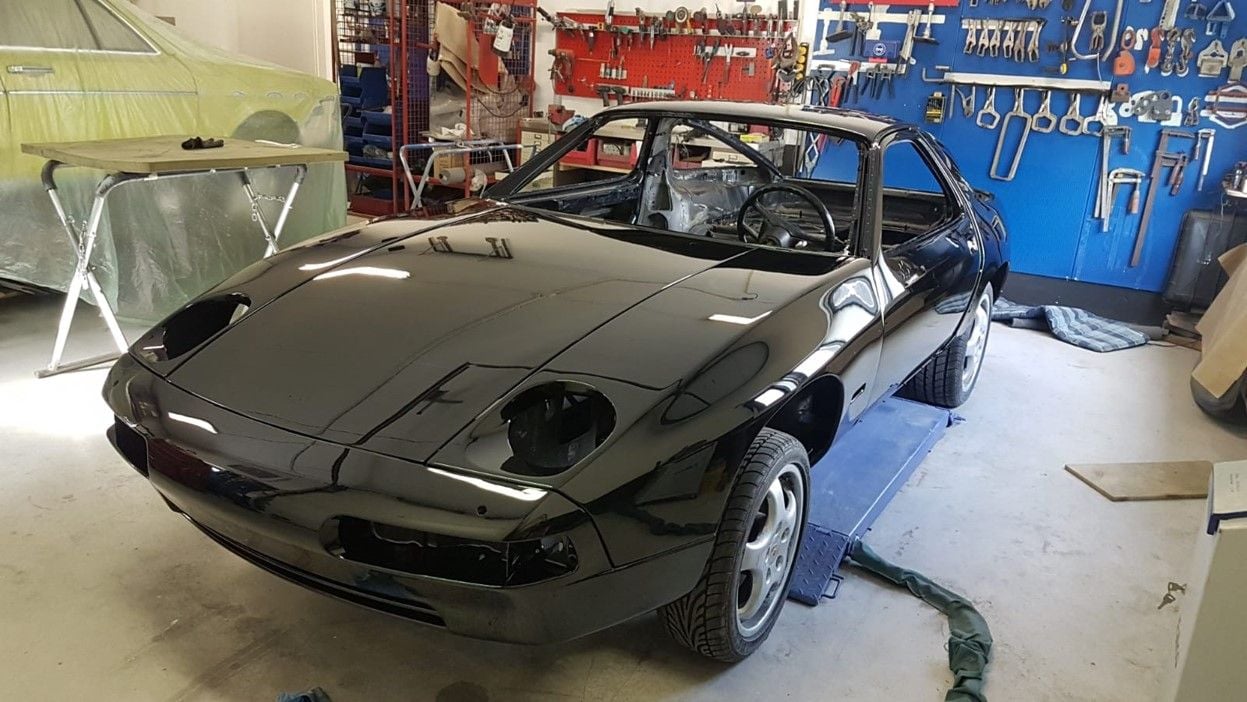
The car has been painted:
There was quite some metalwork done to the car (both to the aluminium fenders/doors as to the body itself), so it took a while before it was finished.
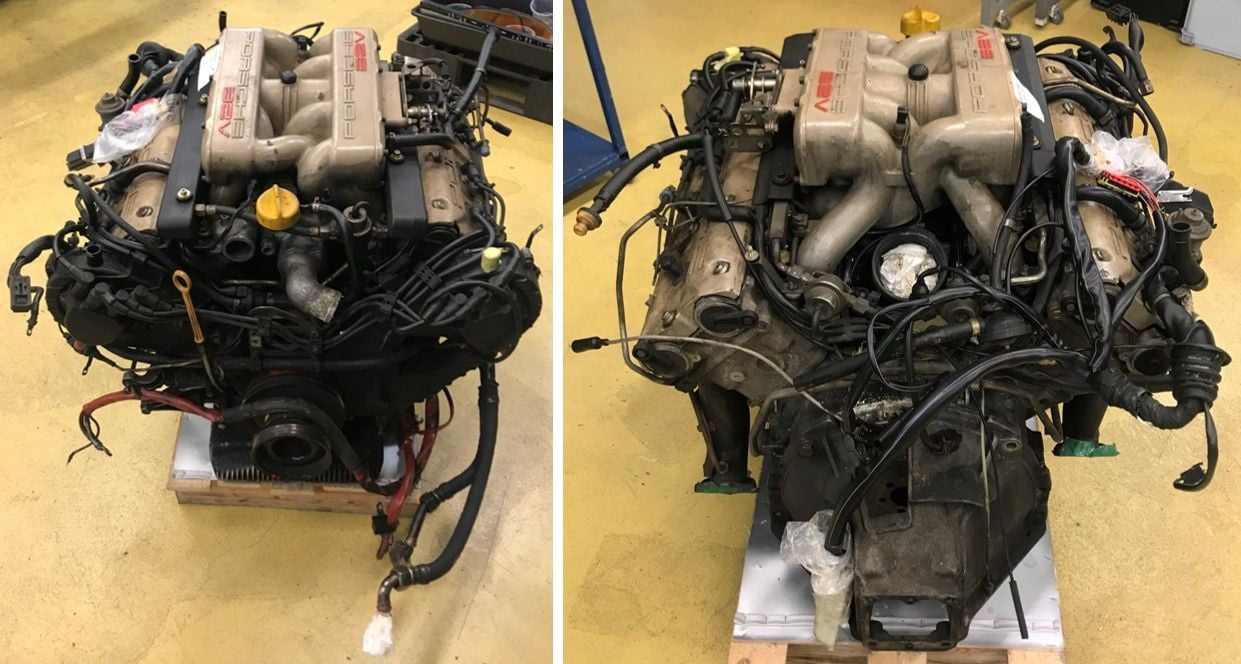
In the meantime we've been busy rebuilding the engine. Here is the "before shot":
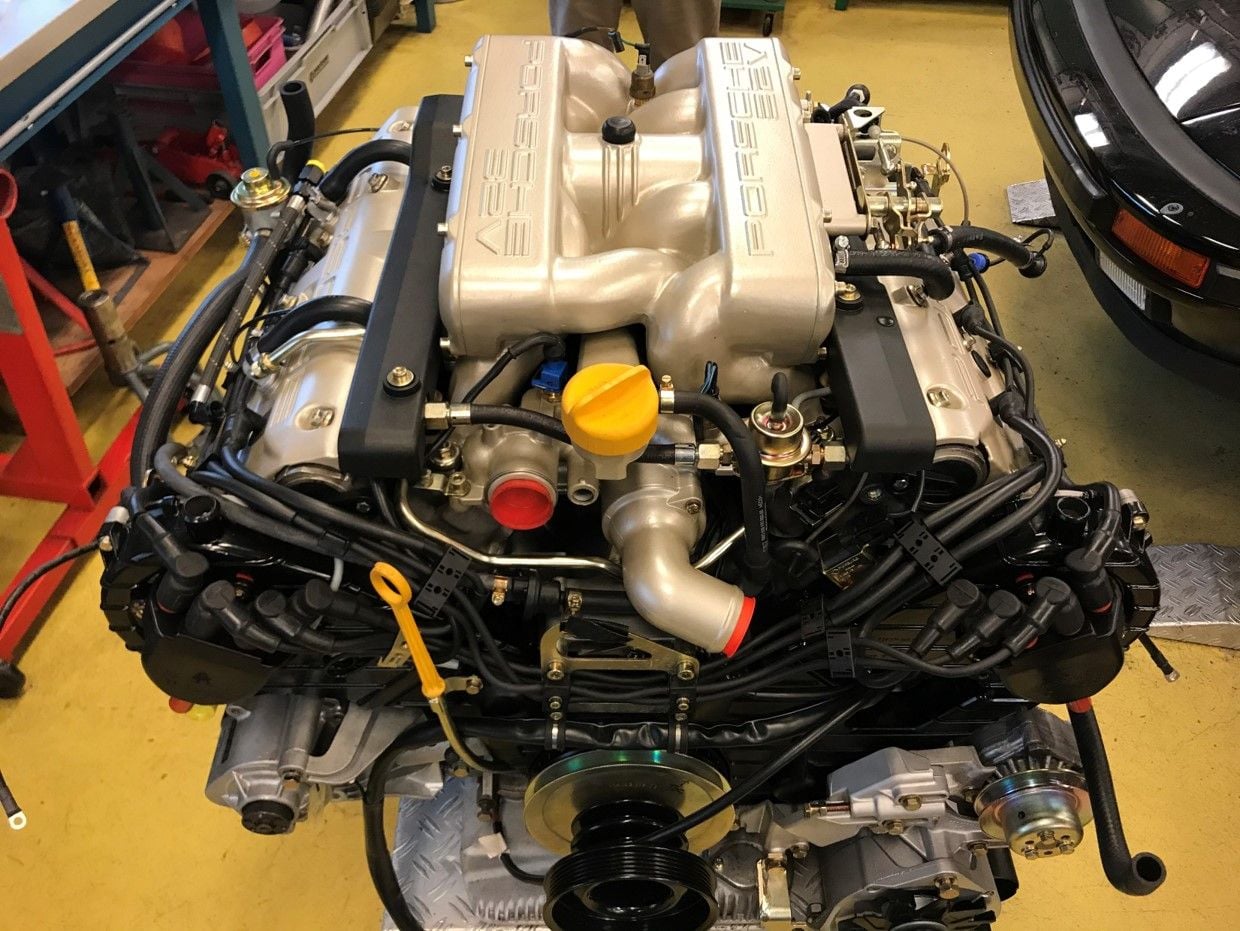
And this is the "after shot":
As my mechanic has limited space available in his workshop we decided to do as much work as we can before putting the car back on the lift.
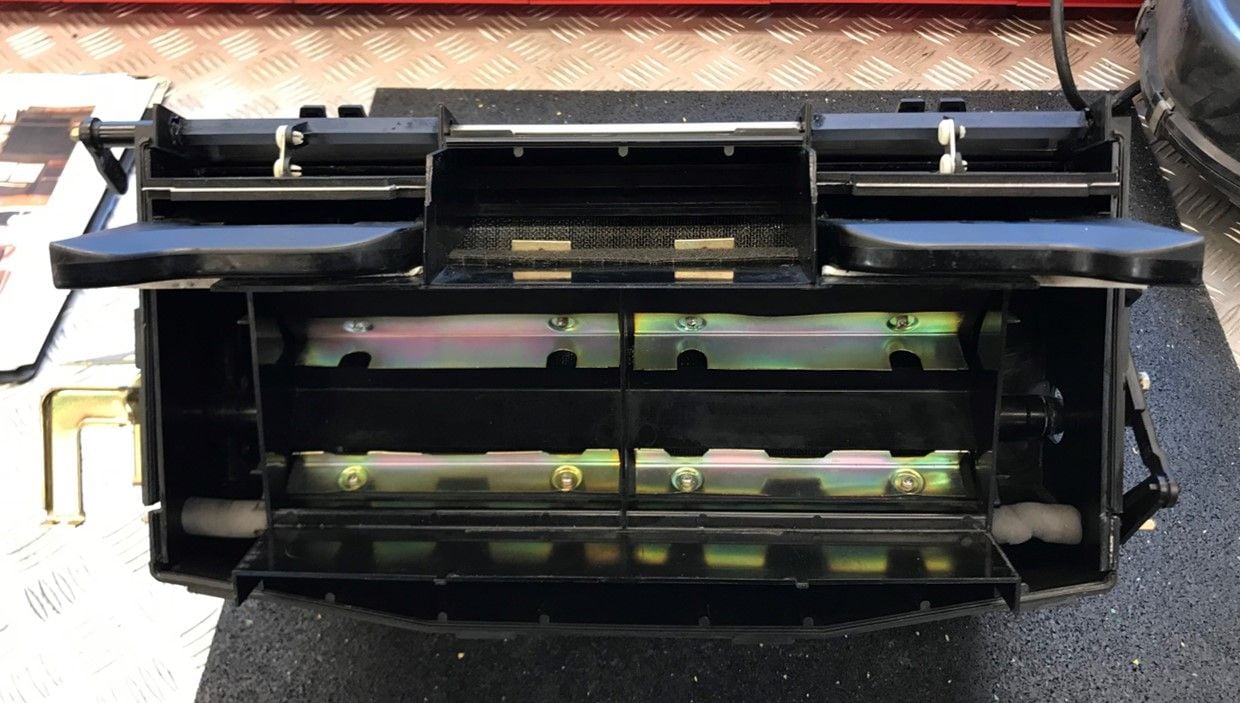
So we rebuild the airco unit after replacing all the foam and the vacuum actuators (some I repaired using Roger's excellent rubber inserts!).
I also put in a new evaporator and heat exchanger:
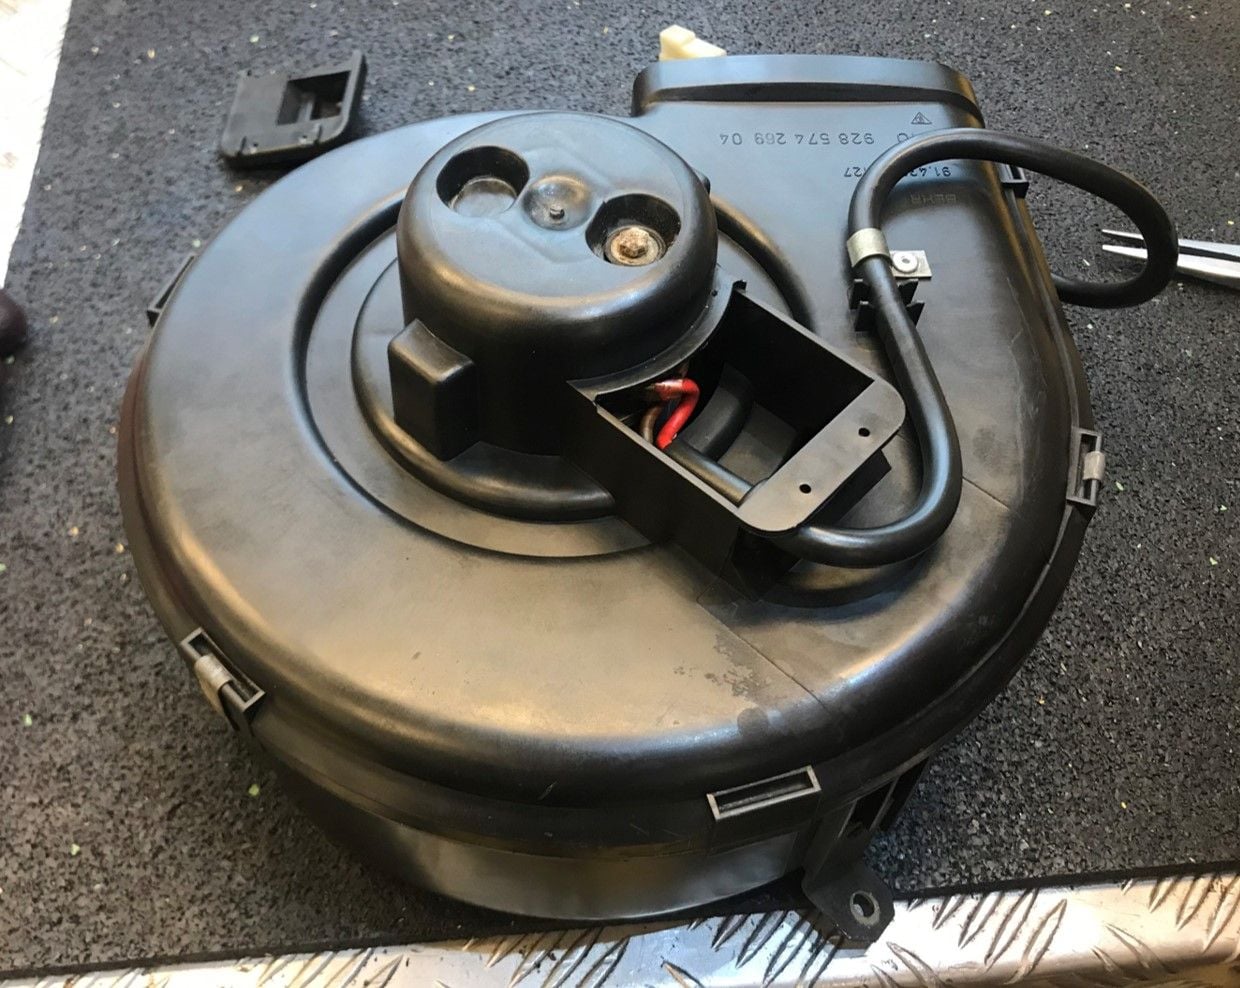
Replaced the blower motor with a motor Roger supplied:
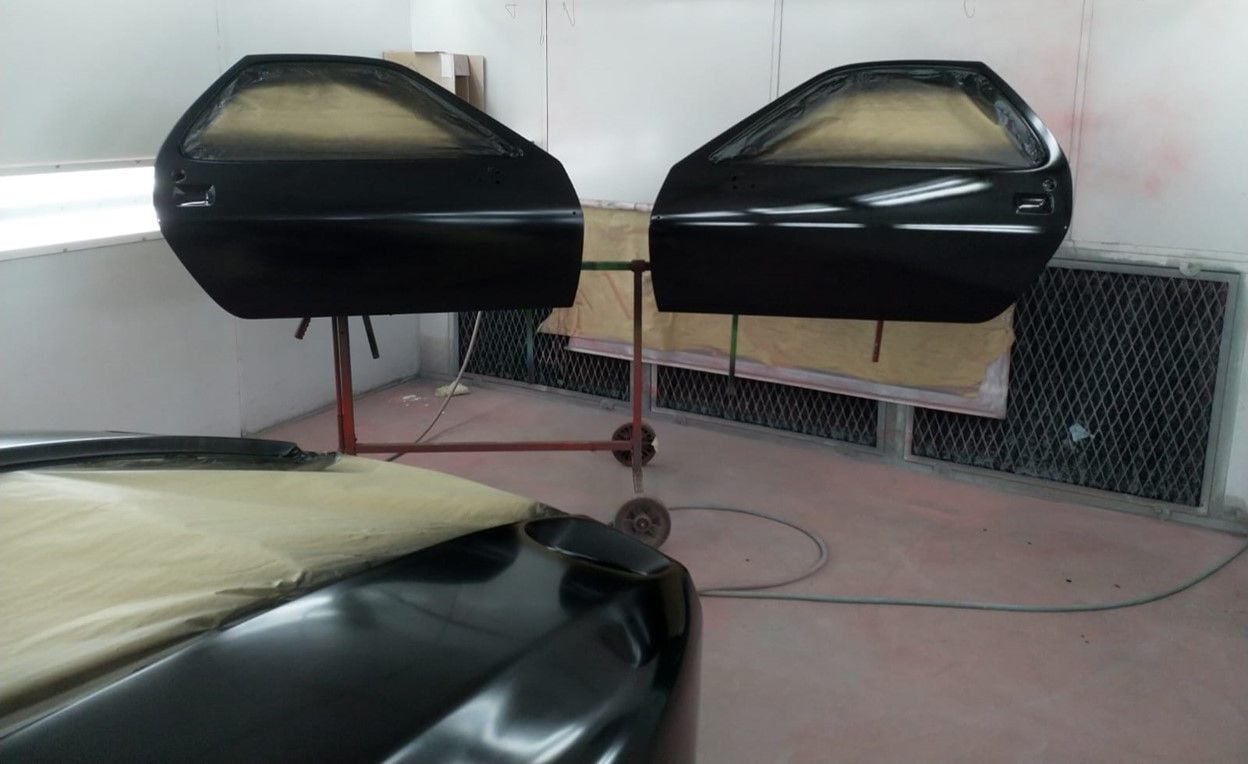
And now we are putting the doors back together and are also rebuilding the front seats (I had the leather treated so I had to take the backrest of the seat itself).
Hopefully within the coming months we will start putting everything back together! For that both the front and rear suspension will have to come off again:
the front to install my restored cross member and steering rack, the rear to install new fuel lines to the front of the car.
Still busy with the car! We also rebuild the front suspension and put it back under the car for the time.
After pulling the engine I stripped the engine bay:
.....and removed the interior including all the wiring harnesses:
The car has been painted:
There was quite some metalwork done to the car (both to the aluminium fenders/doors as to the body itself), so it took a while before it was finished.
In the meantime we've been busy rebuilding the engine. Here is the "before shot":
And this is the "after shot":
As my mechanic has limited space available in his workshop we decided to do as much work as we can before putting the car back on the lift.
So we rebuild the airco unit after replacing all the foam and the vacuum actuators (some I repaired using Roger's excellent rubber inserts!).
I also put in a new evaporator and heat exchanger:
Replaced the blower motor with a motor Roger supplied:
And now we are putting the doors back together and are also rebuilding the front seats (I had the leather treated so I had to take the backrest of the seat itself).
Hopefully within the coming months we will start putting everything back together! For that both the front and rear suspension will have to come off again:
the front to install my restored cross member and steering rack, the rear to install new fuel lines to the front of the car.
Wish me luck.....
Looking very good.
With all your talent, I'm not sure you need any luck!
Semi-retired, as of Feb 1, 2023.
The days of free technical advice are over.
Free consultations will no longer be available.
Will still be in the shop, isolated and exclusively working on project cars, developmental work and products, engines and transmissions.
Have fun with your 928's people!

 12-18-2017, 10:01 AM


 ).
).