Griffits AC compressor rebuild kit - Good / Bad?
#1
Burning Brakes
Thread Starter
Hi, does anybody have experience using this kit? It seem like it's worth a try at the price?
Thanks.
https://griffiths.com/porsche/air-co...pressor-parts/
Thanks.
https://griffiths.com/porsche/air-co...pressor-parts/
#2
Former Vendor
Hi, does anybody have experience using this kit? It seem like it's worth a try at the price?
Thanks.
https://griffiths.com/porsche/air-co...pressor-parts/
Thanks.
https://griffiths.com/porsche/air-co...pressor-parts/
#6
Rennlist Member
Hi, does anybody have experience using this kit? It seem like it's worth a try at the price?
Thanks.
https://griffiths.com/porsche/air-co...pressor-parts/
Thanks.
https://griffiths.com/porsche/air-co...pressor-parts/
Trending Topics
#8
Rennlist Member
Only use genuine Denso parts to rebuild the compressor. My guess is that he would use those parts or better in his kit.
I run a full Griffiths conversion in my 81 that has been working fantastically for the last 3 years. I would stand by his products.
I run a full Griffiths conversion in my 81 that has been working fantastically for the last 3 years. I would stand by his products.
#9
Rennlist Member
I'm pretty sure Century only deals in genuine Nipon Denso parts. They have great customer support and also very high quality video tutorials. I used them to rebuild the compressor on my 85 928 S3 three years ago. No problems, $25.
You will need the "special tool" ($35 on eBay) to remove one of the nuts, and that is a fixed cost of doing it yourself. No matter who sells you the kit, you need the tool.
You will need the "special tool" ($35 on eBay) to remove one of the nuts, and that is a fixed cost of doing it yourself. No matter who sells you the kit, you need the tool.
Last edited by Otto Mechanic; 09-11-2017 at 05:51 AM. Reason: clarification
#10
Burning Brakes
Thread Starter


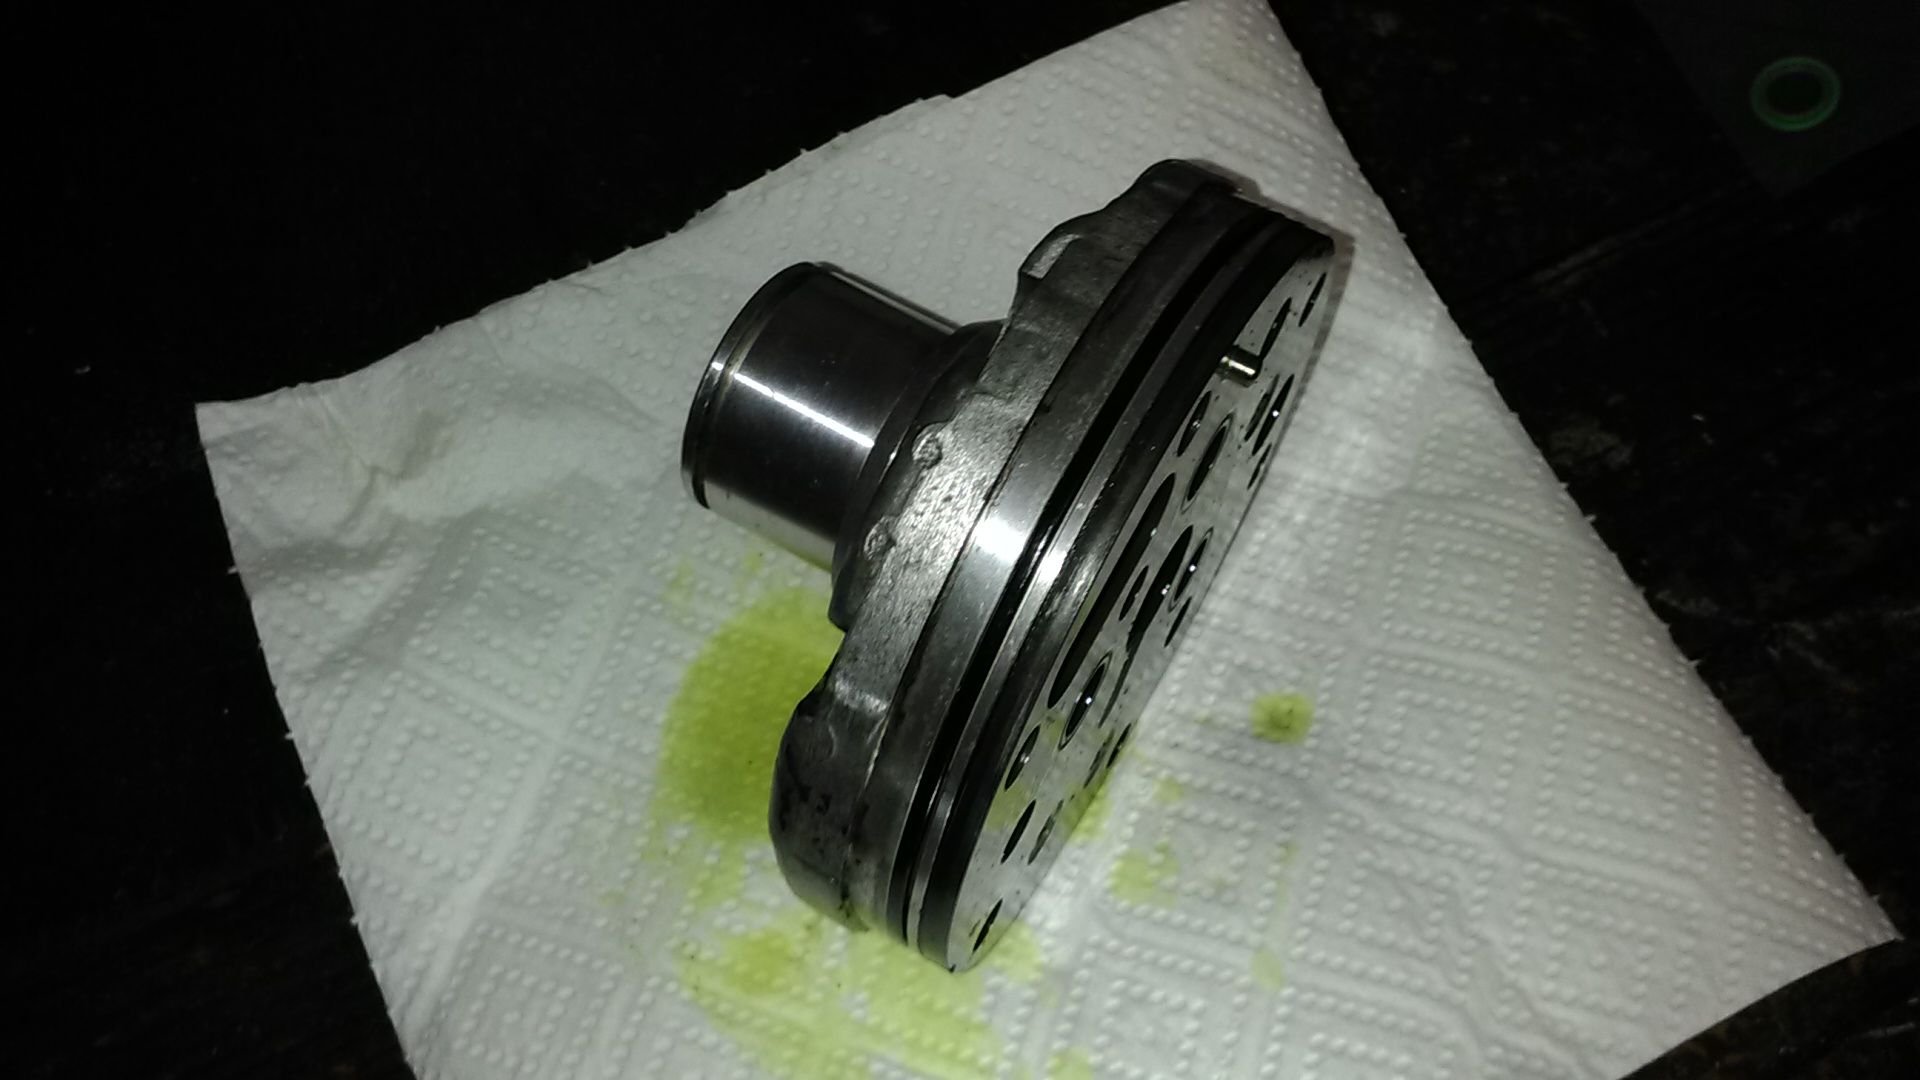
Hi Guys - My parts have arrived some time ago and now it's time to get stuck in - and get stuck.
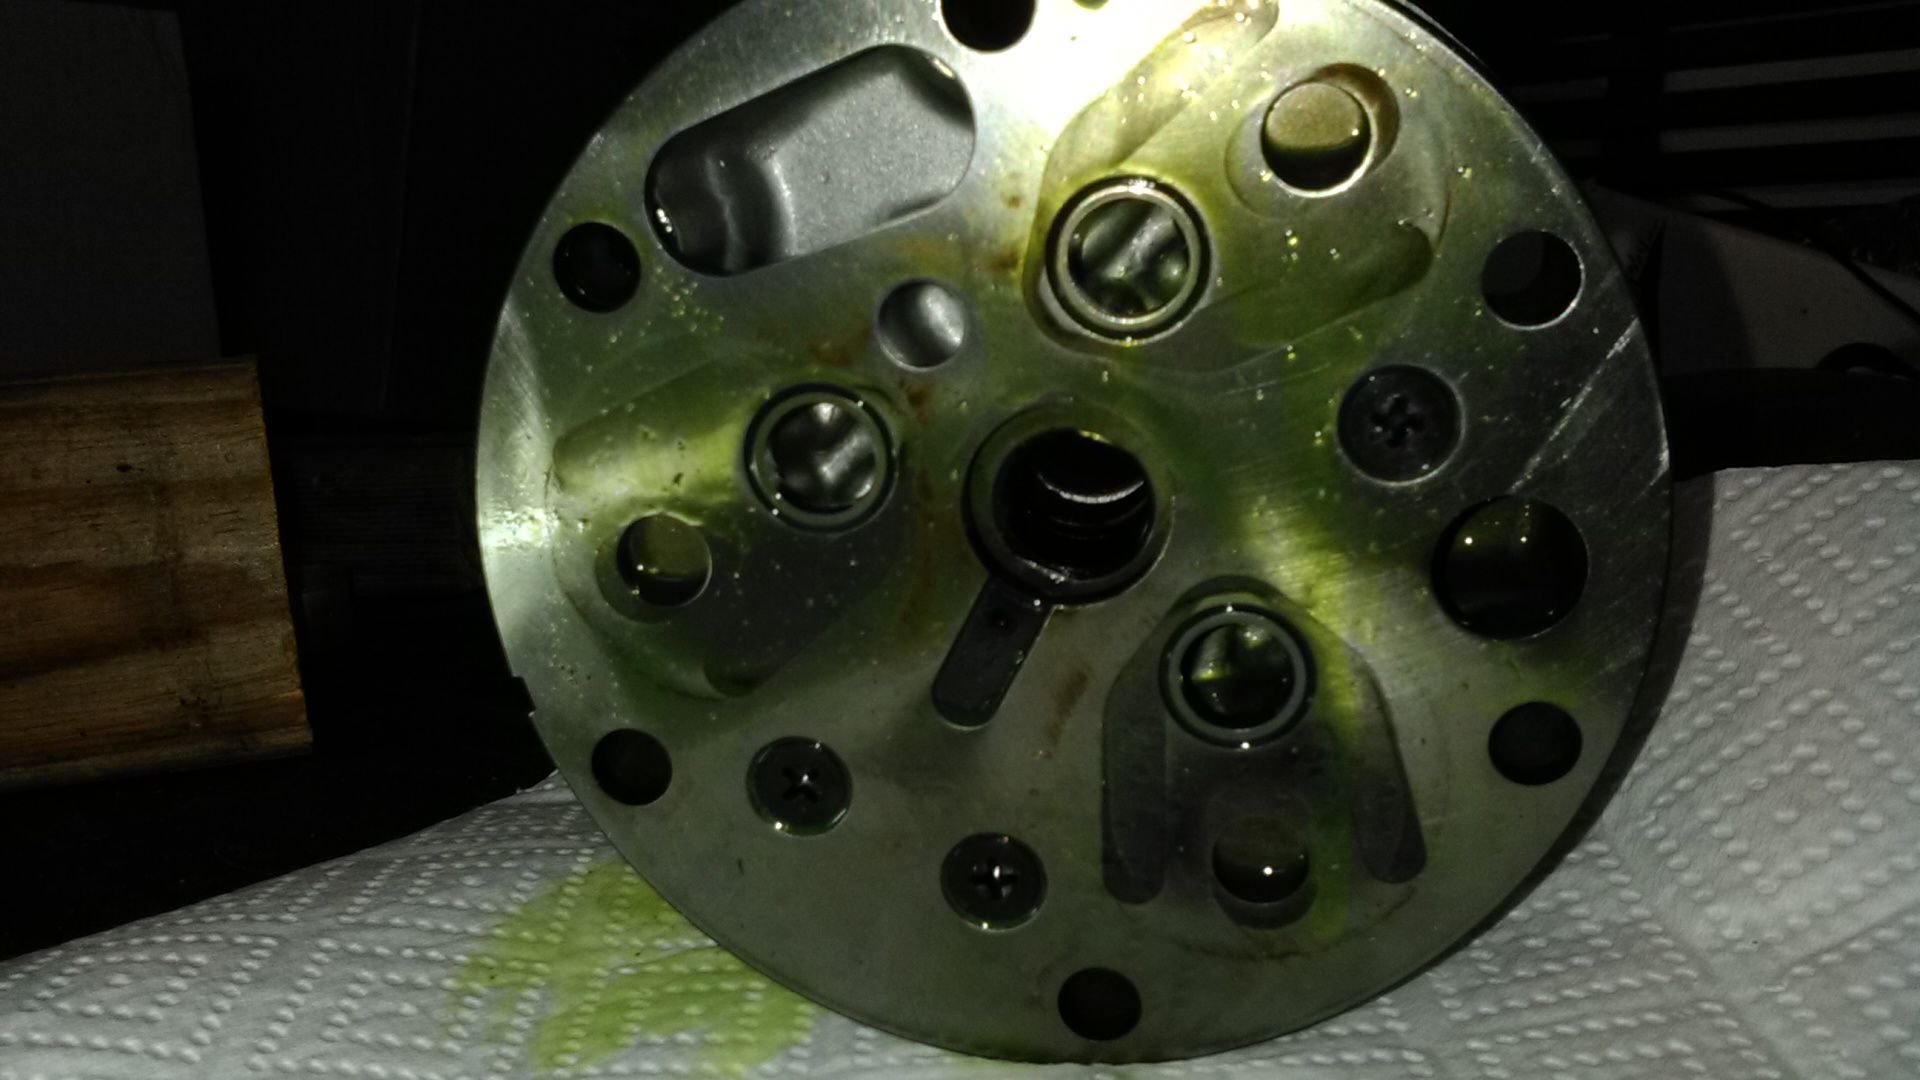
I have removed the nose cone and need to get to the shaft seal and bearing. On the inside is a plate that appear to be held in place with three Phillips screws. They are extremely tight.
So two questions.
1) Am I correct that they need to come out?
2) Is there a trick?
Thanks
#11
Rennlist Member
You don't need to remove the screws. those screws hold the reed valves to the plate. The steel plate is just stuck, adhered to the paper gasket. You should be able to remove the alignment pin at this stage by pulling gently on it. Then you will need to just force the plate and end cap apart. I have found that you can use a large open end wrench in the oval slot hear the top of your second picture to apply pressure to the back side of the plate and the end cap. be careful not to damage the areas around any of the round holes as there are sealing areas for the reed valves. the edge of the oval hole is not critical.
Edit:
I'm assuming your kit has replacements for the paper gaskets that you will be replacing anyway.
Also be very careful with the mating faces of the spring loaded carbon seal, it is it is a highly polished, surface to surface contact seal.
Edit:
I'm assuming your kit has replacements for the paper gaskets that you will be replacing anyway.
Also be very careful with the mating faces of the spring loaded carbon seal, it is it is a highly polished, surface to surface contact seal.
#12
Burning Brakes
Thread Starter


Thanks Simon
With some carefully applied force and choice words, the bits are separated.I am a bit surprised that the oil seal was loose (floating around).
I assume the new one will get squeezed against the ridge on the shaft.
Apart from using a seal protector when fitting the new seal, is there any other hints and tips to prepare the seal?
Again, thanks for the help.
#13
Rennlist Member
On reassemble the easiest method is to assemble the alignment pin, steel reed valve plate and paper gasket into the main compressor body first. Then install the shaft seal onto the shaft ensuring the flats on the shaft align with the flats in the shaft seal and that it is fully sealed.
replace the seal calf in the aluminum end cap making sure the machined/polished side faces into the compressor as it seals against the polished carbon face of the shaft seal. Make sure to oil these surfaces before assembly.
replace the seal calf in the aluminum end cap making sure the machined/polished side faces into the compressor as it seals against the polished carbon face of the shaft seal. Make sure to oil these surfaces before assembly.
#15
Burning Brakes
Thread Starter


Small update: I disassembled most of the compressor. I decided not to split the center section as I can see no signs of a leak and don't want to risk the pistons etc. falling out.
Please comment if this is a bad idea.
Hopefully it will all go back together this weekend.
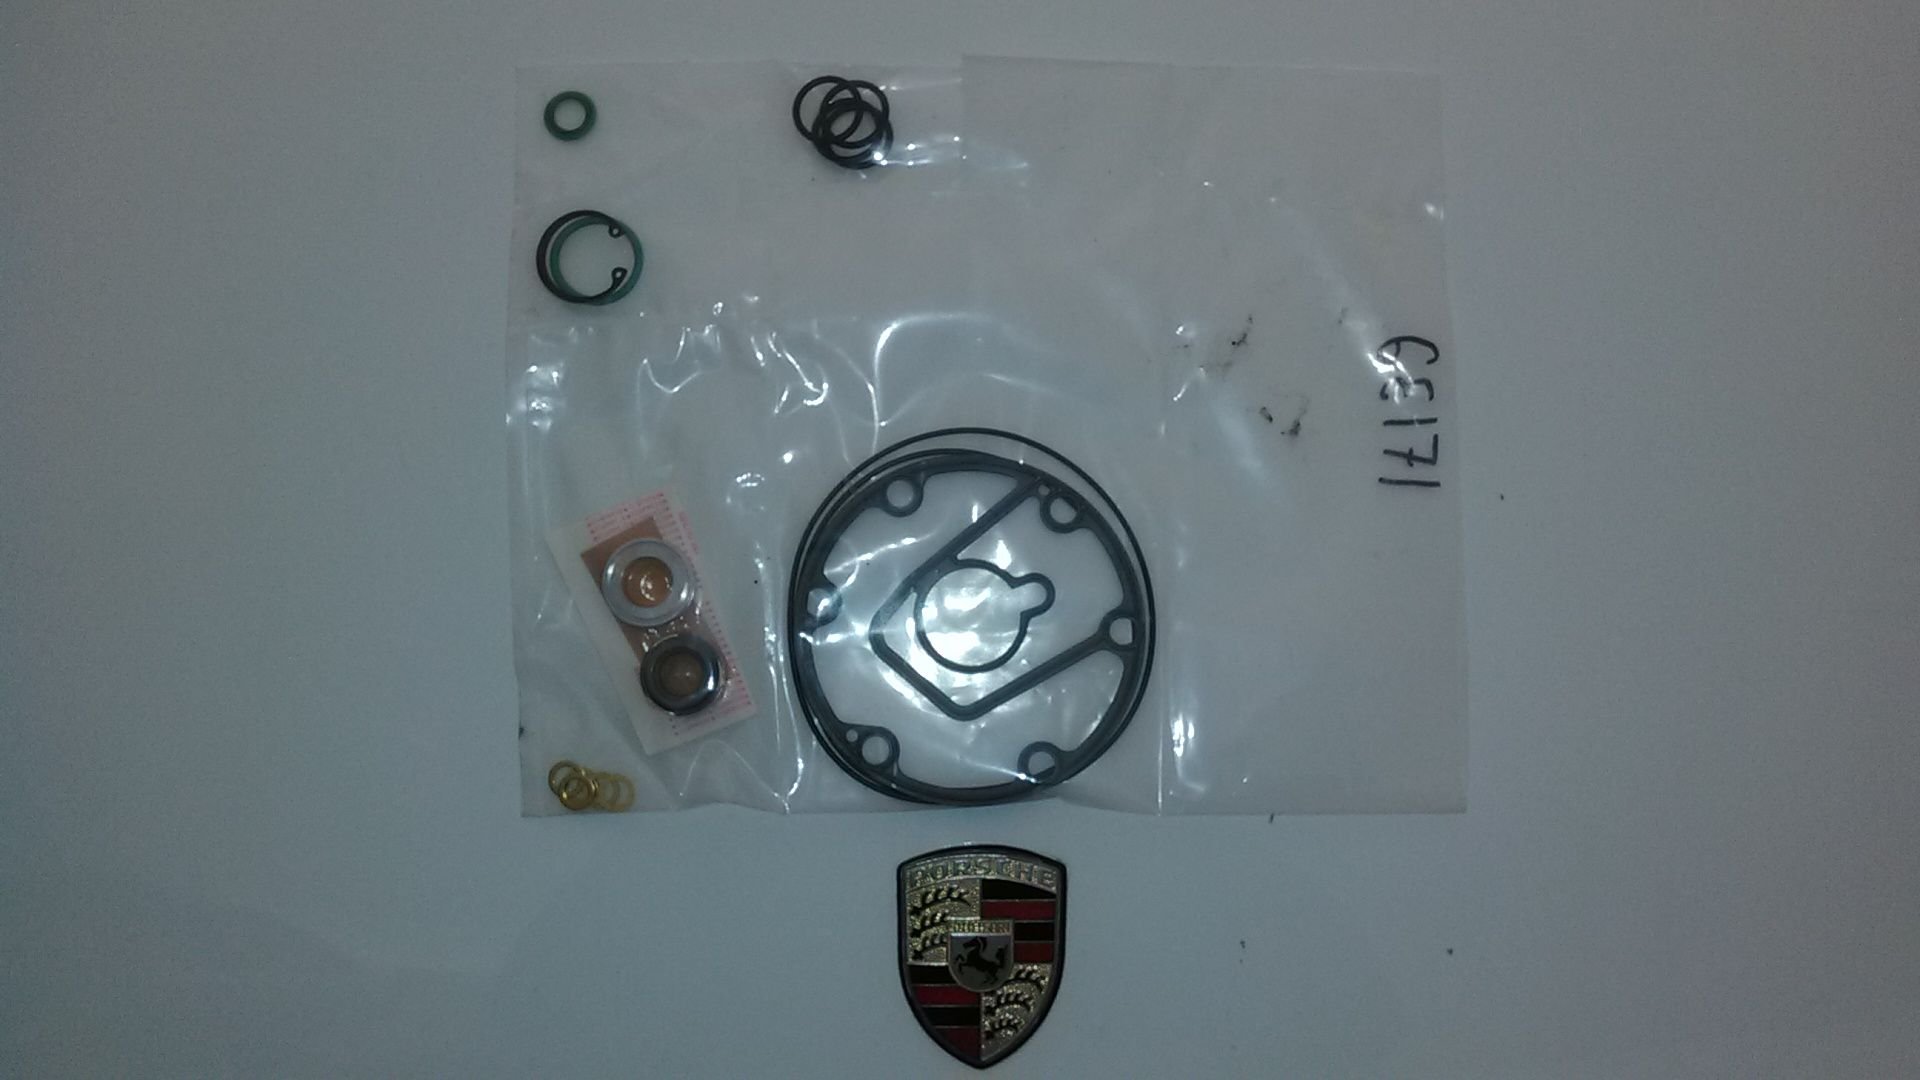
Some more pictures as well as the gasket kit.


