When you click on links to various merchants on this site and make a purchase, this can result in this site earning a commission. Affiliate programs and affiliations include, but are not limited to, the eBay Partner Network.
Definitely not a bad suggestion, but I've seen some people complain about failed spring tensioners as well. I think I'll roll with the standard, single stud eccentric tensioner for now. Seems simple and effective.
-Justin
No problem, but I have worked on these cars for 30 years and never seen a spring tensioner fail. I use them to hold the roller and set the tension with tensioner tool. I personally think the short bolt through the roller is much stronger than the long bolt into the block, but both methods will work.
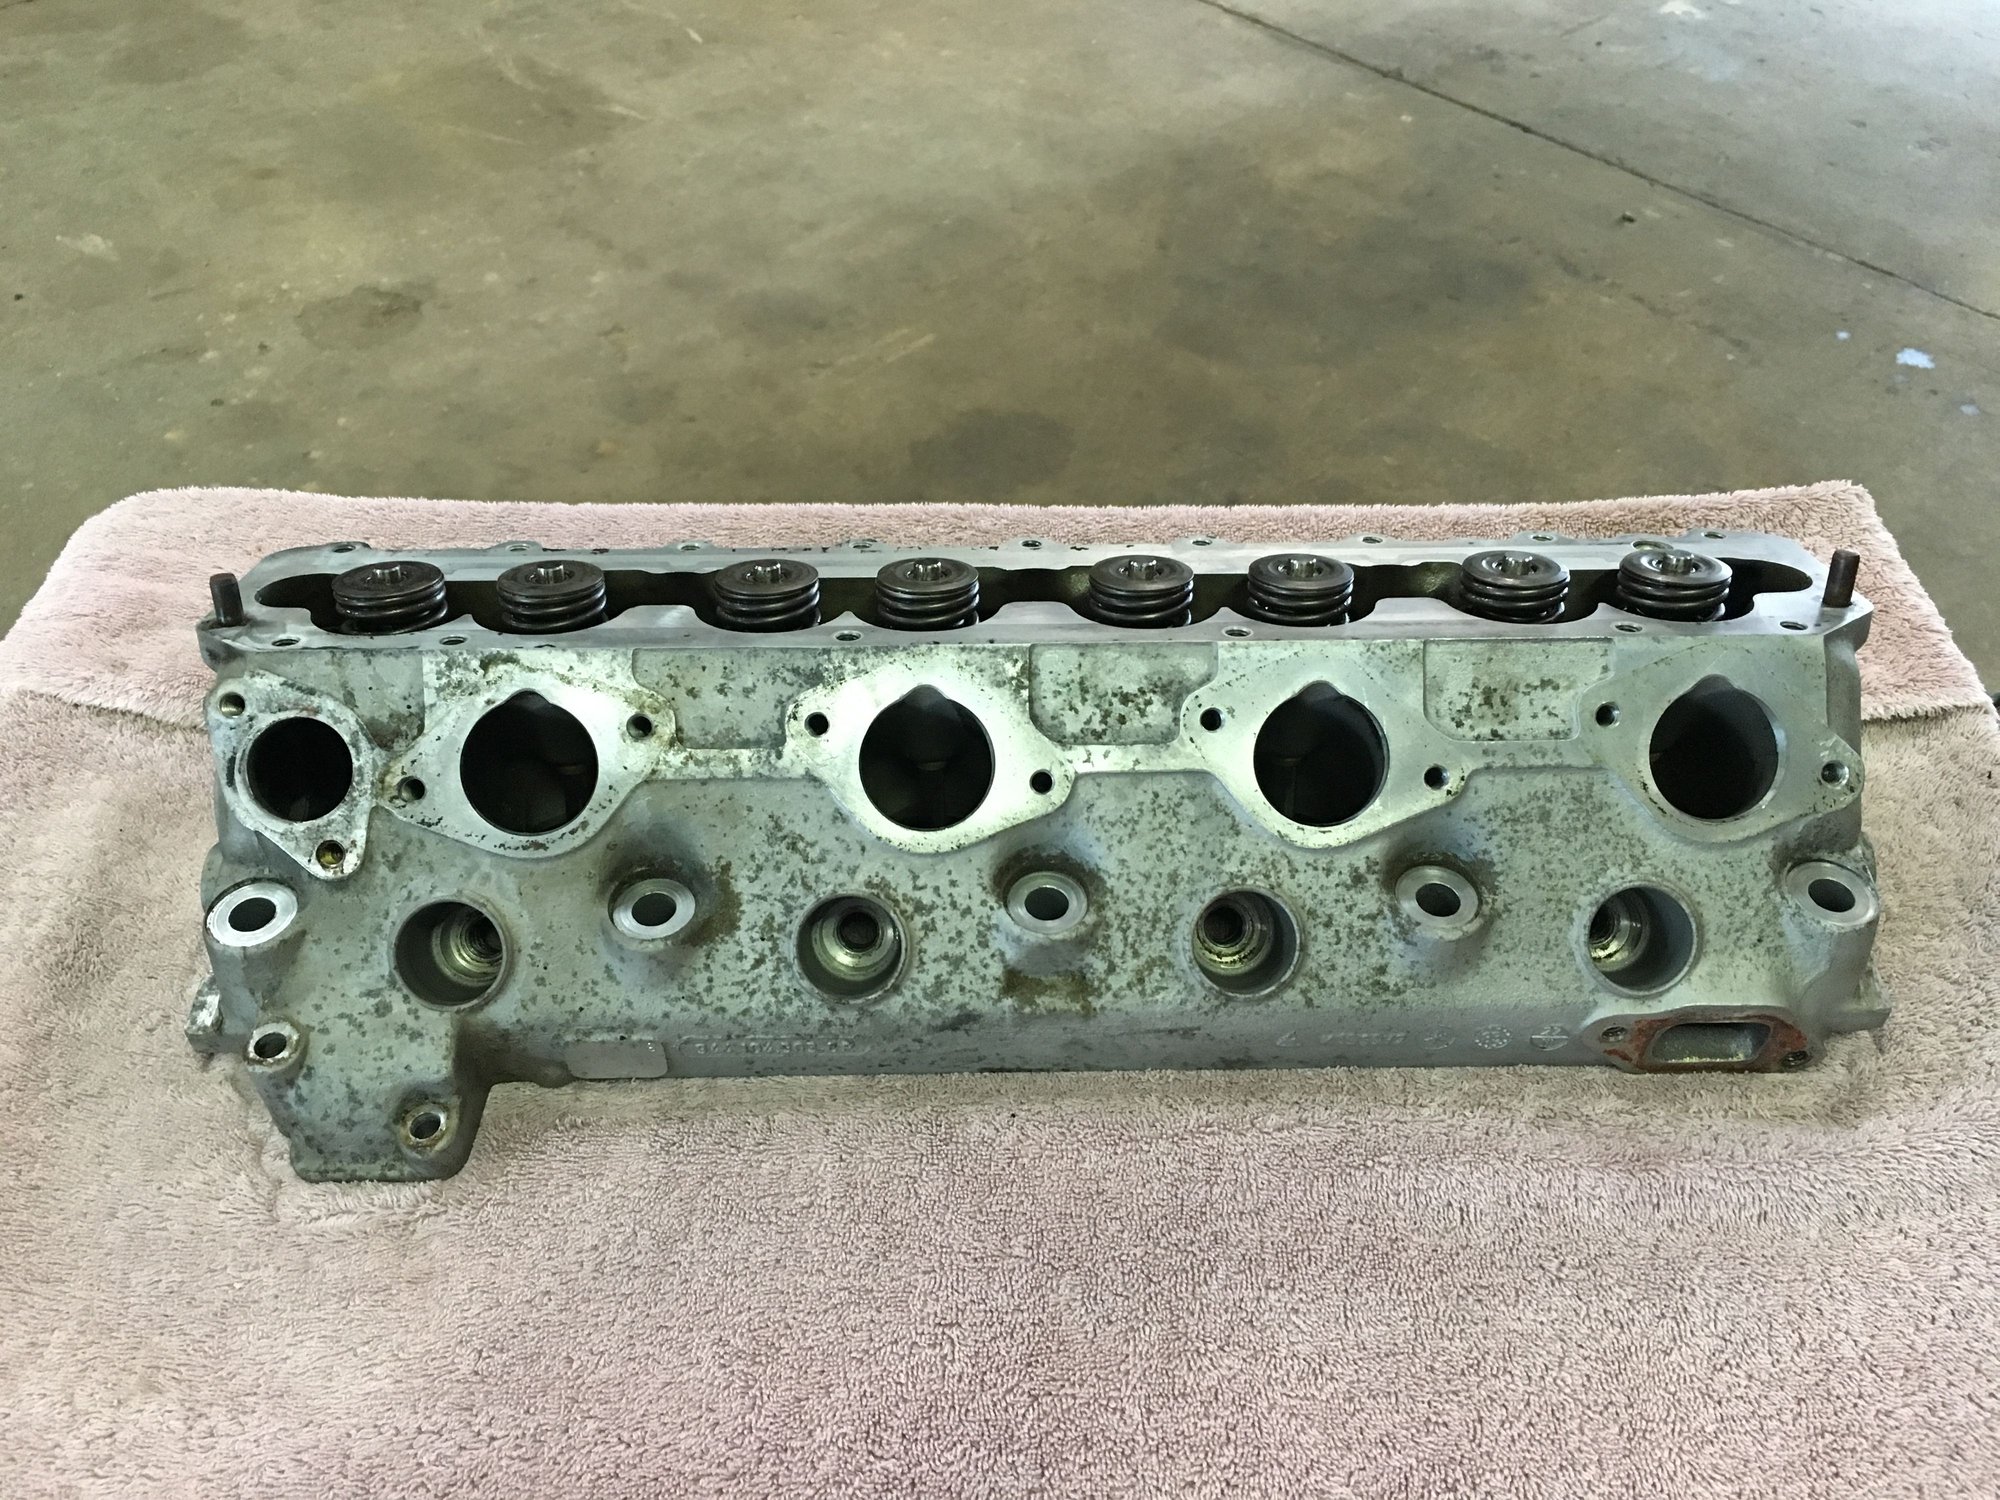
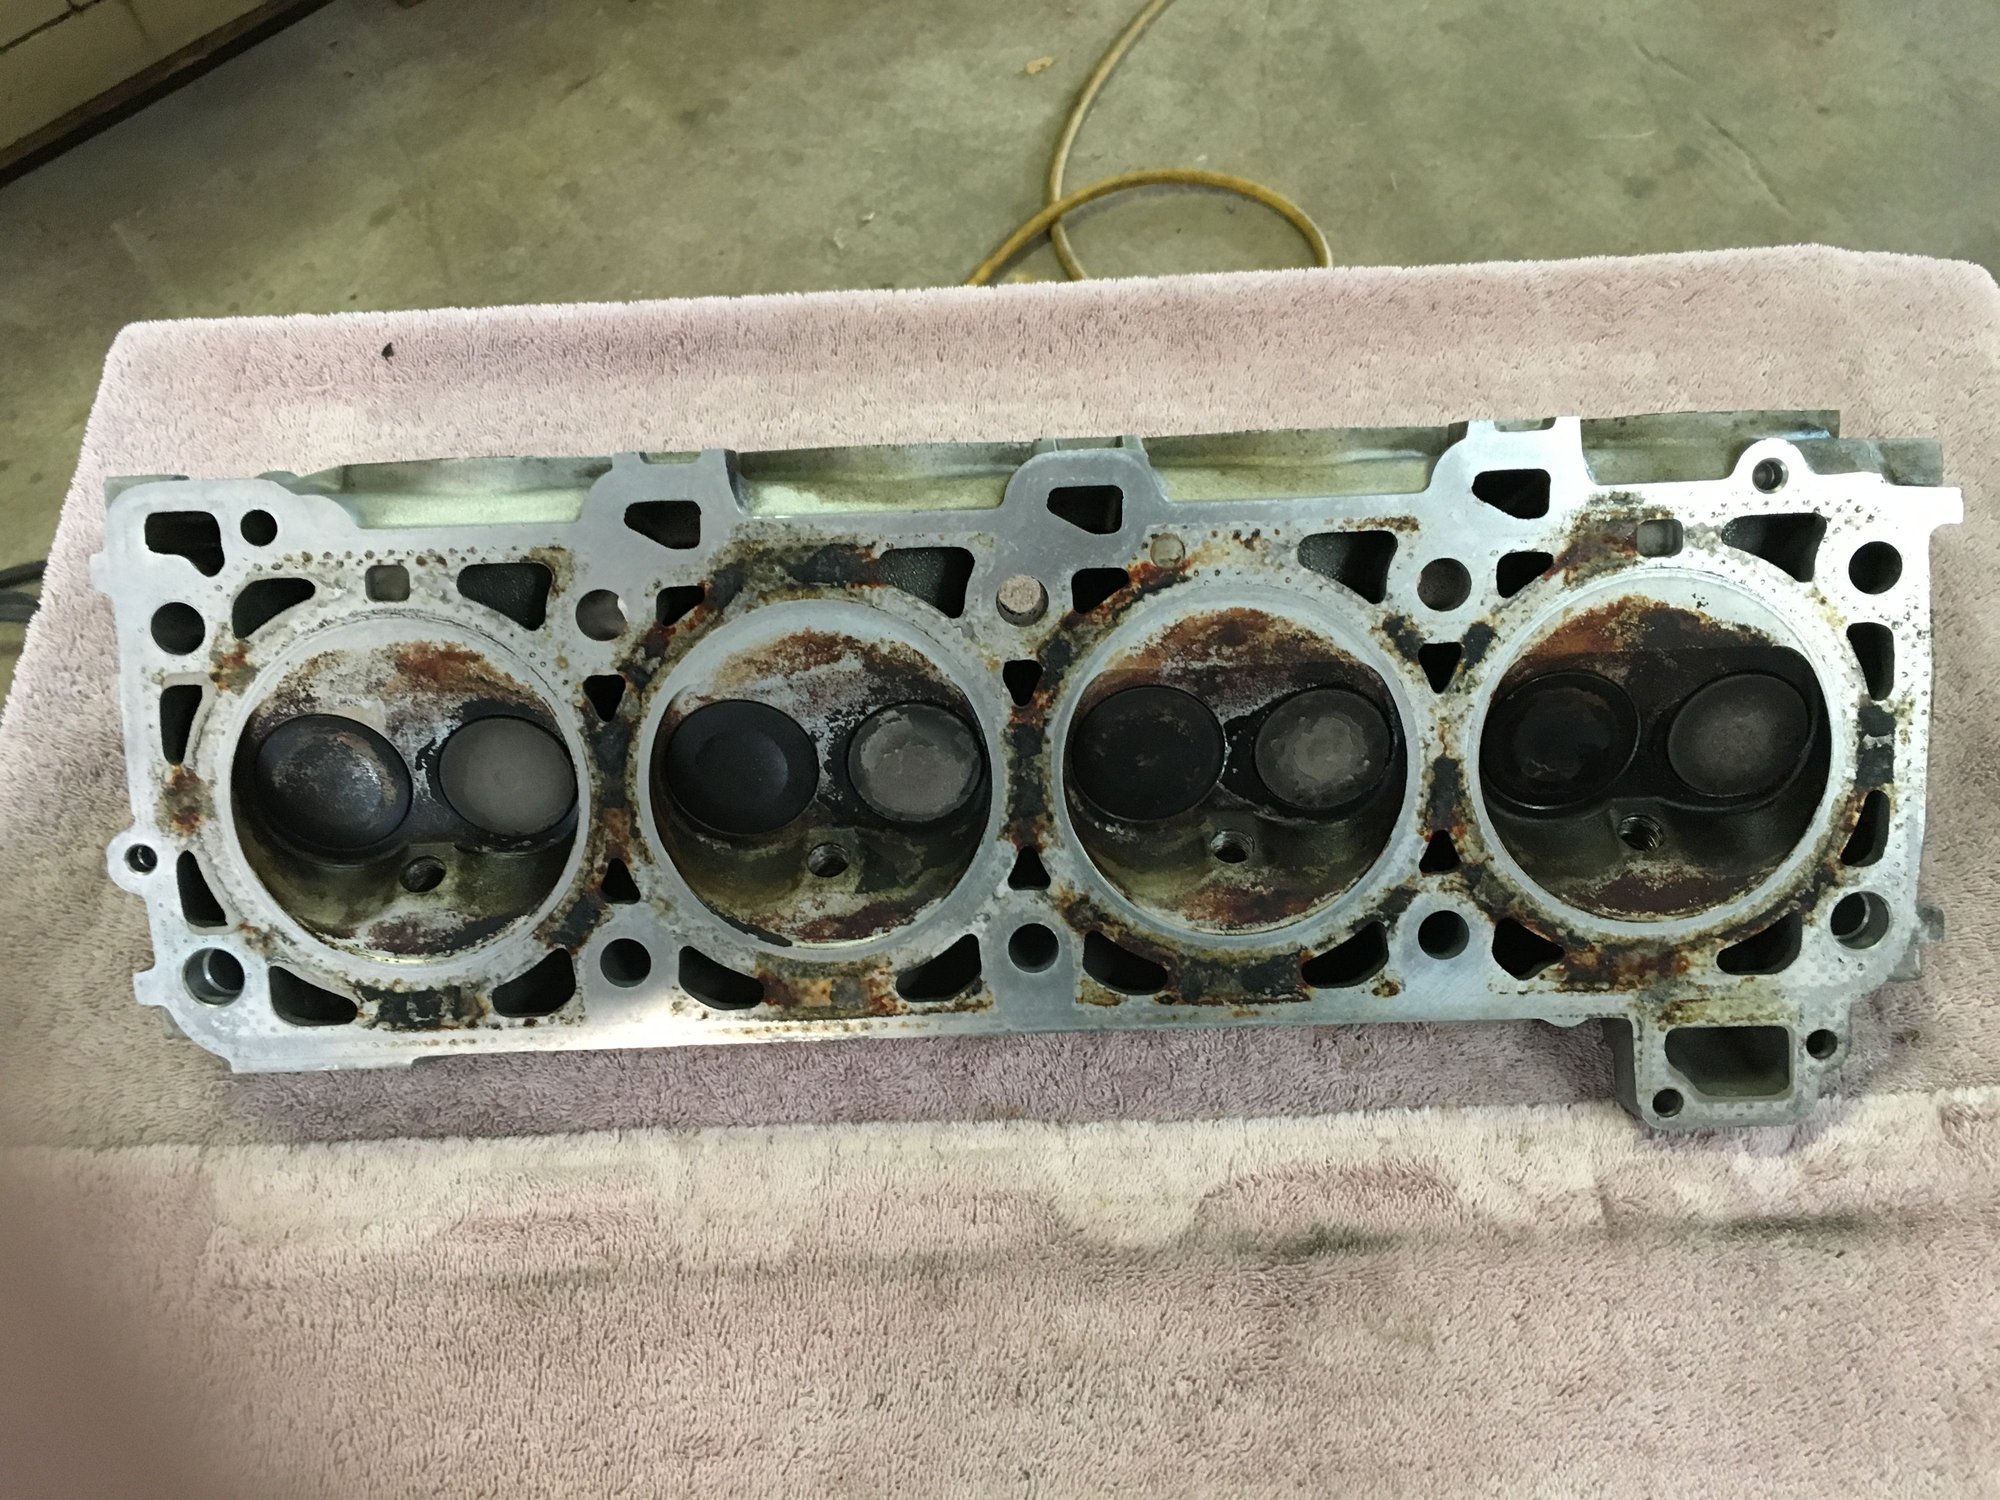
All right, finally had my cylinder head rebuilt. I had it done here in Tampa at Engine Lab. The guy that owns it is a Porsche fanatic and races a 951 SP3 car and a 996 so I figured it was a good place to go. The guys there were super nice and did a great job.
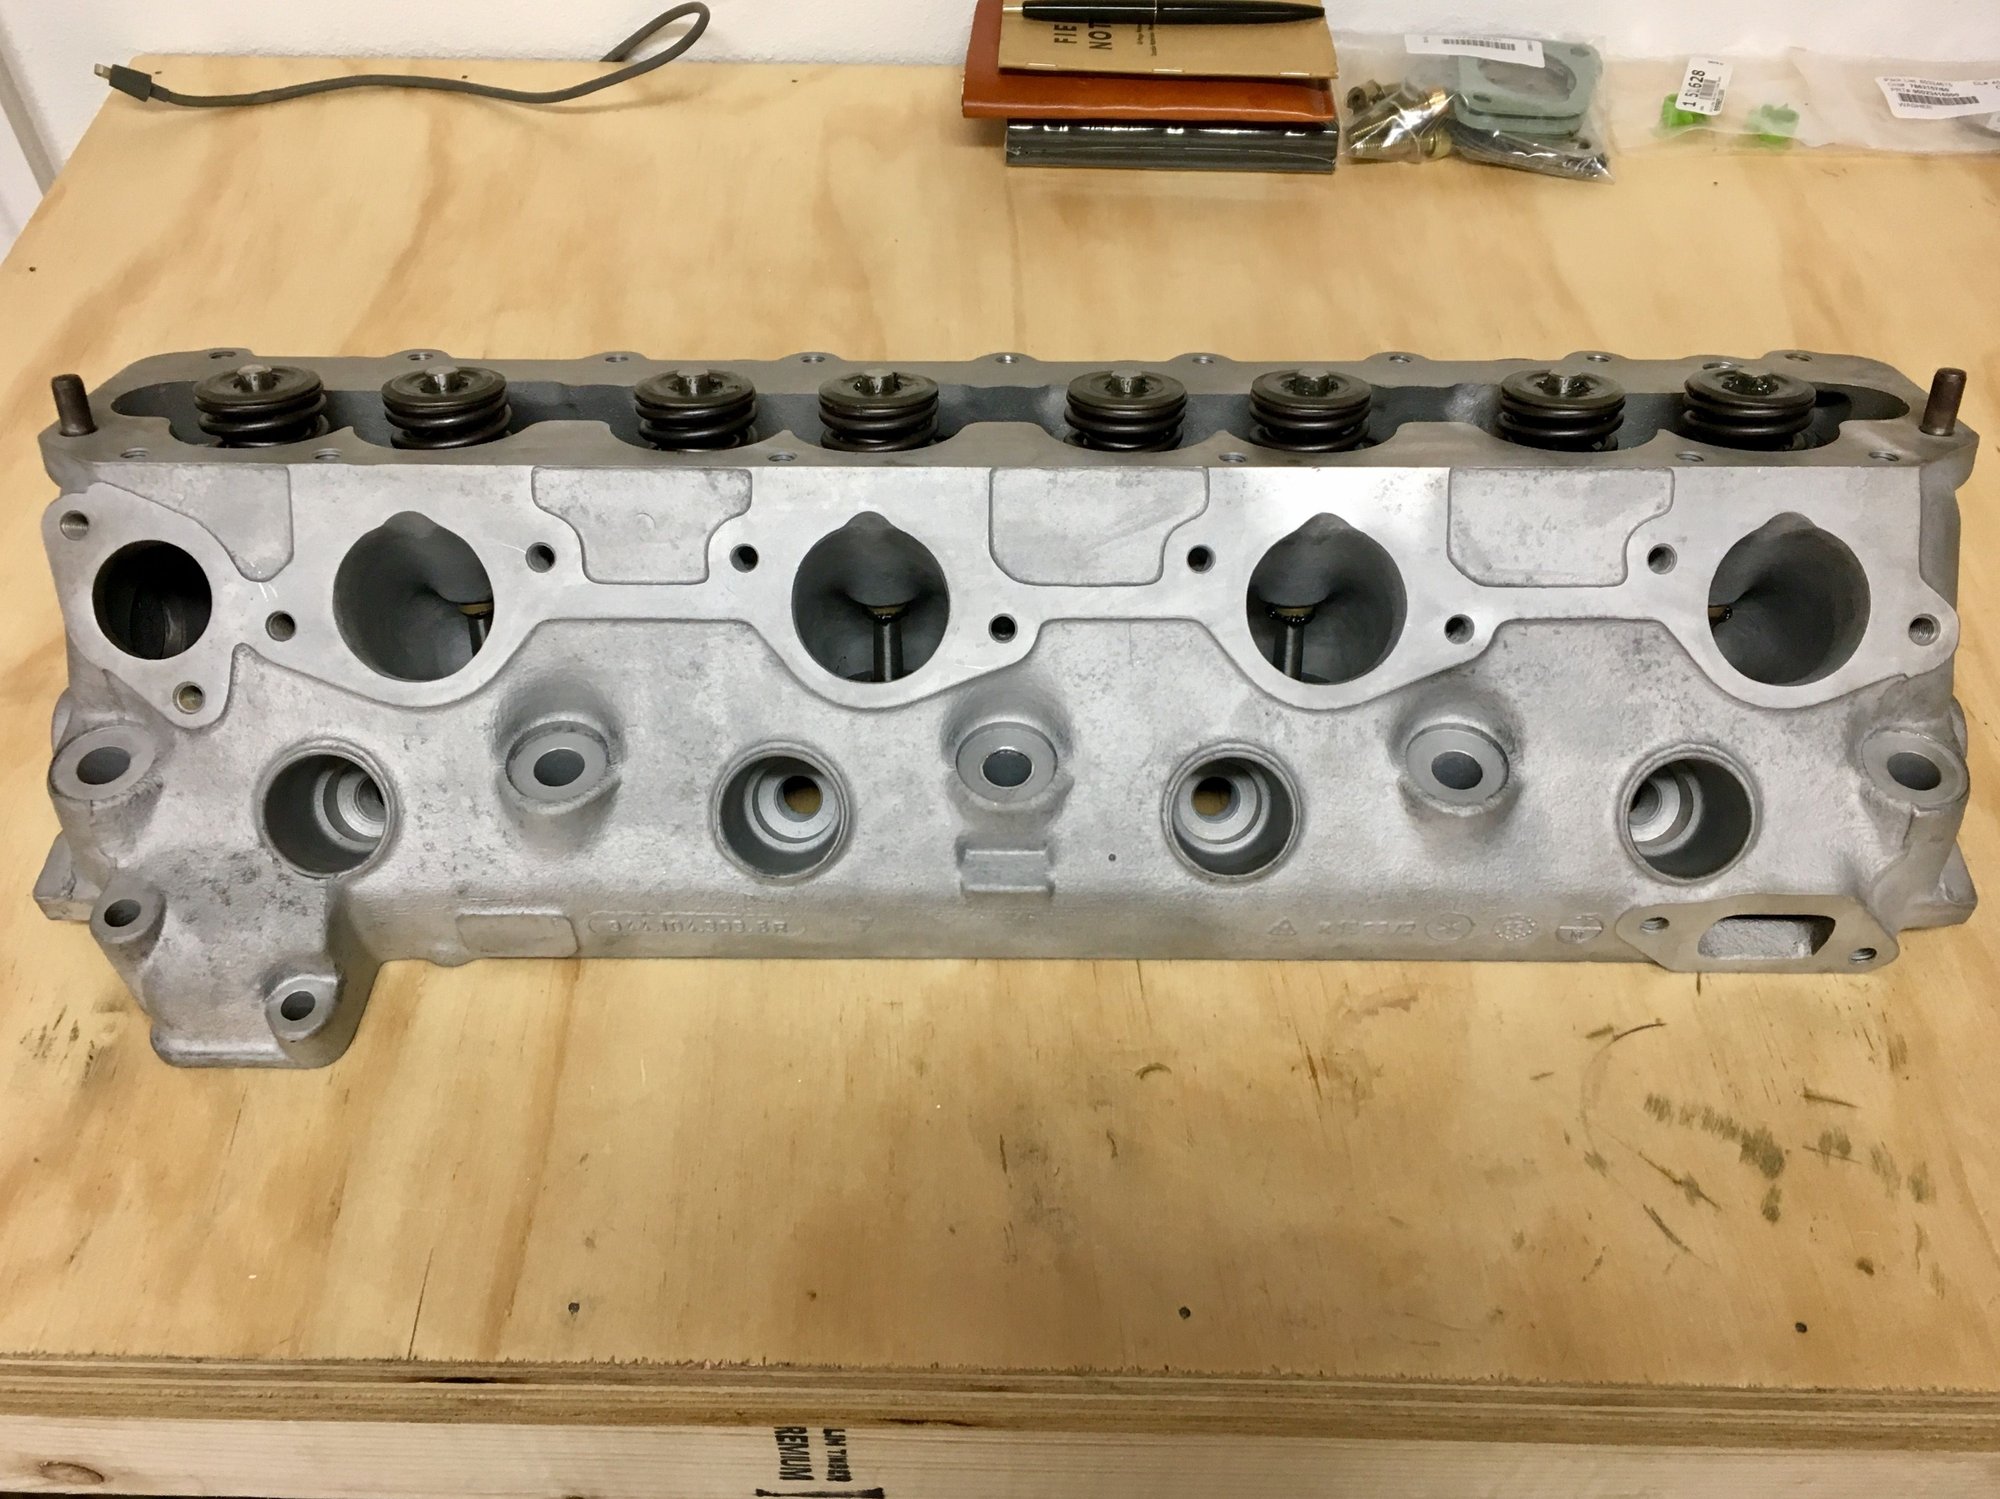
What started out as a crusty cylinder head last year is now factory fresh!
I had new guides installed and replaced the original springs with OEM turbo valve springs.
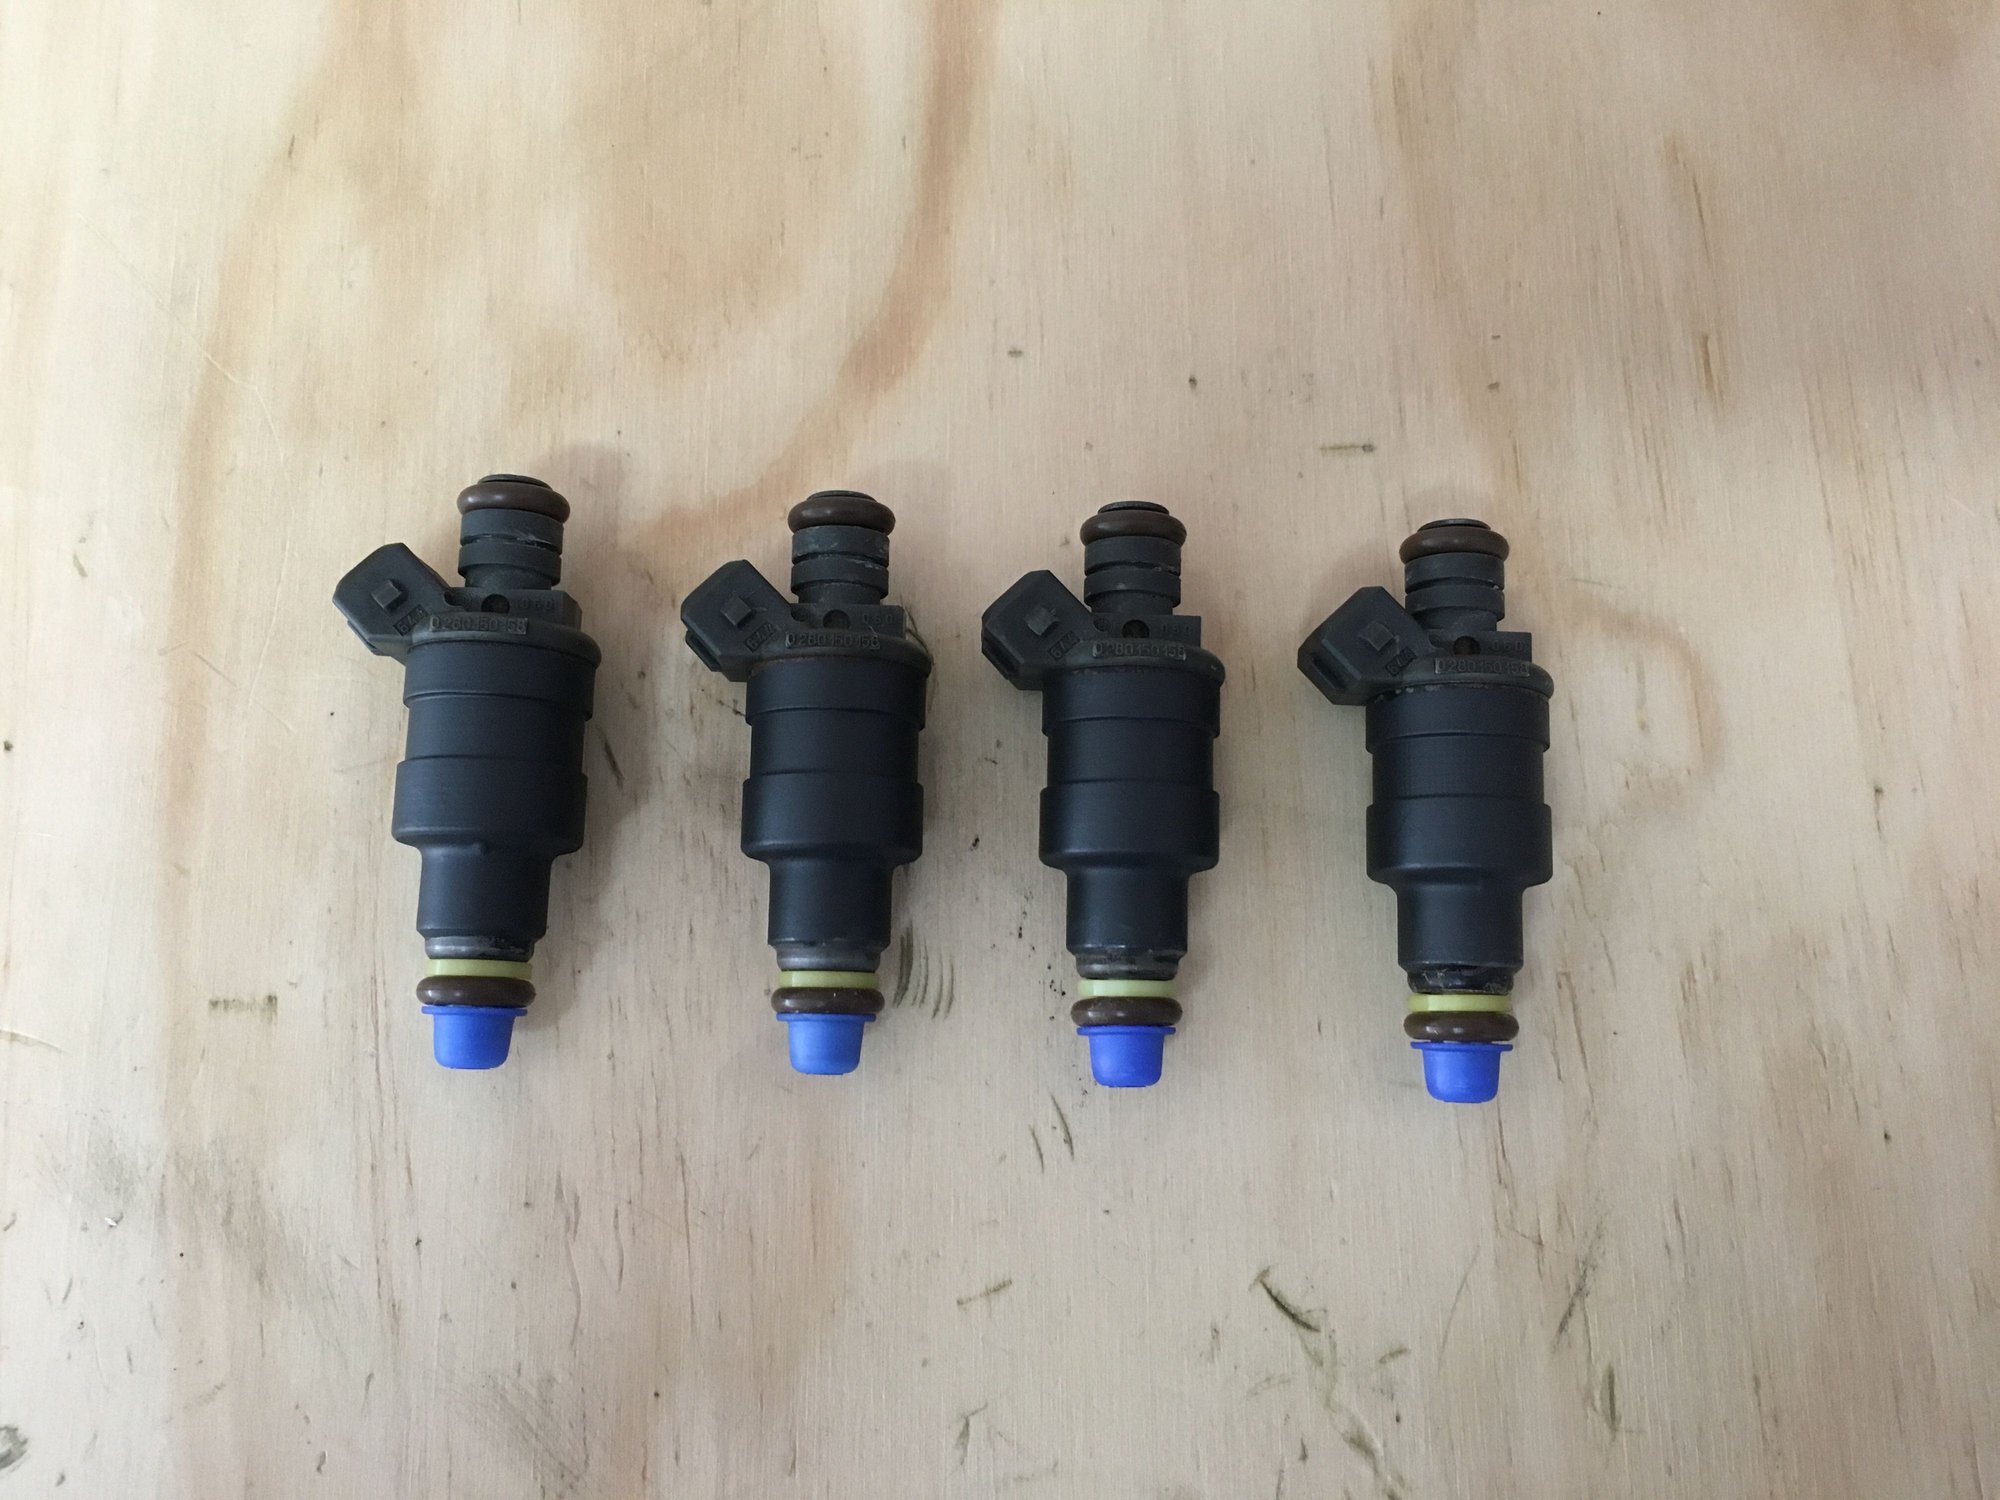
I had the fuel injectors cleaned, rebuilt and flow tested while there as well. Like new!
Need to order the ISV and breather hoses today and hopefully by the end of next weekend I'll have the engine all buttoned up! Been a long time in the making at this point but rewarding to do it myself.
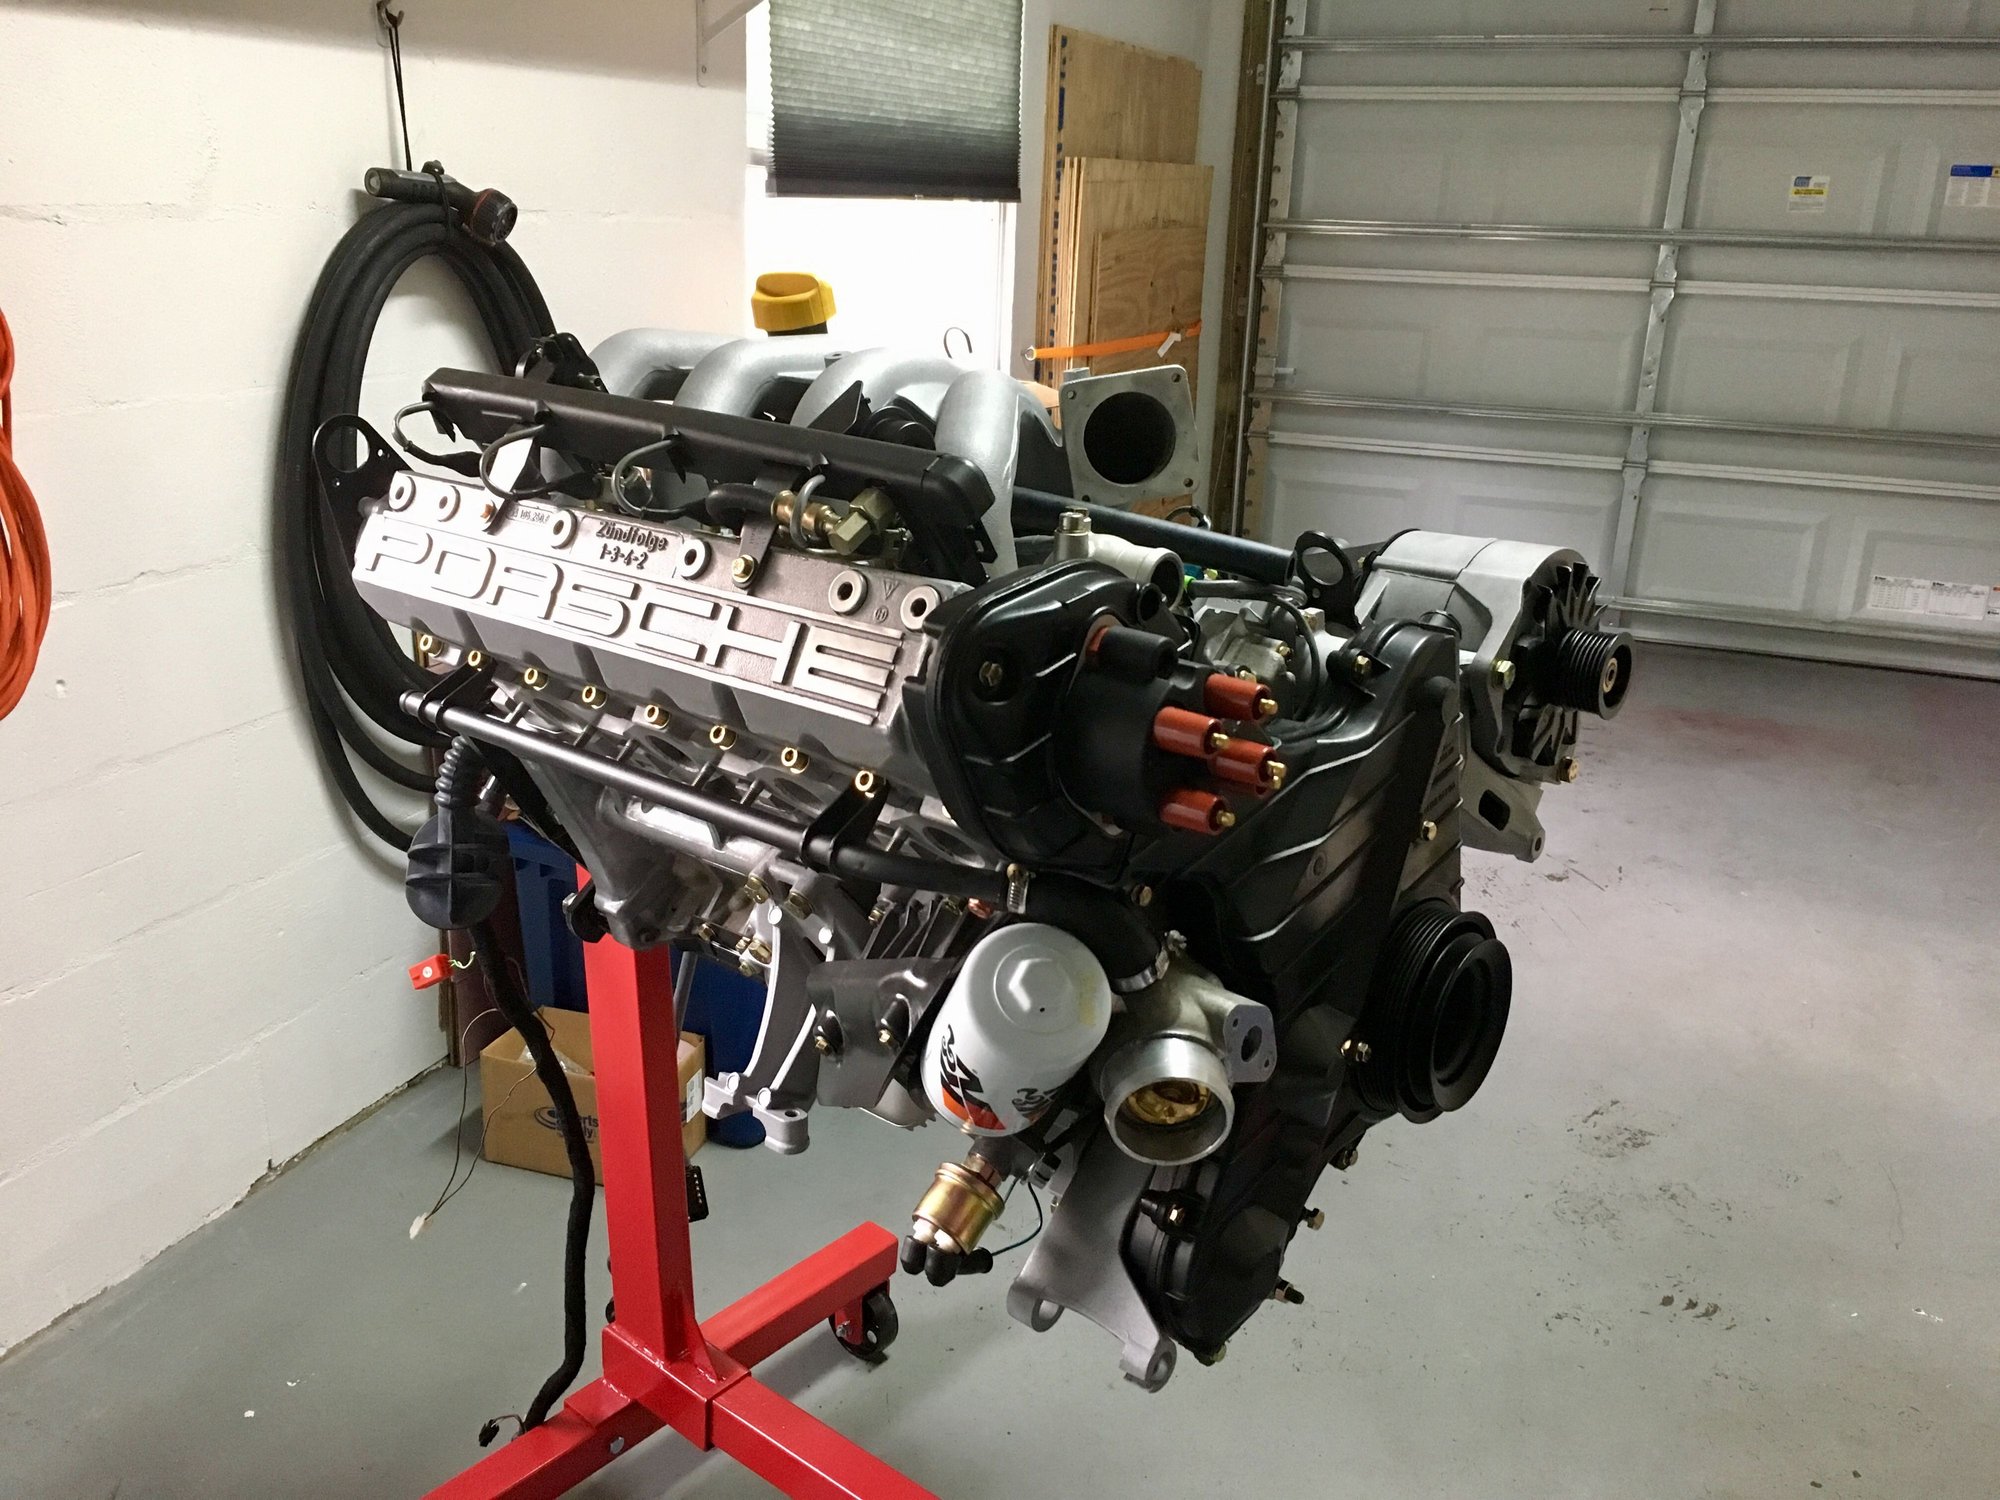
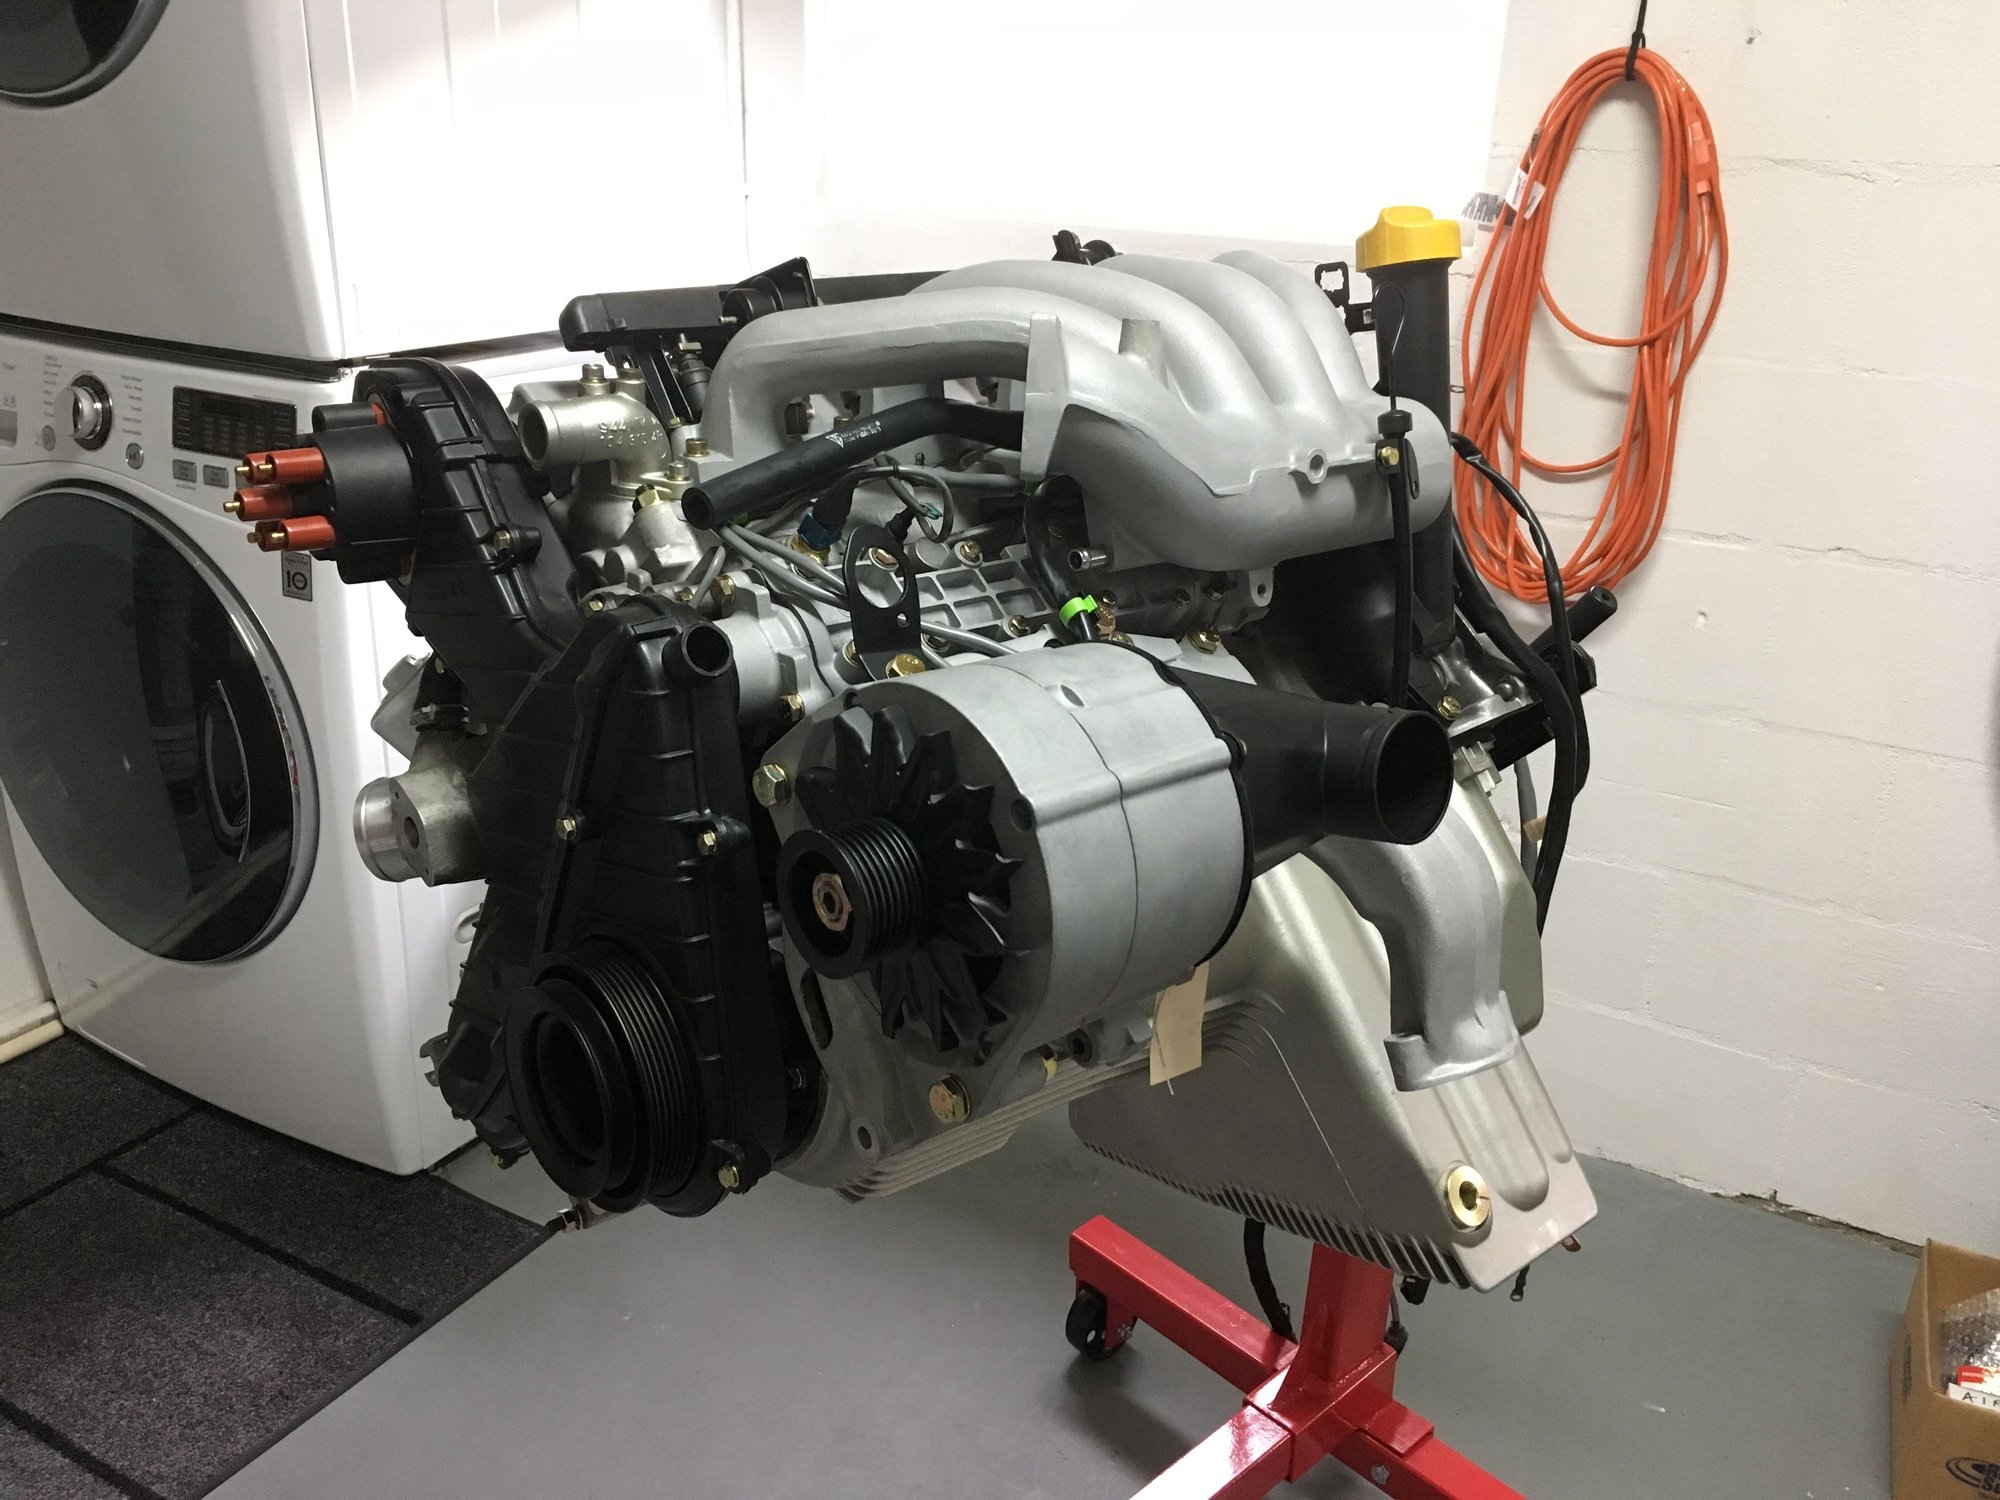
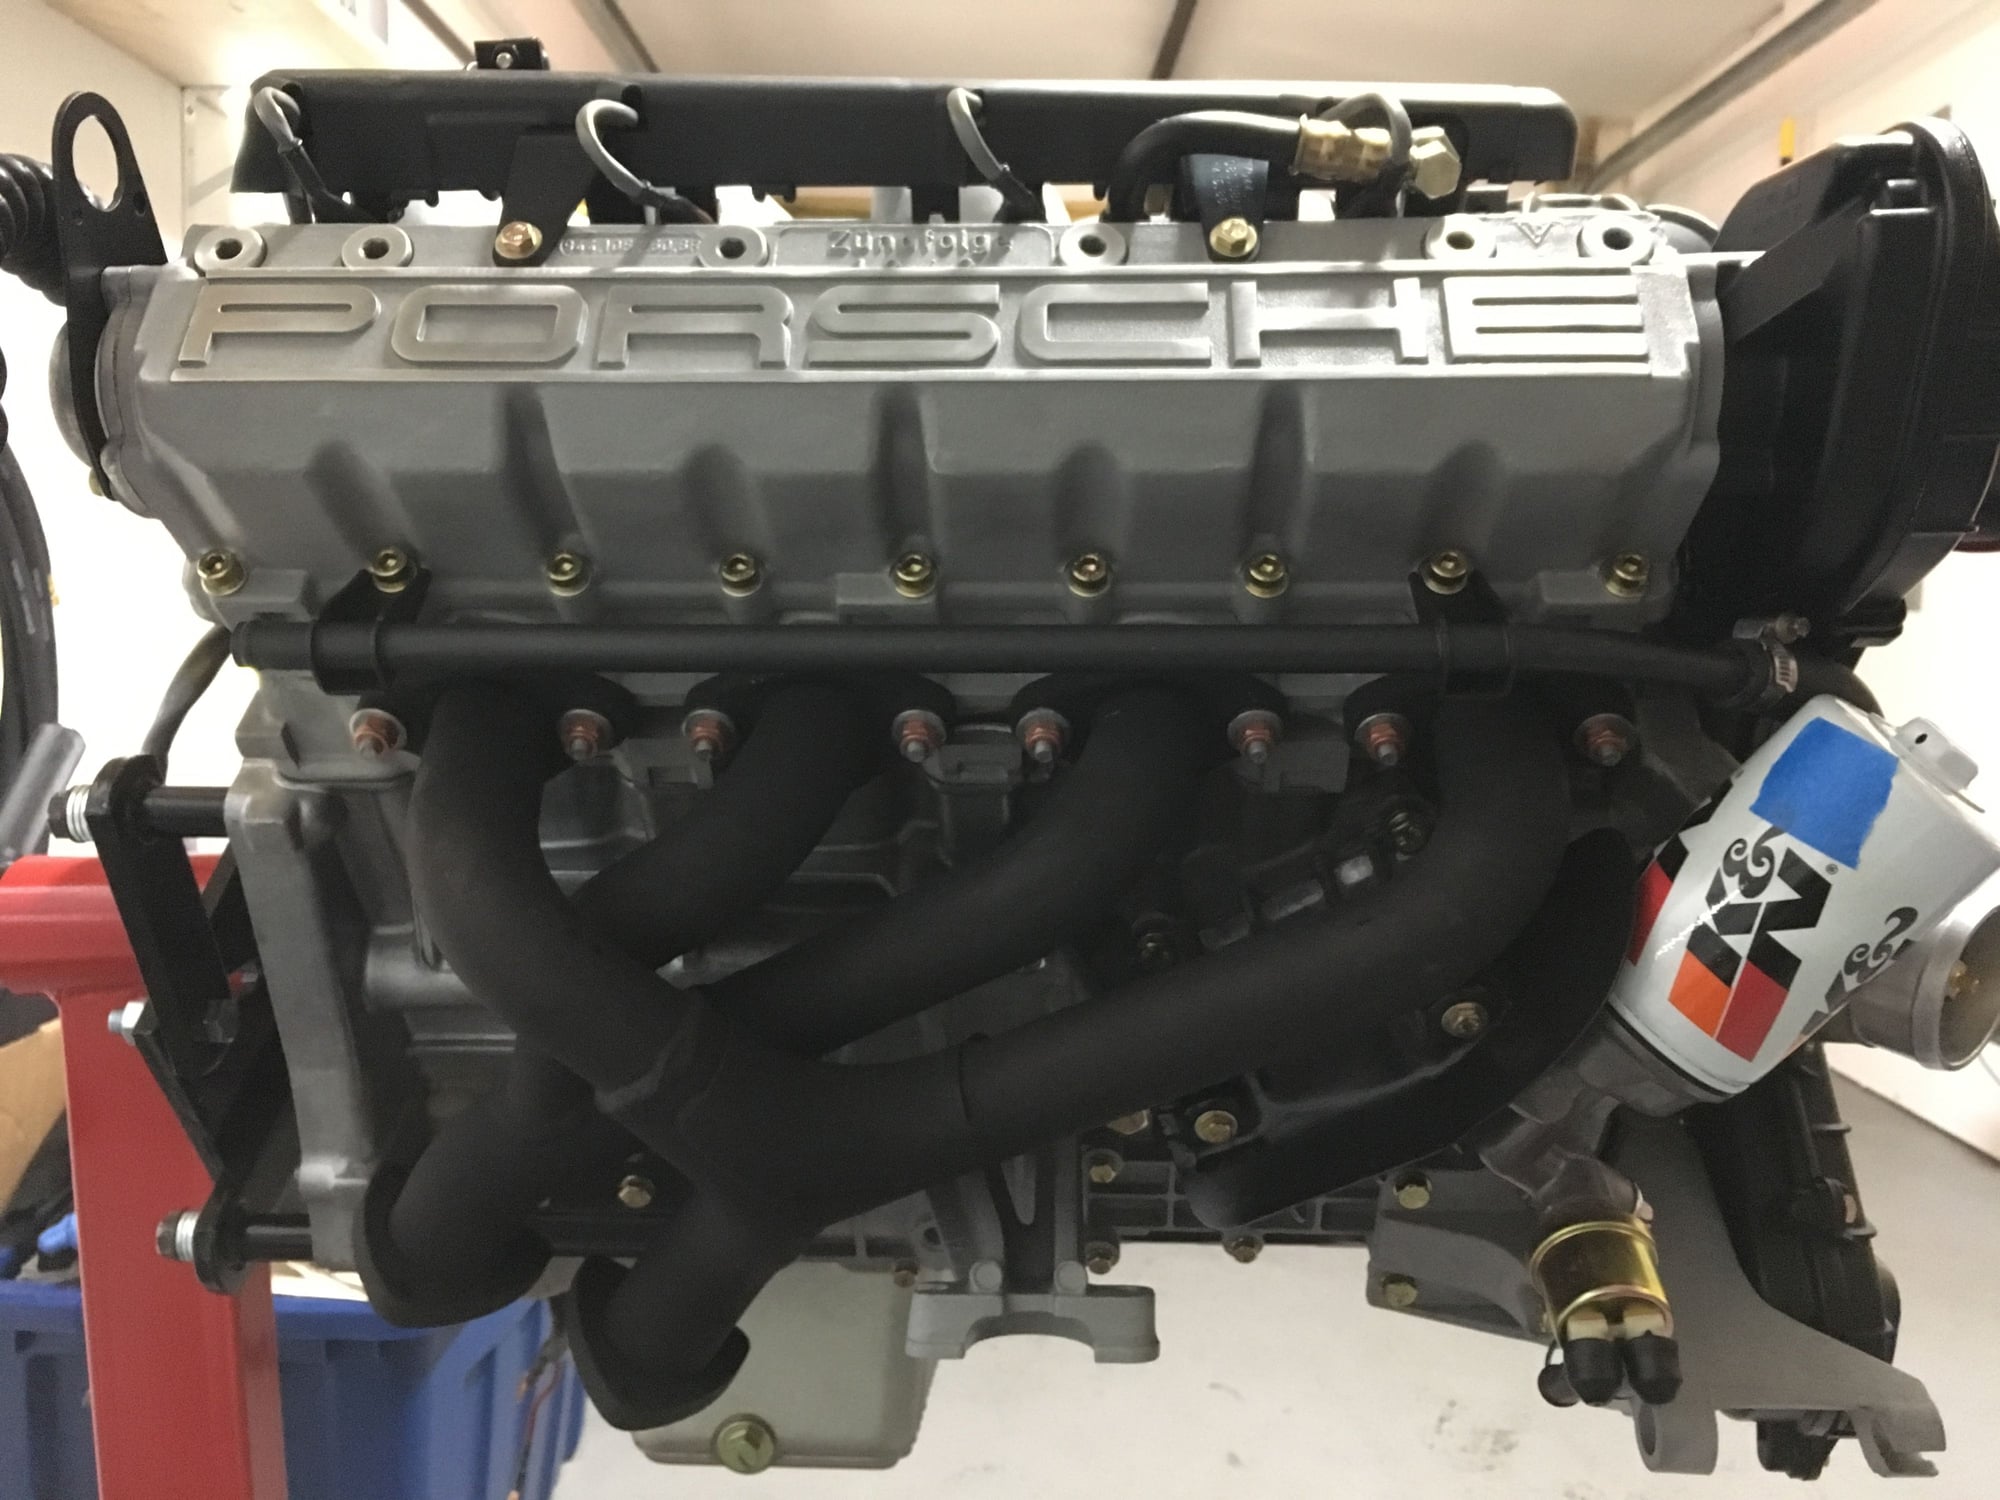
...the engine is back together! Well, about 95% anyway.
I need to pick up some dielectric grease so I can install my plug wires and I need to rebuild the throttle body and clean the intake boot so that can be reinstalled.
To keep things cleaner in the engine bay, I'm deleting the charcoal canister, control valves and the Venturi. I'll be adding a small, sealed oil catch can (I have an idea for where I can kind of hide it) to keep the intake clean. I'm removing the air box as well so I have some work to do there to make it clean and keep the filter from sucking in hot air.
Looking at the engine pictures I now realize I have my alternator cooling duct positioned 90 degrees out from how it should be. I'll have to fix that as well.
That is one clean engine... I'm rather jealous
Where did you get your rebuild kit from? I'm about to order mine and wanted to get an opinion from someone who has recently done theirs
I actually pieced everything together myself based on where I could find the best deals. It's probably more efficient to just buy a rebuild kit from Lindsey Racing or Paragon Products but I certainly saved myself a few hundred bucks doing it the hard way.
All the fasteners I purchased from Bel Metric. As I took everything apart, I bagged and tagged all of them, then later went back and cataloged them so I could look them up one by one. It's definitely more expensive to purchase individually priced yellow zinc plated stuff - I think I spent close to $400 just in fasteners. If I had to do it again, I might consider buying more bulk fasteners in plain clear zinc and save myself some cash, but I do like the look of the classic yellow.
I'm fine doing a bunch of research and getting things piece parts vs a kit if it ends up being cheaper. Any particular advice on where to find parts? I was generally going to go for vertex auto since they seem to have price matching.
I'm likely going to keep my existing hardware (on a budget) except where necessary. I would absolutely LOVE to do the level of restoration that you are doing, but I can't quite justify it at the moment. That being said, I'm taking the time to clean the grime off my parts manually with some soft brushes, simple green, and occasionally a light duty pressure sprayer (1500 psi).
Any particular advice on where to find parts? I was generally going to go for vertex auto since they seem to have price matching.
I found that just punching into the Google search bar for what I was looking for worked pretty well. It allowed me to find who offered the best deals on bearings, gasket kits, etc. with free shipping. Everyone is selling the same stuff at this point (Victor Reinz, Glyco, etc.) so I didn't really see a need to pay more for it than I had to.
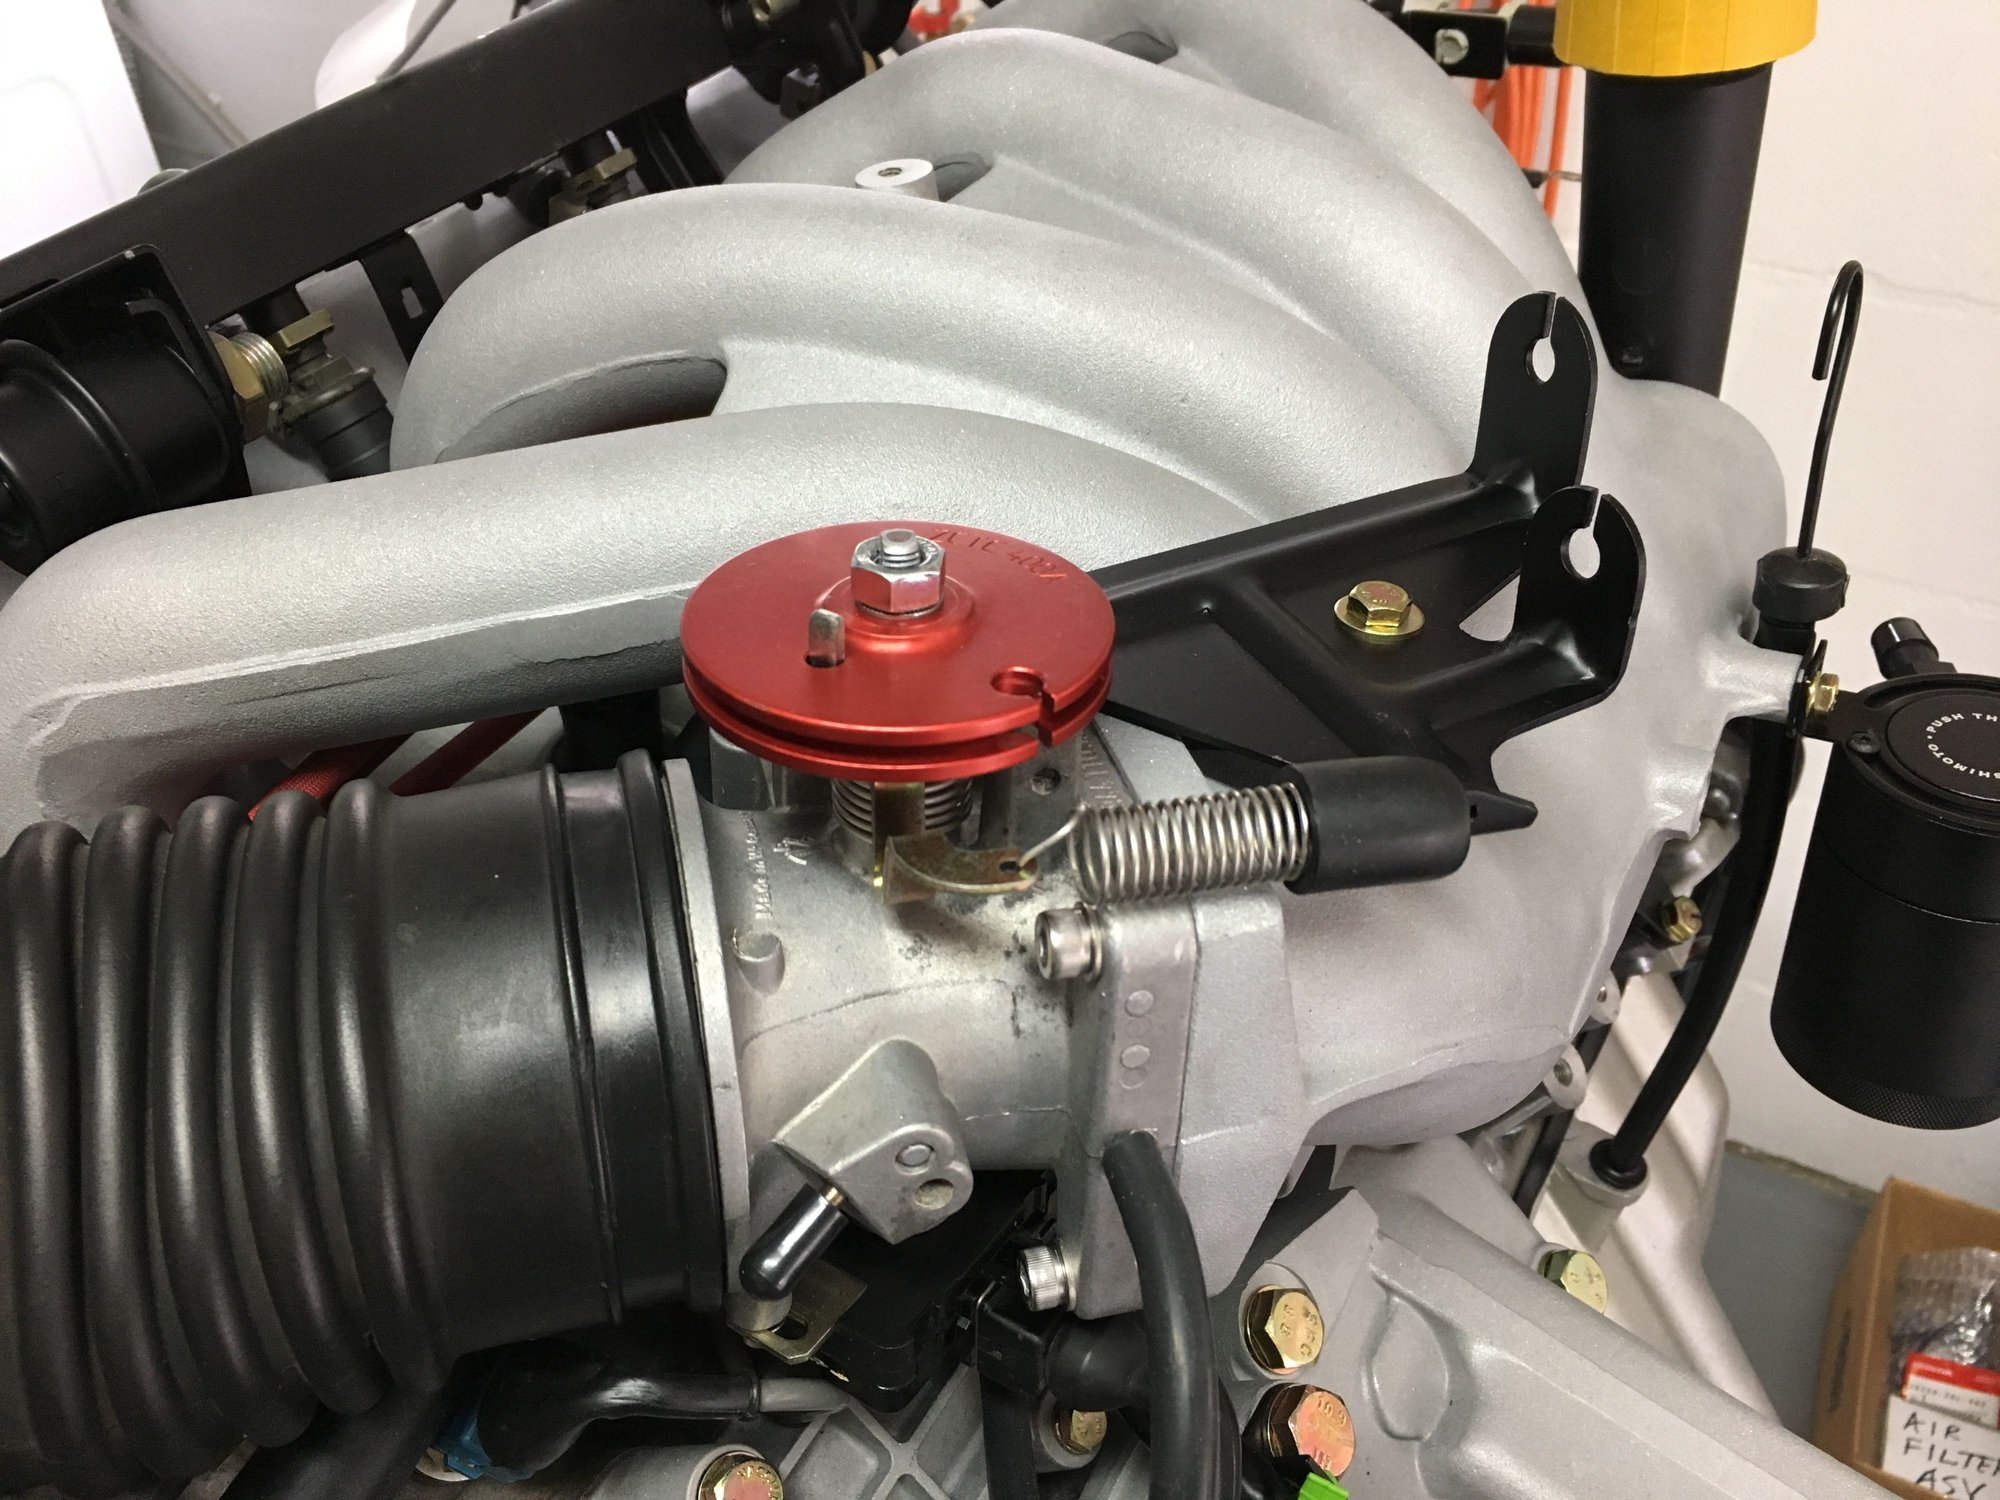
Some more work - cleaned, rebuilt and reinstalled my throttle body.
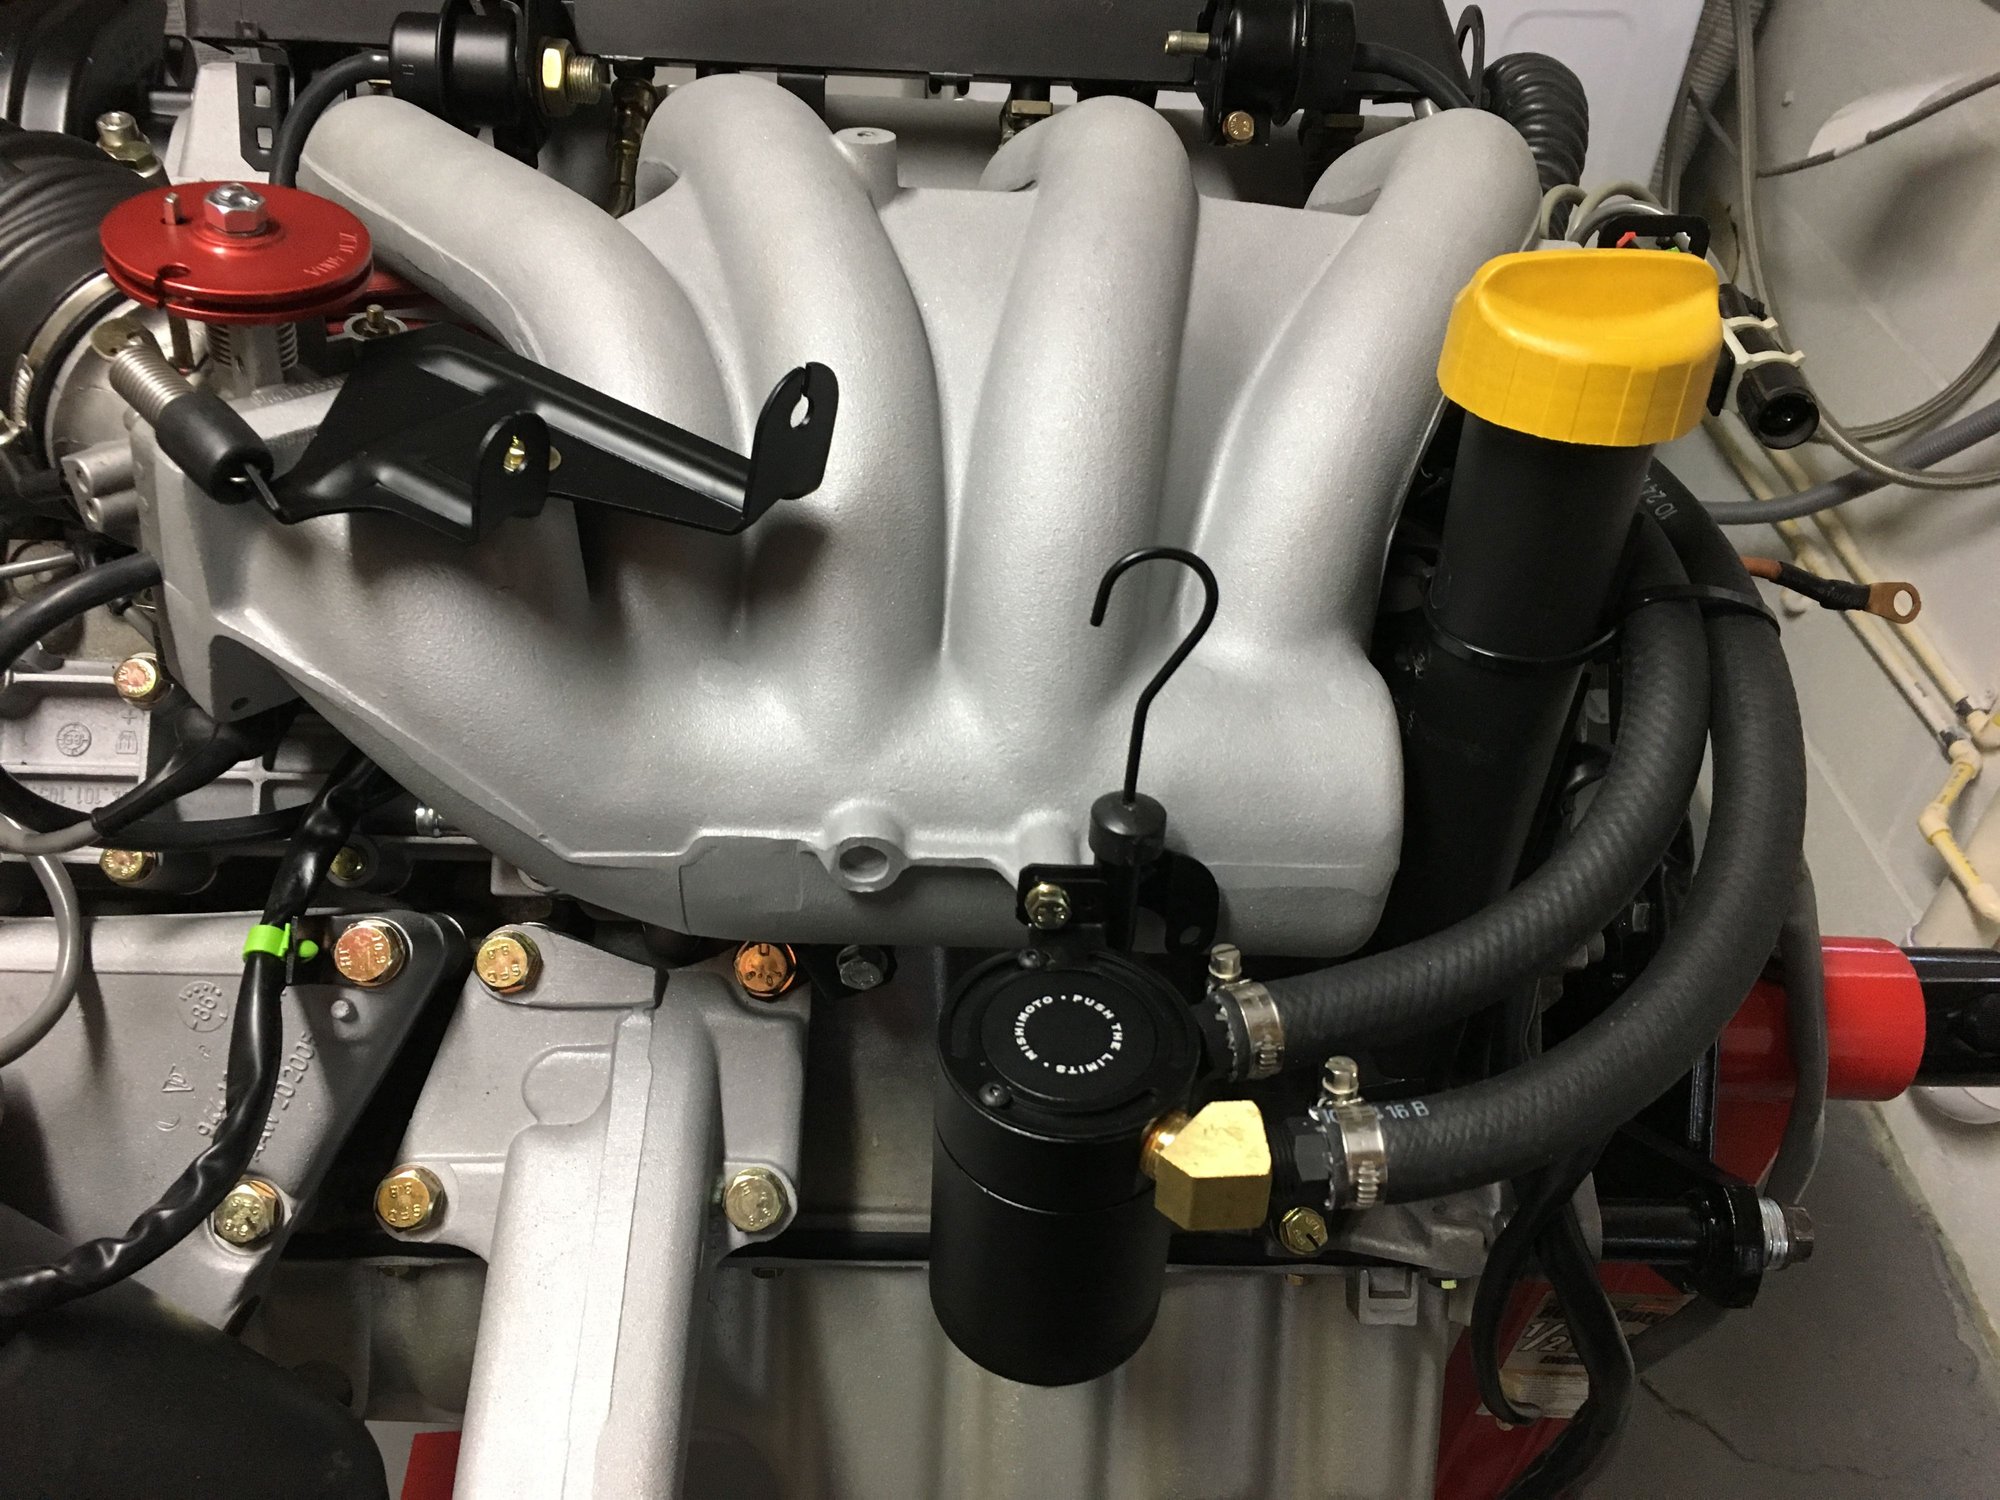
Installed this cool Mishimoto catch catch to keep the nasty oil fumes out of the intake. I chose the Mishimoto because I wanted a sealed can and I liked the super compact size of this unit. I can easily unscrew it to drain it (it has a drain at the bottom too). It should clear the brake booster. Guess I'll find out soon enough.
I'm not a huge fan of the brass elbow I had to use to route the return line in the direction I wanted, but I guess it's not that big of a deal. I couldn't seem to find a black nylon 45 so I guess if the OCD kicks in and it drives me crazy I'll just paint it.
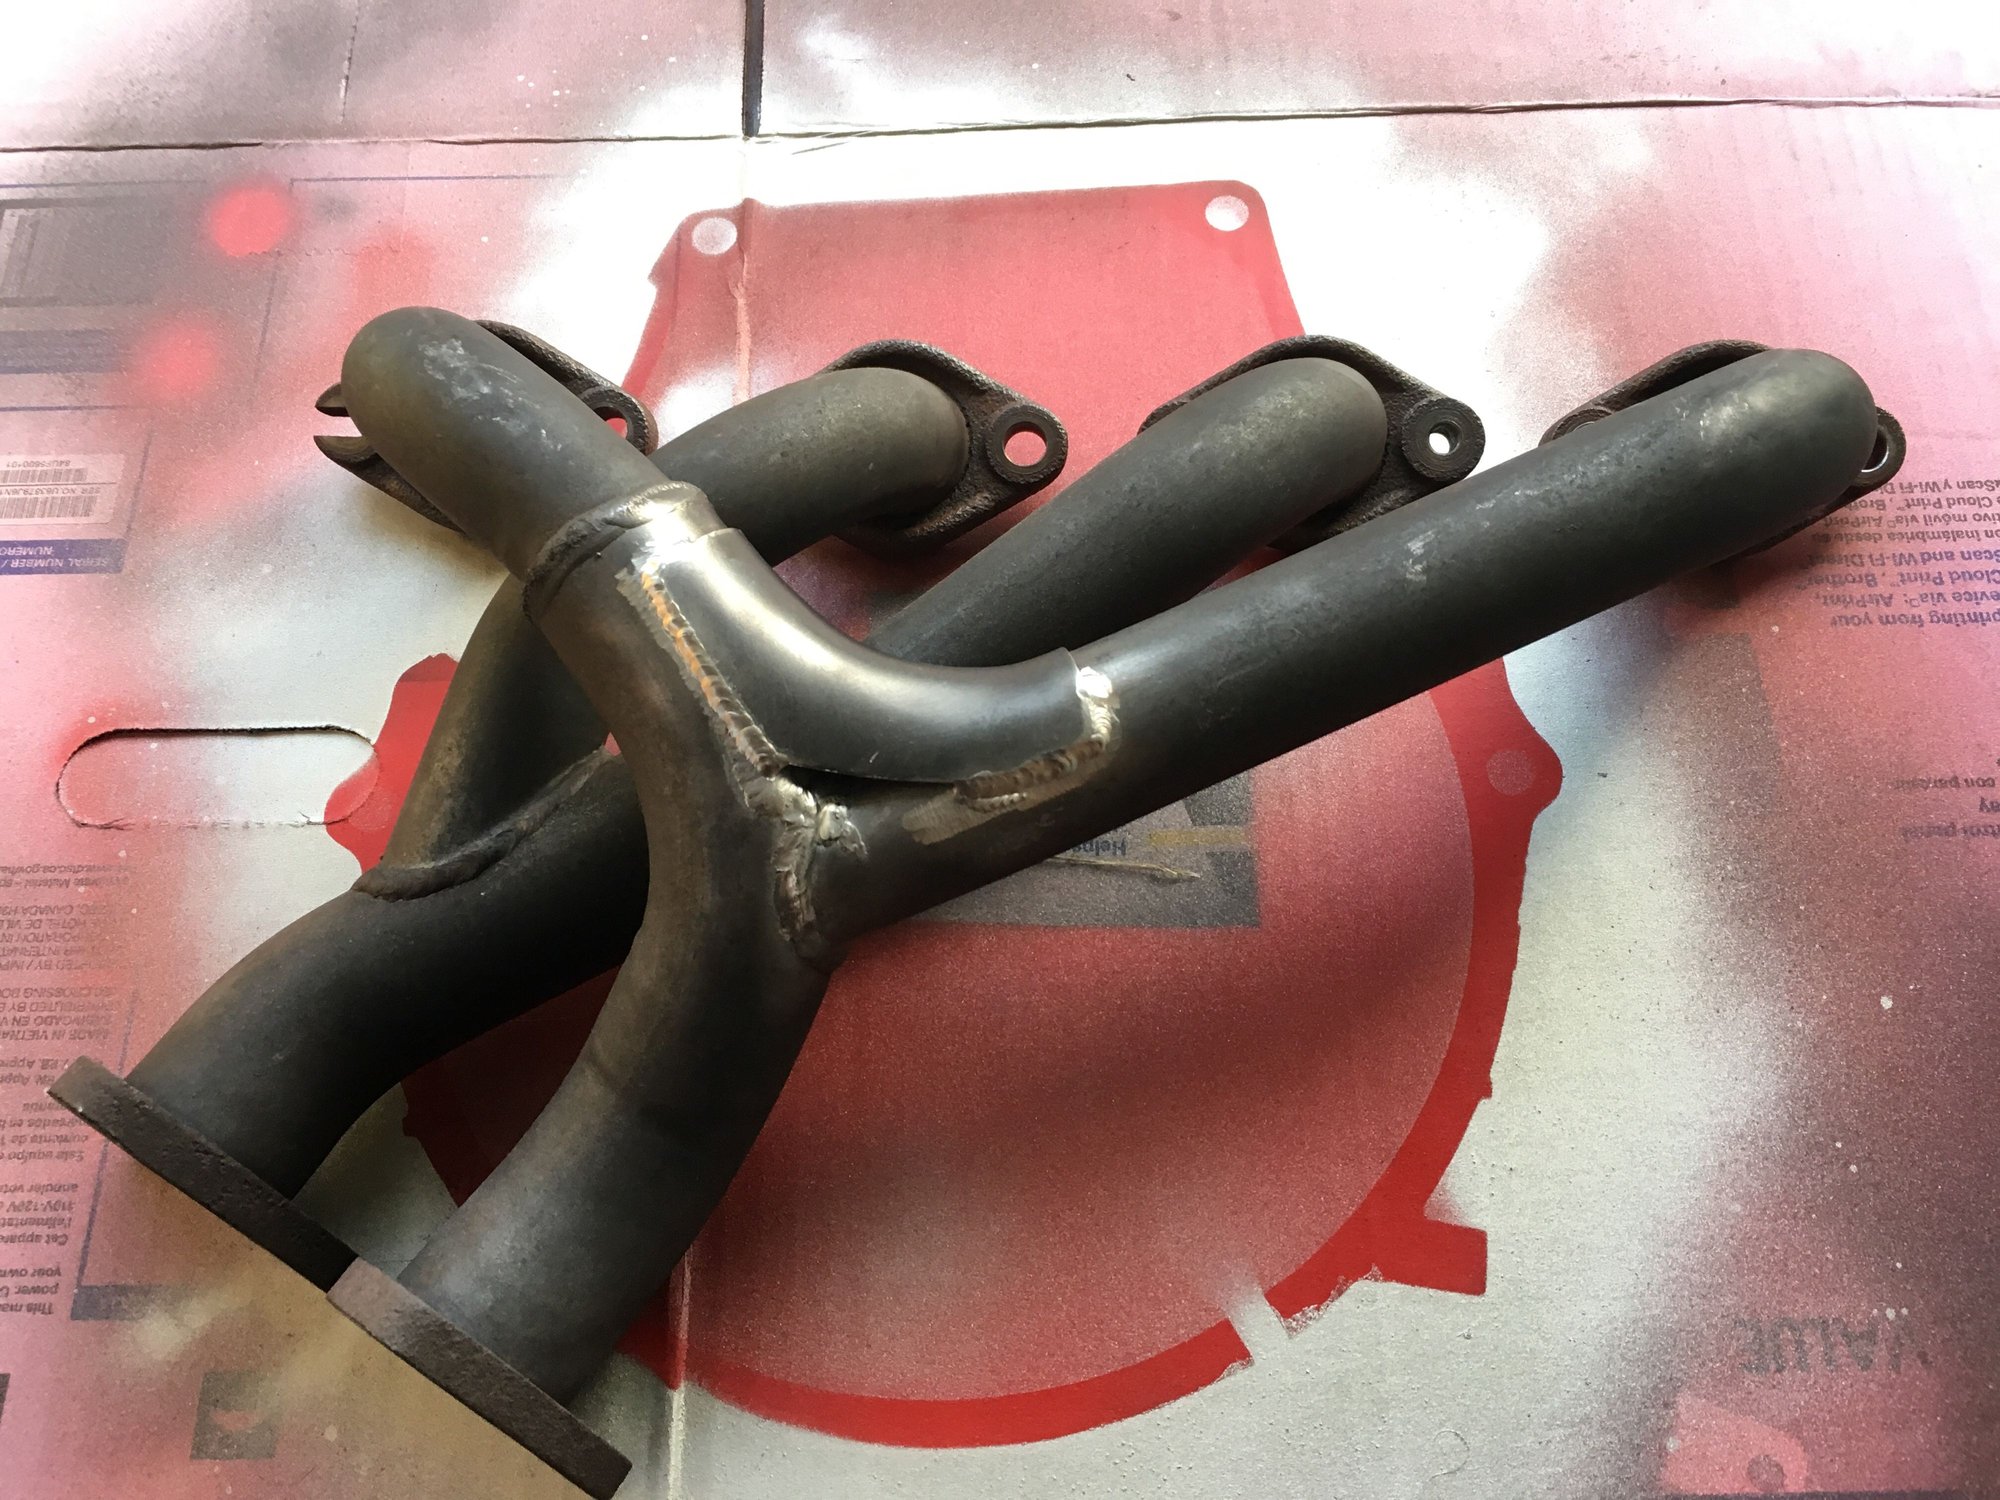
My exhaust manifold had a crack in it so I had one of the welders at work fix it up for me. He did a pretty sweet job - hopefully it'll hold.
Painted and reinstalled on the engine with some new hardware.
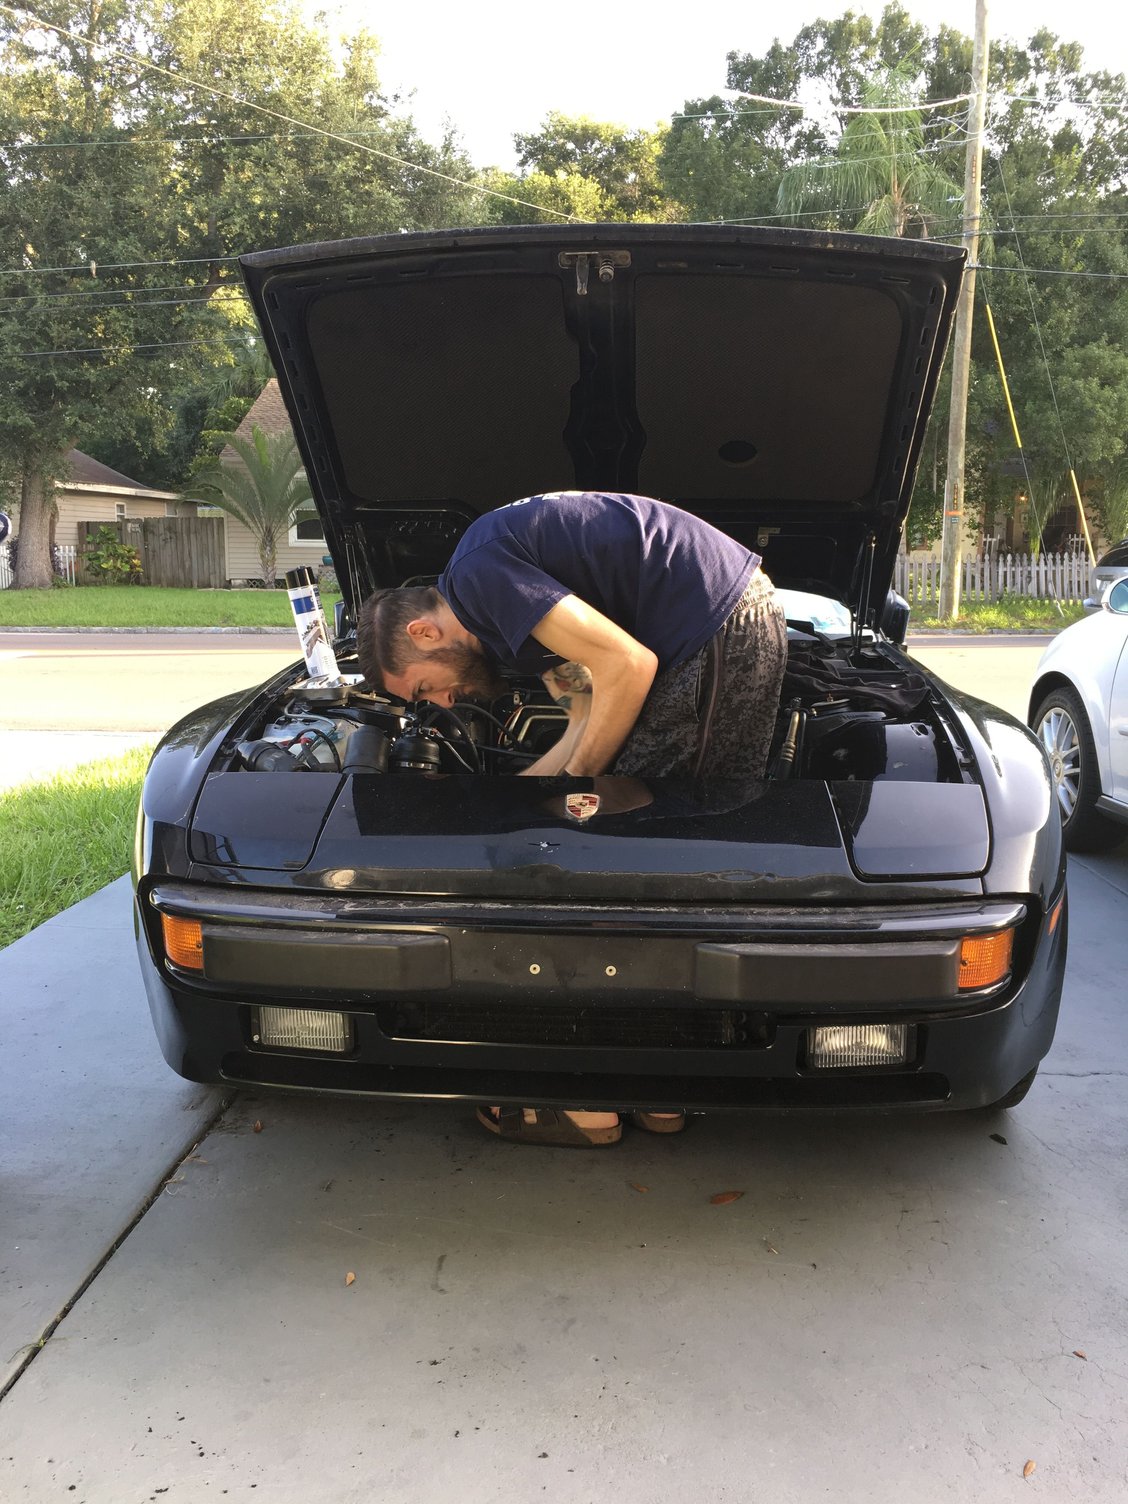
Spent the last two mornings cleaning more in the engine bay to prepare for engine installation. Once 10/10:30am passes it's just too stinking hot to do much outside here in Florida.
I ordered the last handful of items I need for engine installation - new reference sensors, motor mounts, coolant hoses - all that good stuff. The goal is to get this thing back in the car by the end of the month.
Justin, this is one of my favorite threads on the forums. I have saved your pics as reference. The manuals usually don't have great pictures so your pics will help me if I need to see where something is on the engine. I have never seen such a clean engine, your work is amazing. Are you clear coating the parts that were bead blasted to bare aluminum like the intake?

 06-11-2017, 12:59 PM