When you click on links to various merchants on this site and make a purchase, this can result in this site earning a commission. Affiliate programs and affiliations include, but are not limited to, the eBay Partner Network.
Do you have an old one to reverse engineer? That would be required to make the model.
Yeah, the key here is to get a 3D model of the originals, either through 3D scanning them, or through re-engineering them in CAD, or both.
The easiest path is to 3D scan a good one, and just use the scan for printing, but this is lossy and can lead to inaccurate parts.
Better is to either take an original, measure the requisite dimensions and re-design it in CAD or to use the 3D scan data as the basis for a CAD re-design.
I don't have the part to scan, but could re-design it in CAD for you with some dimensioned drawings.
Once you have the 3D CAD part, you can print as many as you want. I'd suggest using an online supplier and having them printed in MJF. It doesn't have the adhesion problems between layers that FDM has and would probably work better for a part such as this that requires bolting down to a surface and might experience lateral stresses from wind passing across the surface of the molding. If you do use FDM for the print process, for GOD's sake, don't use PLA for the material or your part will distort in the heat of the sun.
Feel free to DM me if you get an actual replicate part and want to send me dimensions, etc.
I have the 3 on the car. I'll have to drill the rivets to get them off.
Unless somebody has one of a parts car that they could lend me?
As luck would have it, I found a set for sale in the UK. Once I have them, I will try to scan one and see how that turns out. I guess I better assemble my 3D printer and dig out the 3D scanner.
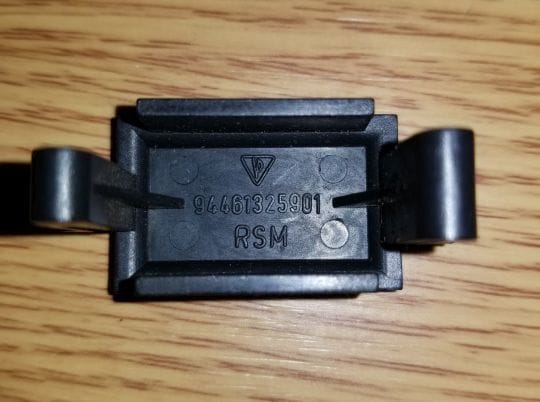
And this part is??? Looks like a plug for the bellhousing timing port...Which I need one of..Can you download the link from KVDR and do one up for me in poly urethane? I don't have a 3 d printer or an ability to do CAD work. TIA.
And this part is??? Looks like a plug for the bellhousing timing port...Which I need one of..Can you download the link from KVDR and do one up for me in poly urethane? I don't have a 3 d printer or an ability to do CAD work. TIA.
The part I posted? That is a console switch dummy plug. I am set up to run ABS and ABS only.
Has anyone tried 3d printing the sunroof latch receivers for the powered roofs? They seem to frequently crack or fall apart over time and replacements are pretty expensive.
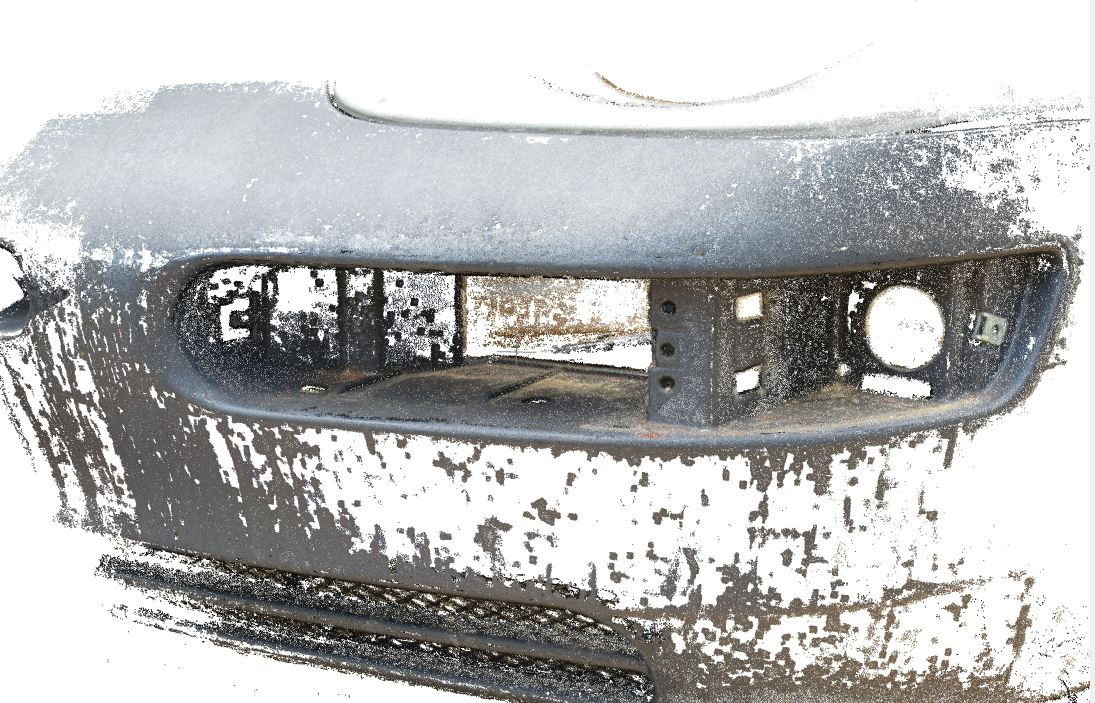
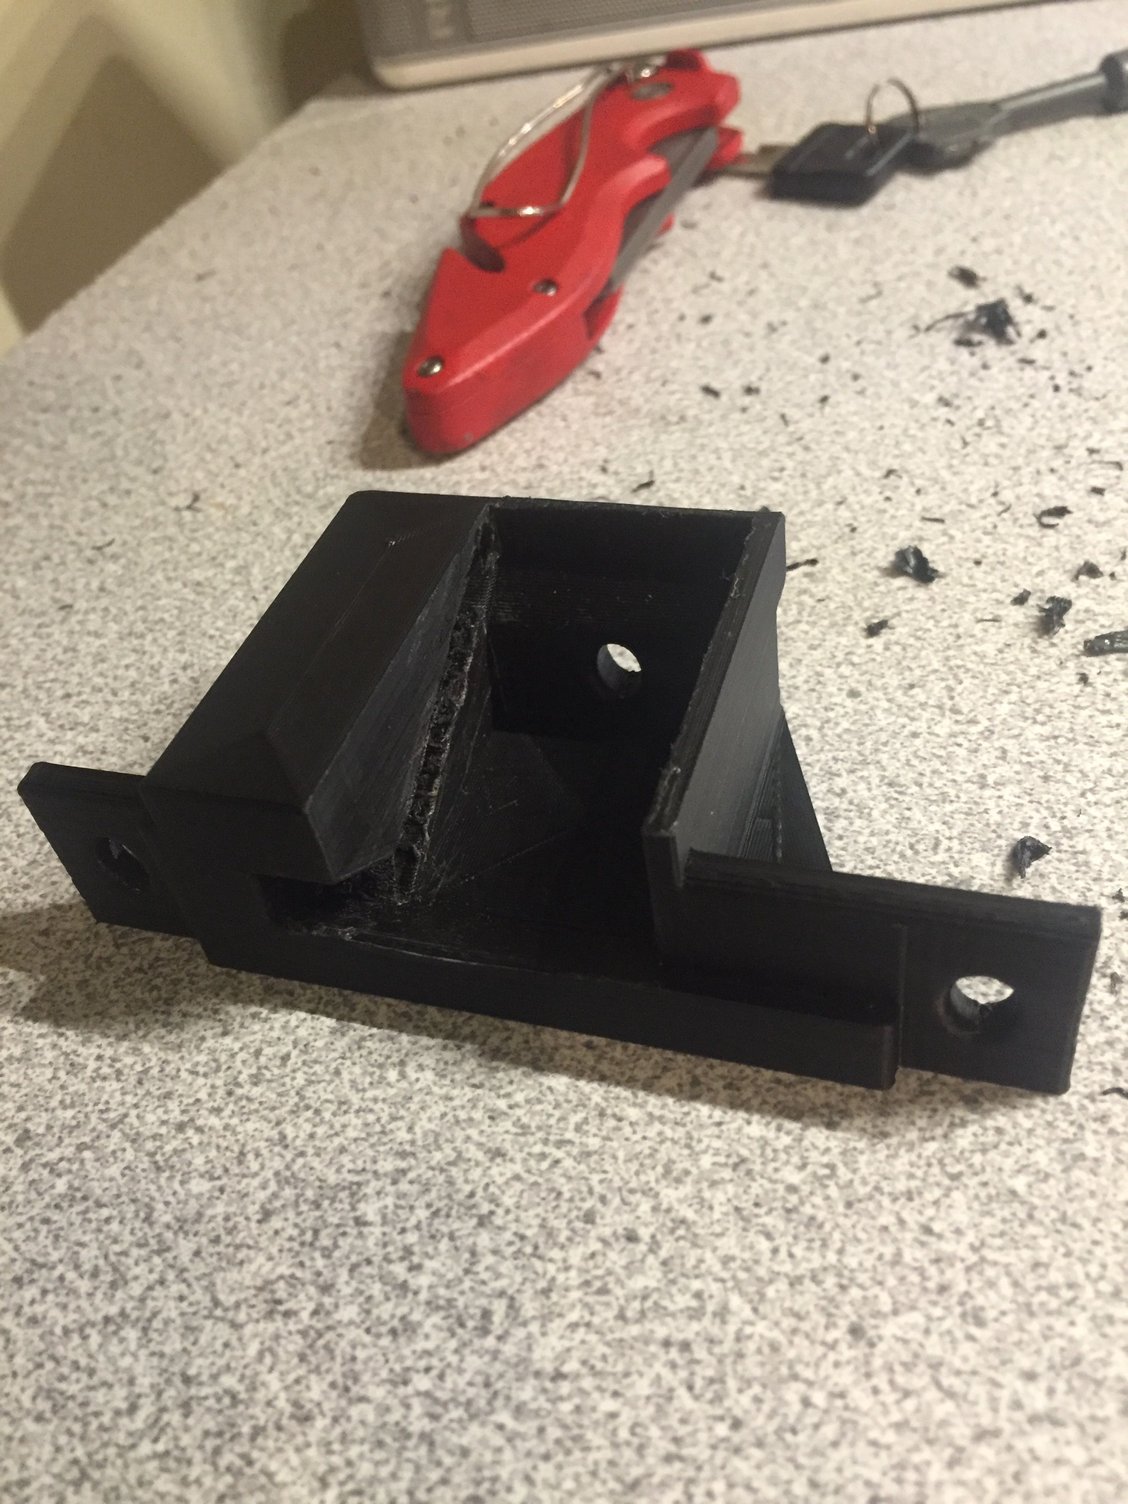
I just 3d printed some brake ducts in PETG for my 968 bumper. They turned out pretty good! It will require that i cut some of the sheet metal out, but i was planning on that anyway. I'm curious to see how they hold up.
I'm making a version compatible with US spec indicators, as well, that will be tested on a different car. Those are going to be designed to fit without any cutting of sheet metal by doing a 2 piece design that has an elbow at the back to direct the air down so the hose can go under the fender well.
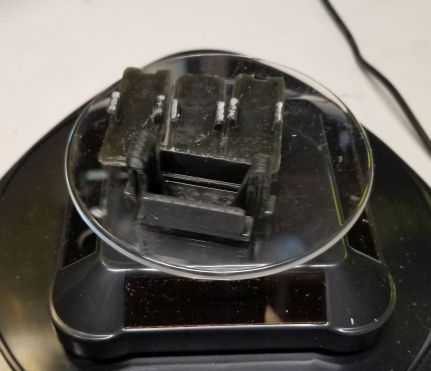
3d scan:
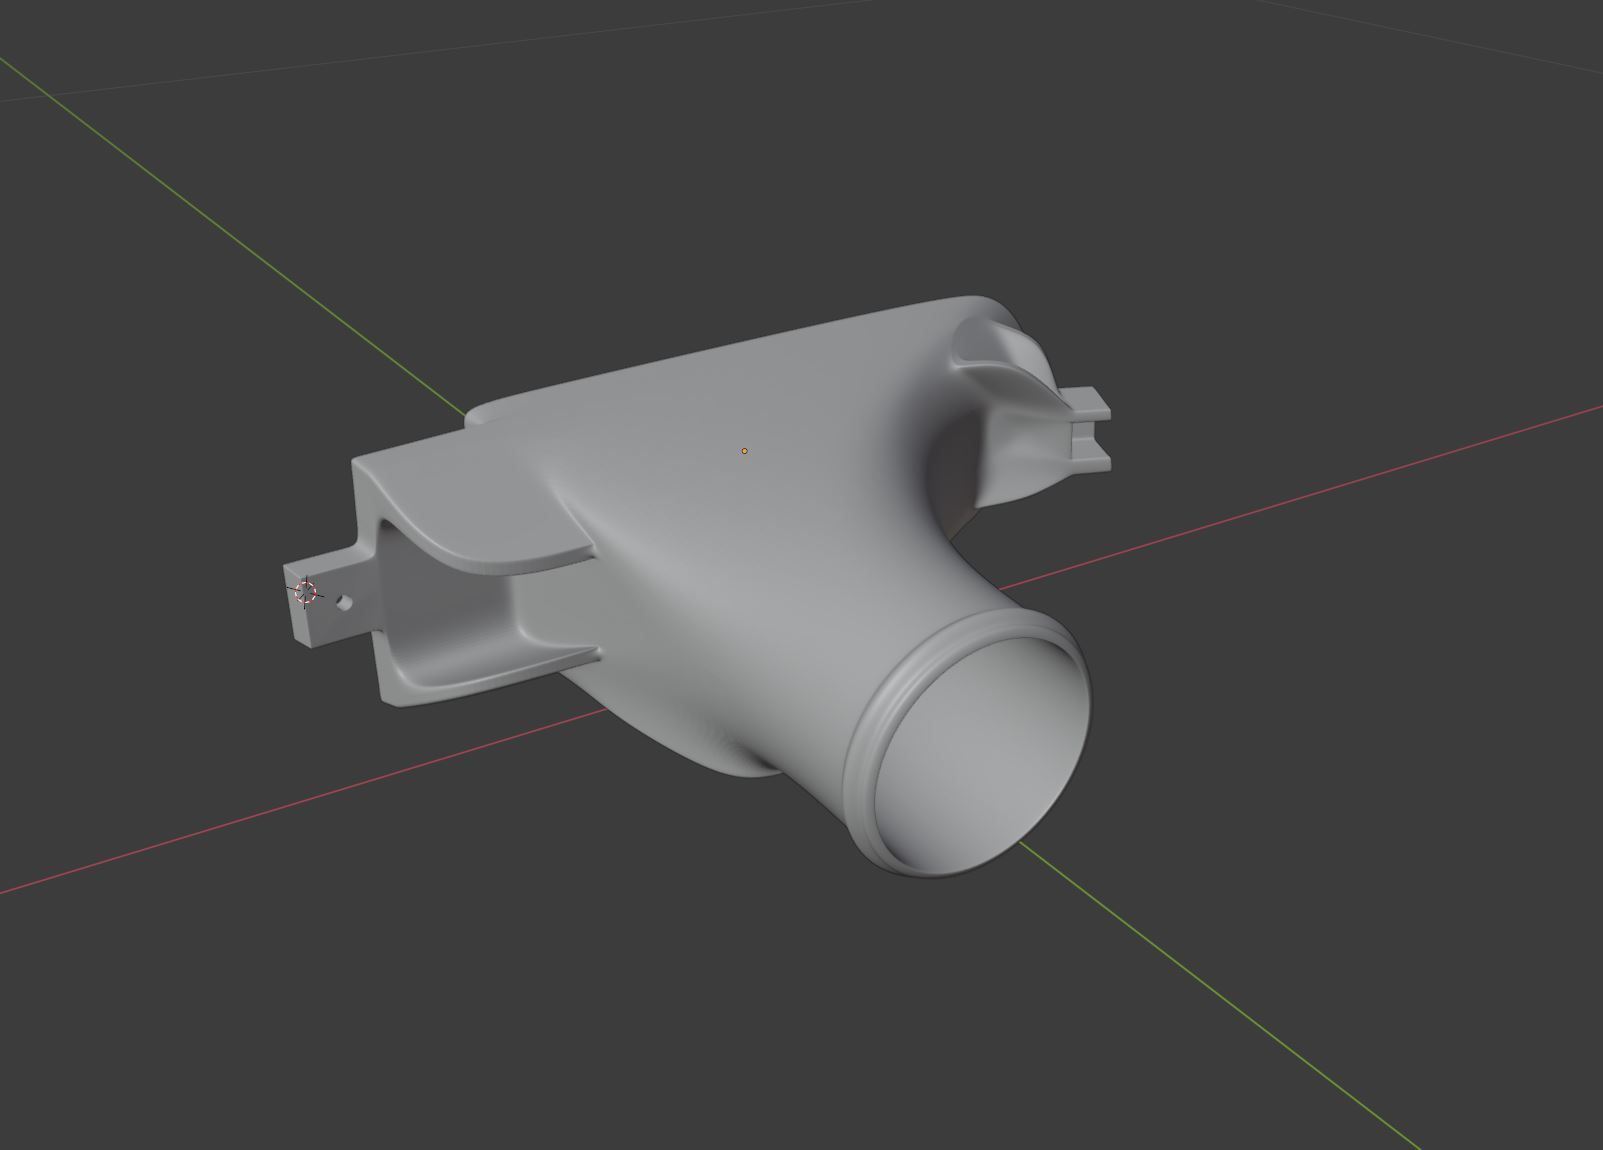
3d model:
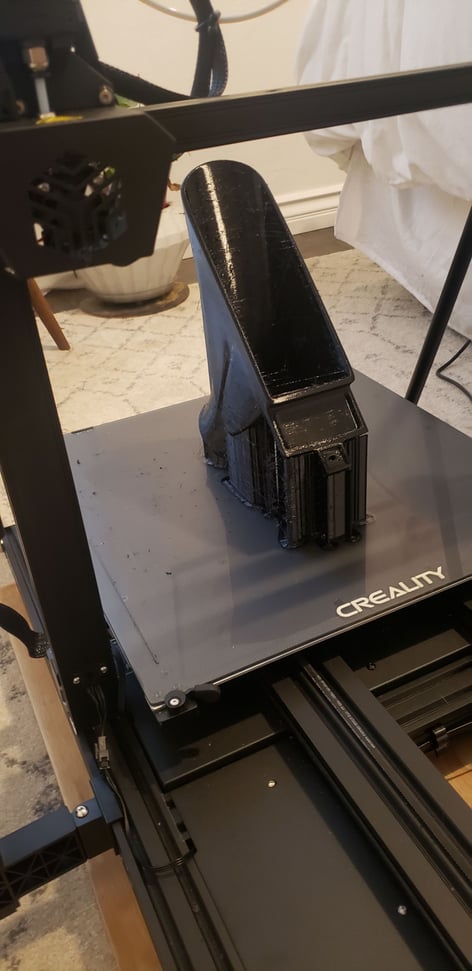
Print finished (2 days 10hrs)
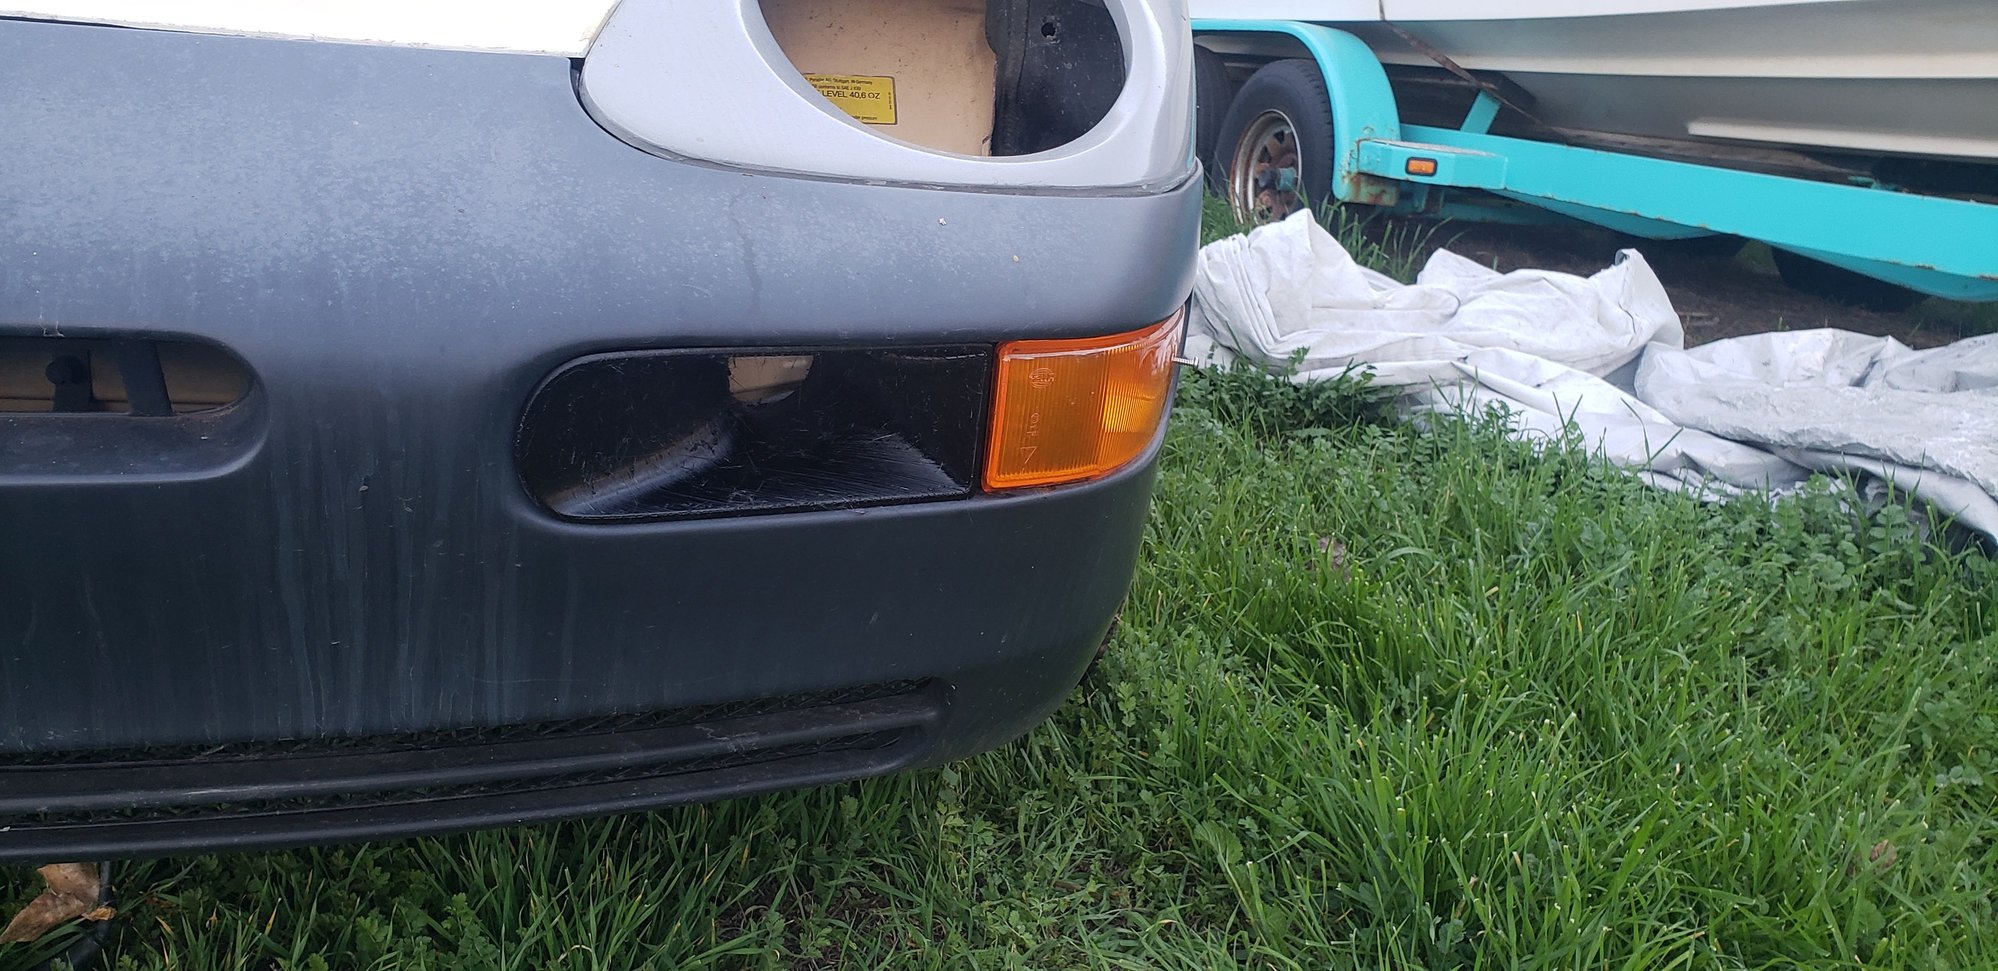
On the car! I hadn't cleaned off the stringing yet so it looks a little rough but with a little sanding it cleaned up.
Last edited by RoyaleWithCheese; 02-12-2022 at 01:35 PM.
I just 3d printed some brake ducts in PETG for my 968 bumper. They turned out pretty good! It will require that i cut some of the sheet metal out, but i was planning on that anyway. I'm curious to see how they hold up.
I'm making a version compatible with US spec indicators, as well, that will be tested on a different car. Those are going to be designed to fit without any cutting of sheet metal by doing a 2 piece design that has an elbow at the back to direct the air down so the hose can go under the fender well.
3d scan:
3d model:
Print finished (2 days 10hrs)
On the car! I hadn't cleaned off the stringing yet so it looks a little rough but with a little sanding it cleaned up.
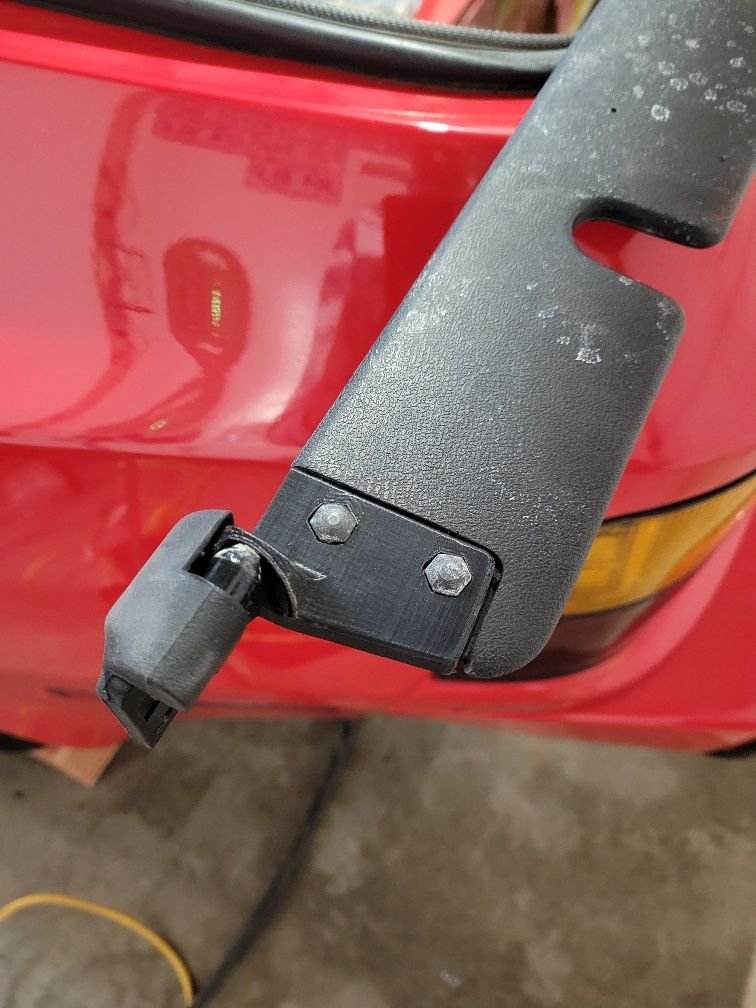
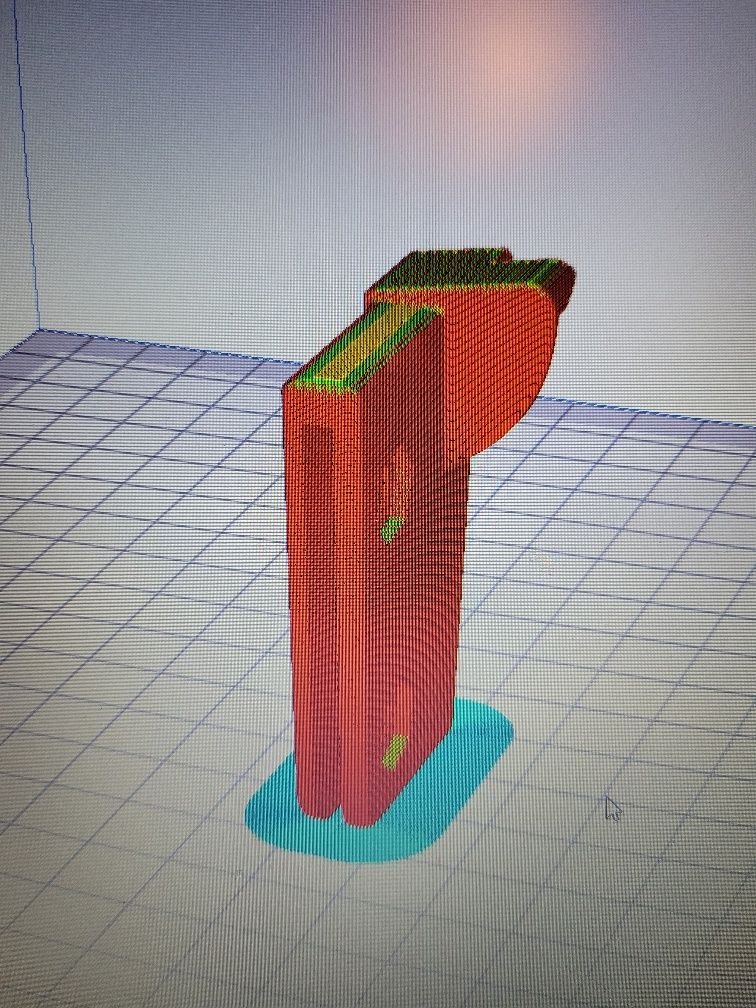
Here is my latest project. My passenger side sunroof receiver broke and I modeled this in NX. This is the first prototype in PLA and The rough area is from the supports (I know now that I need to print in other orientation because those are very hard to remove). I will be test fitting it as soon as I can get in the car.
I know it's been 4 years, but did you find a way to print the sunroof parts? Both of my parts are broken and I have nothing left to take measurement and draw them. If you have STL or CAD file I'll appreciate.
Got a 3D printer a few months ago... thanks all for the parts posted on here so far. I saw some posts above asking for the shifter linkage, so I posted it on Thingiverse:
https://www.thingiverse.com/thing:5269249
Please see the description and "misc notes" section for essential information, including the parts that have to be ordered.
I made this in Solidworks over 5 years ago, well before I had a printer... so it's not well optimized for supports (wasn't even on my radar back then!) I would like to make an updated design when I find the time, as printing in a 45 degree plane leaves some support scarring on the faces where the thrust bearing washers ride sometimes.
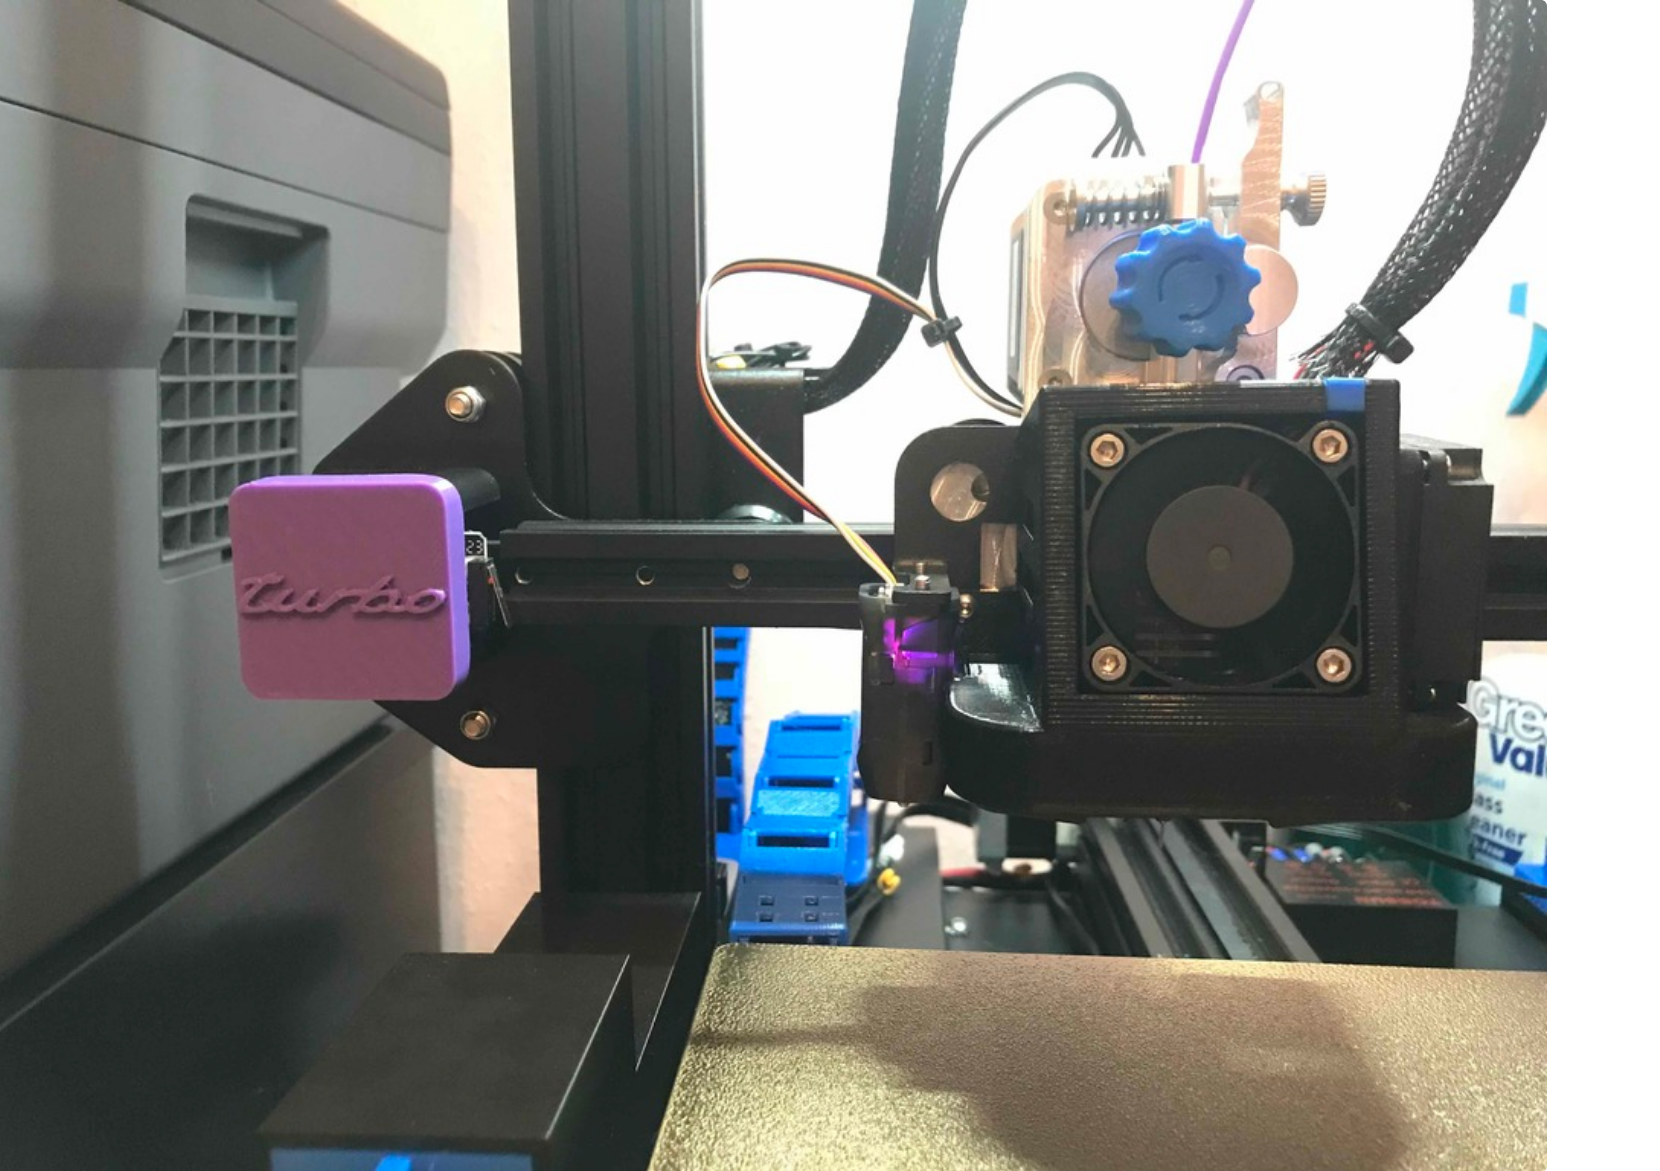
I also had some fun with customizing my Ender 3 V2 with Porsche decor, here are some parts I remixed in Fusion 360 as practice:
I know it's been 4 years, but did you find a way to print the sunroof parts? Both of my parts are broken and I have nothing left to take measurement and draw them. If you have STL or CAD file I'll appreciate.
I design and print 3 parts to restore my sunroof on my early 1984 944. The first one is in the upper post (the track block where the arm goes). The second one is the hinge for the windguard or wind deflector under de sunroof pannel. The third one is the plastic part that goes on the sunroof motor rail between the motor and the aluminum rail. All parts are on thingiverse.
I've been printing and selling shifter dampers for the past 5 years. Likely sold over 800 sets over this period, but all good things must come to an end.
There's still demand out there, so I feel responsible to release the model files so the 944 community can continue to make these.
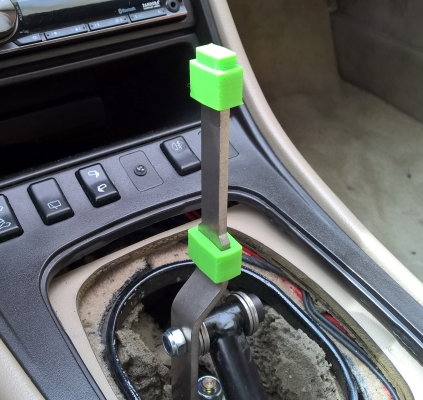
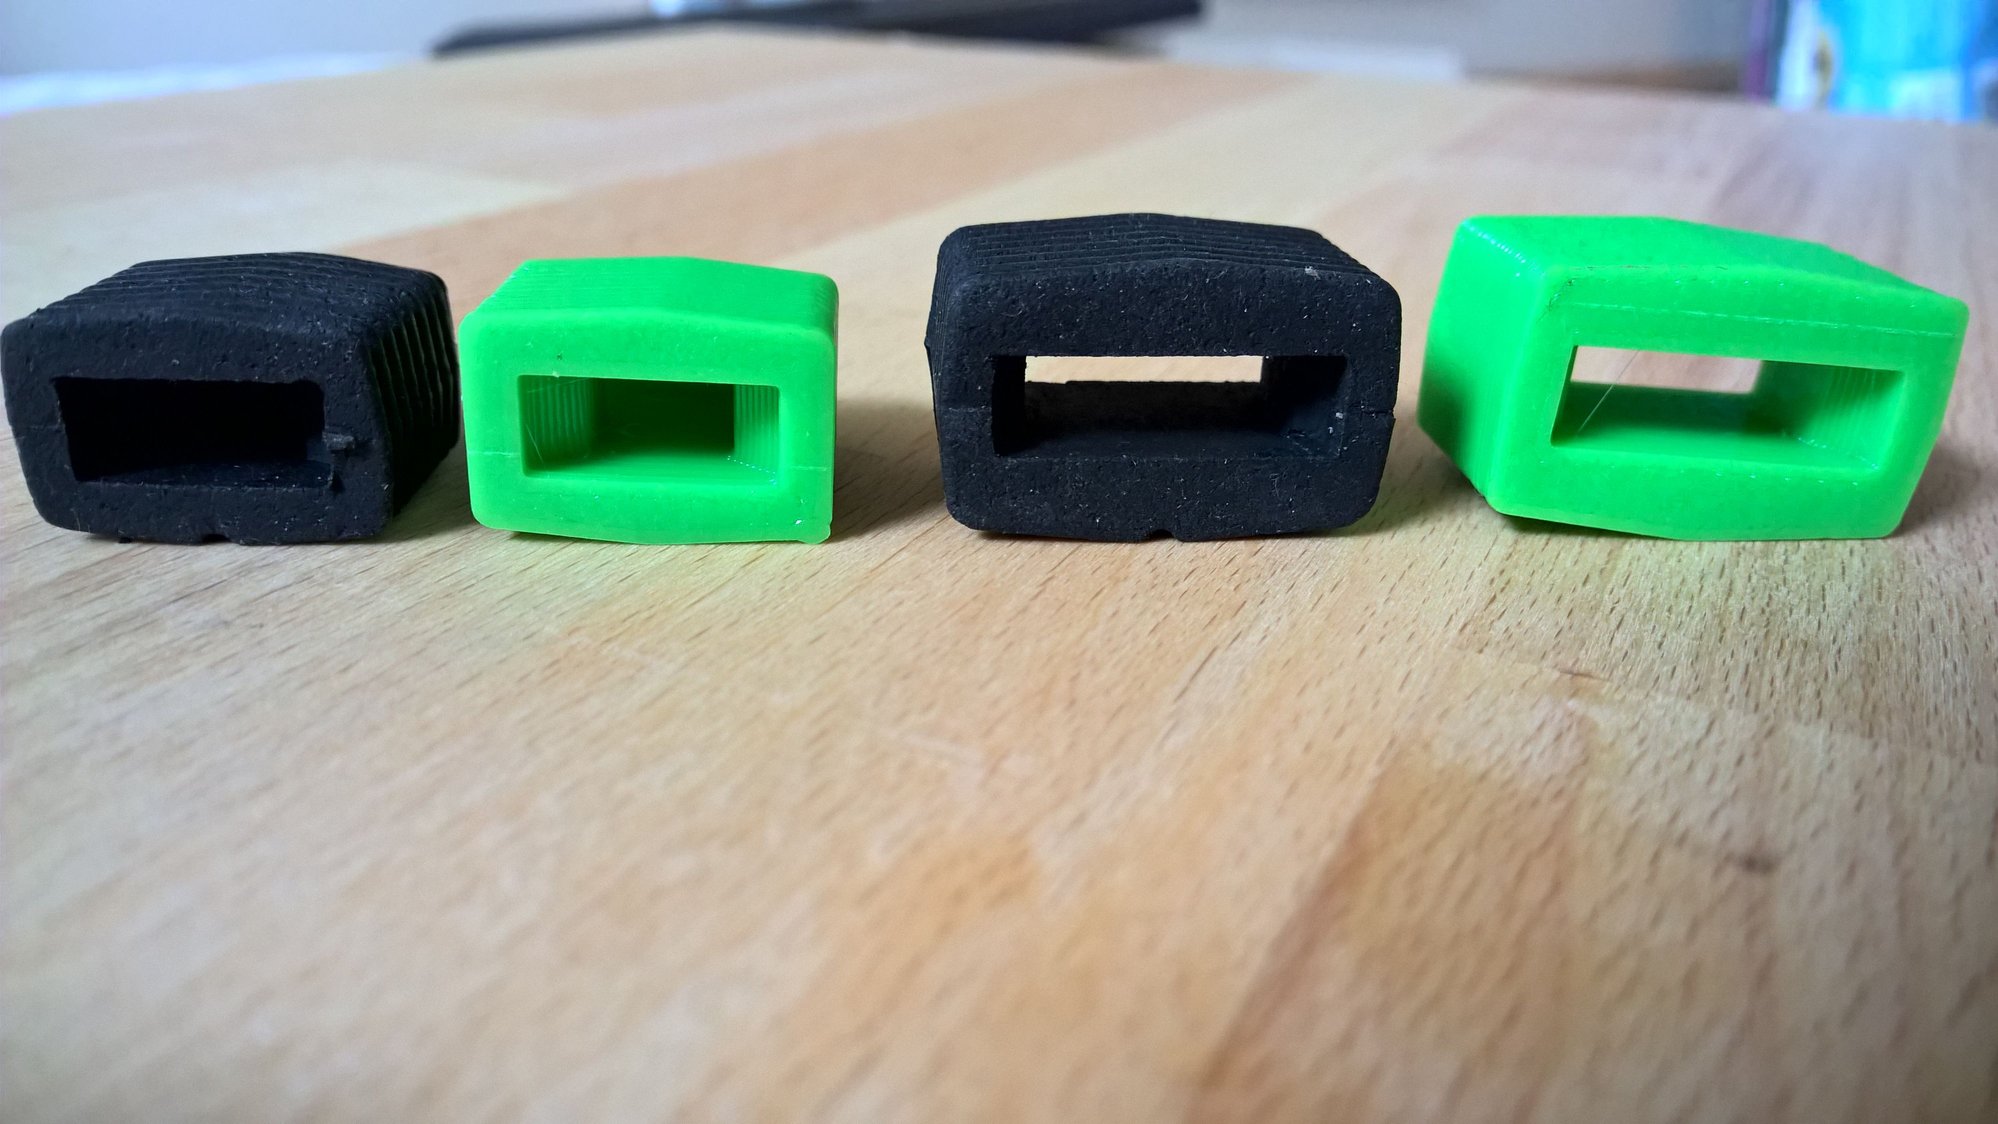
Green ones fit the original 944 shifter lever (also fit 964, 993, and some 924 versions).
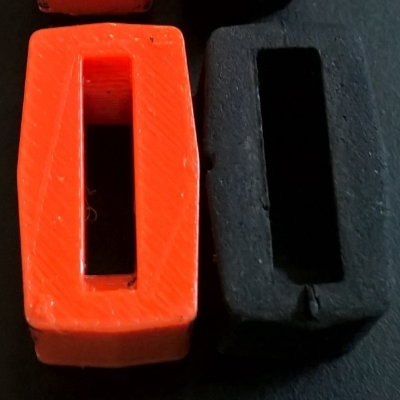
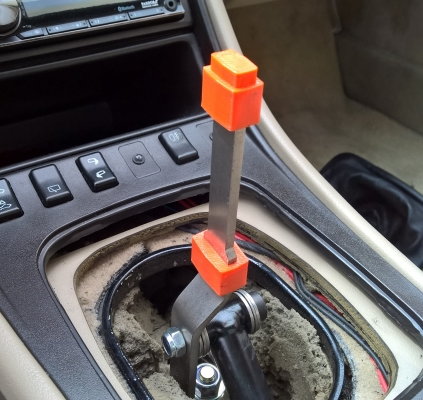
Orange ones are a bit tighter and fit the Only944 shifter lever
Orange "Only 944" sized damper vs black OE damper. A bit tighter.
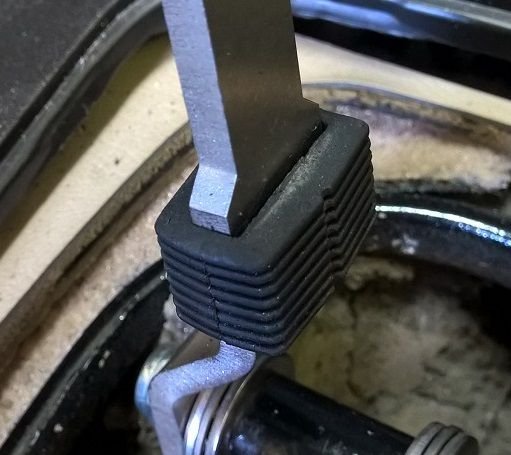
OE shifter damper on Only944 shift lever - a loose fit.
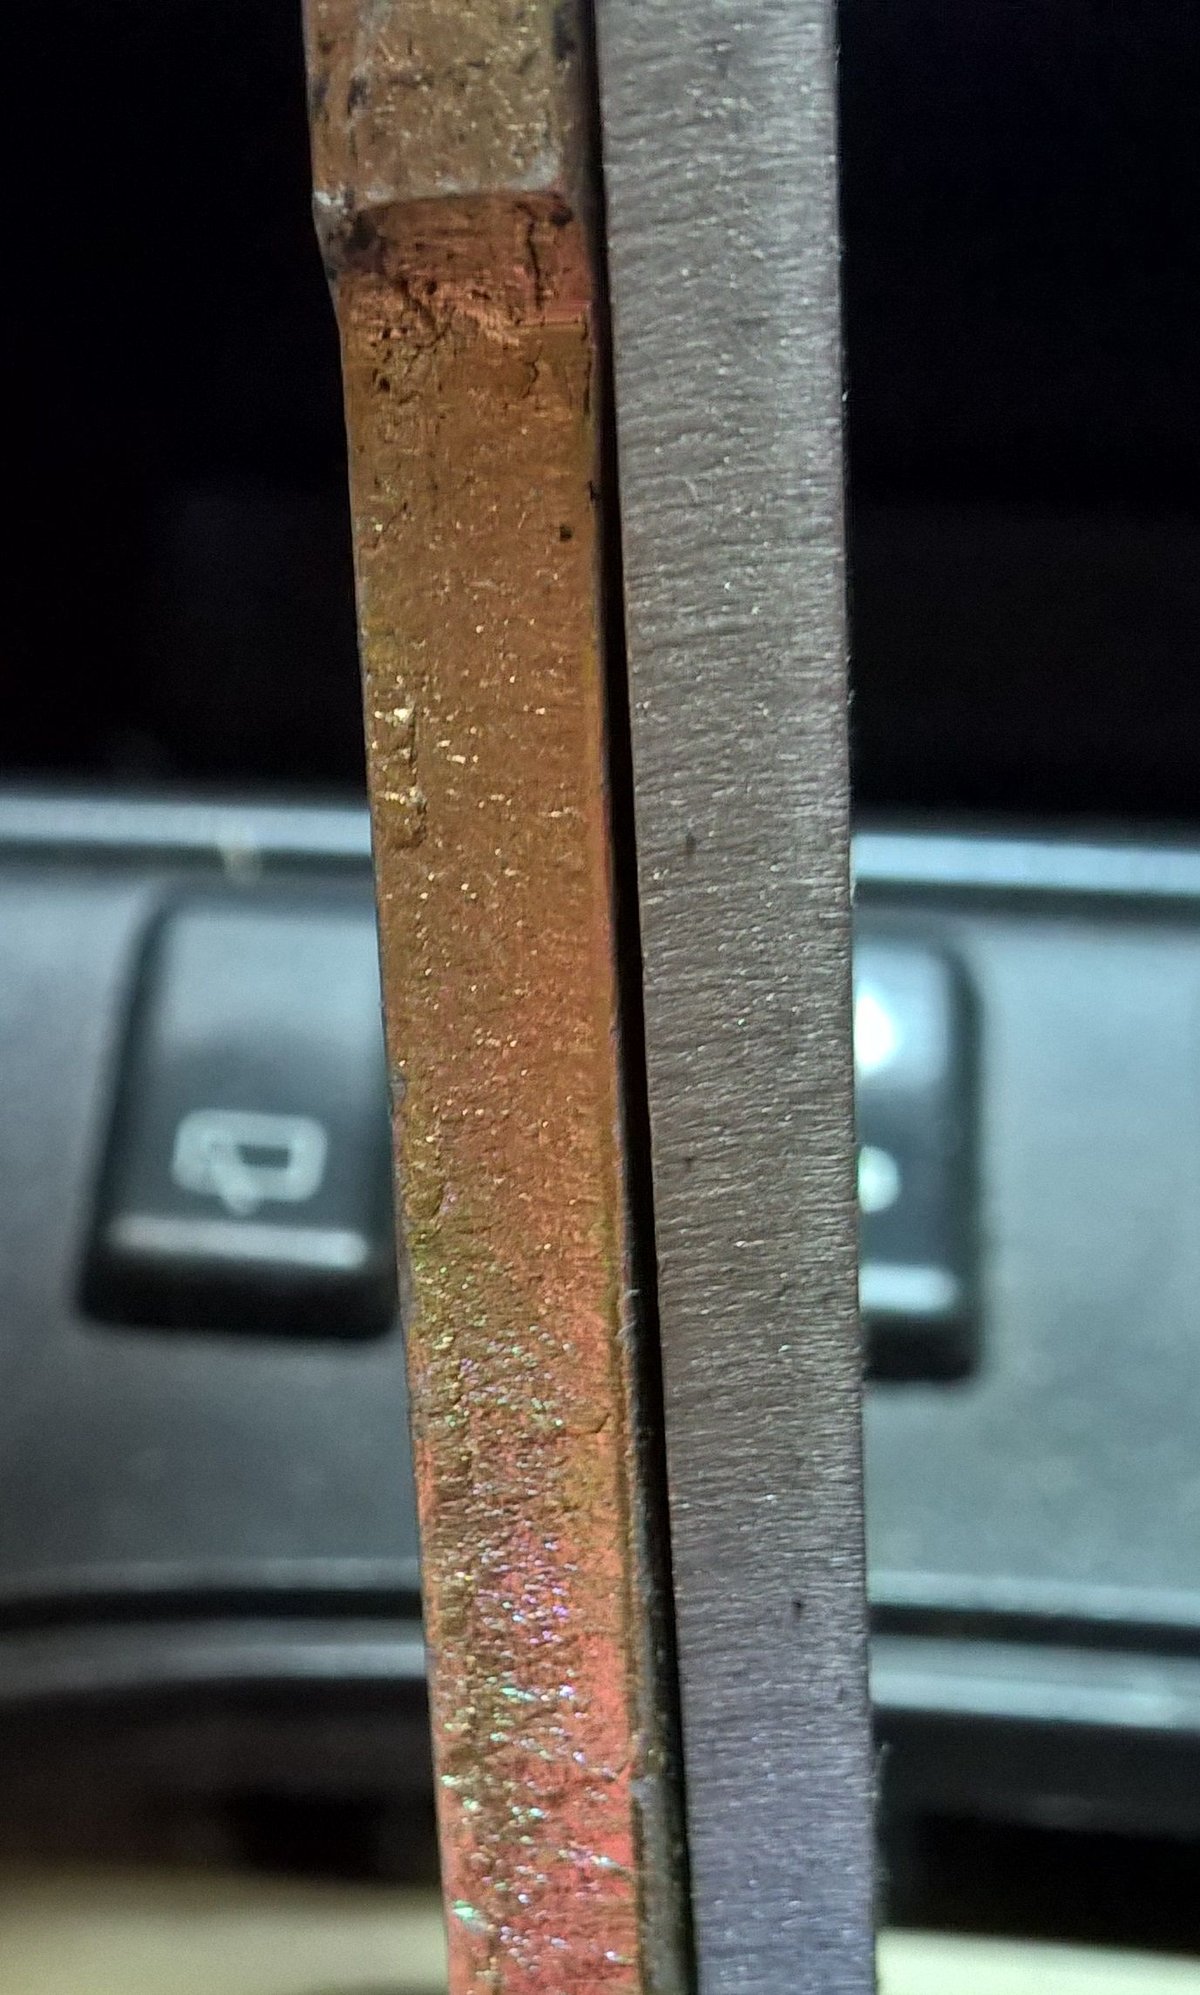
Original shifter lever left Only944 shifter lever right (thinner) Green 3D printed dampers vs black OE dampers. Same size, different firmness.
I printed these using NinjaFlex filament. Other polyurethane and flexible type filaments should work, but Ninjaflex is the basis for the design and sizing.
I've been printing and selling shifter dampers for the past 5 years. Likely sold over 800 sets over this period, but all good things must come to an end.
There's still demand out there, so I feel responsible to release the model files so the 944 community can continue to make these.
Green ones fit the original 944 shifter lever (also fit 964, 993, and some 924 versions).
Orange ones are a bit tighter and fit the Only944 shifter lever
Orange "Only 944" sized damper vs black OE damper. A bit tighter.
OE shifter damper on Only944 shift lever - a loose fit.
Original shifter lever left Only944 shifter lever right (thinner) Green 3D printed dampers vs black OE dampers. Same size, different firmness.
I printed these using NinjaFlex filament. Other polyurethane and flexible type filaments should work, but Ninjaflex is the basis for the design and sizing.
Print at 50% infill.
Oh dang! I've honestly meant for a while to grab a set of the only944 shifter version for the longest time, but have been too lazy. Any chance you have a few left?

 01-19-2022 | 01:30 PM