When you click on links to various merchants on this site and make a purchase, this can result in this site earning a commission. Affiliate programs and affiliations include, but are not limited to, the eBay Partner Network.
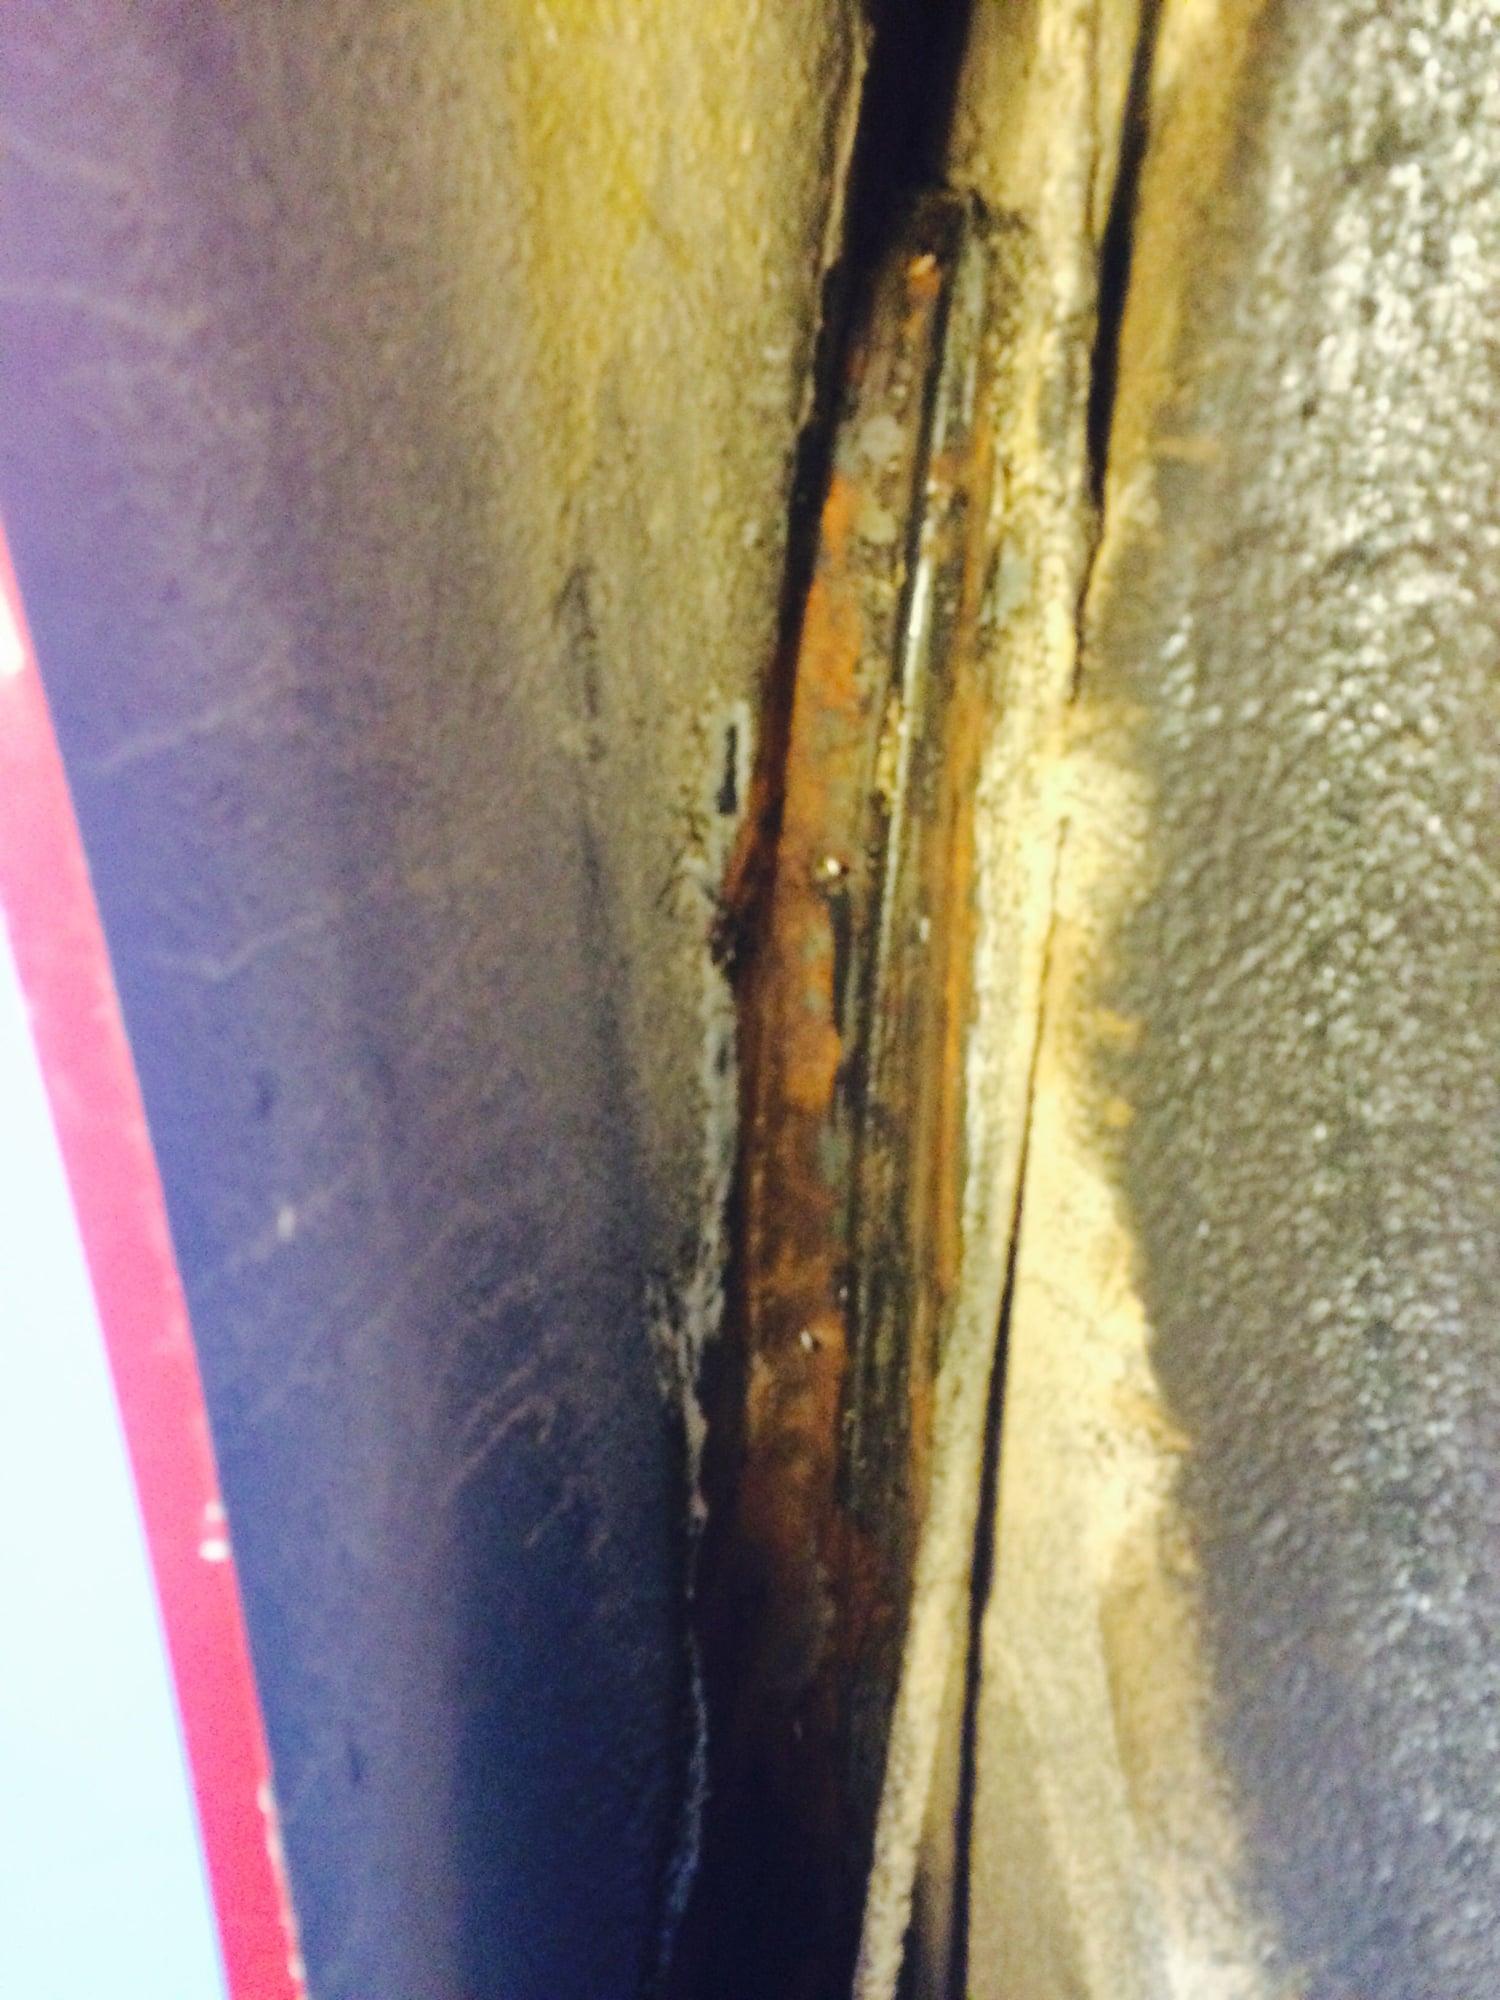
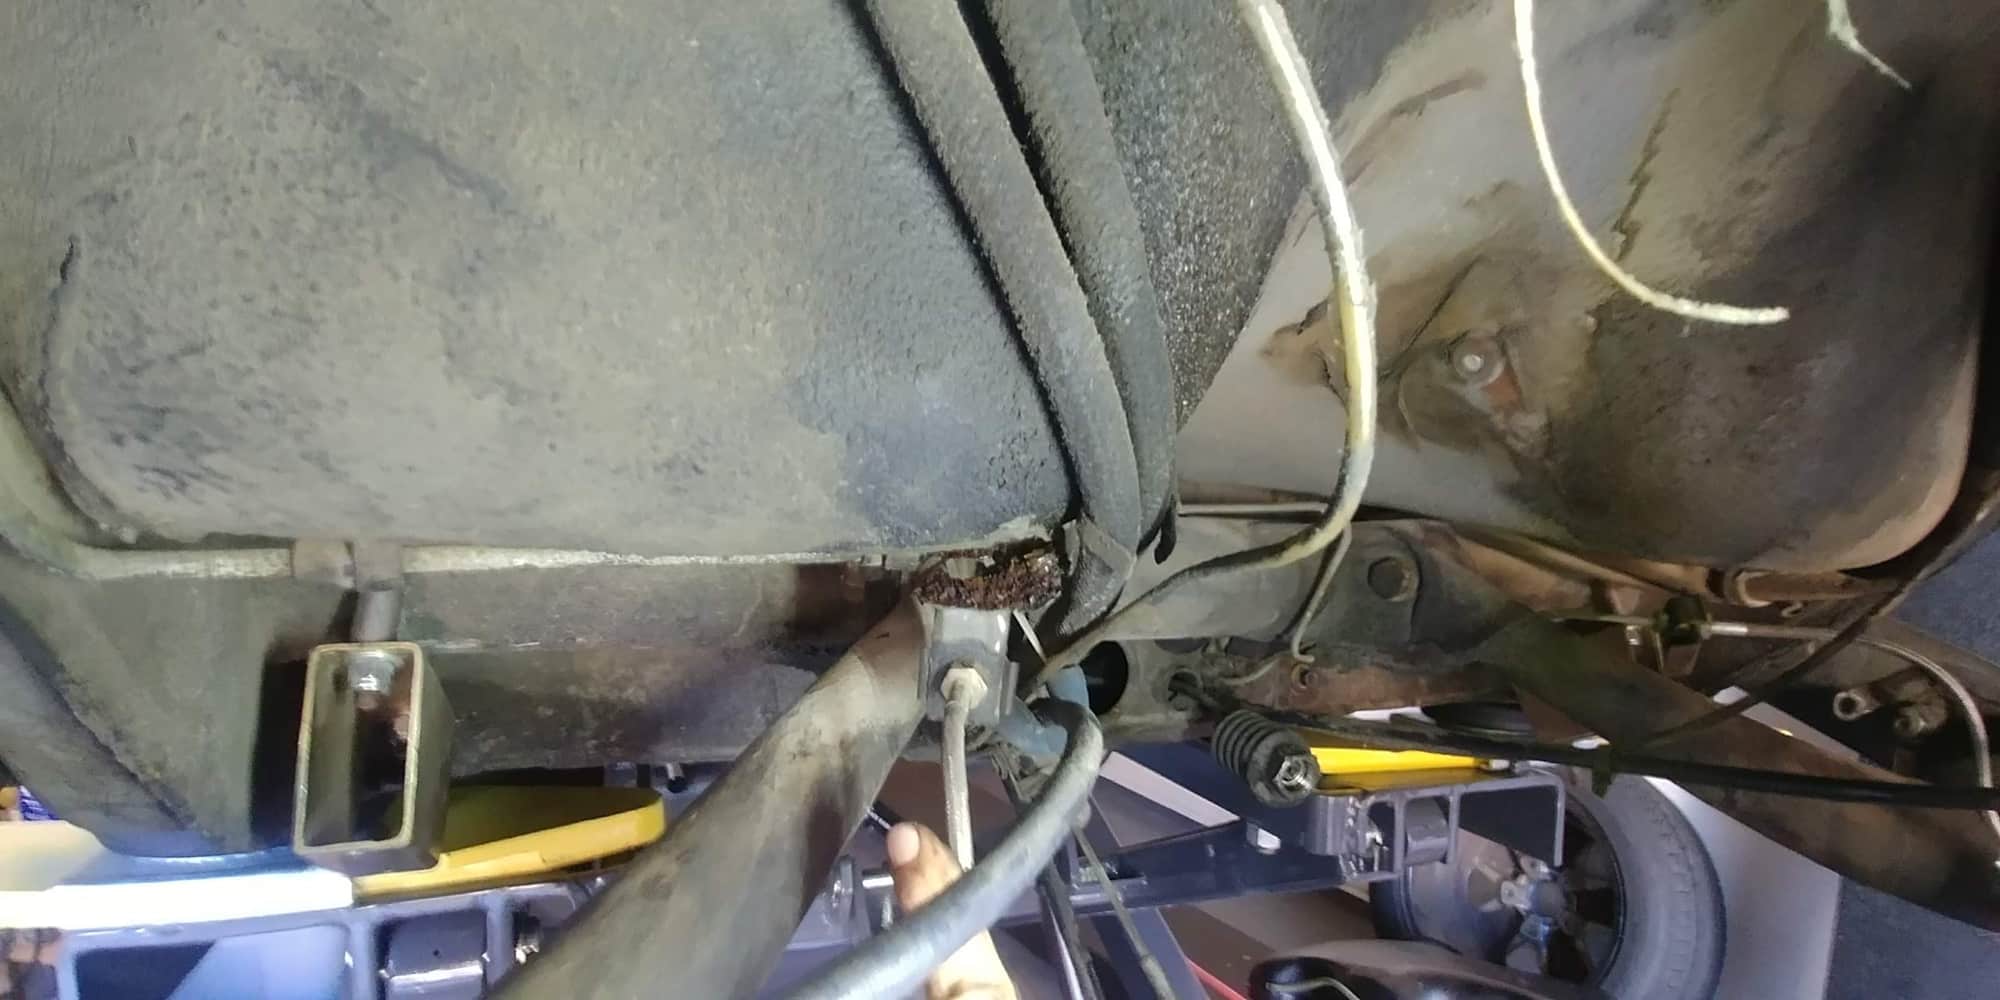
Funny your rust spots are probably what mine are. From underneath, the mount for the brake lines broke off.......And I love the orginal JB Weld fix. All right at the seat bottoms. We need to check our parcel shelves as they might show where the window leaked and drained to the seat bottoms...
My car had the Weltmeister bolt on sway bar mount. That's all coming off and new sway bar mounts welded it as well as sway bar "*****" on the control arms....
^Thanks for chiming in on my thread, Robert. I know both of us were looking for cars for quite a while that would be good to make hot rods. Your color was another on my list of favorites - just prior to my car I barely missed a great deal on a '73 Albert Blue -- it is a battle out there to buy these cars these days - especially if you aren't looking to break the bank. Keep me posted on the progress on your car. Oh, and don't you know JB Weld fixes everything -- that and duct tape
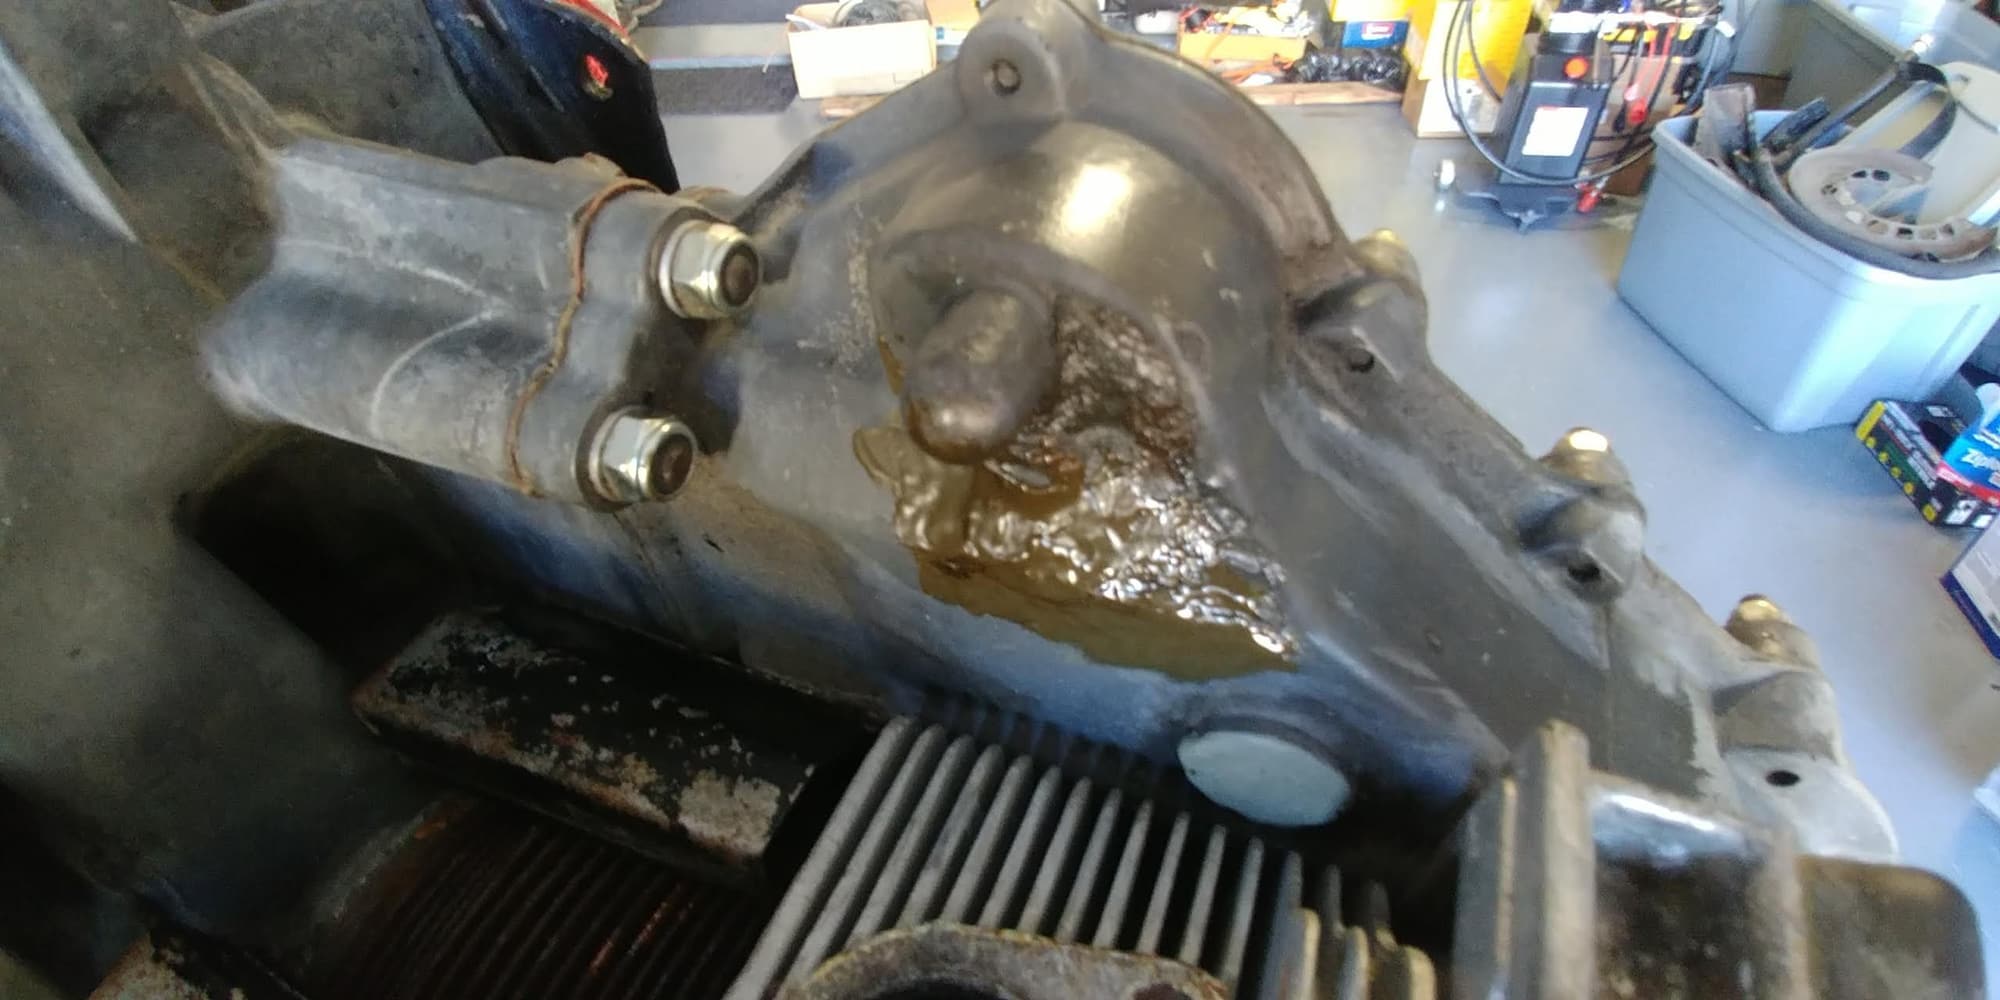
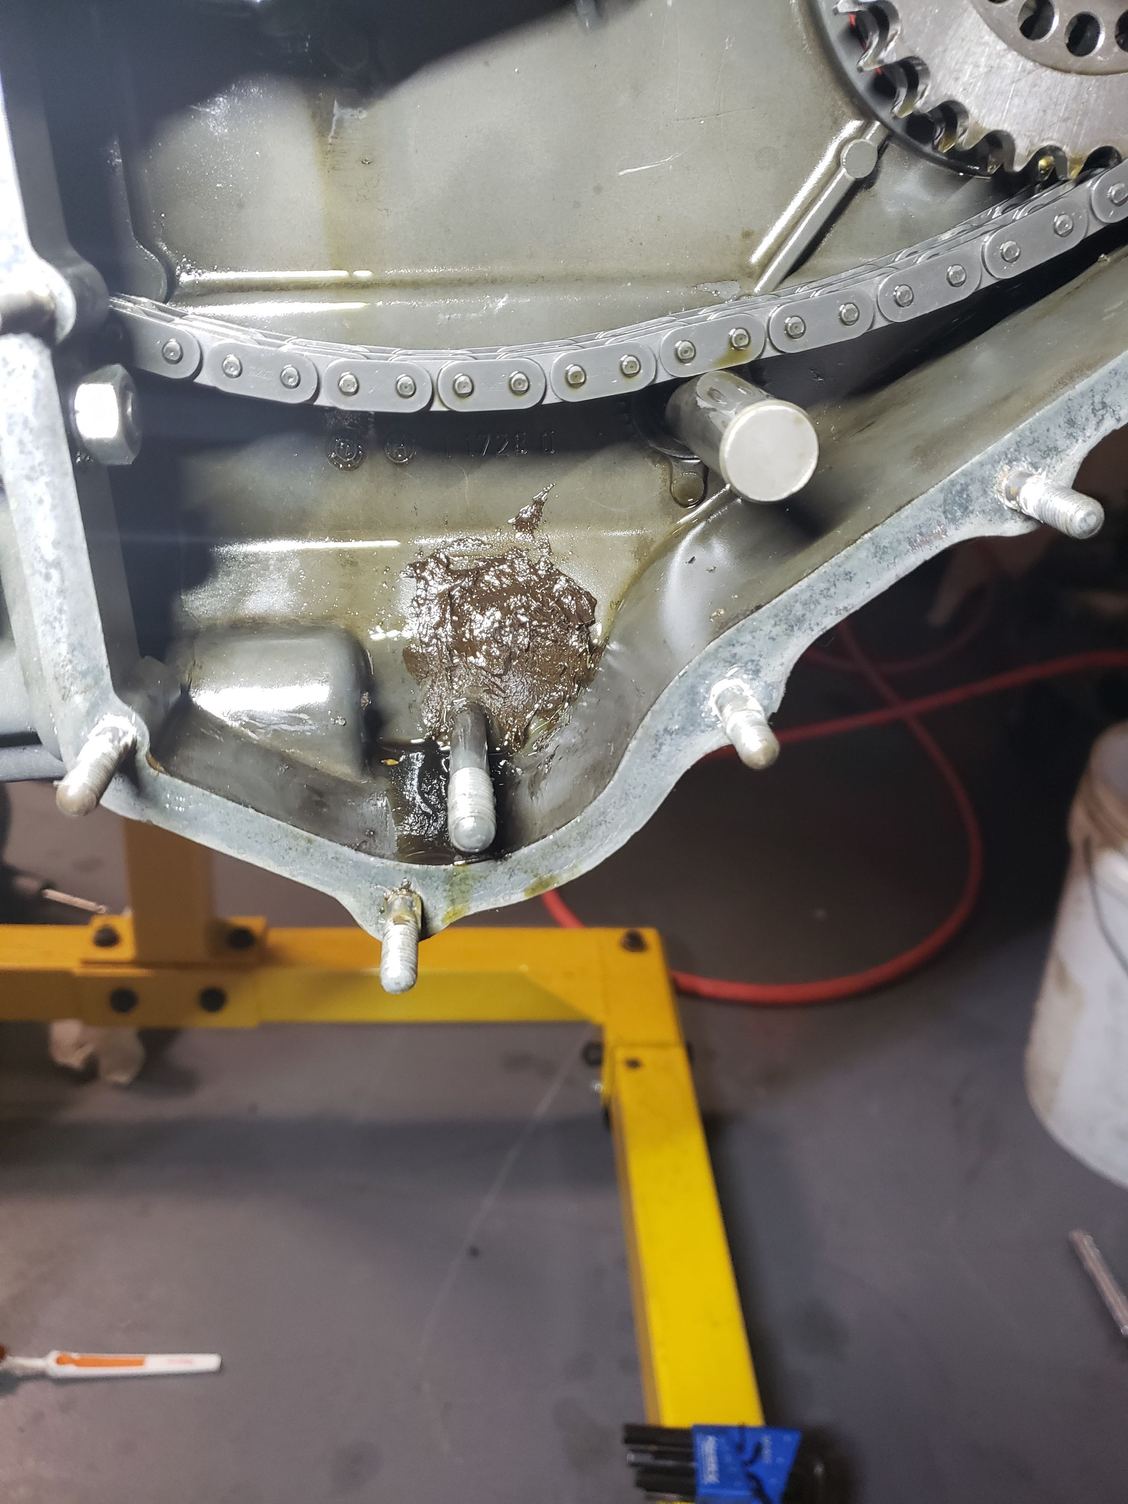
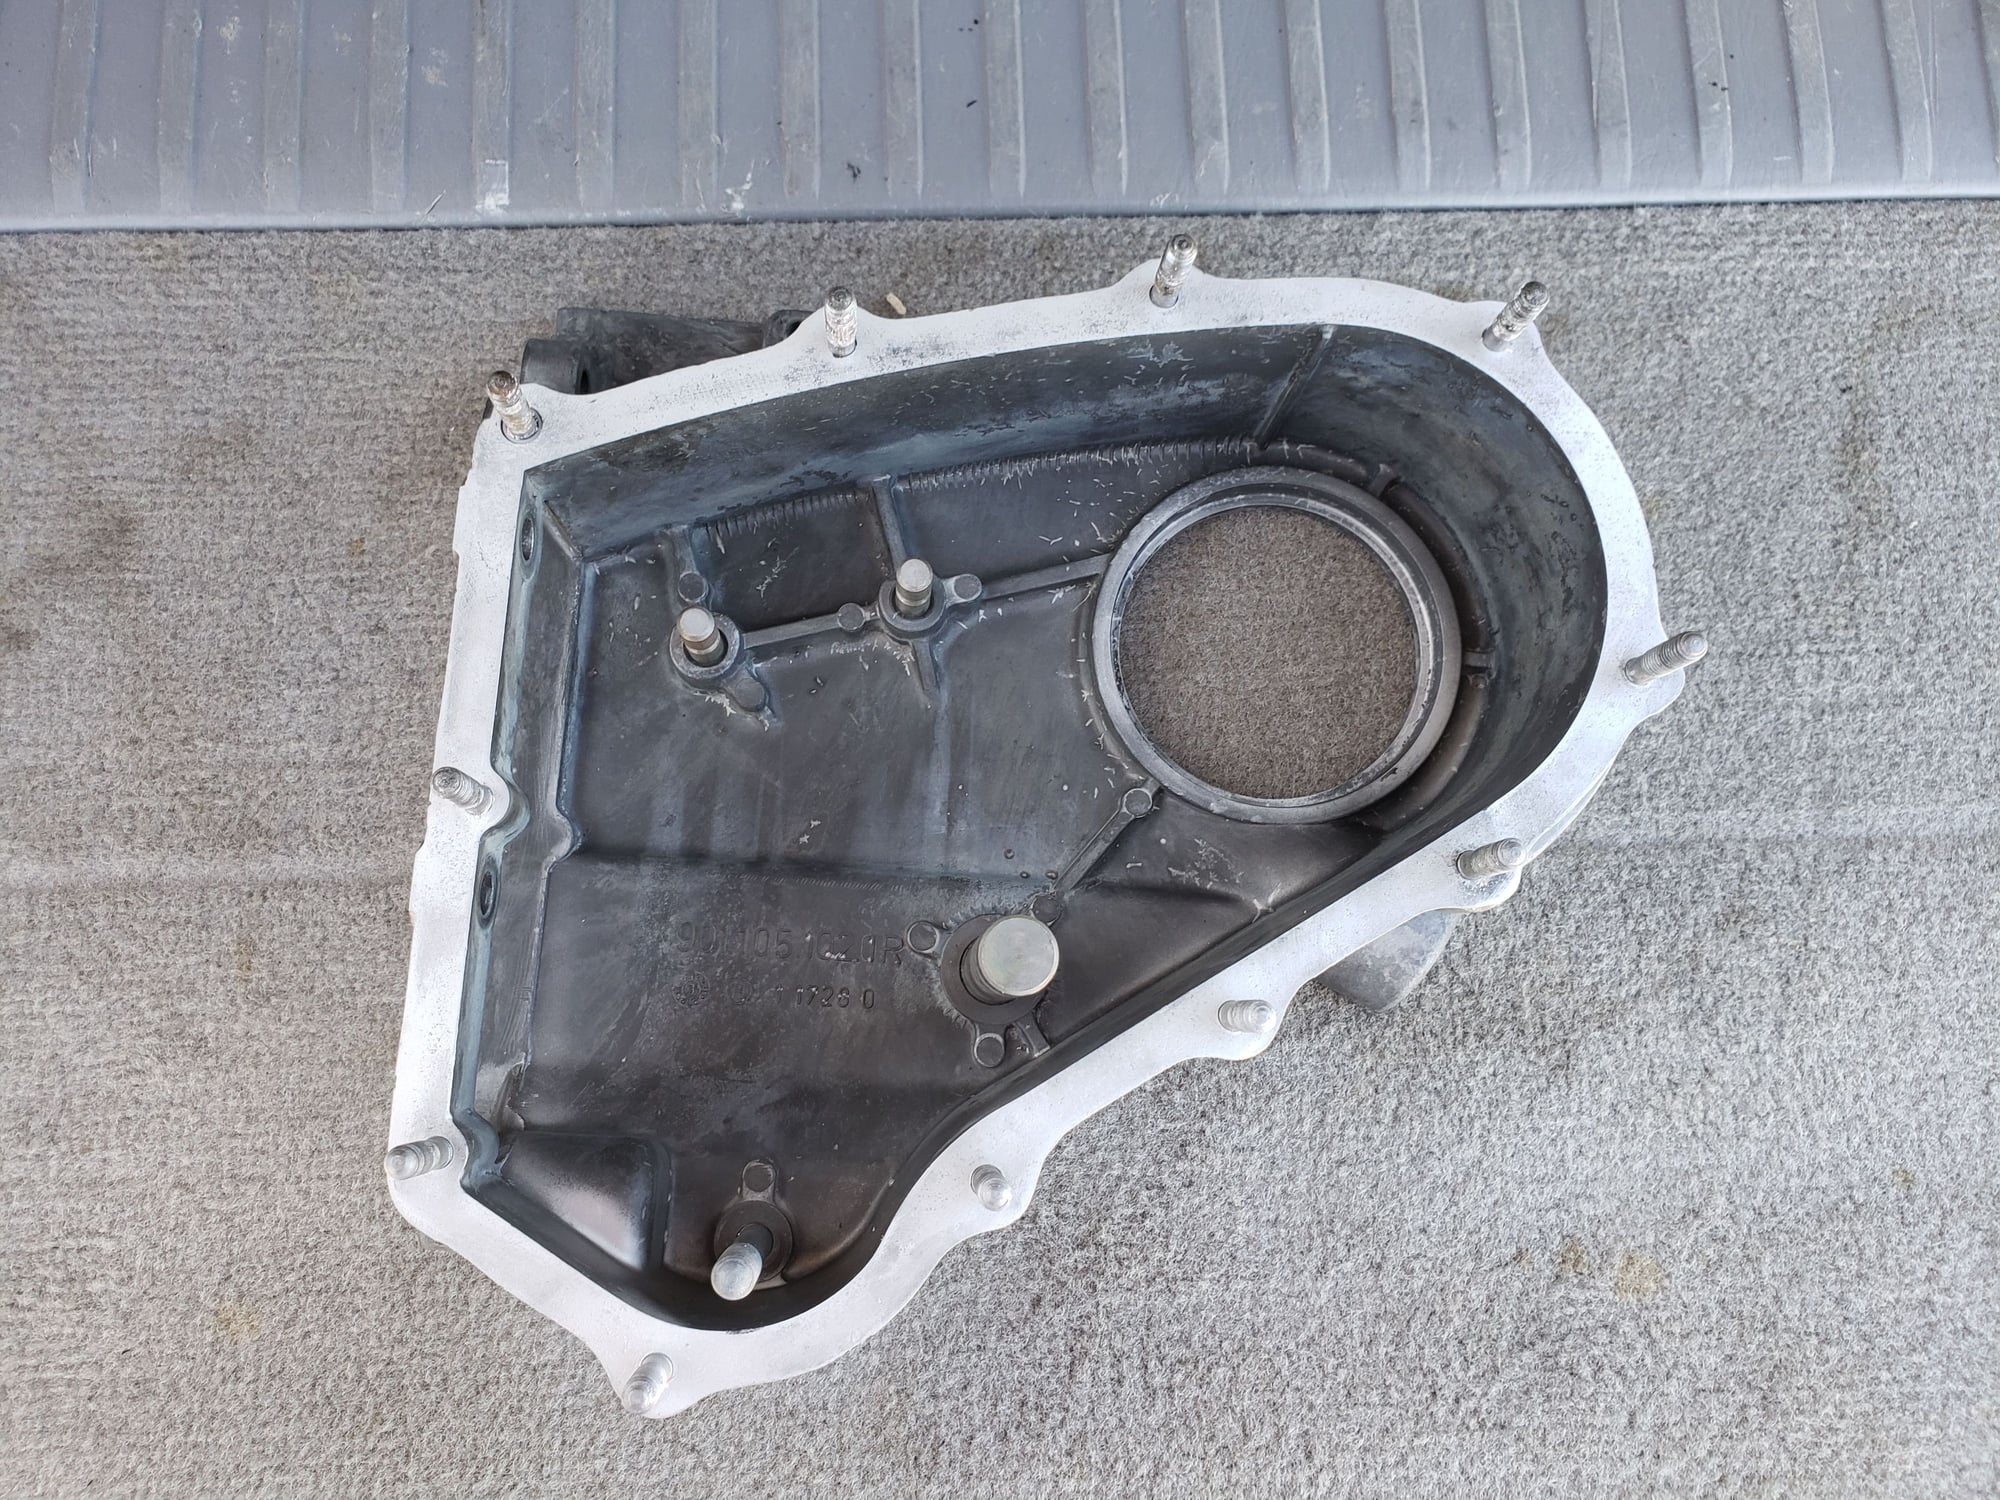
Ironically, I have to add some JB Weld on the back of my "new" timing case. In the factory spots this time !!! Unlike where that one hack job was done to try and deal with a leak. The real fix was more involved....I am changing out the timing box to a good one...
Figured I would give an update, although not a whole lot to share. Drove the car to AutoKennel this morning for their breakfast get together. Nice cars as usual. Enjoyed driving mine up and down PCH - figured it may be in pieces soon so had so get some time behind the wheel. So I moved it onto the lift today. Figured I start with the rear suspension. I put her up on jack stands using the rear torsion tube. Started examining the suspension. I already have challenges. I see that the bolt attaching the front of the trailing arm (near trans) has the head in towards the trans. According to what I have read, sometime around/after 71 this was supposed to be reversed so that you could remove the trailing arms without dropping the trans due to clearance issues. Not the case with my car - although my '72 was built mid-71 so maybe that's why? Then I broke my 30mm socket trying to remove the hub nuts - those suckers are tight! I will put some time in tomorrow but I really need to think more about trailing arms and if I should start with front suspension instead and do back once the motor is dropped.
So I put a couple hours back in it today. Removed the shocks and then focussed on removing the front attachment for the trailing arms. Already mentioned the issue of the bolt heads facing the trans, however I wanted to remove the nuts and see if I had clearance issues or not - Everything I have read says I will. Even removing the nuts was fun. You cannot get a socket and ratchet in there and a wrench didn't give enough leverage - so I attached a universal joint for clearance. These nuts were on very tight so I needed a cheater bar. Was able to get the driver side nut off but broke the universal joint on the passenger side. This car is going to destroy tools and my hands! A lot of reading on Pelican showed me that most people have a nightmare of a time removing these - I couldn't imagine doing this without a lift! Was able to find one guy who suggested an oxygen sensor socket - bought one and it worked perfectly. So the nuts have been removed from both sides but I haven't tried to remove the bolts yet. I will leave this for another day. I will try to loosen the trans mount to get a little extra room and if this doesn't work I'll need to cut the bolt heads off. I see Wevo sells bolt sets that allow clearance with trans in and other guys on Pelican recommend Allen head replacements to help with clearance. Will figure this out once I get these out. tperazzo lent me a 3/4" breaker for the rear hubs since my 1/2" set up wasn't working (split my socket). I need to pick up a HD 30mm for 3/4 drive and go at those hub nuts again.
I have to say I am spoiled working on my other two cars. They are in excellent condition and the fasteners aren't corroded - I haven't had this much trouble working on those cars, but I can tell this car will be a different experience. I am sure I will go thru a ton of PB Blaster!
Got more work done this weekend. Removed the entire rear suspension. Was able to get the hub castle nuts off using a 3/4" drive set that included a 6' cheater (thanks tperazzo). Was also able to get the trailing arm bolts off but had to use a sawzall as most people seem to have to do - I even dropped the trans down a few inches and shifted it to the side and it was still not enough room for the bolts to clear. Used a homemade puller that tperazzo lent me to remove the hub bearings. One side came out fairly easily but the other side was a huge PITA. The hub was stuck in the bearing and took some work to get out - then the bearing itself was really stuck and took a lot of effort to remove. This was quite a job getting everything out.
Here is the old suspension - soon to be replaced with new stuff! Will take the trailing arms to get media blasted and then need to weld the sway bar ***** to the arms - crazy that Porsche didn't have these on all cars whether or not optioned with sway bars- even the brackets where they attach to the chassis need to be welded in (this is what Robert was doing to his car as he mentioned in post #33). Seems like these cheap pieces of metal would have been cheaper for Porsche to install on all cars on the assembly line.
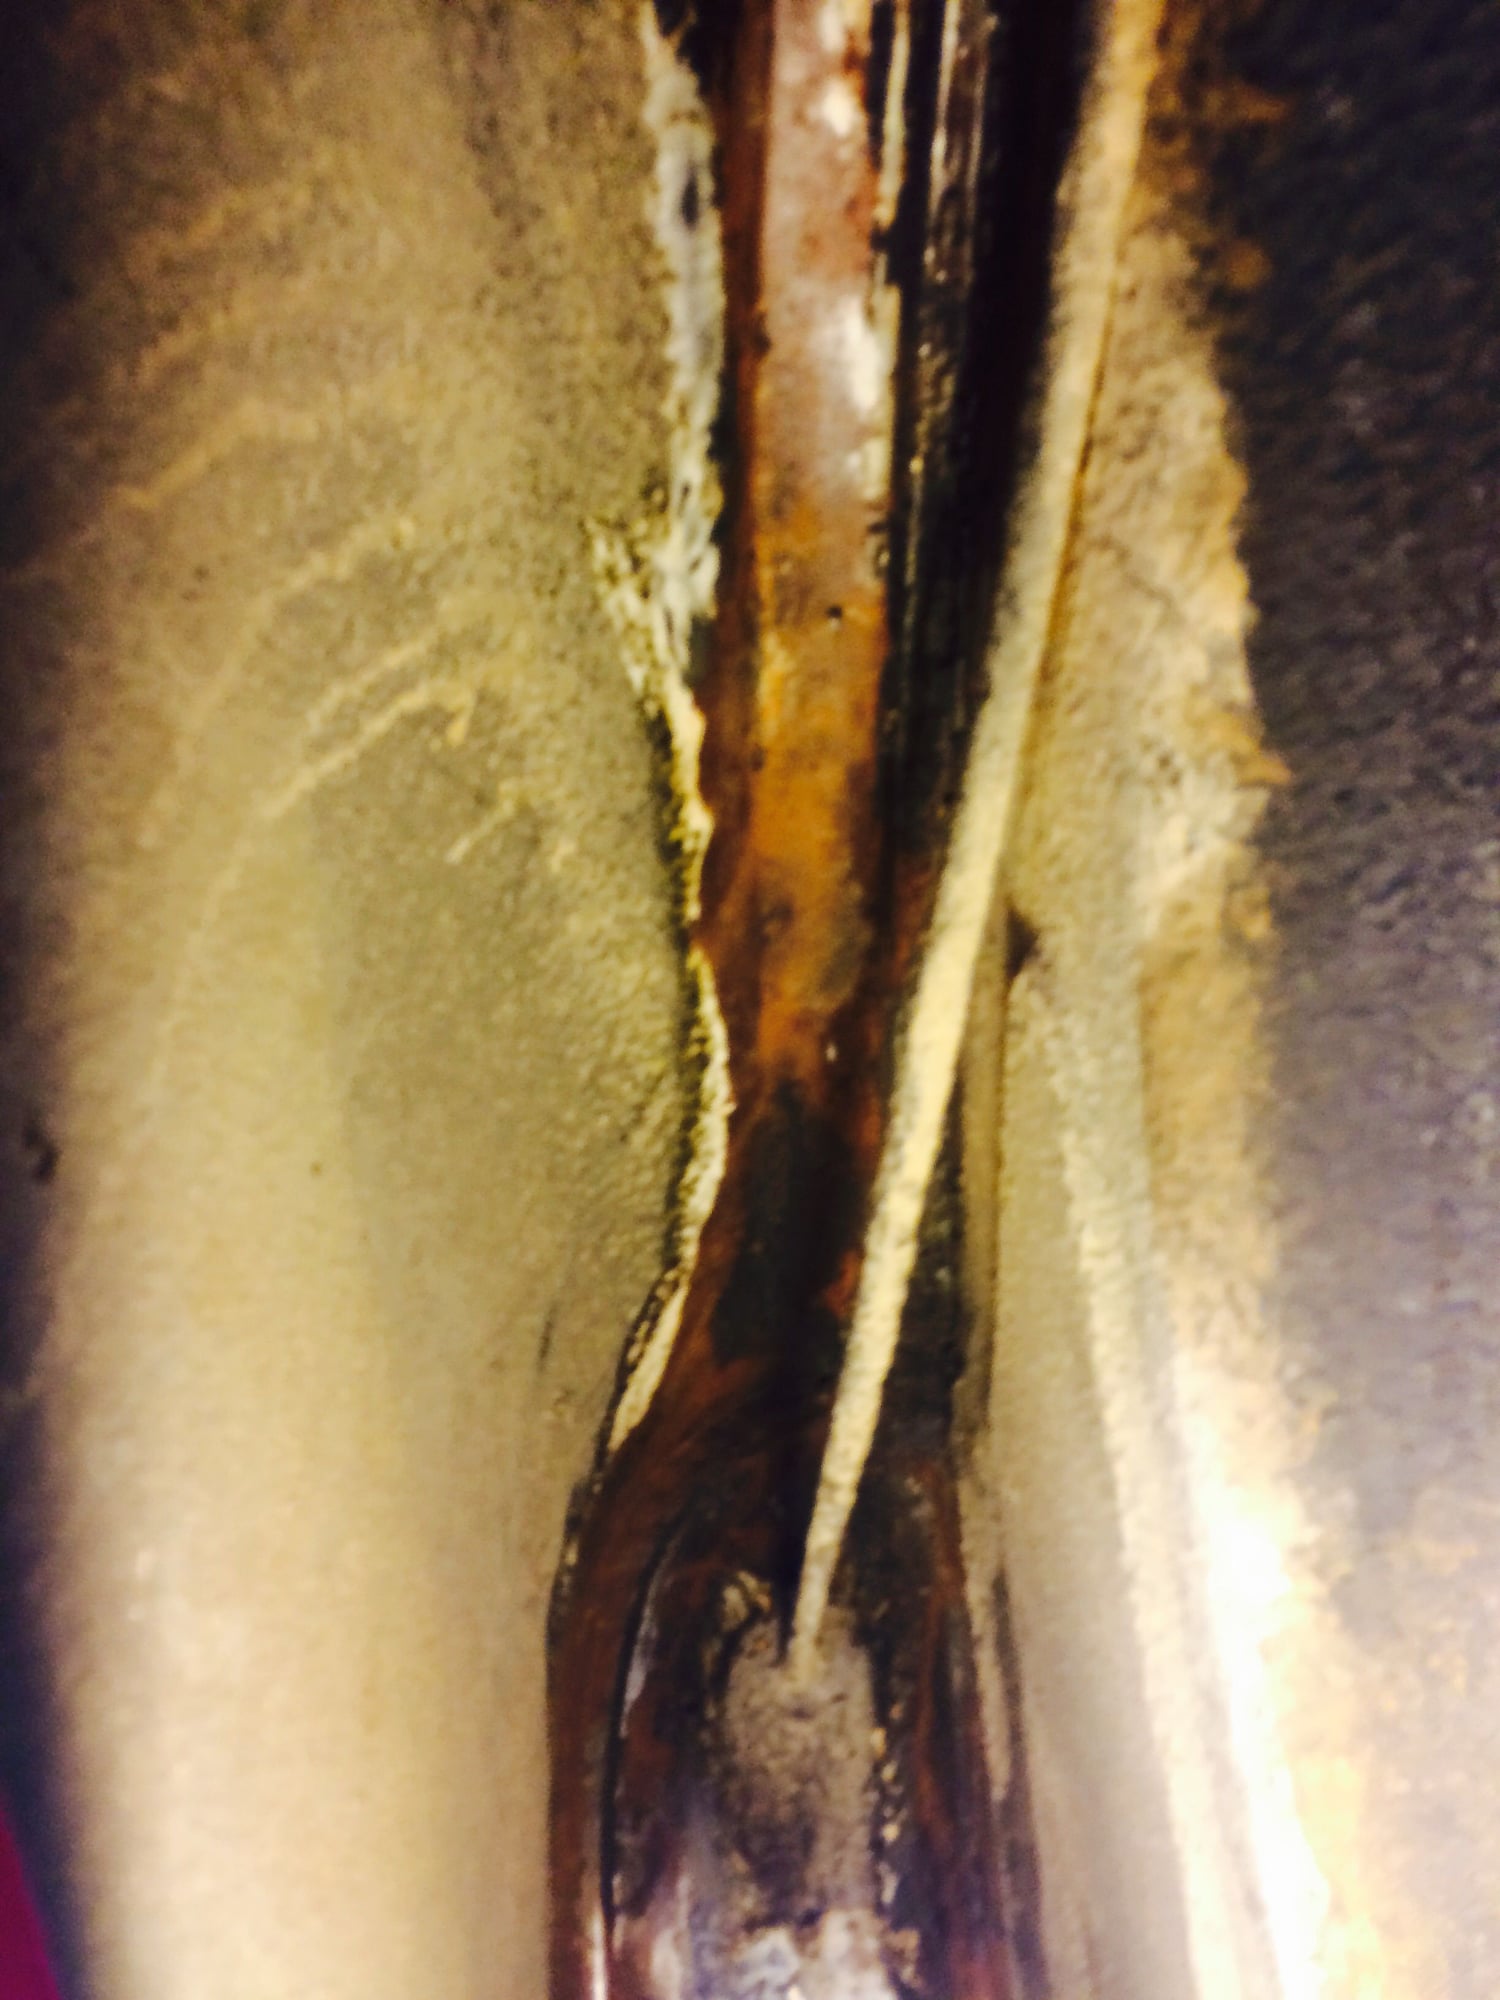
So here is an update - had a little time over the holiday weekend to work on the car. I continue to remove parts off the back-end of the car - my thought is that I would like to clean up the wheel wells, inspect for damage/rust and repair as needed. I would like to have this done before I reinstall the rear suspension. I started with the driver side - had some difficulty getting one of the screws holding the taillight assembly to the fender, as someone had stripped it in the past. I tried to use an easy-out but it snapped, so I used my dremel and cut the slide nut off the back - done. The undercoat had dried and starting peeling up the door pillar and all along the top "valley" that runs under the window sill back. I started scraping at it and was happy that most of the metal underneath only had very, very minor surface rust - no pitting - with the exception of some areas along the door pillar/slam plate piece. The car had two small rust bubbles under the paint up high in that area, so I already knew I was going to be dealing with something there. After removing the undercoat I can see there is some pitting and corrosion up there, but held to two very small areas about the size of my finger tip. I removed the paint from the exterior as well in these areas to see the extent of rust from the exterior view. I will need to have these welded up before I respray the undercoat. I still need to do a lot much scrubbing with wire wheels in these areas as well to get rid of as much rust as possible, then treat and re-coat. I plan to degrease, scrub the entire wheel well areas and spray a new black topcoat - just as the longhoods were done.


 11-05-2018, 07:05 PM


 Unlike where that one hack job was done to try and deal with a leak. The real fix was more involved....I am changing out the timing box to a good one...