When you click on links to various merchants on this site and make a purchase, this can result in this site earning a commission. Affiliate programs and affiliations include, but are not limited to, the eBay Partner Network.
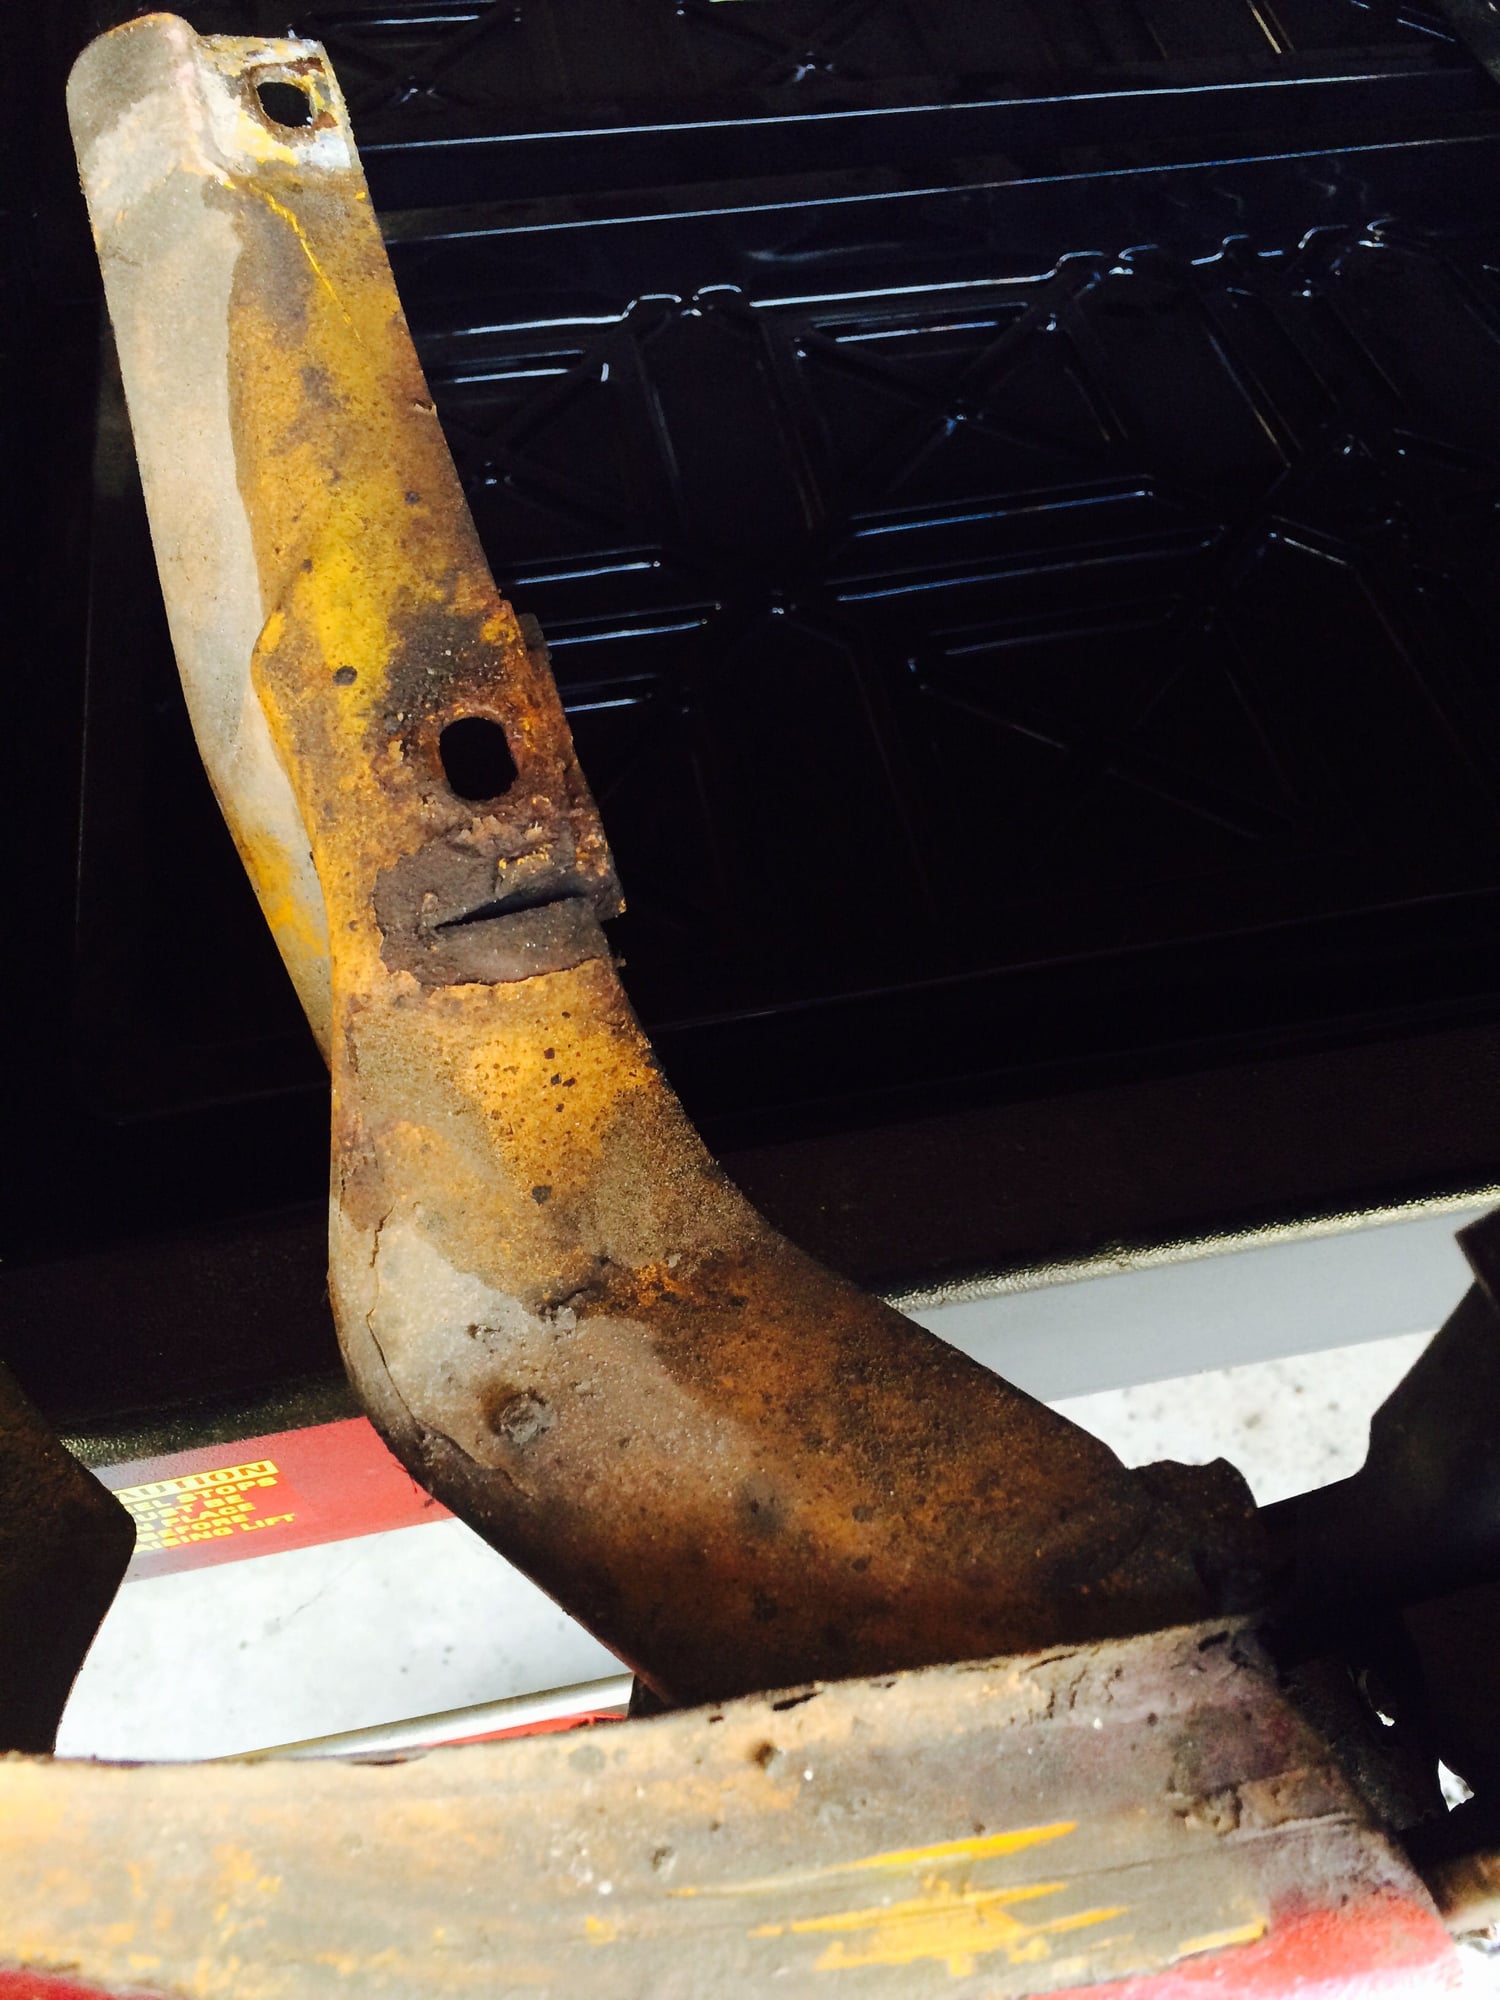
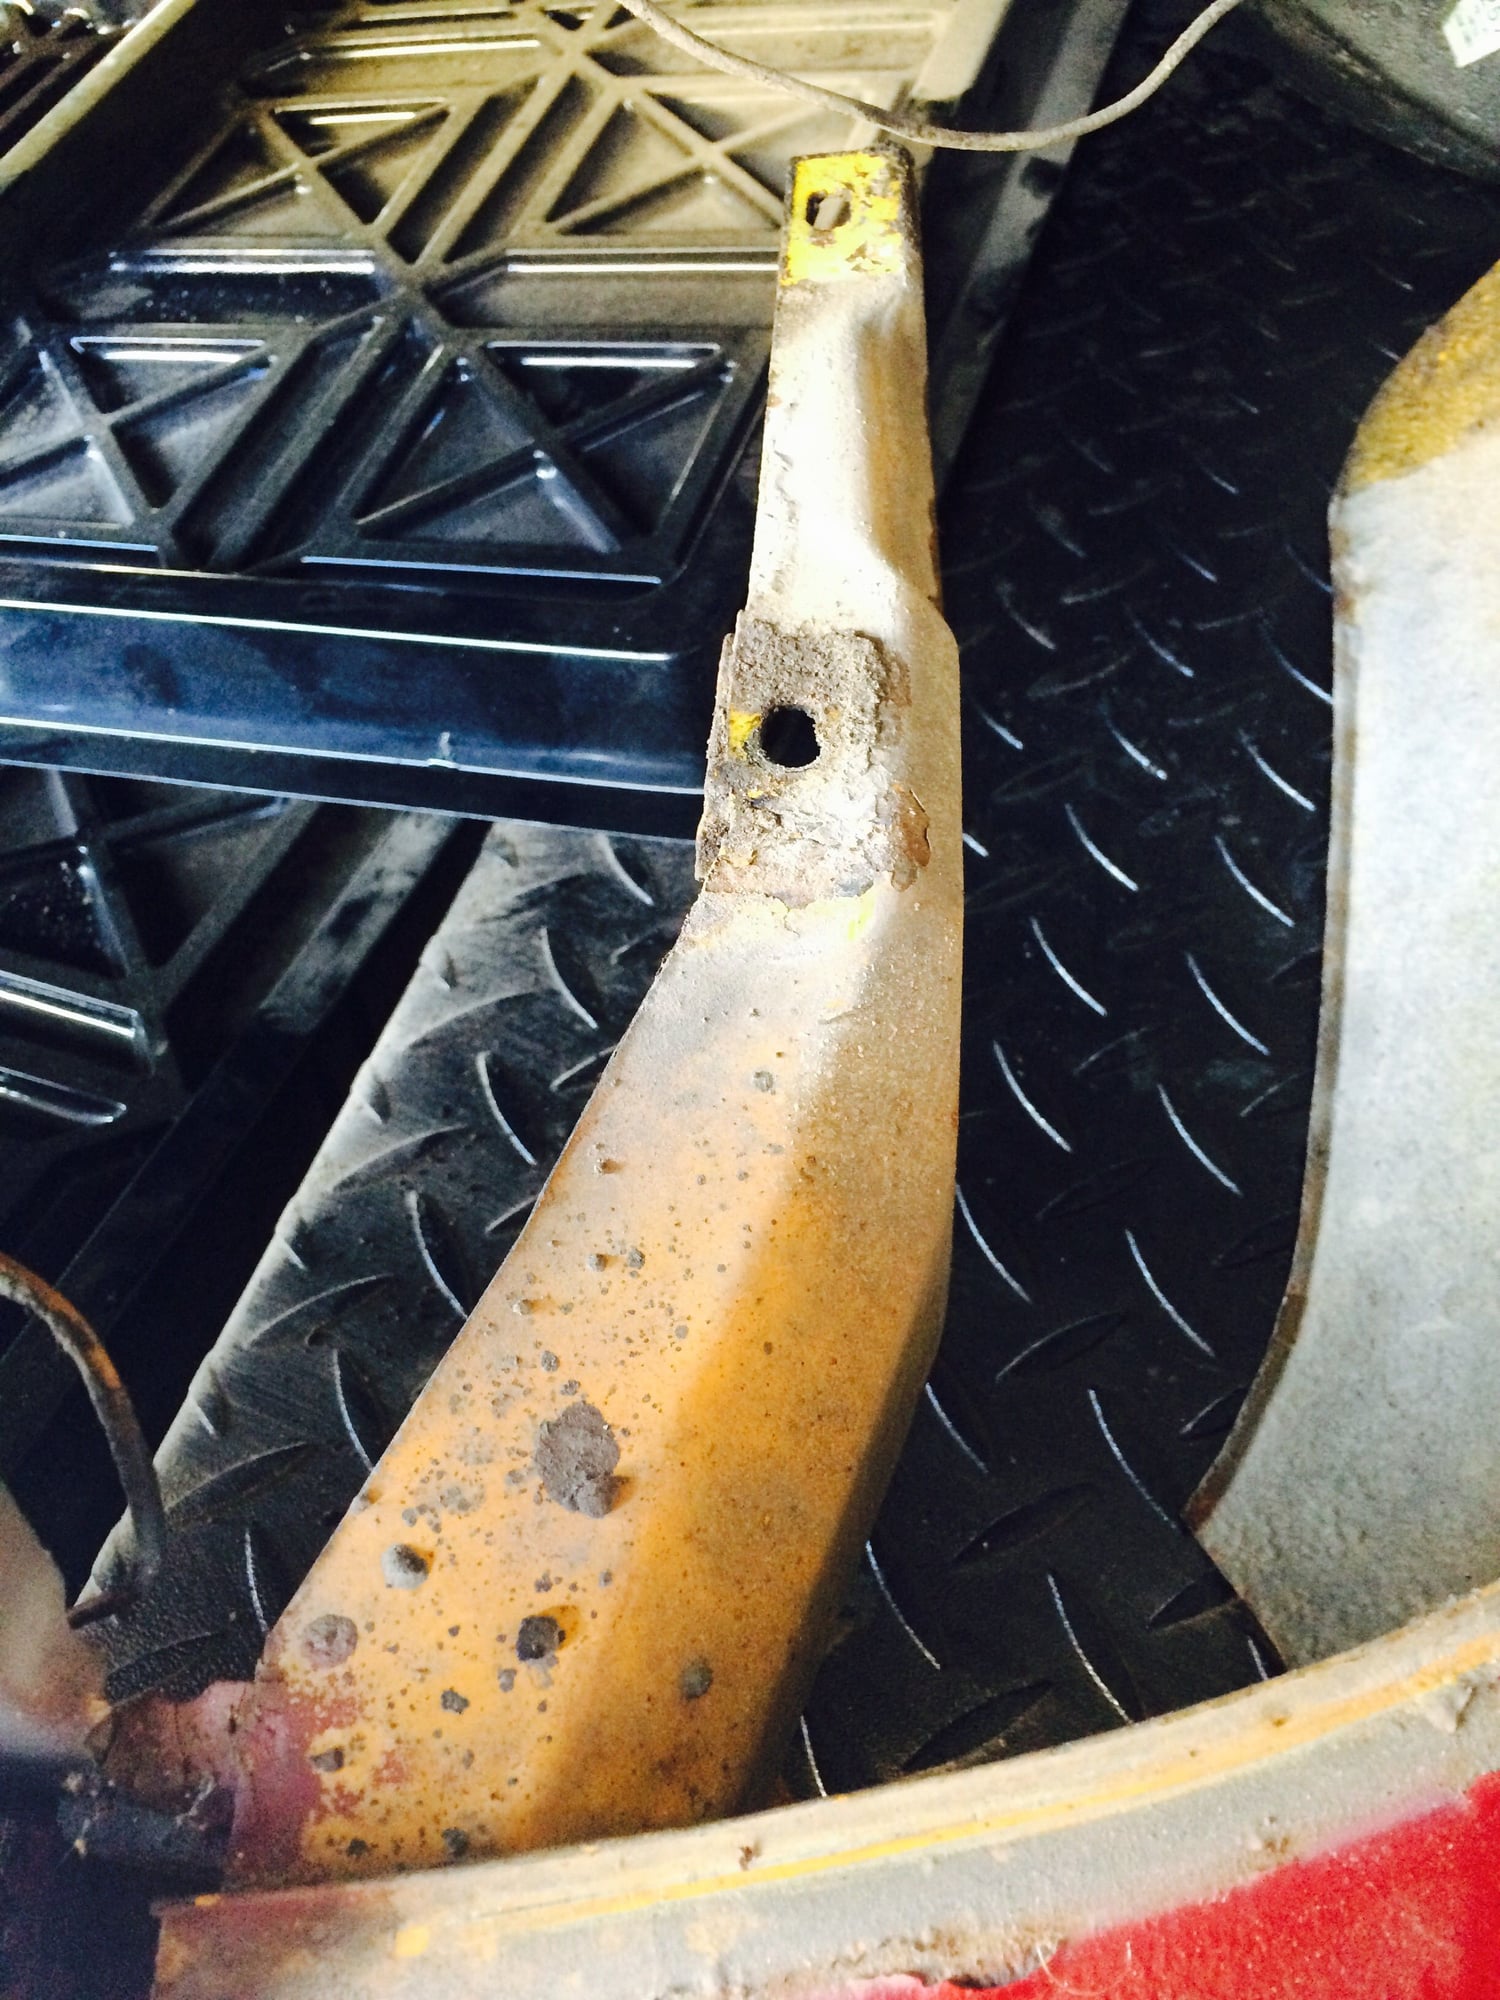
You really learn a lot about these cars as you tear them down and work on them. Up in post #15 I had pointed out that the fender didn't align well with the bumper - thinking it had something to do with the air conditioning condenser that was added in that wheel well. Well, tearing off the bumper, I found evidence of a minor accident, as the driver side bumper bracket is mangled - you can compare it to the photo of the passenger side which looked OK. Easy to replace this - happy the fender looks OK and the rest of the car looks fine back there, other than small indentions on the back panel from where the bumper overrider bracket made contact.
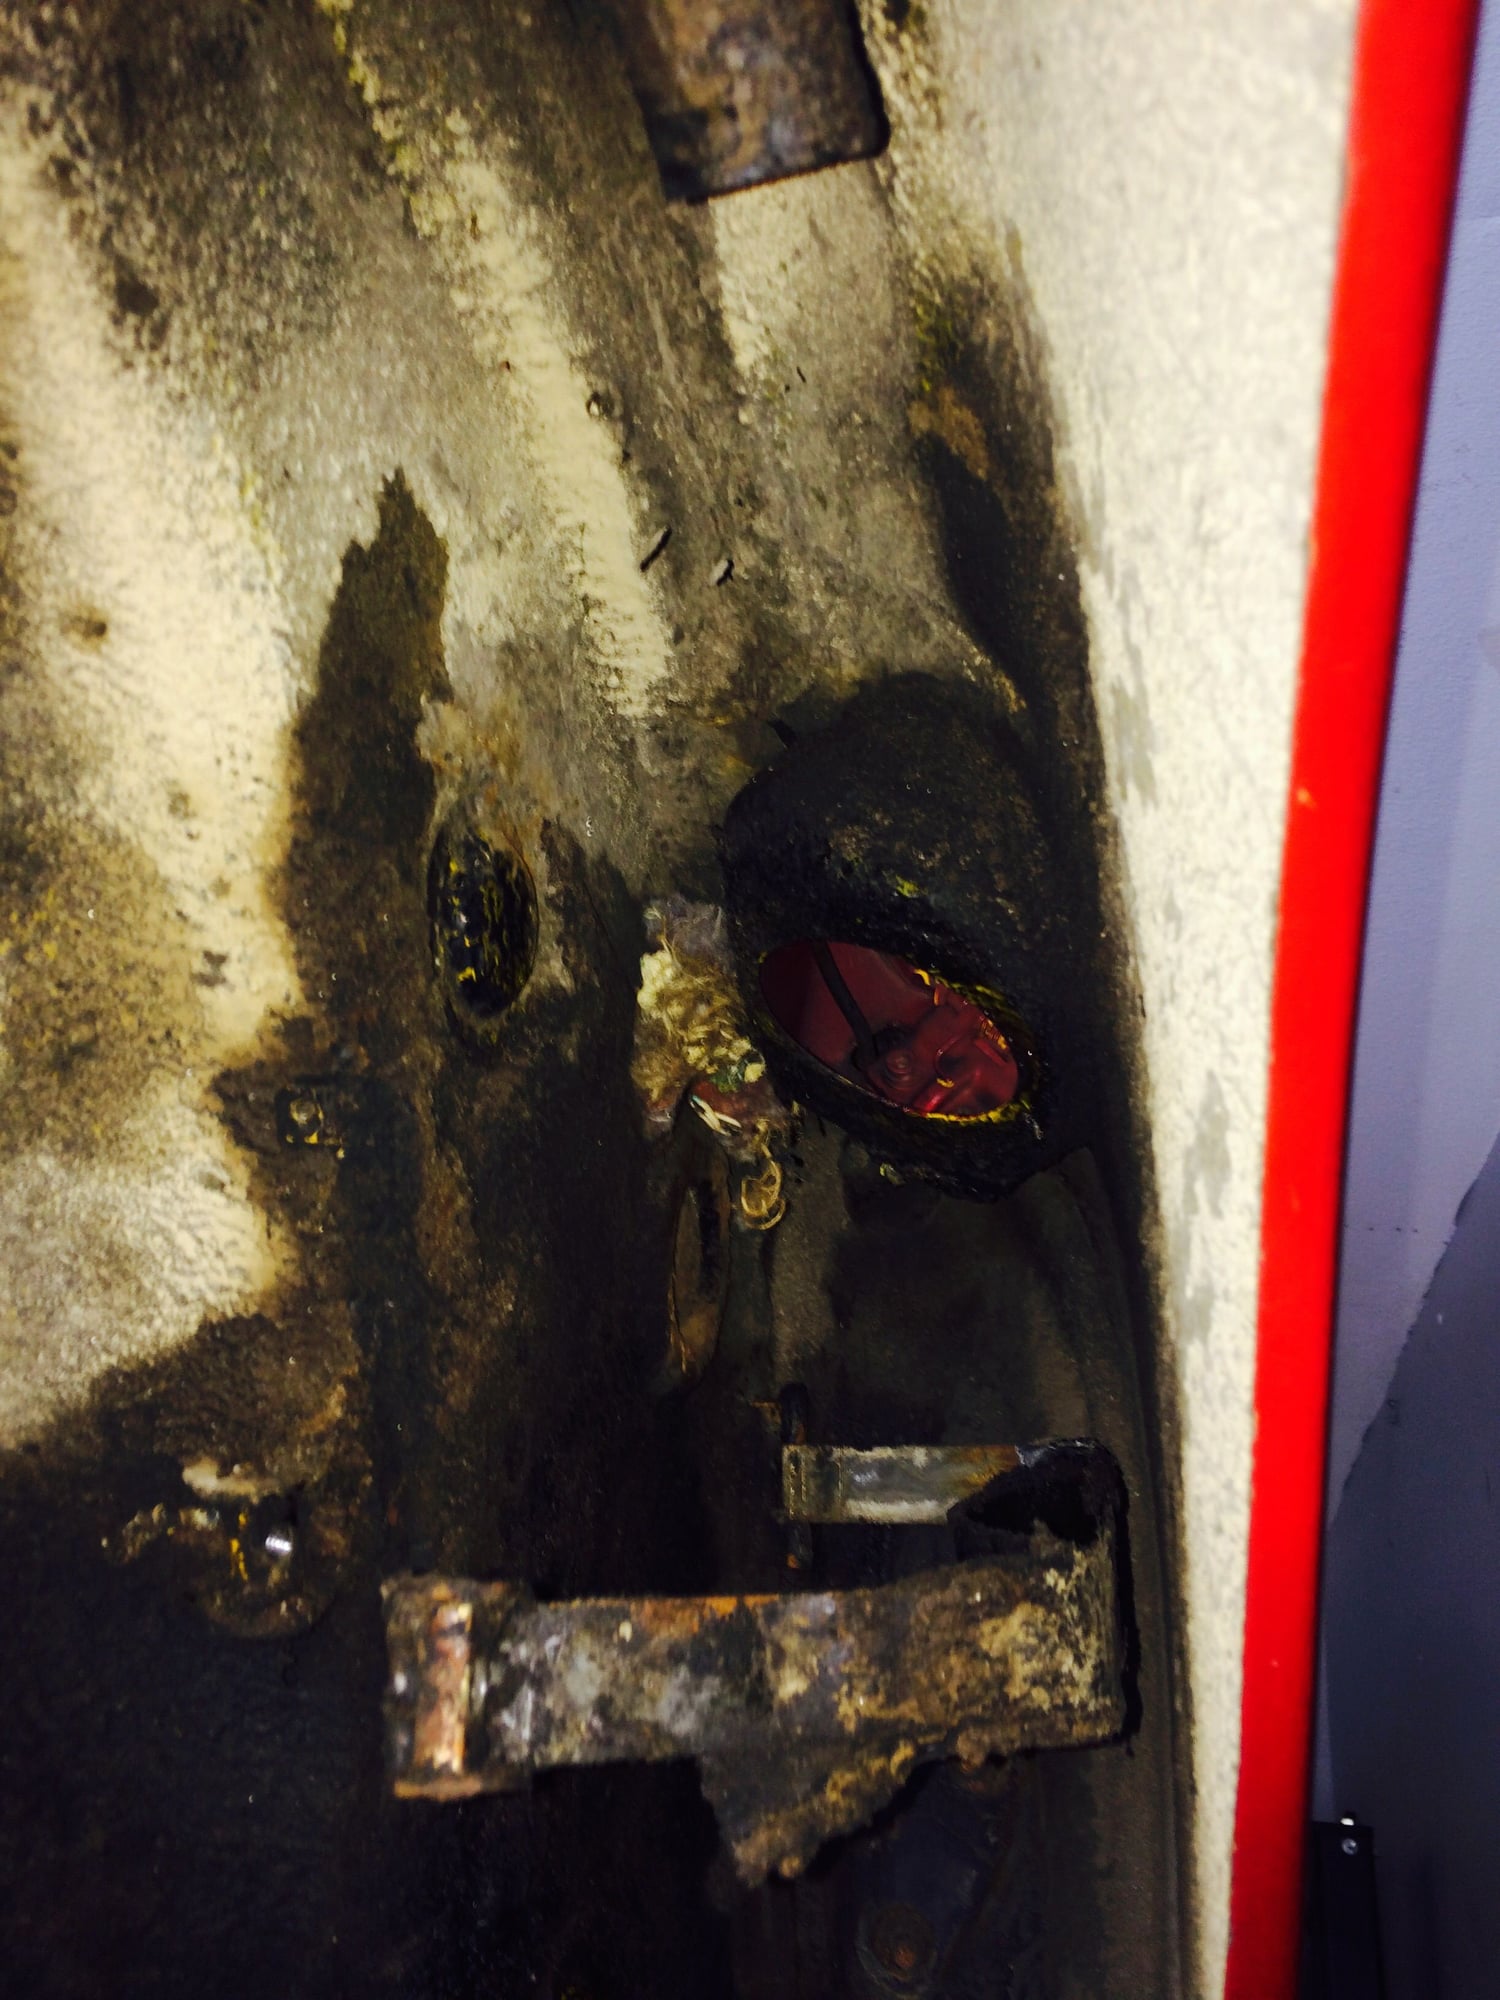
I inspected the kidney bowl area using an endoscope - both up inside and back behind it - areas you really cannot inspect with out a tool like this. Happy to report those areas look good very, very minor signs of surface rust - really almost nothing - will scrub as best as I can, treat the metal and finish just as the rest of the wheel well area.
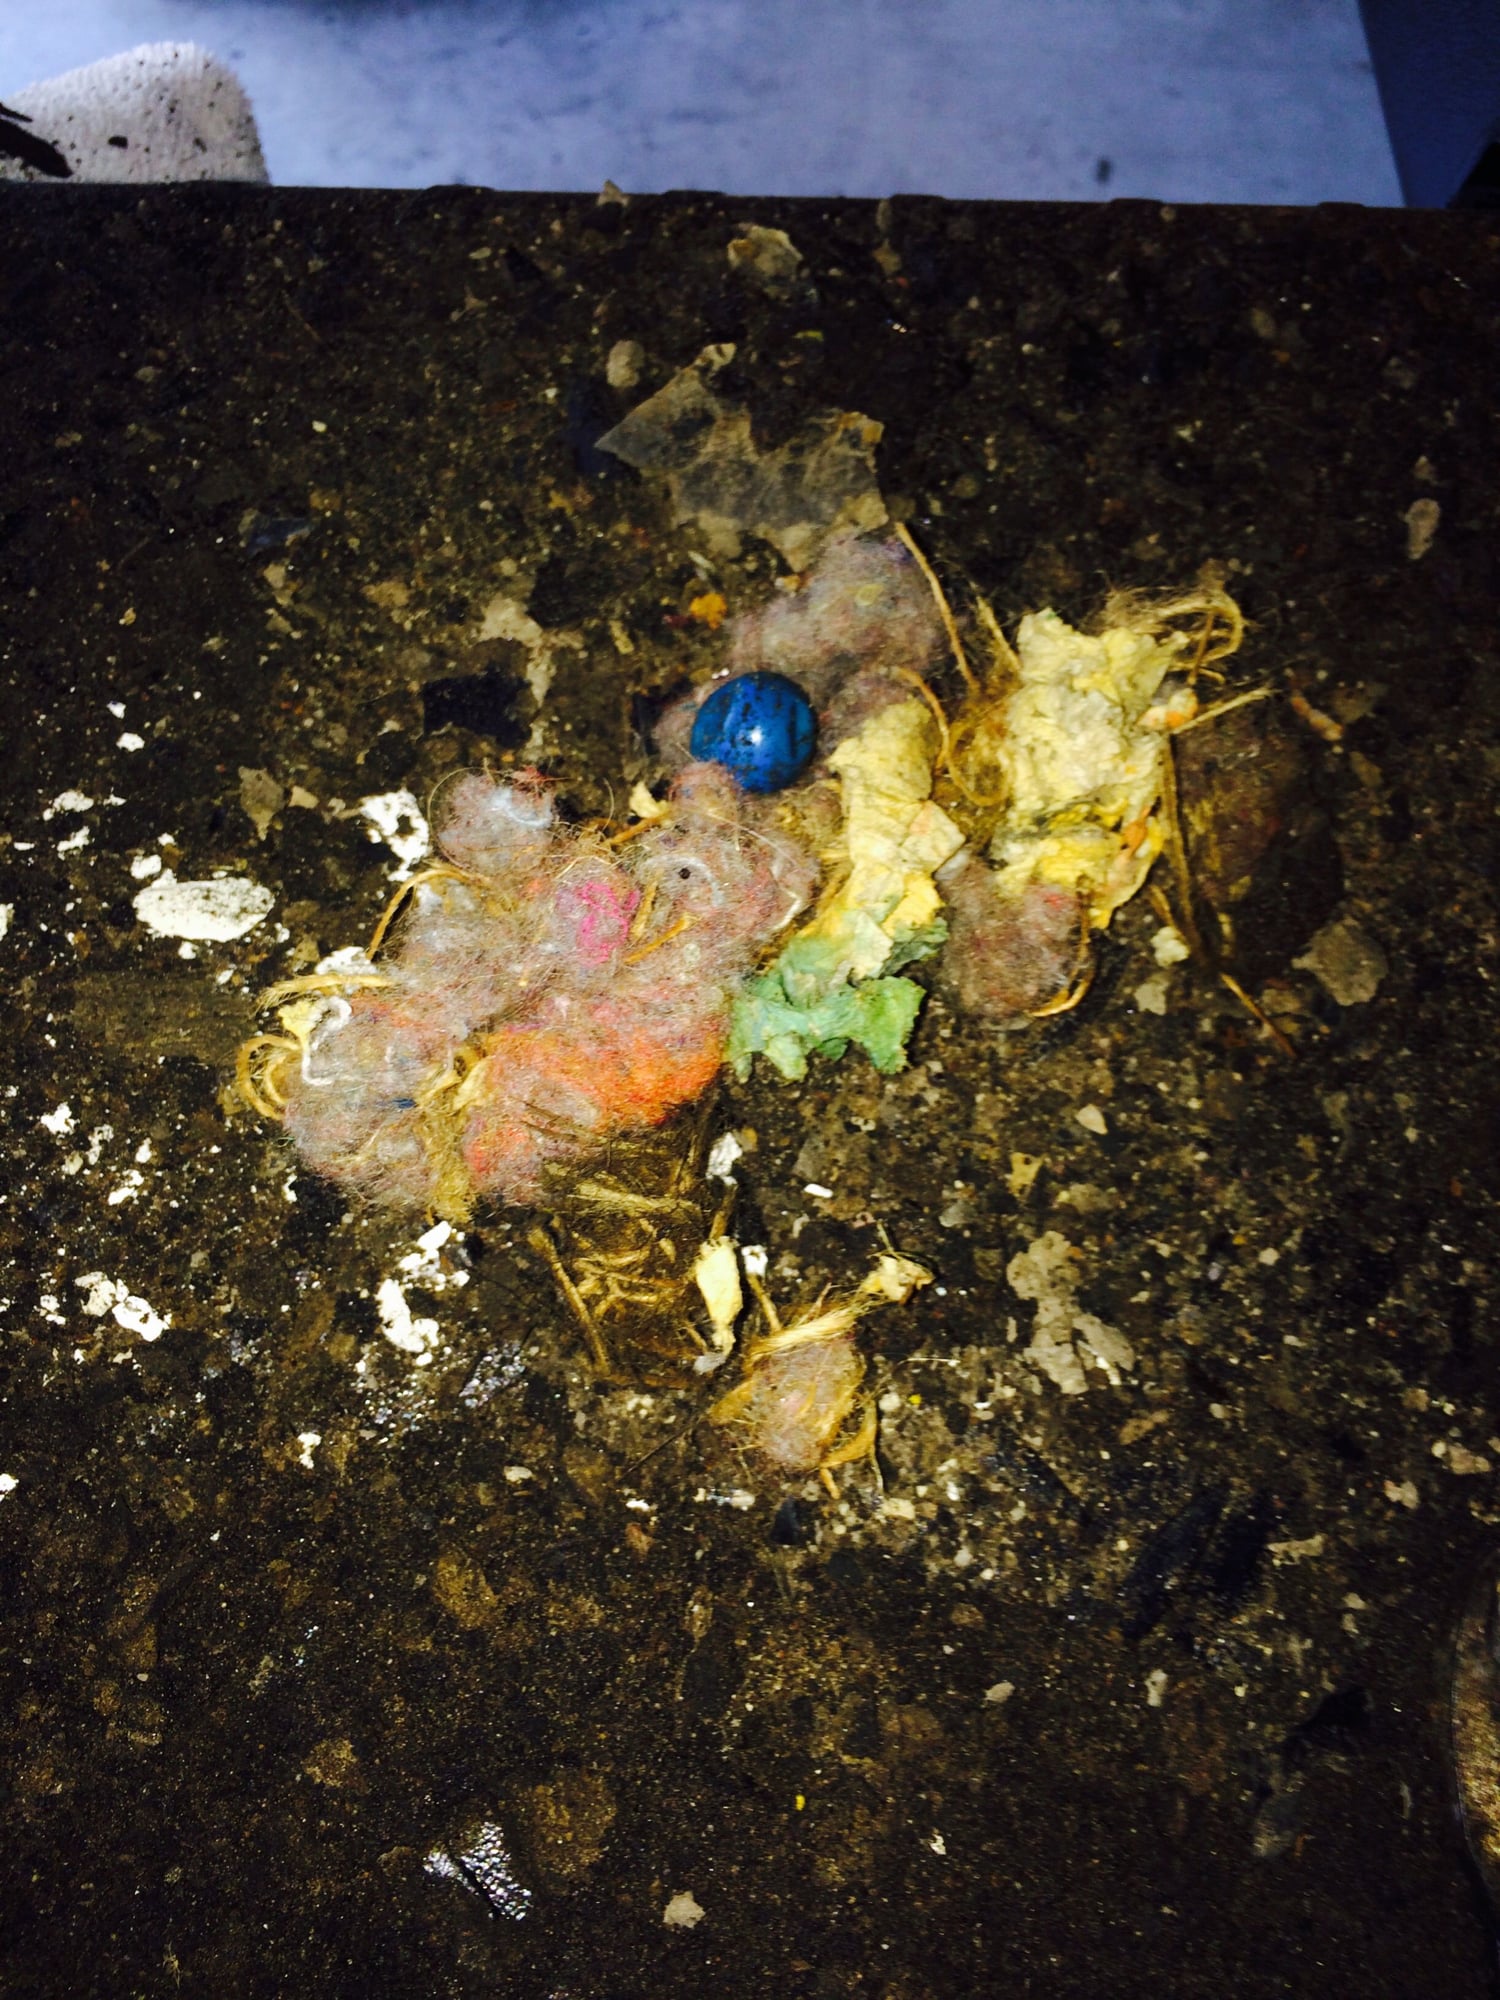
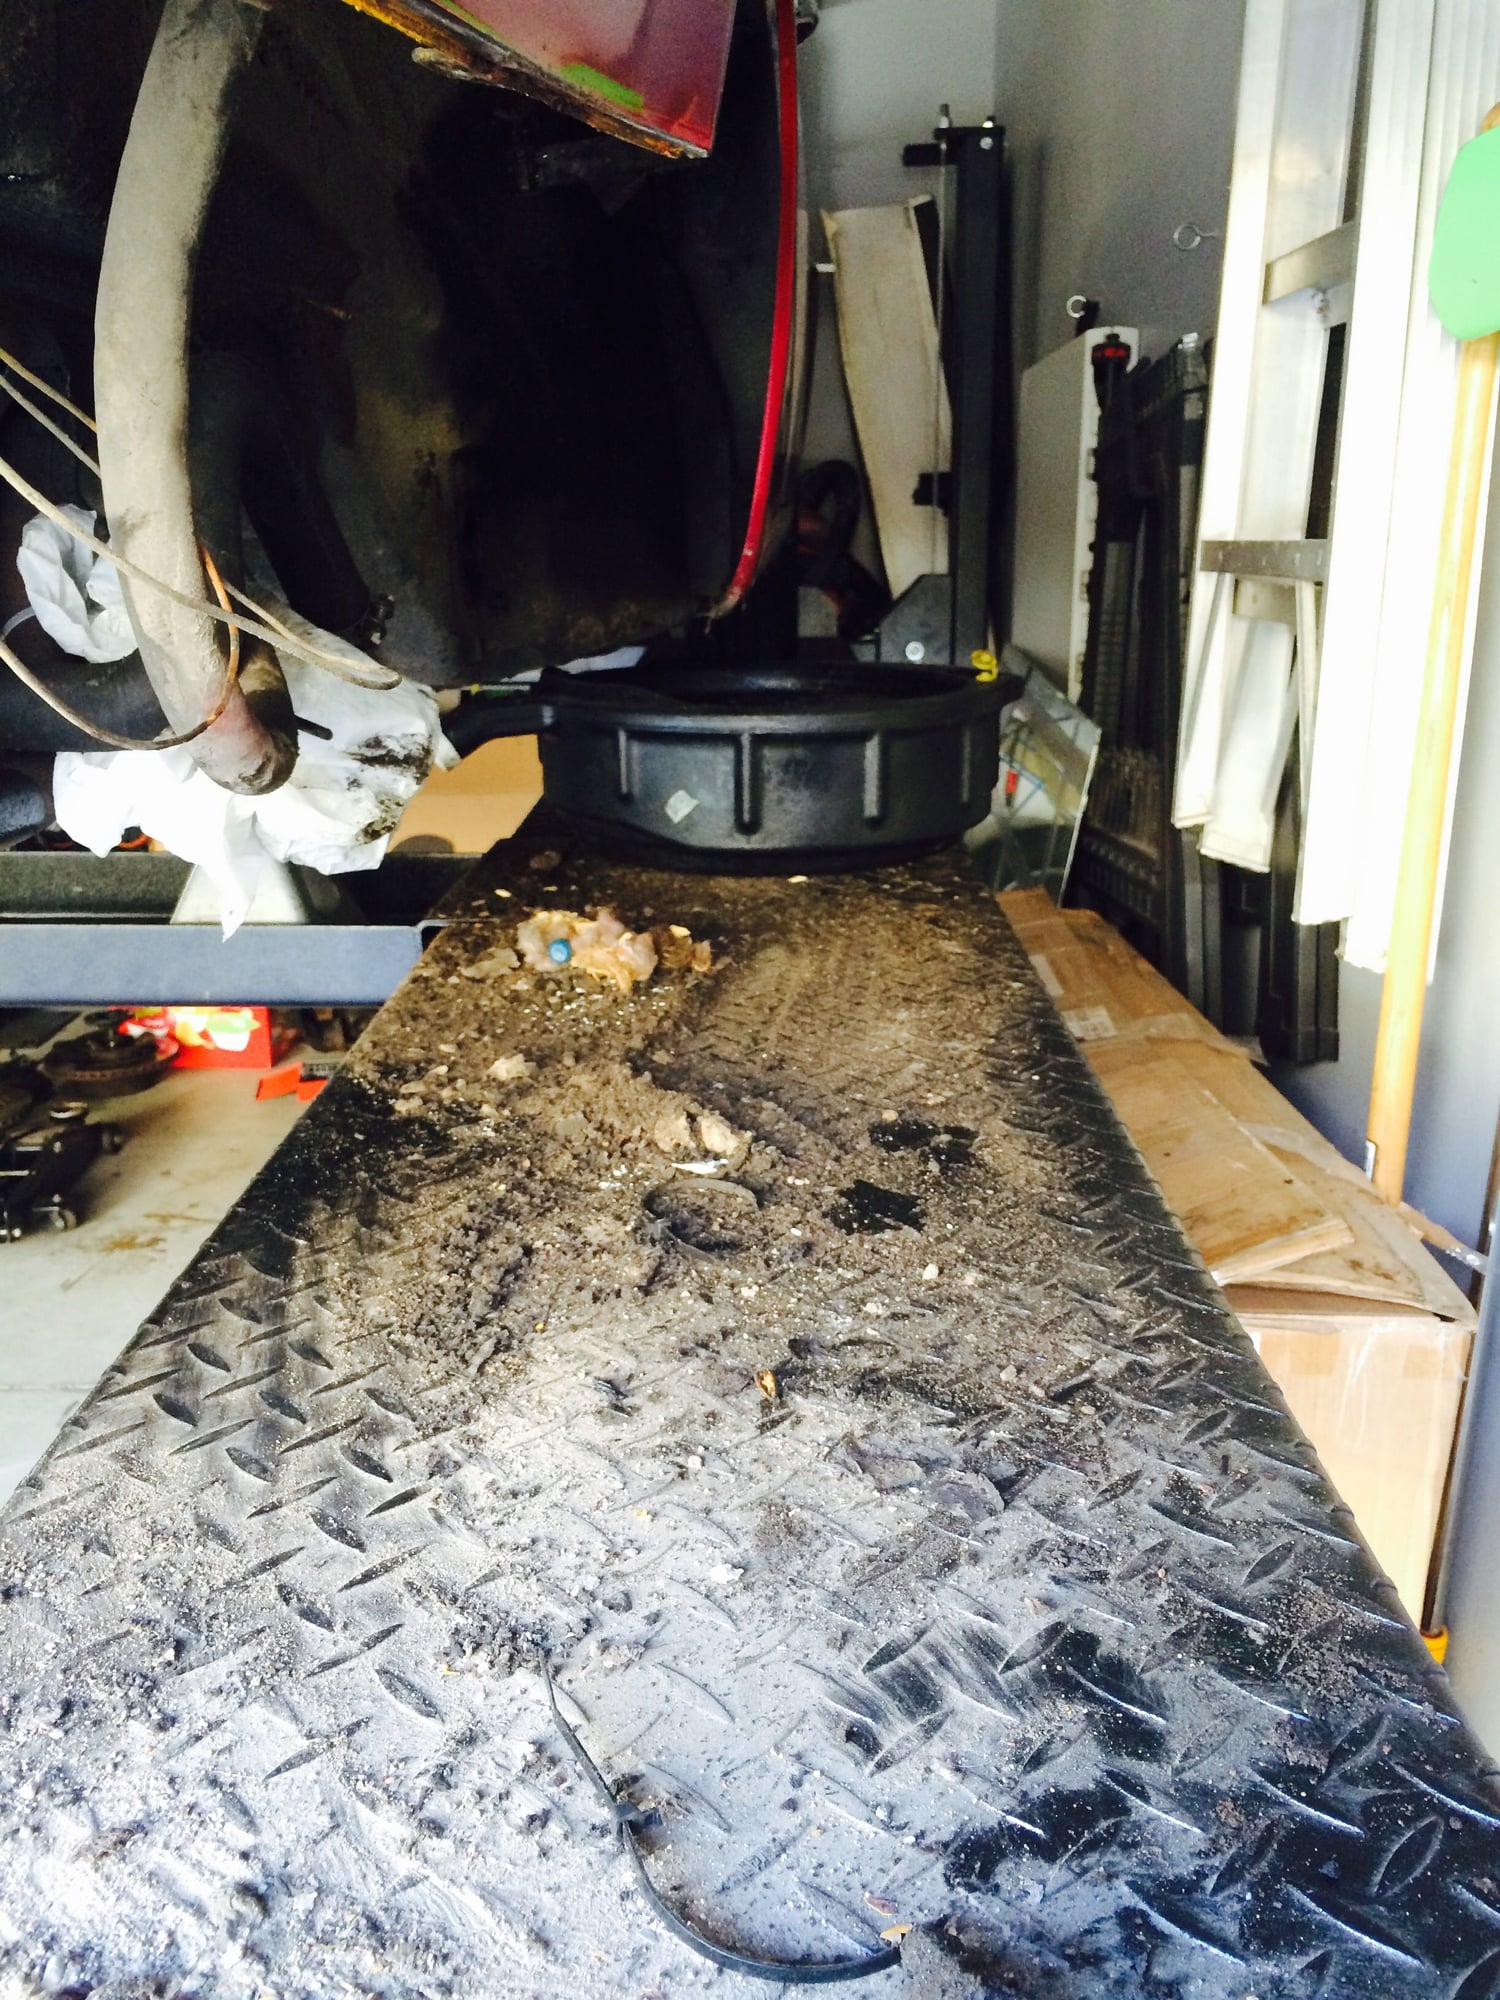
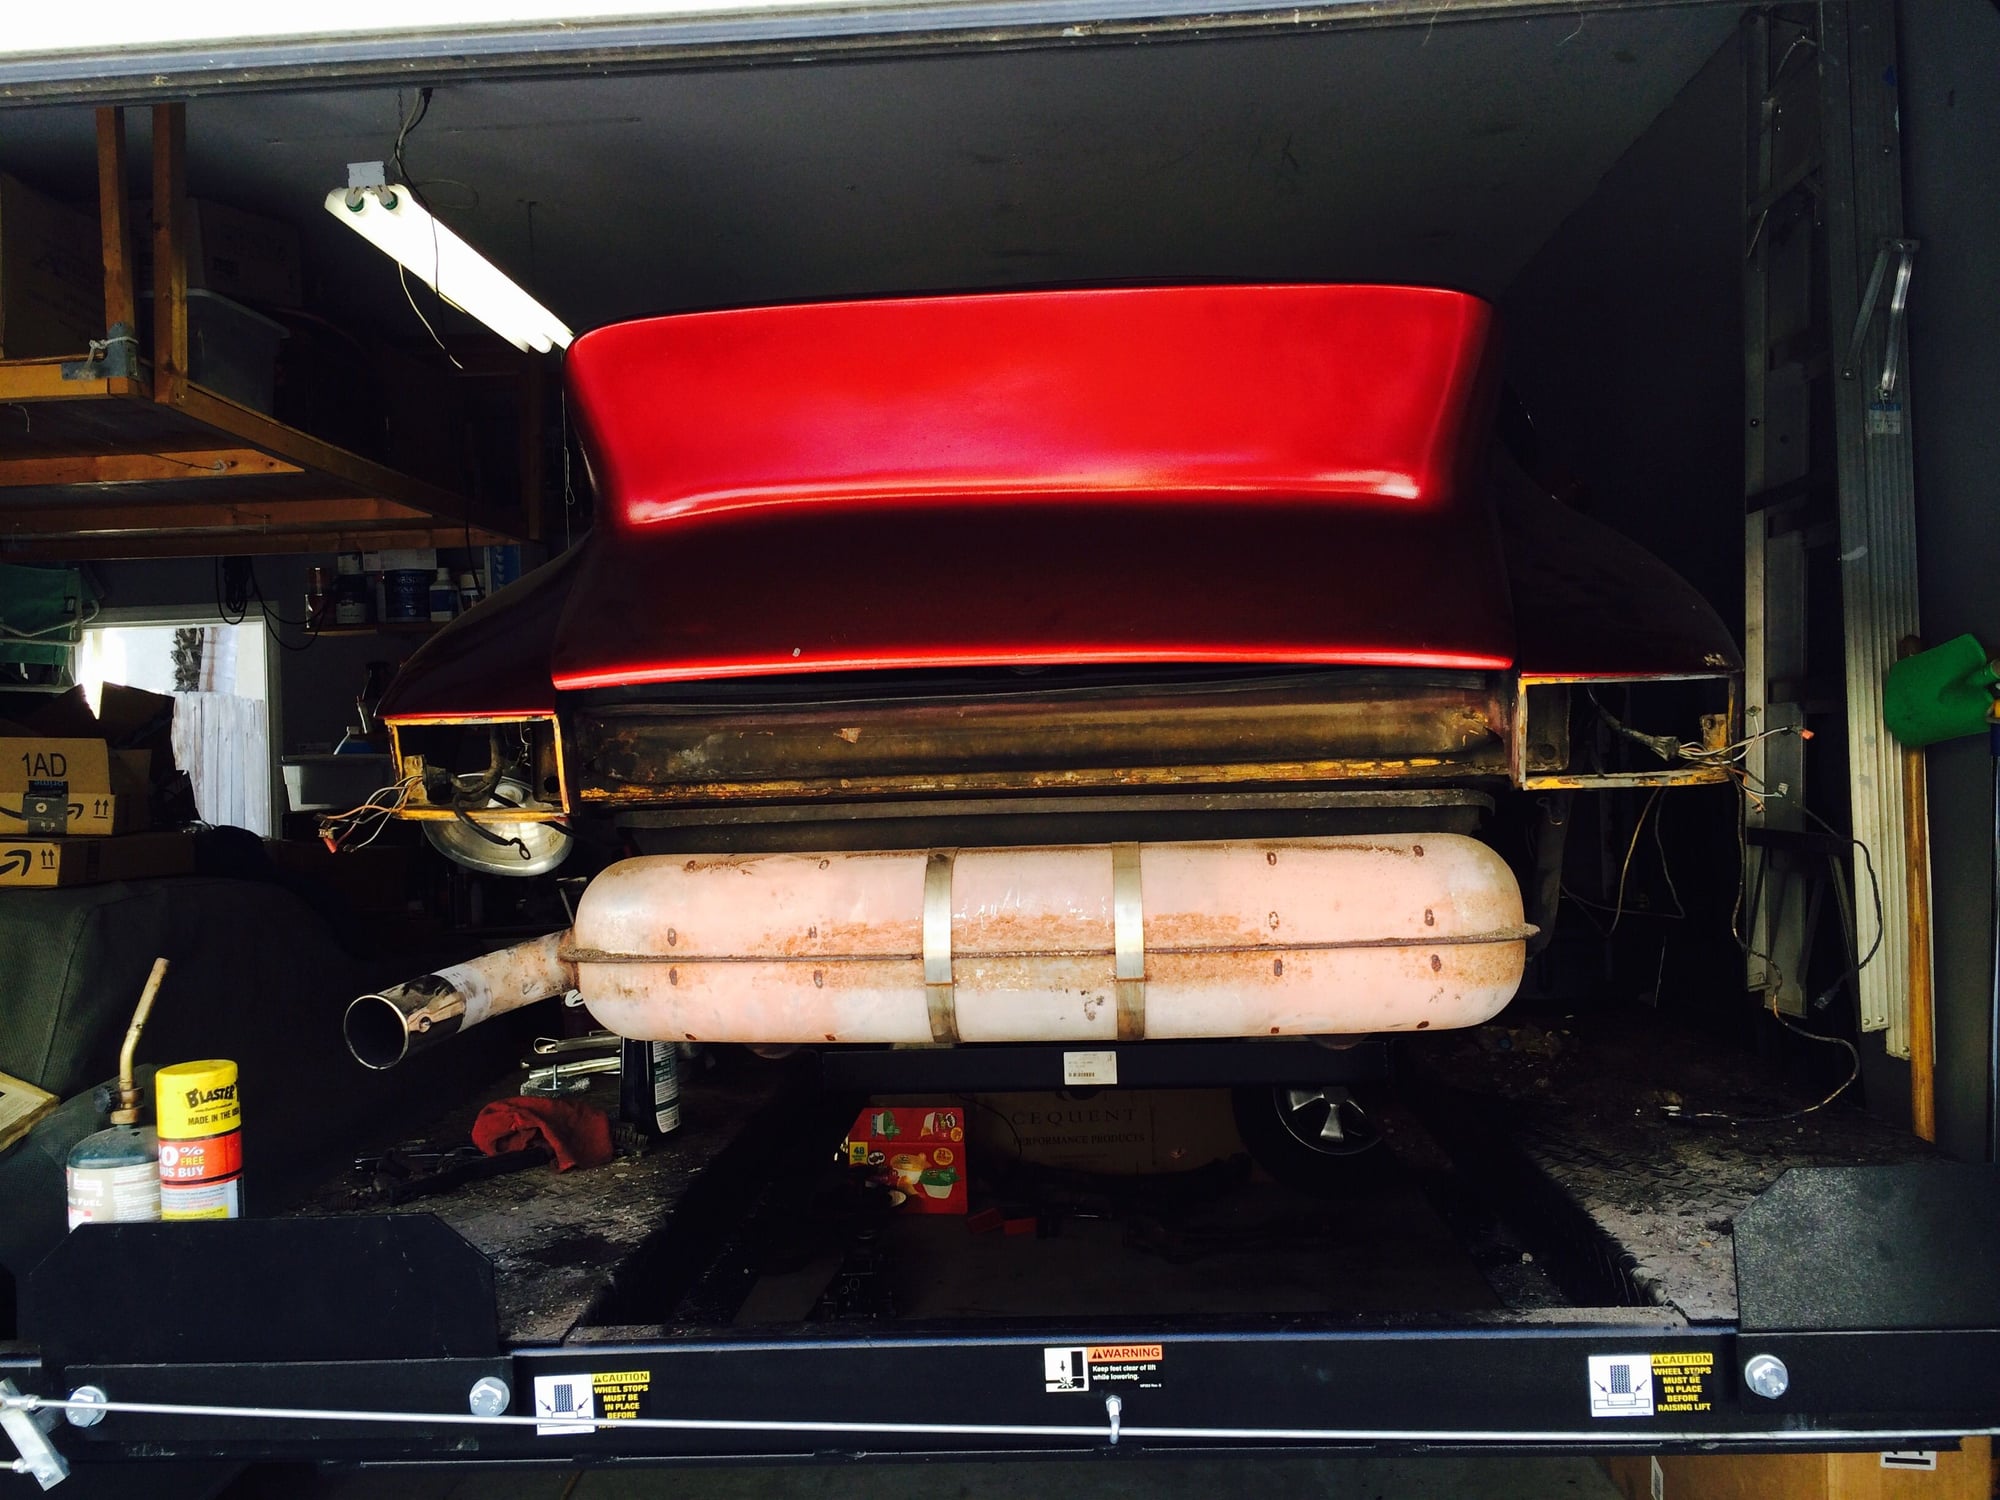
Moved to the passenger side - removed the famous '72 oil tank - found a mouse's nest (the last photo you can see it up top of the bracket that supports the oil tank, then the first photo shows what I pulled out). Wow - there was a lot of dirt and grime stuck all around the tank. You can see the photo below just some of the debris that fell off - I had already cleaned up twice - felt like 10 pounds was lost from the car just by getting this crap off. I need to start scraping that fender area and do a close inspection, but at first glance, it looks like that side may not have any issues - I am sure it helped that the tank was protecting much of the forward area of the wheel well and the layers of oil drenched dirt that coated everything in that wheel well also probably helped protect from rust and dried/peeling undercoat - but we will see once I start to clean things up. The concerning thing was that the oil tank was bone dry. The sender must be bad because the gauge read full when I drove the car. I only put 30 miles or so on it, but clearly this car was very low on oil.
I have been out of town (Austin) for a while so I haven't been able to get much done on the car. I met a guy with an incredible collection of air-cooled Porsche's completely by chance when I was driving to one of the many breweries/distilleries they have popping up in Austin. Wow - I was given a tour of the building he kept and worked on his cars. Was able to see an early Signal Yellow 911 being restored that added more motivation to get my car done.
So, with that motivation, I headed to the garage after work tonight to remove the rubber bushings from the spring plates. I am thinking this might be a right of passage for torsion car owners. Grabbed a respirator and used a torch to heat the insides of the torsion tube for a few minutes and then used a screwdriver and scraper to remove them. The key was heating long enough before trying to remove them.
Bought Elephant bushings (OE softness) that I will install once the spring plates are refinished.
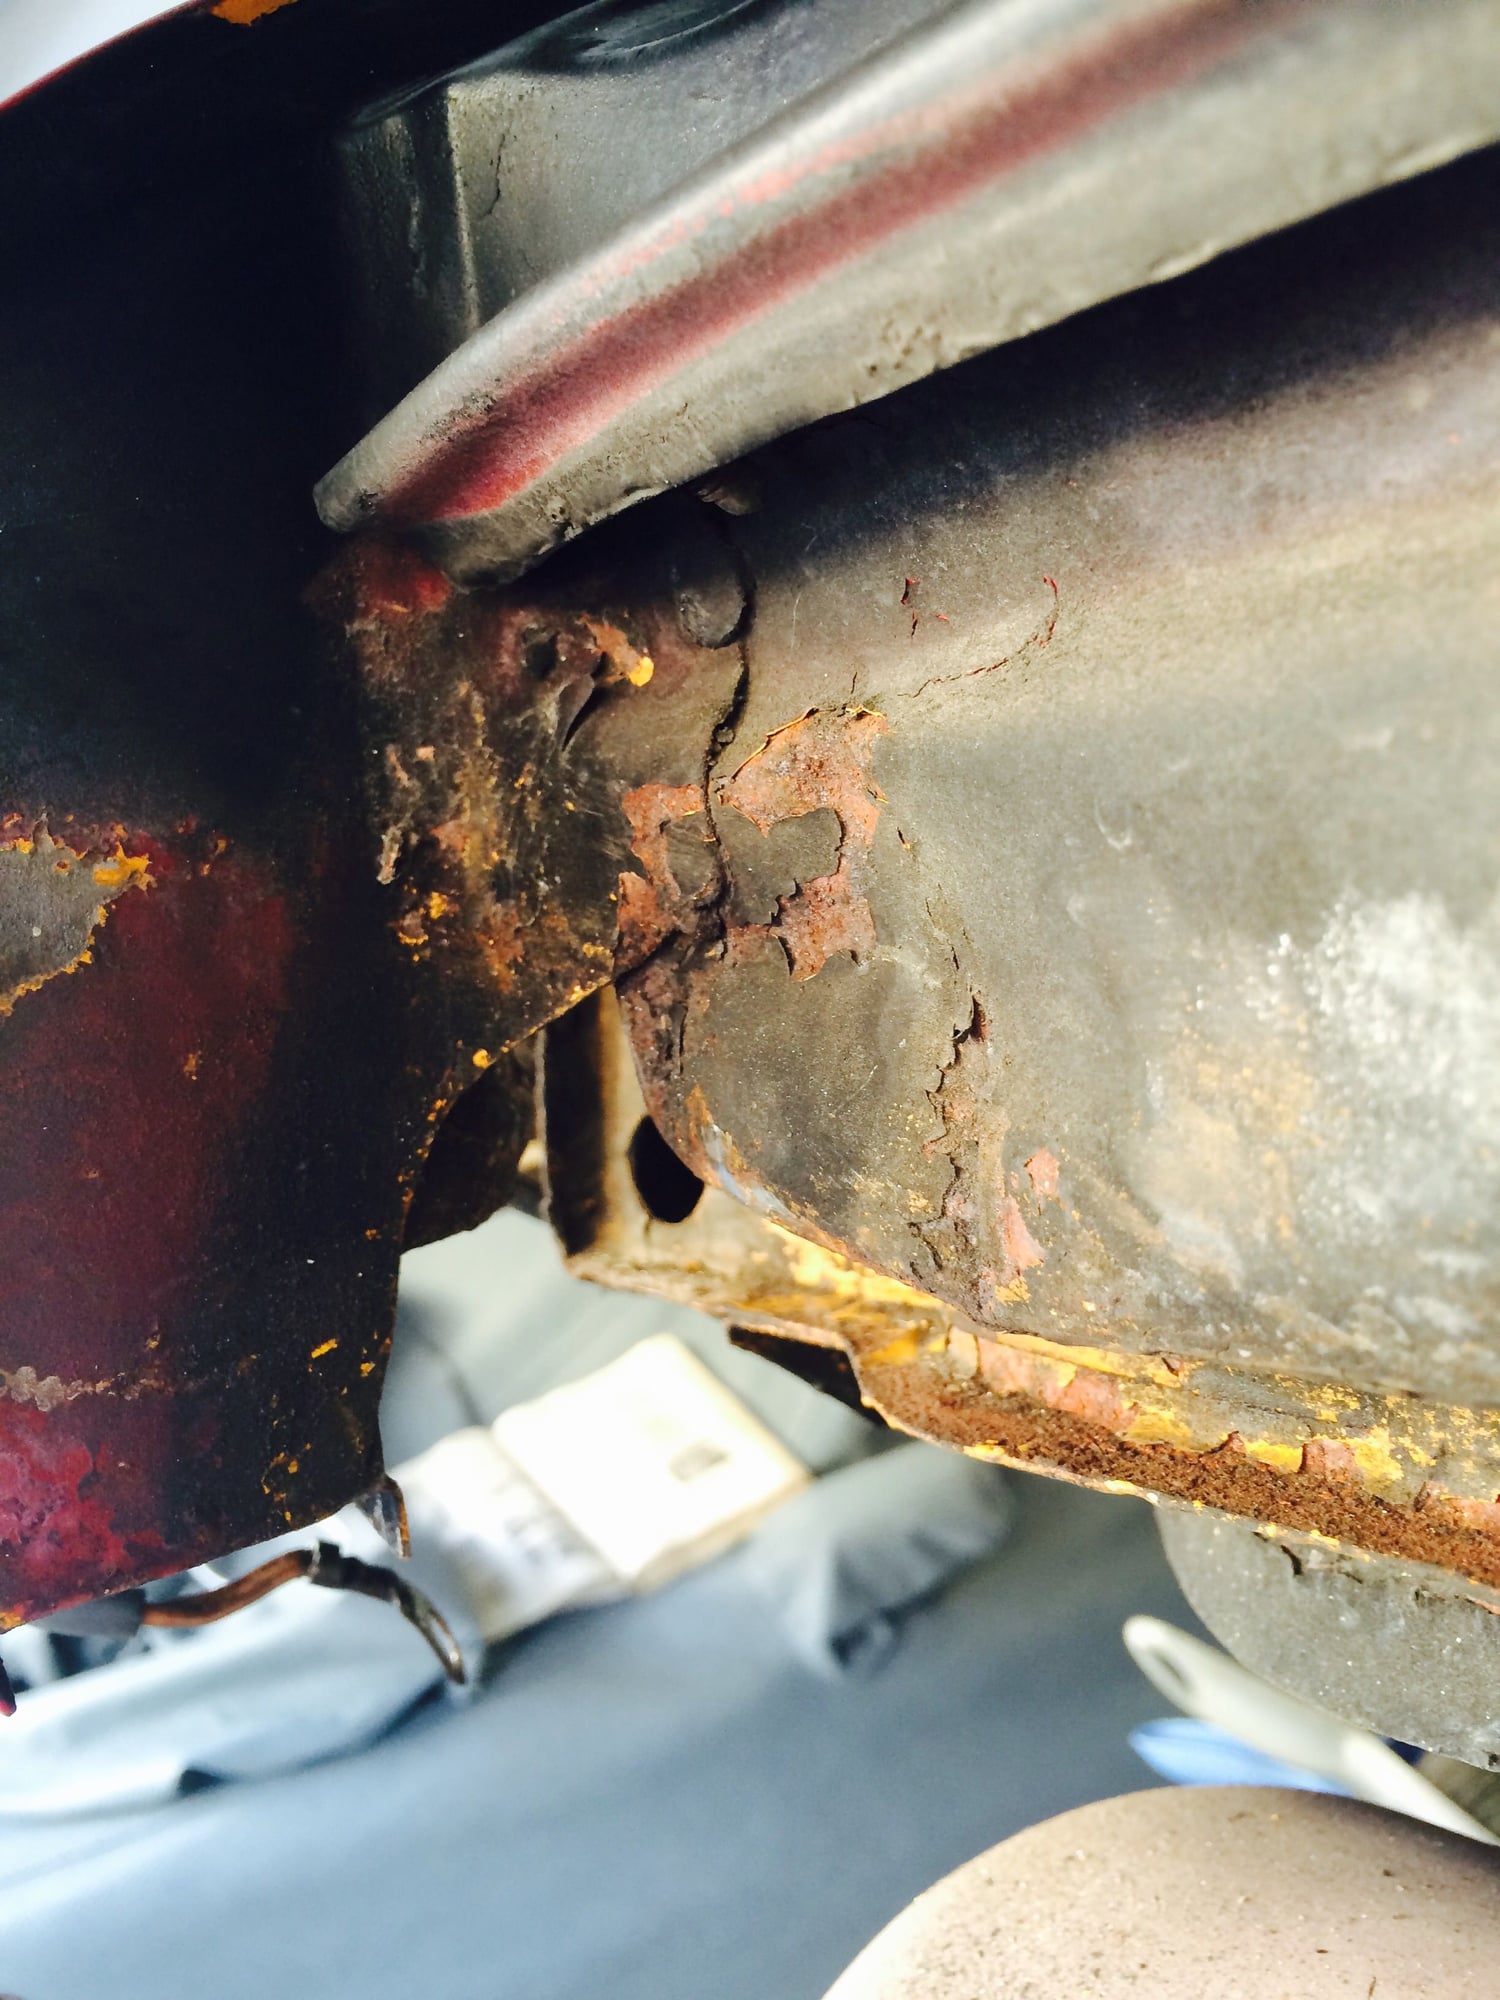
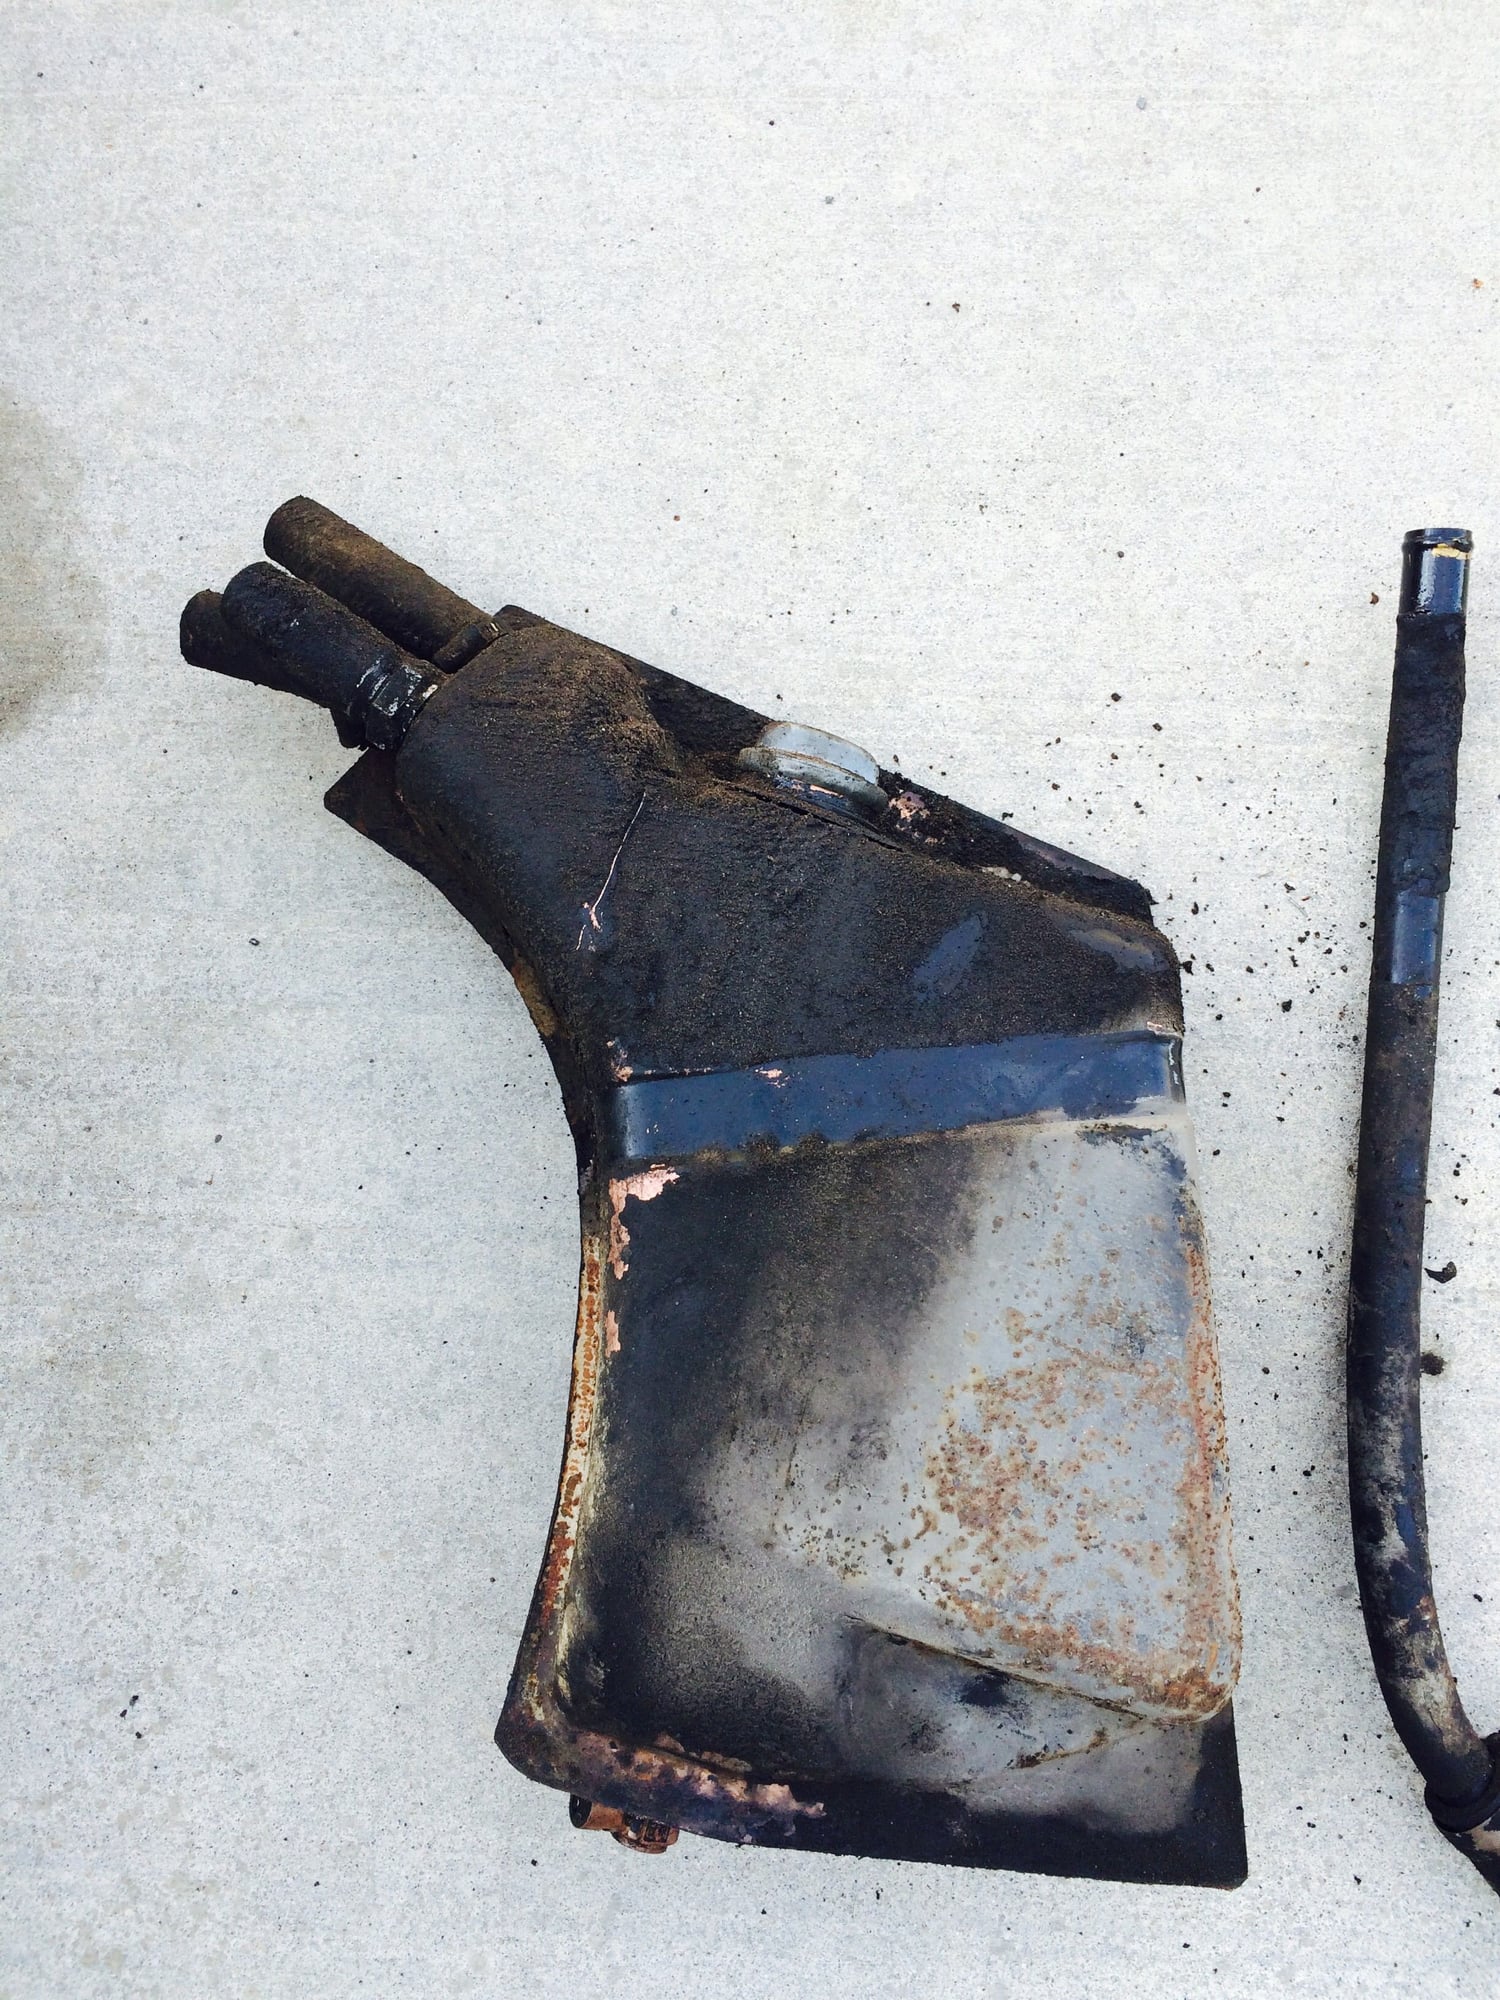
Spending most of the weekend at my son's lacrosse tournament. Had a couple hours to strip the oil tank. What do you know- more corrosion! I guess the tank took the brunt of the exposure on the passenger side - the body didn't have any problematic areas like driver side did. I started searching for a replacement tank and found several on the market that had corrosion in same areas as mine so this seems to be pretty typical. If you look at the photos you will see most of the corrosion is on the side that is strapped to the body. Moisture and gunk probably get trapped between and causes this on the 72 tanks.
Spent a couple hours on the car this morning before heading to lacrosse. Started scraping away the layers of dirt and gunk from the passenger side. While I still haven't found rust (just surface stuff which will come right off with wire brush), I did find that the undercoat had dried and was separating from the body in the same areas as the driver side - so I spoke too soon about no issues on this side. I scraped it all loose and will wire brush, treat the metal and respray undercoat just like I plan doing on the driver side. The more you go looking for issues on these old cars the more likely you will find them - slippery slope. This car has a crazy amount of dirt stuck to it. I am beginning to think I may have a former Baja racer on my hands. The pic below is just a small amount of debris I have removed from just the passenger side.
When I stripped the oil tank I also stripped the oil filter/thermostat console and the original oil line fittings. The console was a mess before I cleaned it. I plan to rebuild the oil hoses myself using original fittings.
If you recall from an earlier post, my oil tank was empty. That in conjunction with the crazy amount of oily gunk around my tank leads me to believe it may have been leaking. I found that it could most likely be repaired by a shop (solder/braise) but I don't want to chase down holes for years. Searched for a replacement and found all of the used ones were corroded in the exact same areas as mine - it appears the 72 tanks corrode in the area where they rest against the body. New ones are expensive. I found that new German made repros sold in Europe were half the price even with shipping from Europe. Bought one today. Sold my tank today to a guy who is going to have it repaired (it seems like it is a good repairable core).
Got a smokin deal on these original Bosch H4's. A guy in Puerto Rico was parting out a car and I took a chance on them. They are in great shape - just need a good cleaning. I sold my sugar scoops today for almost the same price I bought these H4's for.
Lot of suspension parts have been arriving. Taking a while to piece together some of the sway bar set ups. I am going with the 18mm front sway used on 76/77 Turbos - had to get some parts from Germany. Going with 18mm rear sway used on the 74 Carrera (my car wasn't optioned with sways so having to get a lot of bits).
Haven't been as productive at work since I started this project - lots of part shopping and selling.
First batch of parts went to media blasting so should have those back this week.
First batch of parts are back from media blasting. Need to head to a plater now to have the brake splash guards yellow zinc plated and the taillight housing clear zinc chromated.
So I spent most of the day cleaning and prepping the passenger rear wheel well. I wanted to remove any loose material - ended up stripping almost the entire original black paint layer. Wire brushed the areas where I removed the loose undercoat - then treated with PPG metal cleaner (phosphoric acid with detergent) and PPG metal conditioner. The metal went from shiny to cloudy after the cleanser was applied, as it coats the surface with zinc phosphate.
Also drilled out the holes for the sway bar *****. Will have these welded in before the trailing arms are finished.

 11-25-2018, 06:27 PM