Porsche Boxster is Lengthened for Lykan Hypersport Build
Porsche Boxster is cut in half and eight inches are added to the middle, requiring lots of metal work.
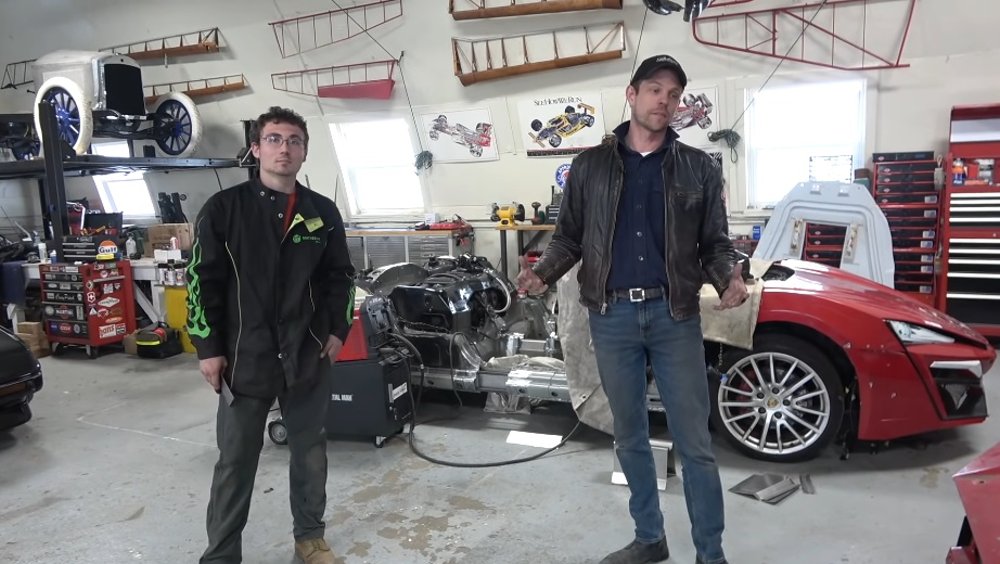
Casey Putsch of the Genius Garage is currently transforming a 2007 Porsche Boxster S into a Lykan Hypersport. W Motors made only seven examples of the Hypersport and with a price tag around $3.4-million dollars, it was one of the most expensive cars in the world. The car was prominently featured in Furious 7 and later on, the company built a replica for the British Fast and Furious Live show. That replica eventually made its way into the United States and it landed in the shop of Putsch and his Genius Garage show.
The Hypersport is heavily Porsche-based, so it makes good sense to use the replica body from Fast and Furious Live on a Porsche chassis to recreate the legendary supercar. However, while the actual Lykan production units were based on a RUF 911, Putsch and his crew are using a Boxster. That requires quite a bit of modification, including lengthening the chassis, which is the focus of this chapter of the build on Putsch’s YouTube channel.
Lykan Front End Fitment
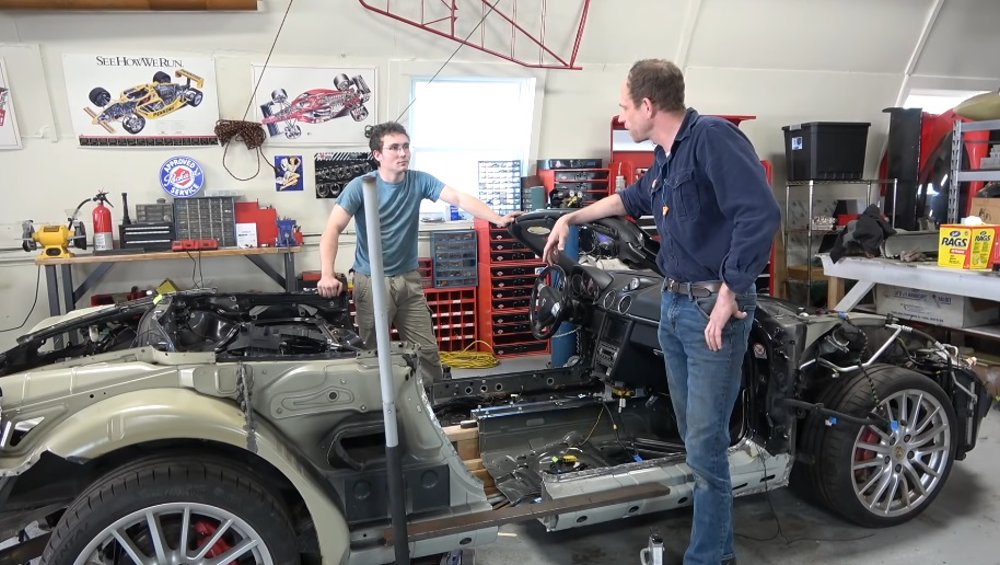
While the focus of this video is the painstaking process of lengthening the Porsche chassis, the video starts off with a sneak peak of what the front end will look like when the project is complete. In the earlier stages of the project, Putsch removed all of the front end bodywork of the Boxster. He also removed the headlights, some shrouding around the cooling system and some other small items found under the front end skin of the Porsche.
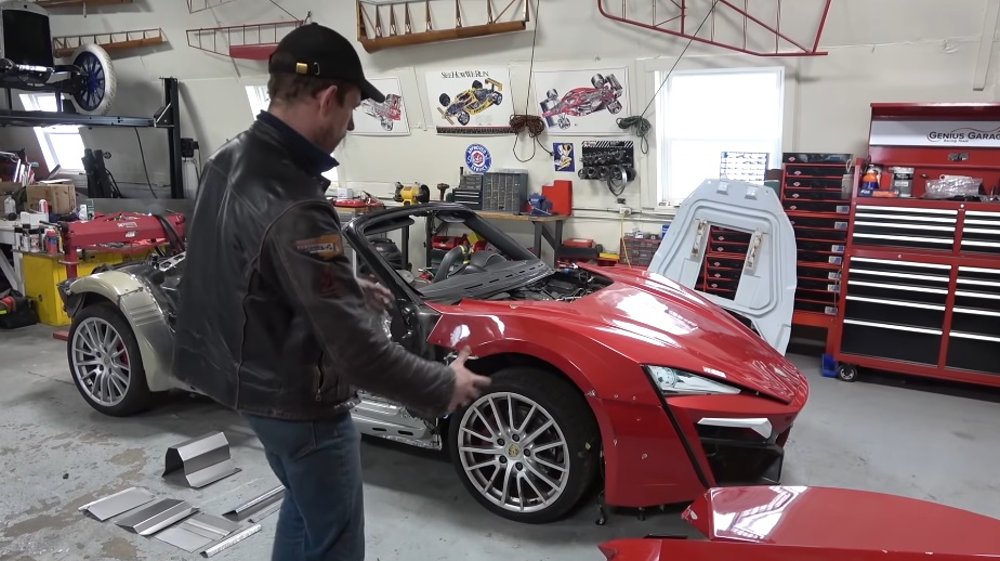
With all of the Boxster bits removed, the Lykan Hypersport front fascia perfectly fits against the remaining chassis components. Also, Putsch shows us how the Lykan inner hood section has the same ridge for the frunk weatherstripping. That is set aside and the outer portion of the hood is laid on the Porsche, giving us a great look at the face of the Hypersport on the Boxster chassis.
This portion of the video ends with Putsch explaining that they will have to remove the windshield frame and the entire A-pillar to work with the Lykan hood, but we can see how well the front end pieces line up on the chassis.
Elongating the Porsche Boxster
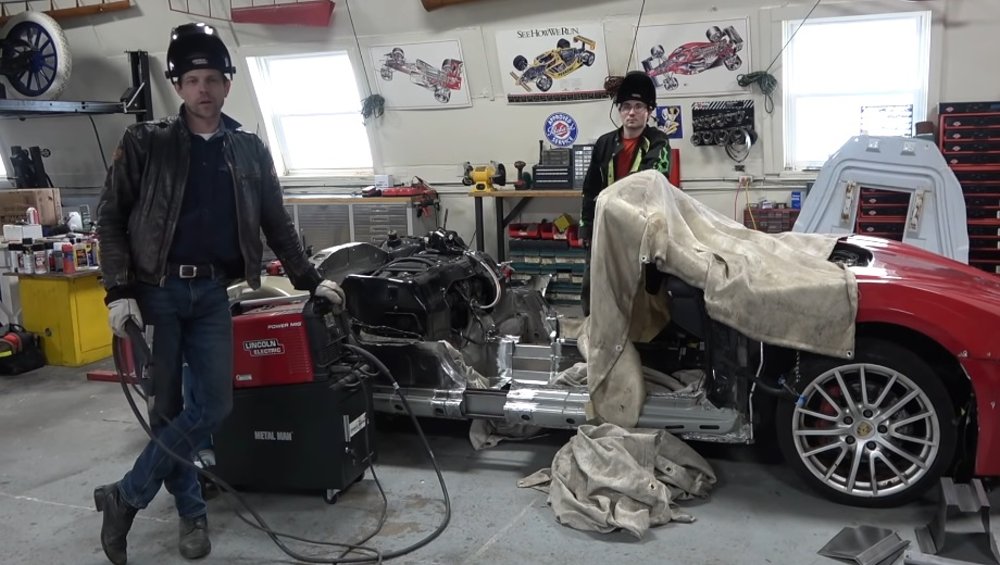
When we begin to watch Putsch lengthen the Porsche Boxster S, the chassis has clearly already been cut. The cut was made a few inches forward of the rear bulkhead allowing them to add the needed 8.1 inches needed to match the wheelbase of the Lykan.
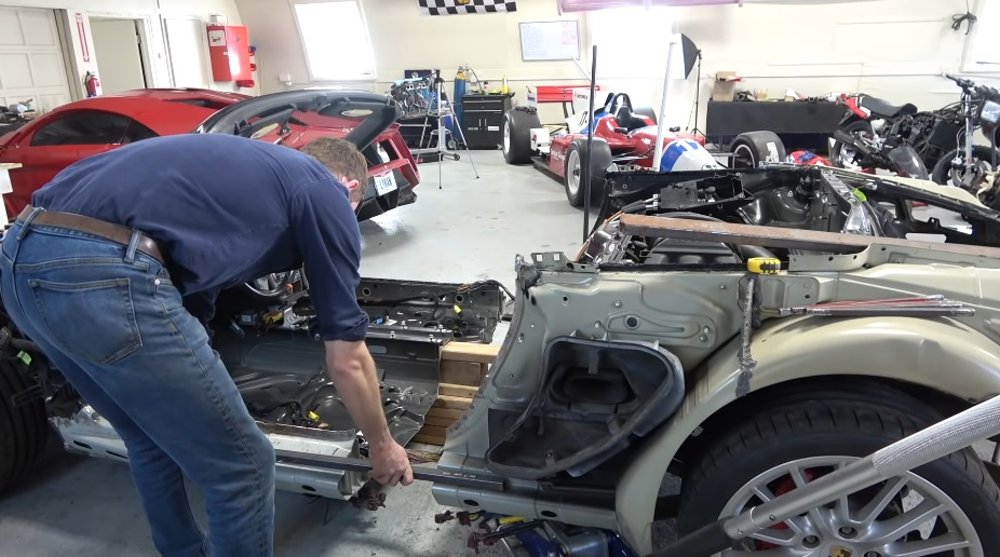
The easiest aspect of stretching the chassis is cutting and measuring the needed distances. The hard part, which we can watch in the video above, is getting the front and rear sections perfectly aligned. Putsch has to keep the chassis sections level while making sure that all of the lines meet up correctly.
At first, they use a floor jack under the rear section with a stack of wood under the front section. To gradually increase the height of the front, they add scrap metal and popsicle sticks. Each time that they make a small change, they check their angles and measurements, carefully matching the Hypersport wheelbase while lining up the chassis sections of the Boxster.
Putsch explains that once the car is completely assembled with the suspension system properly adjusted, an 8th of an inch difference here or there will not be noticeable. However, he still wants the build to be flawless, so they make sure that everything is perfect before beginning to weld the car back together.
Welding the Chassis
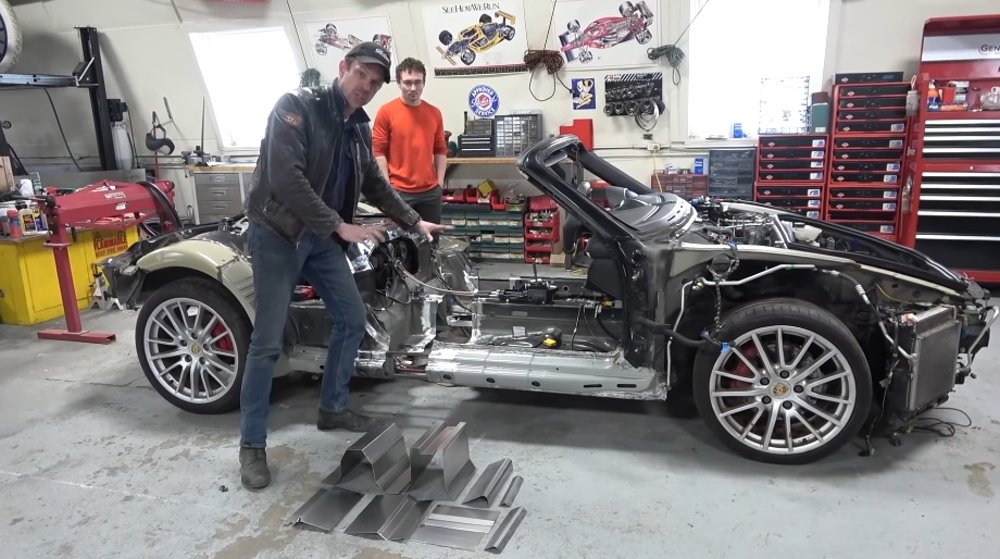
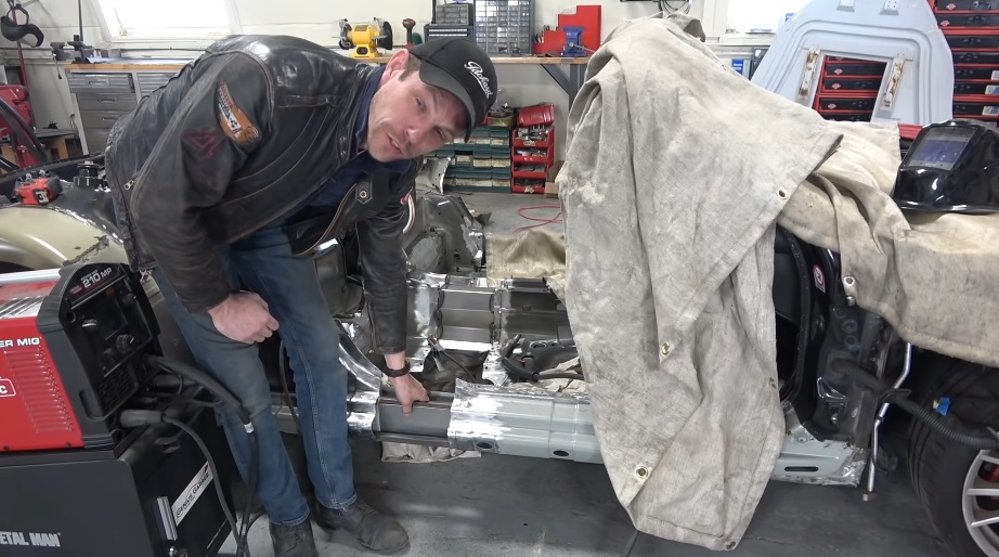
Once the front and rear sections of the Porsche Boxster S have been perfectly lined up with the new wheelbase, Putsch began welding the chassis back together. The team is using sheet metal of the same thickness as the Boxster factory chassis metal, but before adding that, they needed to make sure that all of their measurements were secure. To do this, Putsch welds metal tubing into the outer sections of the chassis. At first, his plan is to remove them once the full chassis pieces go in, but later in the video he explains that they decided to keep them in for simplicity.
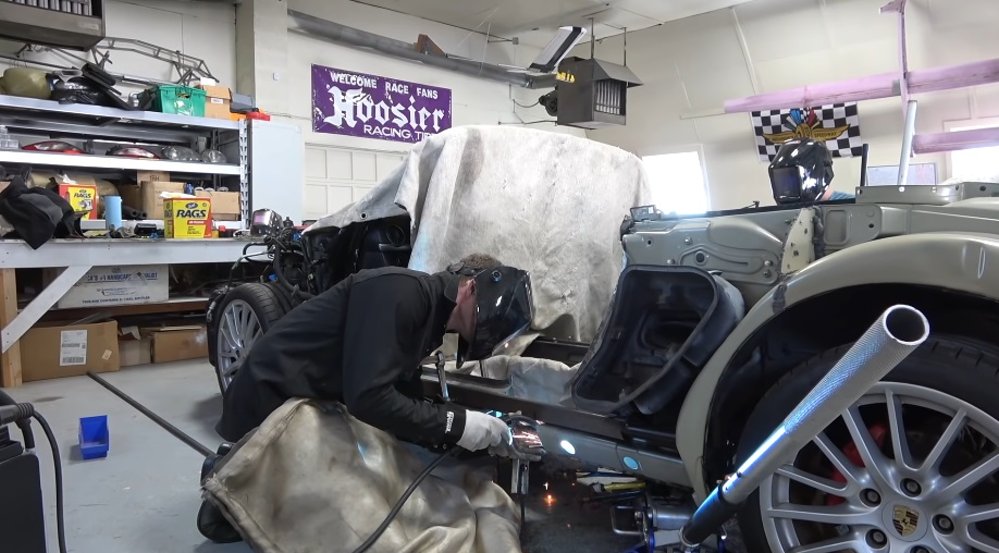
Finally, Putsch begins welding the new center section of the chassis into place. He picks the piece to start because it is not as structurally important as the other components, allowing his assistant a chance to work on his welding skills. The two go back and forth, attaching the lower middle chassis piece before showing us how the rest of the new chassis components will eventually fit into place.
Once the chassis work is completed, this project is likely to take form quickly and we can’t wait to see the next chapters in this build story.