When you click on links to various merchants on this site and make a purchase, this can result in this site earning a commission. Affiliate programs and affiliations include, but are not limited to, the eBay Partner Network.
I have black seats in my 964 and i really like them. However, i don't have the red piping that some of the black seats have (as an optional extra) which I really like too !
After planning for a year to swap out my seats with Recaro's or the like, I keep getting back in the car and deciding I really like my original seats. However, that red piping keeps bugging me too !!
Eventually, I guess I will swap out my seats, or get them re-covered (with the red piping), but I also kept thinking that I can probably use some sort of vinyl or leather paint to keep me satisfied until that time.
I searched the net for ages and bought about six different products to try out. All of them bar one was useless !! I did NOT want a DYE as I wanted to make sure I could scrub it off again if I did not like it - so it had to be a paint and it had to be water based.
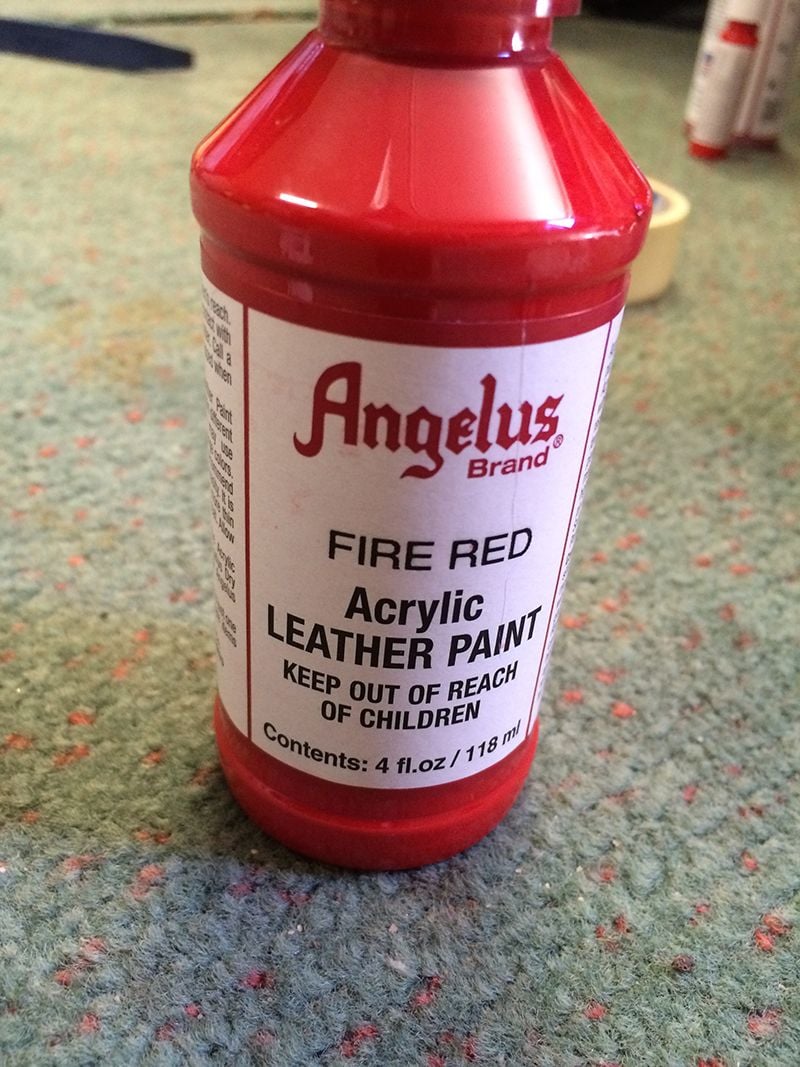
I finally found this stuff (no affiliation) which was just what I was looking for.
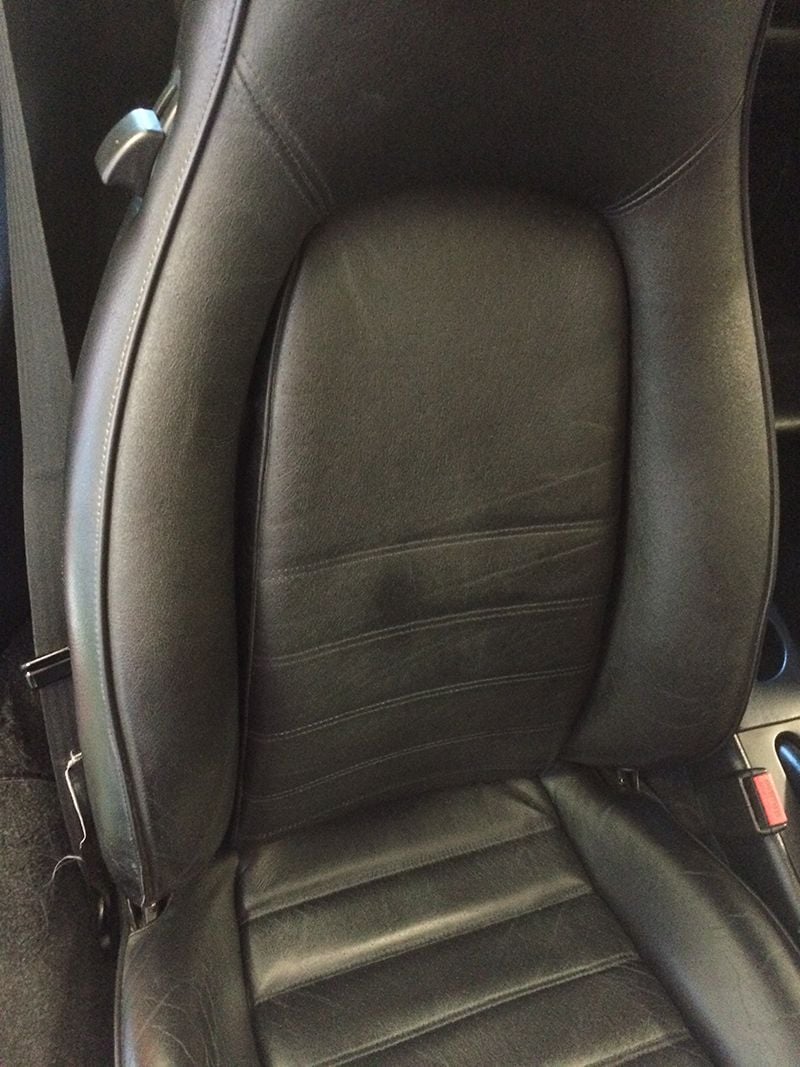
This is what I started with -
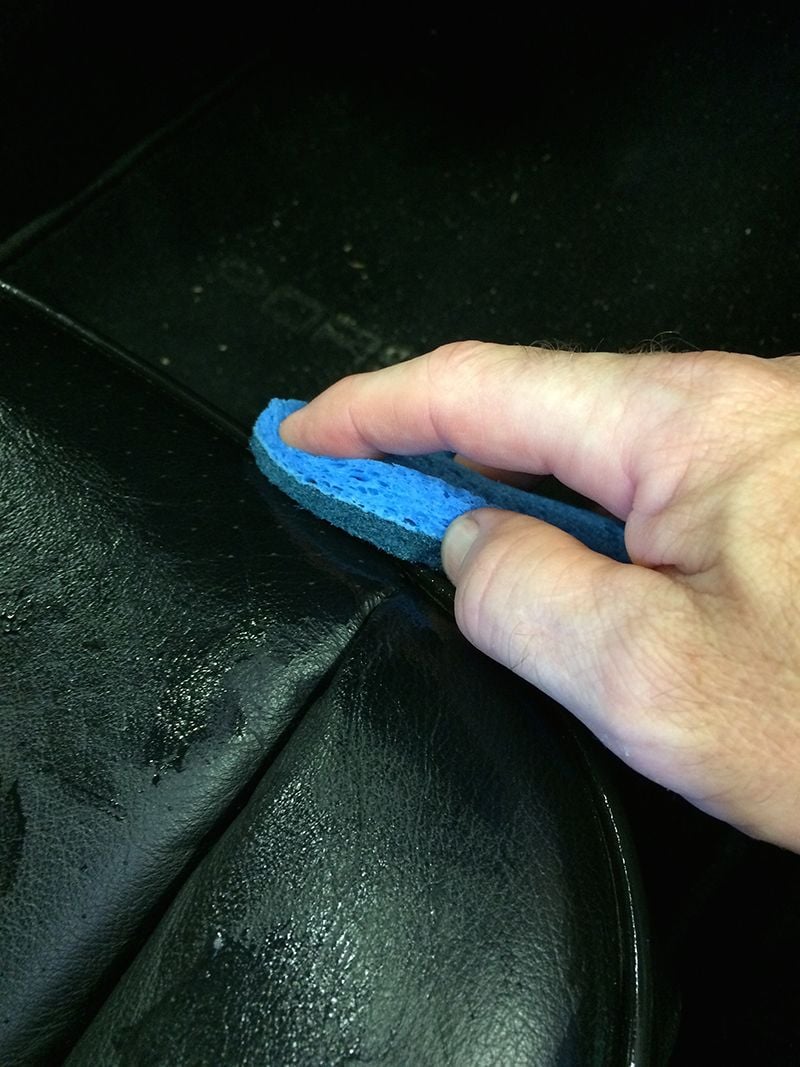
First thing I wanted to do was clean the seats with soap and water. I used a kitchen scourer pad and GENTLY washed the seats to get all the other leather and seat protective products off to give the paint something to stick to.
I then stole (woops) one of the wifes dish drying cloths and gave the seats a really good drying and wipe over - concentrating on and in between the vinyl piping.
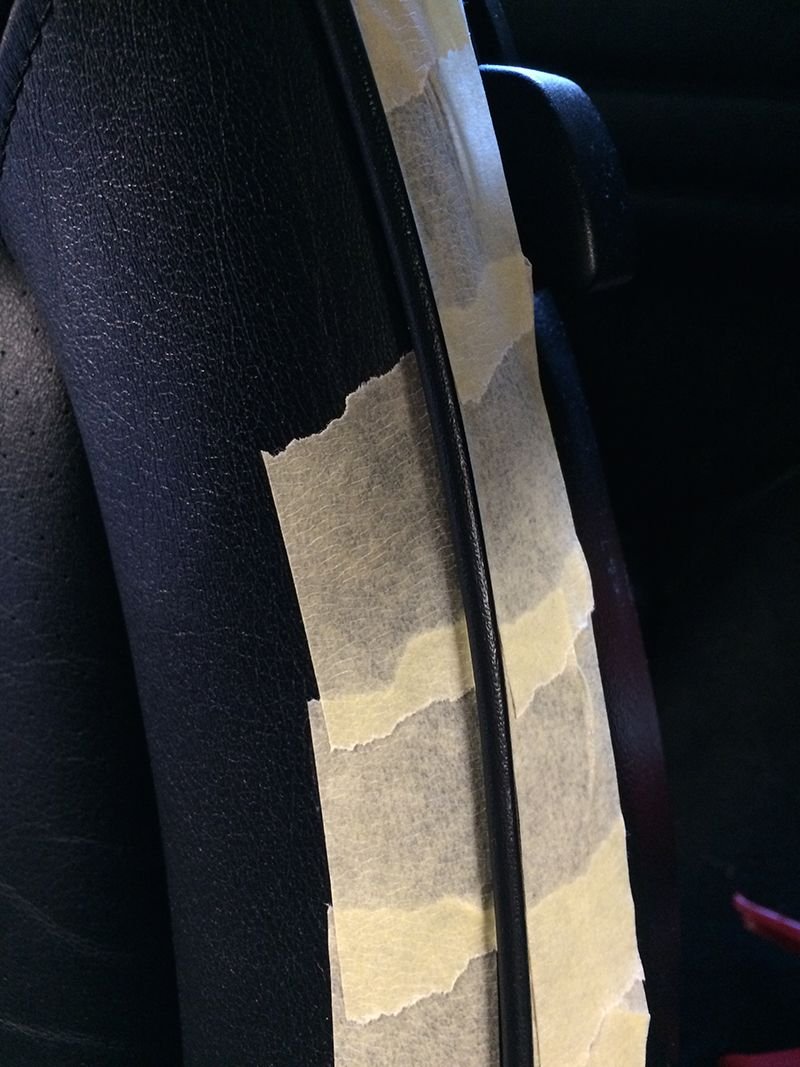
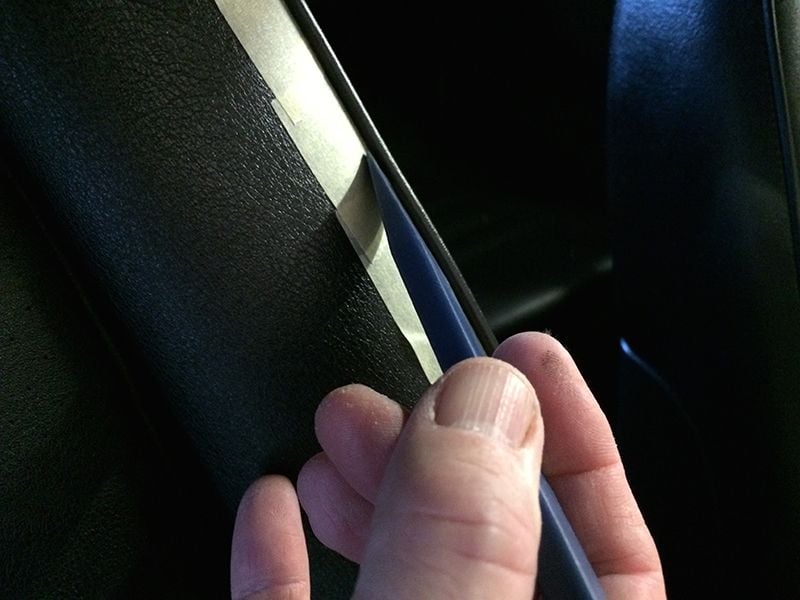
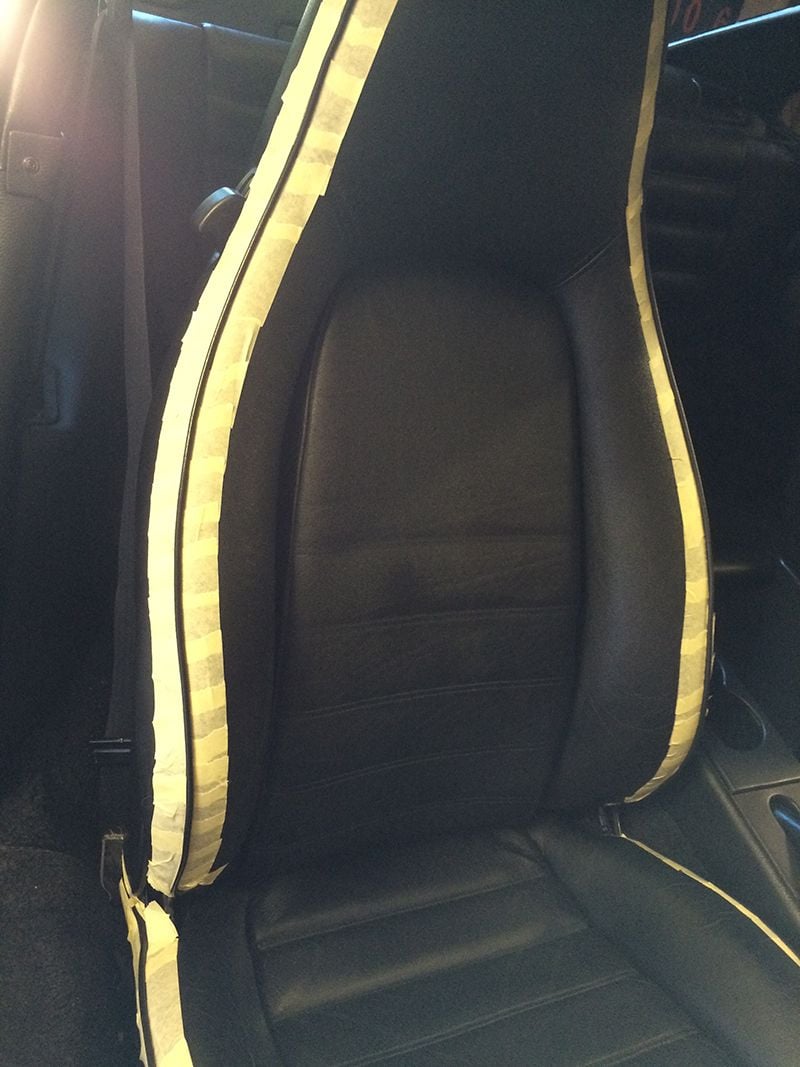
Even though the paint is water based and when wet , comes off really easy, I thought it best to use some painters masking tape and tape up the seats.
This was the long boring part of the job and of course, there is not a whole lot of room in the old 964 ! I kept thinking I should have really pulled the seats out of the car to do this - but... I didn't
The tape stuck pretty well to the seat, but I wanted to make sure that I minimised the chance of not getting any paint on the seat itself, so after I finished masking the piping, I went around the whole lot with a plastic trim tool and pushed in the edge of the masking tape. Glad that I did as it made the masking job much neater.
It took me about 3/4 hour to do the first seat and about 1/2 hour to do the second one.
Now, I've spent years making HO scale models and although not a master modeller, I am pretty handy with a paint brush - but ... I'm am glad I masked it up - no matter how careful you are it is near on impossible not to go outside the lines (should have paid more attention in Kindergarten )
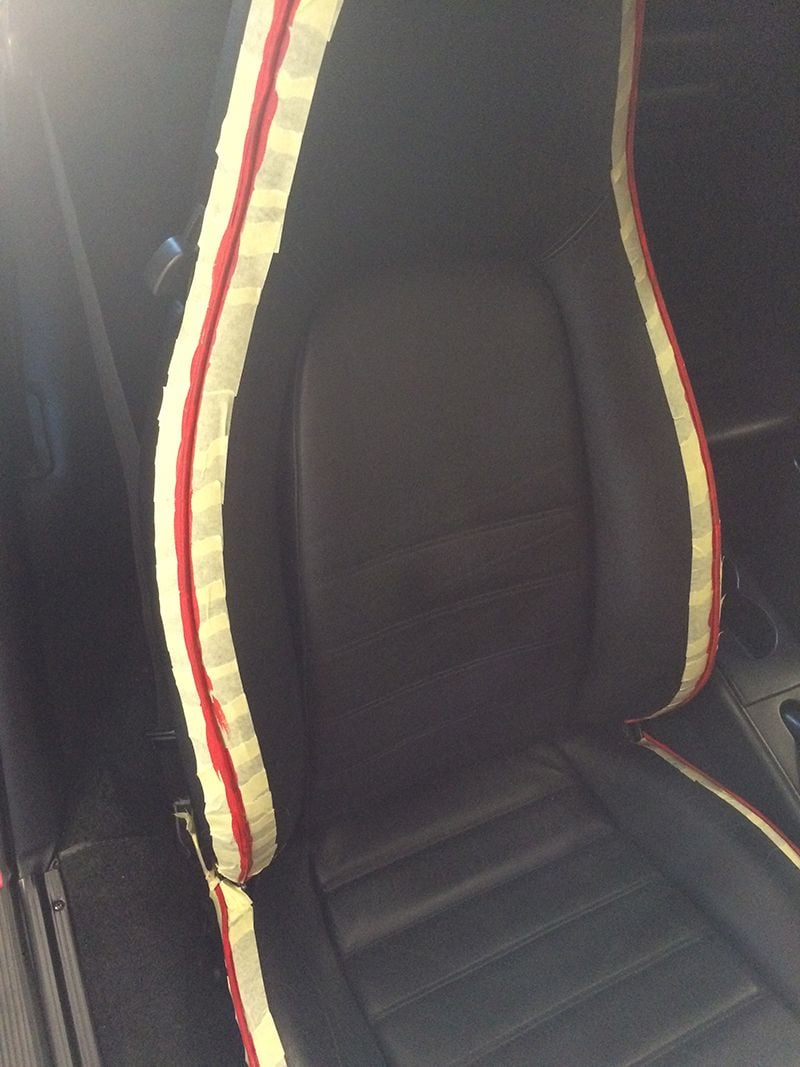
The first coat gave pretty good coverage, but it was always going to need more than one coat. I waited an hour, but it wasn't dry, just tacky. I look for the drying time on the paint container, but unfortunately, the paint instructions do not say how long it takes. So, I got bored and just put the second coat on anyway.
The coverage on the second coat was nearly complete - but it still needed a third coat. Again, I waited a few hours and put on the third coat.
It actually was dry (tacky) after an hour, but still the next day, it was still a little tacky. I was not coming off on anything (tested on white cloth). Three days later it was dry enough to rub a white cloth hard on it with no red coming off.
I tested in a small spot with a damp rag and rubbed, this time a TINY bit came off. So, that was good - as it means that it will stay on, but if I ever want it off again, some elbow work and wet rags will get it off.
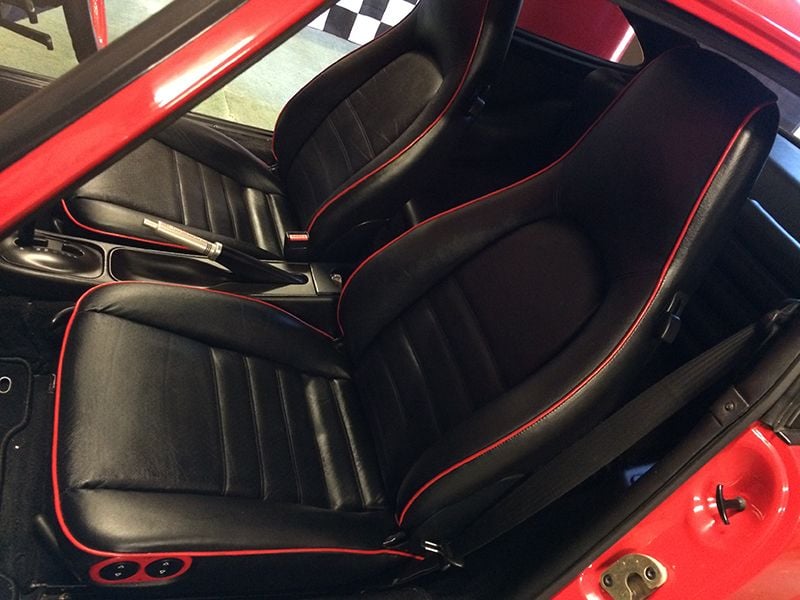
So, I am really happy with the way it turned out - YES, i know it is not everybodies taste - but I like it
I hope this helps someone out that is thinking that they want to do the same
Very tasteful.
IMO, no manufacturer designs better looking seats than Porsche. The red welting really picks up a black interior.
You could do the leather binding at the top of the bins, just above the carpet on the door panels too. That was also a factory option.
Love this! I wanted to add some color to my all black interior and have been wanting to do something with the seats but didn't want to invest in new seats yet. I will have to try this, but I'll be doing it in orange! Nice Job!!


 02-27-2015, 09:05 PM