When you click on links to various merchants on this site and make a purchase, this can result in this site earning a commission. Affiliate programs and affiliations include, but are not limited to, the eBay Partner Network.
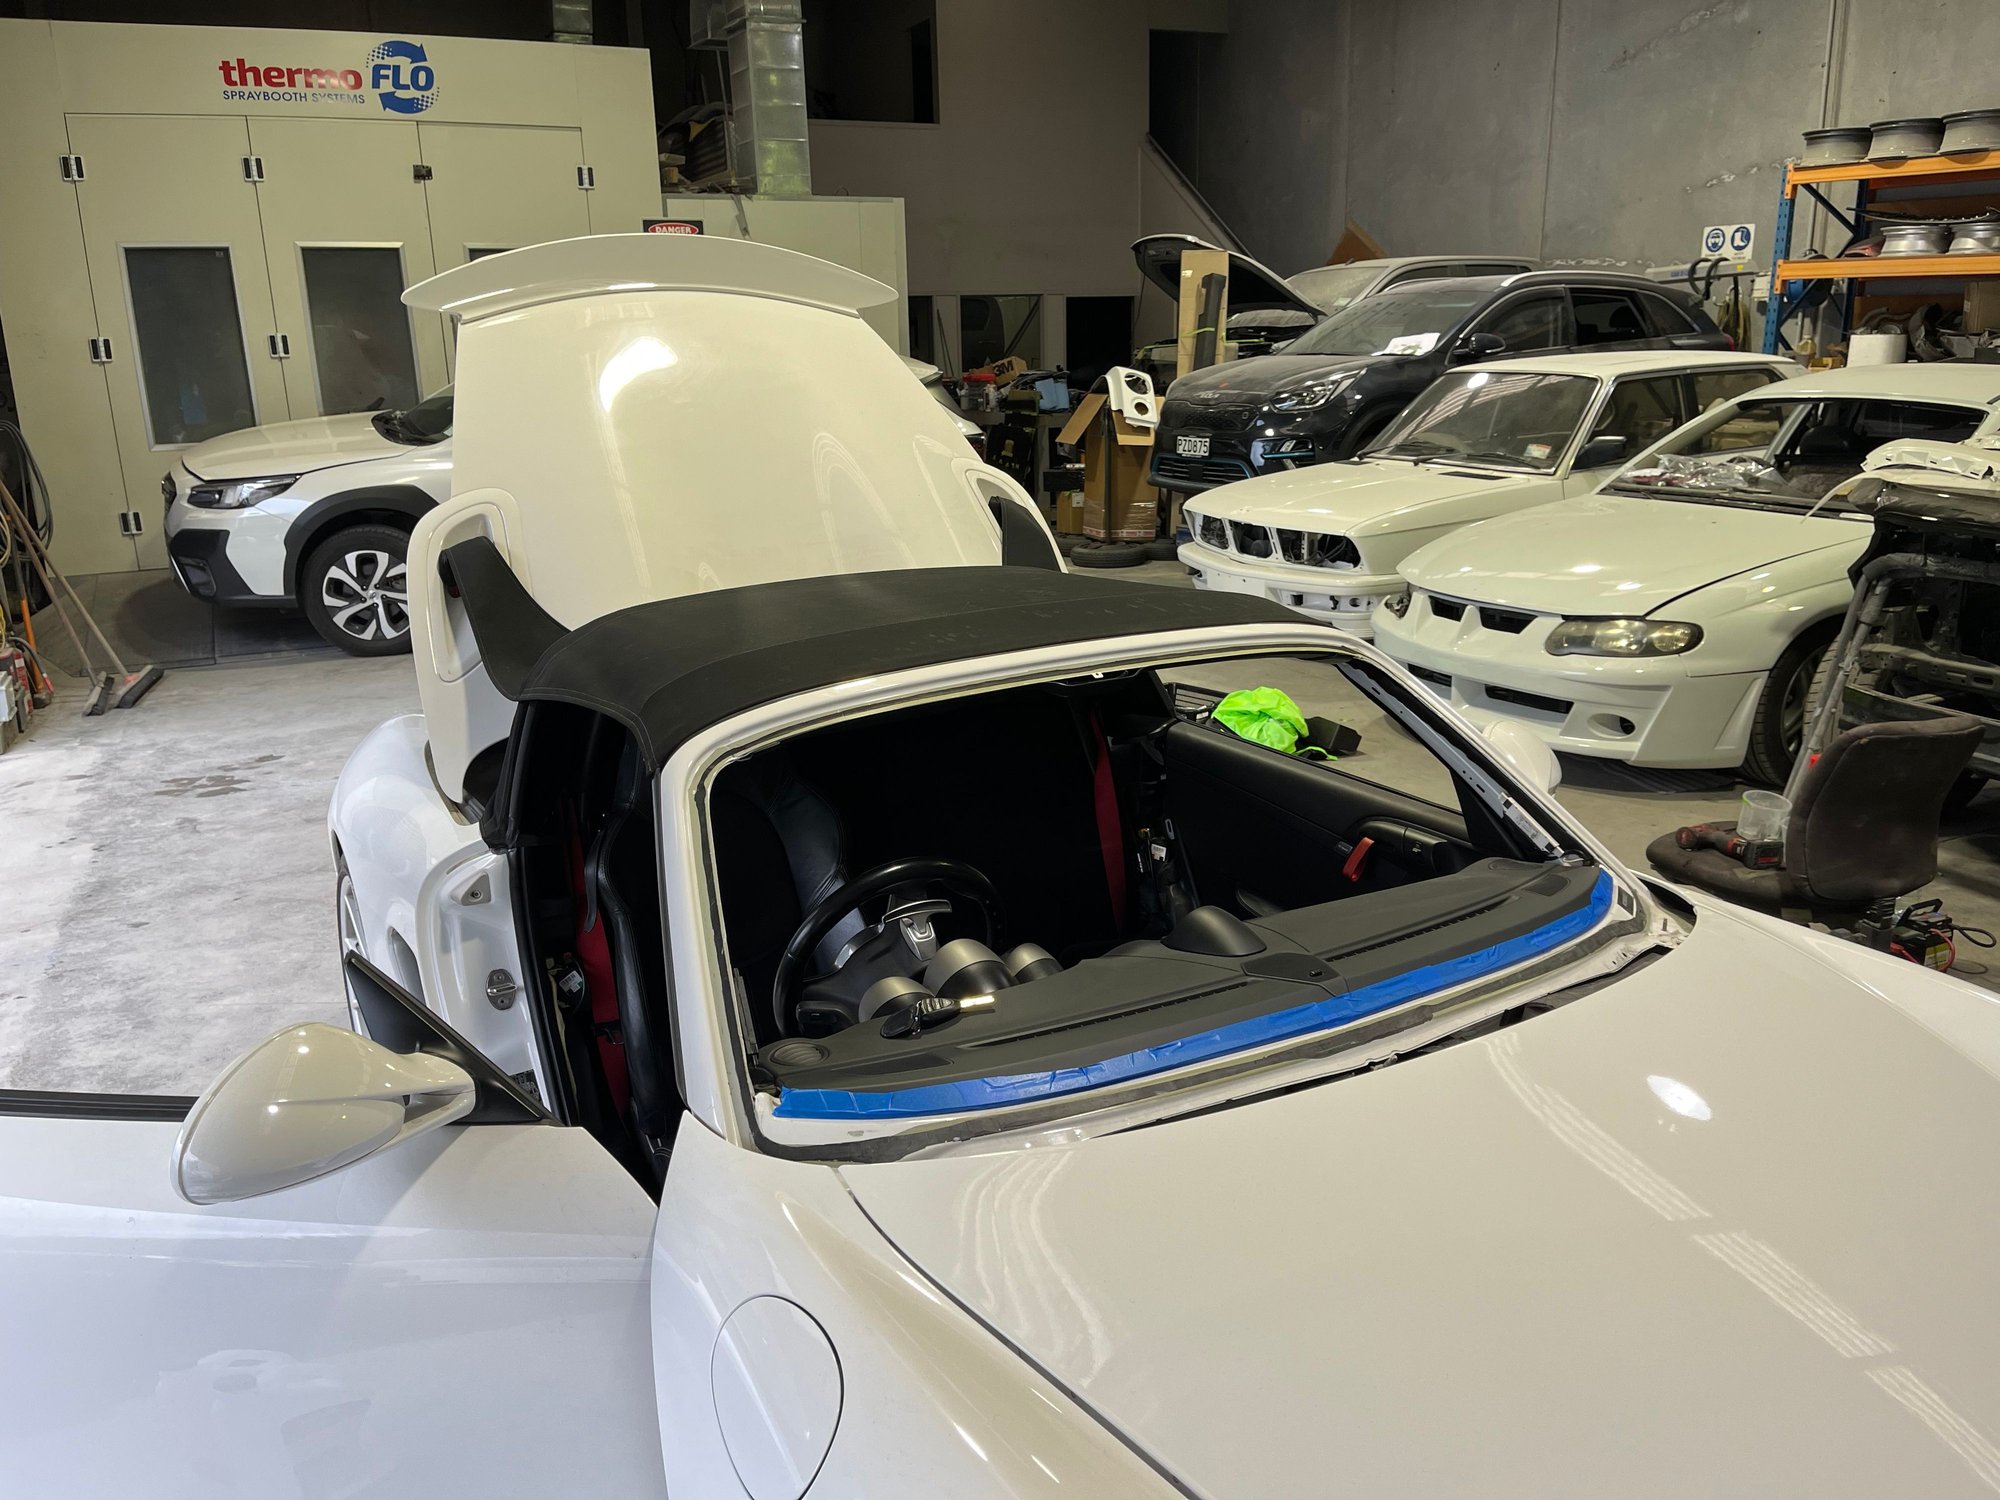
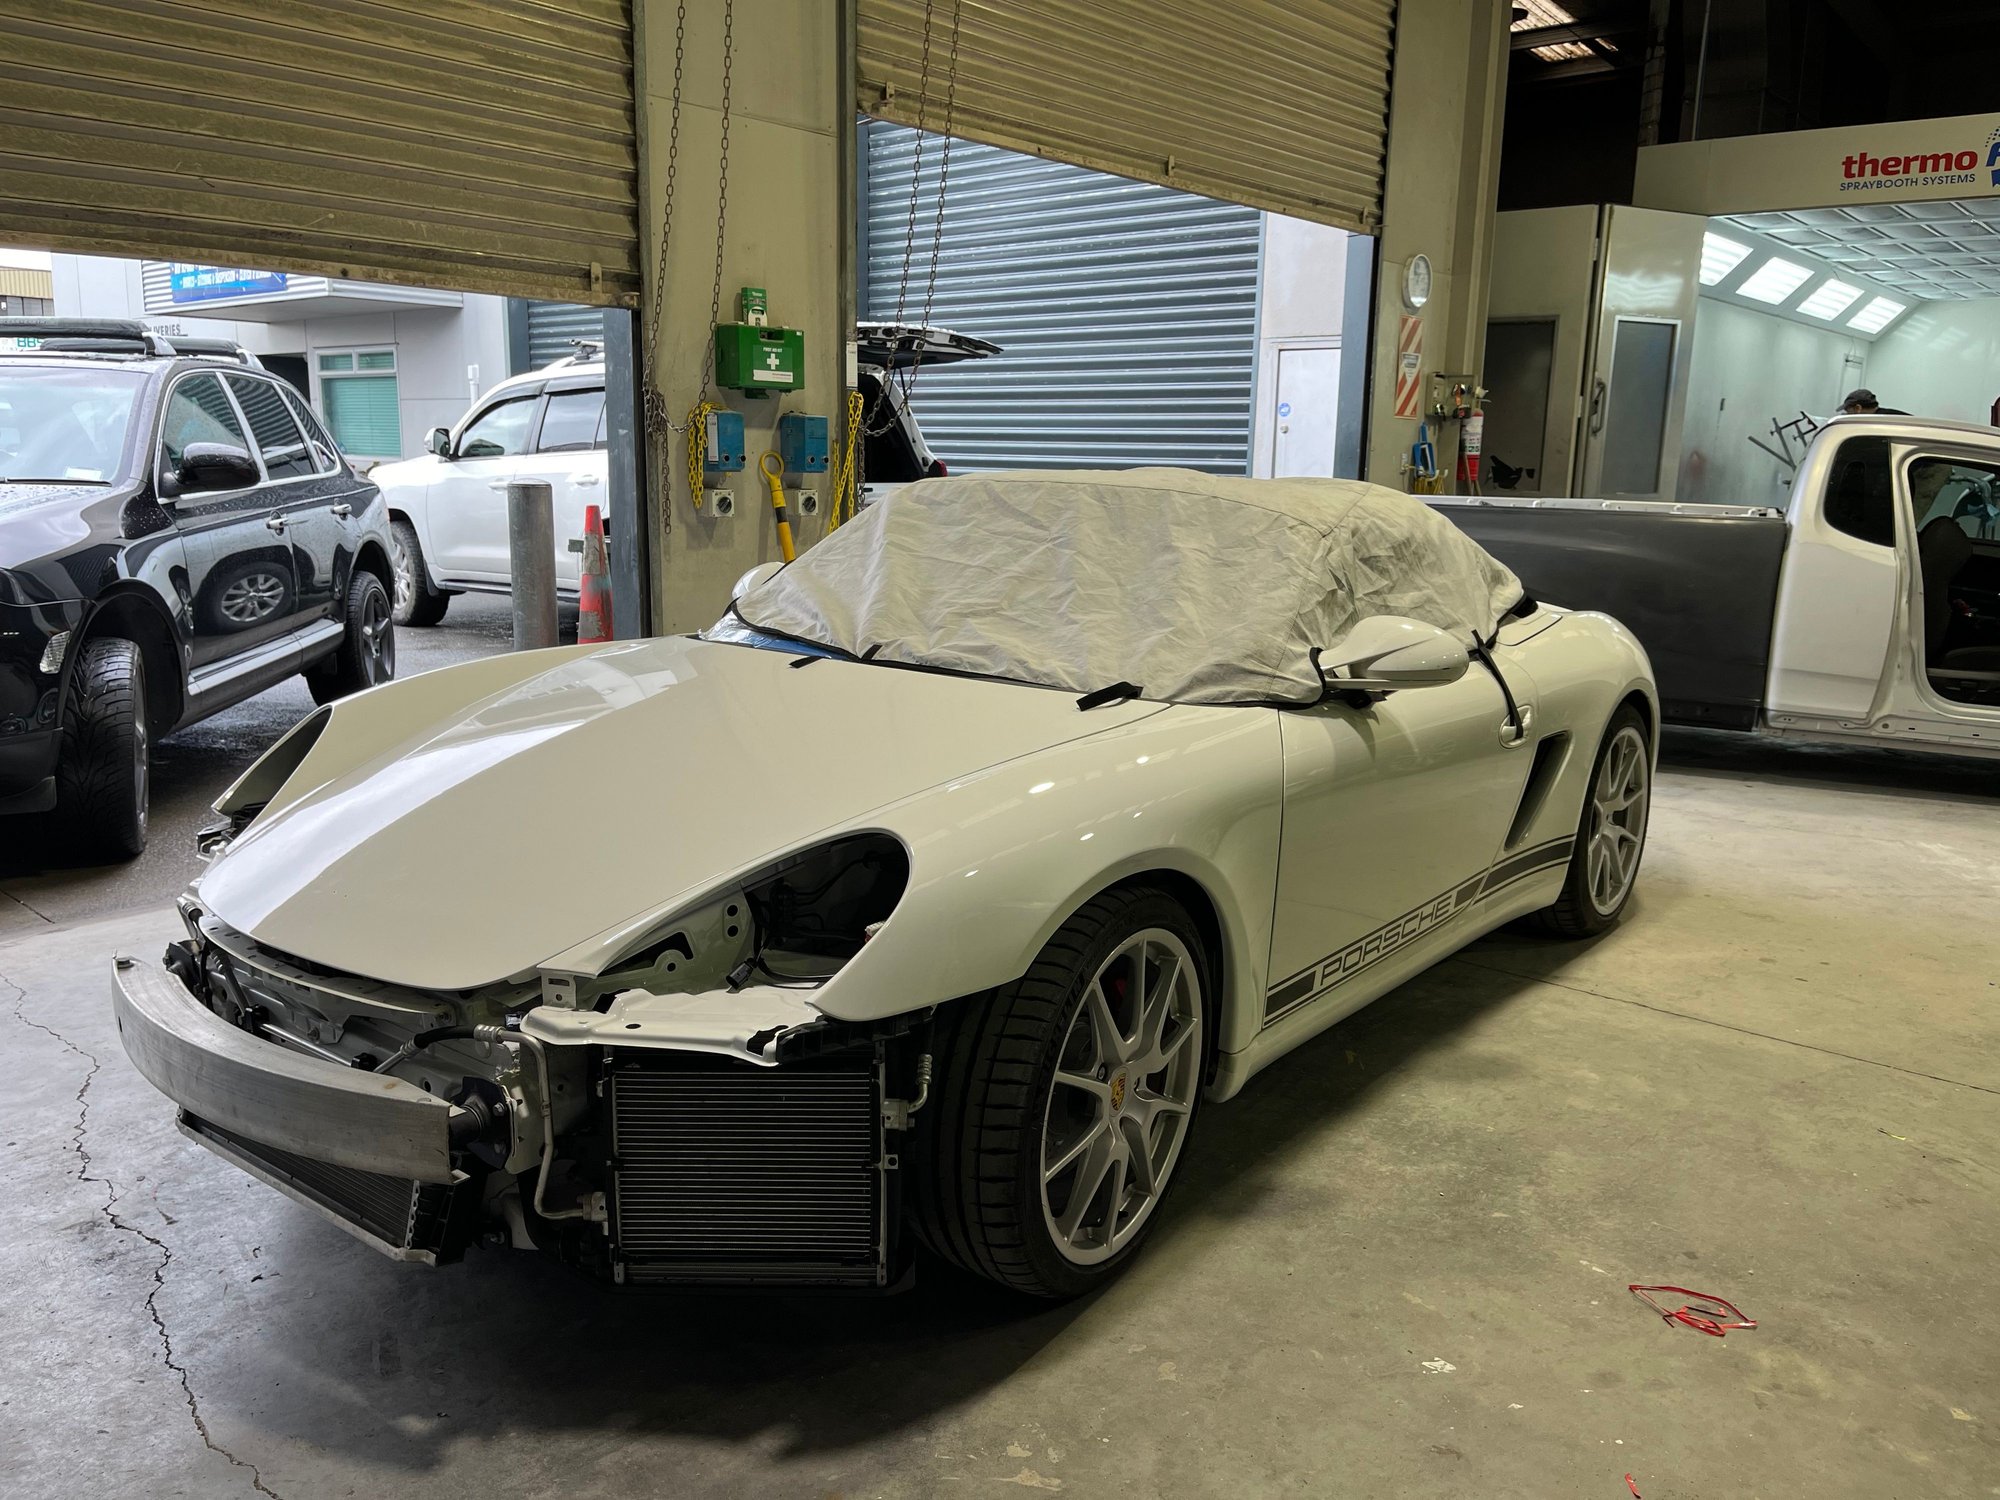
I went to the Bodyshop to reinstall the roof and associated equipment plus put a temporary film over the windscreen area. That will allow it to come home on a transporter in any weather.
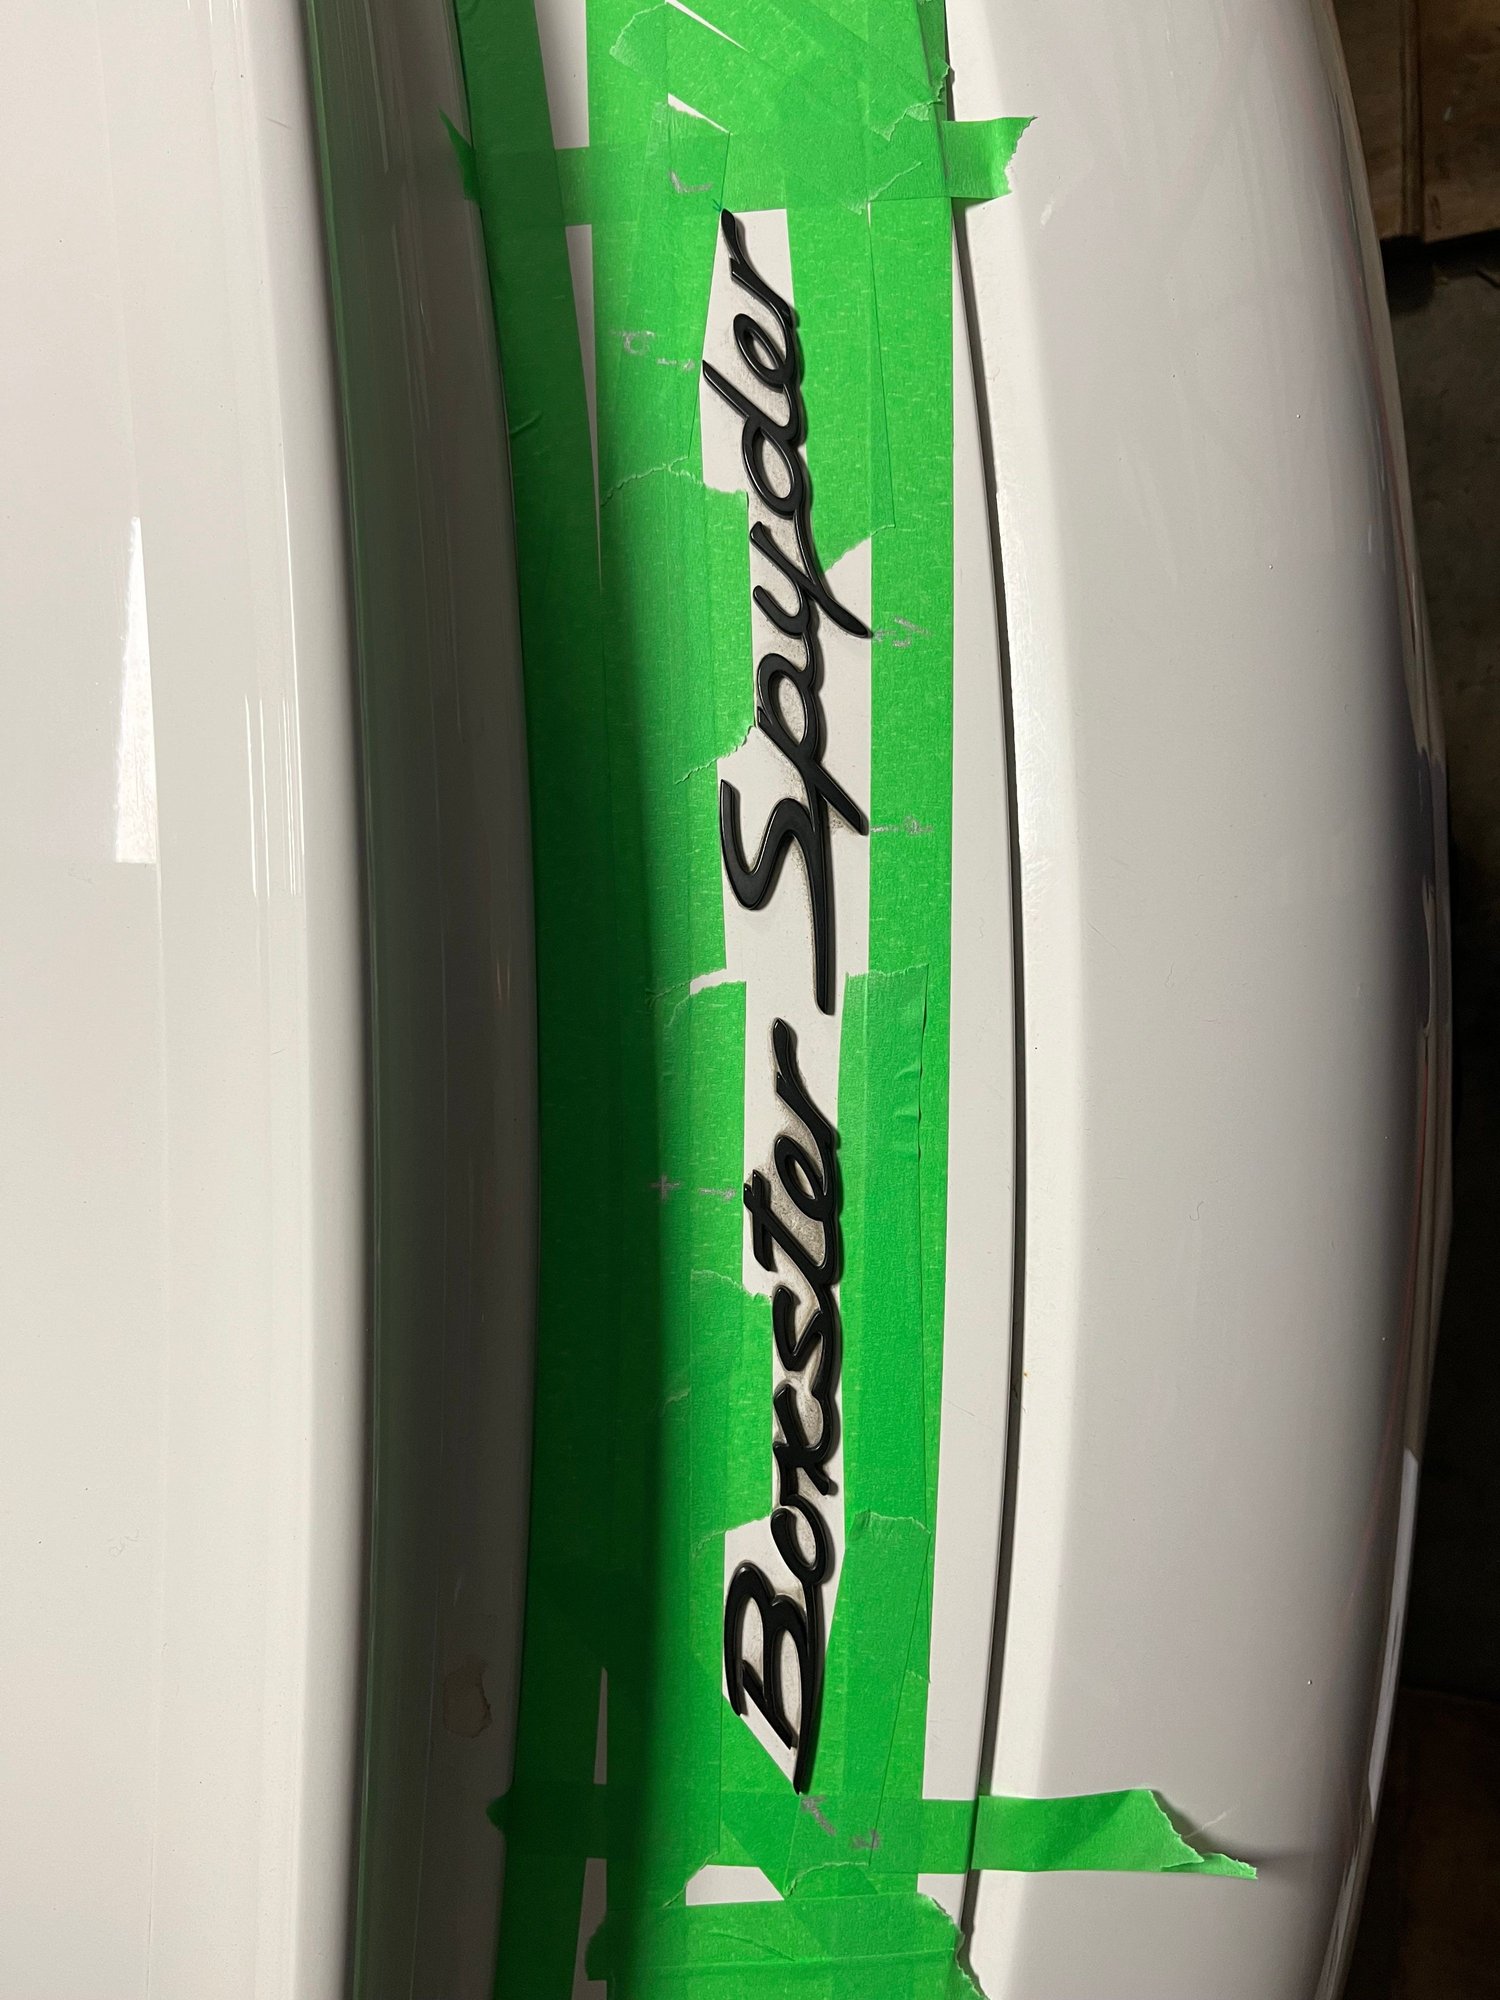
The rear emblems have years of hardened polish surrounding them so they have to be removed to create perfect paint. I have noted the positioning but I’ll likely mirror my other Spyder and omit the Boxster reference.
FYI the Boxster emblem is USD 139 and Spyder one is USD 88. I’m going to remove mine carefully and use 3M Emblem Adhesive sheets to re-use the Spyder one.
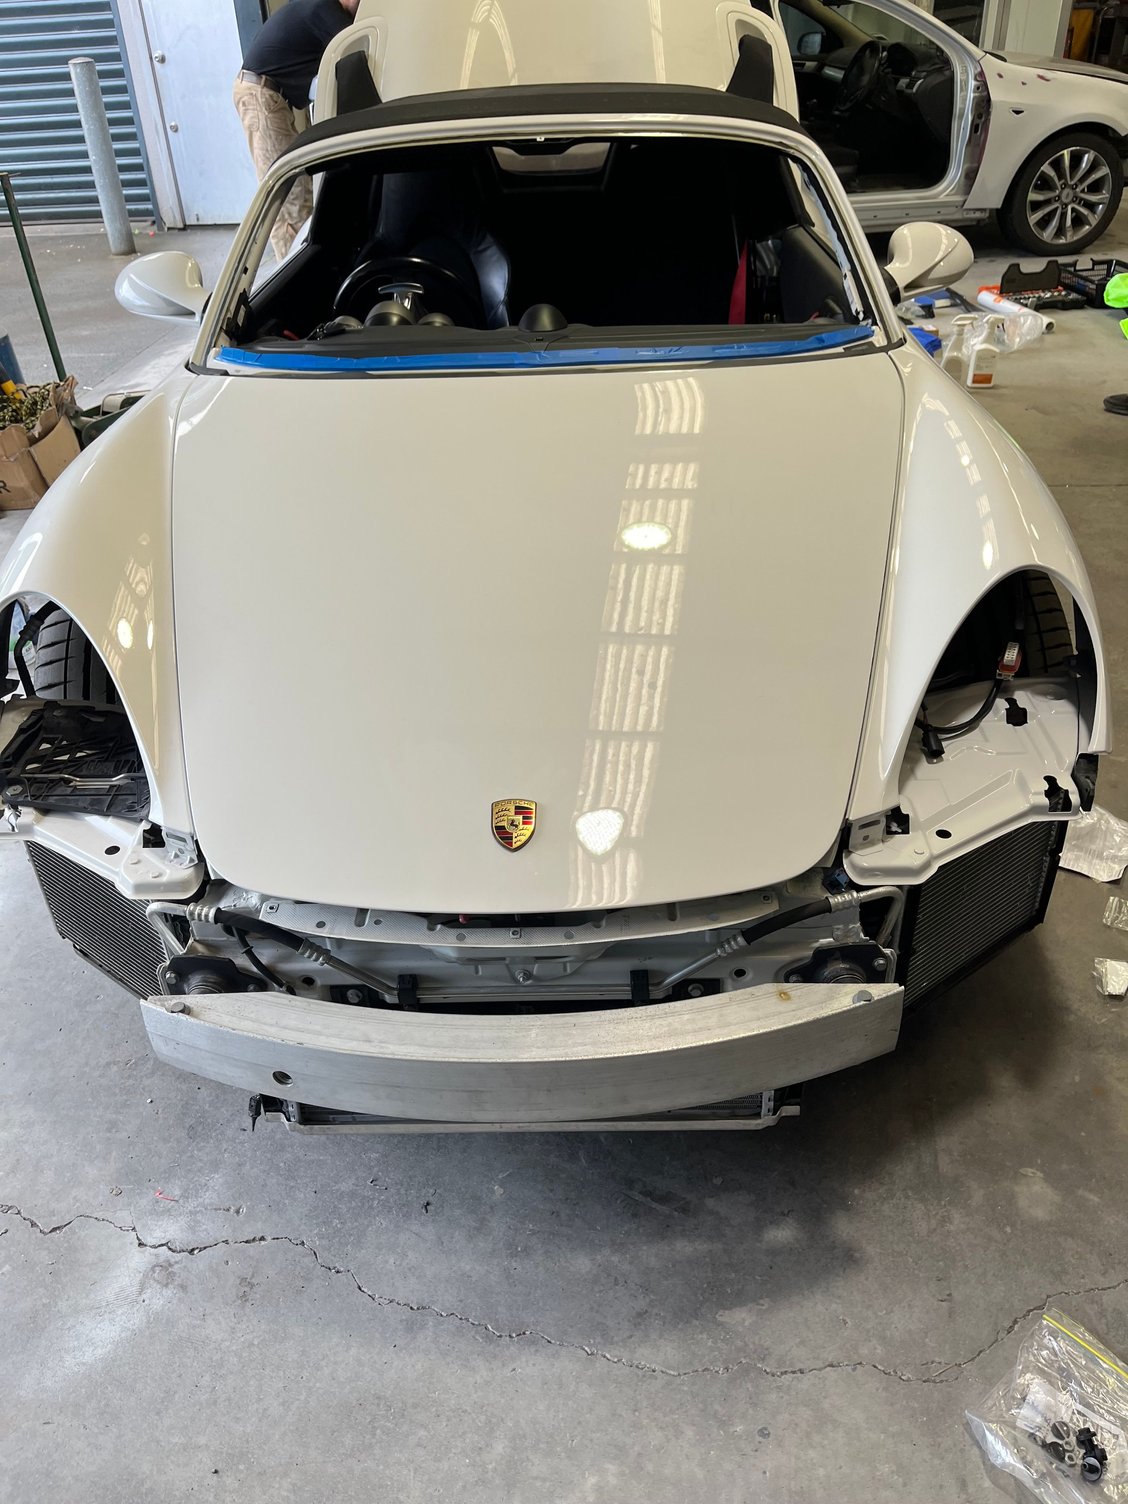
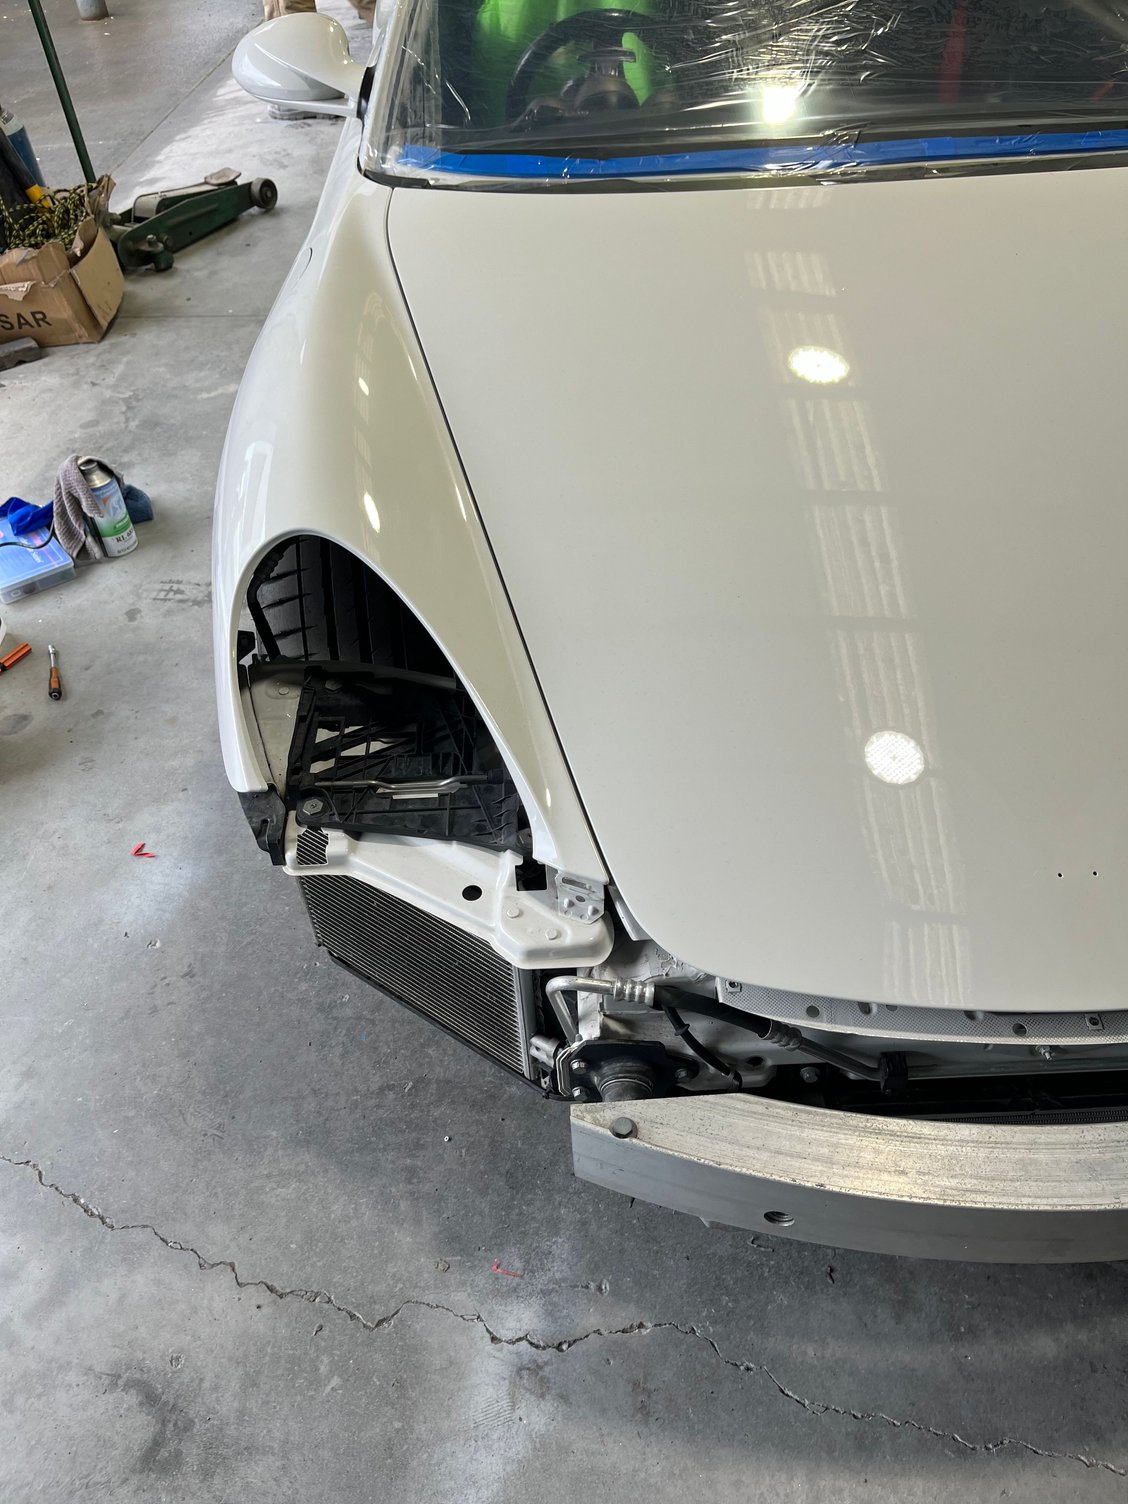
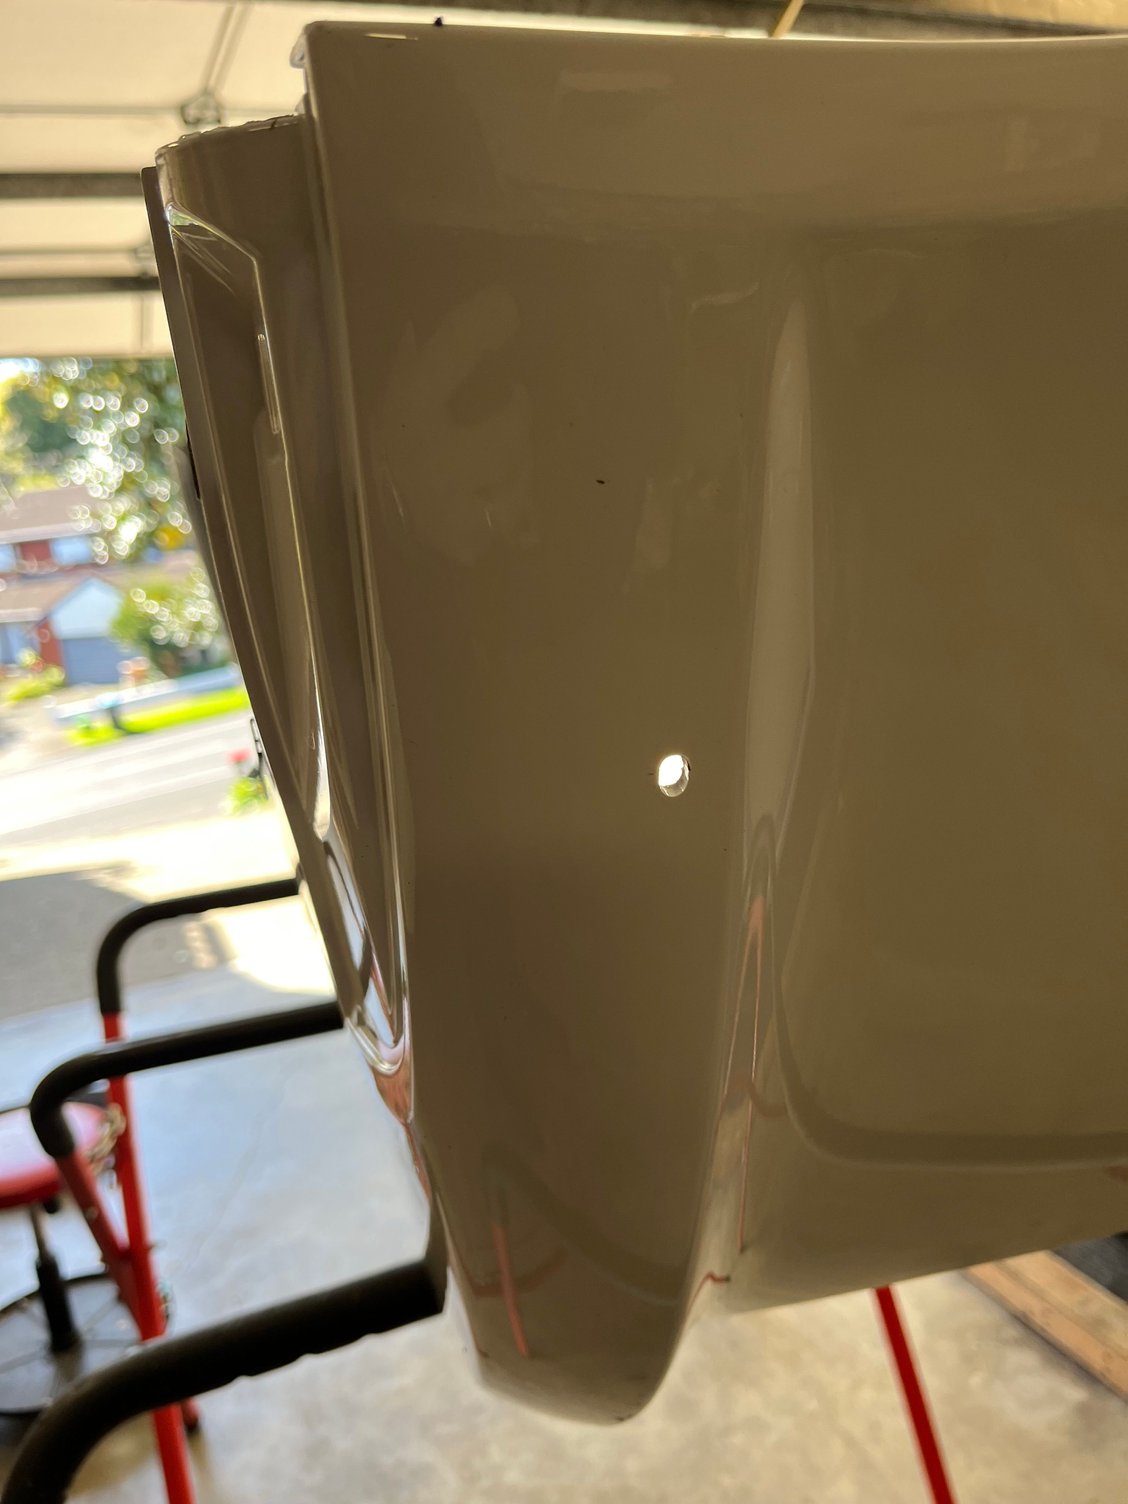
I focused on finishing the bumper today. The crash ruined the left DRL holder and left headlight washer bumper insert. I’ll order both but have managed to weld plastic onto the DRL holder to make it fit temporarily.
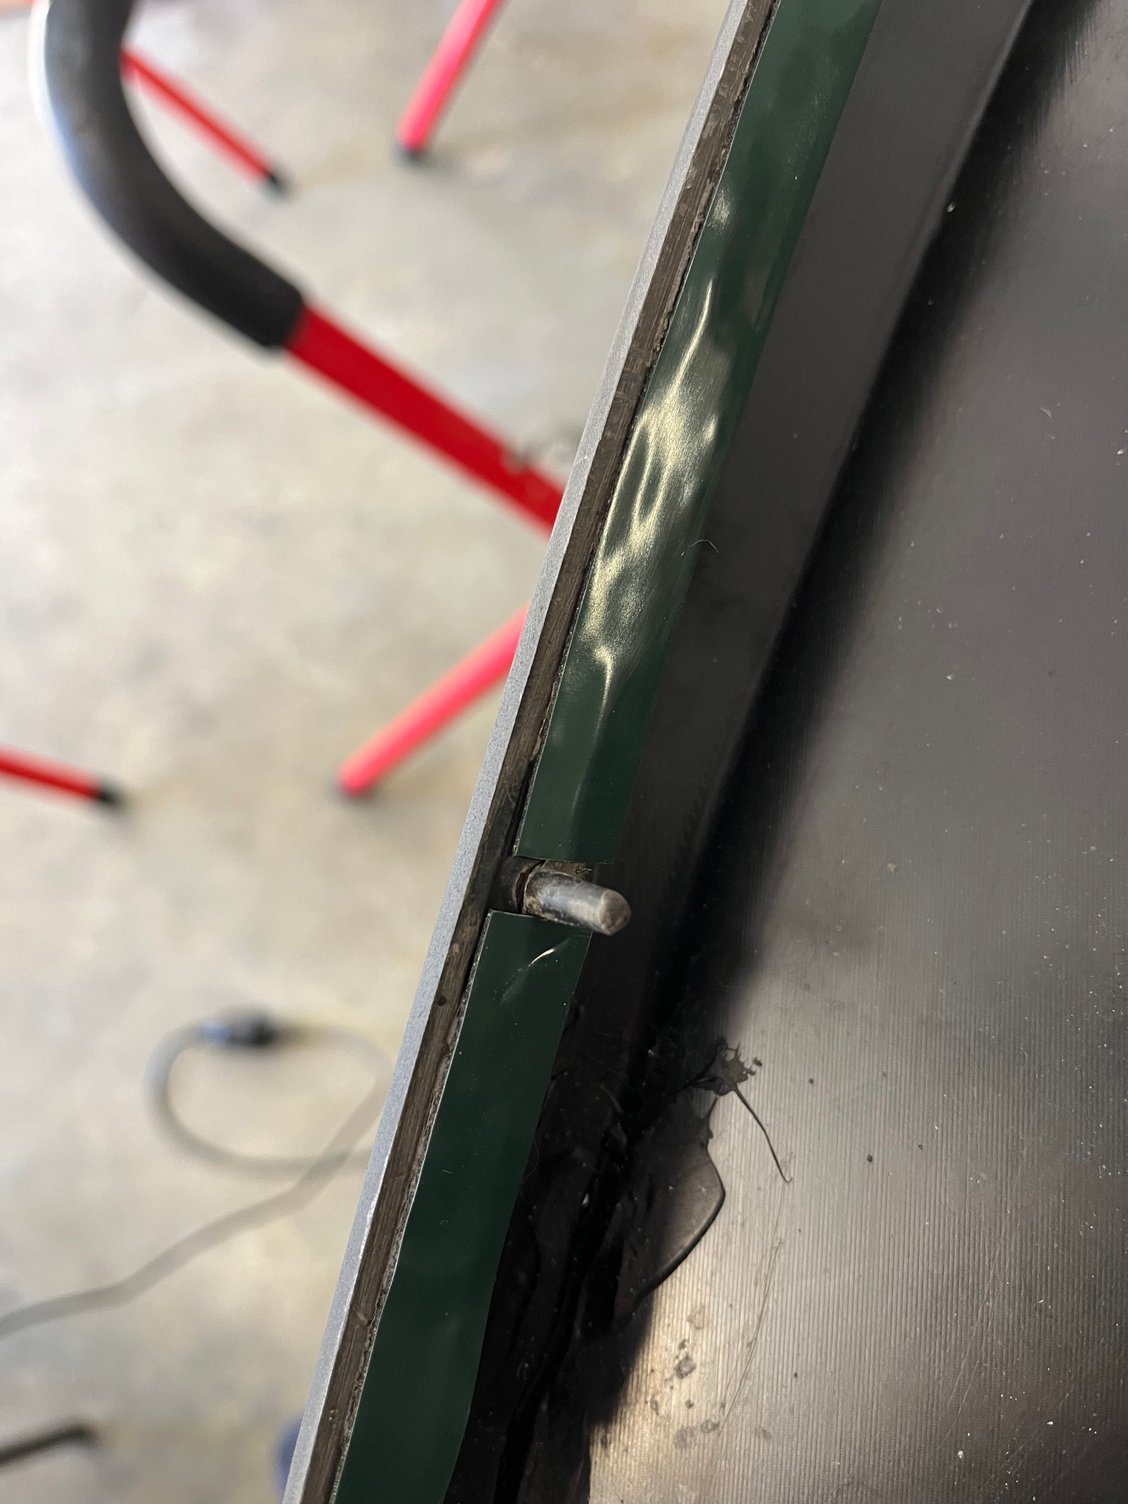
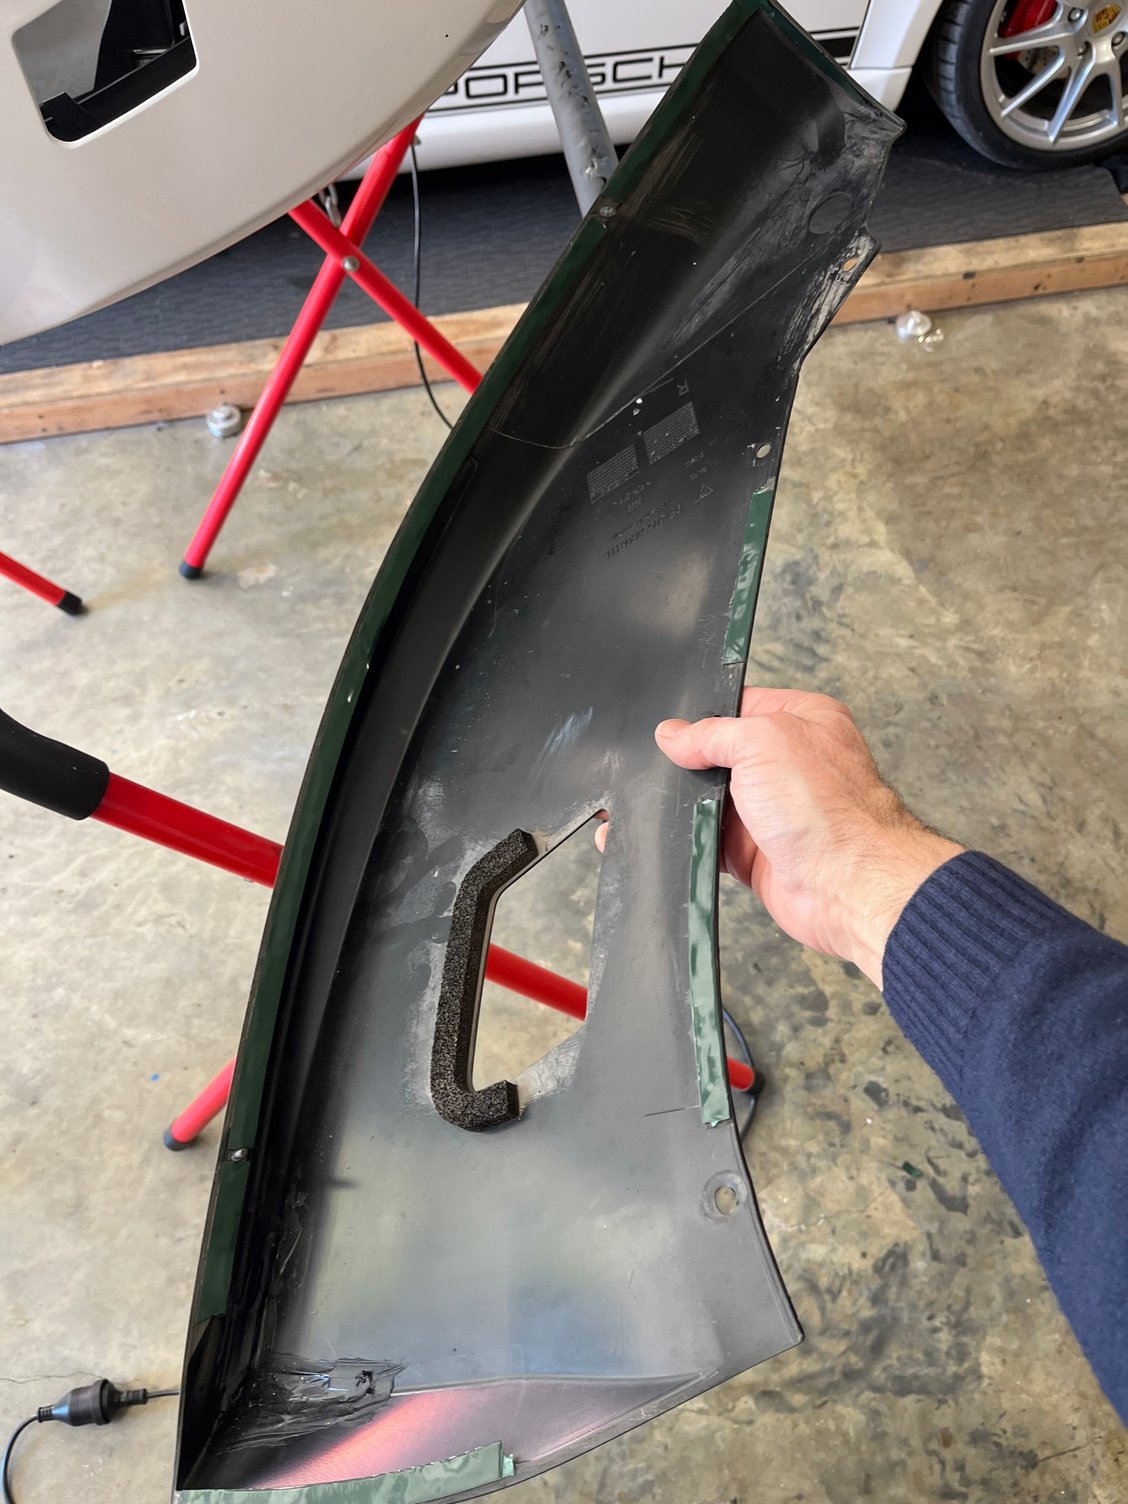
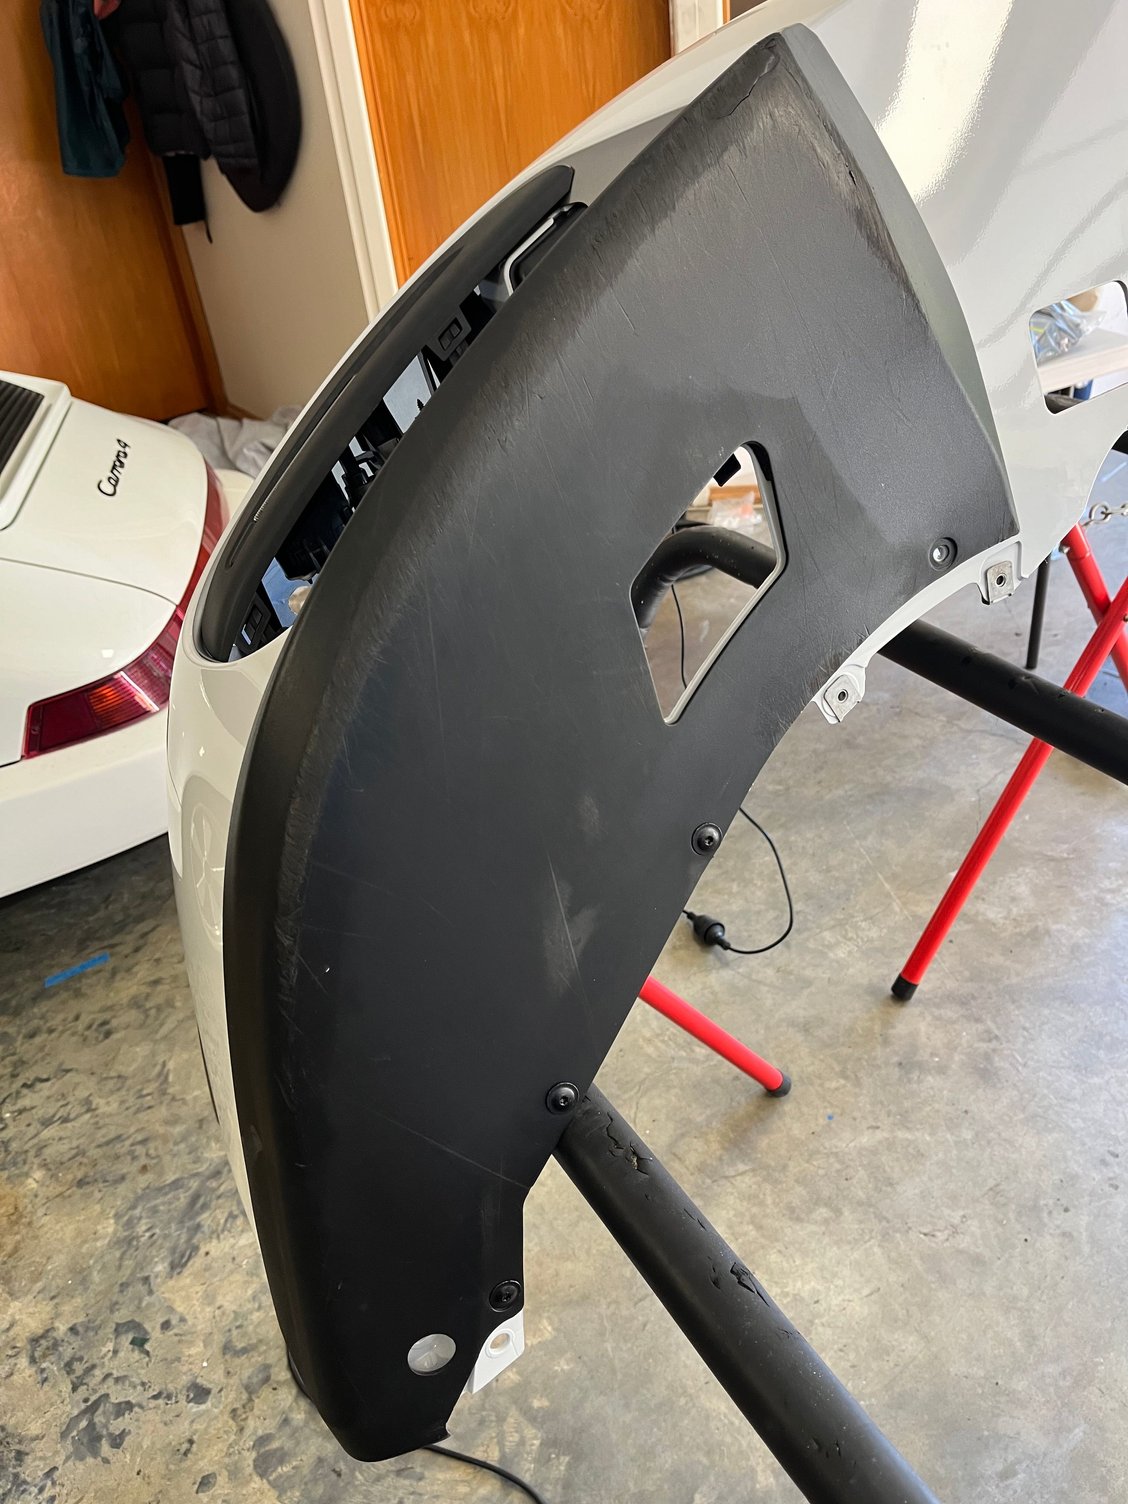
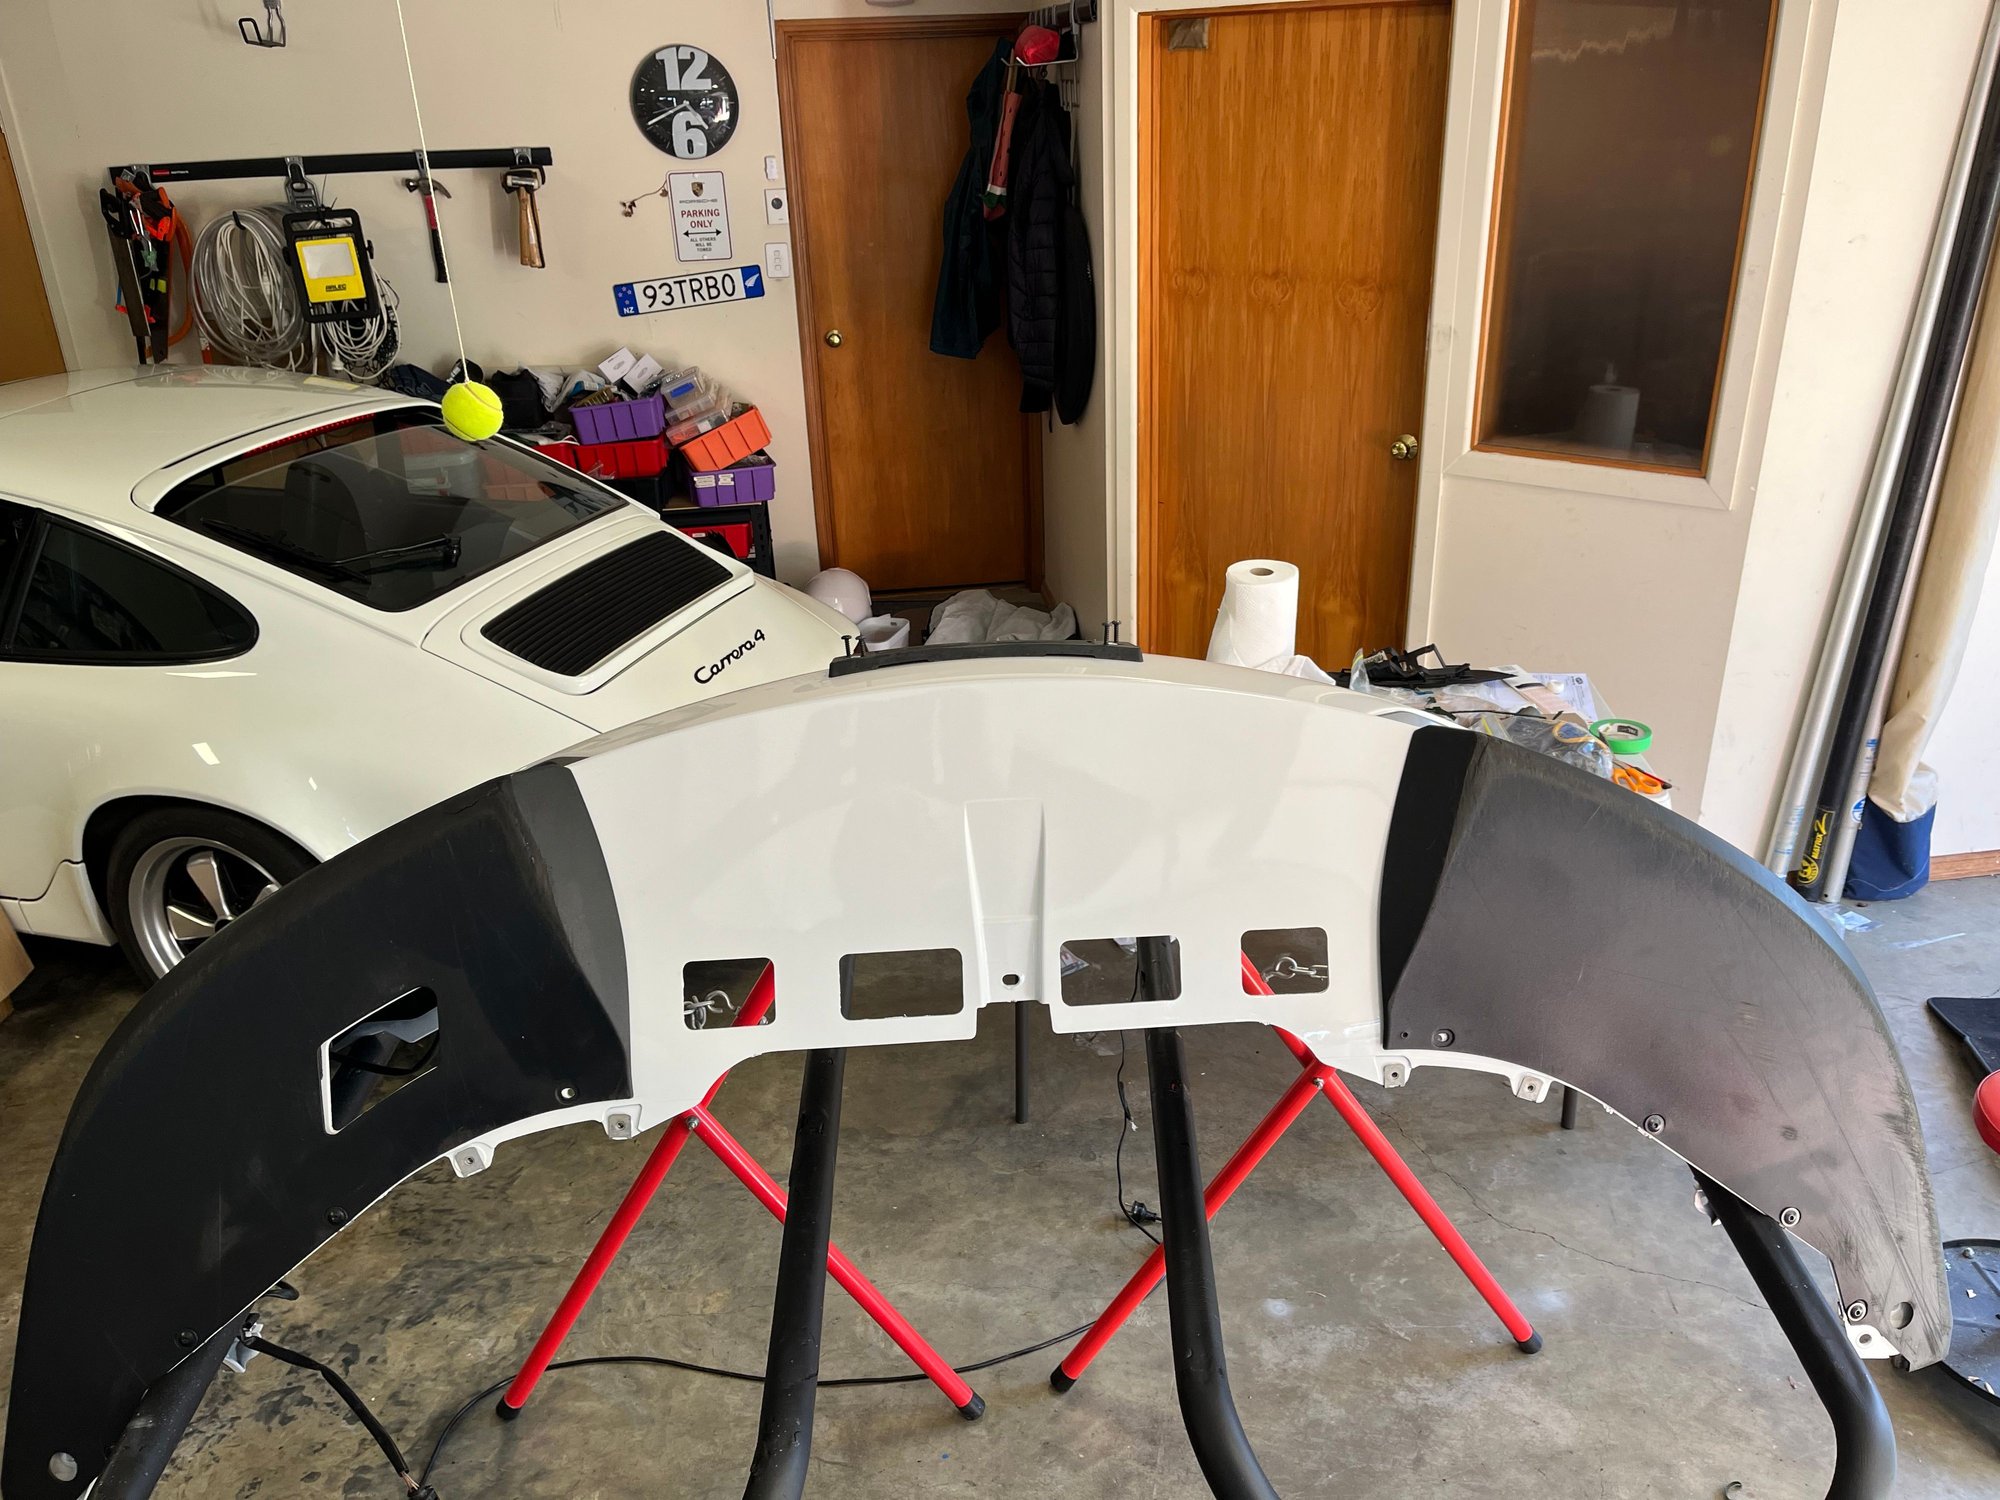
The main other task was fitting the two spoiler lips. They are held on three ways. 1. There are two location sprigs that fit into holes in the bumper 2. Double sided mounting tape holds on the edges to the bumper and 3. There are speednuts holding the rear.
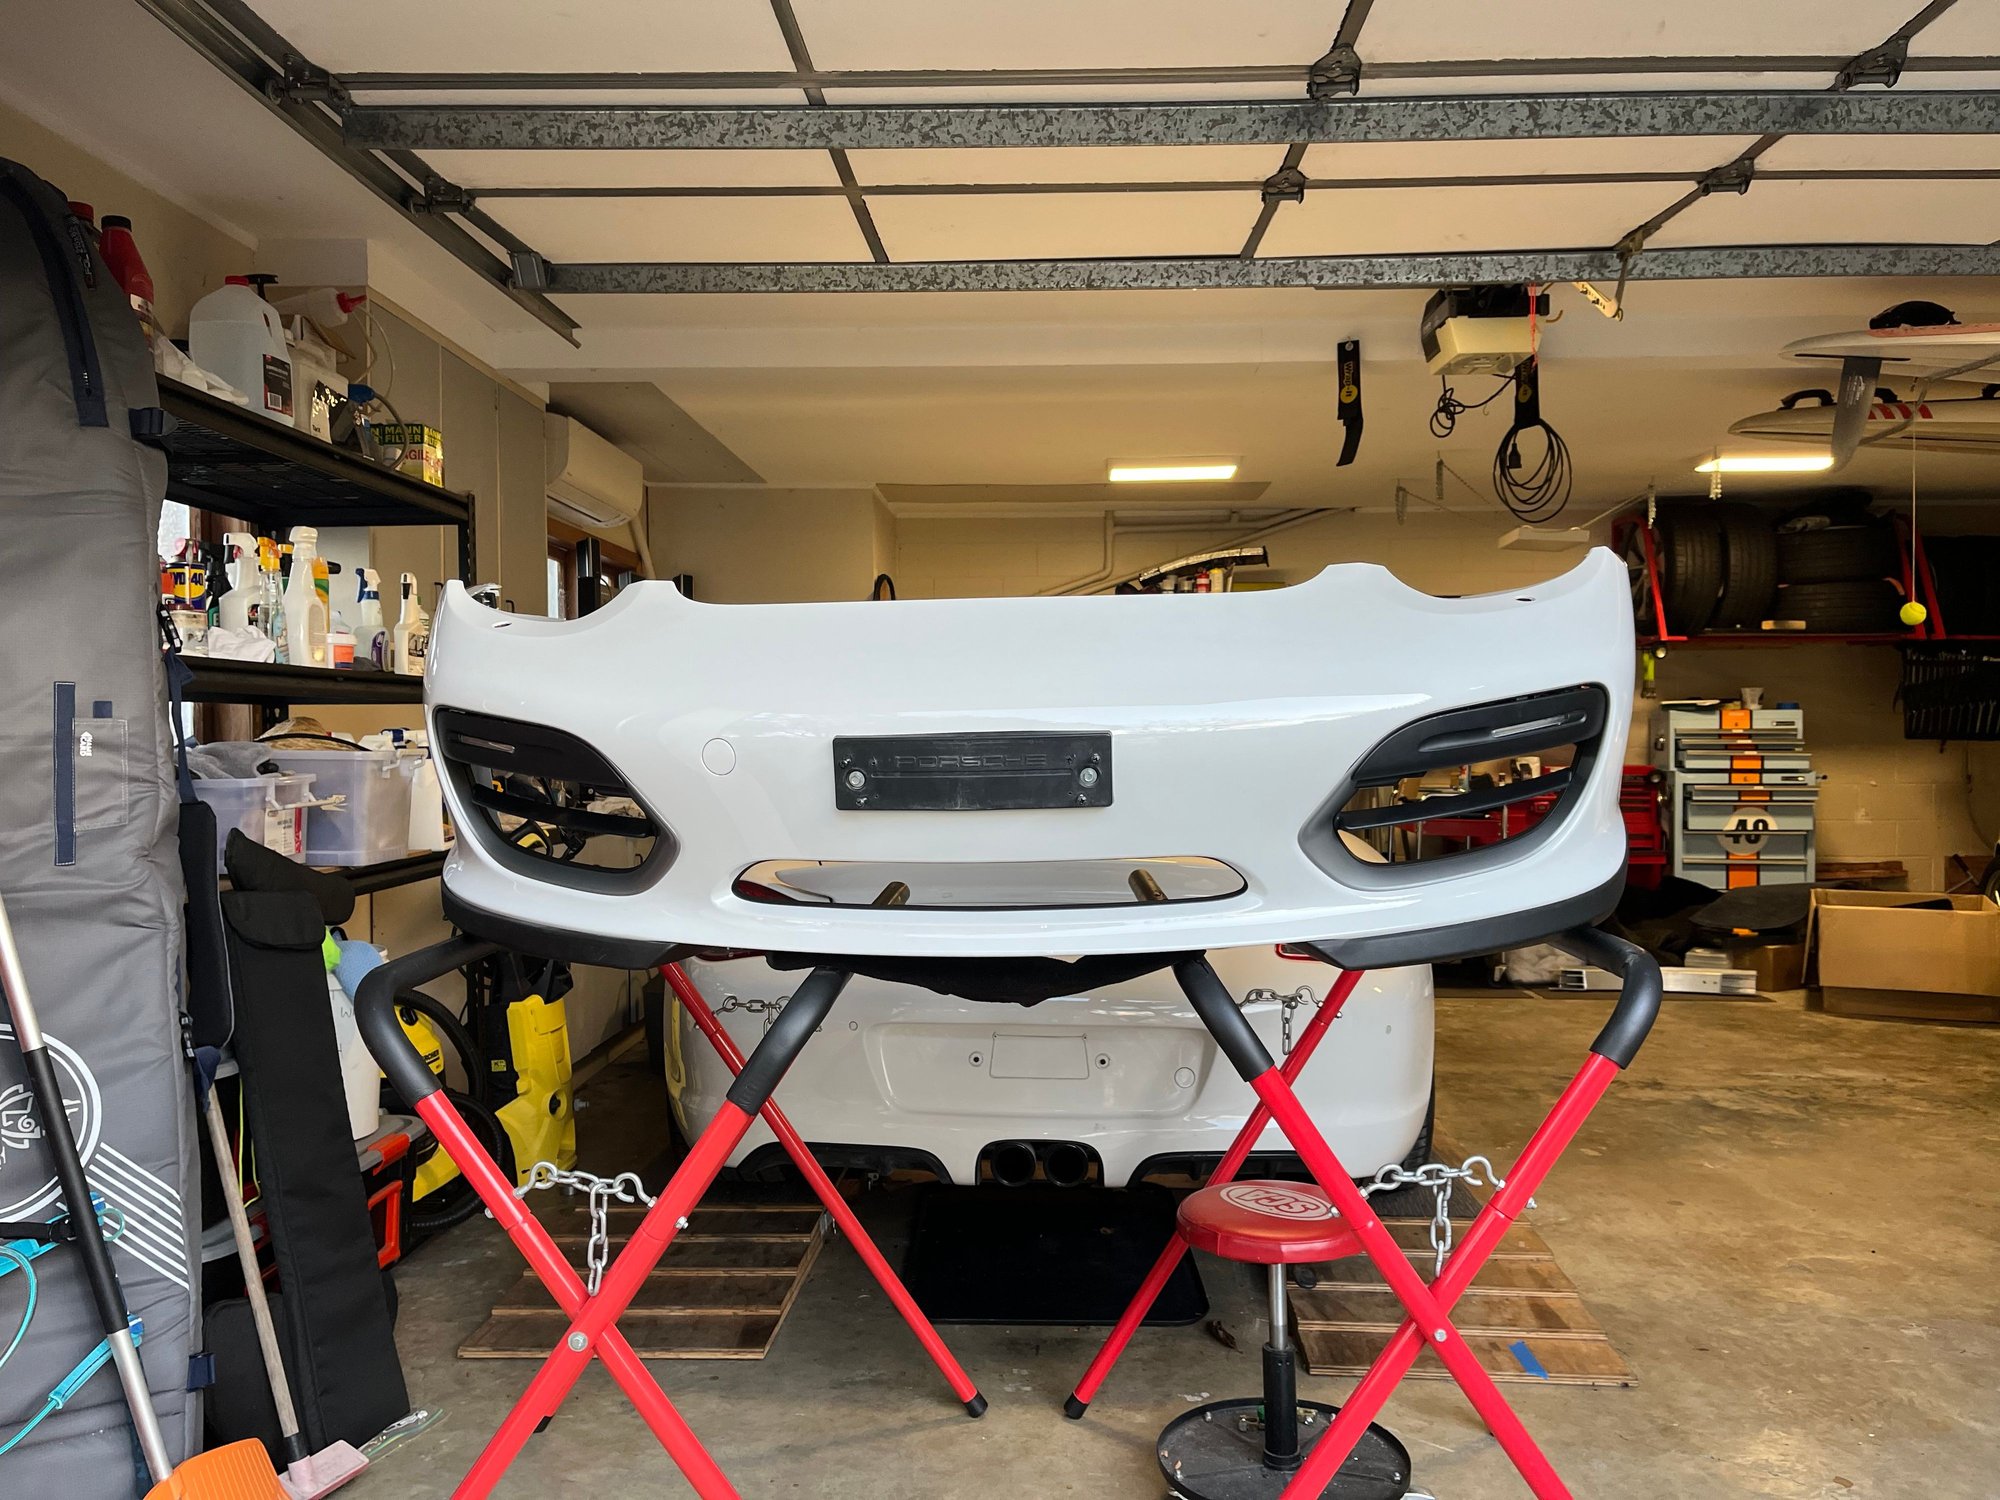
I think I did a good job.
Sprig. Note that the spoiler lips are PU plastic and can’t be welded. So if a sprig breaks, it’s hard to fix. Sprig locating hole in the bumper. Mounting tape on the spoiler lip. First side mounted. Both sides mounted. Ready for installation on the car.
Awesome work John! It’s really coming together. I’ll be working on my front bumper and spoiler lips this fall, so this info is most helpful. Cheers
The most important thing I have found here is that the spoiler lips must be removed horizontally to preserve the sprigs. Do not try and remove by pushing down on the front lip or you risk breaking off the locating sprigs. As the plastic is PU, there is no way to plastic weld a new one on.


 08-25-2024 | 12:37 AM