When you click on links to various merchants on this site and make a purchase, this can result in this site earning a commission. Affiliate programs and affiliations include, but are not limited to, the eBay Partner Network.
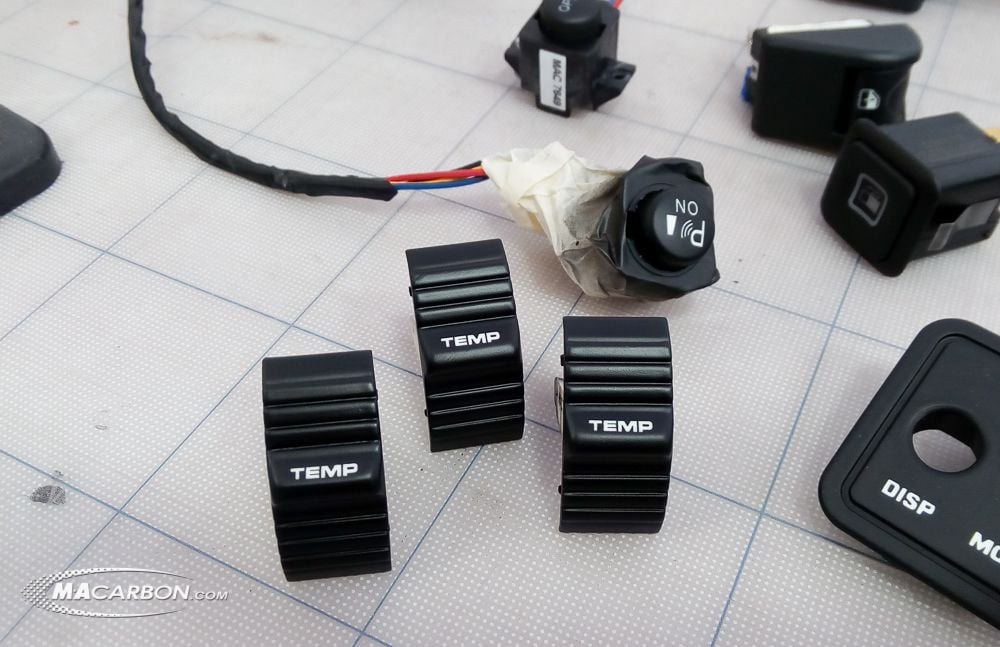
Gents - I got the first photos back from John at MAcarbon. They did their first test set and results came out great. He was hoping to improve the black finish a bit more in the next round.
He still hasn't indicated when they will start selling or what the price will be but will update you when I hear.
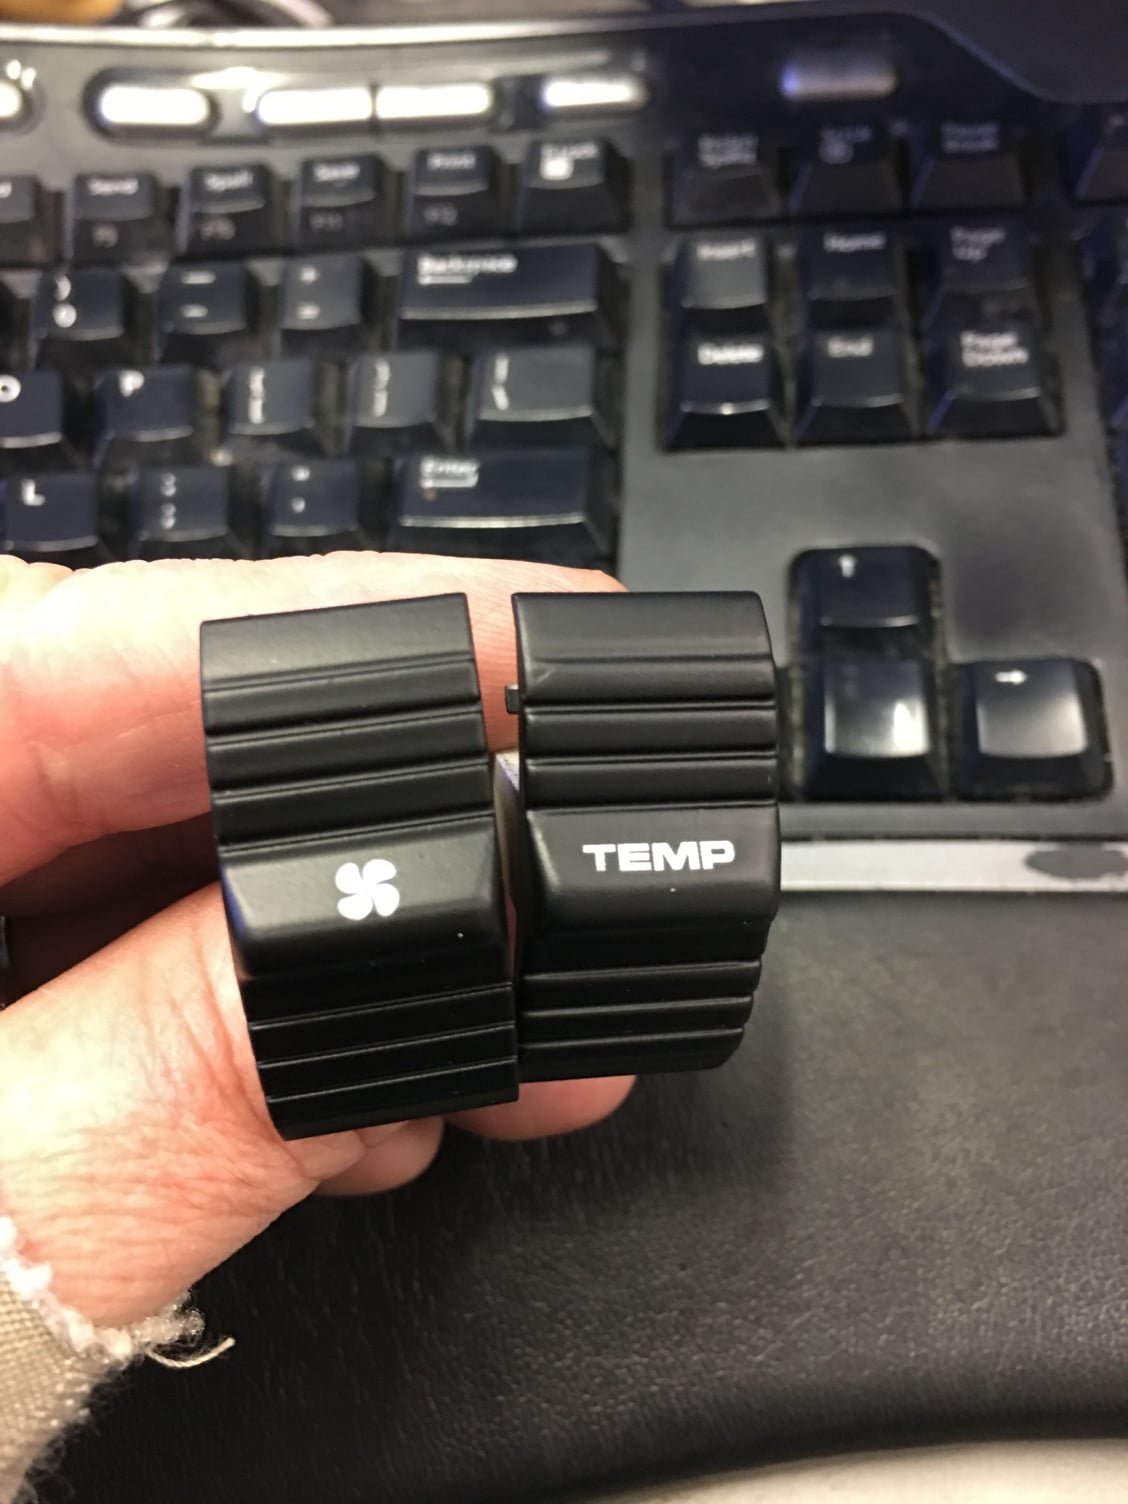
Just got a note from John at MAcarbon. The first batch of Rev 2 switches is in and ready for sale. He said they look great. He's selling at $160/set with a $200 core exchange deposit. I think a very reasonable price for an OEM solution considering the crappy switches are going for $120.
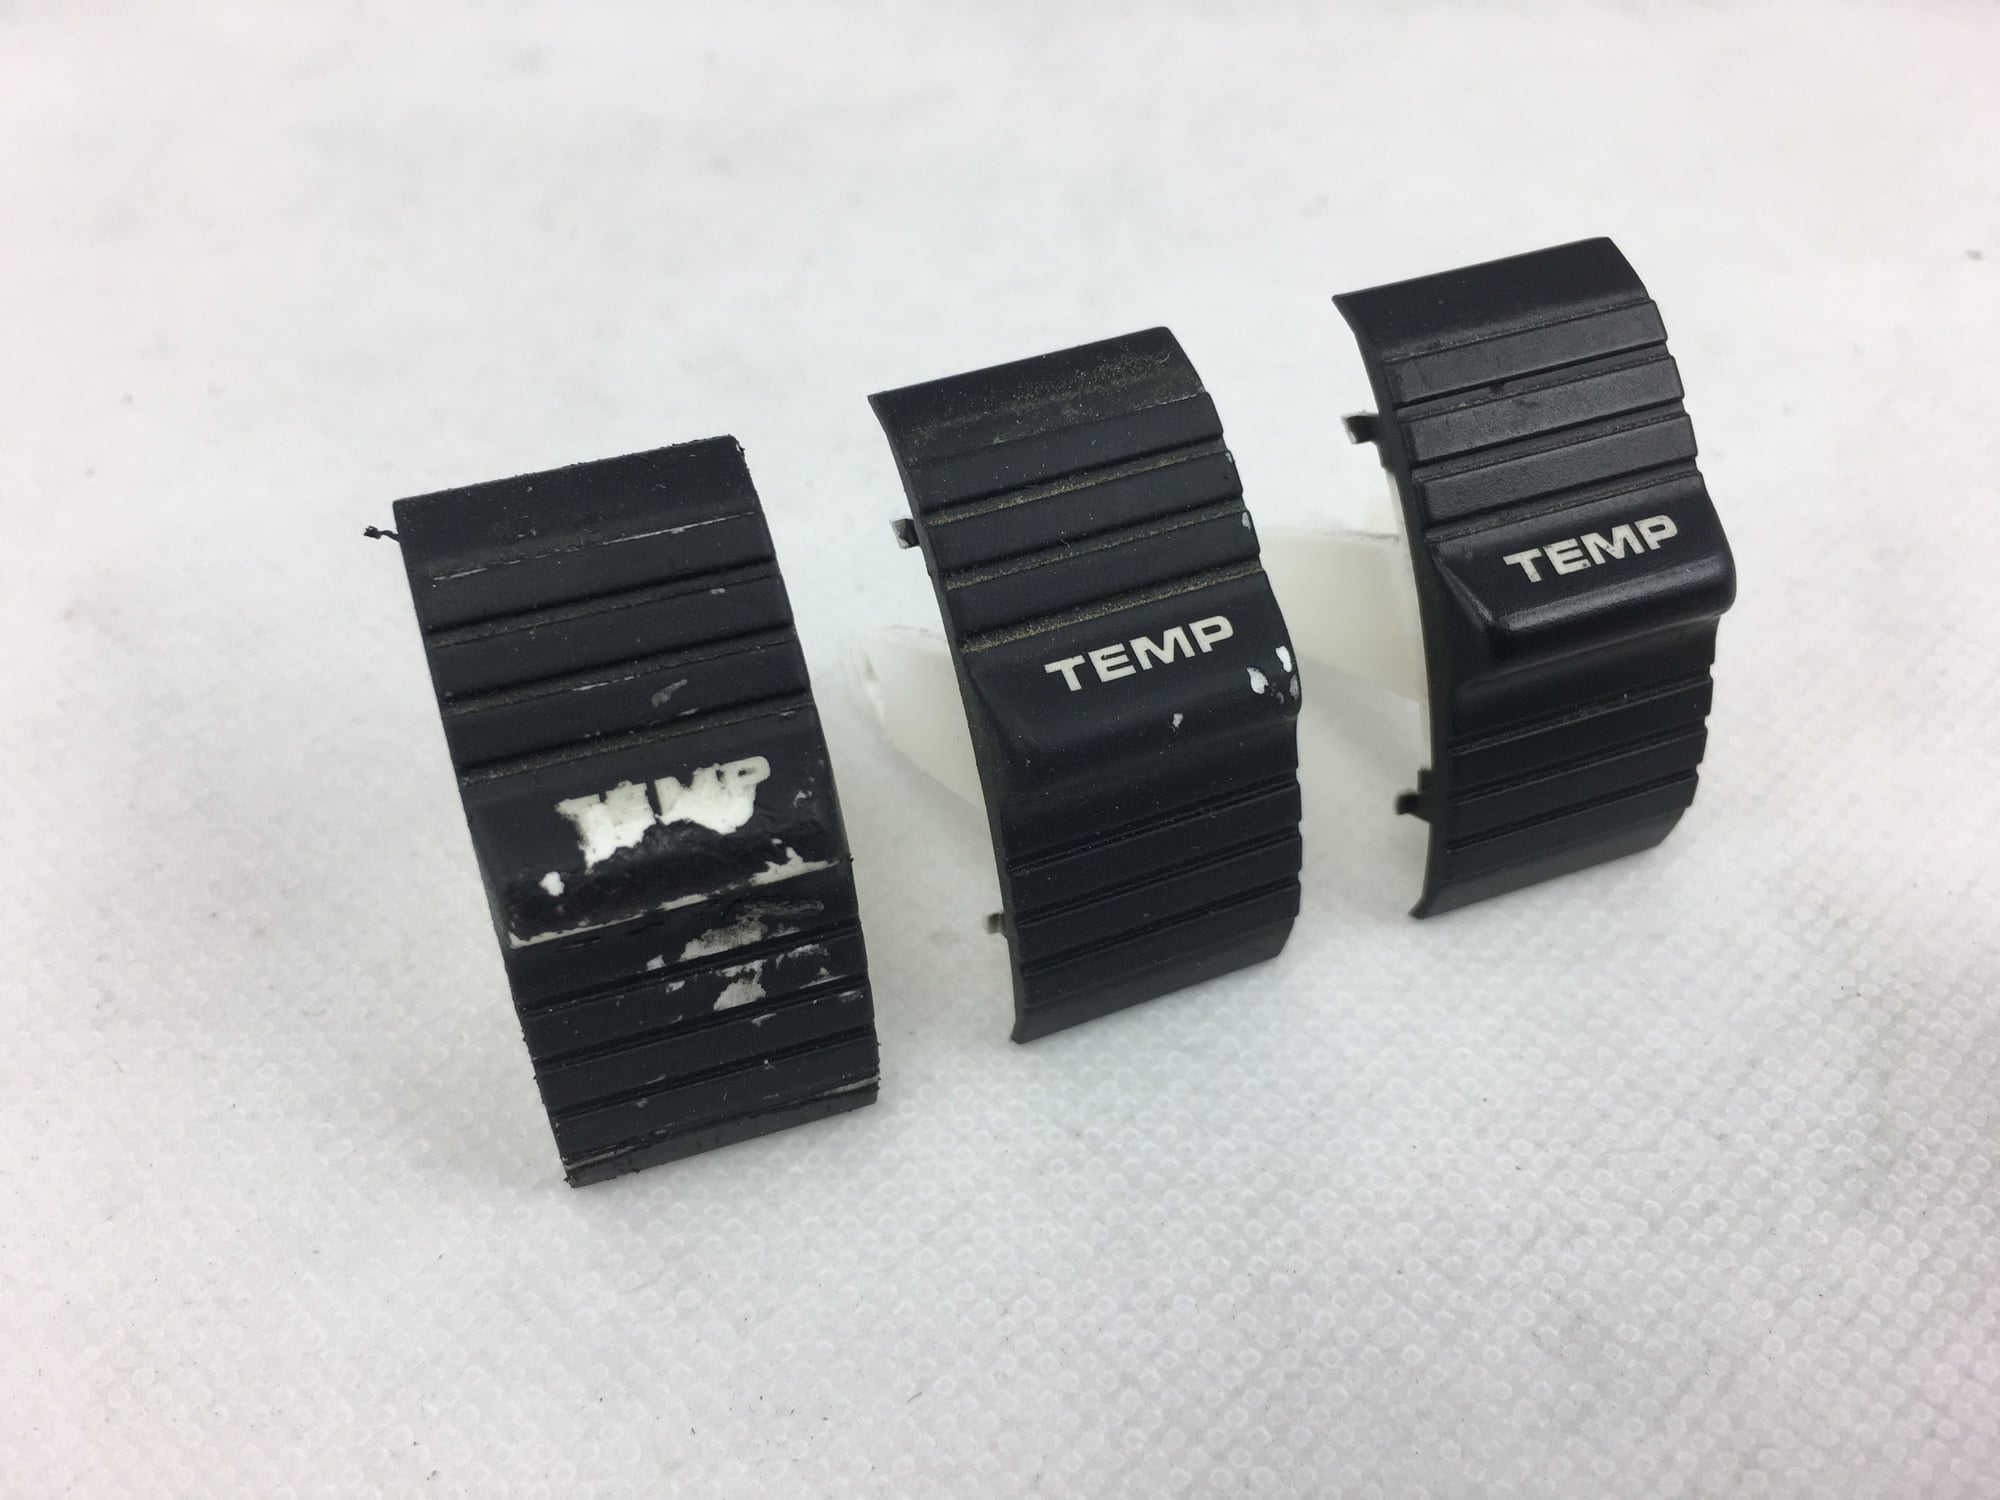
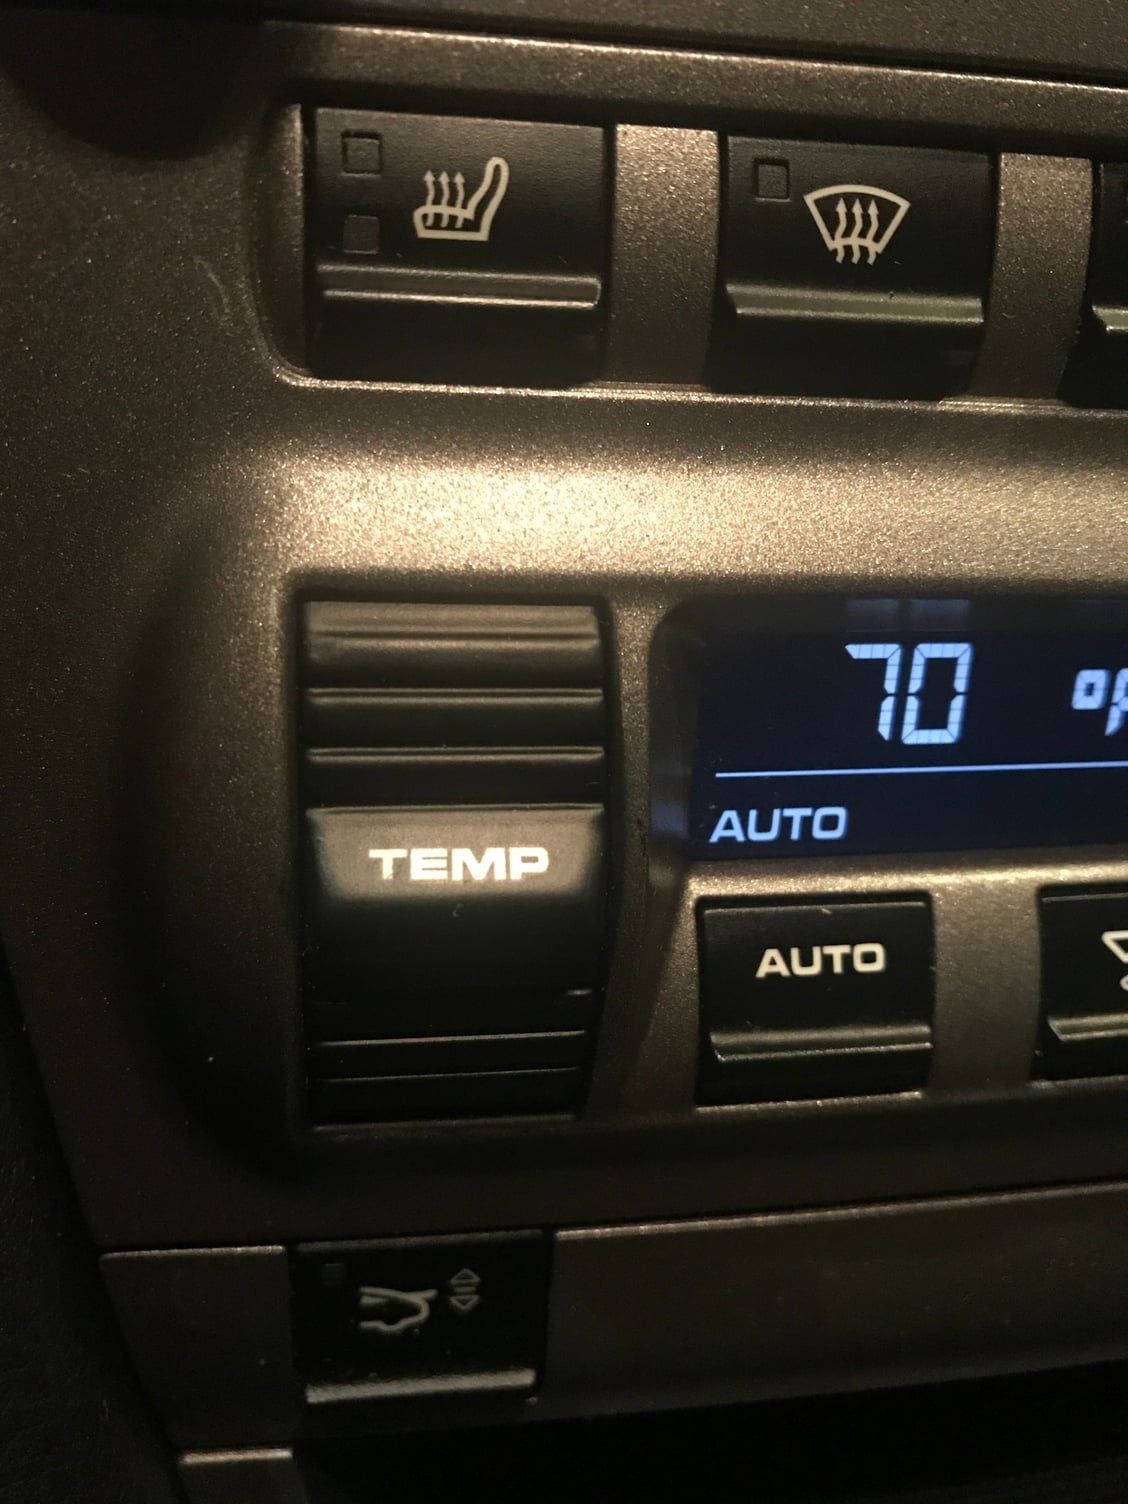
I believe he is also selling the Rev 1 test switches for $135, pictured above. They looked fine to me but he felt the TEMP stencil wasn't quite right. As noted above, he said the fan and temp stencils do light up.
He's mailing me the first set today. I will send install pics.
I believe he is also selling the Rev 1 test switches for $135, pictured above. They looked fine to me but he felt the TEMP stencil wasn't quite right. As noted above, he said the fan and temp stencils do light up.
He's mailing me the first set today. I will send install pics. [/QUOTE]
I�m in for a set. Please let us know when they are available. I could also use instructions for the replacement.
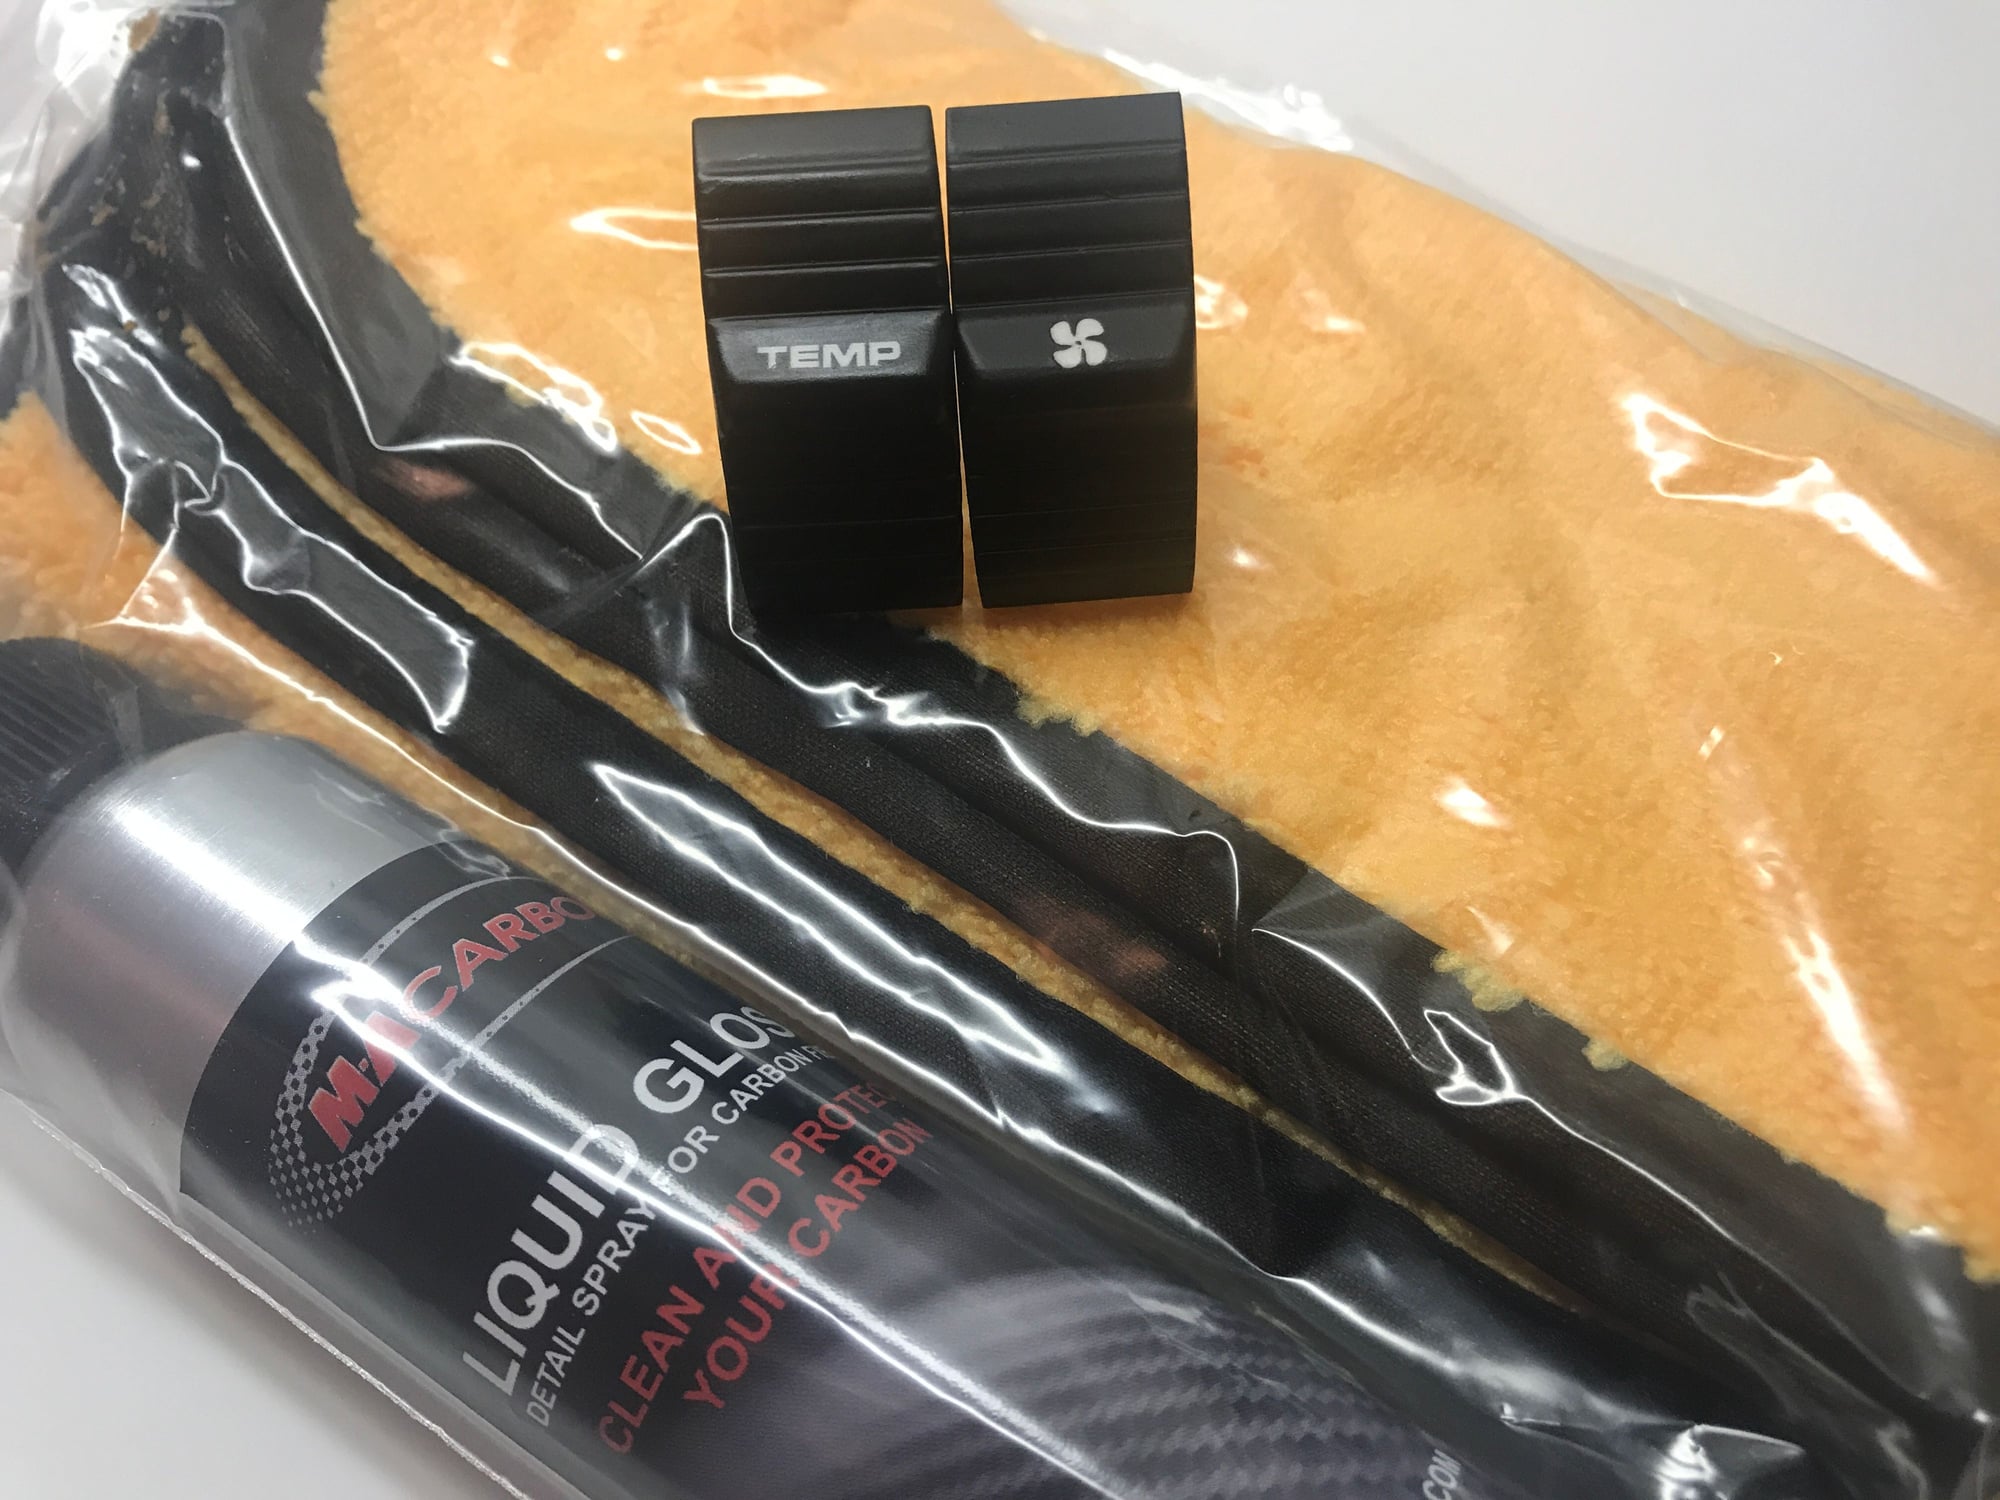
I got mine today. They look perfectly perfect and have the oem rubberized coating. Packaging was nice and John even sent a microfiber towels and cleaner along with it.
I got mine today. They look perfectly perfect and have the oem rubberized coating. Packaging was nice and John even sent a microfiber towels and cleaner along with it. Will send some install pics once I dig in.
I want to say thanks to TheBruce for really pushing this project along. We have been working on refinishing Ferrari interior plastic and it was his encouragement that really got us moving on this Porsche centered project. The Ferraris have it much worse. Imagine every piece of plastic in your interior doing this and also being sticky at the same time. Poor Ferrari owners!
With TheBruce's encouragement, we did three sets as a proof of concept. We've already sold two sets with one left. If anyone wants a set at the discounted rate, we have the one more. For a Rev1, I'm pretty happy with them. I think for something that you don't really look at up close, its fine. But with many years of carbon work behind us, we don't like to do things that are 'just fine'.
So on to Rev2....with the second group, we're refining the graphics a bit more and will also be doing more prep on the part before painting. This will take care of a few of the surface defects that Rev1 suffered from. I'm confident Rev2 will be really nice. They should look perfect when you open the shipping box and look at them closely. Not just when they are installed in the car.
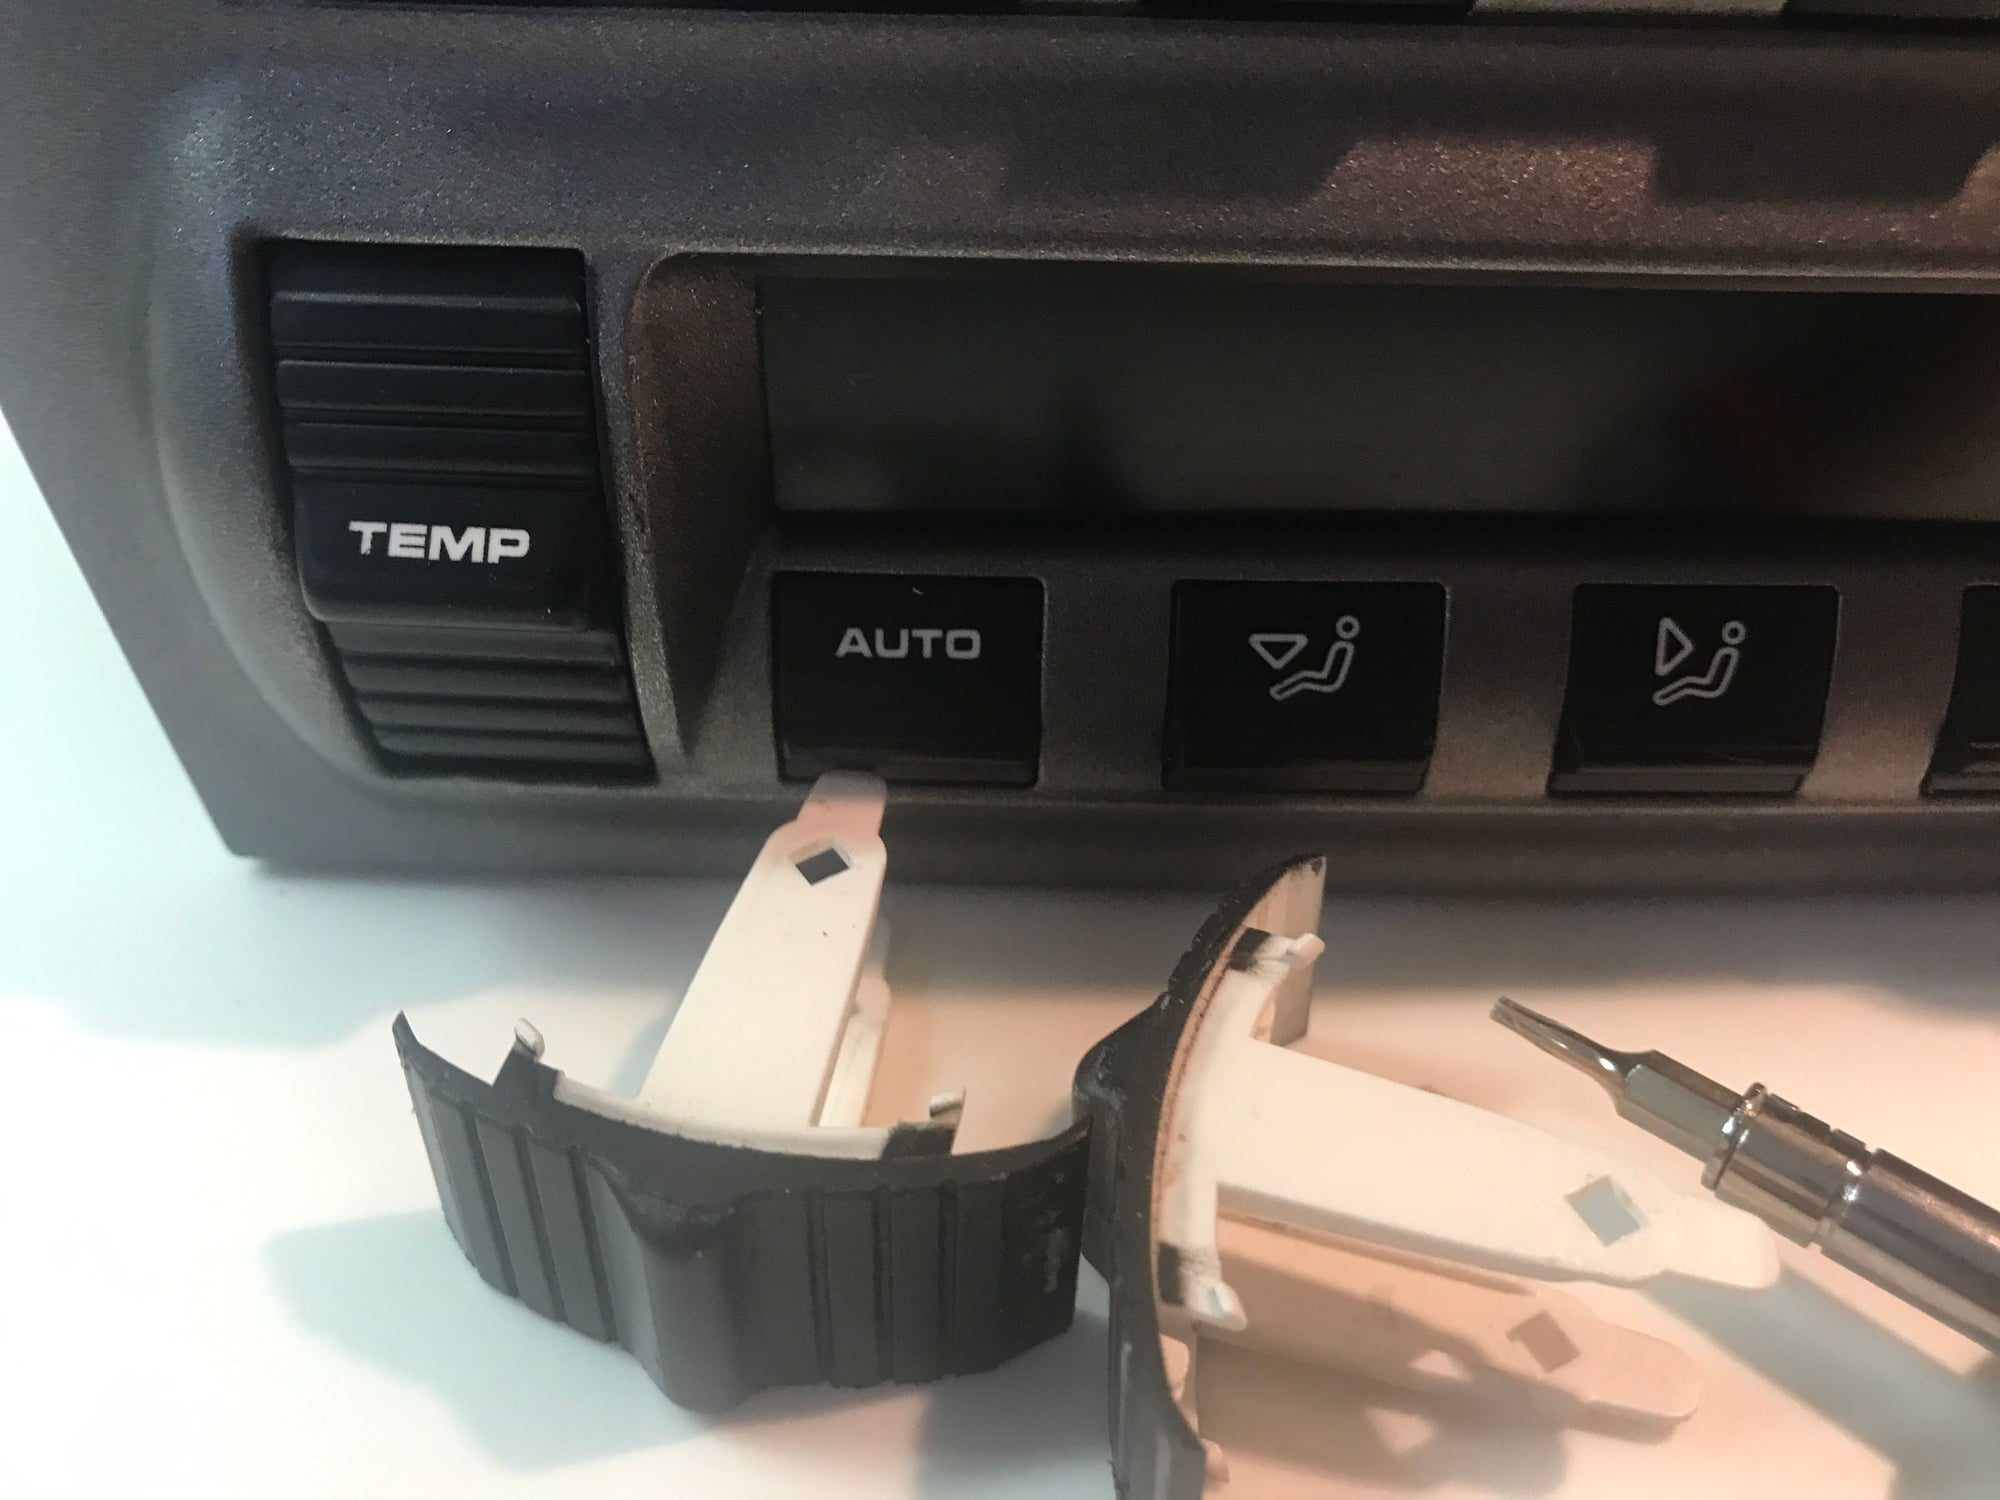
As for cosm3os skepticism... I certainly understand. I hope with Rev2 you will give it some consideration. MAcarbon has committed to the project as we now own eight AC units.... or what were AC units. See the attached photo of the 'carcasses' after button extraction. We need to do a nice job on these as it will take a good number of sales before we begin to break even! (You might notice in my haste to take a pic, I missed one button!)
In the next few days we'll get the product on the website. But if anyone would like that final Rev1 set, please get in contact.
@macarbon_john - fantastic job! They look perfect.
I appreciate you taking the time and effort to solve a problem for the community like this. I will do a writeup once I get mine installed. If you already haven't, I would post this to the 986/987 channel as well.
One thing I realized last night that might be a nice touch to add to the kit is a T6 bit. I took mine out only to realize I don't have a T6 to take the face off. Most people only have T10s.
Got them istalled over lunch. 30 minutes job minus the trip to the store to get a T6. Very easy:
- remove the unit from the dash and u plug 2 cables.
- remove 4 T6 screws to remove the front panel
- remove 8 T6 screws to remove the pcb board
- drop the lcd out catefully
- remove 10yr old coke stains from the back of the lcd panel
- push a small flat head to undue the clips on either side of the button. This is a little fiddley.
- push the little plungers in to push the button out.
- push the new buttons back in
- button up and your done
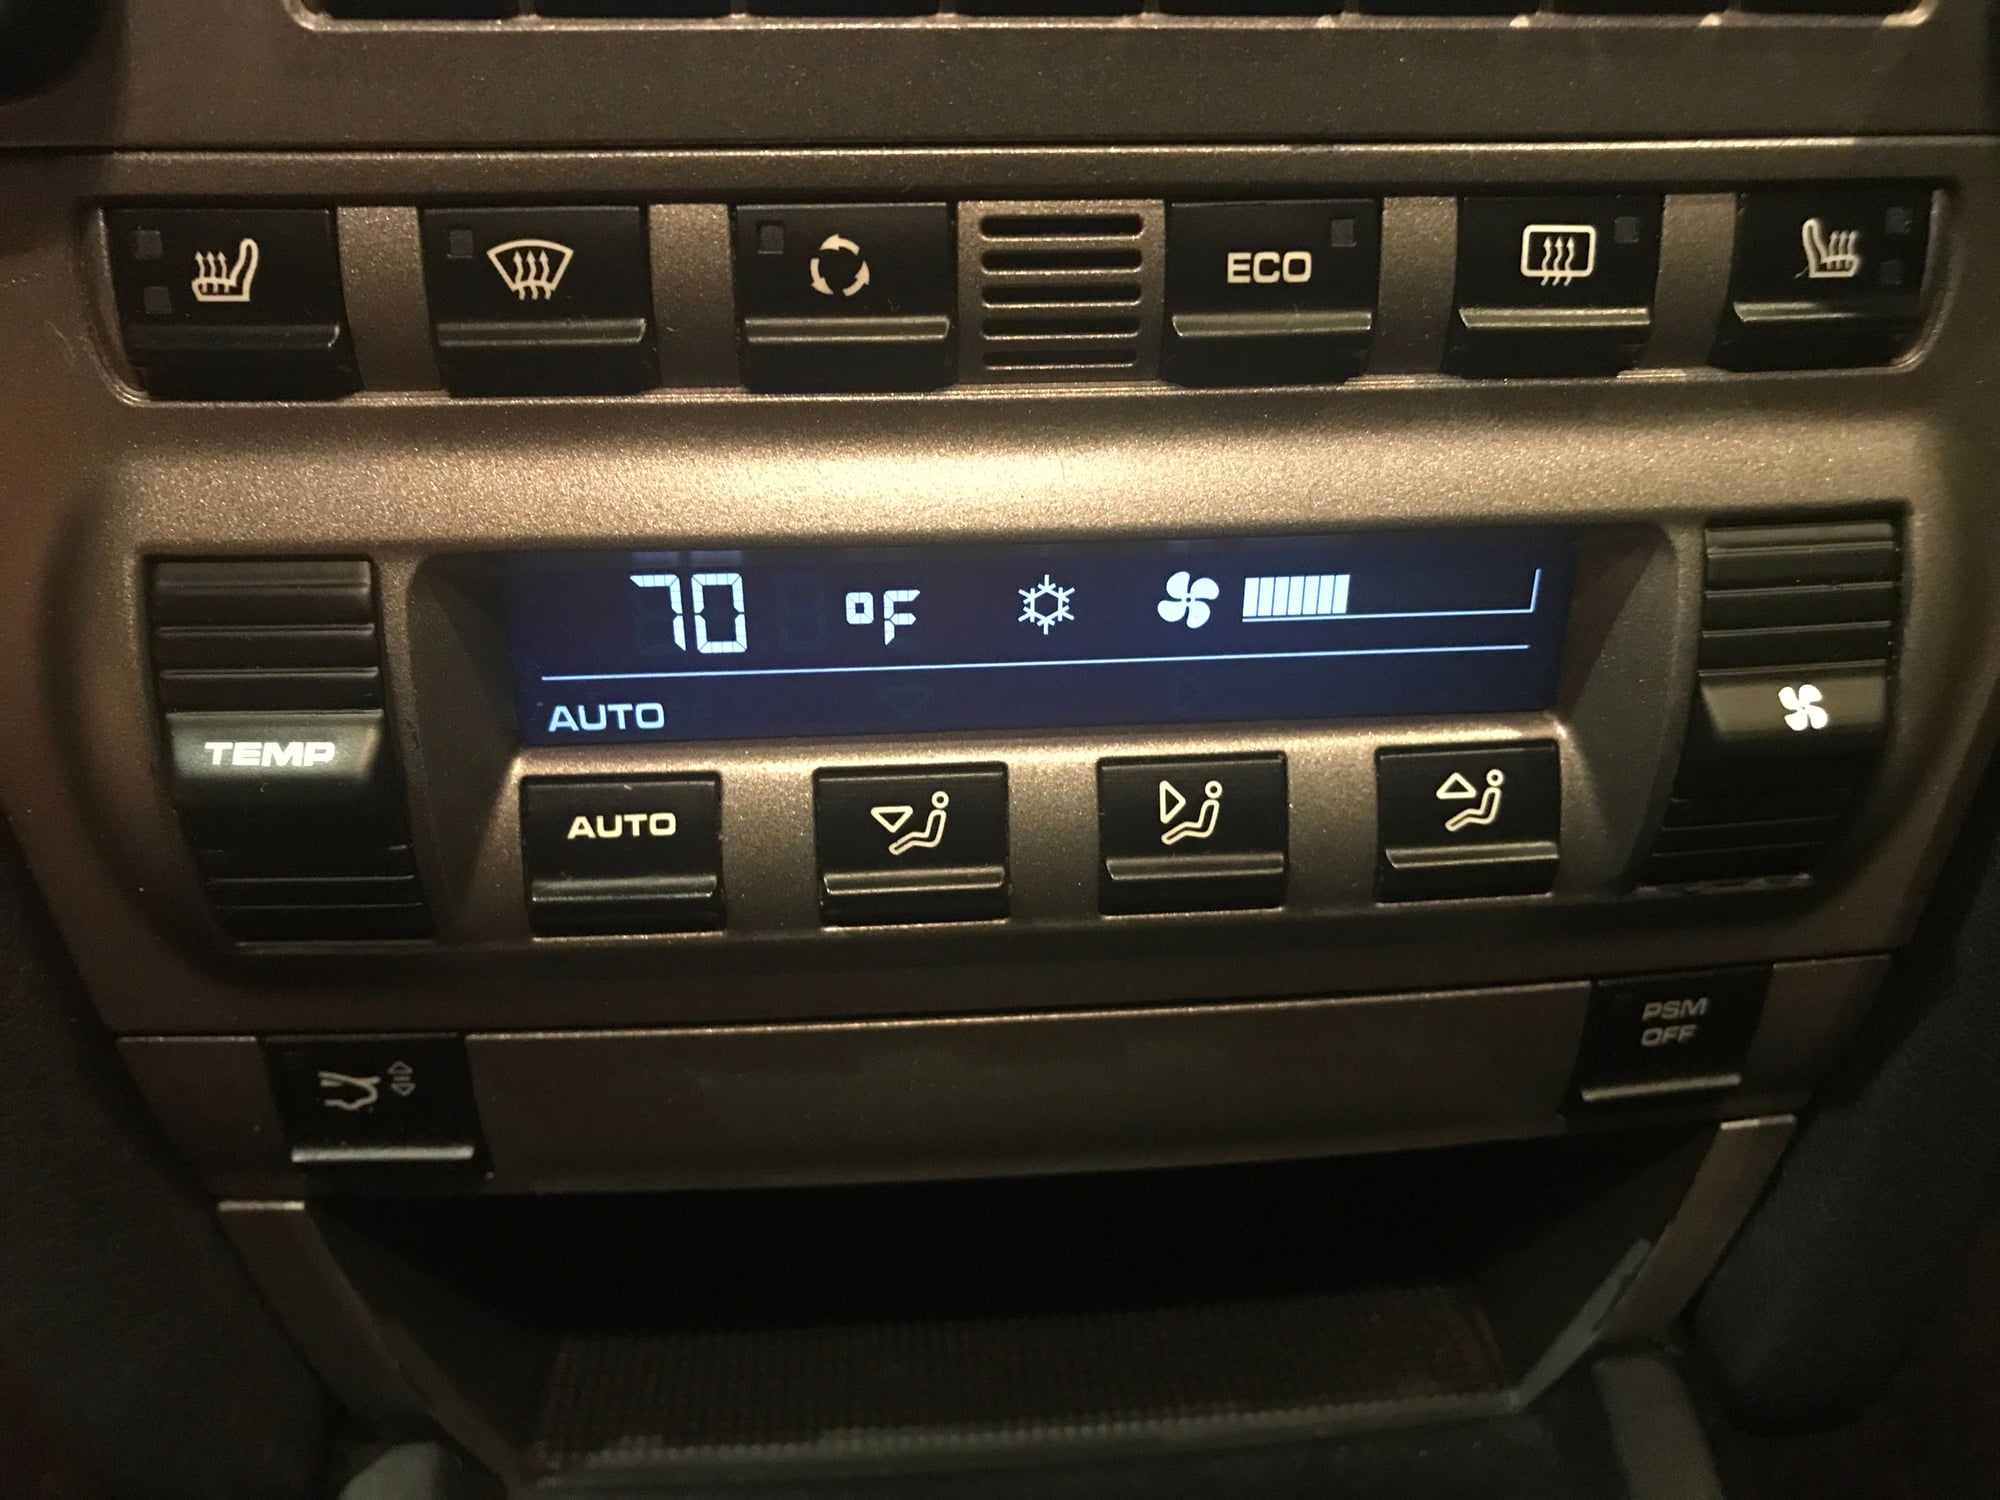
Came out excellent and the side benefit is my climate control lcd is a lot brighter after cleaning the coke stains off the back. I though the lcd was going bad but it was just crusty coke...
John pointed out the temp button backlight looks a little dimmer but I think that might be the angle.


 10-03-2017 | 06:53 PM