When you click on links to various merchants on this site and make a purchase, this can result in this site earning a commission. Affiliate programs and affiliations include, but are not limited to, the eBay Partner Network.
Basically,
the Quest alternator is a direct bolt-on (some found that there were different cases available, some of which had a bolt in a spot that required a little grinding on the alternator bracket but you solved that already ) to the late 944.
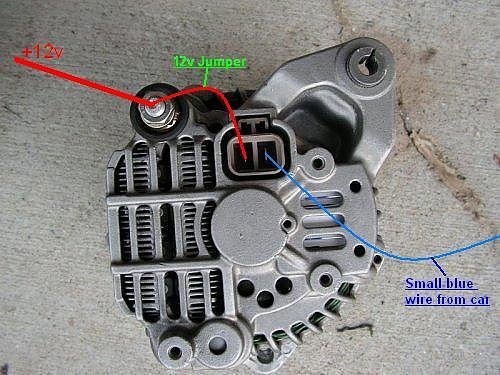
If you look at the back of the alternator there is the power lug and a 2-pin connector. You hook up your alternator light (blue wire) to one of those pins and jumper from the other pin to the power lug.
That's it.
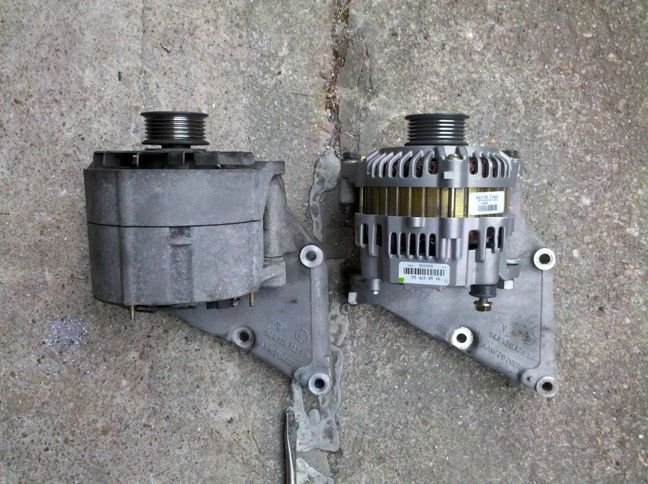
it's a 130A alternator with a much smaller case so you get turbo inlet clearance. Also it has dual internal fans and more venting so it probably runs cooler than the old Bosch monster.
Thanks Spencer!
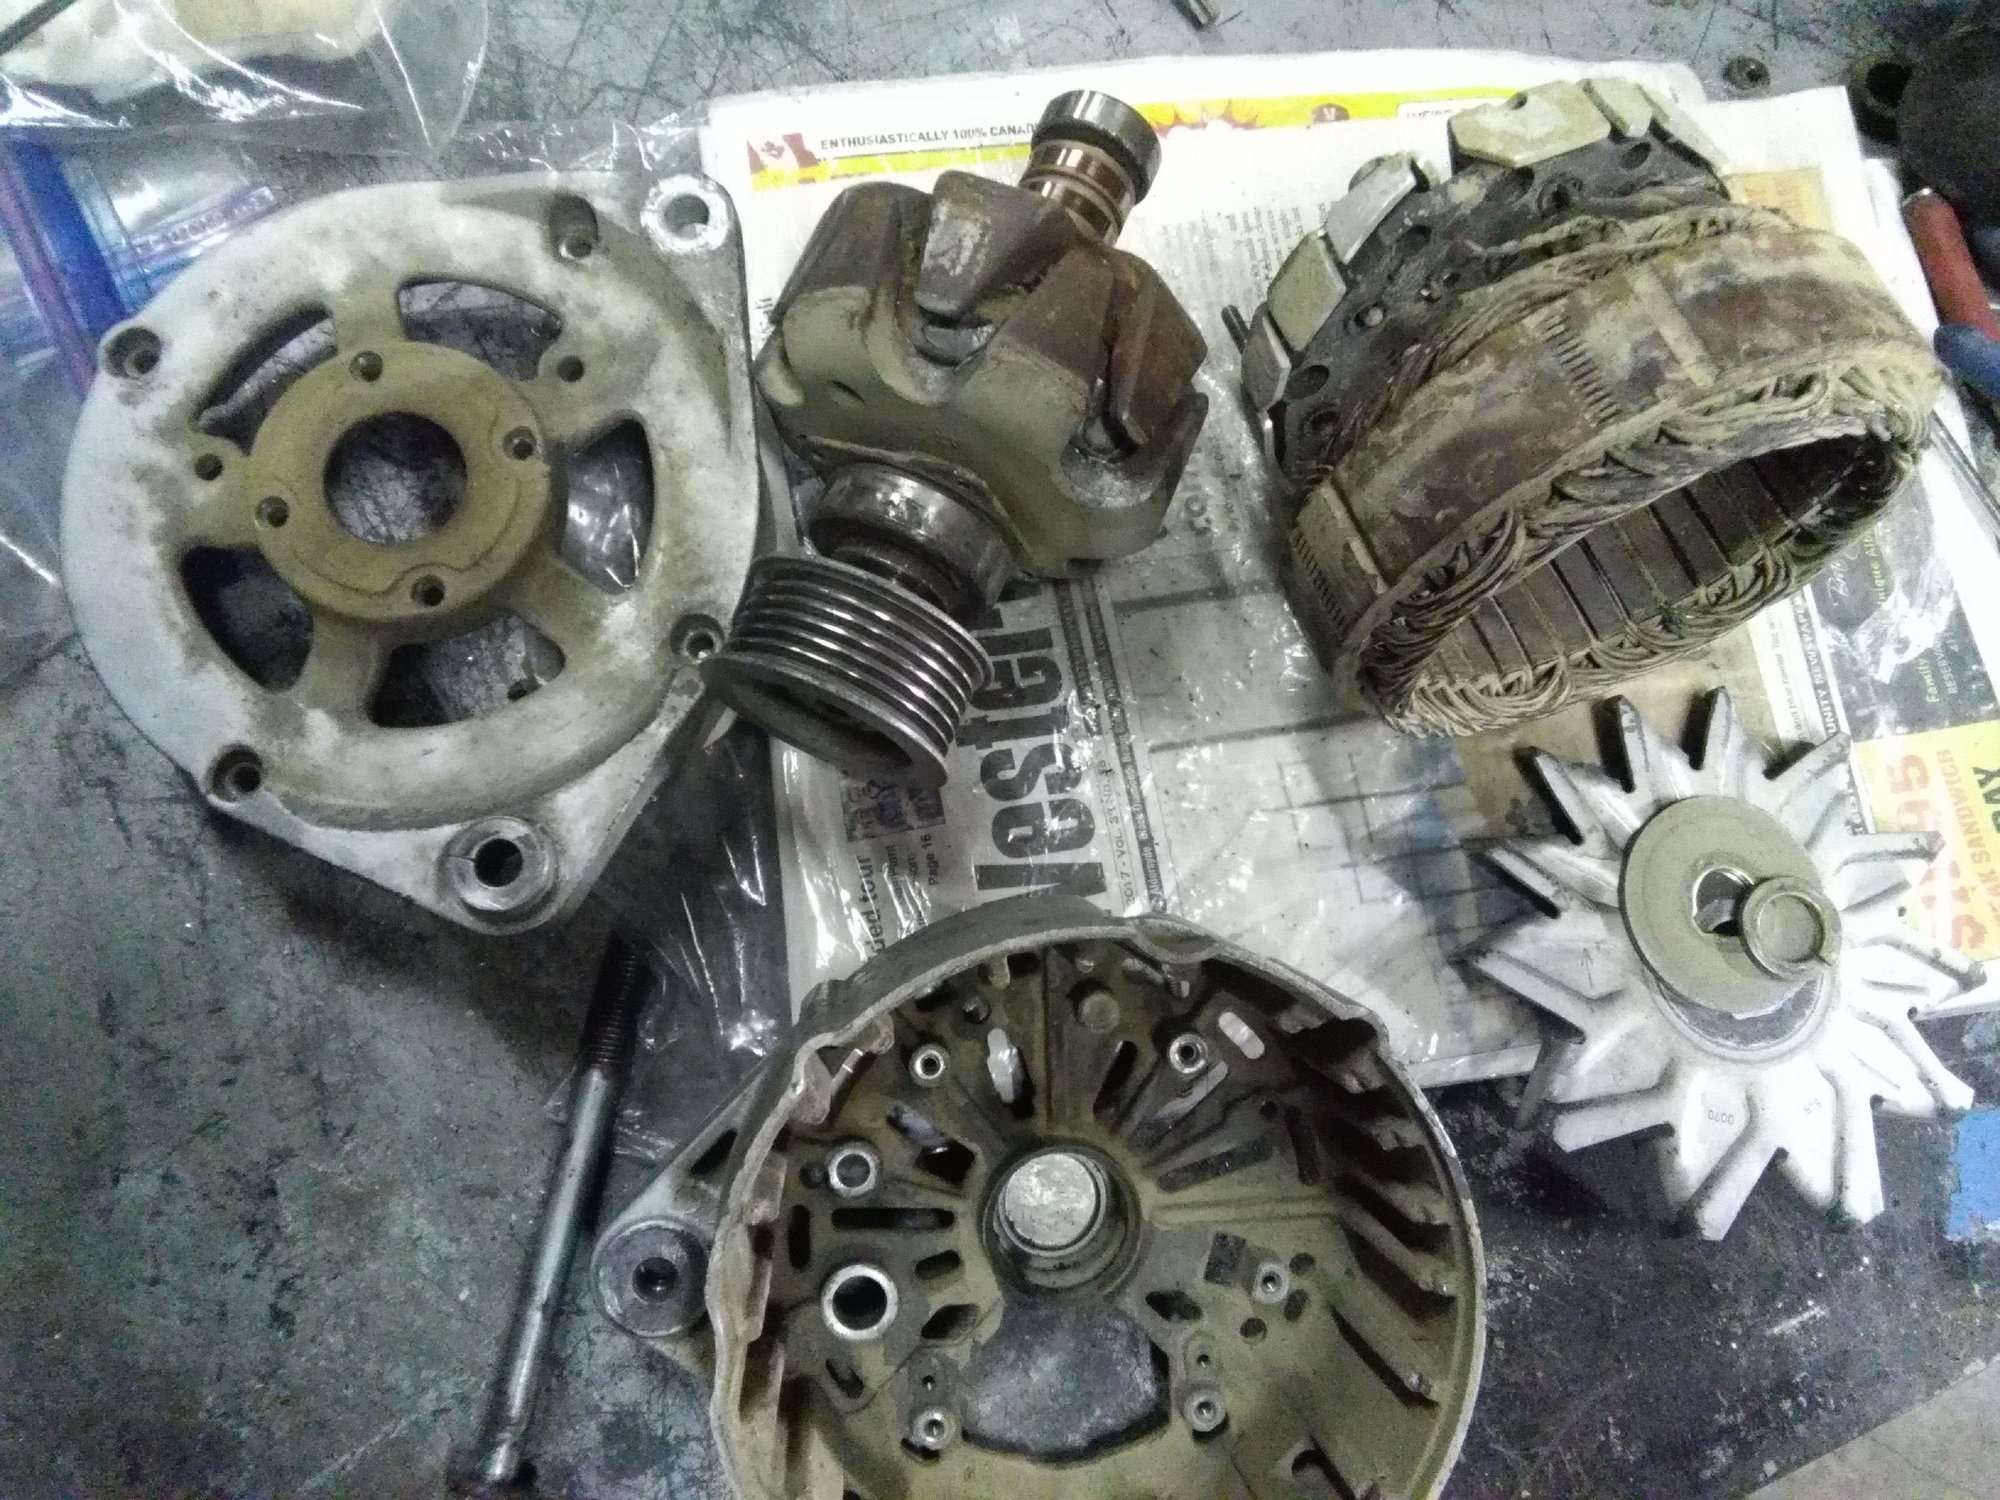
Also I found this online to show scale.
It's definatly an upgrade alternator.
It's would be even better for the 951 if the positive post was away from the top.
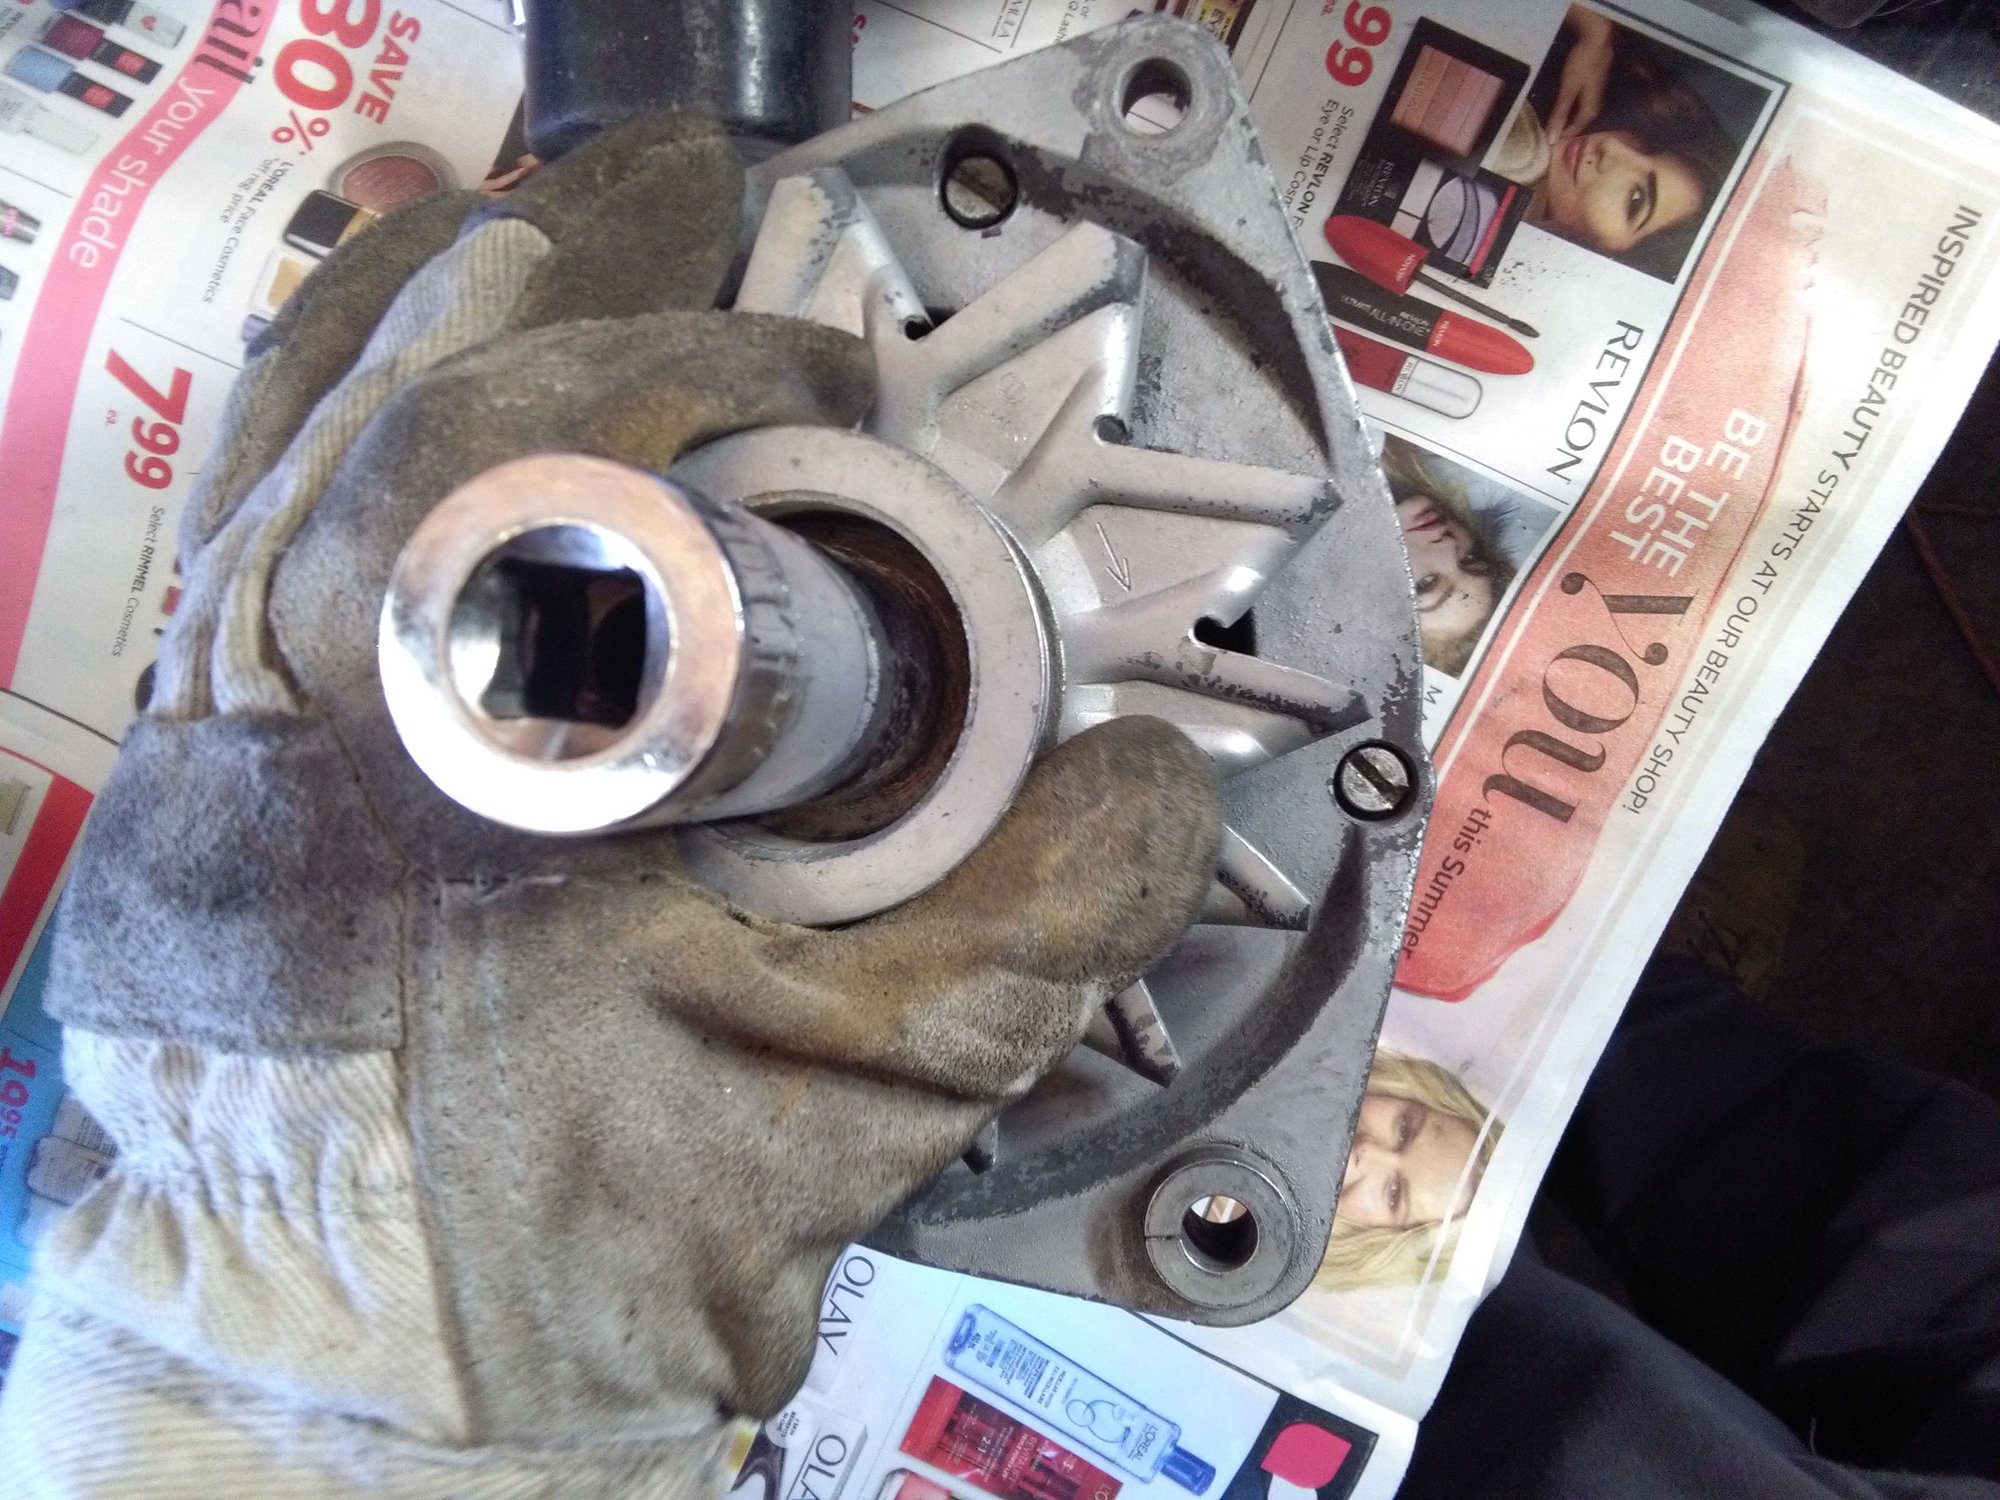
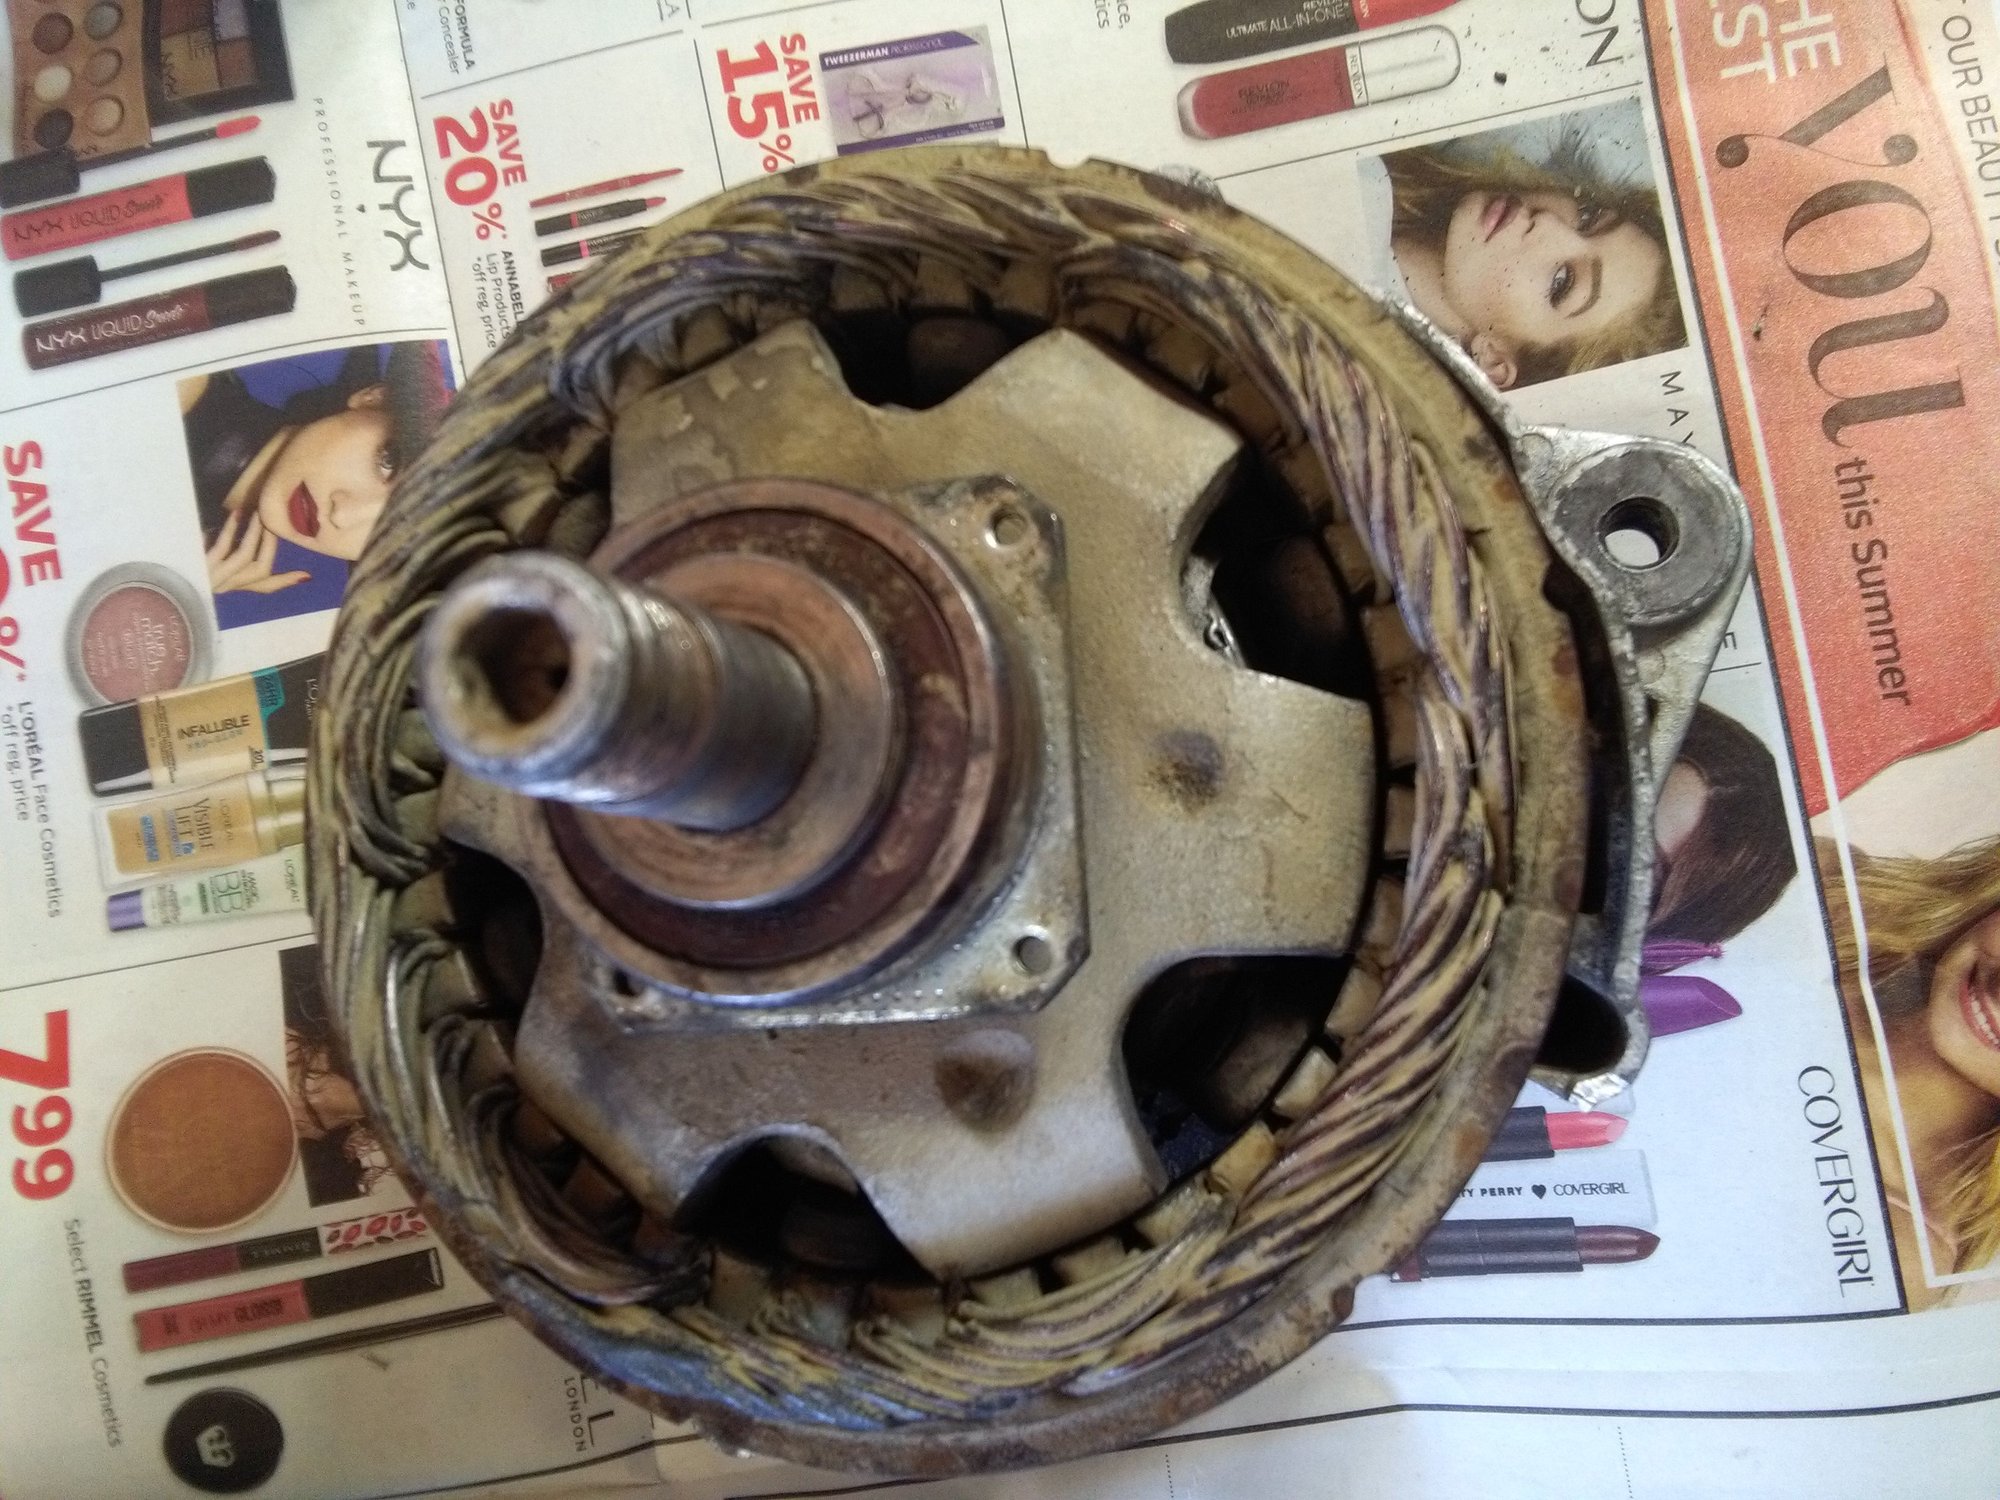
Side bar for those (like myself) who've never taken one of these apart. 4 easy steps:
Step 1) Remove anything on the back that is attached with screws.
Step 2:Using a 24mm socket & electric or air impact gun. Hold pulley tight with work gloves. Pulley bolt is standard right hand thread so spin the nut off counter clock wise. Give'er!
note: be carefully how you handle the alt on a bench because the 2 terminals are still on the back, so I like to rest it where the 2 terminals hang off the bench slightly.
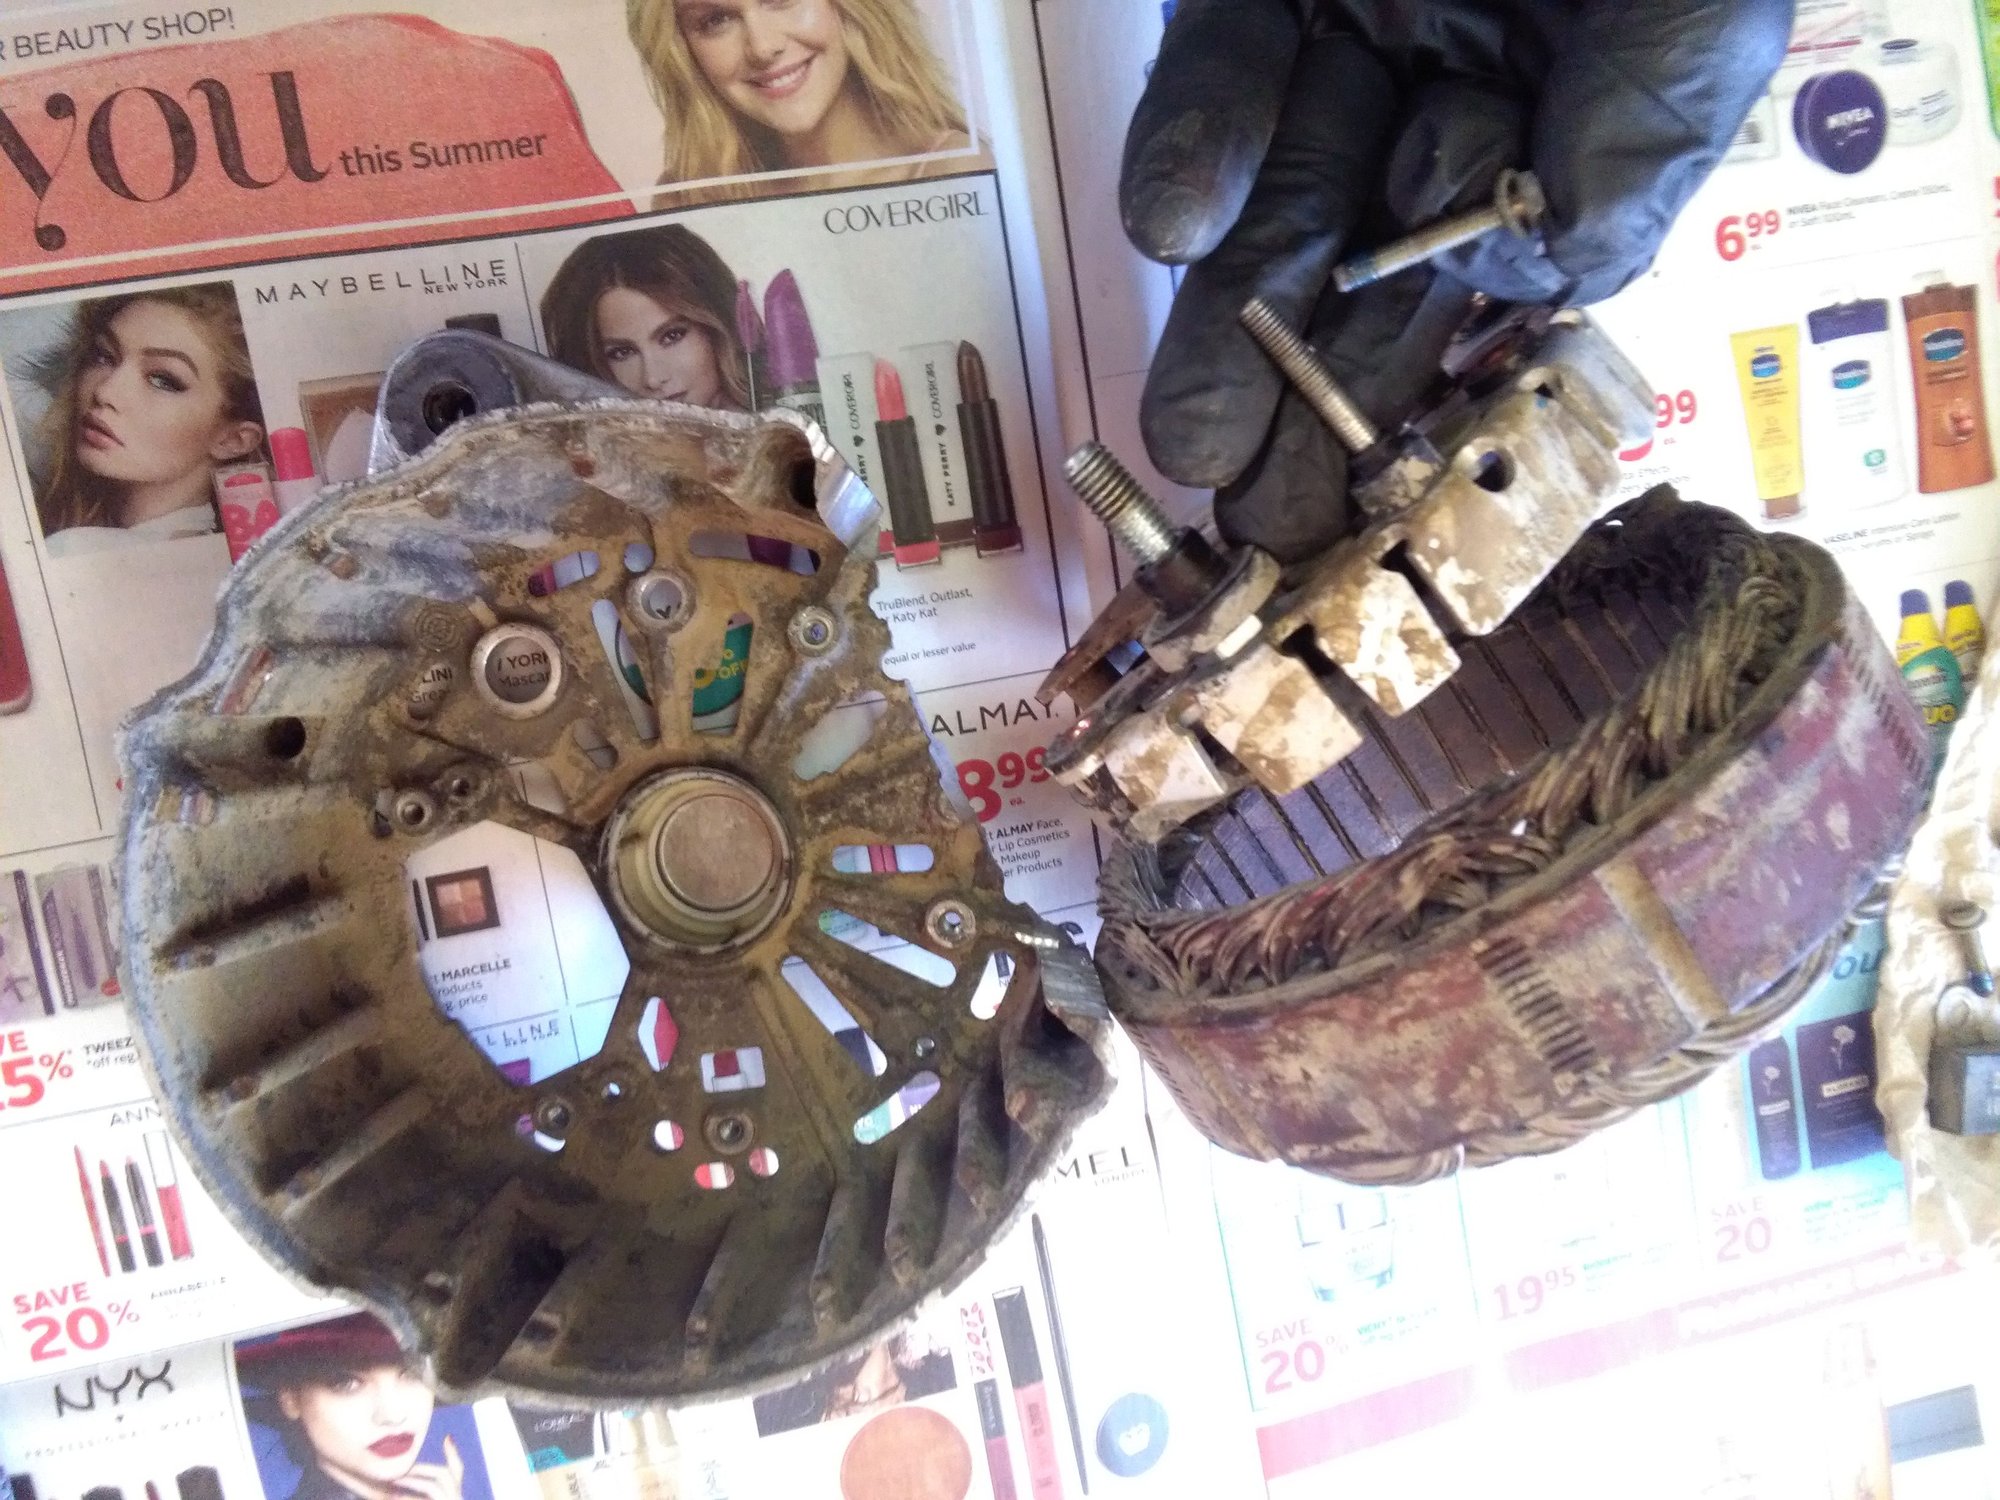
Then put pulley and nut back on to act as a handle, then gently tap both sides of the lower case off. Have some sort of cushion for the back half case to land when the case bearing bore slips off the bearing (it's a friction fit to the back of the housing or "case").
Then using a long flat head screw driver, carely remove the five screws. Be very careful as you manipulate the windings because there are around 5 delicate wires that can break easily.
Side note:
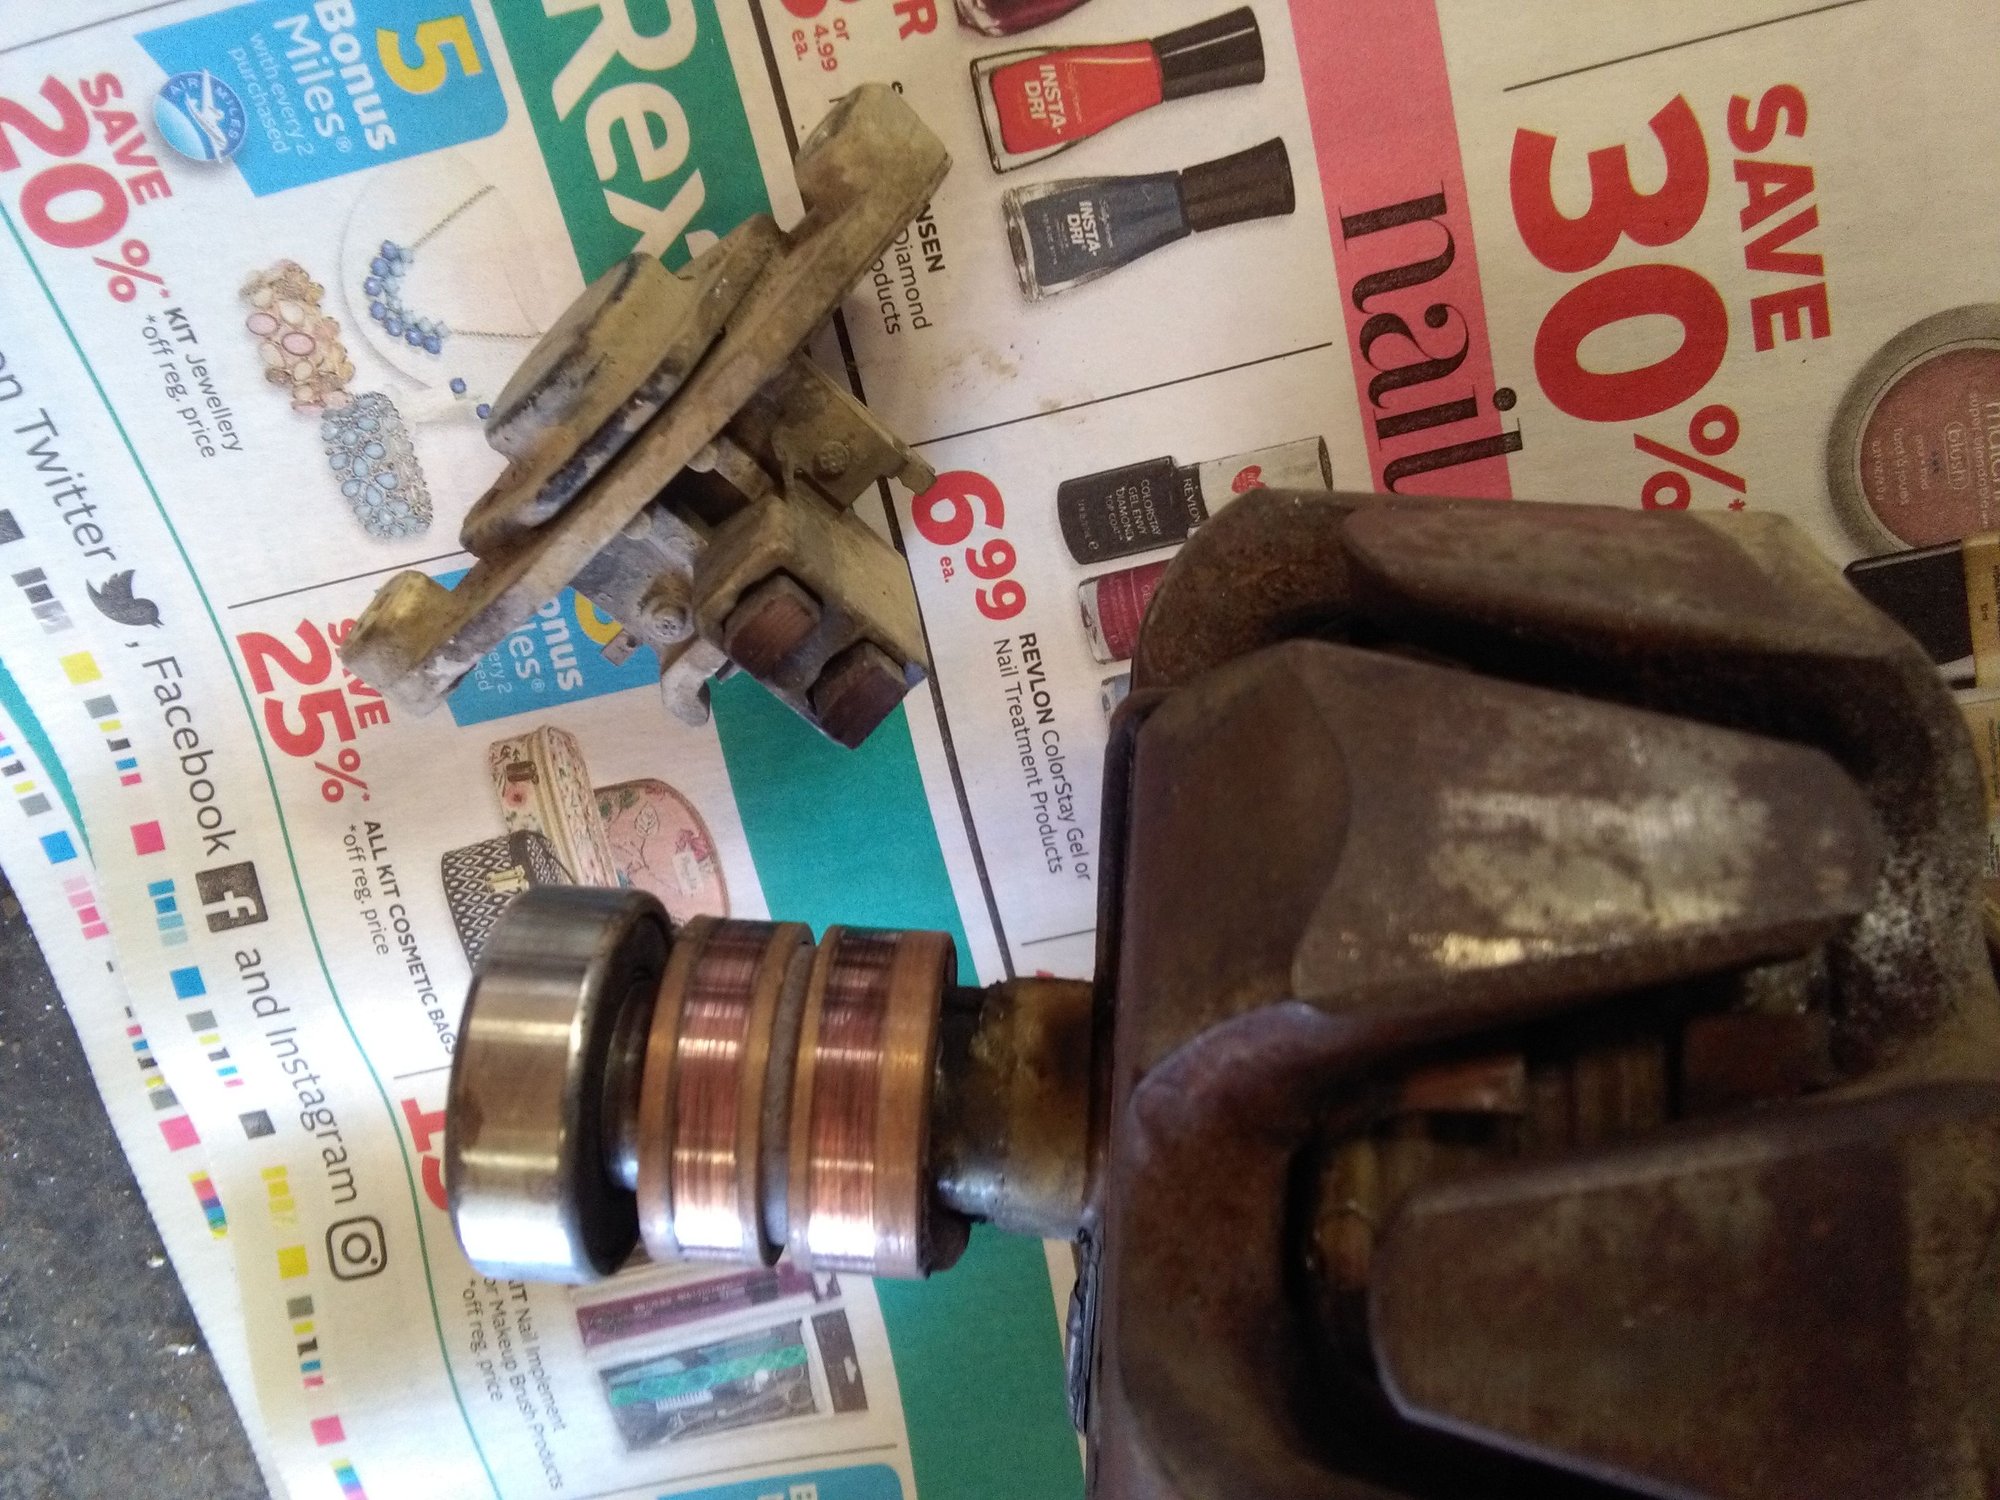
The Porsche alt is old school industrial type. It's heavy and ugly, but the later one is about 115 amps (not too bad). The 2 things I like about this alt is:
- the shaft bearings seem very durable.
- the voltage regulator is replaceable. MANY MANY MANY times when you figure you need a new alt, all you really need to do is disconnect the batt then using a flathead screwdriver on the back of the alt, replace the regulator in minutes.
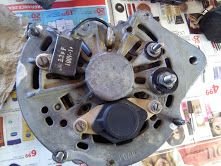
The brushes wear surface should be visually inspected. Smooth & shiny is good.
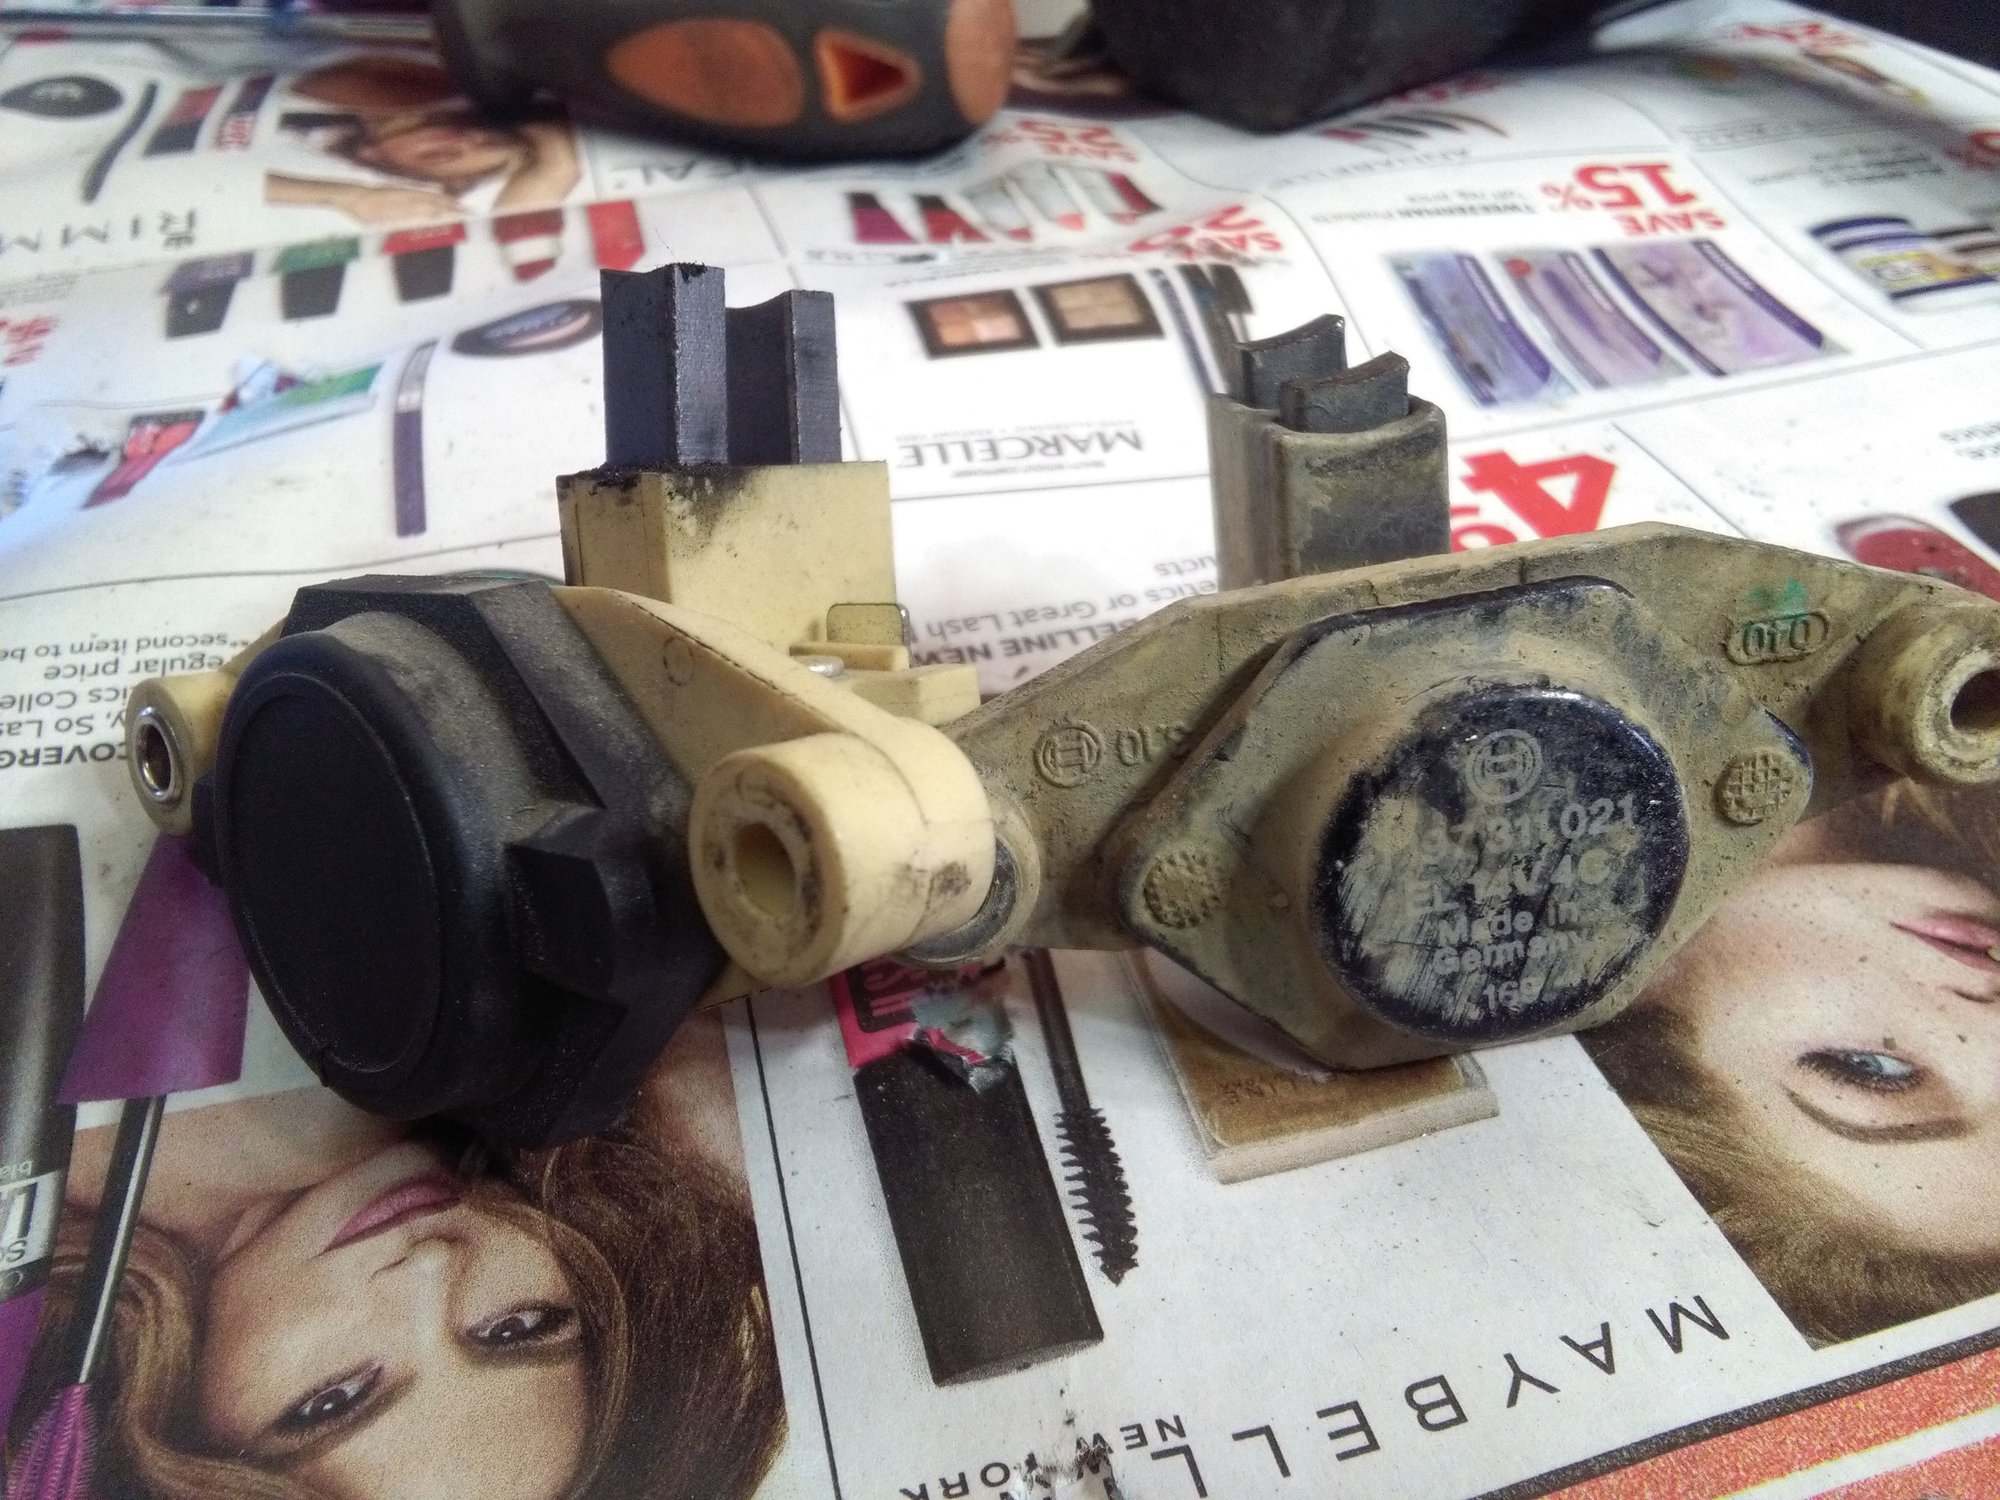
Here is a nearly new regulator on the left. Versus Wilson's on the right. Good thing I checked, all the electrical loads that poor car has to provide has worn the brushes out in only 20,000 miles!!! He'll be getting the royal treatment with the regulator on the left upon reassembly.
This car will be without a timing belt cover so yes, this is a concern in more ways than one. It has to be treated with care & respect at every stage. Not wrenched on by monkeys either.
Good to know. I am going to do what makes most sense to me & then see what the factory does, then make a commitment. Fitting these sections of hose & pipe isn't easy & you've heard me complaint of this IC design before. I just ordered 1 silicone adapter coupler (2.5 to 3") from TB to IC pipe.
Honestly right now I'm reconsidering everything. I need to be super adaptable in order to make things work. That's why the body work & paint job comes very last.
For instance. I'm considering the exhaust "in" to the turbine coming from the front of the engine. I'm also considering a single 3" exhaust with both my mufflers in series rather than dual side dumps like I was chin wagging about before.
Always a good idea to see how the factory (or just other MFRs) have done it. Reinventing the wheel and all, but sometimes you just want a different tire
I was having a hell of a time figuring how to route my intercooler plumbing with my custom front-end structure without weakening it, and having to work around pop-up lights and stock hood latch.
Literally spent 3 years trying to get a solution I liked.
Then realized...I can just lower the radiator frame and make the hood latch longer and VOILA...
Sometimes you just got to sit in front of the car, beer in hand, and stare at the fitment problem for a while and let your brain wander.
It's hard enough to get the stock 951 parts to fit back together again. I've spent the last couple days adjusting hose clamps and re-routing vacuum lines. Noah's task is at least 10x 'more fun'.

 04-30-2017, 02:02 AM

 ) to the late 944.