When you click on links to various merchants on this site and make a purchase, this can result in this site earning a commission. Affiliate programs and affiliations include, but are not limited to, the eBay Partner Network.
Well Done! That's a project I may embark on is a couple of years... the cashmere carpet in my C4S is faded in places and worn in a couple of others.. Nothin major, but it's 20 years old so what do yo expect.
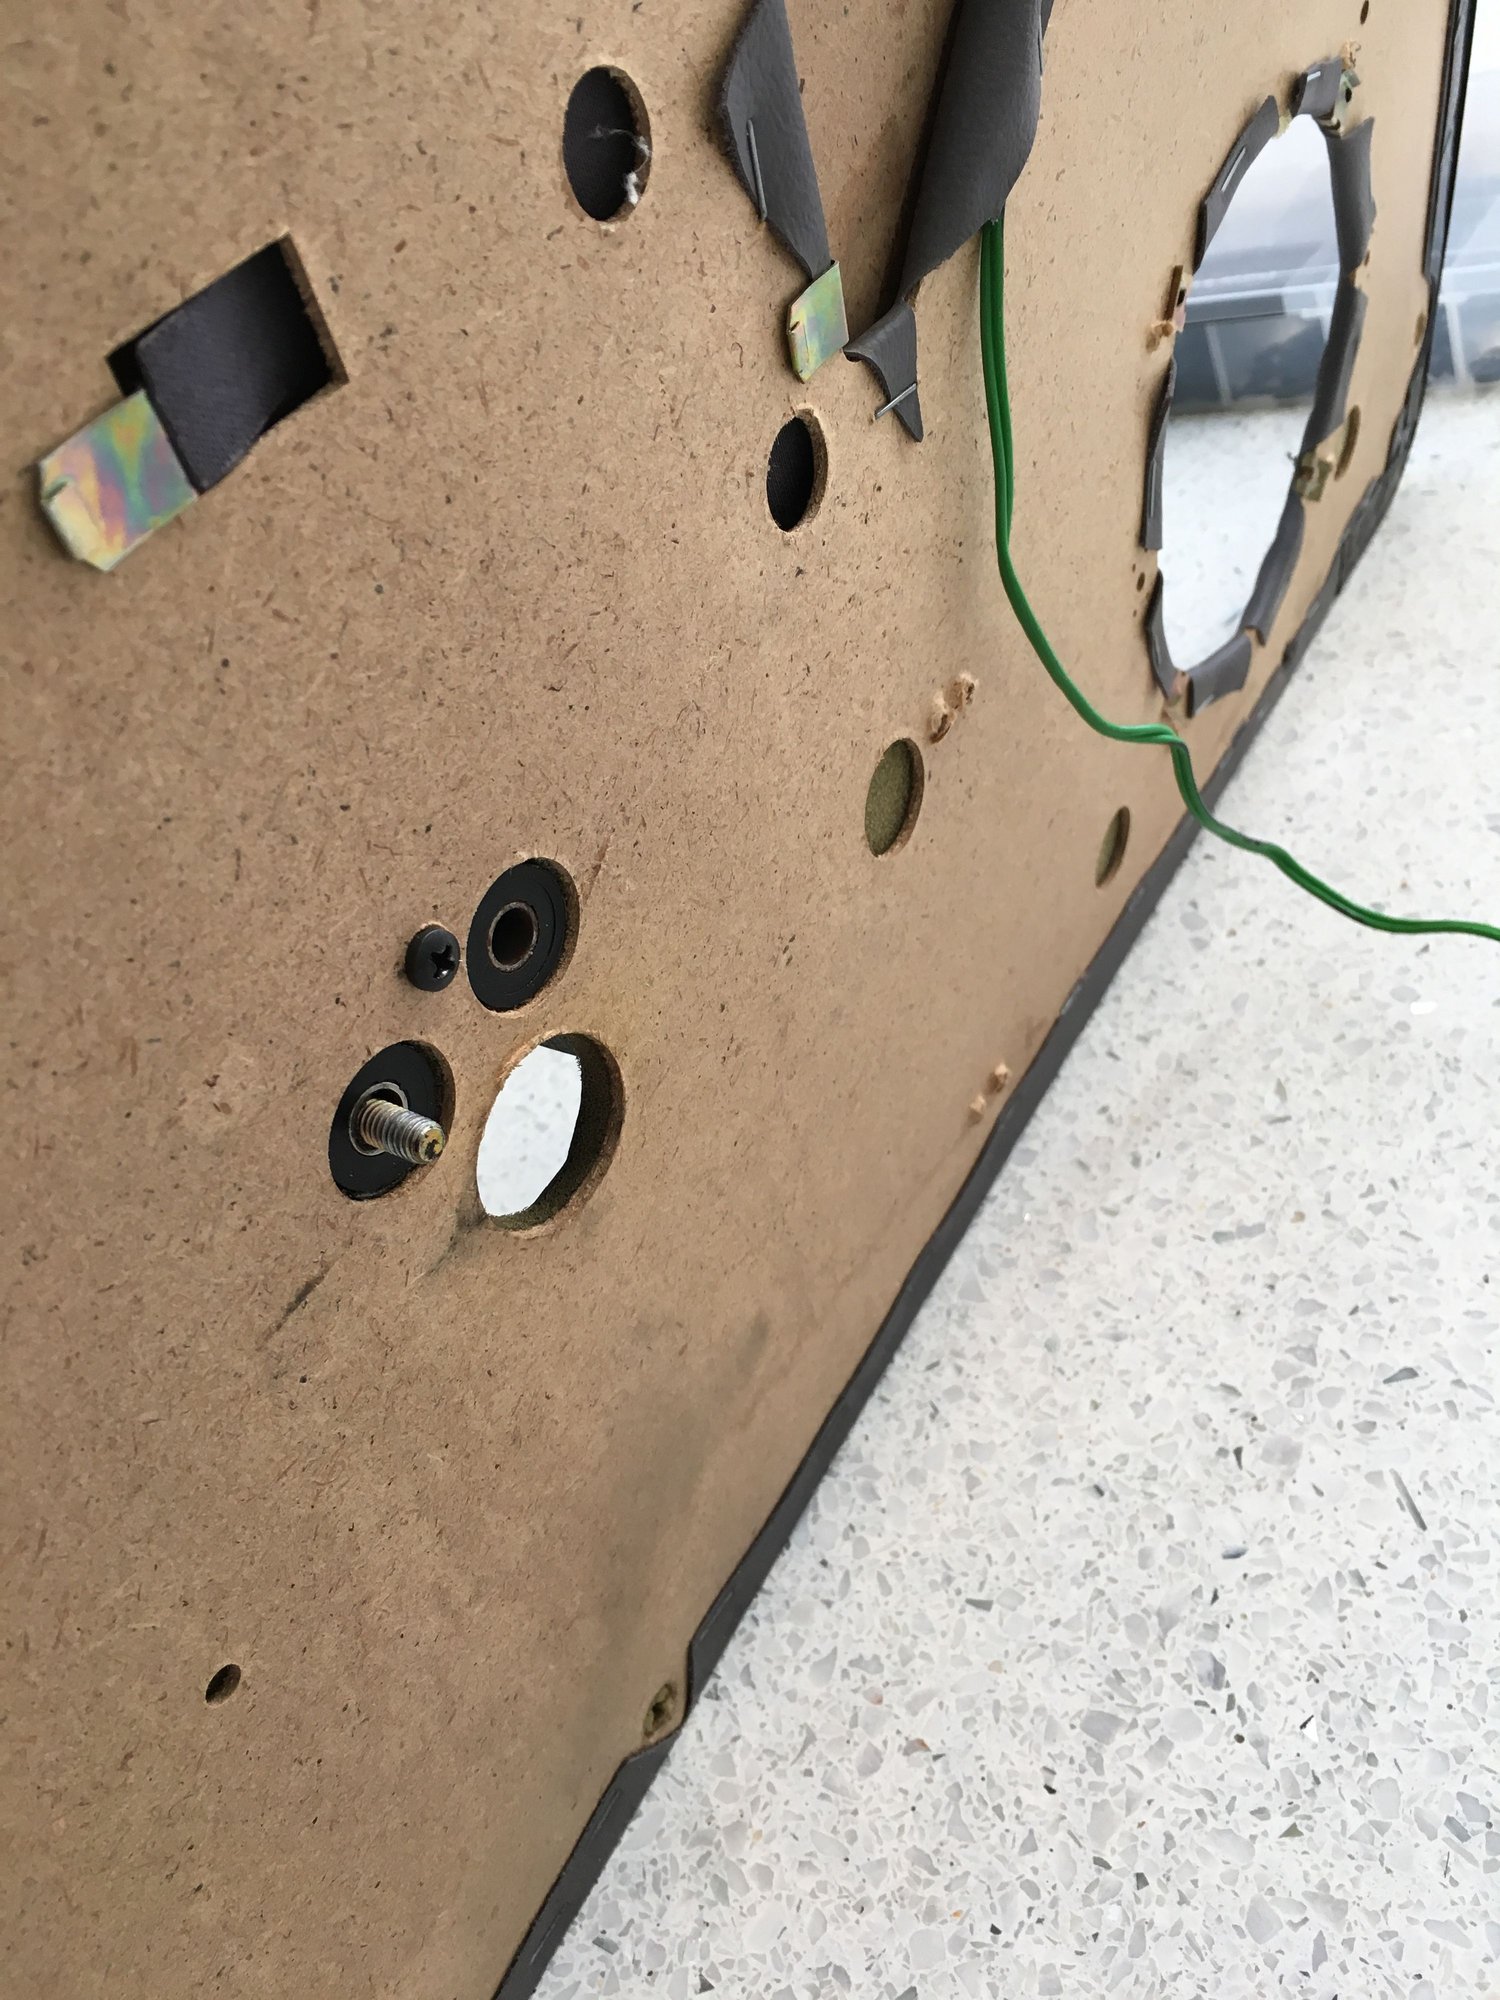
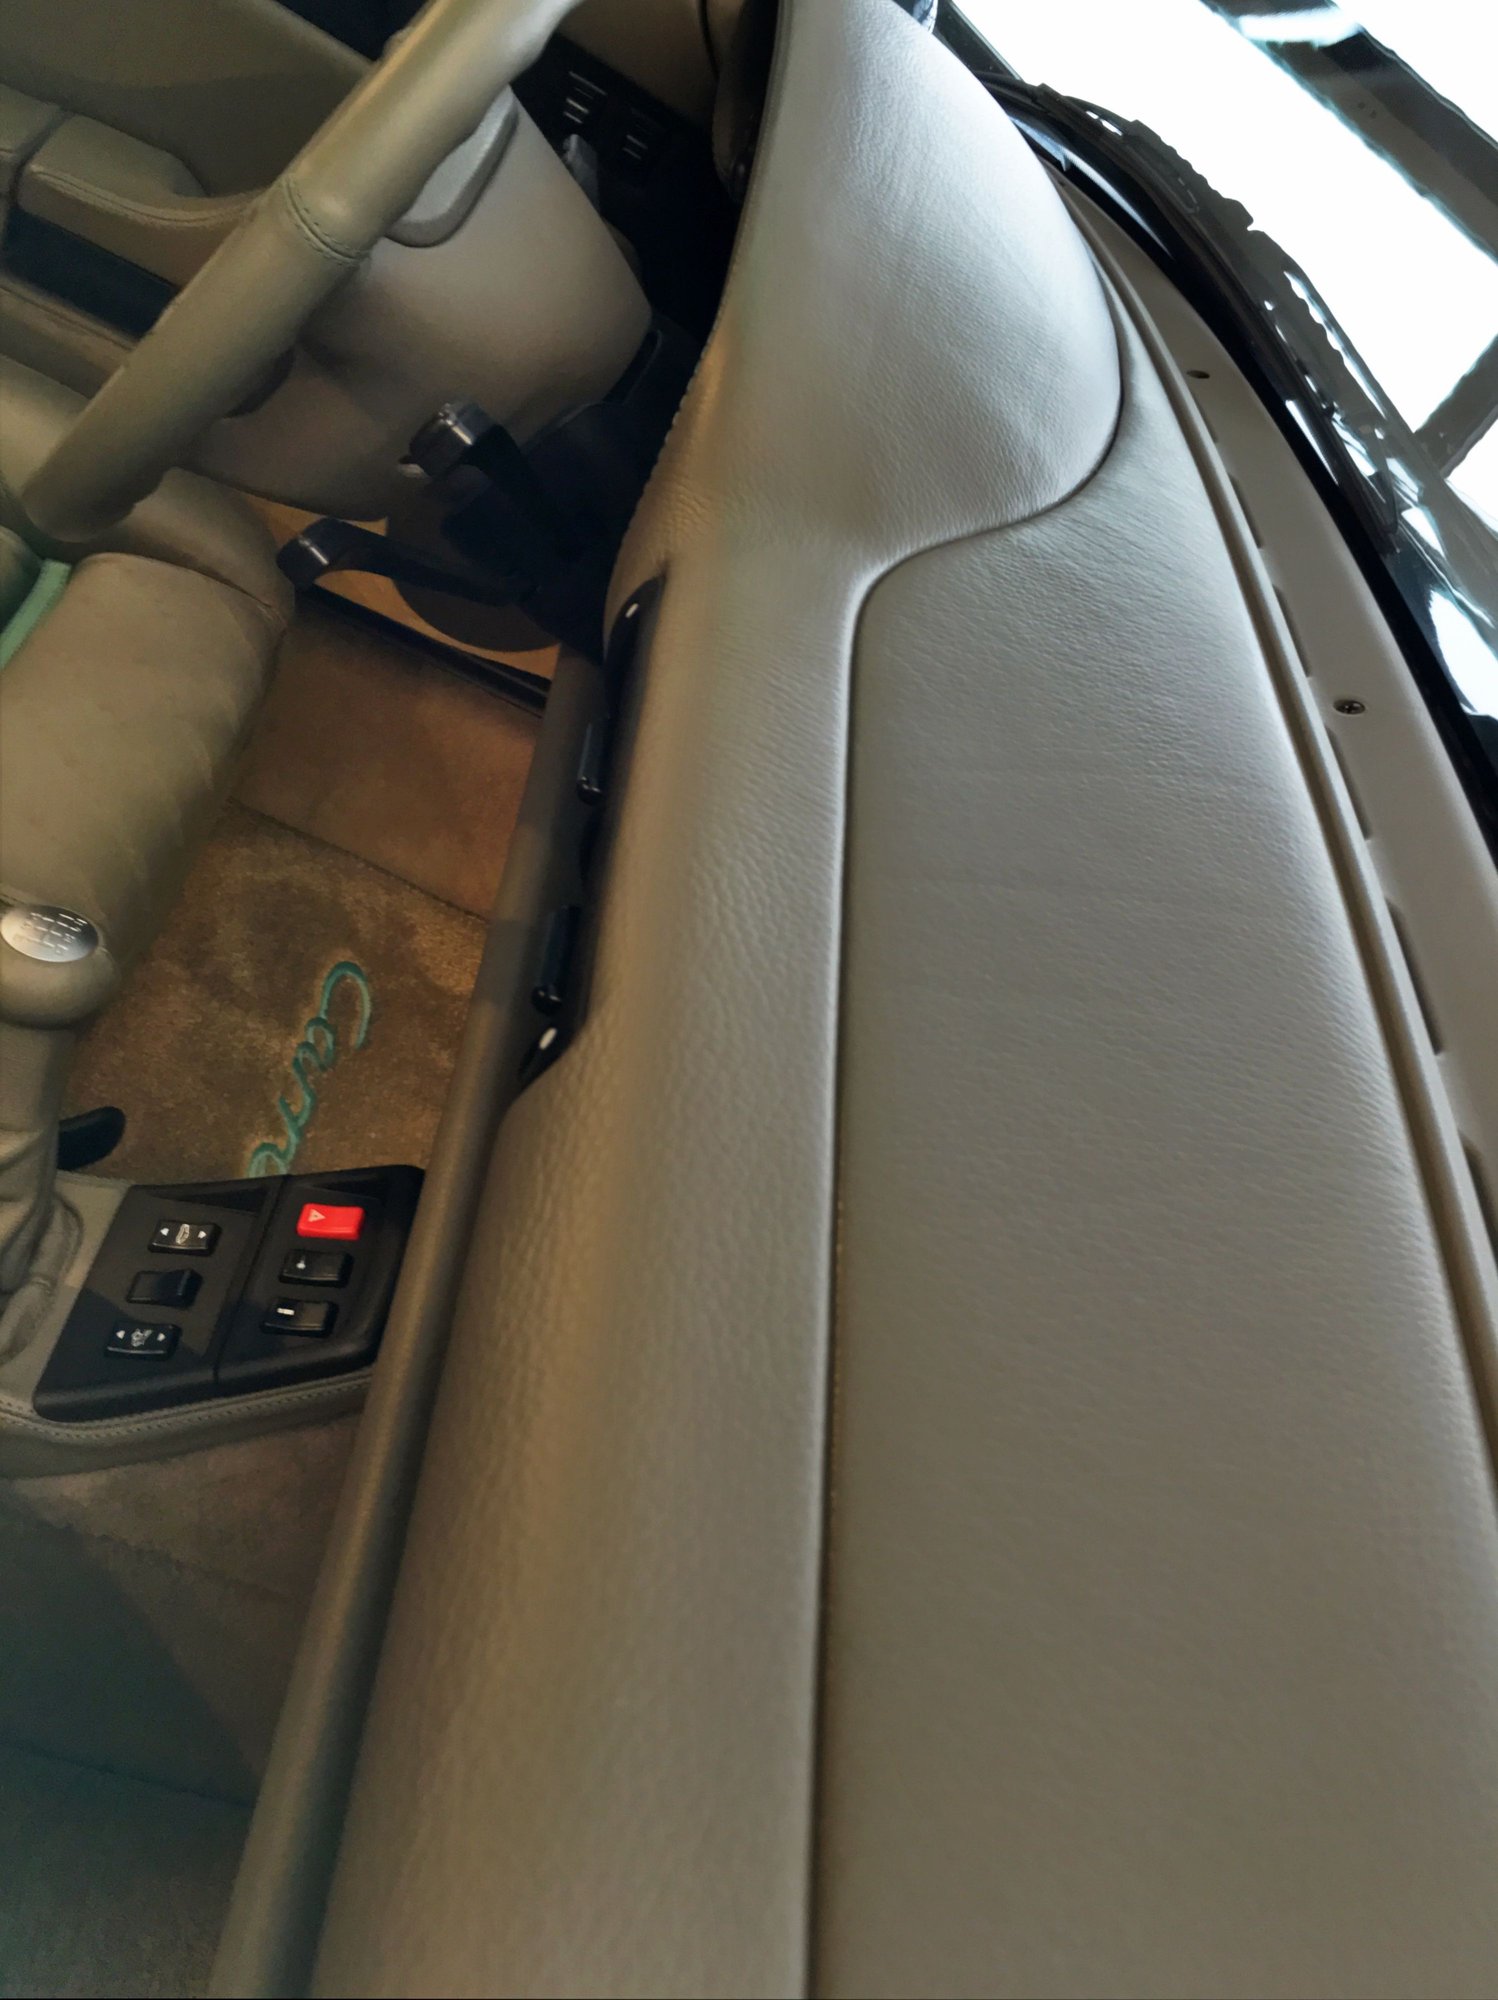
Here is something I learned --- the 97/98 door panels are different not only in just the aesthetic insert design from the 95/96 door panels. There are sections where the 97/98 door panels have added plastic to reinforce the areas where the door panels bolt onto the door.
Therefore if you are using 97/98 door panels in your car, the 3 bolts that bolt the door panel to the door won't work. Get longer bolts.... I learned this after spending a frustrating hour wondering why I couldn't seem to bolt the door panels to my car.
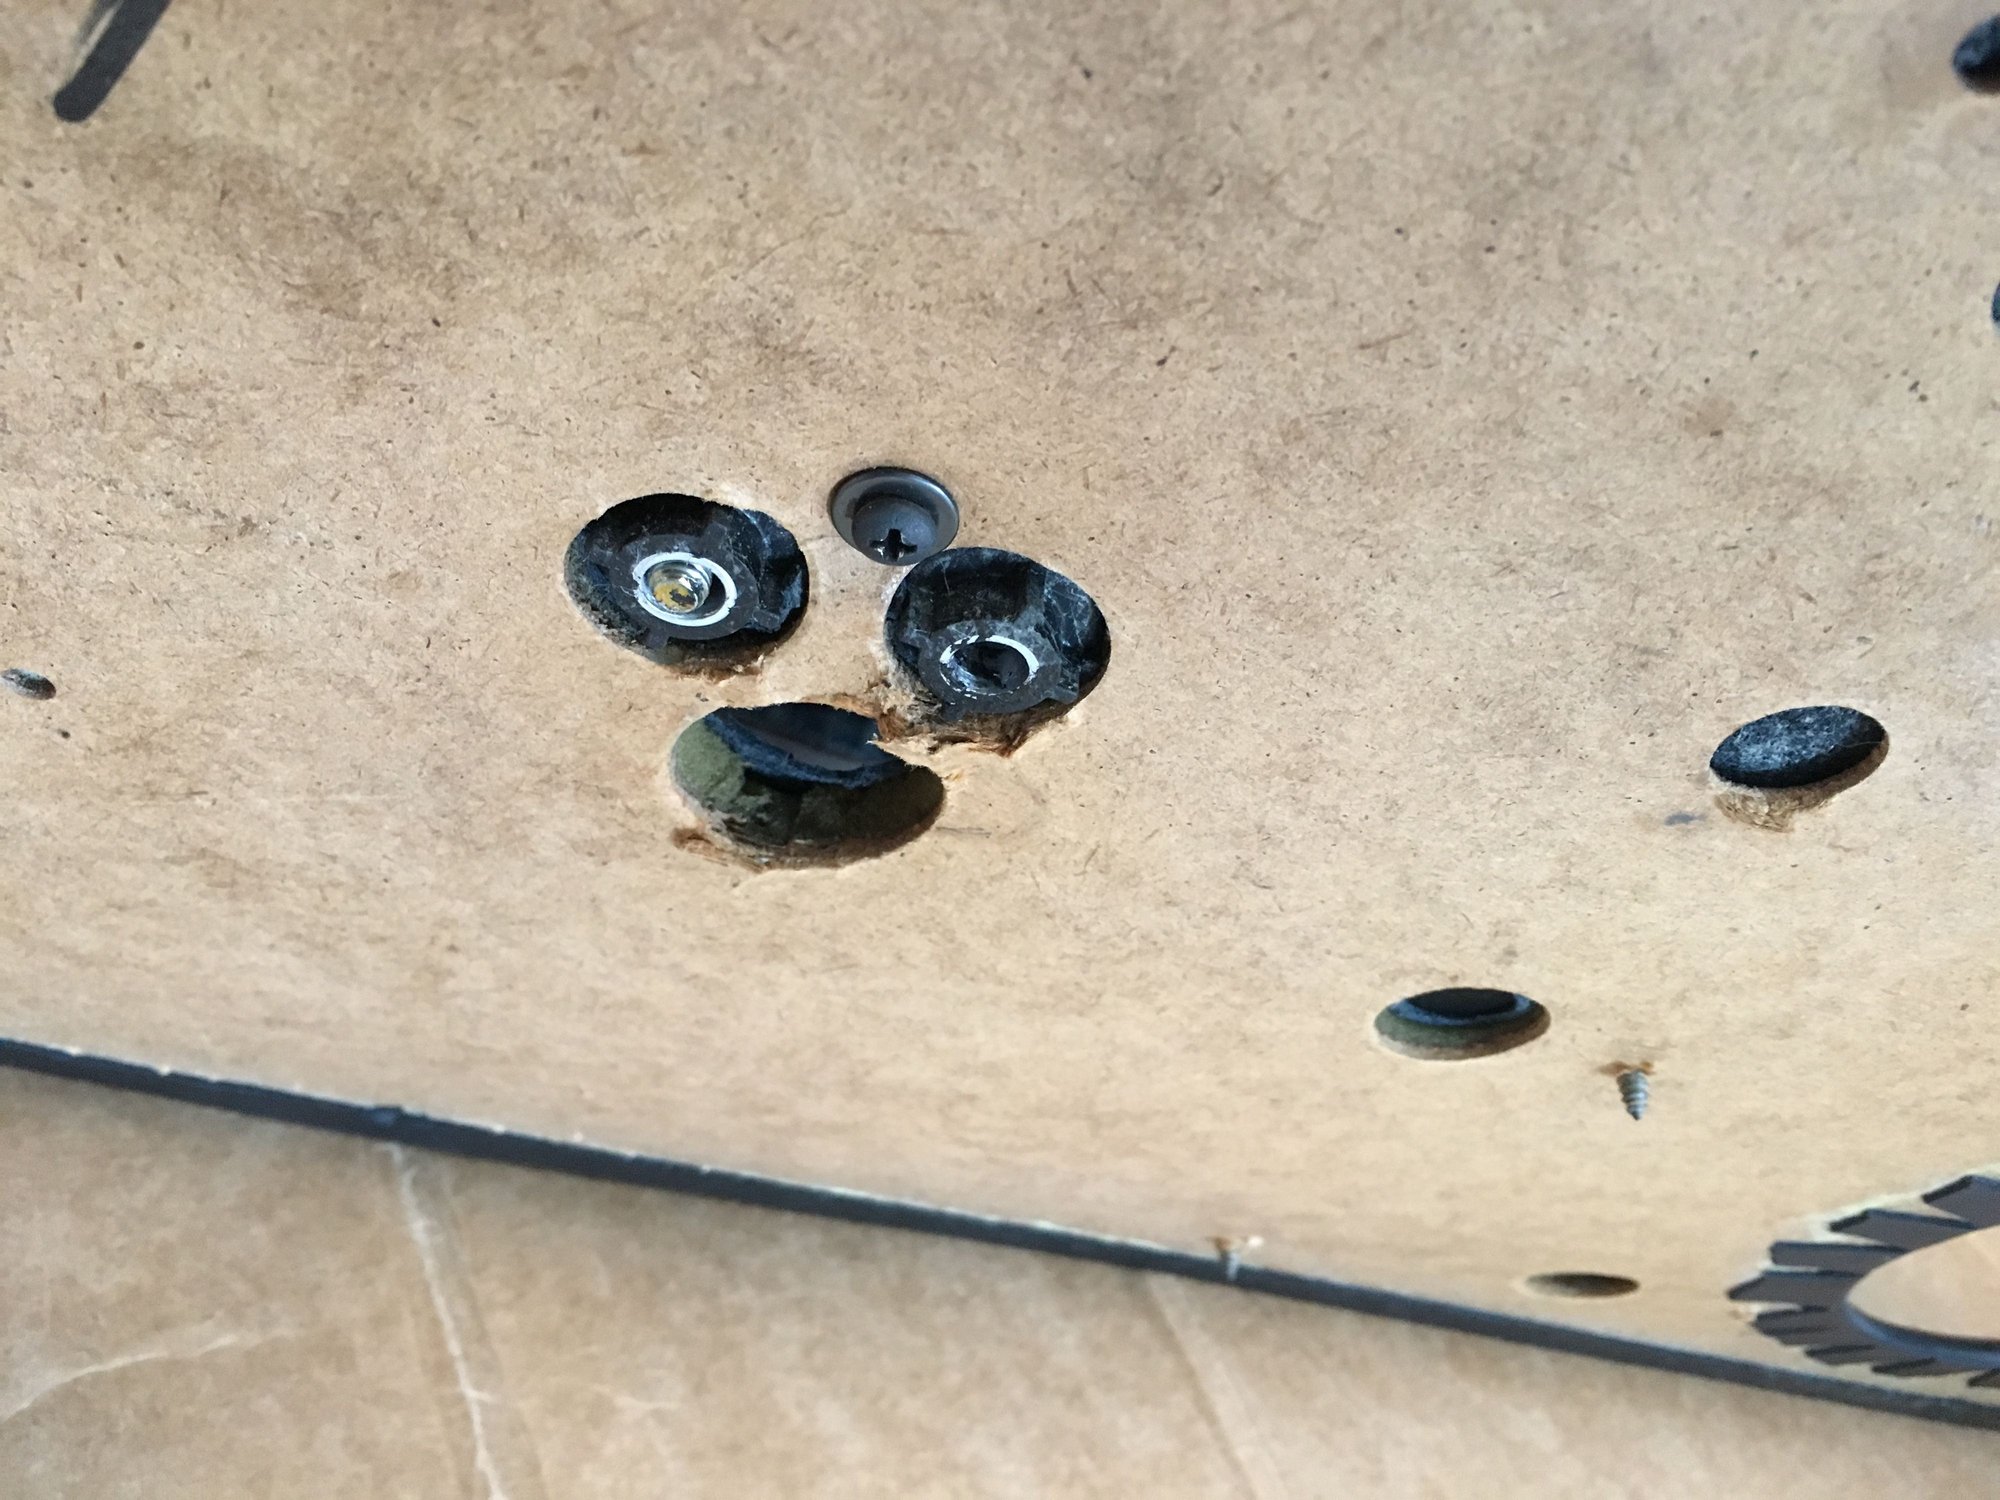
ABOVE --- the 95/96 bolts going through the 95/96 door panels.
ABOVE --- the same bolts going through the 97/98 door panels.
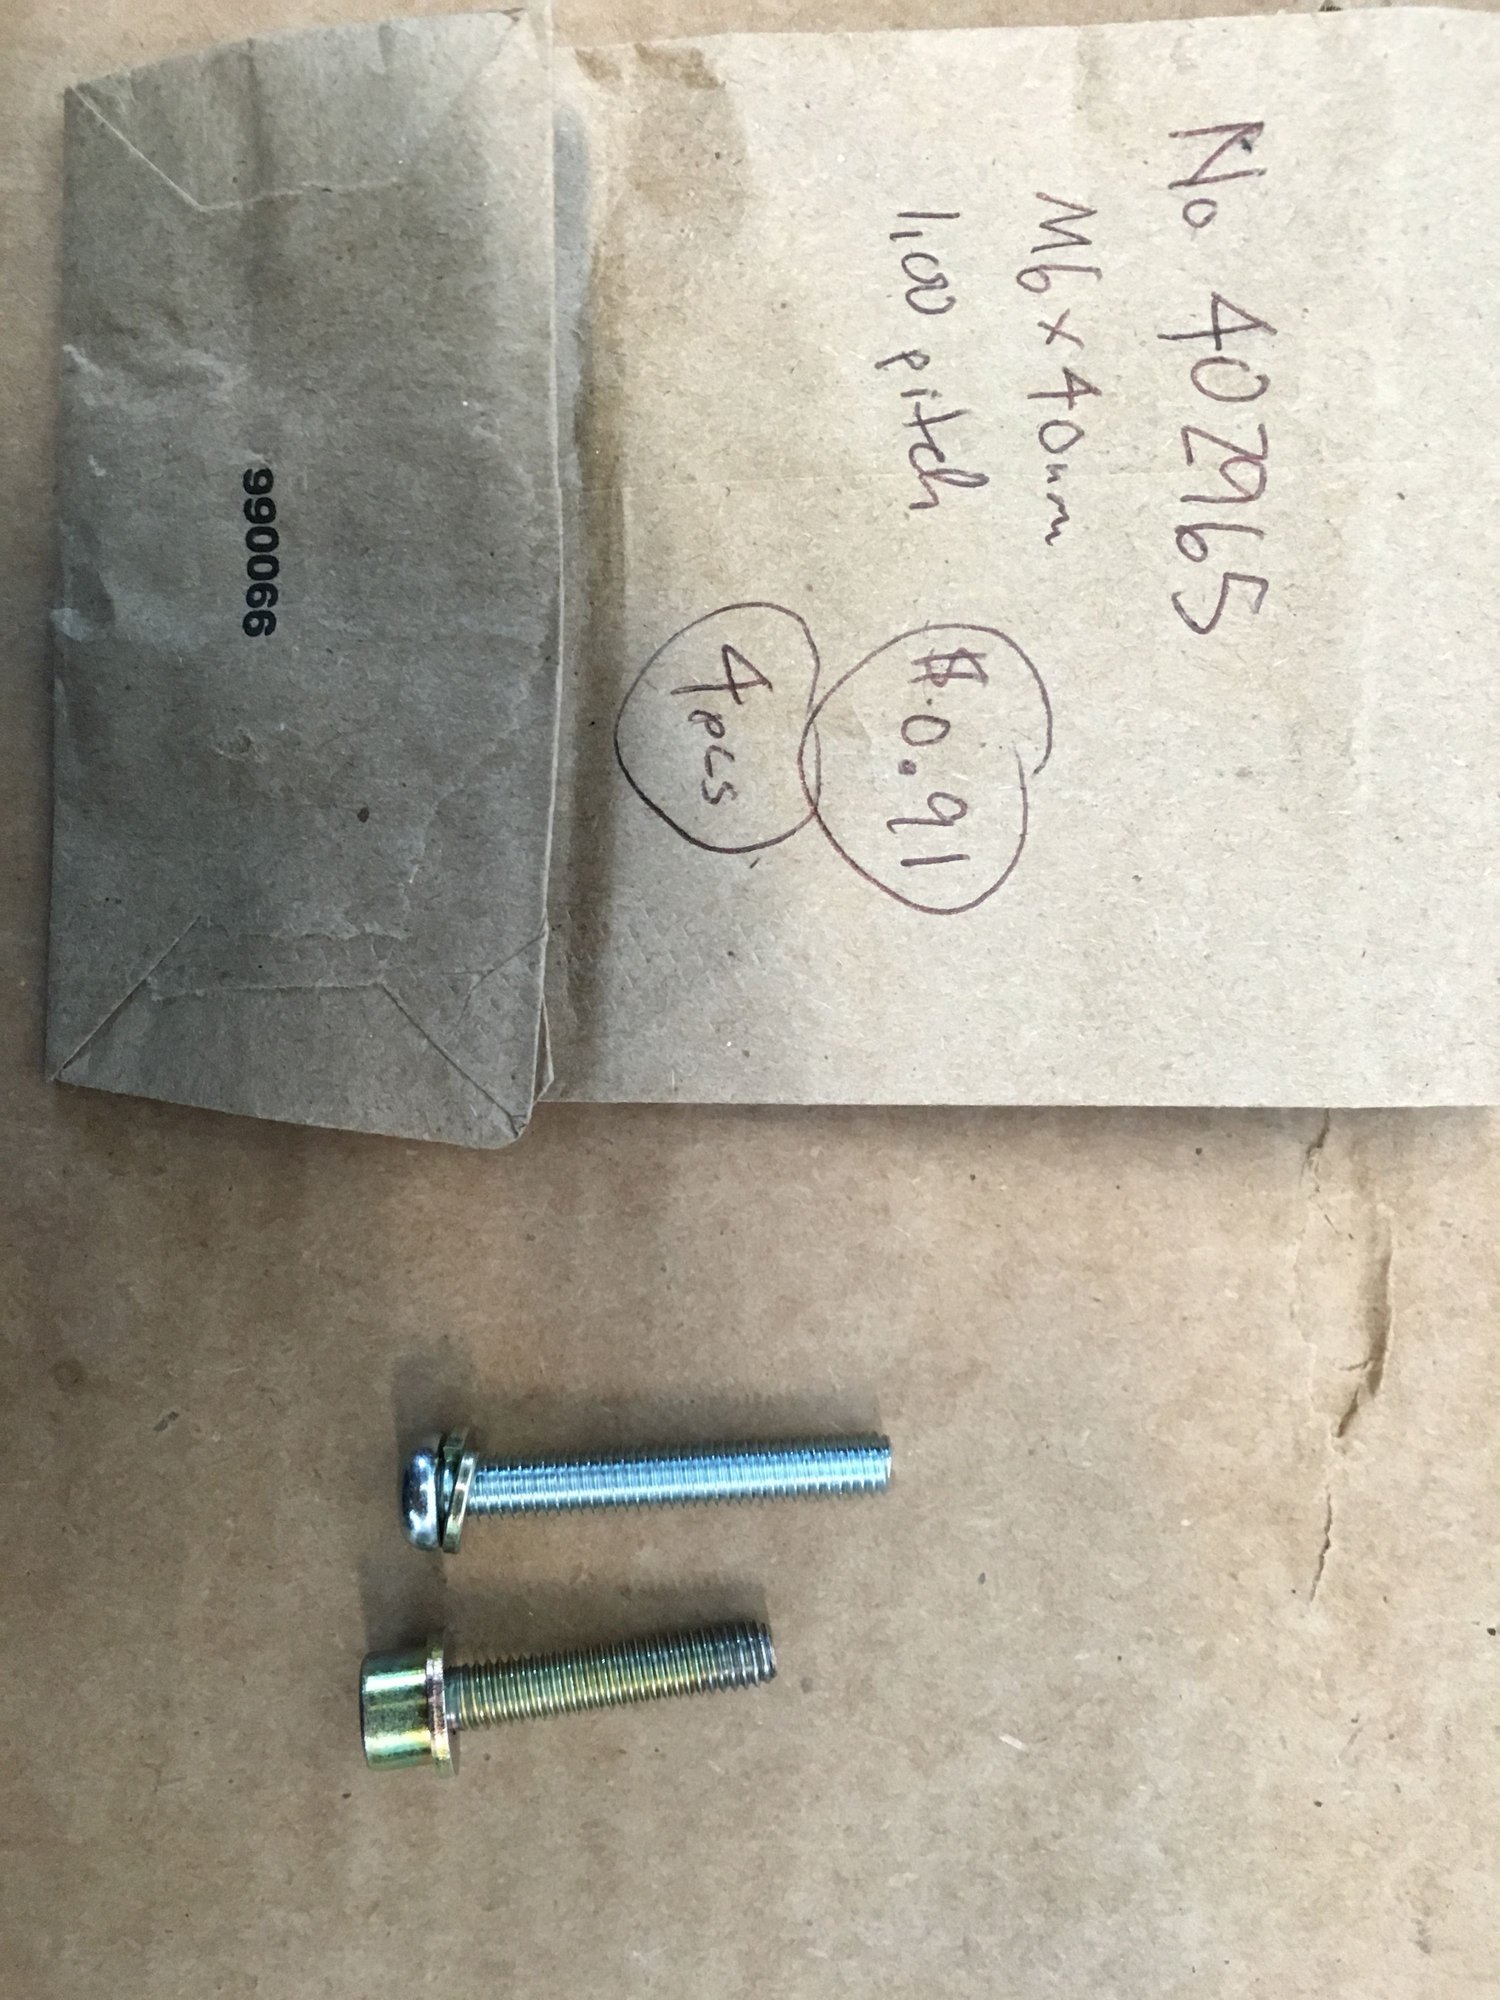
ABOVE --- get longer bolts. I used 40mm ones which are 10mm longer than the factory bolts for a 95/96.
All Leather interiors have all kinds of fine tolerances that need to be finagled that Vinyl interiors don't demand. This is because to make leather interiors, Porsche just wrapped the vinyl pieces with leather.
Normally speaking, the Porsche OE leather is pretty thin.... but I used non OE leather --- and the leather I used is much much thicker than Porsche OE leather.
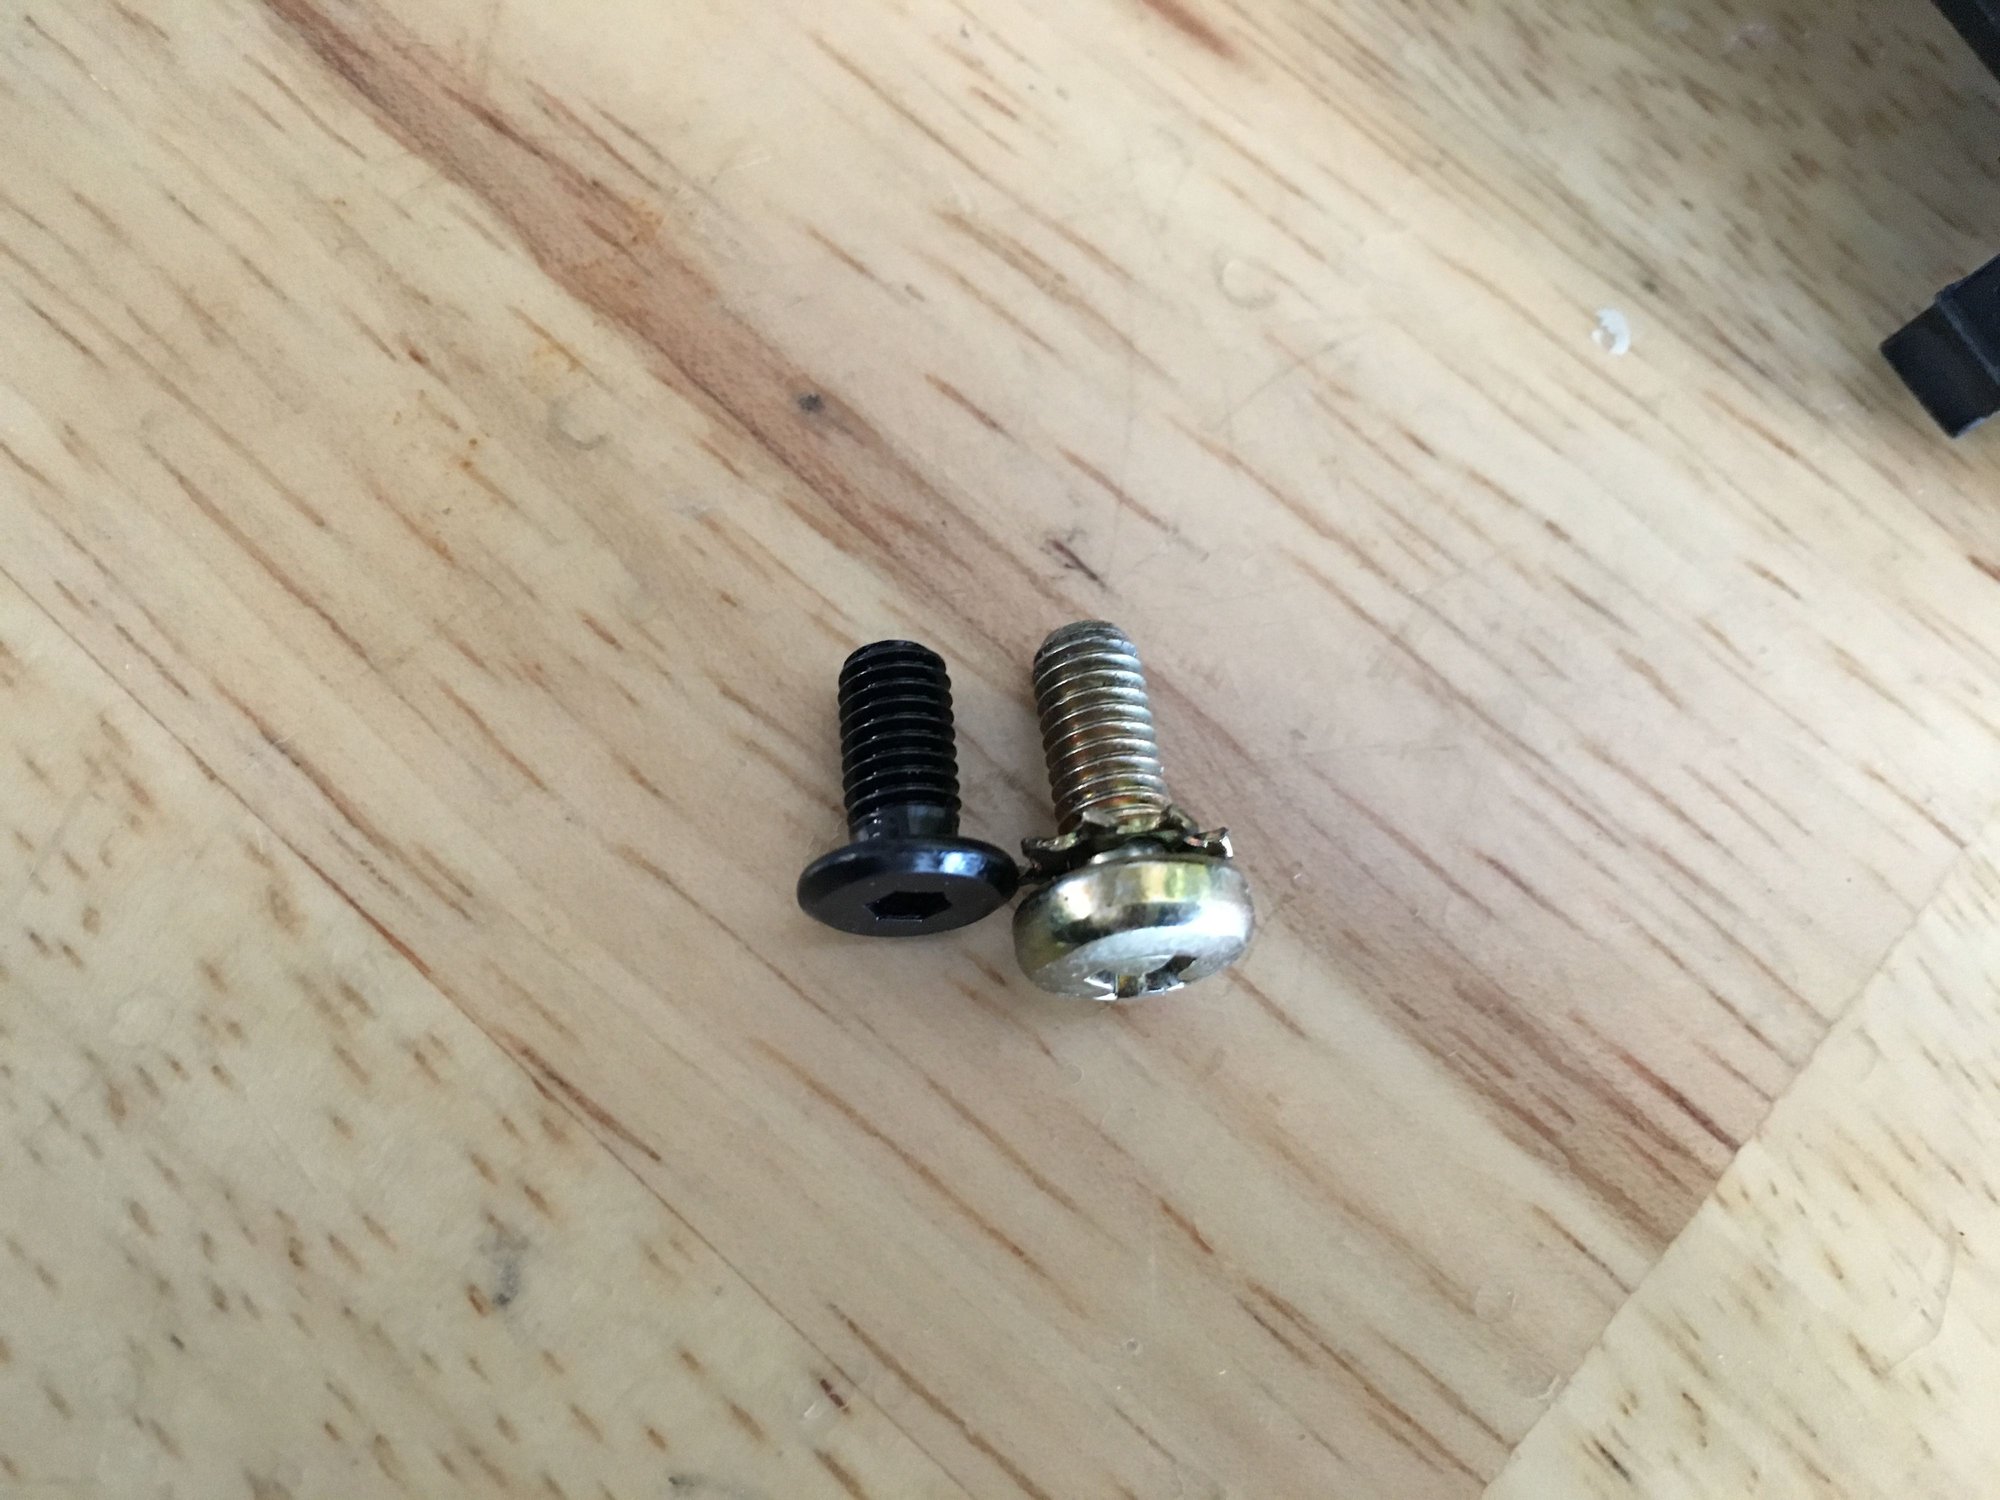
Once leather gets so thick, the tolerances between the screw head that secures the manual fore/aft lever on the seat and the center console become very slim. If you use a regular screw like the factory does (factory one is black, but shaped the same way is this silver screw), the screw head will rip the brand new center console leather to shreds because the tolerances are so fine.
Ask me how I know.
Instead, use a low profile screw. I had to mail order these super lower profile allen head screws that take a 3mm allen key.
Not all 993 upper dashes are the same. Some leather upper dash boards have a depression at the front half, like all the Vinyl ones do. (the depression is quite handy for holding screws when taking stuff apart in the interior).
Late in the 993's production run, Porsche added another separate padded piece on top that covers the depression. Porsche # 993552055018YR. It has a separate piece in the depressed area that is padded and held in with fasteners.
Perhaps Porsche did this to help with warped leather dashes - not sure if it had any effect. Anyways, here is the formerly trashed upper dash that I got from JM993 and had Rob Budd recover --- it is a late model dash without the depression.
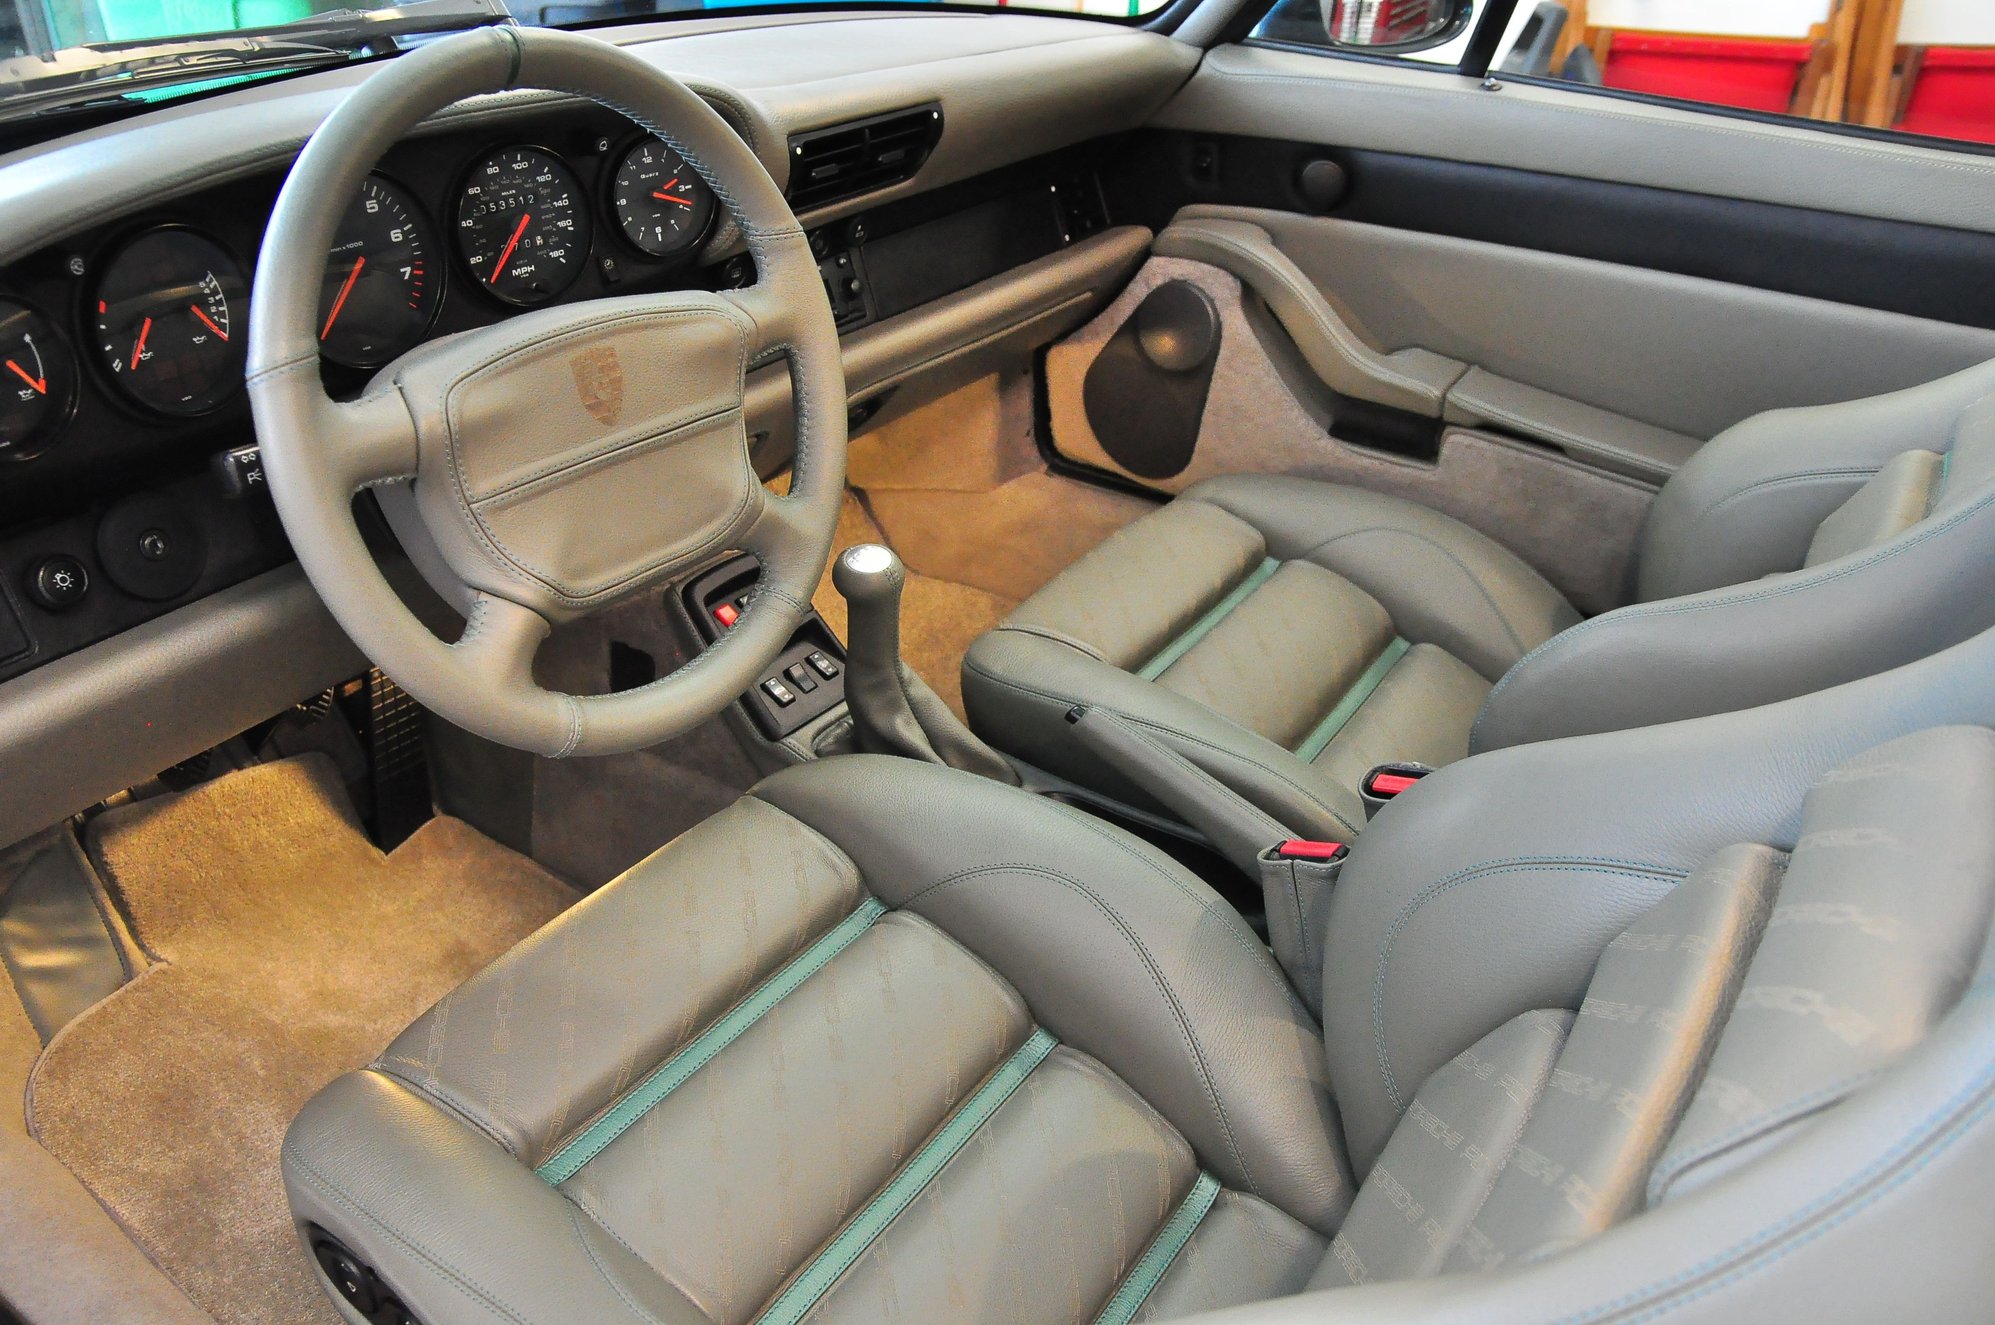
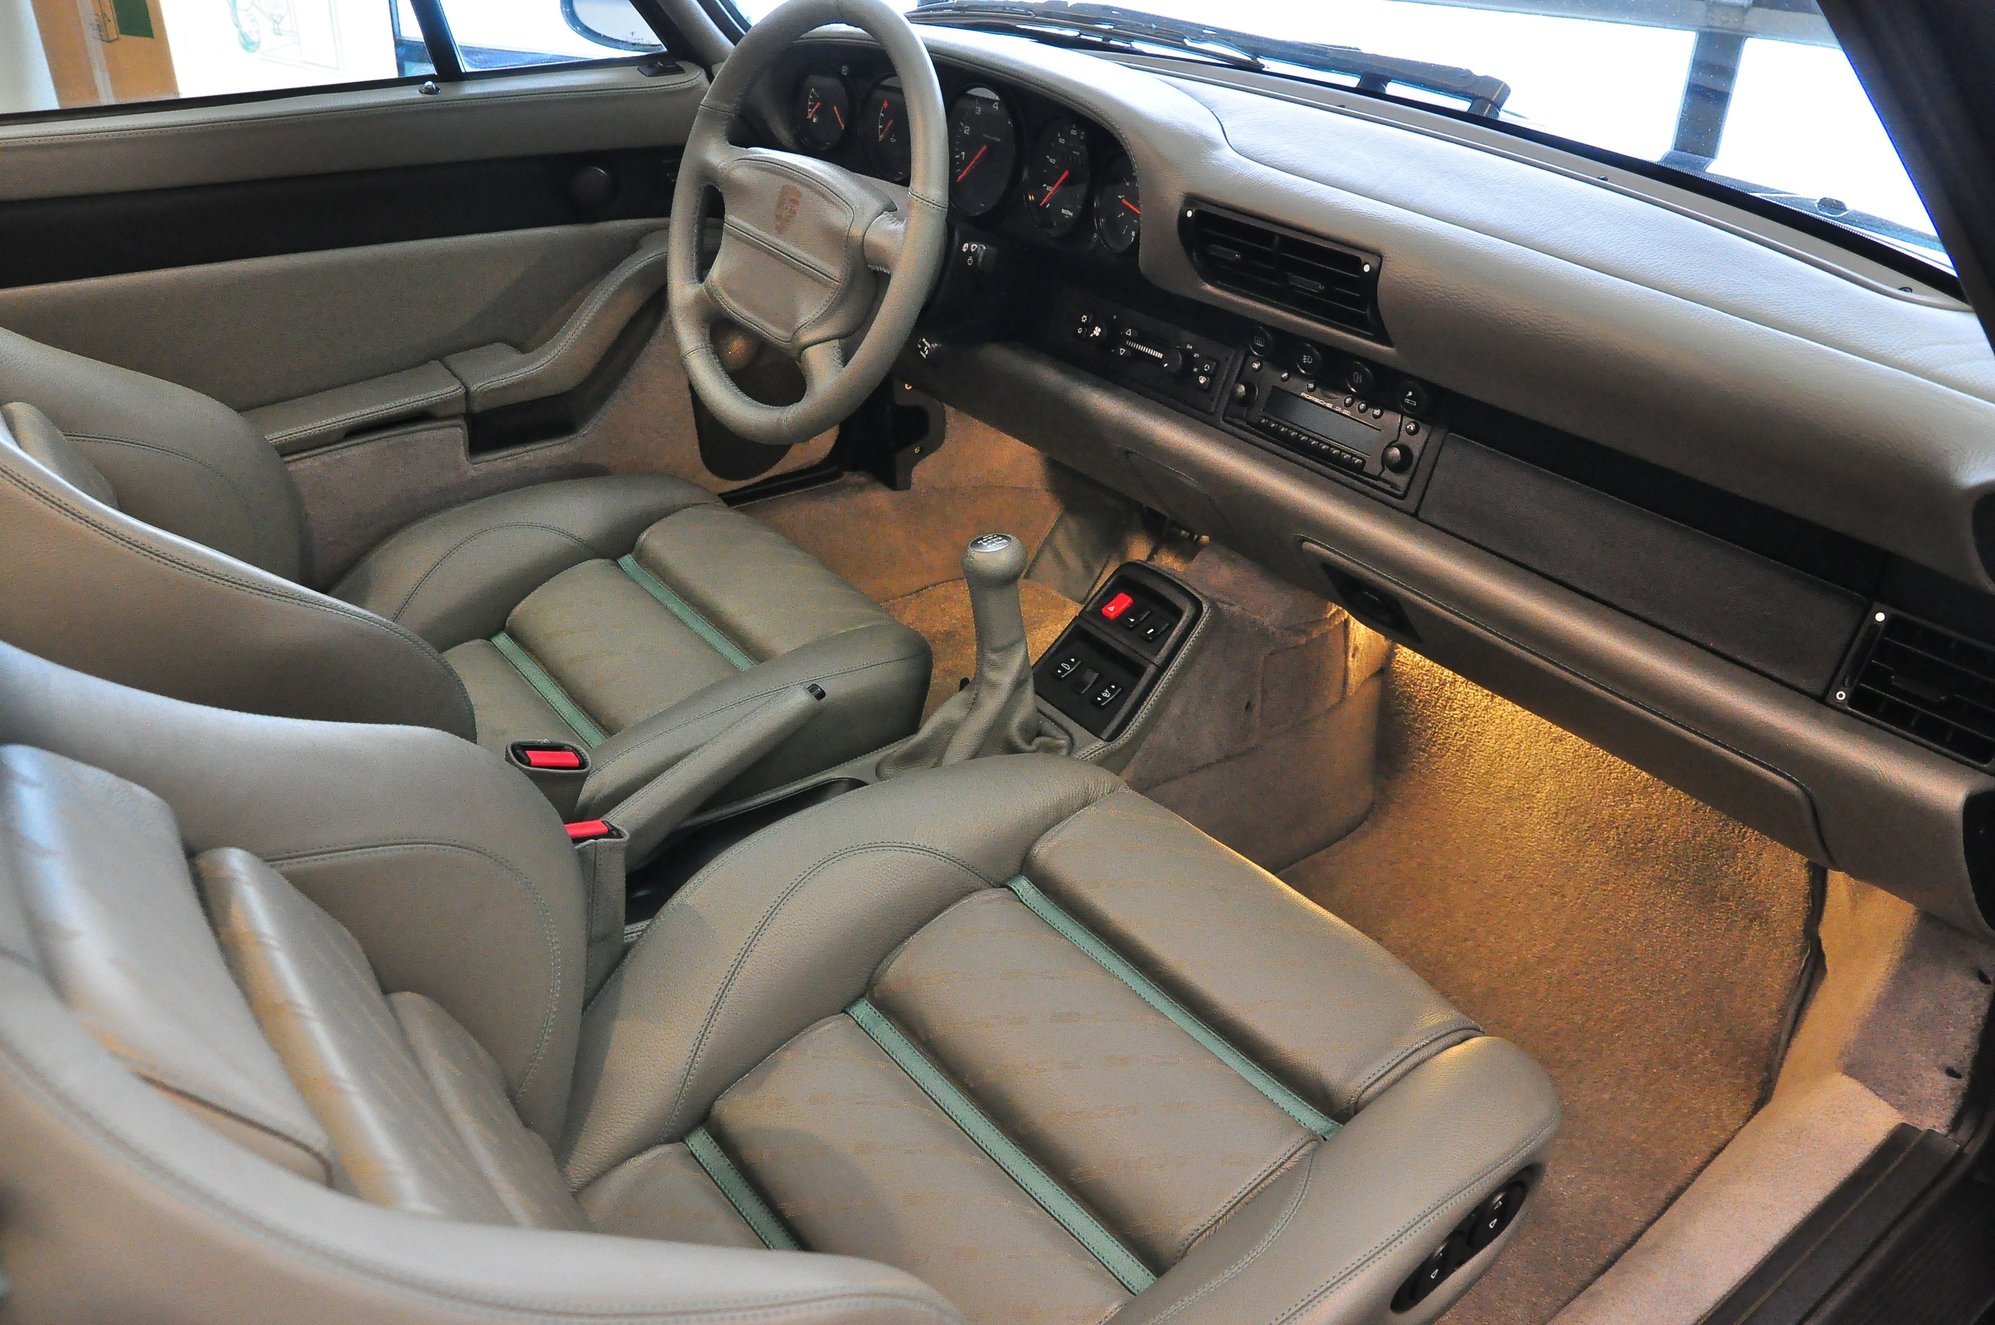
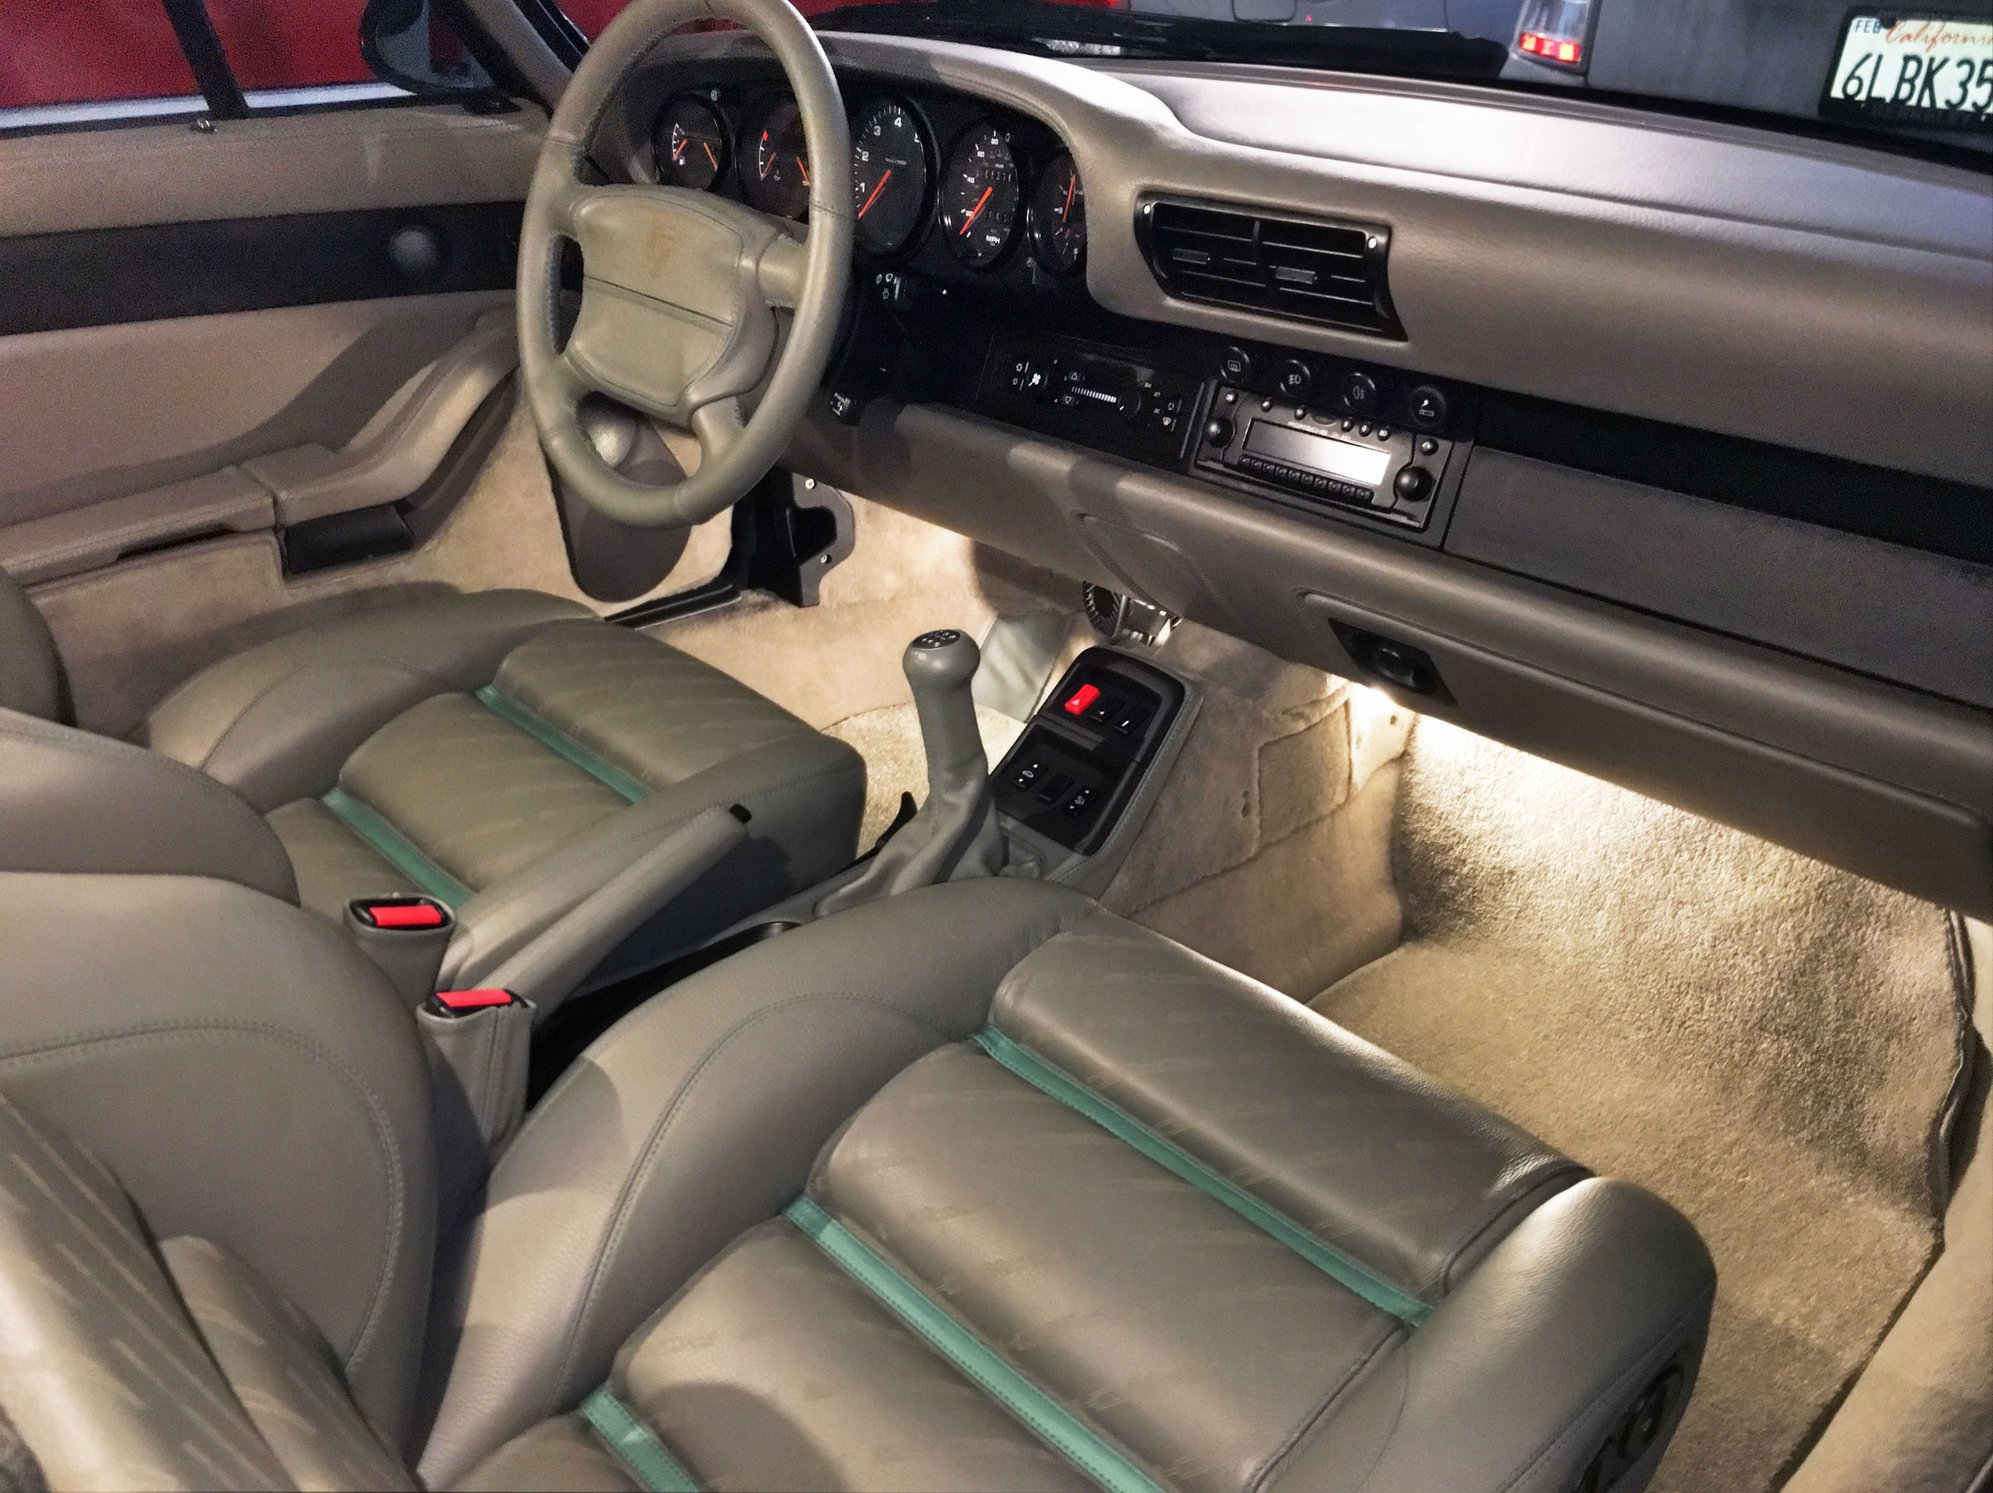
And here is the completed product. Carpet replacement and interior assembly took many weeks of work in the evenings / weekends when the kids were at lessons or sleeping. The assembly is very tedious sometimes --- as I inferred above, outfitting a vinyl car with all leather pieces introduces all kinds of very fine tolerance issues all over the place --- everything has to move just every so slightly so, and I ended up doing tons of fine finagling with an exacto knife --- I went through probably 8 exacto blades. The assembly work reminds me of fine carpentry.
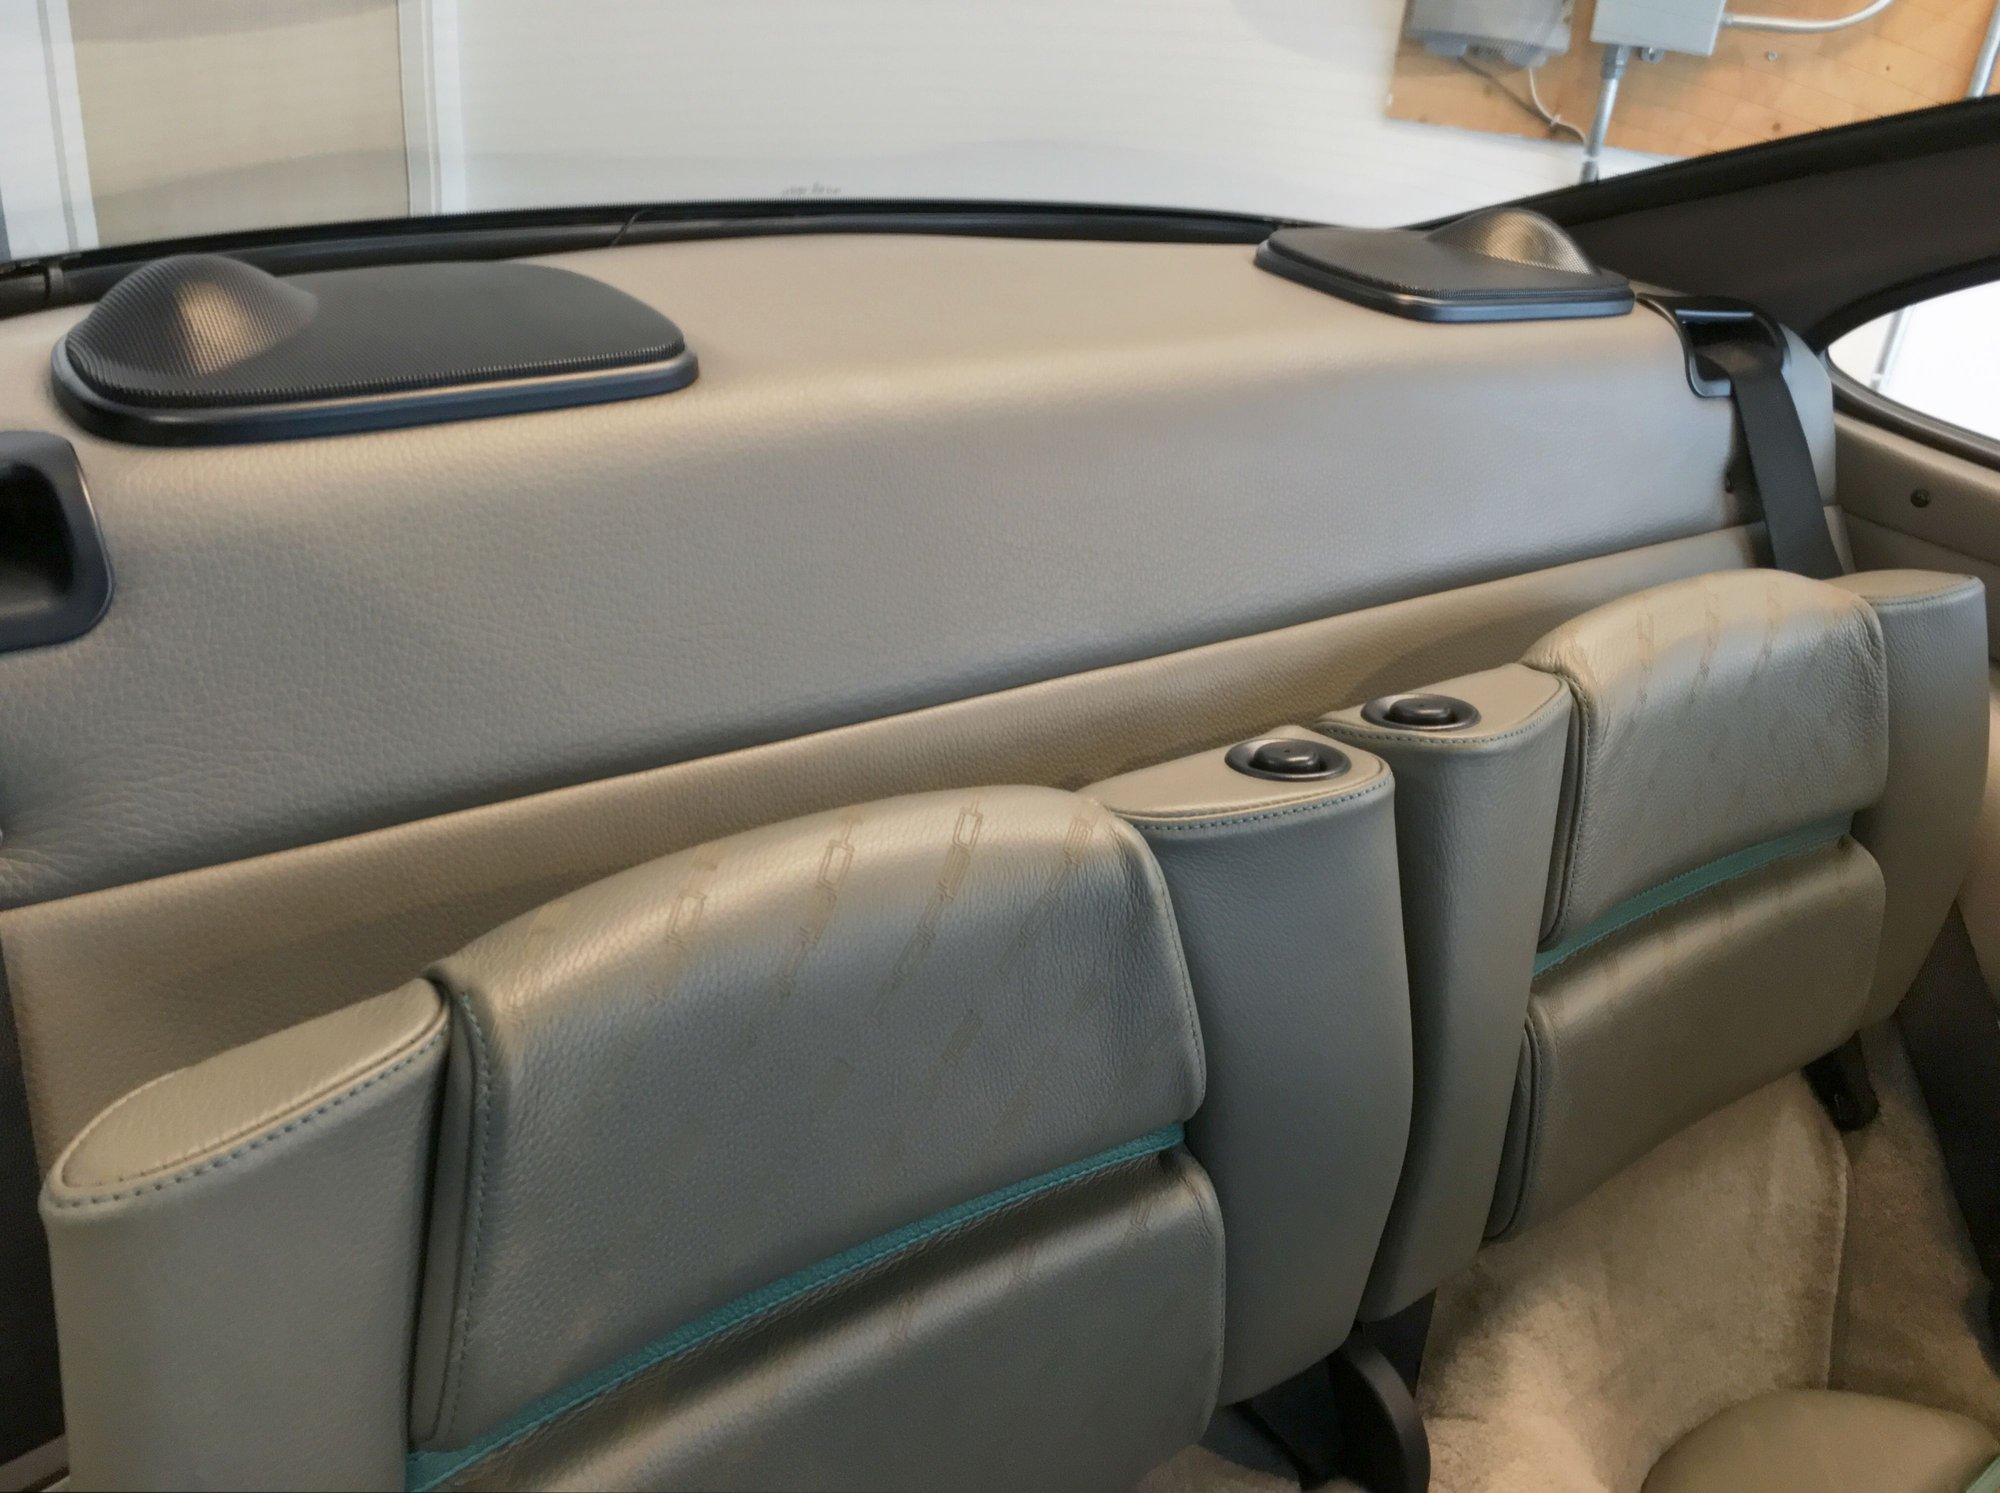
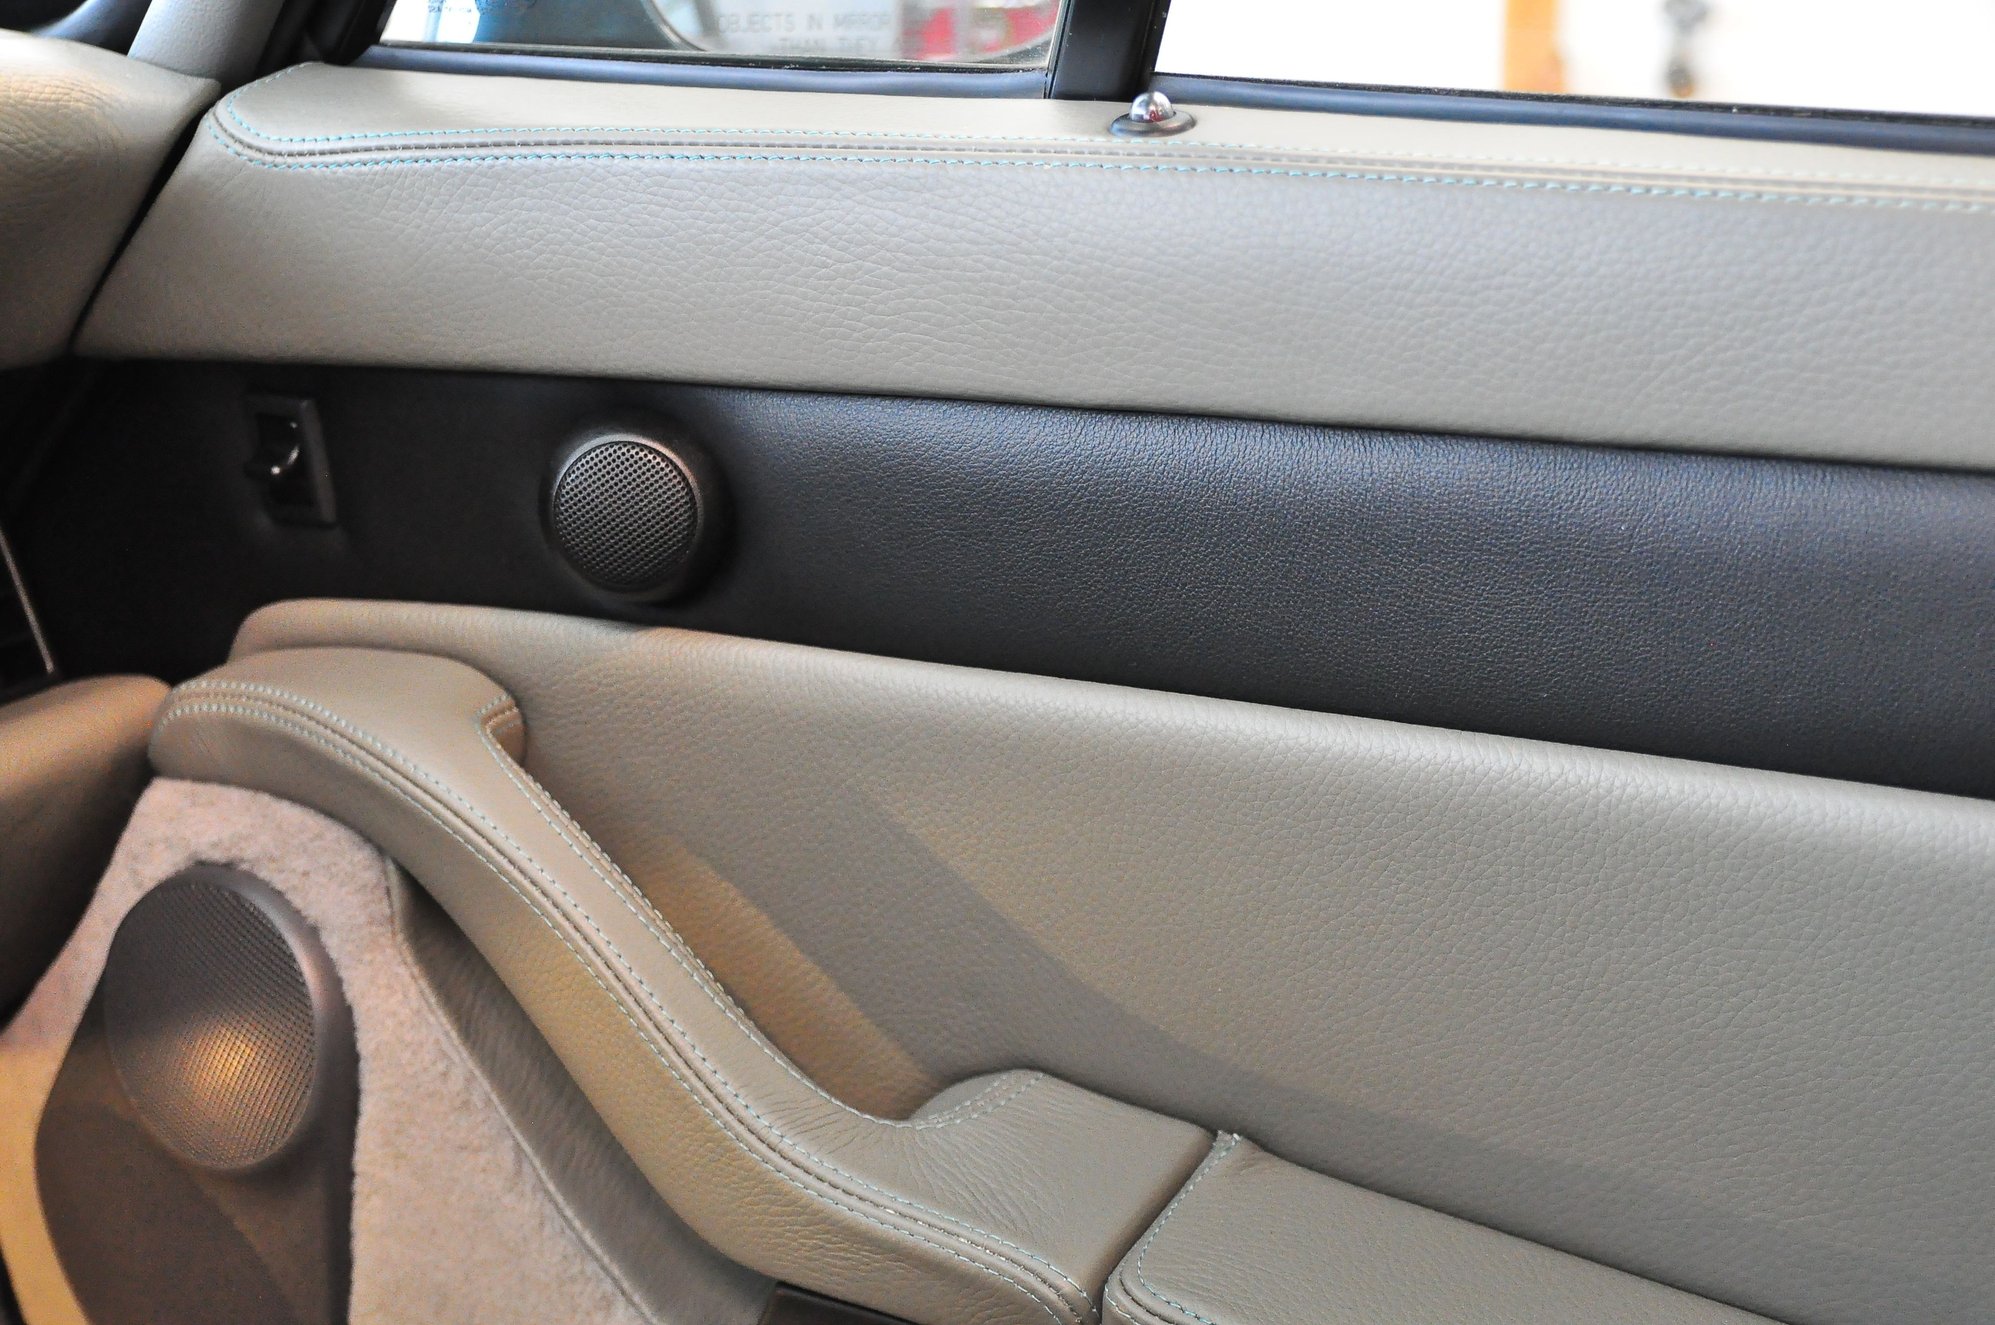
The final product is a very nice place to be ----- Upper/Lower Dash / Door Panels (97/98 MY) / Glovebox / Rear sides / Rear deck were all done by Rob Budd @ Classic 9. I fixed all the map pockets with JB Weld and BTB's ABS plastic reinforcements before sending them on to Rob Budd. The Seats / centre console / gear lever / steering are by Paul Champagne.
I highly recommend these two craftsmen.
- Part of my solution to the monotony of grey was to change the carpet / leather classic grey to a warmer grey.
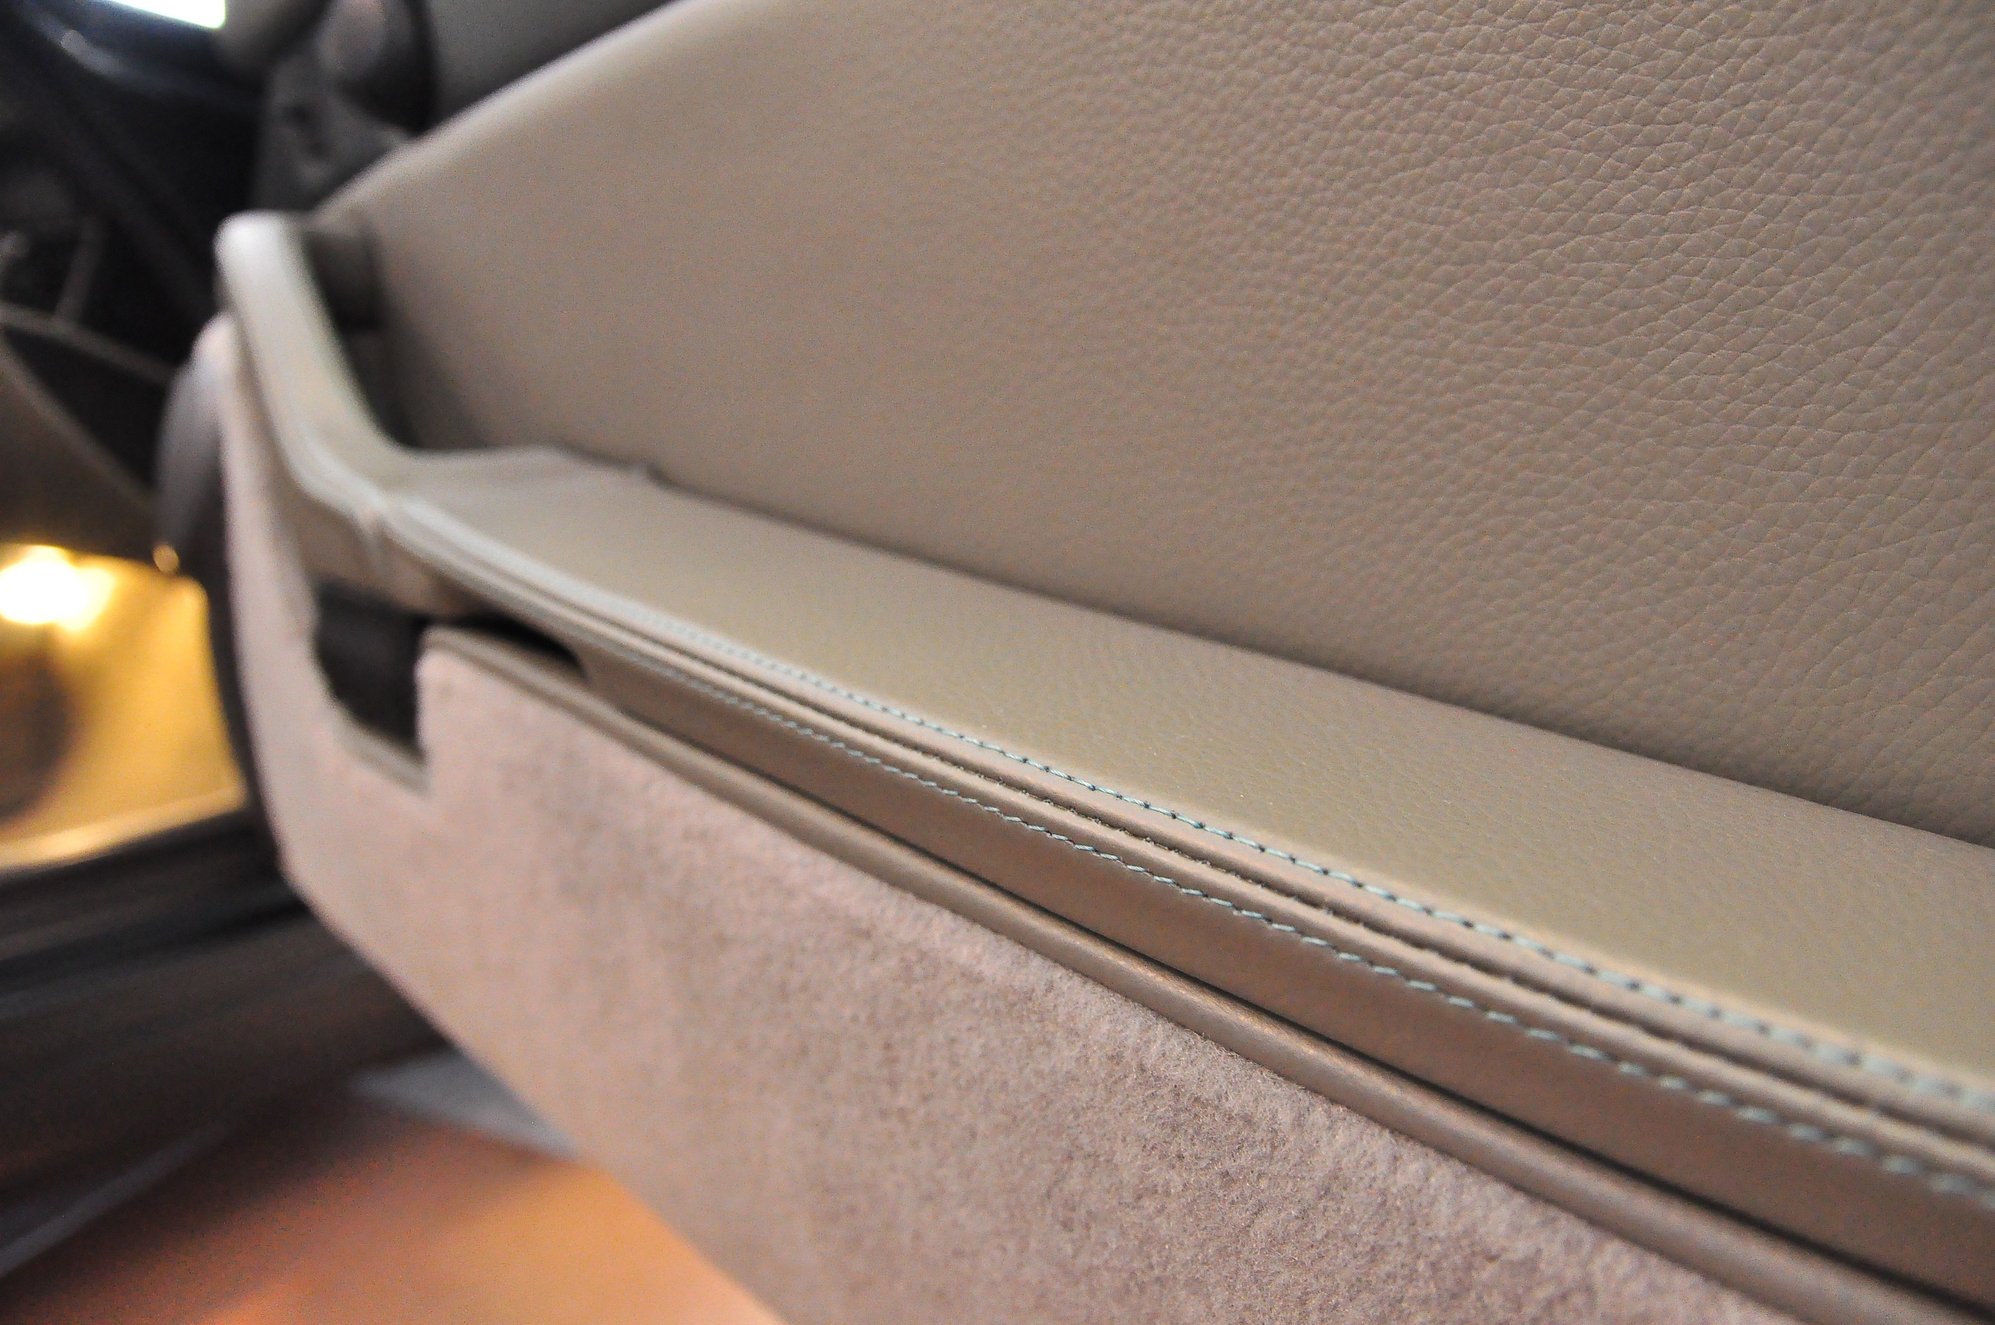
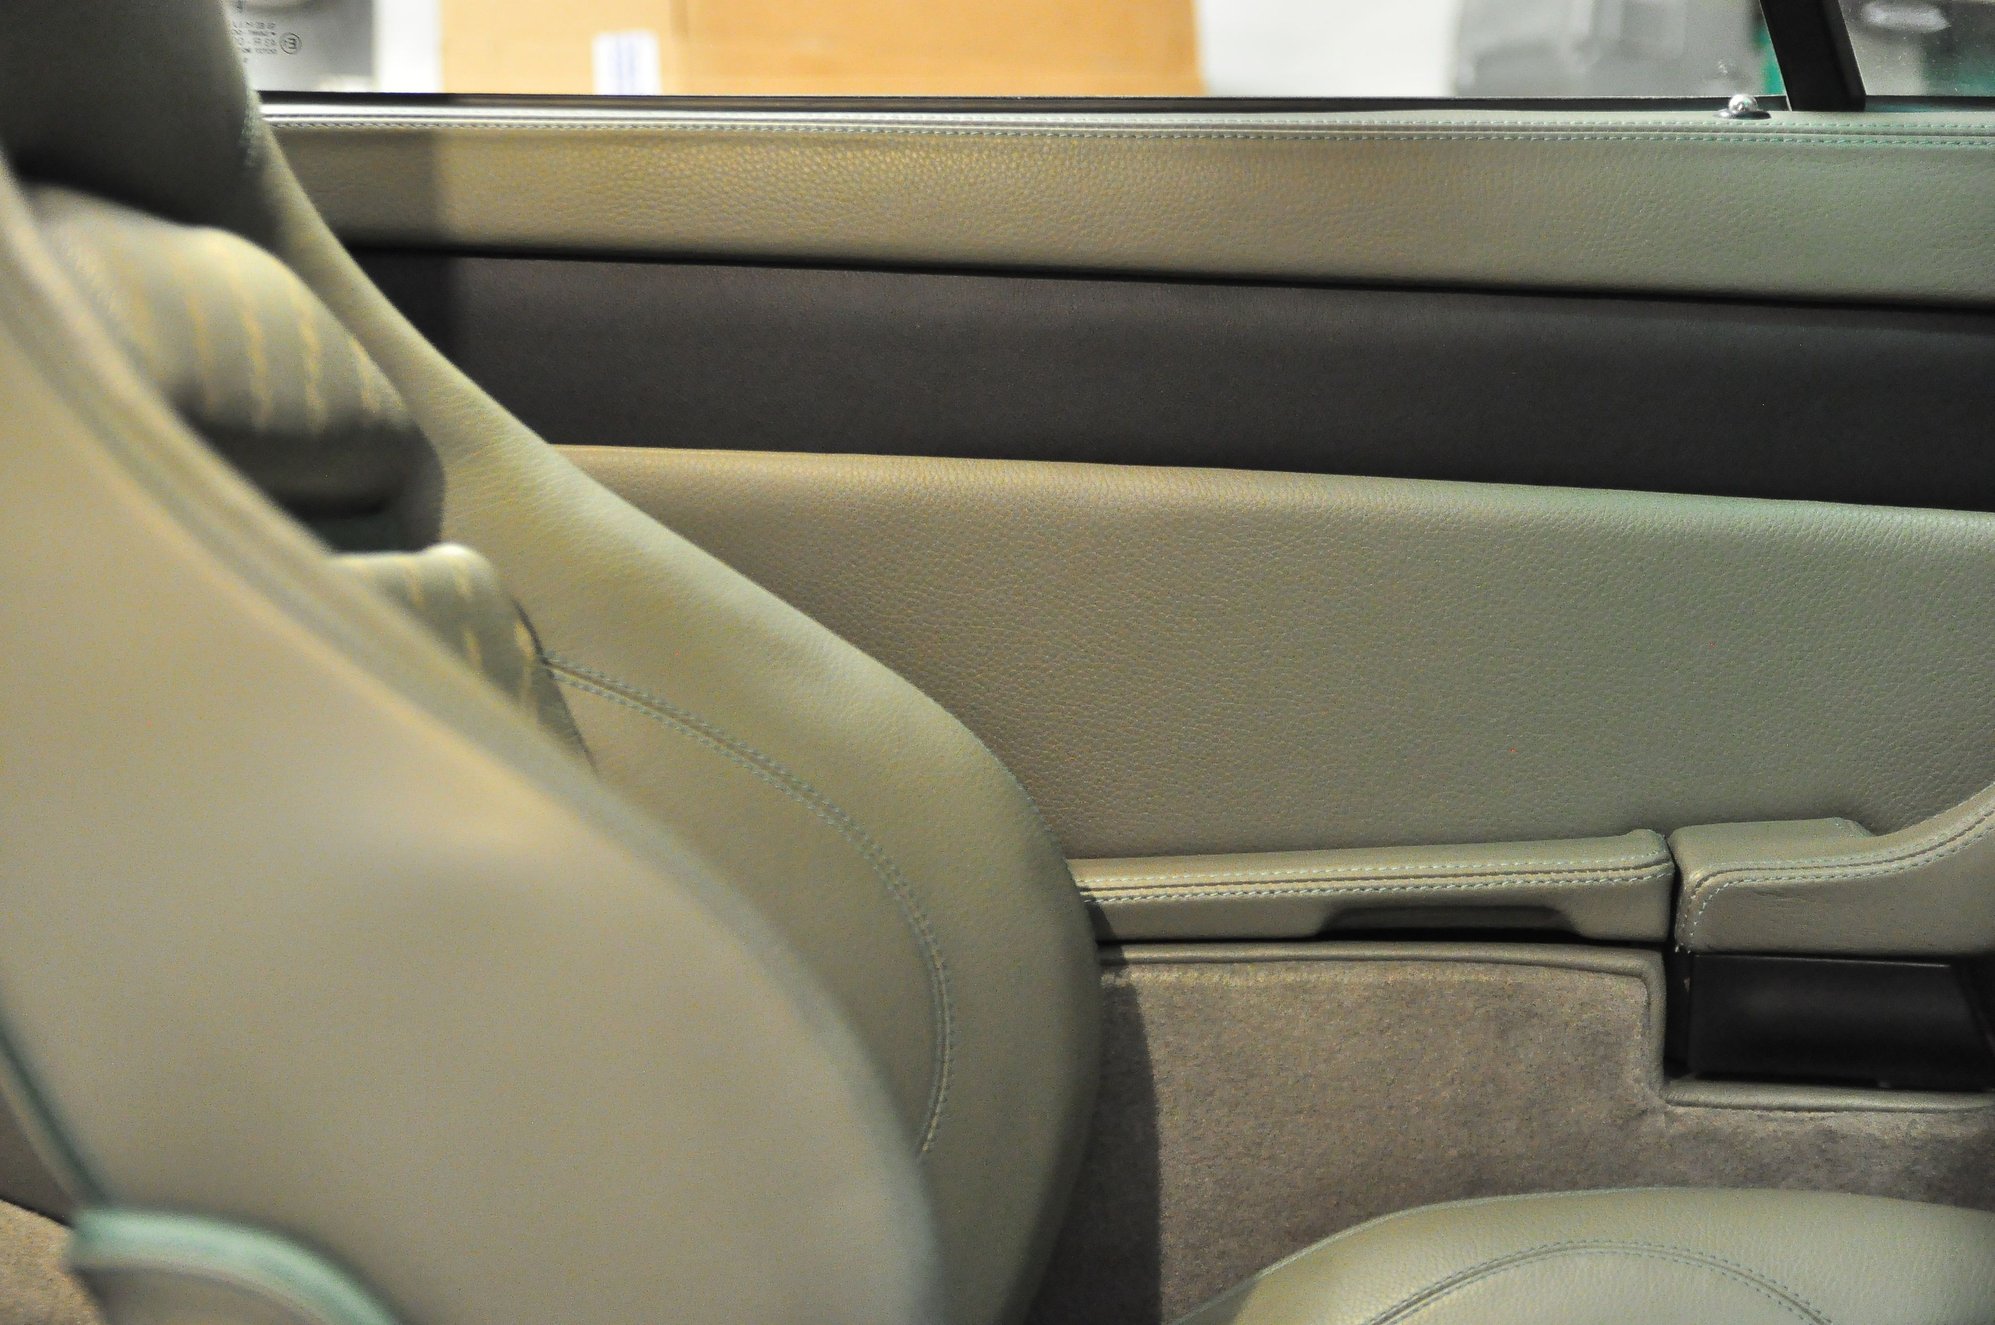
- Another other part of my solution was to add black on the door panels.
- Yet another part of my solution was to introduce a little a little whimsy - green color in the stitched thread and in accents on the seats.
- The final part of the solution was to go retro with the old porscheporscheporsche logo etched into the 928-style soft back sport seats.
I've been waiting for this update, and it was worth the wait. Well done, Jlaa. It turned out better than I expected. Much improved over the standard all grey interior.
Thanks guys for all the compliments. In retrospect I timed this fairly well --- I did this during the summer time in the west die SF, which is when weather is awful --- most days are 55-60F, socked full of fog, and visibility is down to 1/2 a block in the mornings. (What heat wave??)
I learned a lot how every little part of the interior fits together --- I think half the enjoyment of the process I derived from this was in admiring the over-engineered fastening systems of every little part.
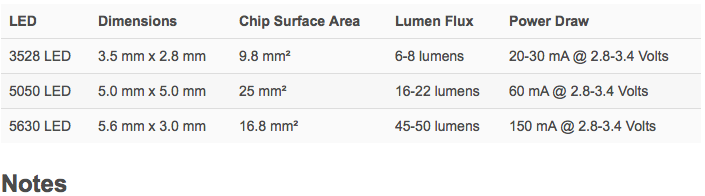
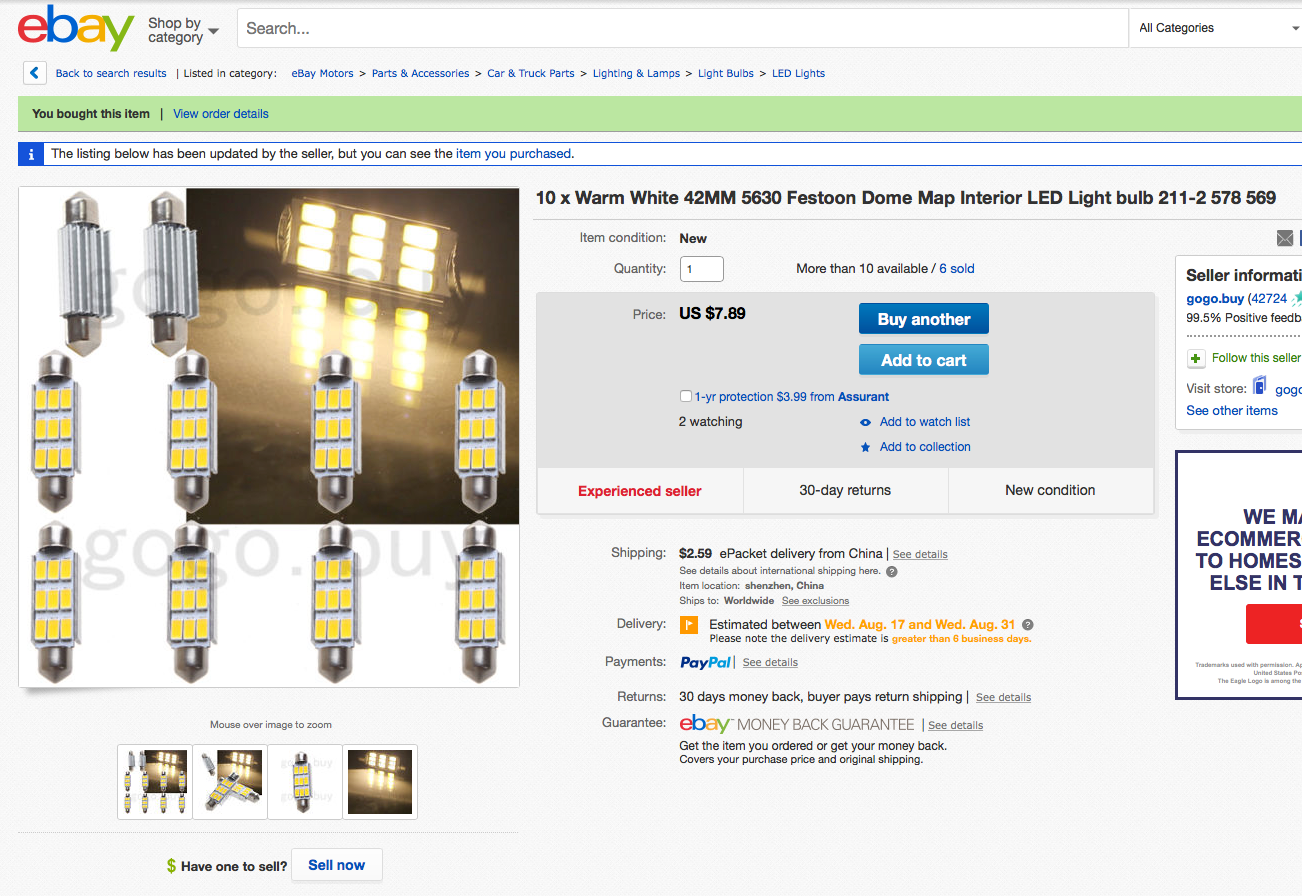
The final step was to revert all the interior lighting to a color similar to the original incandescent lights, but with increased light output. I used the latest generation of 5630 LED type based festoon designs. Most of the stuff on the market today still employs the older 5050 and 3528 chip LEDs, and, most of the stuff on the market have a cooler color temperature. I have used all sorts of Cree-based festoon lamps as well as Tore's LEDs ----- with fantastic amounts of light output.
I did want to get something a bit closer to the incandescent bulb color - these were perfect. The result is an interior ambience at night that is very enjoyable, especially with the enhanced aroma of the leather interior.

 08-01-2016, 04:30 PM