When you click on links to various merchants on this site and make a purchase, this can result in this site earning a commission. Affiliate programs and affiliations include, but are not limited to, the eBay Partner Network.
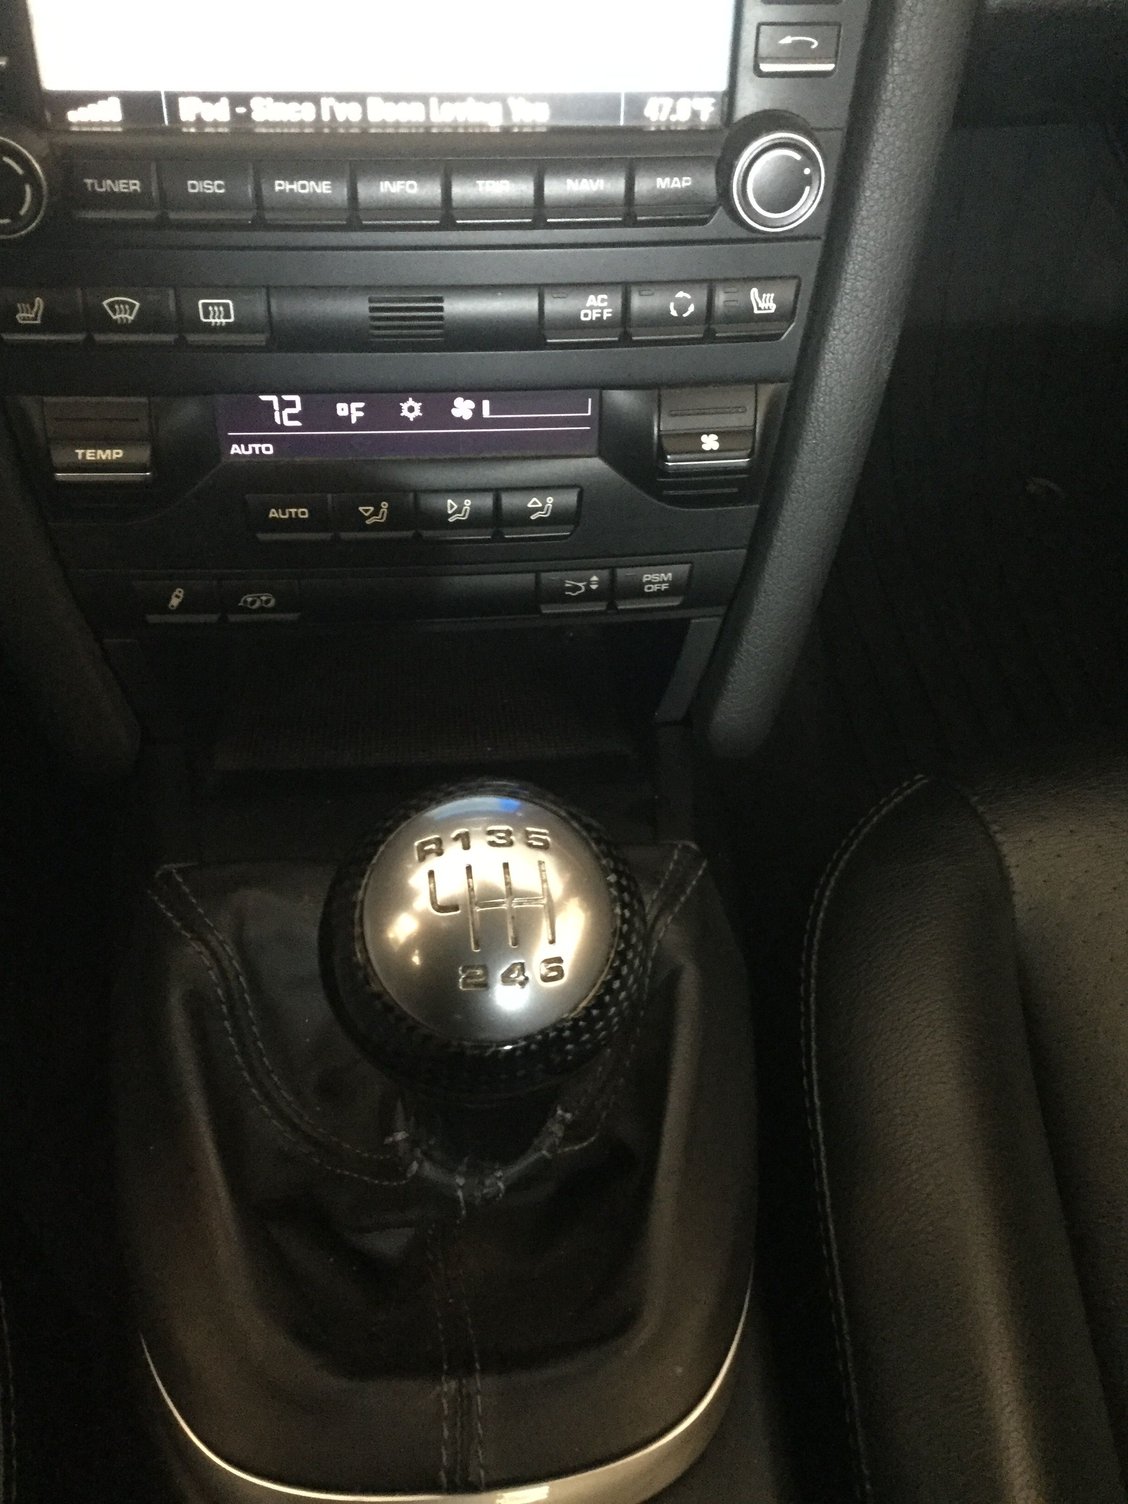
I'm looking for a handy DIY suggestion for painting the cap on my new carbon fiber gear shift on my 2010 C4S Cab. I swapped out my standard shifter for a carbon fiber unit last year when I added my SSK. It looks great, but I'd like to add color to the shift pattern which is currently a bit grimy but basically the same color as the silver cap. Has anyone successfully painted this to make this pop a bit more? I'm looking for some guidance so I don't mess this up!
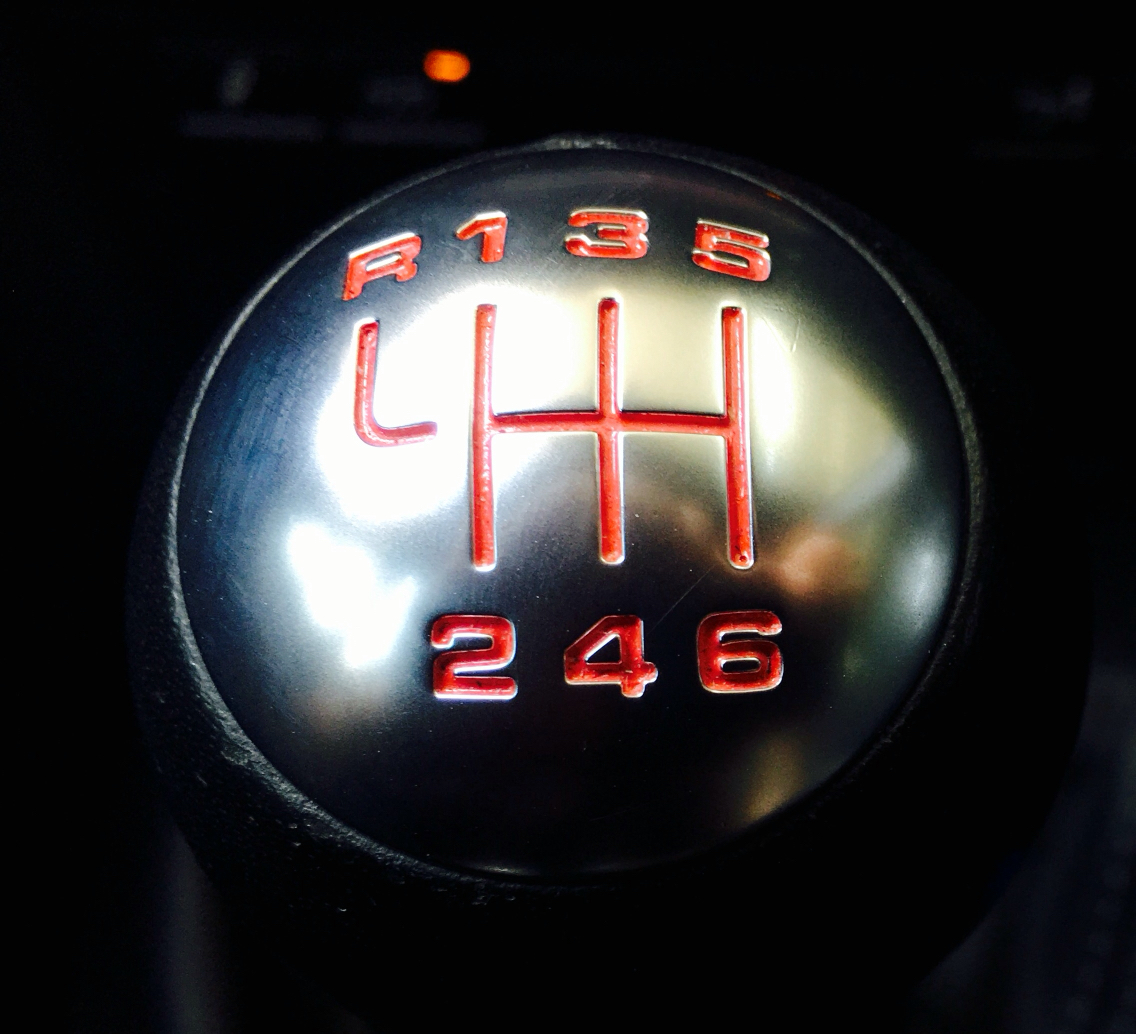
I've posted a pic below for what my current set up looks like now. I'm thinking painting the shift pattern either black or something more interesting, like red or even orange. Any thoughts on the best way to do this?
Your shifter kn0b has a lovely time correct patina. Painting in the stamped shift pattern red, black etc will freshen up and restore a bit of lost newness. Might even get higher price from some rube when you sell. However, is all that worth the look of disappointment that momentarily shows in my eyes when I ride in your car?
If it�s a case of needing to read and follow the schematic to know how to get to the next gear, consider possibly tattooing the pattern on the back of your hand. For implements that are meant to last a long time and be in constant use, a nice worn-in surface allows a cold-edged machine to soften and connect with its human operator.
Just joking, that�s what you get for restricting your query to �just the gents� and not ladies and gentlemen.
Fair 'enuff, point taken on the unintended slight and I will correctly address ALL Porsche fans in my future posts!
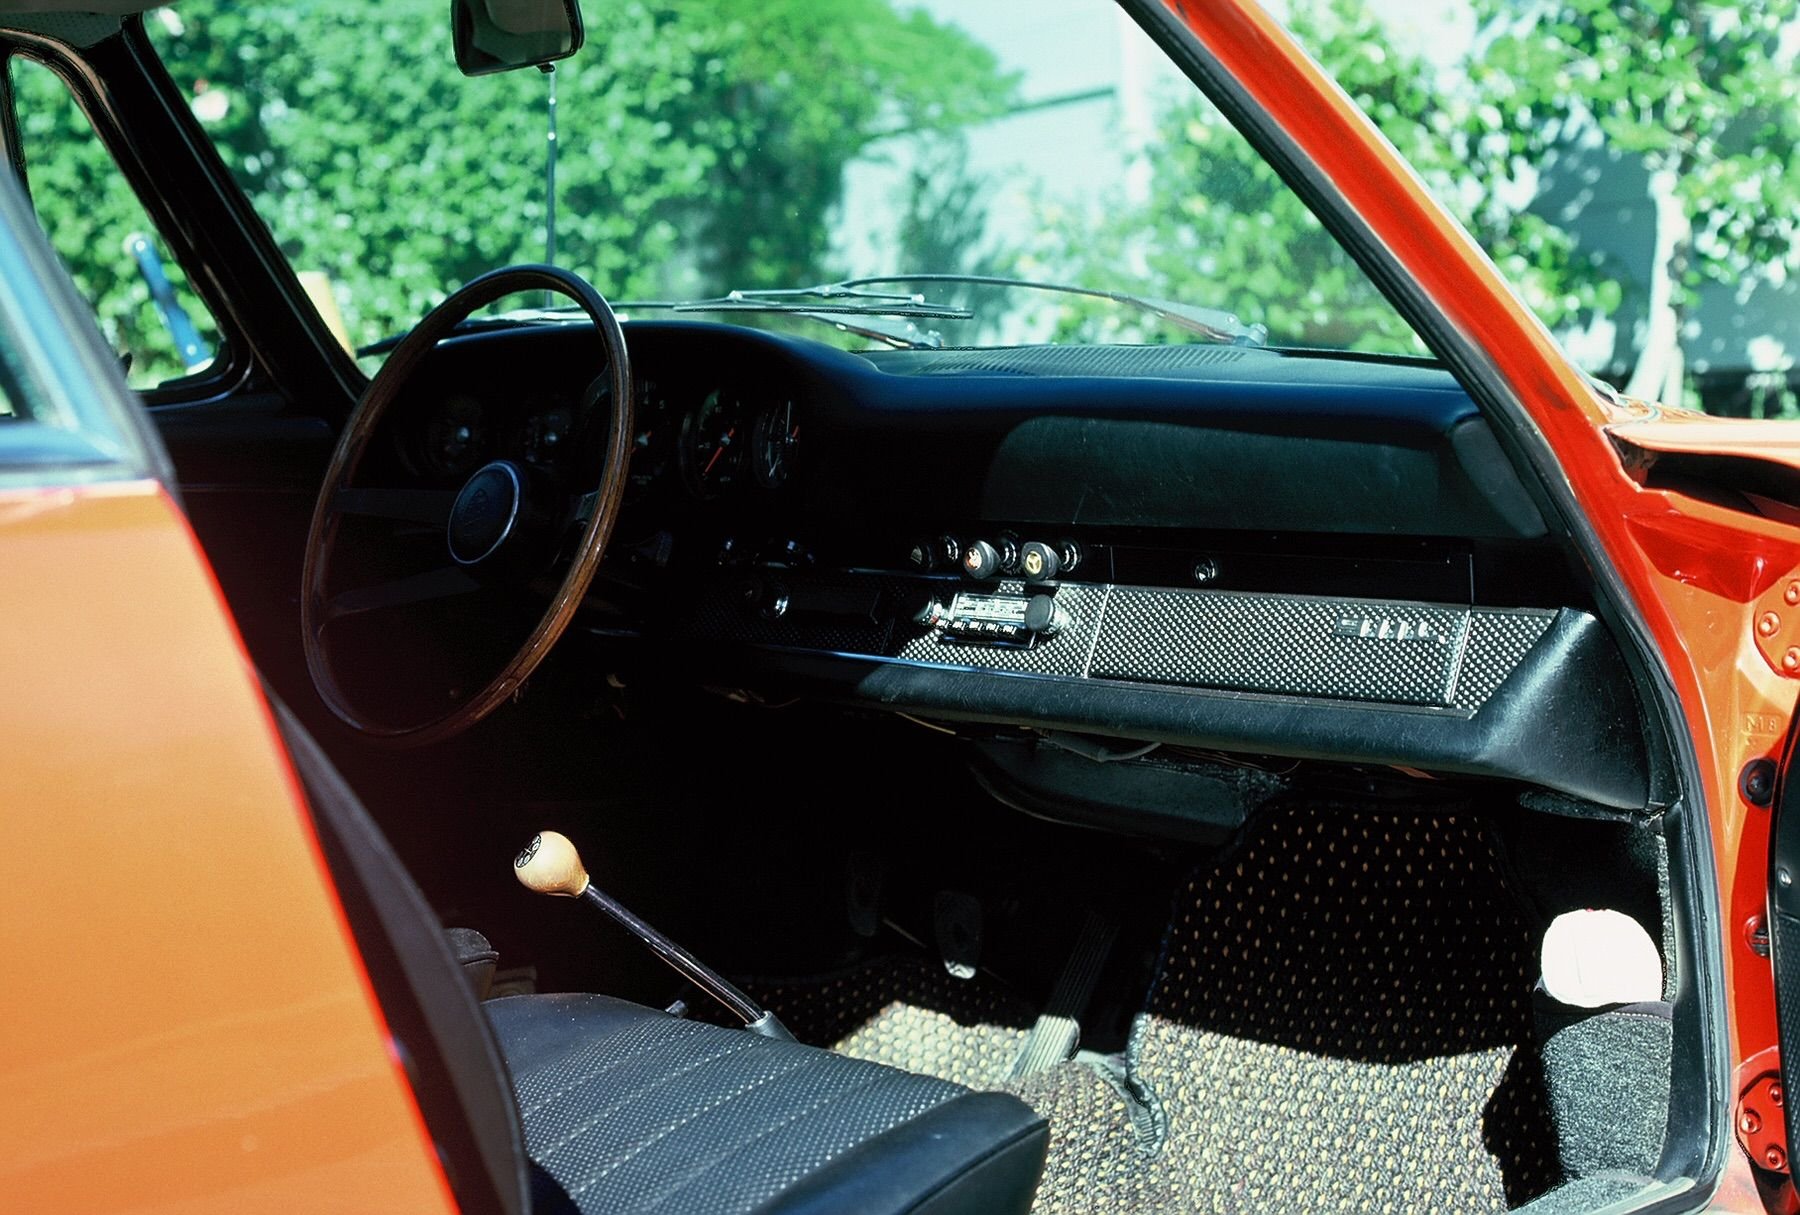
As for the gear shift pattern, all I can say is that my 1968 911L has the typical SWB gearbox pattern of 1st gear down the the left, so maybe having the pattern pop a bit more ain't so bad after all
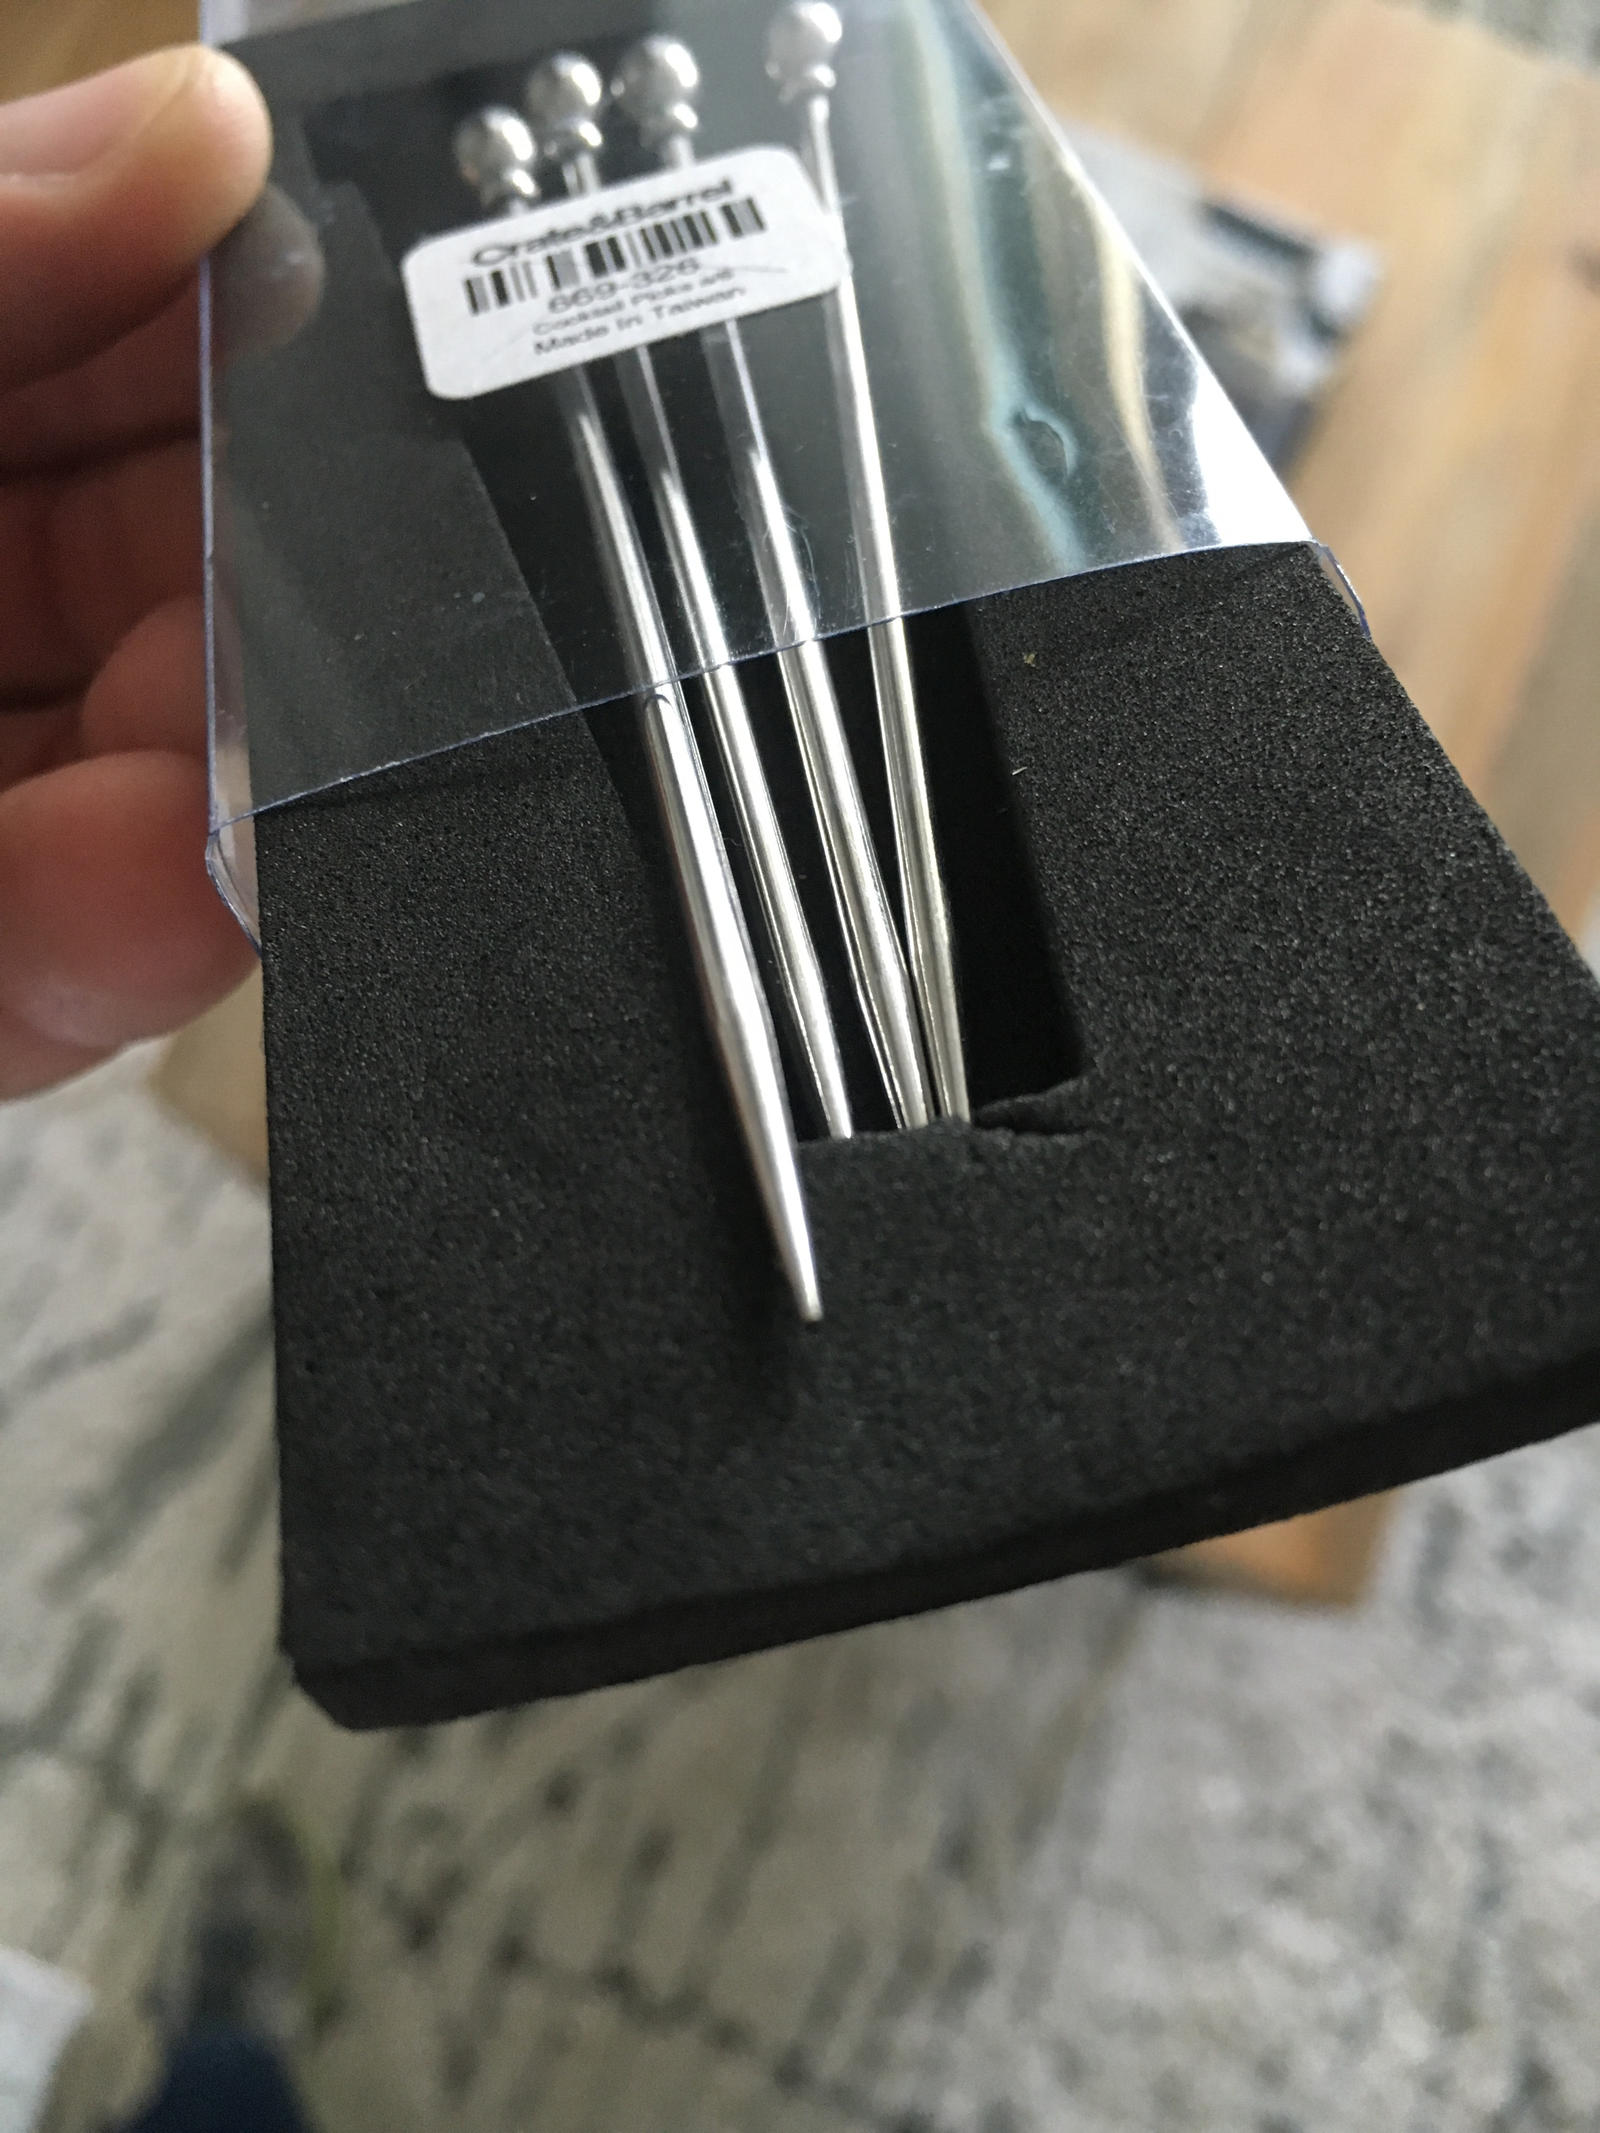
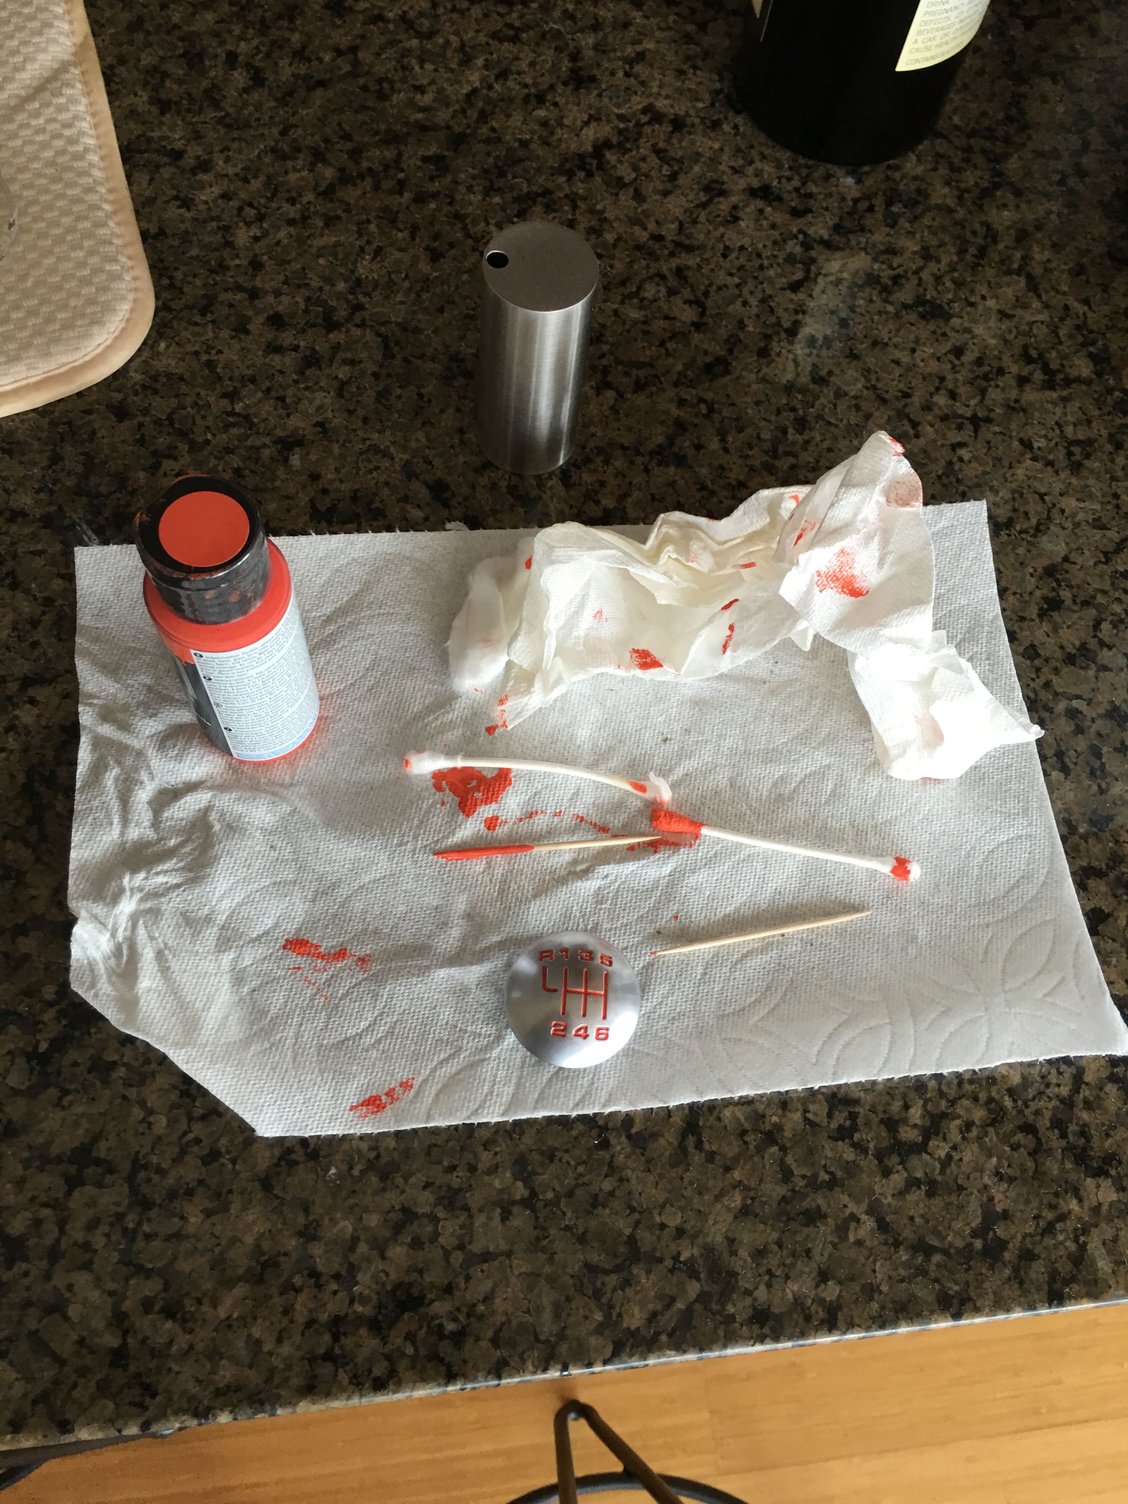
I did it on mine. I recommend using acrylic paint and a thick sewing needle. I actually used a metal martini olive pick and it laid the paint perfectly. You can use the pick to also clean any messy edges. Took me five min and worked like a charm. It looks completely OEM with no fading or chipping of any kind. Every line is perfectly straight. I'll snap a pic tomorrow or PM me to remind me.
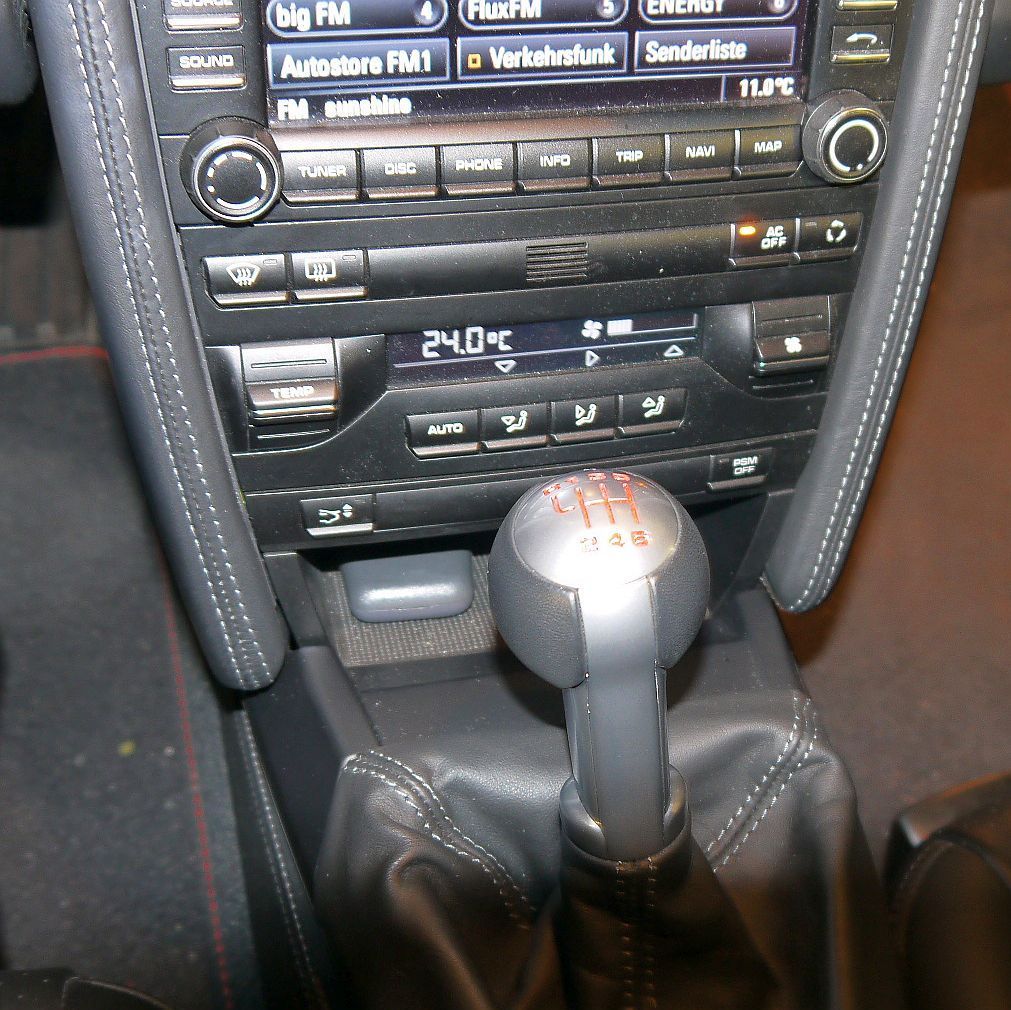
I picked up a fine arts paint brush and red paint (for plastic models).
First clean the surface with some alcohol. Then fill the numbers with enough paint and let dry a couple minutes. Then take a rag with rubbing alcohol and wipe off any access paint. Since the numbers are recessed the paint will not be wiped off.
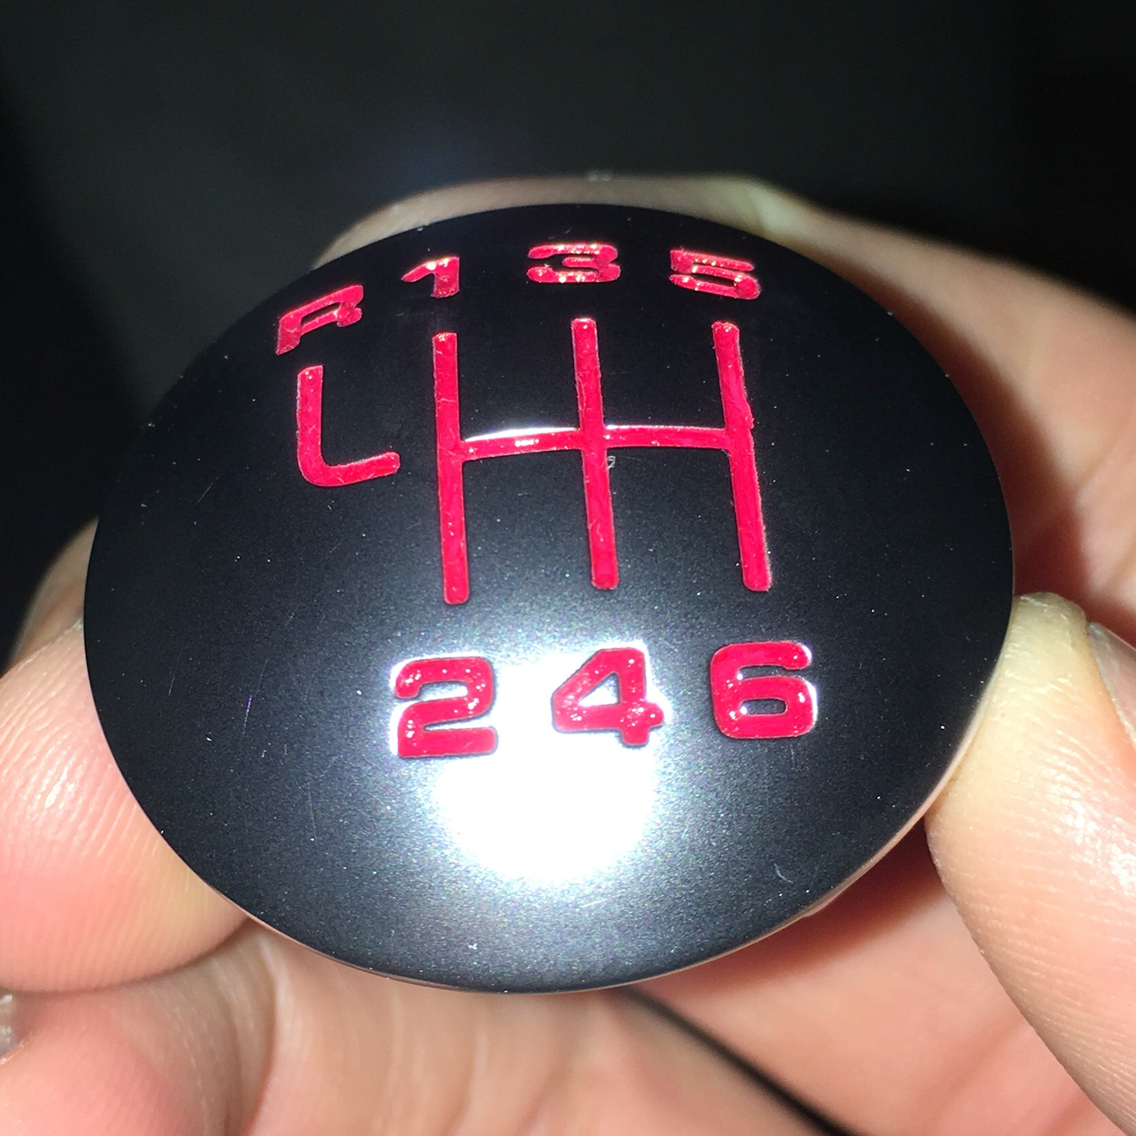
Is it not very durable though? Looks like almost all the paint in the 2 is gone and some in the 4. How often does it need to be refreshed?
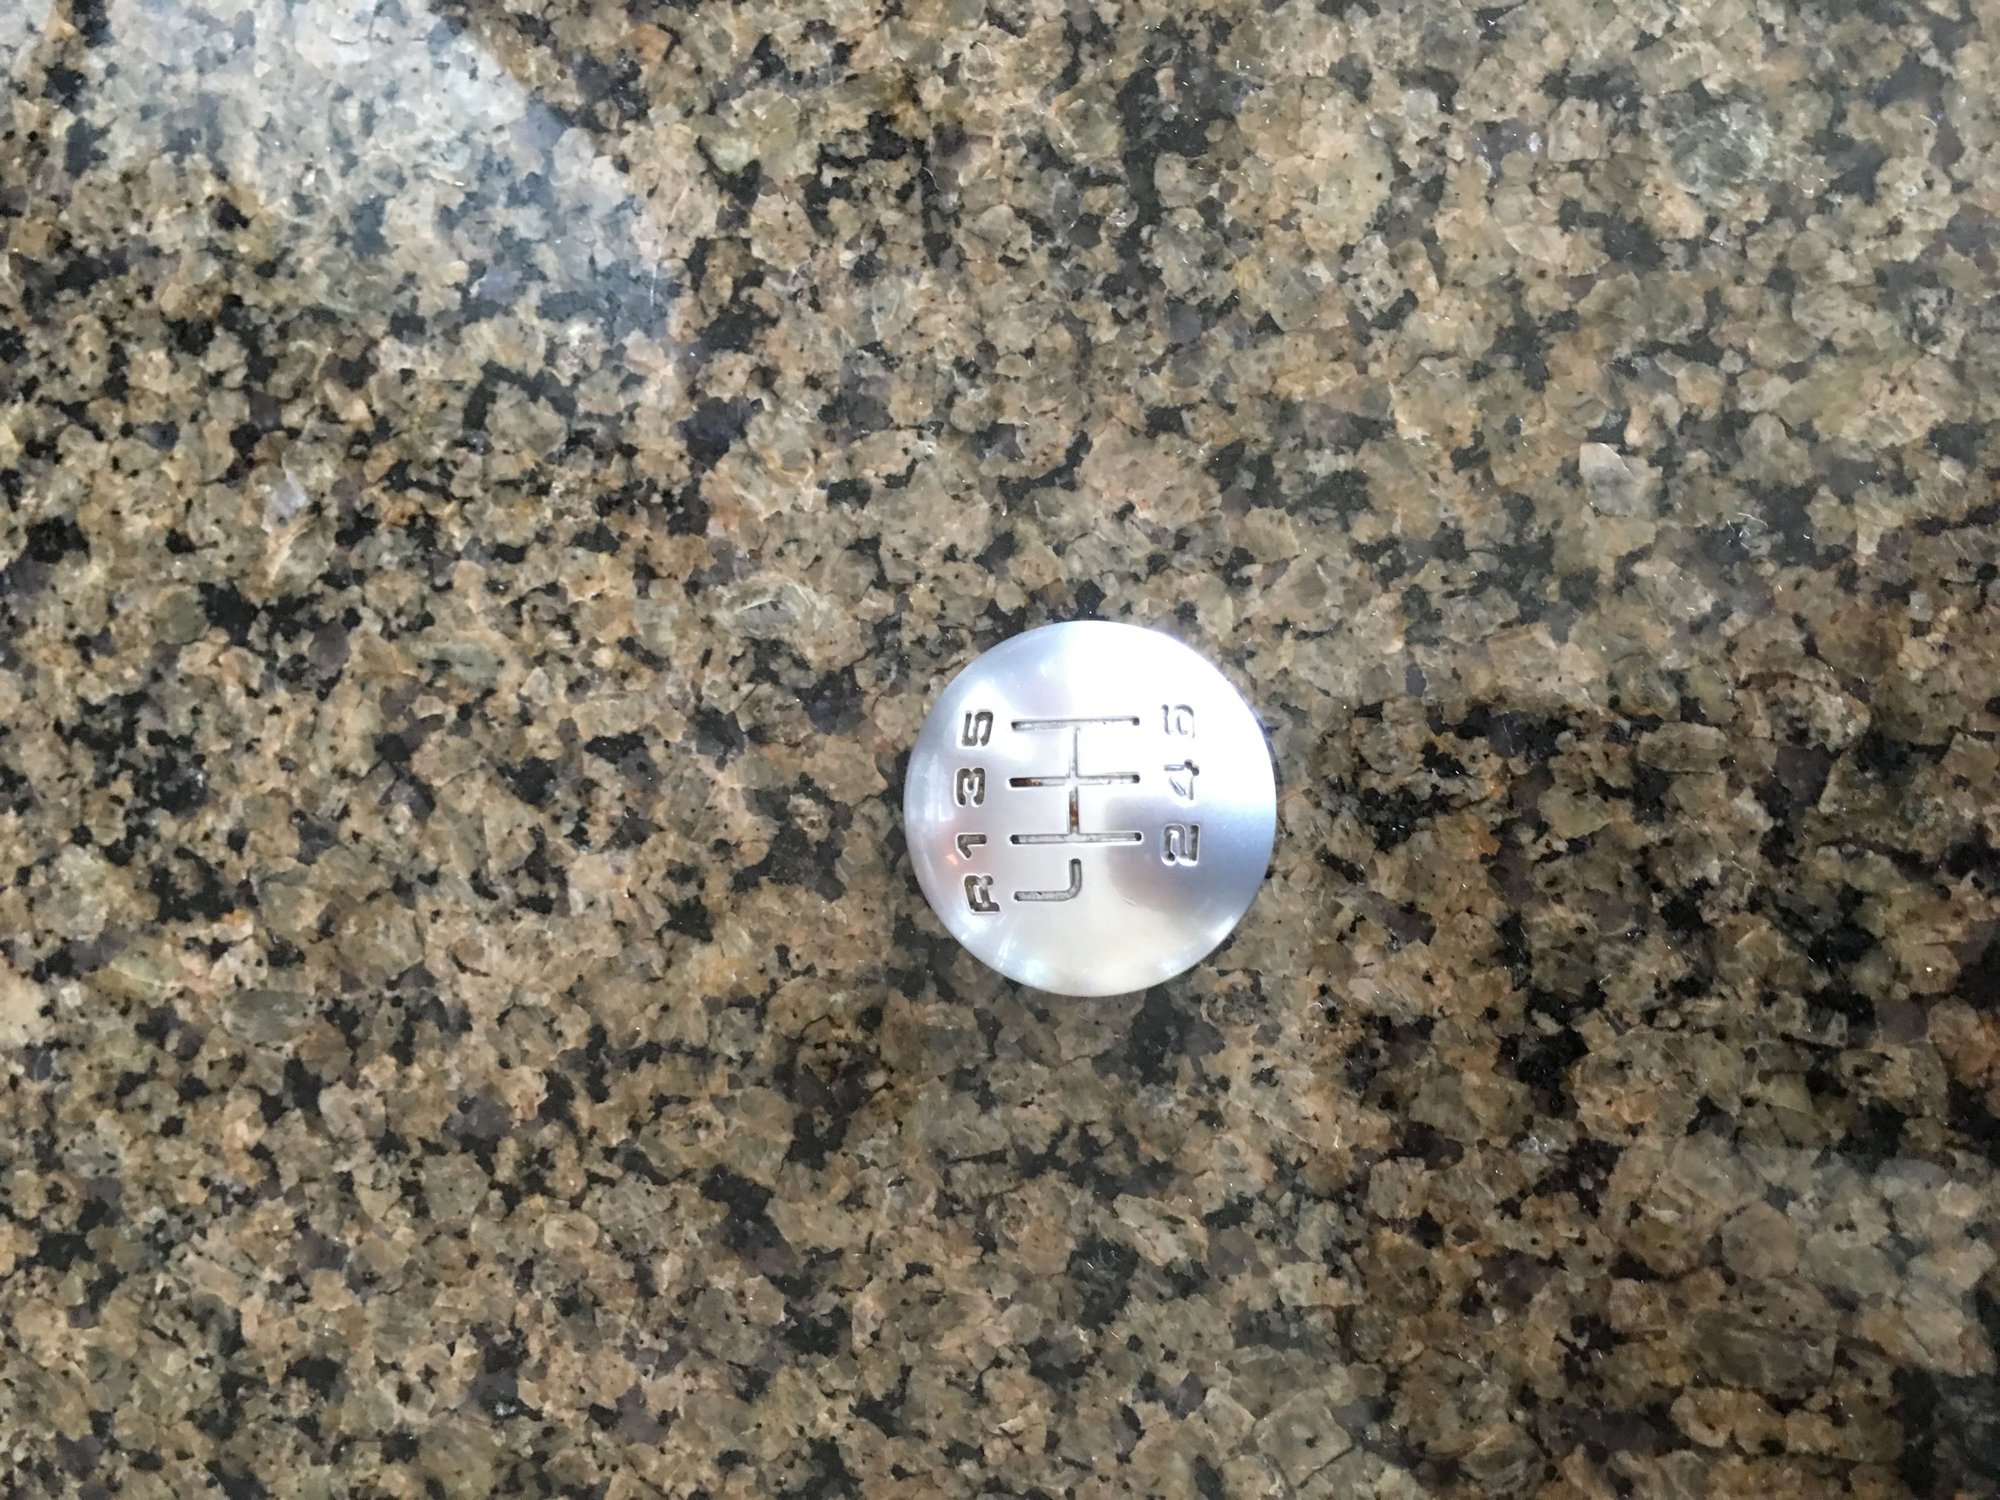
Yup the cover separates from the ****. Put an awl or small flat screw driver under the fore part of the cover and **** and it pops out. It is not held by any tabs. Just friction. So there is nothing to snap off or break.
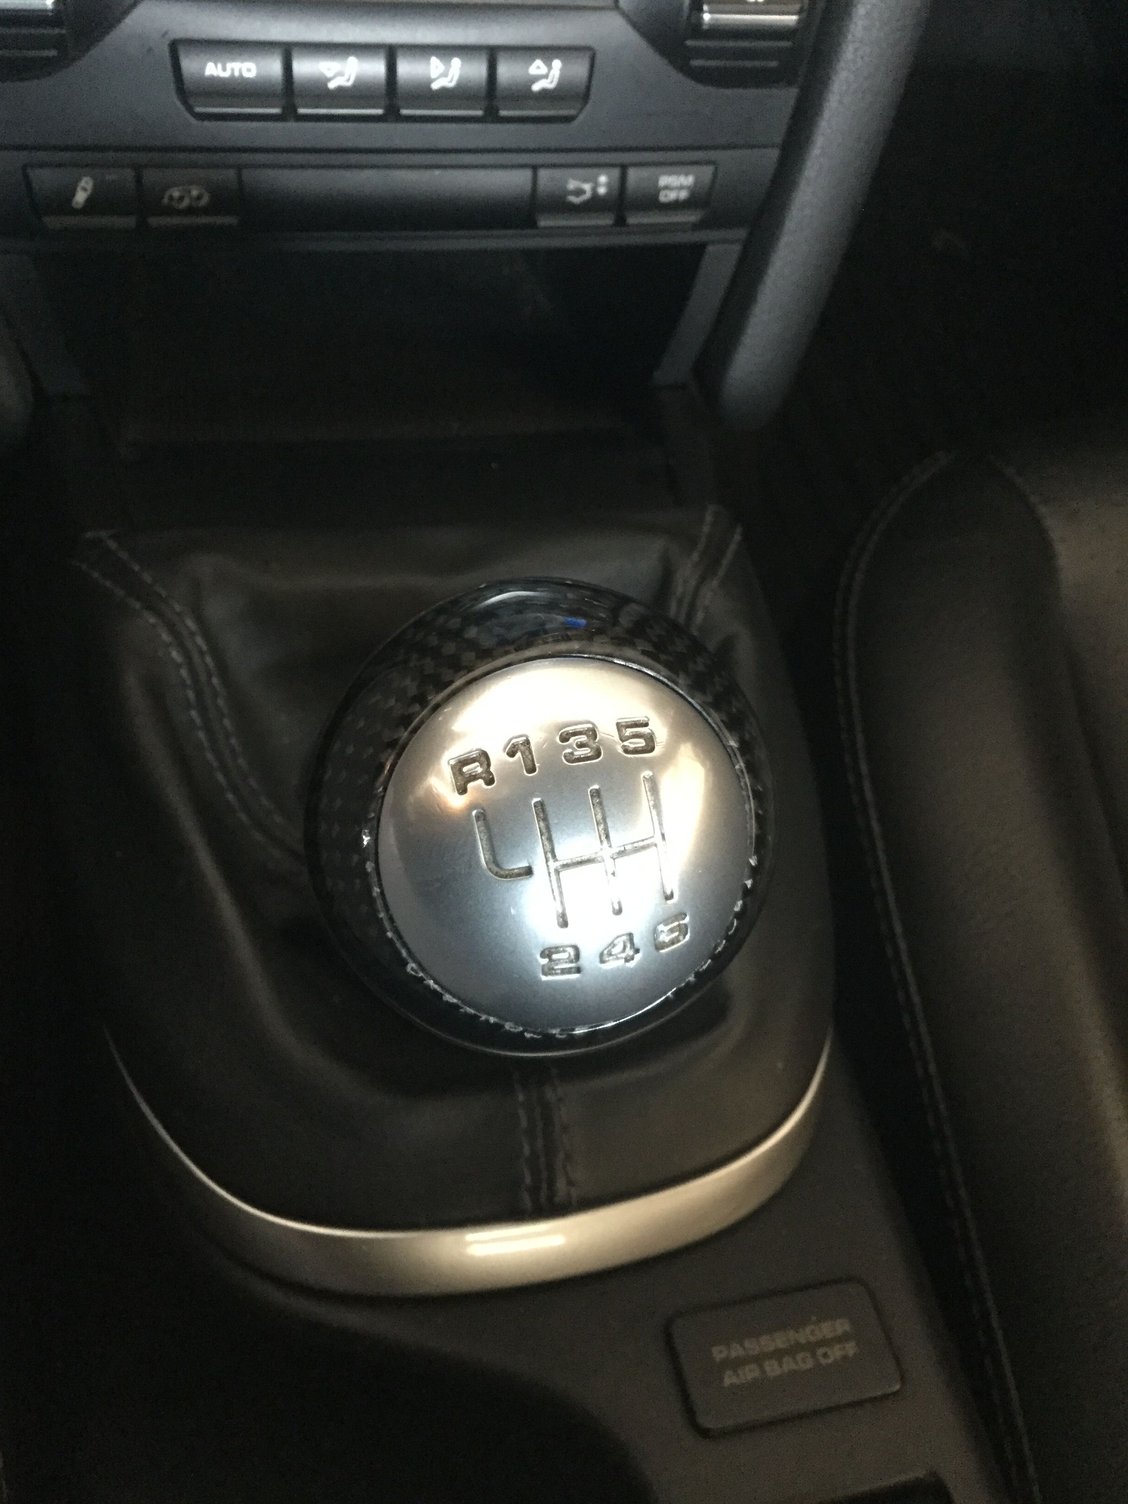
Here you go. The 2 and 6 need a cleaning but this is after a year of use at 6k miles including track days. No chipping or fading. Attachment 1044434
Dang, that looks AWESOME! I think I'll pick up some supplies and give it a shot this week. I actually have an extra gear shift set from when I replaced my OEM shifter to a carbon fiber unit, so worst case if I mess up one I still have another in my pocket
Thanks for the great DIY on this and I'll post up some pics after I do this
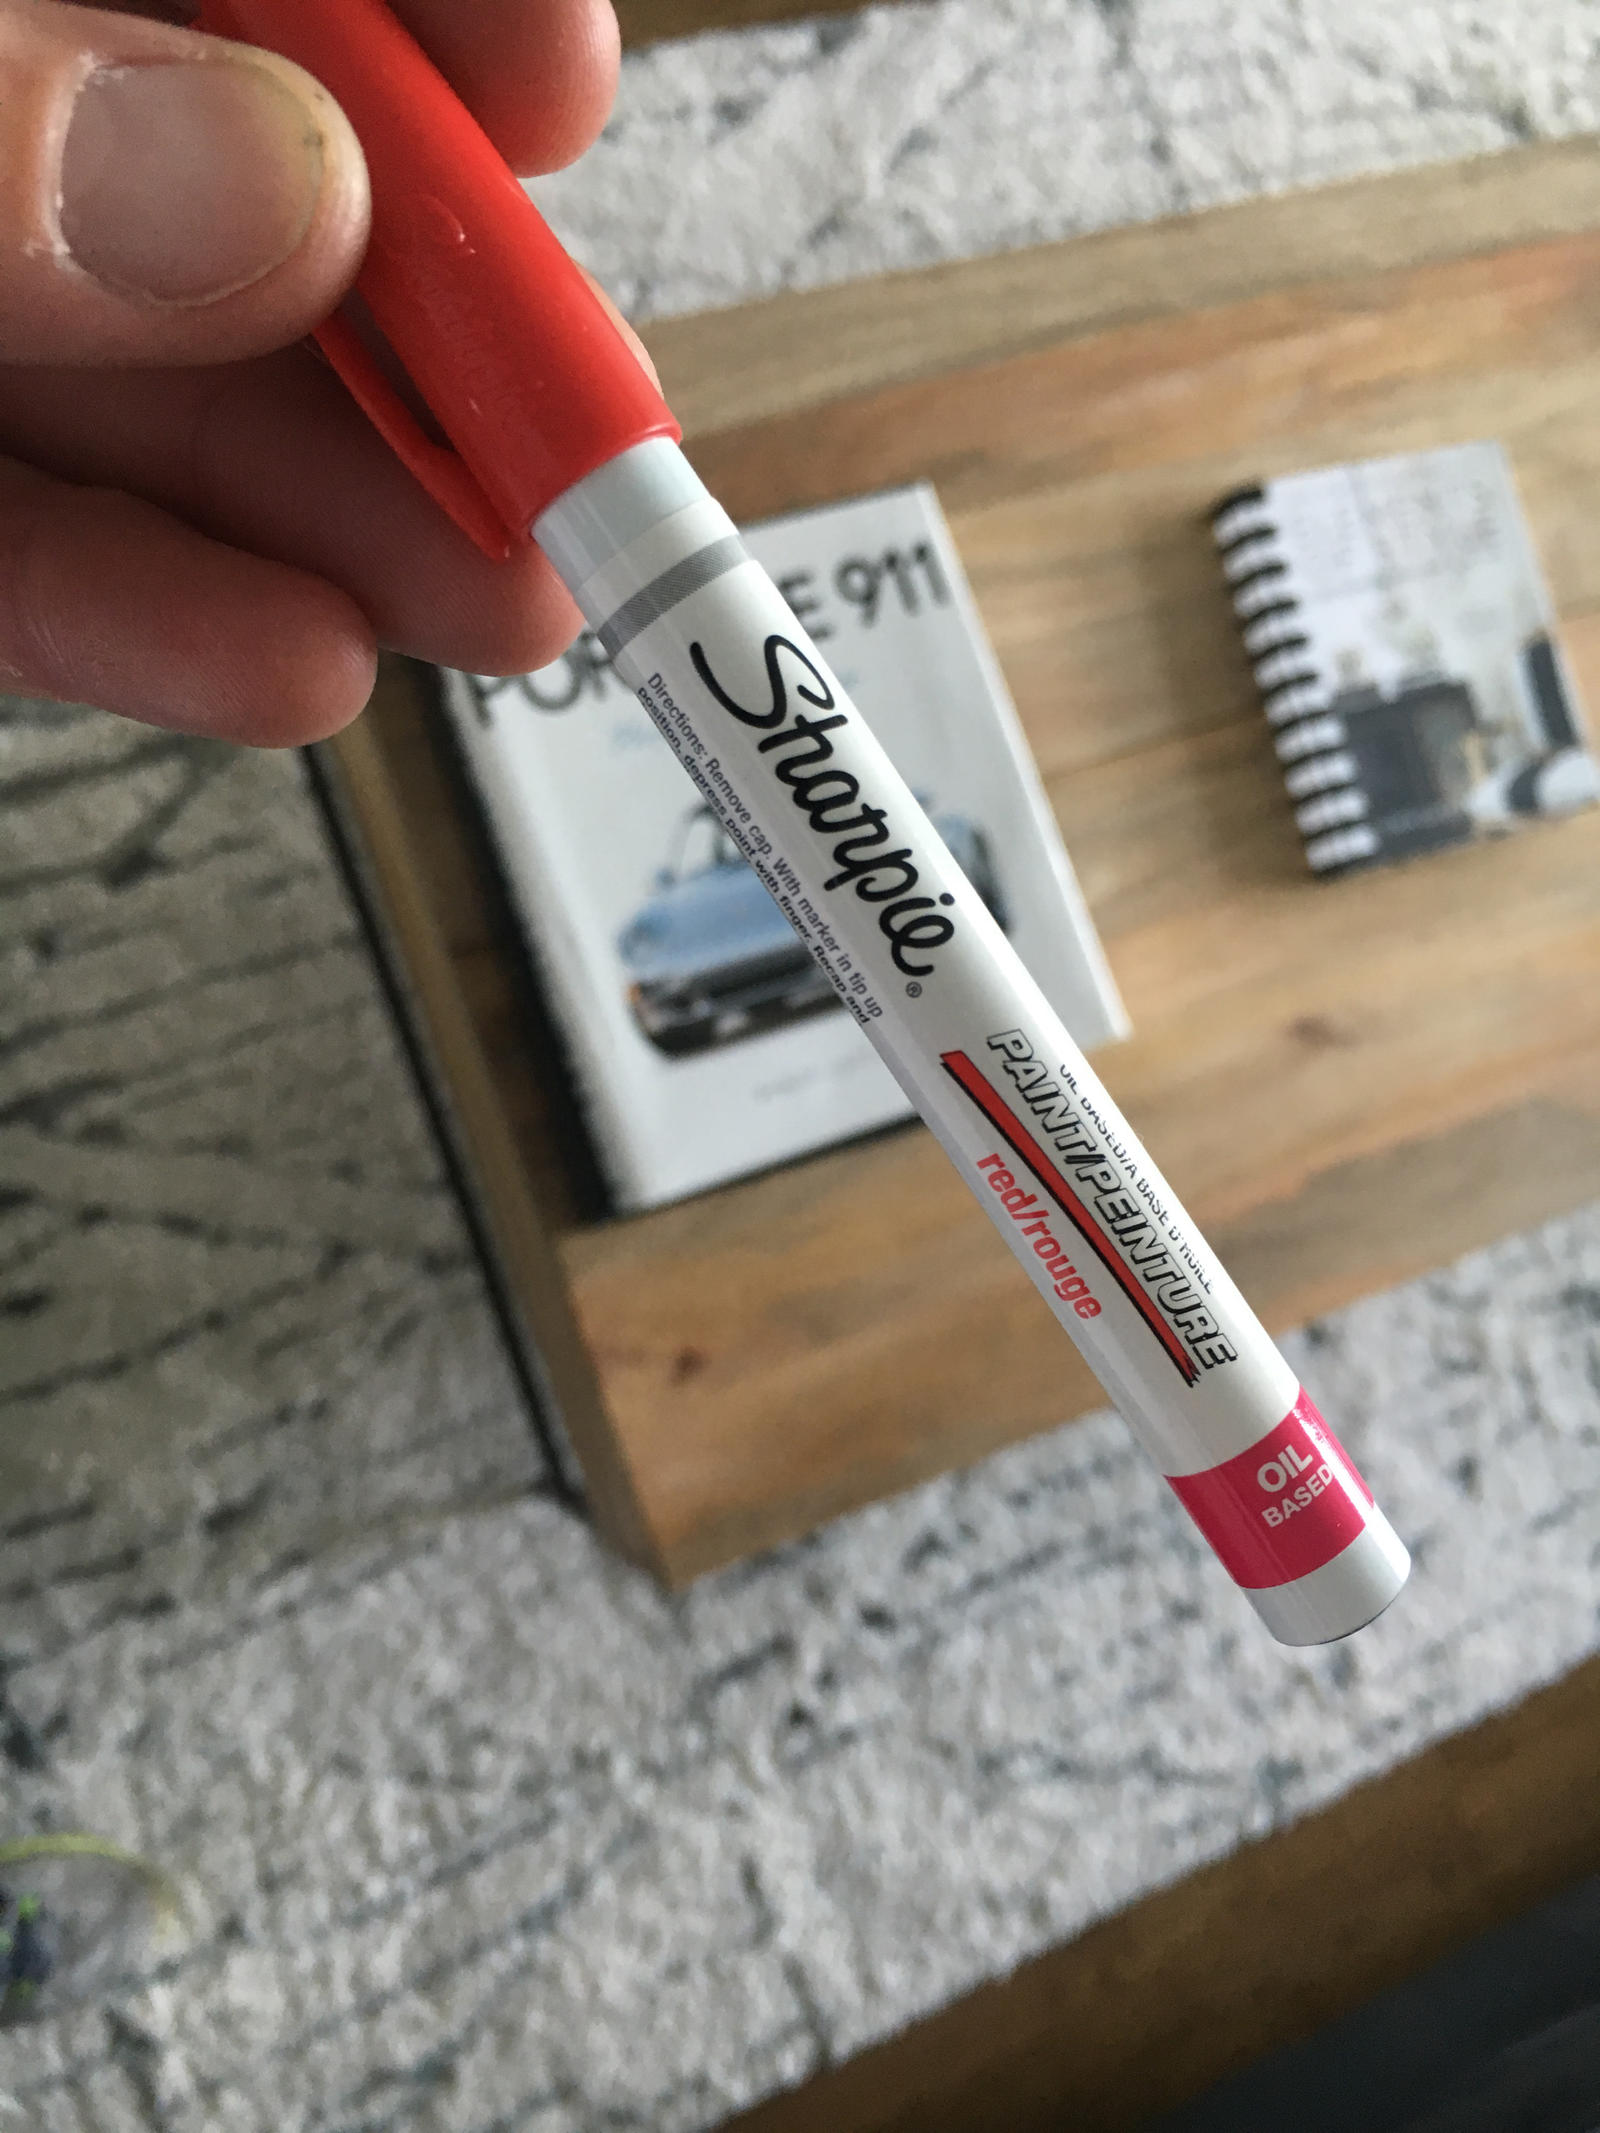
Come to think of it the paint I used was actually a fine tip Sharpie PAINT pen from an art store. Just a couple bucks. Not to be confused with the Sharpie permanent marker. The fine tip fit in the grooves and the ink flows perfectly. Then I used a martini olive pick to scrape the edges after applying.
Just did this. Ace true value has 2.99 acrylic paint. To remove the shift top you just slip something underneath 6oclock, just held in by plastic clips. Then I basically slathered the paint over the top. Used a rag to get the excess off and then a little touch up with a toothpick and done. Took 5 minutes. Was going for a reddish color to match my steering wheel, but corn poppy is what I used. I hope it dries a little more red.
All of the above ideas are great. I've worked for a company that does paint fill of engraving and here's a pro tip to make the job less fiddly for people who don't do this every day.
Apply the paint using any of the methods described above. Could be via brush, spray, pen, toothpick, etc. Next, take some thin cardboard, like a business card, and scrape it over the surface at an angle to "squeegee" off most of the excess paint. You don't want the cardboard to drop into the engraved grooves so that's why you pull it at an angle relative to the engraved lines. Once you get most of the excess paint removed, let the paint start to dry.
When the thin film of leftover paint starts to haze up and dry on the surface, take a small piece of smooth, flat plastic or metal and wrap a Kleenex around it tightly. Apply the solvent of your choice (one that will remove your paint but not attack your **** surface finish) to the Kleenex ( enough solvent to wet the Kleenex without soaking it or making it drip) and then use the Kleenex wrapped plastic/metal piece to gently wipe the excess paint off of the ****. Wrapping the Kleenex onto something smooth and flat will keep the wipe from dipping into the wet paint inside the engraved lettering.
Do the wiping in several steps a few minutes apart so that the surface paint has a chance to dry. Otherwise repeated wipes one after the other can pull the wet paint out of the grooves. Keep a gentle touch and you will have good results. Cheers.
^^^^ Now I'm remembering the entire process.
I used the paint pen to fill the shift pattern, let it dry for ten seconds, then used rubbing alcohol on one square inch of a large piece of paper towel and lightly wiped the surface. It took a few refolds of the paper towel but it was 98% finished after that. After it dried another two minutes, I used the martini olive pick to clean the edges that still had some paint.
I'm confident this works because I just went and did it again on the **** and it looks great. Took 5 minutes to do.
Edit: you can see one spot between the 5&6 that needs the olive pick that I'll do in the AM before I put it back on the car. I used the metal olive pick because the paint would adhere to the wood toothpick and spread whereas it does not stick to the metal of the olive pick.

 04-23-2016, 08:14 PM