When you click on links to various merchants on this site and make a purchase, this can result in this site earning a commission. Affiliate programs and affiliations include, but are not limited to, the eBay Partner Network.
What is the purpose of the clockspring, what does it do?
The clockspring is the ribbon of cable inside the steering wheel hub that connects to the airbag. It allows the steering wheel to turn to either side. Here's a thread with some great photos. https://rennlist.com/forums/993-foru...ck-spring.html
911F1, the wheel is plug and play and there should be no chafing whatsoever. I'm assuming this chafing just started? Torque spec is 33 ft lbs. for the 24mm with washer. Make sure that all of the wires are free and not trapped. Did any of the wires get pulled on when you removed the wheel? Sounds like you need to re-install and carefully double check all this... This link may prove helpful: http://www.porscherepair.us/porsche-...el-airbag.html
Foxman, Thanks! I'll double check my work and torque the 24mm nut to 33ft lbs.
Report back soon.
The clockspring is the ribbon of cable inside the steering wheel hub that connects to the airbag. It allows the steering wheel to turn to either side. Here's a thread with some great photos. https://rennlist.com/forums/993-foru...ck-spring.html
Got it, thanks. Is its orientation relative to the wheel important? I recently changed wheels and didn't pay any attention to the clockspring, which I knew turned a little when I connected the new wheel. I've experienced no issues that I'm aware of.
Got it, thanks. Is its orientation relative to the wheel important? I recently changed wheels and didn't pay any attention to the clockspring, which I knew turned a little when I connected the new wheel. I've experienced no issues that I'm aware of.
If it ain't broke....Orientation to the wheel should have the wires in the 3:30 position simply to allow the wires to pass though the opening on the right side of the steering wheel.
If you accidentally hit the locking tab and the clock spring rotated at all, just make sure the arrows are still properly aligned. See photos in the link below. The directions for setting up the clock spring are conveniently printed right in the clock spring.
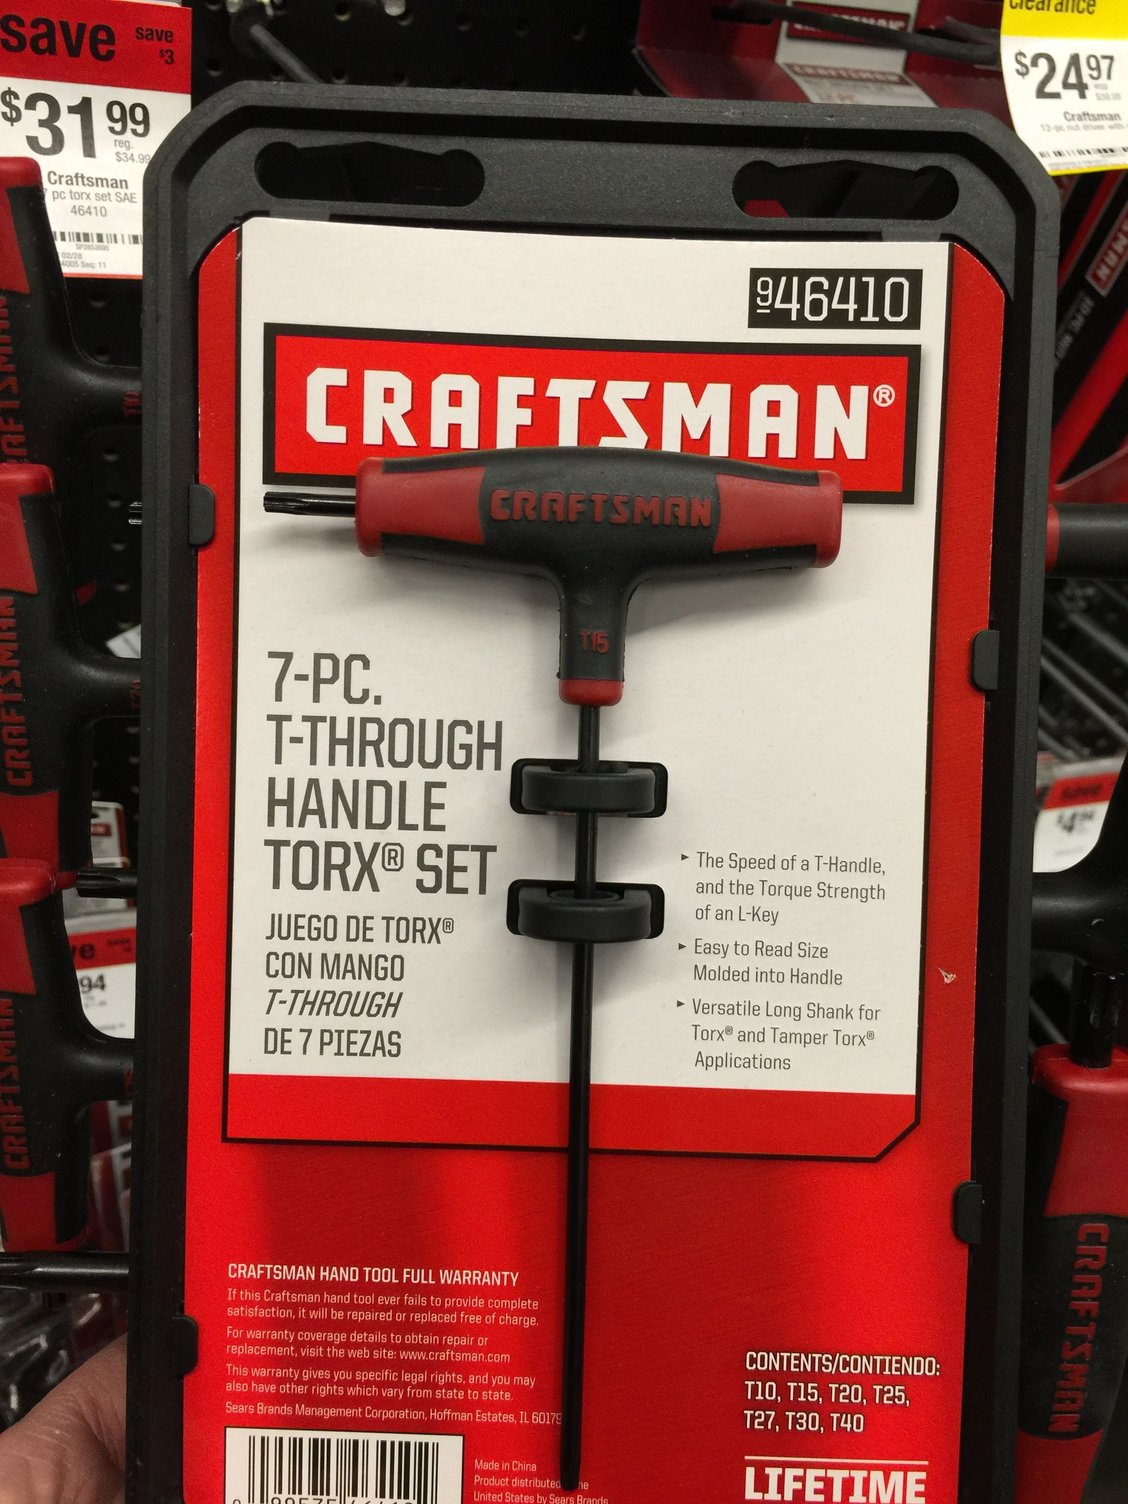
I'm in the process of installing a 996 three spoke with leather airbag on the new zenith. I saw this 7 piece T handle torx set on sale at Sears this weekend. The set includes the #27 for the 993 four spoke, and the #30 for the 993 three spoke. The right tools for the right job. I also three out all of my old worn screw drivers and replaced them all. I considered giving the old screw drivers away, but why pass along bad tools. Tired of rounding out and stripping things I guess.
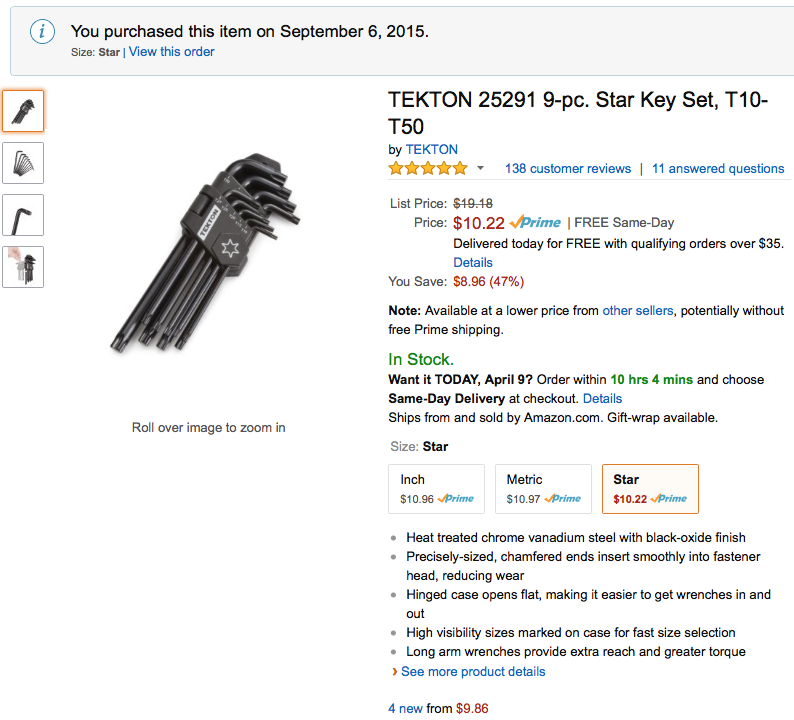
I replaced my steering wheel project earlier tonight. You can learn from my mistakes / discoveries TORX BIT - I used these are they are great and inexpensive on amazon -
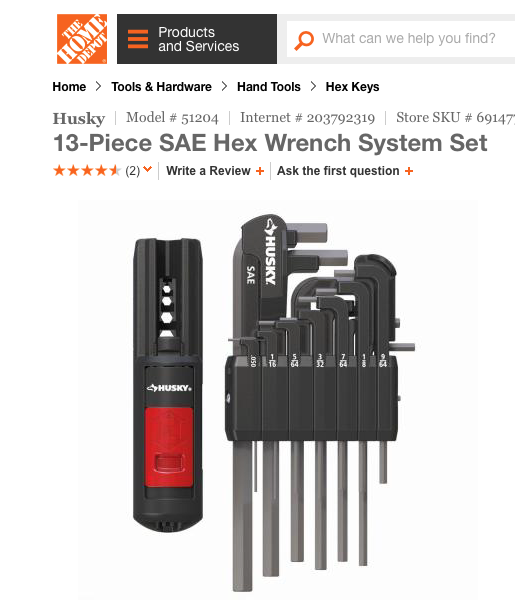
$10.94 the whole set - good deal. I have a Husky plastic adjustable handle that I use with Husky allen keys --- it works wiith these to add force multiplication
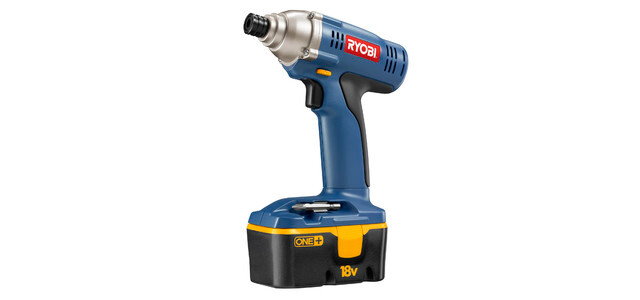
Then instead of messing with clubs or breaker bears (I can already envision myself somehow using too much force on the bar and cracking my windshield) --- I just use an electric impact driver. Its only rated at 1200 lb-in max (100 lb-ft) as it is an old model
but it is perfect to zap off the nut for the steering wheel. I used a hex key to 1/2" square drive adapter and hooked it up to the 24mm socket. I zapped off the steering wheel nut in 5 seconds. Took out washer, Marked alignment, and then zapped on the new steering wheel w/ nut and washer (gently) and finished with a hand torqued 33 lb-ft. At this point you would hook up airbag and be done with it.
Man I was happy --- really pleased with myself for using an impact driver (electric) in reverse as an impact wrench ... wow, yes, jlaa --- you are so clever! But that would be only if you are good at this stuff. I'm BAD at this stuff and therefore --- My side horn contact wire distingerated at the copper connector. Great. It looked fine one minute and the next time I looked at it it was in two pieces. Some alien must have bitten the thing in two when I wasn't looking. I tried for two hours to use jeweler's eyeglasses flatheads to pry the crimp connector all open so that it would release the strands of wire bound in the connector, and reattach to the wire. But that was not meant to be. No amount of picking and prodding was going to work for all of it so I proceed to use the bruce force method --- I SOLDERED the friggin remains of the horn wire to the connector directly, used the OE rubber flaps to protect the connector, and covered the whole thin in F4-phantom self vulcanizing rubber.
Then I put everything together. Horn did not work. Poke Poke. No horn. Still no Horn. Uninstall new airbag. Remove new steering wheel. Put old steering wheel back. install old airbag. Sounds fine. Remove old airbag, reinstall new airbag horn sounds fine (BTW each time I'm swapping airbags it take 20 minutes after battery cut to discharge the electrical system!). Remove new airbag, remove old wheel, install new wheel, install new airbag -- whaddya know the horn works fine. I just wasn't pressing hard enough. ARGH.
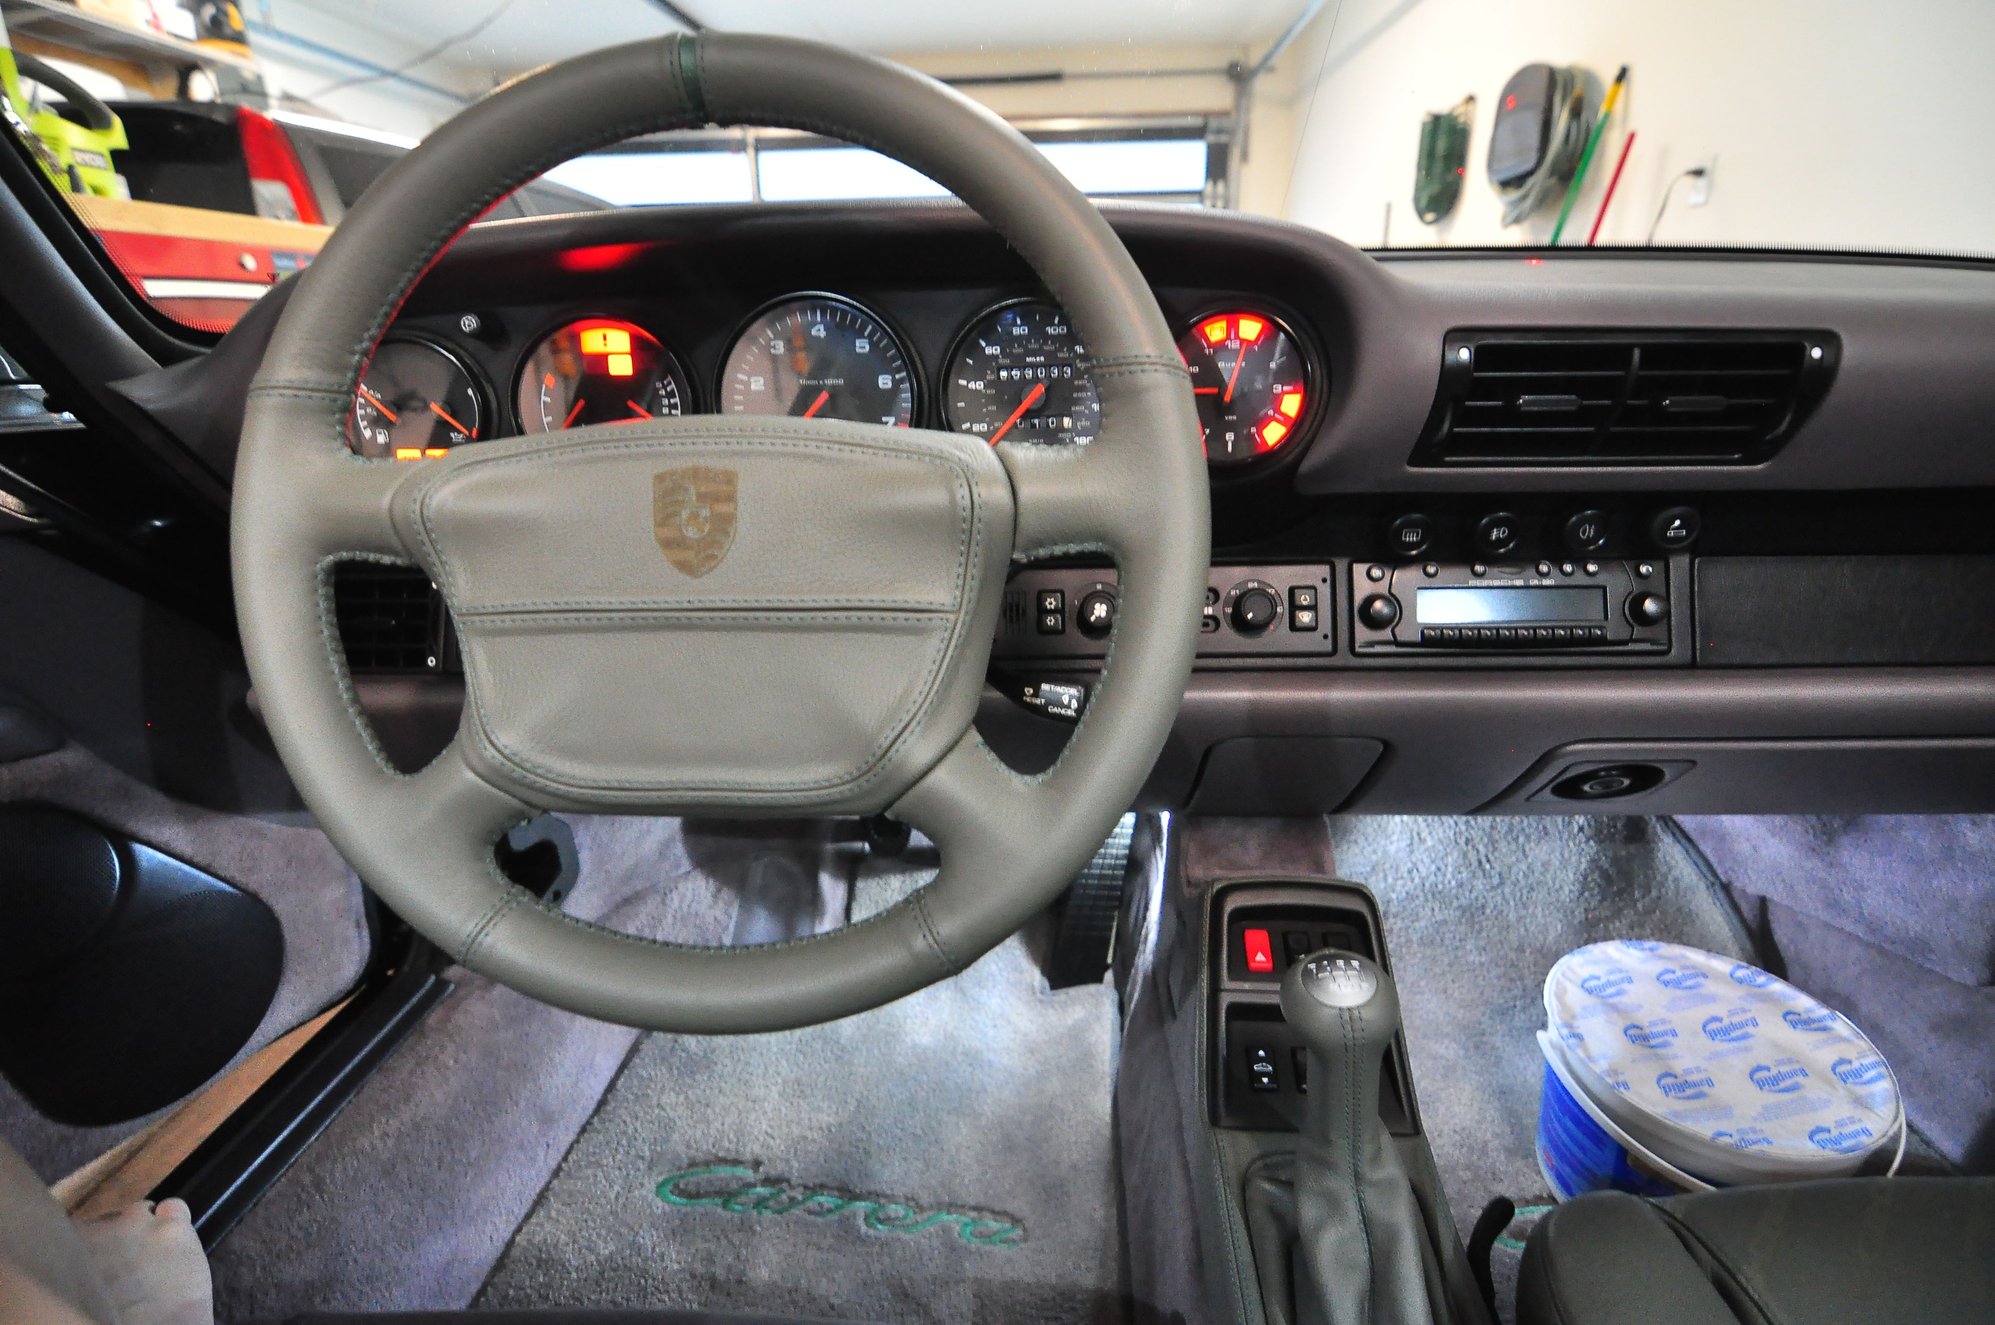
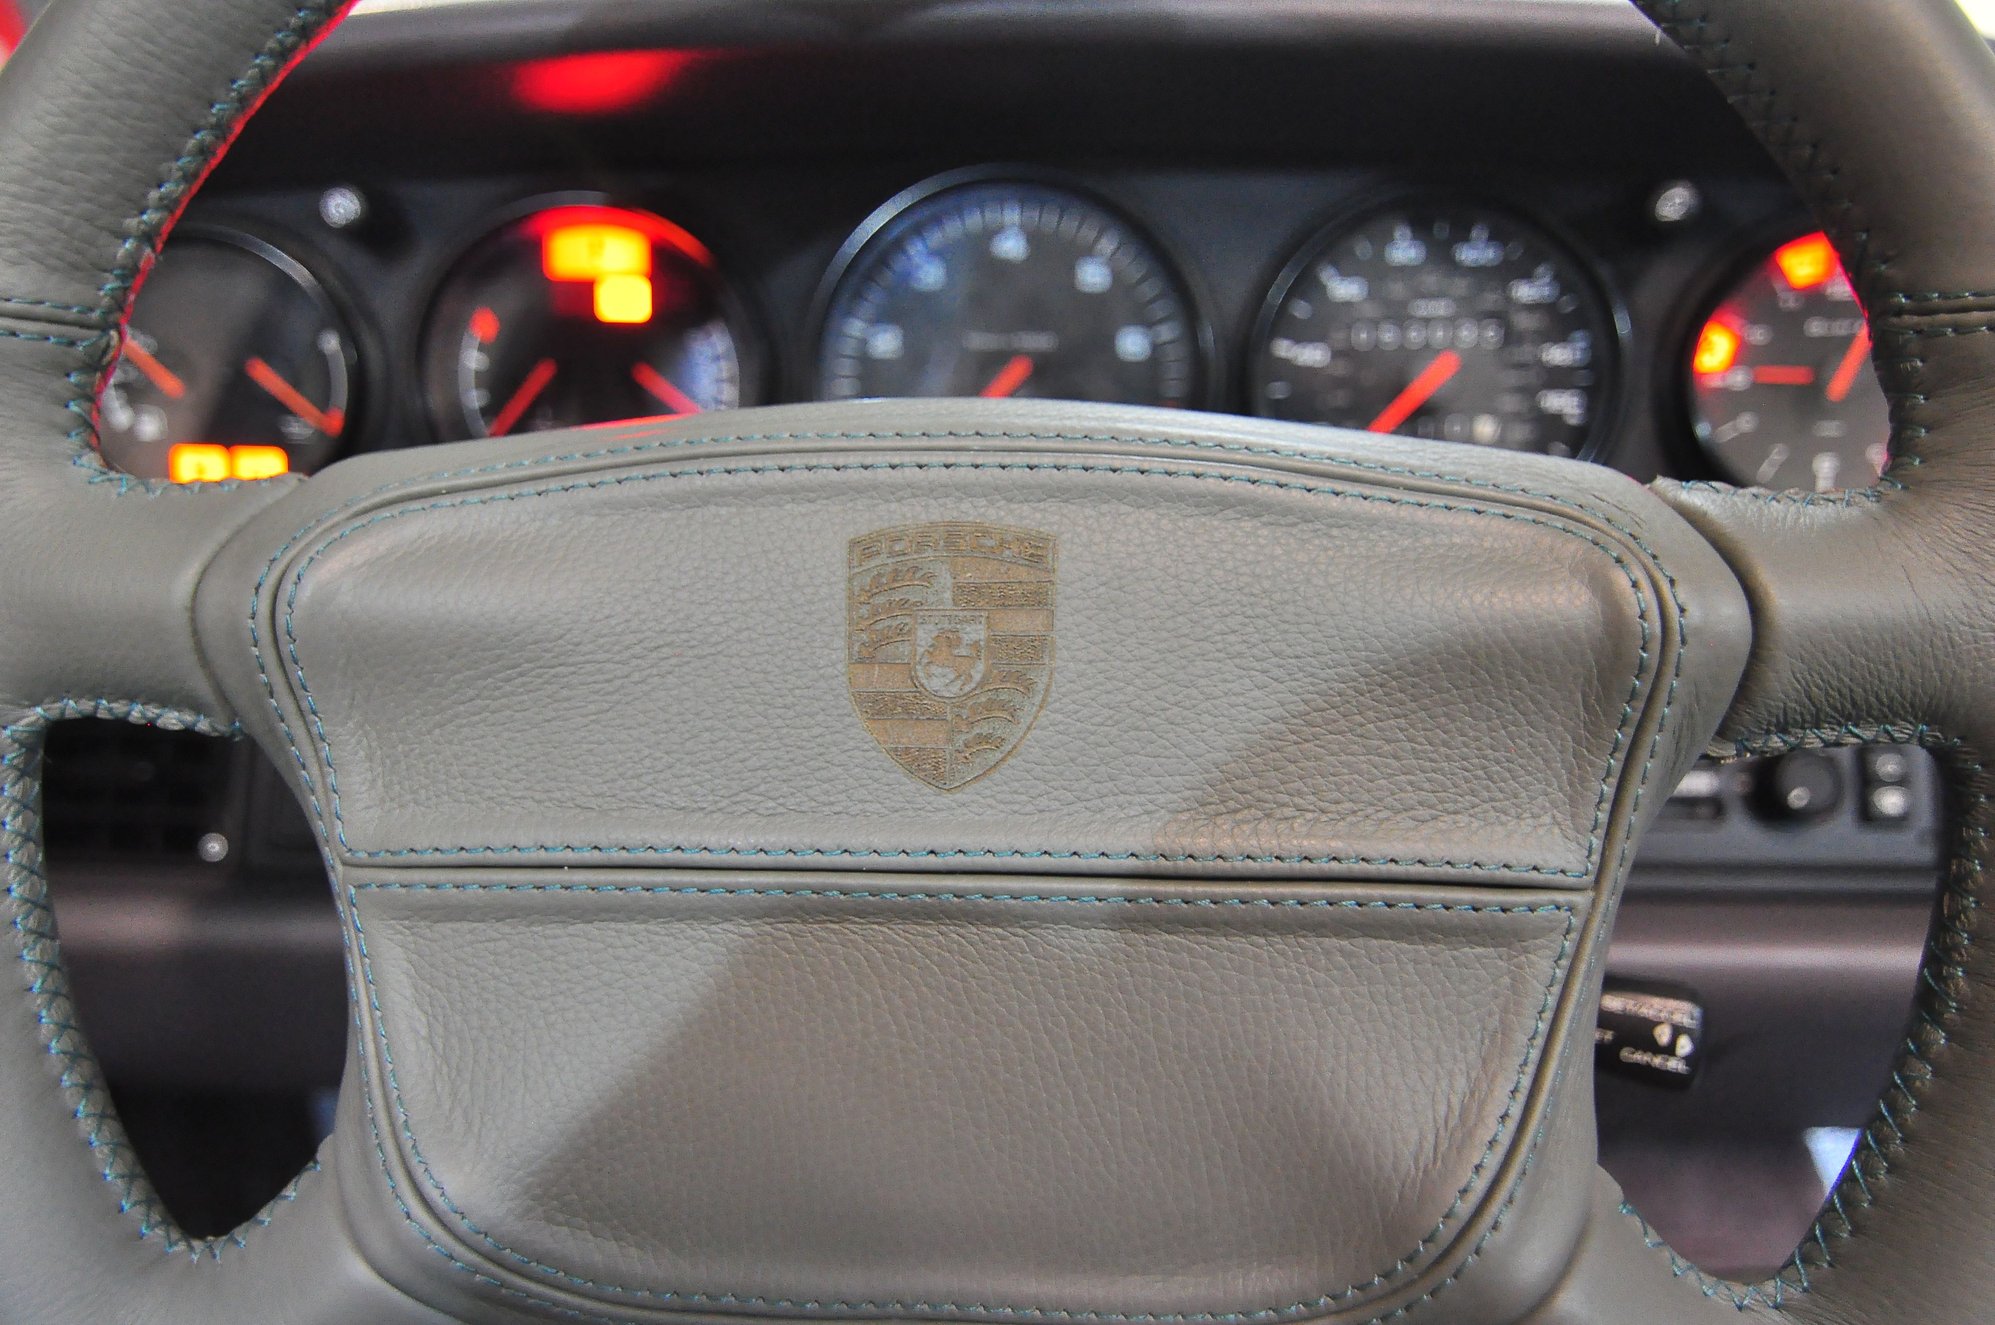
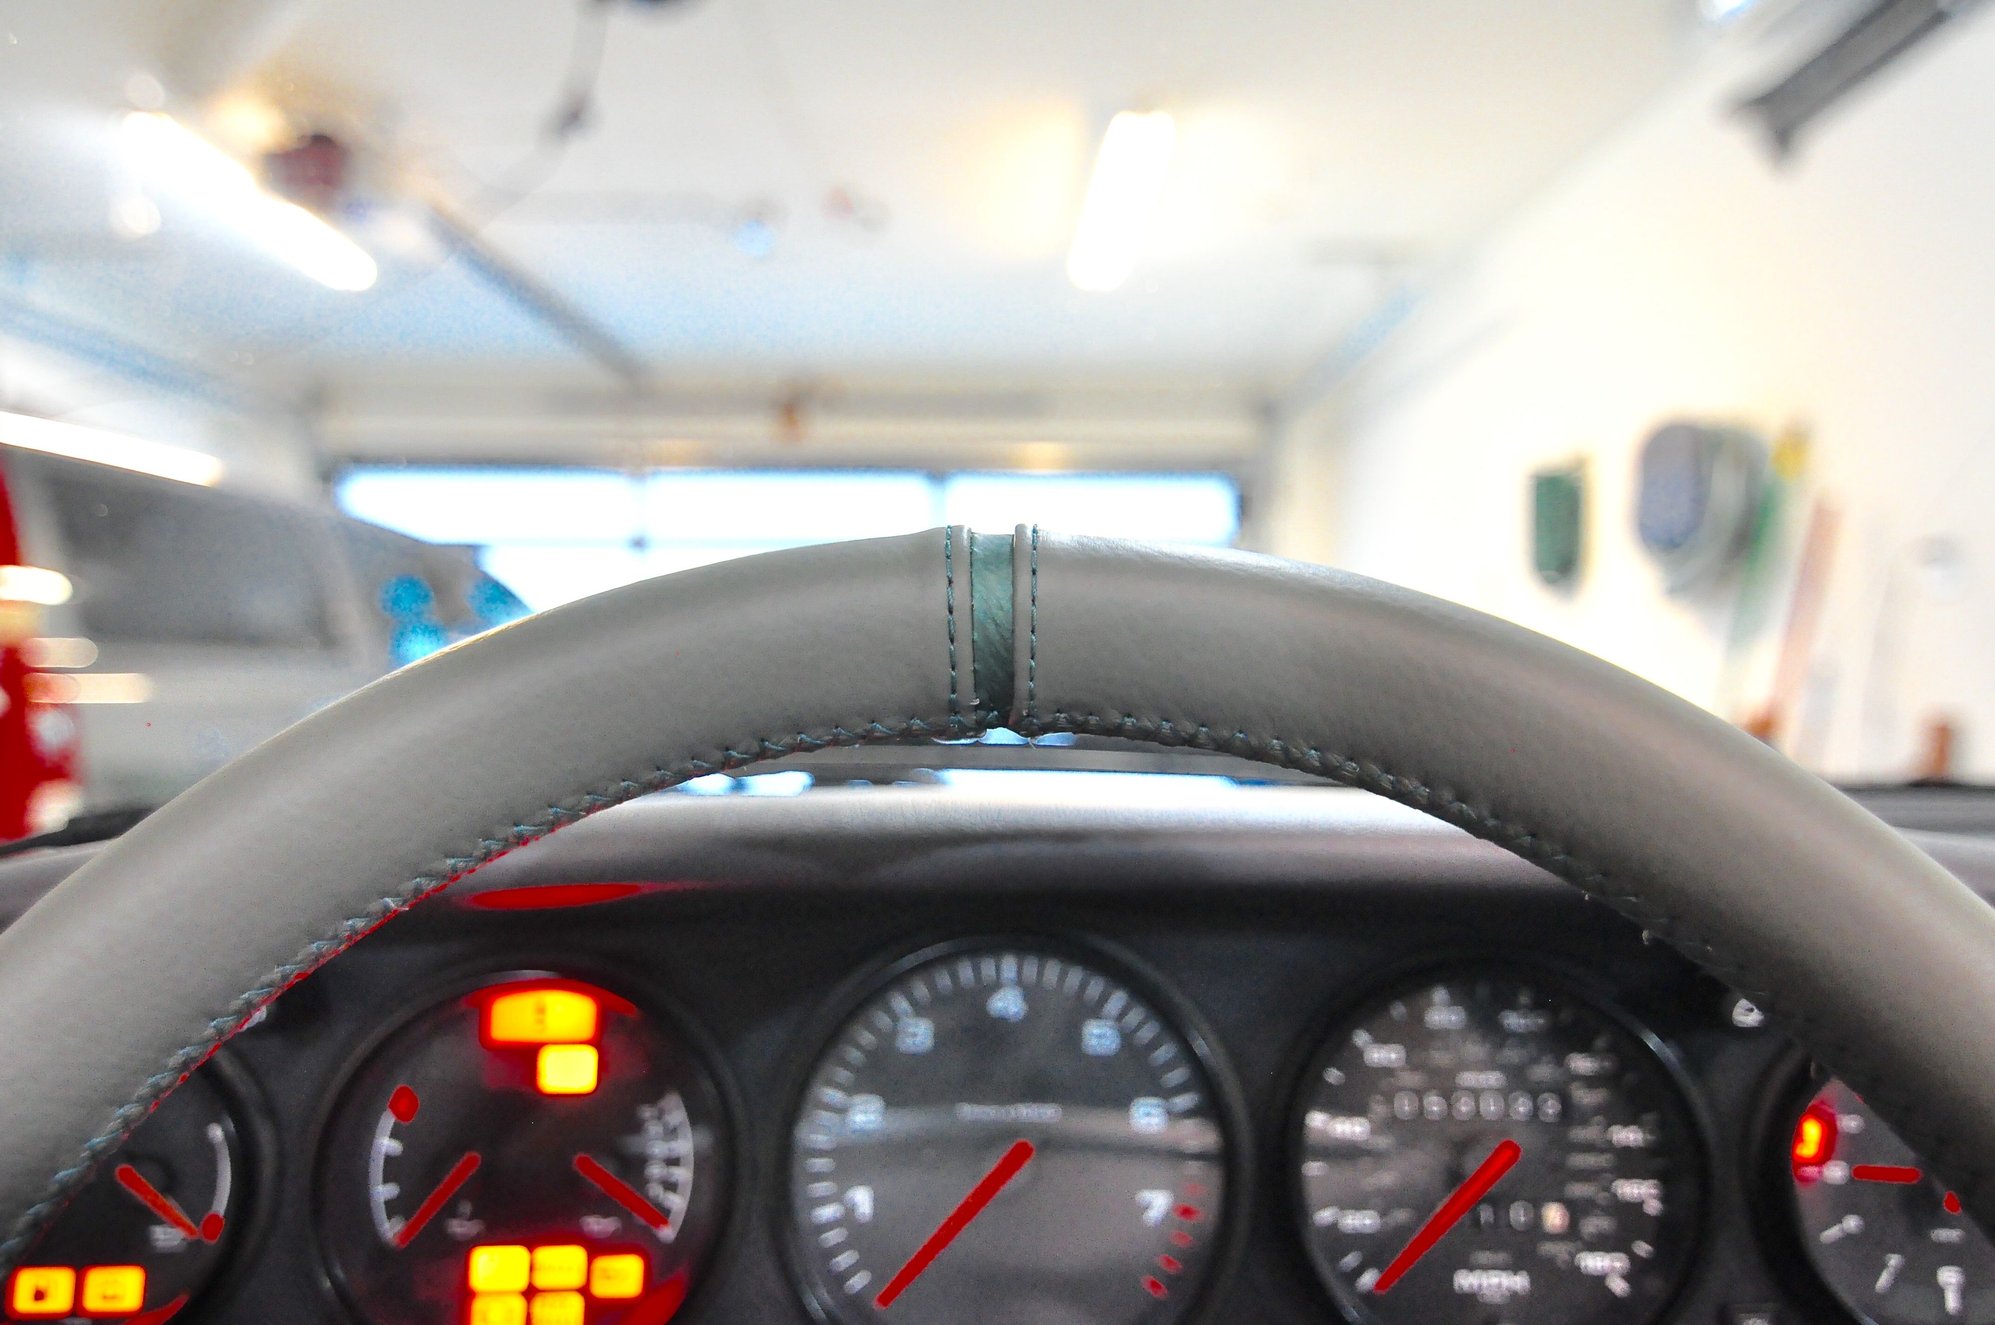
Anyways here is the finished result. Old School - Remixed. I happen to like the 4 spoke wheel. In grey no less.
To reset the airbag light, find someone with a PST2, Hammer, or PIWIS. Some say a Durametrics diag tool will reset the light, but I have been unsuccessful in this endevor; however, I have not tried since the latest durametrics download.
Durametric should work for resetting Airbag light. BTDT as I have an Atiwe set-up that has been in my last four p-cars through the years. I also found that centering the wheel and then marking the spline shaft and steering wheel mount allows for alignment when reinstalling the old wheel.
@Jlaa: You mentioned that it takes 10 minutes for the electrical system to discharge each time you disconnect the battery. I'm not clear how that affects the airbag. My understanding is that there is no power to the airbag as long as the ignition switch is turned off. I still disconnect the battery just as an added safety measure, but I don't wait 10 minutes. Am I missing something?
Also, if the 993 is the same as the 997 I had, you only get a fault code if you make the mistake of turning on the ignition (with battery connected) while the airbag (or any warning lights in the airbag system) is disconnected.
@Jlaa: You mentioned that it takes 10 minutes for the electrical system to discharge each time you disconnect the battery. I'm not clear how that affects the airbag. My understanding is that there is no power to the airbag as long as the ignition switch is turned off. I still disconnect the battery just as an added safety measure, but I don't wait 10 minutes. Am I missing something?
I could be mistaken, but my understanding is that even with the ignition off, and even after unplugging the battery, the airbag remains powered for a short-while. Hence the need to wait thirty minutes after unplugging the battery. I've installed plenty of LED lights and HID headlights with the battery hooked-up, but this is simply not an option with the airbag... Play it safe.
P.S. Here's an interesting article in Tech Forum that may shed some light on the subject. There is apparently a capacitor with a back-up power supply which retained power for some twenty minutes after disconnect on earlier models. Reportedly the control units on later models starting with the 993 model the back up electrical charge is only held for one minute after turning the car off. http://www.callasrennsport.com/wp-co...ag-Systems.pdf
Thanks for that info and article Foxman. I learned a lot about air bags, and will ensure the battery is disconnected for a minute before disconnecting (or connecting) the air bag in future.
Great write up Foxman! I used this process to change out the 4 spoke in my 986 Boxster for a 3 spoke. It's a pretty easy process, including the waiting after disconnecting the battery one should be able to do this in an hour. I didn't meet that time however, my airbag didn't want to line up with the Torx bolt on the left side no matter what I tried. I took the wheel off again and the two pieces would go together no problem on my lap but as soon as the wheel was back on the car same thing, it was trying to thread in crooked. After talking it off one more time and installing and removing the airbag on my lap several times it finally went together on the car. Third time was the charm! I don't know why it was being so difficult but it was, looks really good though now that it's done!
To reset the airbag light, find someone with a PST2, Hammer, or PIWIS. Some say a Durametrics diag tool will reset the light, but I have been unsuccessful in this endevor; however, I have not tried since the latest durametrics download.
I was able to use Durametrics to reset my airbag light after changing the steering wheel by selecting "964" instead of "993" for the car model. This was suggested in another RL thread I dont remember, and worked for me.

 12-08-2015, 06:39 PM