
How do you attach the HANS anchor to helmet
 04-12-2007, 06:54 PM
#1
Advanced
Thread Starter
Join Date: Jan 2007
Location: Boca Raton, Florida
Posts: 74
Likes: 0
Received 0 Likes
on
0 Posts
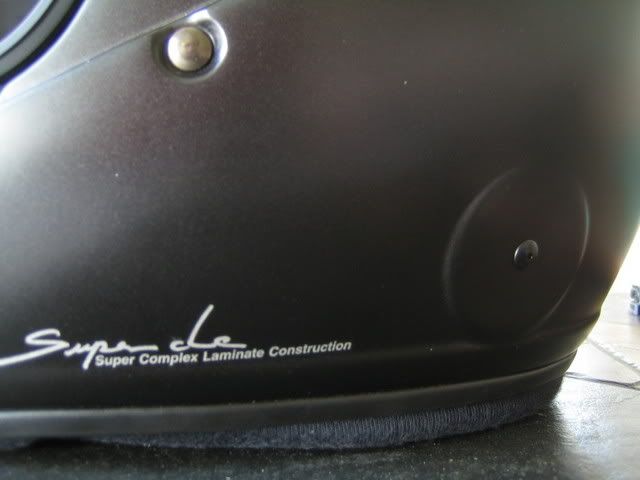
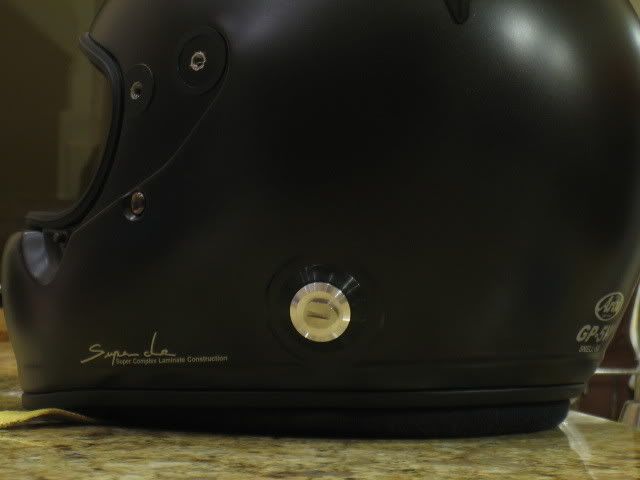
I have an Arai GP-5W that is predrilled for the HANS anchor bolt. Does anybody know how I should pop out the plastic from the hole in the helmet? Do I need to add the backing plate for the anchor and if I do, how do I remove the rear padding from the helmet?
Oh yeah, and by the way, I bought a HANS...and a Schroth Hybrid II for the driver and a Profi II for the passanger/instructor. I figured I'd get the Profi for the passanger because its easier for me to help them get it on without me having to get a little too friendly with their family jewels.
Oh yeah, and by the way, I bought a HANS...and a Schroth Hybrid II for the driver and a Profi II for the passanger/instructor. I figured I'd get the Profi for the passanger because its easier for me to help them get it on without me having to get a little too friendly with their family jewels.
 04-12-2007, 07:13 PM
#2
Addict
Rennlist Member
Rennlist Member
Join Date: Feb 2003
Posts: 306
Likes: 0
Received 0 Likes
on
0 Posts
Yes, the little plug should just pull out (it did on my GP-5K)- that's the good news.
The bad news is that you then have to get the interior part of the HANS (the flat disk) up inside the foam padding (ie: between the outside of the liner and the inside of the shell) to the level of that hole. Once you've done that, you've got to get a wrench on the disk, hold it from rotating and screw on the outer piece.
None of this should be rocket science - many have done it themselves. But I just couldn't get it to work (feared I was screwing up the liner) and had to send it back to the vendor to get it done.
One tip is to use a bicycle cone wrench on the disk inside the helmet, as these are flat and will upset the liner the least. But does anyone have cone wrenches anymore, not that bikes have sealed bearings?
Regards to all.
04-12-2007, 07:40 PM
#3
I just put my anchors on a couple of weeks ago. I could not get my fingers between the lining and the shell, it was too strong, but I was able to easily work a couple of medium sized phillips head screwdrivers about an inch away from from the hole on either side and left them there to hold the lining out of the way. That allowed me enough room to get the backing washer and one of those flat ratchet wrenches in there. An extra set of hands to hold the anchor bolt and also the ratchet wrench idea were key elements.
04-12-2007, 08:32 PM
#4
Three Wheelin'
Join Date: Sep 2005
Location: Fort Worth, TX
Posts: 1,367
Likes: 0
Received 0 Likes
on
0 Posts
I've got the exact same helmet, and it's a ****ing PITA. One side went decently easy for me, but the other side was damn near impossible. I ended up tearing a little fabric on the neck surround part because the nut on the hans washer/nut caught on it. What I did was use a thin(~1/32" thick) piece of metal and slid it up to where the Hans post should go and moved it around to allows the washer/nut to slide up a little easier. Then I left the piece of metal inbetween the foam and shell and slid the washer/nut up inbetween the metal piece and shell using the supplied wrench. Once you get the holes lined up screw in the post and tighten, then remove the wrench, the remove the metal piece.
In this order should be:
helmet foam
metal seperator piece
Hans washer/nut slide in here
outer shell
Sorry If this doesn't make sense, it's kind of hard to type the explanation.
PS-Good color choice
EDIT-and yes you pop out the little plastic hole filler thing.
In this order should be:
helmet foam
metal seperator piece
Hans washer/nut slide in here
outer shell
Sorry If this doesn't make sense, it's kind of hard to type the explanation.
PS-Good color choice
EDIT-and yes you pop out the little plastic hole filler thing.
04-12-2007, 08:46 PM
#5
Mr. Excitement
Rennlist Member
Rennlist Member
My Hans kit came with a thin stamped steel wrench. The wrench even had hans stamped into the handle. I put the nut/washer in the wrench and slipped them both in until the threaded hole was lined up with the hole in the helmet. I uses a flexable putty knive to bend the liner back just enough to slip the inner nut in place.
04-12-2007, 09:18 PM
#7
Advanced
Thread Starter
Join Date: Jan 2007
Location: Boca Raton, Florida
Posts: 74
Likes: 0
Received 0 Likes
on
0 Posts
I have the wrench. I'm trying it right now and it is a real pain. I don't know if the inner liner is glued to the outer shell but some fabric has already ripped on the unexposed part of the padding and its blocking the hole and I can't seem to move it aside.
I can't understand why if you buy a "HANS compatible" helmet it wouldn't have an easy way to insert the anchor washer
I can't understand why if you buy a "HANS compatible" helmet it wouldn't have an easy way to insert the anchor washer
Trending Topics
04-12-2007, 09:27 PM
#8
Three Wheelin'
Join Date: Sep 2005
Location: Fort Worth, TX
Posts: 1,367
Likes: 0
Received 0 Likes
on
0 Posts
Originally Posted by Dirty Mac
I have the wrench. I'm trying it right now and it is a real pain. I don't know if the inner liner is glued to the outer shell but some fabric has already ripped on the unexposed part of the padding and its blocking the hole and I can't seem to move it aside.
I can't understand why if you buy a "HANS compatible" helmet it wouldn't have an easy way to insert the anchor washer
I can't understand why if you buy a "HANS compatible" helmet it wouldn't have an easy way to insert the anchor washer
04-12-2007, 09:44 PM
#9
I used the little stamped HANS wrench on the outside to hold the anchor straight and then used the ratchet wrench to tighten the nut under padding.
You're only getting half the excitement -- I also had to drill my $600 BELL helmet too. Big fun.
I also would have thought a pre-attached nut under the padding would be a welcome part of the cost of a HANS compatible helmet.
You're only getting half the excitement -- I also had to drill my $600 BELL helmet too. Big fun.
I also would have thought a pre-attached nut under the padding would be a welcome part of the cost of a HANS compatible helmet.
04-12-2007, 10:51 PM
#10
Advanced
Thread Starter
Join Date: Jan 2007
Location: Boca Raton, Florida
Posts: 74
Likes: 0
Received 0 Likes
on
0 Posts
Success 
Way more difficult than it should be. Basically I used the "jam the nut on a wrench behind the padding" method.
The way that worked for me was removing the cheek pad first and then working the wrench with the nut attached behind the lining, starting from the forward side of the pre-drilled hole
Way more difficult than it should be. Basically I used the "jam the nut on a wrench behind the padding" method.
The way that worked for me was removing the cheek pad first and then working the wrench with the nut attached behind the lining, starting from the forward side of the pre-drilled hole
04-12-2007, 11:02 PM
#11
Advanced
Thread Starter
Join Date: Jan 2007
Location: Boca Raton, Florida
Posts: 74
Likes: 0
Received 0 Likes
on
0 Posts
Originally Posted by jrok
You're only getting half the excitement -- I also had to drill my $600 BELL helmet too. Big fun.