When you click on links to various merchants on this site and make a purchase, this can result in this site earning a commission. Affiliate programs and affiliations include, but are not limited to, the eBay Partner Network.
New to me 2005 CTT - journal of purchase, sorting out & ongoing maintenance
Long-time Porsche fan, first time Porsche owner and here's my "new to me" post, with a twist....
Since "looking to buy" posts seem to be so popular I thought I would let people follow along through my purchase process, sorting the truck out and my ongoing repairs. The hope being it helps others take (or not take) the Cayenne plunge.
It should also be noted that my DIY experience is limited to the last 6 months (replaced LCA, tie-rods, sway bar links, valve cover gaskets and fluids on a 4Runner) but I am fairly handy and enjoy doing it but the forums are why I even try.
I focused on finding a Cayenne with higher mileage since it will currently be parked outside at night and trying to keep a pristine example pristine would drive me crazy. I briefly considered a GTS but couldn't not get a CTT.
The stats:
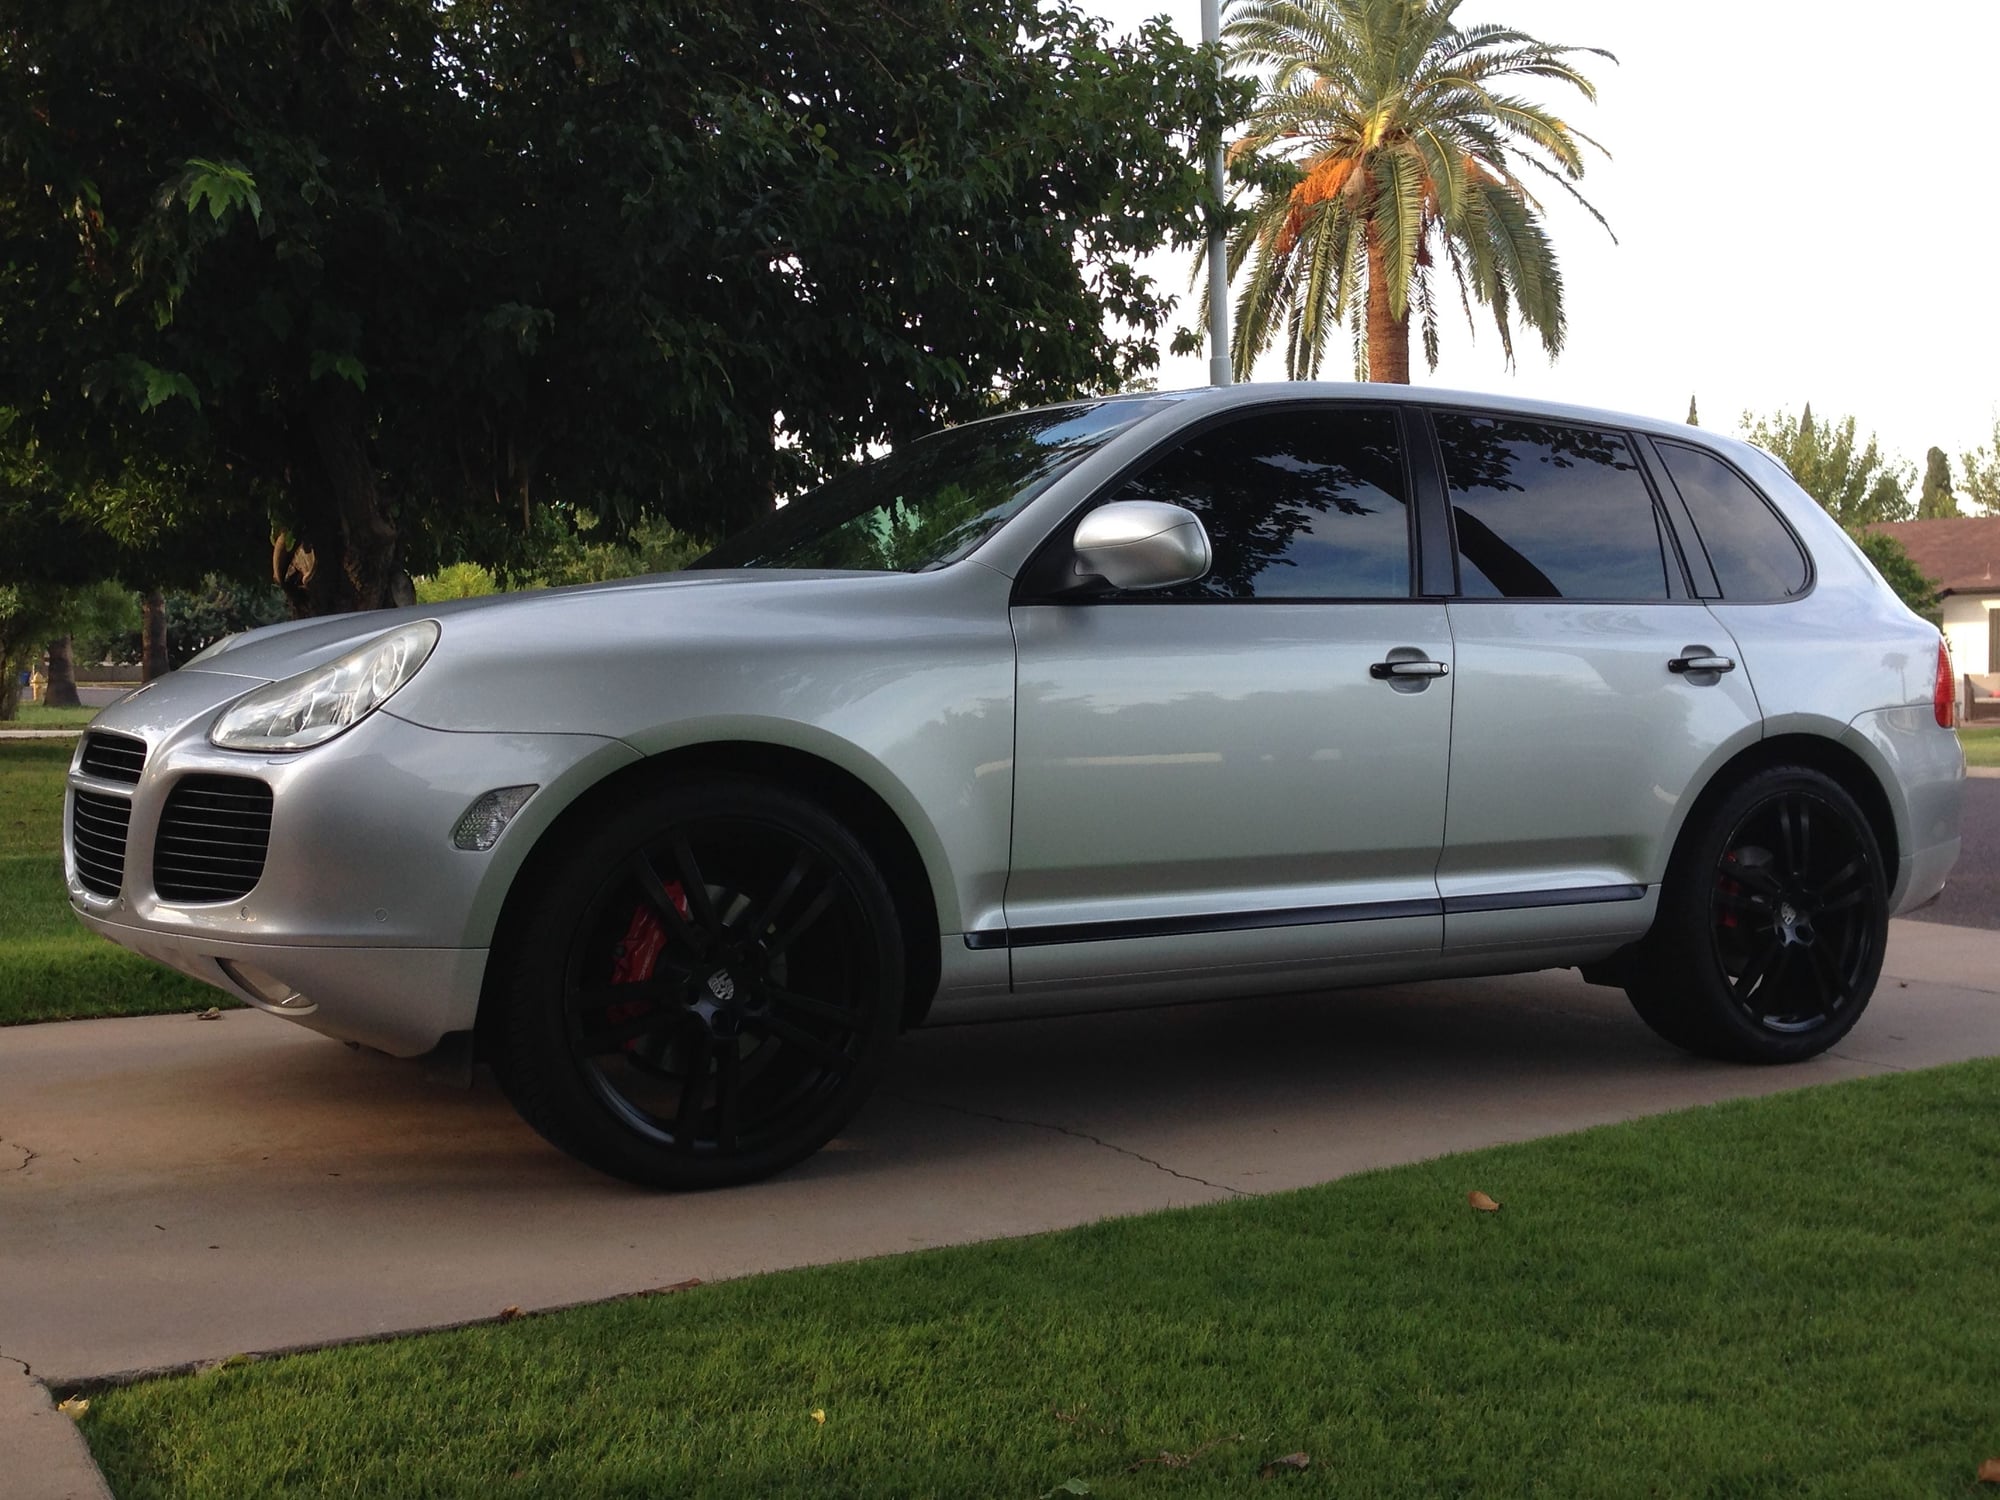
2005 CTT
3 owners - TX and AZ vehicle
115,000 miles (Carfax showed 1 minor front-end accident)
Kenwood head unit (w/ Bluetooth) and JL Audio sub and amp (installed in rear cubbies)
22" Marinello wheels w/ Yokohama Prada X - 90% tread
Paint/body = 7 / Interior = 8 (above avg for 10 years old)
Not crazy about the wheels - I like the black but not the size (may keep my eye out for 20" Sport Technos)
Major issues
Occasional hard downshifts (mostly 5 to 4) and general non crisp/smooth shifting
Steering wheel vibration at ~70 mph
Aside from a couple of the items above, she runs real strong and tight, pulls hard and all systems function as designed.
PO Maintenance
Records for first 20,000 miles and for 68,000+ miles
Coolant pipes replaced
Coolant T replaced at 79,000 (36,000 miles ago) - unfortunately with a plastic T
Hatch struts replaced at 99,000 miles (2 yrs ago)
Front brake pads, rotors, sensors done 45,000 miles ago - .6mm pad thickness (seems hard to believe)
Rear brake pads, rotors, sensors done 20,000 miles ago - .7mm pad thickness
Cardan shaft done 500 miles ago
Oil change done 4,000 miles ago (oil changes done at < 10,000 mile intervals)
Lower control arms replaced at 85,000 miles (30,000 miles ago)
Fuel filter and seal replaced at 79,000 miles
Serpentine belt done at 79,000 miles (46,000 miles ago)
Parking assist disabled via software (I believe because one sensor failed)
Miscellaneous (parking brake strut, brake booster vacuum line)
PPI revealed
Loose ball joint (front left lower control arm)
Front upper control arm bushings broken
Leaking left side intercooler (pressure) pipe
Leaking power steering pump
Hood strut failed
Headlight gaskets gone (only sticky residue remains)
Right front turn signal failure
Right rear tail light loose
Horn inoperative
Purchase process
This CTT is far from perfect but I passed on several because they weren't perfect and really wanted to get in the CTT game and this one checked enough boxes. Vehicle was listed for $16,000 but I started at KBB ($14,000) and negotiated $2,500 off for the valve body and $1,000 off for other deferred items (50% of the Indy repair estimate) and paid $10,500.
I took a bit of a gamble that a new valve body will fix the shifting issues but it's a classic case as well documented on Rennlist. Assuming DIY prices, and everything goes according to plan, I should be able to do the repairs, maintenance catchup and freshening up below and be close to KBB all-in and have a truck with most major items very up to date.
Purchased
115,750 mi (10/2015) for $10.5K (FWIW $3.5K under KBB in lieu of some deferred maintenance noted below)
Failed parts
116,525 mi (11/2015) - replaced valve body with remanufactured RevMax unit (DIY) - $719* (details)
119,130 mi (03/2016) - replaced coolant expansion tank (DIY) - $82 (details)
119,800 mi (04/2016) - headlight wiring harness (DIY) - $40 (details)
121,600 mi (05/2016) - replaced transfer case stepper motor with used updated version (DIY) - $145 (details)
122,000 mi (06/2016) - replaced blower motor (DIY) - $140 (details)
Wear and tear items
116,250 mi (11/2015) - replaced both headlight gaskets (DIY) - $97*
116,250 mi (11/2015) - replaced hood shock, tail light retaining socket, washer fluid cap (DIY) - $36*
116,250 mi (11/2015) - replaced driver side pressure pipe o-ring (DIY) - $6* (details)
116,695 mi (12/2015) - replaced engine torque strut (DIY) - $148 (details)
117,700 mi (01/2016) - replaced battery (DIY) - $156
118,560 mi (02/2016) - front suspension refresh (DIY) - $1,318 (details)
Routine maintenance
116,525 mi (11/2015) - changed front and rear diff and transfer case fluids (DIY) - $41
116,525 mi (11/2015) - new Porsche AFT fluid, filter and gaskets (DIY) - $356
116,695 mi (12/2015) - replaced spark plug coils (DIY) - $258
116,695 mi (12/2015) - replaced spark plugs (DIY) (120,000 mi scheduled maintenance) - $108 (details)
116,695 mi (12/2015) - replaced engine air filters (DIY) (120,000 mi scheduled maintenance) - $46
119,500 mi (03/2016) - brake fluid flush (DIY) - $34
119,700 mi (03/2016) - power steering fluid refresh (turkey baster) (DIY) - $15
123,400 mi (07/2016) - oil change, filter and drain plug washer (DIY) - $54
Running totals
$10,500 - includes $3,500 reduction for deferred maintenance items
$1,615 - failed parts
$1,302 - wear and tear items
$1,249 - routine maintenance
I have some basic tools including jack and stands so also factor in a few hundred for tools, brake bleeder, oil filter wrench, etc. and $300 for Durametric.
*denotes deferred maintenance item included in reduced purchase price
Notes
1. the above DIY prices do not include sales tax and shipping
2. I have not included minor items like missing screws/fasteners, cosmetic items and the oil it consumes
Front turn signal - There is a known issue with the plug connection. There's a really simple fix that involves unhooking the wiring harness plug for the headlight unit and not having it plug and unplug when you install/pull the unit.
Taillight loose - There's a "ball & socket" that holds the outer part of the light unit in place (2 screws inside the hatch frame too). The socket is cheap plastic and will fail if the light is taken out more than a couple times. Replacements are readily available, a buck or so. I got mine from ECS (and got a spare too).
Ball joint & Upper arm bushings could easily account for the vibration in the steering.
Planning to pull the headlight this weekend and check the tightness of the rail and the harness connection when I replace the headlight gaskets.
I have a ball & socket (and spares) for the rear taillight on order from Sonnen.
Hope you (and I) are right about new front hardware fixing the steering vibration. Given the new tires, recent alignment and balance and the fact that it's a subtle vibration that doesn't seem to be worse a certain speed logic told me it wasn't a tire or wheel issue. We shall see.
The hard shifting is the valve body I would say. Search it.
Vibration is likely something to do with the wheels and/or tires. Try to get them road forced balanced. If that doesn't work, are the wheels inexpensive aftermarket jobs? If they are ditch em and get some Porsche rims off ebay.
For the transmission shifting issue, I highly recommend changing the fluid. It's really not that hard. I went with the lower priced kit from ECS Tuning and mine is working much better (used to have some hard shifts). You should have enough left to even to the transfer case.
It sounds like your brakes may be a bit thin, but I think that's a typo. I also recently did my brakes using the basic kit from ECS and am thrilled with the results. It was the best price I found anywhere.
Revmax valve body arrives next week. Already got Porsche ATF and filter from Sonnen. Durametric cable arrived last night. Bought the parts for a "Home Depot" fluid filler/pump.
The rims are Marinello - never heard of them. Even if they are aren't cause of the vibration they may go because I don't like 22" - at least for my vehicles.
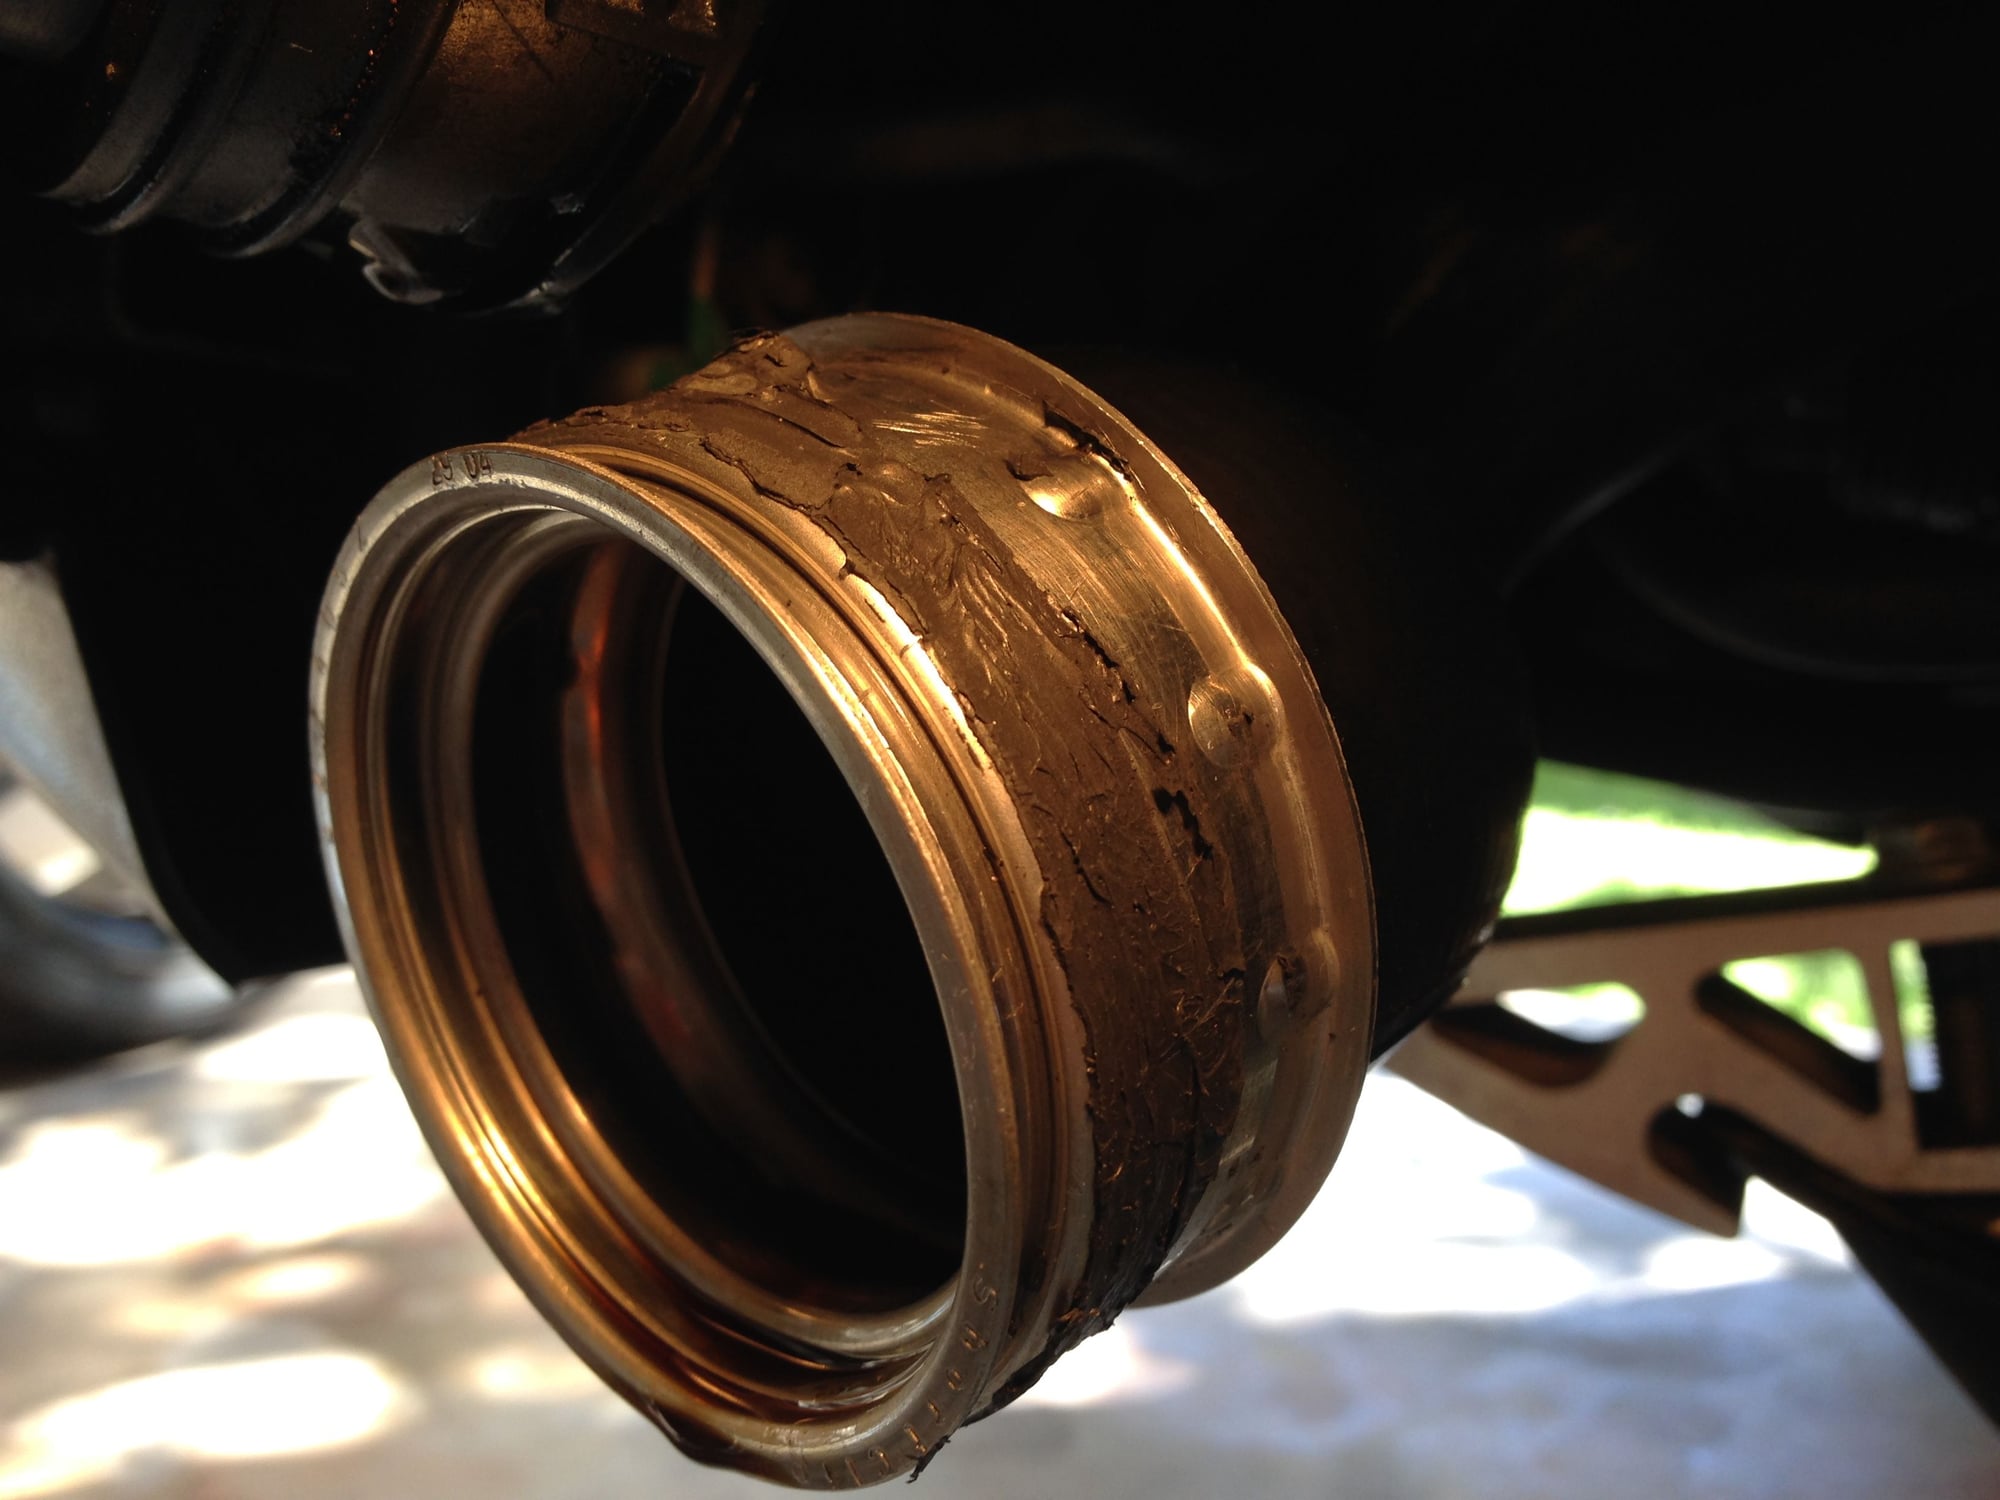
Mine was leaking where the pressure hose (rubber) connects to the intercooler, not where the pressure pipe (metal) connects to the turbo that seems common. I used this very helpful Pressure Pipe O-ring DIY guide.
The records from the PO showed work done by a reputable local Indy (same place that did my PPI) to fix leaking drivers side intercooler pipe a little over 3 years ago with 79K on the clock.
The work order states "Oil leak: Re-seal Turbo intercooler pipe" for $108. There was no part number or charge for parts. And now I know why....
Looks like they used some sort of gasket material instead of a $4 o-ring.
I didn't clean the gasket material off which hope I don't regret. I cleaned up so much oil from the area and underbody panels I got lazy.
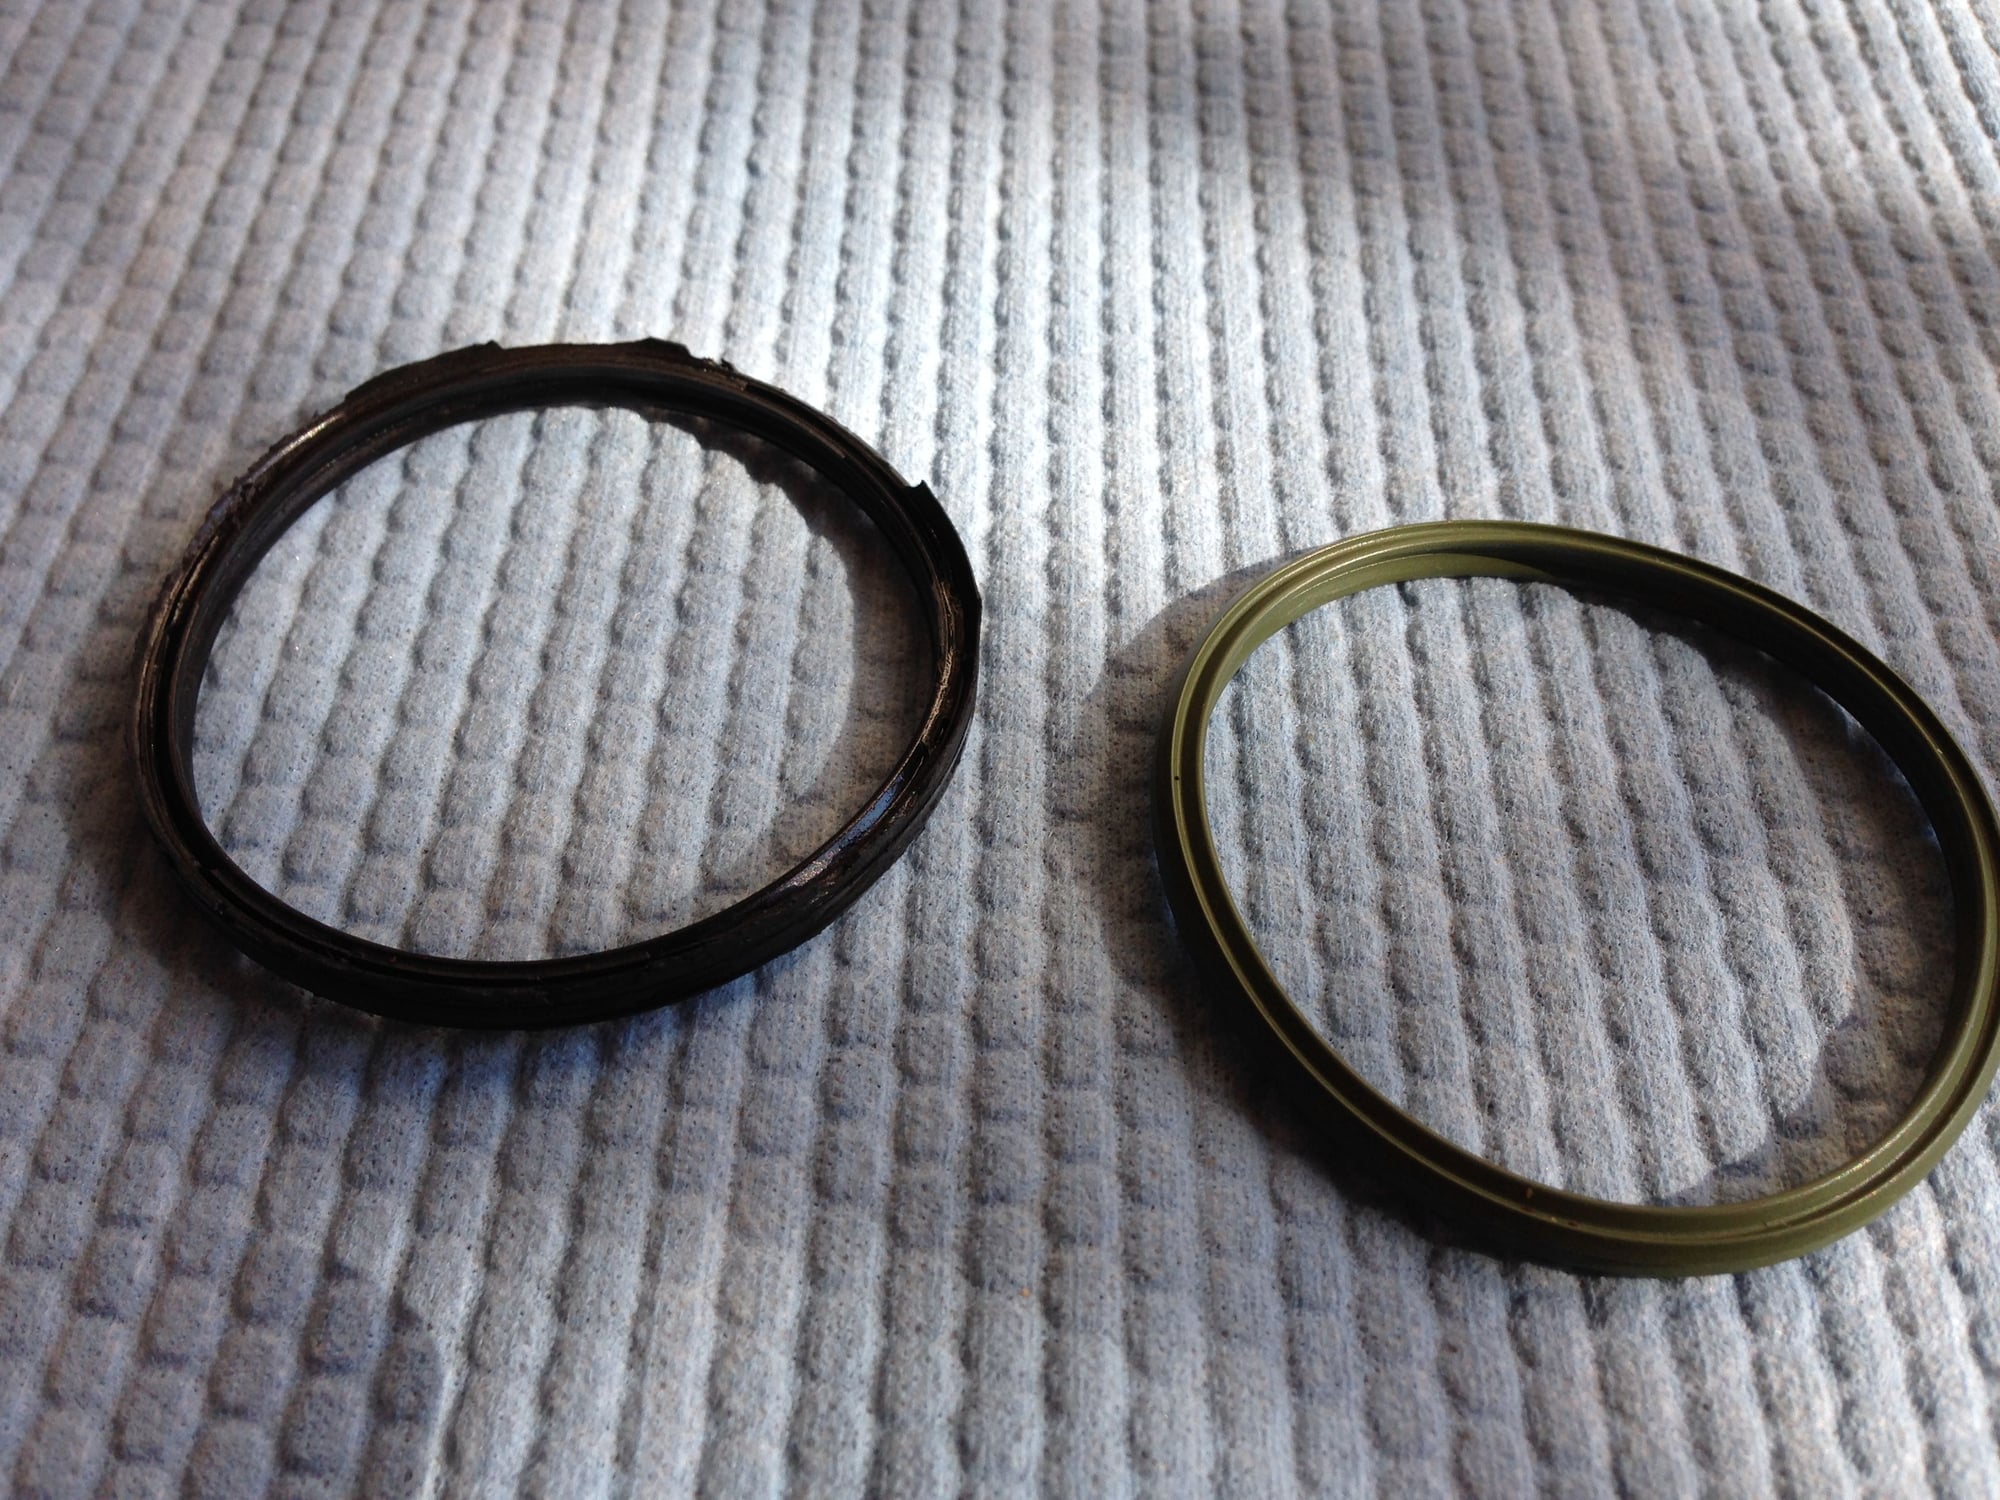
I used o-ring PN 95511072100 which apparently works for the pressure hose as well as the pressure pipe because it was perfect match. I used the new green one to replace the old one which as obviously beat.
Nice work. How did the power steering leak end up? Was it just the o-ring? I noticed a leak on mine as well.
I haven't dug into this yet. I tried to get a look at it/clean it up today while replacing the pressure hose o-ring but couldn't get a good look at it.
I think you need to pull the airbox to get a decent look at it.
I was hoping the forums would point me in the right direction but shockingly I haven't found much about power steering leaks. Finding the most likely o-ring part numbers hasn't been simple either.

 11-06-2015, 03:51 PM


 You have the valve body covered.