When you click on links to various merchants on this site and make a purchase, this can result in this site earning a commission. Affiliate programs and affiliations include, but are not limited to, the eBay Partner Network.
Hi all - After one track day my rear brake rotors were glazed and the pads nearly gone. The glazing resulted in a pronounced stutter when applying the brakes. This DIY is to remove and resurface the rotors, replace the pads, and to remove the sensors.
Step one - Raise vehicle and remove rear wheel
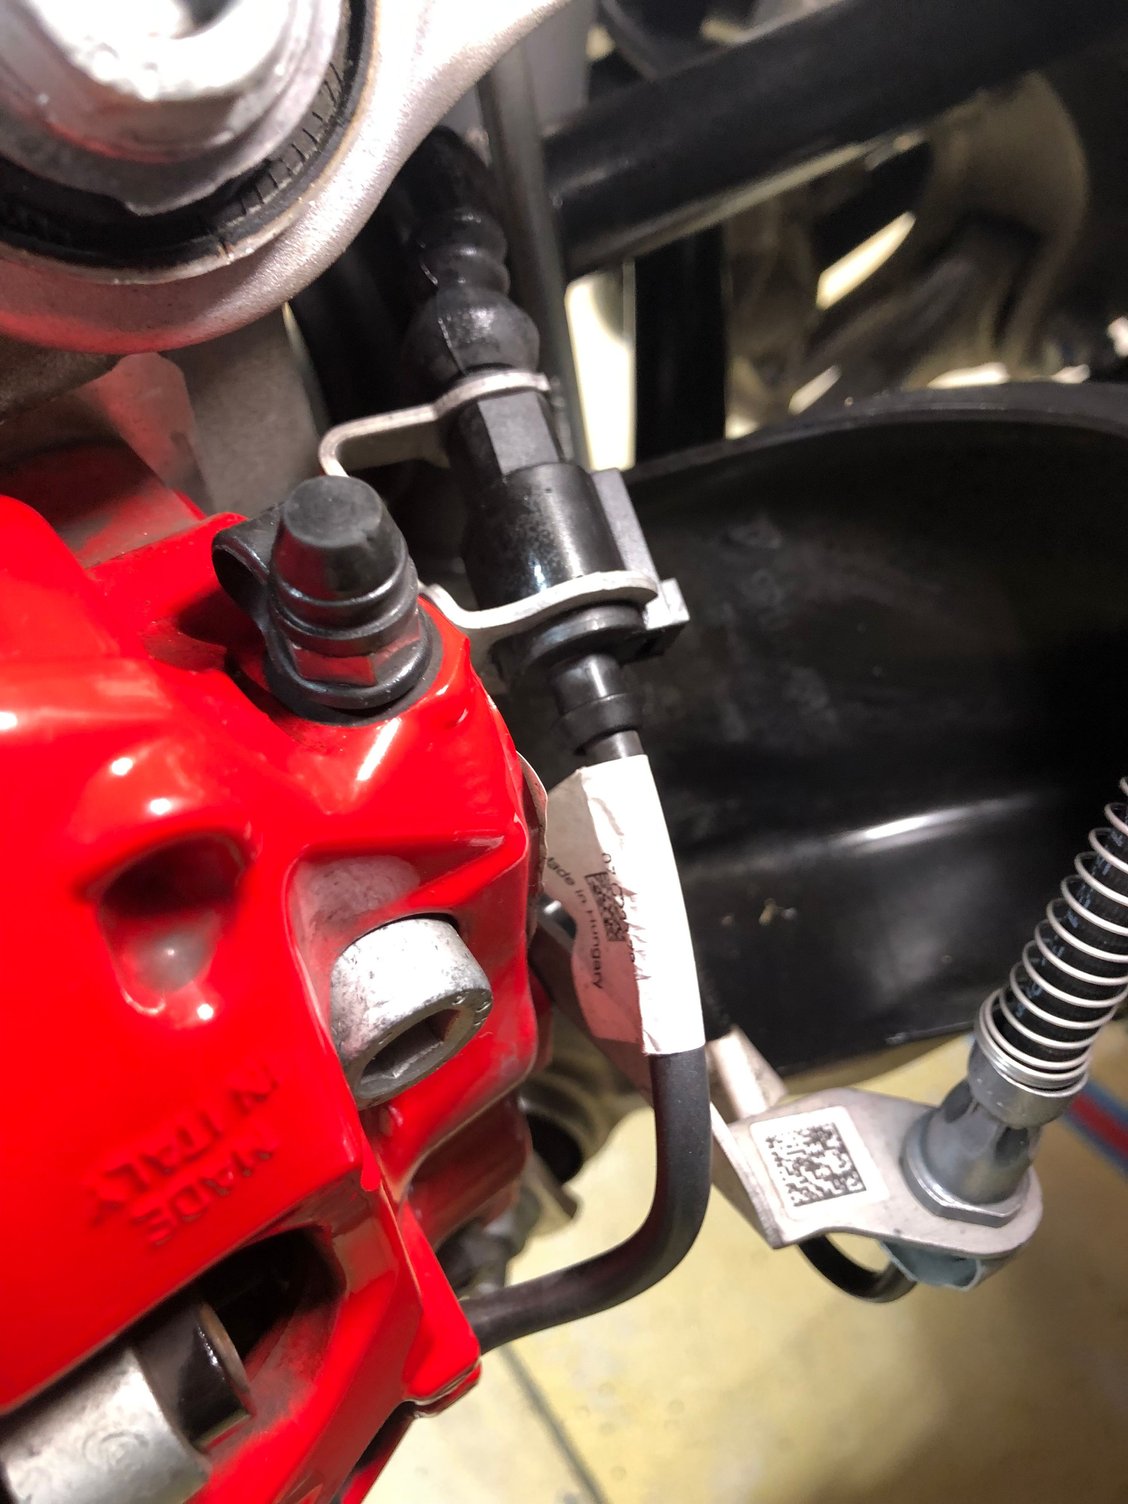
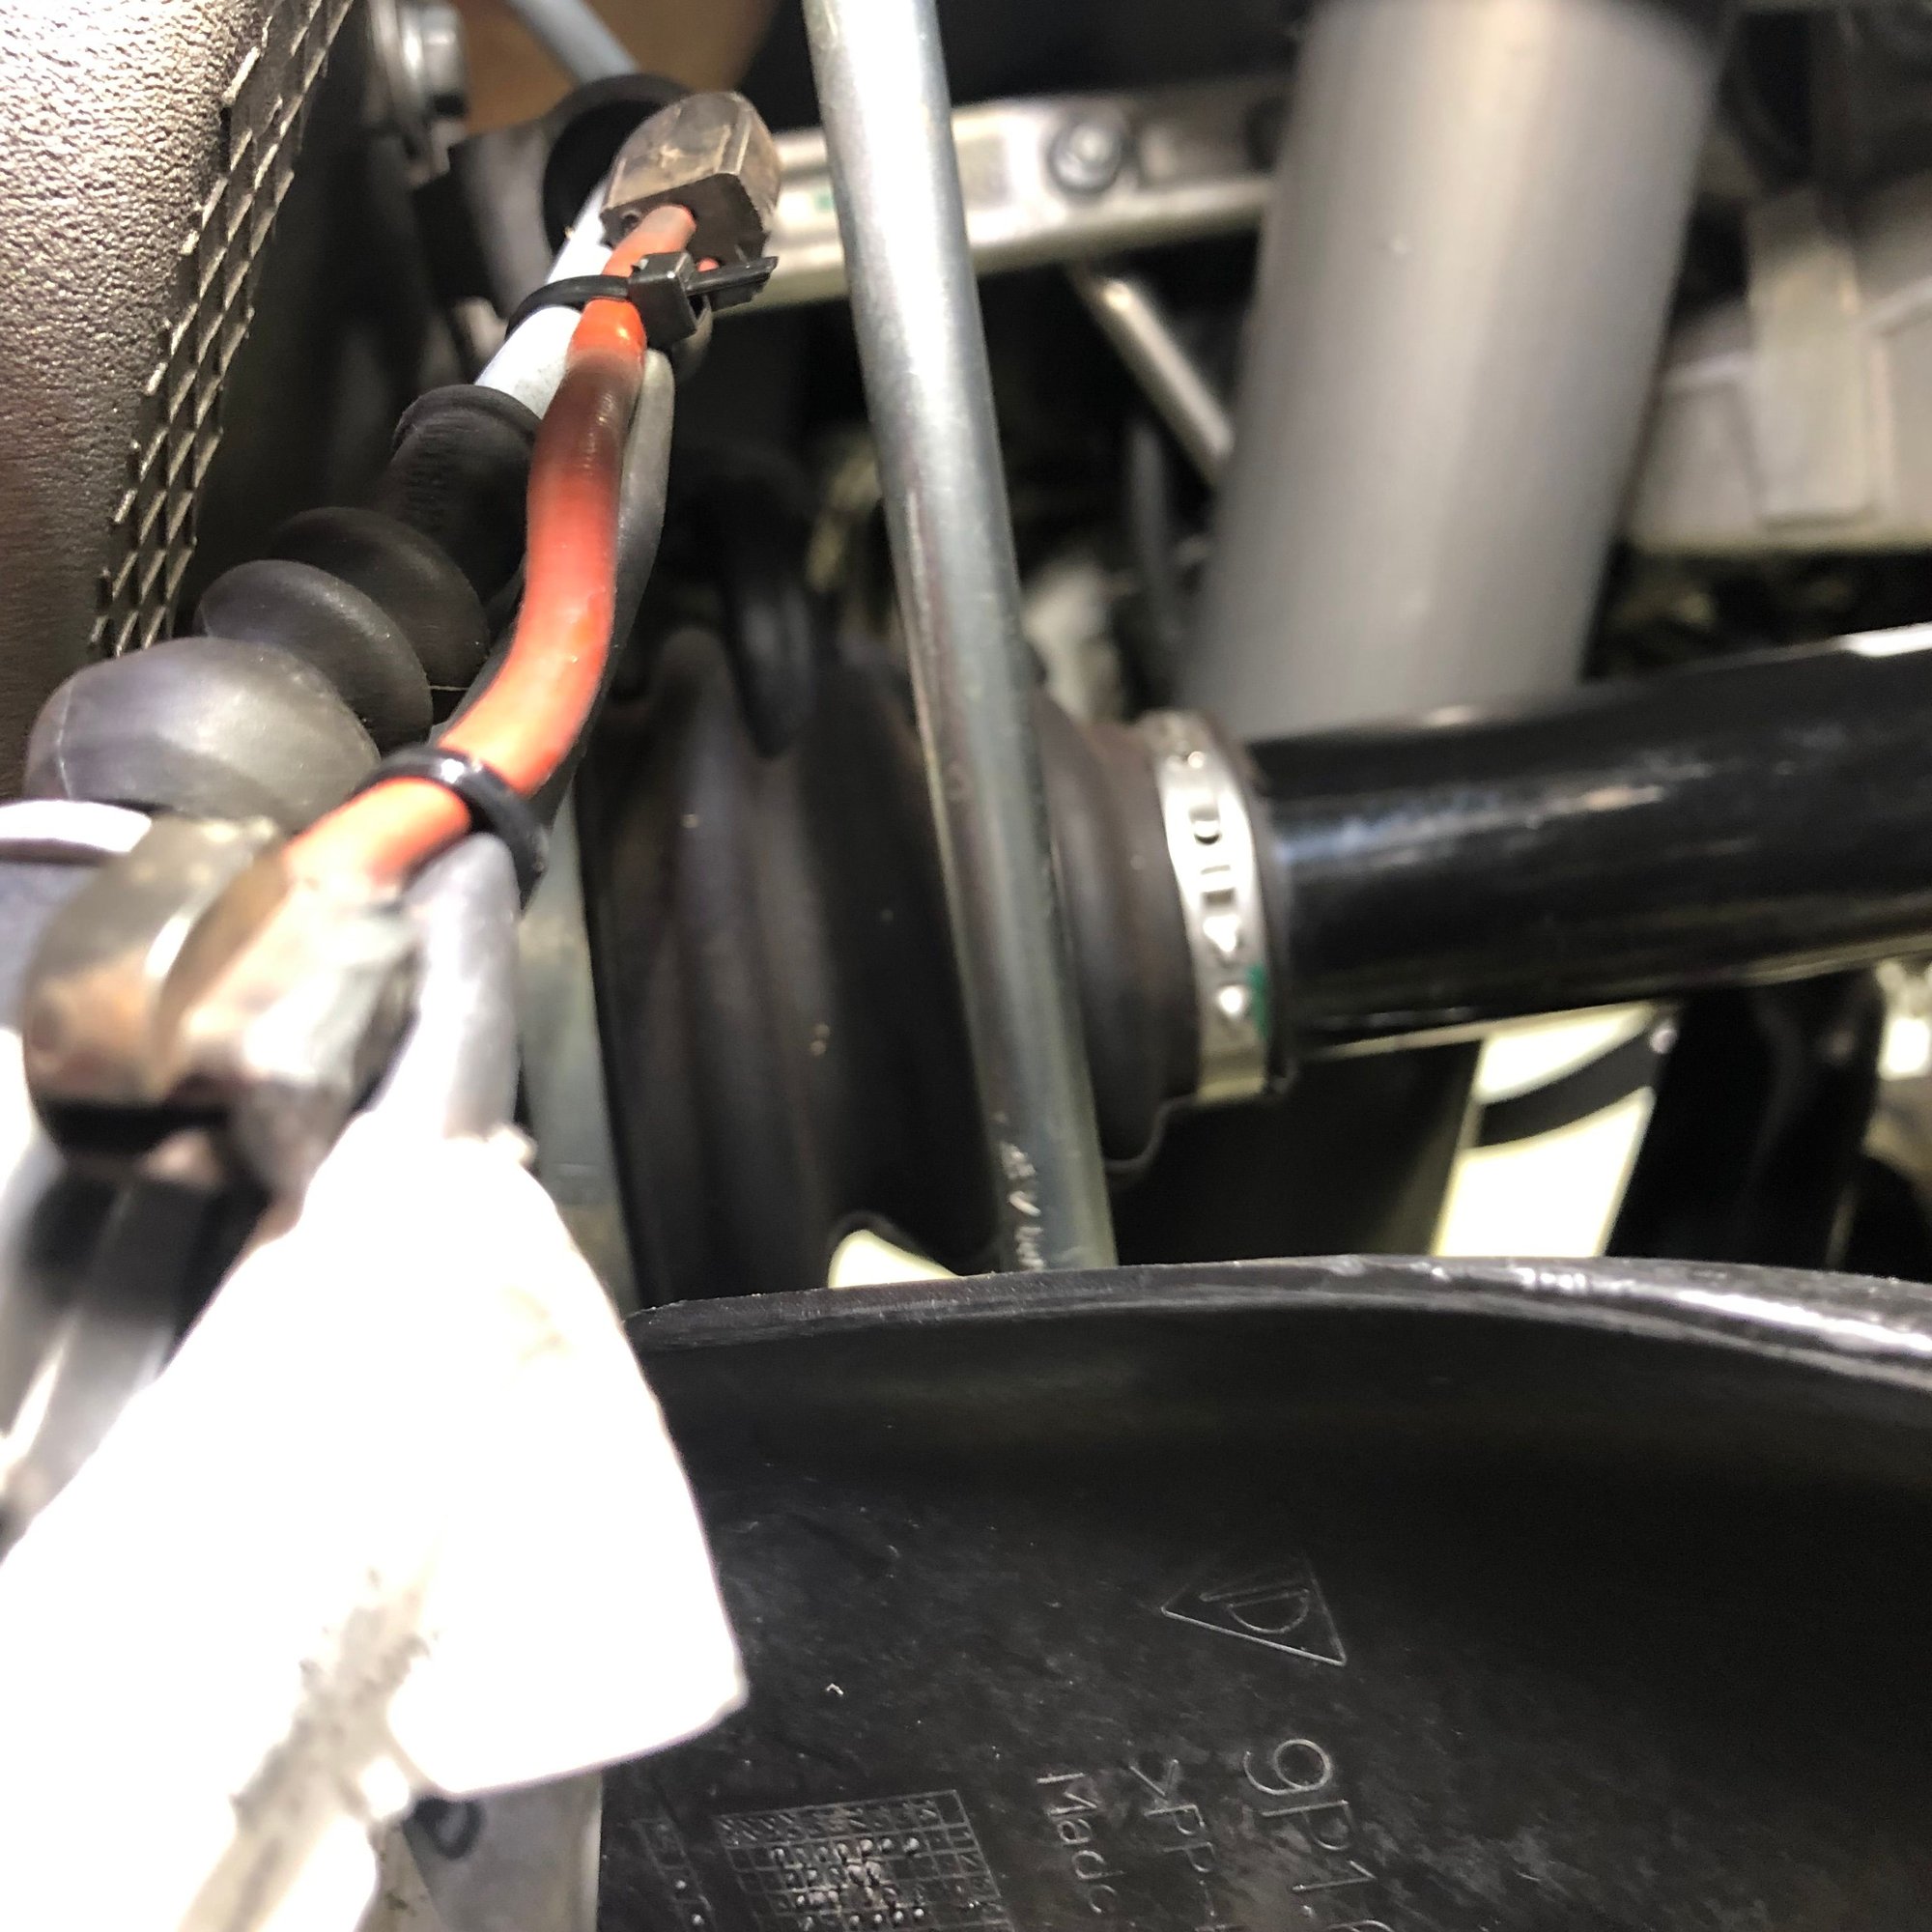
Step two - Disconnect and unclip brake sensor at the connector on the caliper bracket. This is easier said than done. It took me many tries before I figured out the release. Push down on the tab on the big end while pulling the big end away. A small screwdriver will help.
.
Step three - Suspend caliper with string and remove 2 mounting bolts with 10mm hex. Push the pads back slightly and slide the caliper off the rotor so you can turn it facing out to reach the sensors attached to the pads.
Step four- Now it gets tricky. You want to remove the sensors without damaging them. The best way to do this is flip the caliper so the outside is facing you and you can access the gold clips from the top. Compress the clips and lift the sensor up slightly then in toward the direction of the rotor. Do the single end first. Once one is out you can remove that pad and pull the wires through to access the other sensor in the other pad. Do the same thing.
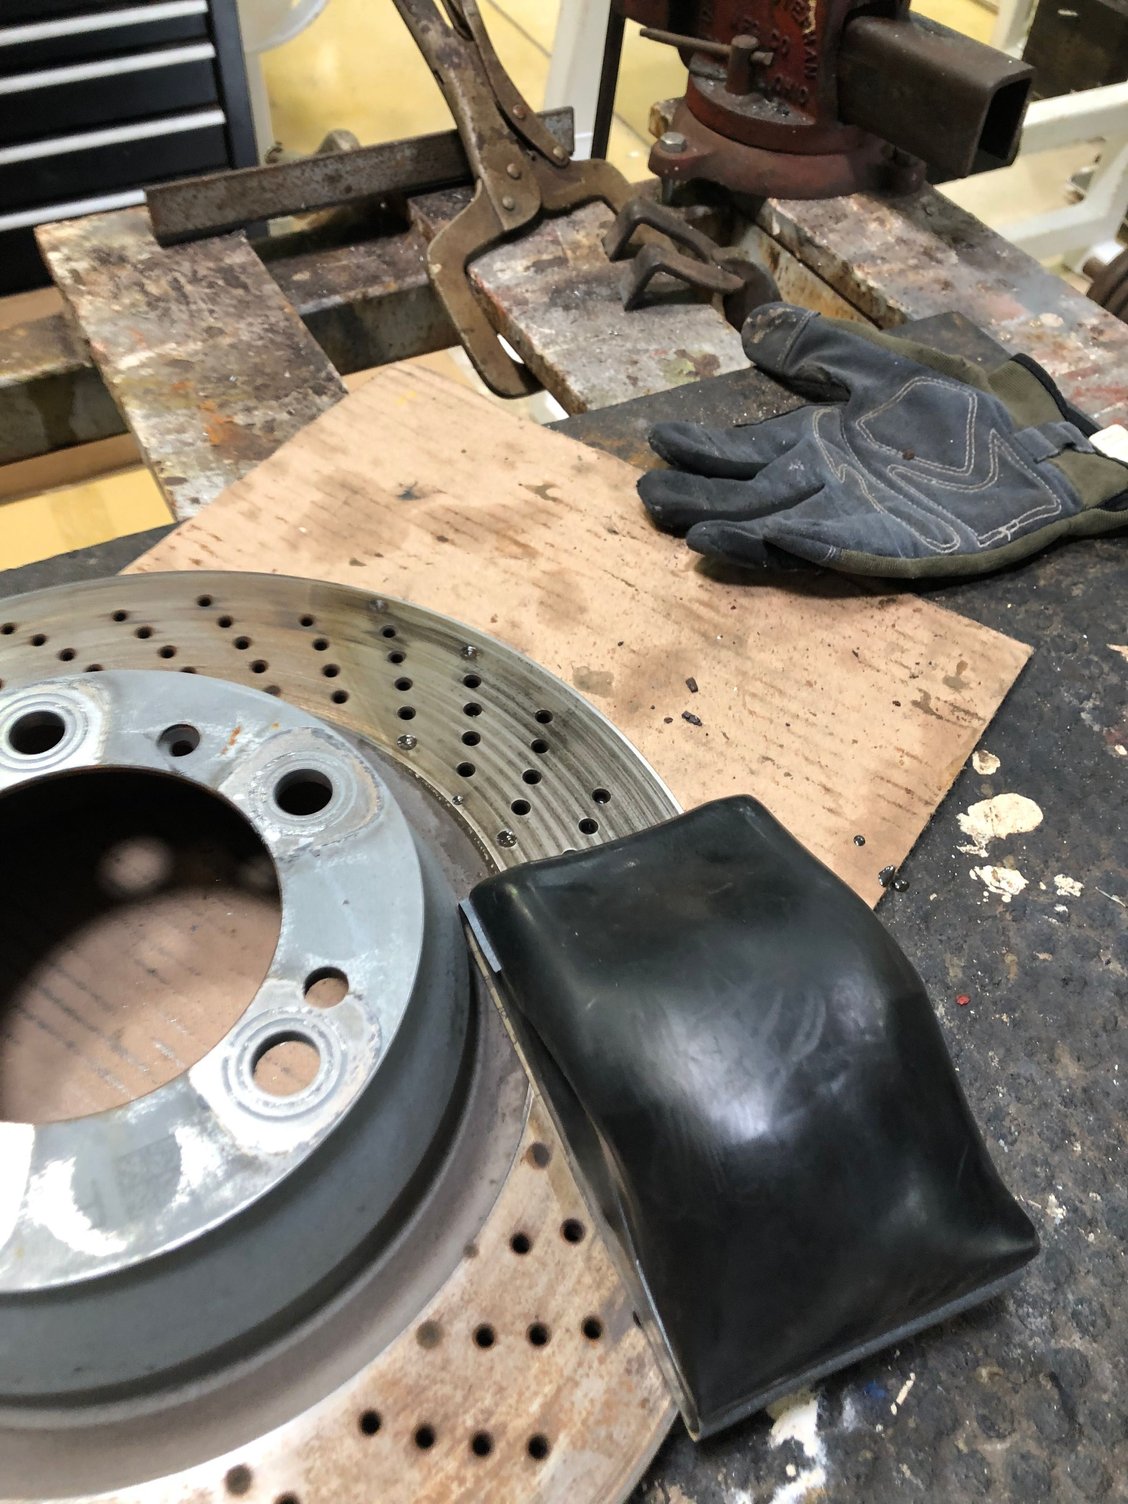
Step five - Now the pads can both be removed from the caliper and replaced without the sensors. If removing the rotor, remove the set screw then it will come right off. I then wet sanded the rotor with 220 grit to remove the glazing both inside and out.
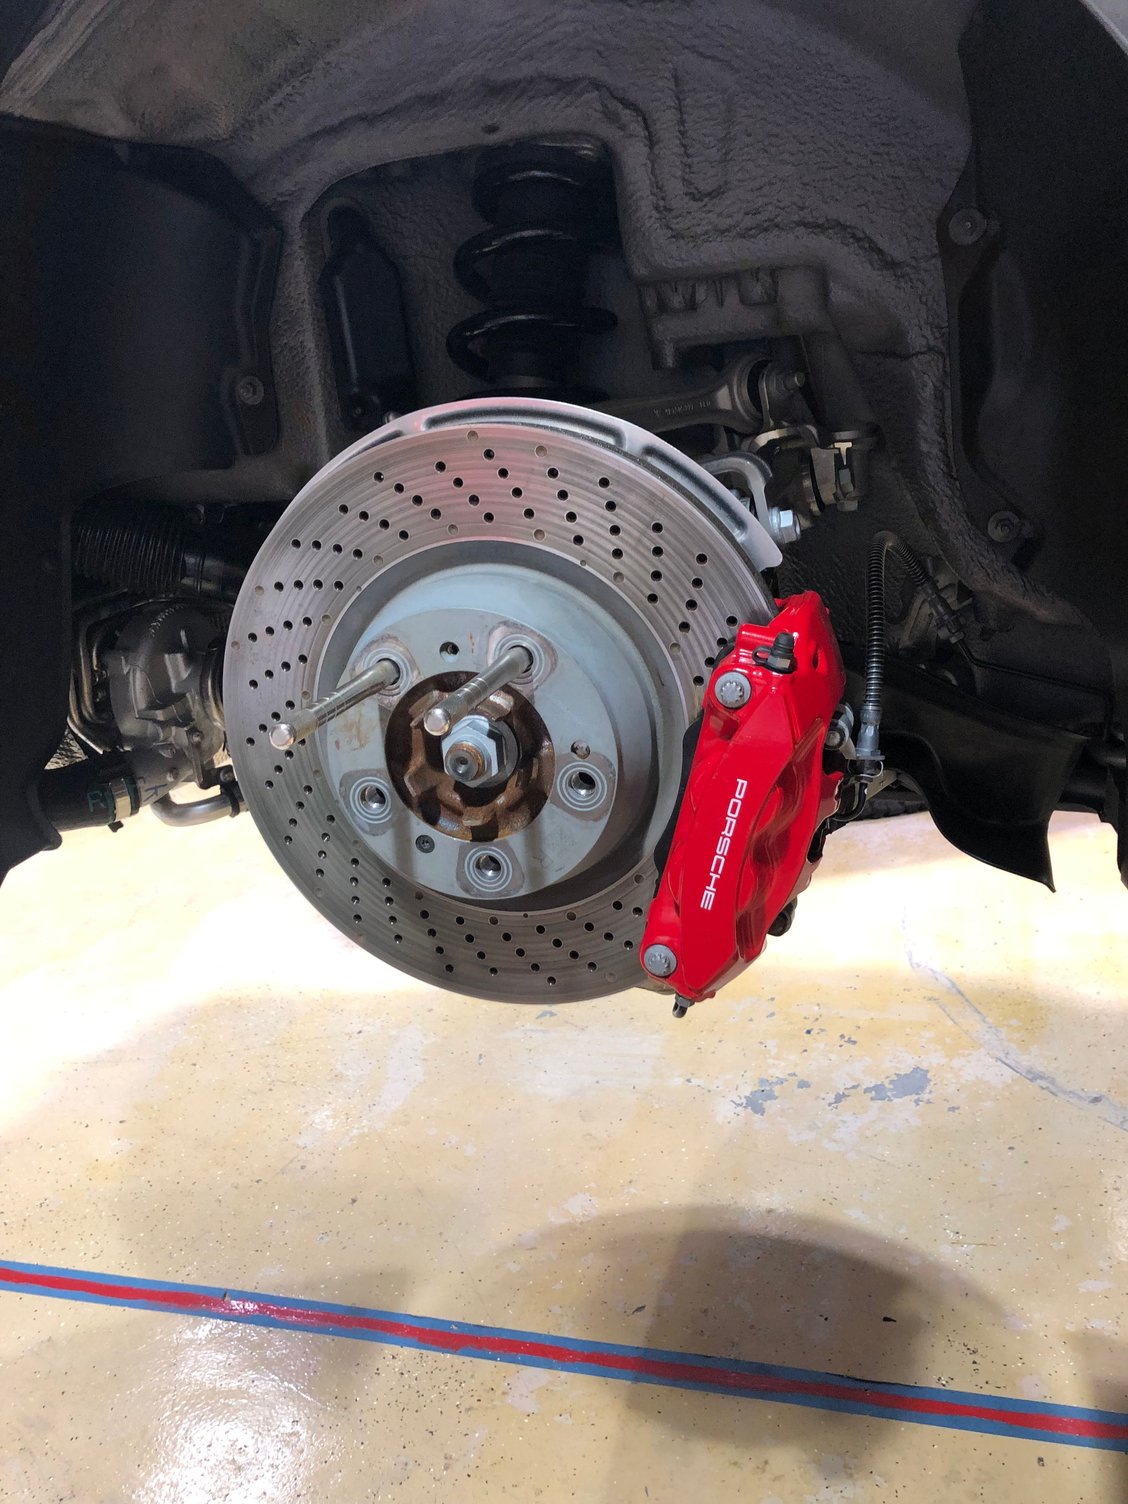
Step six - Reinstall rotor and set screw. Slide caliper with pads on the rotor. Be careful not to compress the pads too far with the new pads so as not to overflow the brake fluid reservoir. Torque the bolts to 65 lb/ft.
Step seven - with the caliper reinstalled on the rotor, plug the sensor back in to the bracket and zip tie the ends safely away.
Reinstall the wheel and torque to 118 lb/ft. Brakes will be so easy to service now without those sensors!
I have many more pictures if anyone needs something specific.
Brake sensor plug in bracket
This is hard to see and tricky to release if you are unfamiliar with it. The square tab on the fat end needs to be pushed in to release the latch and the fat end pulled away from the bracket toward the fender liner.
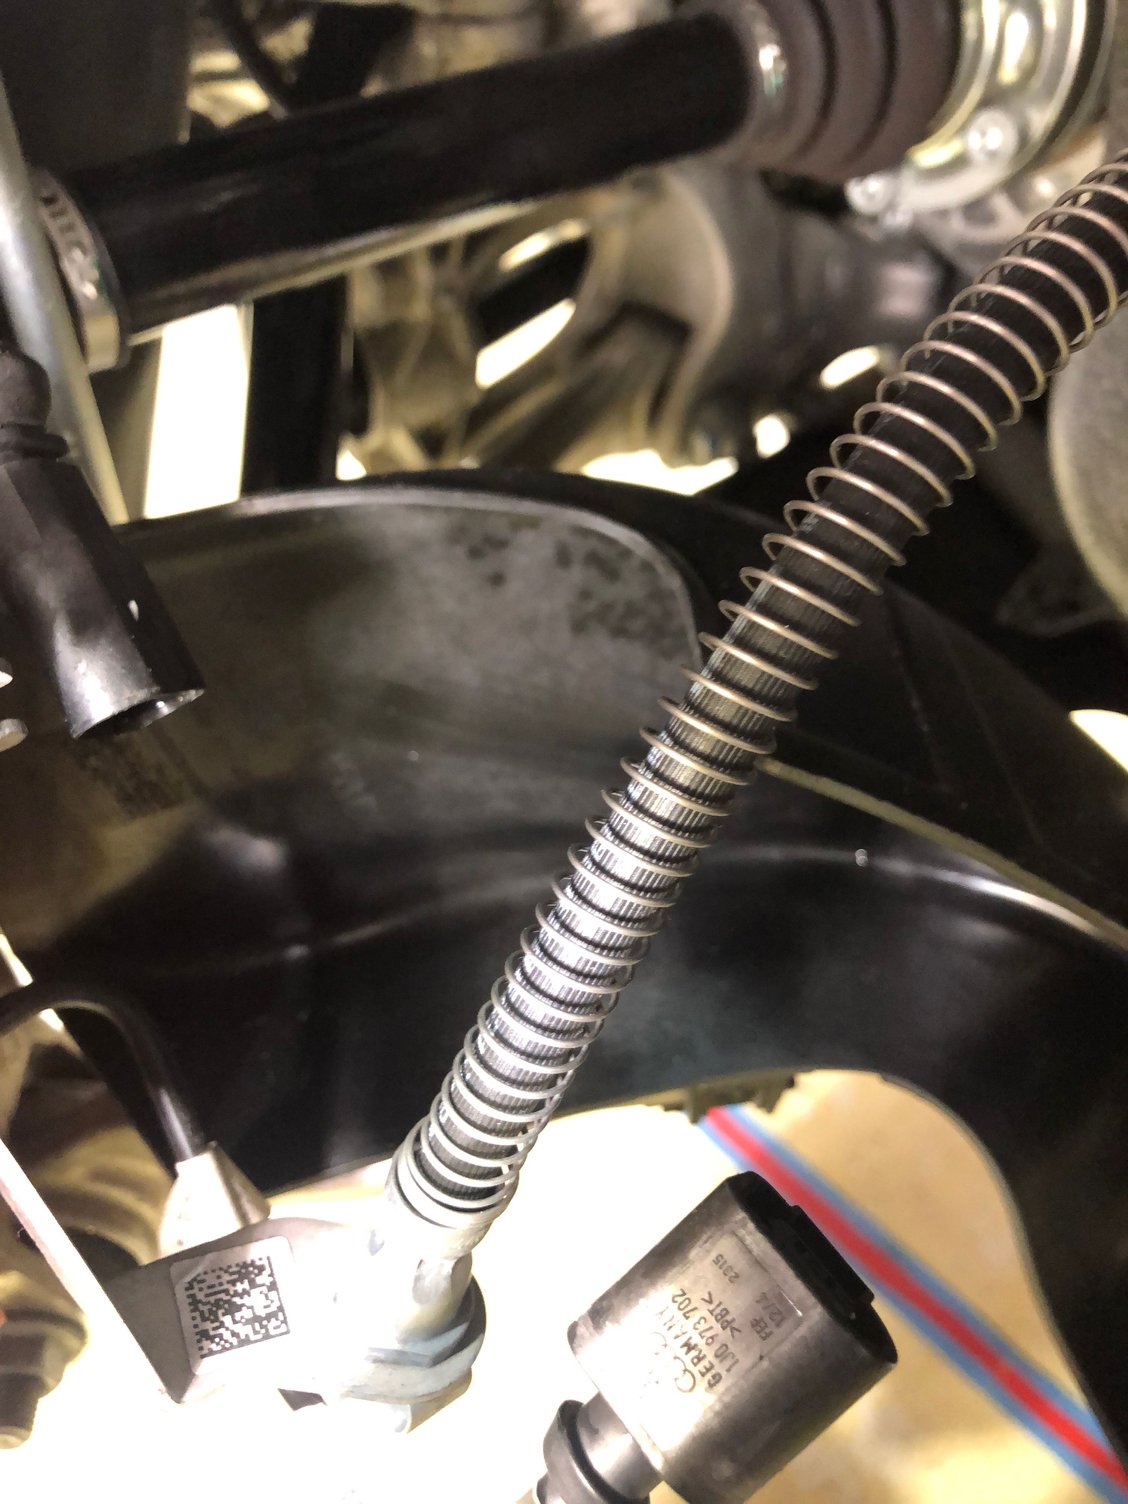
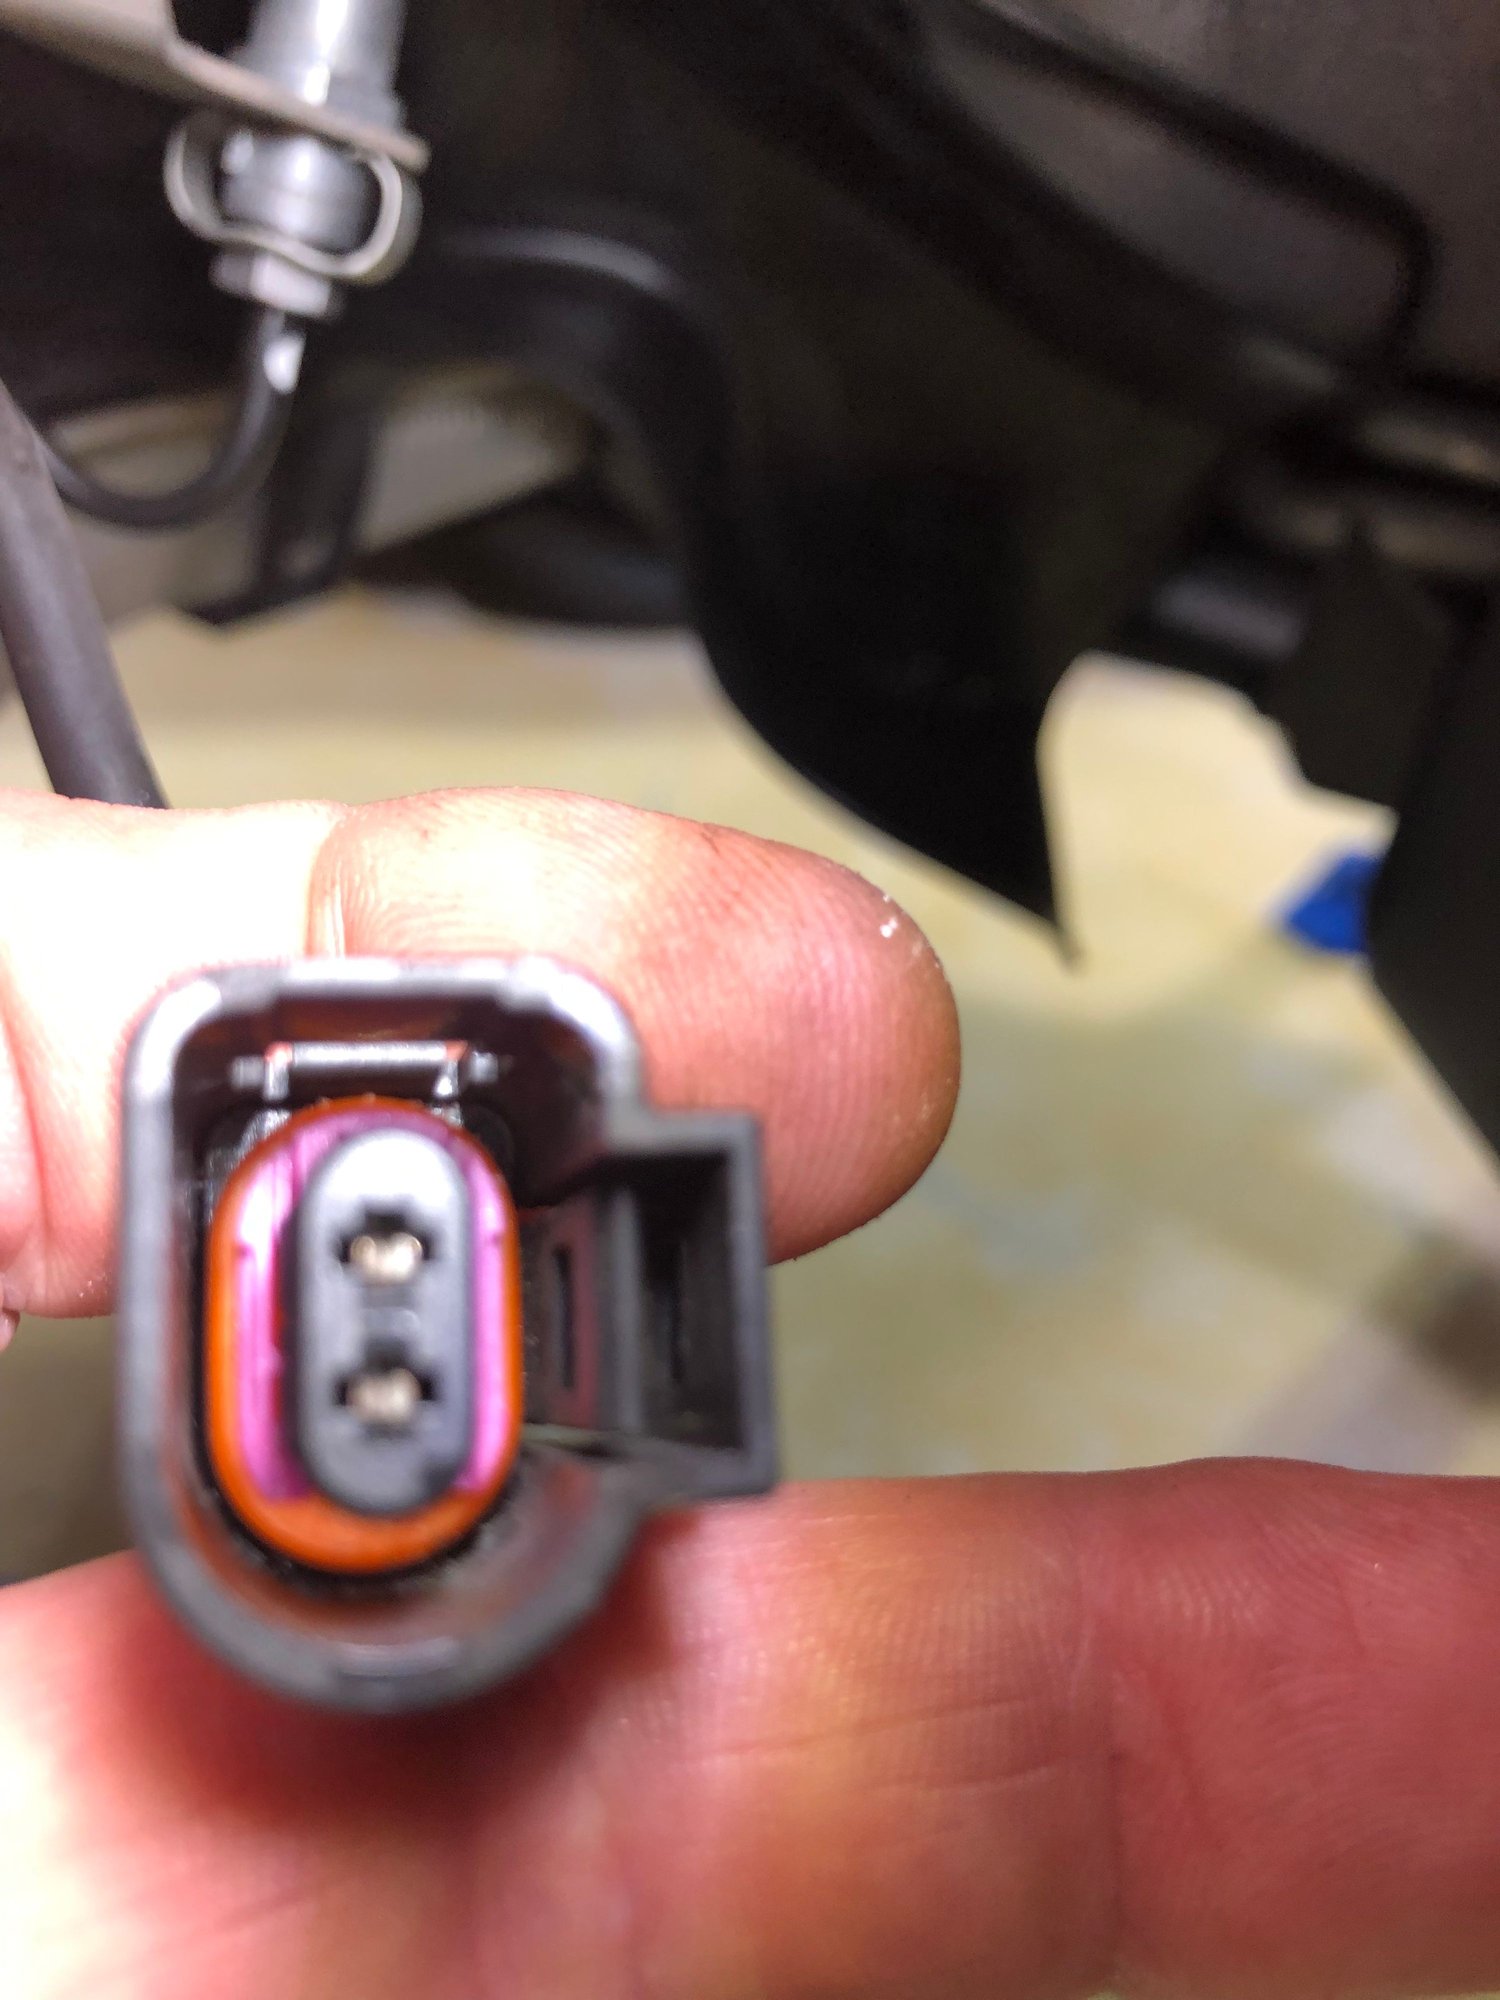
Sensor Unplugged
You can see the latch that locks the plug. Pushing down on the opposite end will lift it to release
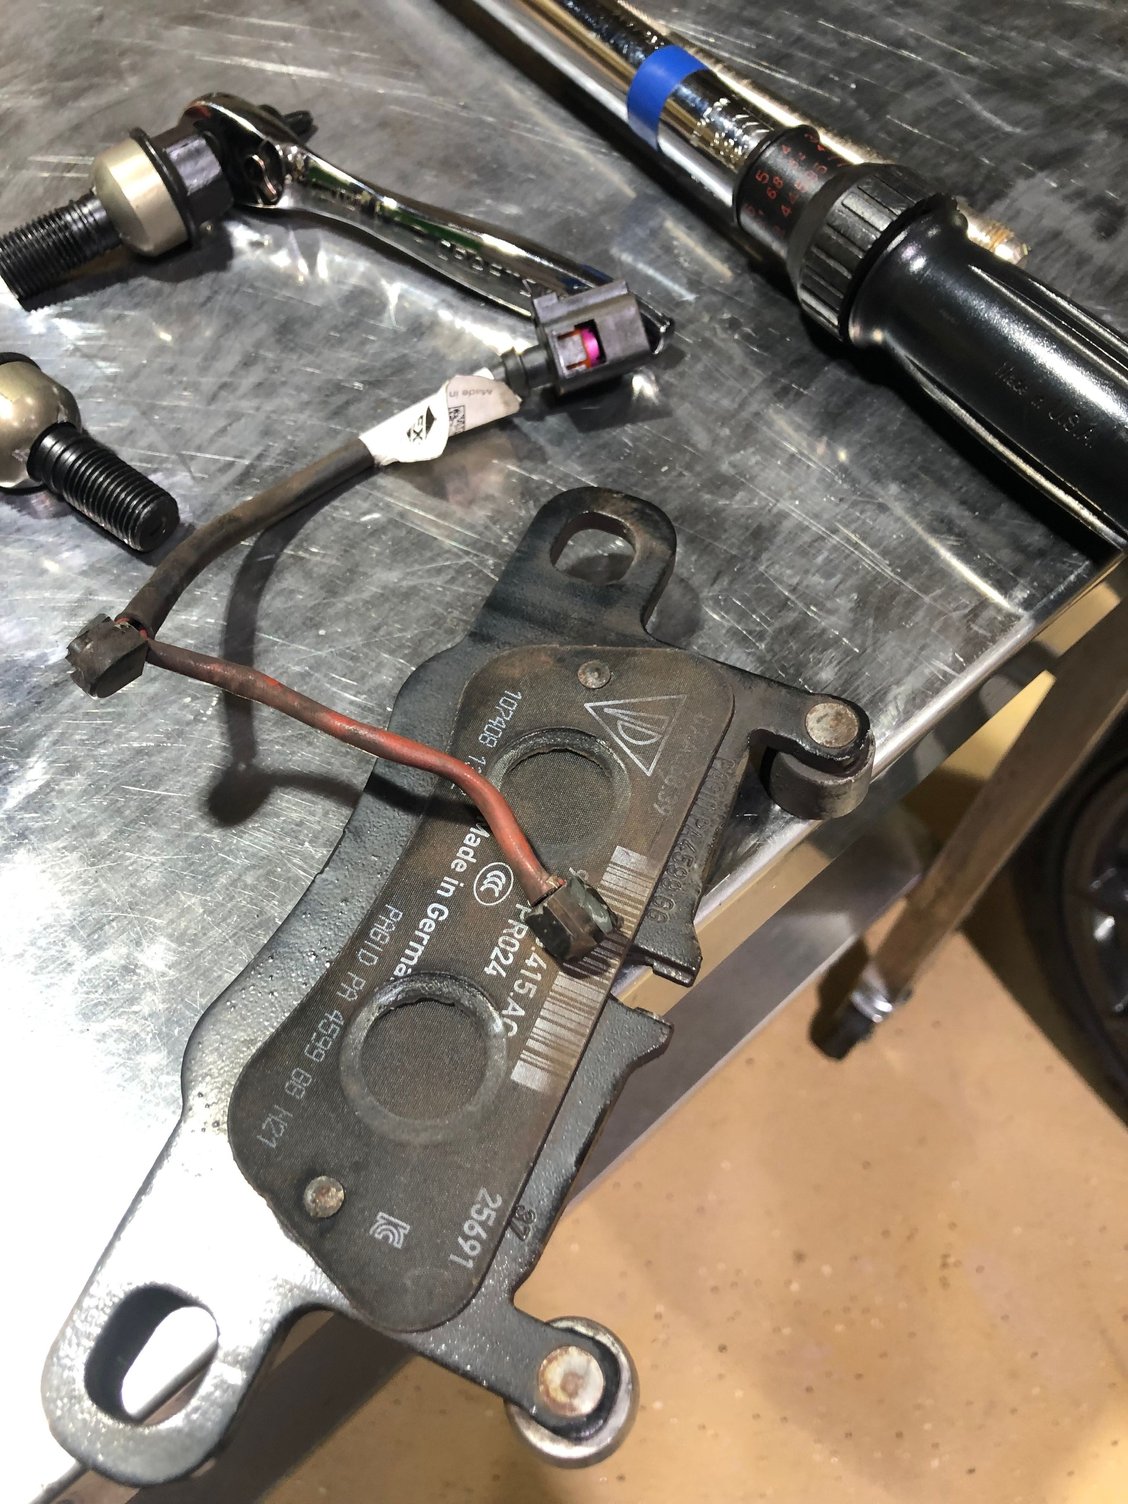
Sensor Removed
Do not damage the sensor and you can reuse them. I recommend zip tying them out of the way for future access. Makes the brake job so easy.
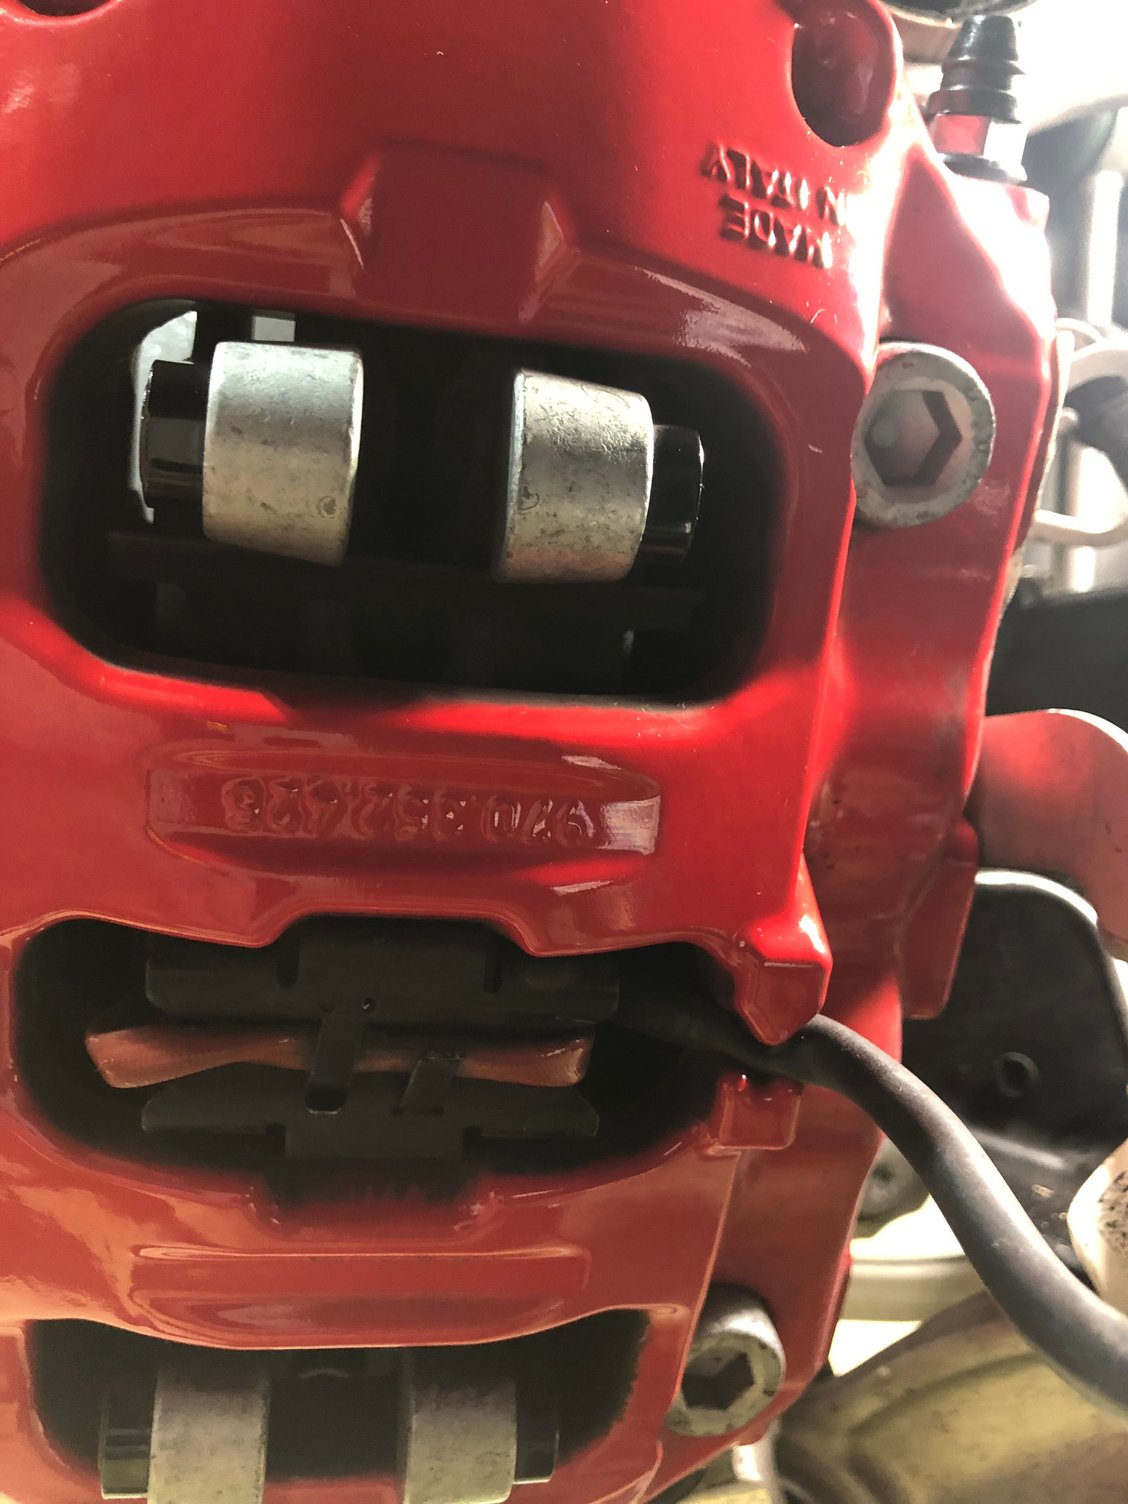
Sensor in Caliper Remove 2 Caliper Bolts 5 mm hex and suspend the caliper with string before attempting to remove sensors
Unplug first sensor from pad -
Once the caliper is removed and suspended you can access the sensor in the caliper. The sensor is removed by pinching in the clip and the lift the sensor up 1mm then in toward the rotor
When you see how the first one works it's easy. The first one is so difficult because it is obscured
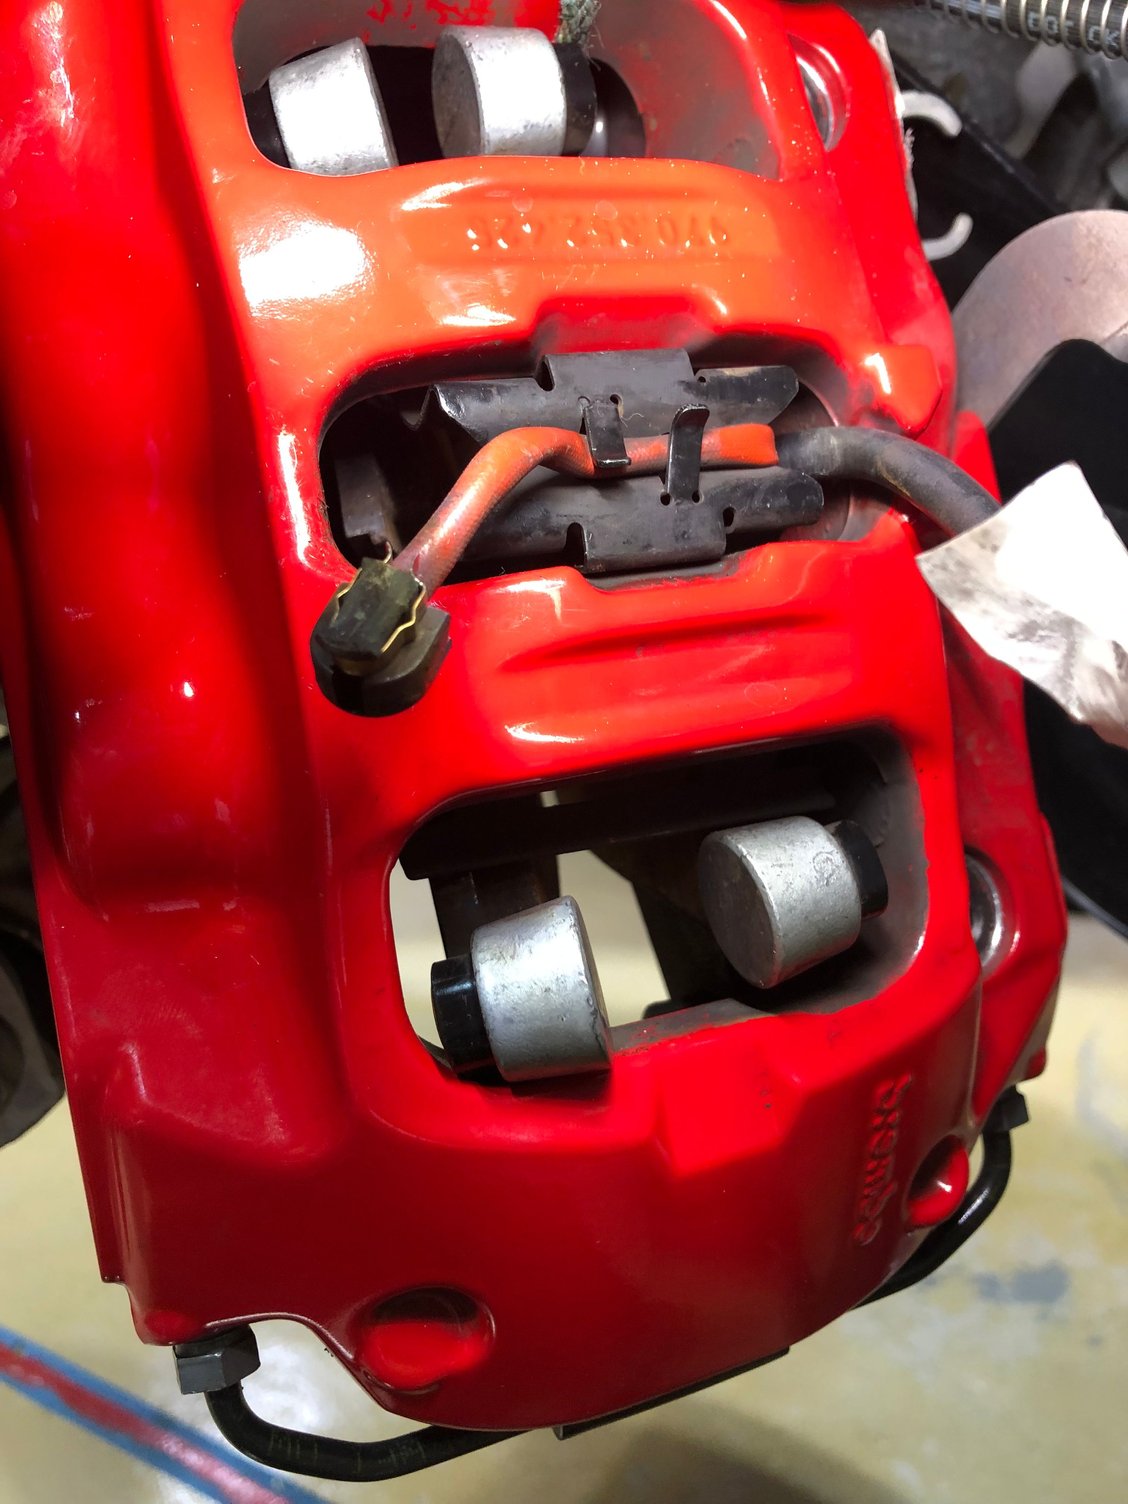
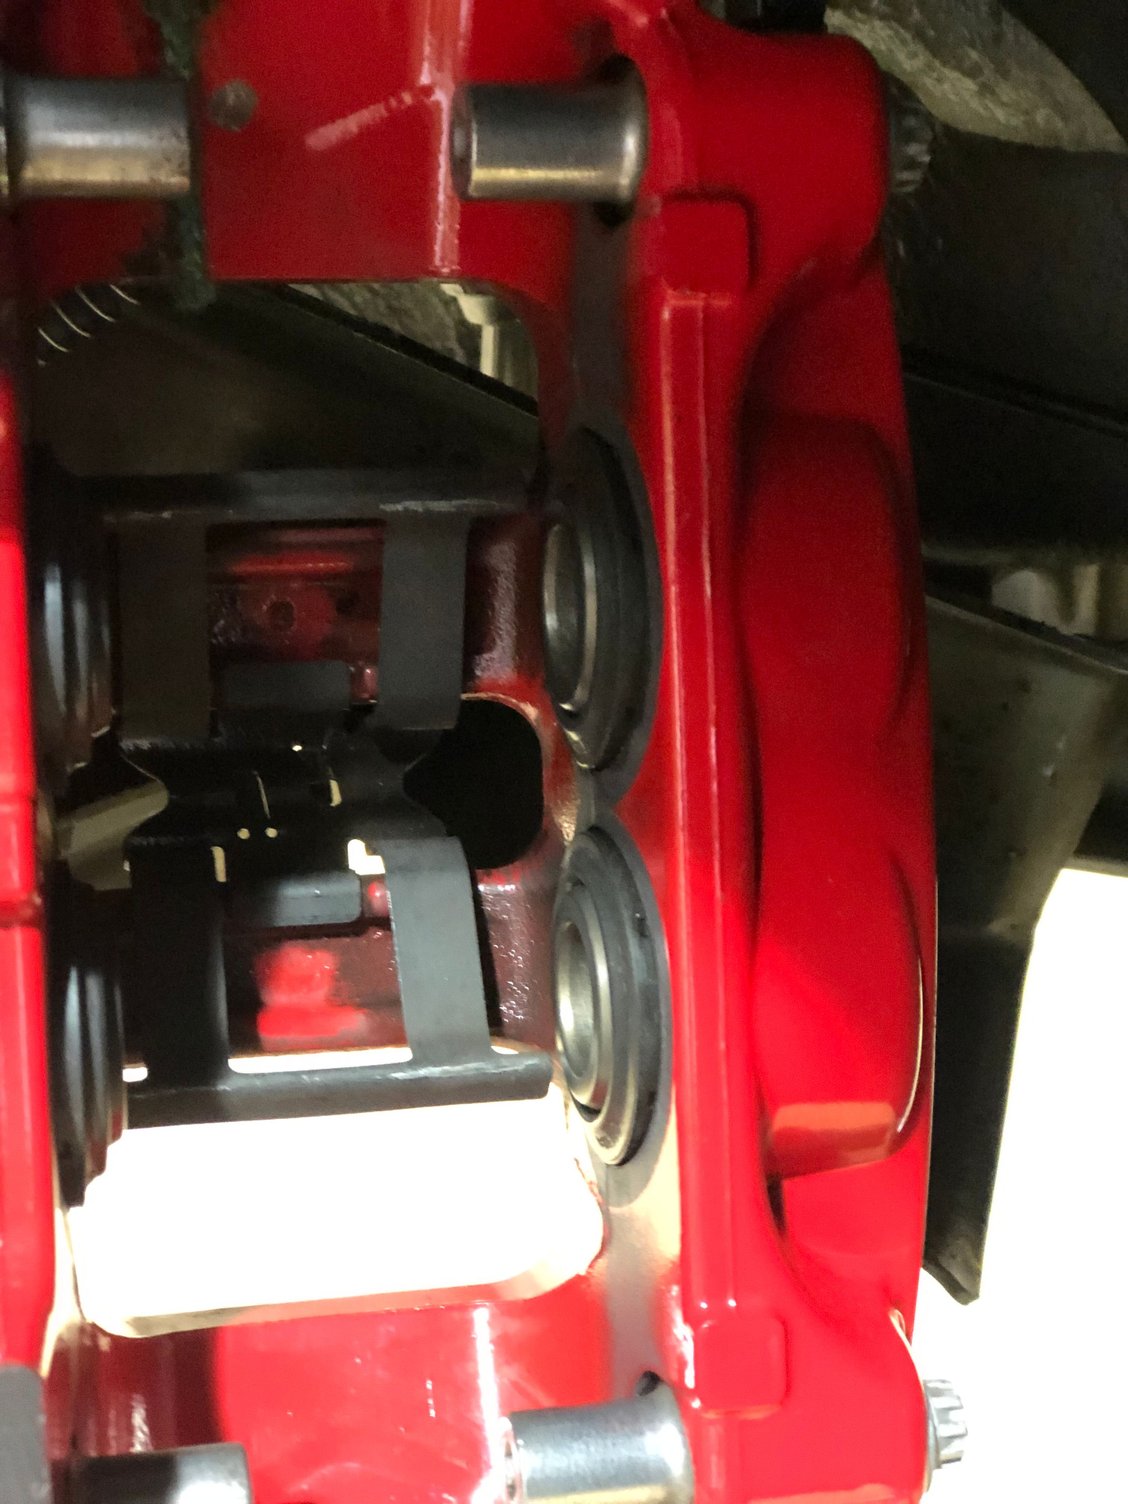
Caliper with both pads removed Clip that holds sensor in pad - This clip needs to be compressed and the sensor pushed up and in toward the rotor. I used hemostats or small needle nose pliers
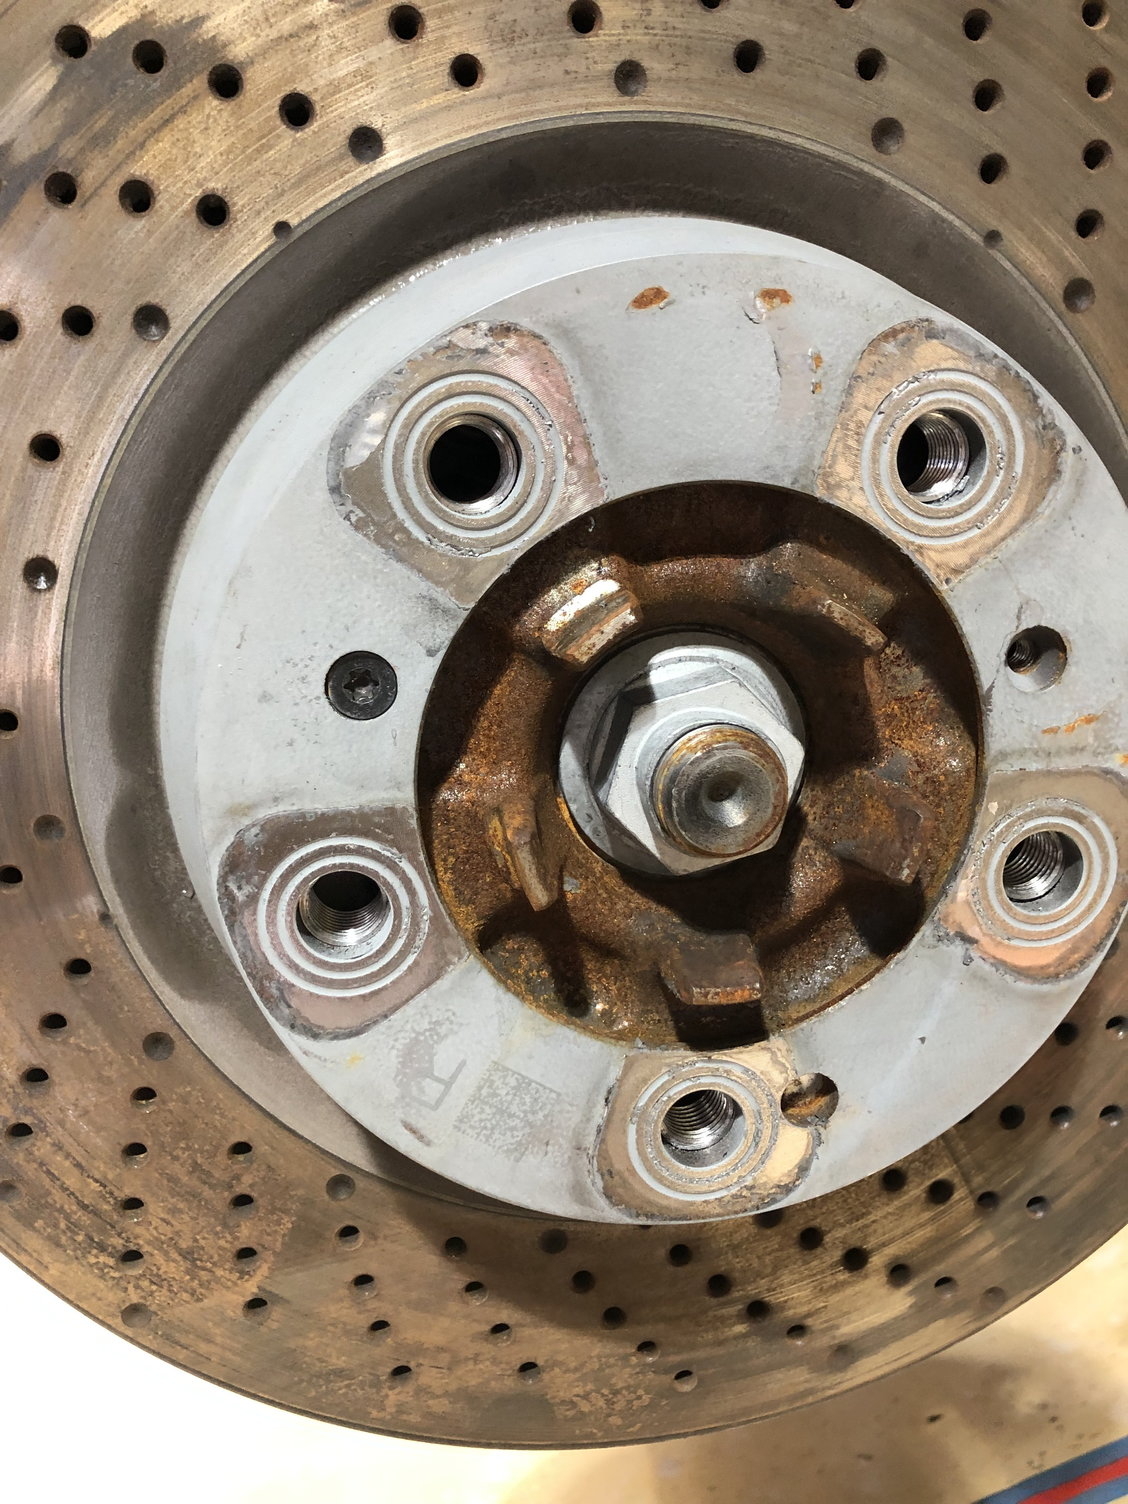
Set screw needs to be removed to remove disc. Note glazing on rotor. These dark spots create a pronounced jutter on braking
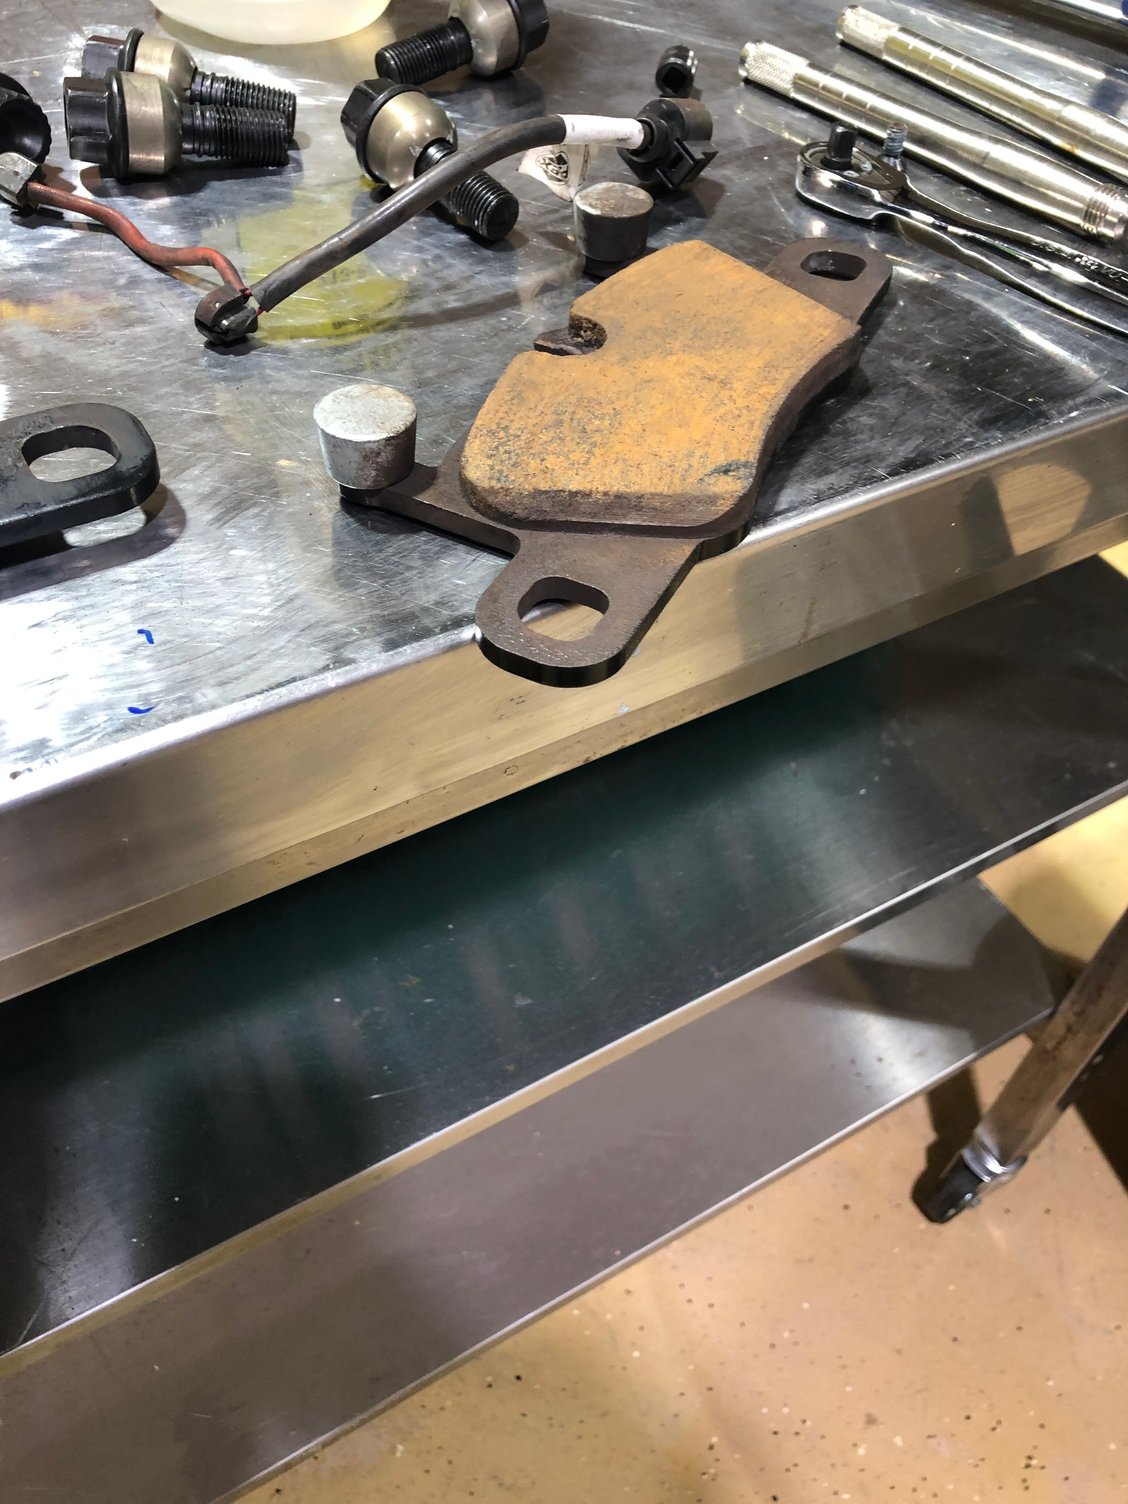
One track day
OEM pads are quiet but junk at high temperatures
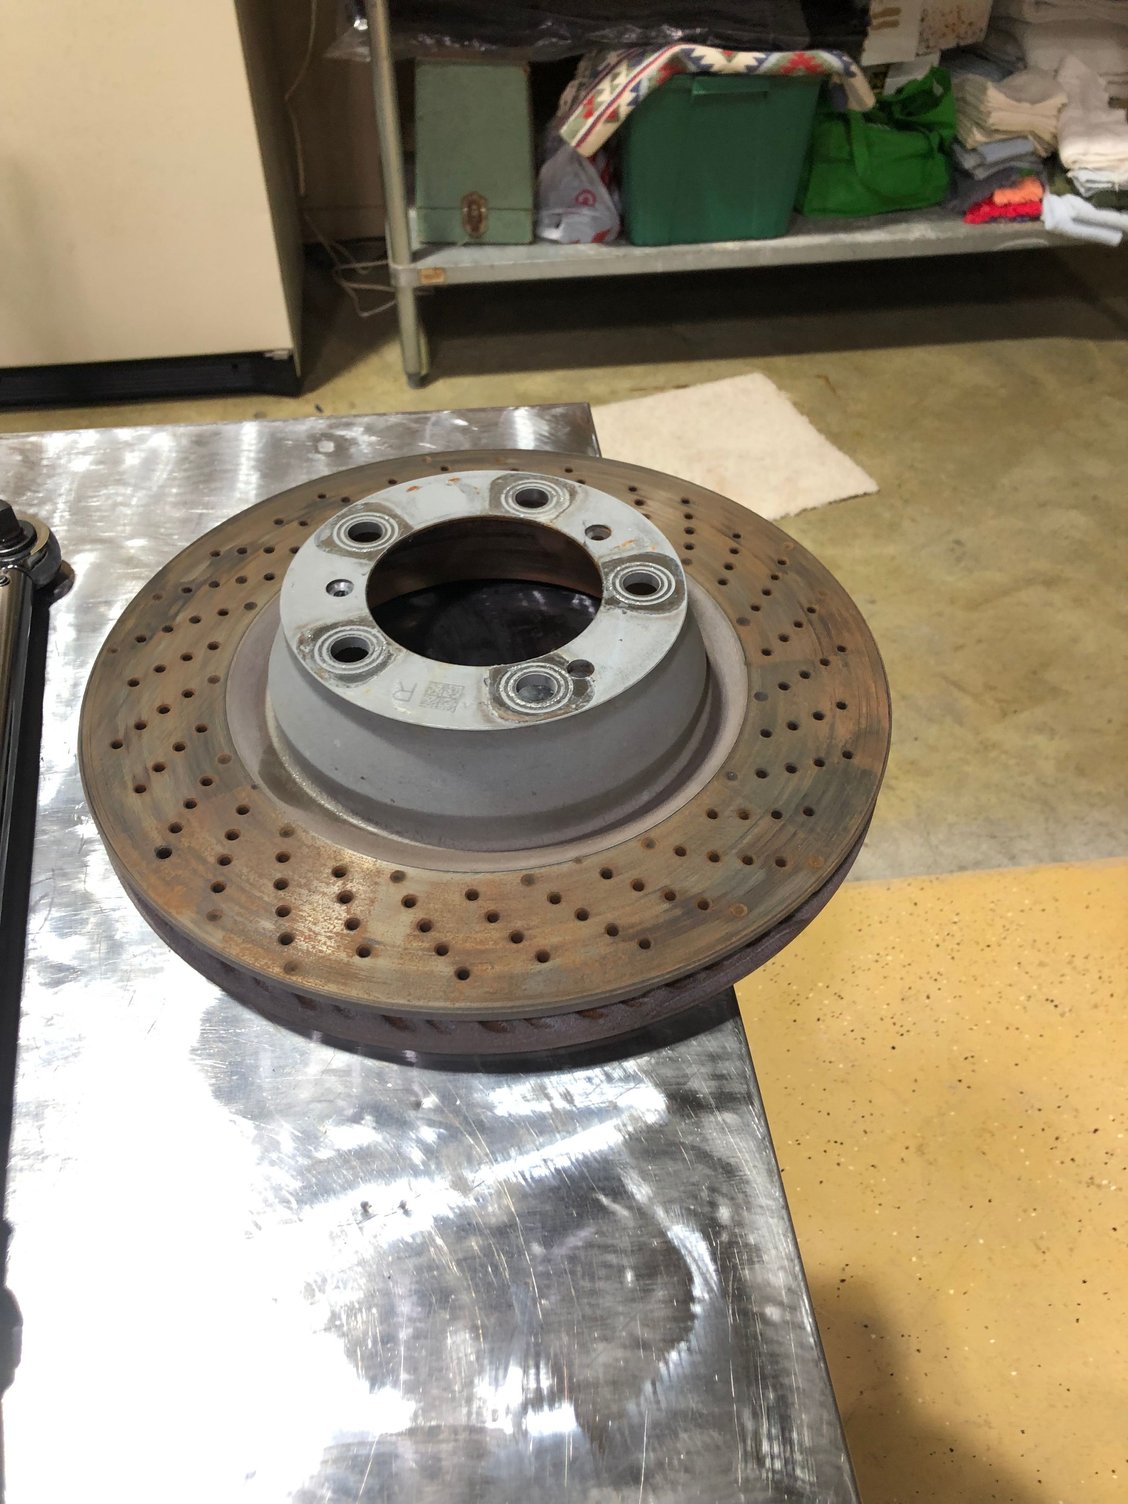
Disc removed- note dark patches where pads have glazed rotor
Dark streaks are glazing that needs to be removed by sanding
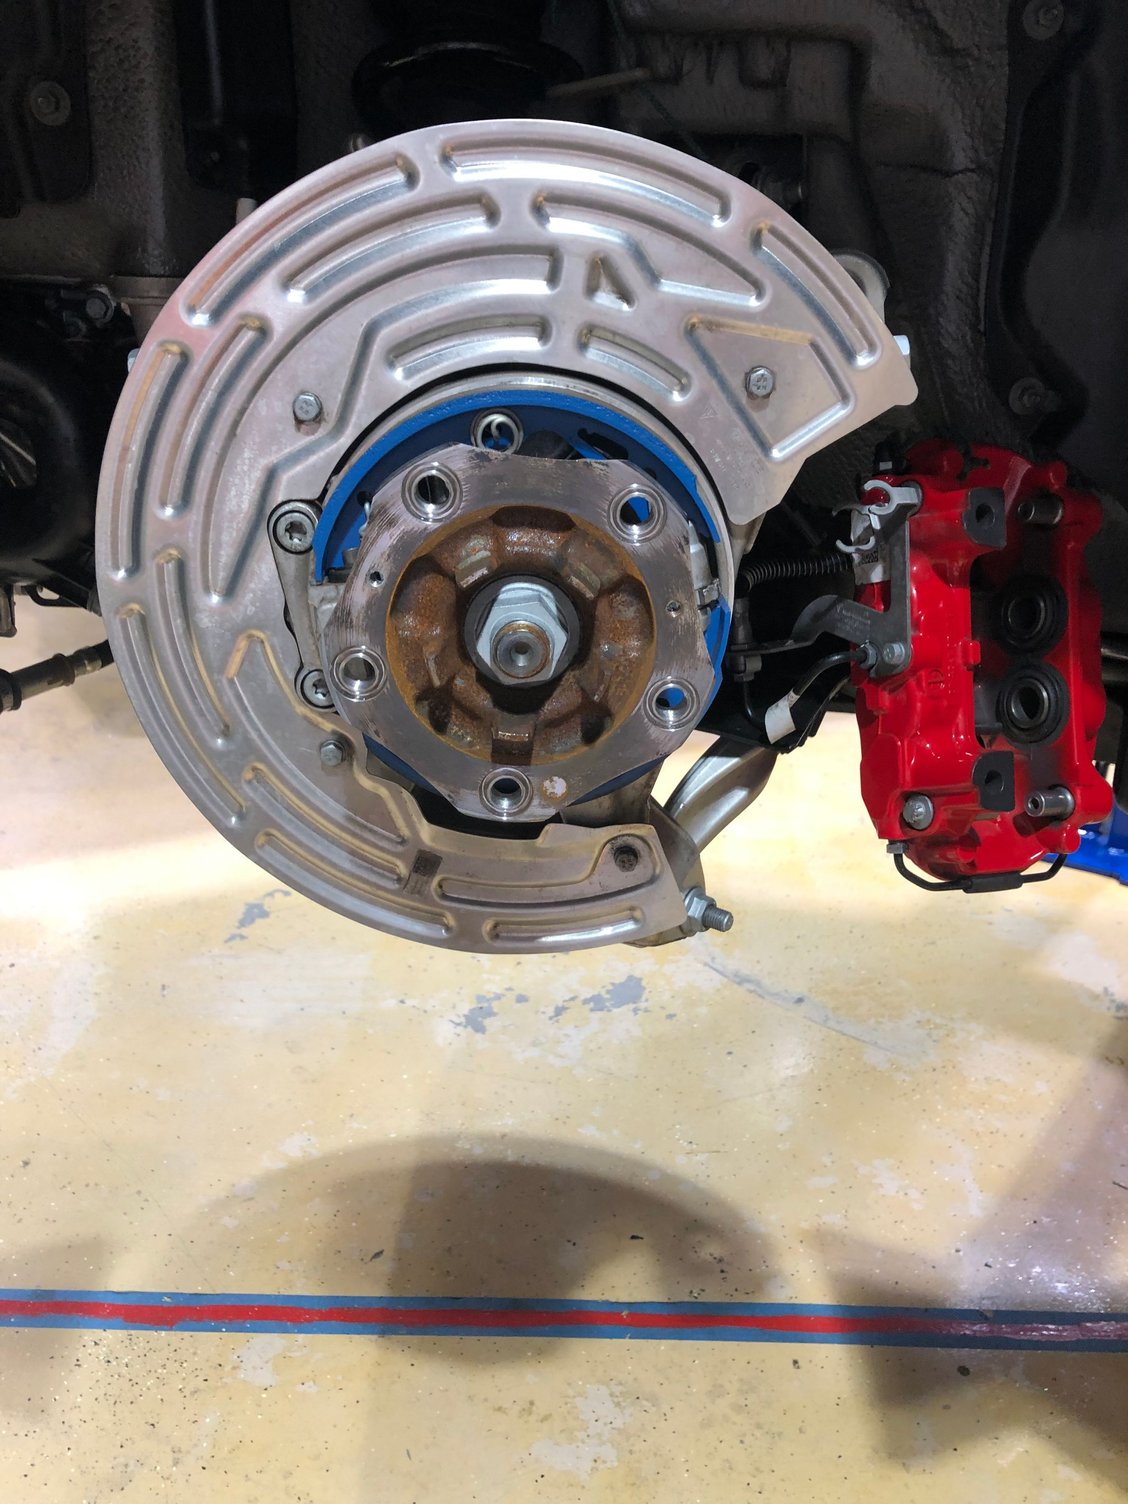
Hub with rotor removed
Bracket on back side of rotor holding sensor. No need to remove
This bracket does not need to be removed like a 991
Wet sanding rotor to remove glazing
I used 220
After caliper reinstalled reconnect sensor to plug in bracket and zip tie out of the way
Reinstall rotor then pads into caliper then remount caliper on disc. I then zip tied the sensors out of the way
Zip tied out of the way
Ready for wheel
Reinstall and torque wheel. Don't forget to pump the brakes!
I wish I had seen this thread before I started doing my wife’s Cayenne’s rear pads about 30 min before you posted this! The wear sensor connector release is the same on the Cayenne and took me a frustrating 15 minutes to figure out!
I searched for Cayenne DIY info and couldn’t find any (I guess most Cayenne owners aren’t DIYers) so I was on my own but anyway, it’s pretty much the same as you describe here except the caliper bolts are T50 and you can pull the pads out with the wear sensor in place as long as you have figured out how to disconnect the other end…
I wish I had seen this thread before I started doing my wife�s Cayenne�s rear pads about 30 min before you posted this! The wear sensor connector release is the same on the Cayenne and took me a frustrating 15 minutes to figure out!
I searched for Cayenne DIY info and couldn�t find any (I guess most Cayenne owners aren�t DIYers) so I was on my own but anyway, it�s pretty much the same as you describe here except the caliper bolts are T50 and you can pull the pads out with the wear sensor in place as long as you have figured out how to disconnect the other end�
yes that dam thing was so frustrating! Unfortunately you can�t pull the fat plug end through the caliper on the 992.
Finally! Some useful info in the 992 forum, you can only read so many threads about "What color should I get on my build?".
Did you find sanding the rotors and new pads fixed the issue?
Yes it fixed the issue. I have not received my new pads yet so I put the old ones back in for now. I won't use them on the track again, however. The guys at KNS brakes recommended the procedure so it was worth a try and it took away the judder. I have some Ferodo pads on order from them. With the sensors out of the way it will only take a few minutes to switch the pads in and out.
Look into studs. The calipers are too soft for the screws and sooner than you think the threads will worn out.
I replaced the whole thing after 1 track day.
Look into studs. The calipers are too soft for the screws and sooner than you think the threads will worn out.
I replaced the whole thing after 1 track day.
Thanks John. Are you referring to the caliper mounting bolts? They do seem kind of soft. In fact, I think they recommend replacing them EVERY time you remove the calipers which is stupid. I had the Tarett studs for my 991 but I don't see a listing for the 992. Do you have a source or link for some better aftermarket replacements? I think that would be some good information to add to the thread!
 03-12-2022, 01:58 PM


