When you click on links to various merchants on this site and make a purchase, this can result in this site earning a commission. Affiliate programs and affiliations include, but are not limited to, the eBay Partner Network.
(another in my series of over-detailed garage projects)
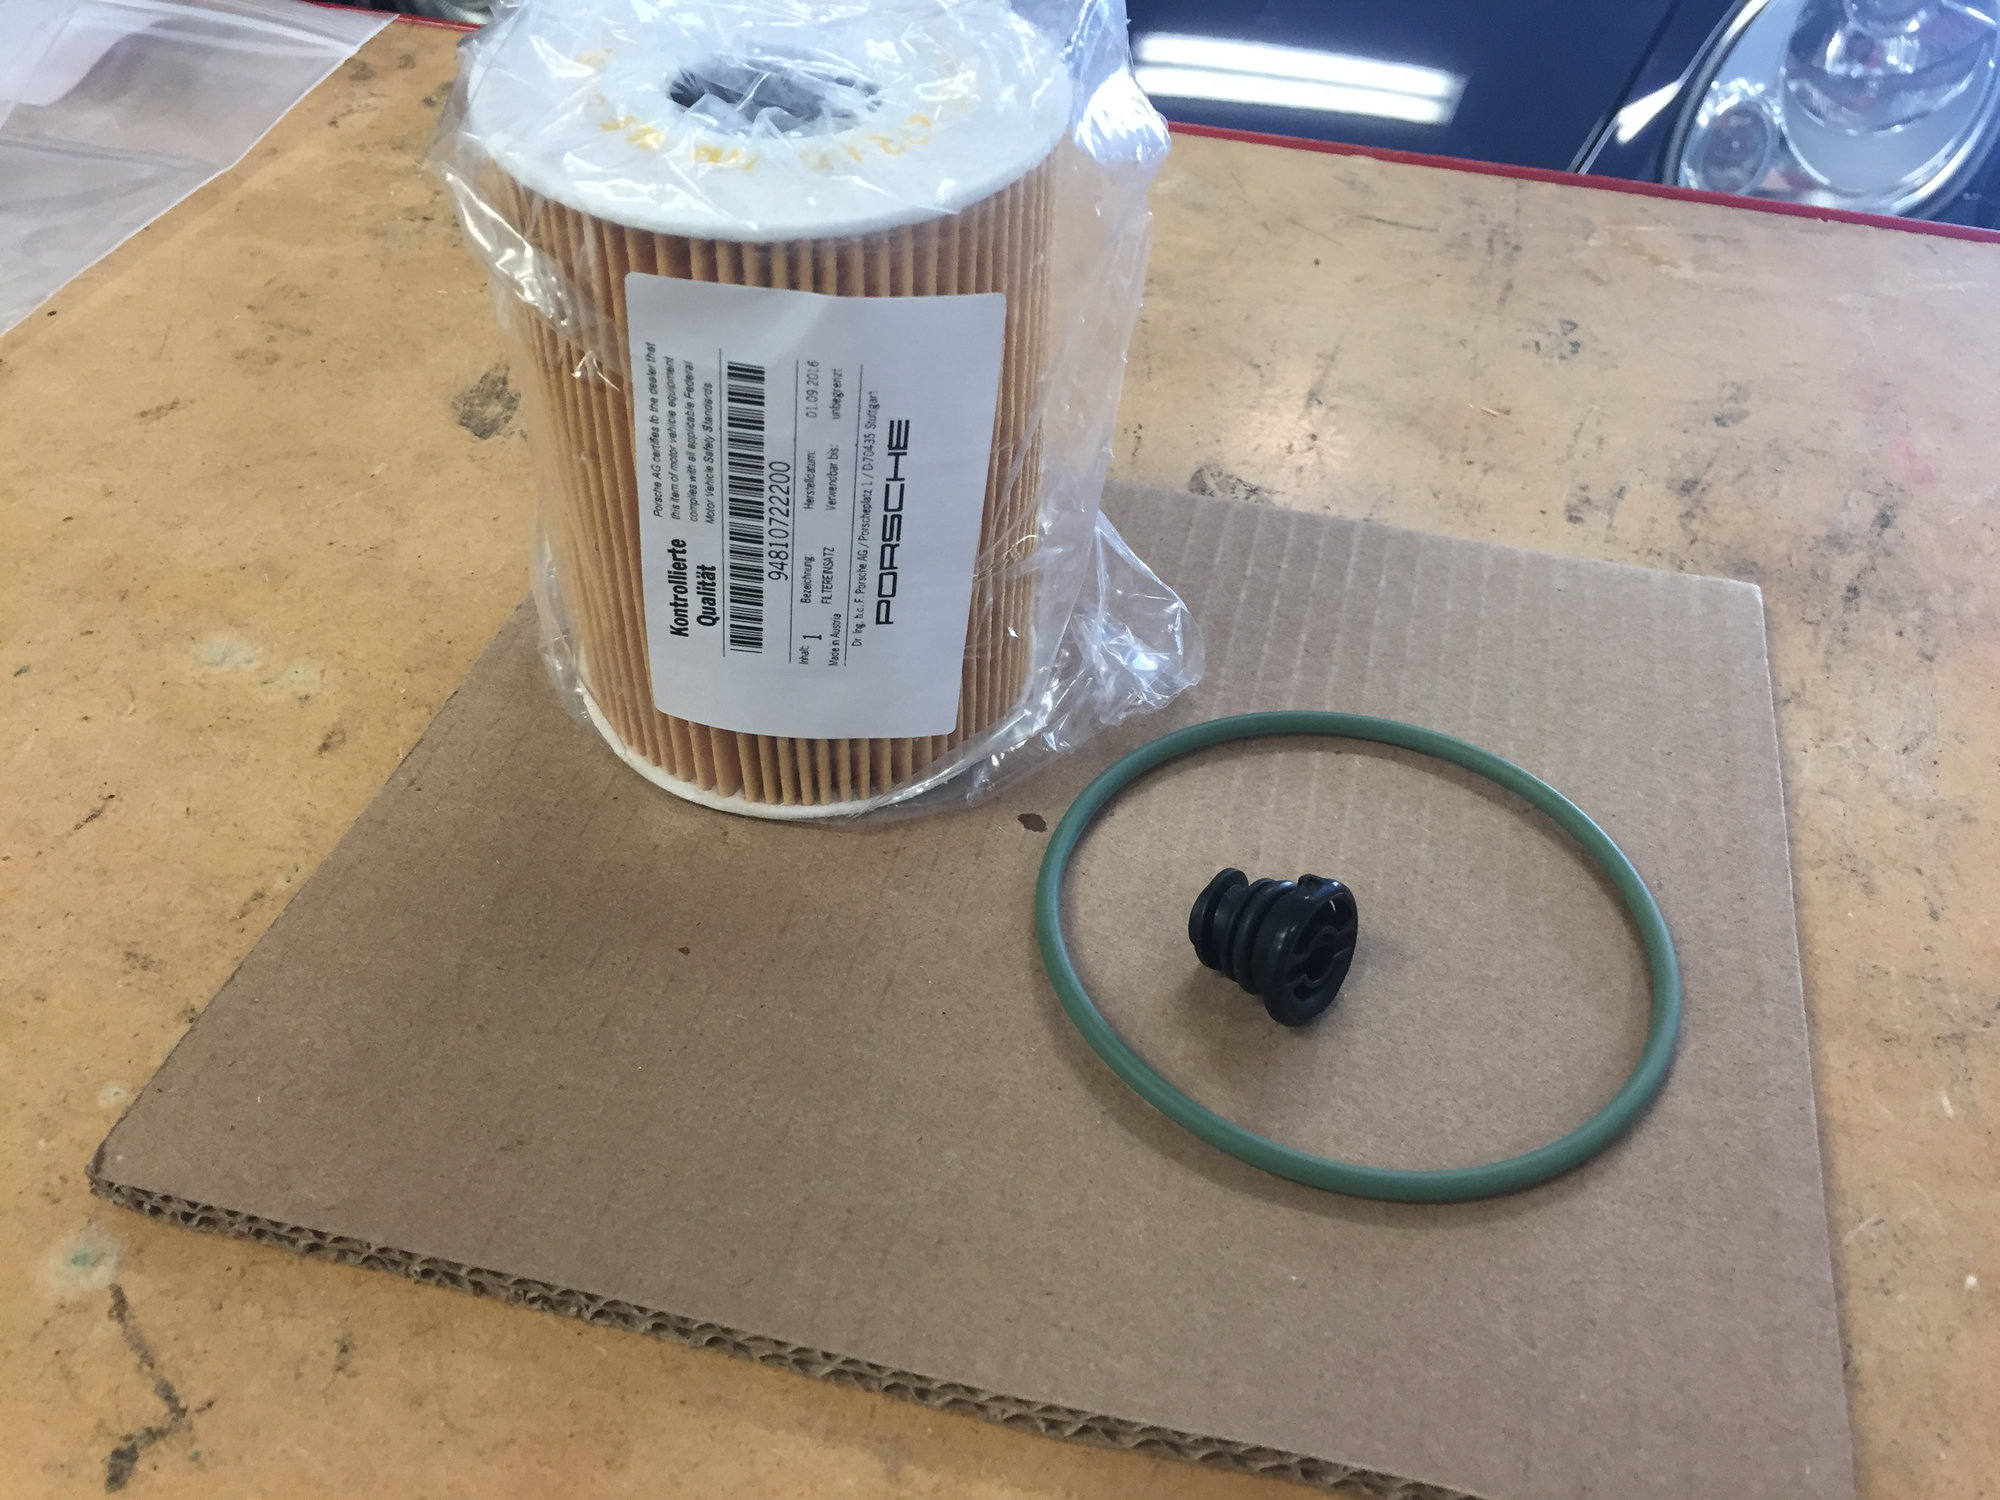
With about 3000 miles on my 991.2 C2 I decided to do a first oil change, and drain the "break in" oil. In preparation I ordered Porsche brand filters (actually, an oil change kit) from Suncoast:
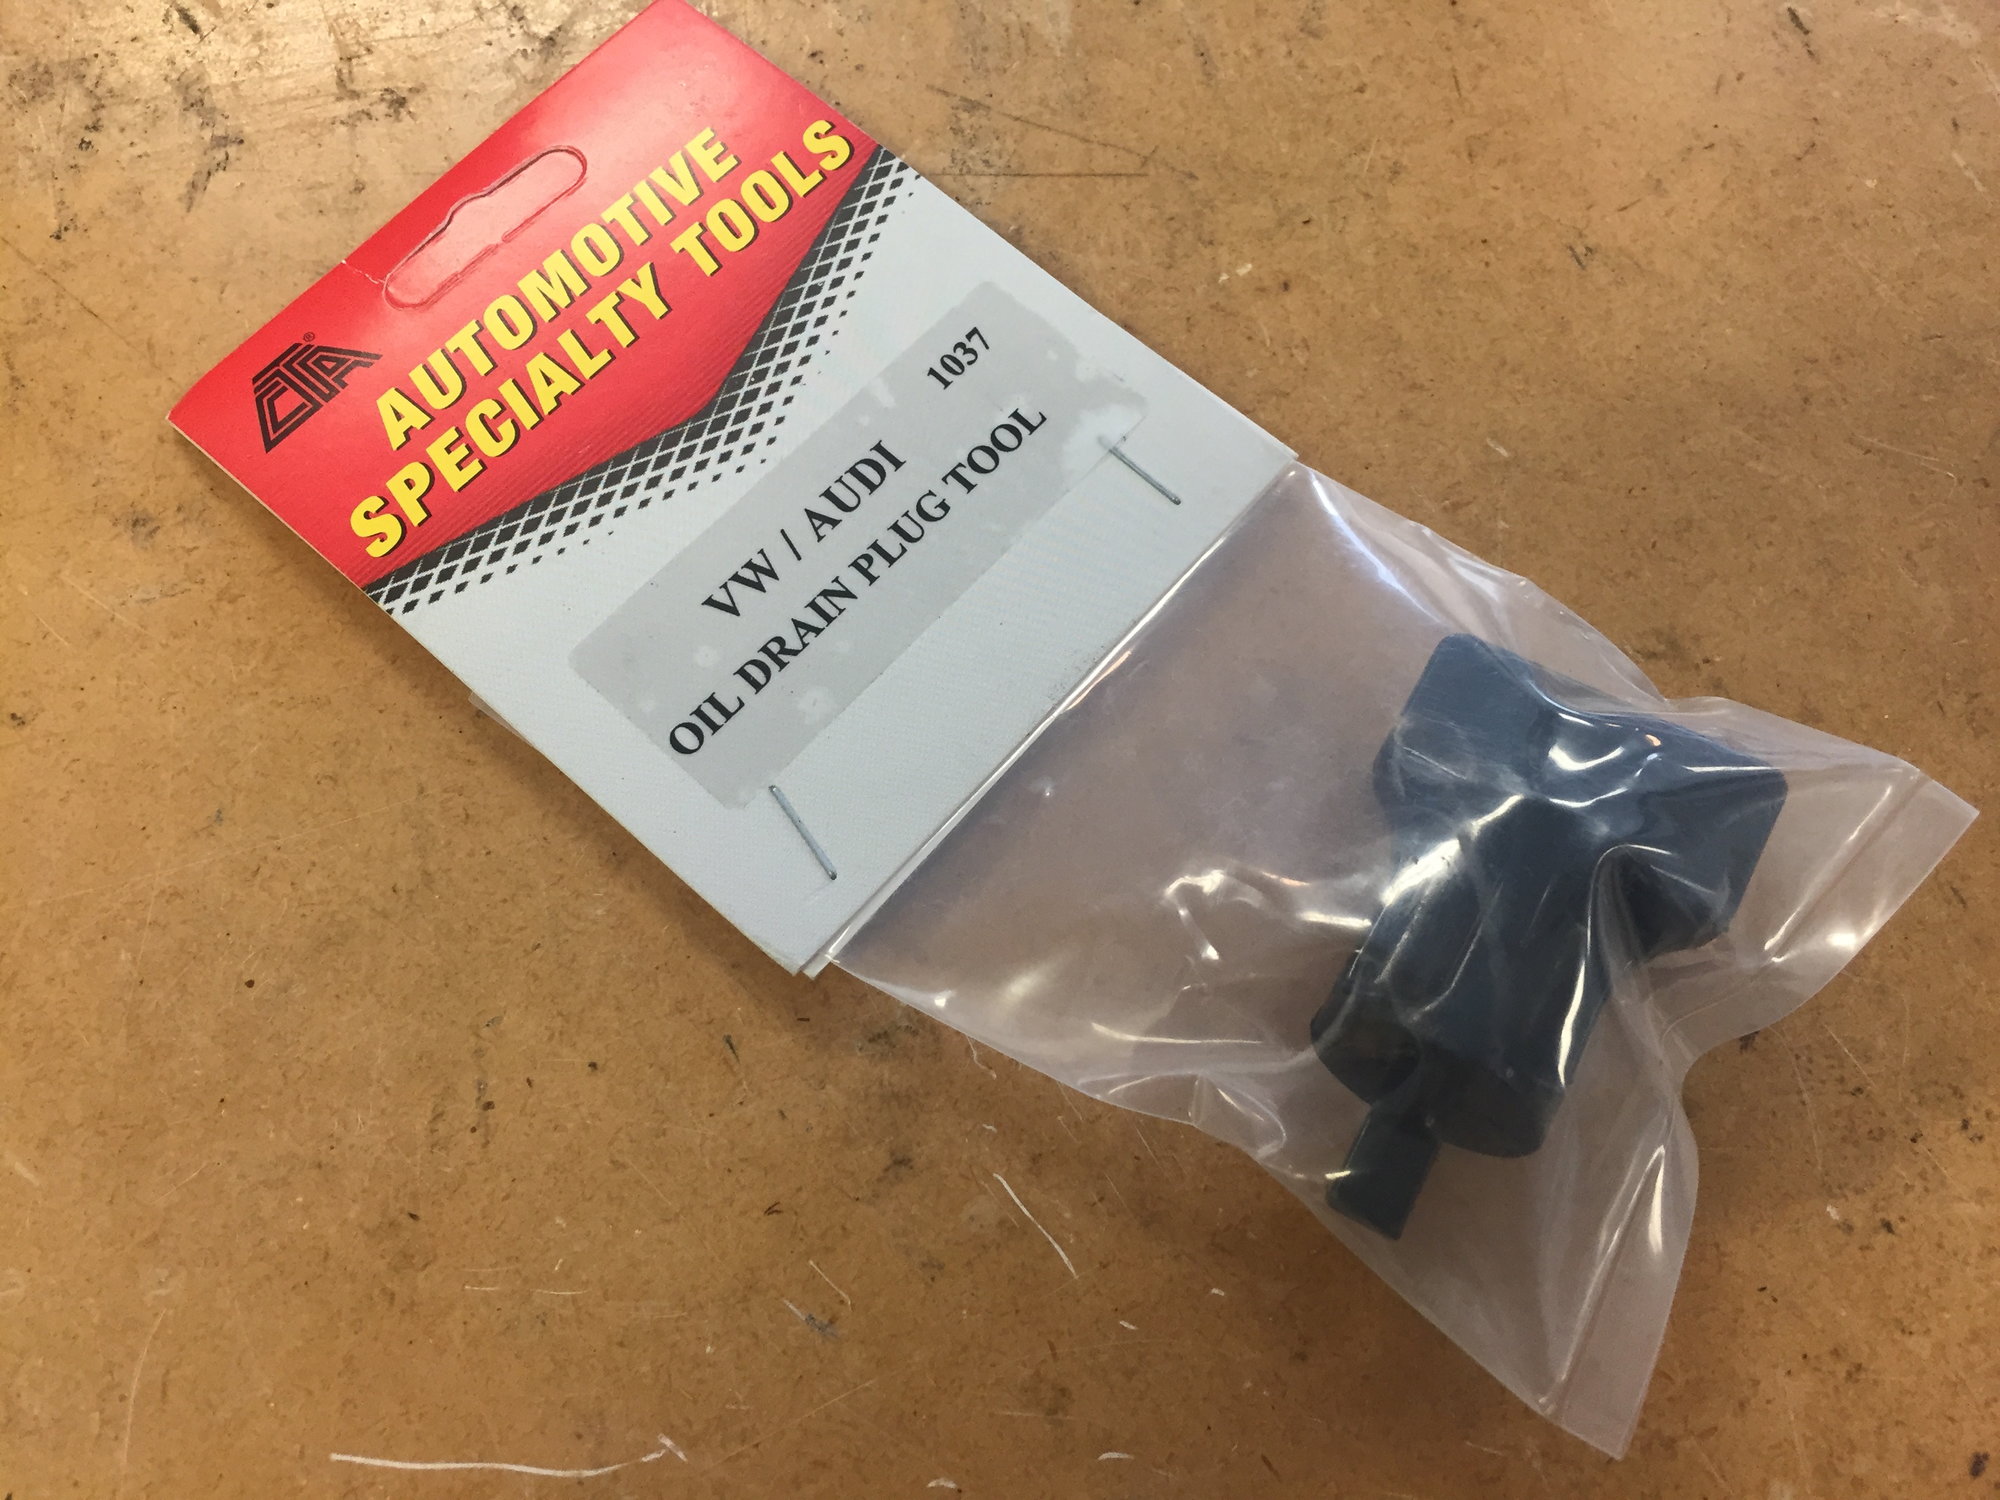
I also ordered a key/wrench for the drain plug (Amazon):
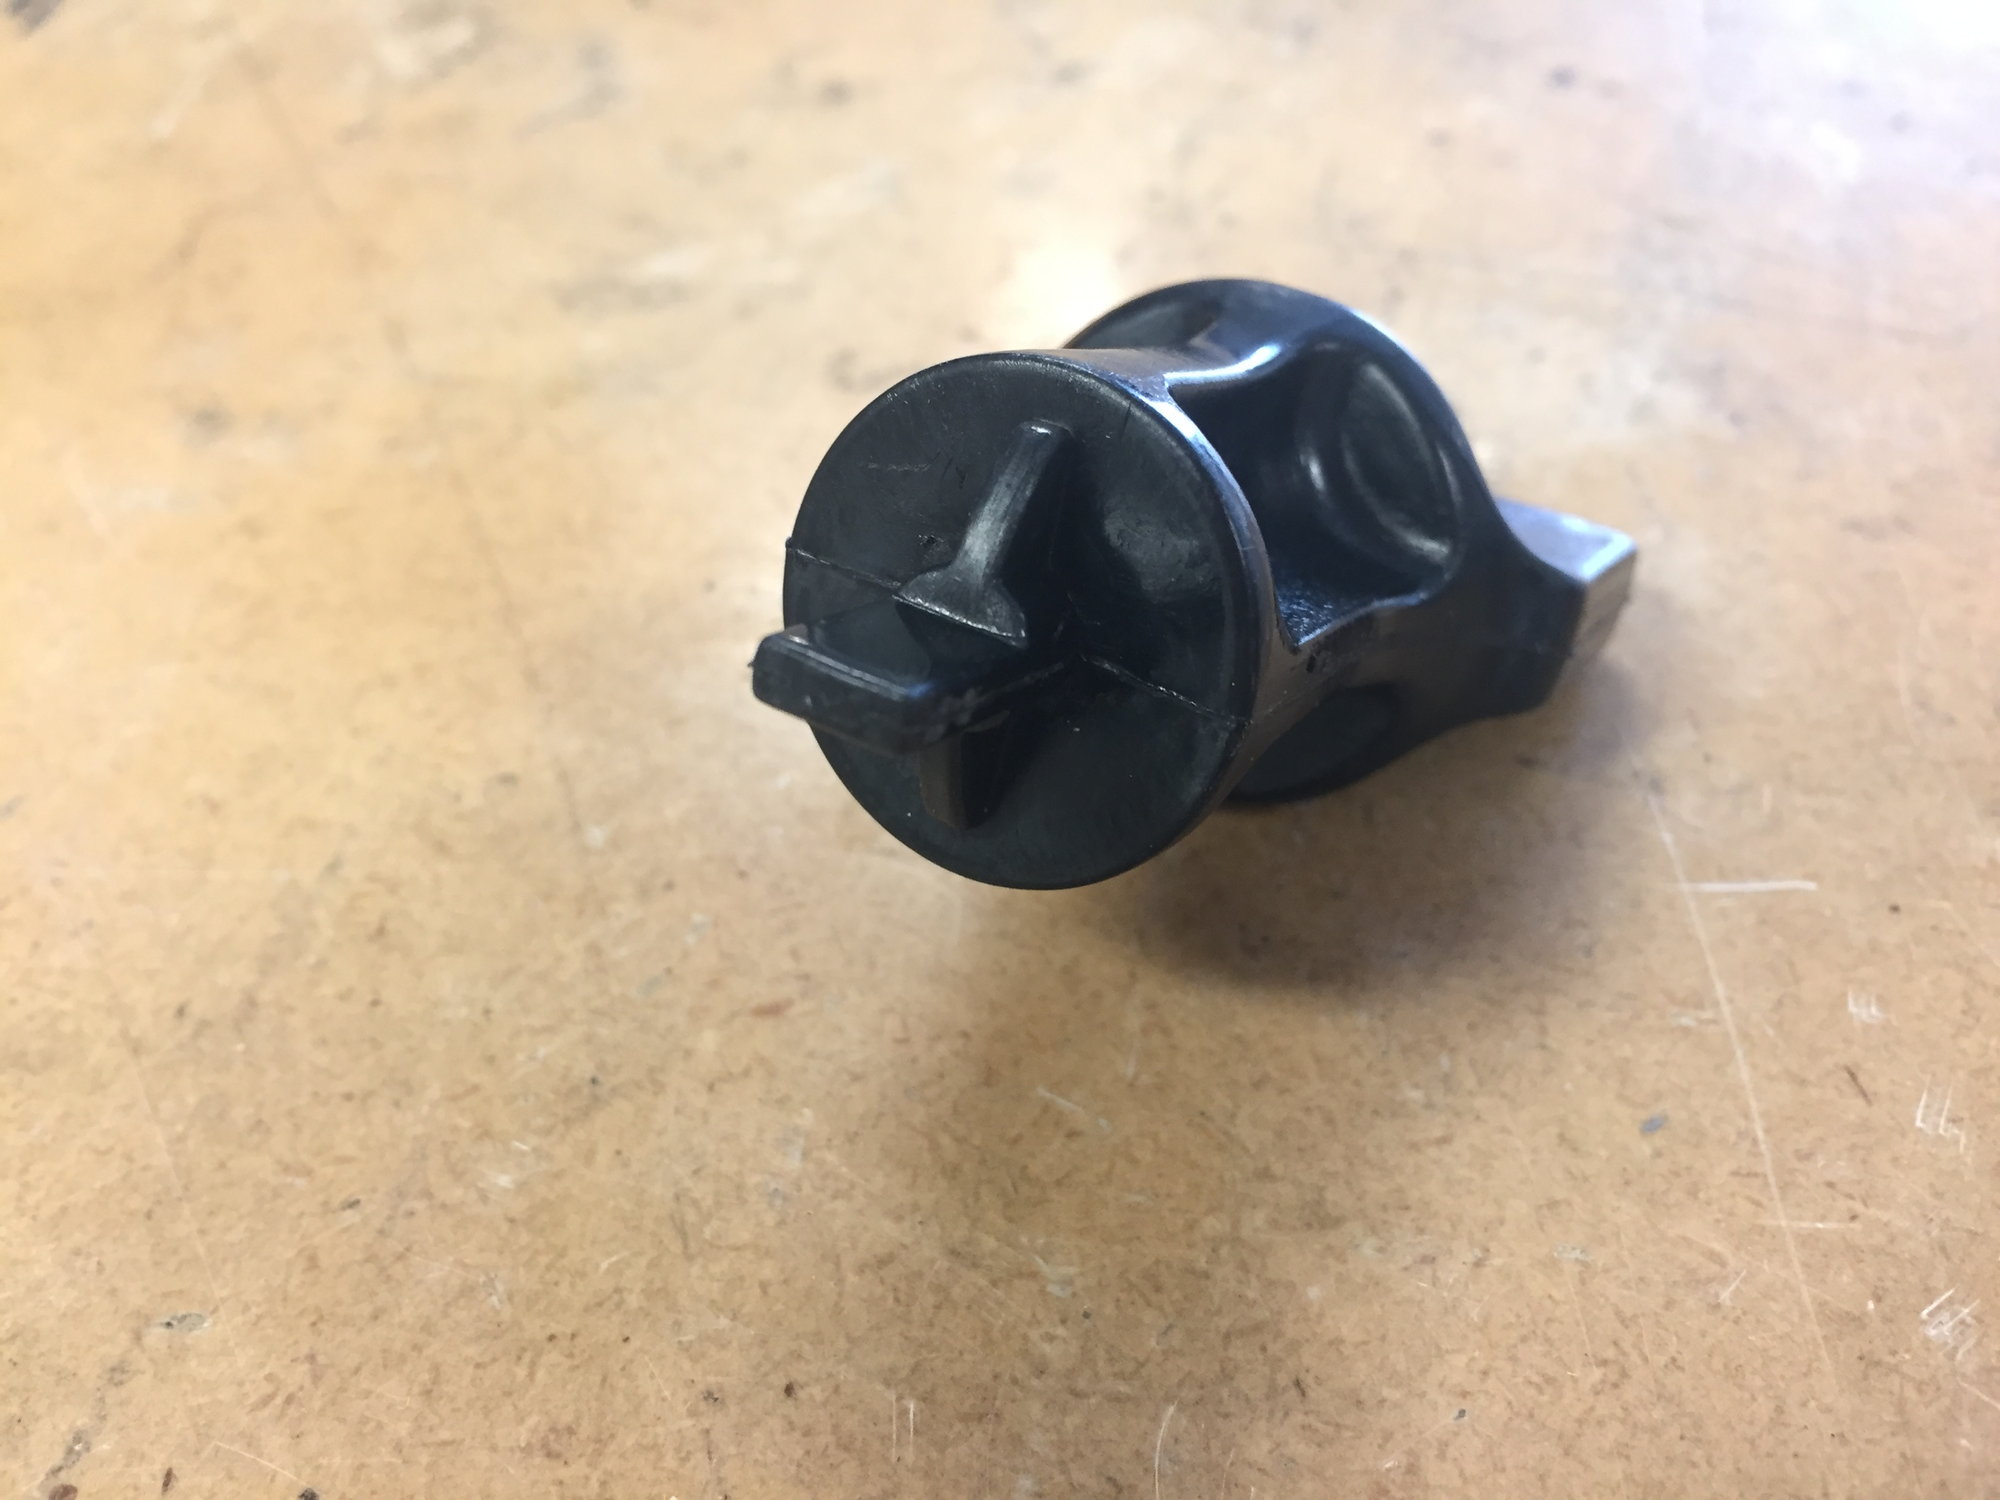
Looking at the key in detail, this engages the plug with both a tooth like a straight blade screwdriver, and a half-round projection:
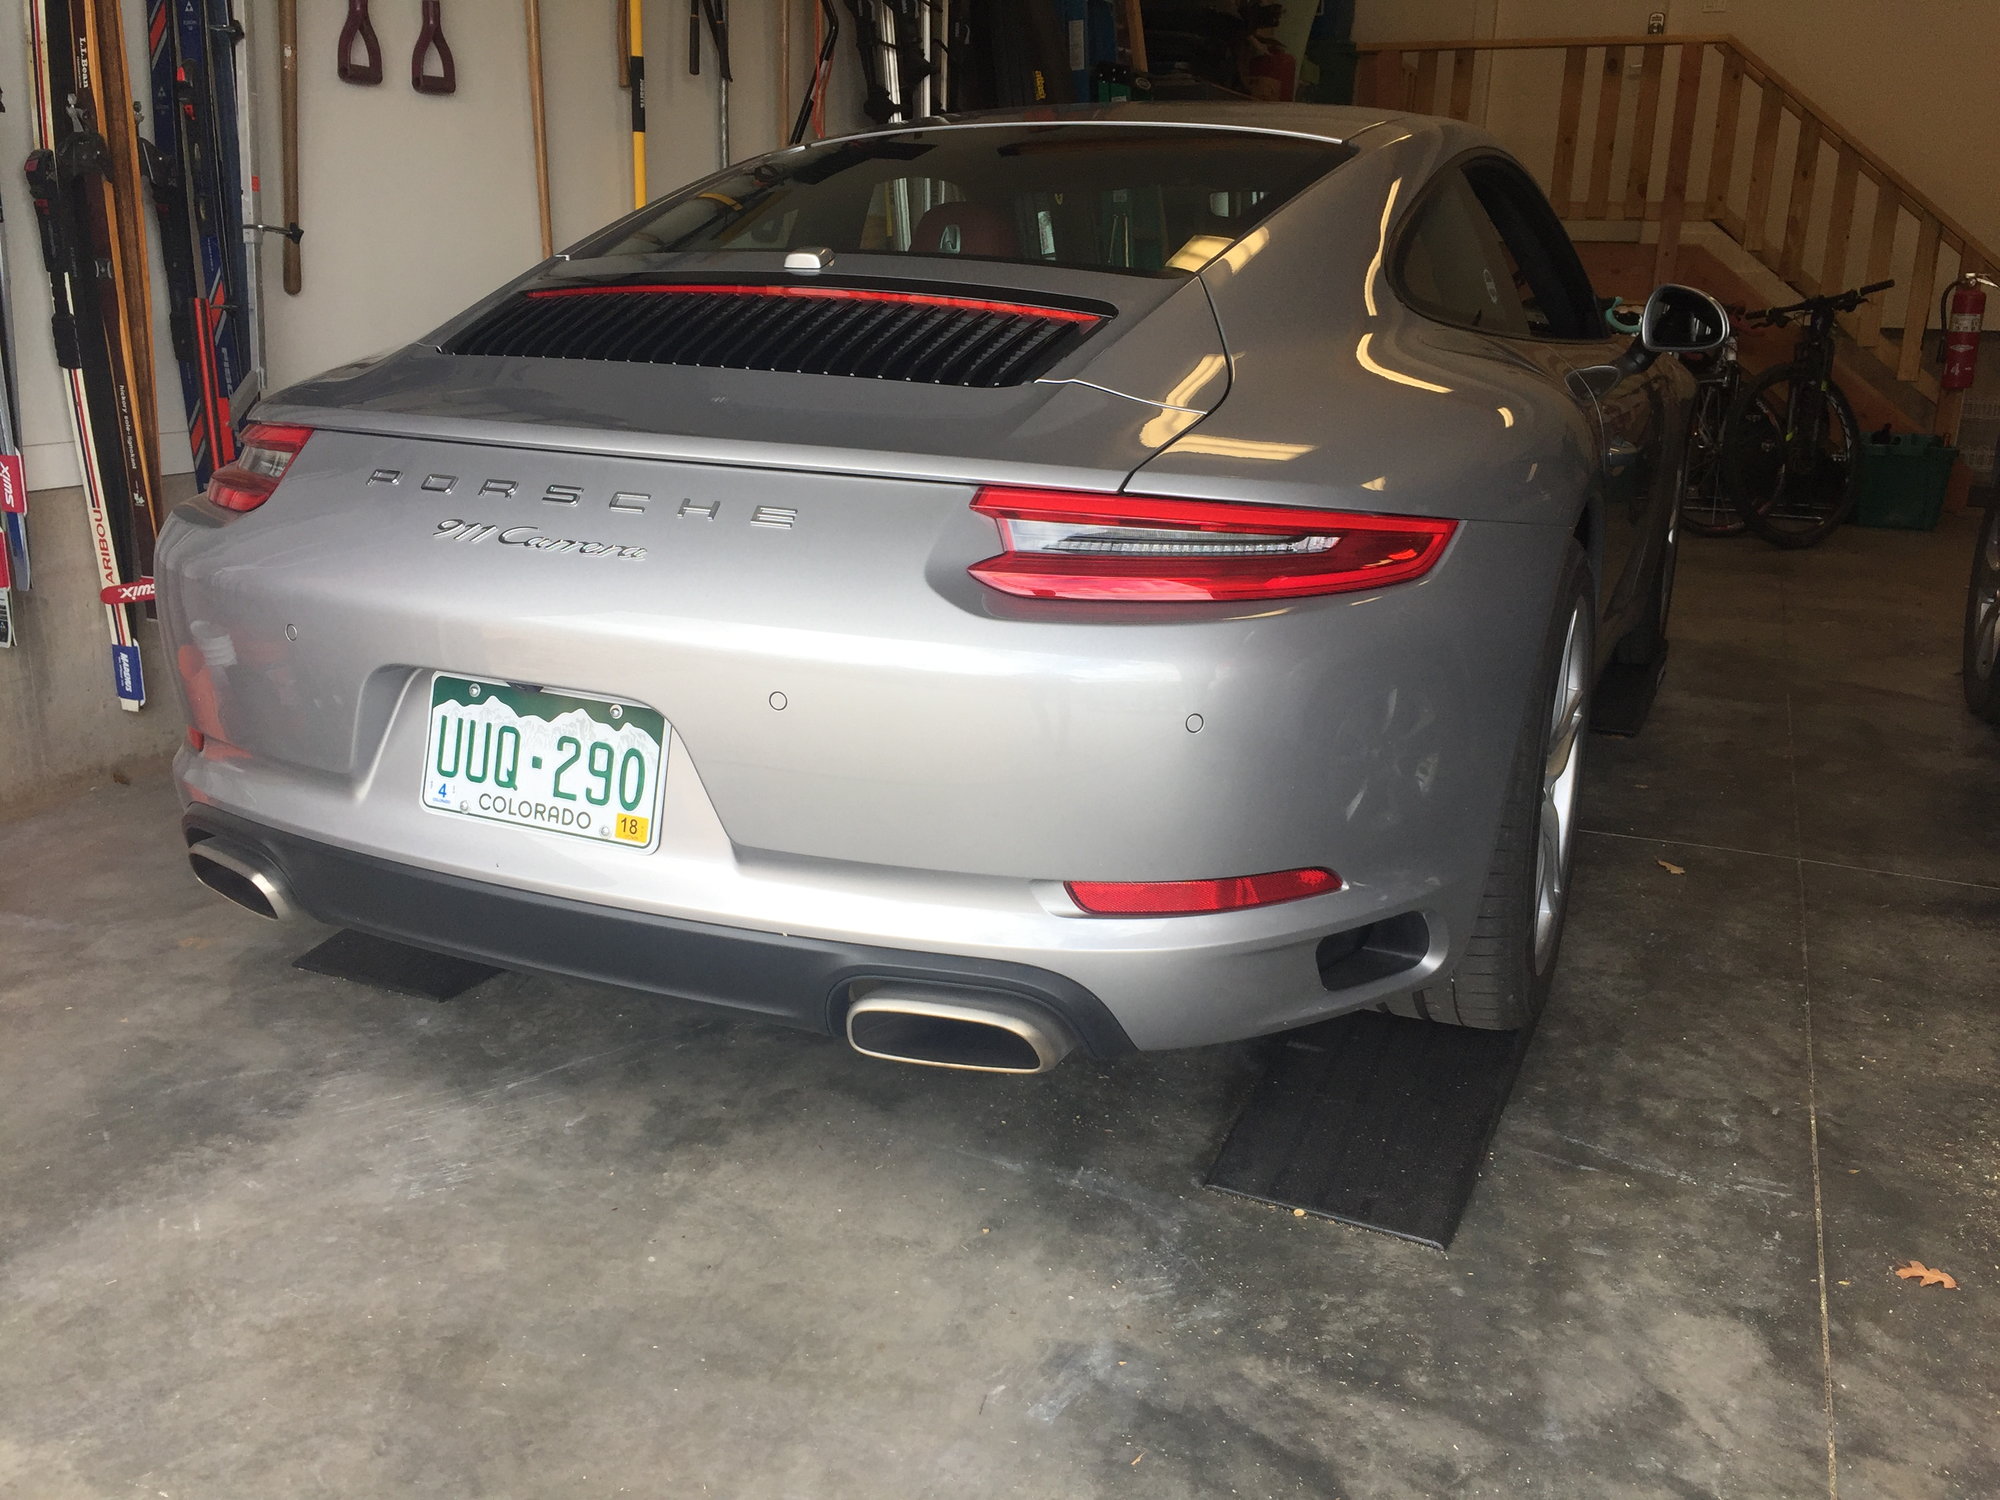
To get started, I drove the car onto my 4" Race Ramps. This gives much better access. 4 ramps keep the car level:
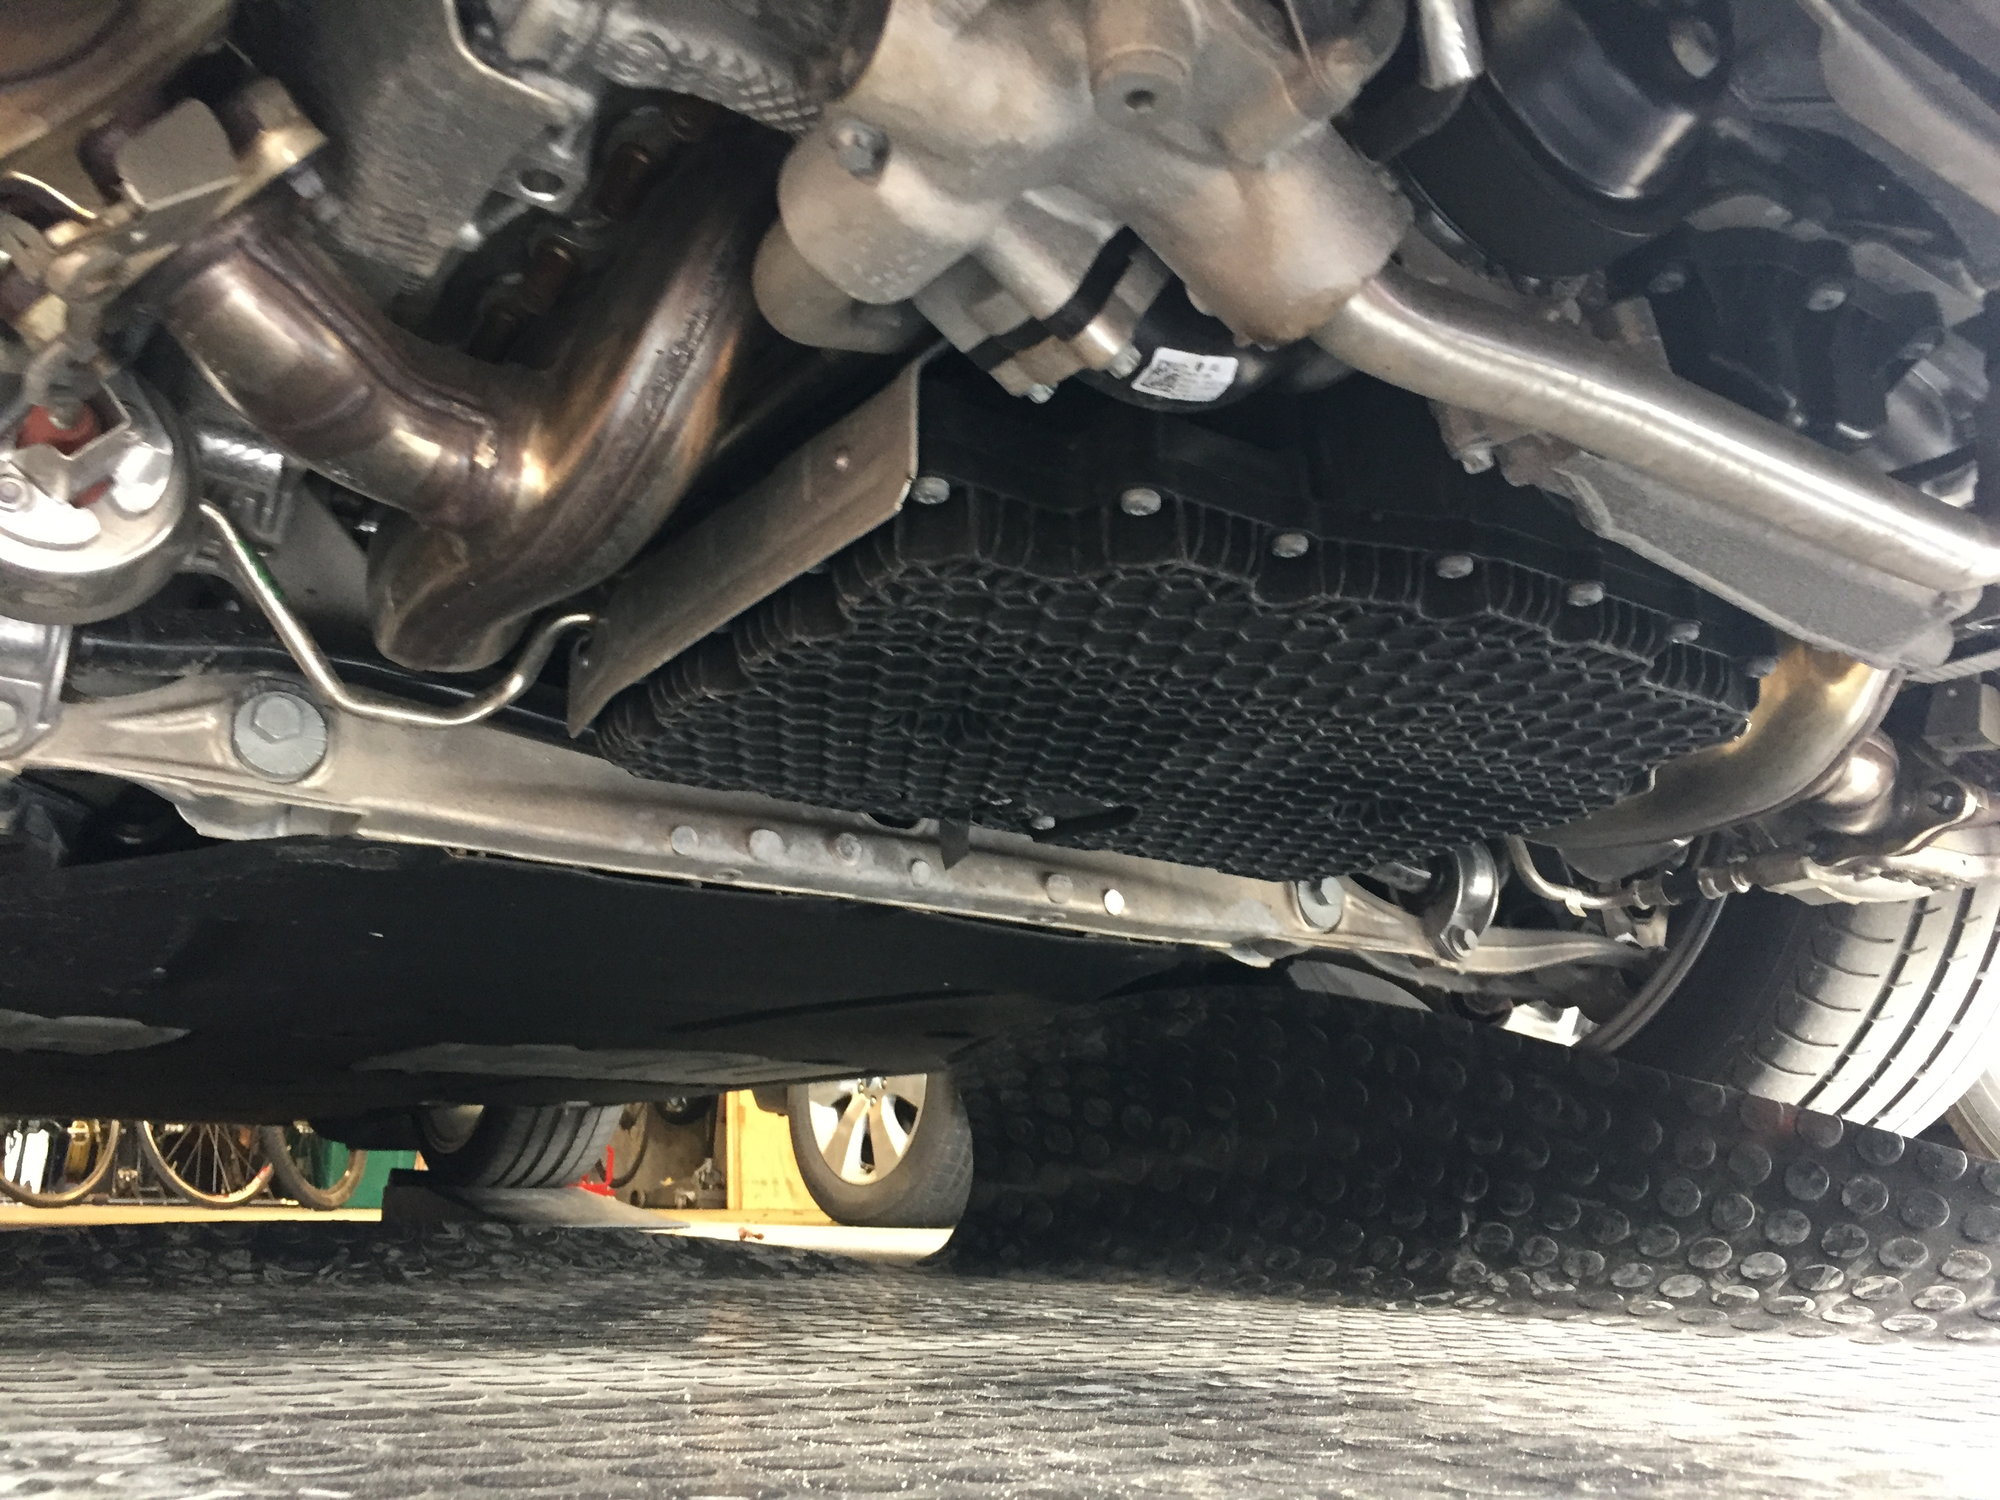
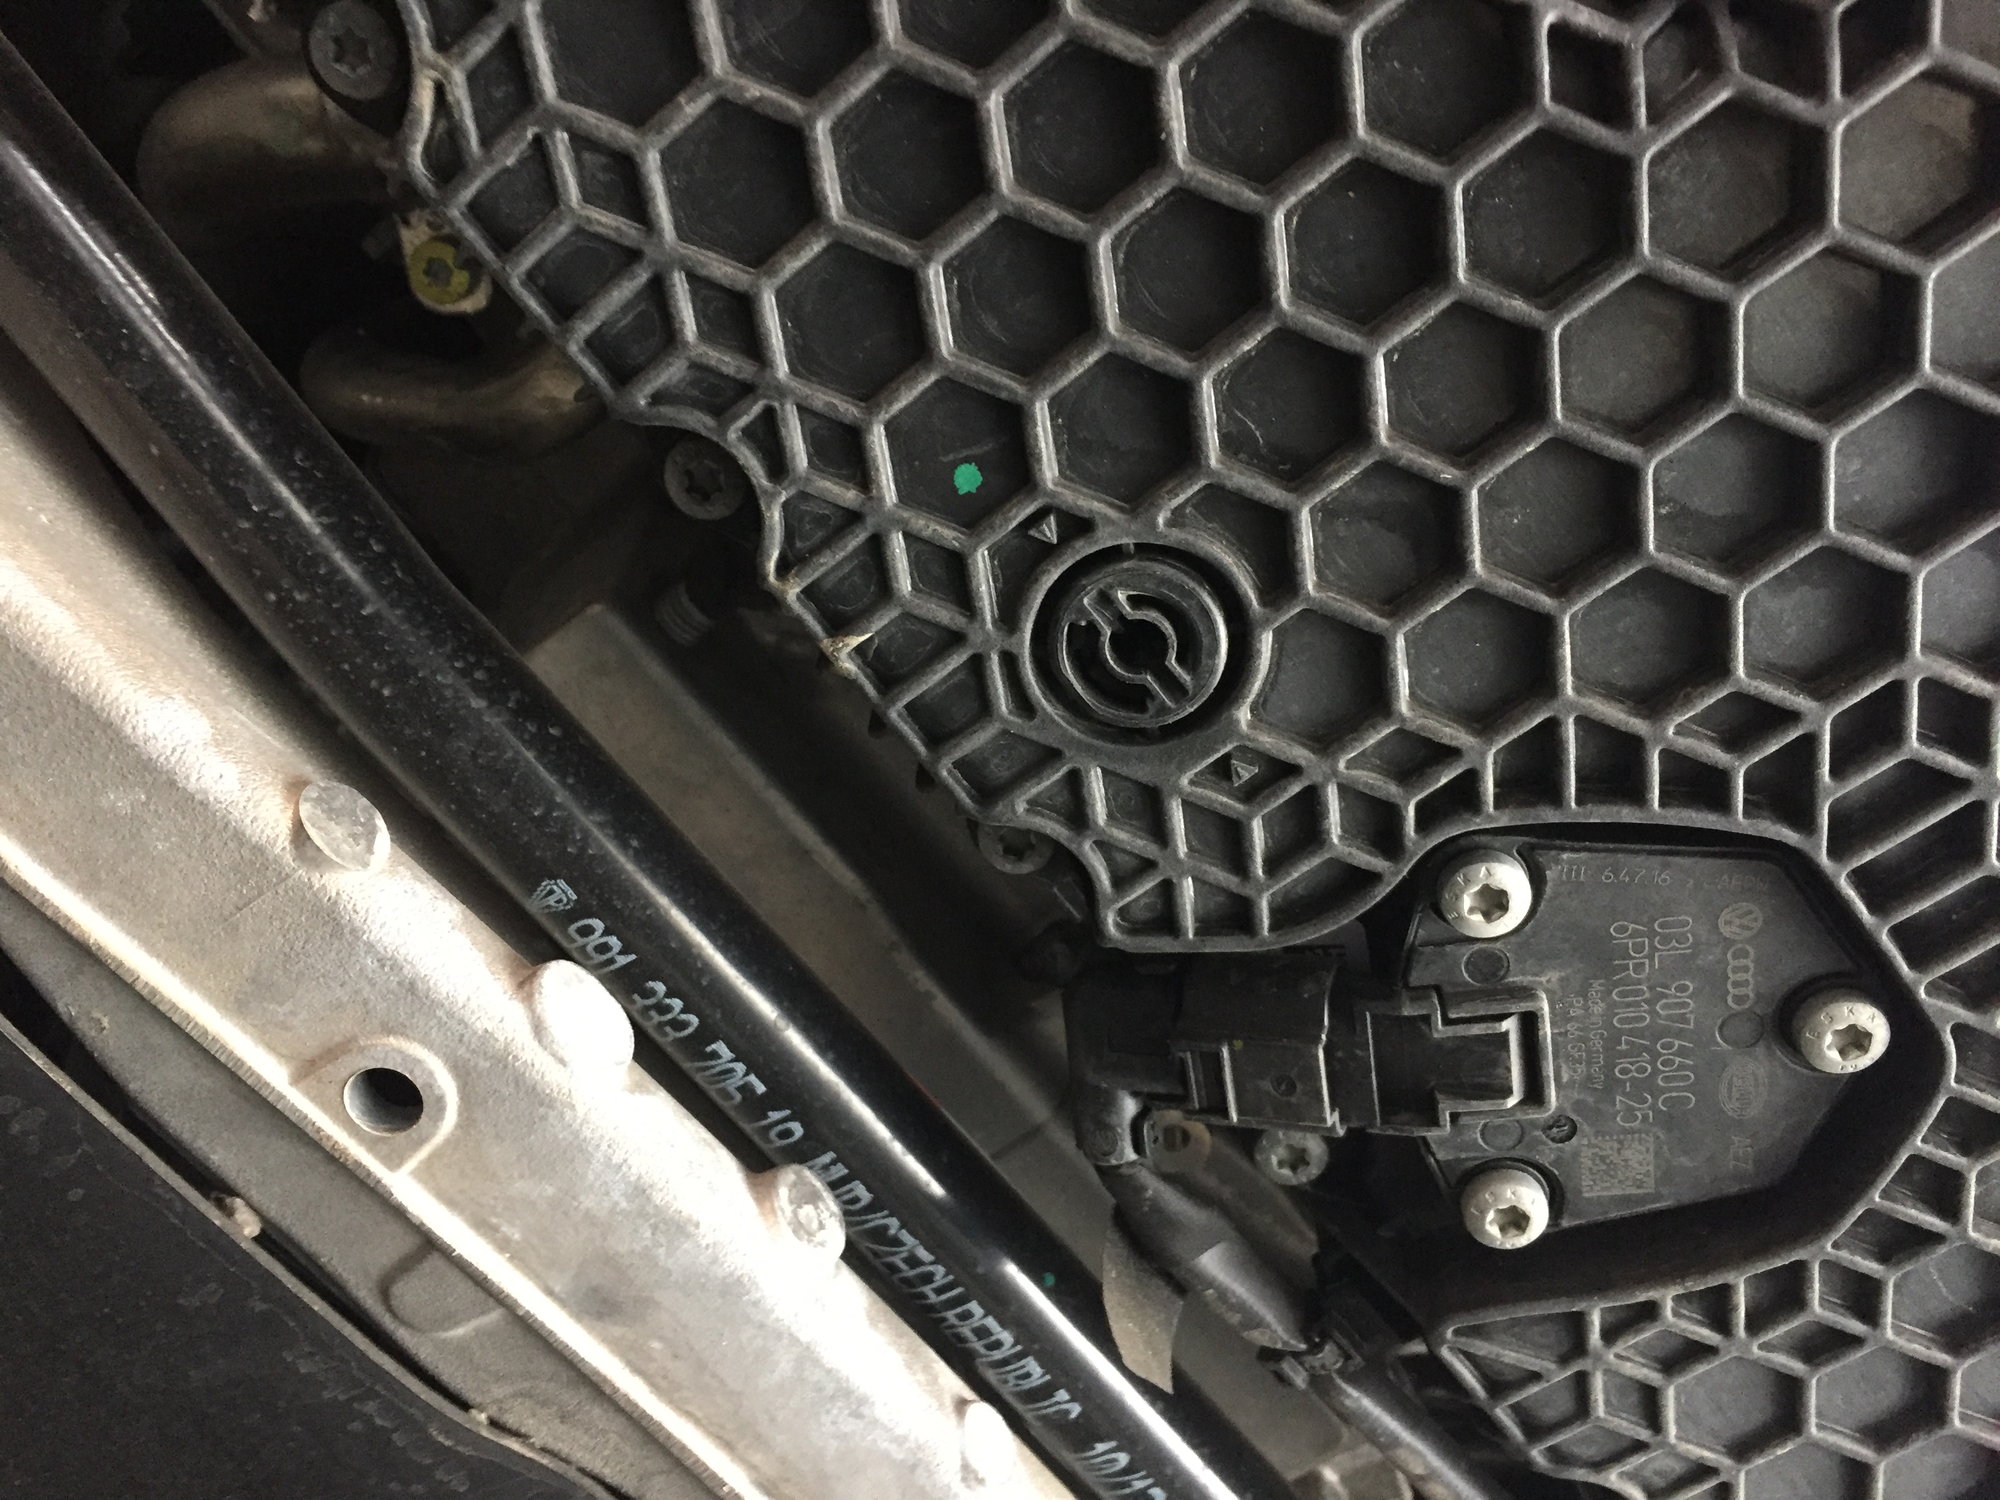
Looking underneath, there is the now-famous composite (plastic) oil sump, with the drain plug off-center to the left, and near the leading edge of the sump:
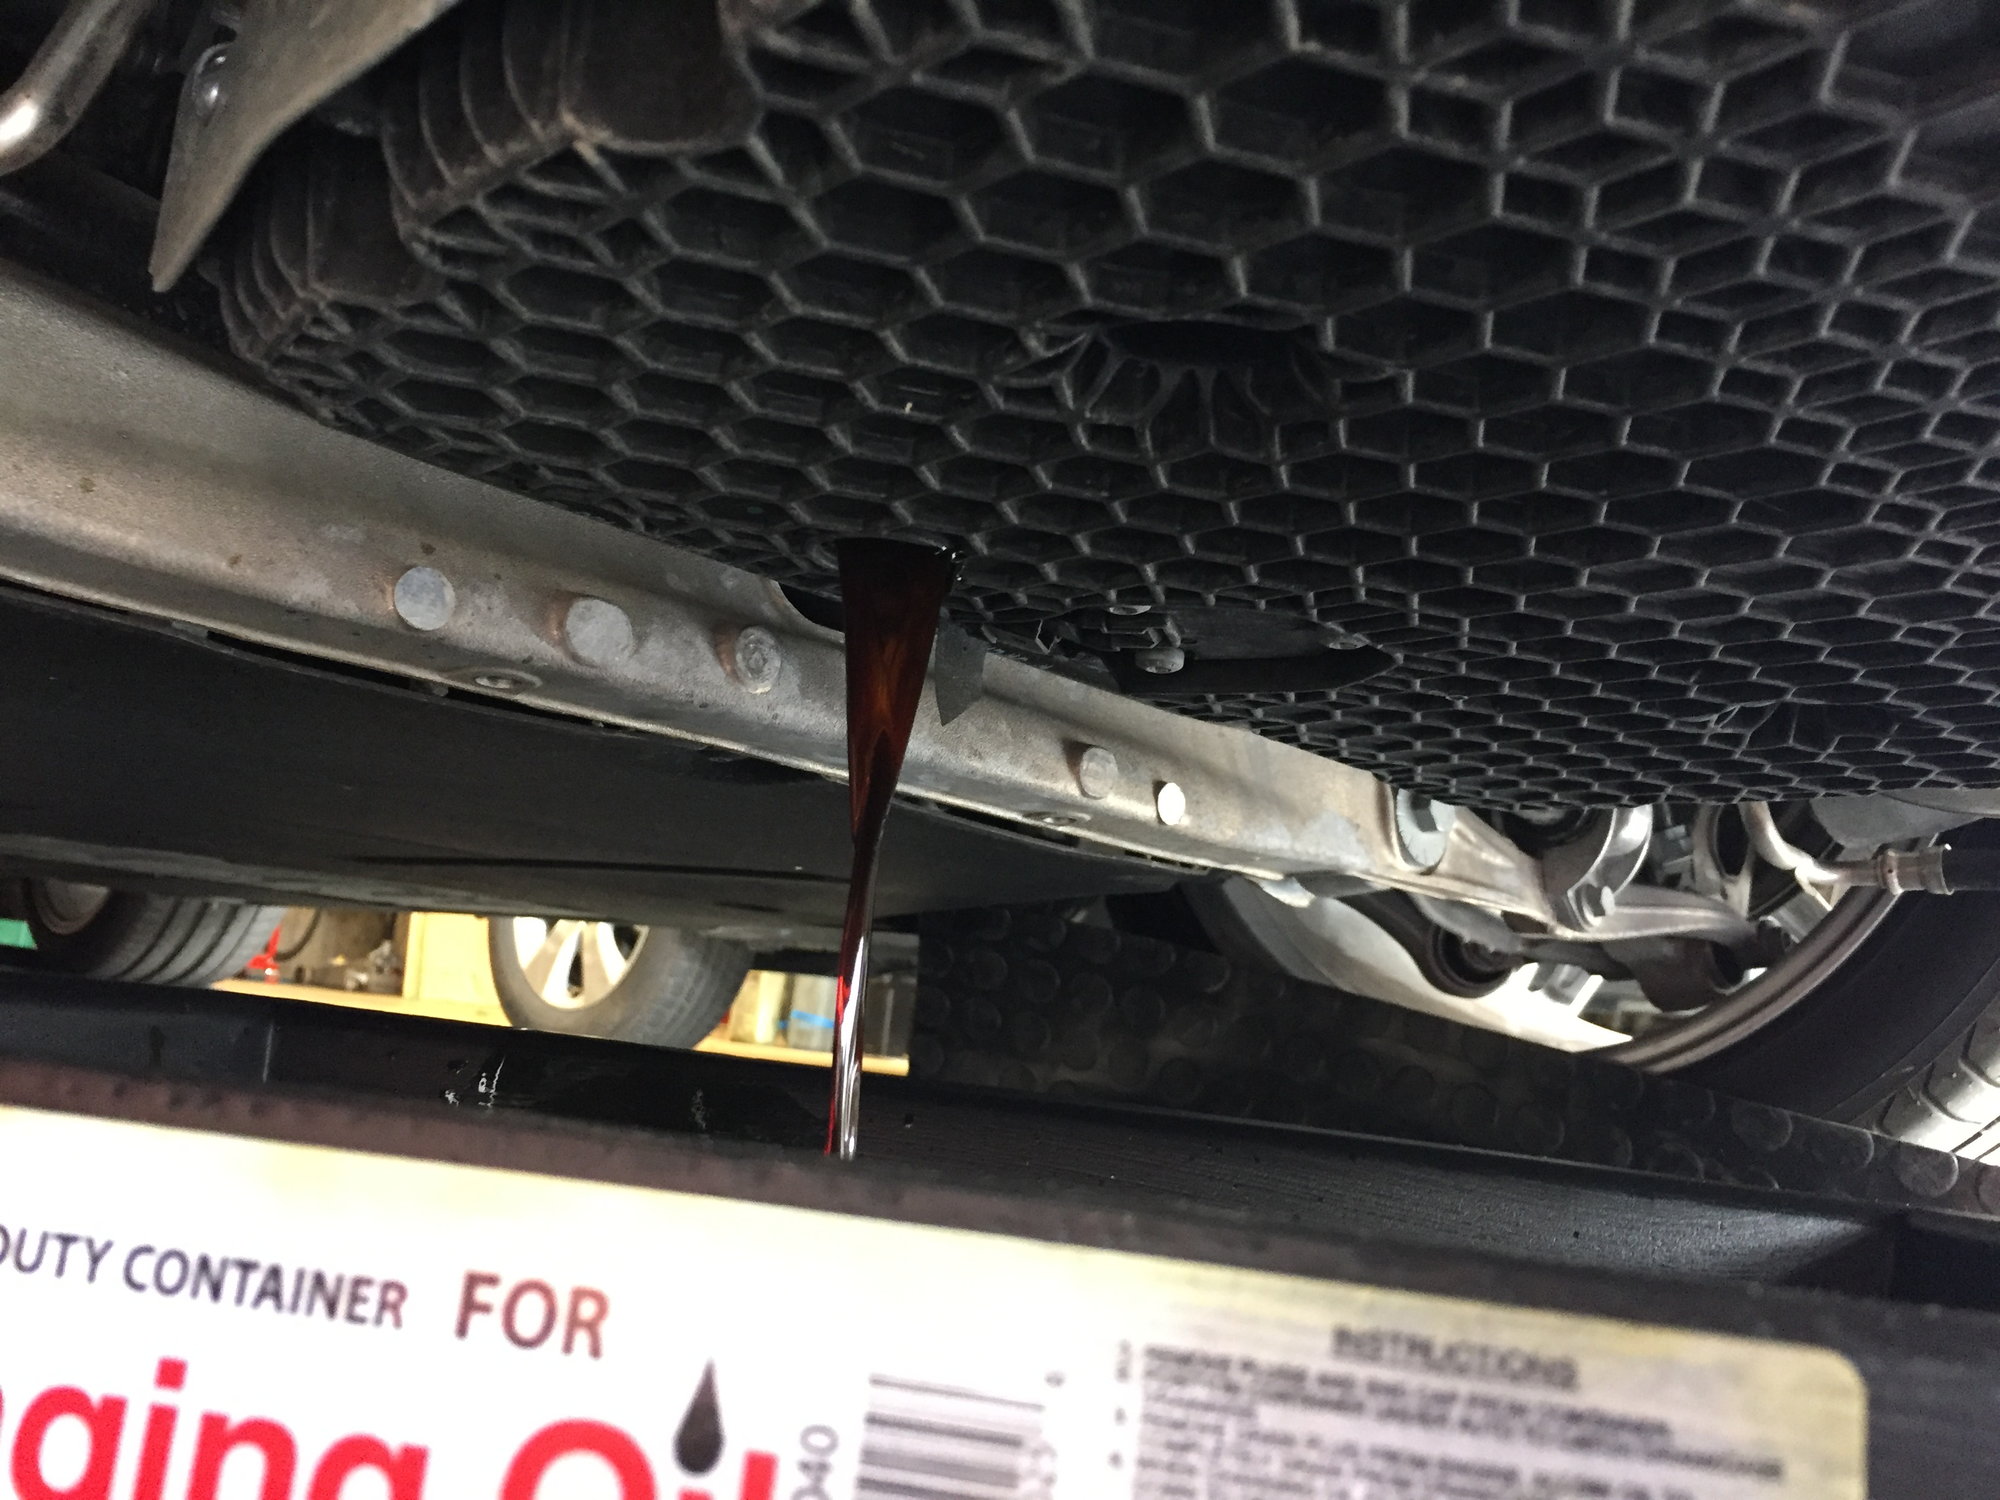
The plug key requires only a moderate twist to undo the plug, and the oil begins to drain (slowly):
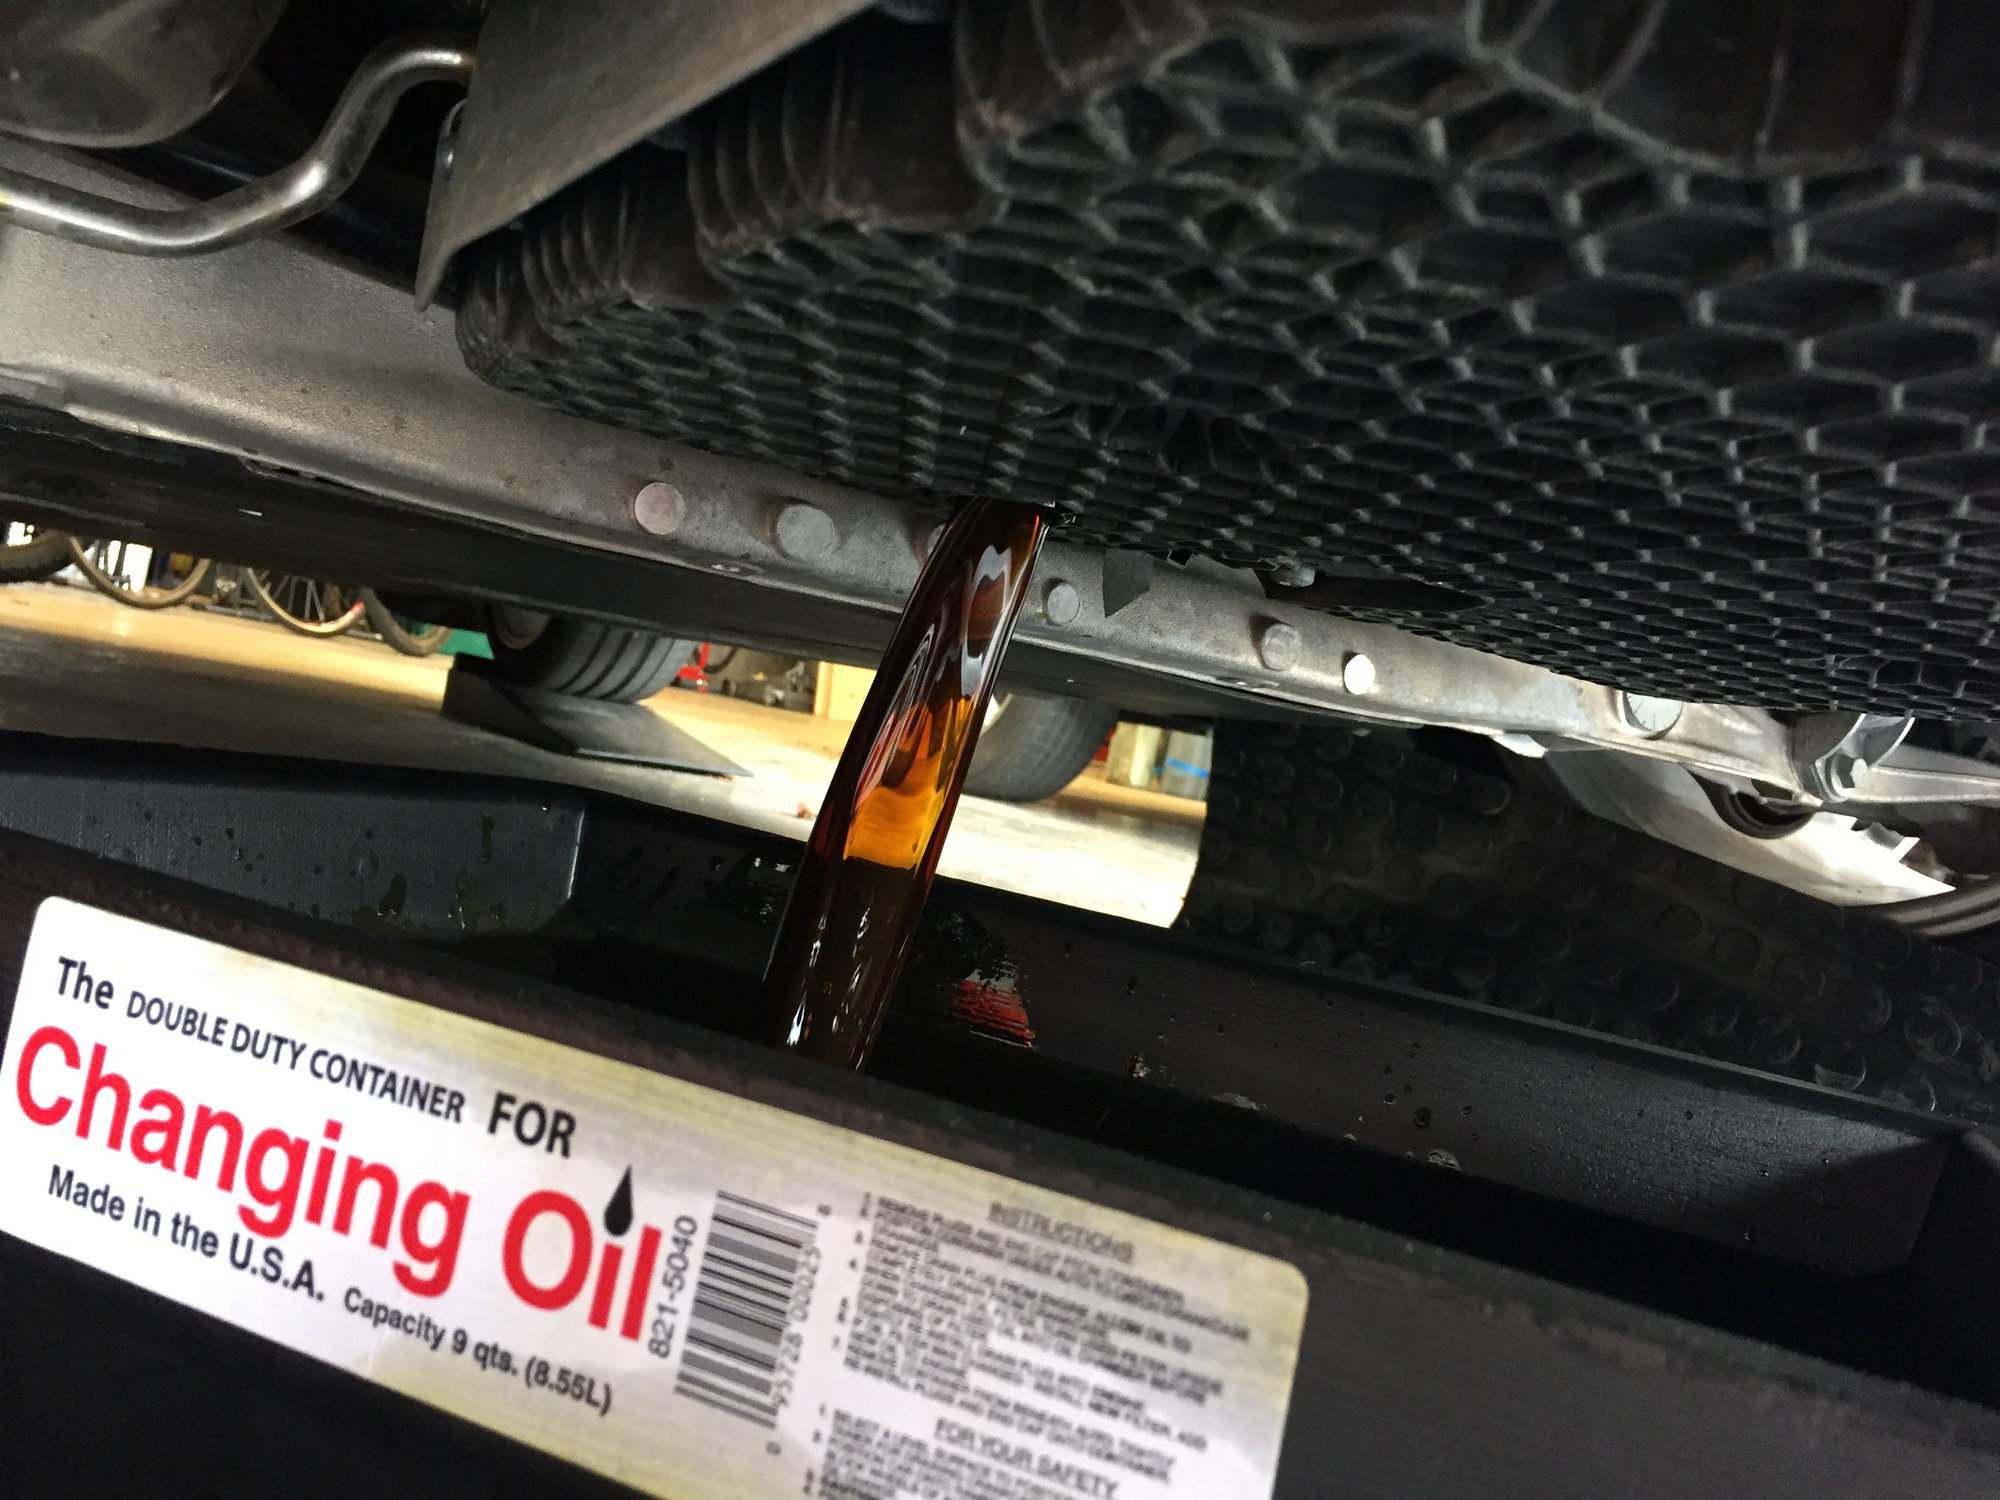
With the oil filler cap off, the draining is faster:
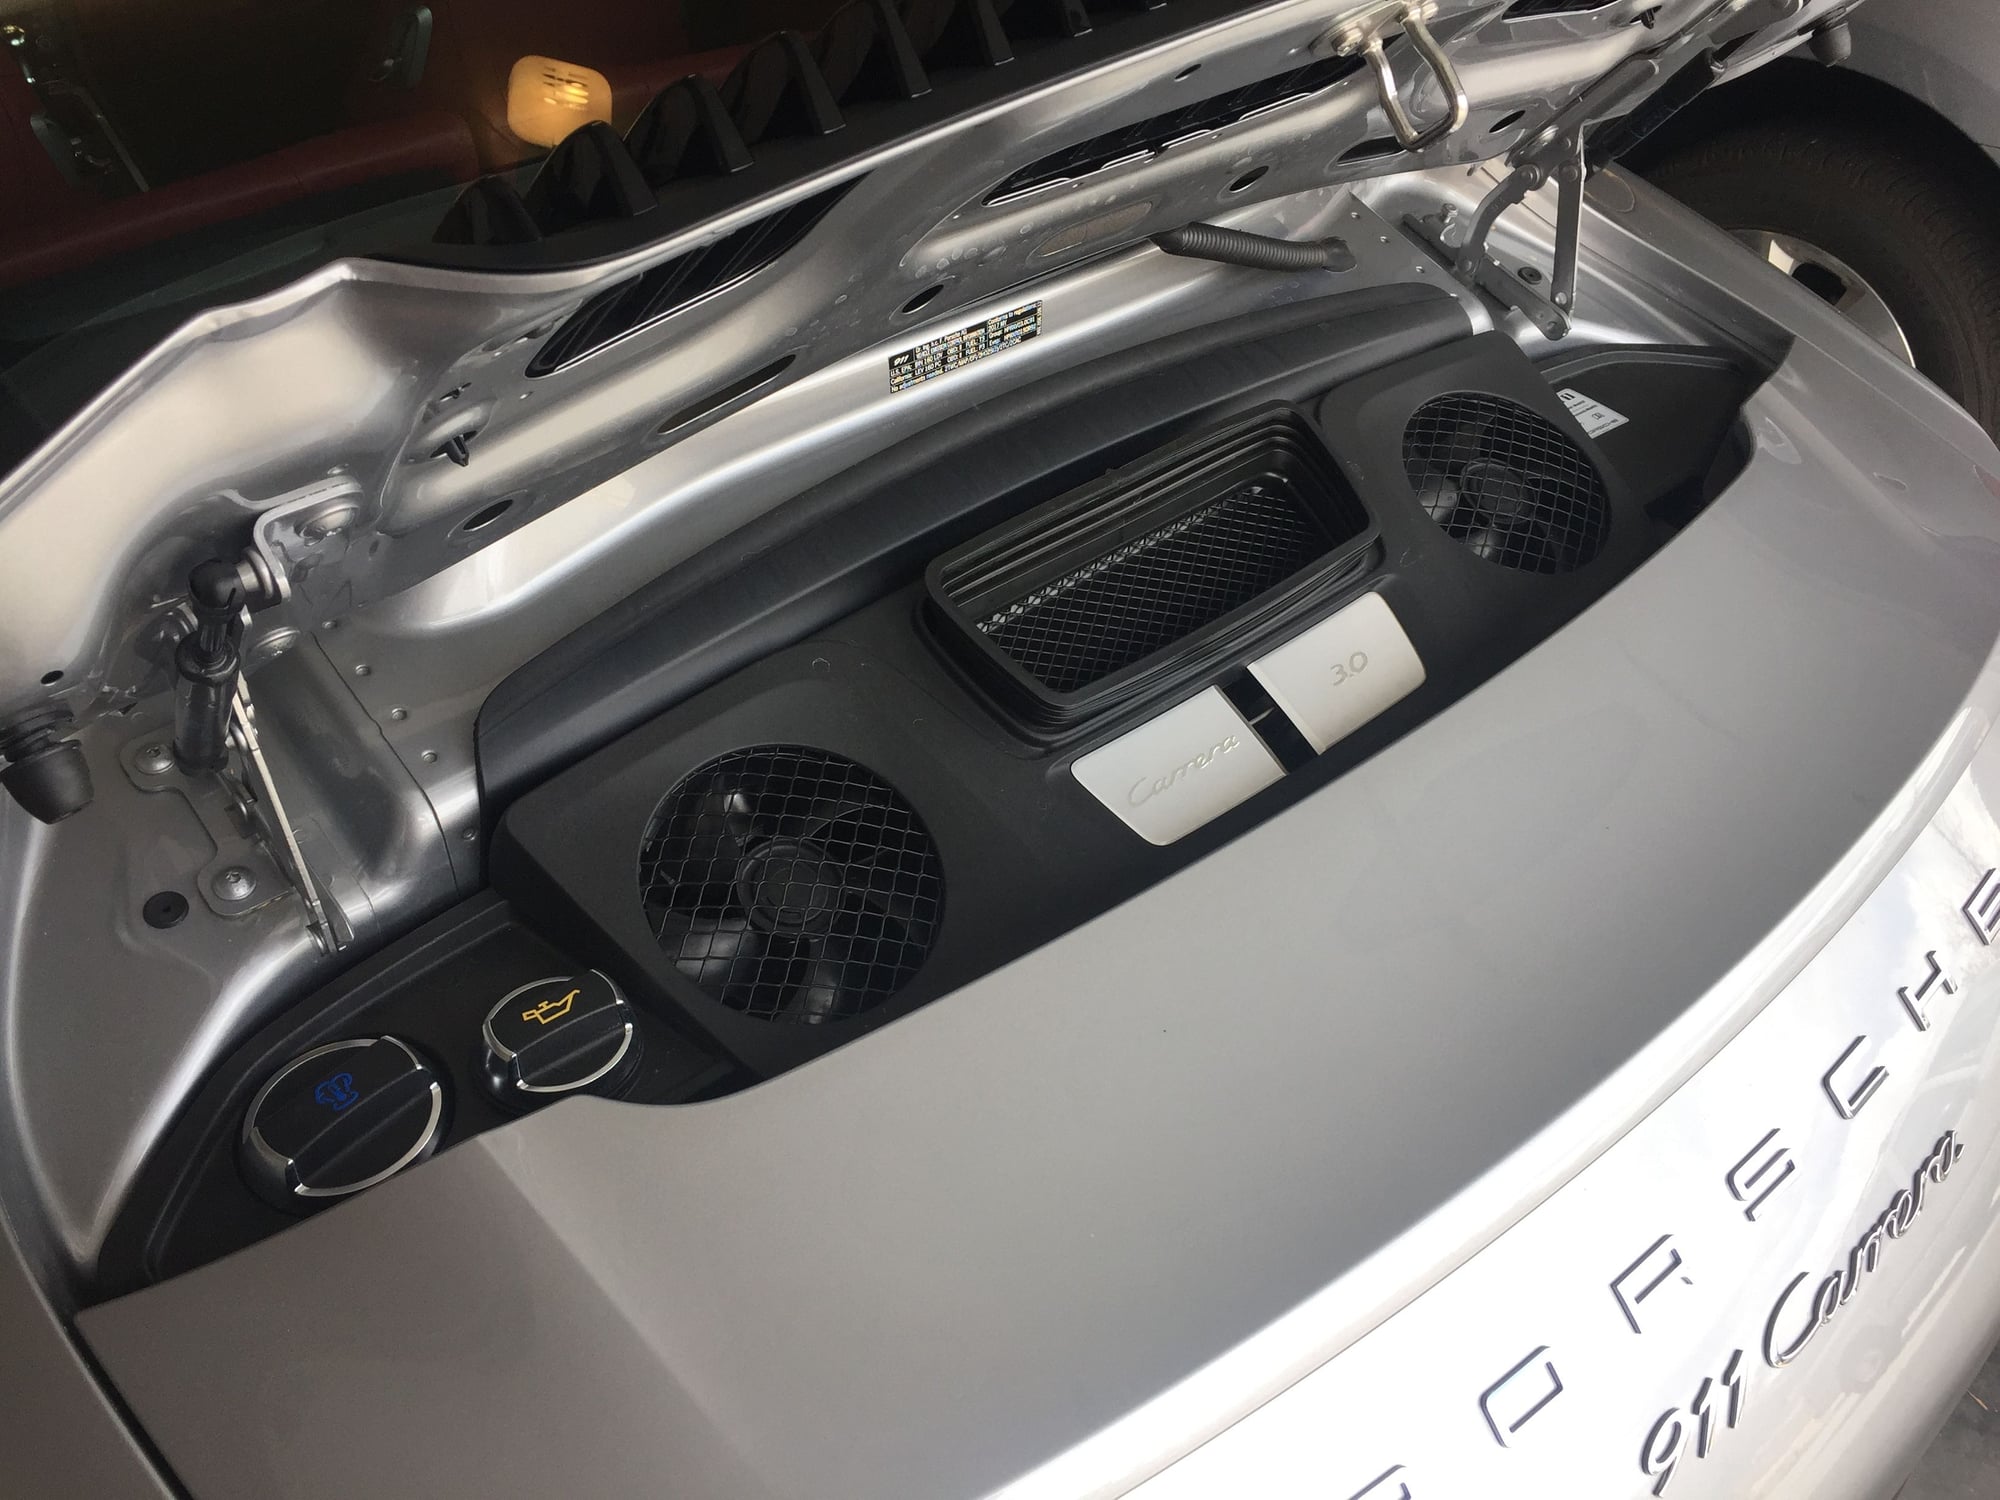
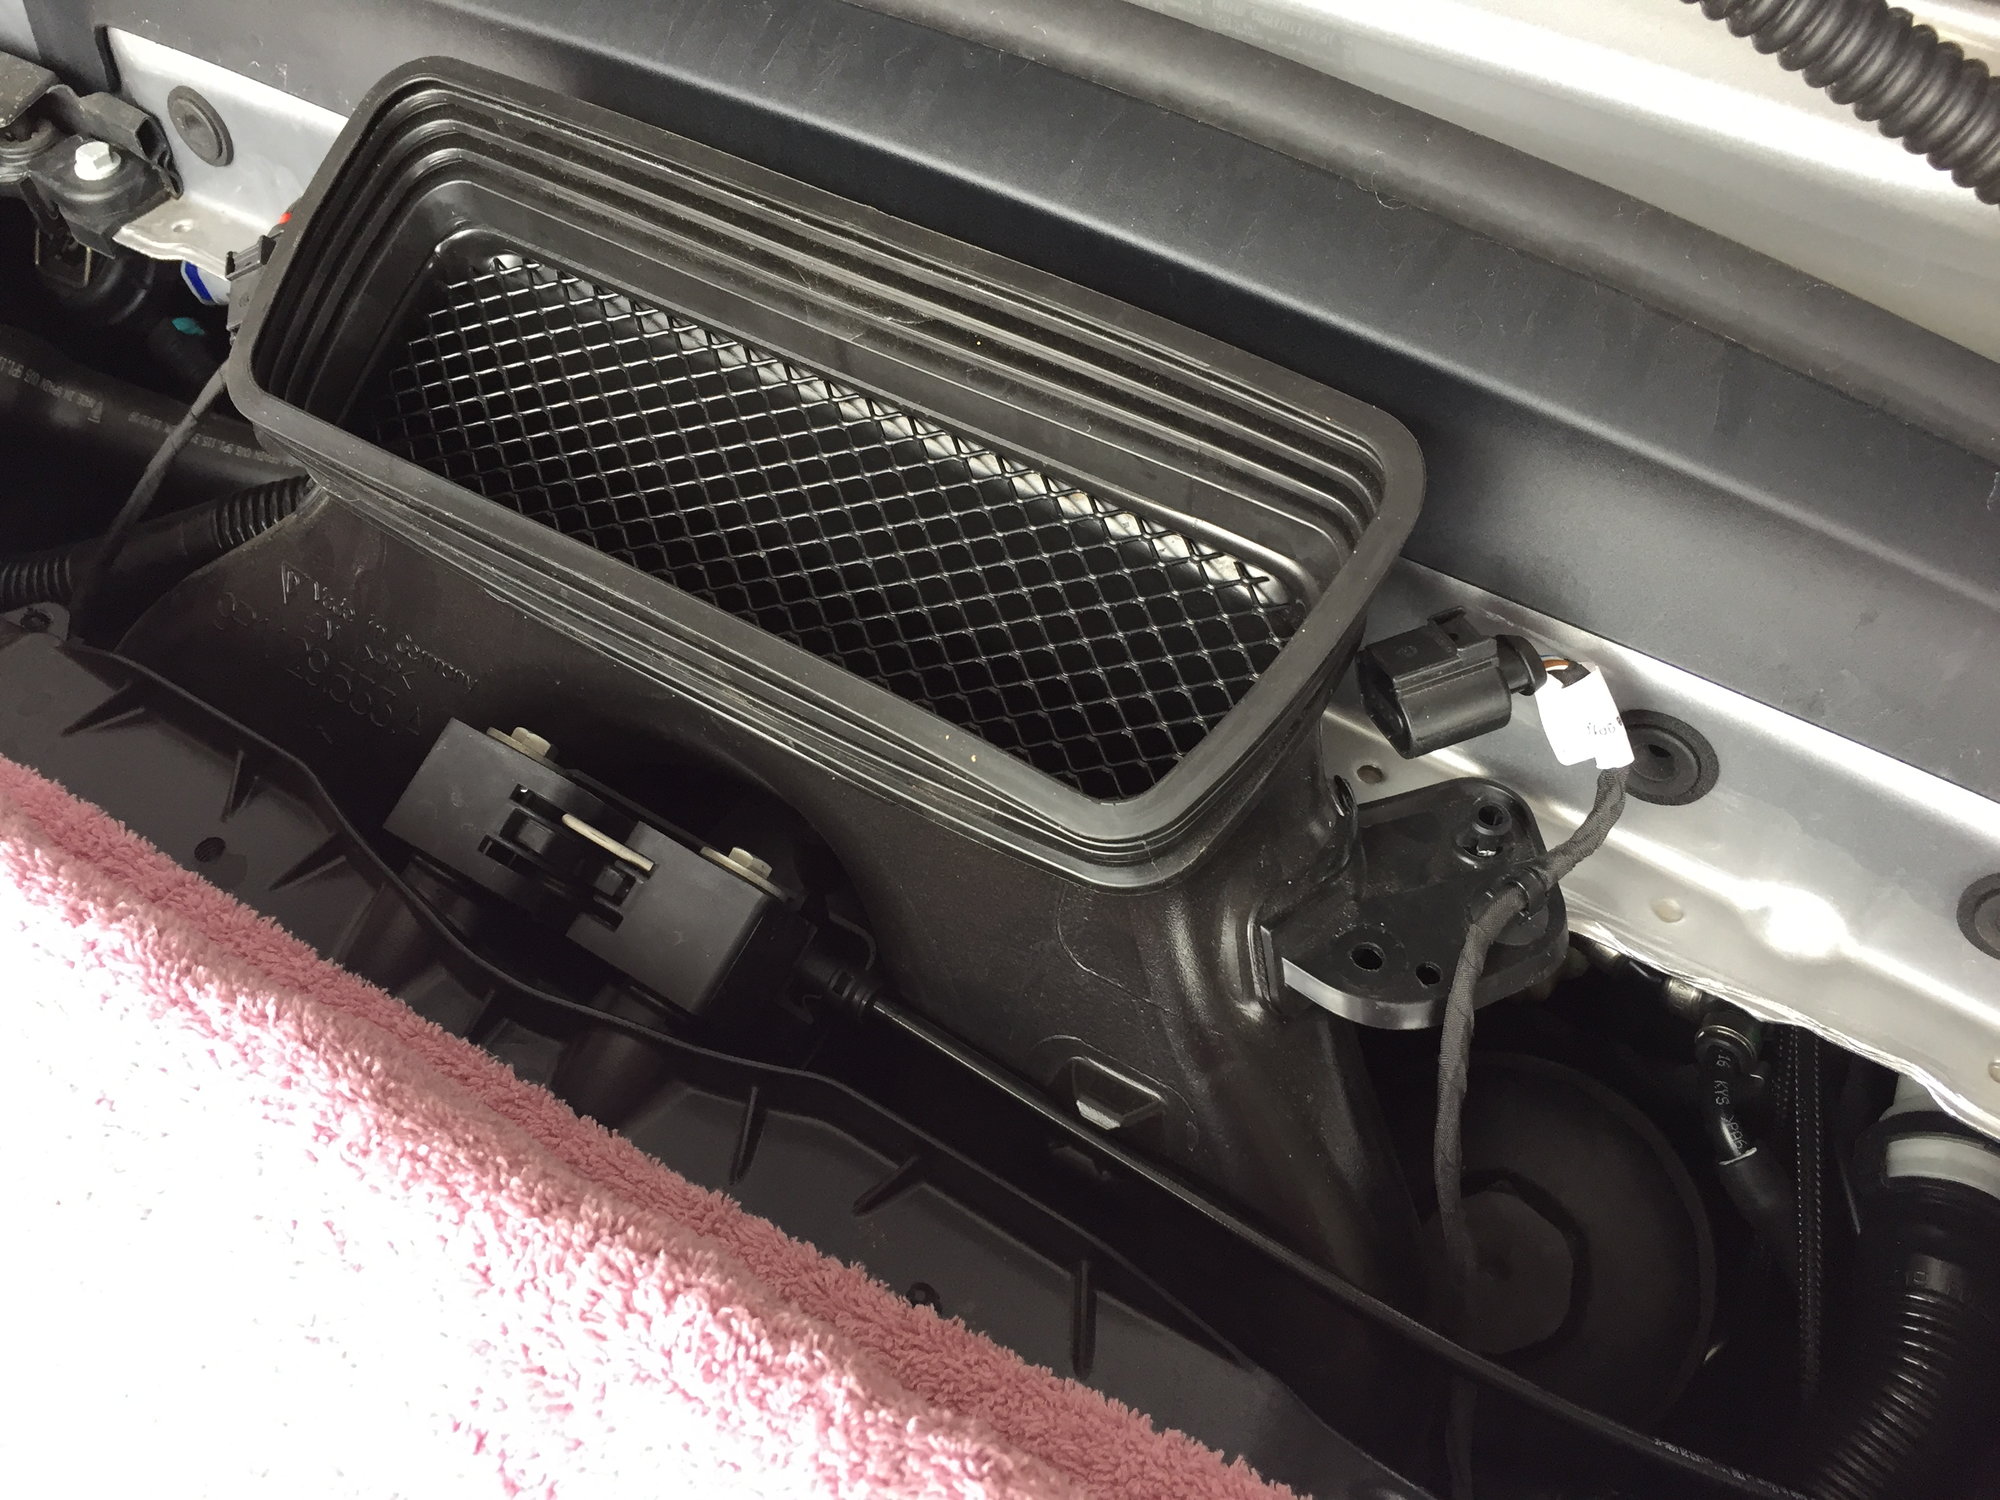
While the oil drains out, the work moves to on top. Lifting the engine lids reveals the minimal access we all love:
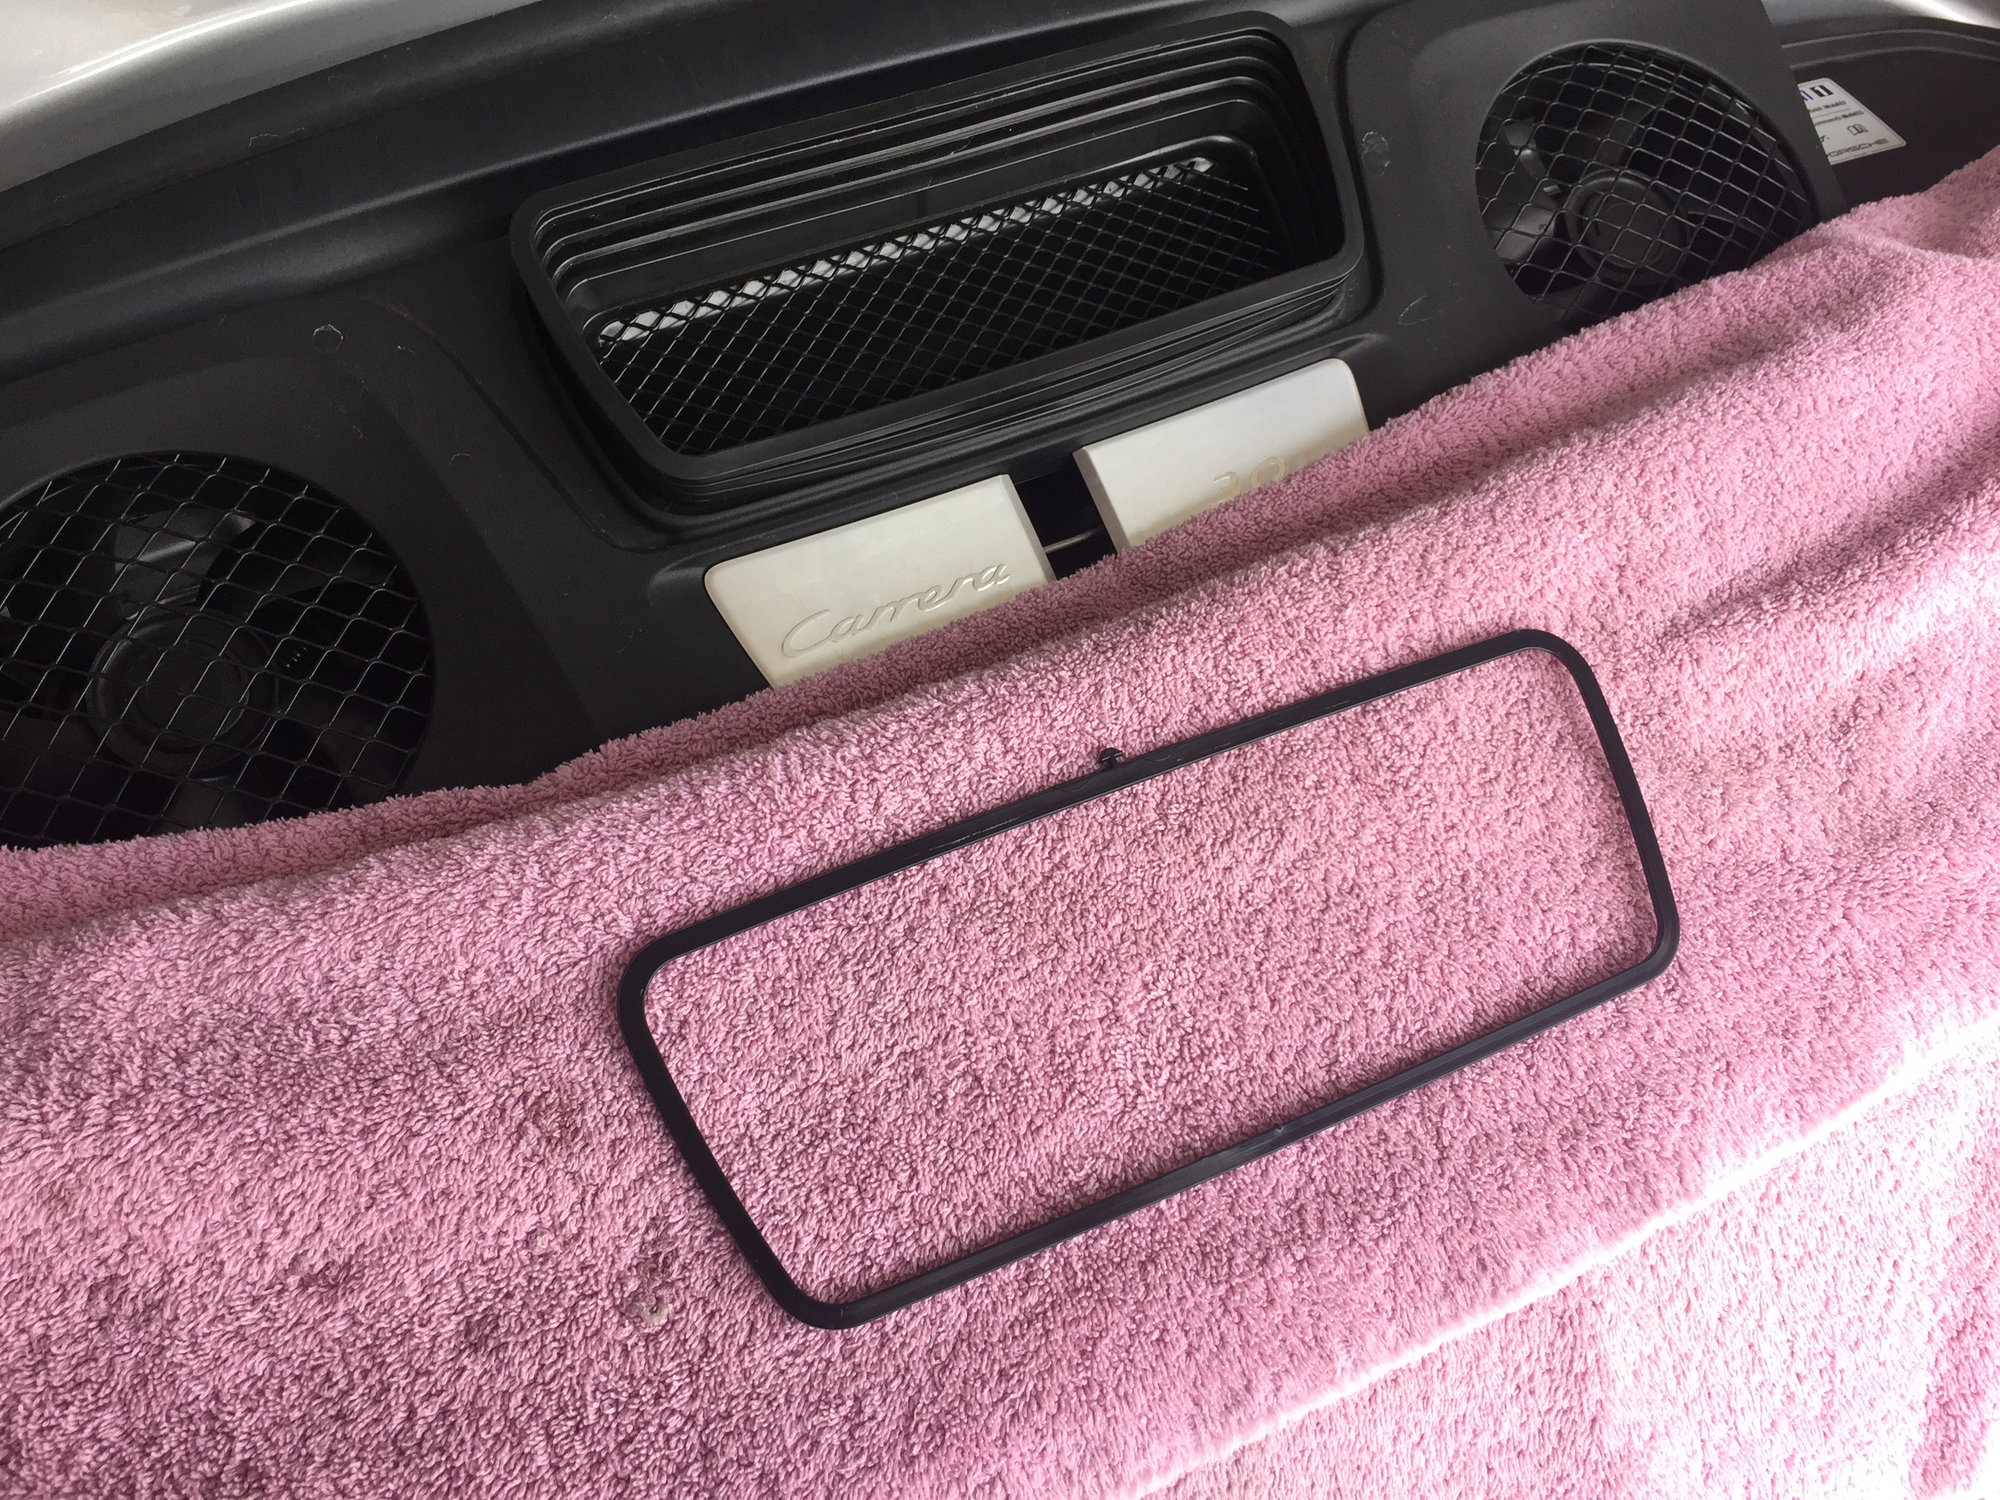
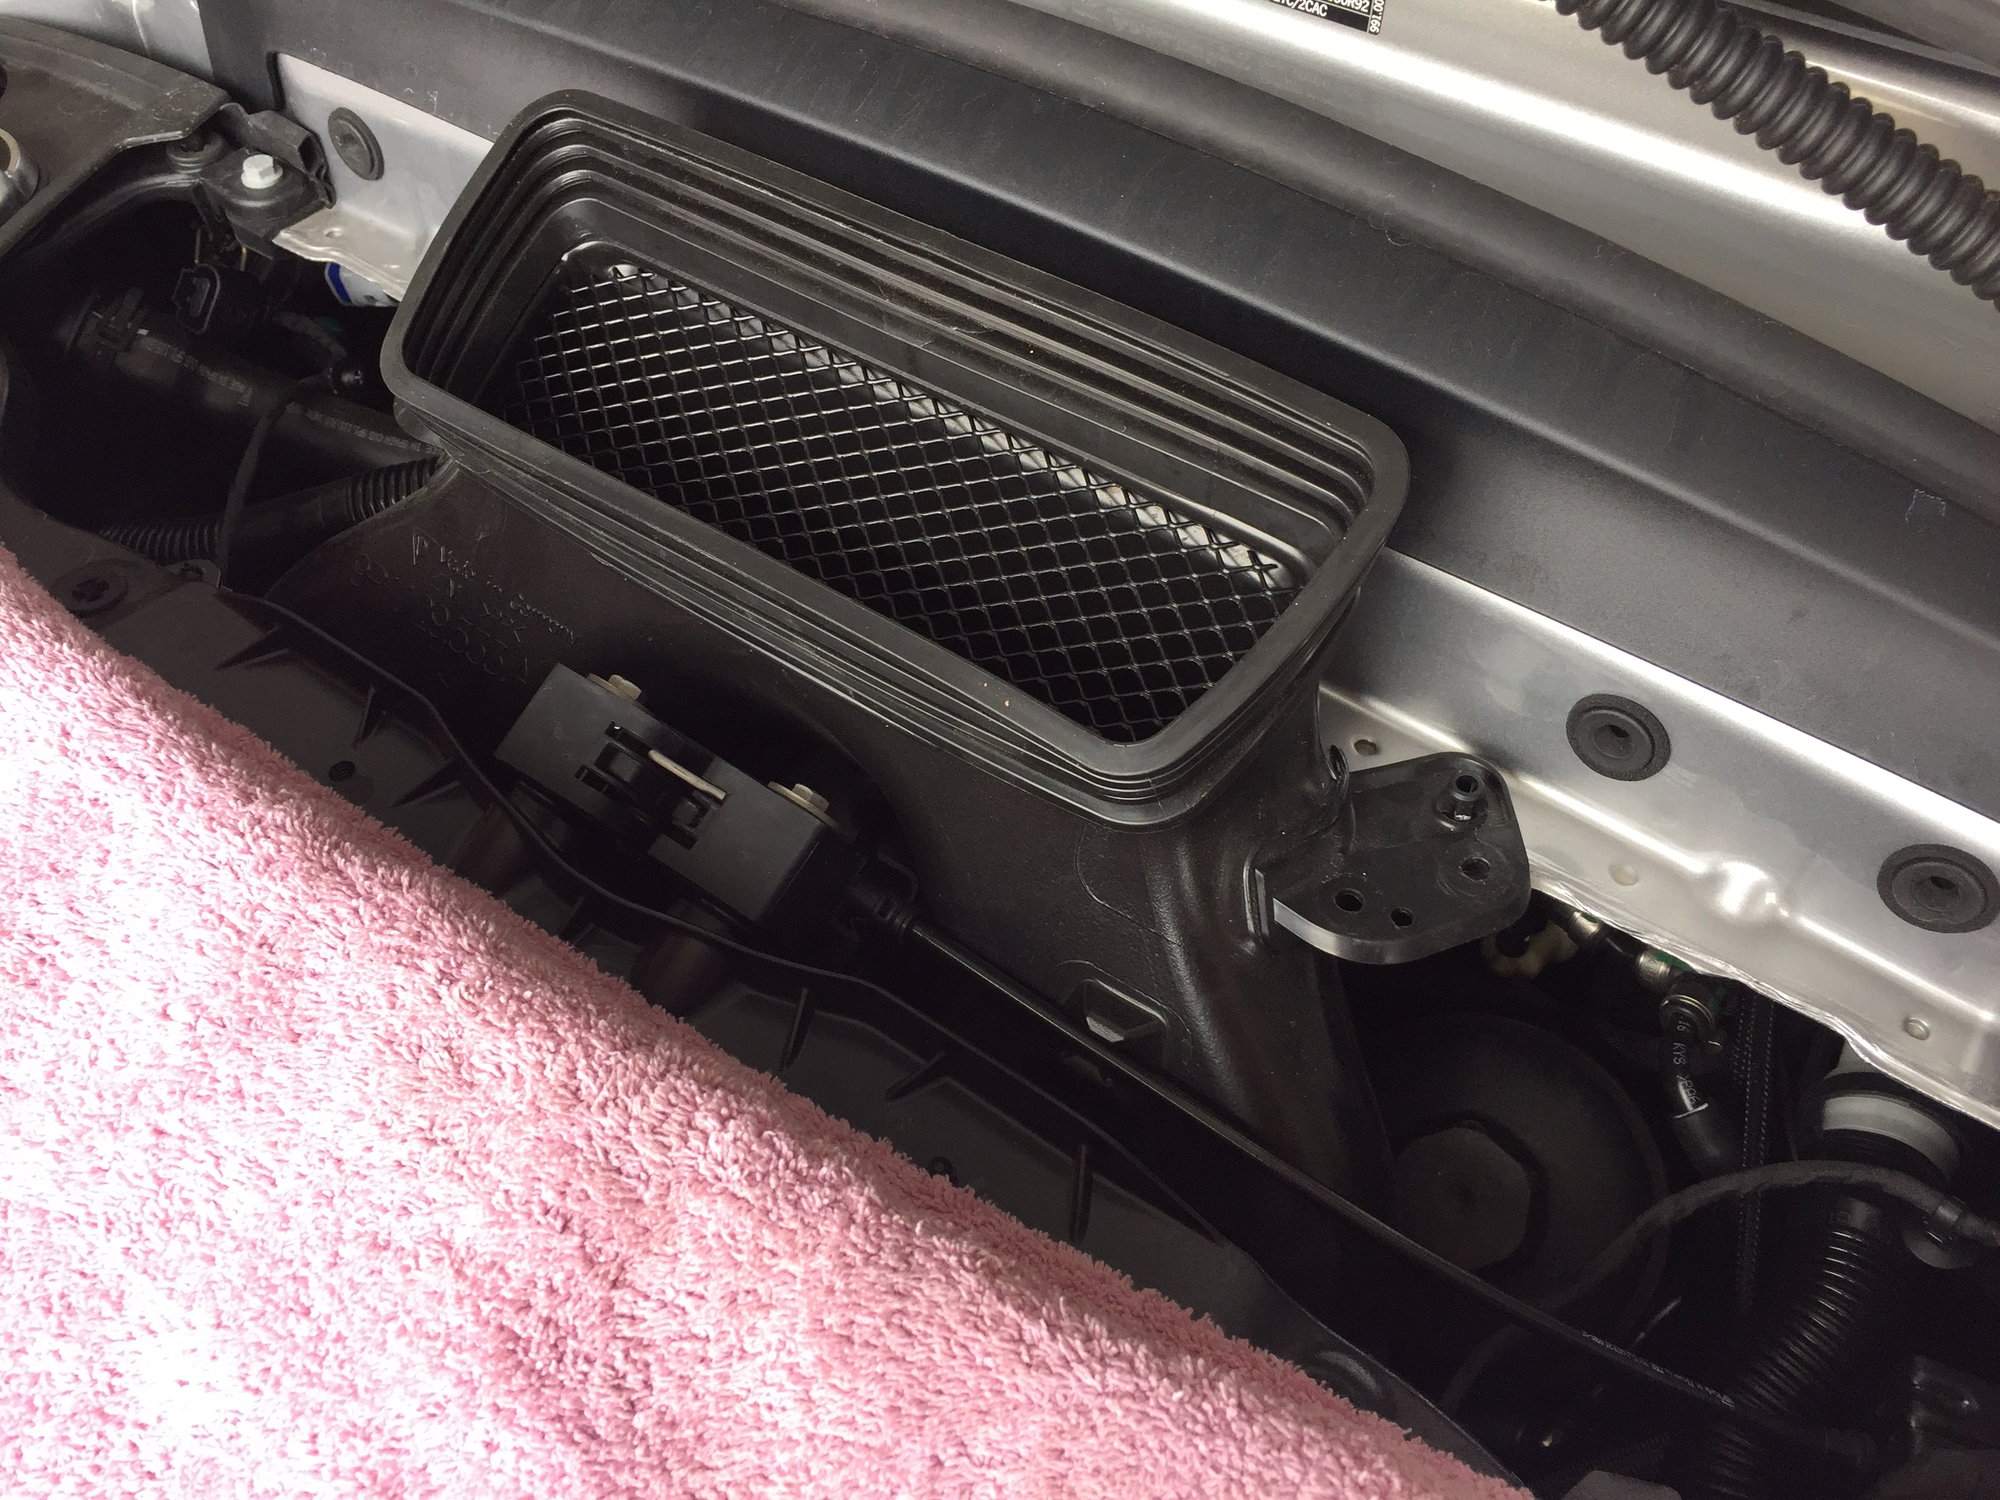
Step one is to remove the plastic rectangular ring that reinforces the inside of the rubber duct:
Next is the engine cover. Easy upward pull, starting on either end, and then guiding the rubber duct out of the hole:
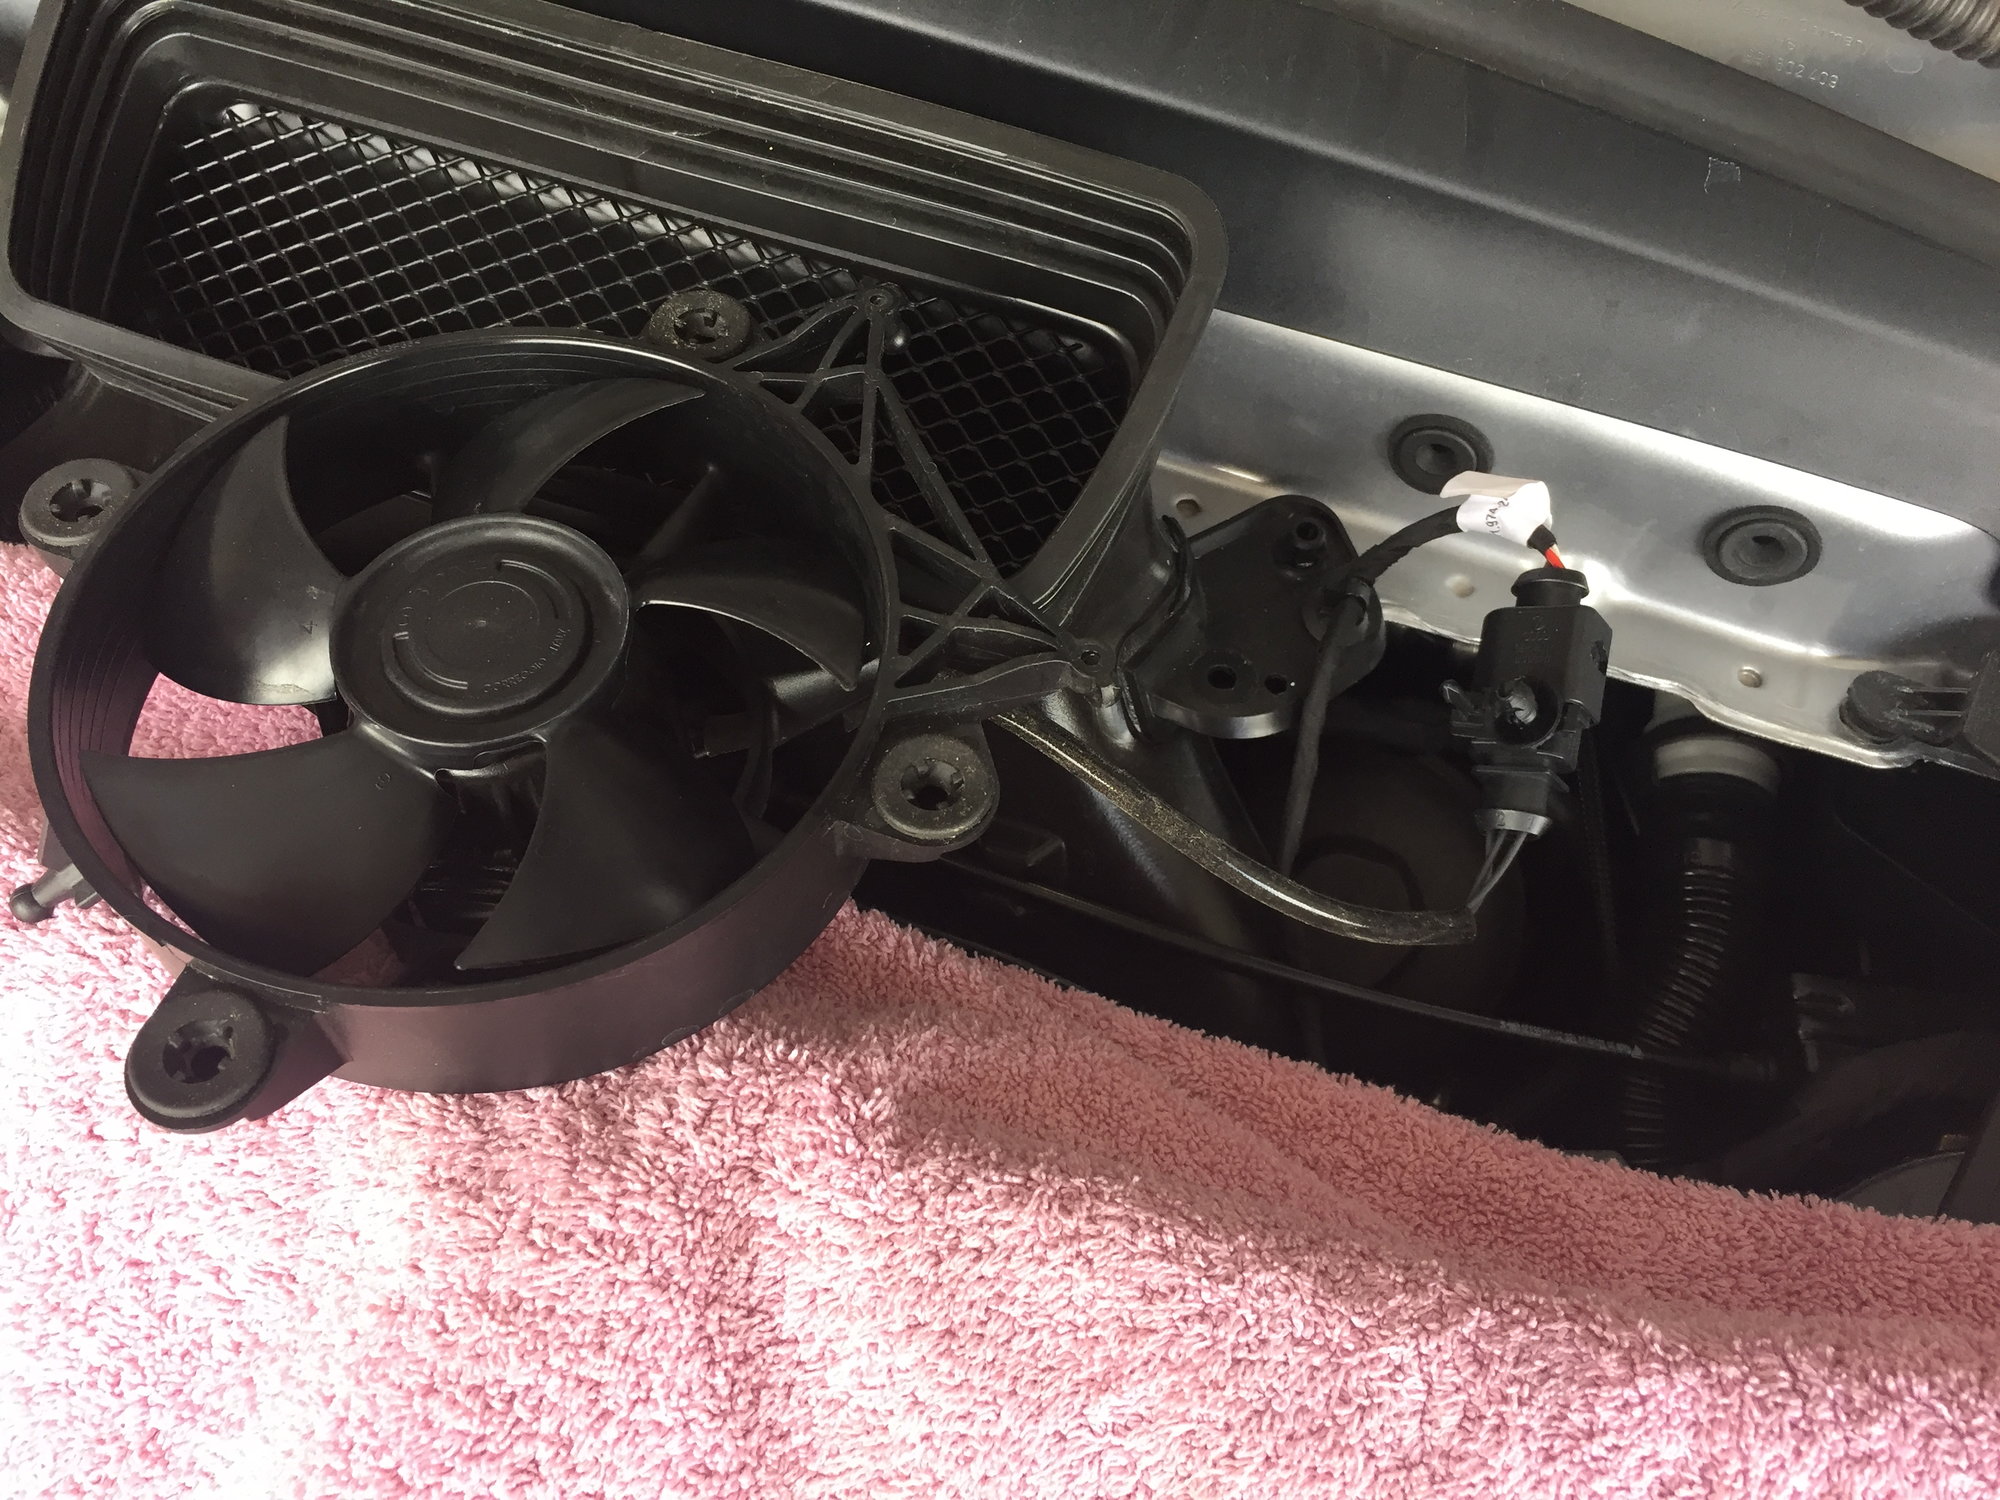
The cooling fans come out by pulling up to release the rear side, and then pulling towards the rear to release the leading prong:
The fan cable connector pops out of the bracket on the duct, and then easily disconnects:
The remaining part of the cable can also be detached from the bracket on the duct, with a handy trim tool:
The fan on the left side is exactly the same. With both fans out, and cables detached, the duct is almost ready to come out:
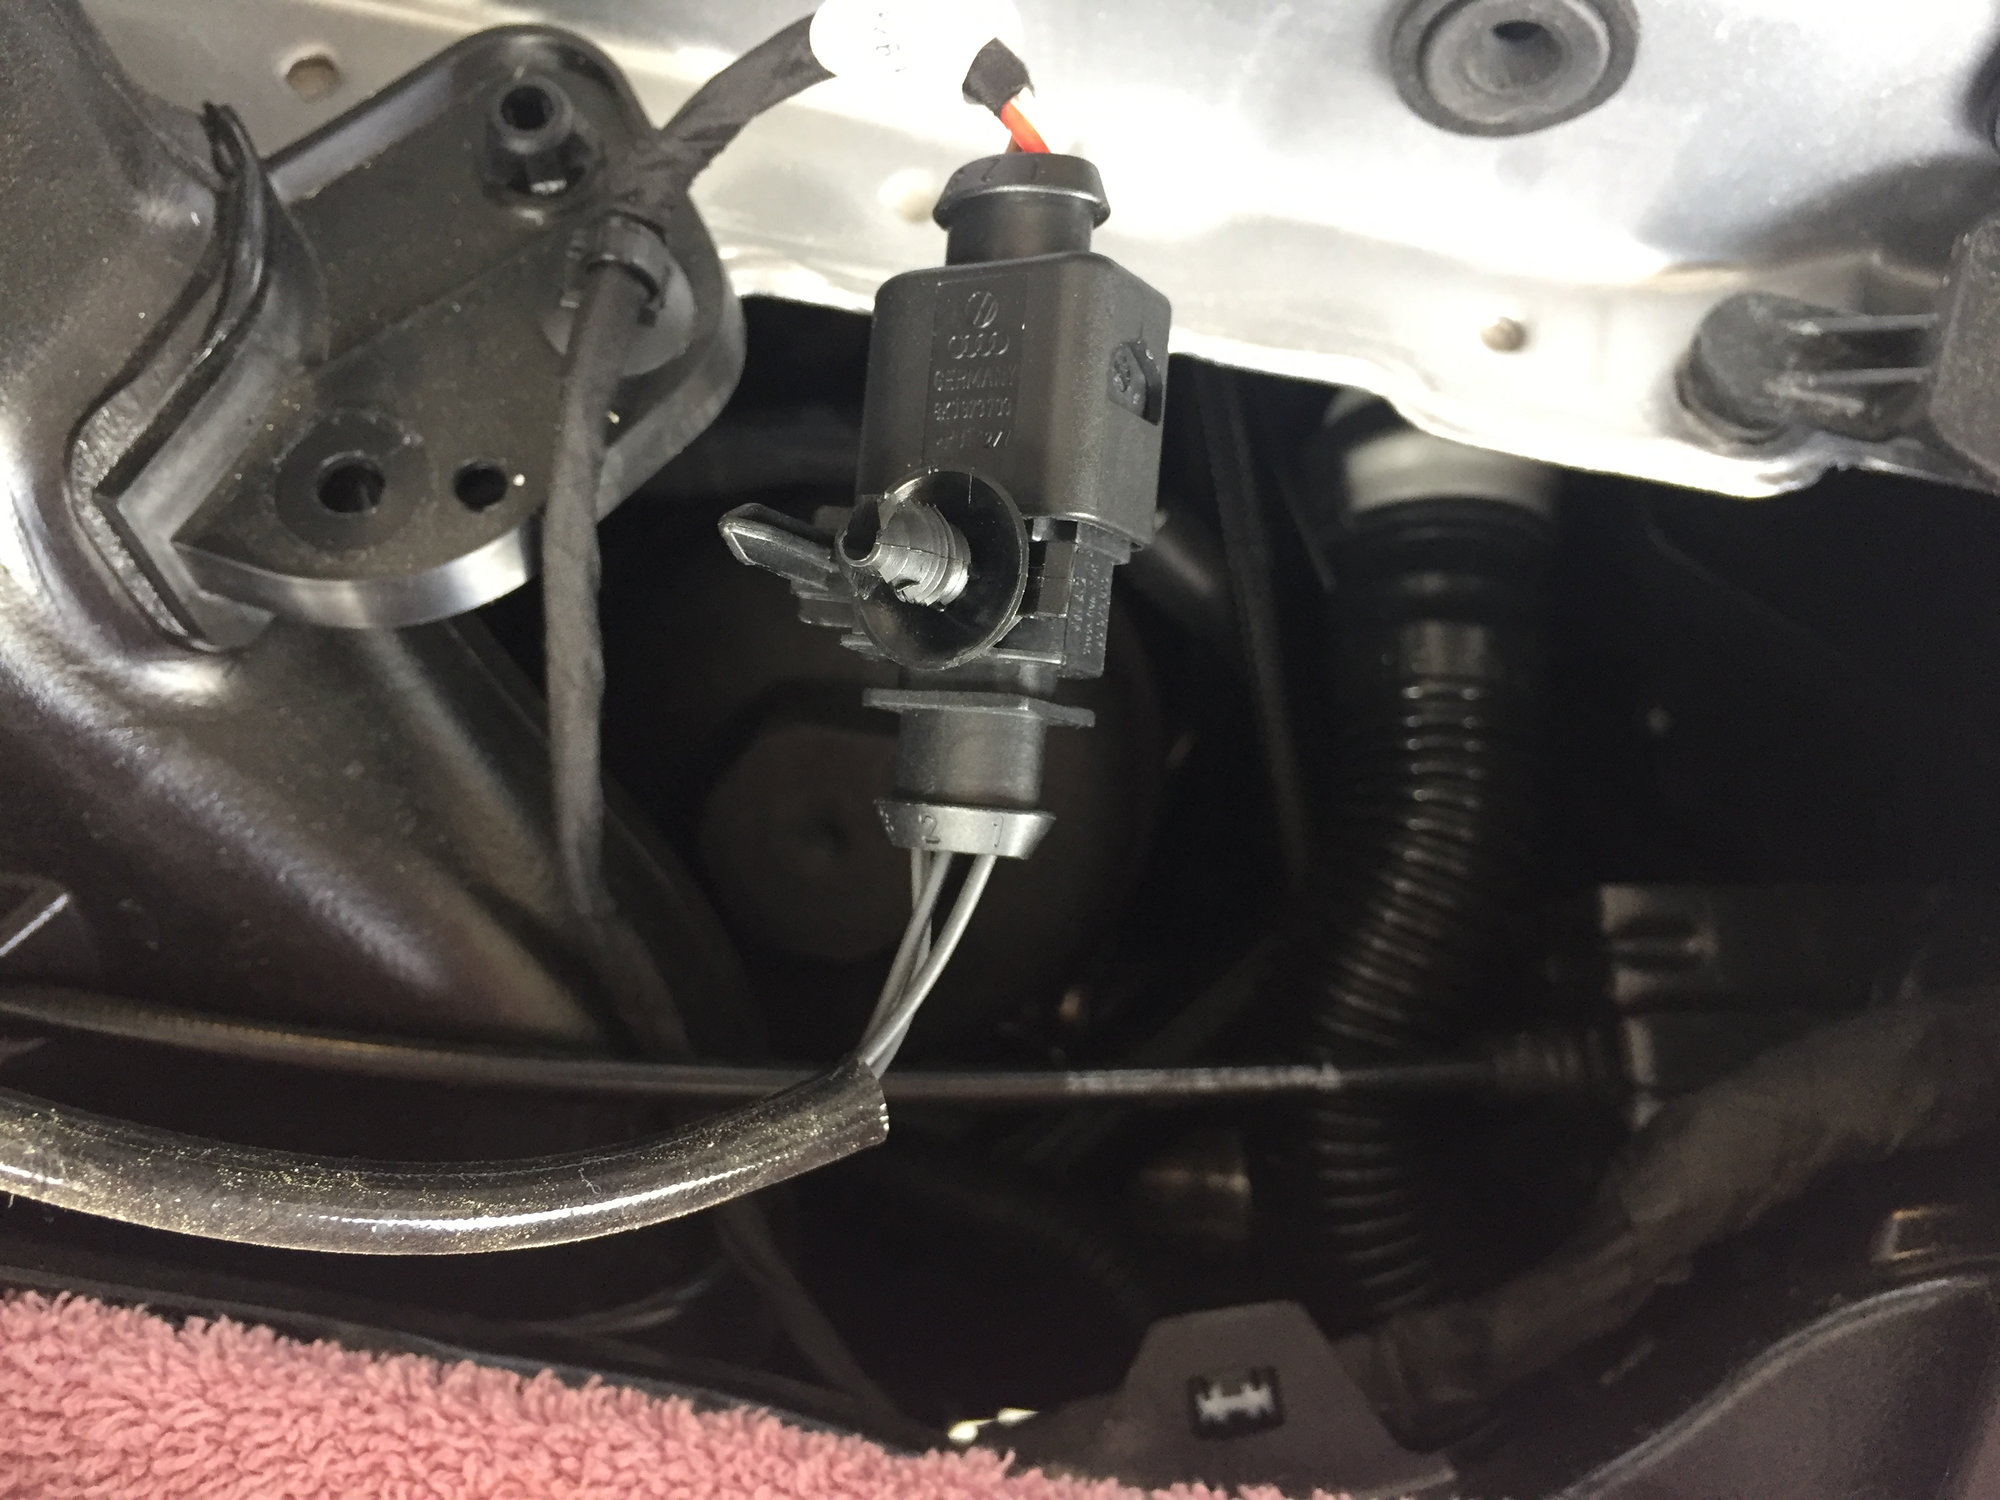
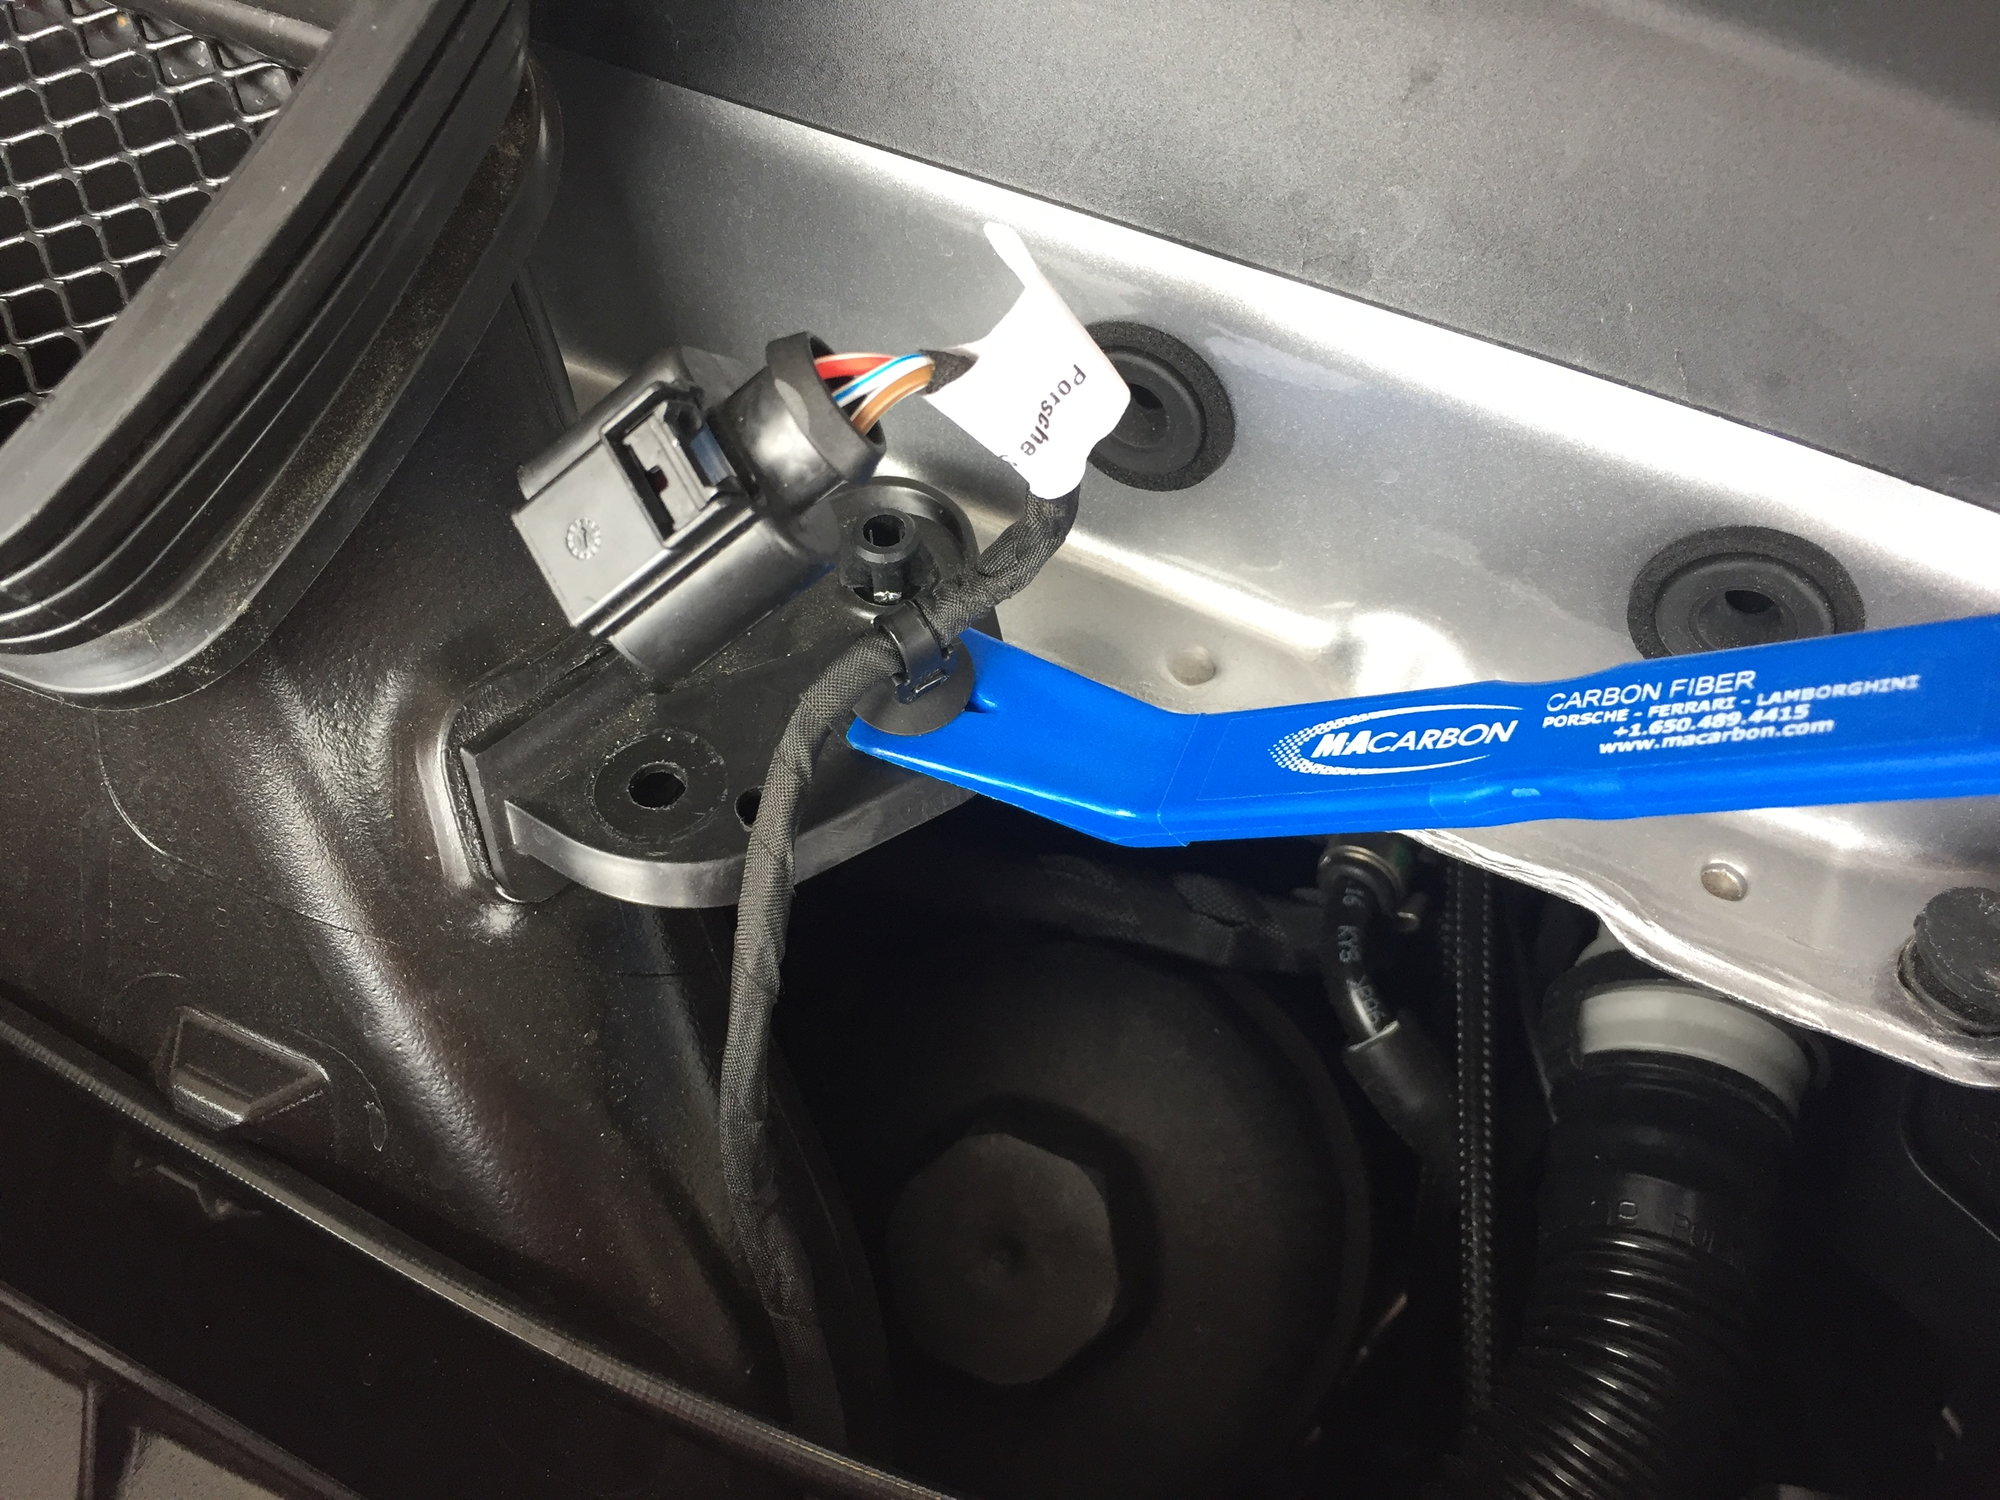
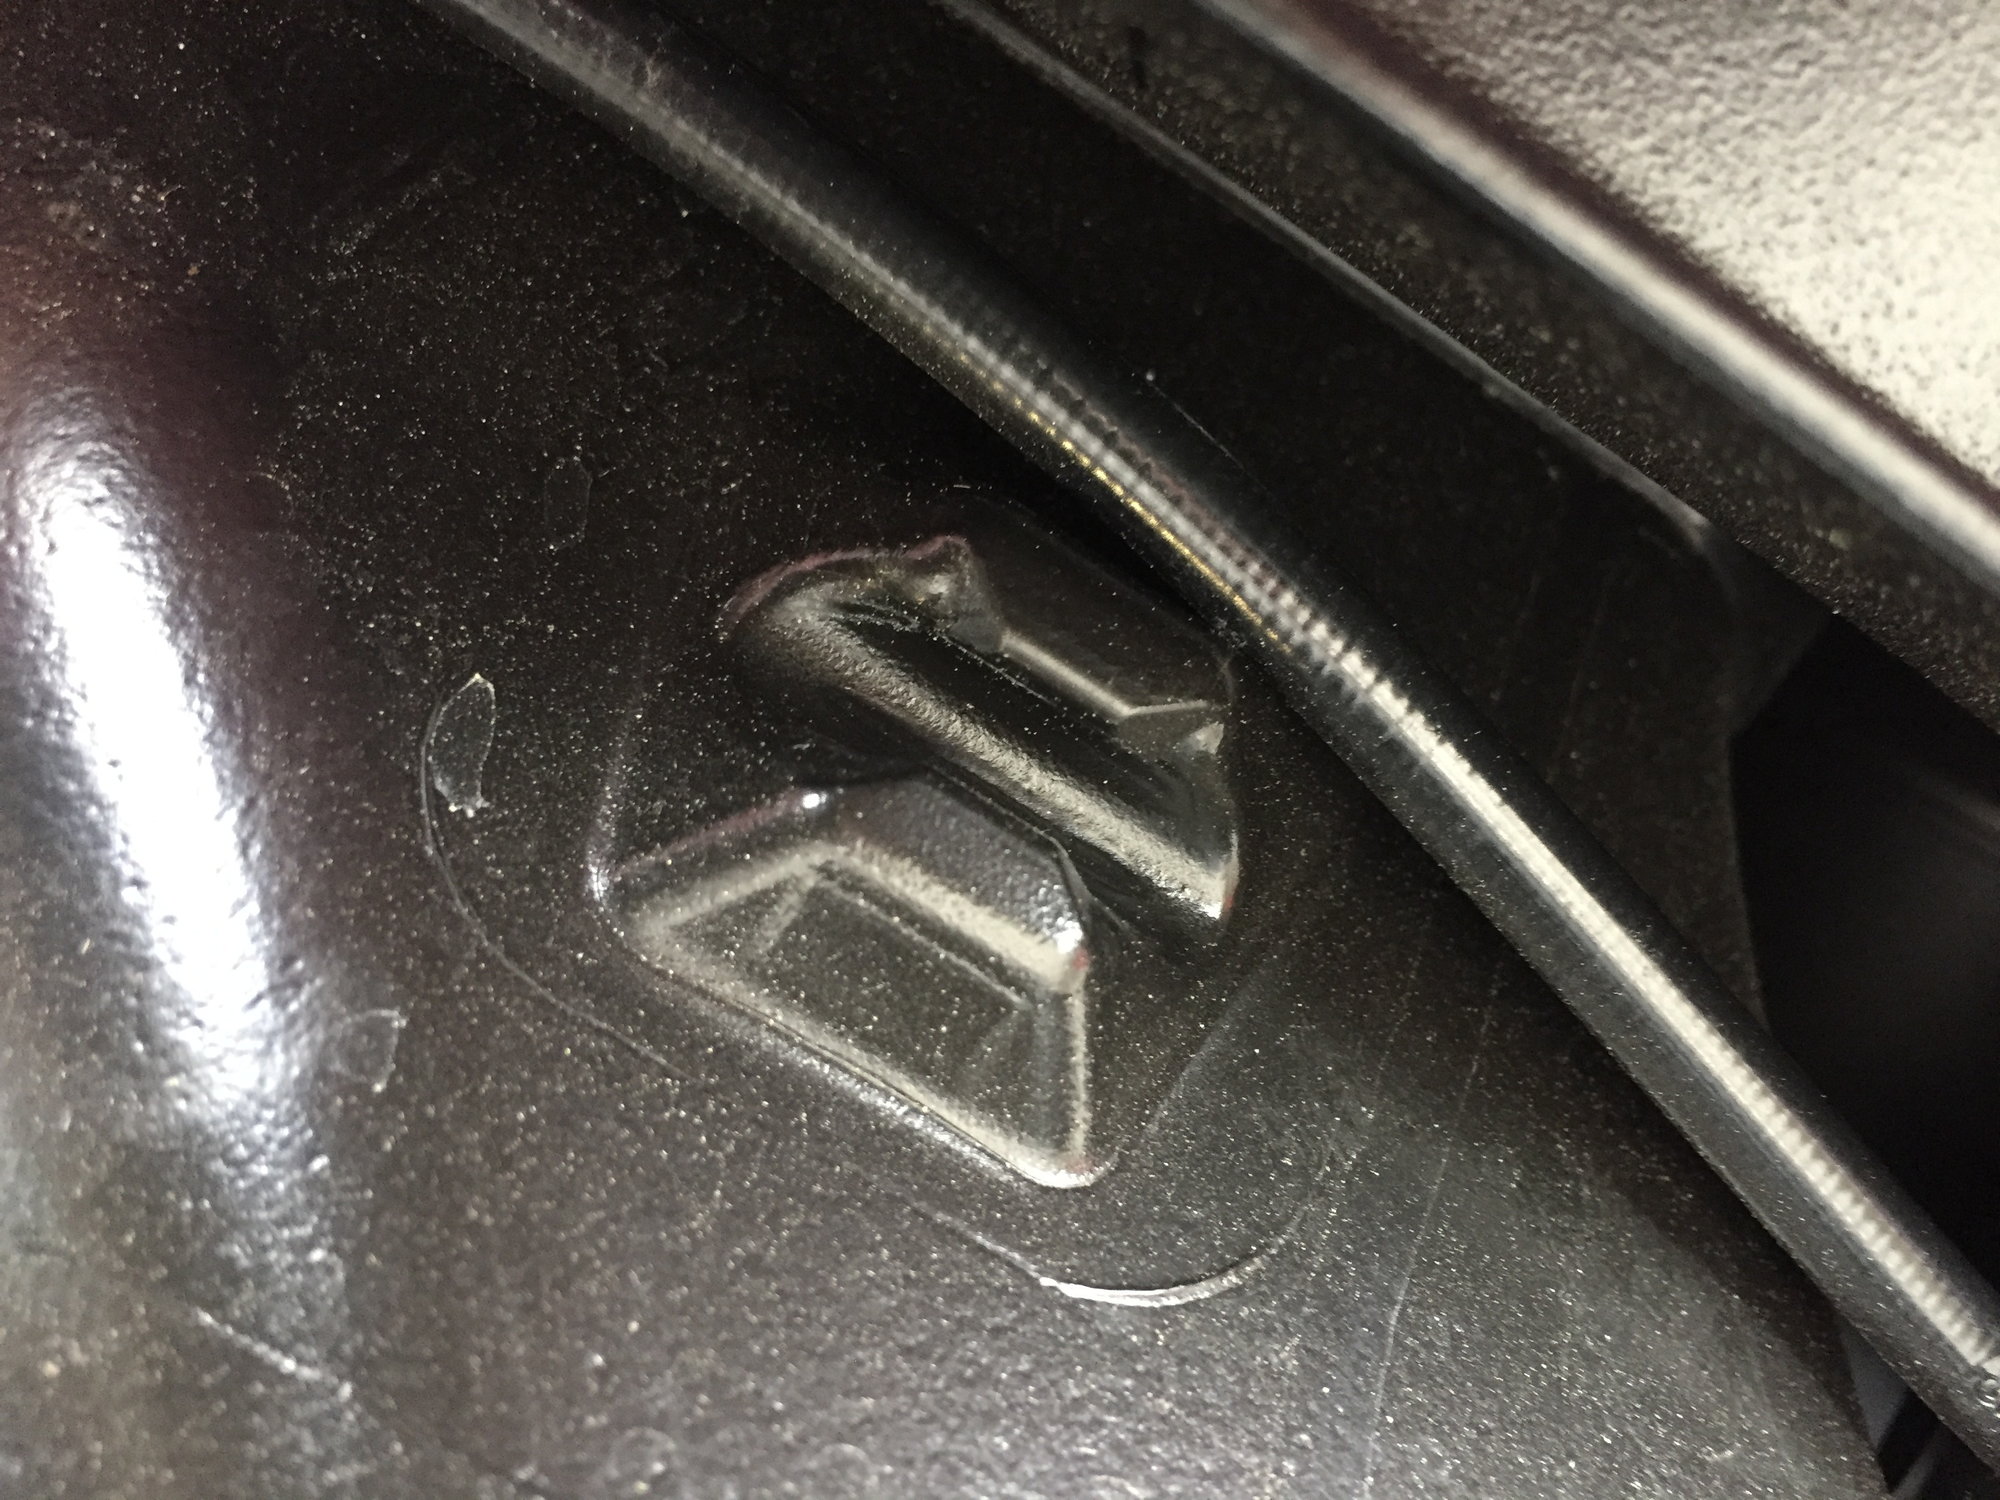
The last part to detach is the engine lid release cable, that pops out of a small indentation:
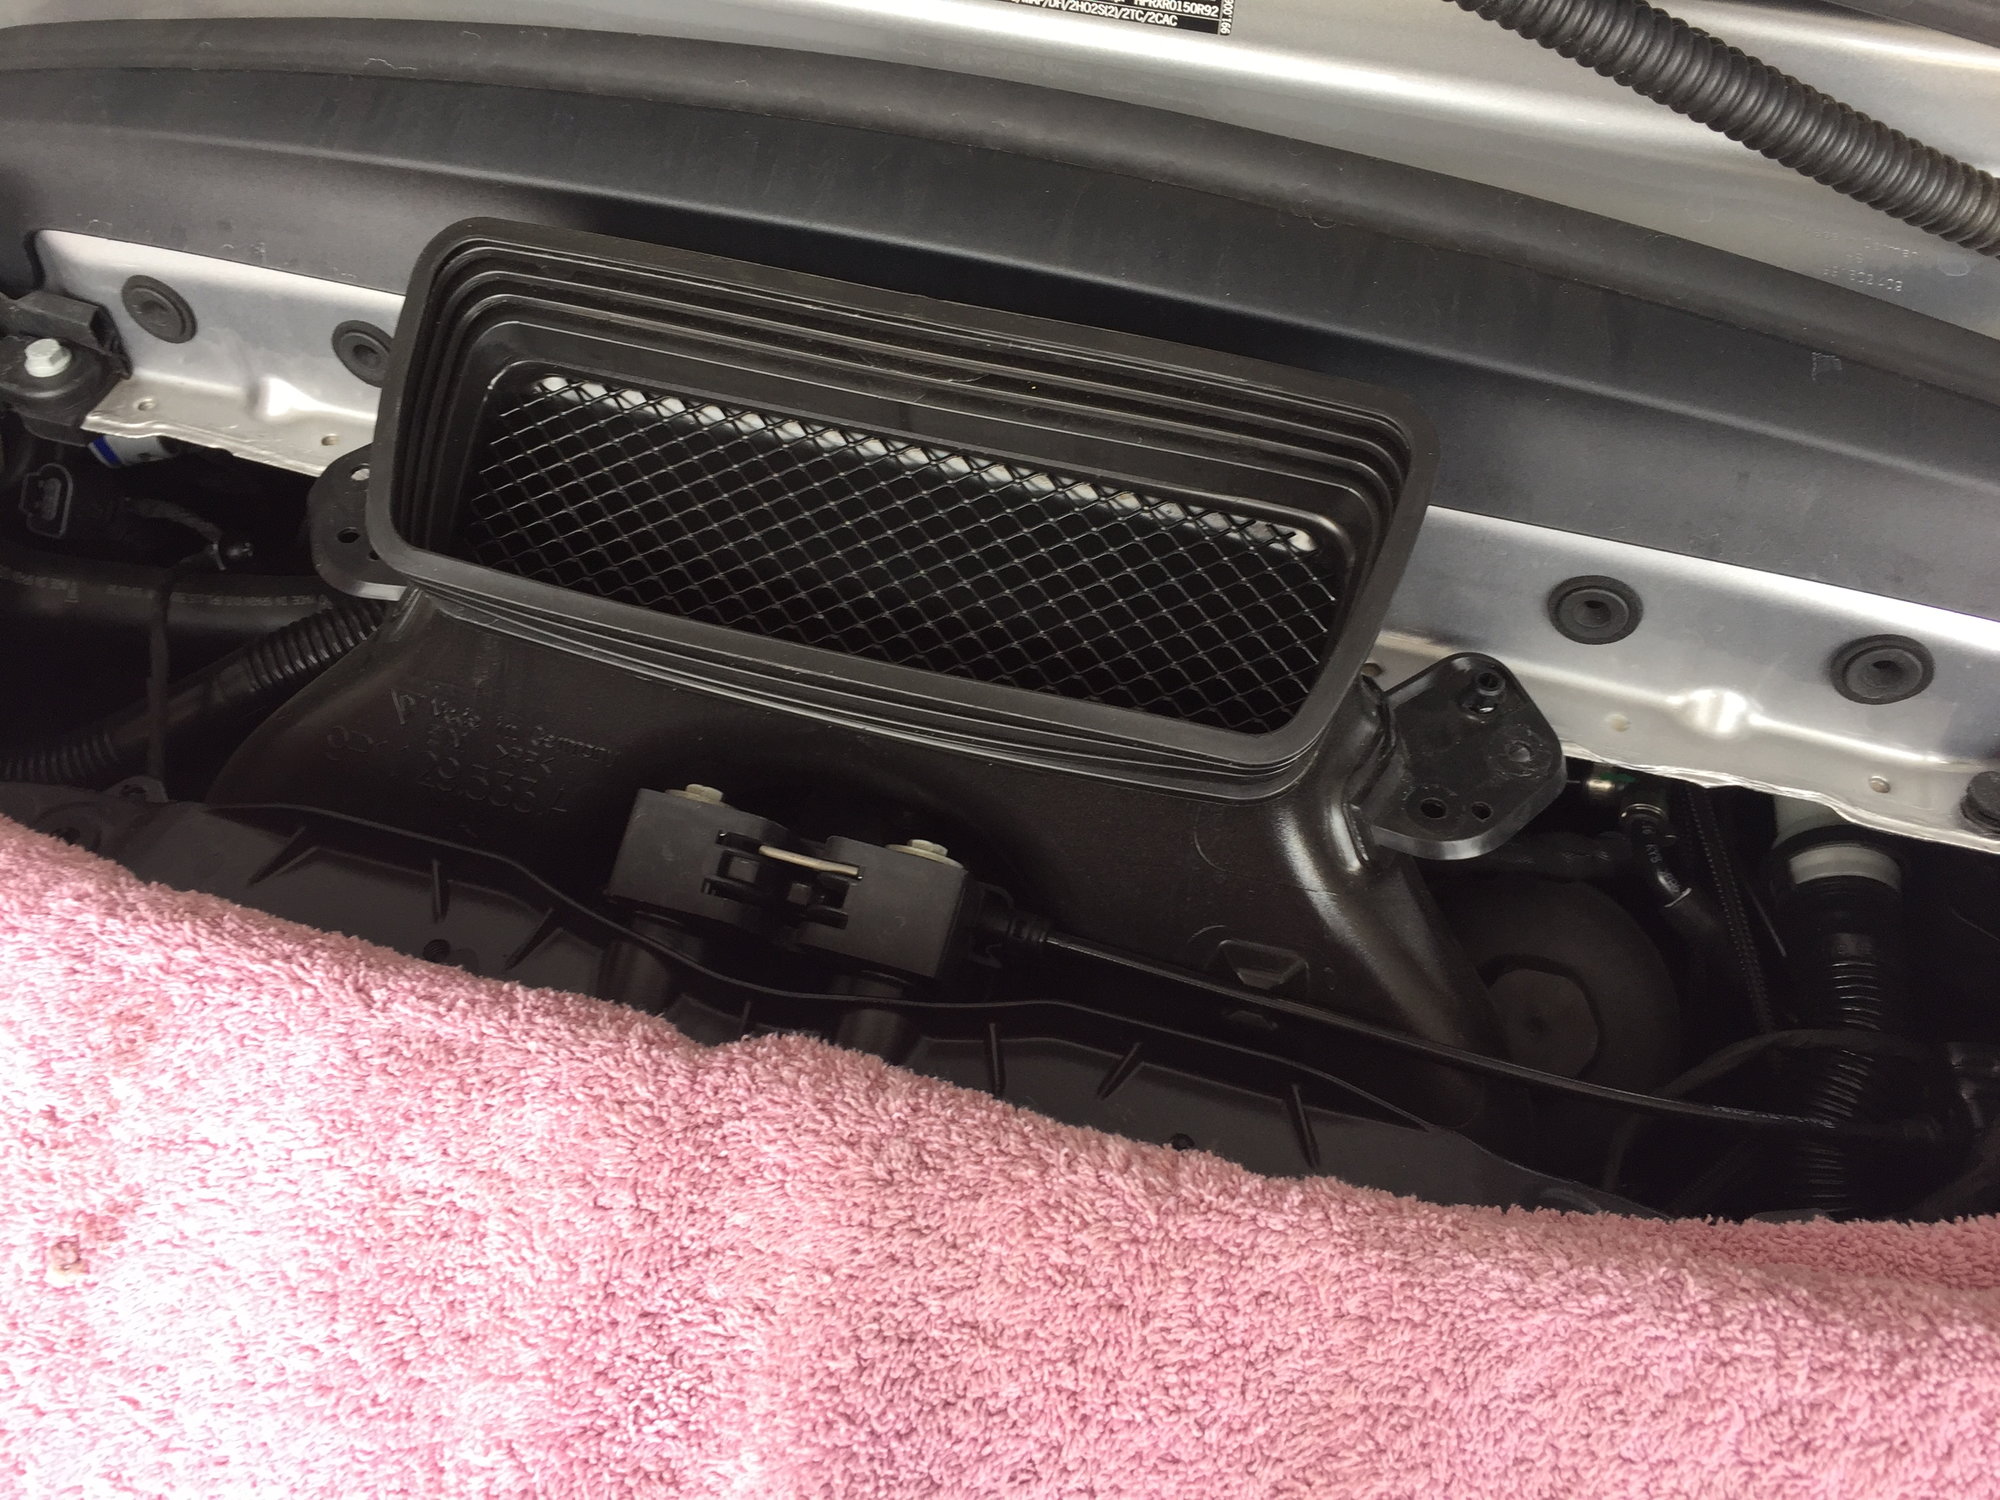
Now the intake duct slides out with little interference:
With the duct removed, we can confirm that Porsche did actuall install an engine:
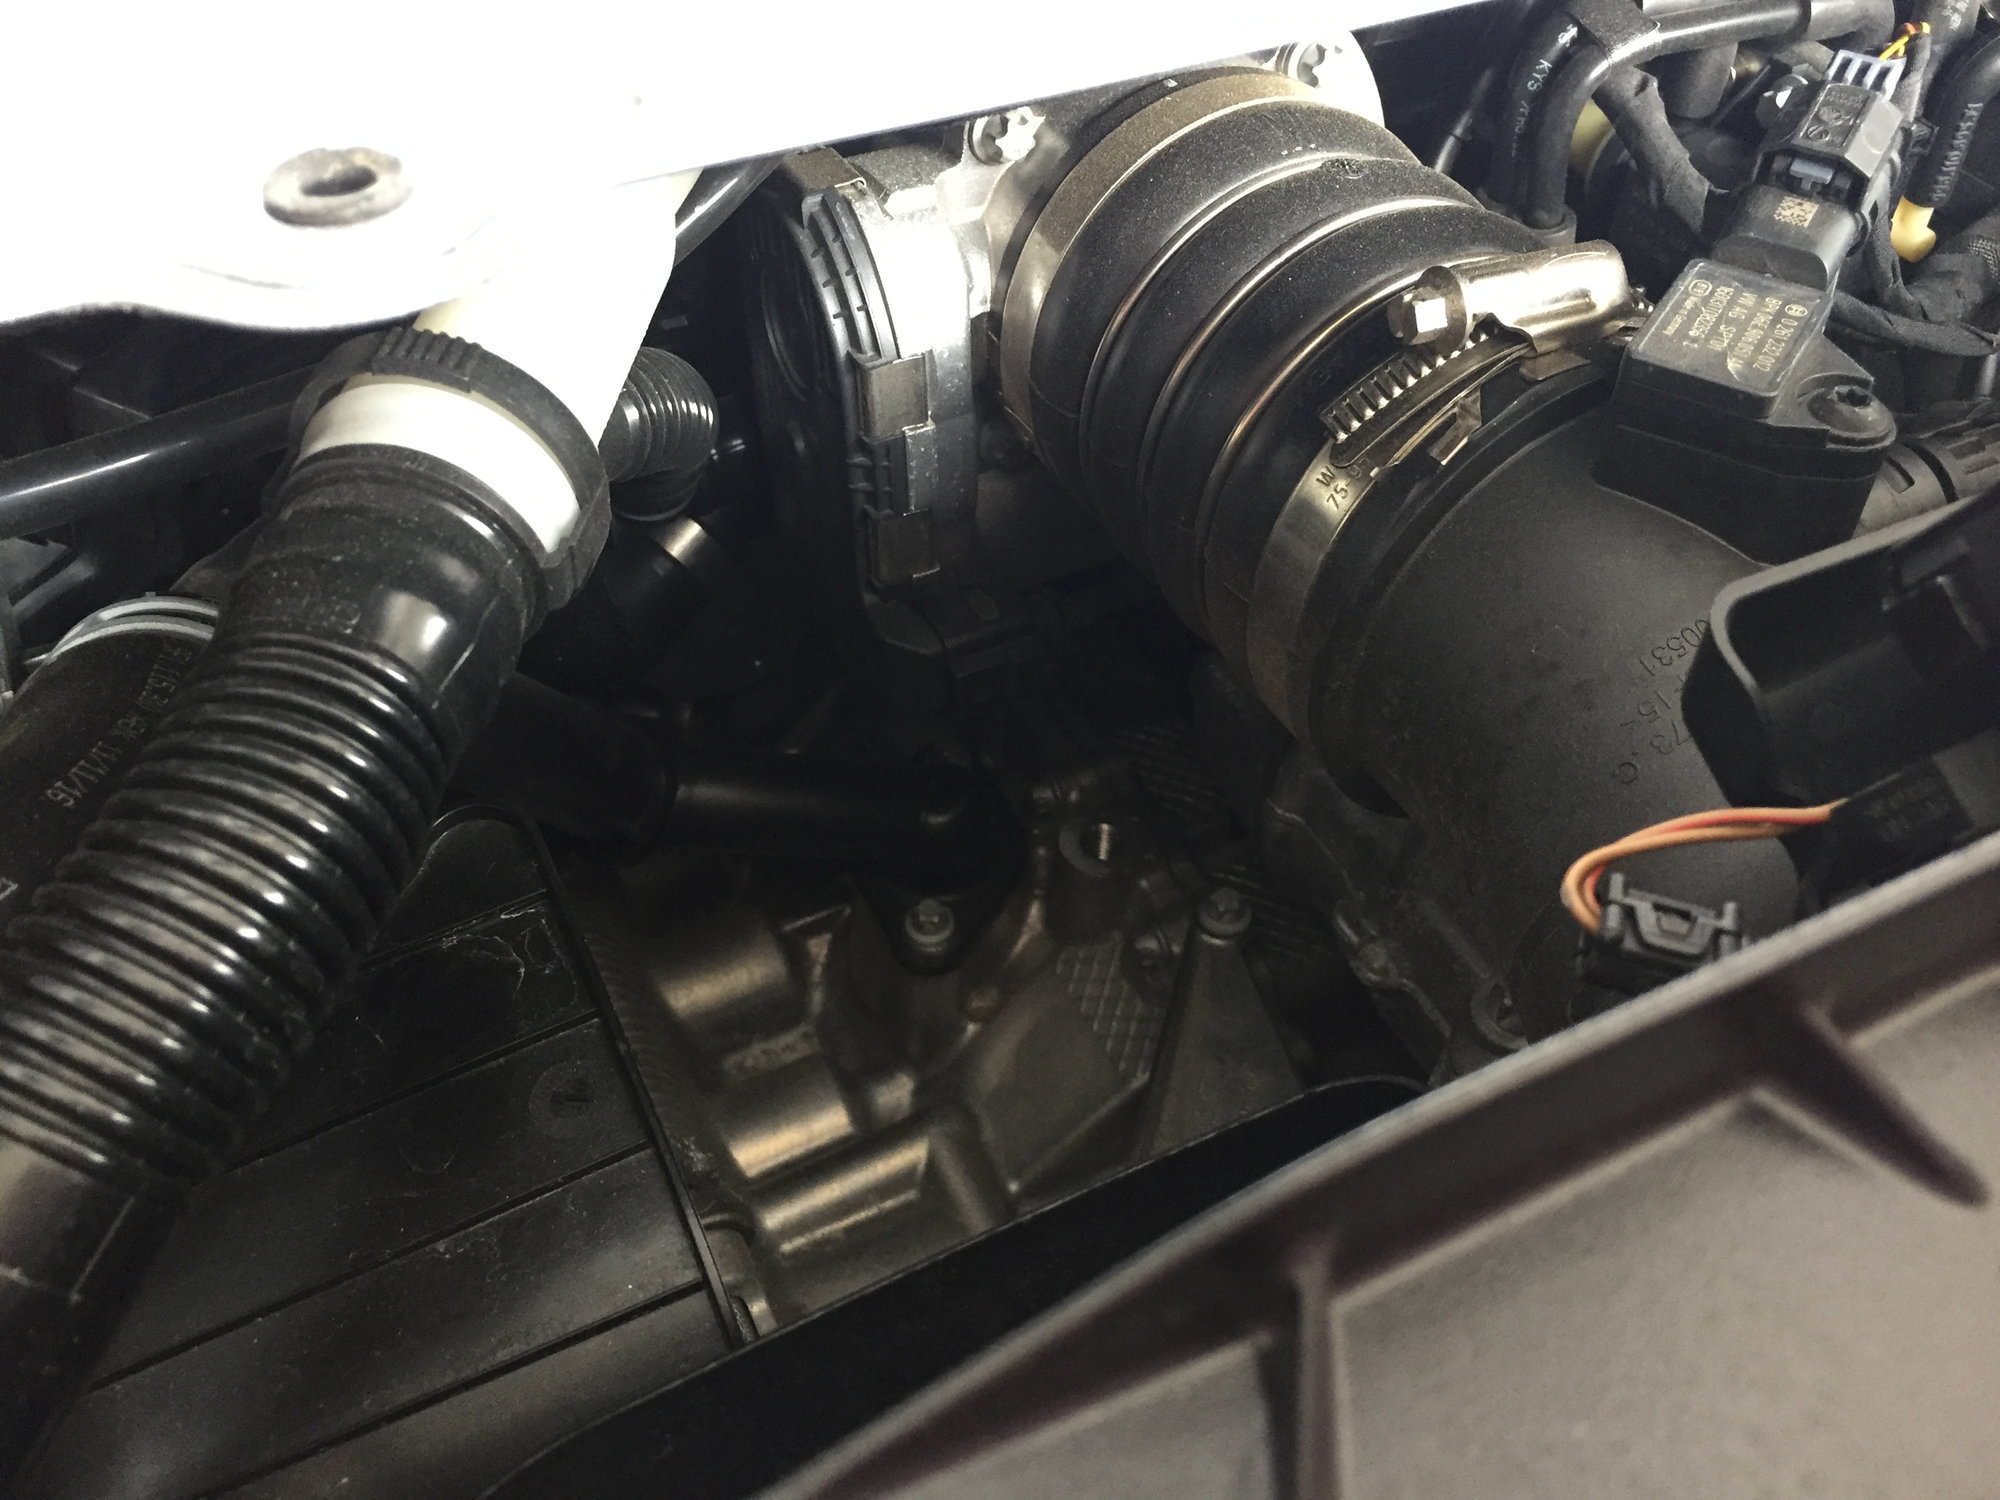
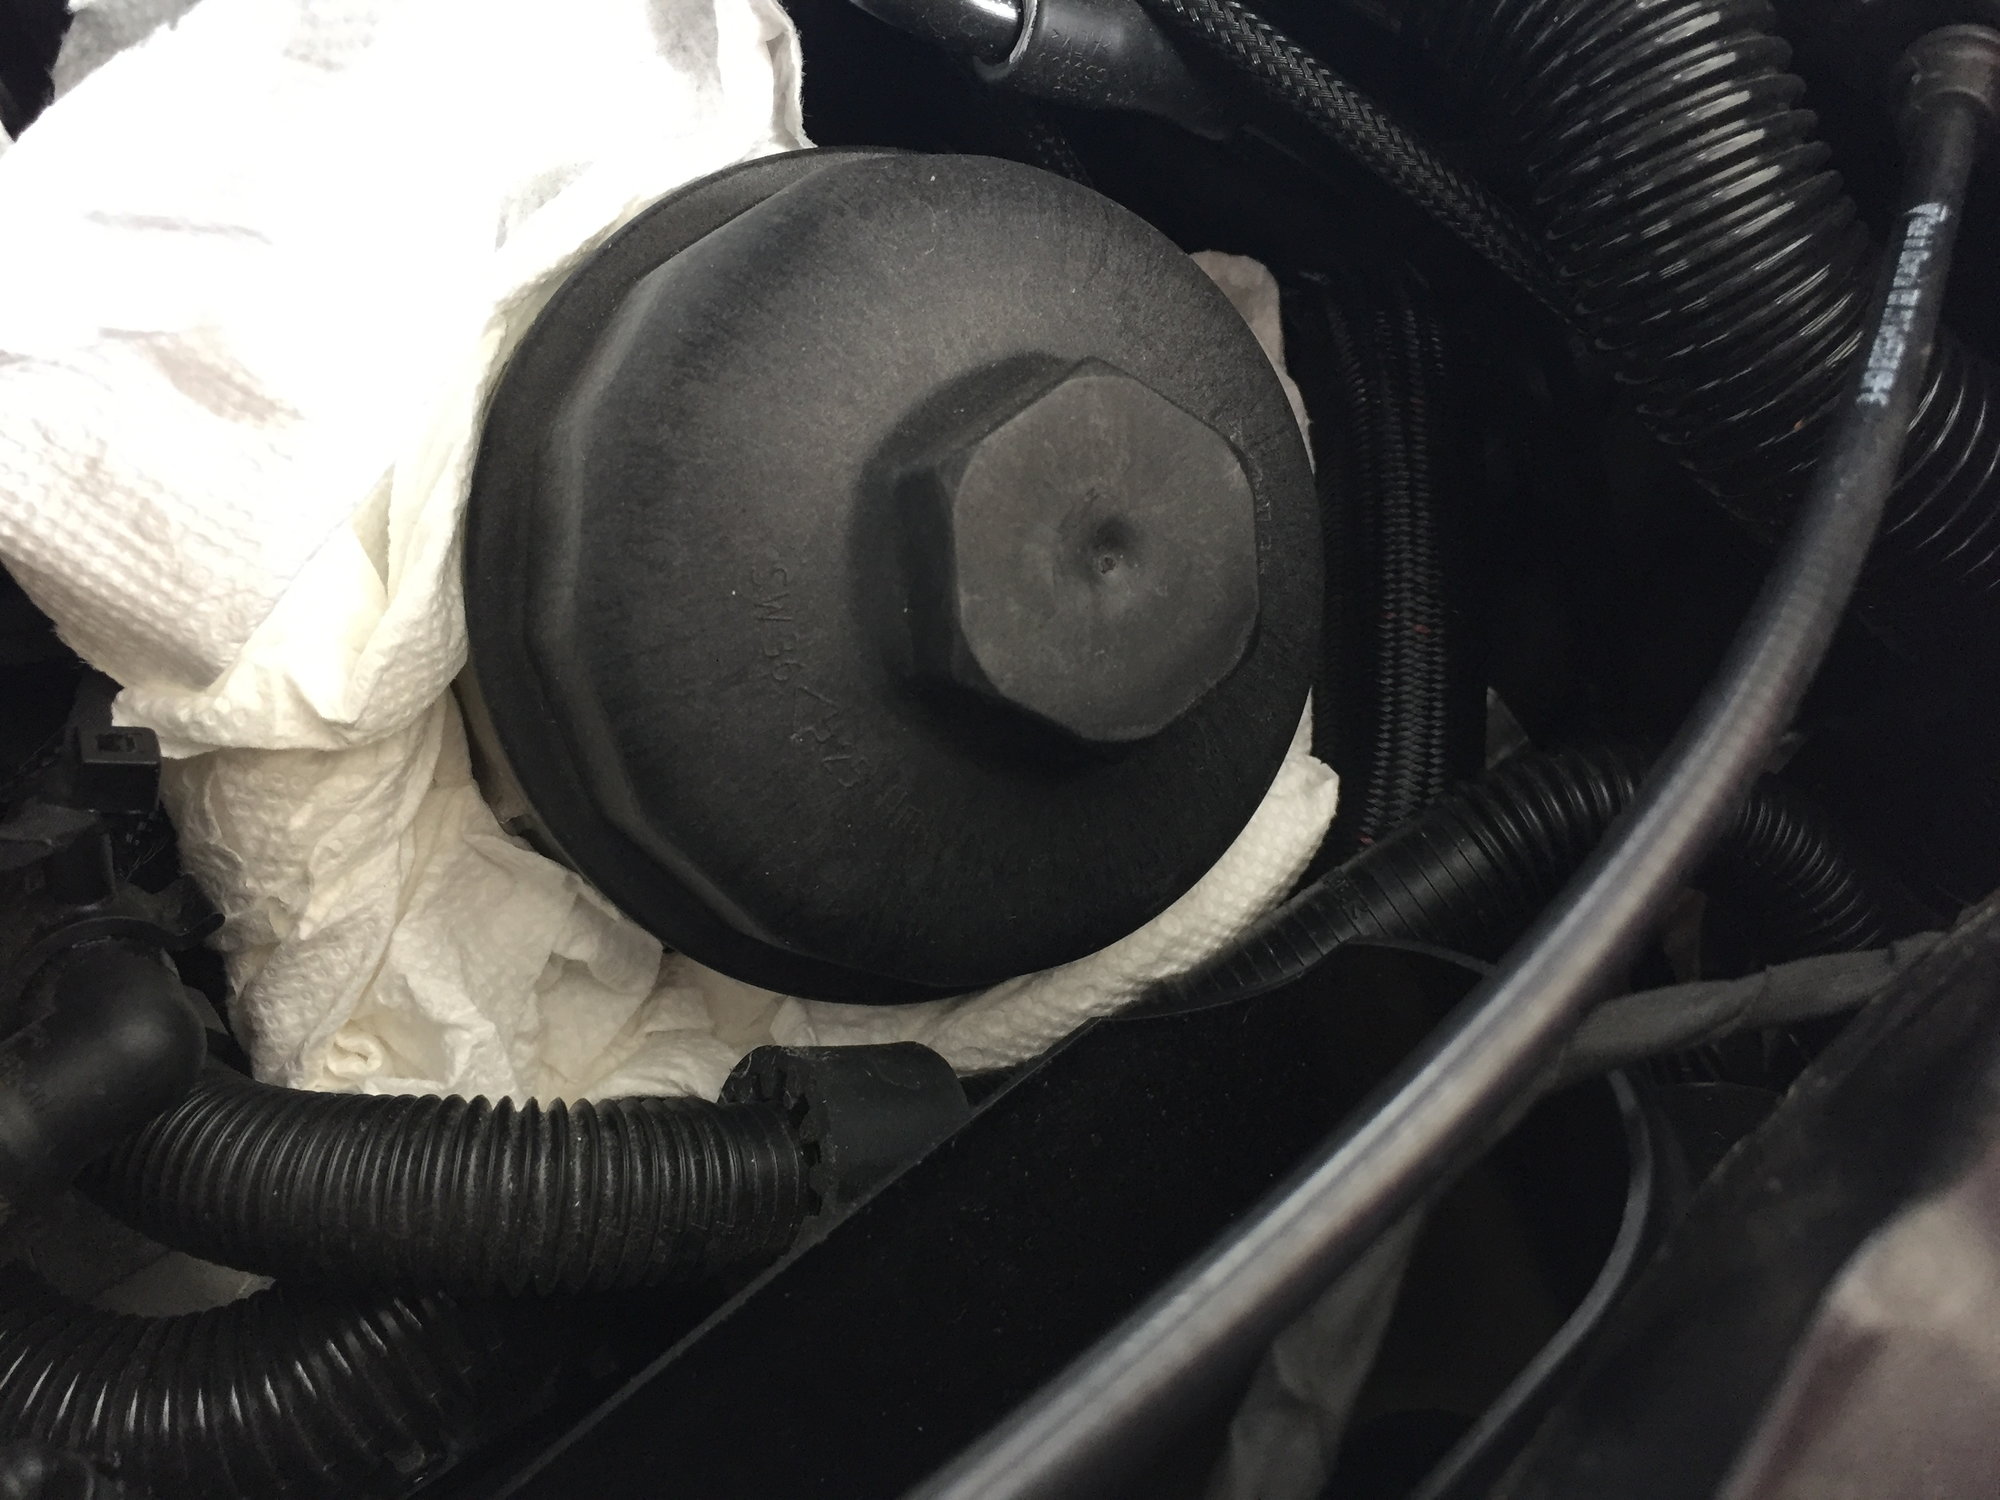
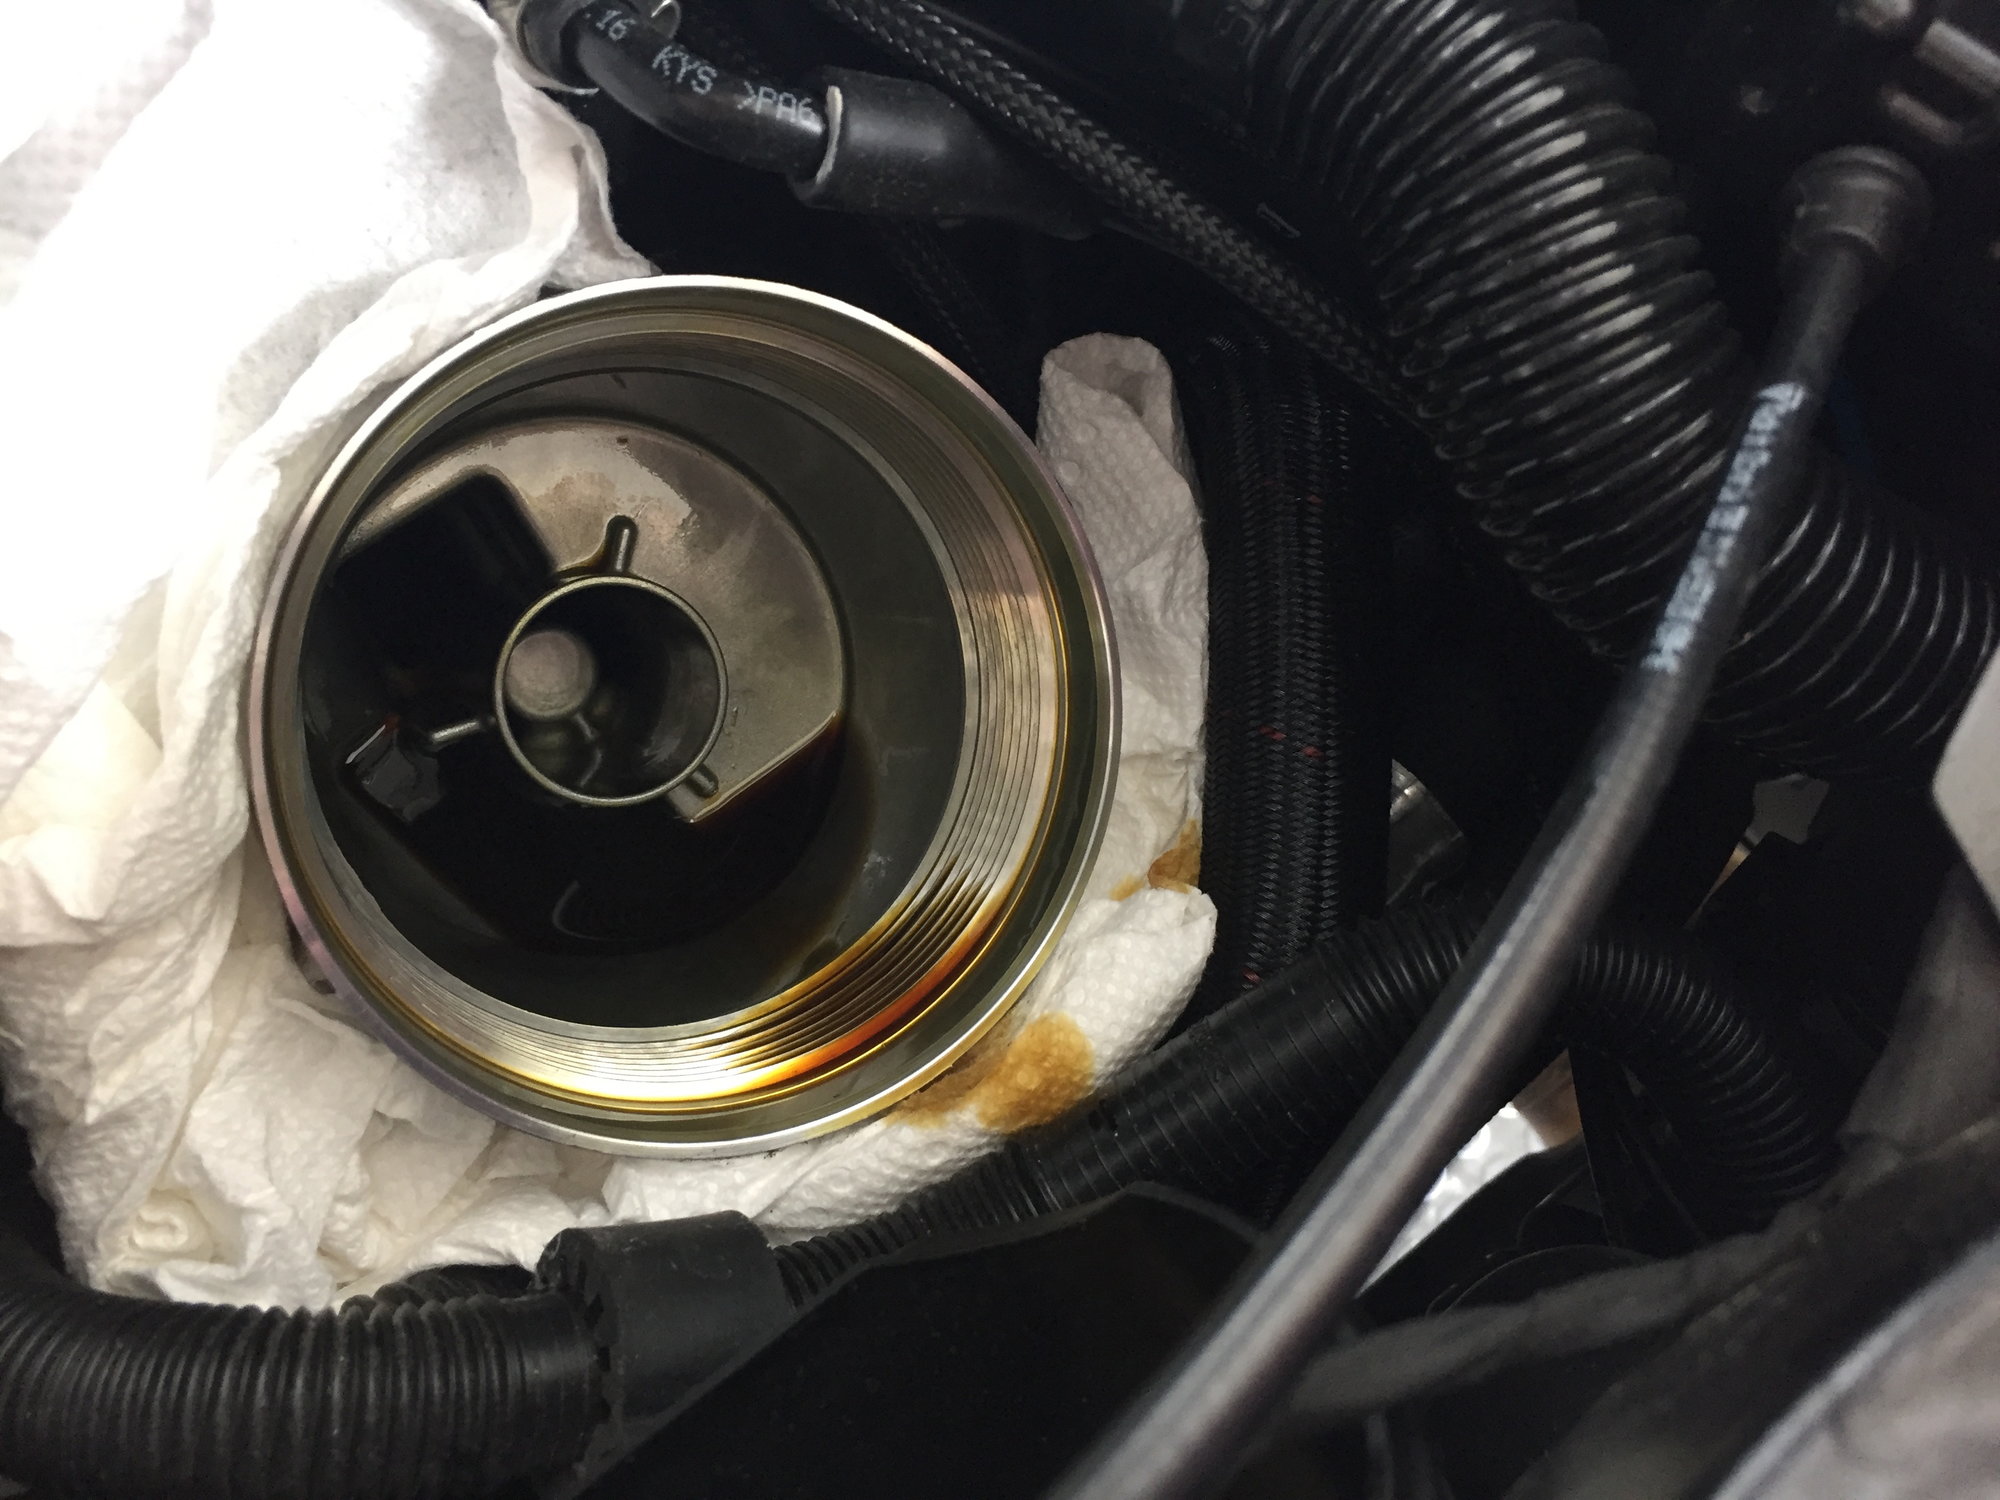
We can also see the oil filter cover:
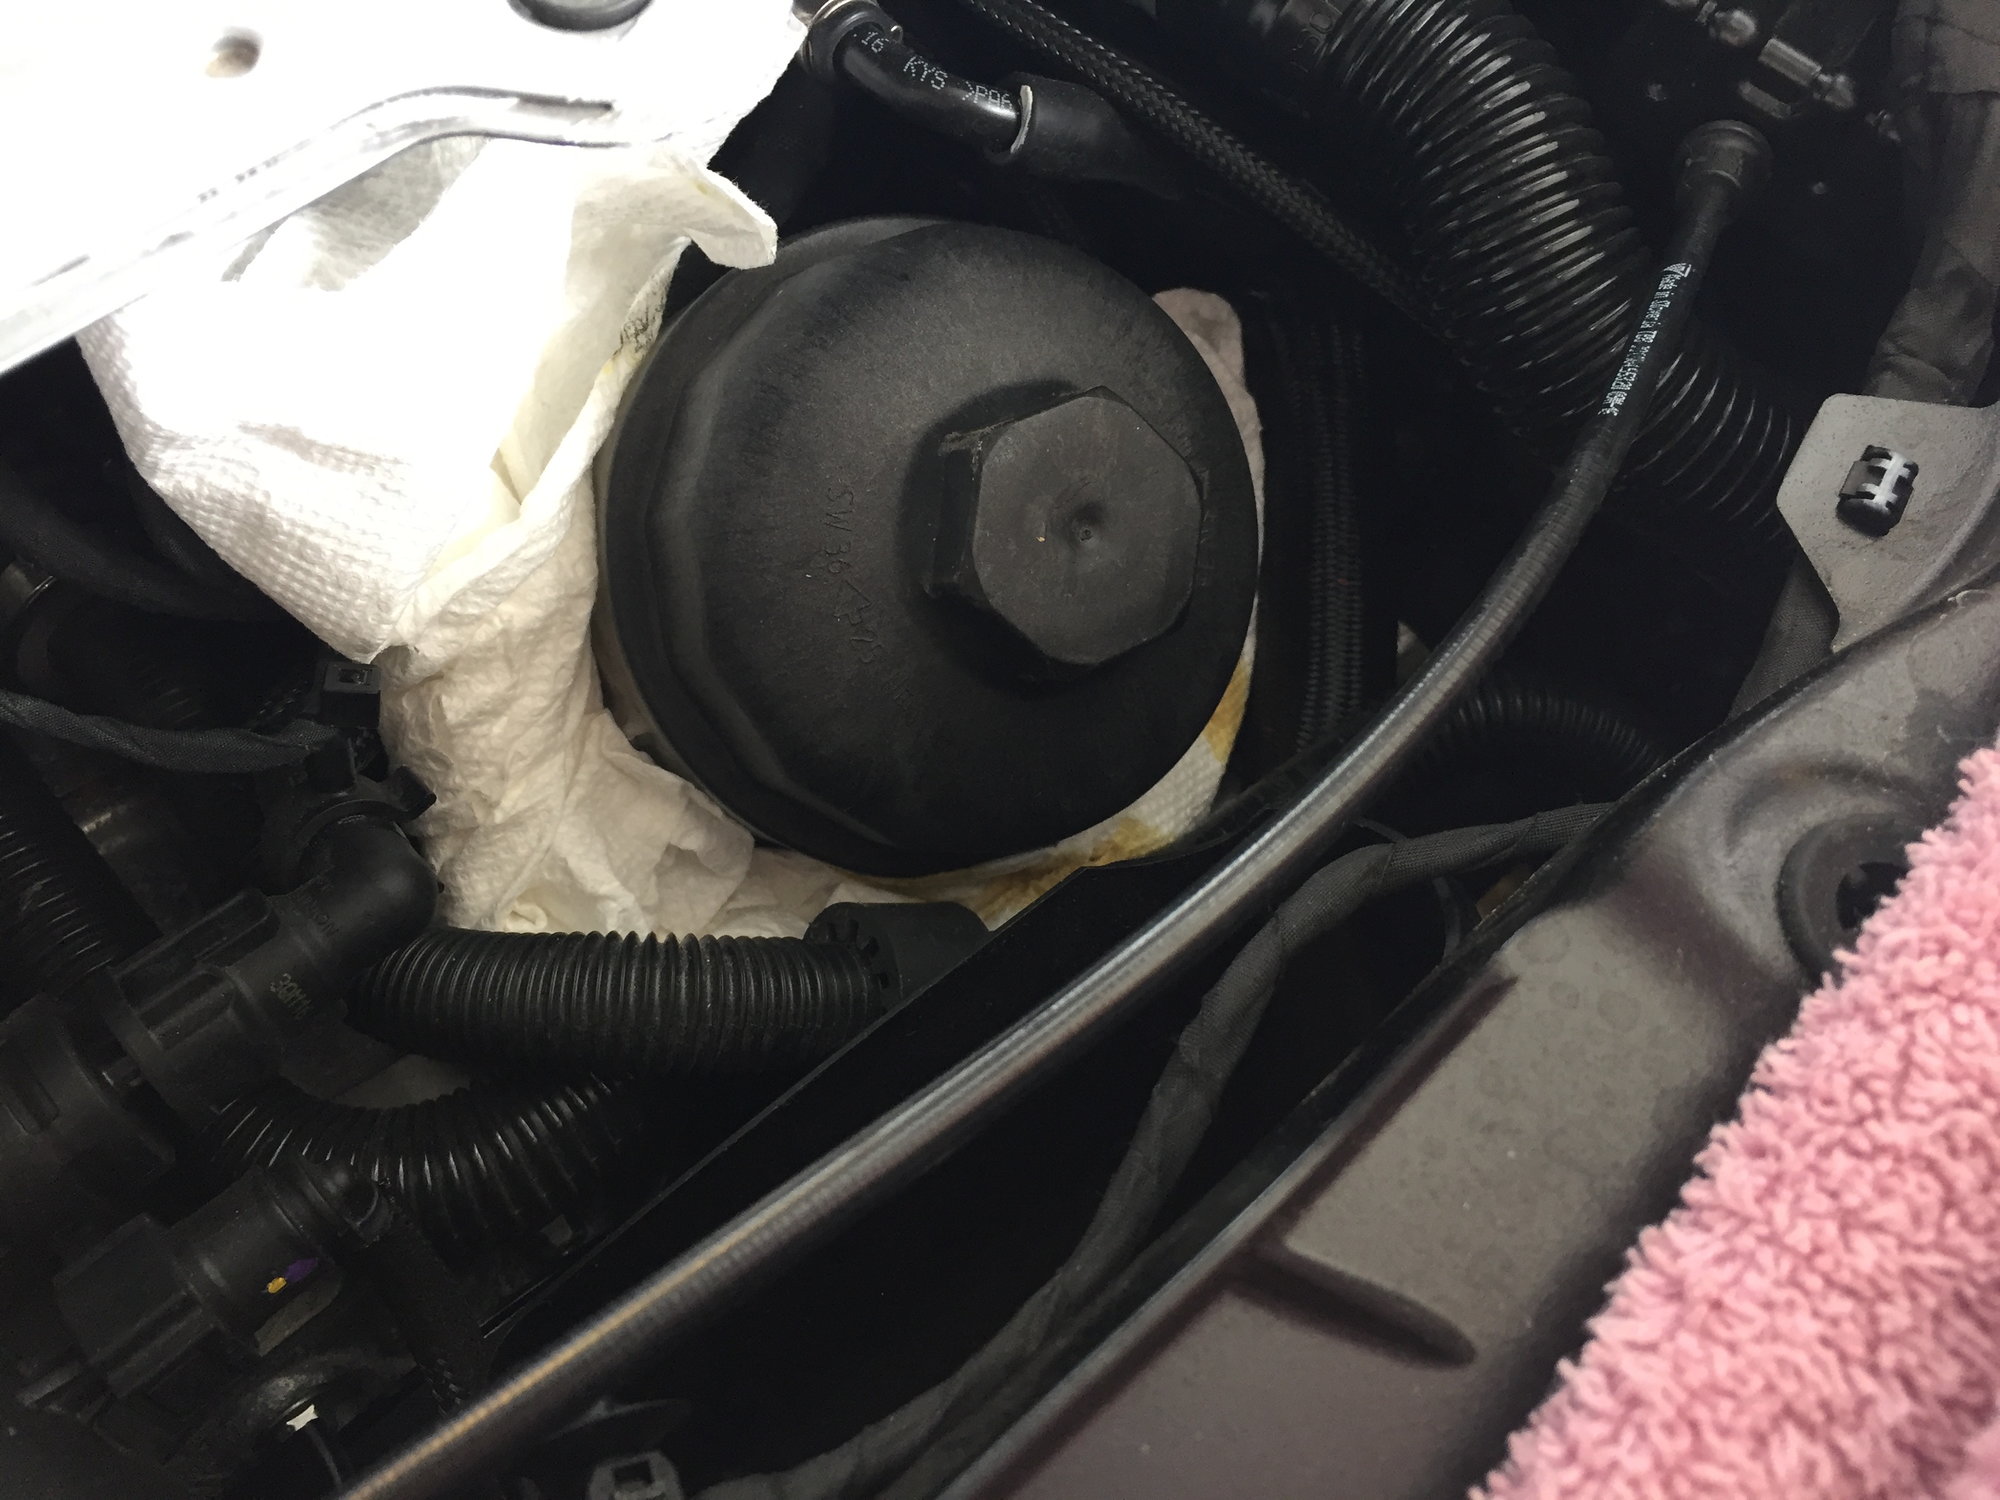
I added a collar of paper towels to catch any drips or leaks:
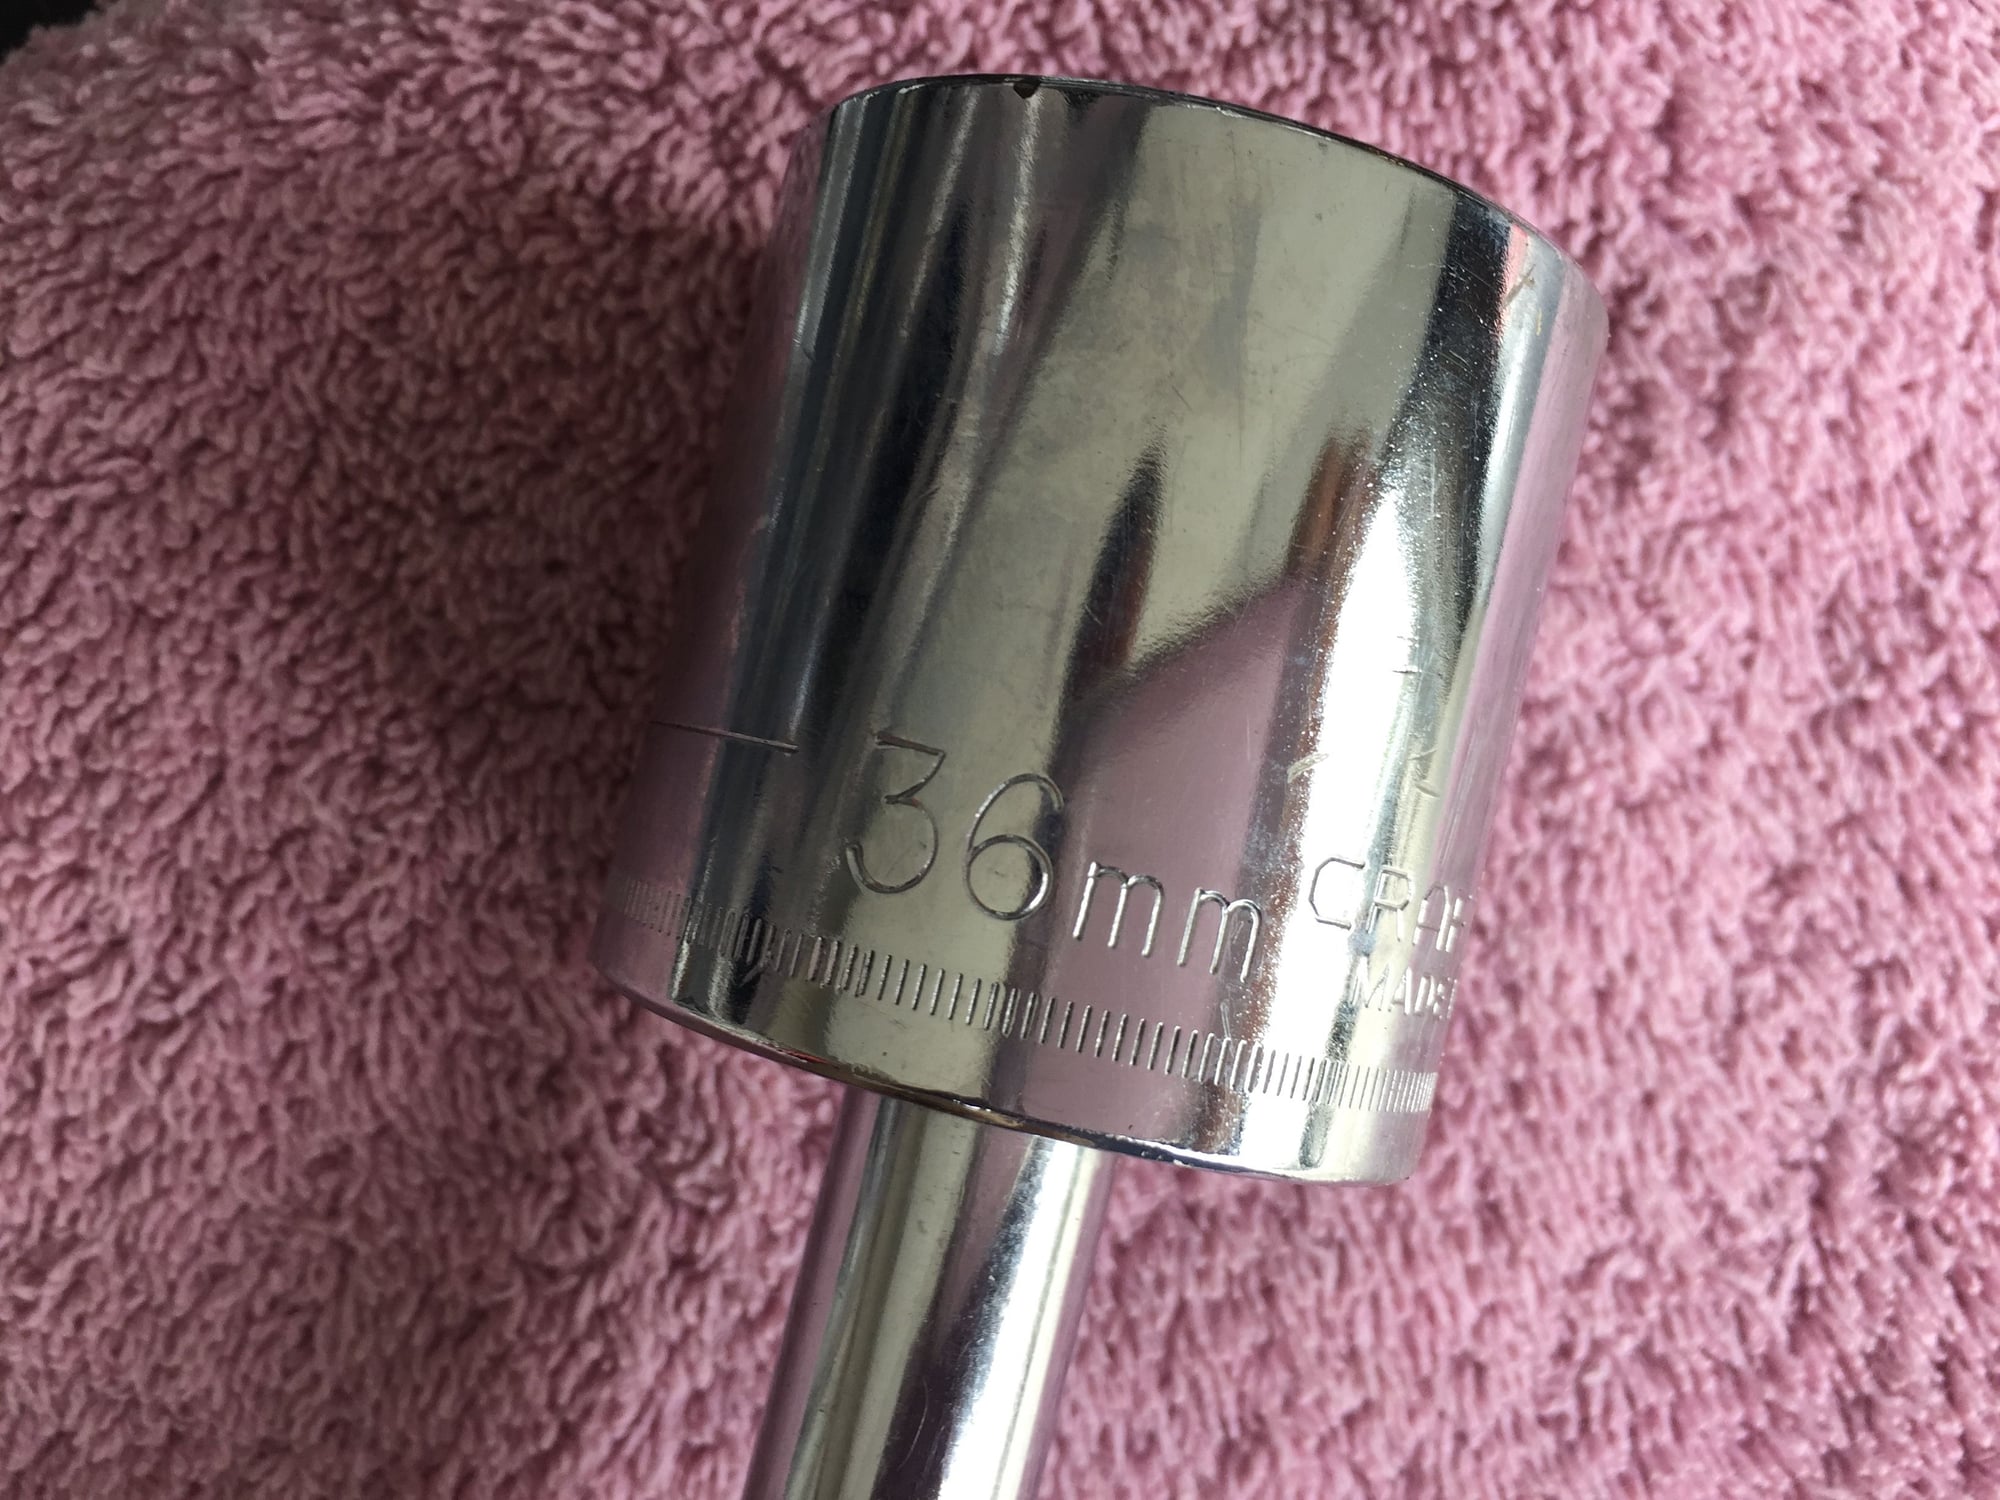
The "nut" on the filter cover requires a 36 mm socket:
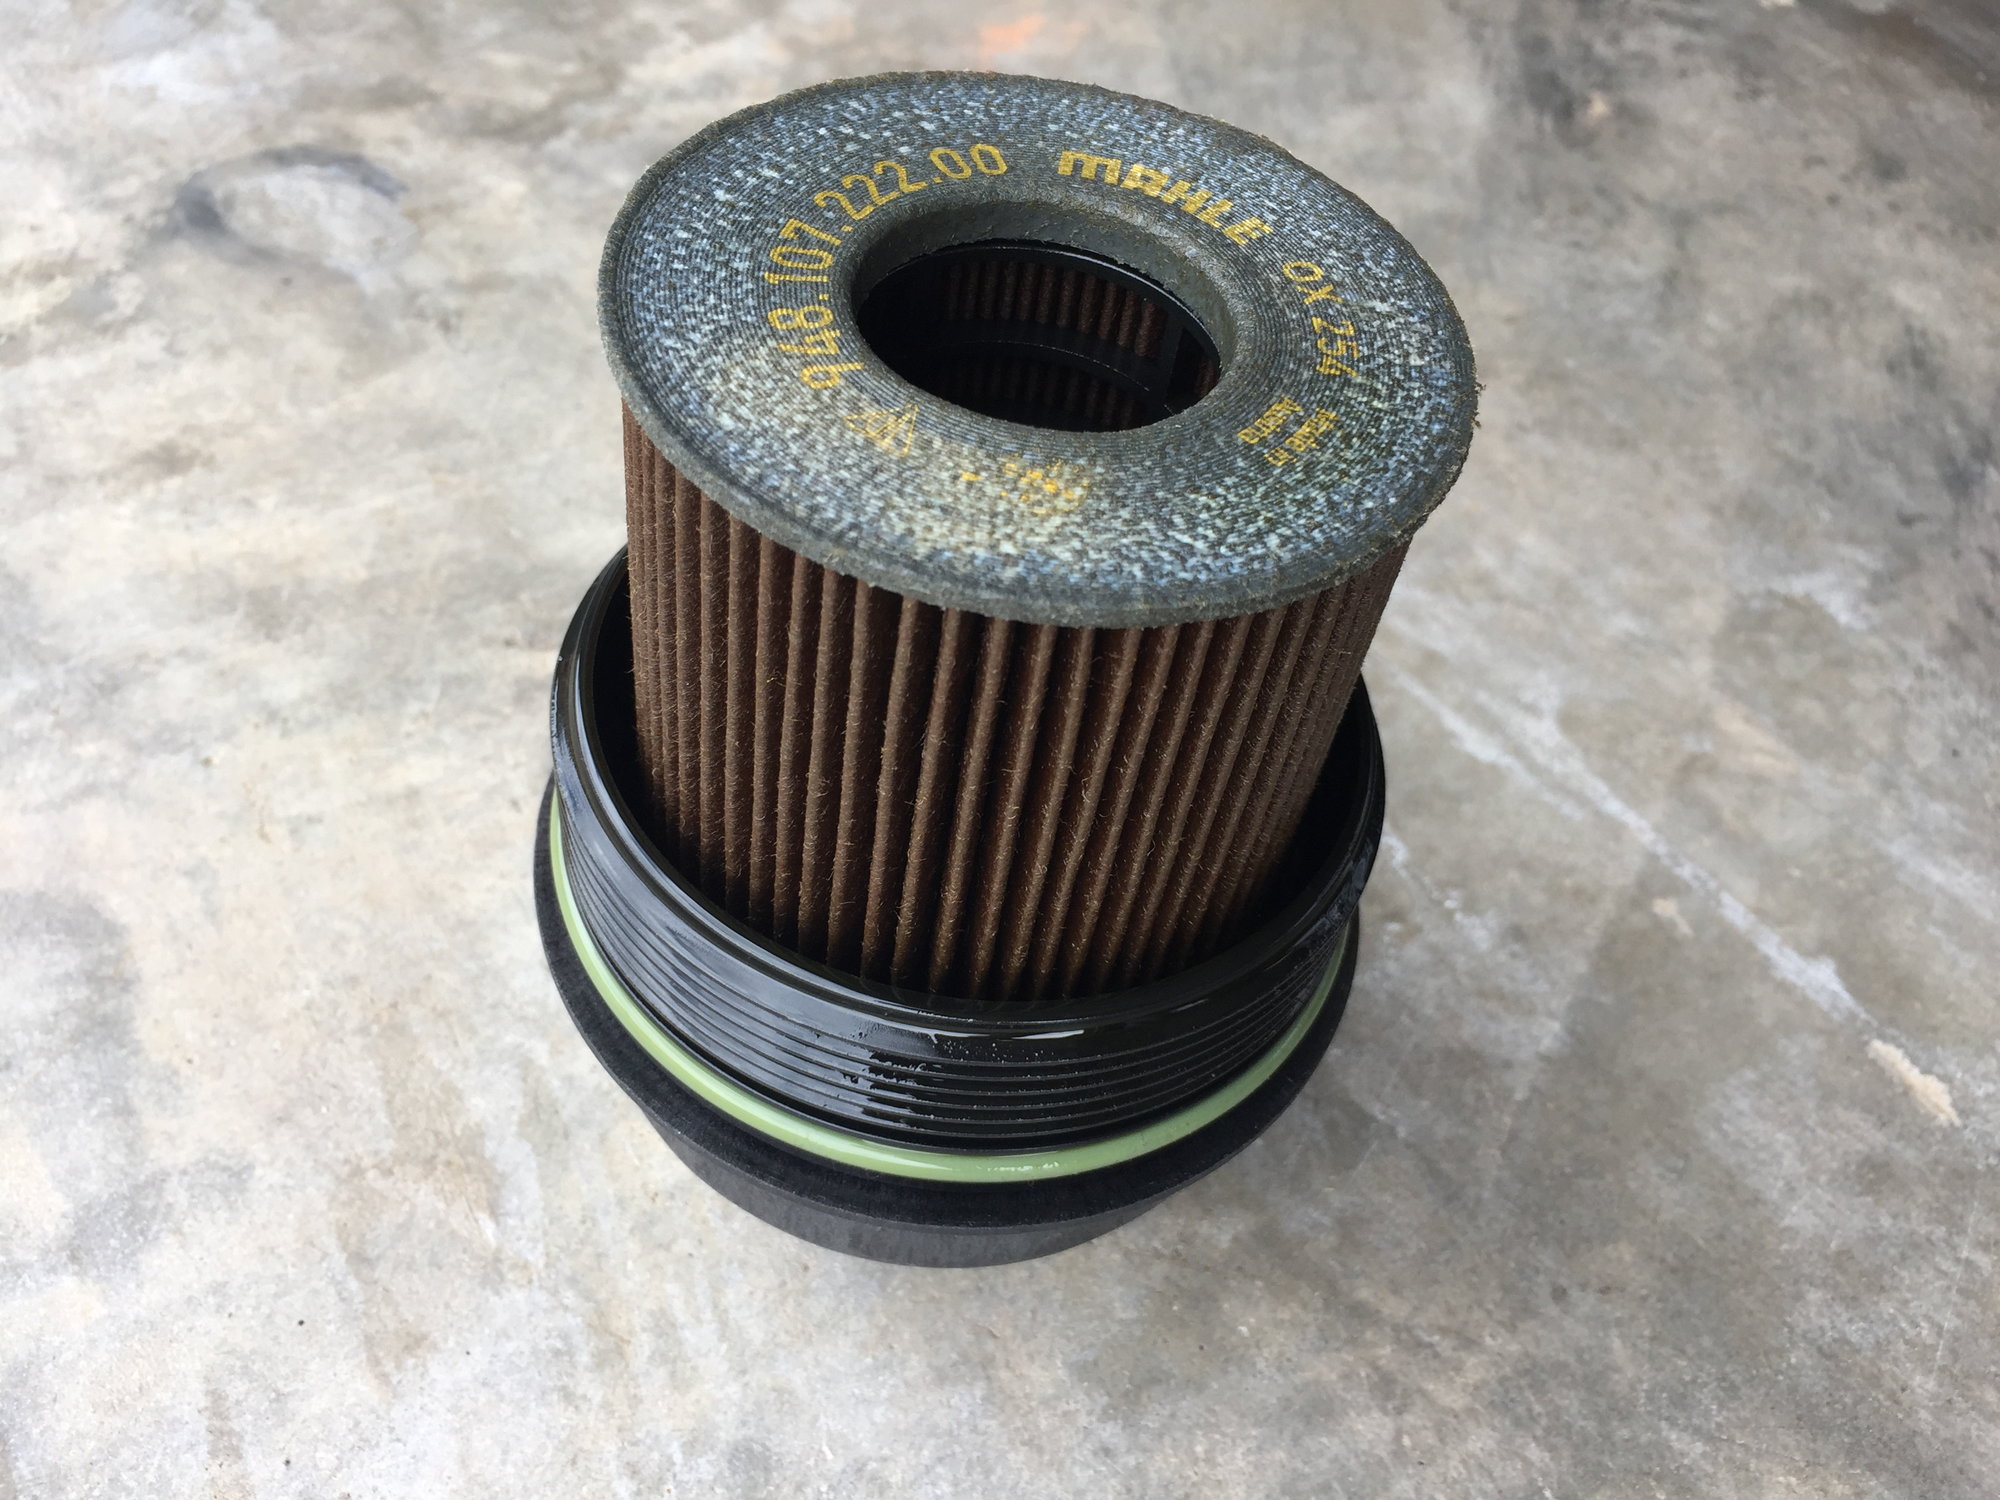
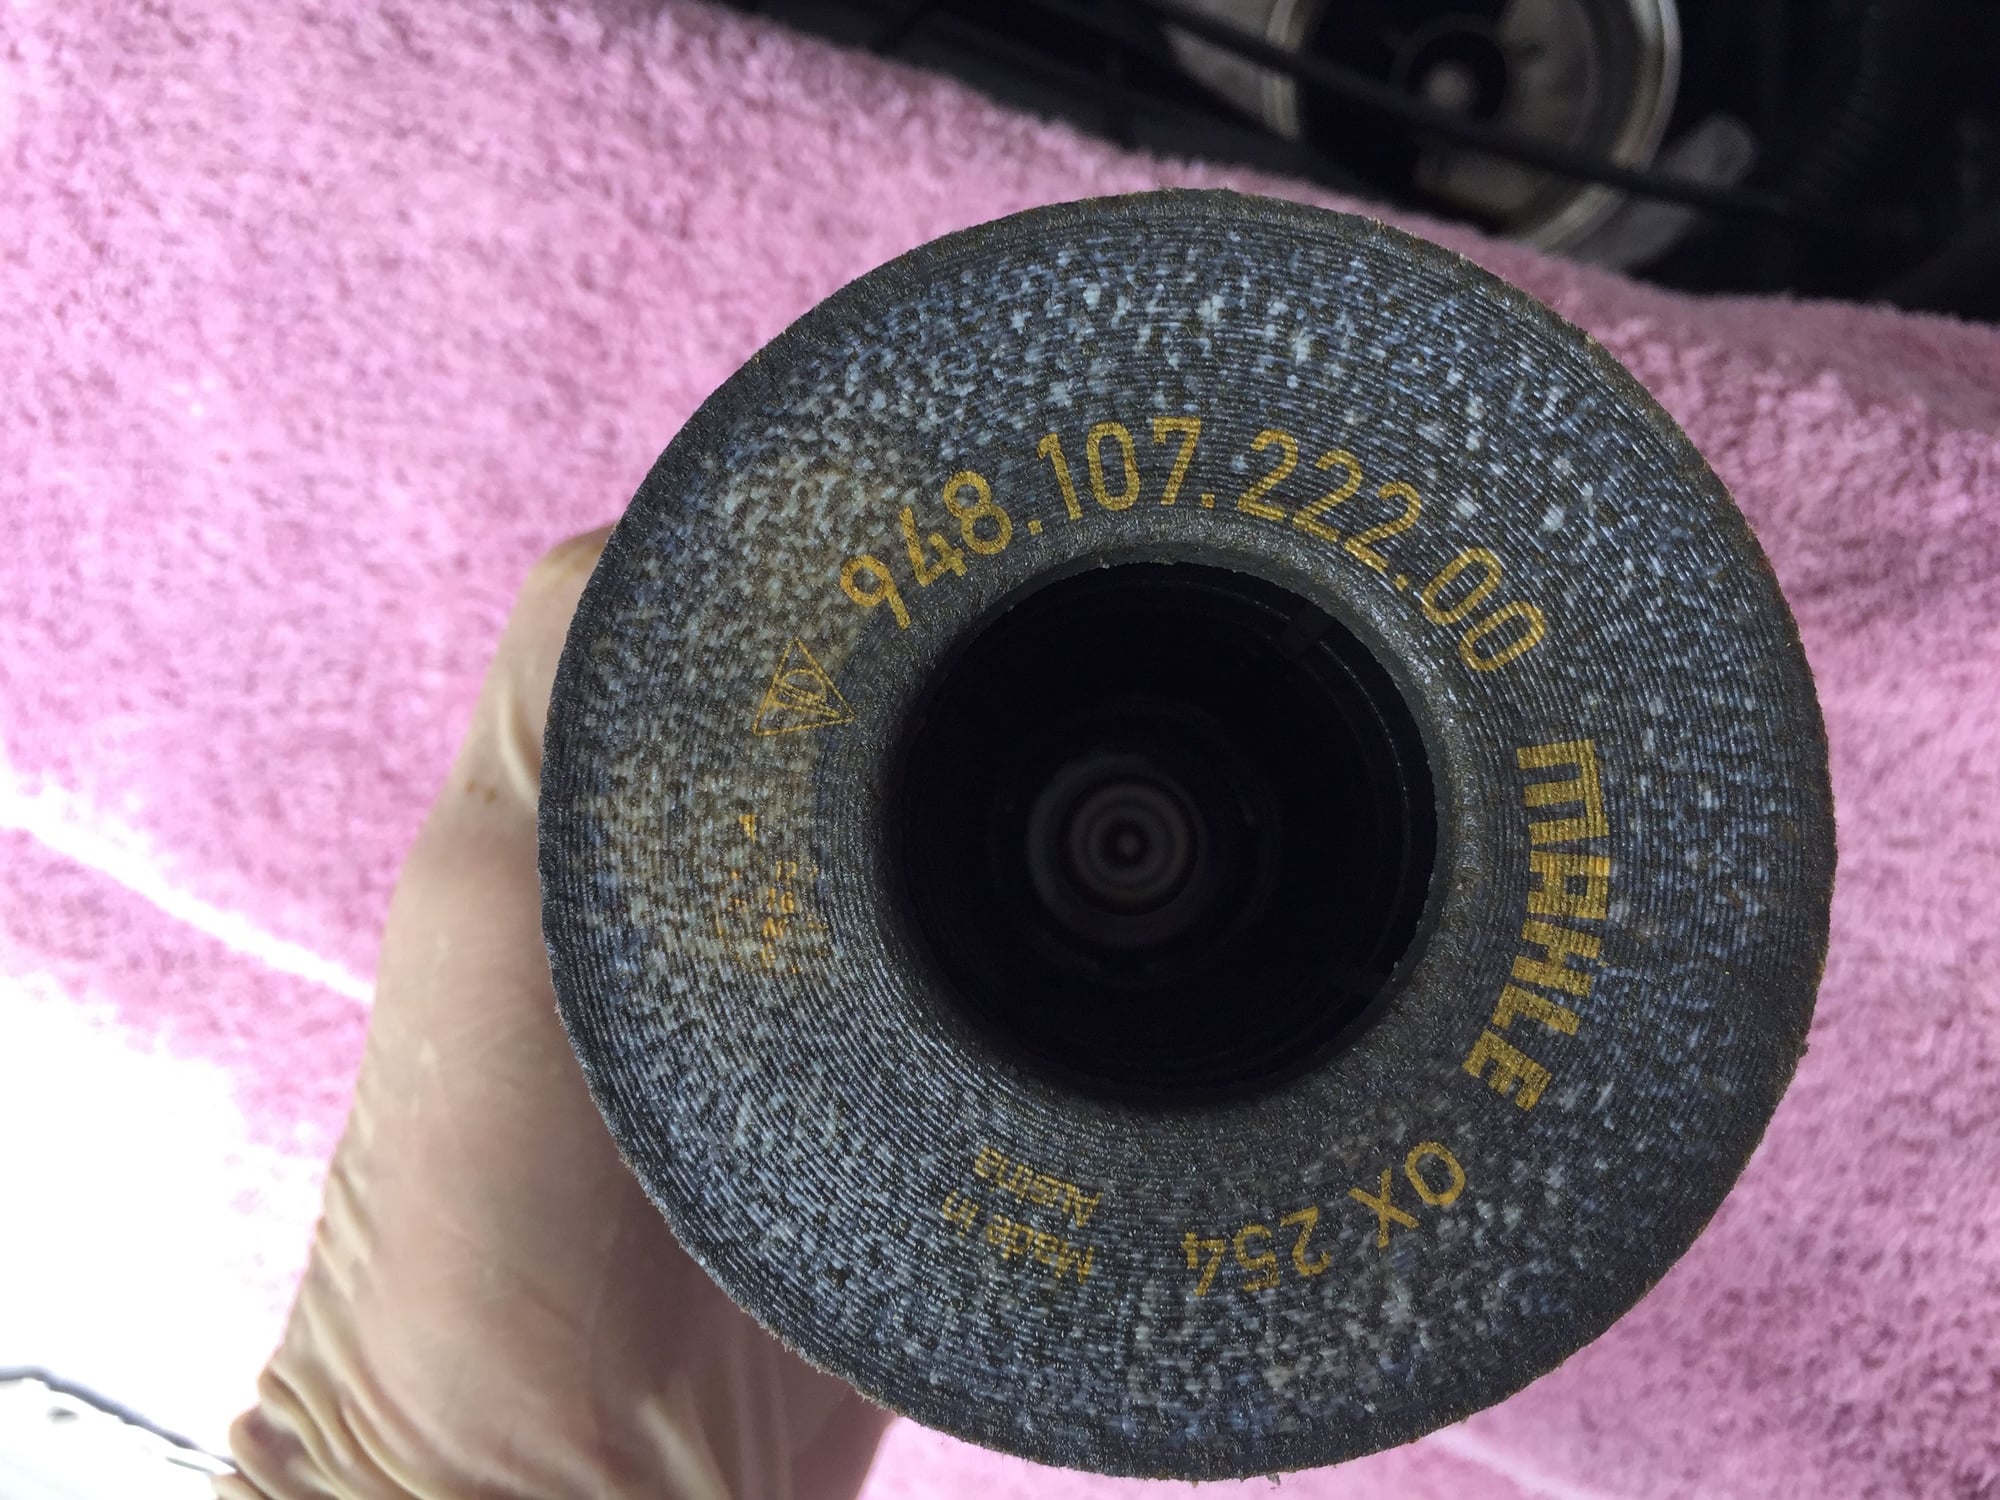
The cover unscrews with a bit of resistance, since the o-ring provides a bit of friction. The old filter came out with the cover:
Here's the part number on the old filter, matching the new filter:
And here is the filter housing on top of the engine case:
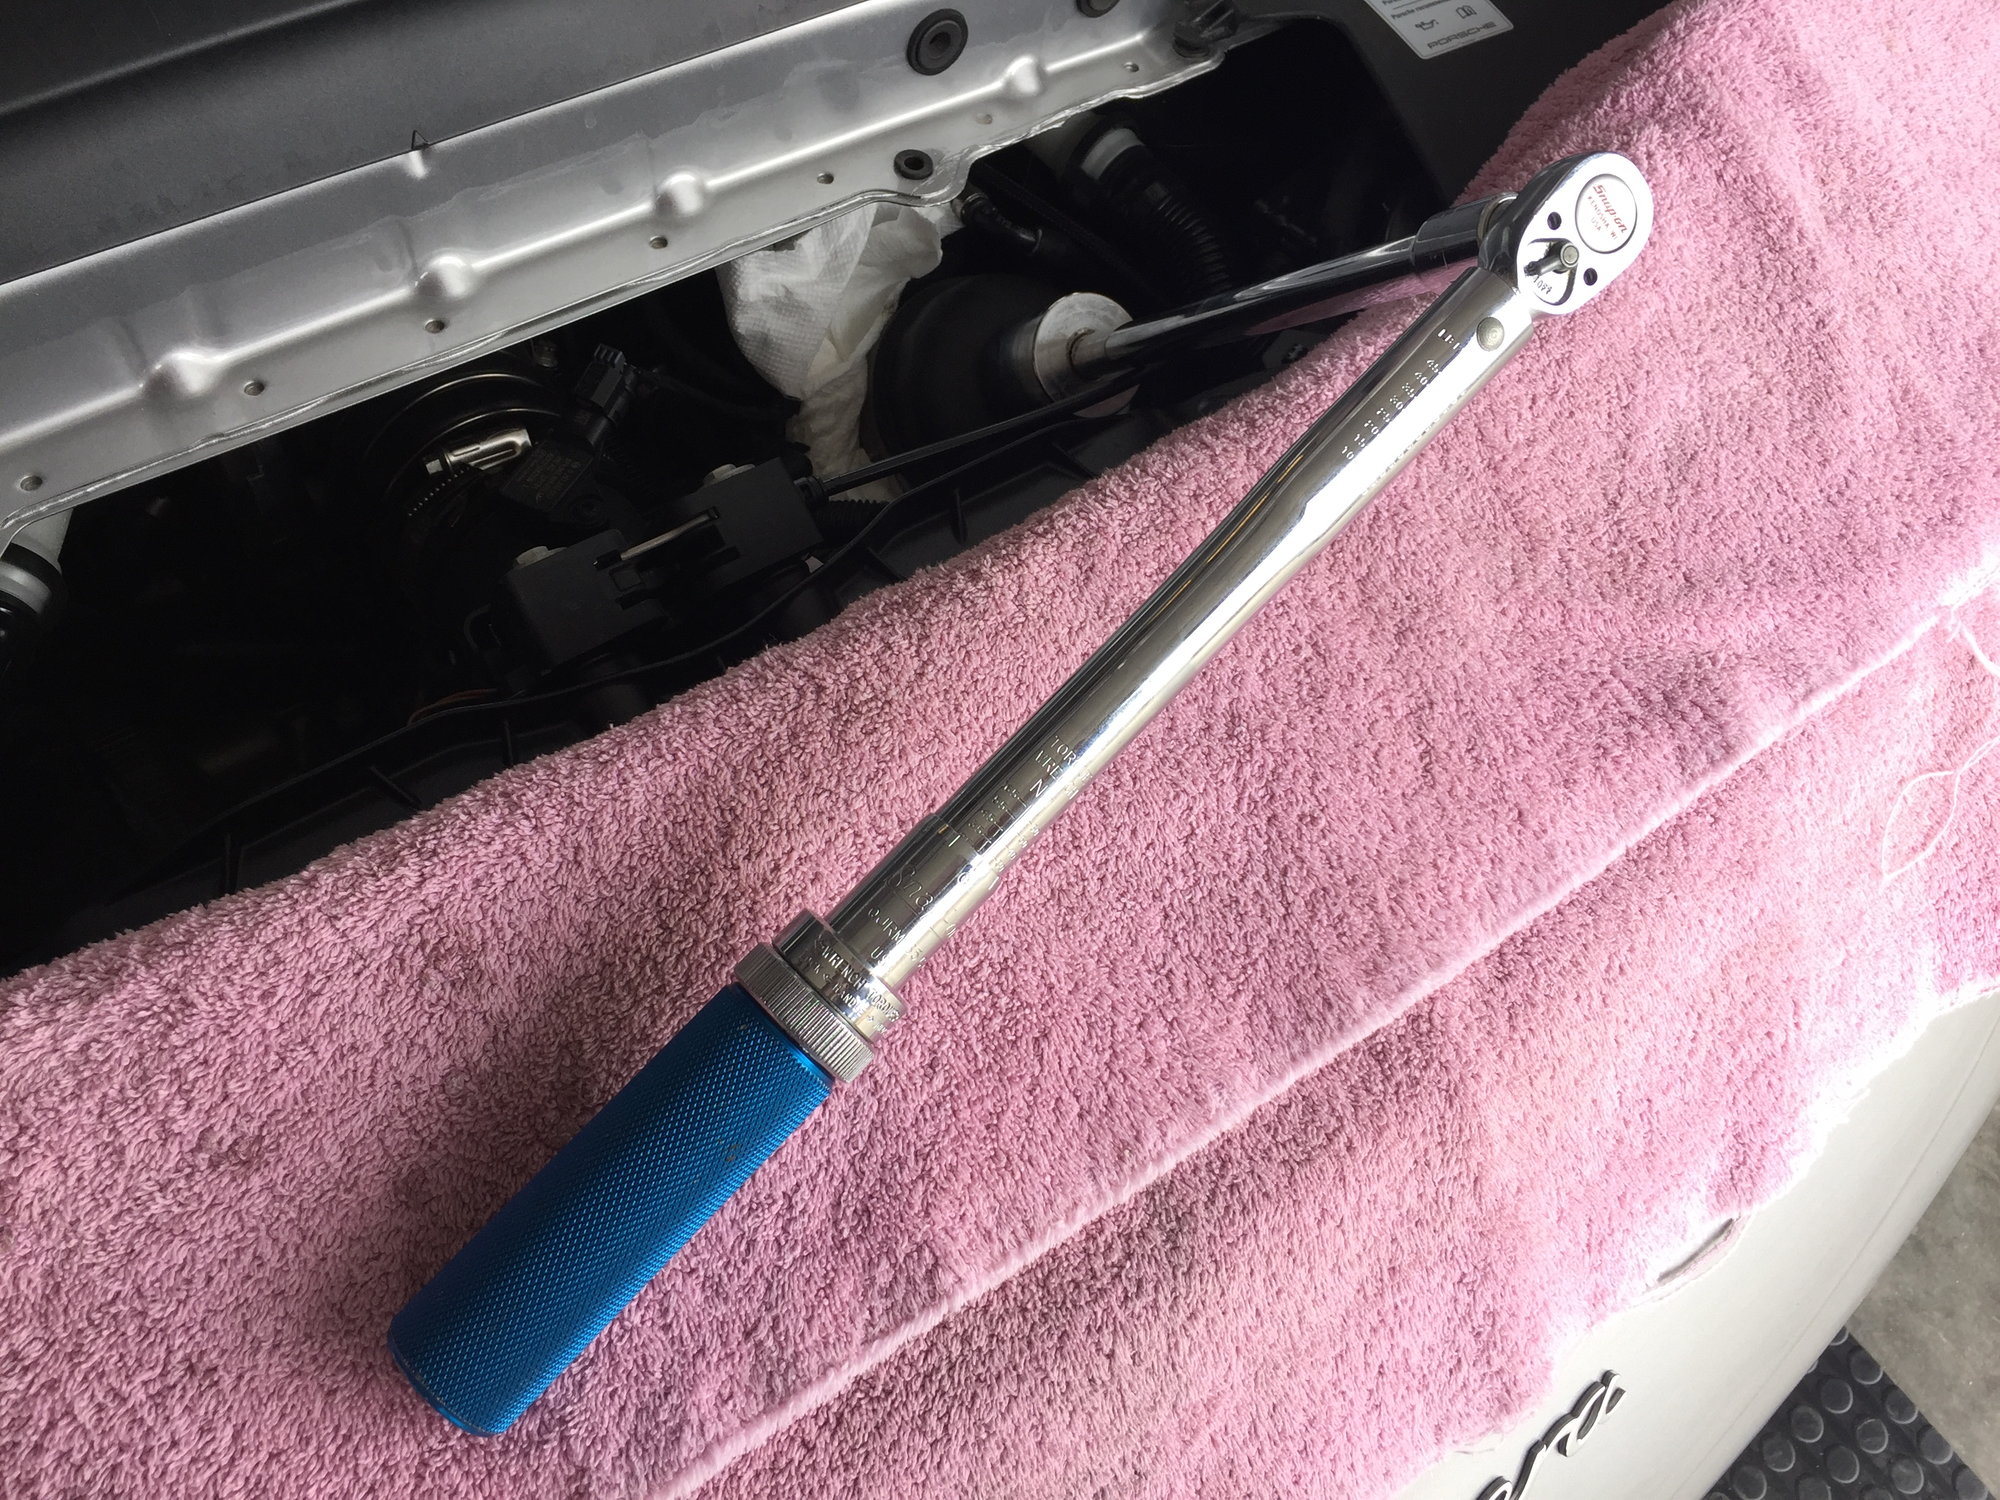
I installed the new filter into the cap (requires a hard push to get fully seated), and a new o-ring, and screwed this into the housing:
The cover calls for 26 Nm of torque--helps to have a metric tourque wrench:
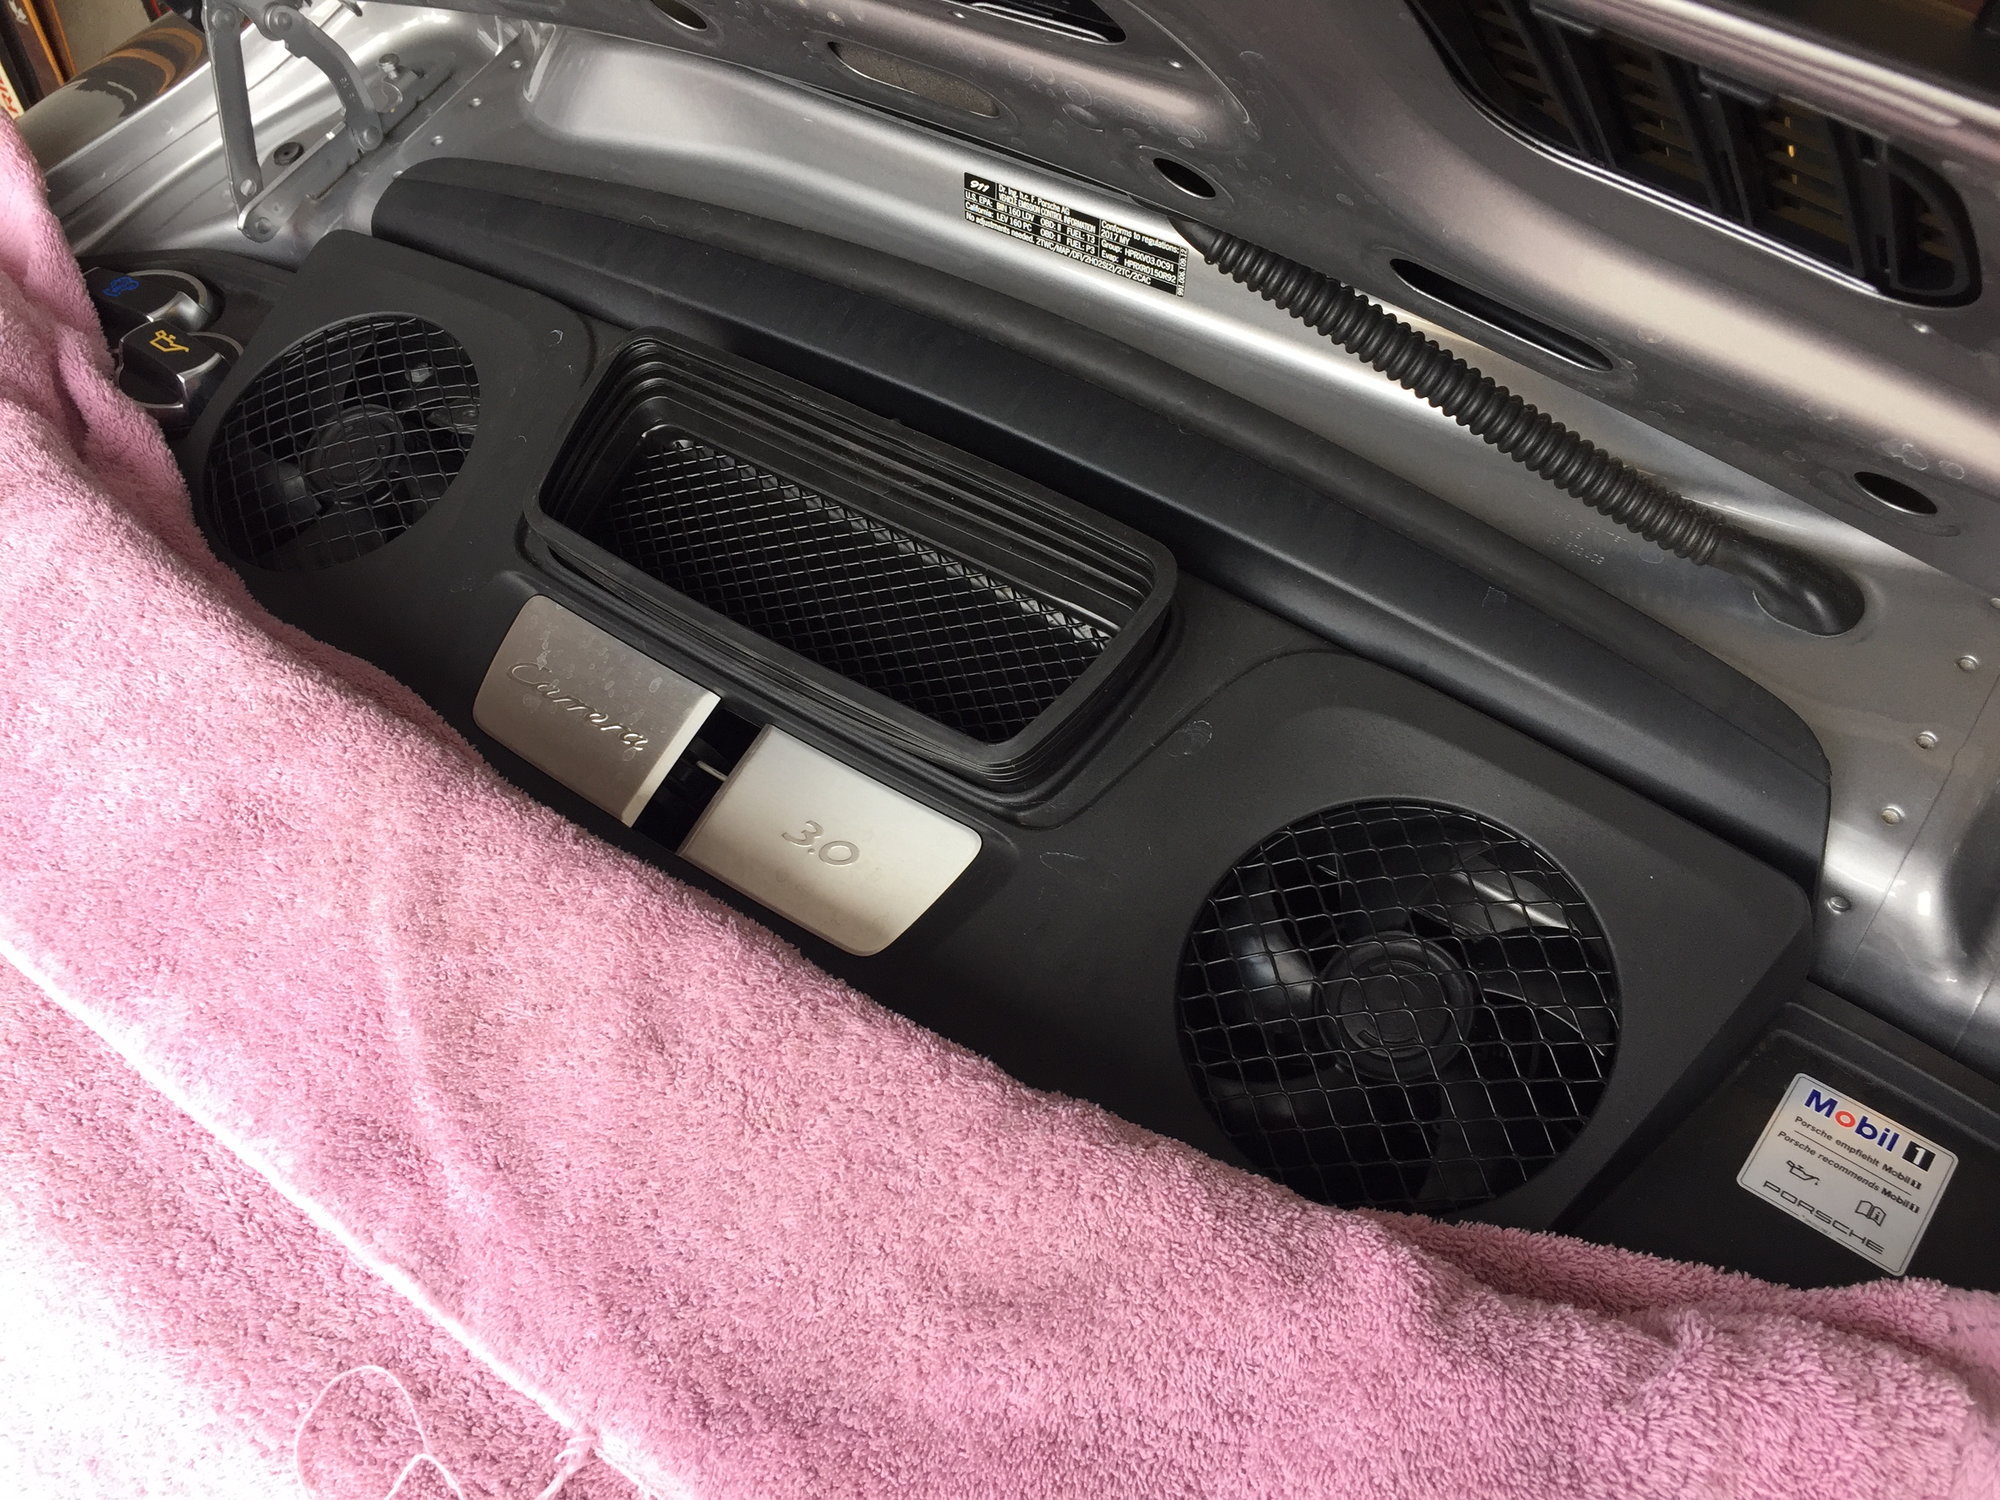
Instead of the classic "installation is the opposite of removal" here are even more photos. First the intake duct slides in easily:
The fan cables attach to the duct brackets:
The fans get connected and snapped into place, and the engine cover pops in:
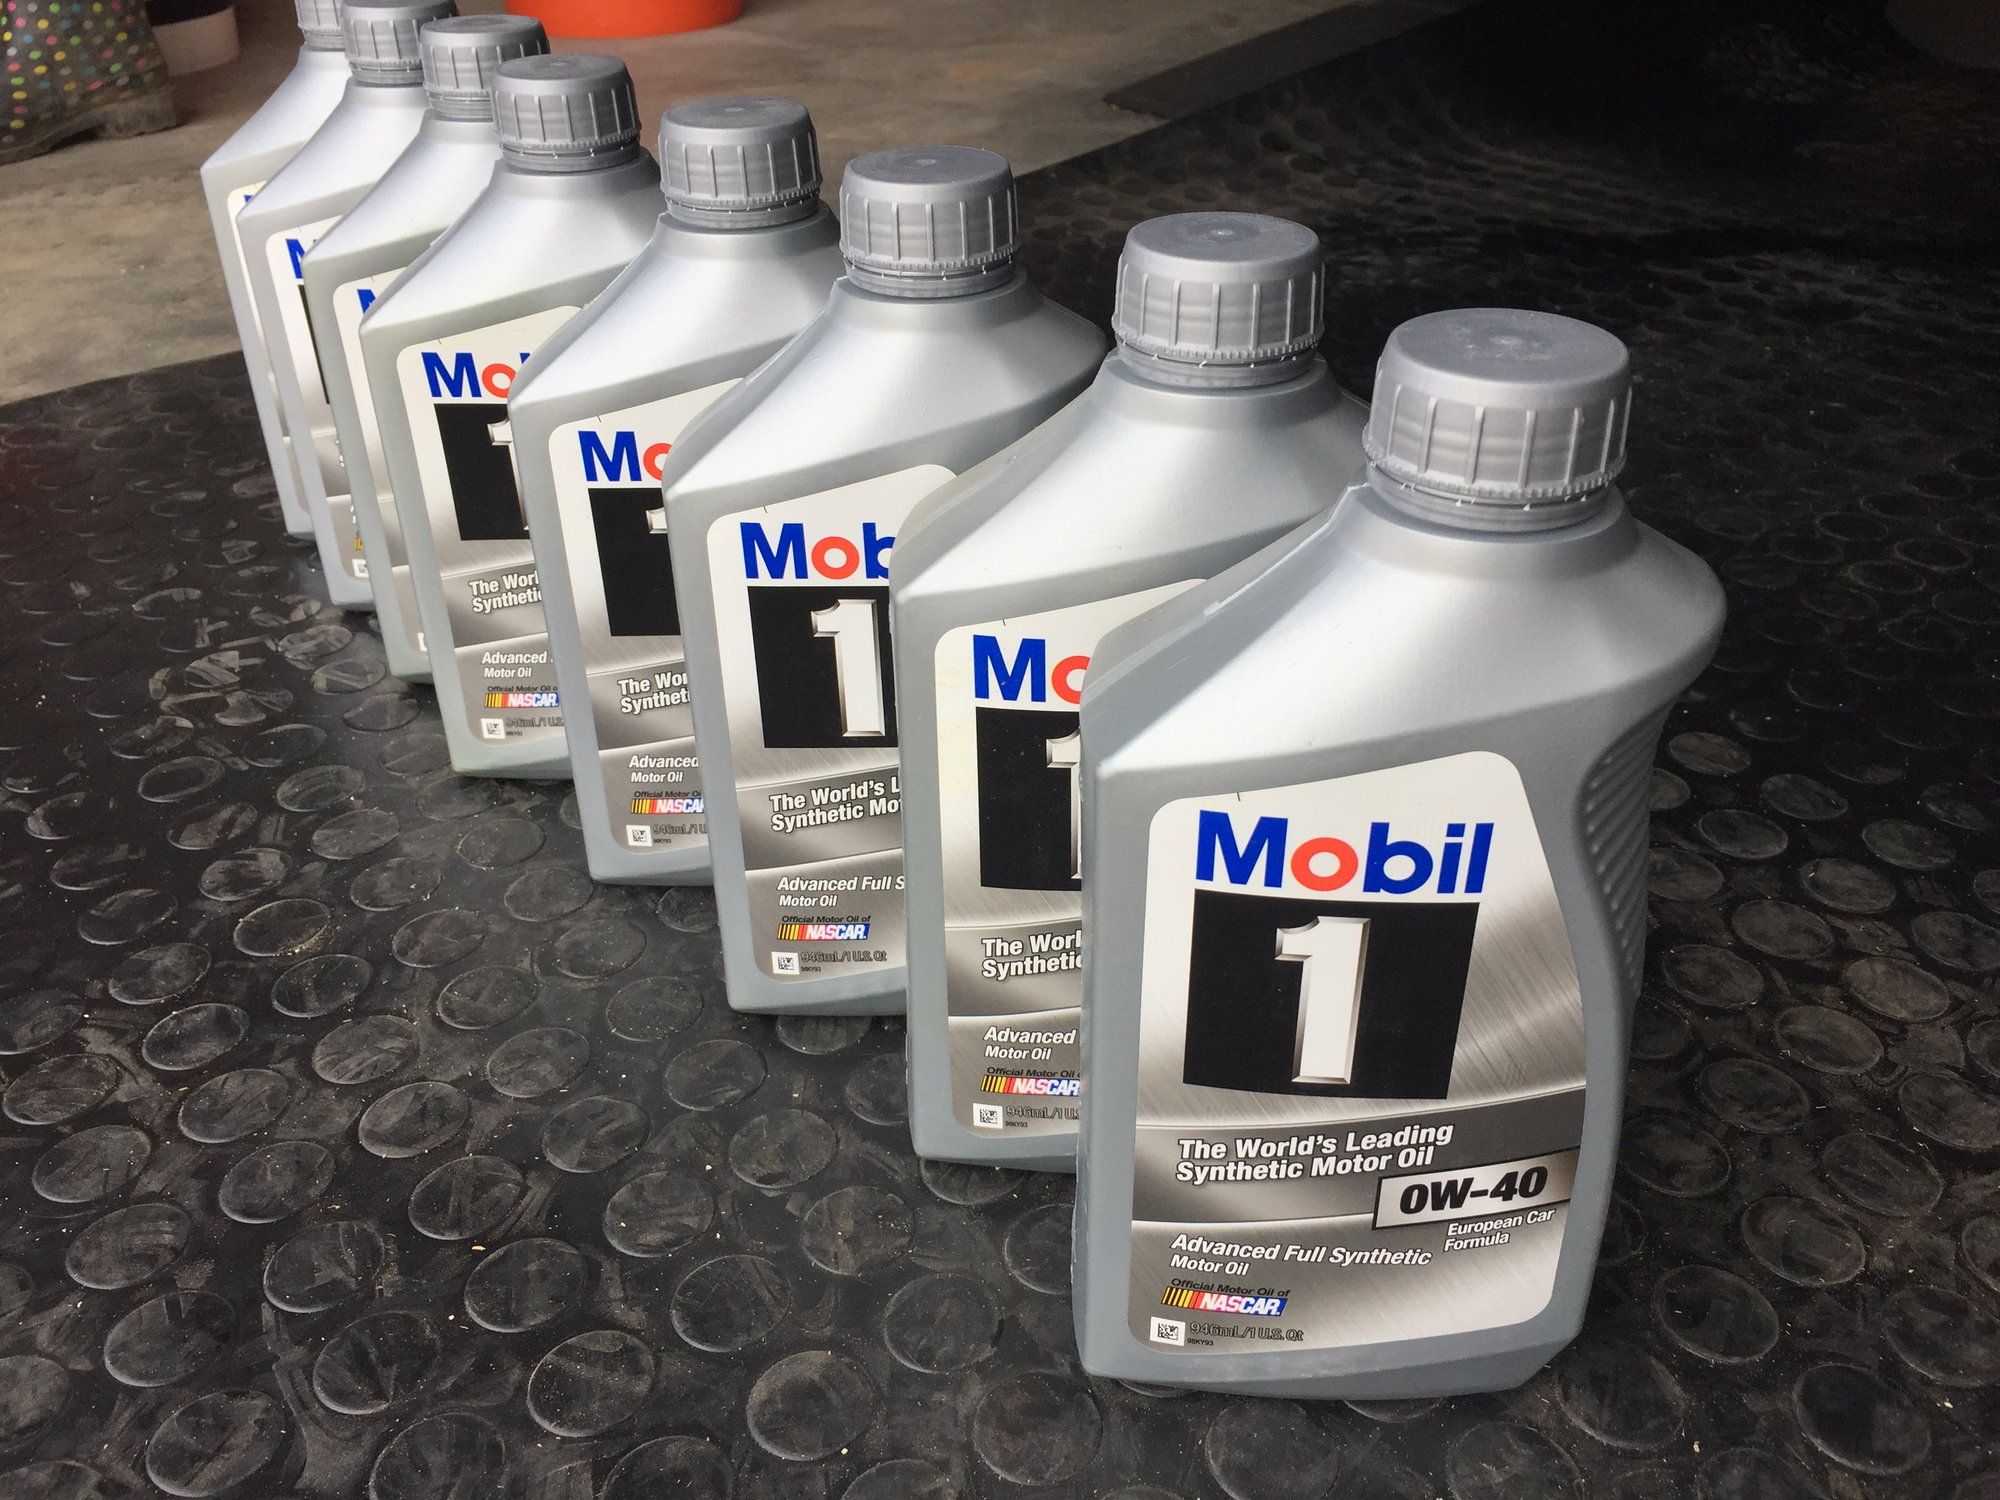
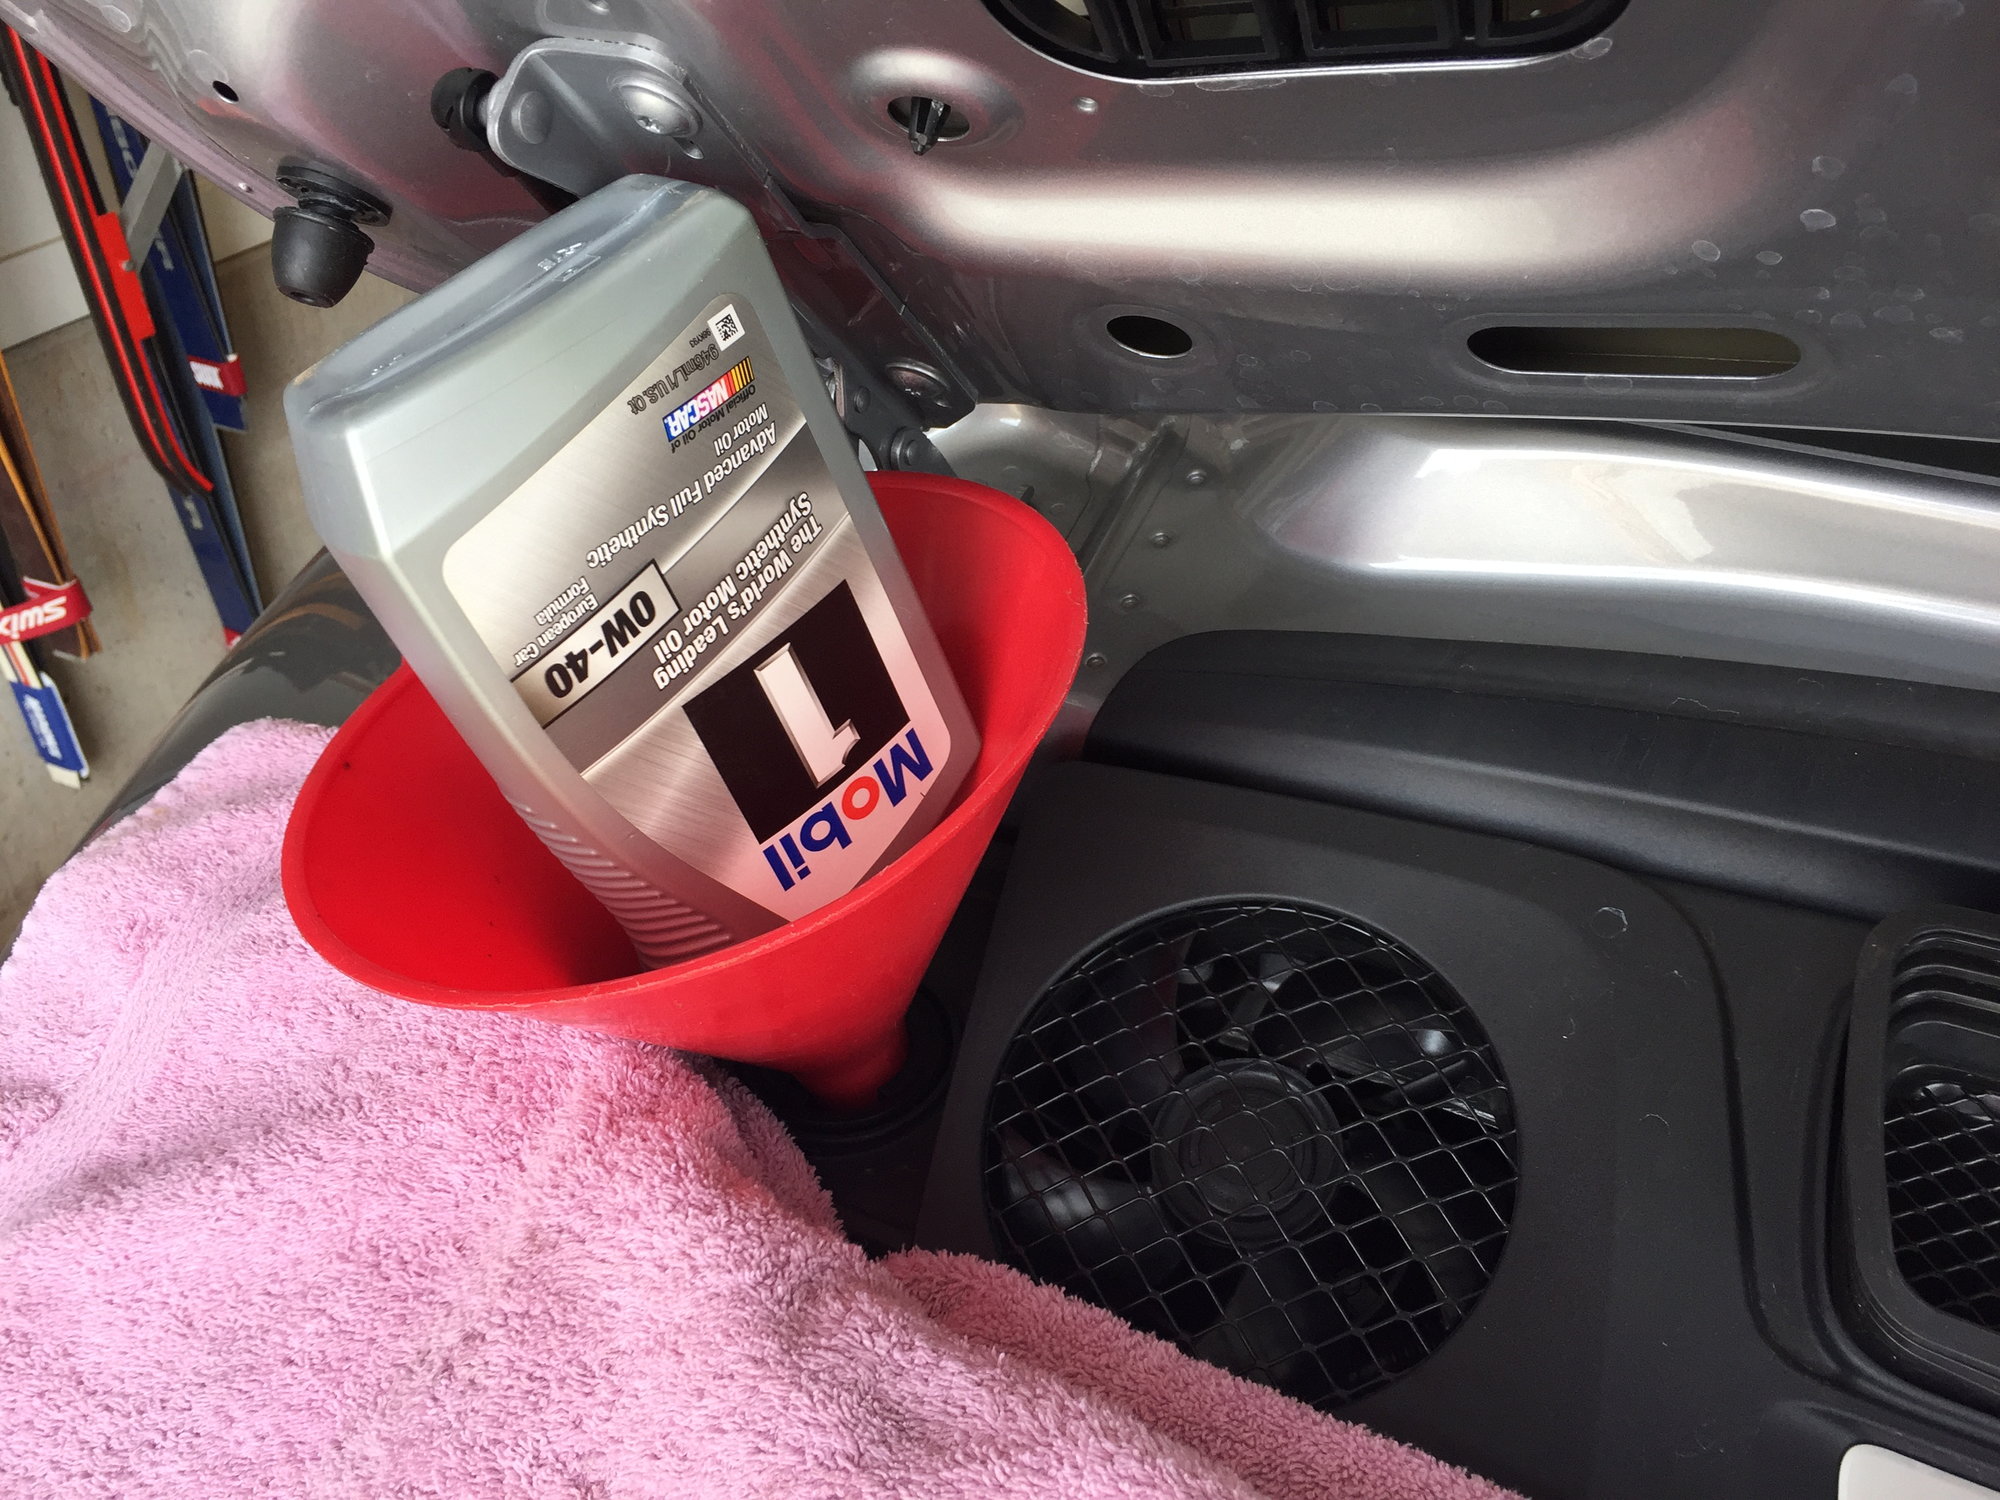
Ready to add oil! (well, as long as the new drain plug is in place--this was an easy twist) 8 quarts of Mobil-1 0W-40 is close to the 8 liters listed for an oil and filter change in the owner's manual:
A big red funnel makes pouring oil less risky:
With 8 quarts in, I ran the engine to get the temperature up, and then checked the oil level via the dash info system: just below the middle of the target range. Job done!
This all took about 30 minutes, including taking photos. I think writing this post might have taken longer.
Terrific! Thanks for taking the time to photograph your work. I already have the oil from an Amazon sale a month or so ago. My car will be a year old in August, that's when I plan to change the oil.
Excellent DIY and documentation. I did my 991.2 oil at about 1500 miles and reused the drain plug, having bought just the filter from the Porsche dealer. Can you think of any reason not to do that?
Nice write-up. Looks like it may be tighter in there than on the 991.1. Or it may be the photo angle.
I found this 6-Point Oil Filter Socket helpful when I did the filter on my 991. That allowed me to get to the filter can's top without needing to remove anything except the fan assembly.
Another great post by yet another generous member. There should be a way to reward these people... and place the thread in an archive for quick reference for years to come. Two thumbs up and a big thank you.
Fantastic job -- really appreciate -- hope it works on the Turbo. I'm bookmarking this thread, and printing it to ensure I don't lose it -- probably should put it in the safe.
Excellent DIY and documentation. I did my 991.2 oil at about 1500 miles and reused the drain plug, having bought just the filter from the Porsche dealer. Can you think of any reason not to do that?
No reason. Drain plug was easy to undo and install, at least with the dedicated tool. I can speculate that just using a flat blade screwdriver might have a greater risk, and after a while the plastic might get abused.
Great write-up. Good job on the early oil change, too.
This will really help out the 991.2 owners.
Just so you know, Porsche does not use a "break in" oil as the factory fill. They use the same M1 0W40 as you used.
How will you re-set the service reminder?
Thanks. I realize the oil is "normal", and that modern engine assembly and break-in does not produce the same debris more common a few decades ago. But I still wanted to get that first oil replaced.
No service message to reset--not expecting one until 10k miles.
No reason. Drain plug was easy to undo and install, at least with the dedicated tool. I can speculate that just using a flat blade screwdriver might have a greater risk, and after a while the plastic might get abused.
The o-ring on the drain plug is probably the first limiting factor on reuse. It has to have a 3-sigma lifetime in units of insertions, time and heat-cycles.
The o-ring on the drain plug is probably the first limiting factor on reuse. It has to have a 3-sigma lifetime in units of insertions, time and heat-cycles.
I agree, but given that it's going into a well-lubricated hole, I suspect that O-ring would last a long time--probably way longer than the typical crush washer used on metallic drain plugs.

 05-07-2017 | 11:59 PM