
Hammered Boxster Detailed
 04-28-2008 | 11:35 PM
#1

Thread Starter
Burning Brakes
Joined: Nov 2004
Posts: 861
Likes: 0
From: Texas
This Porsche Boxster was in sad shape. Paint chips galore, paint was very hazy all over and had no shine. Wheels were losing their clear, dings on every panel and the driver seat was almost bare on the side bolster.
I went to work on the exterior using a wool pad, the Metabo and a mixture of the old Optimum compound and Hi-Temps Extreme cut (about a 50/50 mixture). This leveled the paint down real nice and then used a white LC pad with Optimum polish to remove the wool swirls. The top was also cleaned and treated using 303's water repellent.
Final PolishII was then used with a rotary and a black finishing pad and also with my Cyclo to even out the paint.
Ron worked on the dings at this point and then laid down some Opti-Seal as our base. On top of the Opti-Seal Ron hand applied some Victoria's red Concours and also some of their new beta paste wax (a review of that wax to come later).
Ron then set about the interior while I finished up some exterior chip repairs plus some extra detail here and there.
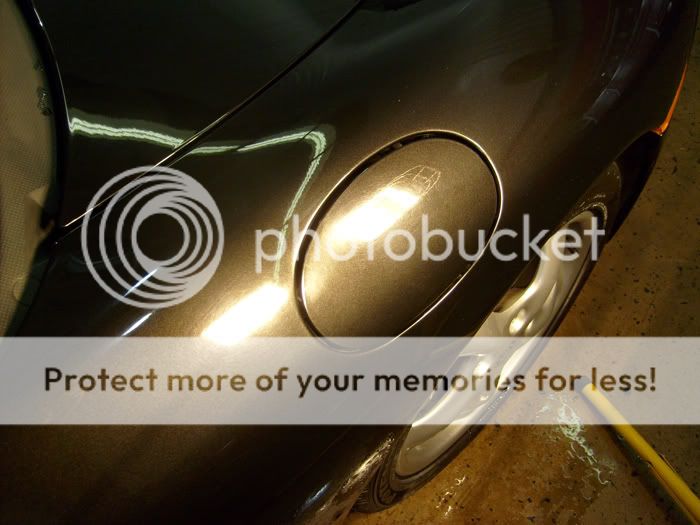
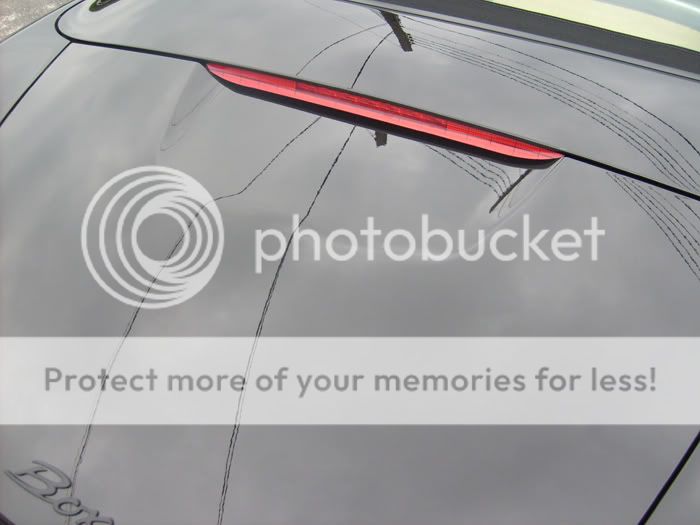
The skies were very overcast so I don't have any really good "Before & After" pictures. In these first 2 pictures you can kinda make out the scratches in the paint. This was an odd gold-brown color that showed well in the sun I'm sure but looked rather BLAH in the shade or overcast skies.
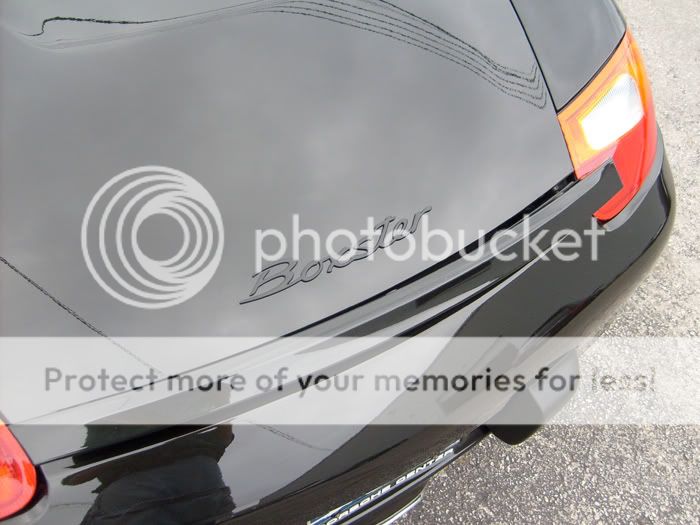
We also removed the Boxster emblem, cleaned the area and polished it really good and then replaced the emblem with a new one. Ron and I both hate these types of emblems as they trap all kinds of crud in between the lettering.
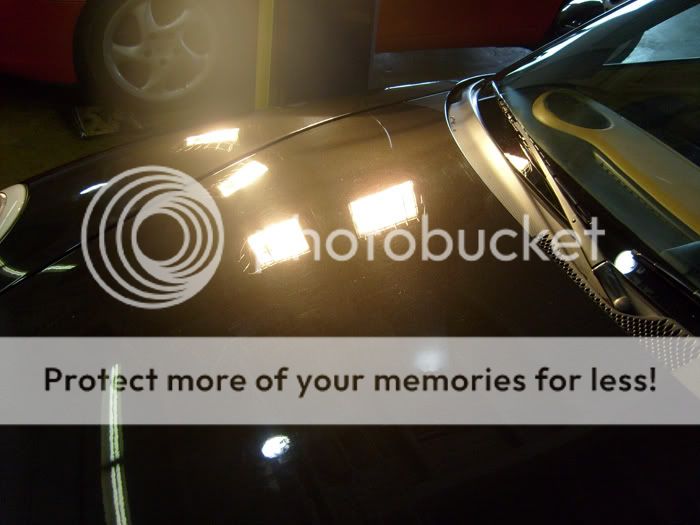
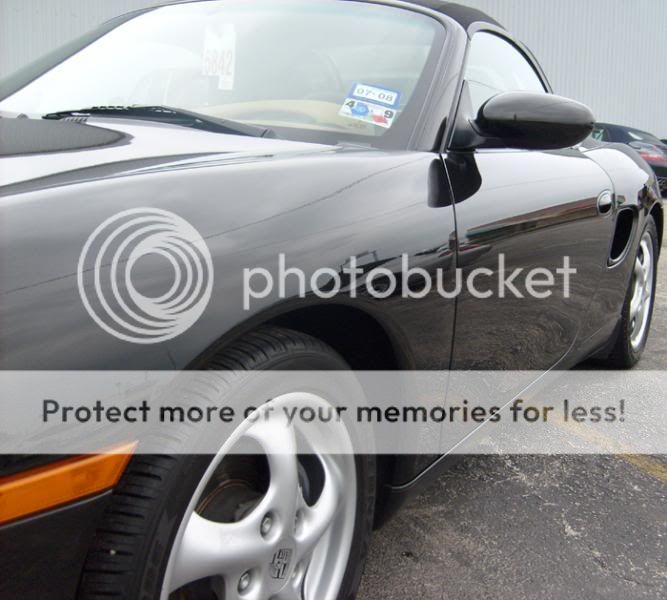
Here are a few AFTER pictures of the Boxster all done.....sadly no sun.

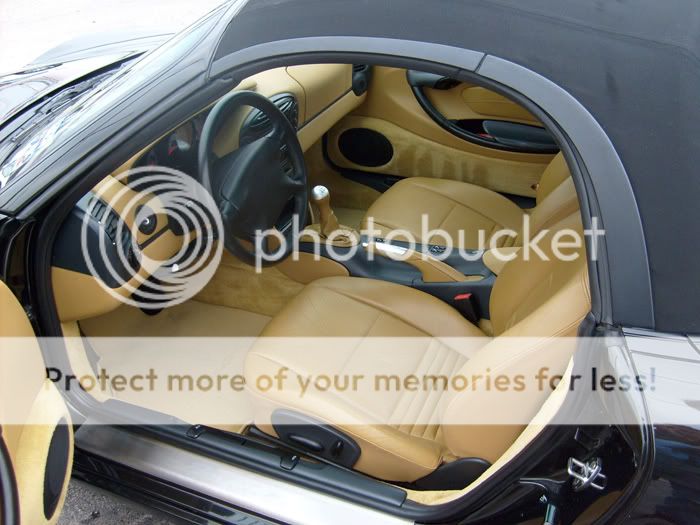
Here is Ron's handy interior work. Lot's of driving with the top down as Ron encountered a lot of ground in dirt. Ron steam cleaned the entire interior, top to bottom, and then dressed it out with Optimum Protectant+. We could see the dirt literally lift out of the dash material and run down as the steamer went over those areas.......even after an initial cleaning!
The rear area where the plate and bumper pads reside always get really filthy and encrusted with years of crap and baked on exhaust so I removed everything I could and cleaned the area using a clay bar. The bumperets were cleaned with GR-40 and dressed with Optimum Protectant+ and set aside to dry.
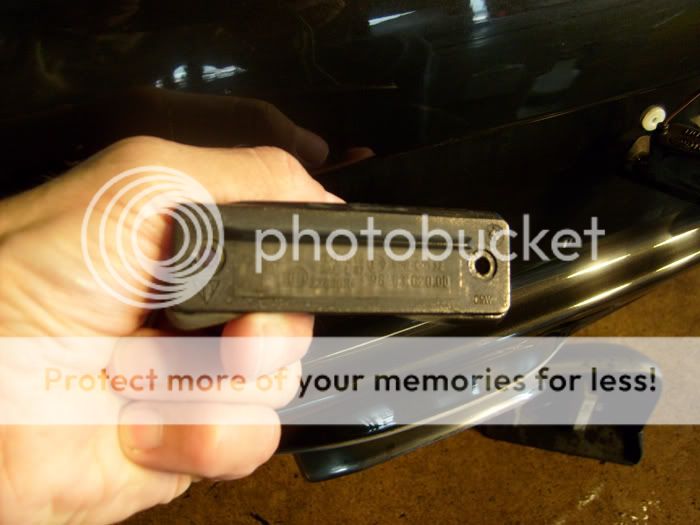
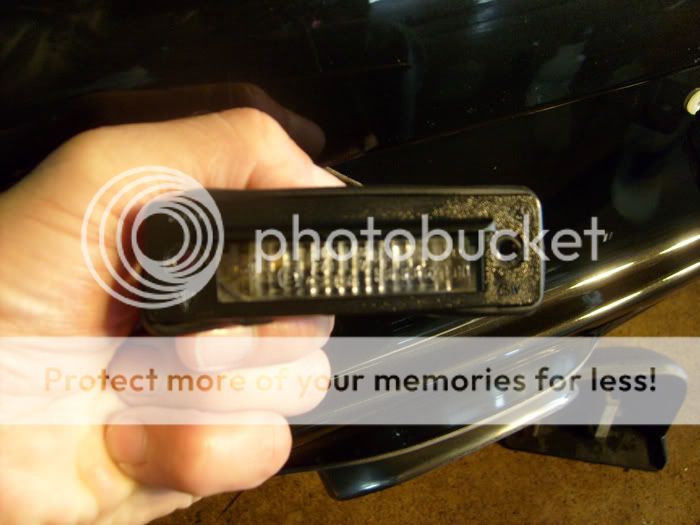
I then removed the license lights and went about cleaning them with Optimums soon to be released water spot remover plus some APC. Some Optimum polish on the lenses and they were looking pretty good.
I went to work on the exterior using a wool pad, the Metabo and a mixture of the old Optimum compound and Hi-Temps Extreme cut (about a 50/50 mixture). This leveled the paint down real nice and then used a white LC pad with Optimum polish to remove the wool swirls. The top was also cleaned and treated using 303's water repellent.
Final PolishII was then used with a rotary and a black finishing pad and also with my Cyclo to even out the paint.
Ron worked on the dings at this point and then laid down some Opti-Seal as our base. On top of the Opti-Seal Ron hand applied some Victoria's red Concours and also some of their new beta paste wax (a review of that wax to come later).
Ron then set about the interior while I finished up some exterior chip repairs plus some extra detail here and there.
The skies were very overcast so I don't have any really good "Before & After" pictures. In these first 2 pictures you can kinda make out the scratches in the paint. This was an odd gold-brown color that showed well in the sun I'm sure but looked rather BLAH in the shade or overcast skies.
We also removed the Boxster emblem, cleaned the area and polished it really good and then replaced the emblem with a new one. Ron and I both hate these types of emblems as they trap all kinds of crud in between the lettering.
Here are a few AFTER pictures of the Boxster all done.....sadly no sun.
Here is Ron's handy interior work. Lot's of driving with the top down as Ron encountered a lot of ground in dirt. Ron steam cleaned the entire interior, top to bottom, and then dressed it out with Optimum Protectant+. We could see the dirt literally lift out of the dash material and run down as the steamer went over those areas.......even after an initial cleaning!
The rear area where the plate and bumper pads reside always get really filthy and encrusted with years of crap and baked on exhaust so I removed everything I could and cleaned the area using a clay bar. The bumperets were cleaned with GR-40 and dressed with Optimum Protectant+ and set aside to dry.
I then removed the license lights and went about cleaning them with Optimums soon to be released water spot remover plus some APC. Some Optimum polish on the lenses and they were looking pretty good.
04-28-2008 | 11:36 PM
#2
Thread Starter
Burning Brakes
Joined: Nov 2004
Posts: 861
Likes: 0
From: Texas
The crud!
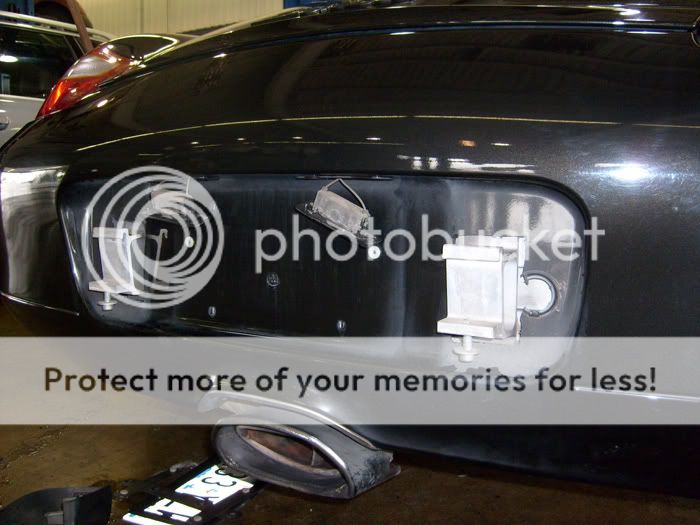
plate lights
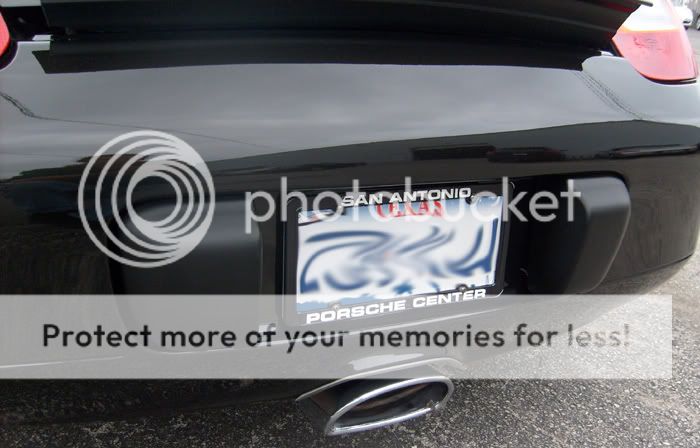
After
All put back together and looking pretty nice......Oh, the pipe was cleaned with #0000 steel wool and English Custom Restorer and then polished with their Custom Blend and a microfiber.
The owner was very pleased but I sure wish we had some sun so we could get some idea of just how it looked.
Thanks for looking, any questions please ask.
Anthony
plate lights
After
All put back together and looking pretty nice......Oh, the pipe was cleaned with #0000 steel wool and English Custom Restorer and then polished with their Custom Blend and a microfiber.
The owner was very pleased but I sure wish we had some sun so we could get some idea of just how it looked.
Thanks for looking, any questions please ask.
Anthony

Trending Topics
04-29-2008 | 08:24 PM
#8
Thread Starter
Burning Brakes
Joined: Nov 2004
Posts: 861
Likes: 0
From: Texas
Iceman, Stephan and Marine Blue.....thank you very much for the comments 
C2Silver.......I had to eyeball the color mix with some metallic gold and metallic black with a dash of a silver. I then used a very fine red sable brush to gently dab the paint into the chips. It had tons of chips so I tried to concentrate on the larger ones with the brush.
The small ones I applied paint to my finger and rubbed it across the paint, try to push paint into the chips. I then used a paint leveling chemical to remove the excess after allowing the paint to dry for about 15 minutes. Thank you also for the kind words.
Anthony