

Half assed plug replacement

 Which is good news.
 09-09-2021, 07:07 PM
#8
Way easier. Took 2 hours start to finish. Porsche instructions are daunting. But when you see it then it's easy. Only problem is I spent $800 on a scanner to reset the oil light. Which it does. But it can't access the menu to put in the service in the PCM. If it can I have no idea how to do it and I'm scared to go in the programming portion.
But $800 to do the plugs at the dealer is crazy.
But $800 to do the plugs at the dealer is crazy.
The following users liked this post:
chassis (09-09-2021)
09-09-2021, 07:12 PM
#9
Rennlist Member
Way easier. Took 2 hours start to finish. Porsche instructions are daunting. But when you see it then it's easy. Only problem is I spent $800 on a scanner to reset the oil light. Which it does. But it can't access the menu to put in the service in the PCM. If it can I have no idea how to do it and I'm scared to go in the programming portion.
But $800 to do the plugs at the dealer is crazy.
But $800 to do the plugs at the dealer is crazy.
That sucks that the scanner won�t allow you to input the maintenance performed. But good to know that it can�t. No worries, just save the spark plug receipts and document the date performed. That should suffice for proof of maintenance performed.
The following users liked this post:
chassis (09-09-2021)
09-09-2021, 07:29 PM
#10
I write everything down in the maintenance book with the order number from FCP euro. And the scanner will reset the oil interval and such. Which I guess is better than nothing.
09-09-2021, 11:19 PM
#11
Rennlist Member
Nice work! Is the Porsche procedure posted somewhere on this site? I didn't see a DIY sticky in the 9Y0 section. What is the spark plug torque spec?
 09-10-2021, 02:41 AM
#12
No. Not posted. I joined the Porsche network and pay a fee for the instructions and promise not to share. However, I couldn't really figure out how to follow them and basically just improvised and removed stuff.
It did give specific instructions on how to remove the clip I broke. But I was too impatient.
The plugs are 17 ft/lb. The plugs I got from FCP Euro. Guaranteed for life after this set but they were $150 for 6 plugs.
It did give specific instructions on how to remove the clip I broke. But I was too impatient.
The plugs are 17 ft/lb. The plugs I got from FCP Euro. Guaranteed for life after this set but they were $150 for 6 plugs.
09-12-2021, 06:02 PM
#14
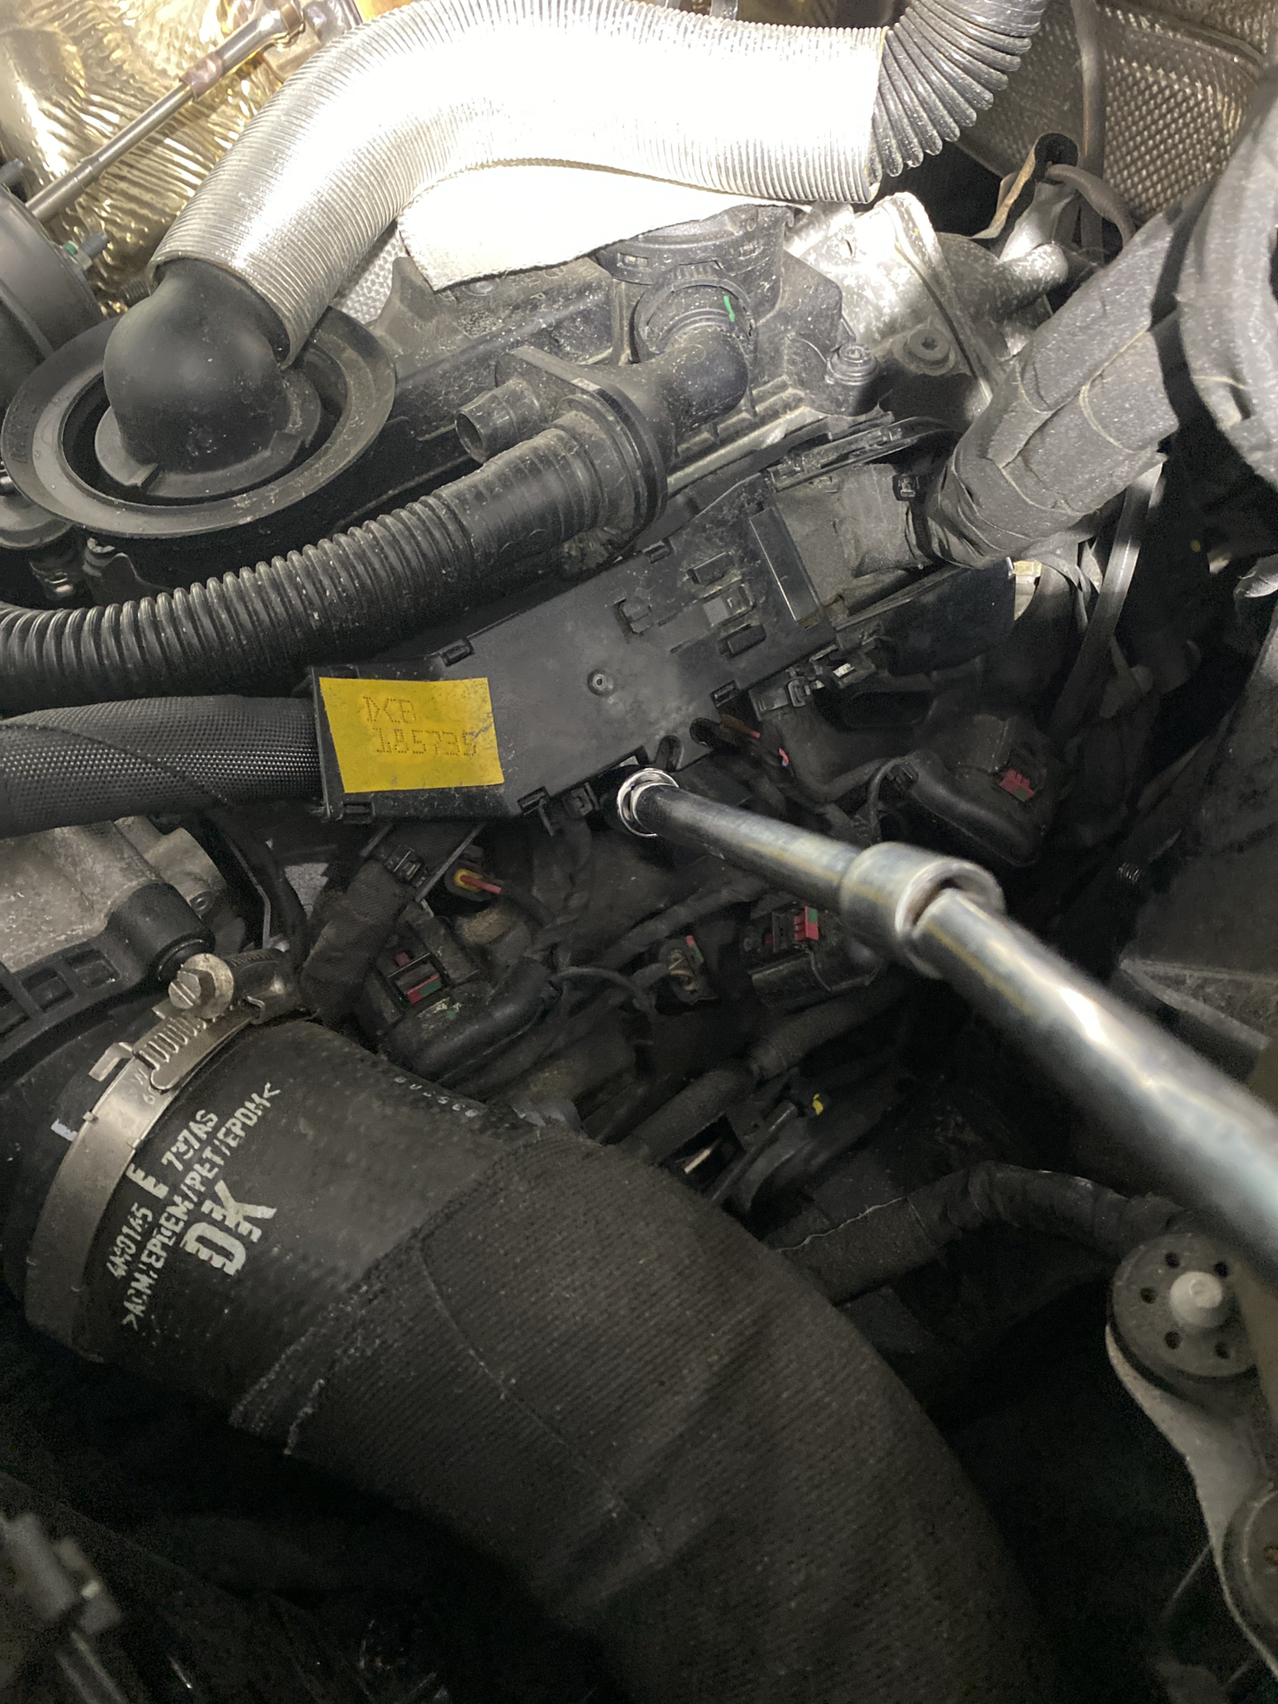
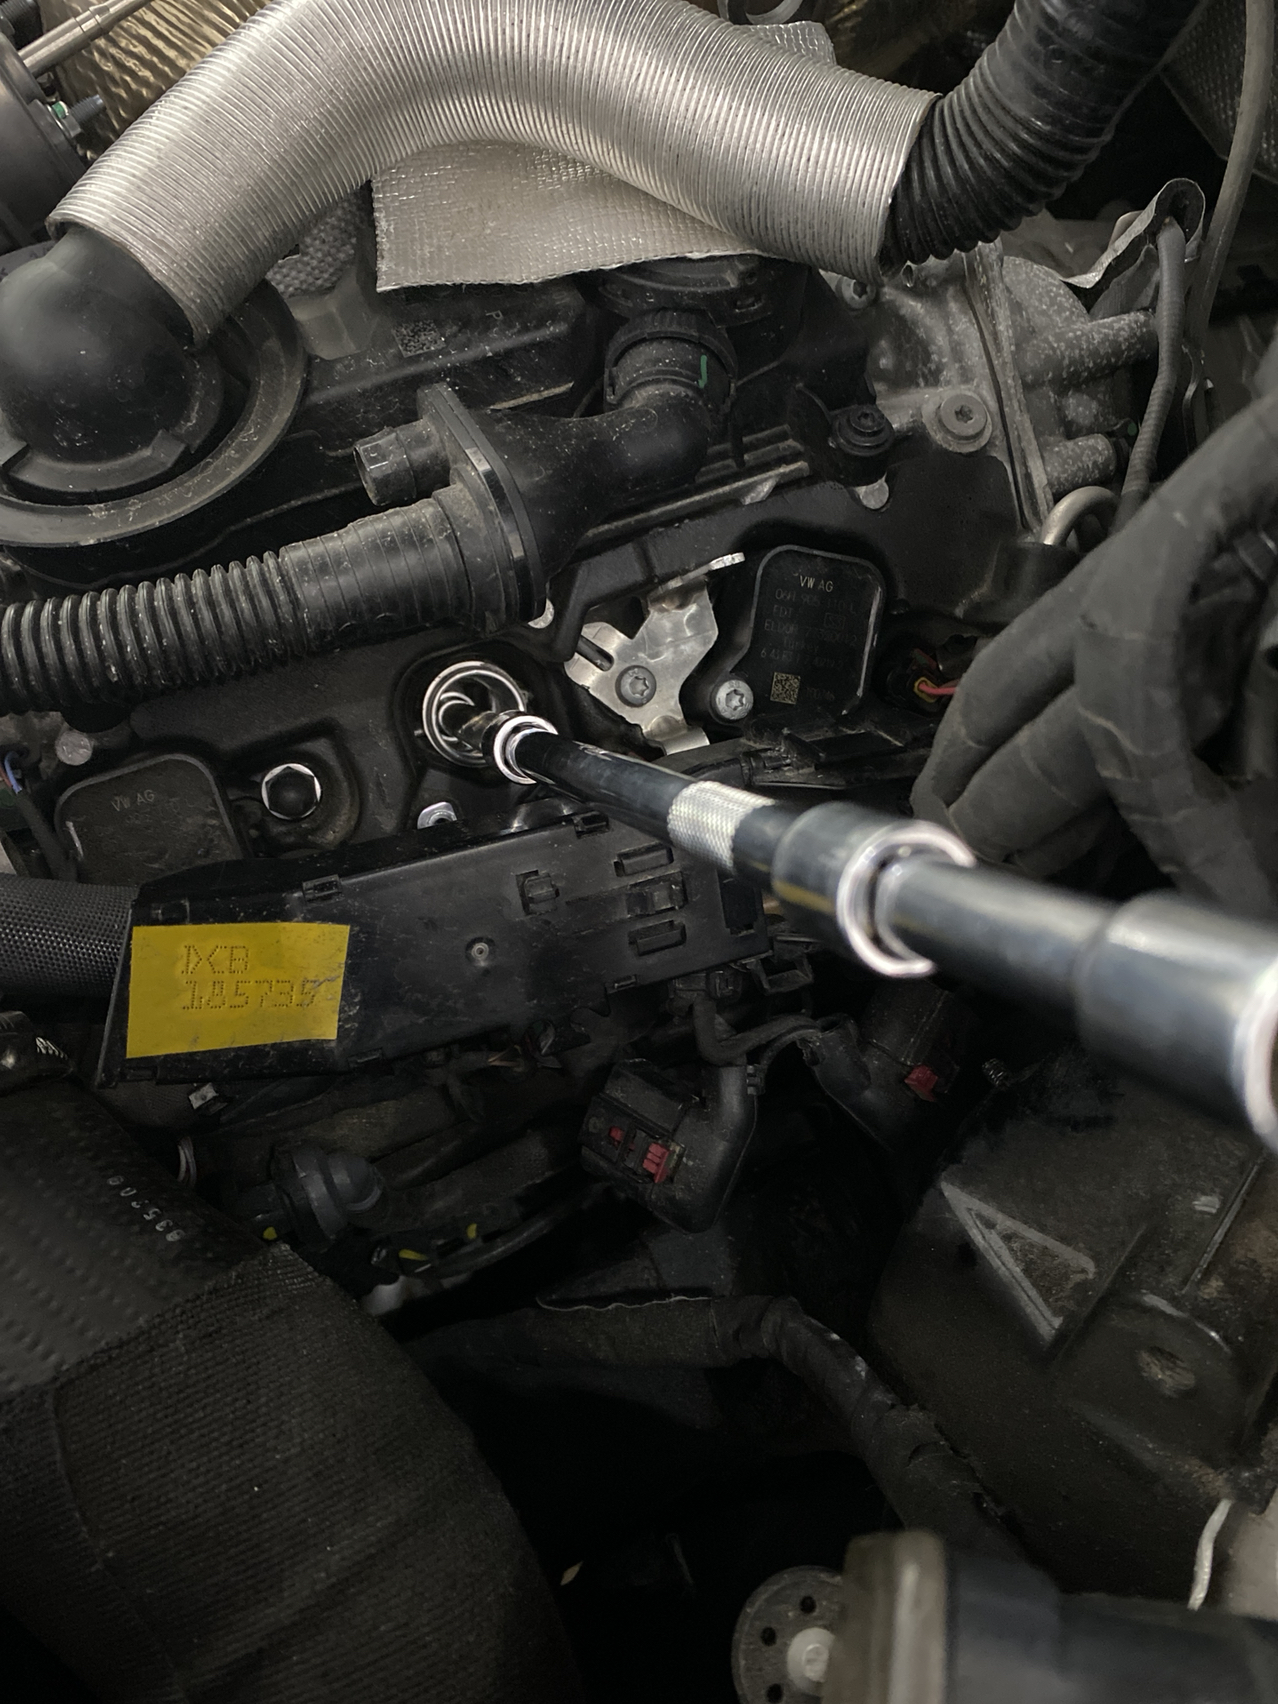
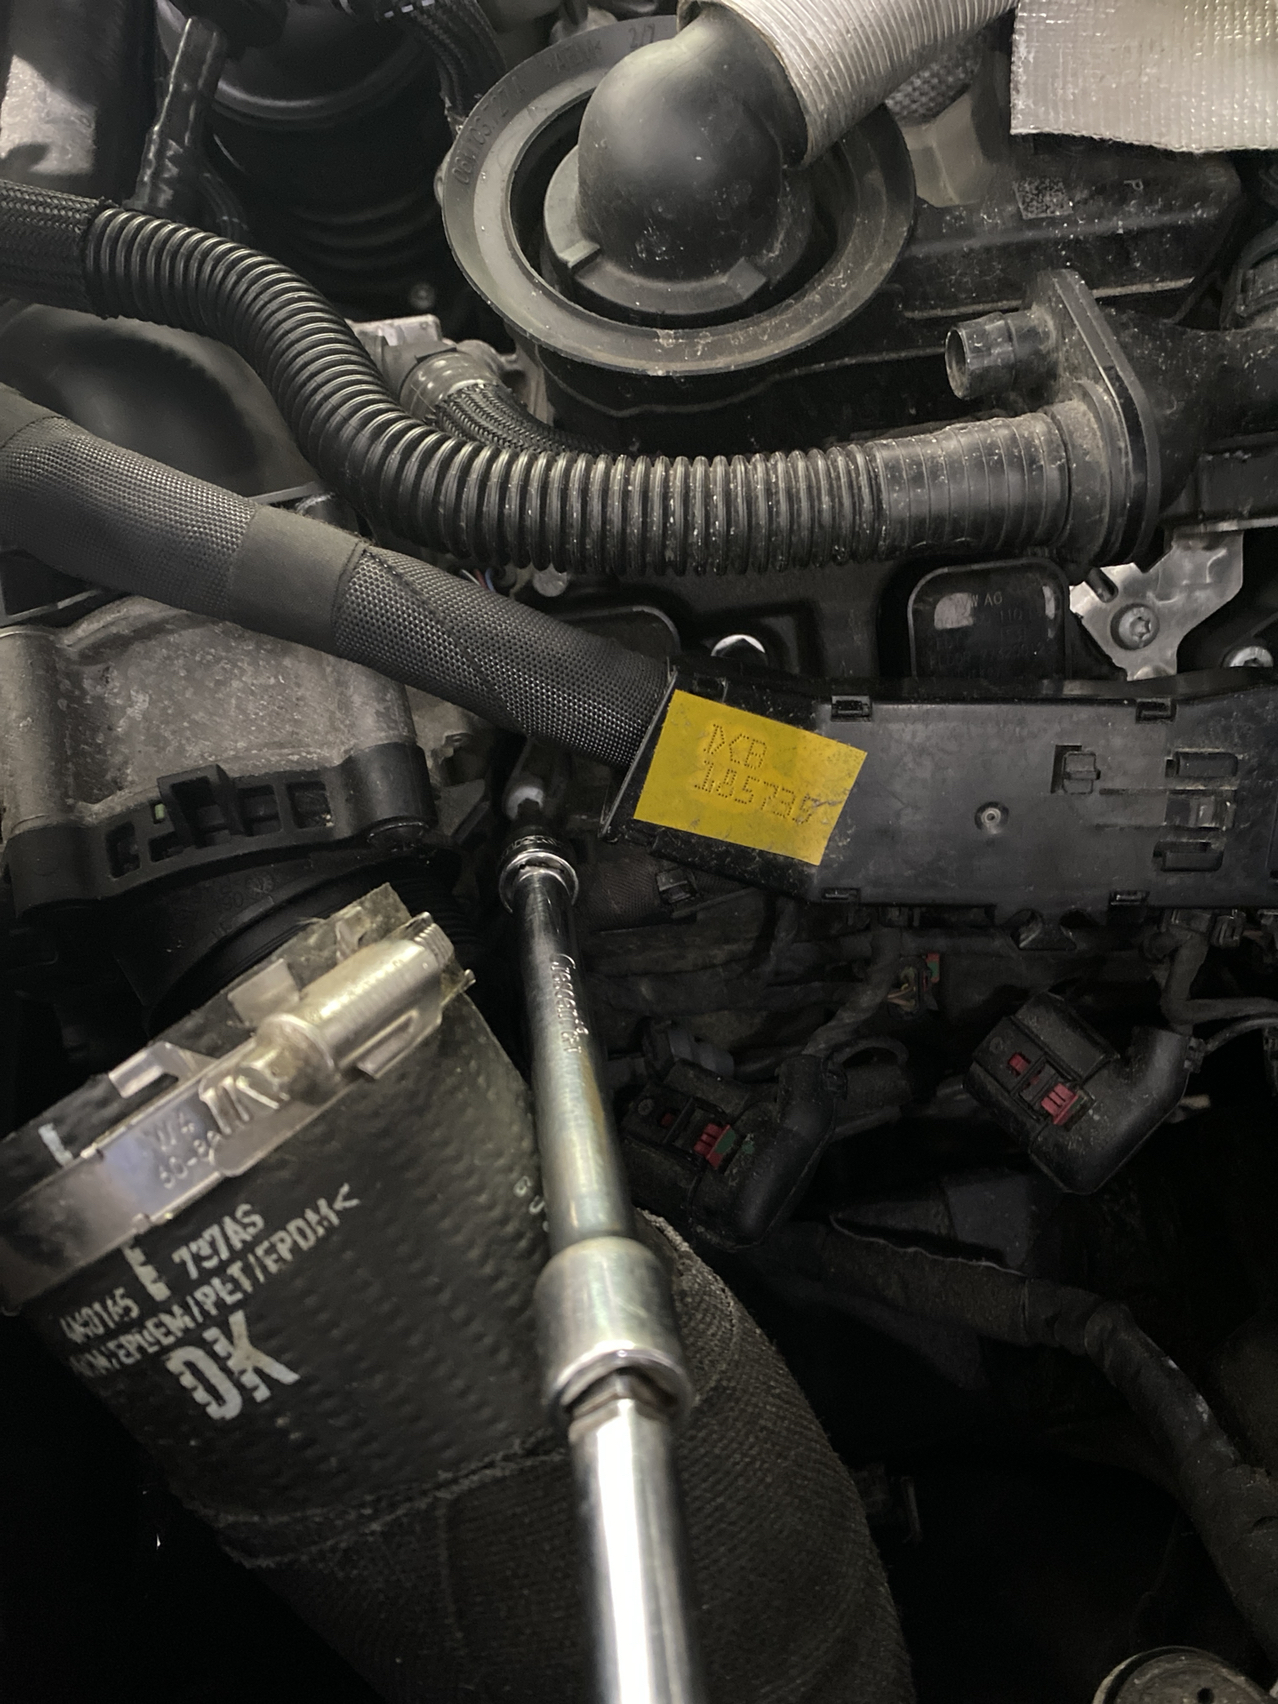
No. All accessible though the top. 2020 base with the 3.0 monoturbo- that's the Porsche speak. You can actually see the coils without removing the air box. First time removing the air is took 5-10 minutes. But now that I know where the clips are it's a 30 second job. And only thing you need is a long extension. No wobble or anything. Just have to be above or below the wiring harness. Below to get the coil screw and above to get the plug.
The following users liked this post:
chassis (11-28-2022)
09-08-2022, 04:44 PM
#15
Thank you to dgjks6. His photos and narrative were very helpful.
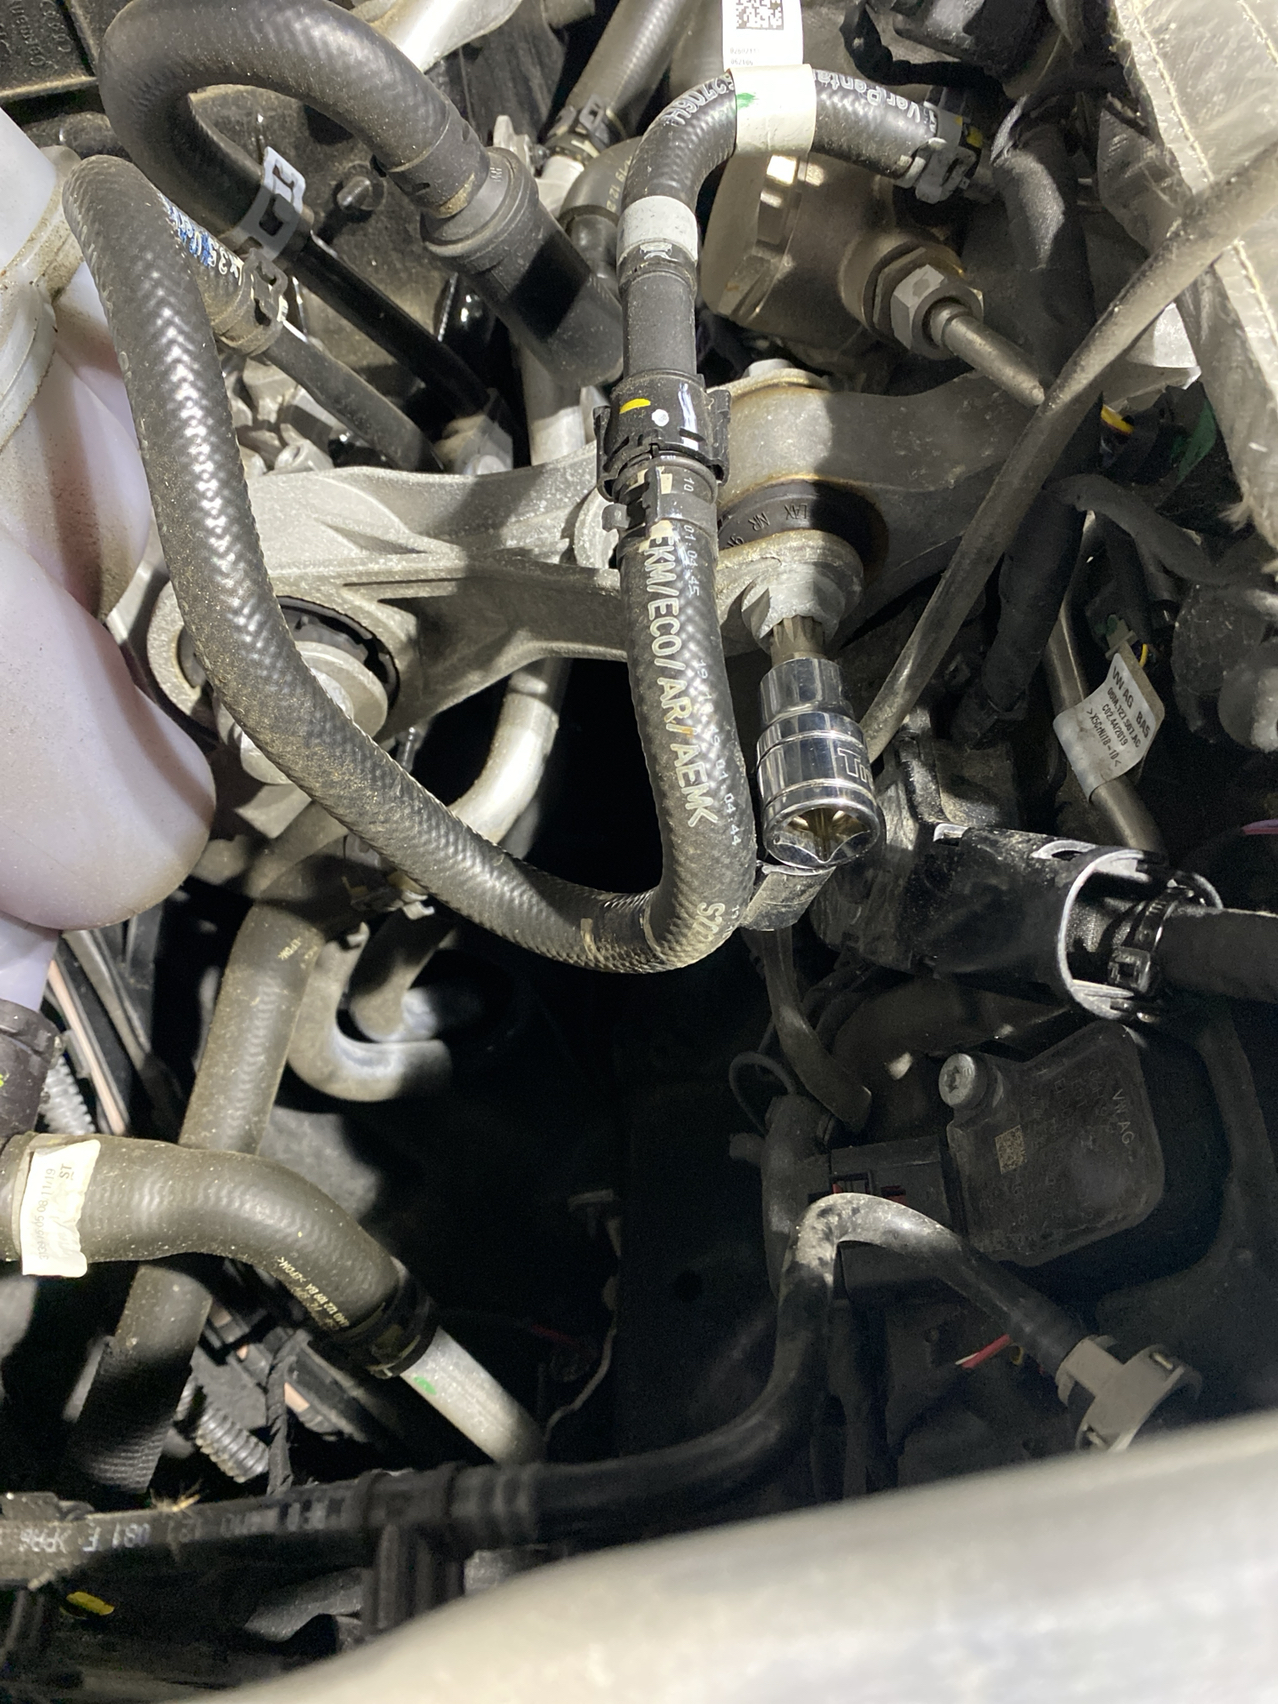
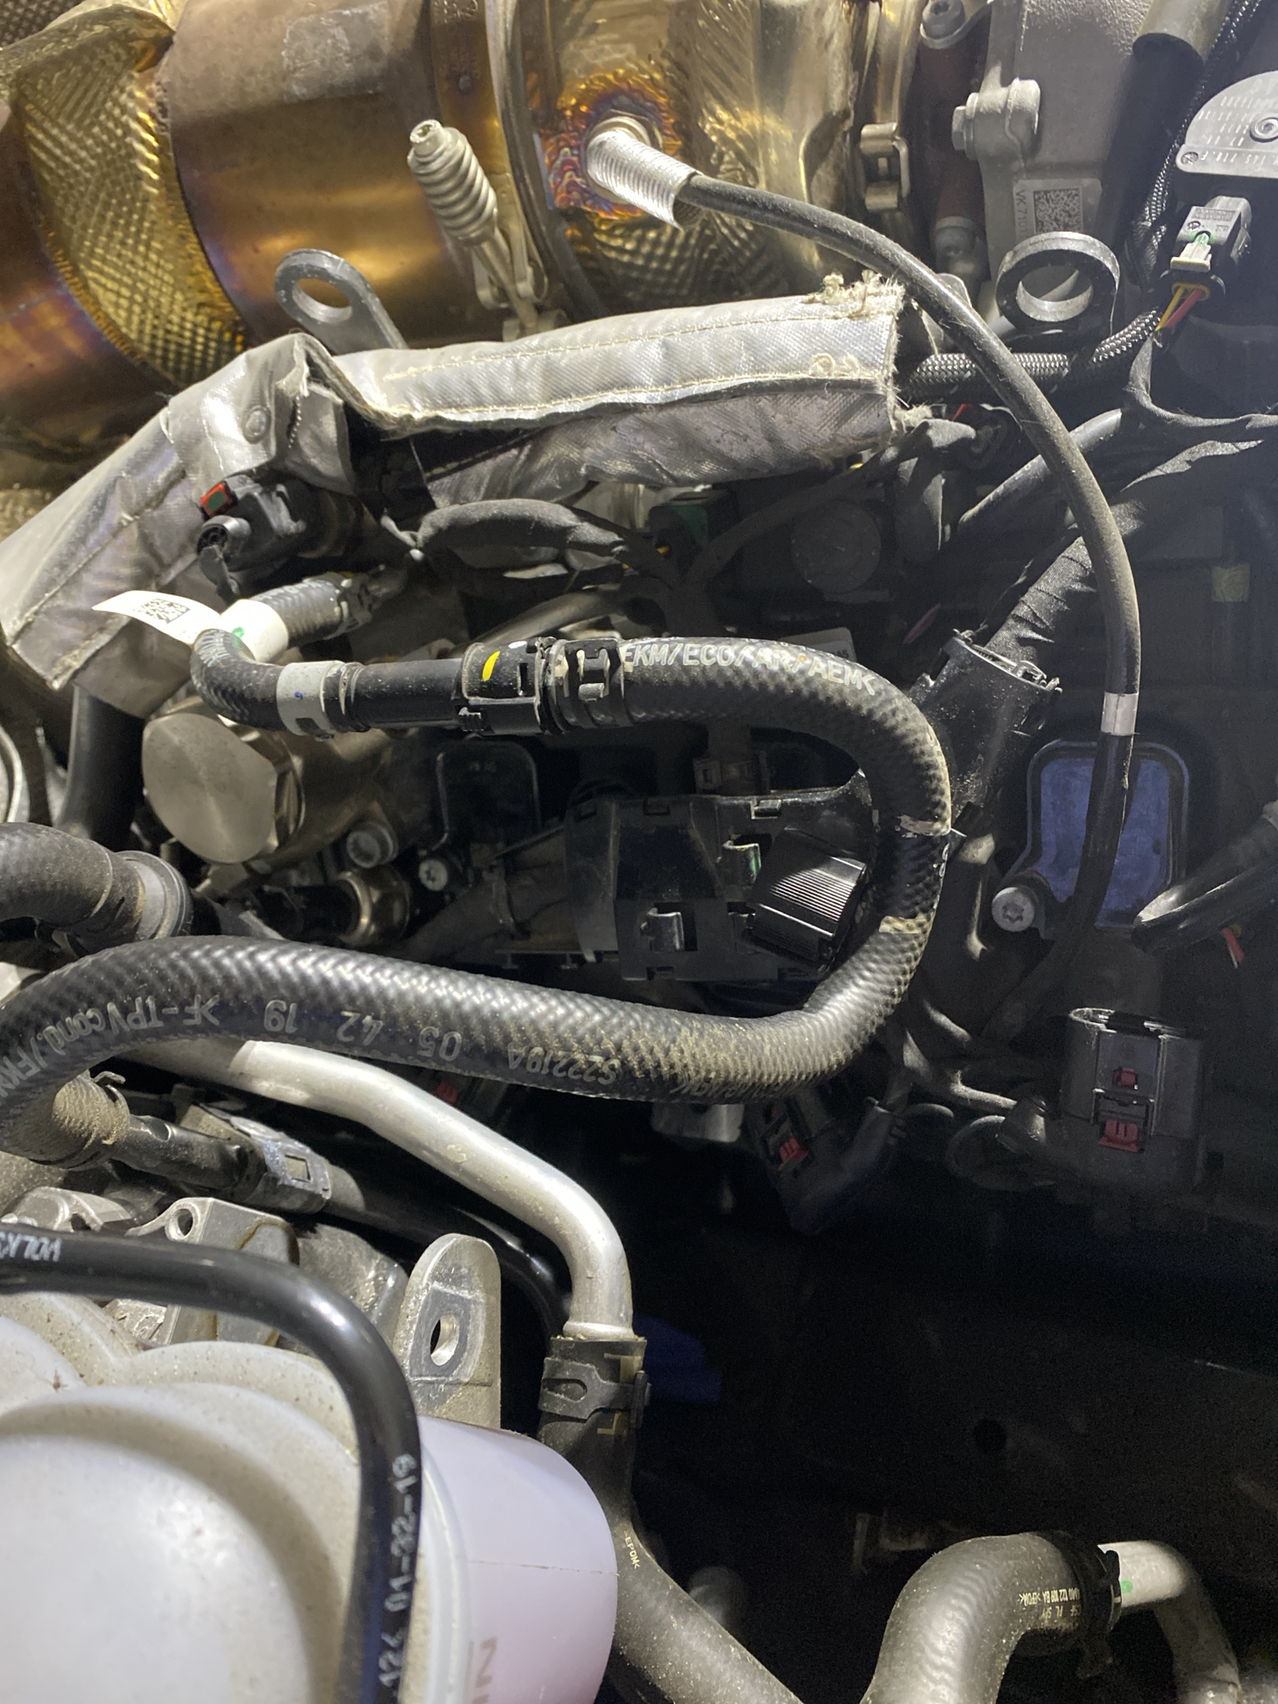
To unbolt the aluminum engine support arm that must be removed to access the passenger side sparkplugs, I used two triple square metric bits (size M10 and M12).
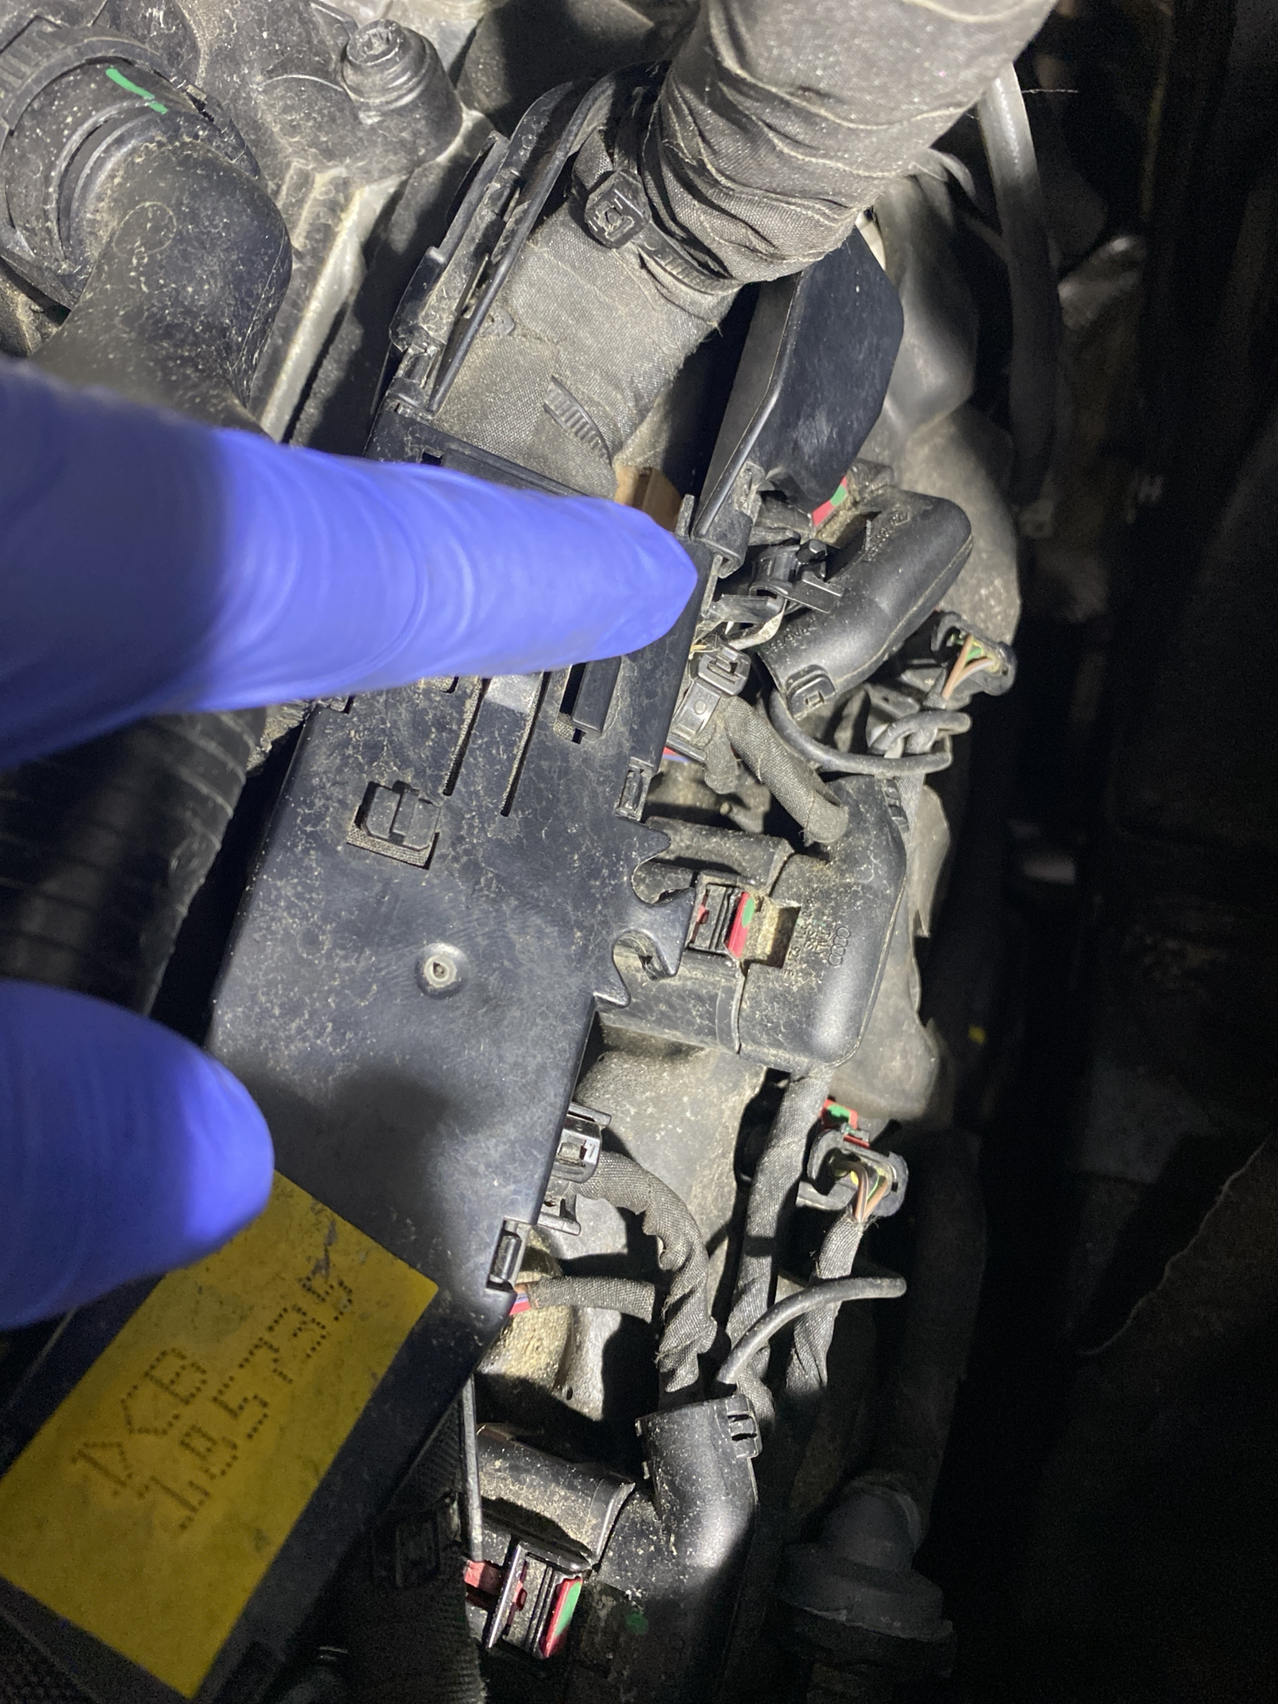
To unclip the wiring socket from each coil, the purple and green latch slides towards you. I used a small screwdriver to gently move it then pulled the socket away from the coil. After removing the three coil wiring sockets, the wiring harness will move more freely and you'll be able to extract the coils.
I torqued each sparkplug to 30 nm. This seems to be the consensus of a few other forums.
To unbolt the aluminum engine support arm that must be removed to access the passenger side sparkplugs, I used two triple square metric bits (size M10 and M12).
To unclip the wiring socket from each coil, the purple and green latch slides towards you. I used a small screwdriver to gently move it then pulled the socket away from the coil. After removing the three coil wiring sockets, the wiring harness will move more freely and you'll be able to extract the coils.
I torqued each sparkplug to 30 nm. This seems to be the consensus of a few other forums.
The following users liked this post:
chassis (09-08-2022)