When you click on links to various merchants on this site and make a purchase, this can result in this site earning a commission. Affiliate programs and affiliations include, but are not limited to, the eBay Partner Network.
The only sign of trouble was that regardless of manual or auto on the HVAC, when the fan was signaled for a setting at the 5th or higher bar (the LCD bars that provide the visual reference next to the blower toggle), it would not produce a volume greater than the 4th bar.
Rats, it is the resistor pack. It appears that sometime ago, resistor packs, the IC board to control the fan and the blower were integrated into a single unit. Rats again, this could get expensive.
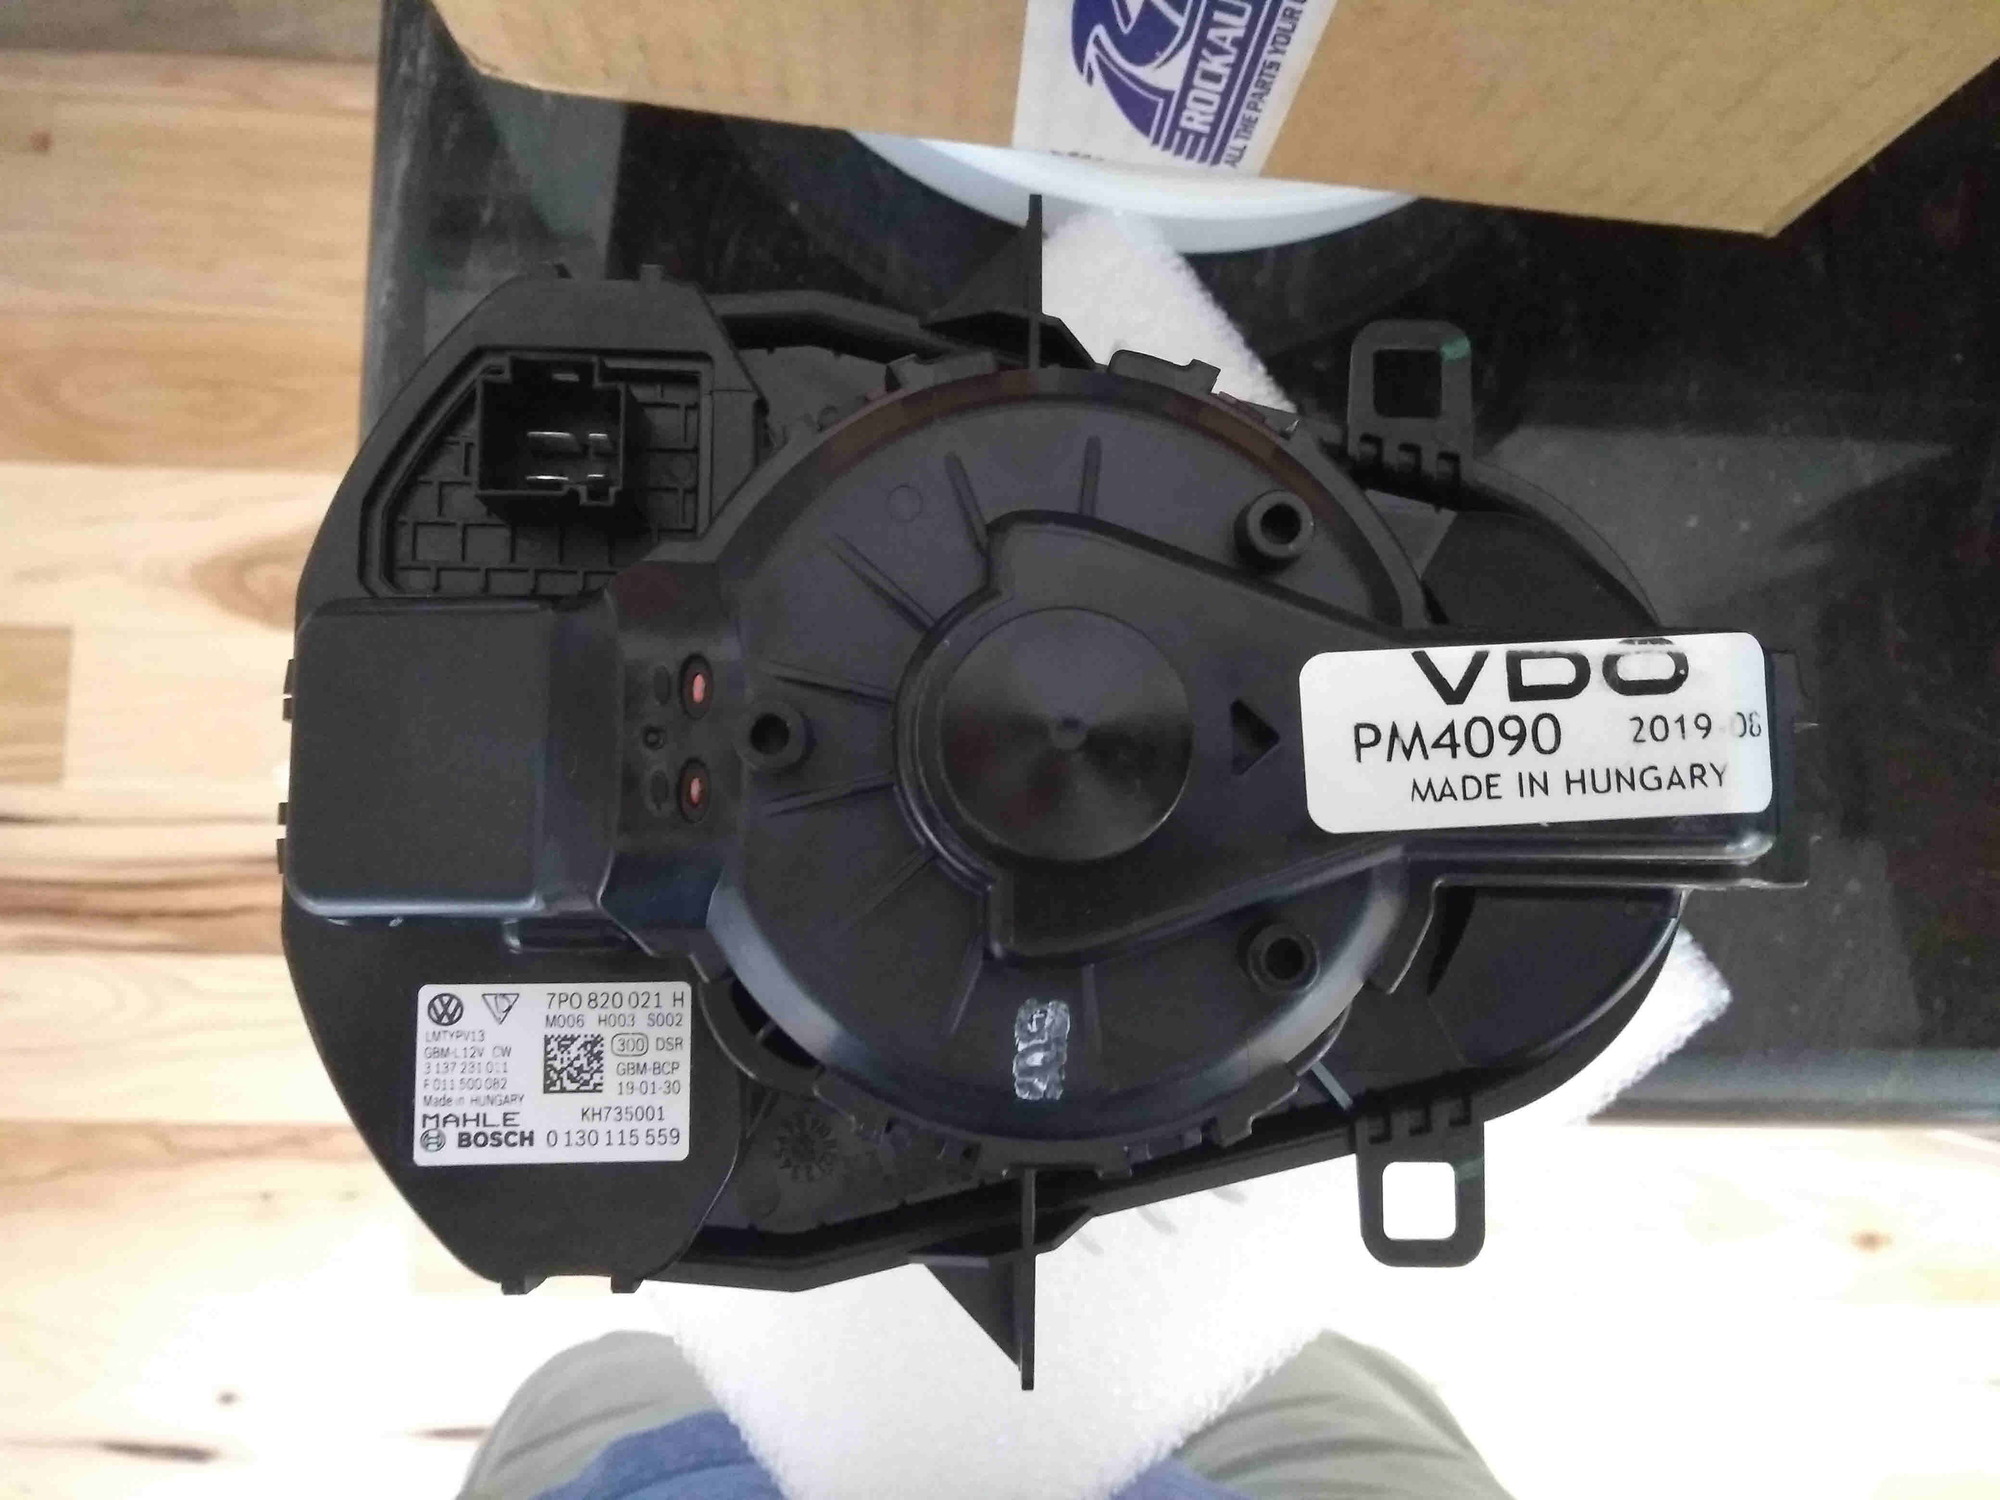
Did some quick research and found that Porsche was on its 3rd or 4th part number revision 2011-2018 958-572-342-03 at $528.89. It turns out to equal VW Tourag's 7P0820021H at $340. Still rooting around I found Rock Auto had VDO PM 4090 at $134.70 + S&H. Could I be so lucky? Ordered the VDO.
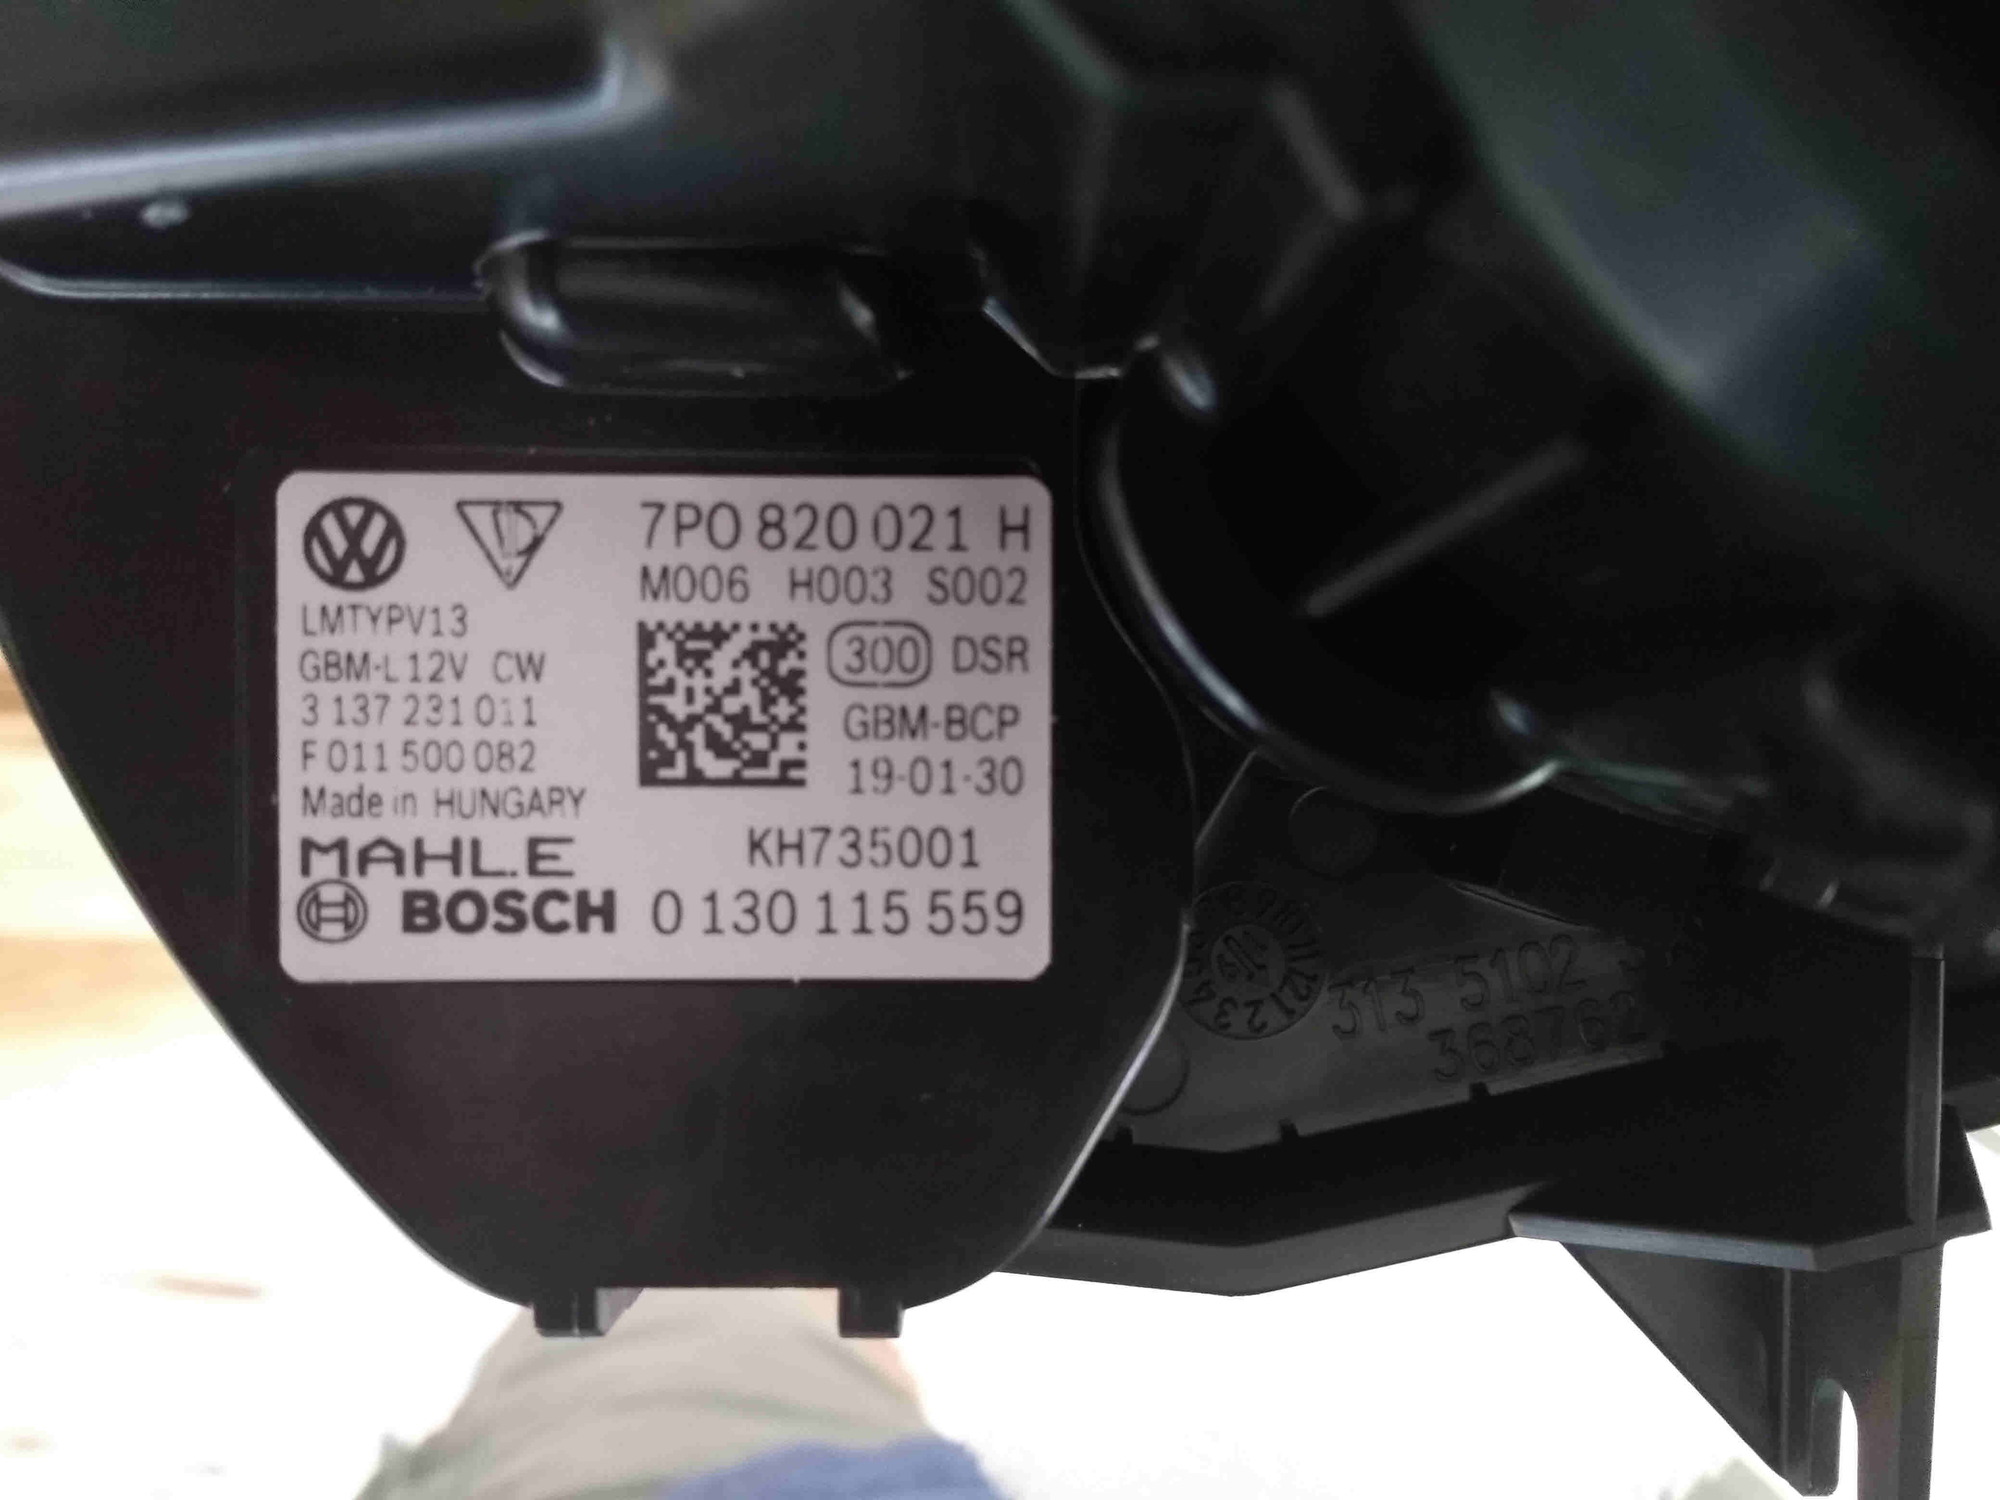
I will let the pics speak for themselves. Same supplier, same county of origin, same primary casting numbers on the housing.
The R&R is so straight forward. AllDataDIY has some very good pics and instructions too.
1. Torx 20 for the one screw holding the bottom cover on, the rest is a pull down in front (clips) and then pull forward friction fit
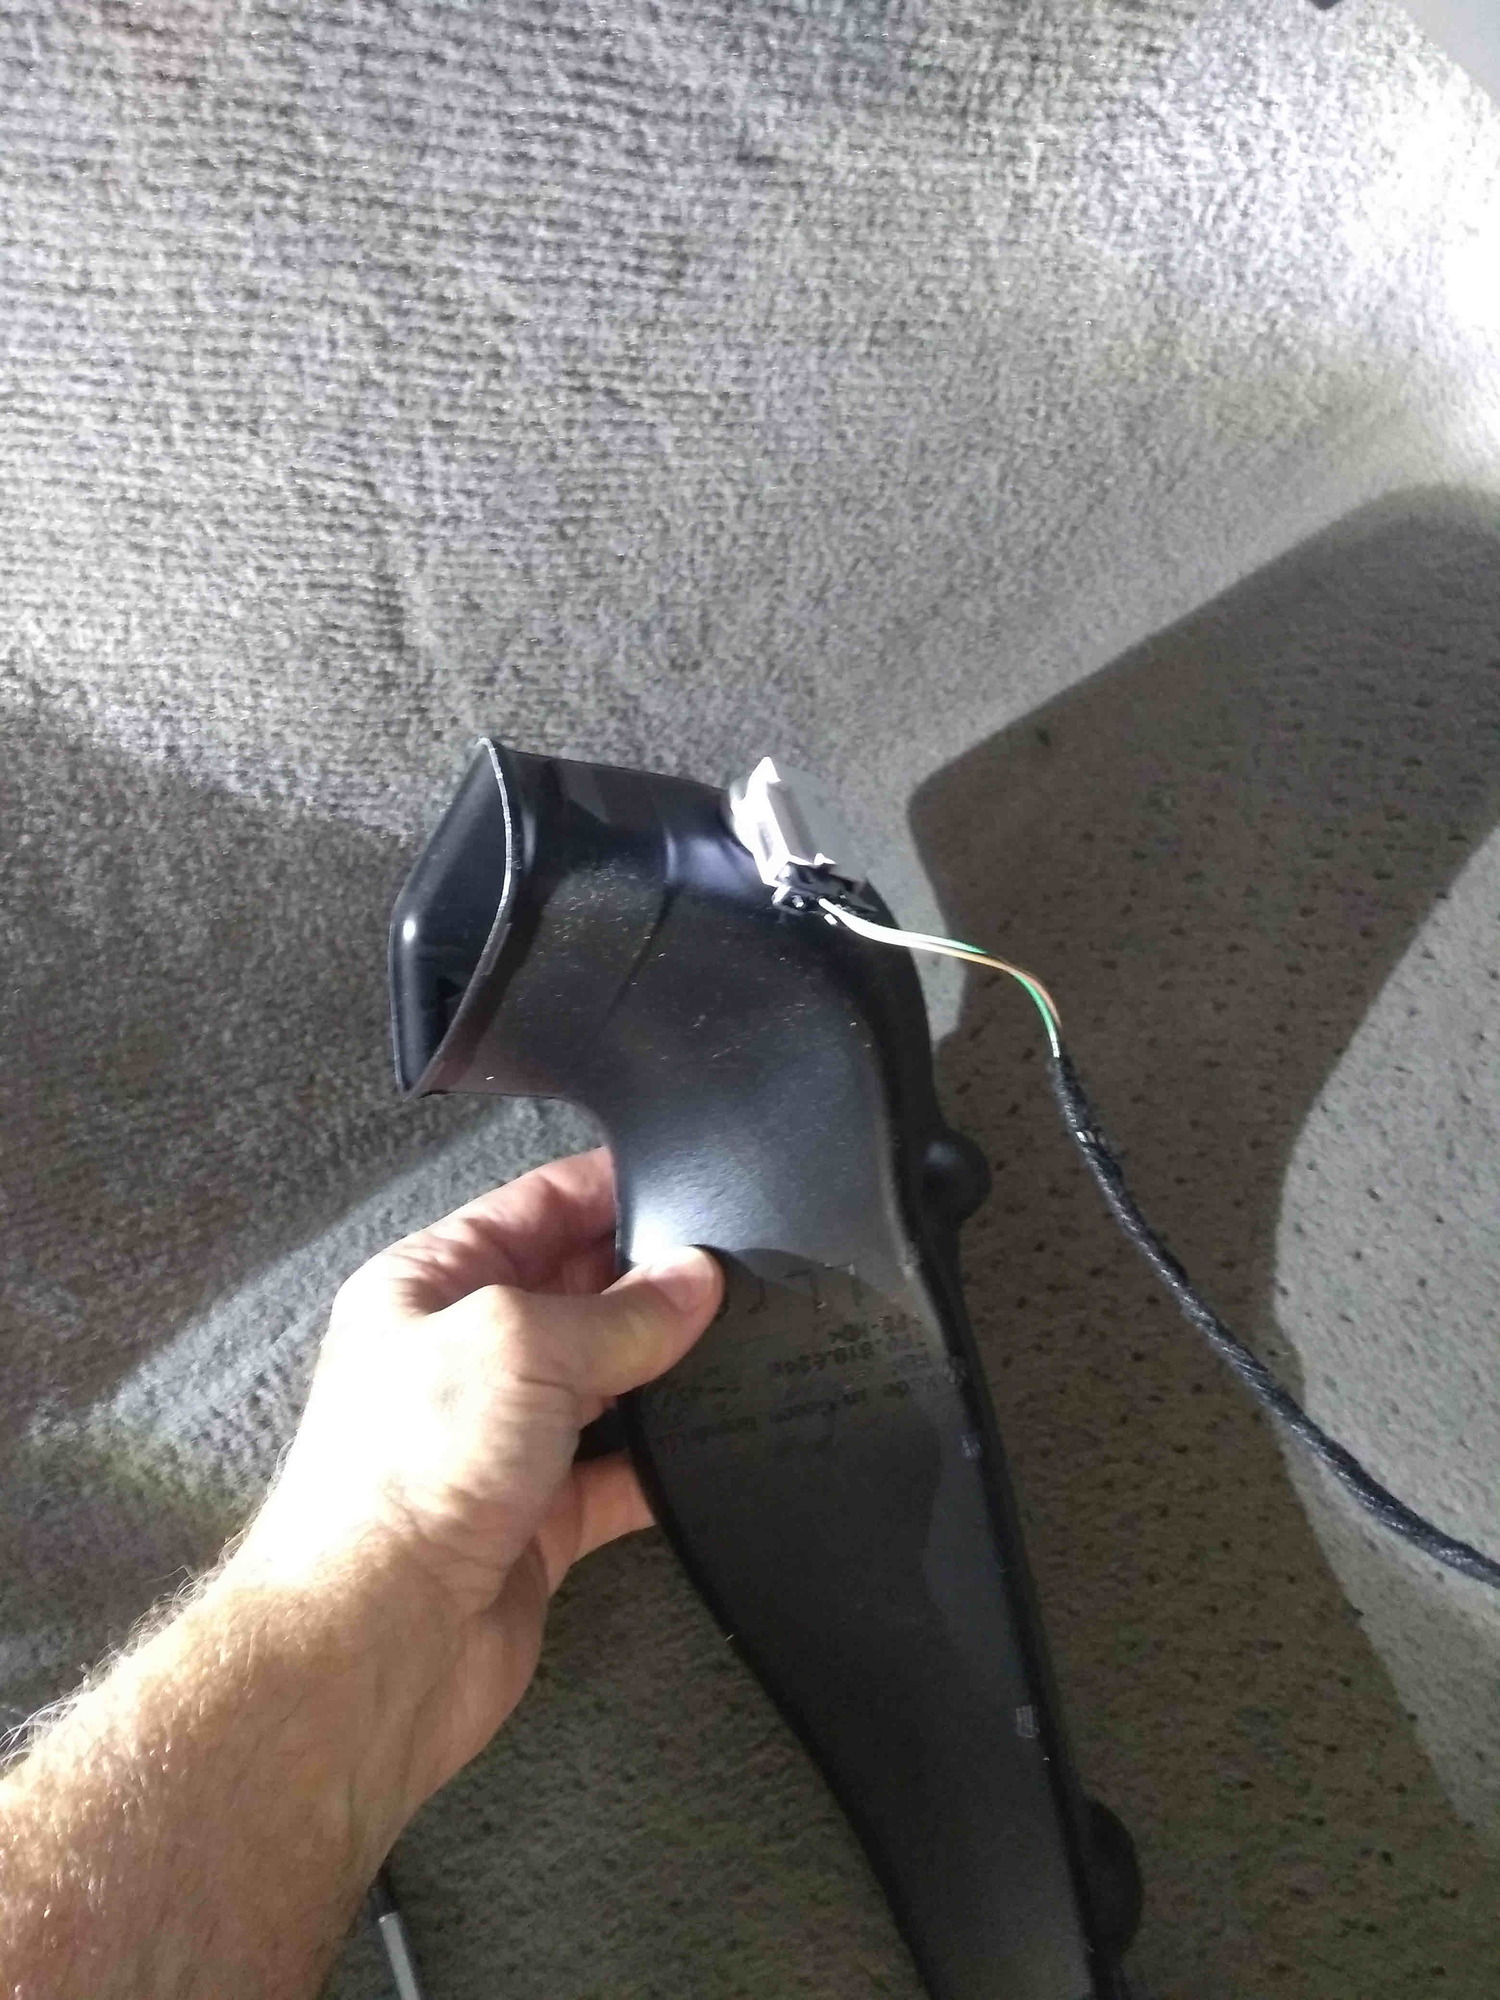
2. Disconnect electrical harnesses (12v adapter and the floor light)
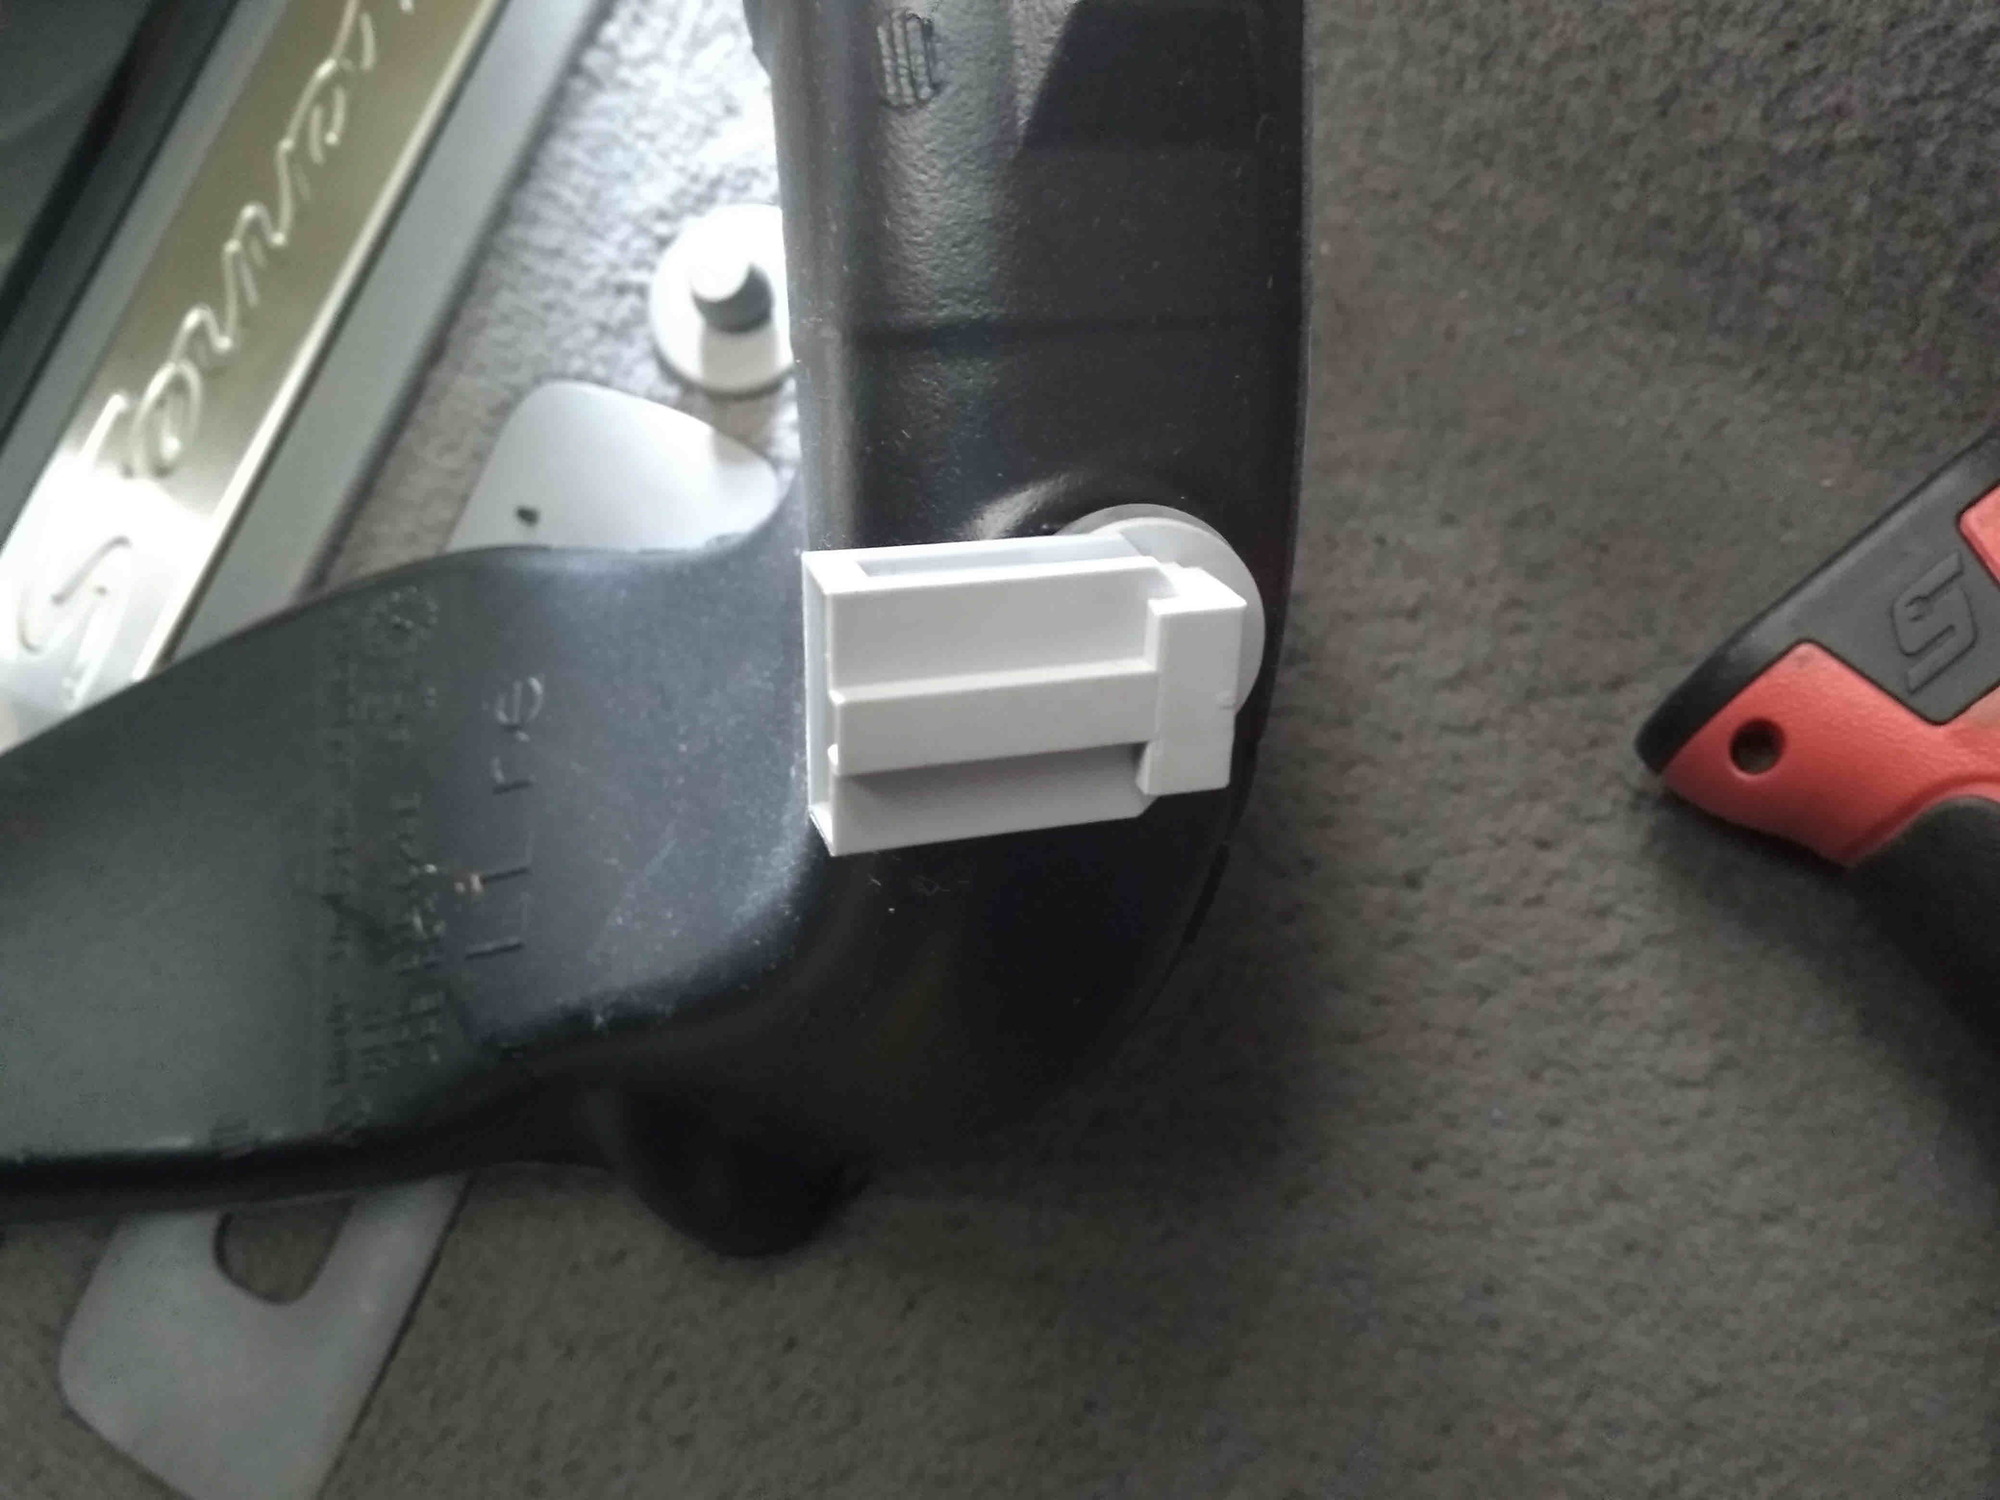
3. Ease the plenum out of the way (pay attention to the temp senor)
4. Unscrew quantity 5, 4mm (5/32) screws holding a housing in place. Remove the housing. It it does not move easily, you have missed a screw!
5. Unscrew quantity 2, 4mm (5/32) screws holding the blower in place.It it does not move easily, you have missed a screw!
6. As you ease the blower down, release the harness.
Install new in reverse.
Lastly, PIWIS is not involved!!!
Have a tasty beverage and toast to DIY and saving the green!
2010 factory installed blower motor 2010 factory installed blower motor 2019 OEM replacement blower motor 2019 OEM replacement blower motor 2019 OEM replacement blower motor 2019 OEM replacement blower motor Plenum temp sensor. Insert into special hole Needs to be locked into place Rotate 90 degrees to lock it in place Do not forget the wiring harness
The only sign of trouble was that regardless of manual or auto on the HVAC, when the fan was signaled for a setting at the 5th or higher bar (the LCD bars that provide the visual reference next to the blower toggle), it would not produce a volume greater than the 4th bar.
Rats, it is the resistor pack. It appears that sometime ago, resistor packs, the IC board to control the fan and the blower were integrated into a single unit. Rats again, this could get expensive.
Did some quick research and found that Porsche was on its 3rd or 4th part number revision 2011-2018 958-572-342-03 at $528.89. It turns out to equal VW Tourag's 7P0820021H at $340. Still rooting around I found Rock Auto had VDO PM 4090 at $134.70 + S&H. Could I be so lucky. Ordered the VDO.
I will let the pics speak for themselves. Same supplier, same county of origin, sames primary casting numbers on the housing.
The R&R is so straight forward. AllDataDIy has some very good pics
1. Torx 20 for the one screw holding the bottom cover on, the rest is a pull down in front (clips) and then pull forward friction fit
2. Disconnect electrical harnesses (12v adapter and the floor light)
3. Ease the plenum out of the way (pay attention to the temp senor)
4. Unscrew quantity 5, 4mm (5/32) screws holding a housing in place. Remove the housing. It it does not move easily, you have missed a screw!
5. Unscrew quantity 2, 4mm (5/32) screws holding the blower in place.It it does not move easily, you have missed a screw!
6. As you ease the blower down, release the harness.
Install new in reverse.
Lastly, PIWIS is not involved!!!
Have a tasty beverage and toast to DIY and saving the green!
2010 factory installed blower motor 2010 factory installed blower motor 2019 OEM replacement blower motor 2019 OEM replacement blower motor 2019 OEM replacement blower motor 2019 OEM replacement blower motor Plenum temp sensor. Insert into special hole Needs to be locked into place Rotate 90 degrees to lock it in place Do not forget the wiring harness
F@?k, that's a pretty penny the make just for the hell of it marking up products.
Thank you for posting up, you jinxed me! Now, my unit won't go past the fourth bar without hitting a shut off mode. I'm assuming the resistor is fried due to my now ex-wife not changing the cabin air filter and the drains getting clogged when she had it.
I am a aviator and systems engineer by trade but I no longer have access to the EE designers that I used to have. But next time I have lunch with them, I will ask.
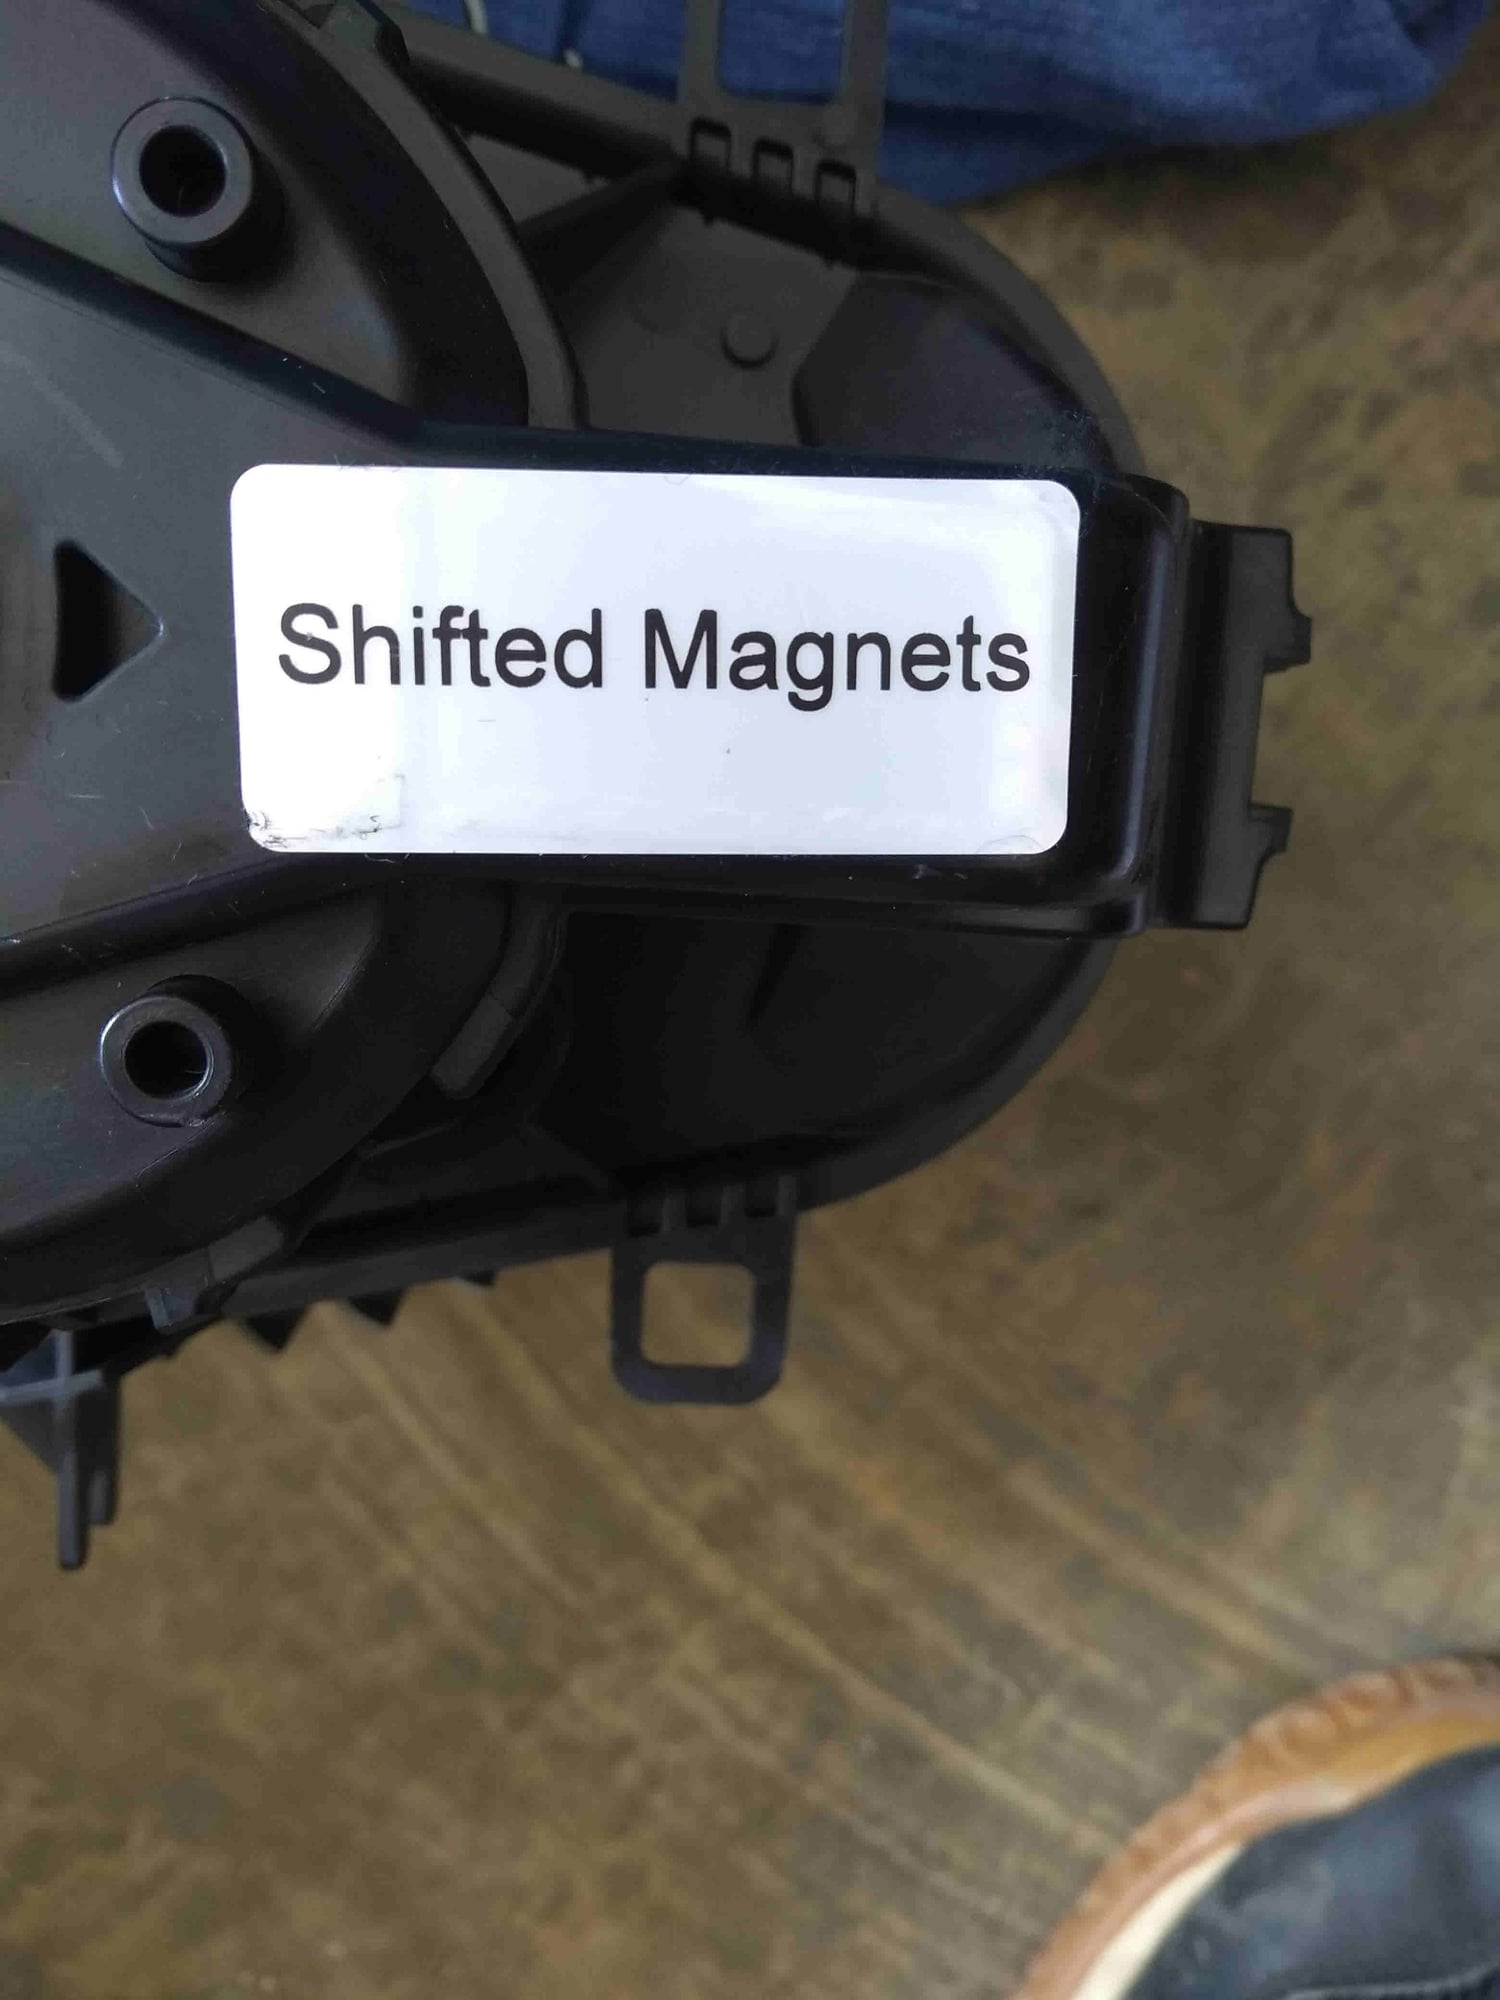
Since the '11 Cayenne was lead in the application for this blower motor, '11-'18, I suspect that early on something was found during testing or early production and VDO had to update the design and to prevent "bad" from being installed, they labeled the "good" ones with "Shifted Magnets".
Awesome find! The blower in my 2013 squeals when its cold and I turn left. Dealer wanted $750.
Even with next-day shipping I'm at around $180 delivered.
I never imagined something that is so integral to the comfort of the vehicle could be replaced for such a reasonable cost - I'm happy that we have some great members of this forum who help each other out!
I am so glad that I read this post. I ordered my Blower motor from RockAuto for $134.00. It is the exact blower assembly that I have in my 2014 Cayenne S. The sticker under the VDO sticker on it has the VW logo and The Porsche Logo.
I read the instructions here and then I also read a post that stated that you had to replace the middle A/C vent, the right A/C vent and the glovebox. I then decided to look things over and went ahead and signed up for a 1 year AllData DIY membership for $24.95. I am very impressed with the site and I am so glad I did. The pictures and descriptions of the process involved were excellent. You DO NOT have to remove the glovebox. It slides directly out the bottom. It took less than 10 minutes to get the old blower out and about 15 minutes to put the new one in. The screw locations are challenging to an old back and neck like mine, and the seat rails on the front passenger seat kept digging in my back.
Everything went in great, and now I have ALL speeds with my fan motor.
Interesting note. I took apart the old blower assembly to look over the resistor pack. There is a Bosch number on it so it can be replaced separately from the blower motor assembly. BUT it cost $104.00 just for the resistor pack. The $134.00 price from RockAuto for the whole assembly is the way to go.
So brandlj - where do you live? I've been wanting to drop out my blower motor to lubricate the bearings in it.. but mine has a wiring harness that runs under it, and I gave up when my back started really hurting. So I'd invite you over for lunch.. since it only takes 10 minutes to R&R, adding my lube time into it - figure 30 minutes max.. I'm in NJ at the shore? You?


 09-18-2019 | 04:42 PM