When you click on links to various merchants on this site and make a purchase, this can result in this site earning a commission. Affiliate programs and affiliations include, but are not limited to, the eBay Partner Network.
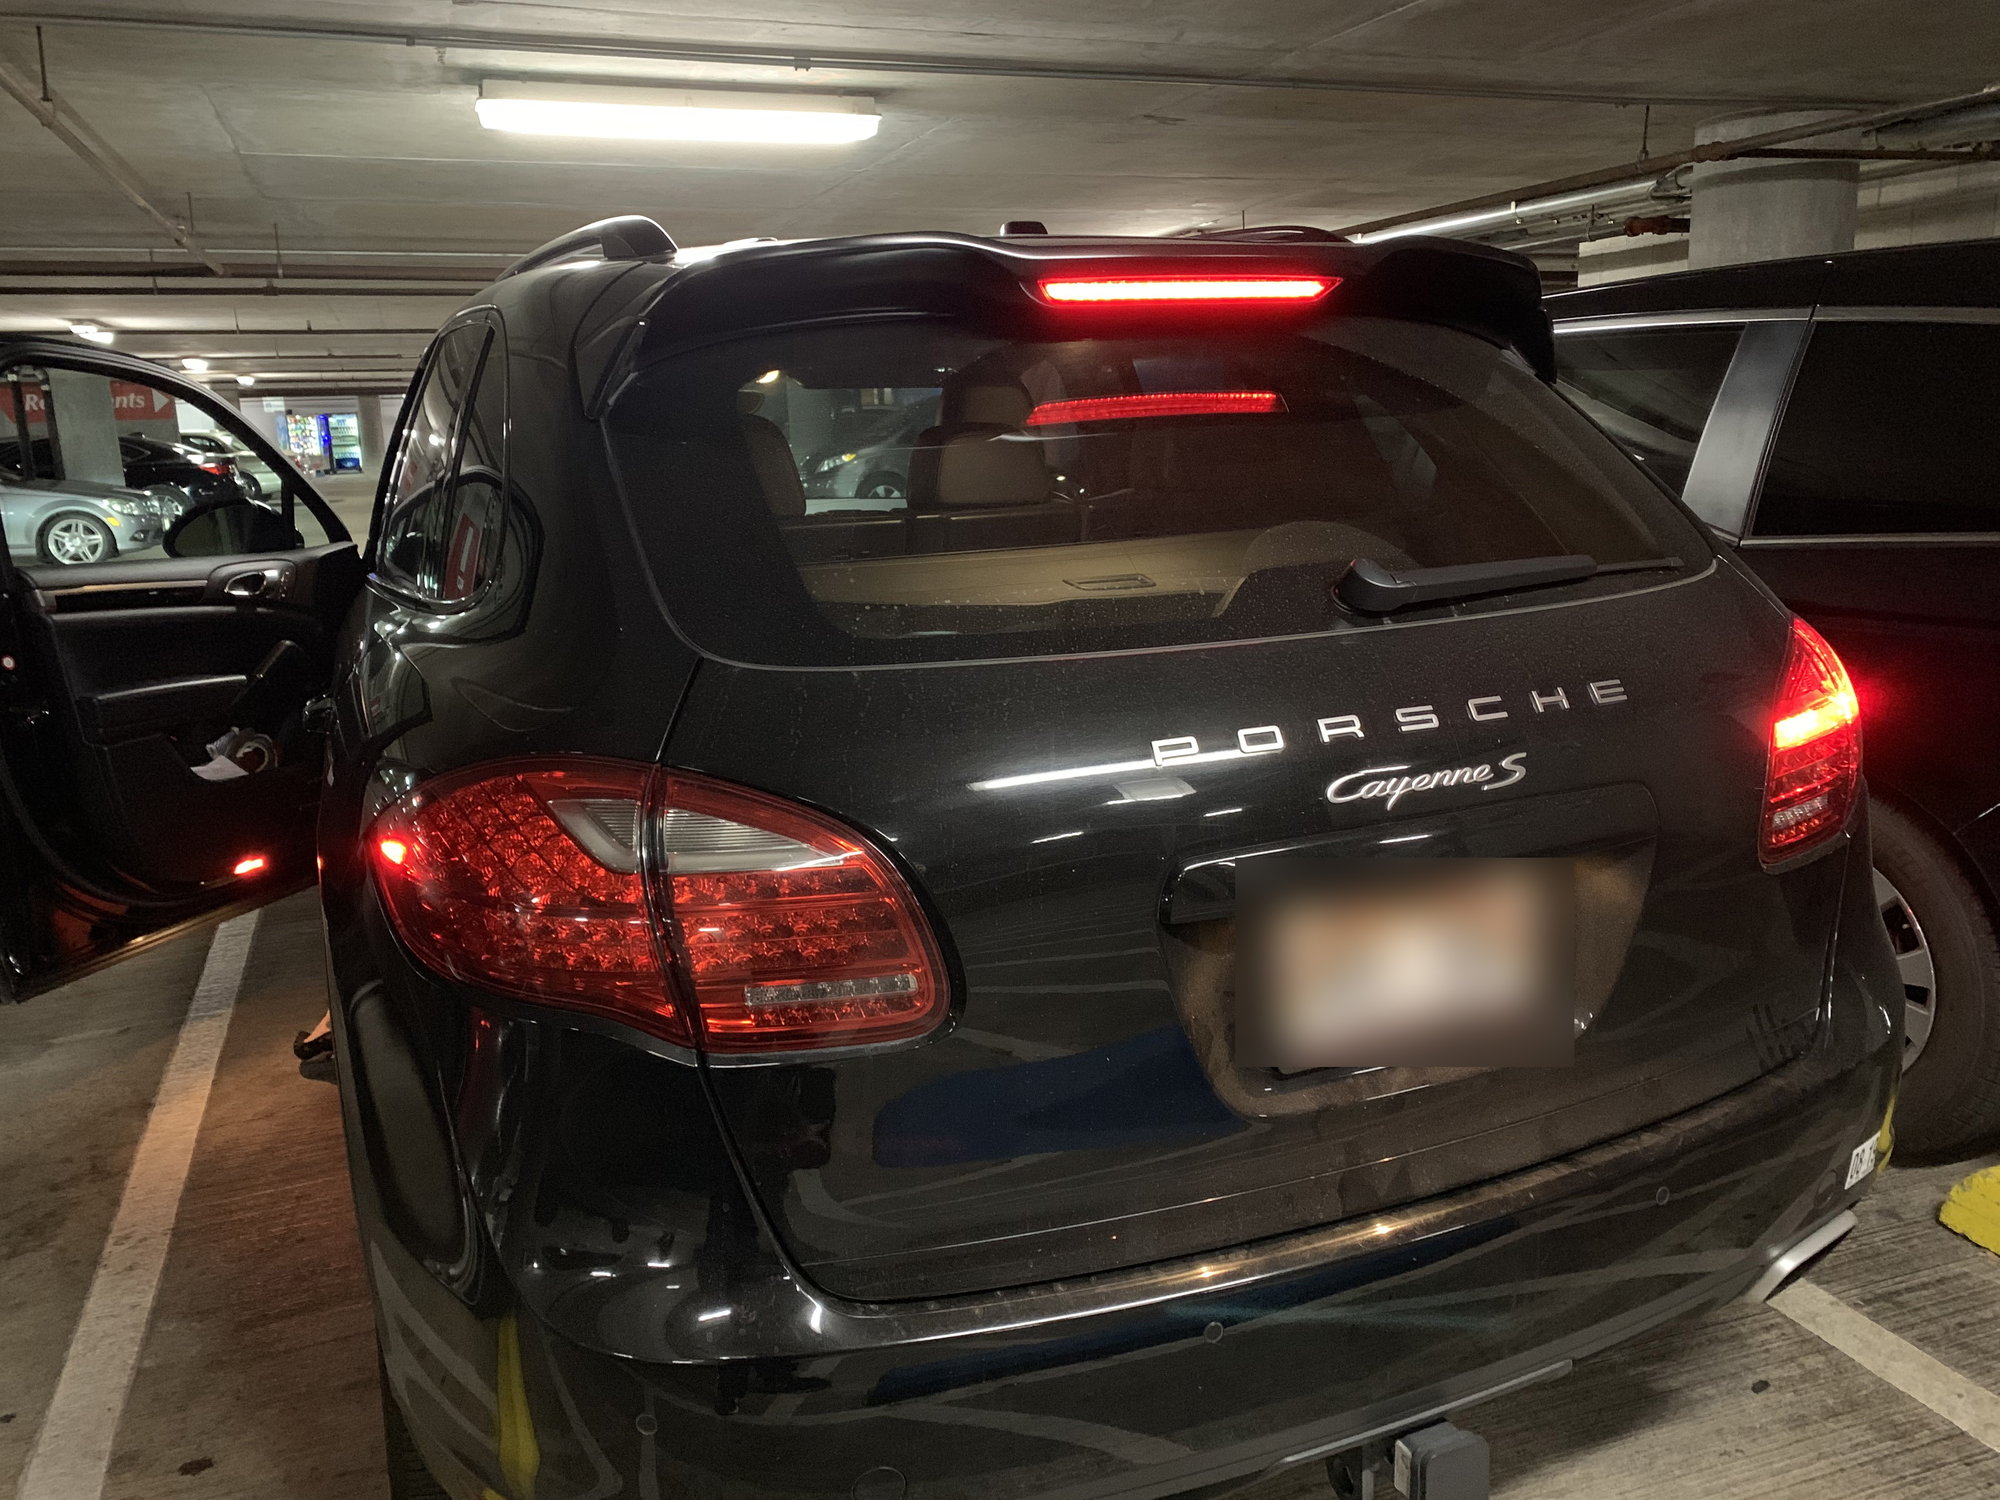
I've been having some issues with my rear tail lights on one side (left) not lighting up. It seems both the outer and inner tail lights have died at once - the signal light does still work when indicating.
Any ideas what it might be? Like I mentioned, the signal still works but the brake light strip of LEDs don't light up. It seems not to be the LED as they all went out at once. Could it some bad connection or something that controls the strip of LEDs related to the brake lights?
BTW, no warning lights on the dash indicating my turn signal is out.
I found that if I turned the ignition off and left my foot off the brake, the tail lights worked until I pressed the brake pedal. At that point I saw a quick flash of the brake lights before they and the tail lights went out. I believe it is a short in the brake light circuit. The unknown was the short in the inner or outer light. I took advantage of Suncoast Porsche offering of the blacked out tail light set for $650 as that was about what the inner and outer tail lights for the left side would have cost.
I installed the left outer light this AM and it fixed the problem. I went ahead and installed the other three lights. Total time was about 2 hours, much of that trying to figure how to remove the inner lights.
So it ended up costing me more that just replacing the faulty outer light myself, but about what it would have cost at the dealer.
Gt3touring - if you determine that you need new taillight assemblies, I have a complete set in perfect condition from my 958.1 CTT after I removed them to install the OEM tinted set. They�re just taking up space and I�d let them go way cheap, I have zero use for them. Just let me know if interested.
Gt3touring - if you determine that you need new taillight assemblies, I have a complete set in perfect condition from my 958.1 CTT after I removed them to install the OEM tinted set. They�re just taking up space and I�d let them go way cheap, I have zero use for them. Just let me know if interested.
To remove the outer taillights (approx. 20 min.):
Tool needed � T-30 bit
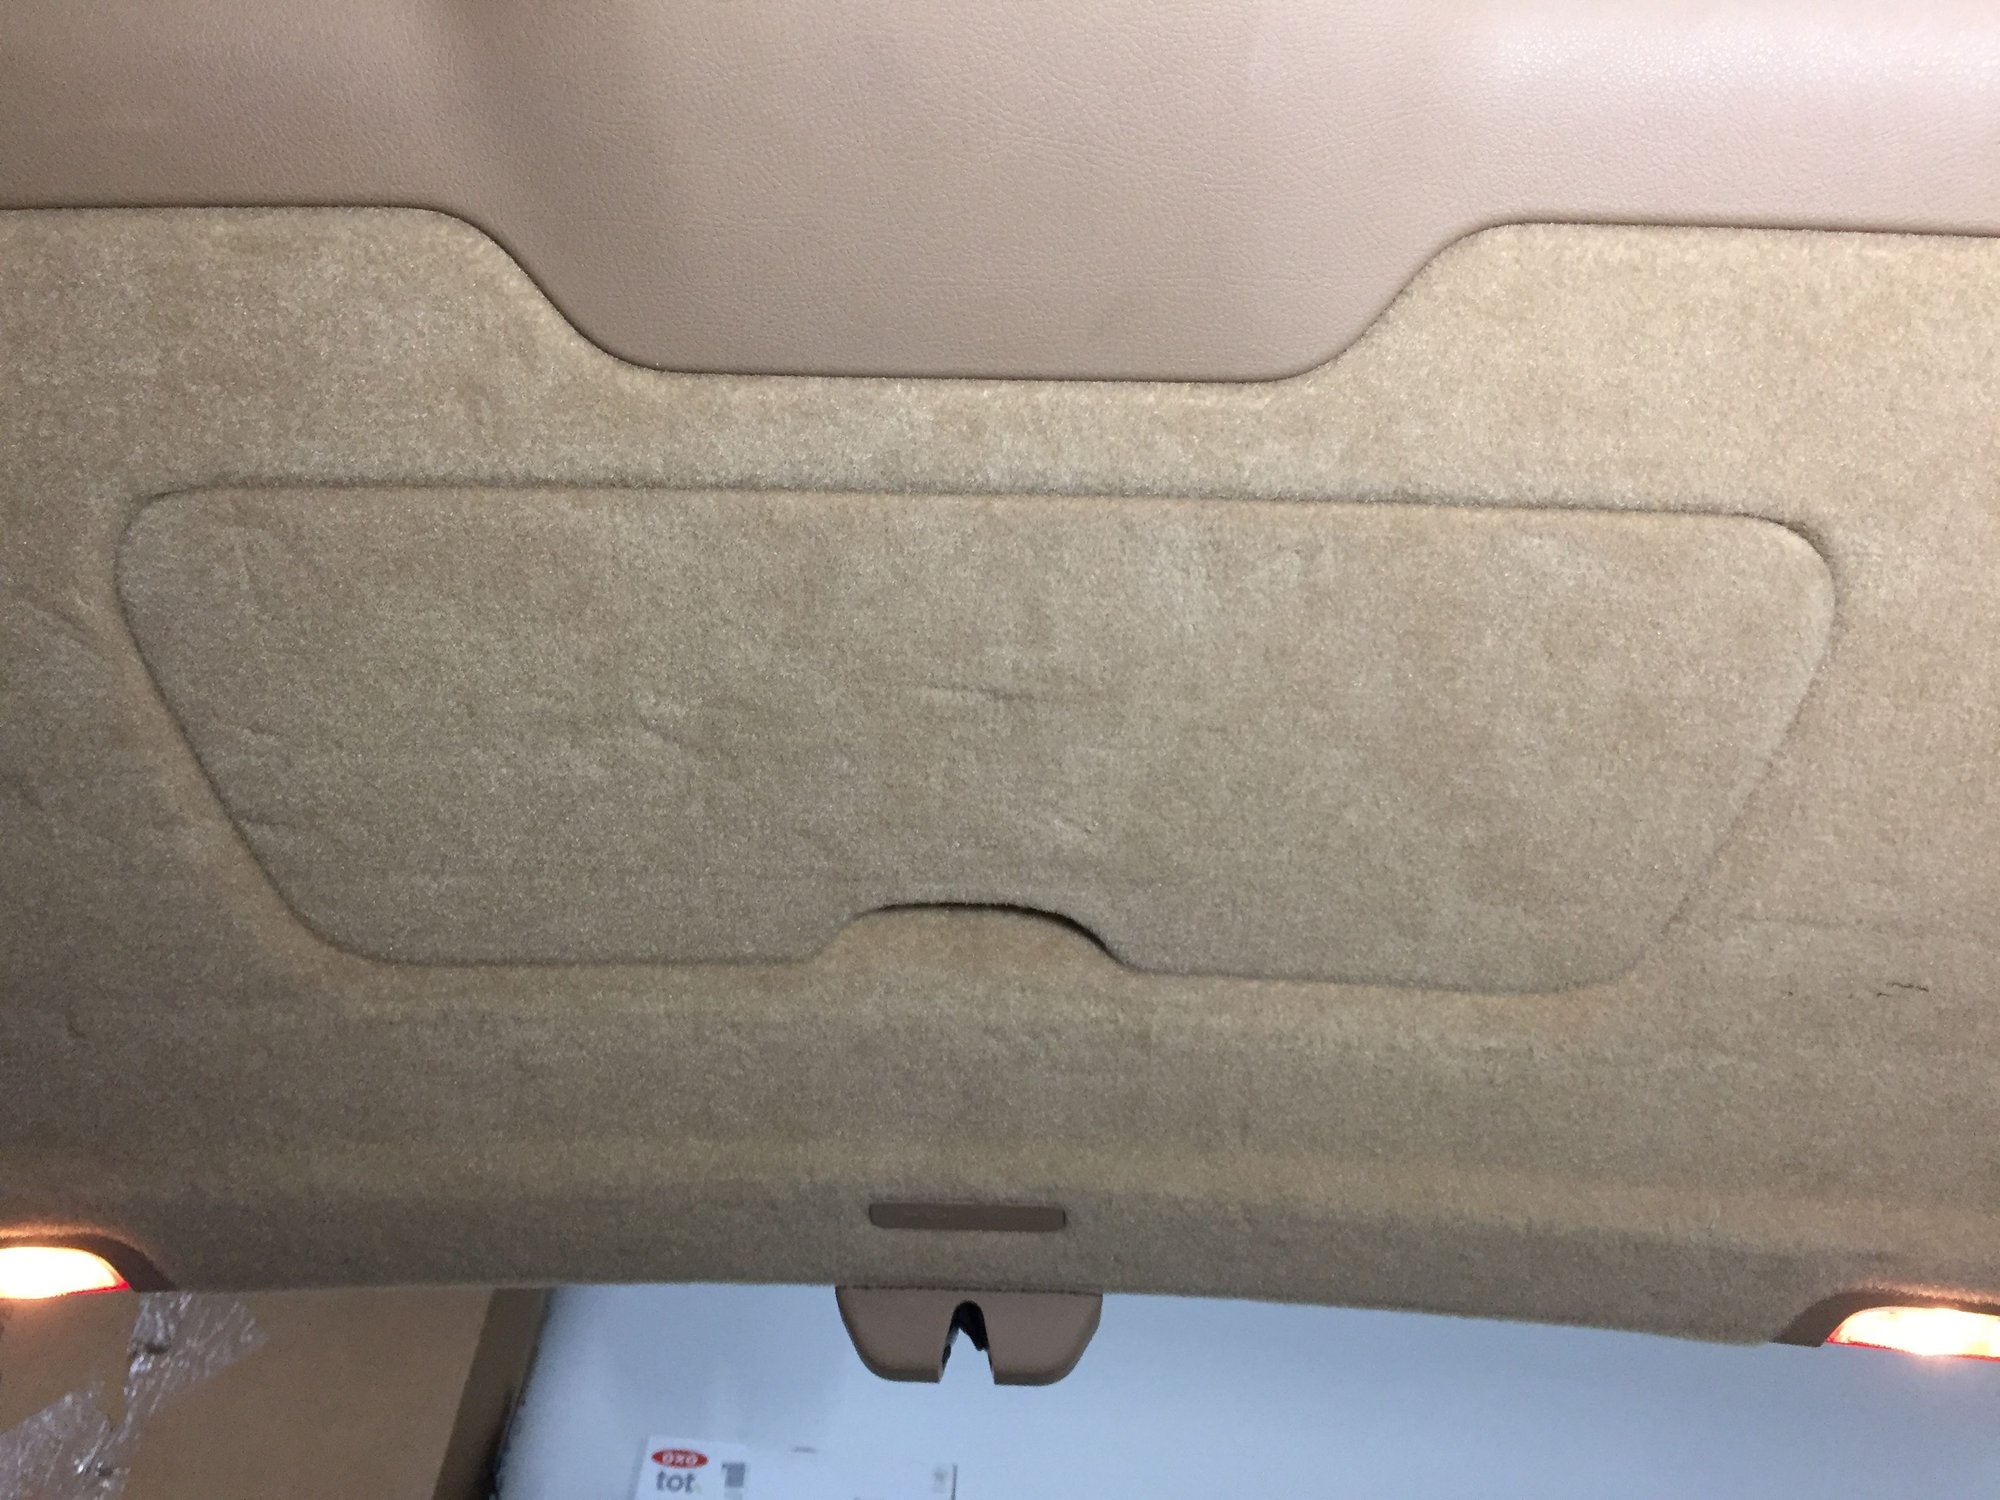
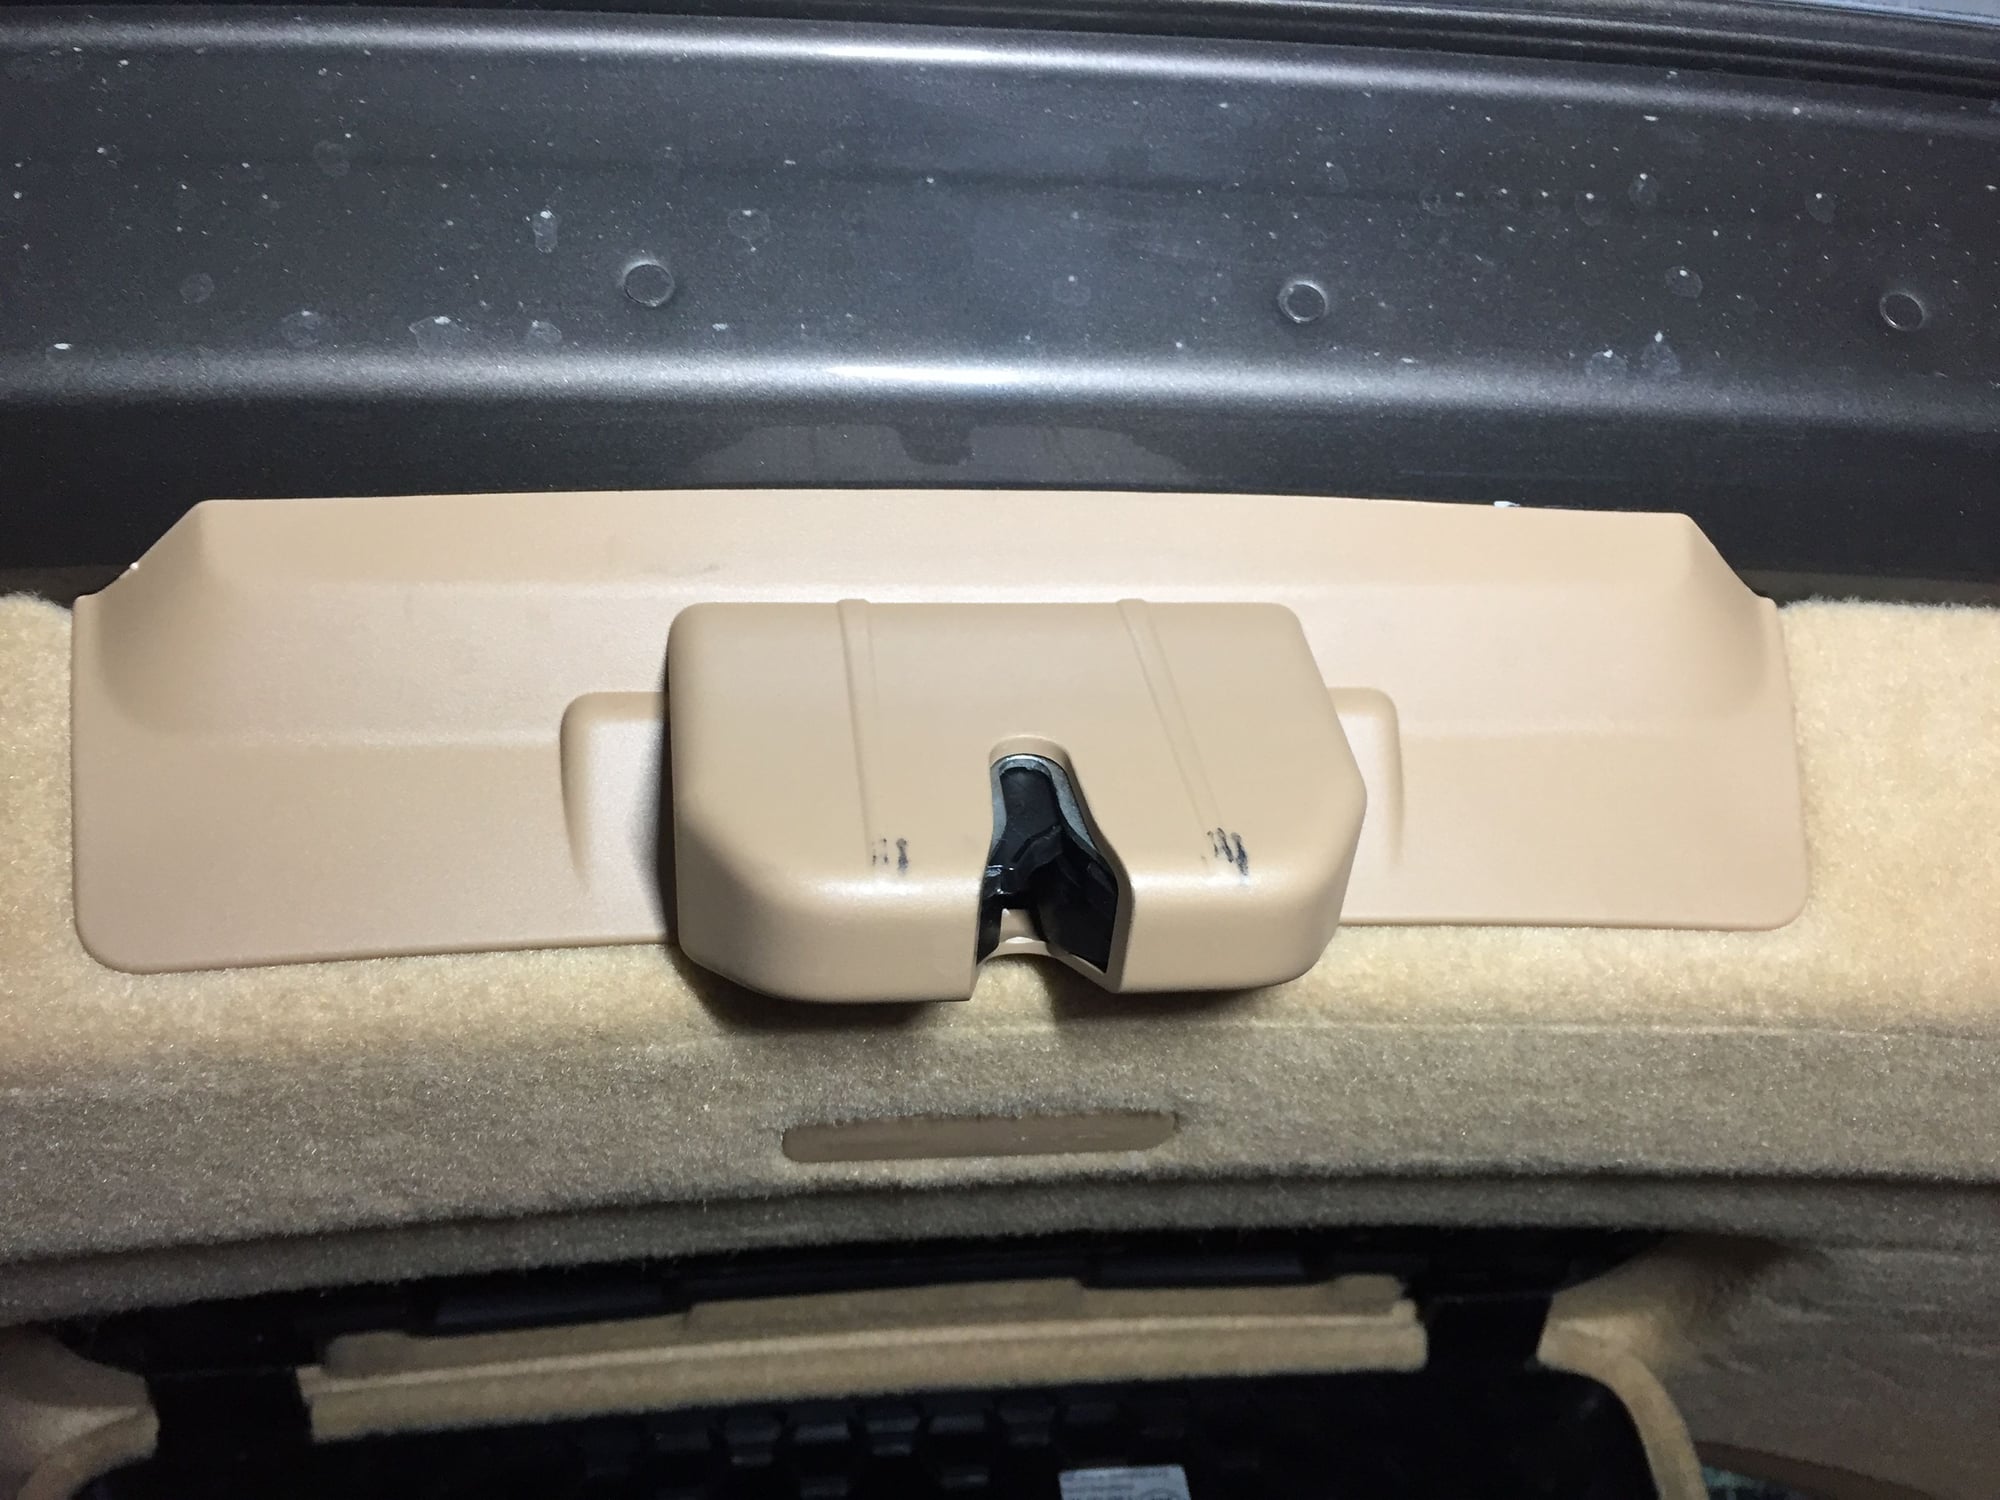
1) Remove the plastic cover panel inside the rear hatch frame. I found that if your press on the center of the panel�s forward edge, you can then pull the rear edge away from the light, then pull them off.
2) Remove the two T-30 screws from the taillight.
3) Pull the light straight back to pop out the snap-in device. It takes a good pull to get it free.
4) Disconnect the electrical connector
Installation is the reverse. It is good practice to inspect the electrical pins in the connectors to make sure none are bent.
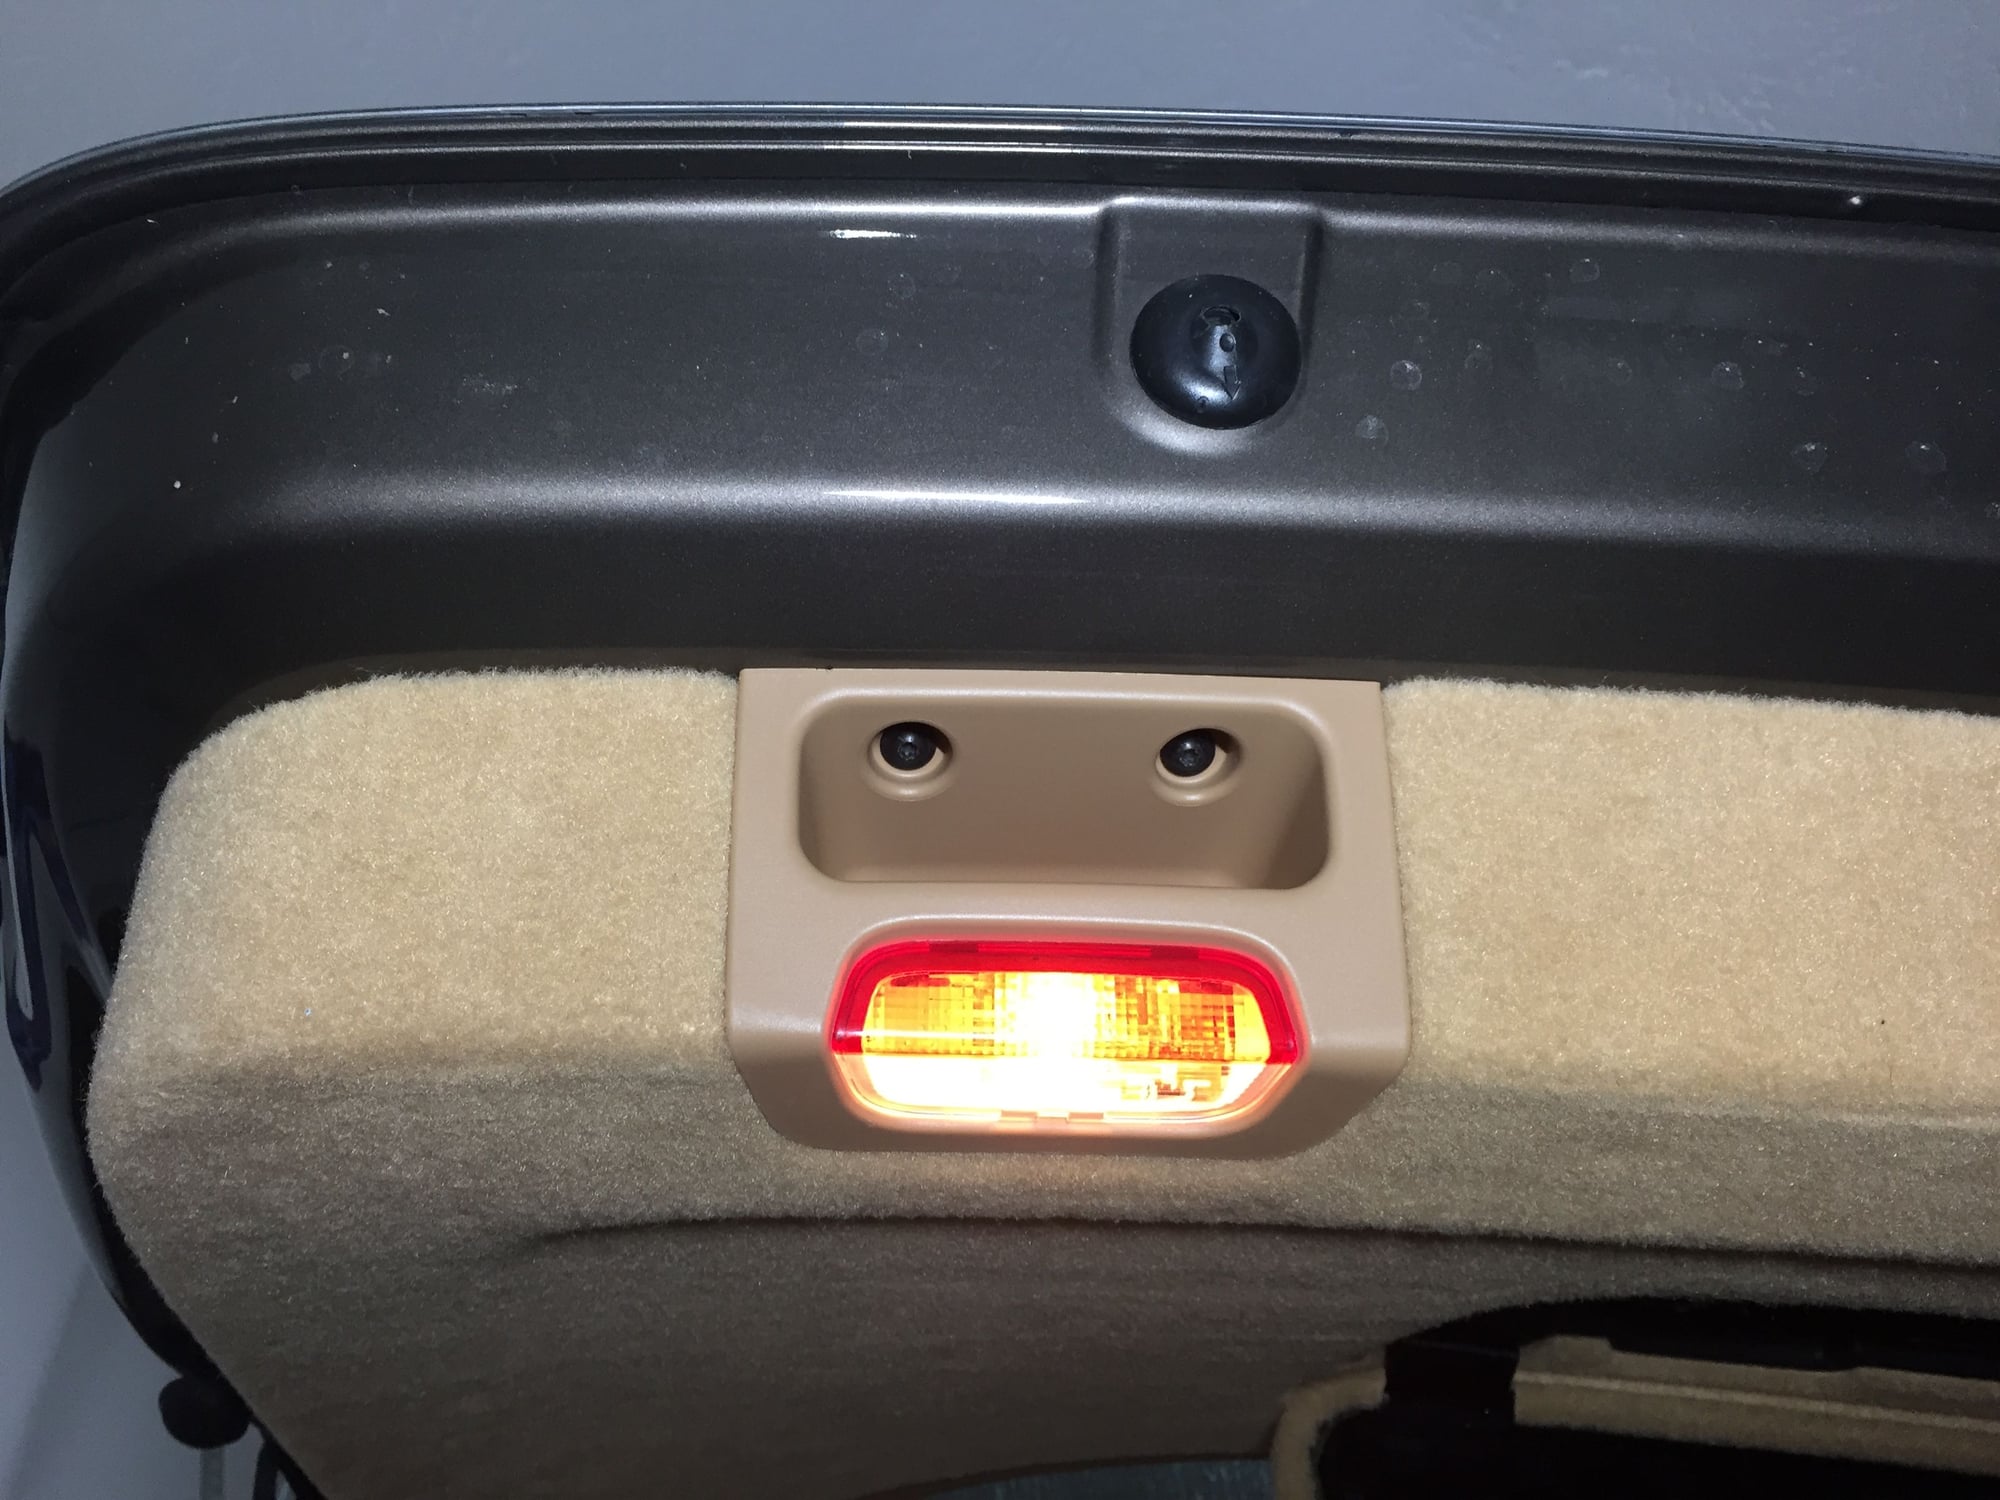
The inner taillights are held on with two flanged nuts which will need a 8mm socket. However the nuts are hidden behind the rear hatch�s inner panel.
To remove the inner panel and taillights (Approx. 1+ hr):
Tools needed � T-20 bit, 8mm socket, plastic trim panel tools, small light
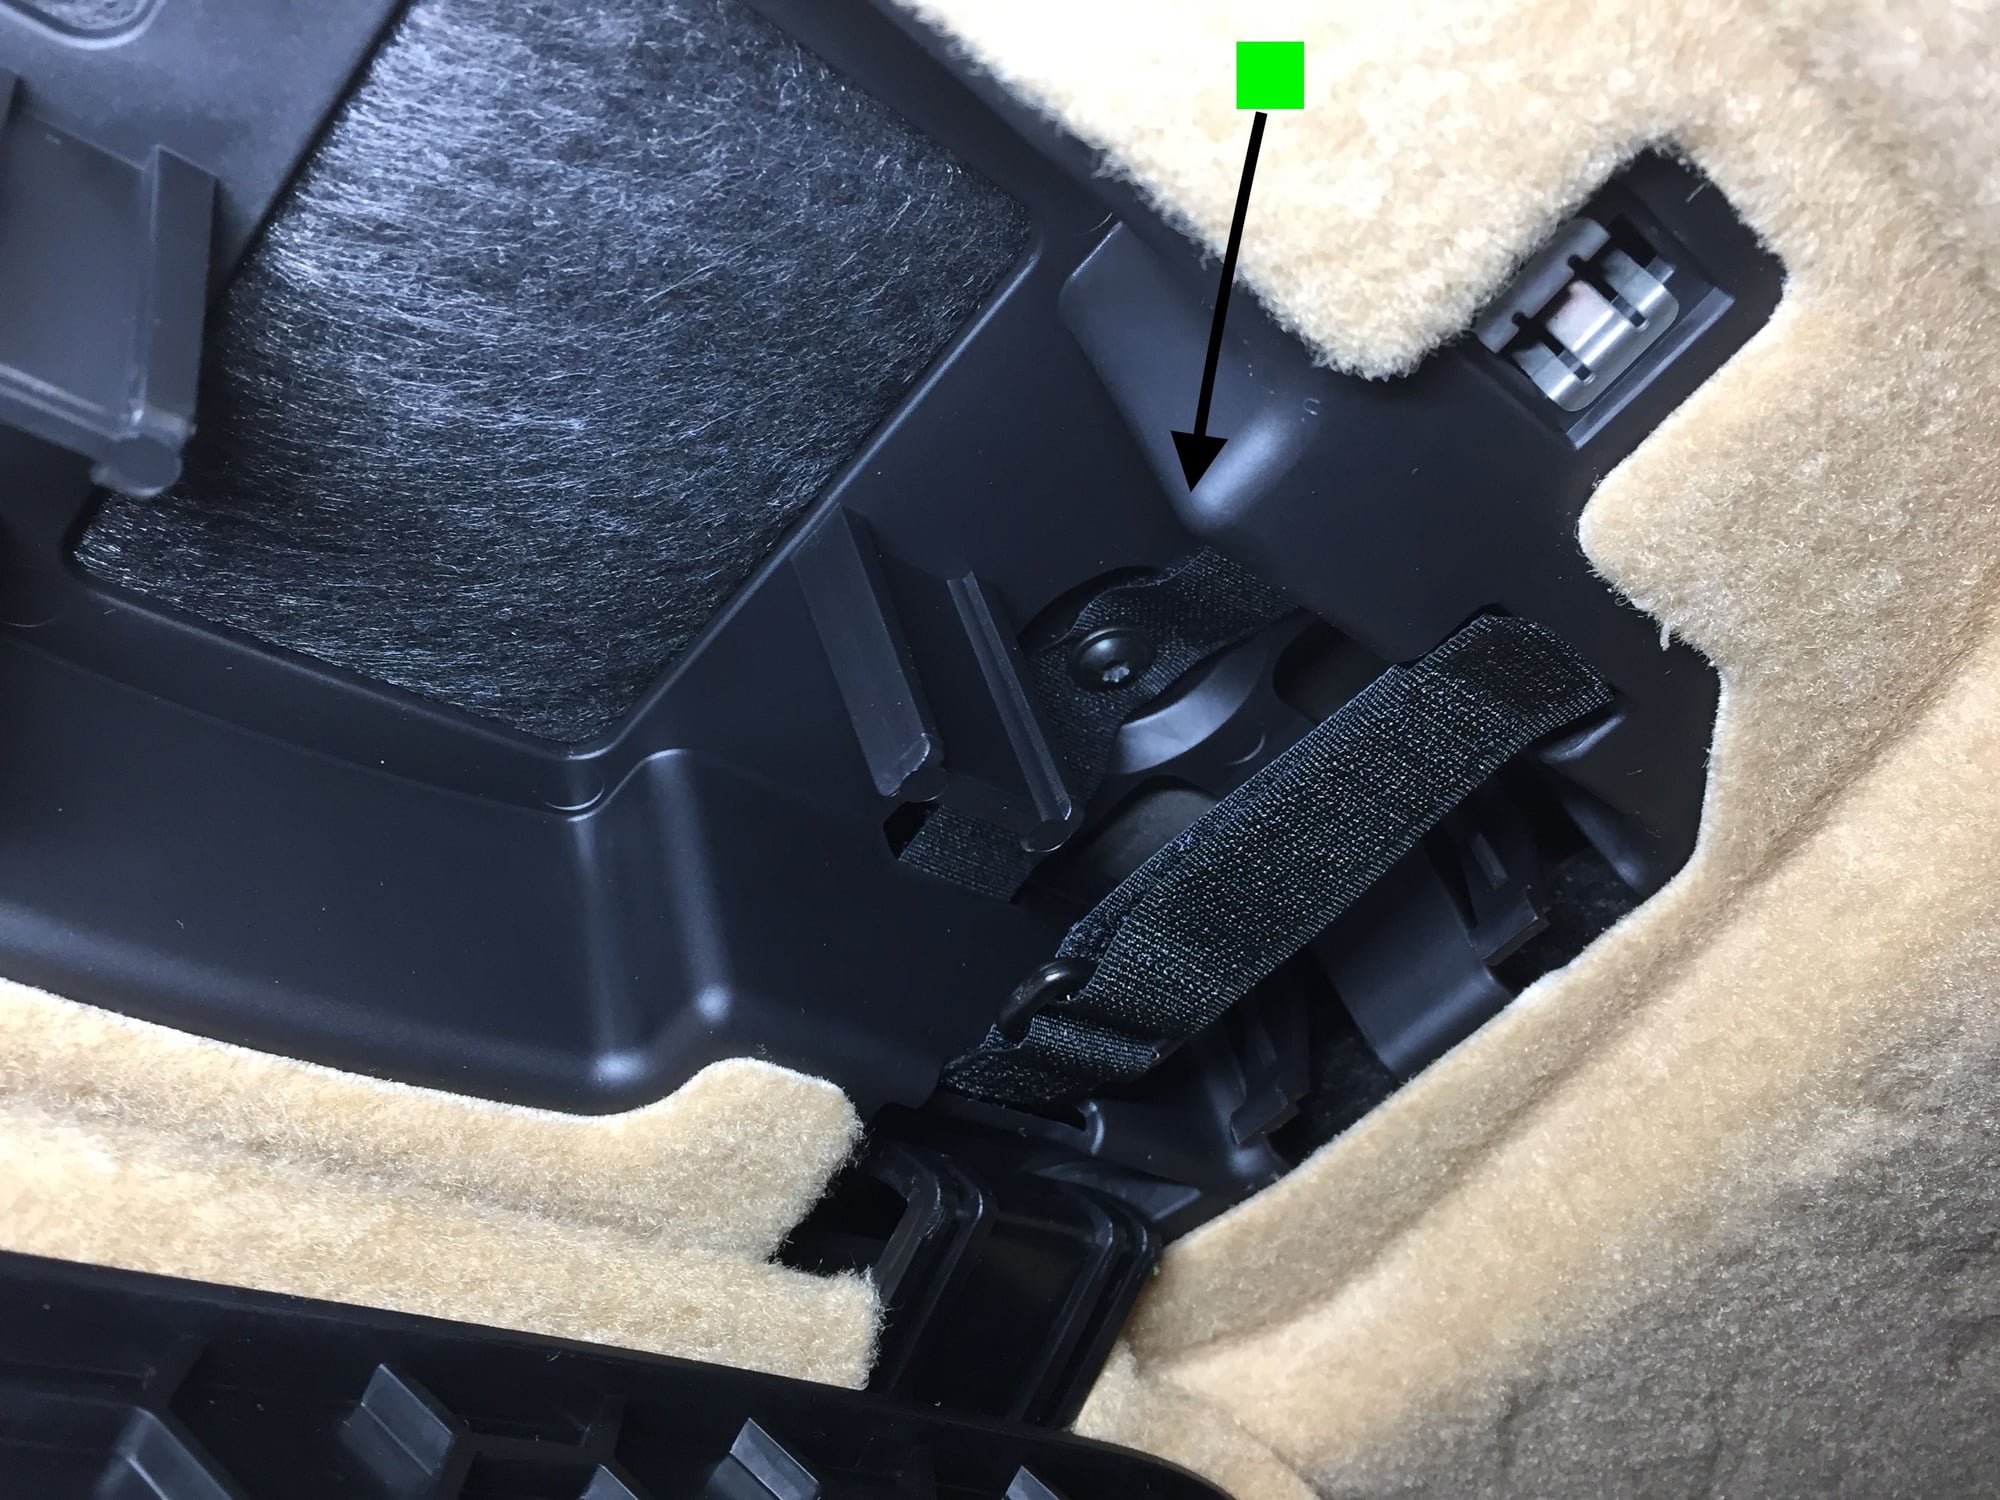
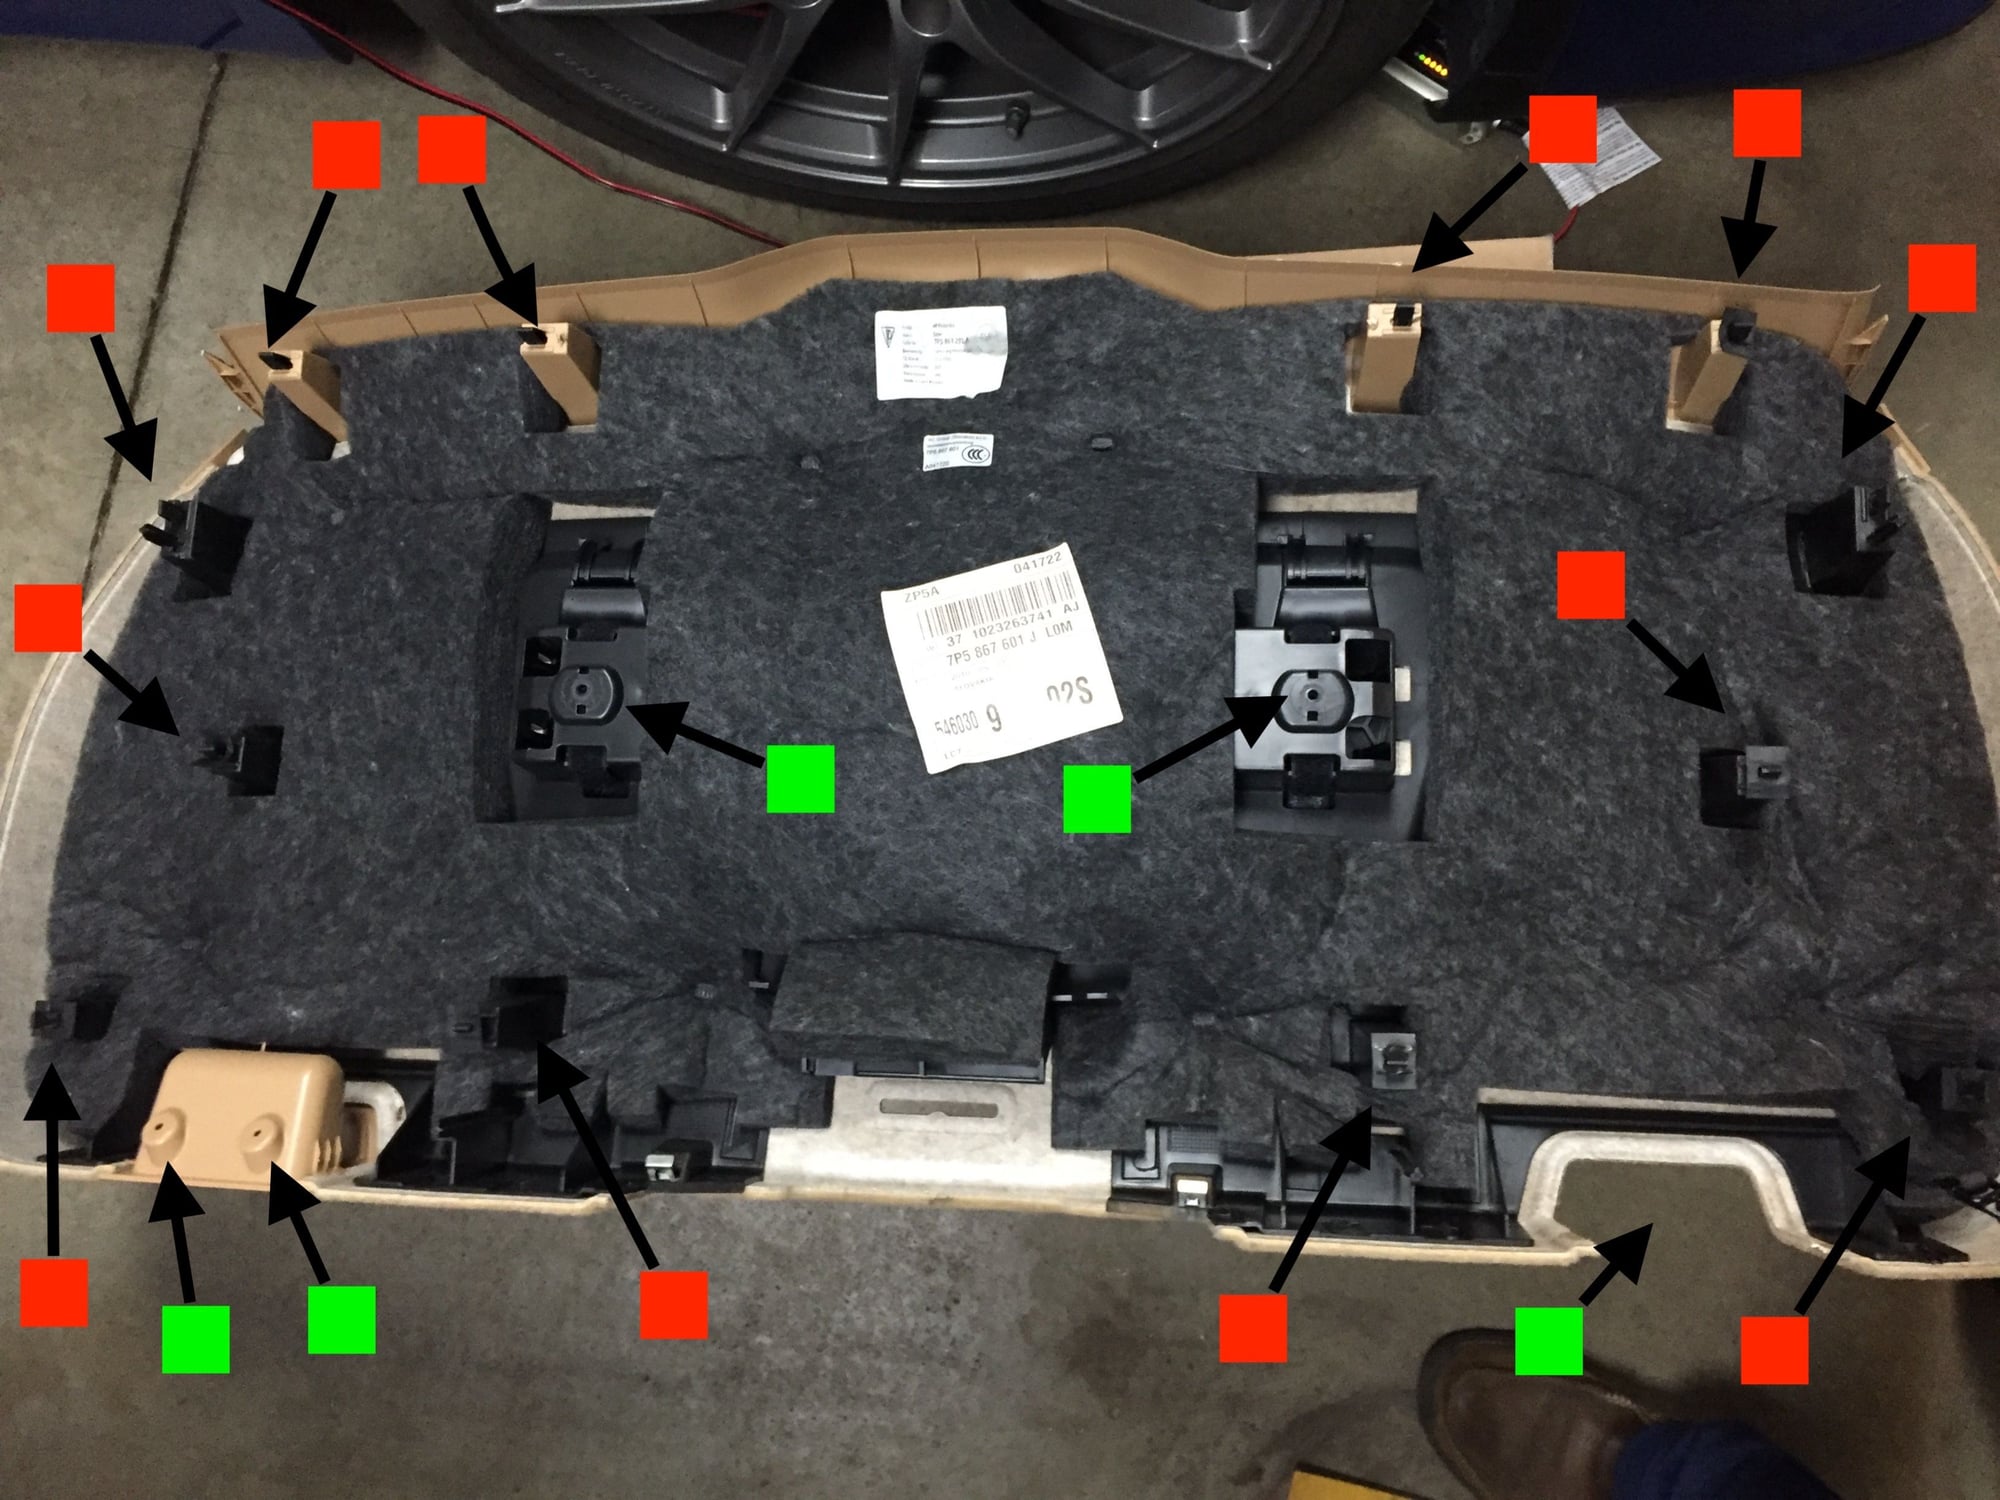
1) Open the rear hatch and the small compartment on it. Inside rear hatch 958.1 Two T-20 screws, one on each side under hold-down strap.
Remove the two screws above the light. Remove the switch on the passenger side by gently lifting the ends, alternating side to side till you can see and compress the clips. With the switch out you can remove the single T-20 screw located behind the switch.
Using a plastic removal tool, pry off the latch cover.
The rear cover can now be removed with a panel removal tool and several tugs. I started at the bottom and worked my way around to the plastic panel near the window. The plastic panel comes off with the carpeted section. There are four clips along the top and bottom, one just below the plastic window trim on each side and one toward the center of the driver�s half as well as the passenger half side. In total, there are 5 screws (green) and 12 clips (red). (The switch panel on our vehicle is not shown in the image. It had been previously removed and was no longer glued to the panel )
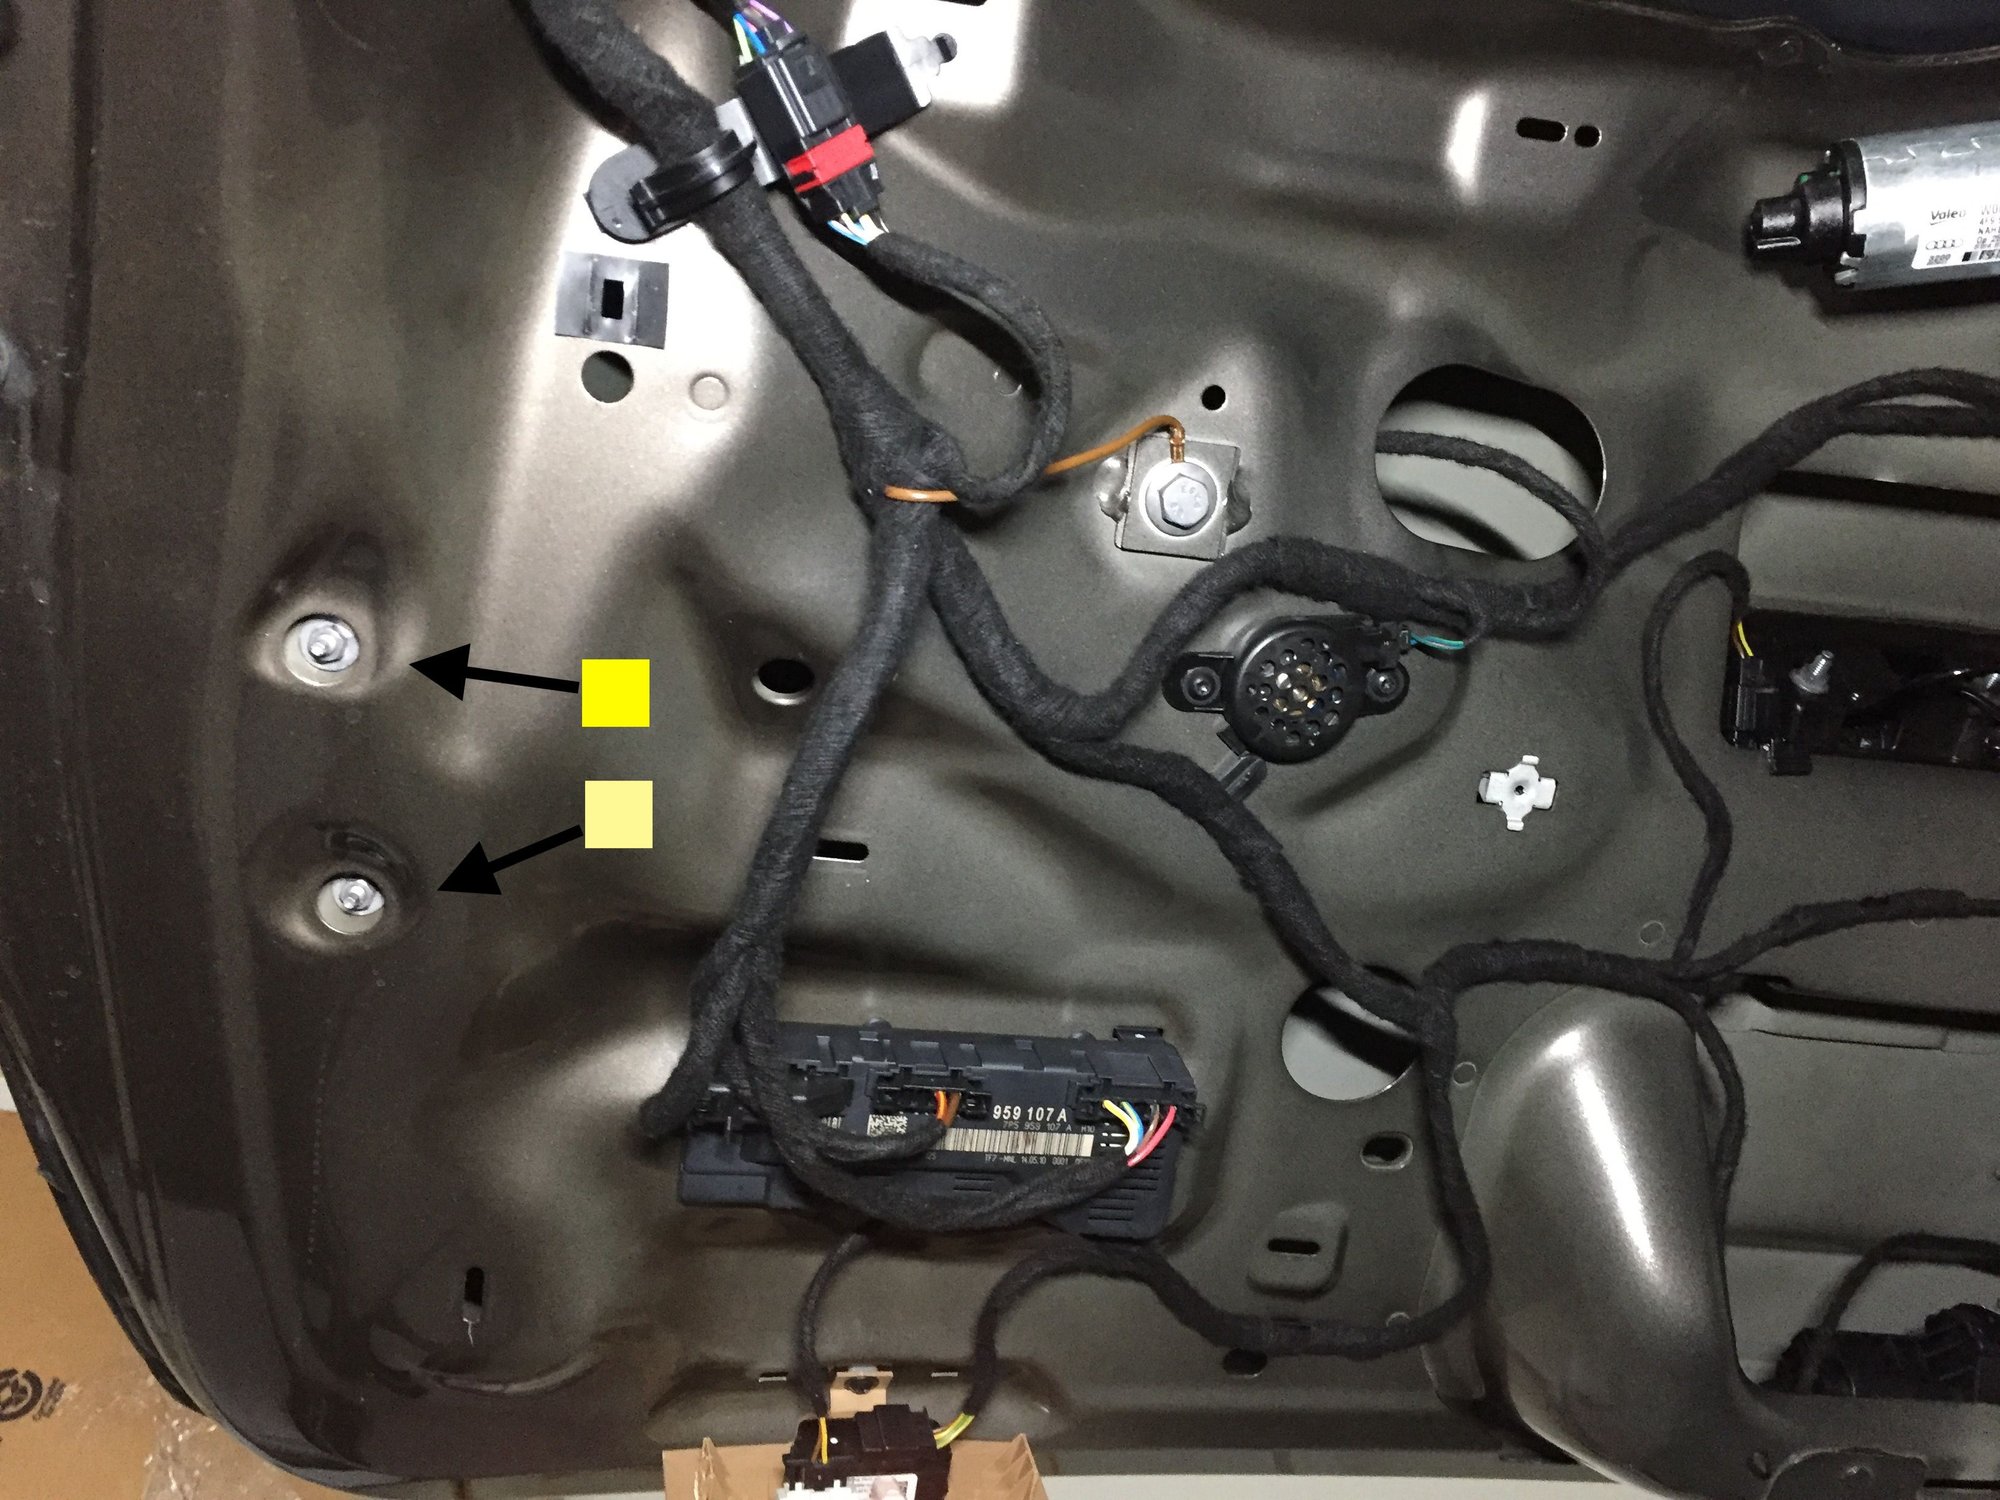
Two 8mm hex flange nuts...remove with the hatch fully open.
Installation is the reverse.
Test the taillights before reinstalling the back panel.
Note: It helps to have an extra pair of hands when maneuvering the panel back in place and aligning the clips.
I have this same problem with my 2011 3.6. My problem is just the left side. Running light works when you turn on ignition with parking lights on. When I hit the brake the light it goes out - both running light and brake light. Thereafter the running light remains off. I appear to have the identical problem as GT3touring here in this thread. If you are out there, @gt3touring , can you tell me what you did to fix this? Thank you!
I had one die on my 2014 turbo, I replaced both with black tinted ones from Suncoast. Really seems to be an issue with these, LEDs should last longer, unless there is a defect or badly designed driver circuit.


 01-11-2019, 10:43 PM