When you click on links to various merchants on this site and make a purchase, this can result in this site earning a commission. Affiliate programs and affiliations include, but are not limited to, the eBay Partner Network.
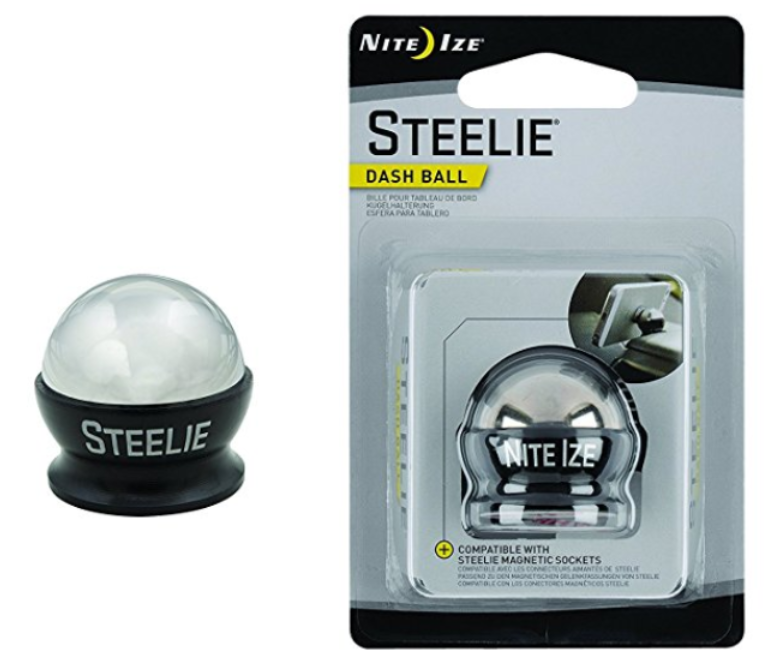
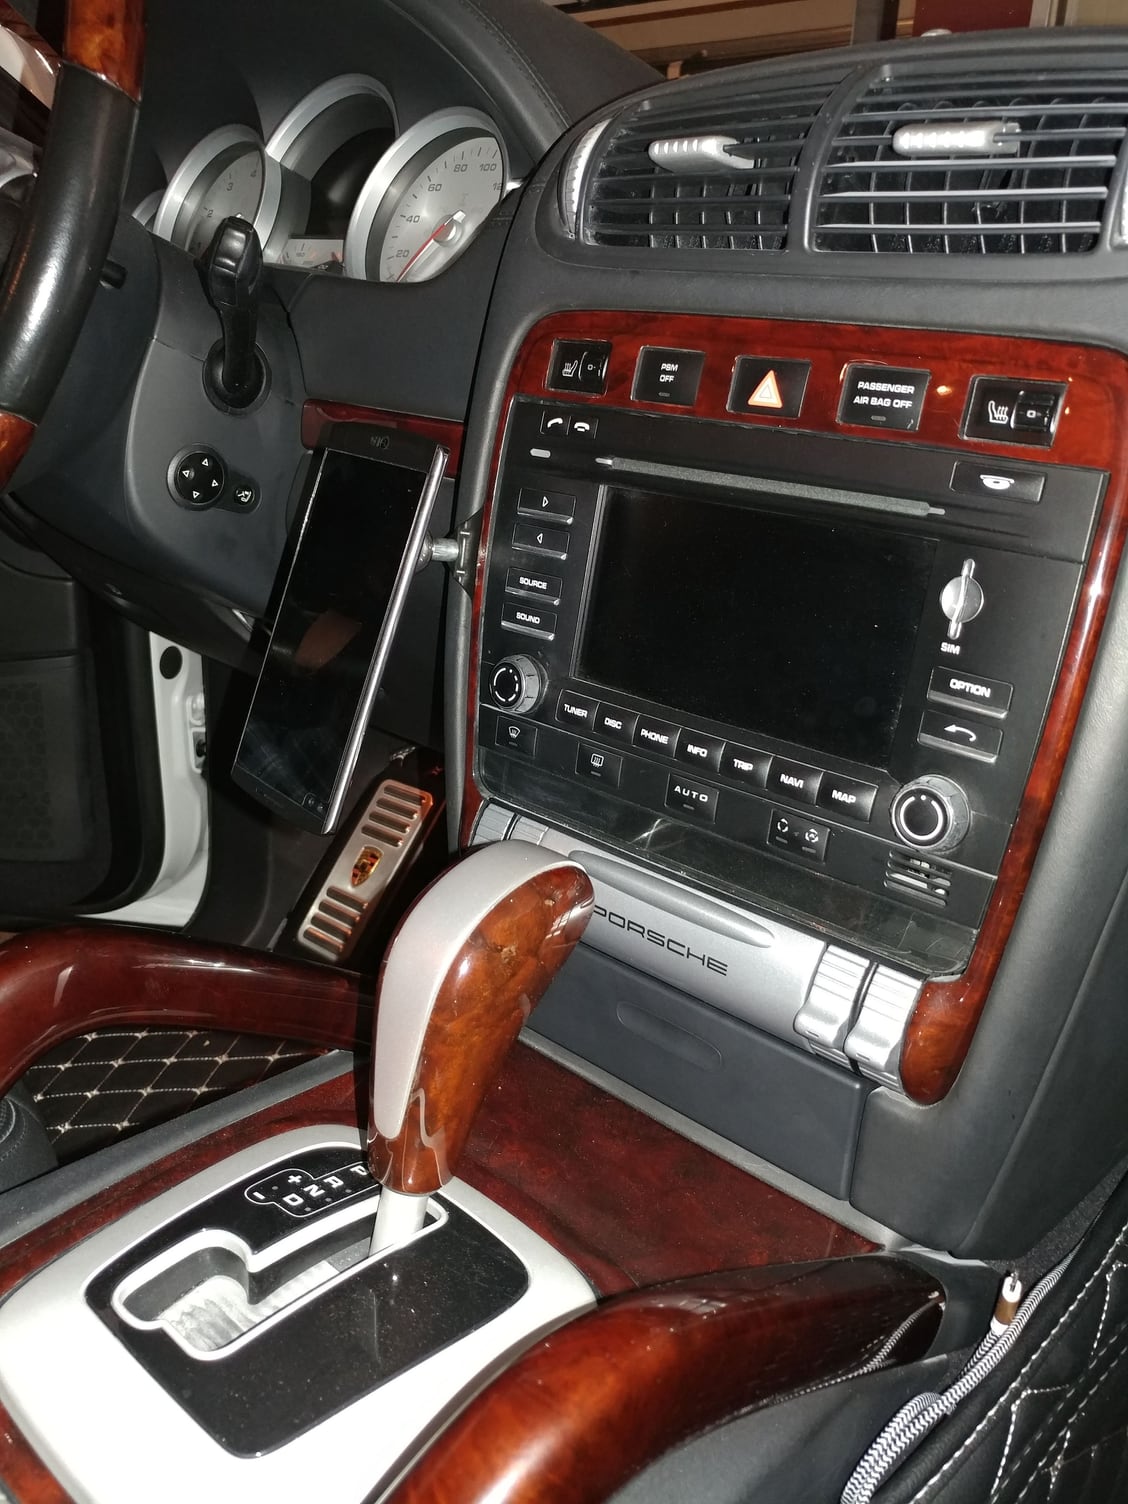
which consists of a metal ball base and then a magnetic receiver that attaches to the back of your phone. Since I have bases in all of my cars already and the concave magnetic receiver on my phone, now that I have the Cayenne back, needed to make it compatible for trips. The problem was, I couldn't find a good location onto which I could adhere one of these bases that: A) wouldn't be in the way of something, or B) wouldn't cause damage to whatever I stuck it to upon removal.
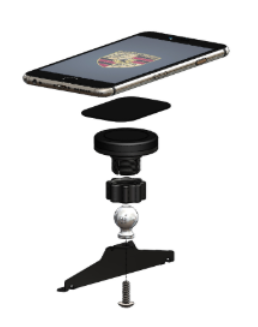
What I ended up doing was sourcing a threaded 1" ferrous ball from www.bearingballs.com and purchasing just the mounting bracket from Rennline's Cayenne phone mount kit, then using a 1/4-20 bolt with a 3/4" spacer threaded into the ball. The Rennline bracket is a great design as you pop off the PCM surround trim, and it wedges into the gap between the leather console and the trim, using the 2 left PCM attachment screws to hold is securely in place. It can also be mounted on either the left side or the right side.
Before installing the bracket (for clearance reasons) I put a lock-washer on the bolt, then threaded the bolt through the bracket, then slipped on the spacer, and threaded on the ball until tight, then installed the bracket into the console.
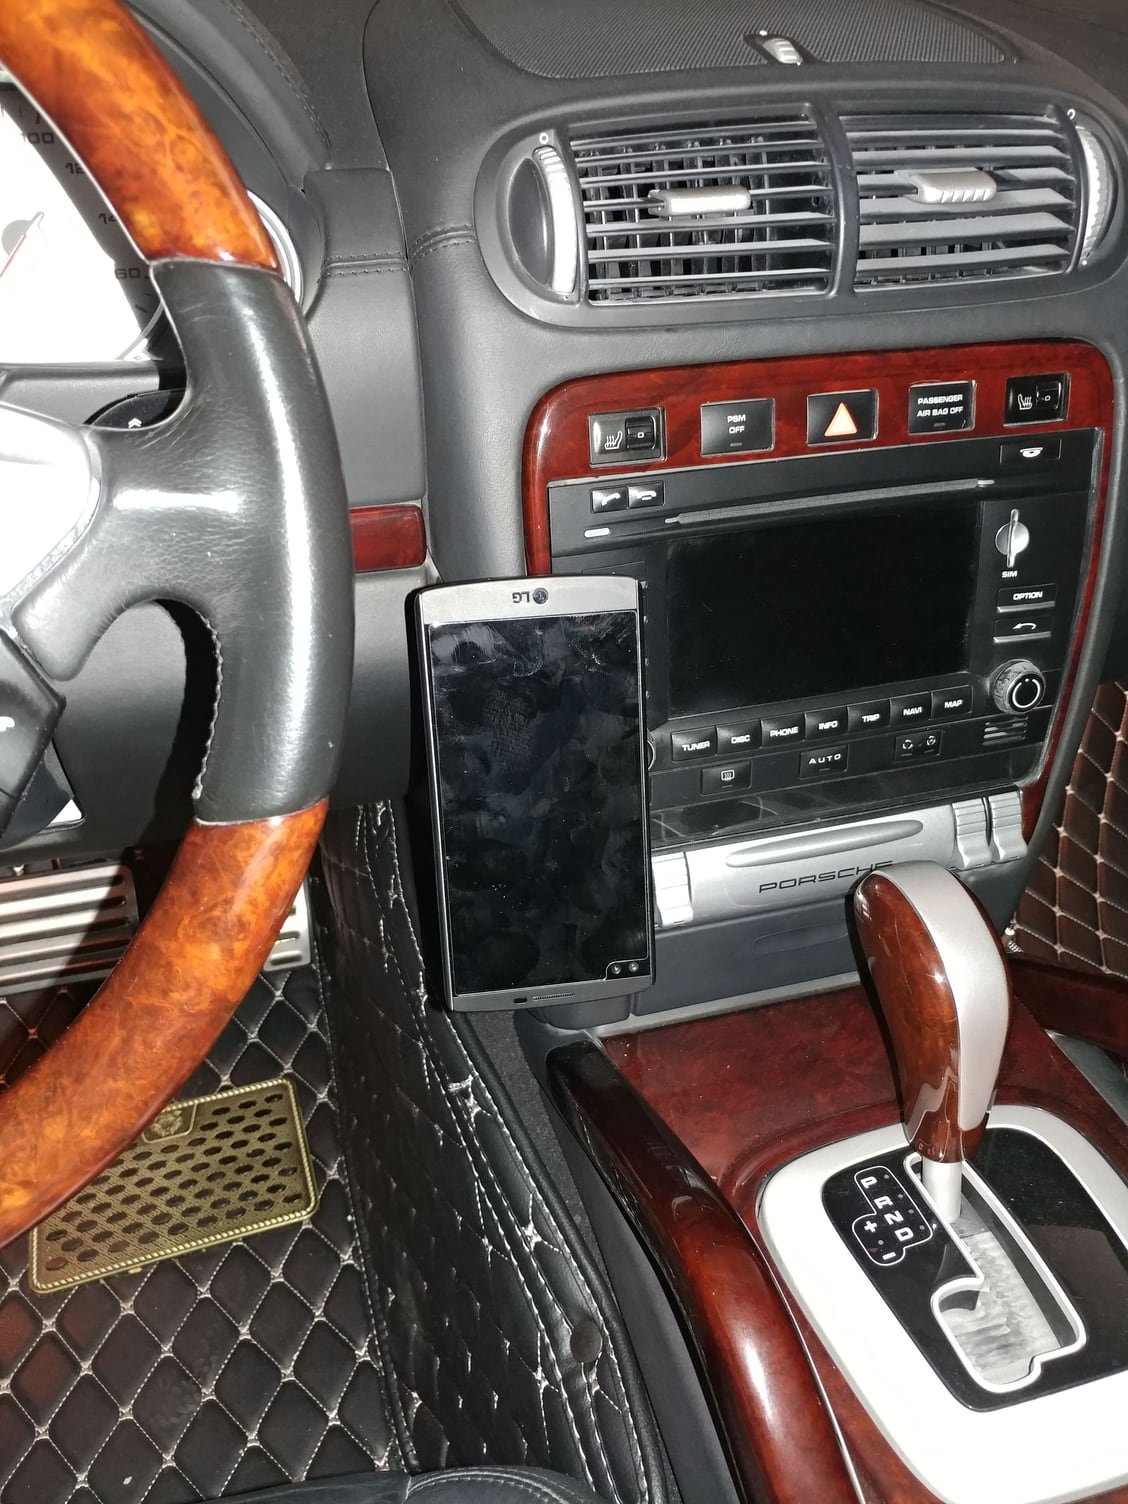
Works Perfectly - doesn't block any of the controls, if far enough from the control stalks on the right side of the wheel to not have any interference and is in plain view for ease of use with Pandora & Waze while driving. I have an app on my phone that let's me force 180 degree screen rotation so it can be mounted inverted and work normally. If you mount the magnetic receive in the middle of the phone, it wants to spin when you drive and hit bumps, and you can't place it at the top of the phone since on an LG that's where the camera lens, power button, & fingerprint reader are - so you mount it at the bottom and just the phone upside down. The Steelie mount for the phone has a rubber section in the center that helps it grip to the ball and not rotate too.
In post #134 I mentioned I had taken measurements for the PCCB brake upgrade and radial to axial mounting adapters. Those measurements revealed a couple of new challenges with that part of the project, but it's still progressing.
Problem #1 - at the rear, the PCCB rotors are not much larger than the steel ones (20mm I think) and the 958 PCCB calipers have longer mounting legs on them for the radial mounts than the adapter on the red calipers for the axial mounts. In a nutshell, the problem that causes is there isn't enough clearance to make a proper adapter because the radial mounting hole spacing on the 958 caliper is very close to the axial mounting hole spacing on the red caliper and the rotor doesn't pull the PCCB caliper far enough away to have room for a spacer.
I thought about figuring out the mounting hole circle where the axial bolts need to install and then indexing the PCCB caliper along that circle a little bit to stagger where the 2 sets of holes would be, but there's not much rotational space without contacting something else - maybe 19mm, which meant the holes would be too close together for me to have confidence in the strength and longevity of the adapter, which just didn't seem safe under the braking loads possible. So I did some research with the PET catalogs and as it turns out, the exact same 370mm PCCB rotor (same part #s) were used on the rear of the 957 and 958 - 955.352.031.00 & 955.352.032.00 if equipped with PCCBs. Since the rotors are the expensive part of the PCCB brake upgrade I just decided to order the 957 rear calipers with the correct spacing and axial mounting holes so the rear is now taken care of and I'll sell the essentially new 958 PCCB rear calipers.
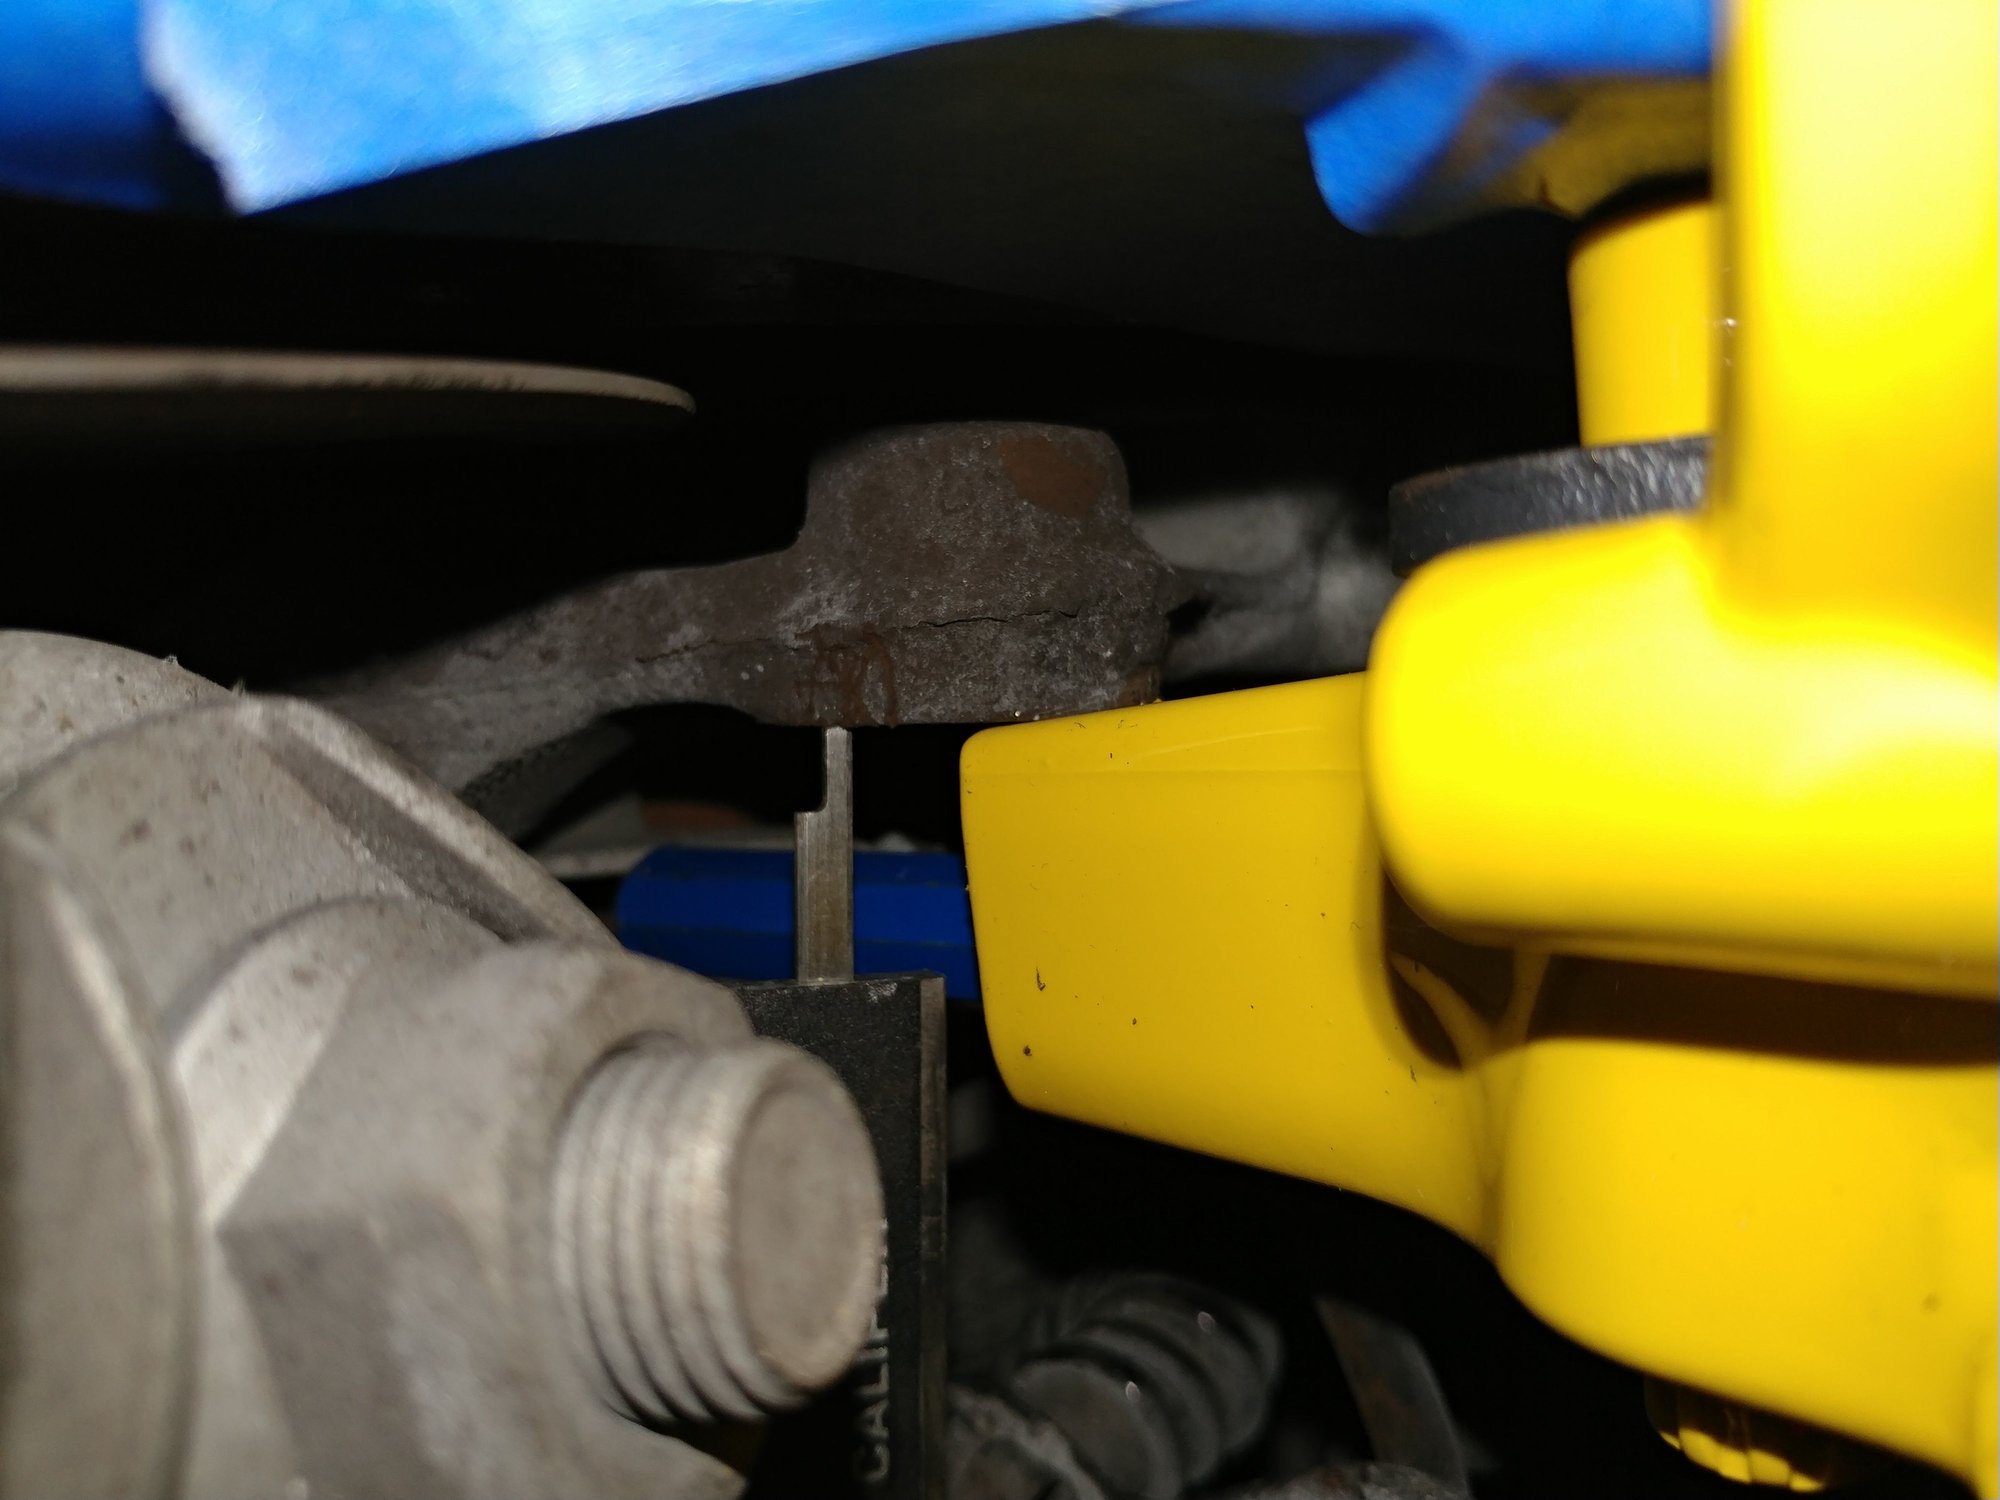
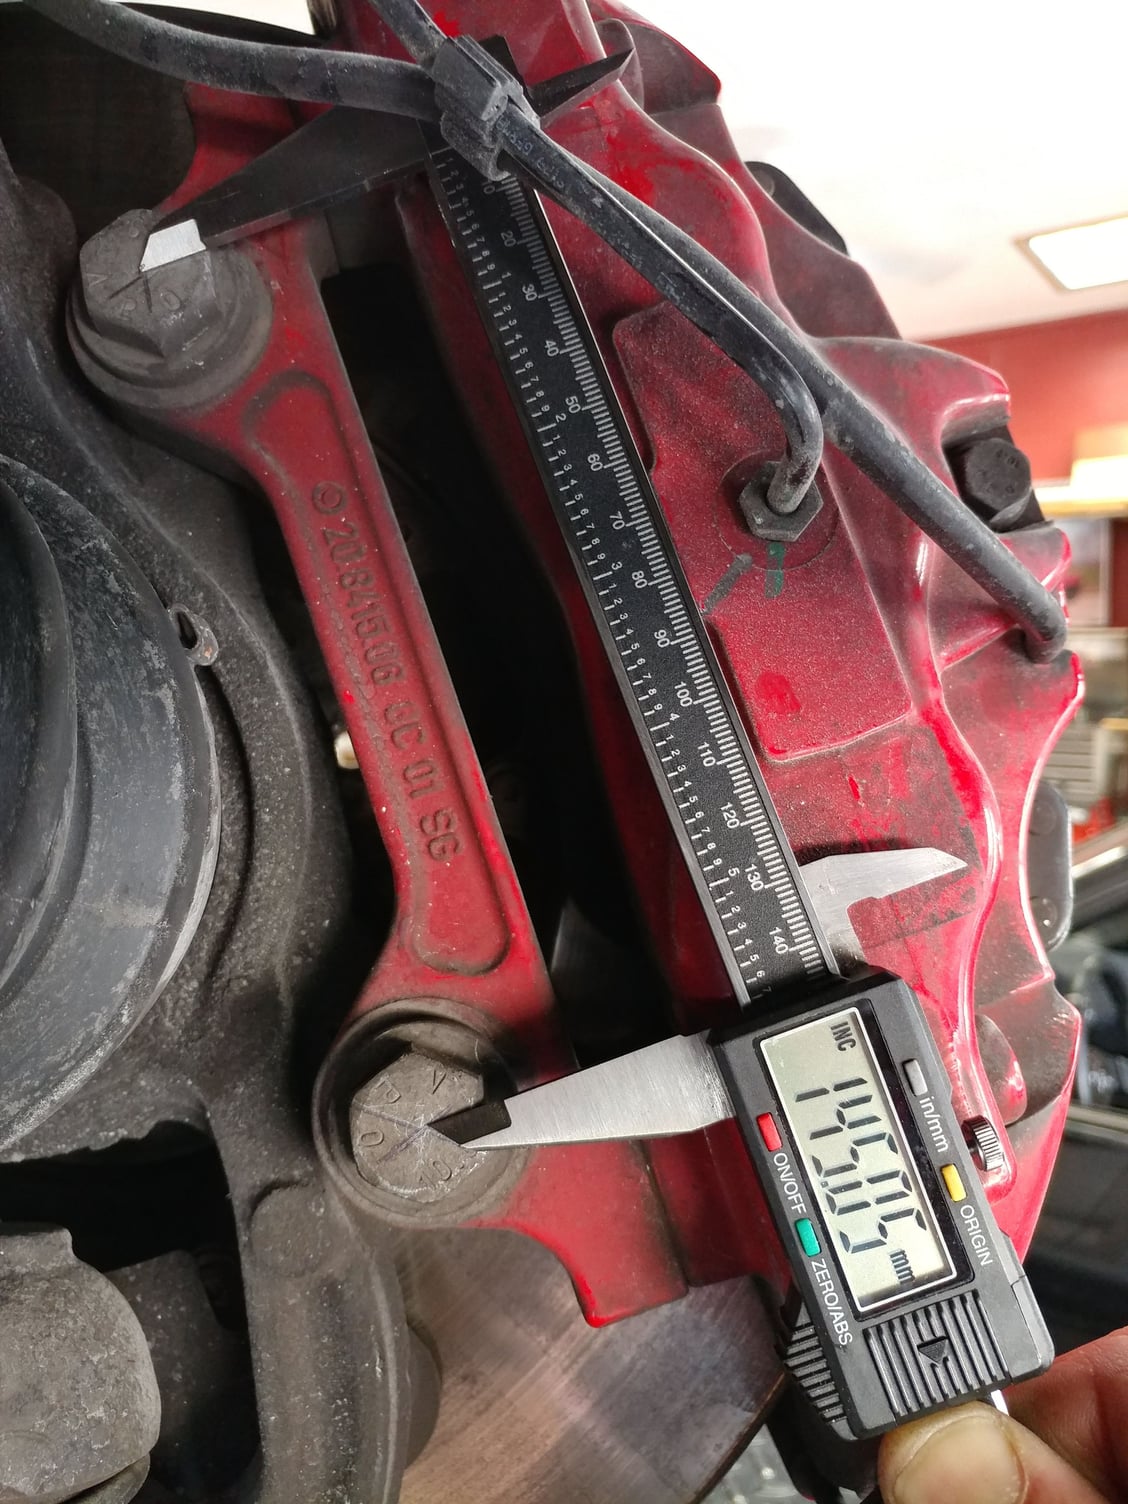
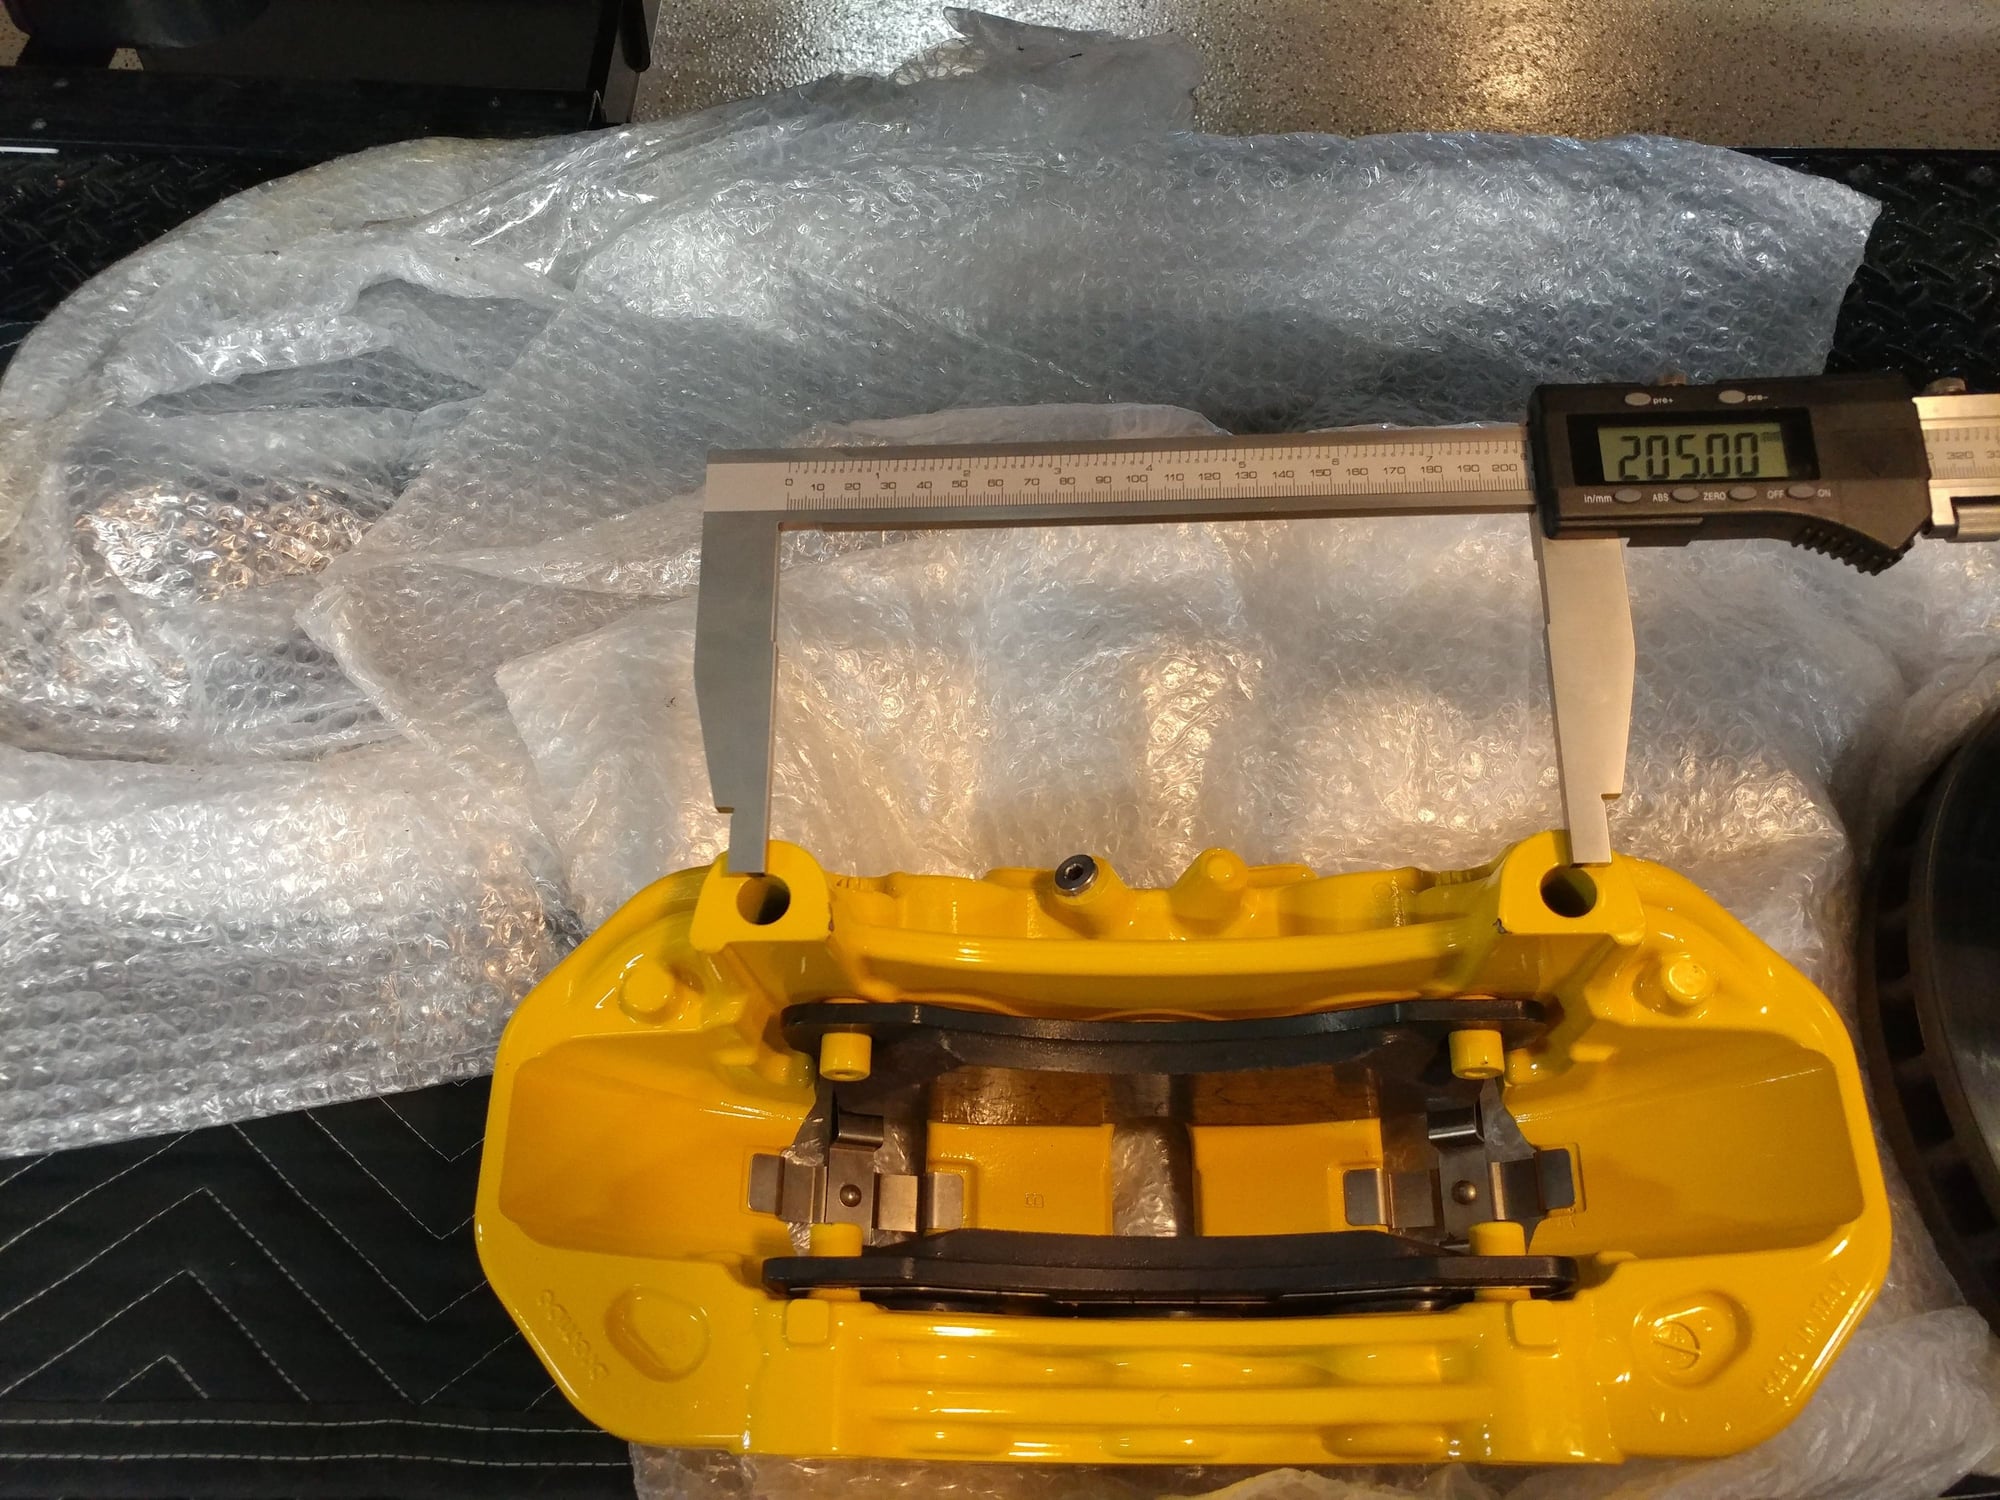
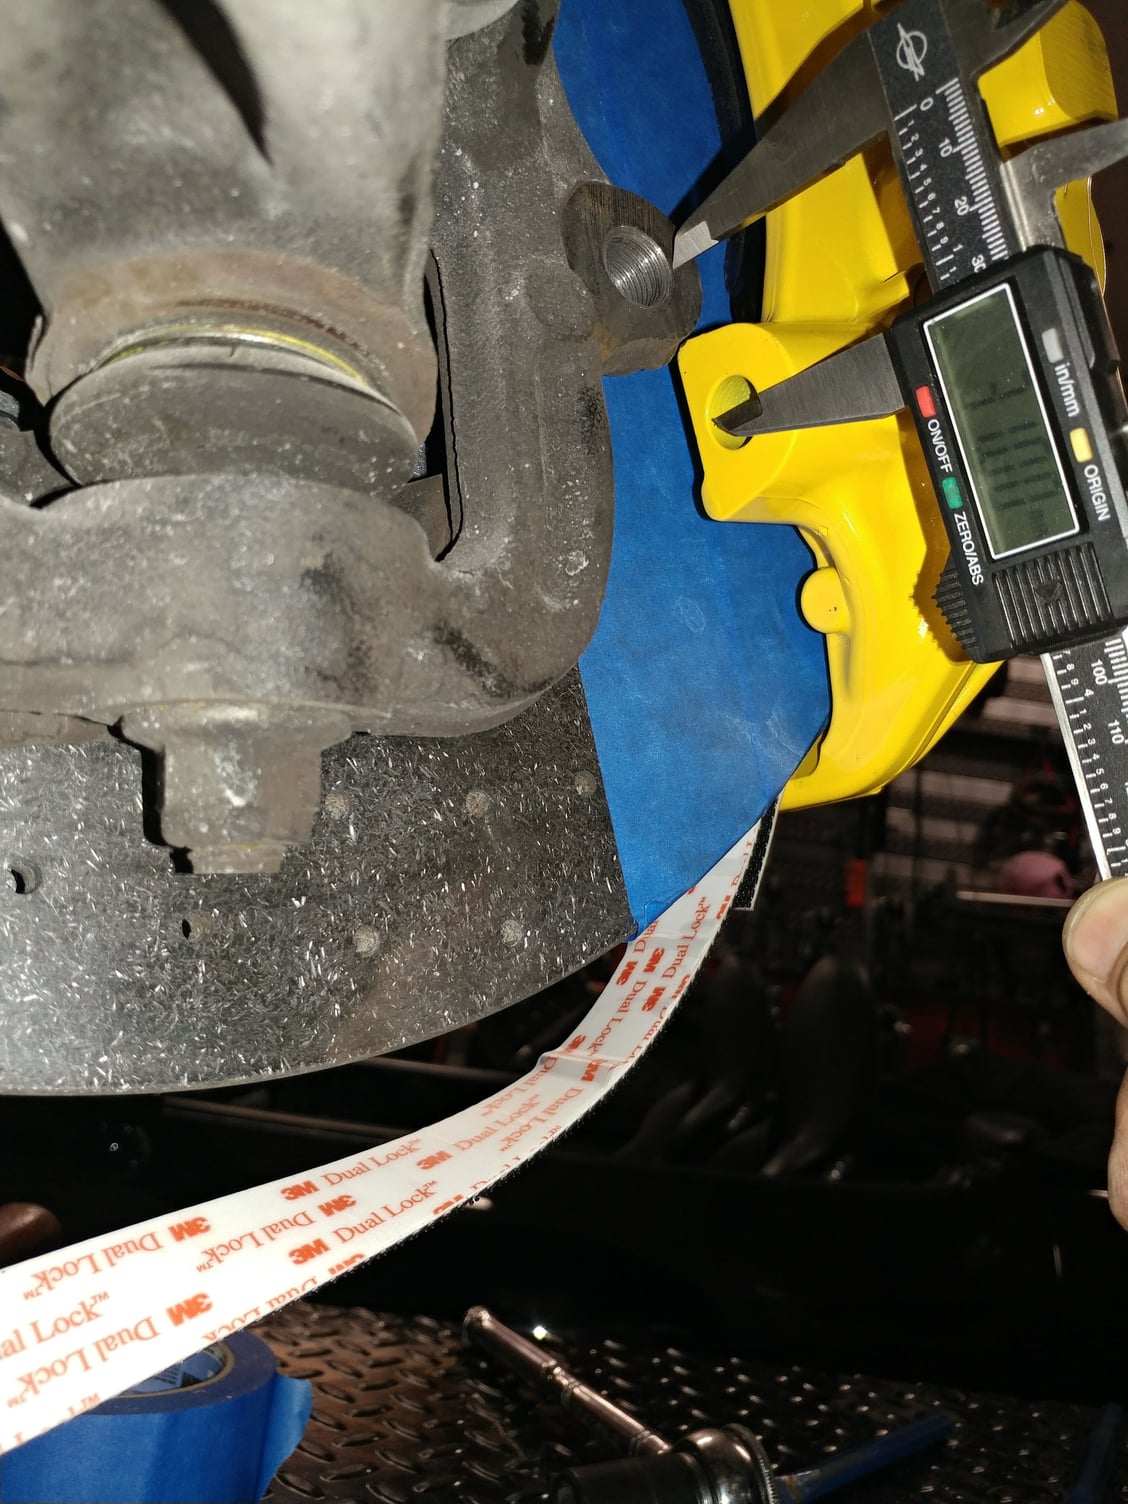
Problem #2 - at the front, I thought I was in good shape. The radial mounting holes of the PCCB caliper are a good bit wider (205mm) than the axial mounting holes of the red caliper (145mm) so there is space for both to co-exist. Unfortunately, because of the different mounting orientation of the 958 calipers, Porsche extended the legs of the PCCB caliper to where there isn't enough space left for a thick enough axial to radial adapter - you need a minimum of 15mm and I have about 4mm.
See how the caliper foot is touching the axial mounting hole flange - it needs to be further away to be able to make an adapter.
After consulting with the Epytec in Germany, which is the company that I'll be using to fabricate the front adapters, they recommended going to either a larger rotor to create more space for an adapter (there isn't one from Porsche and I already own these pristine ones) or shortening the mounting legs of the calipers to create enough space for the adapter. I decided to go with Option 2.
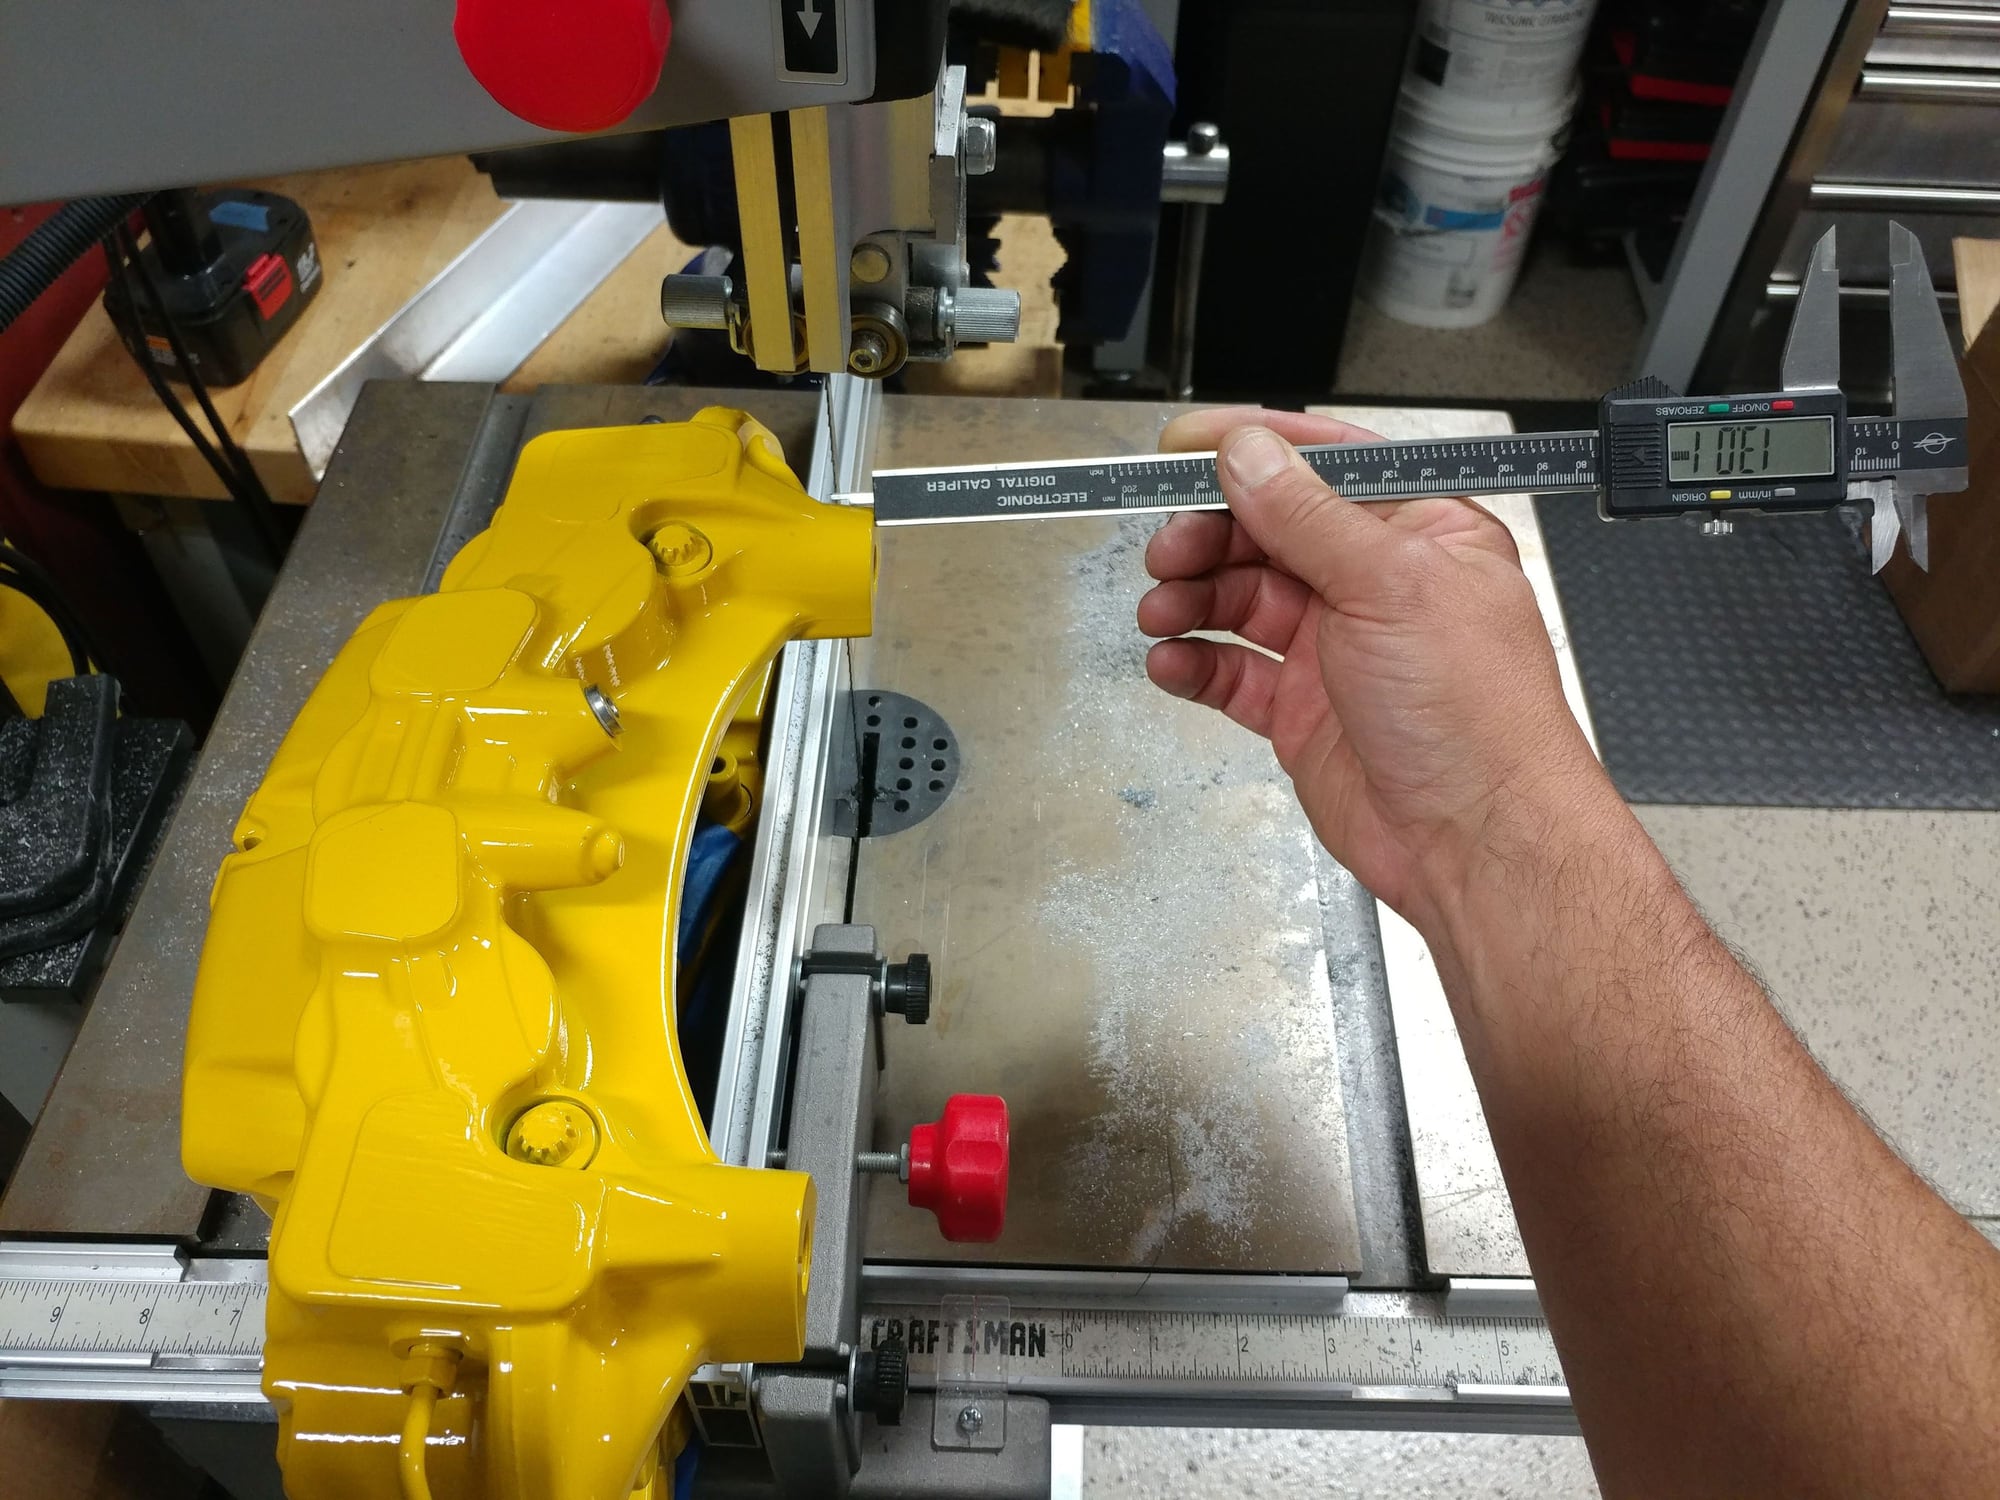
Since the calipers are aluminum, I setup a guide fence on my band saw to take 13mm from the caliper legs which would make them terminate just below where all the reinforcing tapers end and the legs just get straight.
Thought if I went nice and slow with some cutting oil, it would work out - nope.
Because of the height of the guard with the guide wheels, the band deflected just enough to create a little bit of an angle. I knew they would need to sit straighter than that on the adapters, so I actually found a local machine shop that is going to mill them to within 0.020" for only $45 - they're really nice guys in a small little out of the way shop that has some serious equipment in it - thanks Google for putting them in the local machine shop search results. I didn't cut the 2nd one so they would have an unmolested one to setup the CNC machine to keep the relationship between the two legs the same, just shorter, and they'll do both of the calipers to the same length, obviously. This will get me 17-18 mm of clearance from the bottom of the PCCB caliper feet to the center of the axial mounting holes where I can then send off the exact measurements to Epytec and have them fabricate the front mounting adapters.
So, like things go with these projects, there are challenges that need to be overcome, but that's actually part of the fun and sense of accomplishment.
So far, so good, but not a lot of miles on them and still no rain testing ...I cleaned the car after the last trip and don't want to get it dirty again driving in the rain - LOL
This vehicle is primarily our family trip car so doesn't get a lot of mileage or regular use. It will remain one of the lowest mileage 09 TTS around and we should have it for years and years and years, which is why I initially sought out a very low mileage one to use for this project.
We just returned from FL this weekend so the car has completed its first major family vacation trip. I'm happy to report that it ran and drove flawlessly both there and back which was about 1,500 miles - averaged 13.2 mpg at 68 MPH including the time we were there so the trip down and back were done a bit faster (cruise was usually set to 84), and didn't use any oil (running JGR DT40 5W/40). Coolant temps from my p3 Gauge were right around 190 F most of the time - got stuck in Atlanta traffic on the way home on a 92 degree day and it went as high as 209, but then the fans must have kicked on dropping it back to about 200 - once we got moving again, it was back in the 190-194 range. AFRs were 13.5-15.
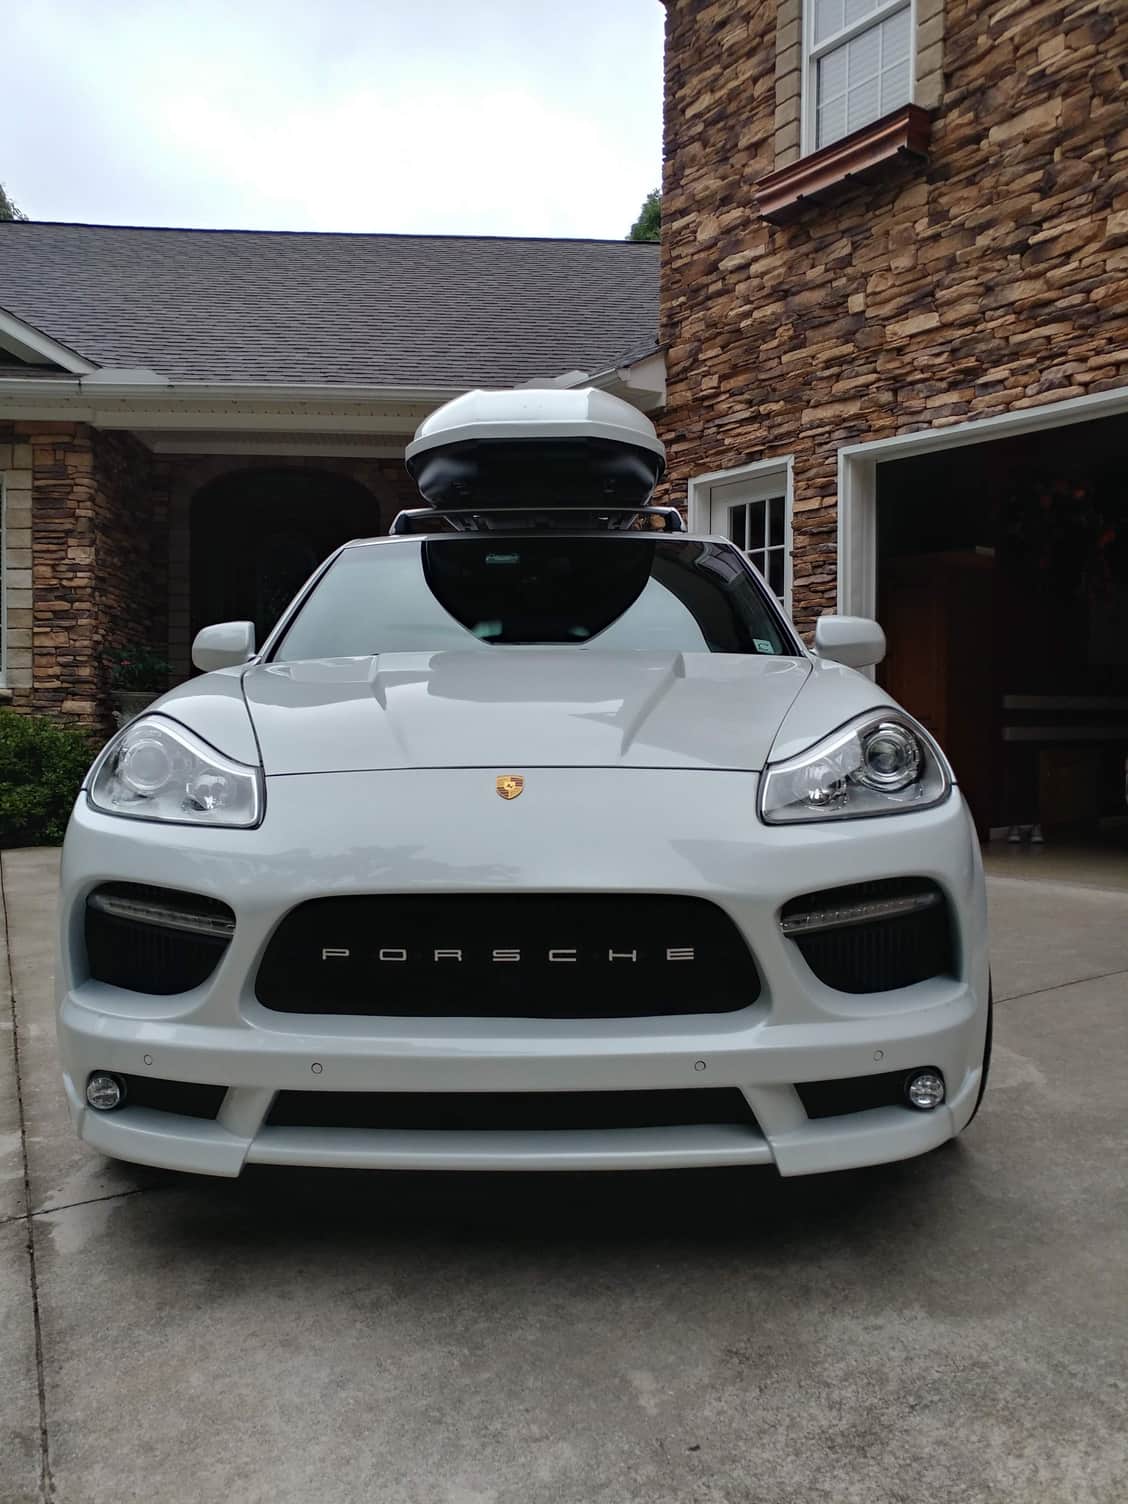
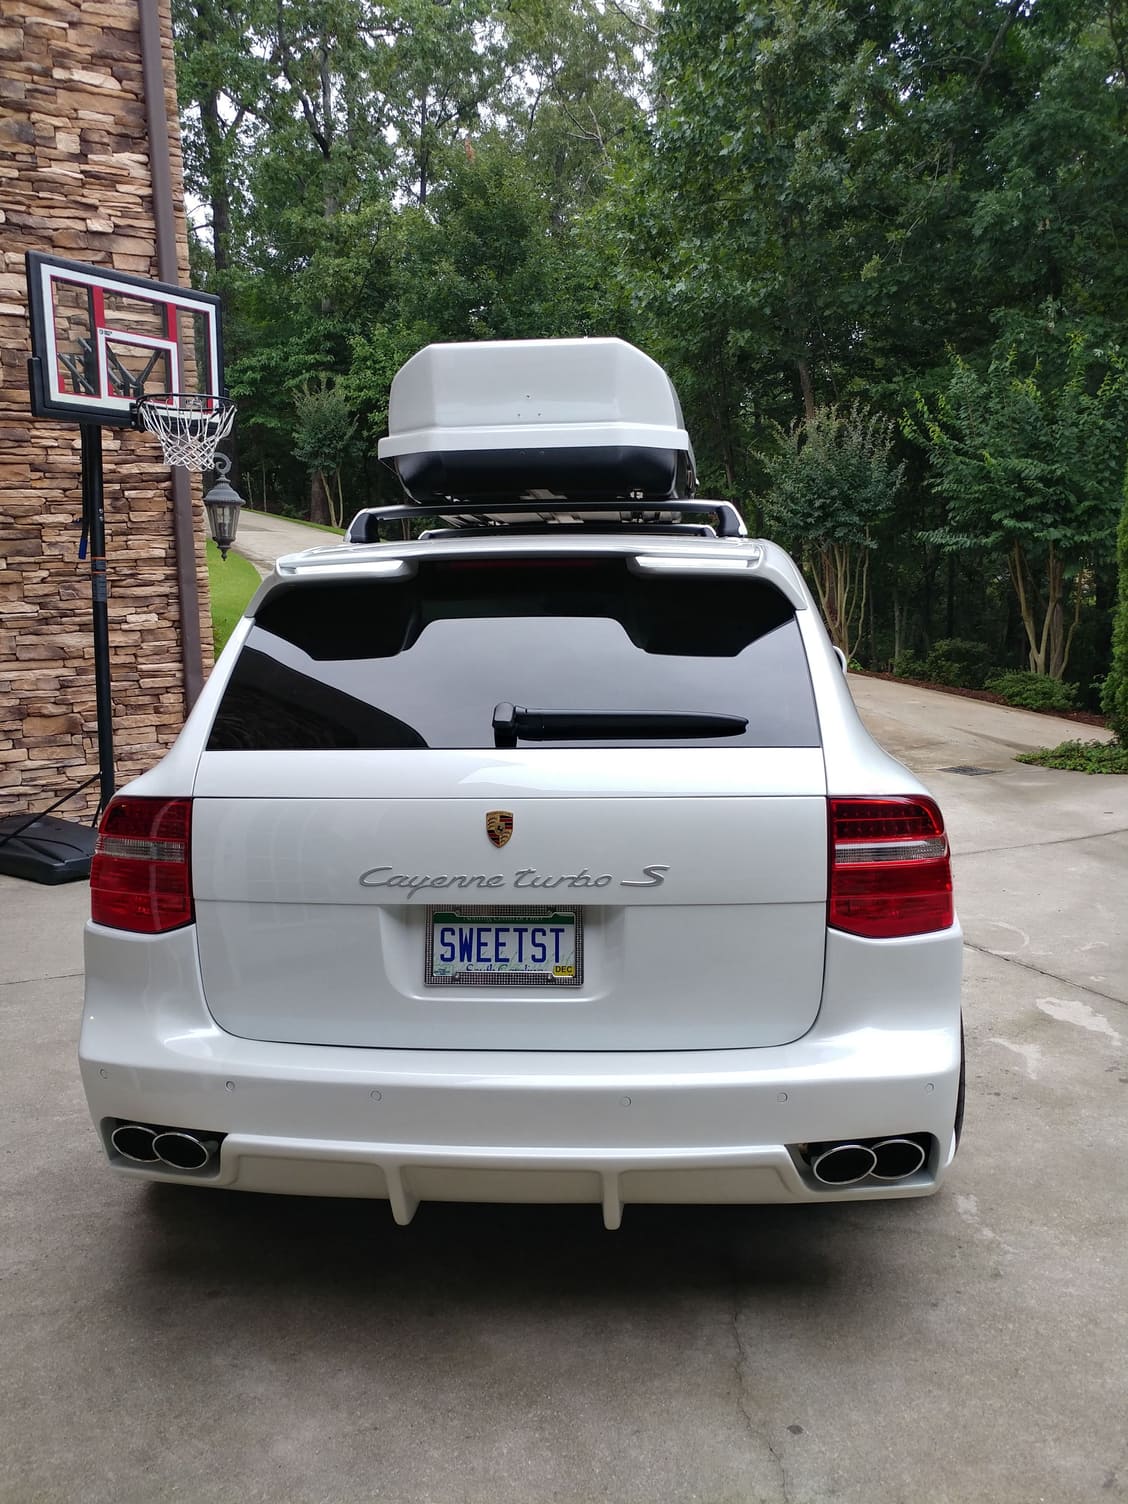
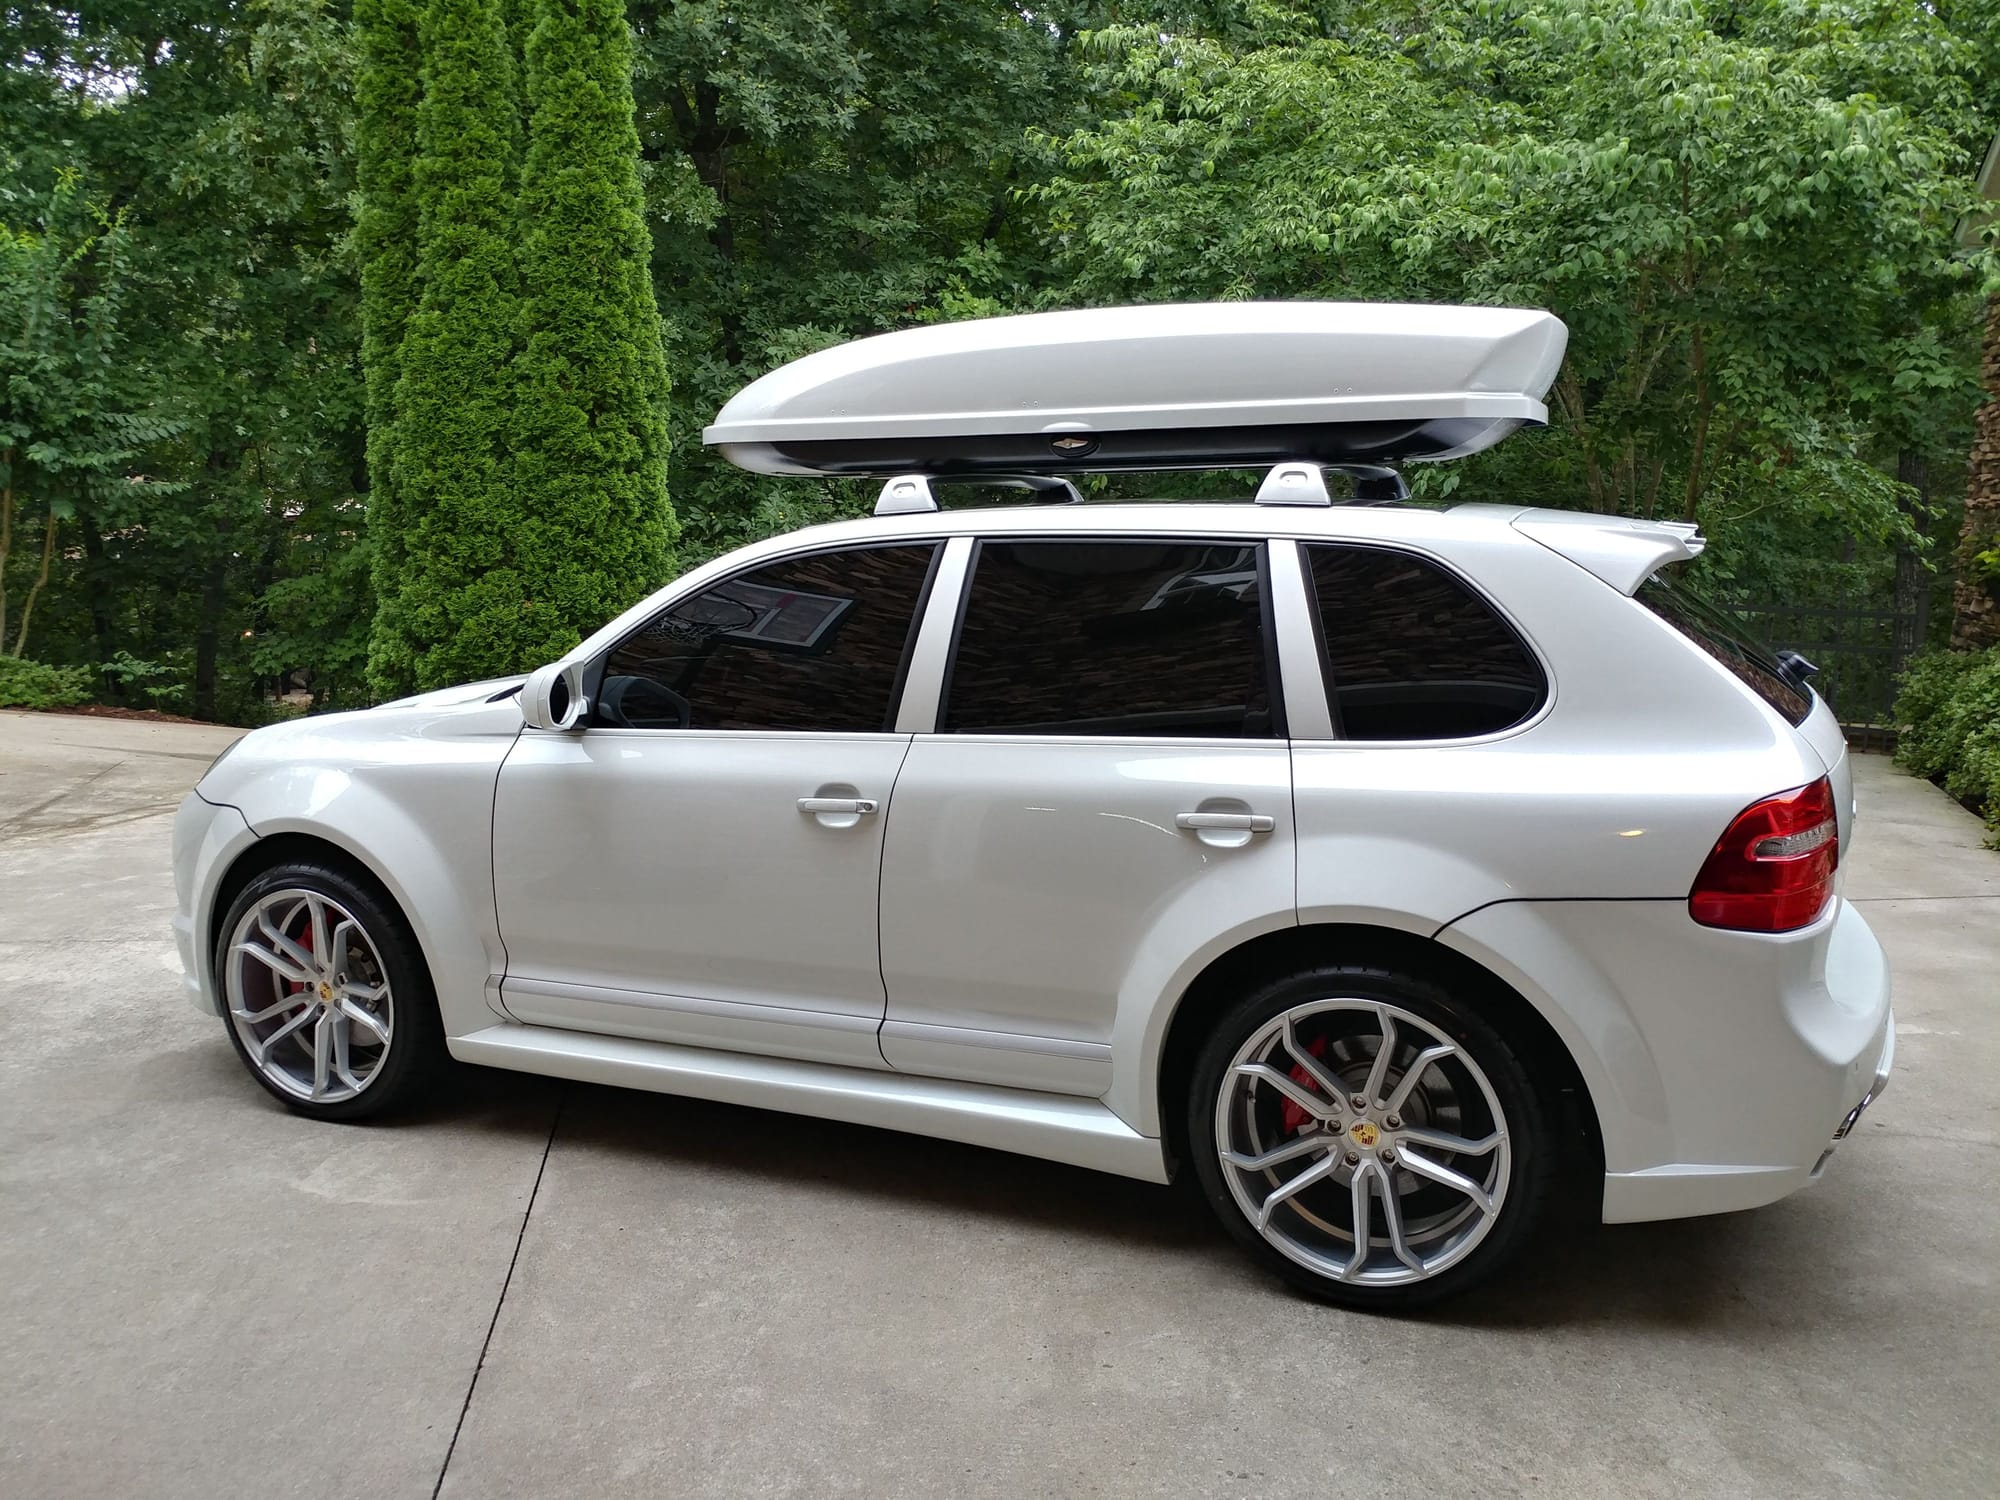
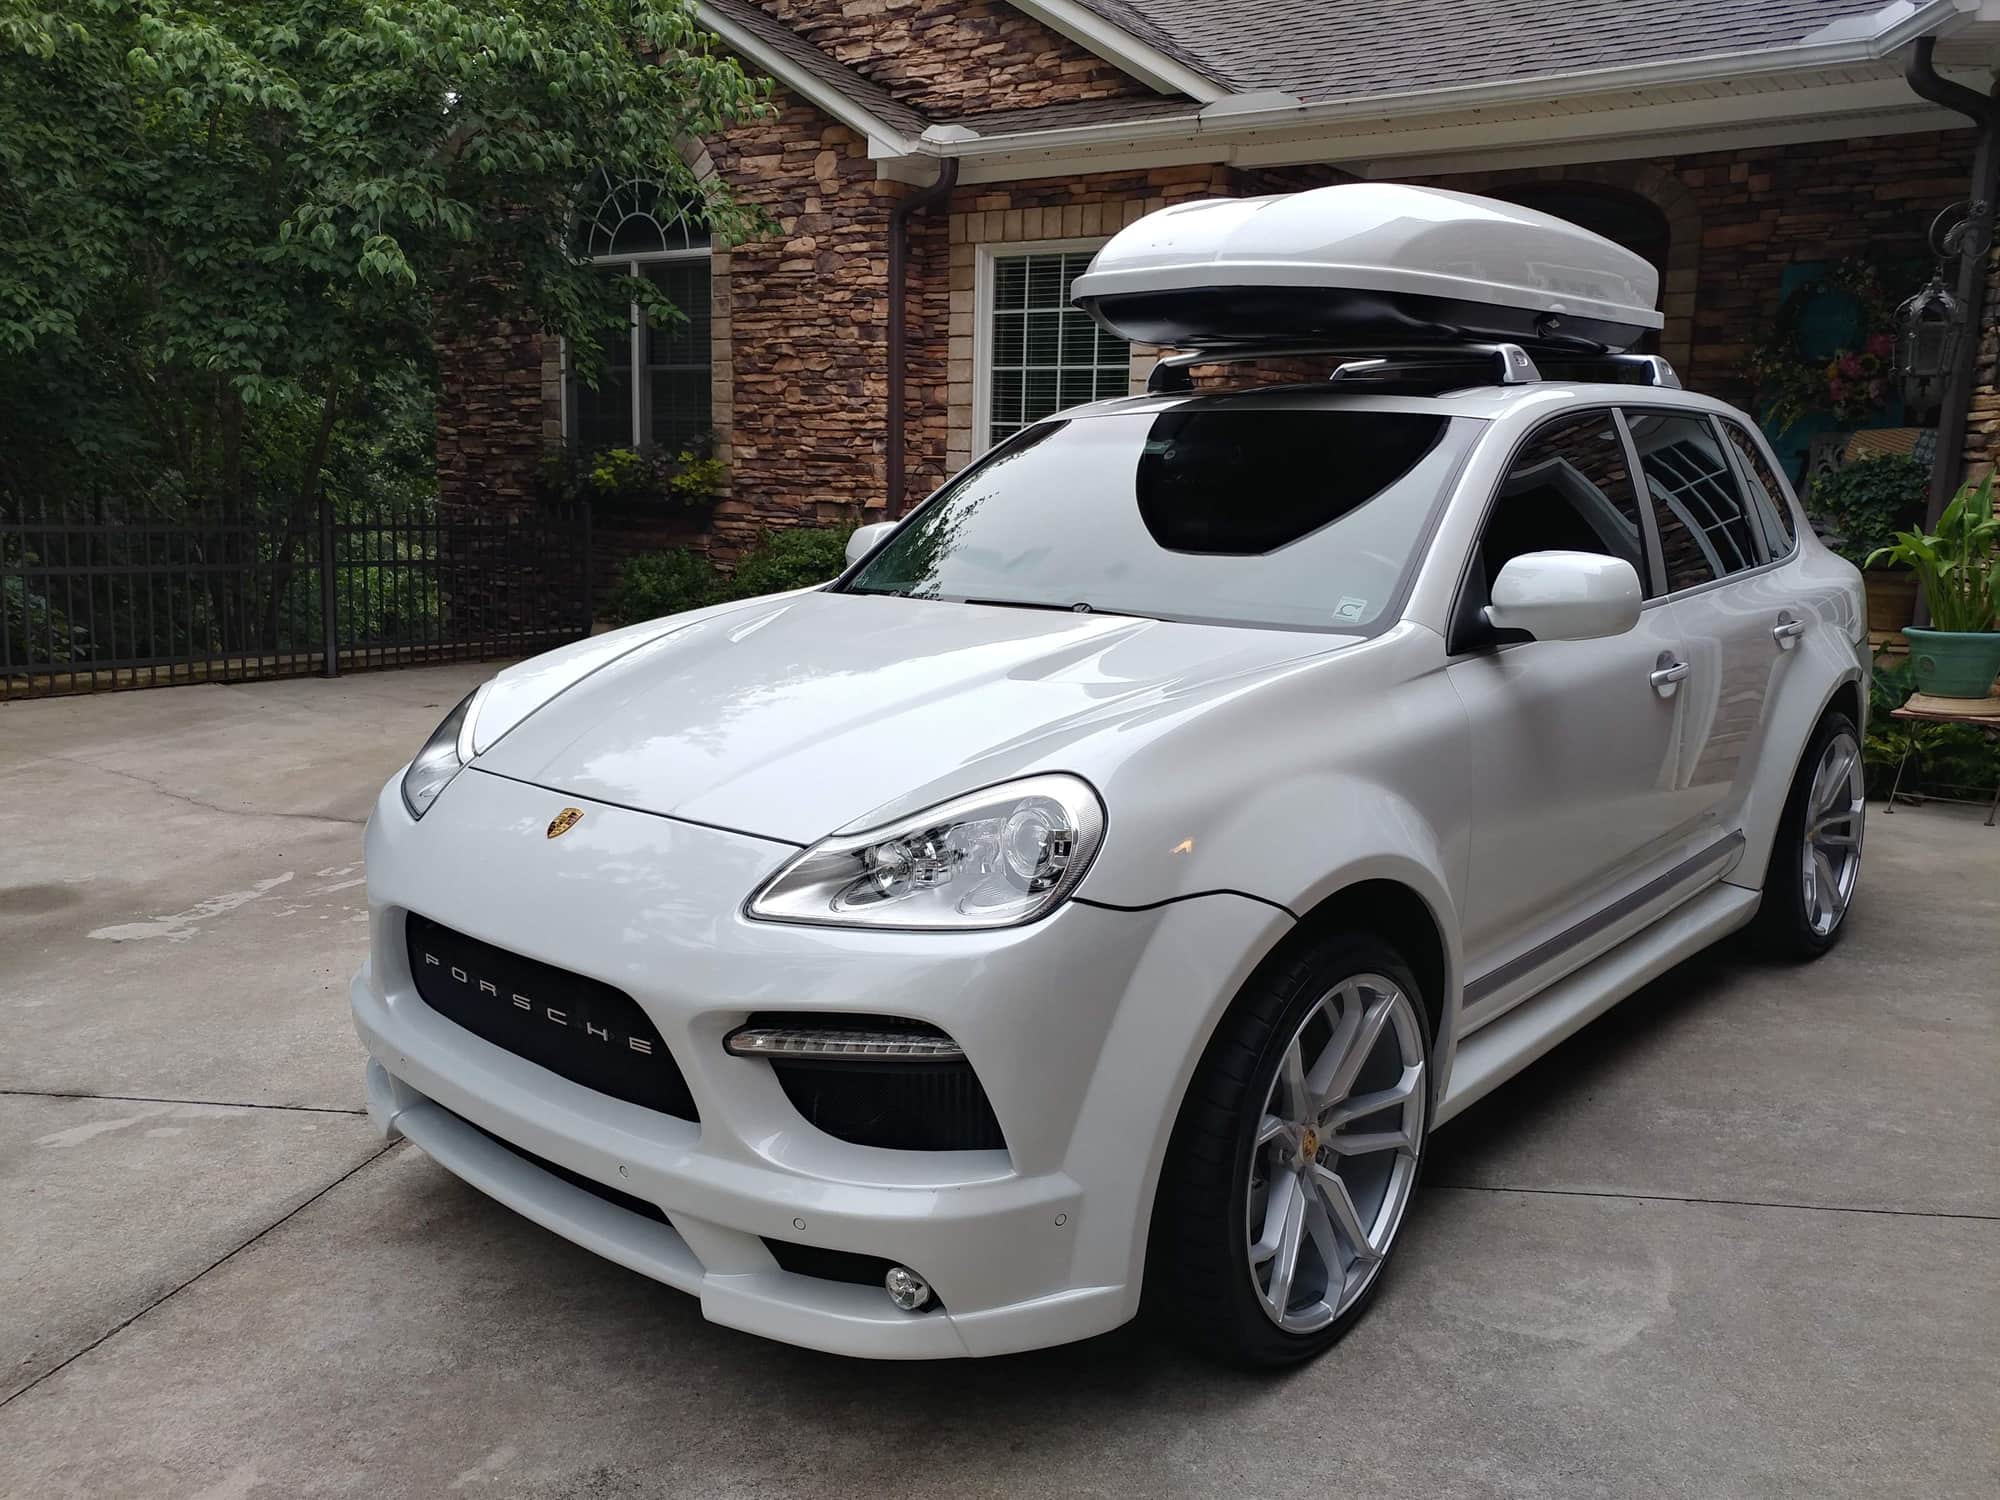
The new Skybox mounting system has now been tested up to about 100 MPH as have the Atturo AZ850 tires.
Some new pics in "family hauler" mode from our 2nd trip this summer - another 700 miles logged averaging 13.6 MPG. By the way, the Atturo tires do just fine in the rain, even through really deep puddles on the side of the road.
This thing is stunning. 957 Cayennes are easily the best looking SUV ever produced and this is a crazy step above that!
Glad to hear you are liking the Atturos so far. Getting mine installed next week!

 05-08-2018, 11:23 AM