When you click on links to various merchants on this site and make a purchase, this can result in this site earning a commission. Affiliate programs and affiliations include, but are not limited to, the eBay Partner Network.
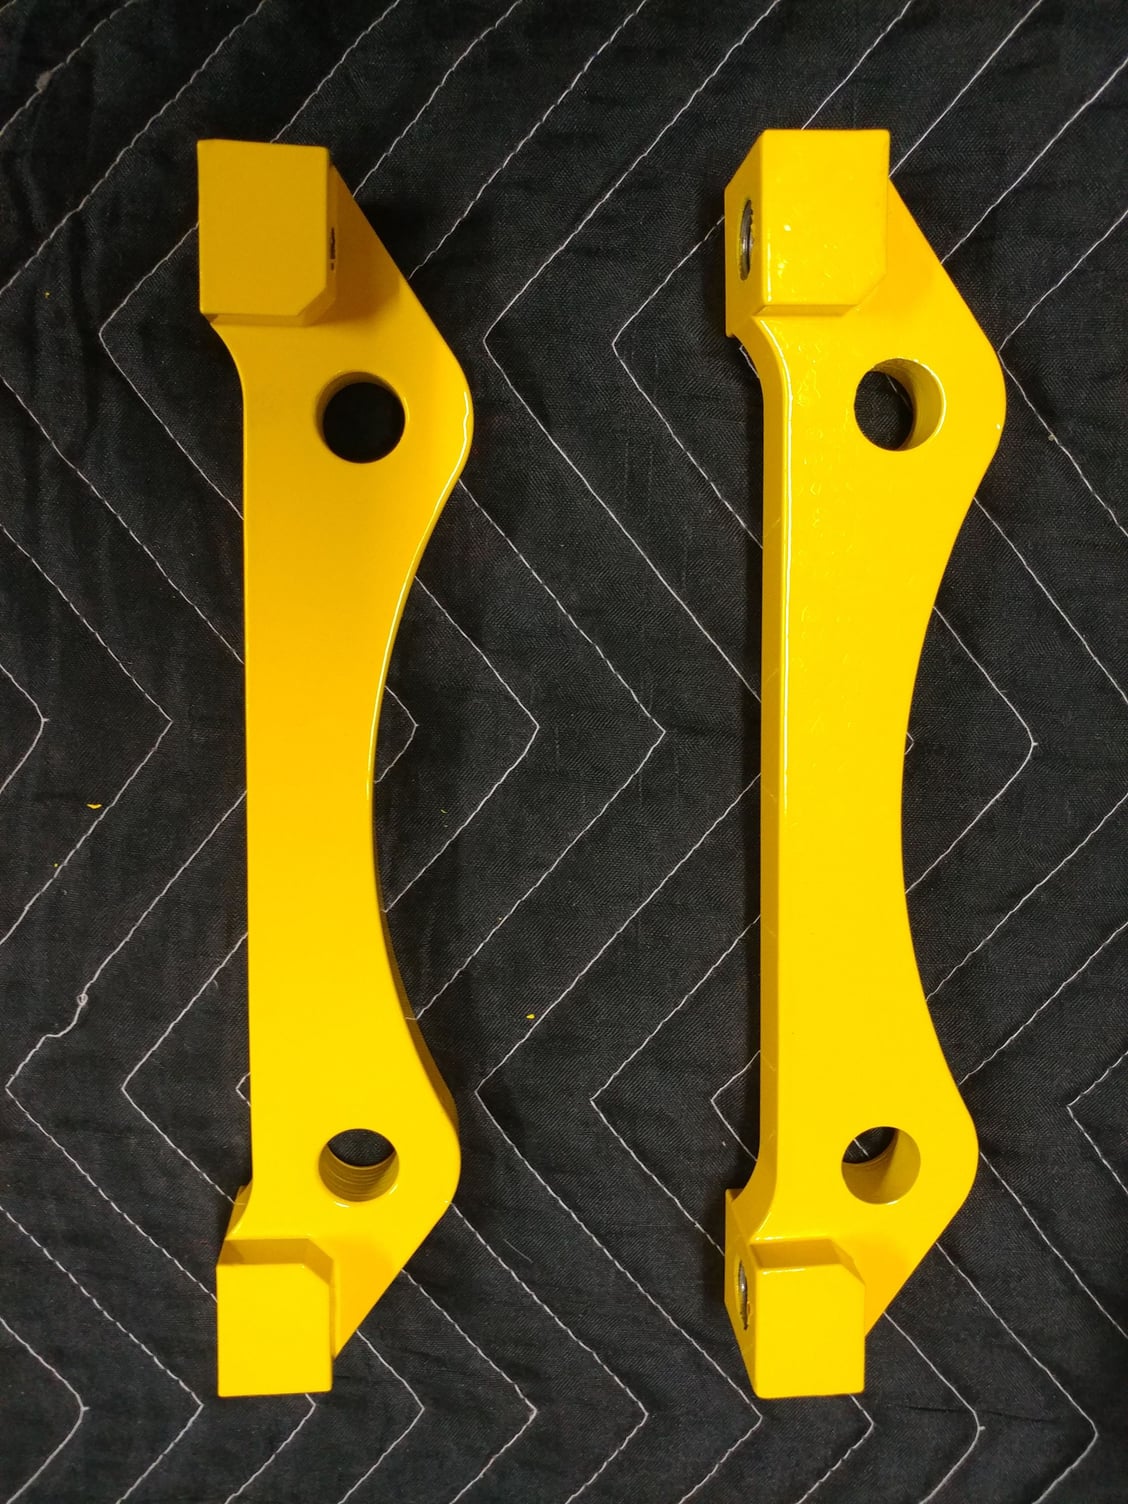
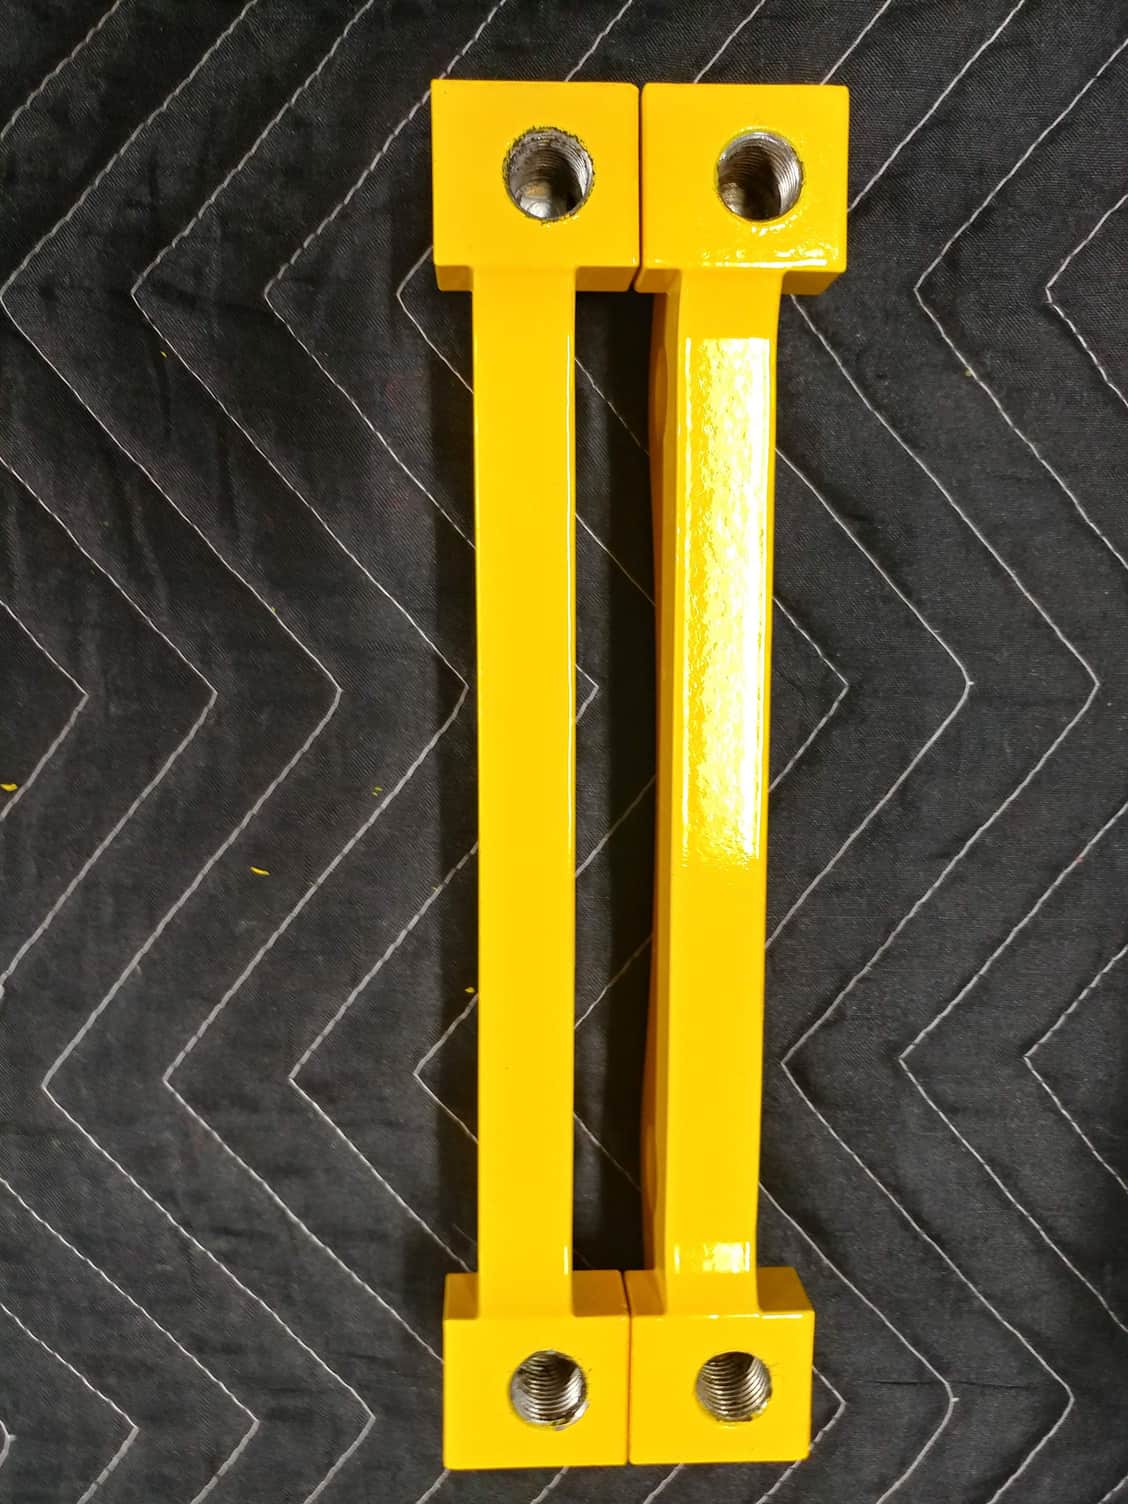
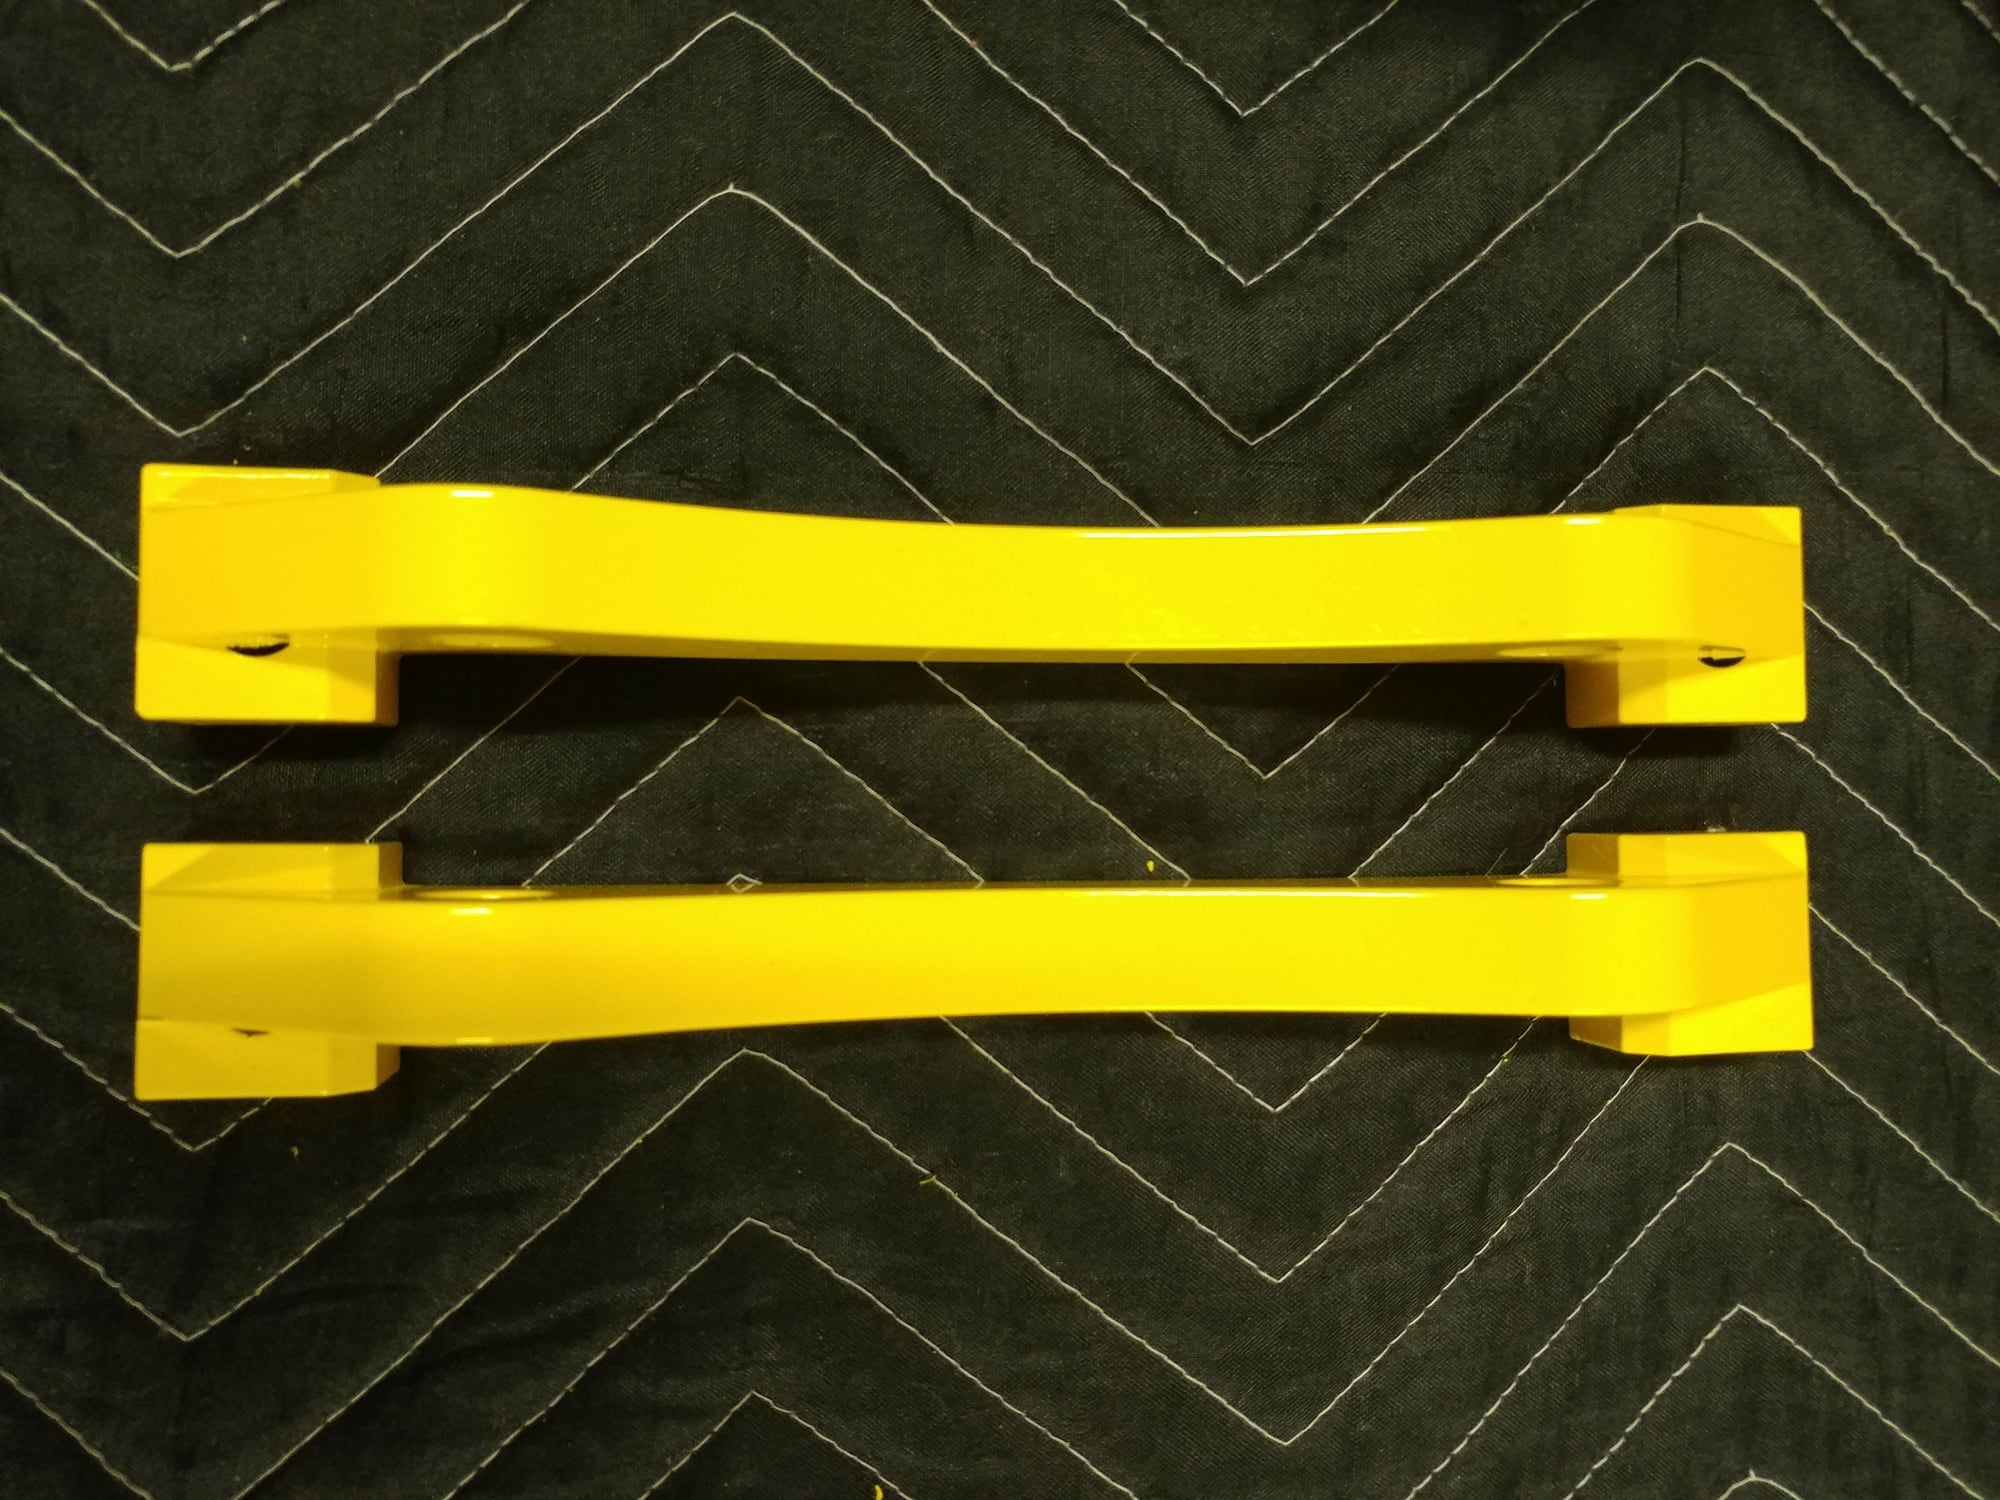
Caliper Adapters are back from powdercoat. I need to chase the threads the caliper bolts will thread into to remove some residue, but should now have everything to do the conversion / installation on-hand. It's on the mental calendar for December 27th (after Christmas, but before the New Year's company arrives).
@Petza914 nice build and thread. Question on your suspension did you lower it all using the Air Suspension lowering kit?
Thanks a lot.
No, the suspension heights are stock. It looks lower because the flares come out and down, but because the wider wheels and tires now come out past the stock fender openings, I didn't lower it further for fear of being at Sport height and hitting a mid-corner bump that drove the tire up into the flare. The outer lip of my wheel / tire / spacer setup is 2" further out than stock (same et50 wheel offset as OEM, but 12" wide, and a 25mm spacer).
On a 957 like mine, had I wanted to lower it, I would have just done the Durametric method since I have a Durametric Pro, rather than purchasing an expensive lowering module.
Thanks, I just pickup a 2008 GTS to replace my 04 CS RIP and I was thinking of doing the Air suspension lowering kit links or H&R module. But after reading more about compromising the ride with either setup I might just leave well alone.
Thanks, I just pickup a 2008 GTS to replace my 04 CS RIP and I was thinking of doing the Air suspension lowering kit links or H&R module. But after reading more about compromising the ride with either setup I might just leave well alone.
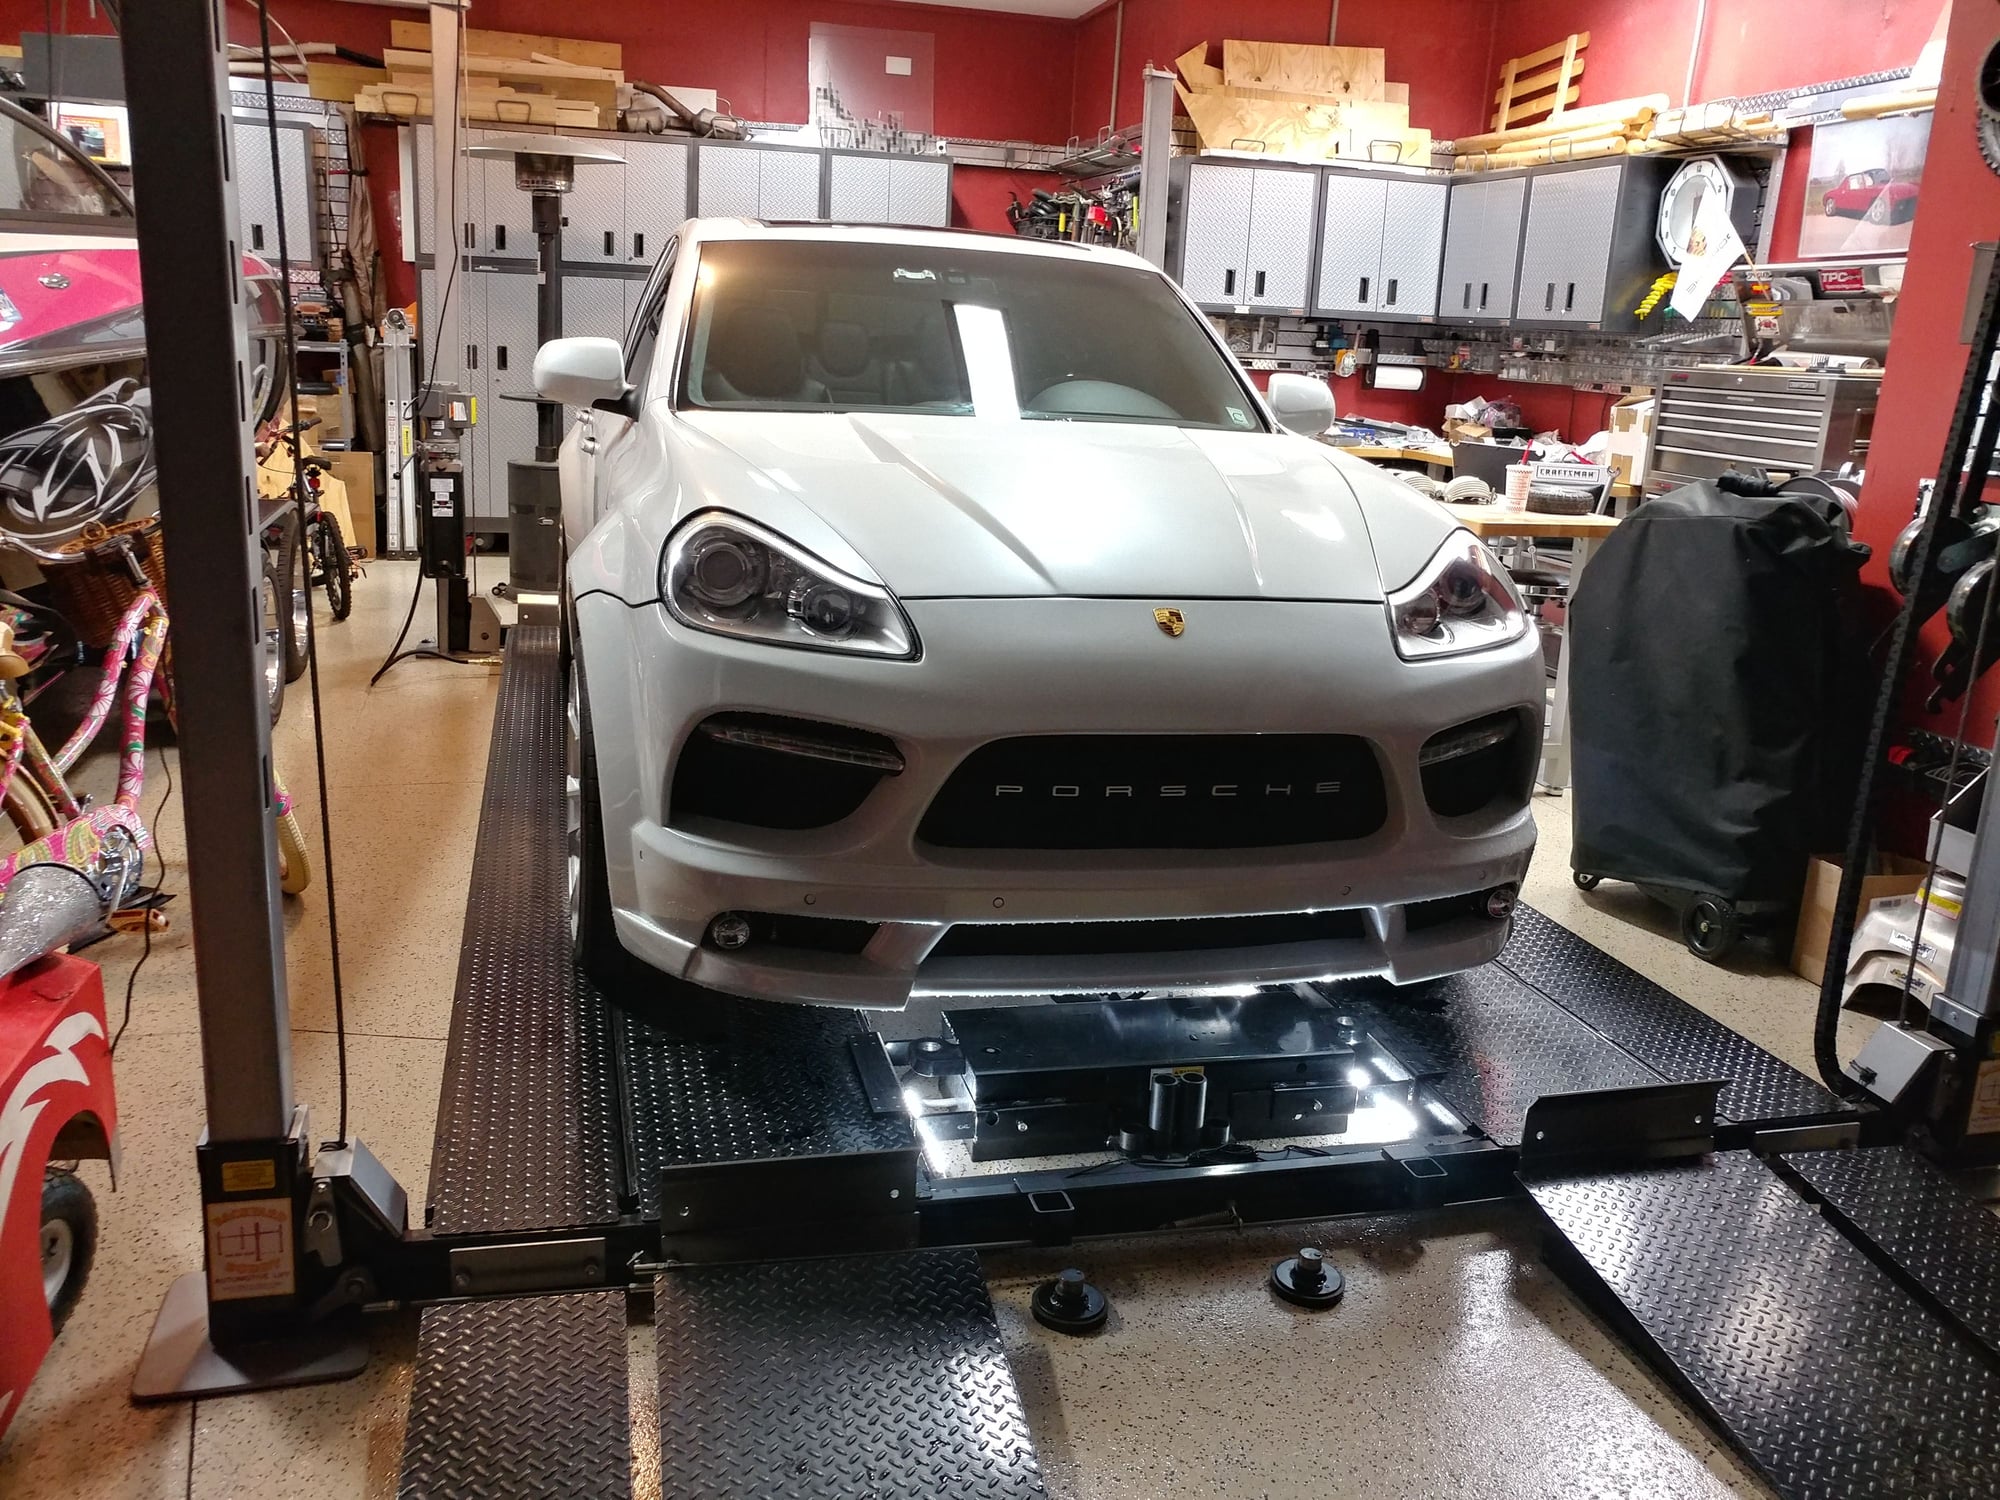
Can you give any details on your hydraulic lift table? are the custom made brackets to on the table in yellow to hold the Cayenne inn place sir?
Thank-you, Coach 11
Sorry, but that's not mine; it was at the body shop that did the conversion work for me, and my friend that owned the shop, sold out to a chain just as he was finishing my car, so he's not there any longer for me to get info from.
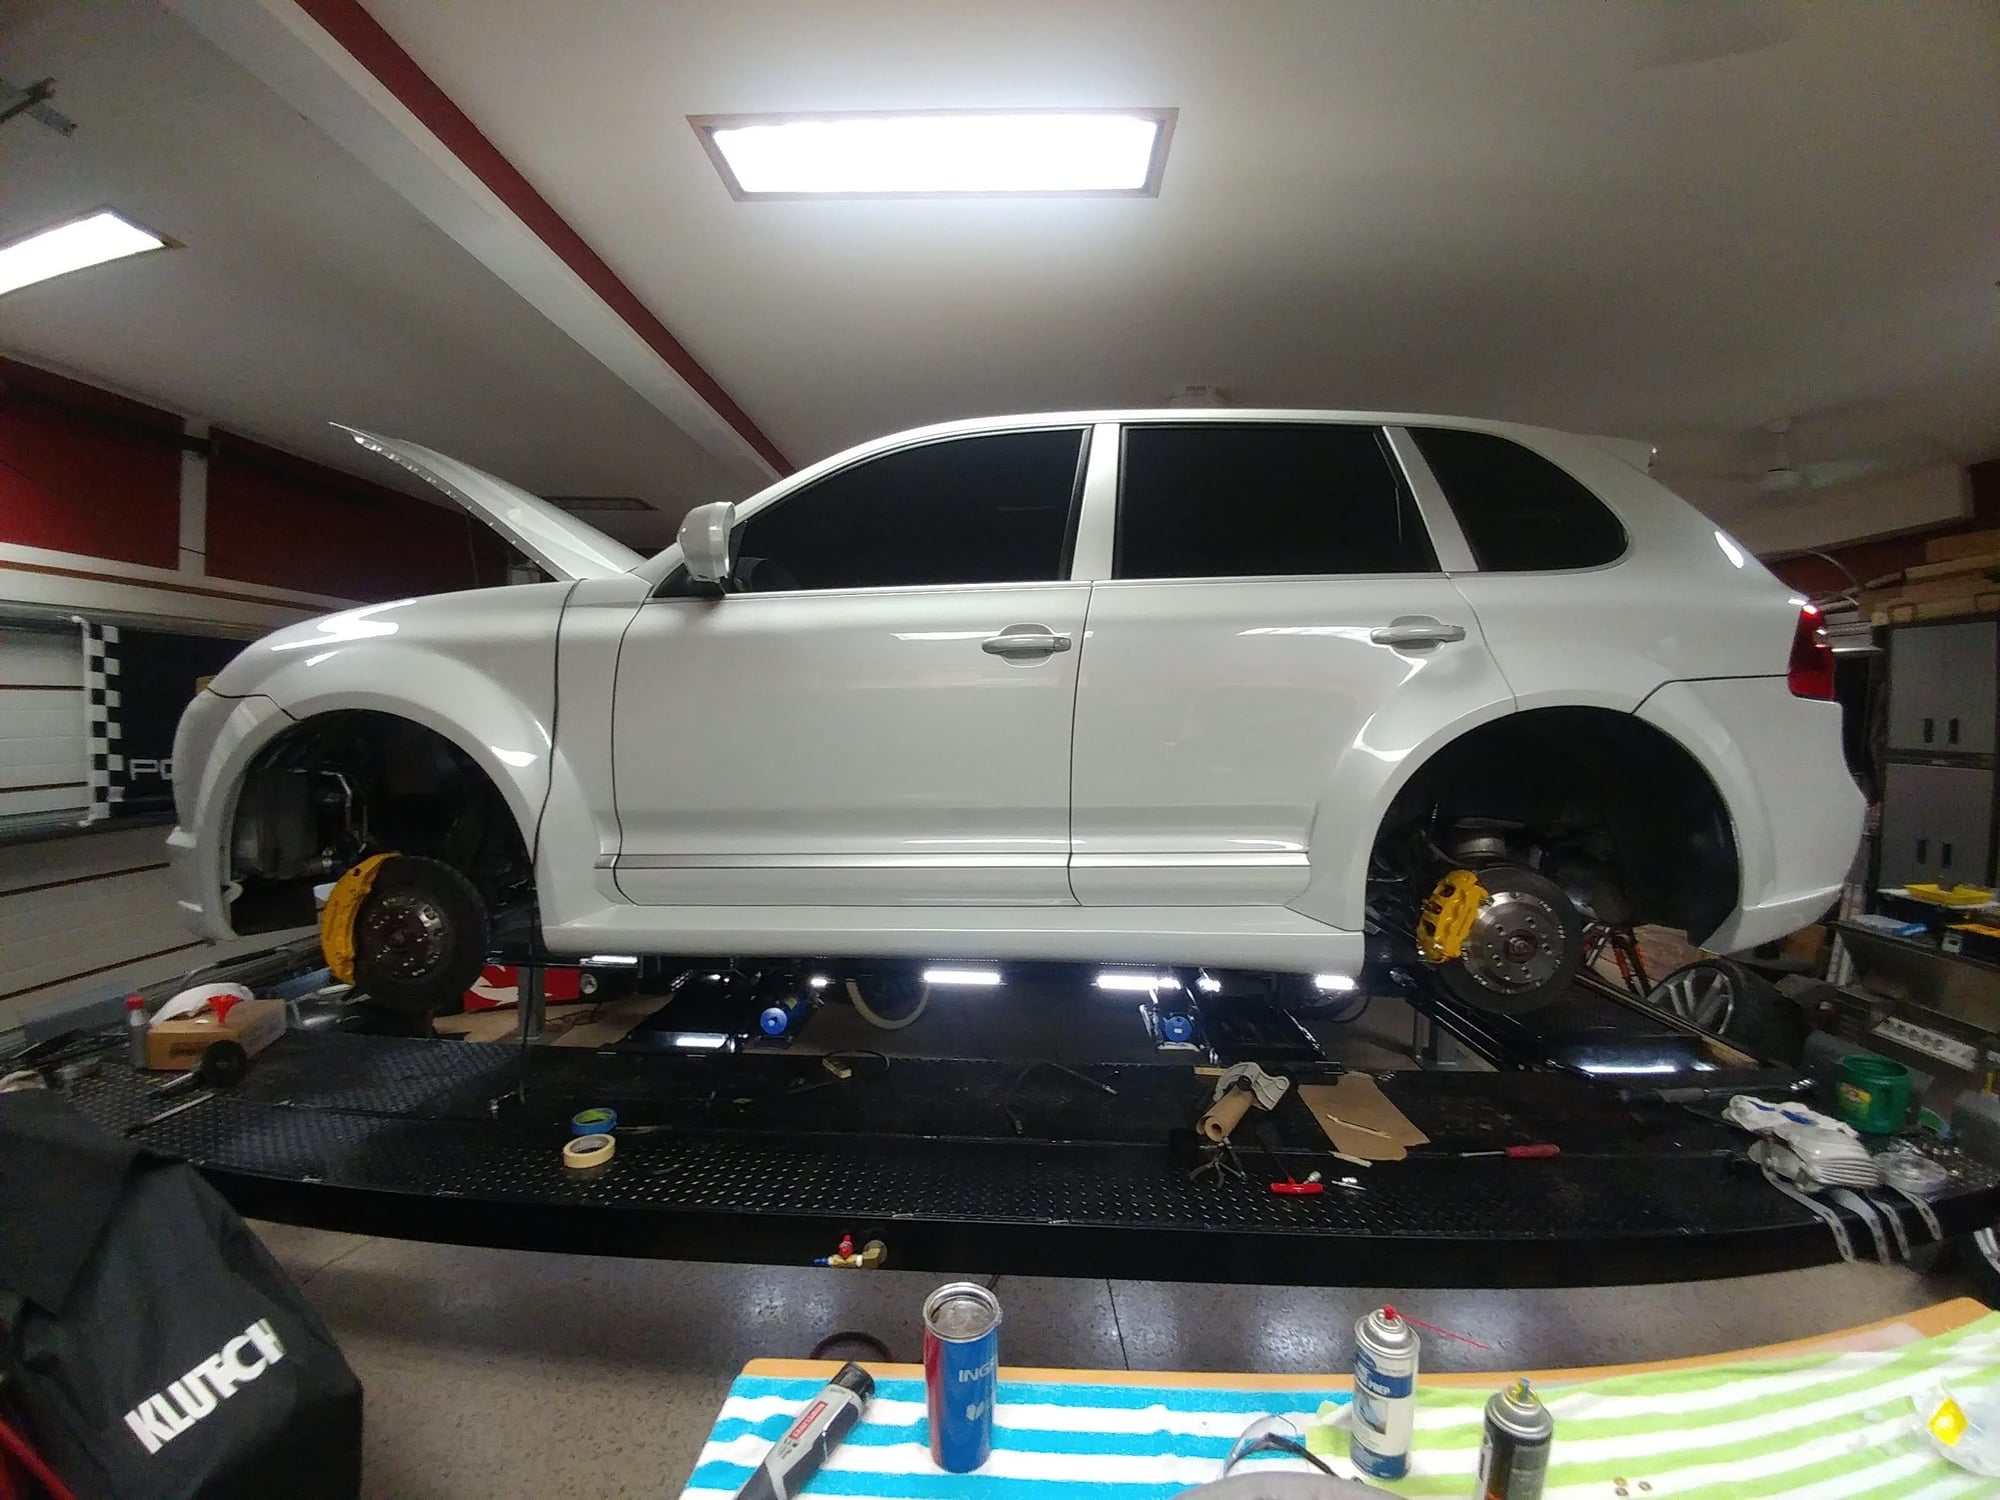
Cleared off the lift (914 & 928), washed the Cayenne, so I don't have to work on dirty wheels and brakes, put her in position and locked the suspension so she's ready to get started.
I have a list of things to do while the wheels and fender liners are off :
Replace windshield washer pump and gasket (the bottle is leaking at the pump)
Paint rear edge of the rocker panels with chip-guard paint as the clearbra won't stick there well because of the shape
Replace waterproof Velcro that secures the smaller custom front grills (I installed the mating side to the bumper and the body shop didn't mask them off when painting the car so they have paint in them and don't mate as securely as they should with the velcro on the grills
Might see how much oil has accumulated in the passenger side intercooler in 3,000 miles just to get a feel for how often it needs to be emptied until I can get the catch can installed. I was thinking every 3rd oil change (15,000 miles).
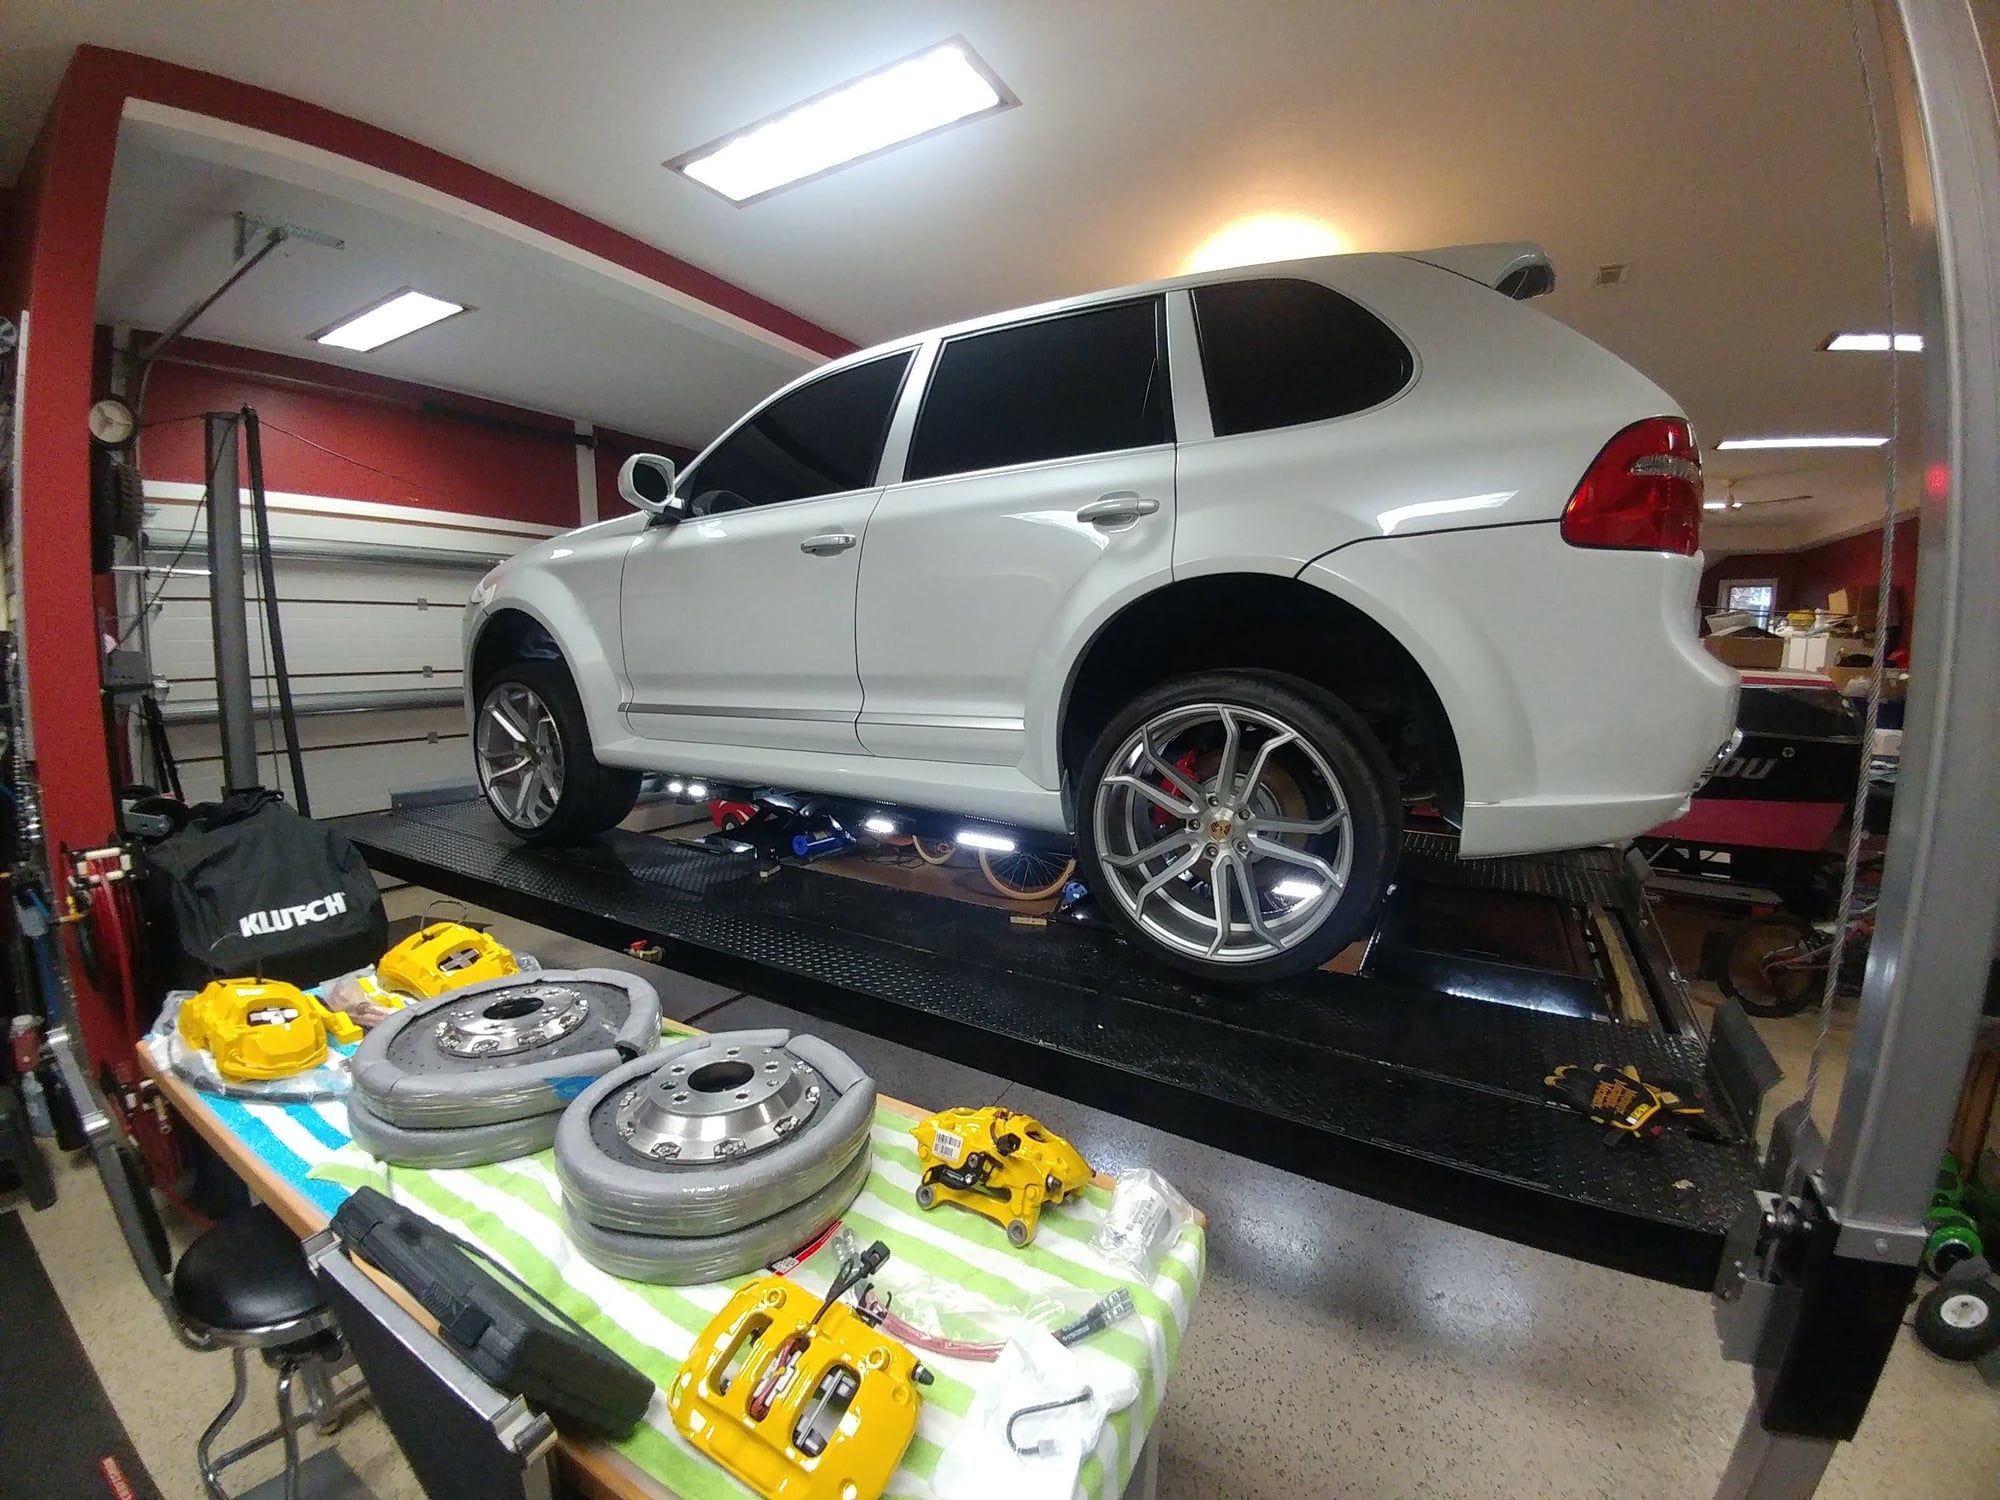
Had company in town this week and post-Christmas stuff to do with the kids, so had to do the project in pieces over a few days, but PCCBs are installed and the Cayenne is back sitting on the wheels.
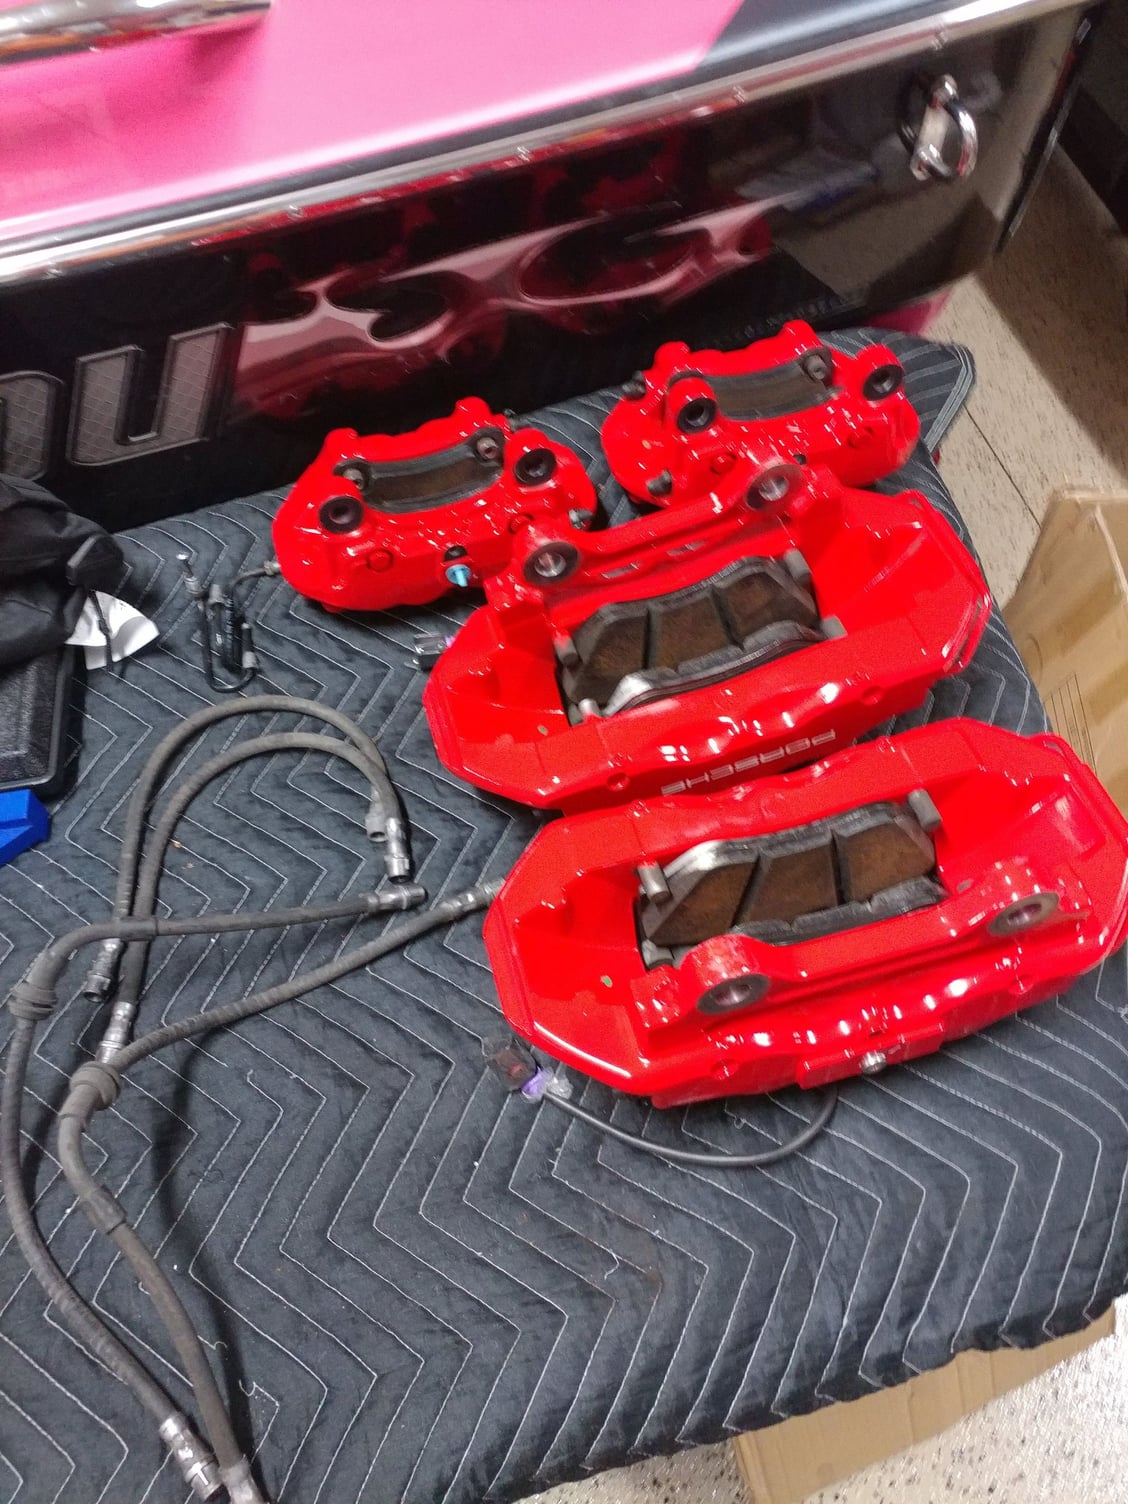
Cayenne on the lift. Upgrade parts staged & ready.
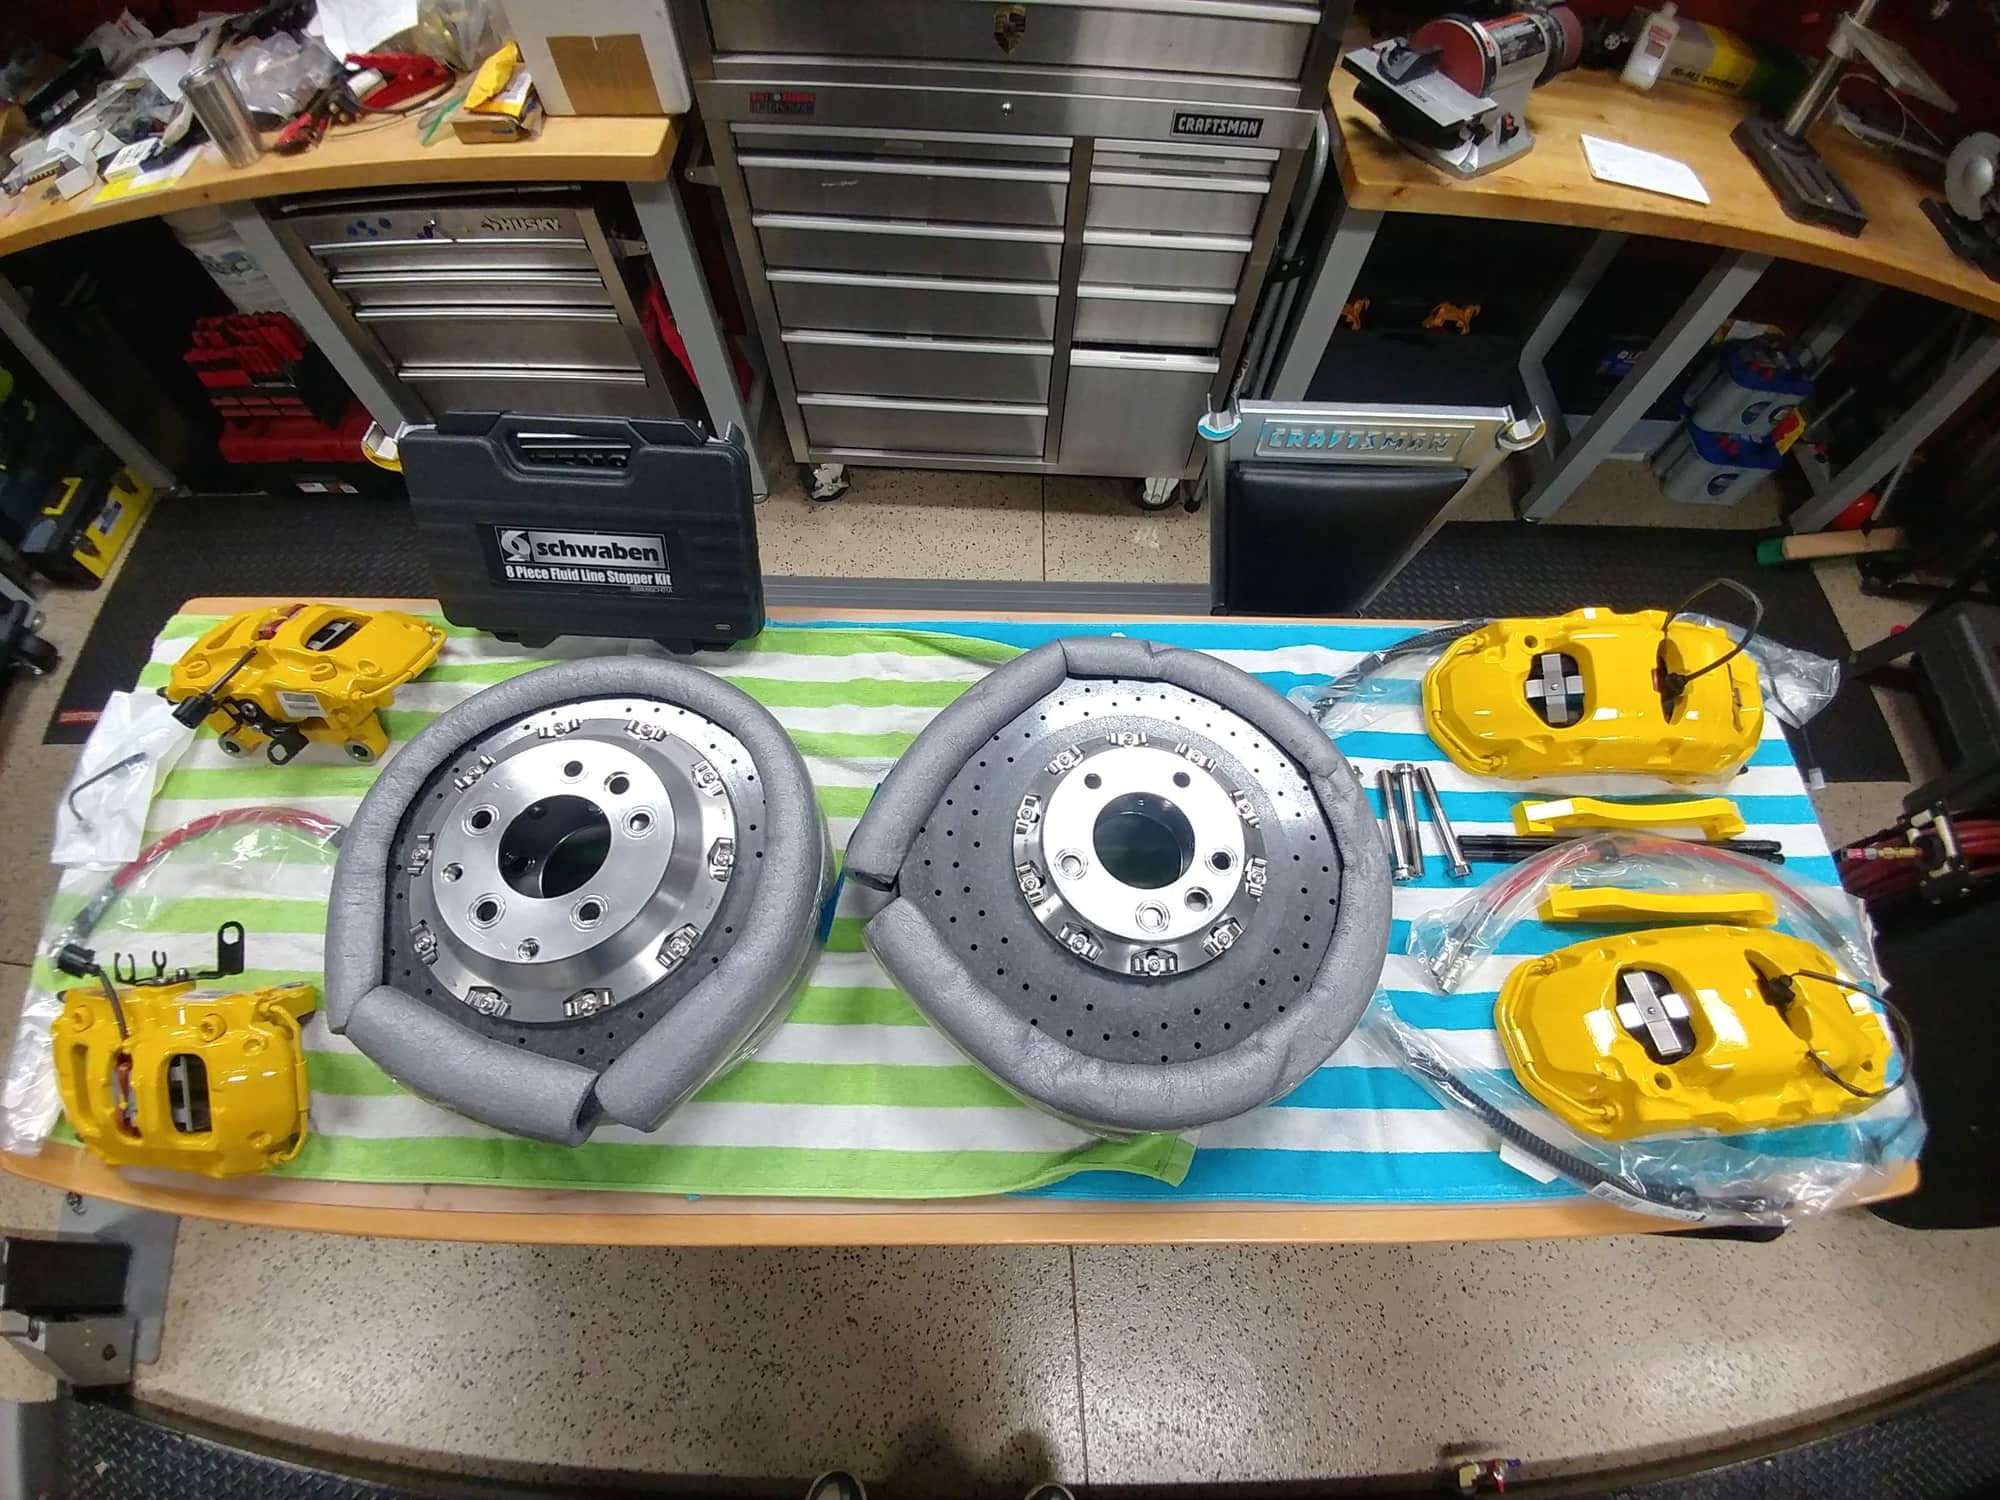
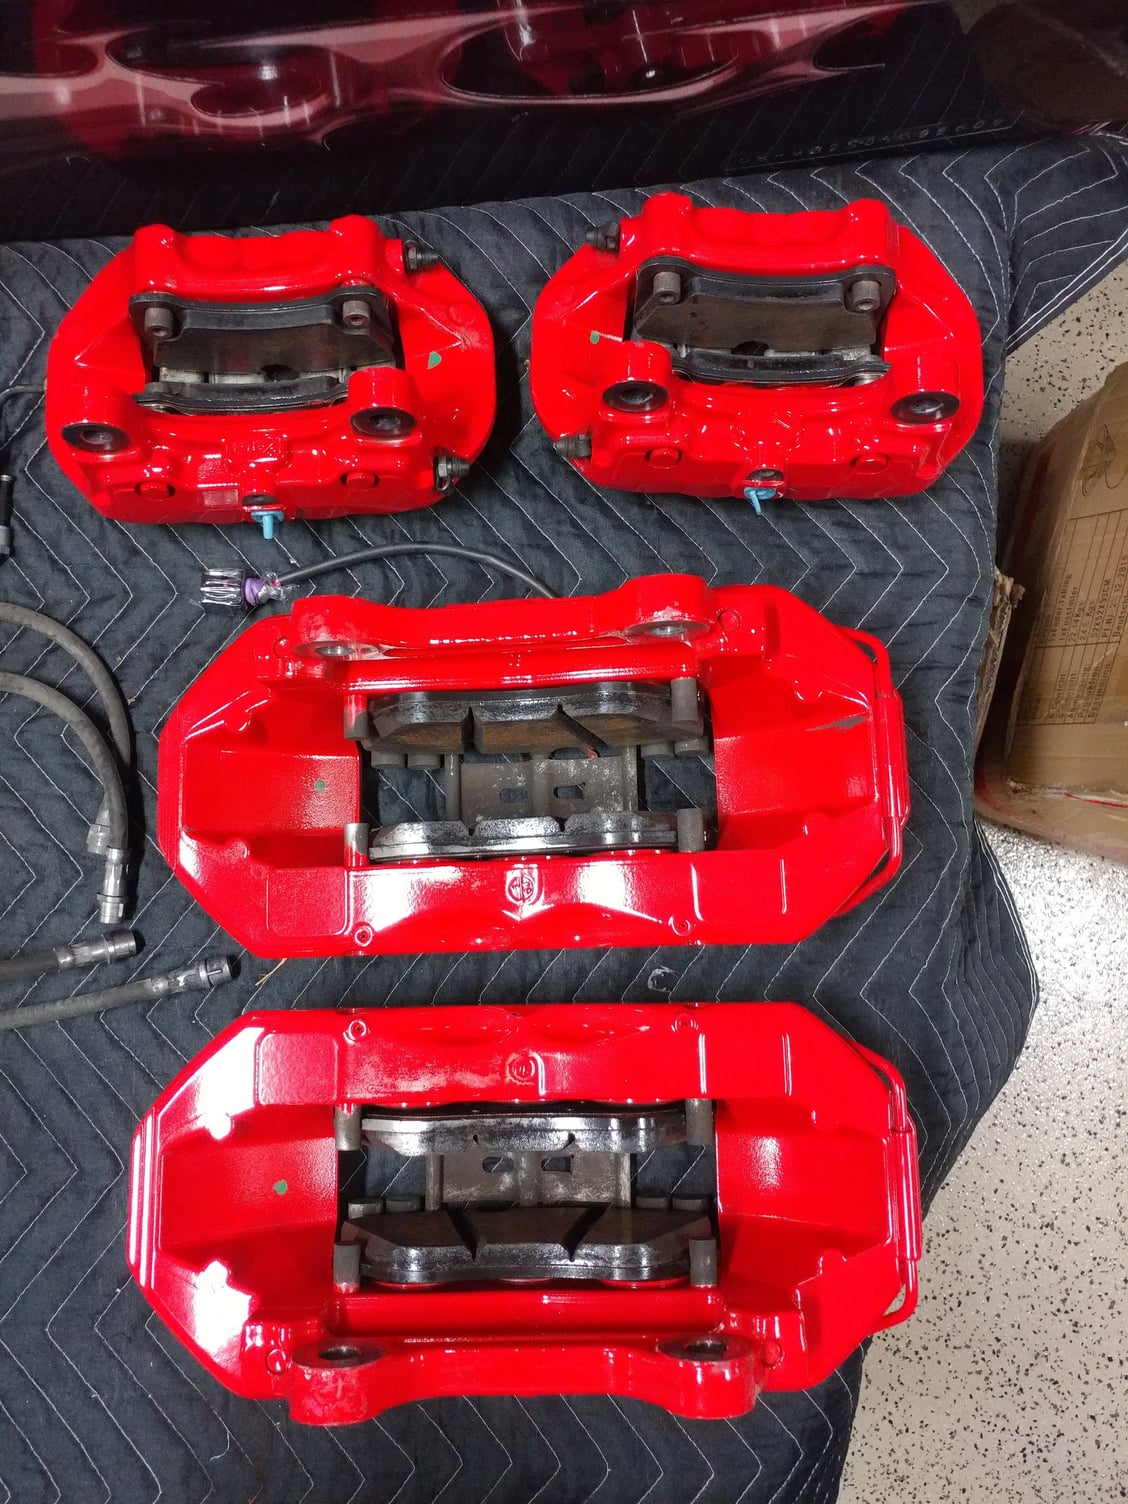
Rotors, Calipers, SS coated brake lines, etc ready for installation
Up she goes on the bridge jacks & wheels off
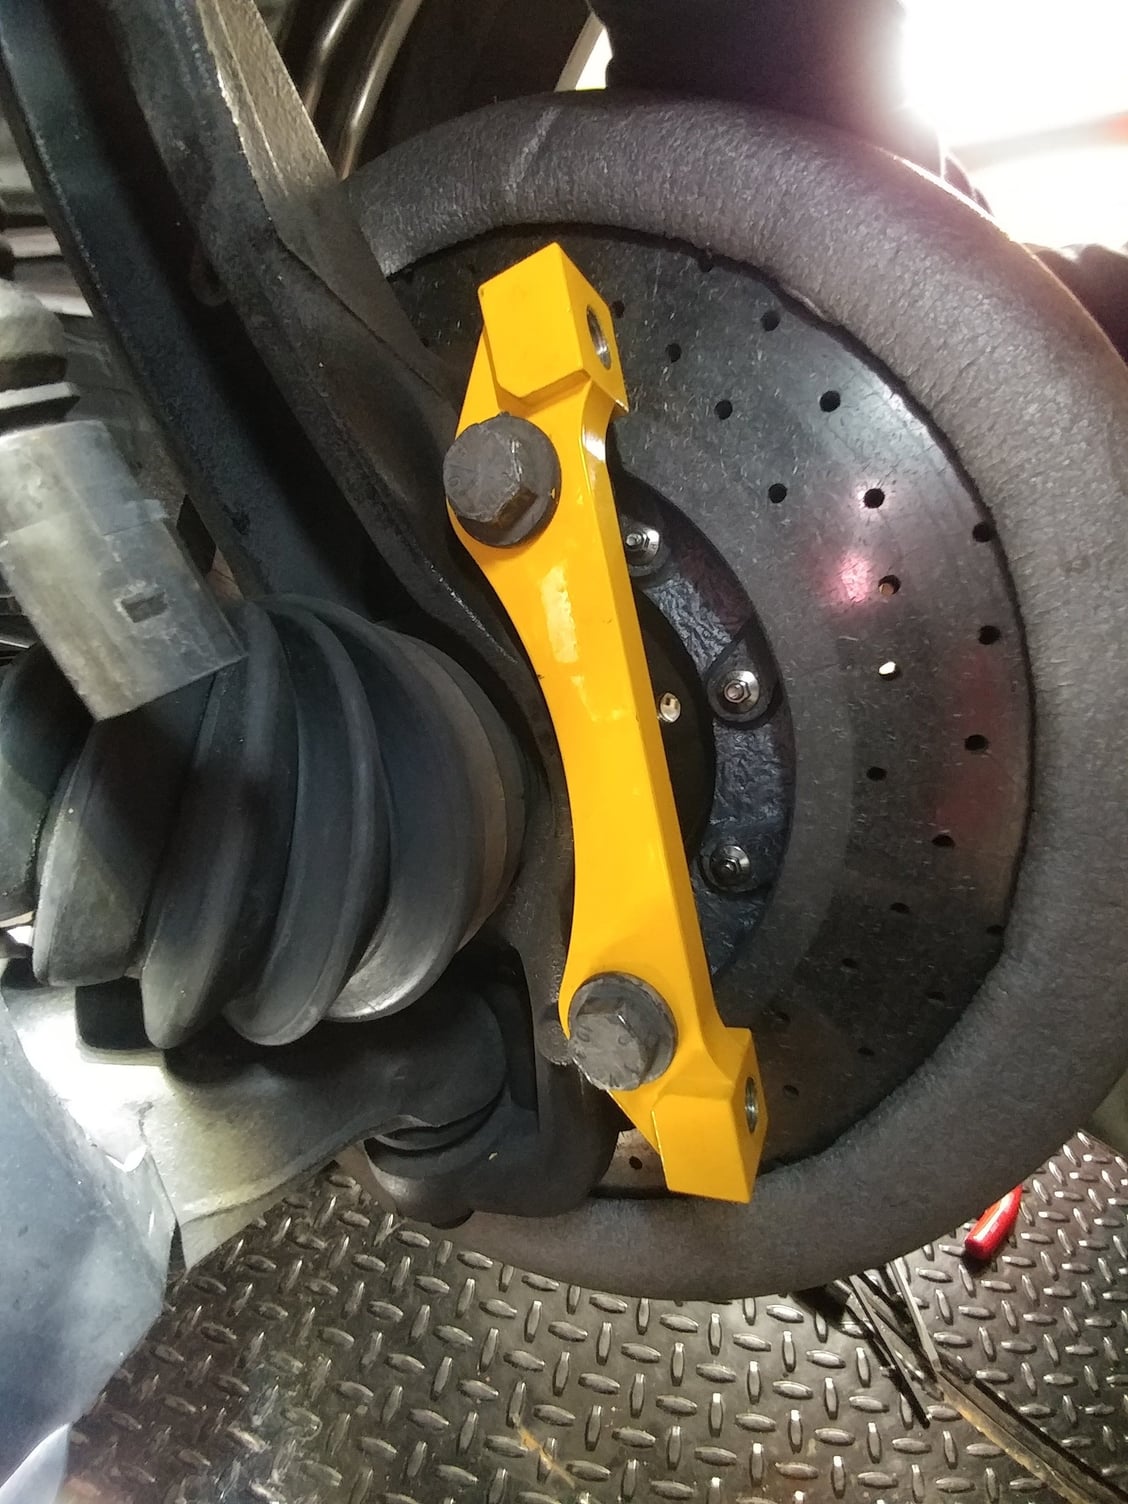
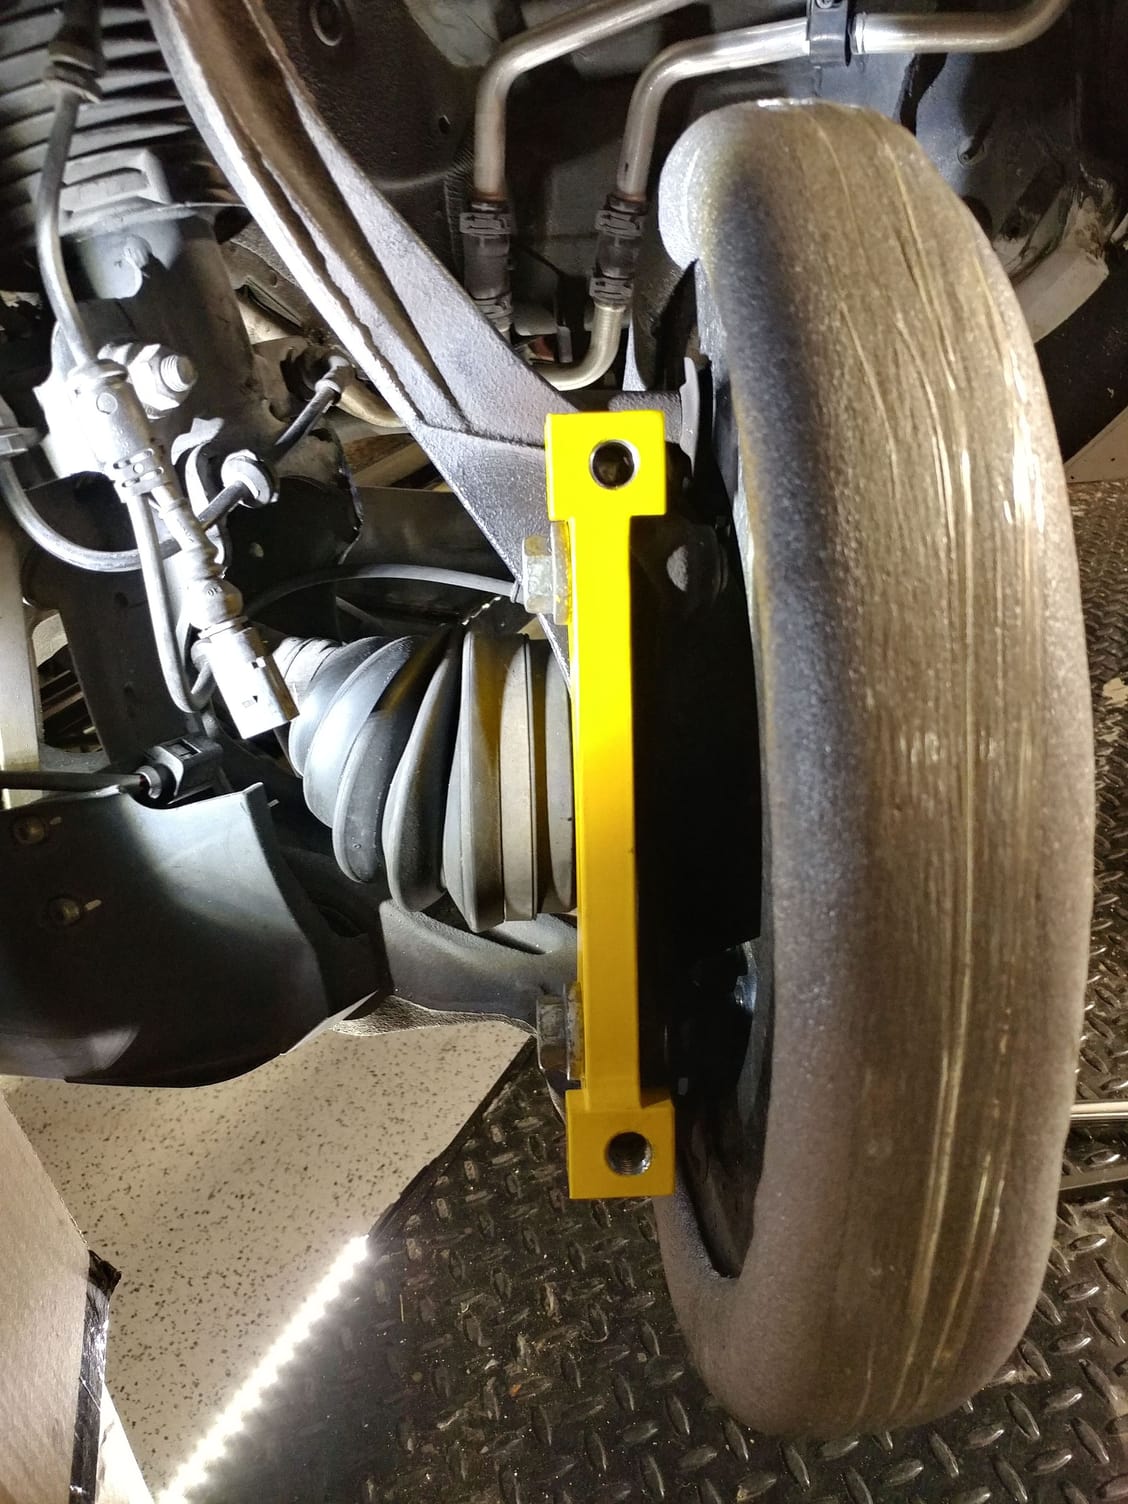
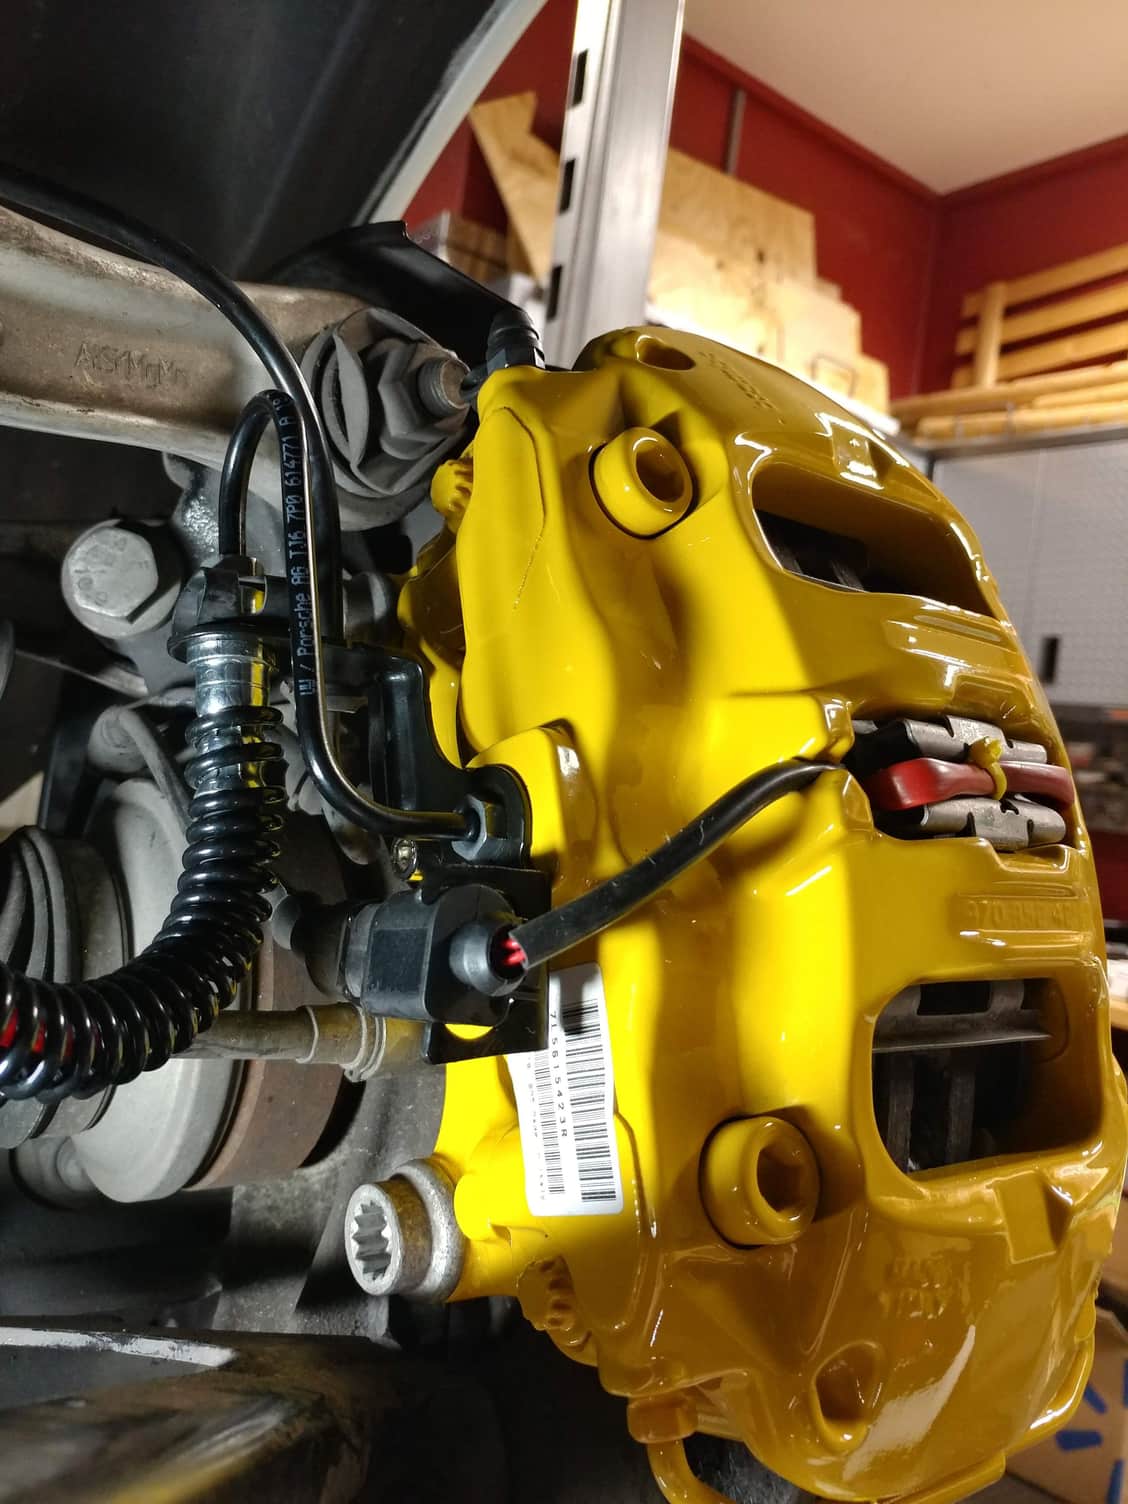
Custom front caliper adapters installed
Alternate view of caliper adapters
Ti64 Titantium Bolts installed to fasten caliper to custom adapter. Torqued to 110 ft.lbs per Ti64's recommendation for proper fastener stretch. Note pads riding just inside outer circumference of rotor - perfect placement.
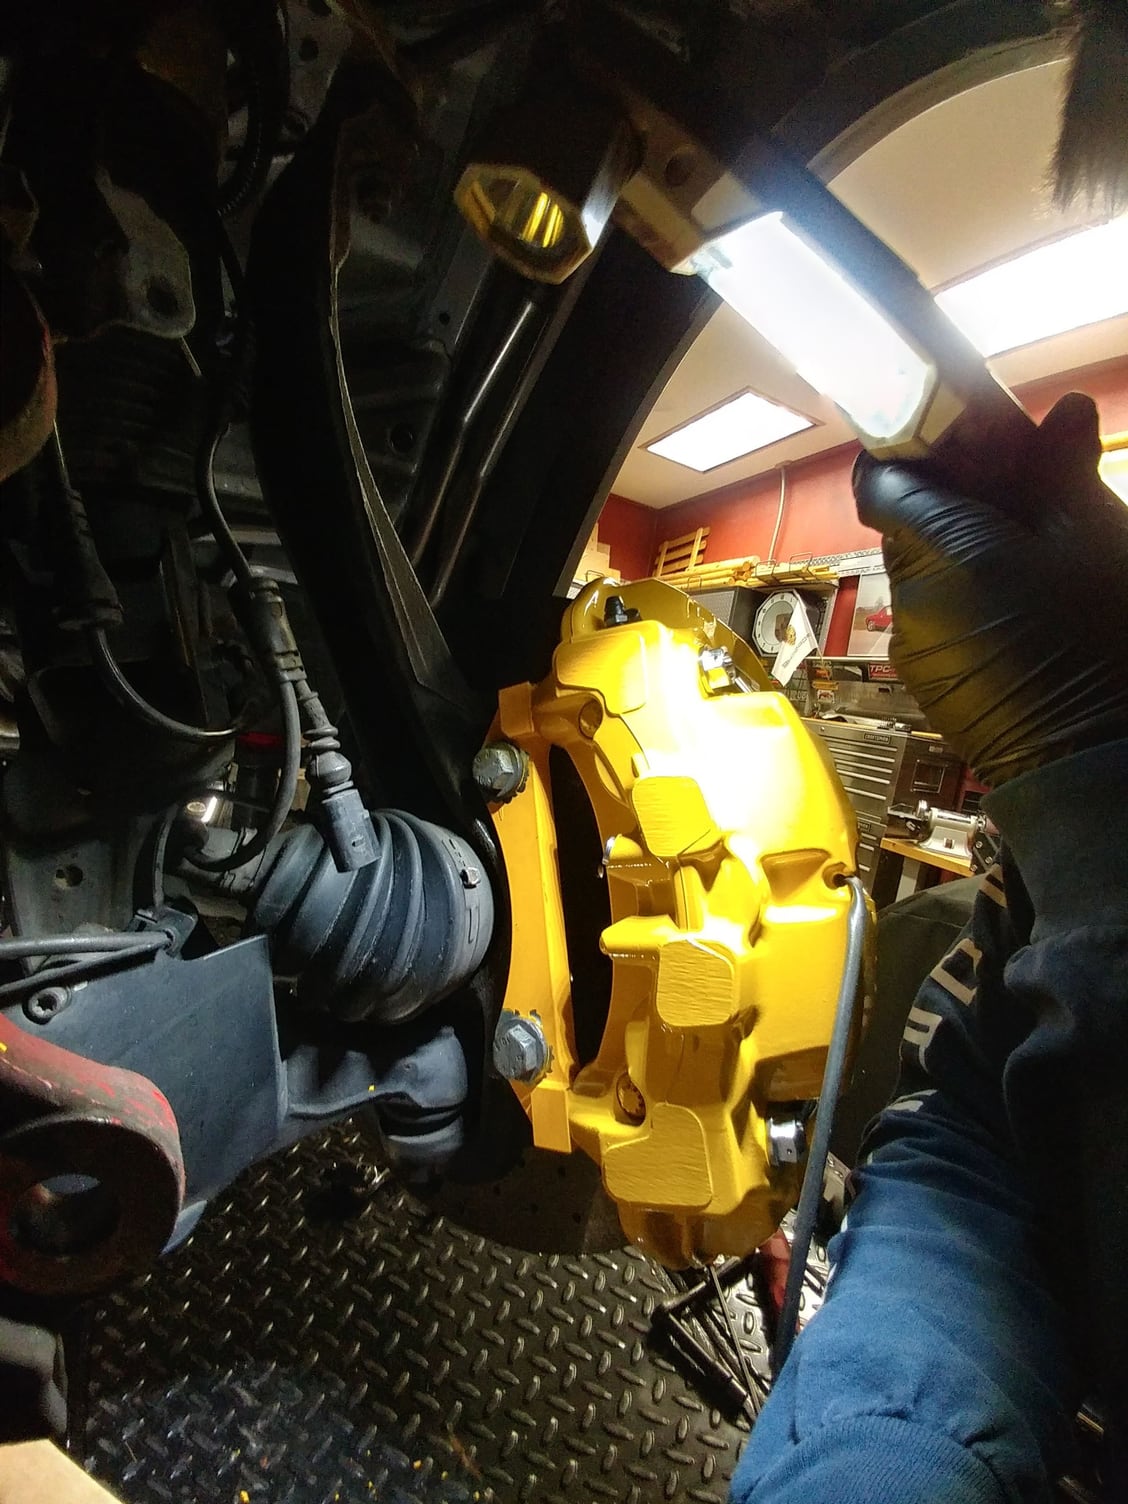
Alternate view of caliper installed onto rotor and adapter. There was zero play in this setup and my measurements proved to be spot-on with both the radial and axial fasteners lining up perfectly without any binding.
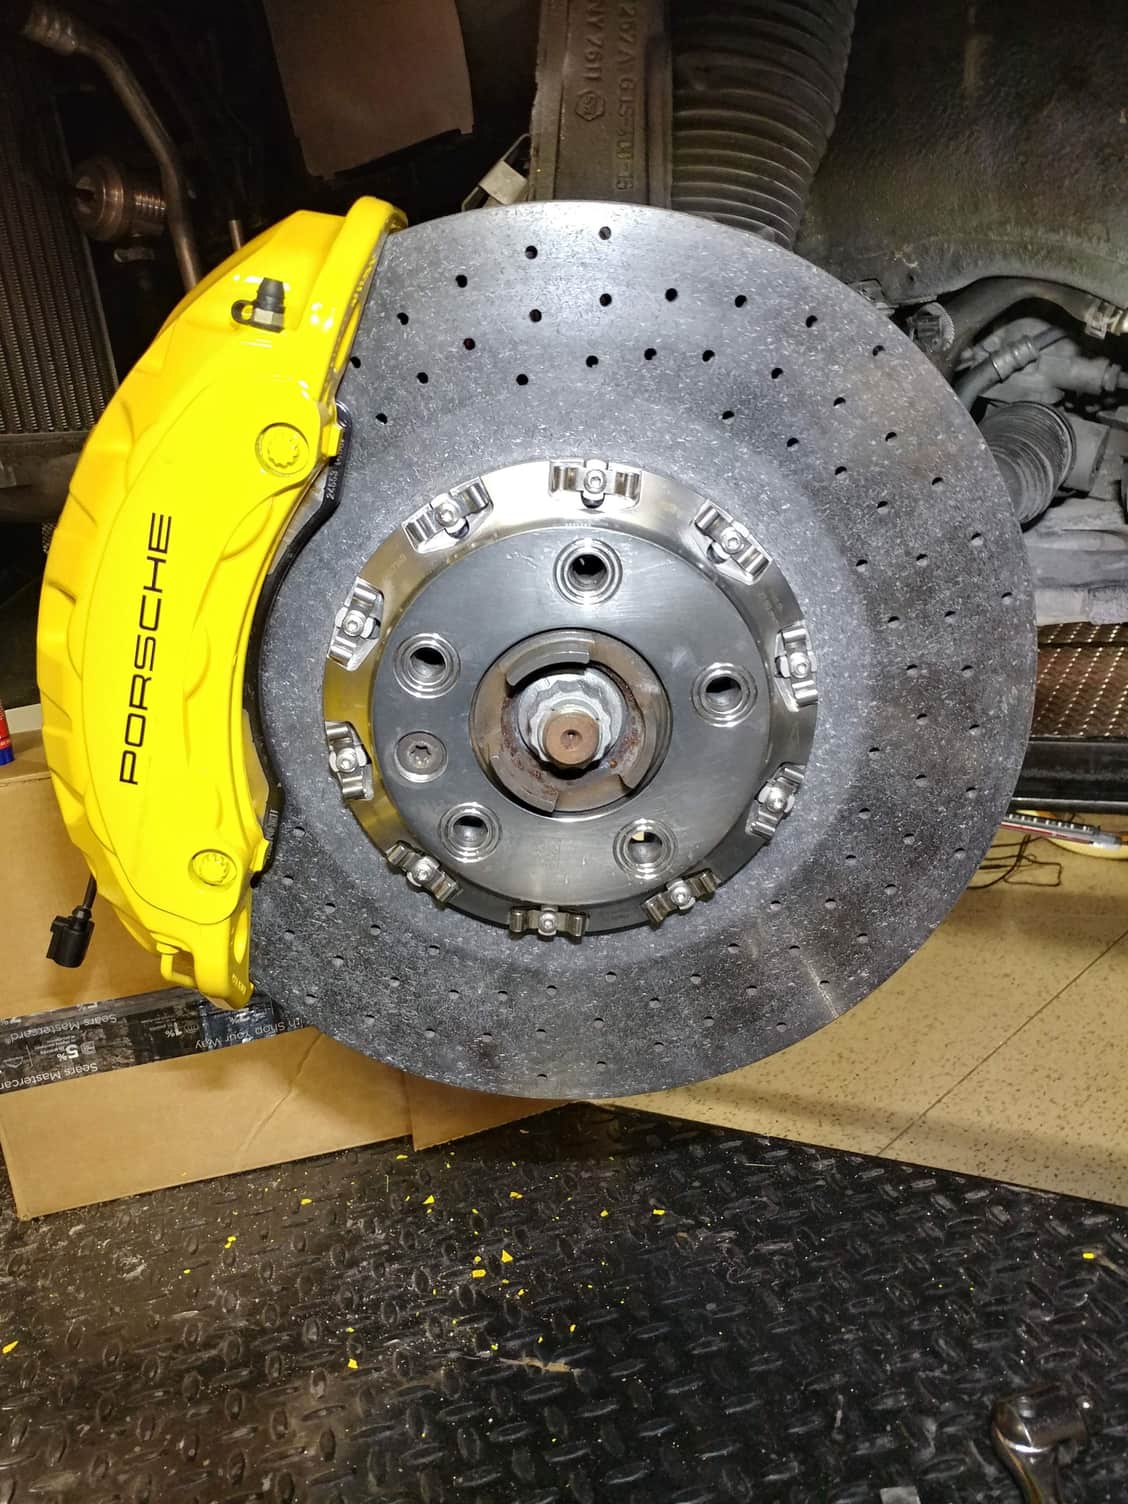
Pad swept area matches up exactly to previous marks (remember this was a used setup I purchased).
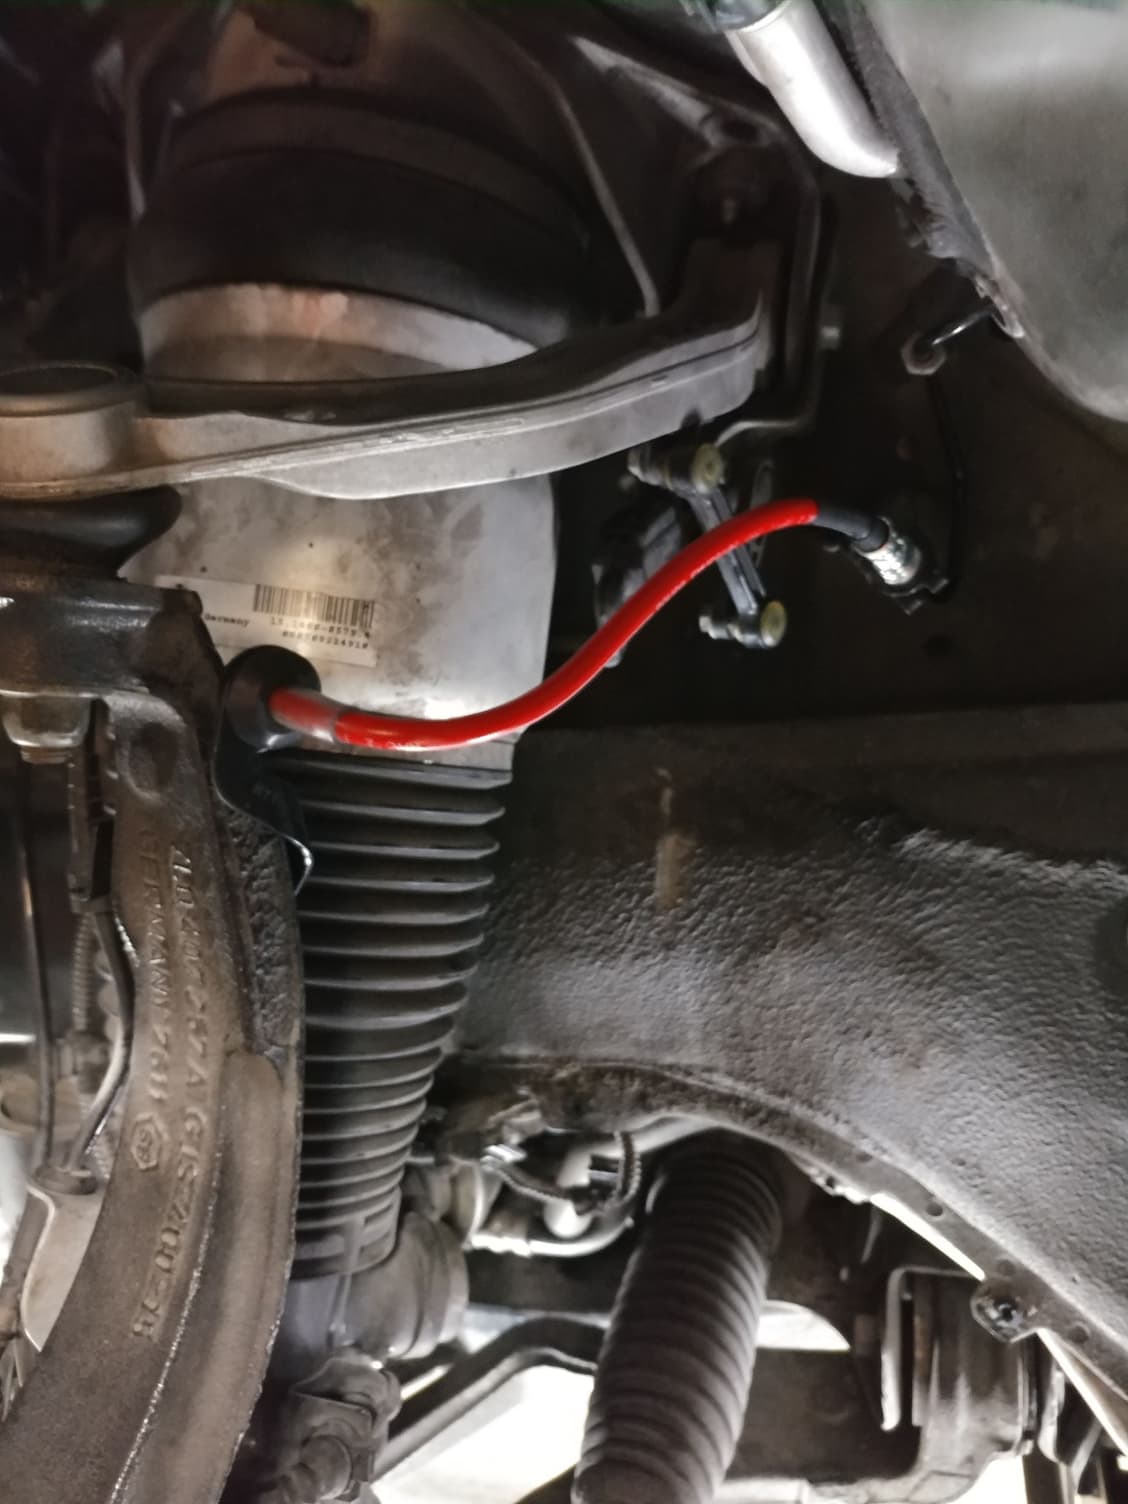
Photo of ECS Tuning Stainless Brake line prior to wrapping with the protective coil
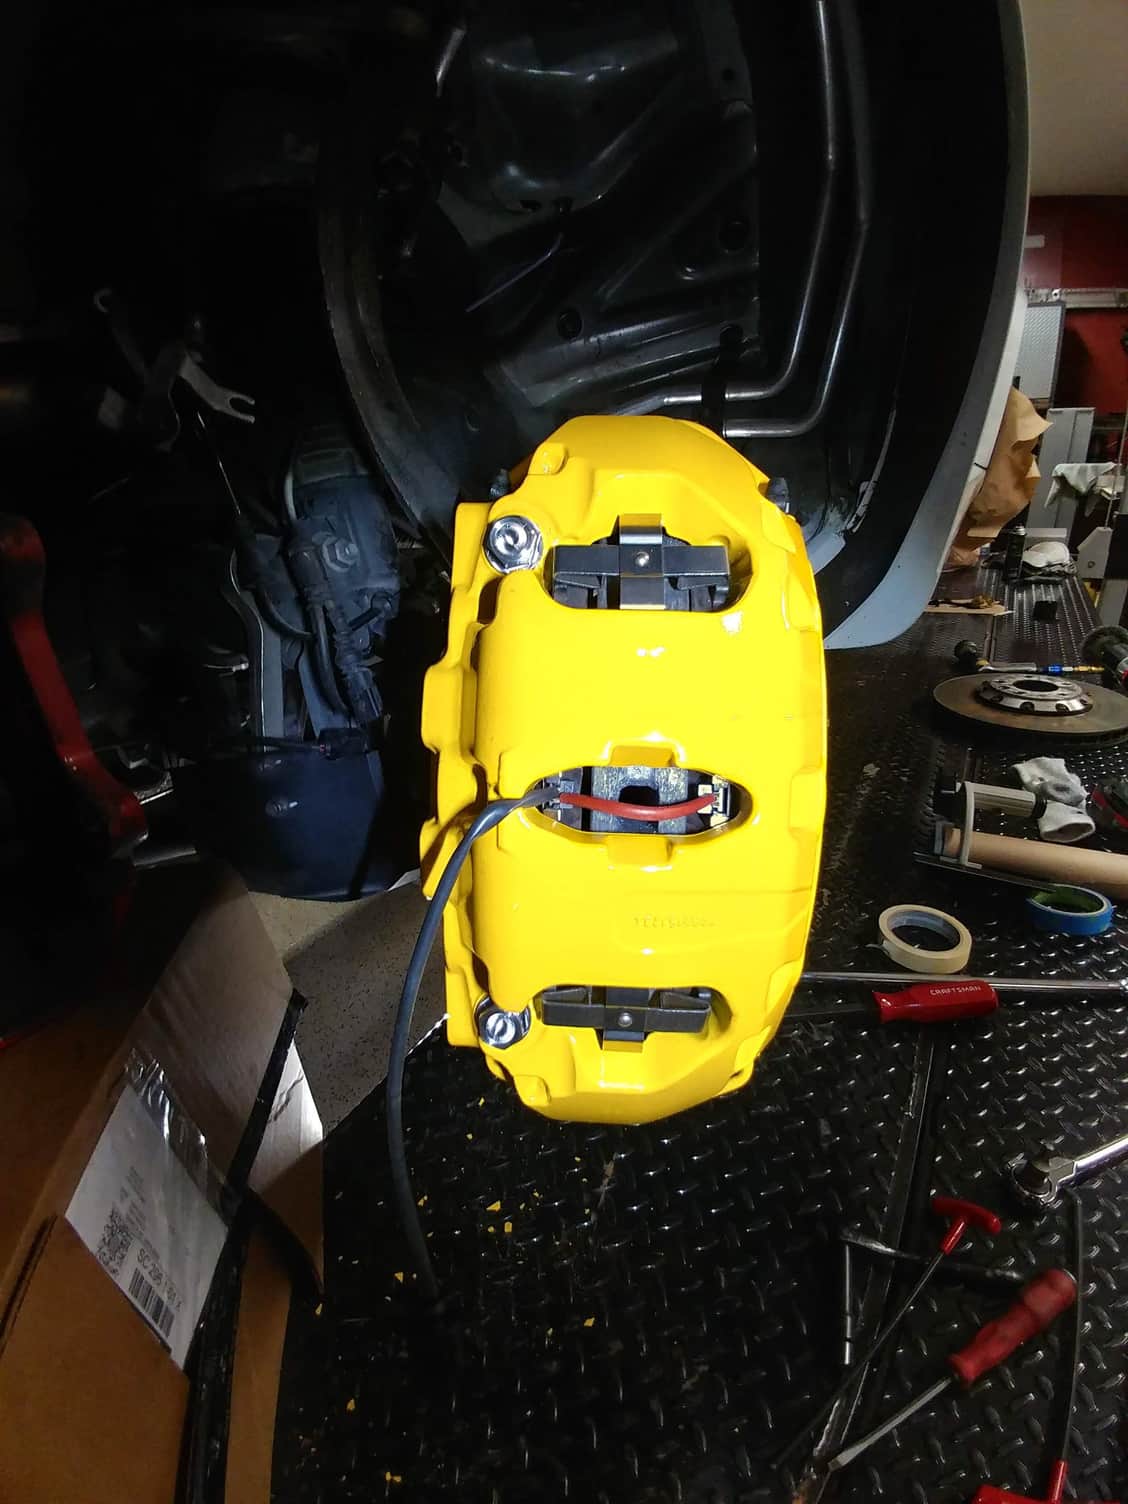
Pad carrier post clearance. Interestingly, the rotor is riding right in the center of the caliper but the outboard carrier pins were lightly contacting the rotor surface.
Removed calipers again & trimmed the outer posts by 2mm making them match clearance of the inner posts. Painted the exposed metal with high-temp yellow ceramic engine paint. Had to do this on both front calipers. The gap from the pin to the rotor is less than the thickness of the pad carrier so no risk of a pad coming out.
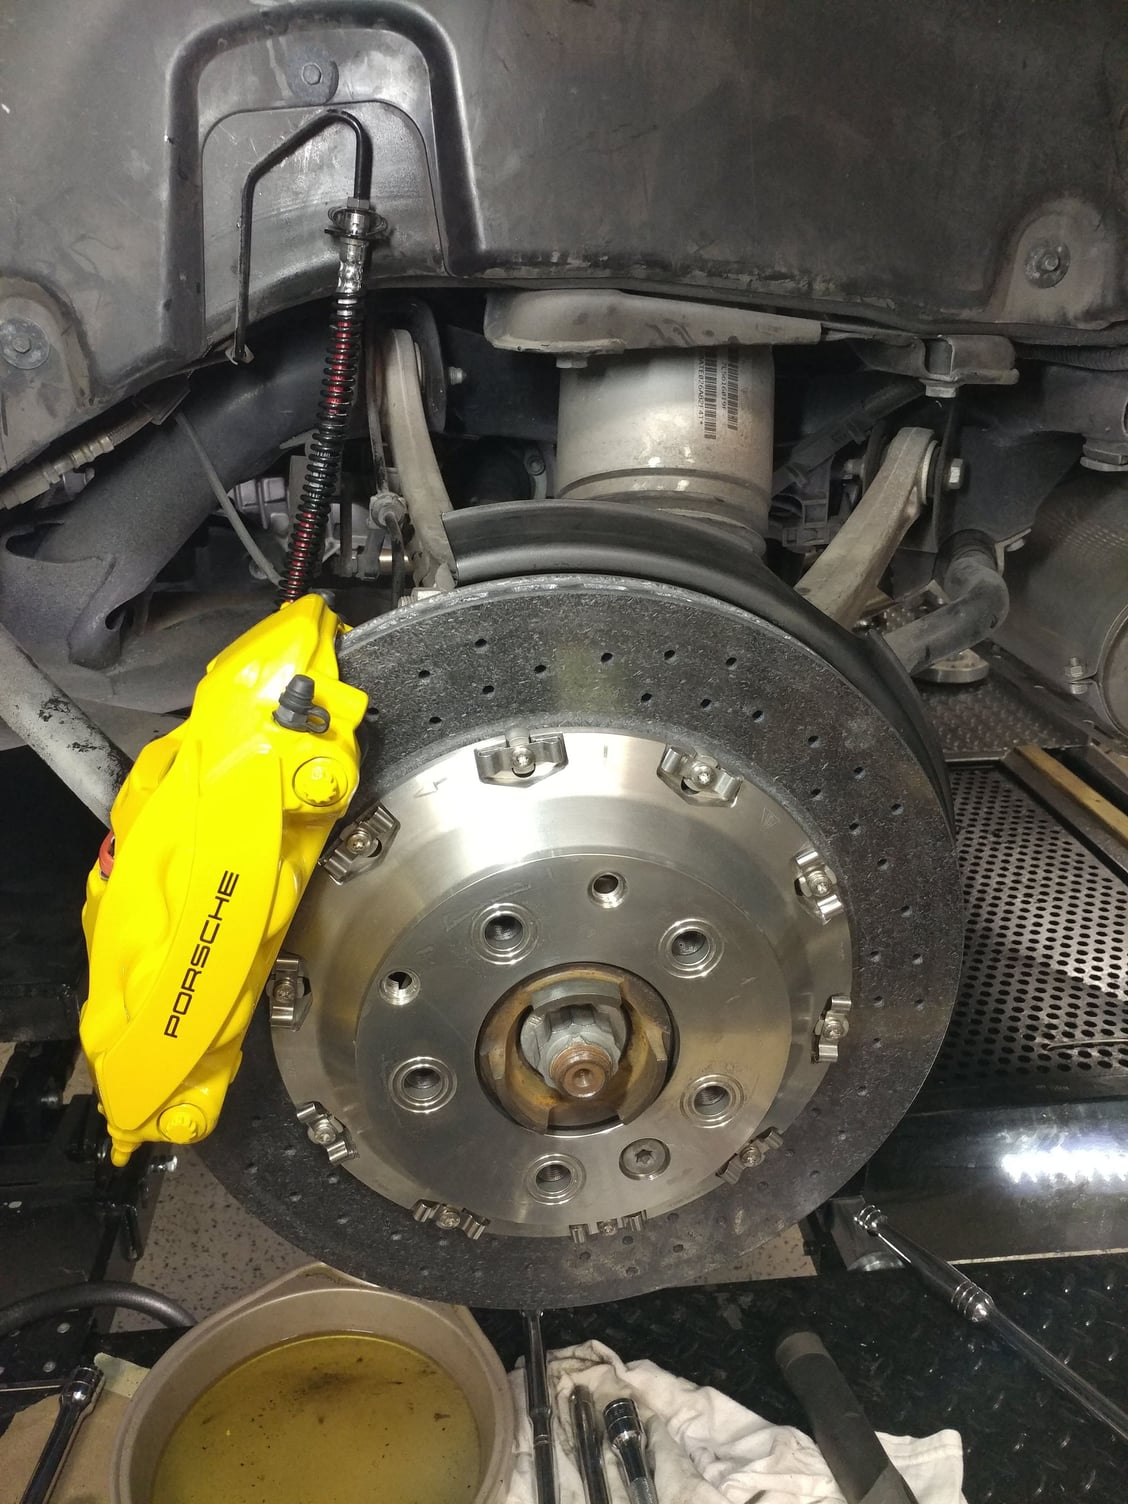
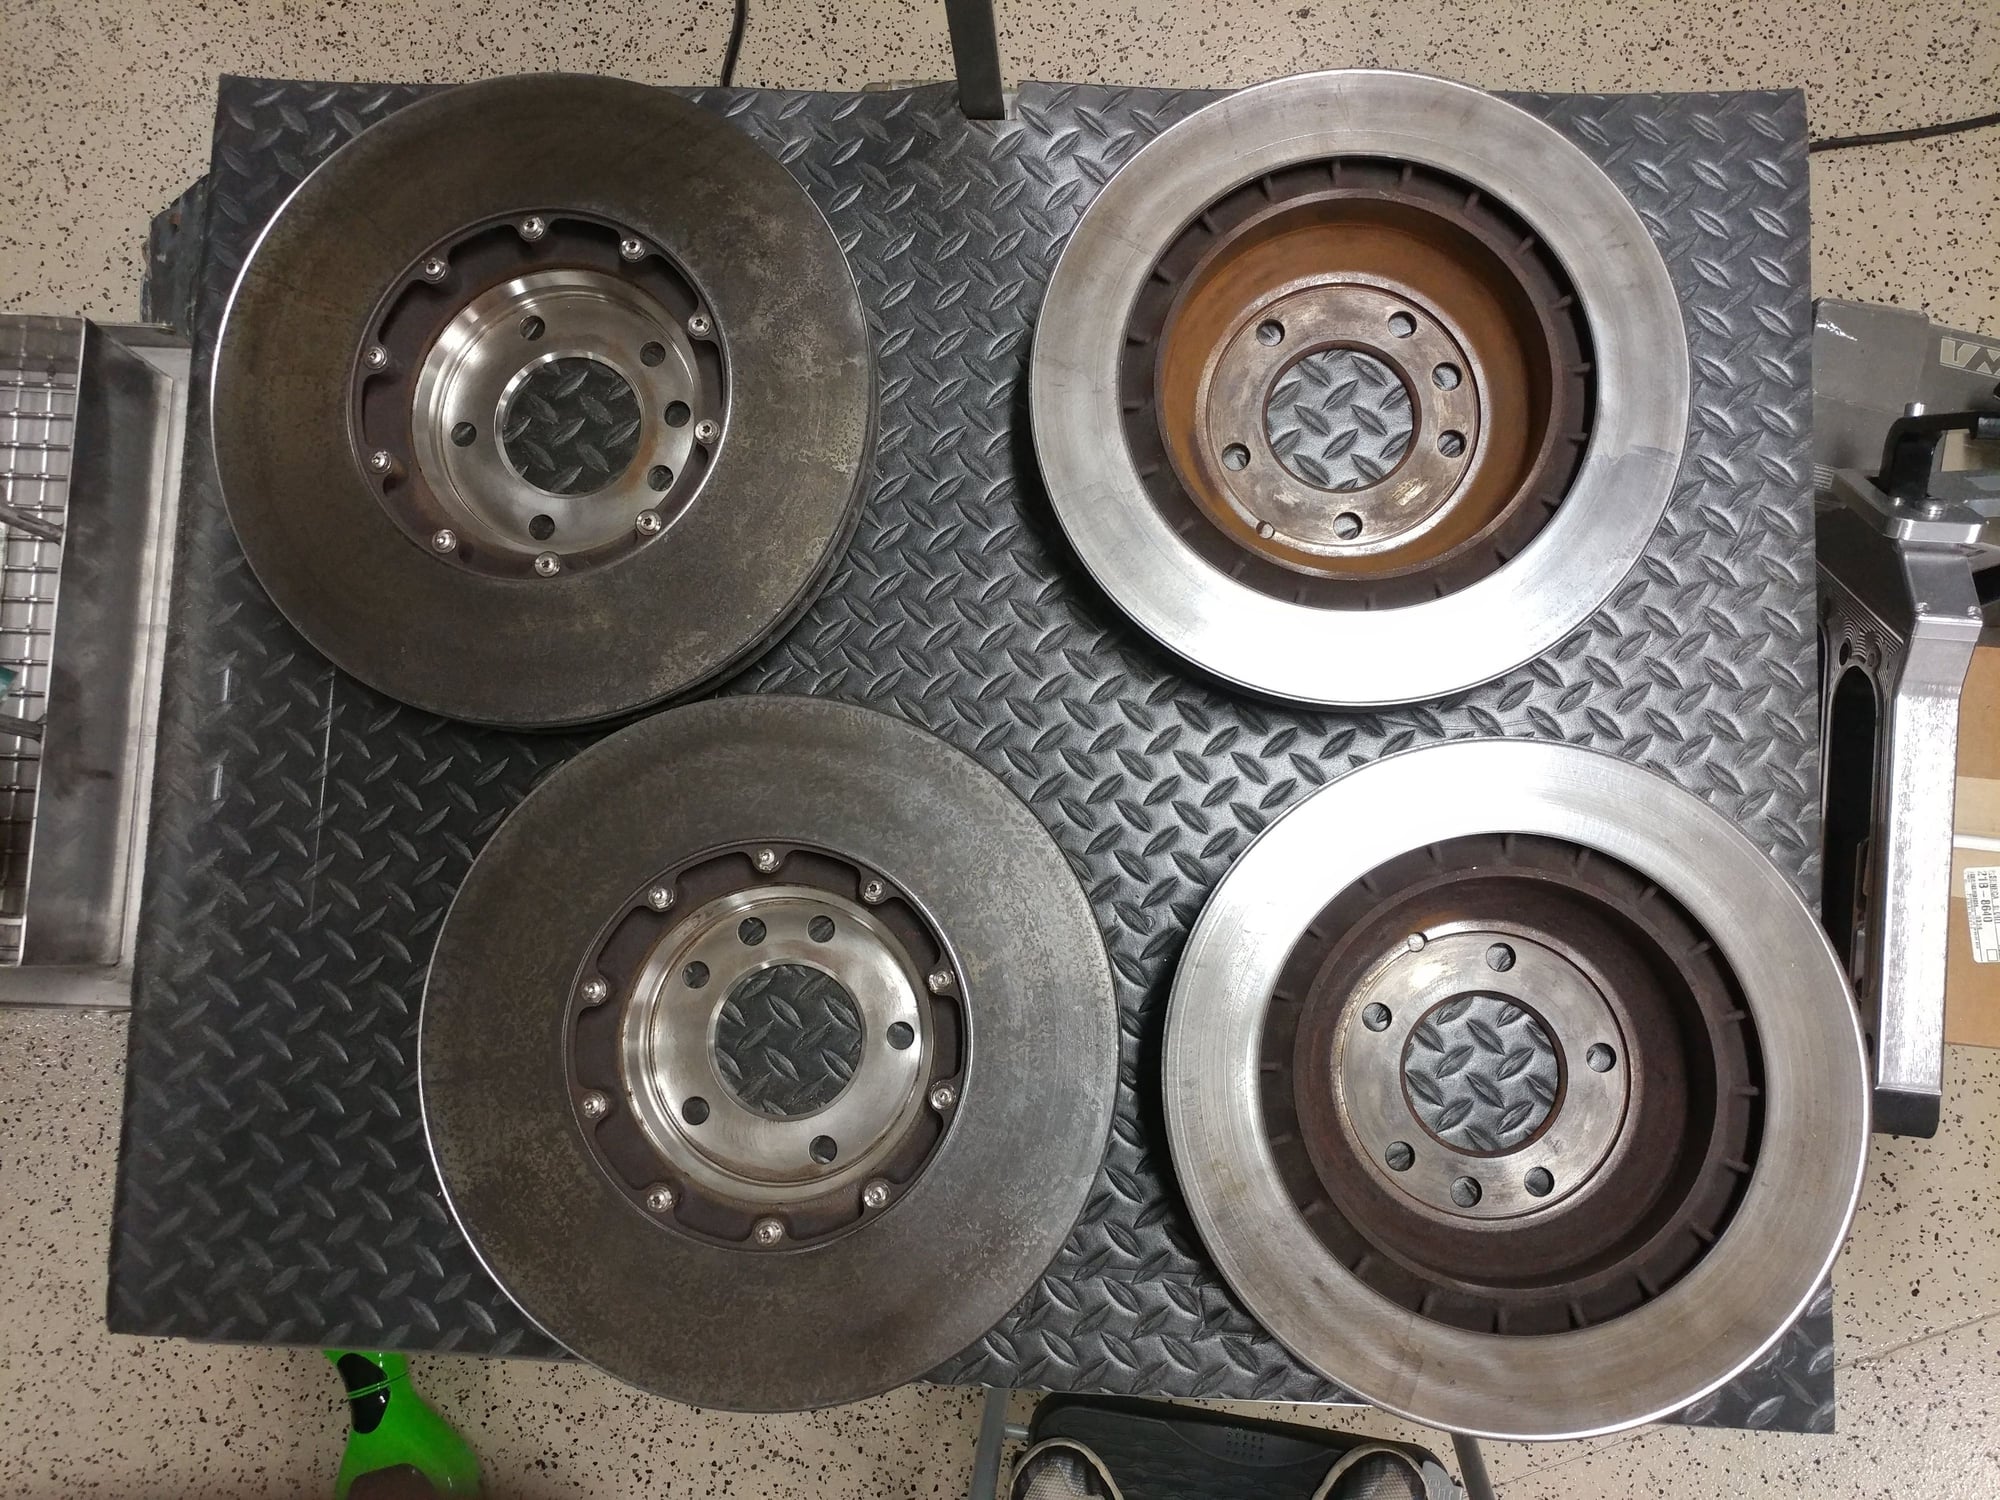
Rear rotor with heat/dust shield. The PCCB rotor is larger and doesn't ride inside the curve like the iron rotors did. Rather than remove them, I just pulled them back a little to make sure the rotor wasn't contacting them as it rotated.
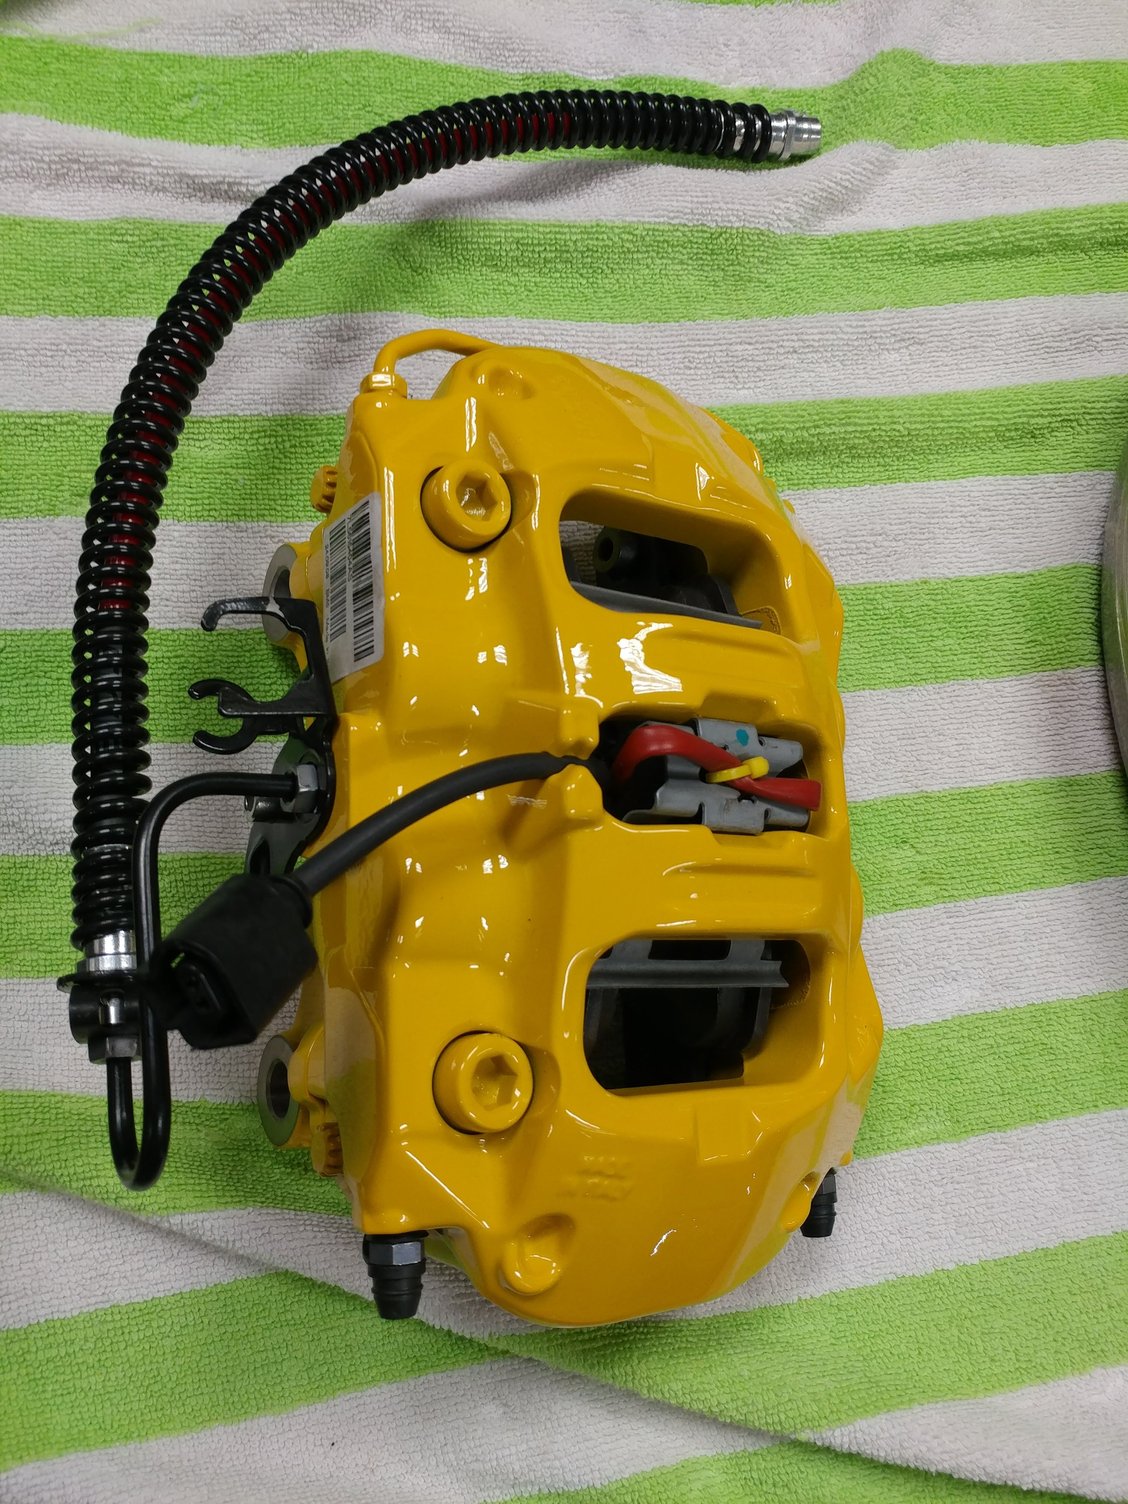
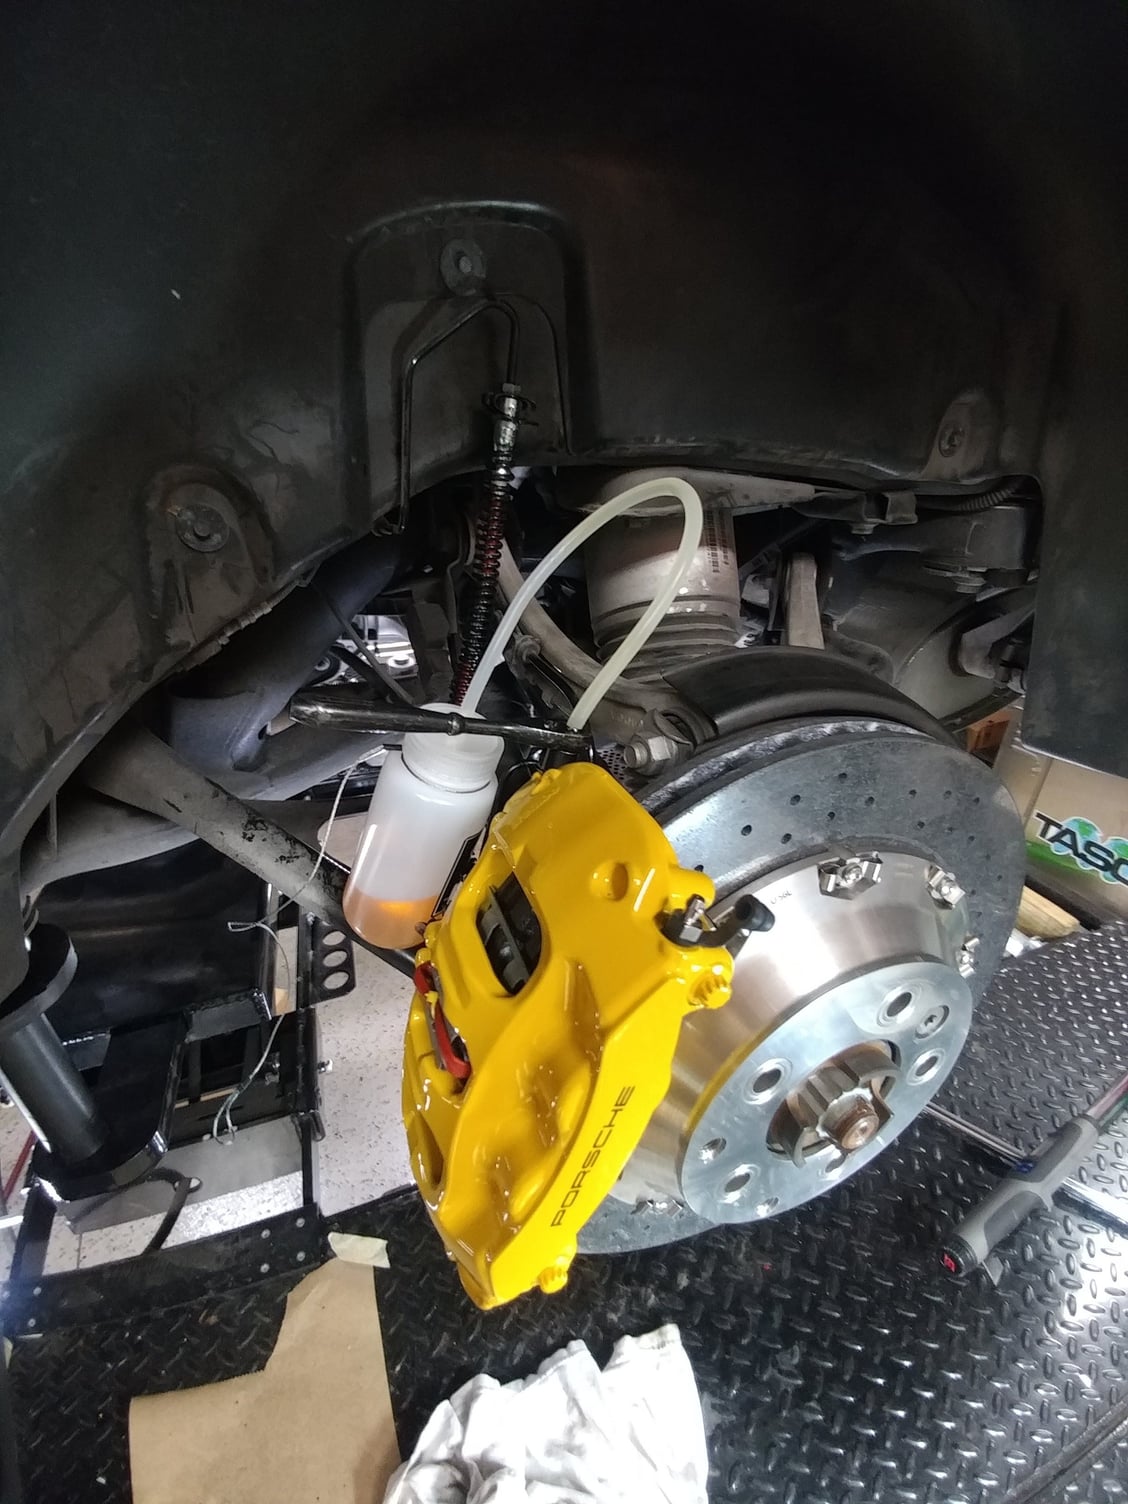
Since I had new hard lines, I setup each rear caliper with the hoses so I only had to remove the top brake line fitting for installation.
Rear Caliper Installed
Inside view of Rear Caliper with ECS SS brake line wrapped with protective coil
Bleeding setup. Motive power bleeder hooked up to the reservoir with Motul RBF600 (I run this in all my cars to prevent having to stock multiple brake fluids, fill the Motive with 6 liters and hit all of them one after the other every Spring - takes a couple hours). Pass through ratchet allows the silicone hose to be on the bleed screw the entire time and you can loosen, then tighten it without having to remove it from the screw.
Ready for wheels
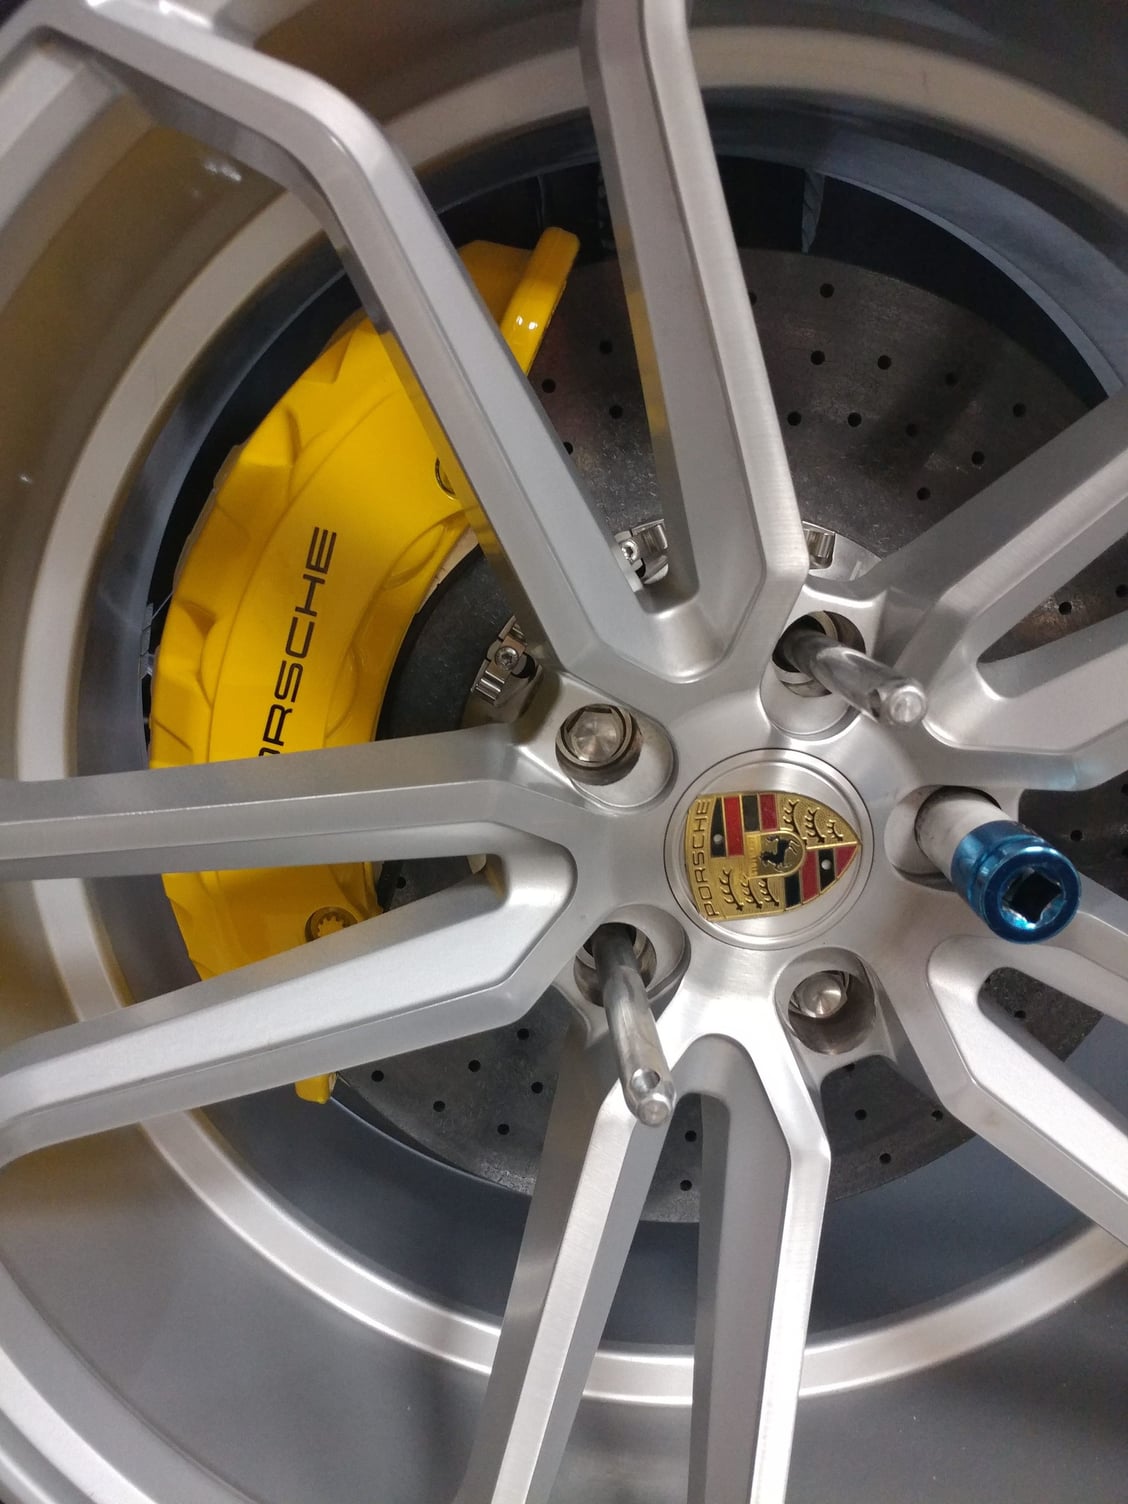
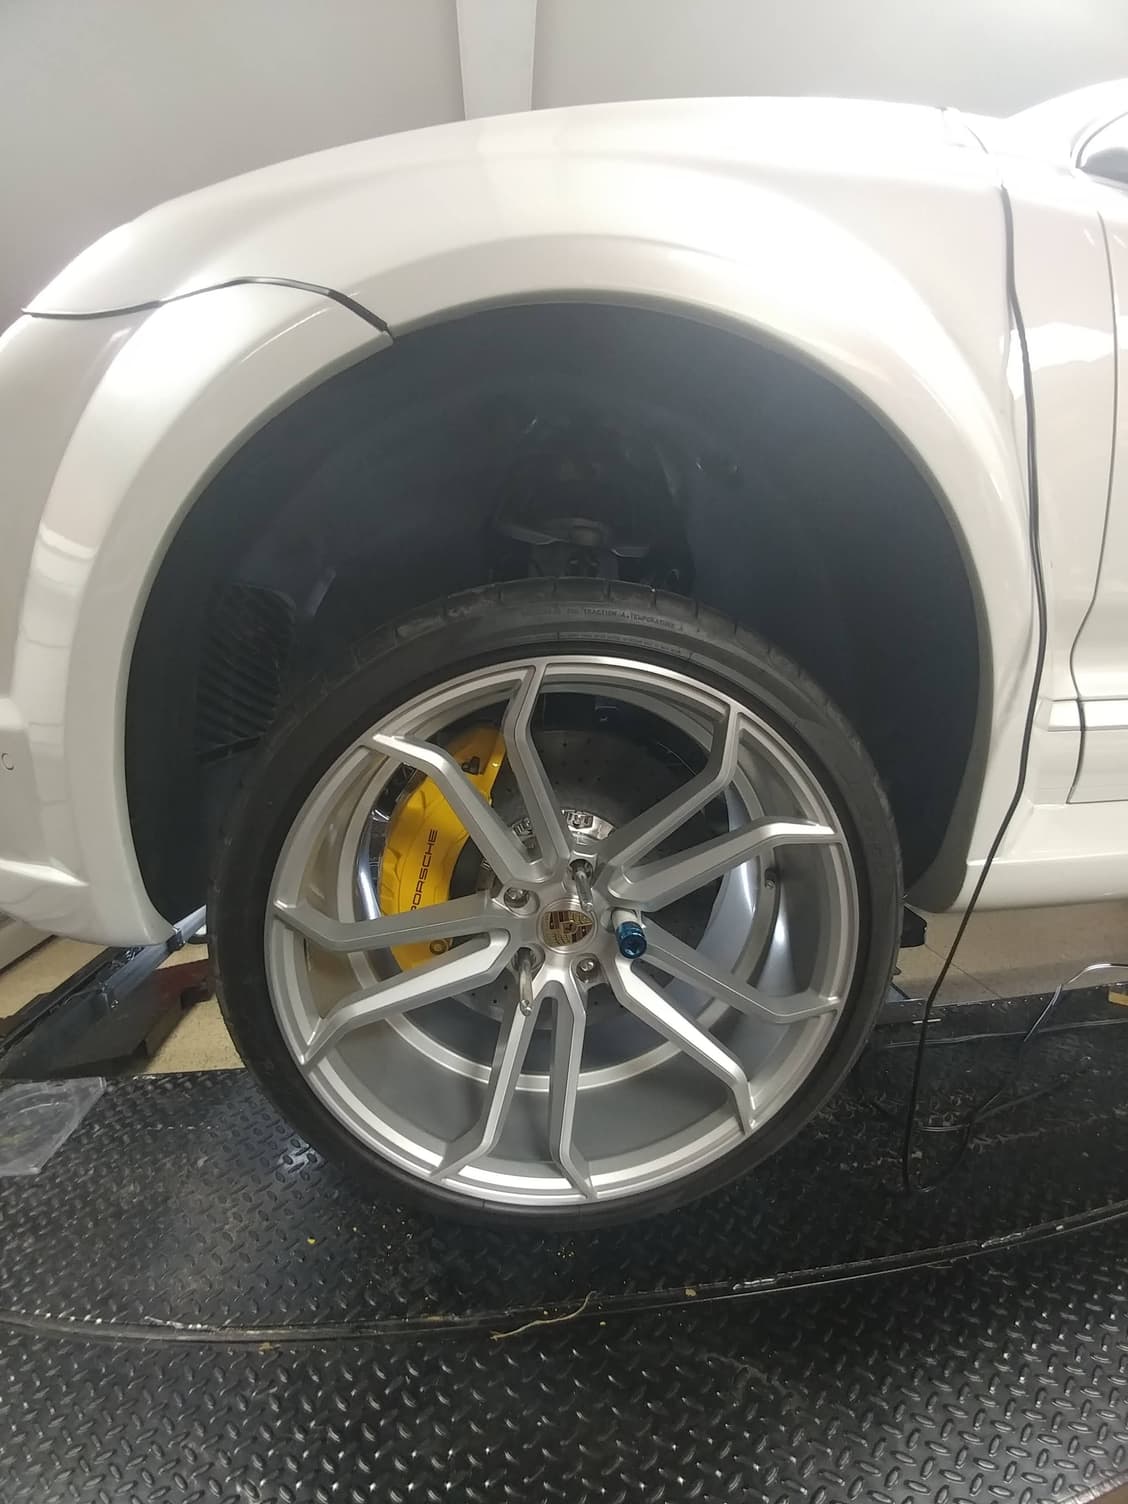
Wheel reinstallation. Ceramic rotors require the use of 2 guide pins for alignment to prevent the possibility of a wheel rotating and contacting the ceramic rotor, which can chip or fracture it. World Motorsports Ti Lug Bolts reinstalled at 110 ft lbs with Marine grade anti-seize (and why I use a lower torque than the 118 ft. lb spec). 410mm front rotors don't leave a lot of clearance space even with the 22" wheels, but that's partly due to the design of wheel's stepped lip.
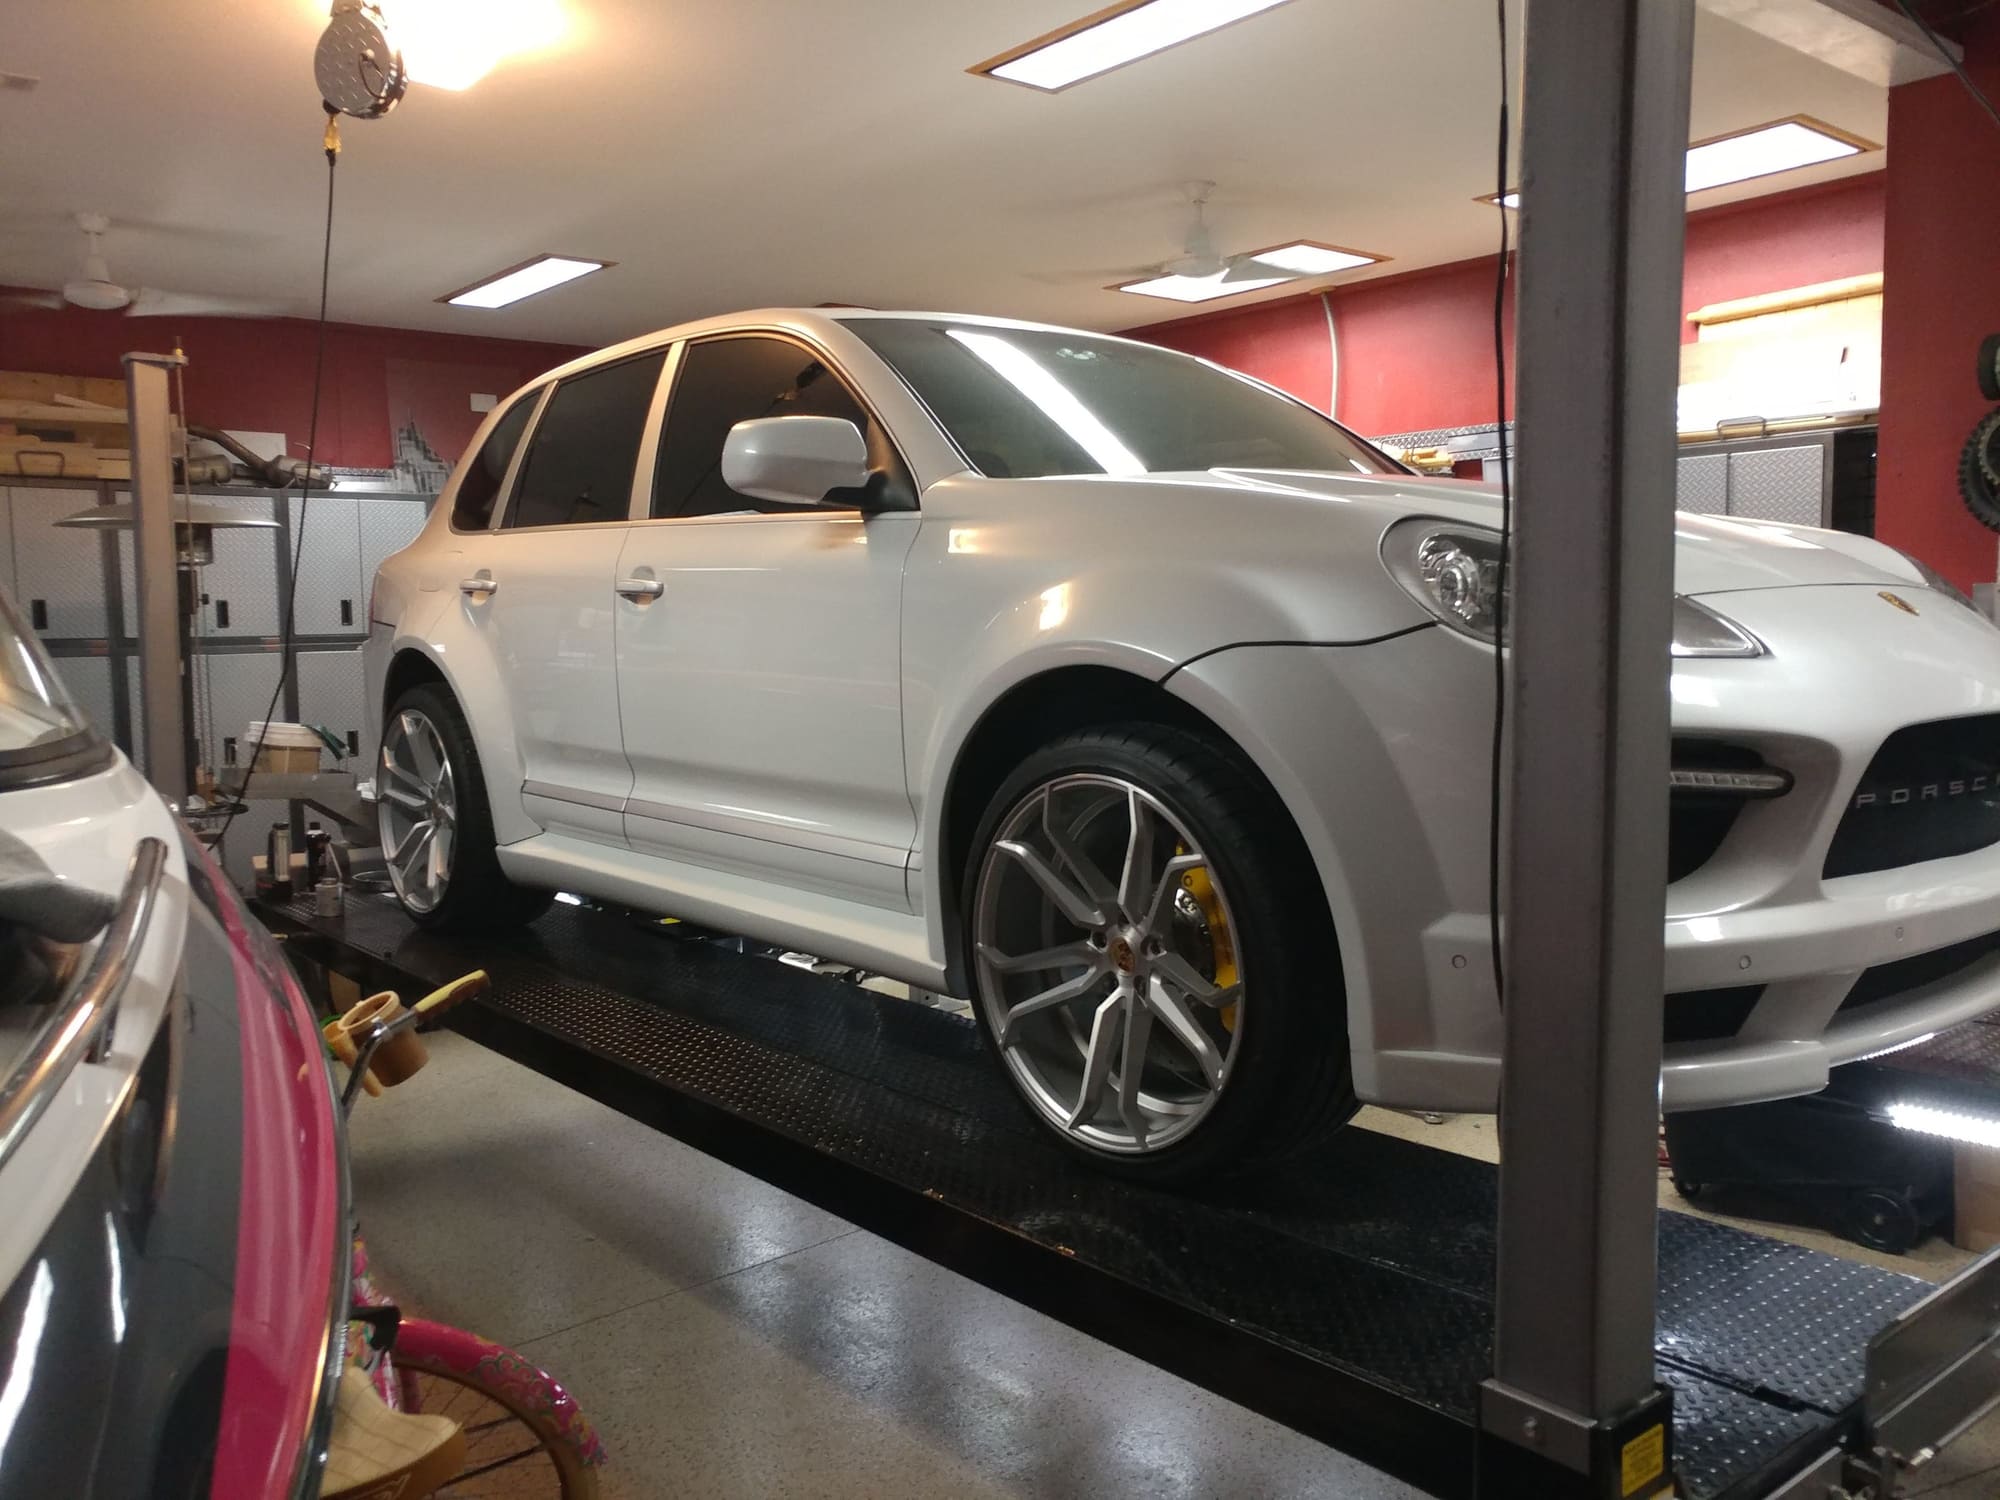
Back on the ground
Upon restarting the car, I was getting a squishy and sinking pedal, which I did not have before. Rebled all the wheels this time using my 11 year old assistant - press, hold, open bleed screw, close bleed screw, release, repeat. Got some air bubbles out of 3 of the calipers and pedal improved a little, but was still soft on the test drive. Found some loose dirt on the street in the neighborhood where they're building a house and did a couple hard stops across it to activate the ABS. Seemed to help a little. Brought it home and rebled again, a little more air. Pedal seems better, but not perfect, but then it started raining so haven't driven it again yet. I have a feeling there is still some air trapped in the lines and I may drive it for a bit and then rebleed again. I capped the open brake lines when installing the SS versions so didn't lose much fluid. I got a low brake fluid warning at one time, but don't believe the reservoir went completely dry so figure there is still some air trapped in the system since both the new SS lines and calipers were empty when I installed them.
I hooked up my Durametric Pro, but unlike on my 997, there doesn't appear to be an Activation menu for the ABS system where I could cycle the ABS pump for each wheel - which is why I went looking for the loose dirt on the first test drive. If anyone has further suggestions on what I should try to get the firm brake pedal back, please let me know. If it's just residual air, I'll have to drive and rebleed a few times to see if I can free it up. Is there a way to bleed the master cylinder directly. When using the pedal stroke bleed method, how far should they push the pedal - I thought about 75% but not all the way to the floor was correct so that's how we did it, but if it needs to go all the way down with each stroke, let me know. I have speed bleeder valves in the calipers so not worried about air being able to reverse flow back into the caliper if that's the danger with the full pedal stroke method.
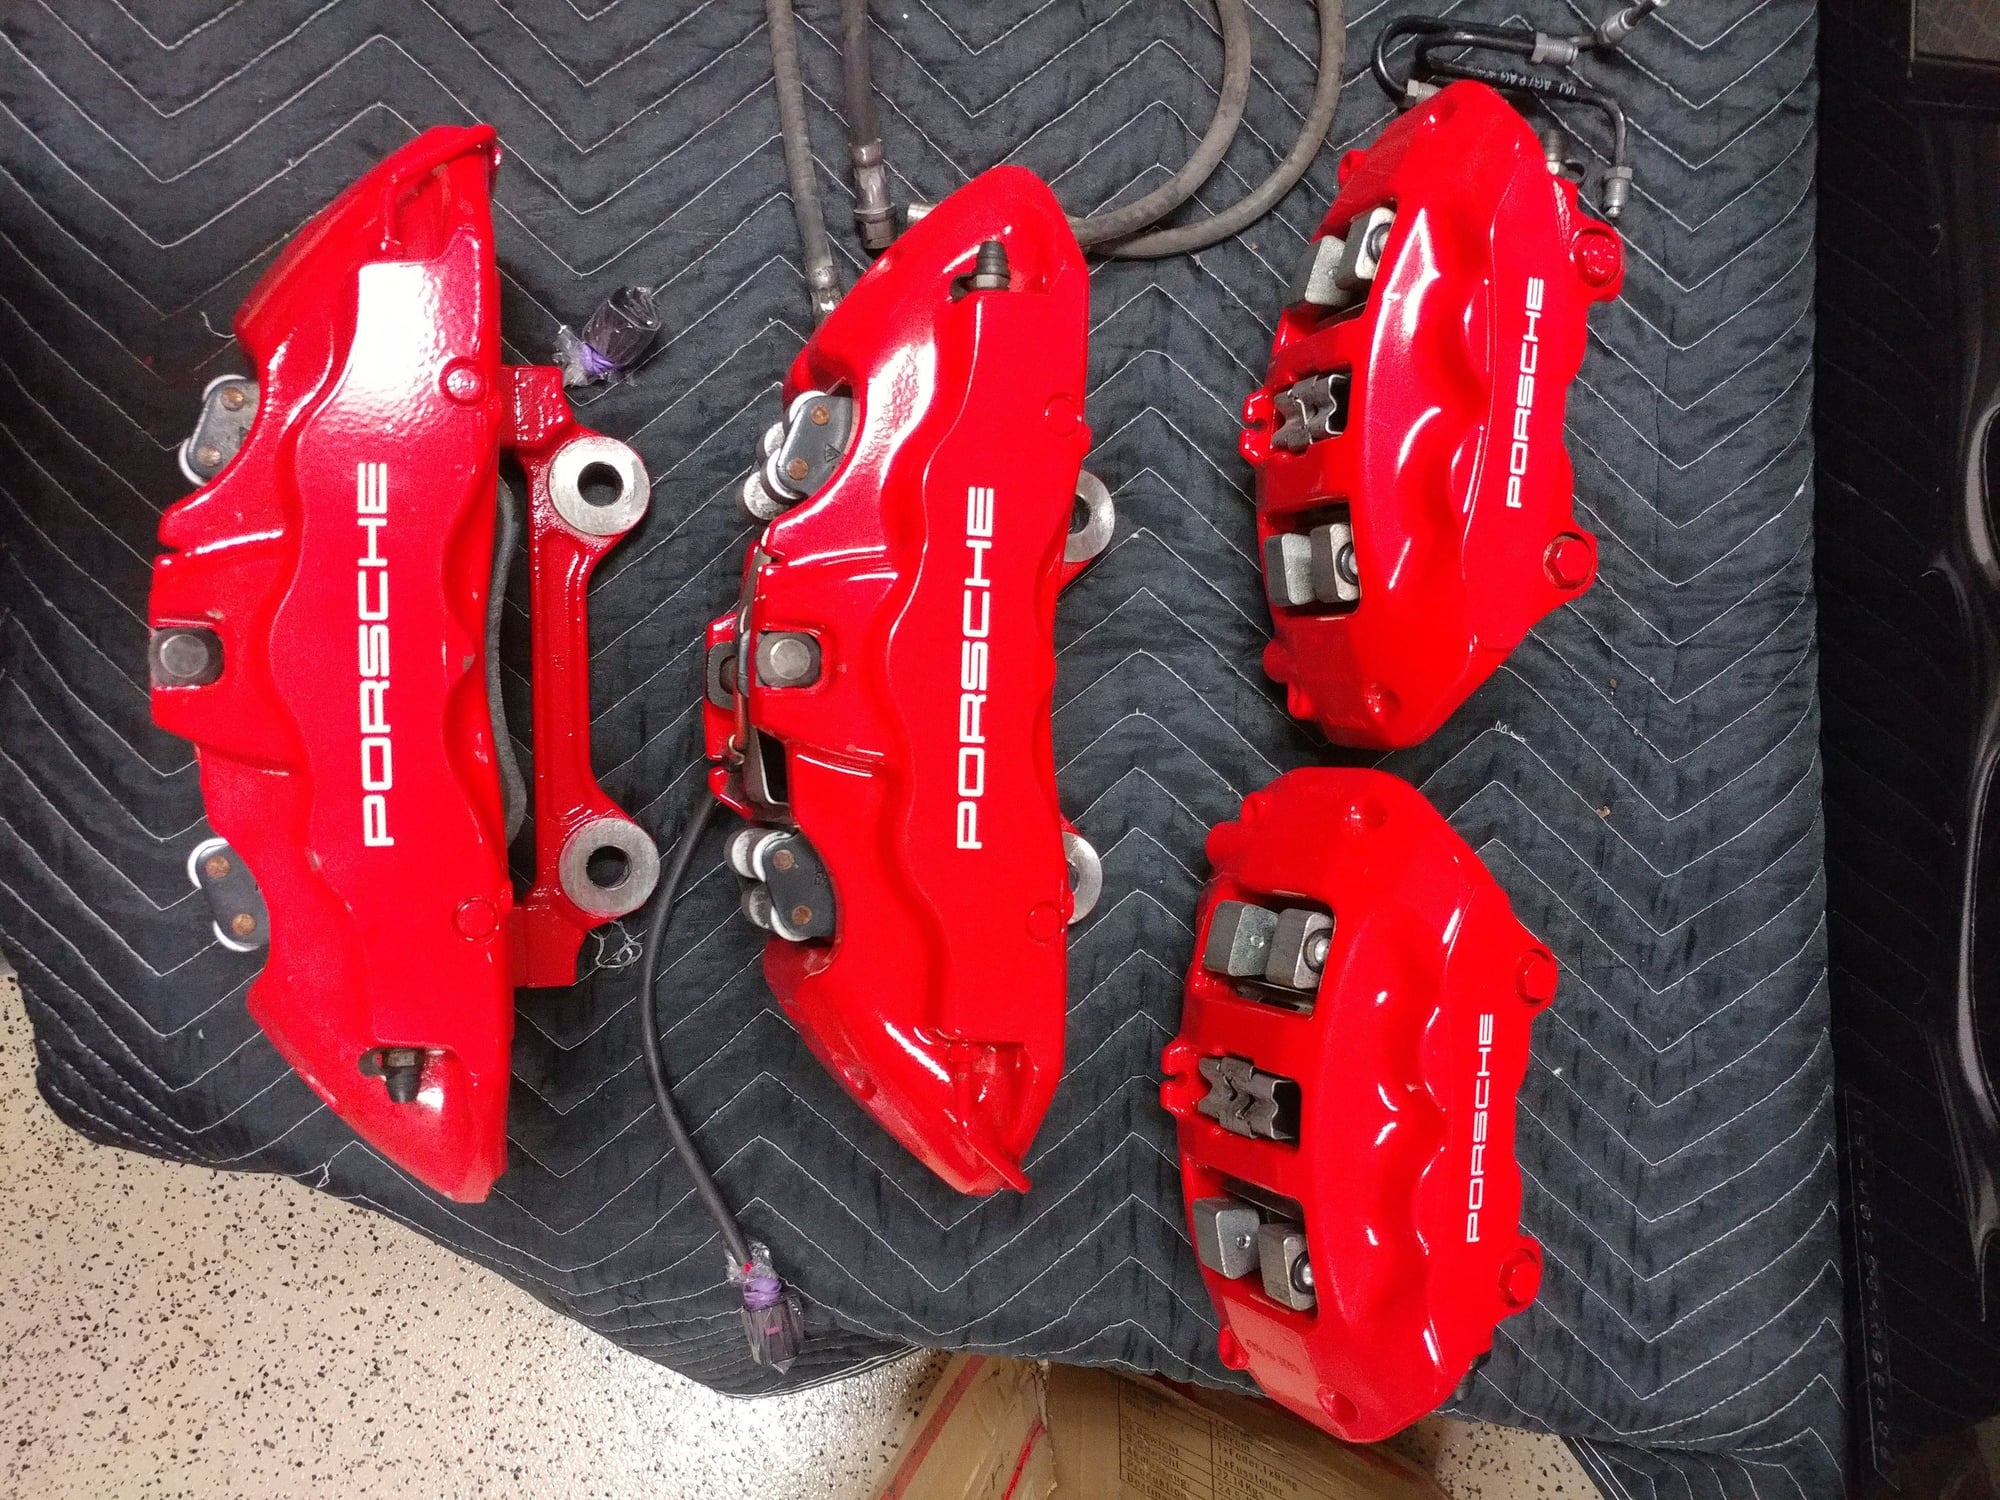
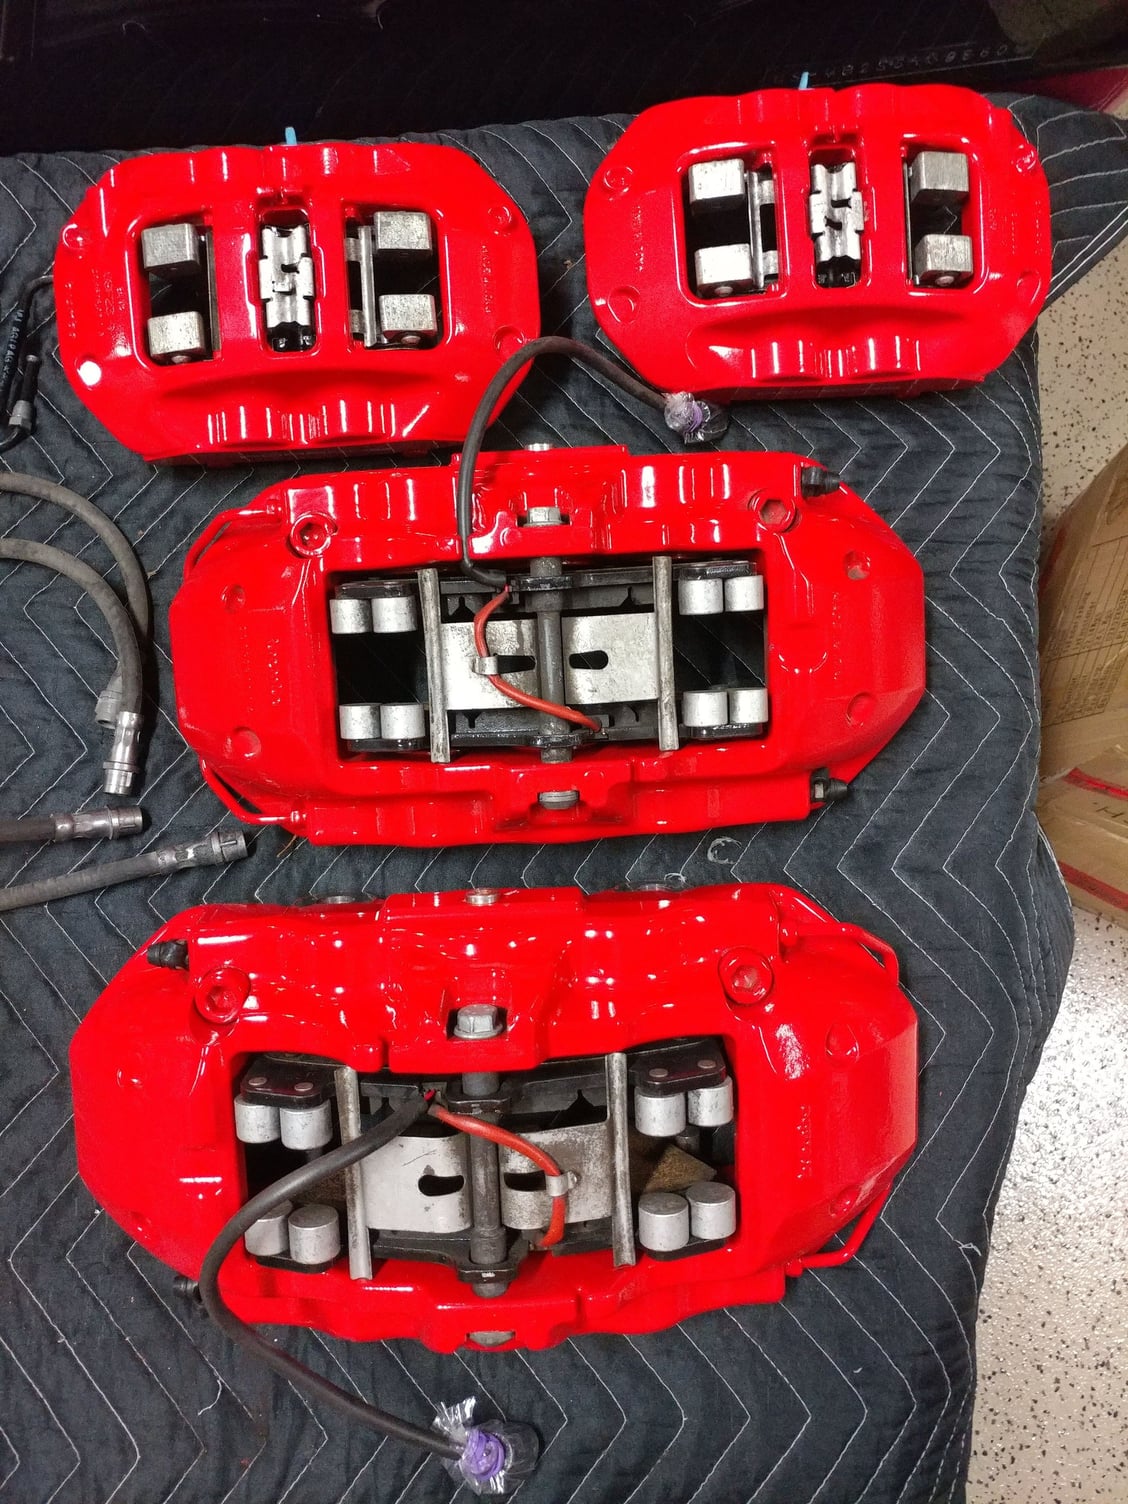
Once I get the pedal firmness straightened out, I'll be adding the complete Turbo S brake system (calipers, rotors, pads, front sensors, F & R rubber lines, & rear hard lines) to my leftover parts for sale thread. Cleaned them up in my heated, ultrasonic parts washer for the next owner
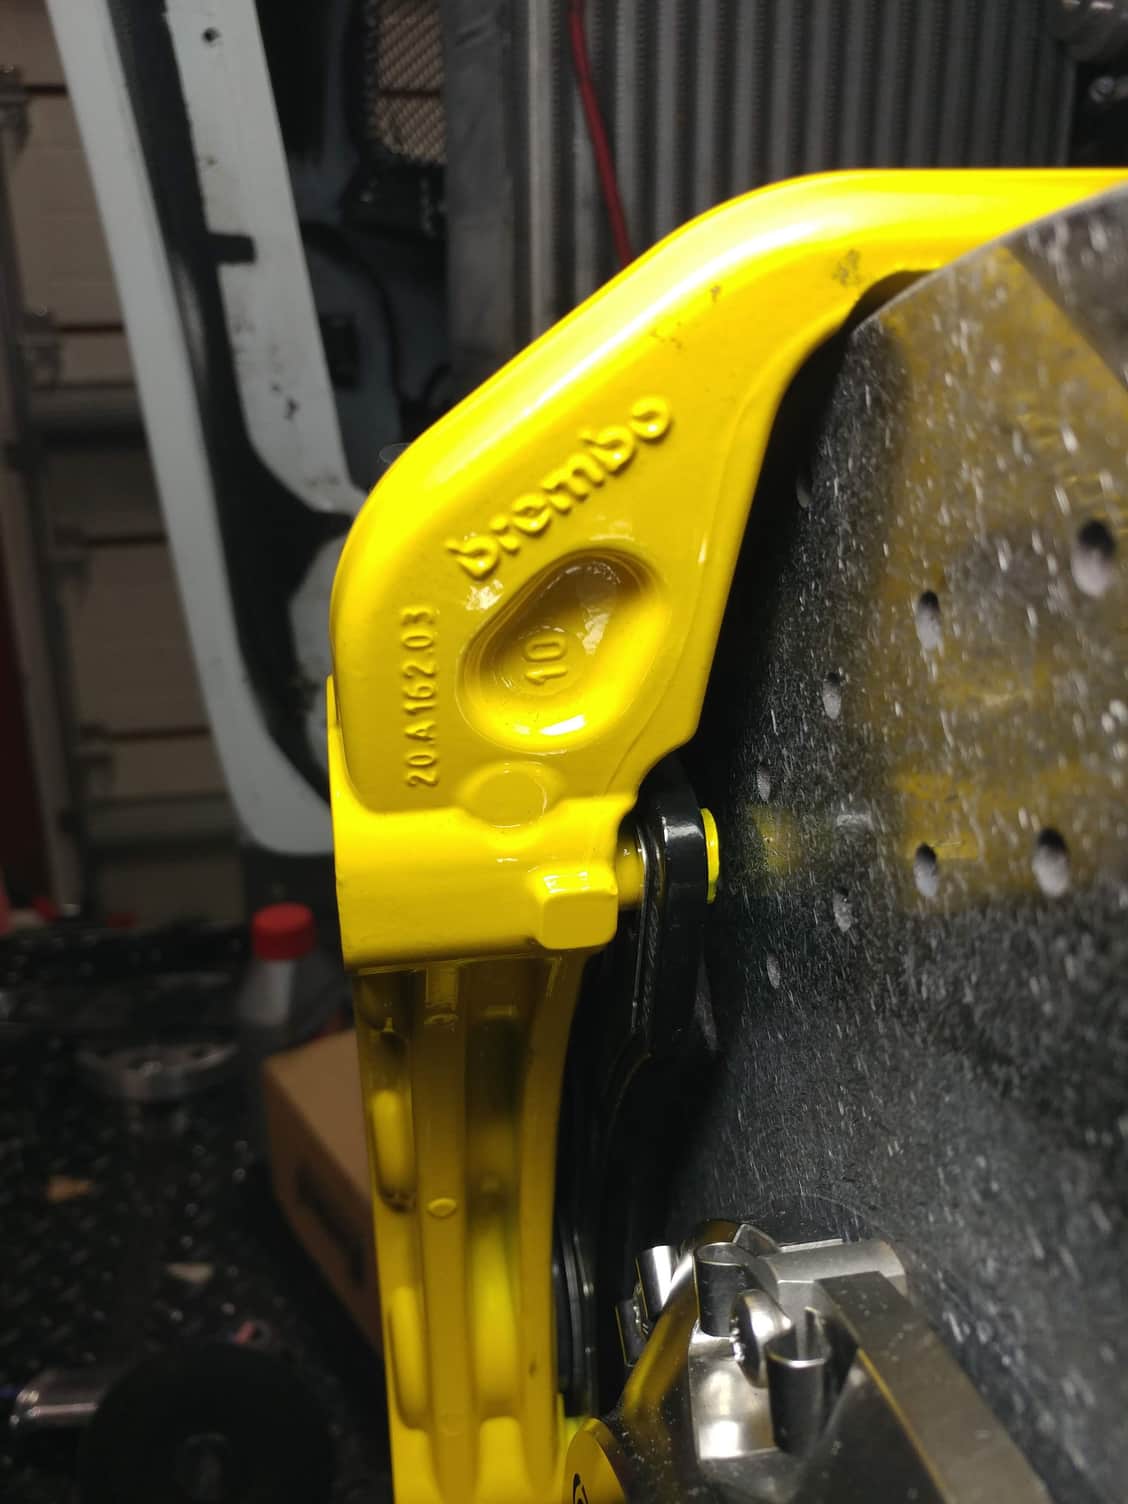
Why do you allow them to powder coat your adapter mating surface? Powder coat melts at 200 degree c and break calipers get a lot hotter.
The adapters were galvanized and I probably should have left them alone. Under the force from torquing the fasteners down, most of the powder under the bolt heads and at the mating surfaces actually flaked off so the mating surfaces are pretty clean now. The one picture was taken before torquing. We'll see how it goes and if I observe any melting can strip it off.


 12-05-2018, 12:24 PM