When you click on links to various merchants on this site and make a purchase, this can result in this site earning a commission. Affiliate programs and affiliations include, but are not limited to, the eBay Partner Network.
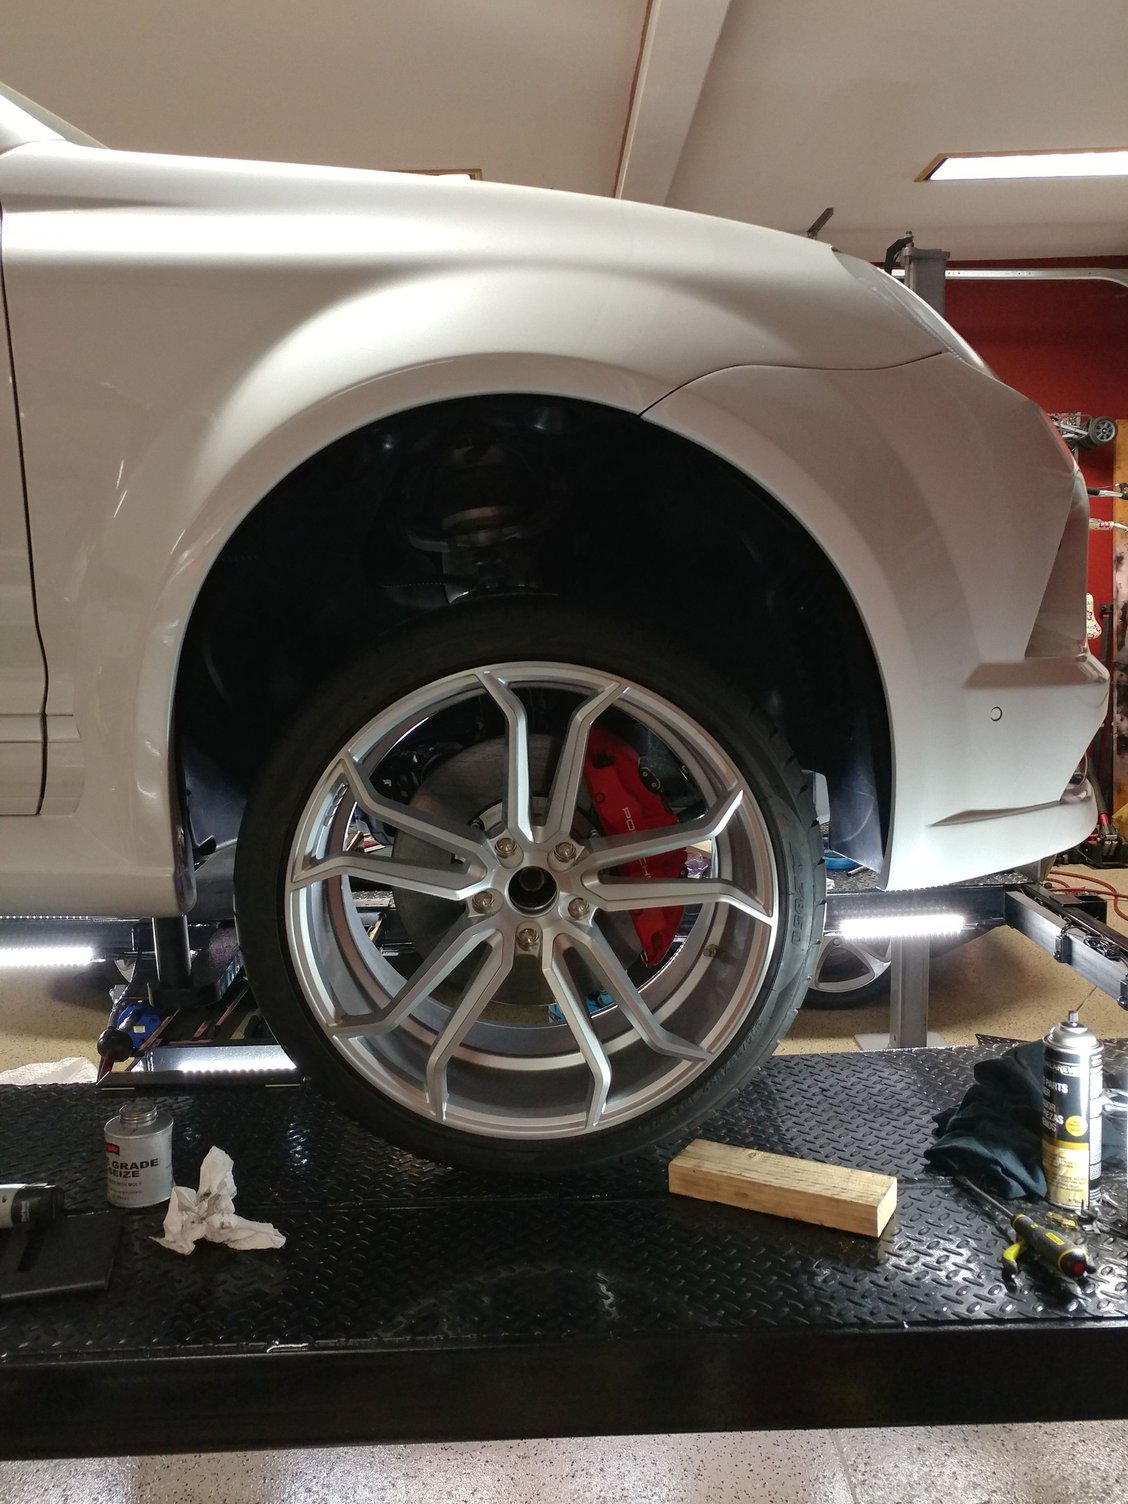
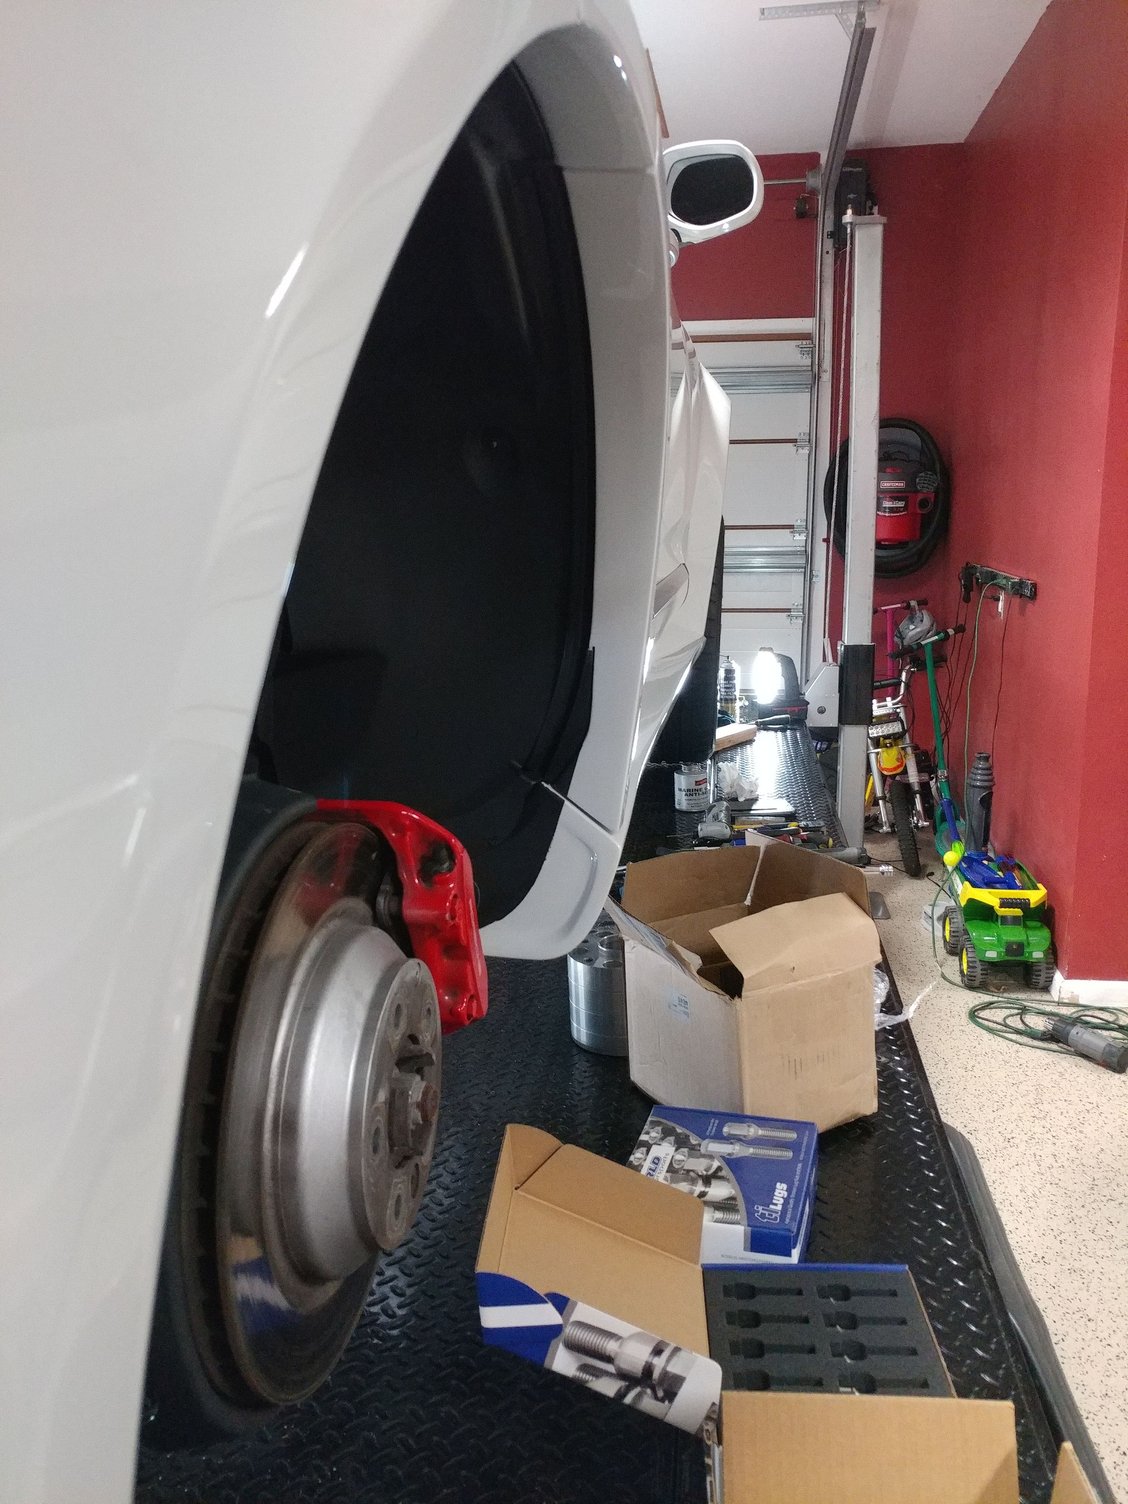
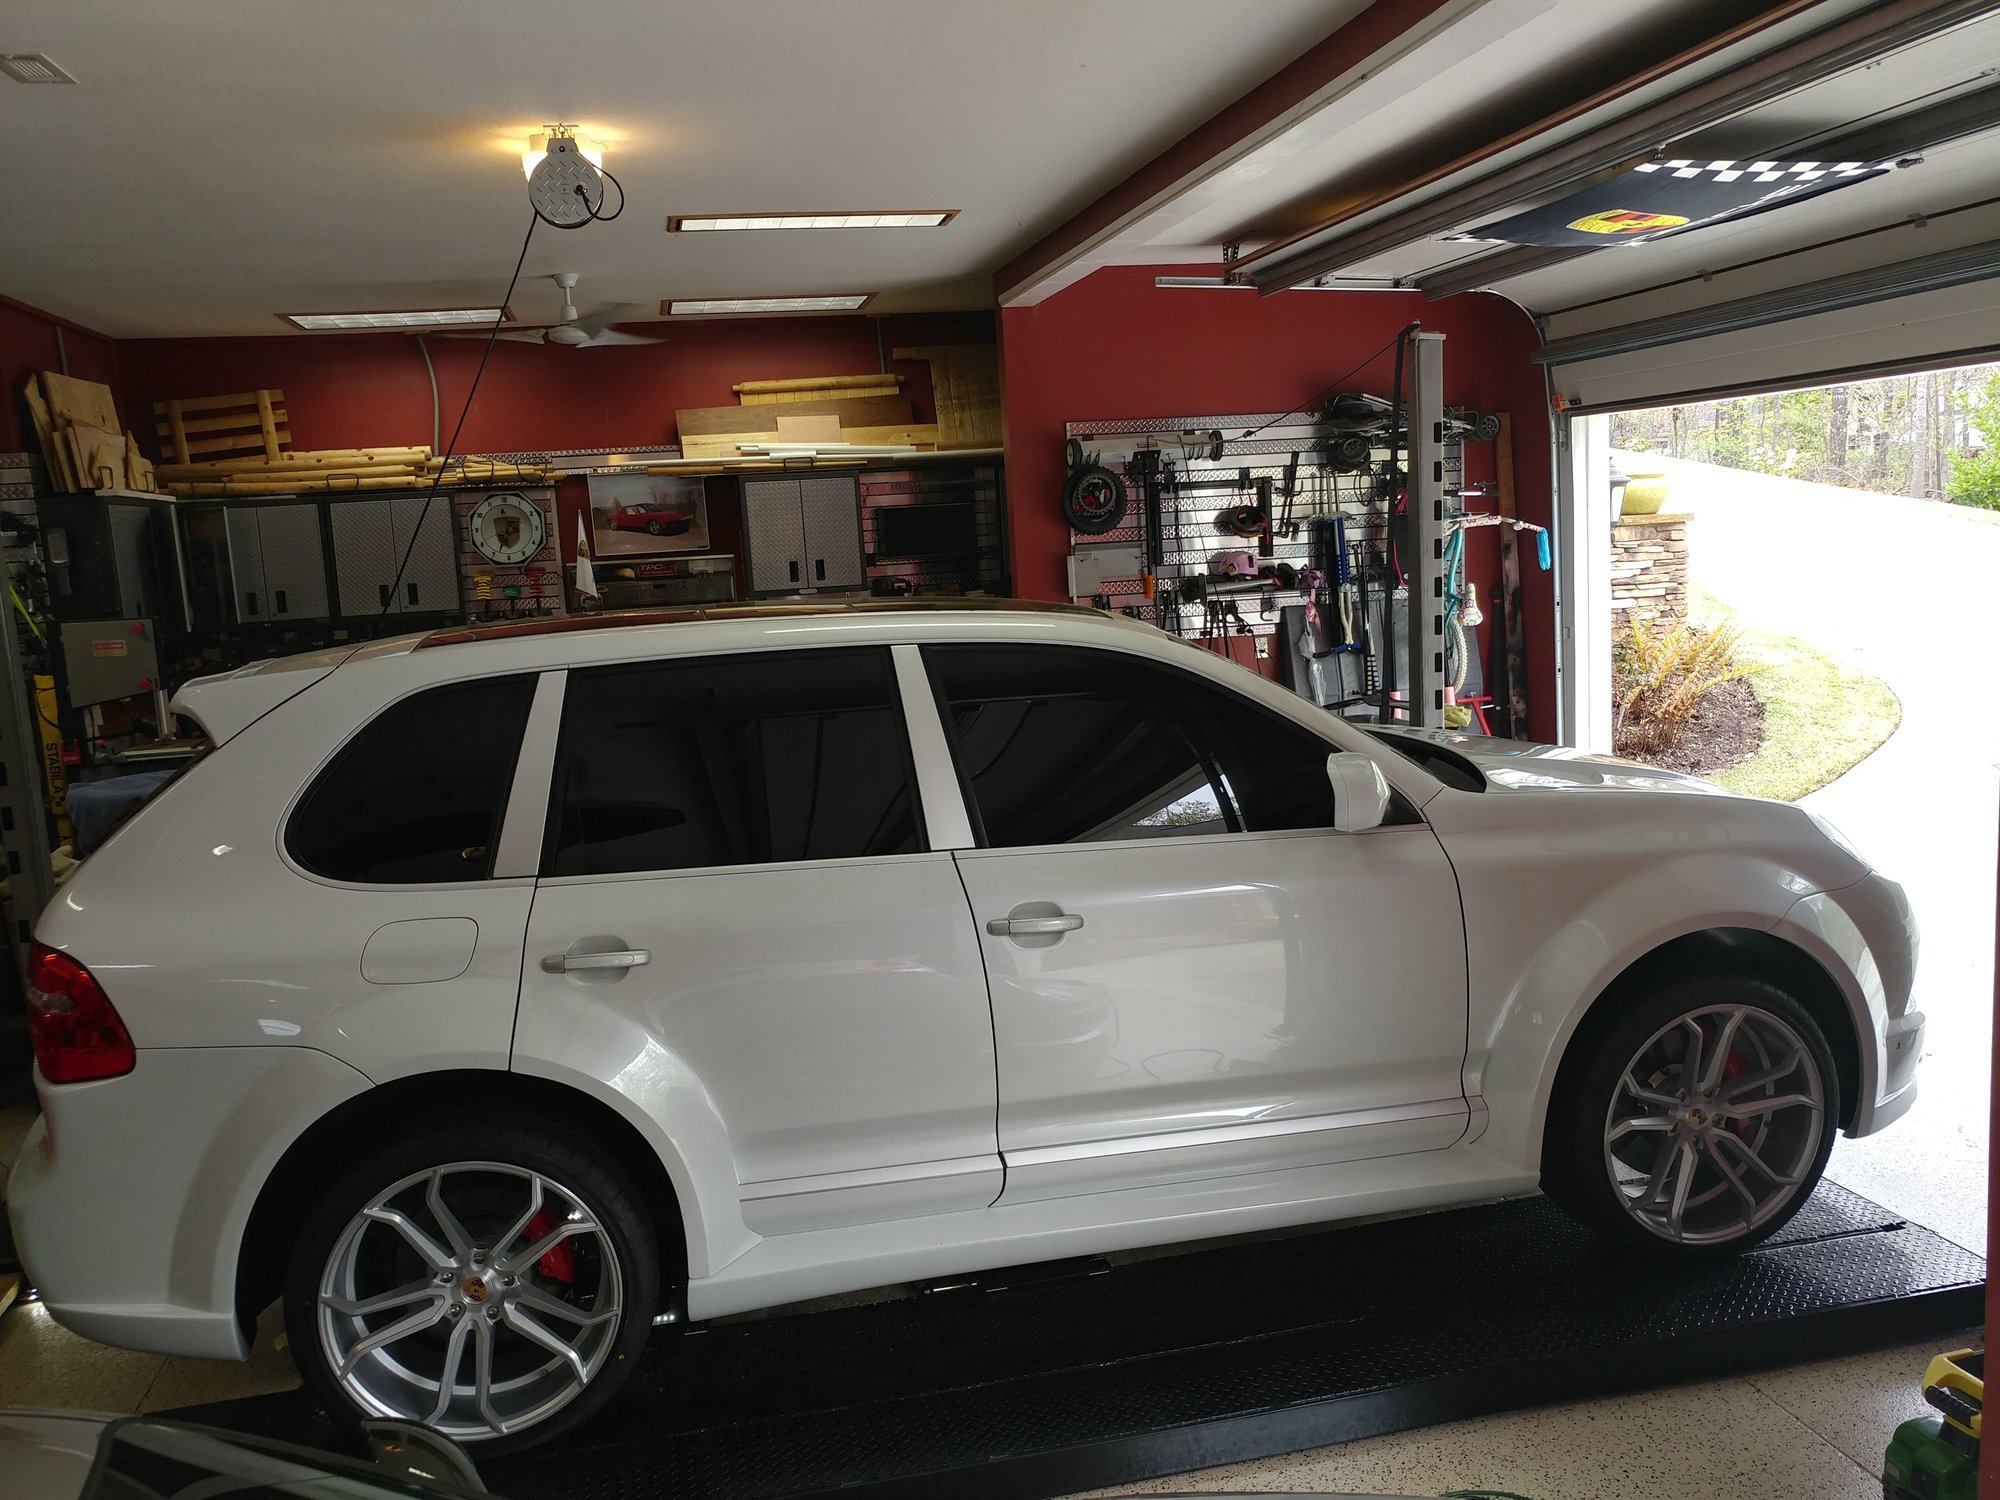
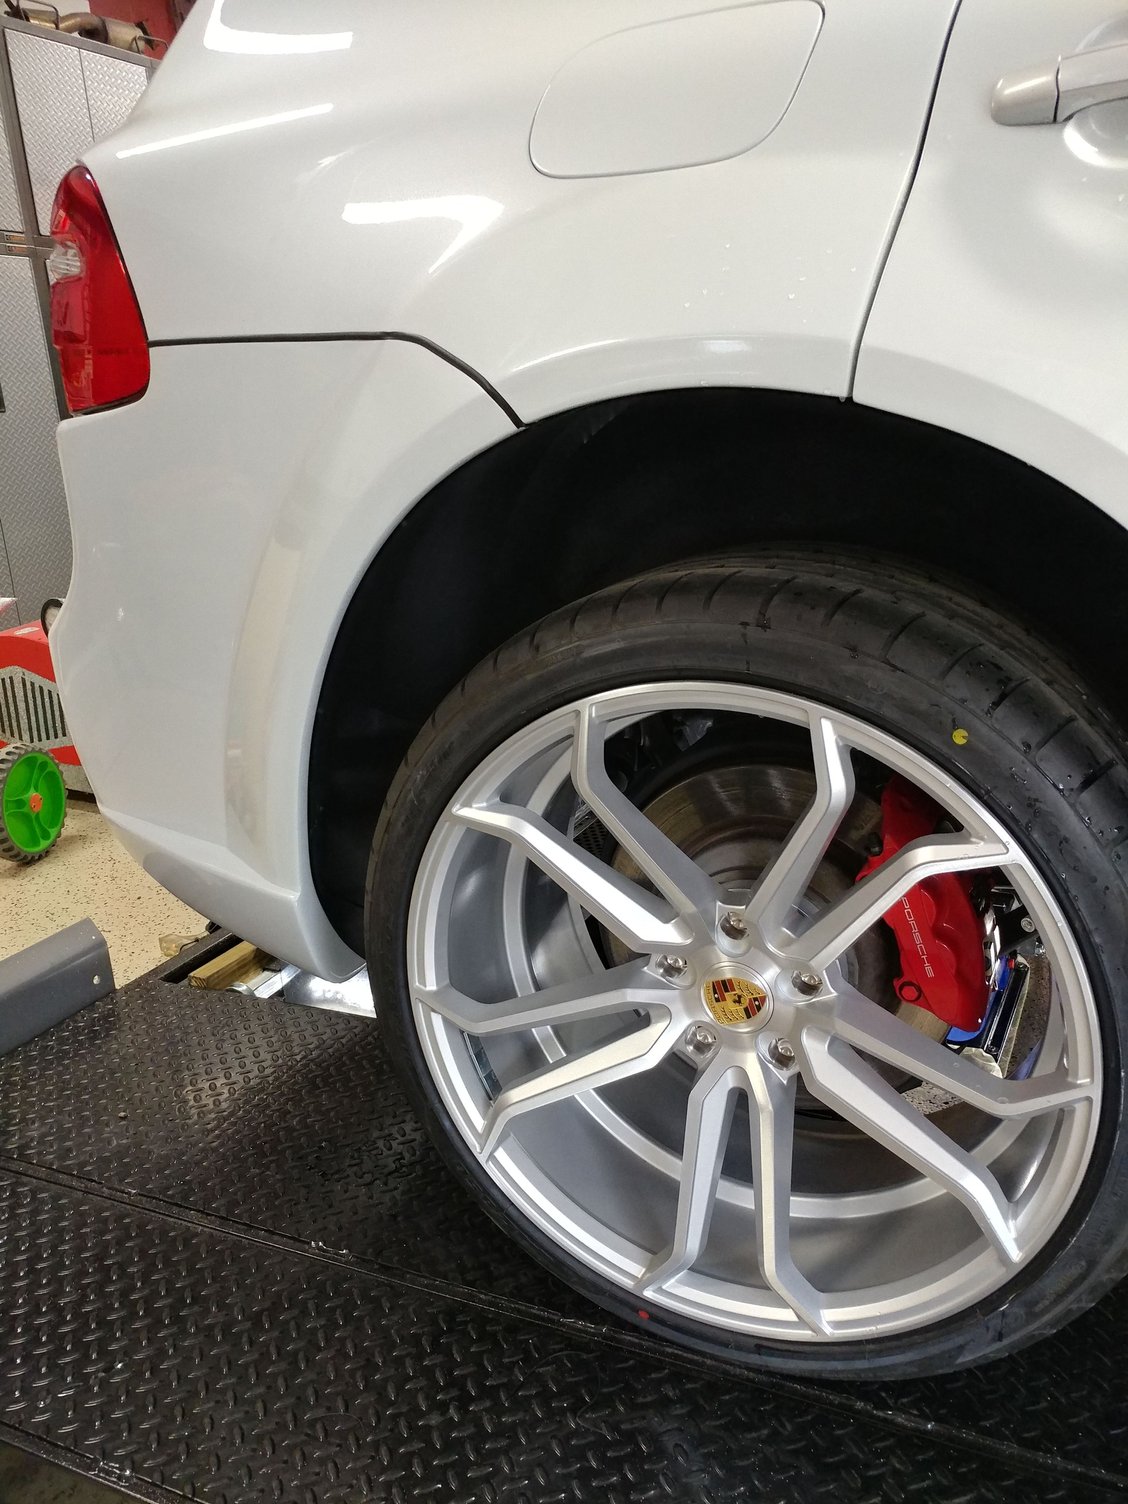
Progress continued tonight with reinstallation of the front fender liners and test fitting g of the new wheels. They're 22"x12" with 315/30-22 tires and the same et50 as the OEM GTS/Turbo S wheels, so I knew I'd need at least a 25mm spacer to create the same inboard clearance as the stock setup. That combination puts me within 1% of the stock rolling circumference for no ABS OR PSM issues.
I first test fit the 30mm but unloaded, it looked like it was going to have too much poke for my taste, so pulled that off and installed the 25mm spacer and that looks to be just right - tucked inside the flares at the top and just out a little half way down and below.
Unloaded there aren't any clearance issues at full lock in either direction (sway bar is the closest thing when turned full in and is still about 10mm away, and the fender liner is the closest thing when turned all the way out with about 8mm clearance).
When I get the rear put back together tomorrow, I'll drop it down to sport suspension height and check everything again before doing any driving.
It is hard to find competence, sense of duty, and pride in work these days. I find that across the board regardless of the trade in America.
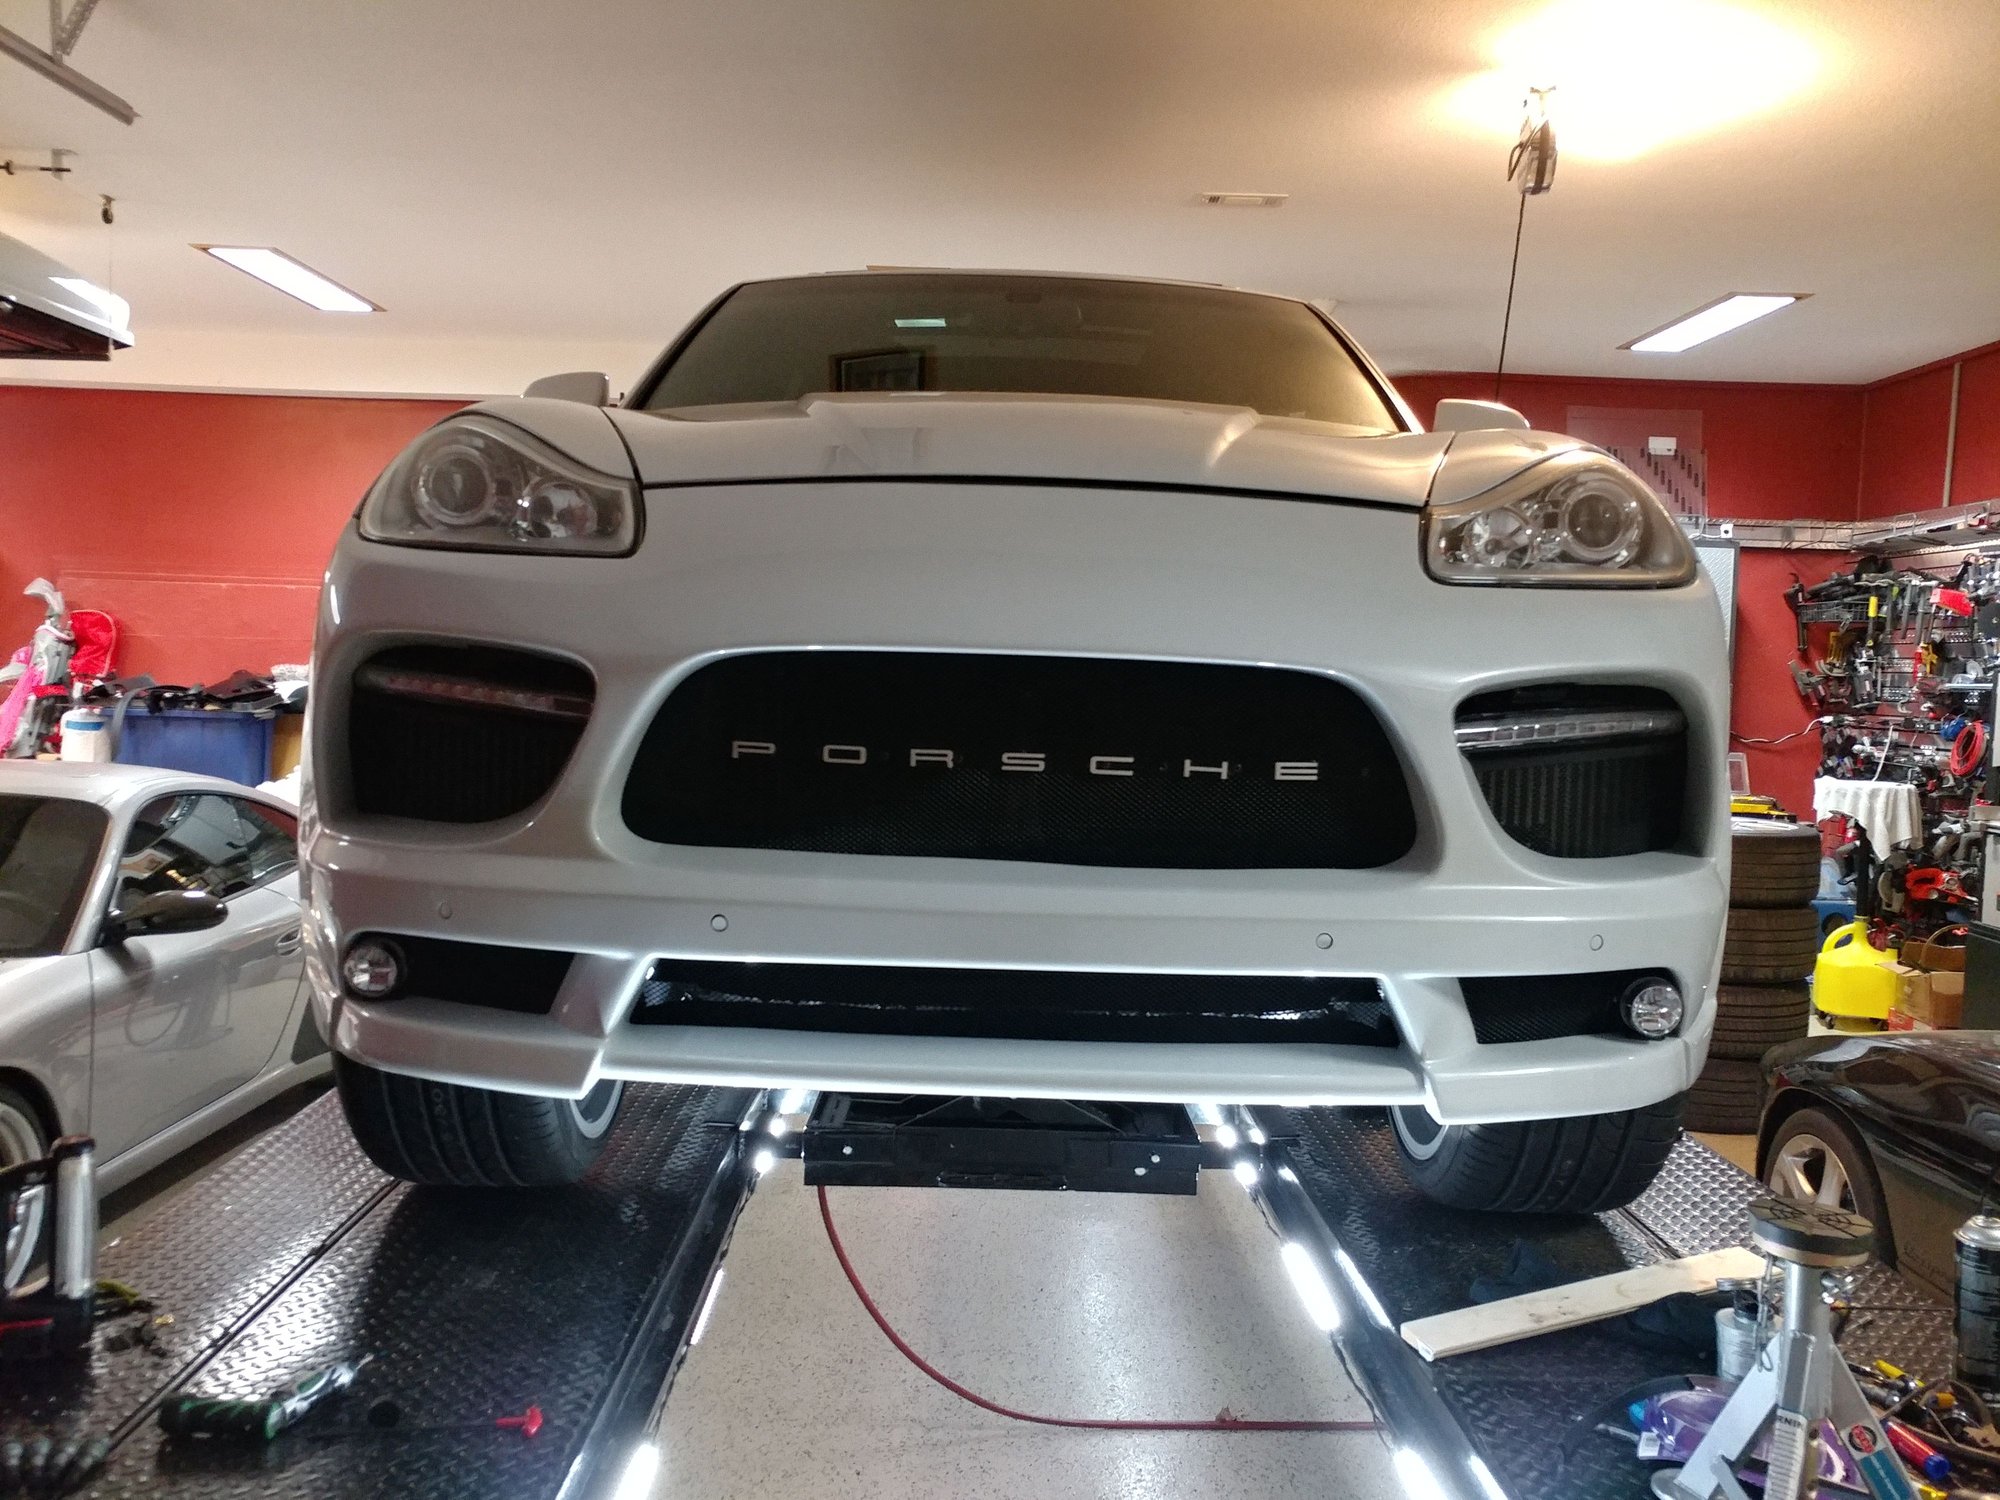
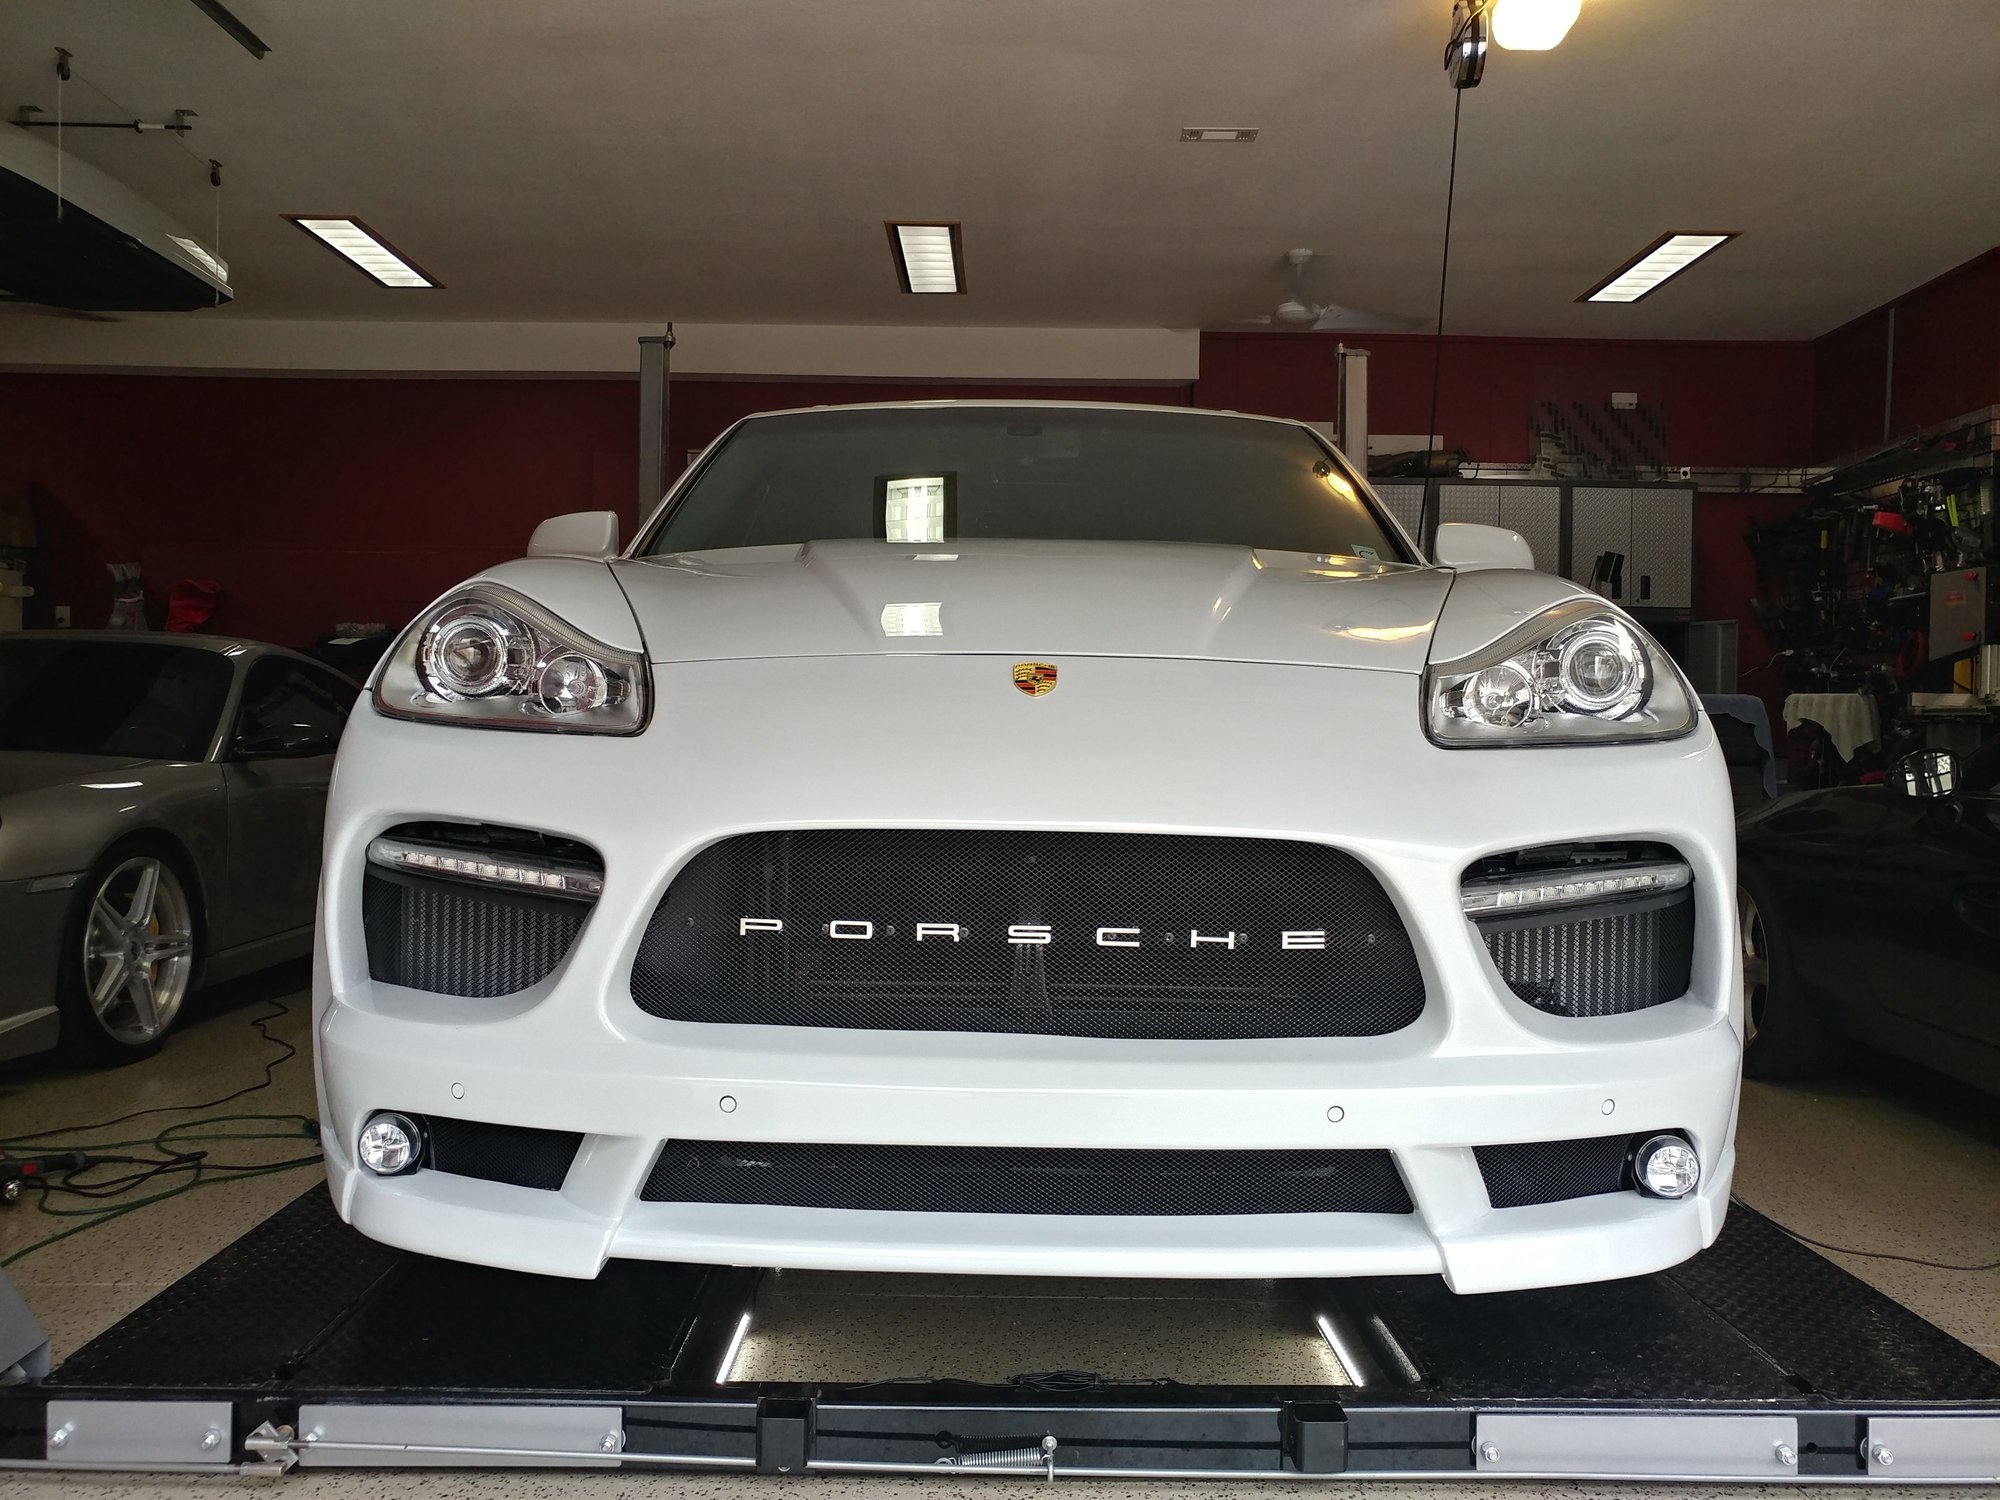
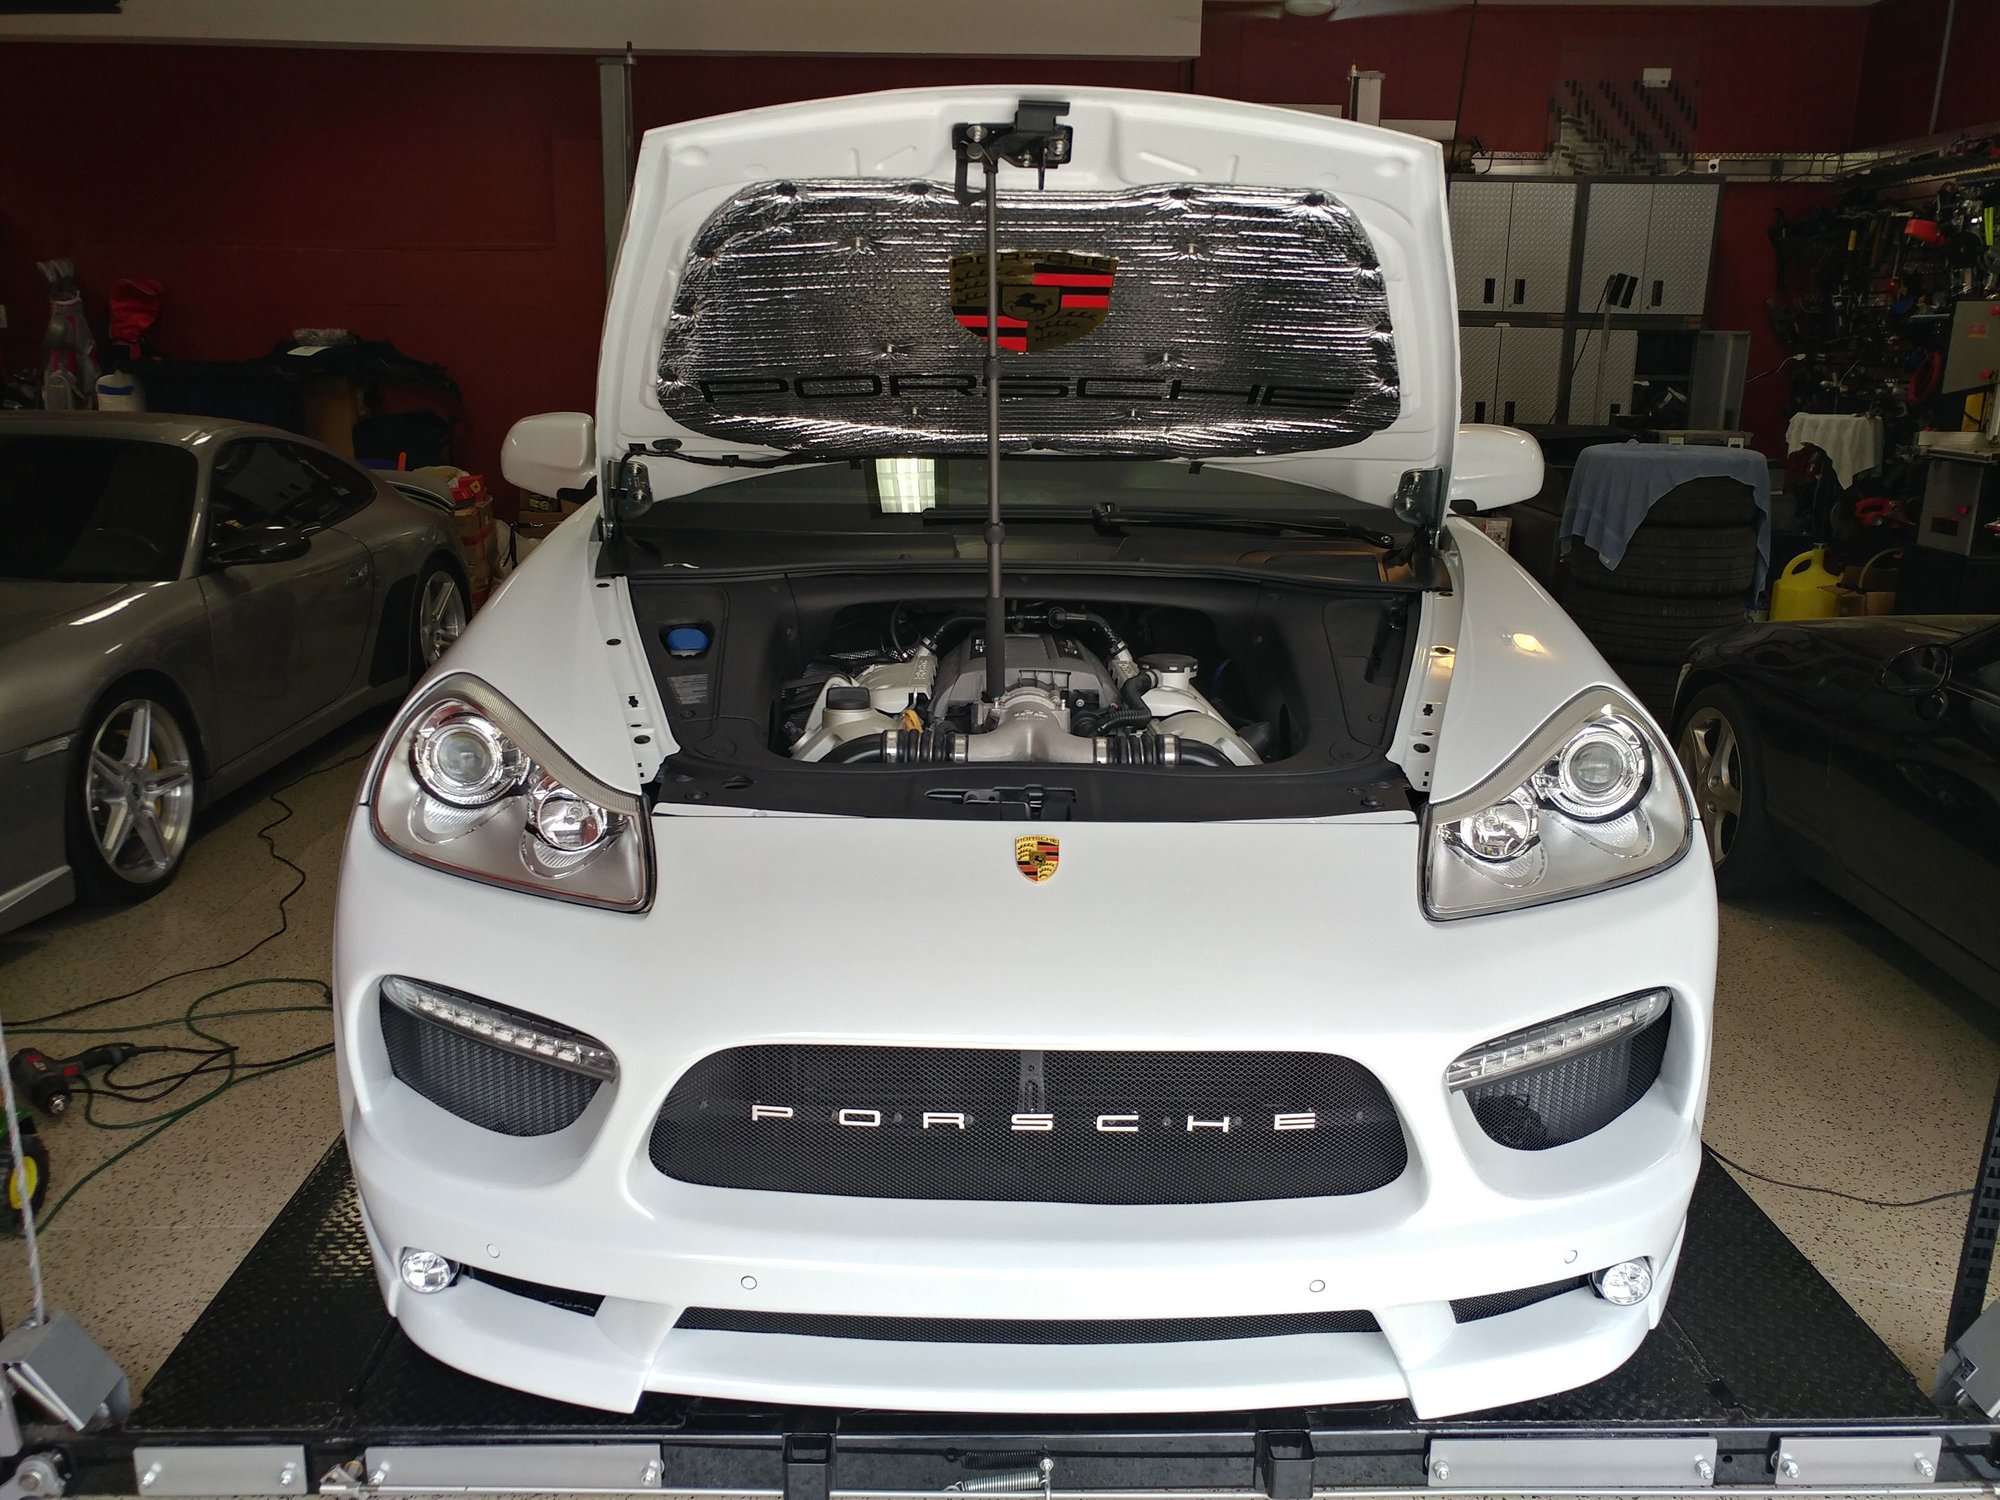
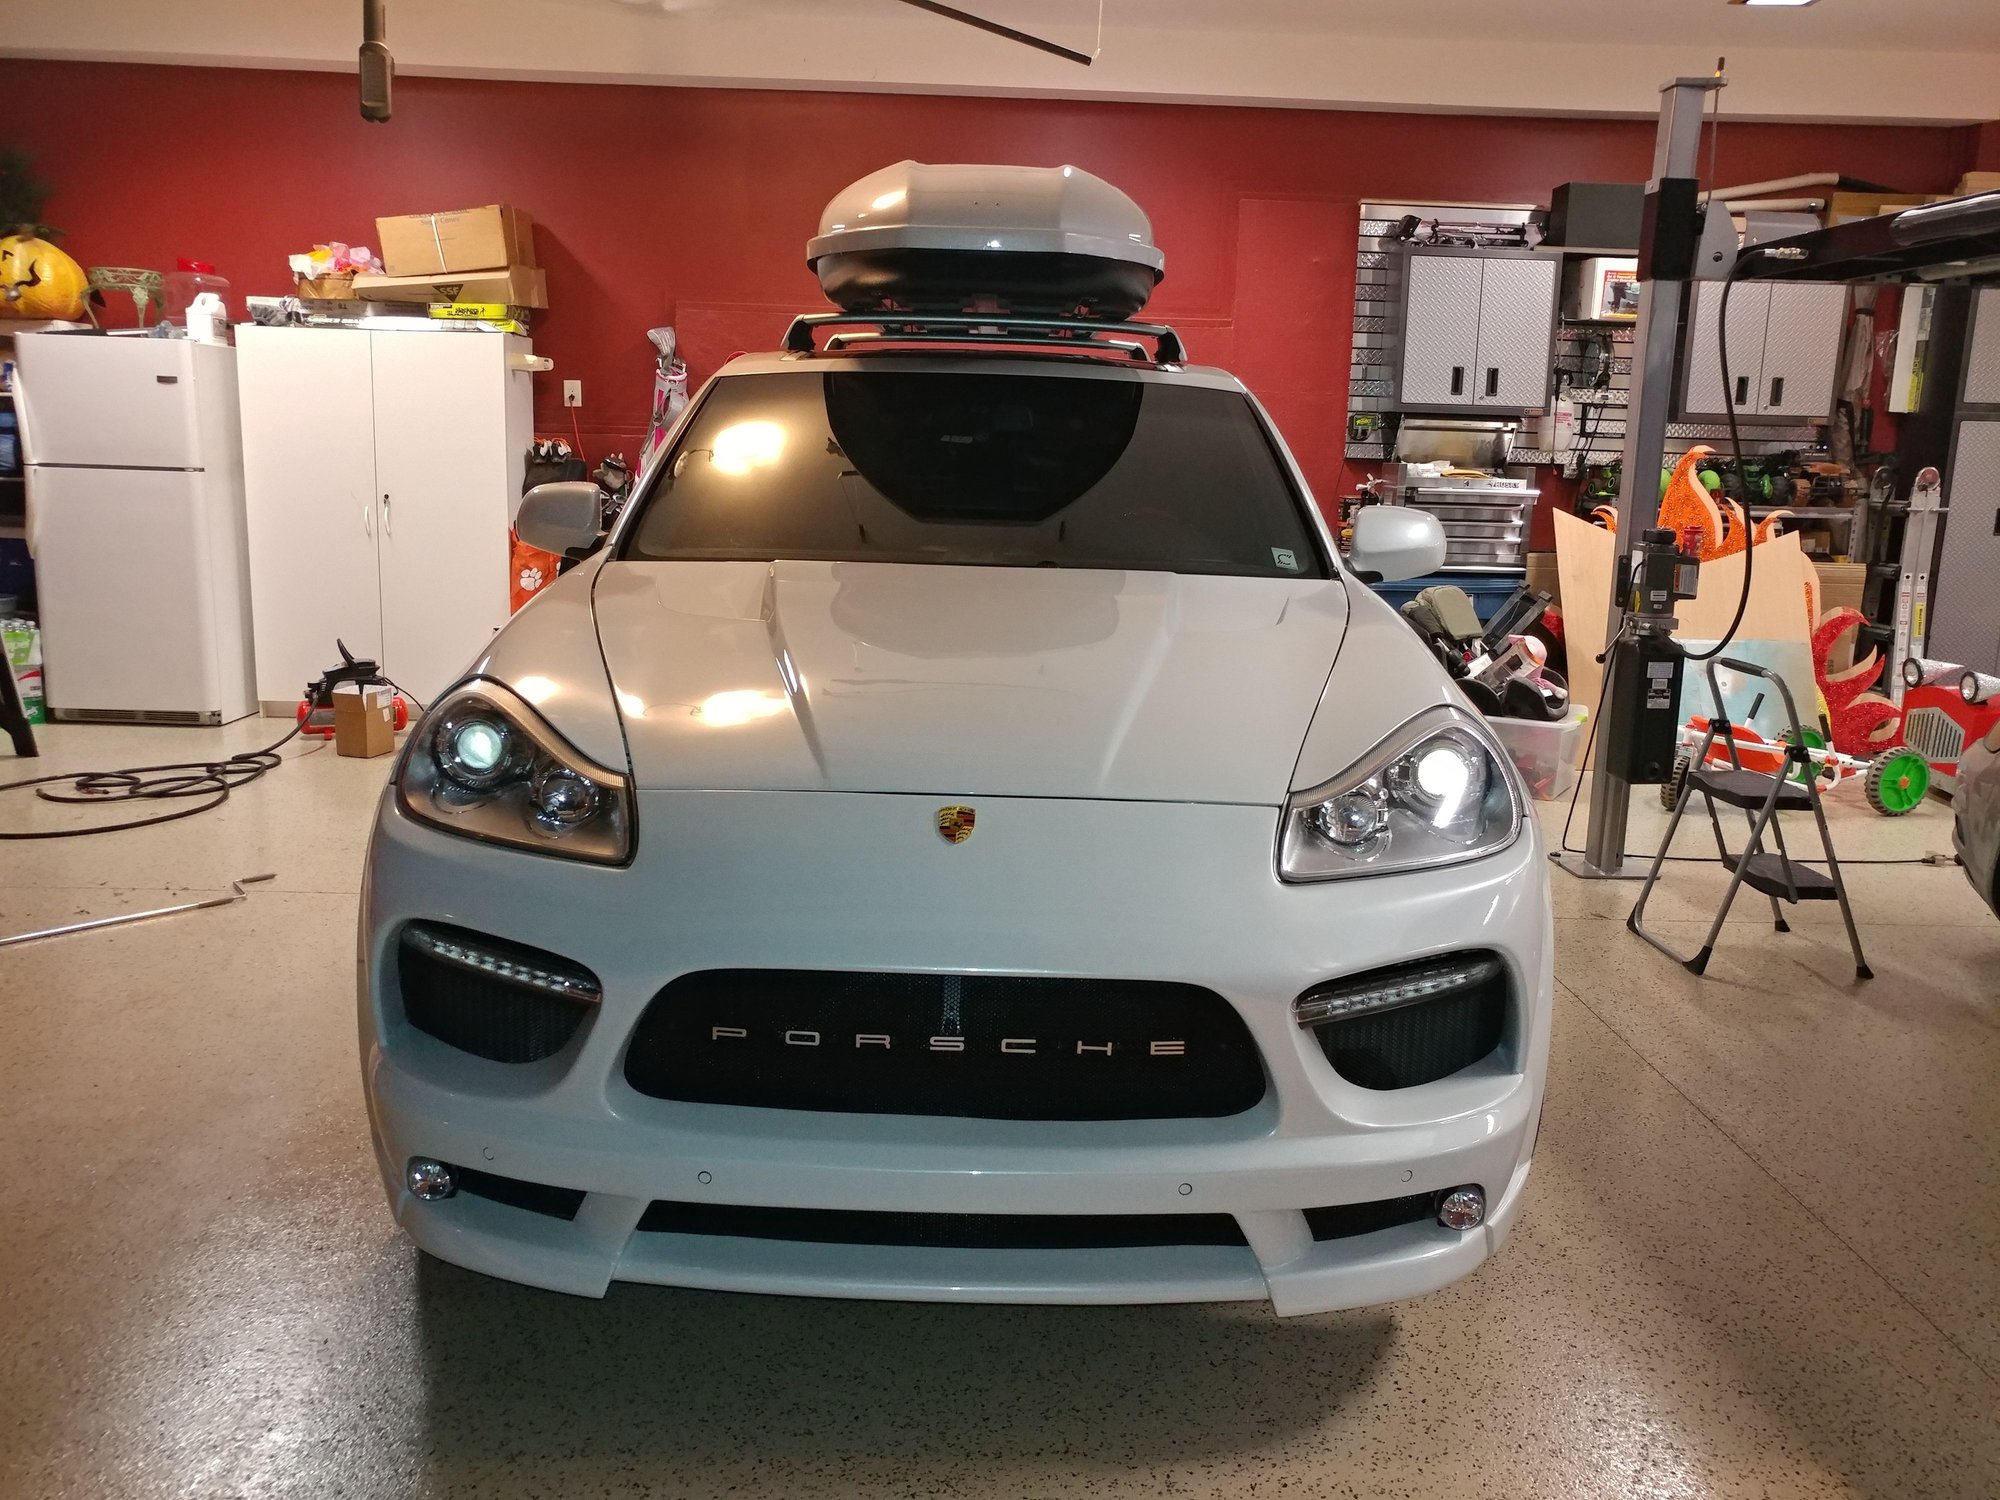
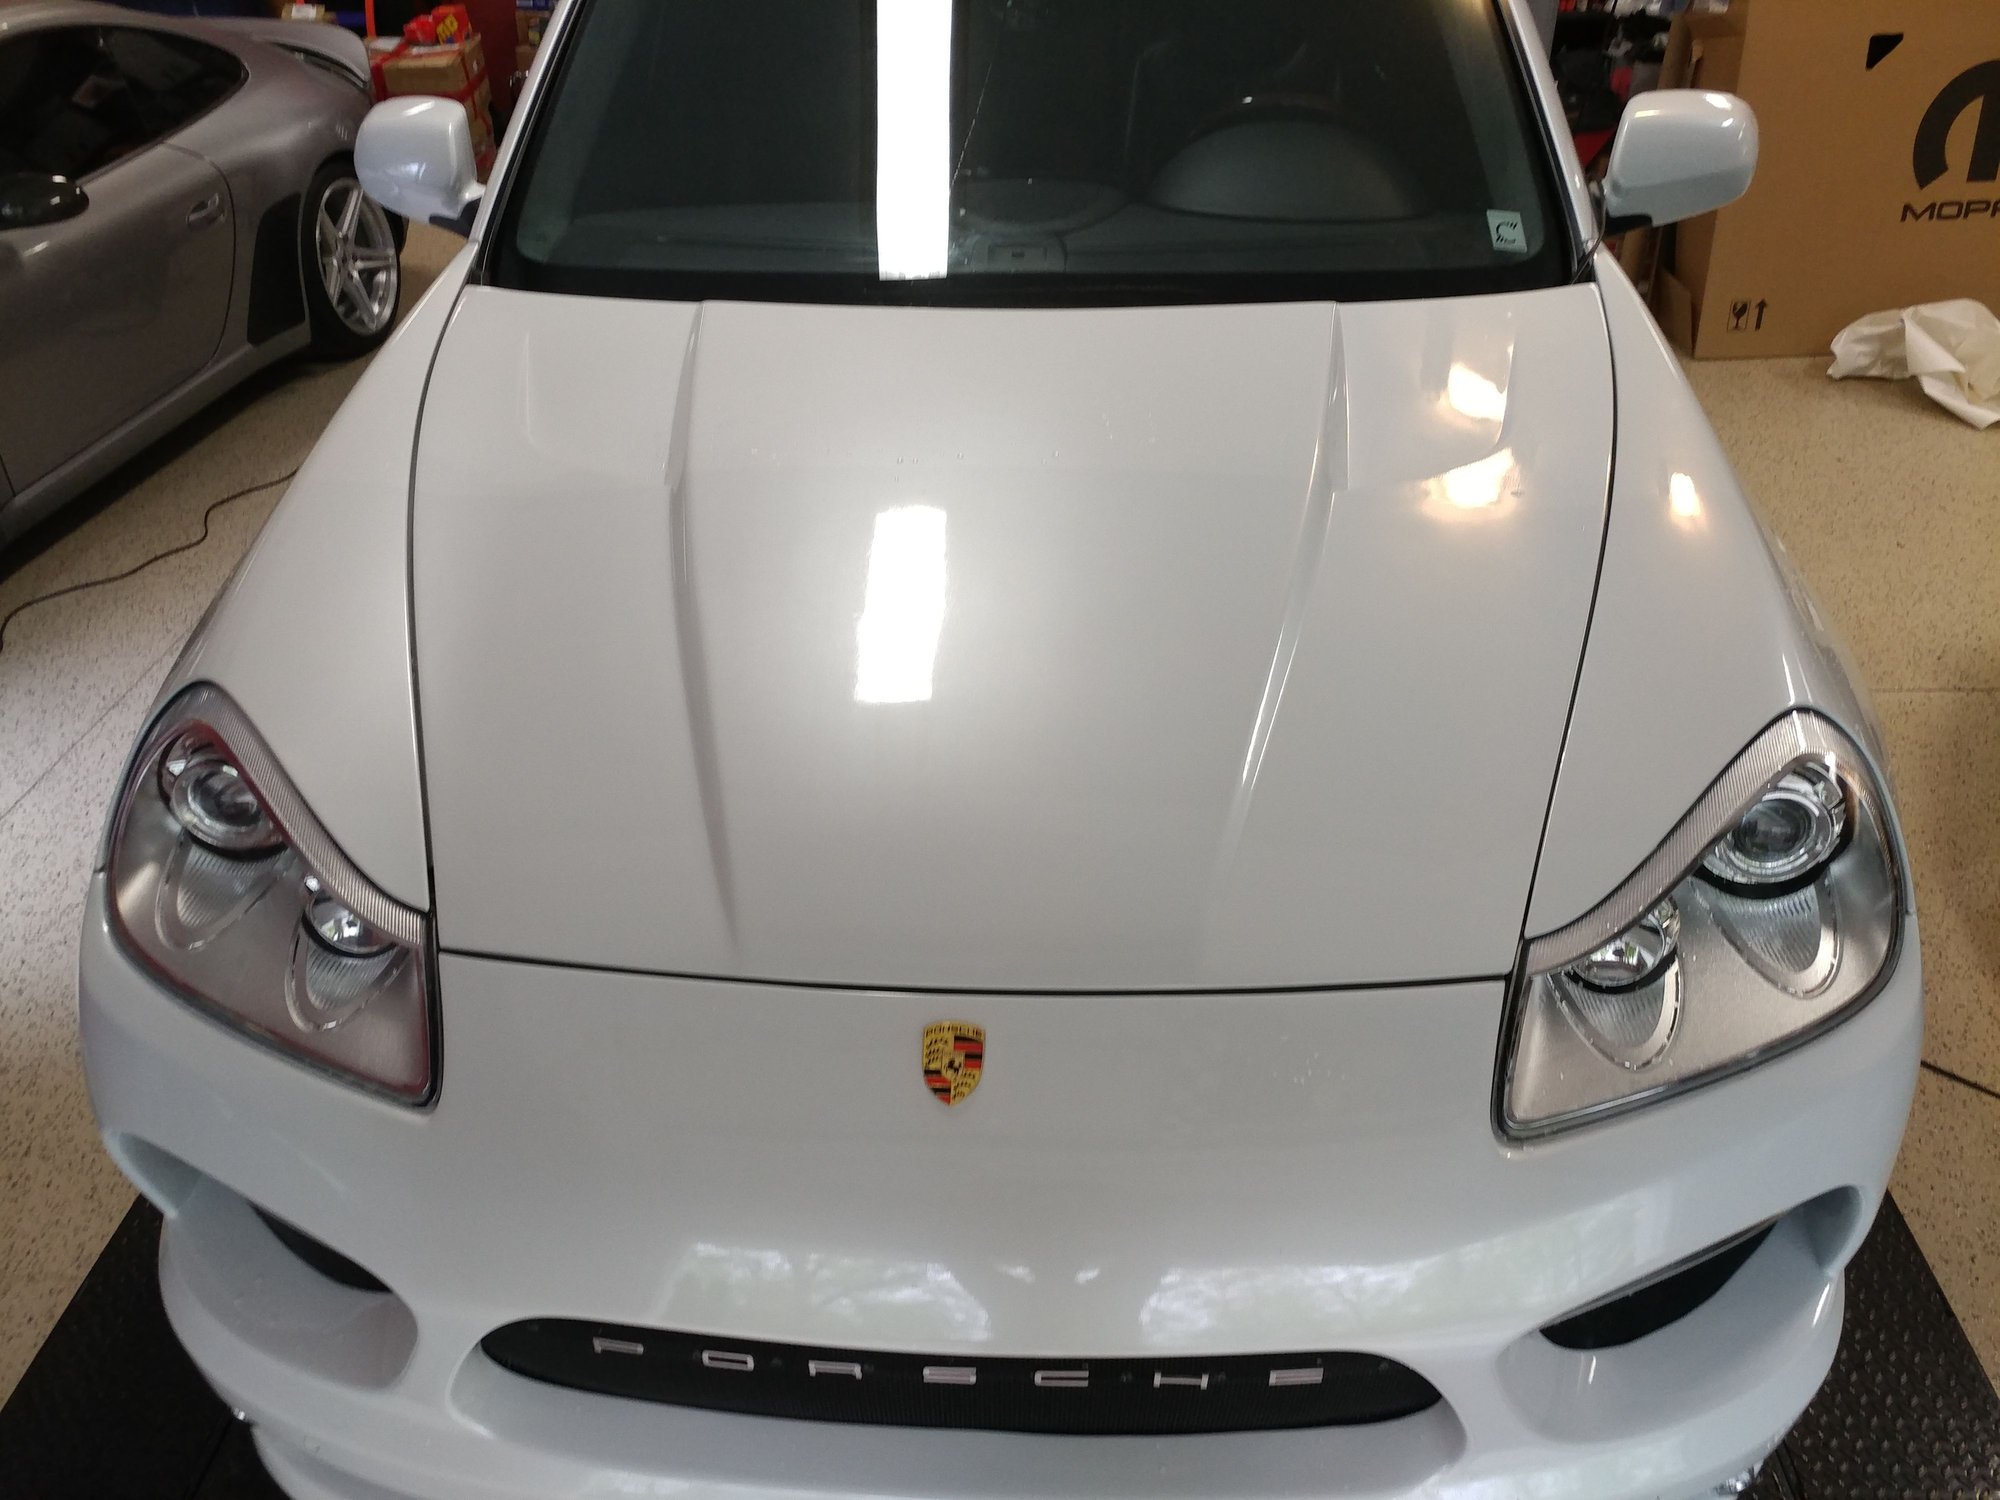
You just got it back and there is plenty more work to do - I kind of hate to even call attention, but... hopefully it is just an optical illusion or the camera angle... the bodywork gaps seem to vary quite a bit between the hood, headlights, and fenders in this pic. Hopefully I am crazy! This thing is a modern work of art and I can't even fathom the amount of effort and especially patience you have demonstrated so far! Major props, Pete.
It is hard to find competence, sense of duty, and pride in work these days. I find that across the board regardless of the trade in America.
You just got it back and there is plenty more work to do - I kind of hate to even call attention, but... hopefully it is just an optical illusion or the camera angle... the bodywork gaps seem to vary quite a bit between the hood, headlights, and fenders in this pic. Hopefully I am crazy! This thing is a modern work of art and I can't even fathom the amount of effort and especially patience you have demonstrated so far! Major props, Pete.
The hood is actually popped in that picture and not fully latched. I replaced the rear pads yesterday and installed the new wheels. Clearbra guy was over last night and coming back today to finish up, then I can set her on the ground, (latch the hood), and see how she really sits.
After the 19 months of work, the new battery I had in her won't charge past 75% and about 4.8 Amps. It was a Naps Legend Premium AGM and luckily has a 2 year full replacement warranty, so picking that up this morning too that they had to special order.
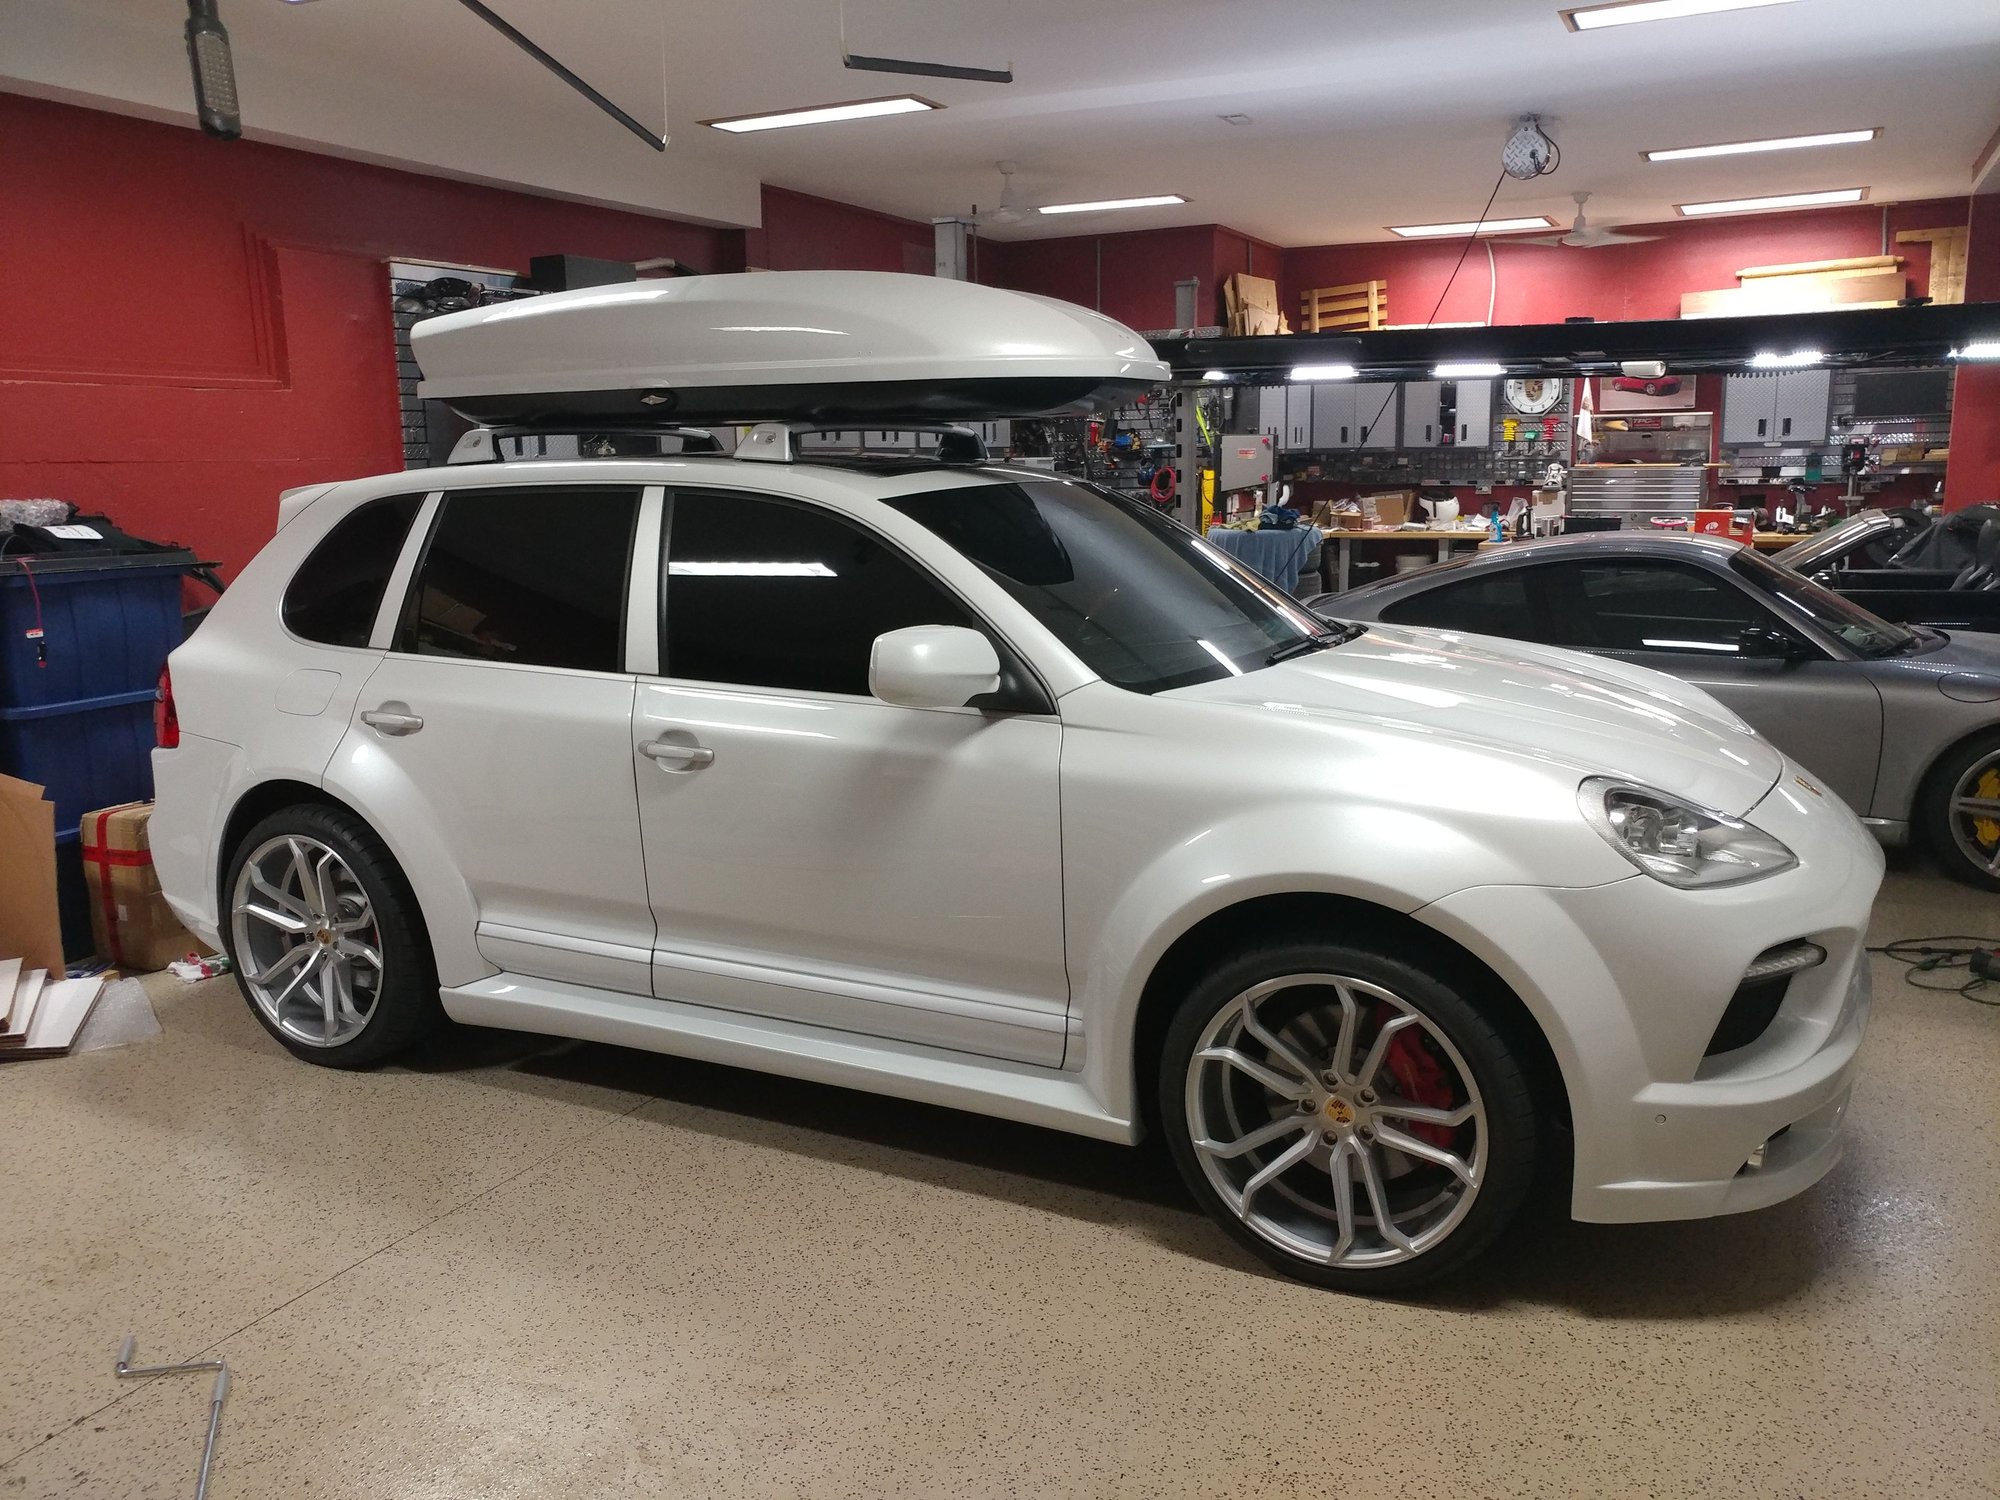
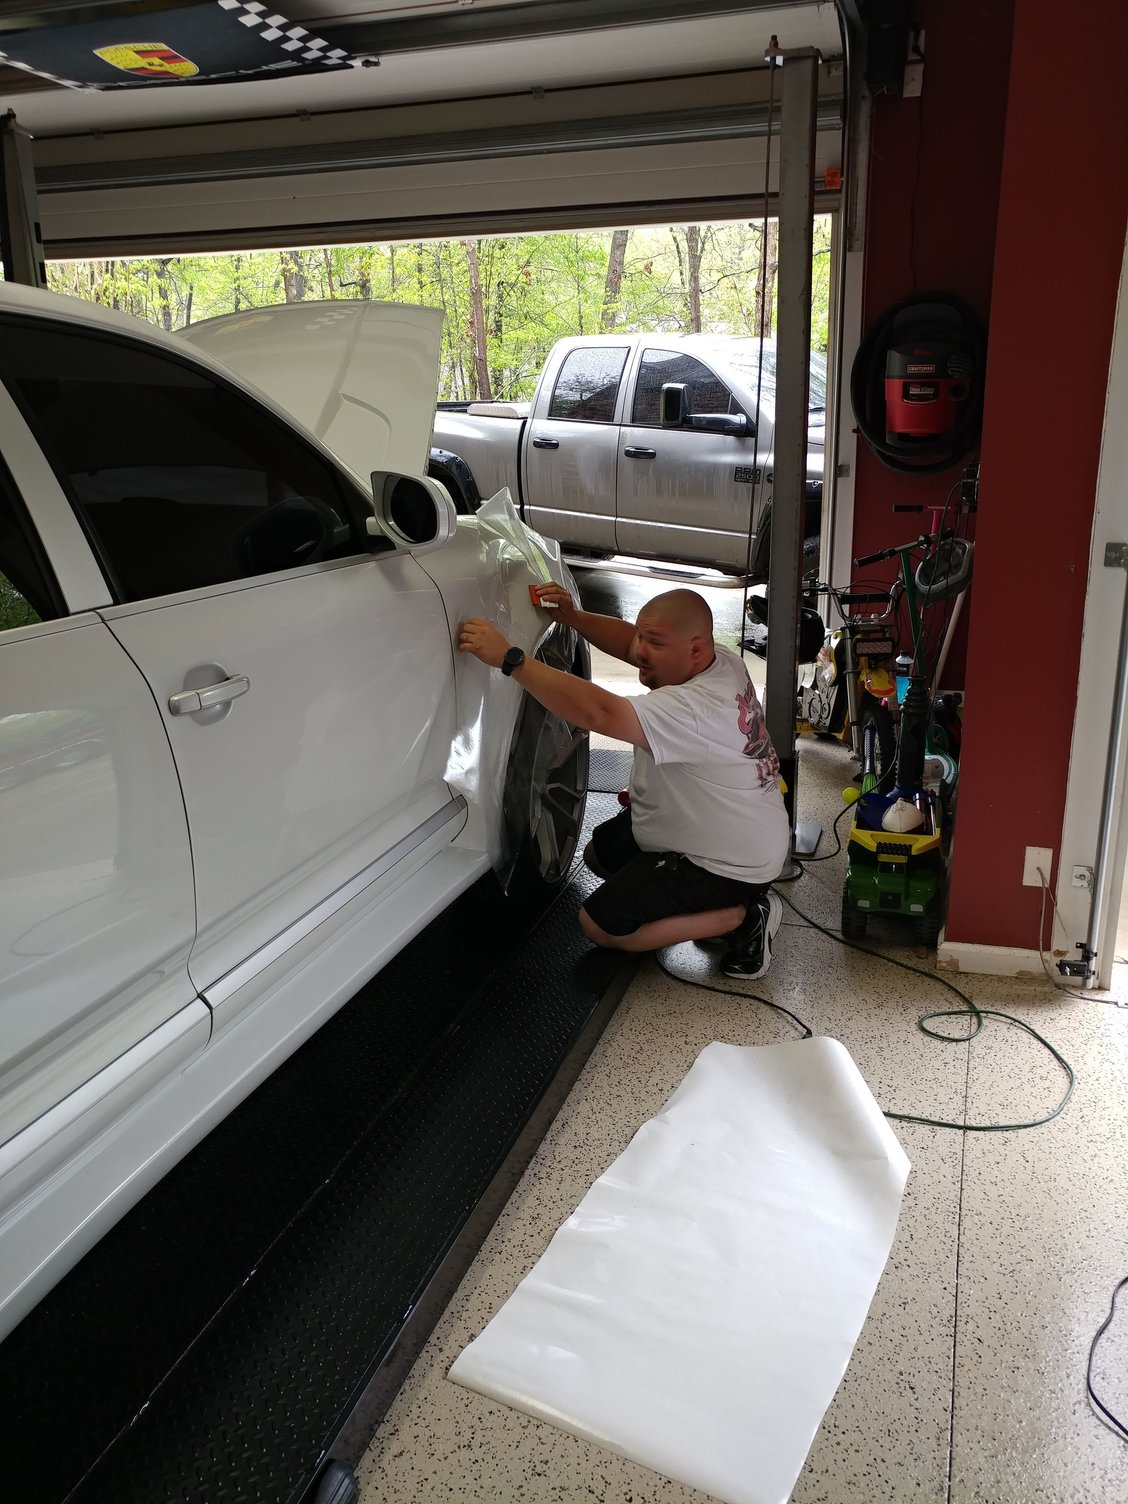
Work continues. Clearbra'd the front bumper, mirrors, door sills, and top of rear bumper. Ran out of material so the flares will be done next weekend.
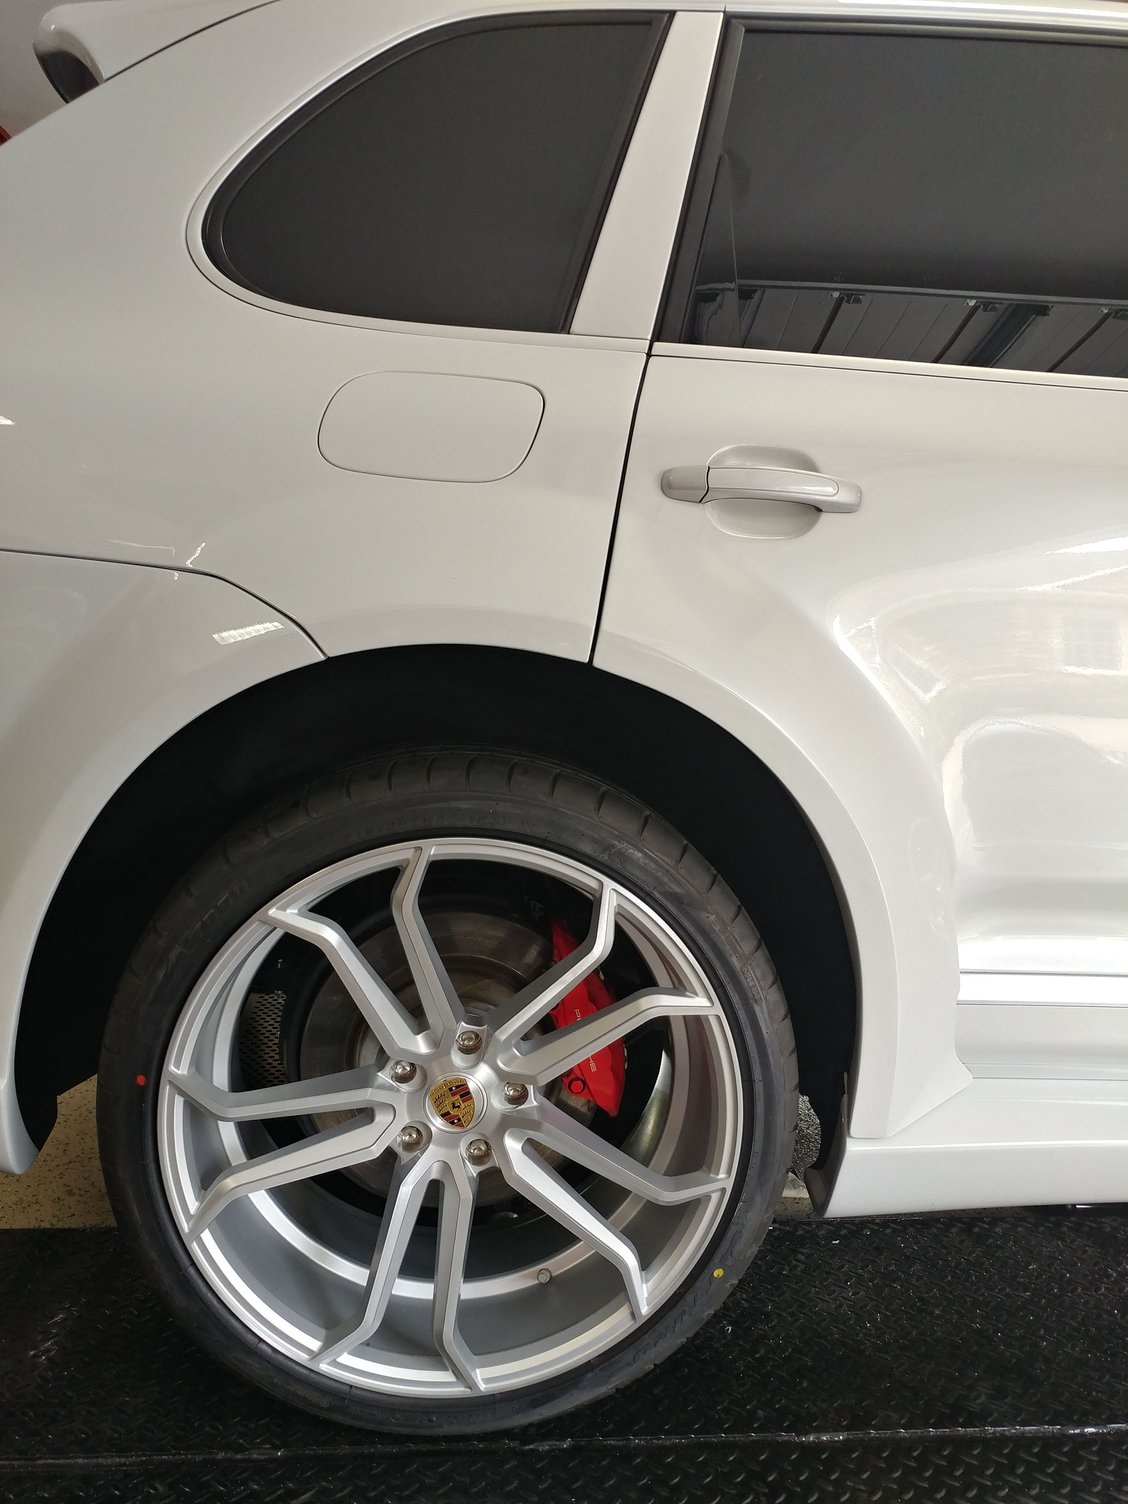
Finished installing the wheels and replaced the rear brake pads, which were almost to the wear sensor. Wheels/tires are flush at the top of each flare measured with a straight edge across the face of the wheel.
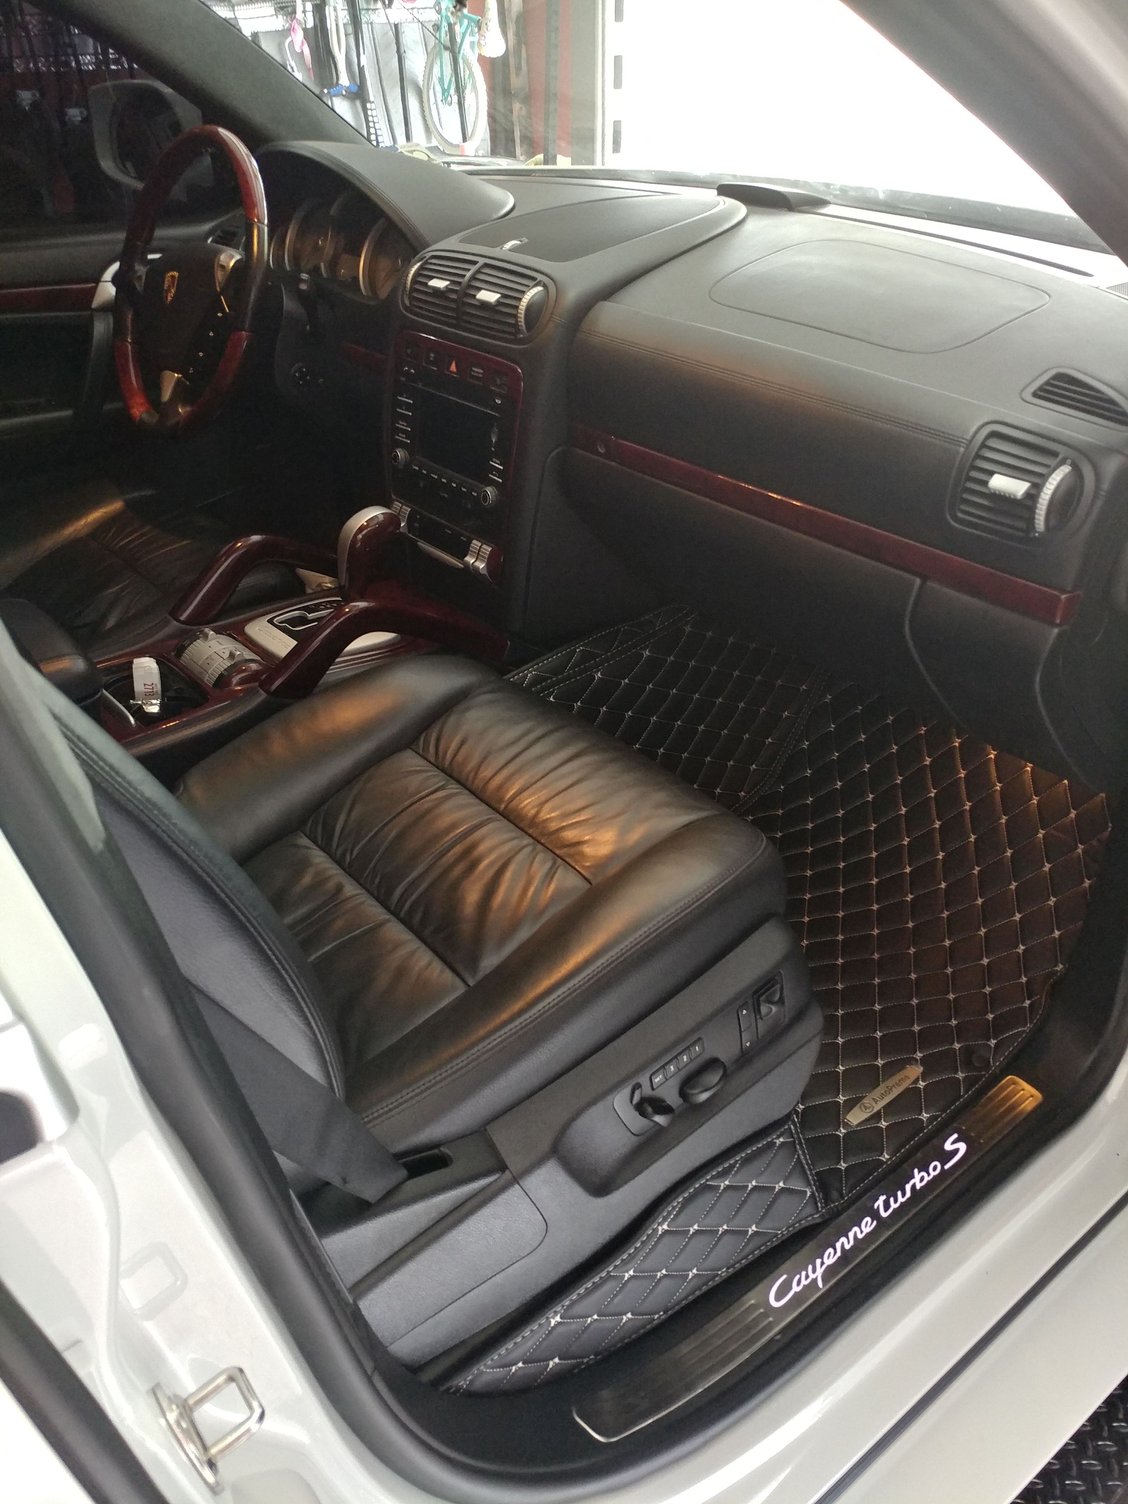
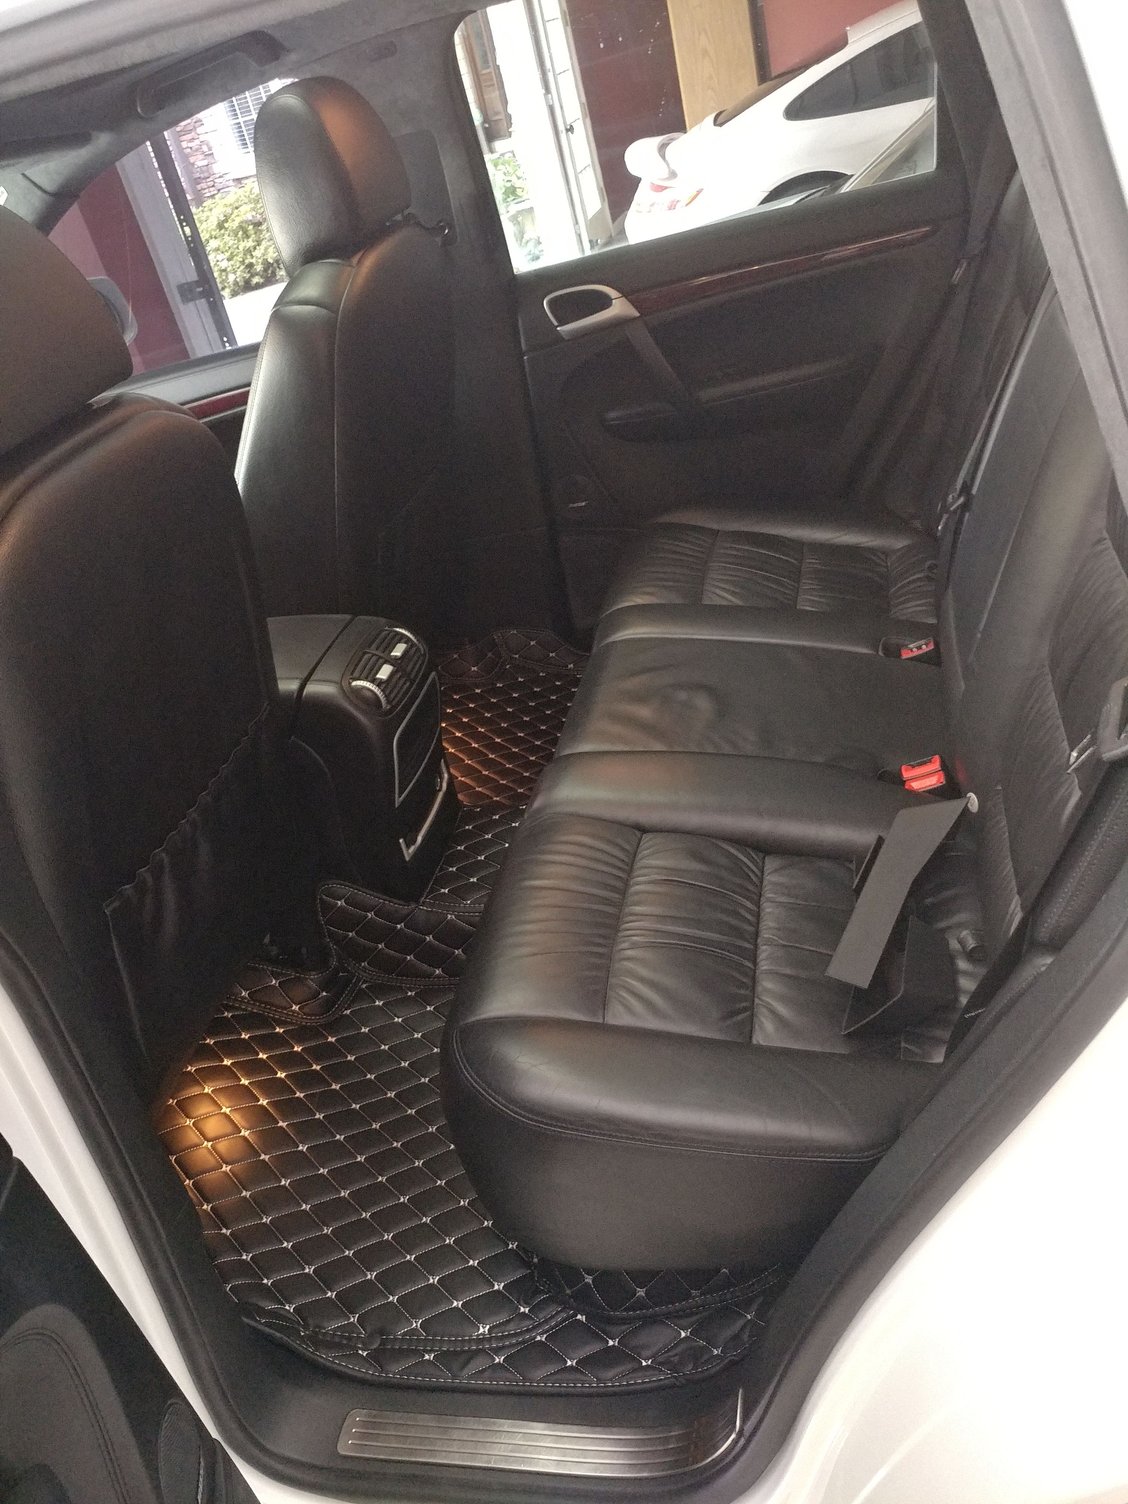
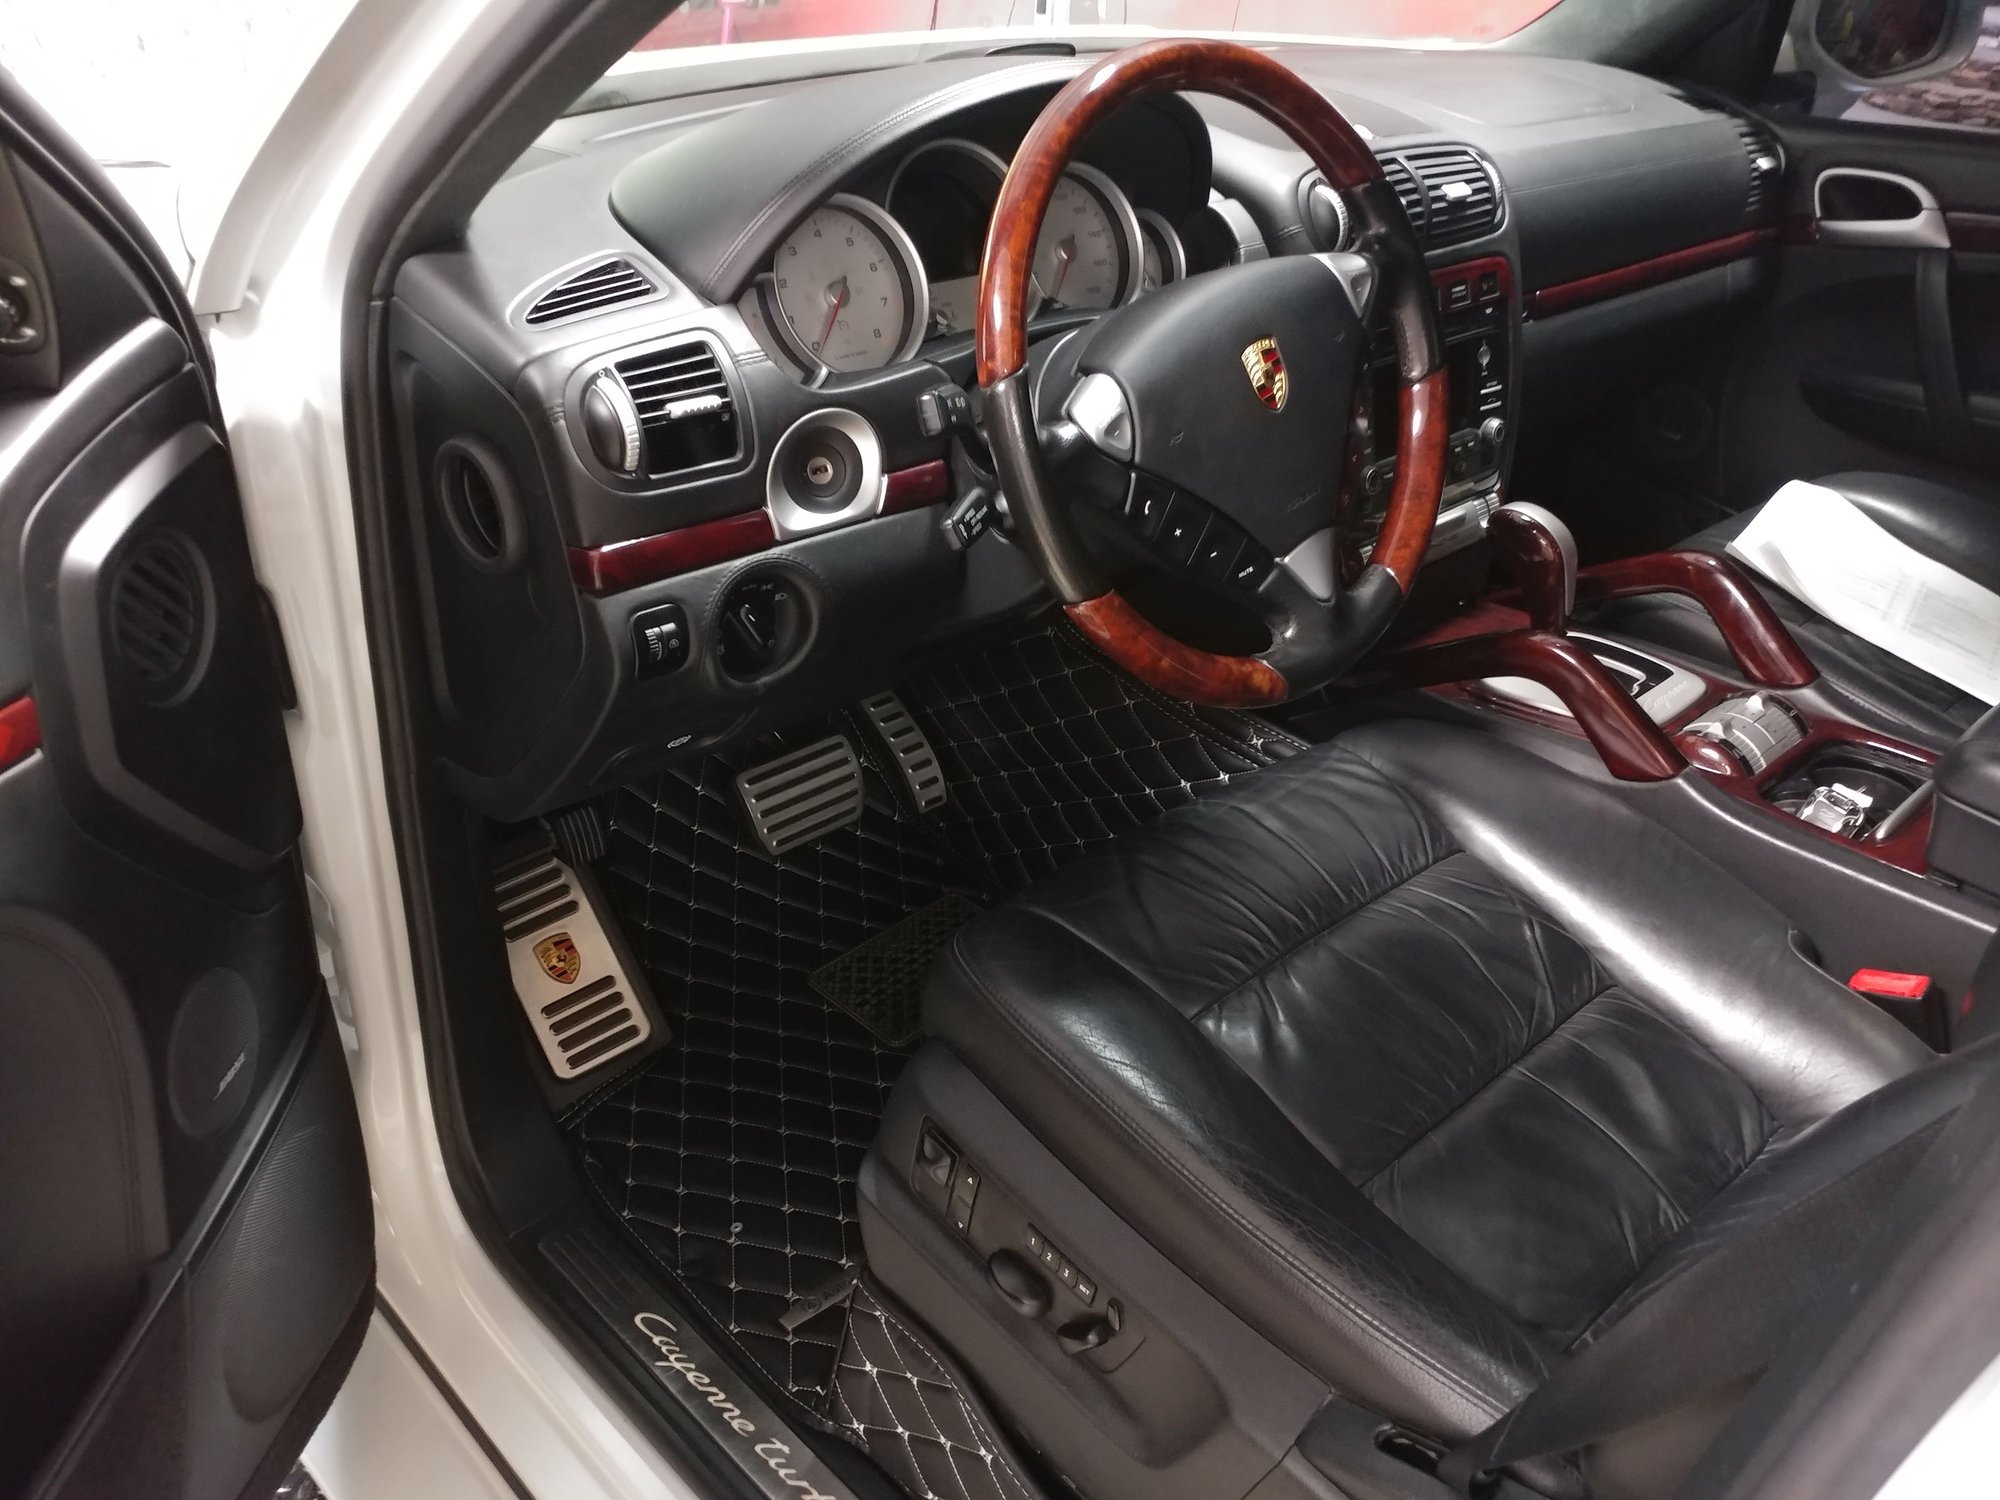
Shampood all the carpeting, and cleaned and conditioned all the leather surfaces, then installed the Autopreme floor mats, which fit and look awesome and completely protect the carpeting.
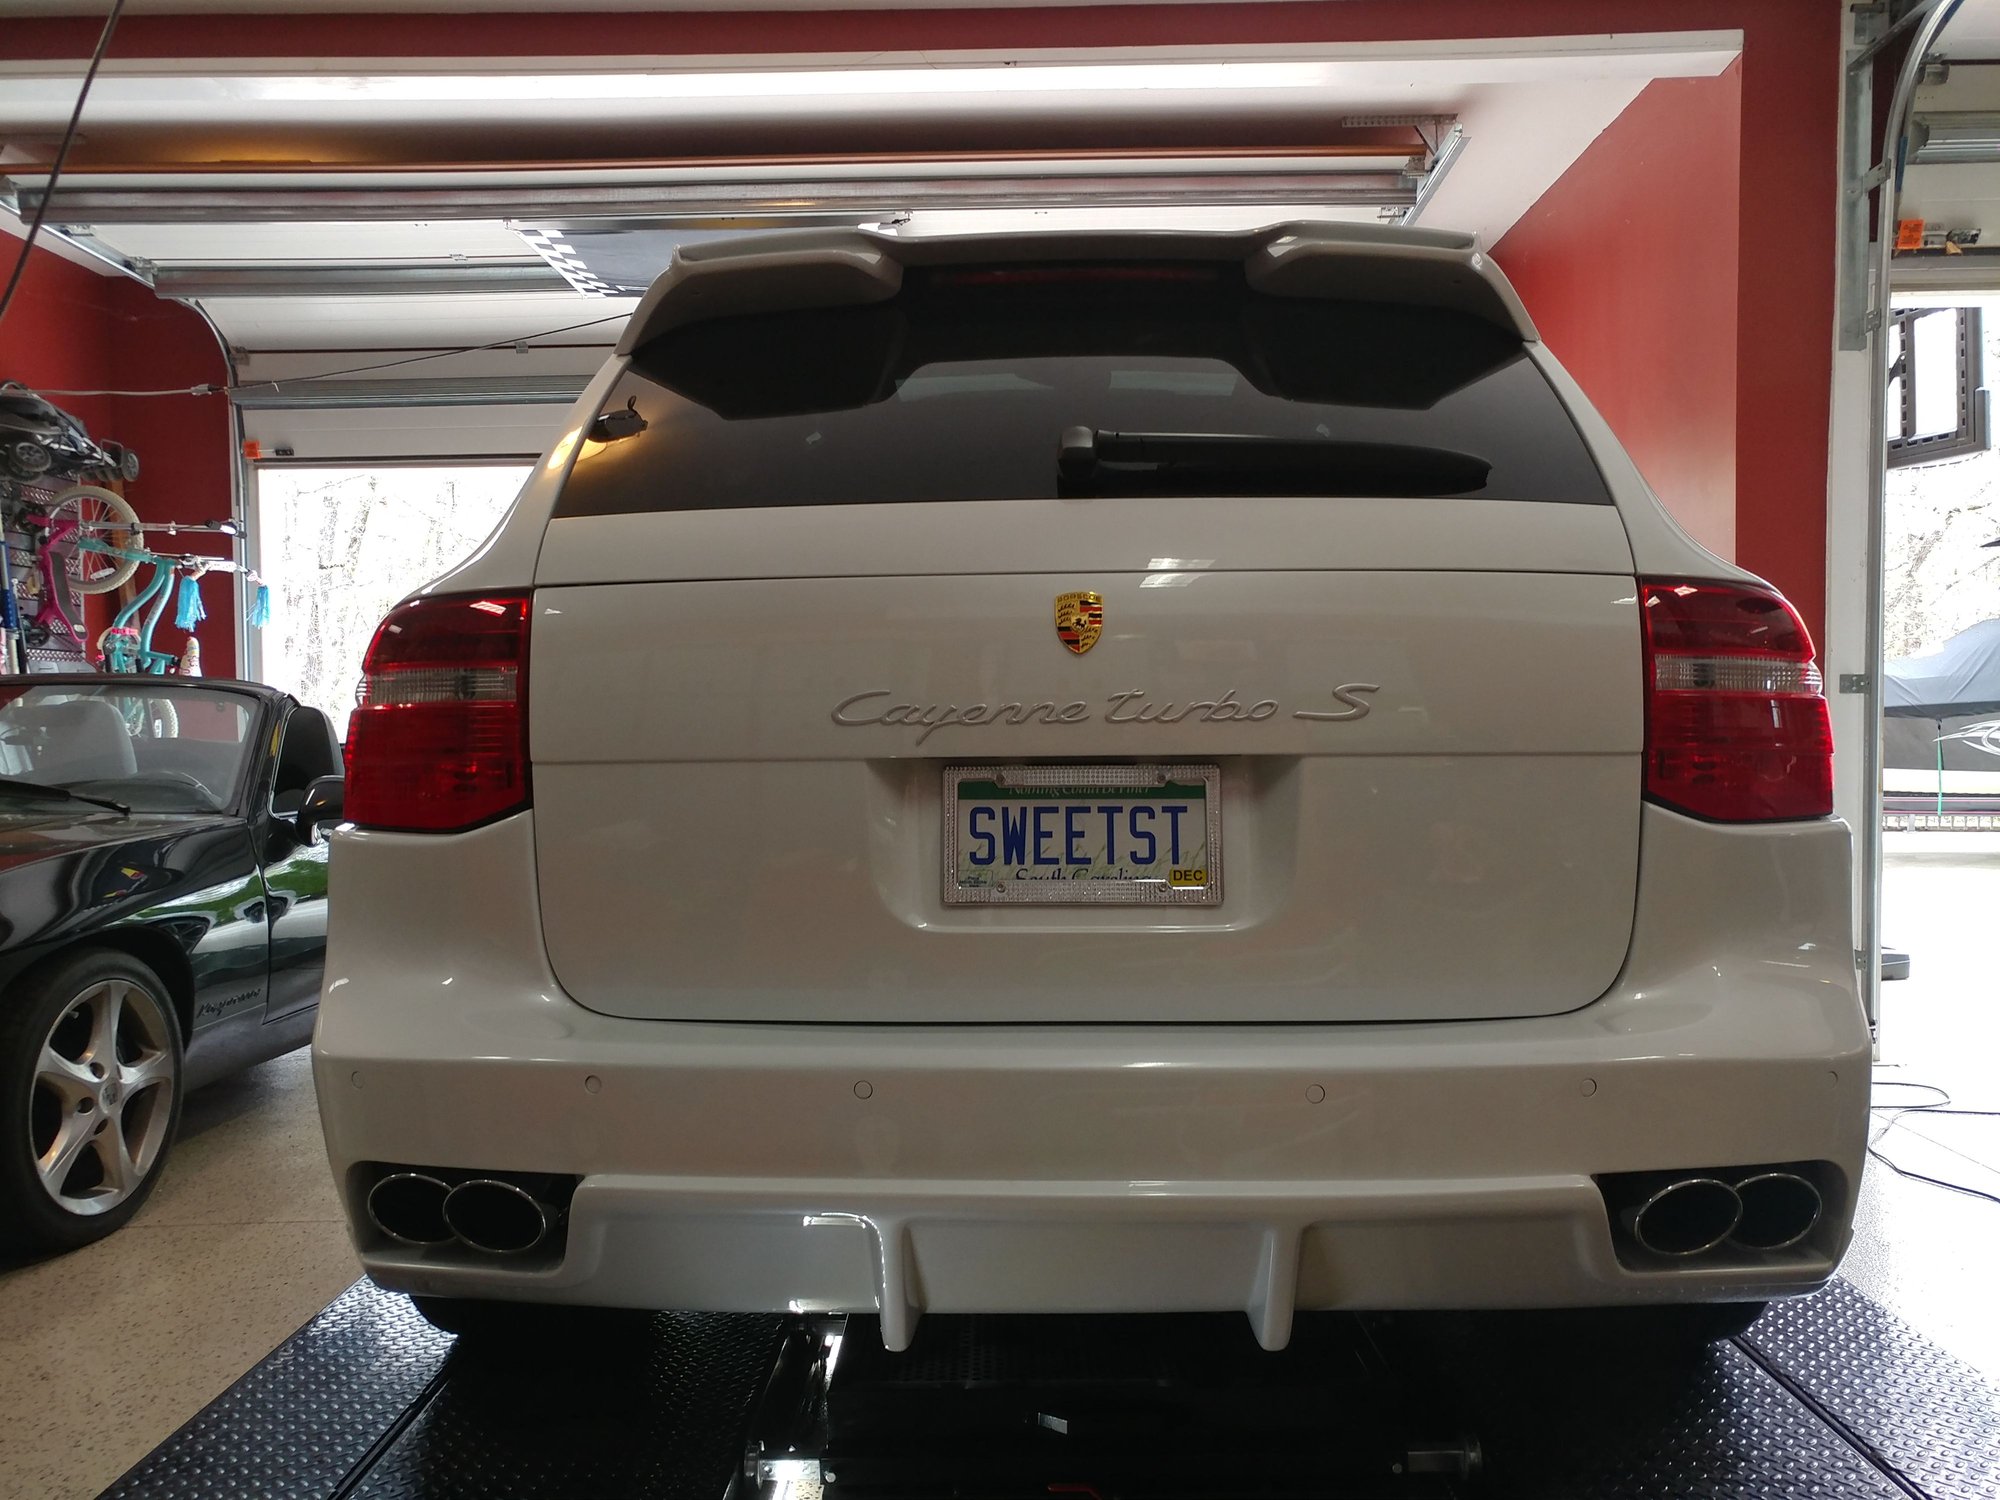
Also added the front and rear emblems.
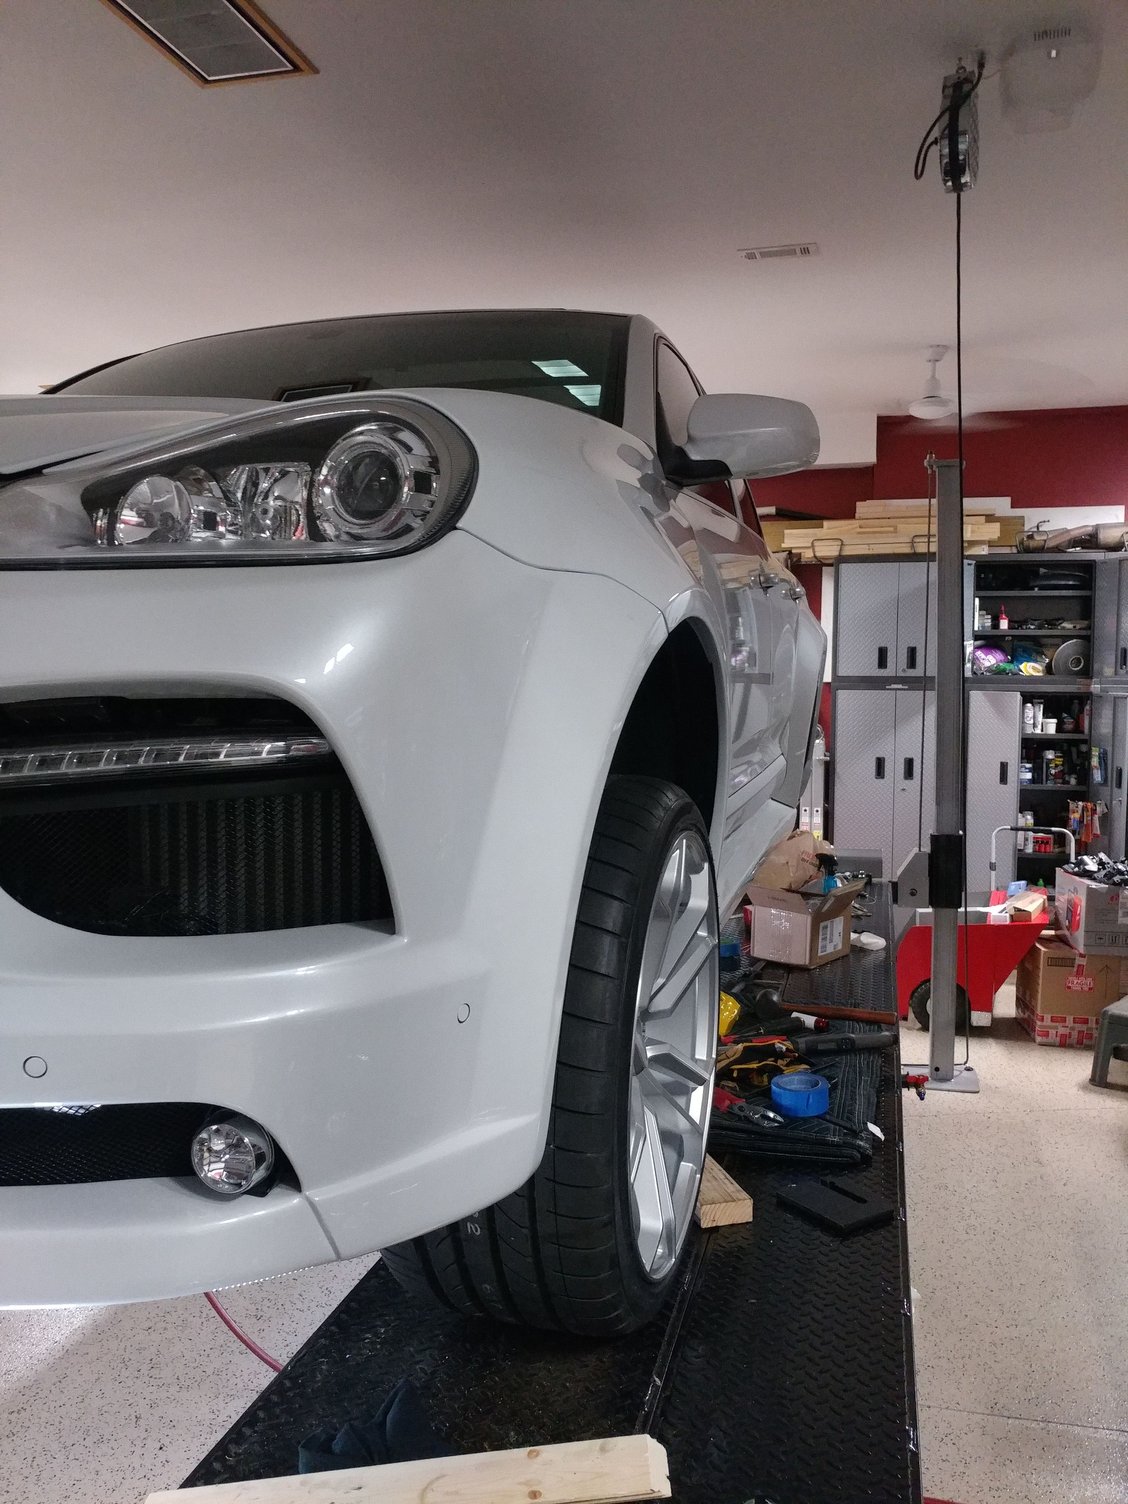
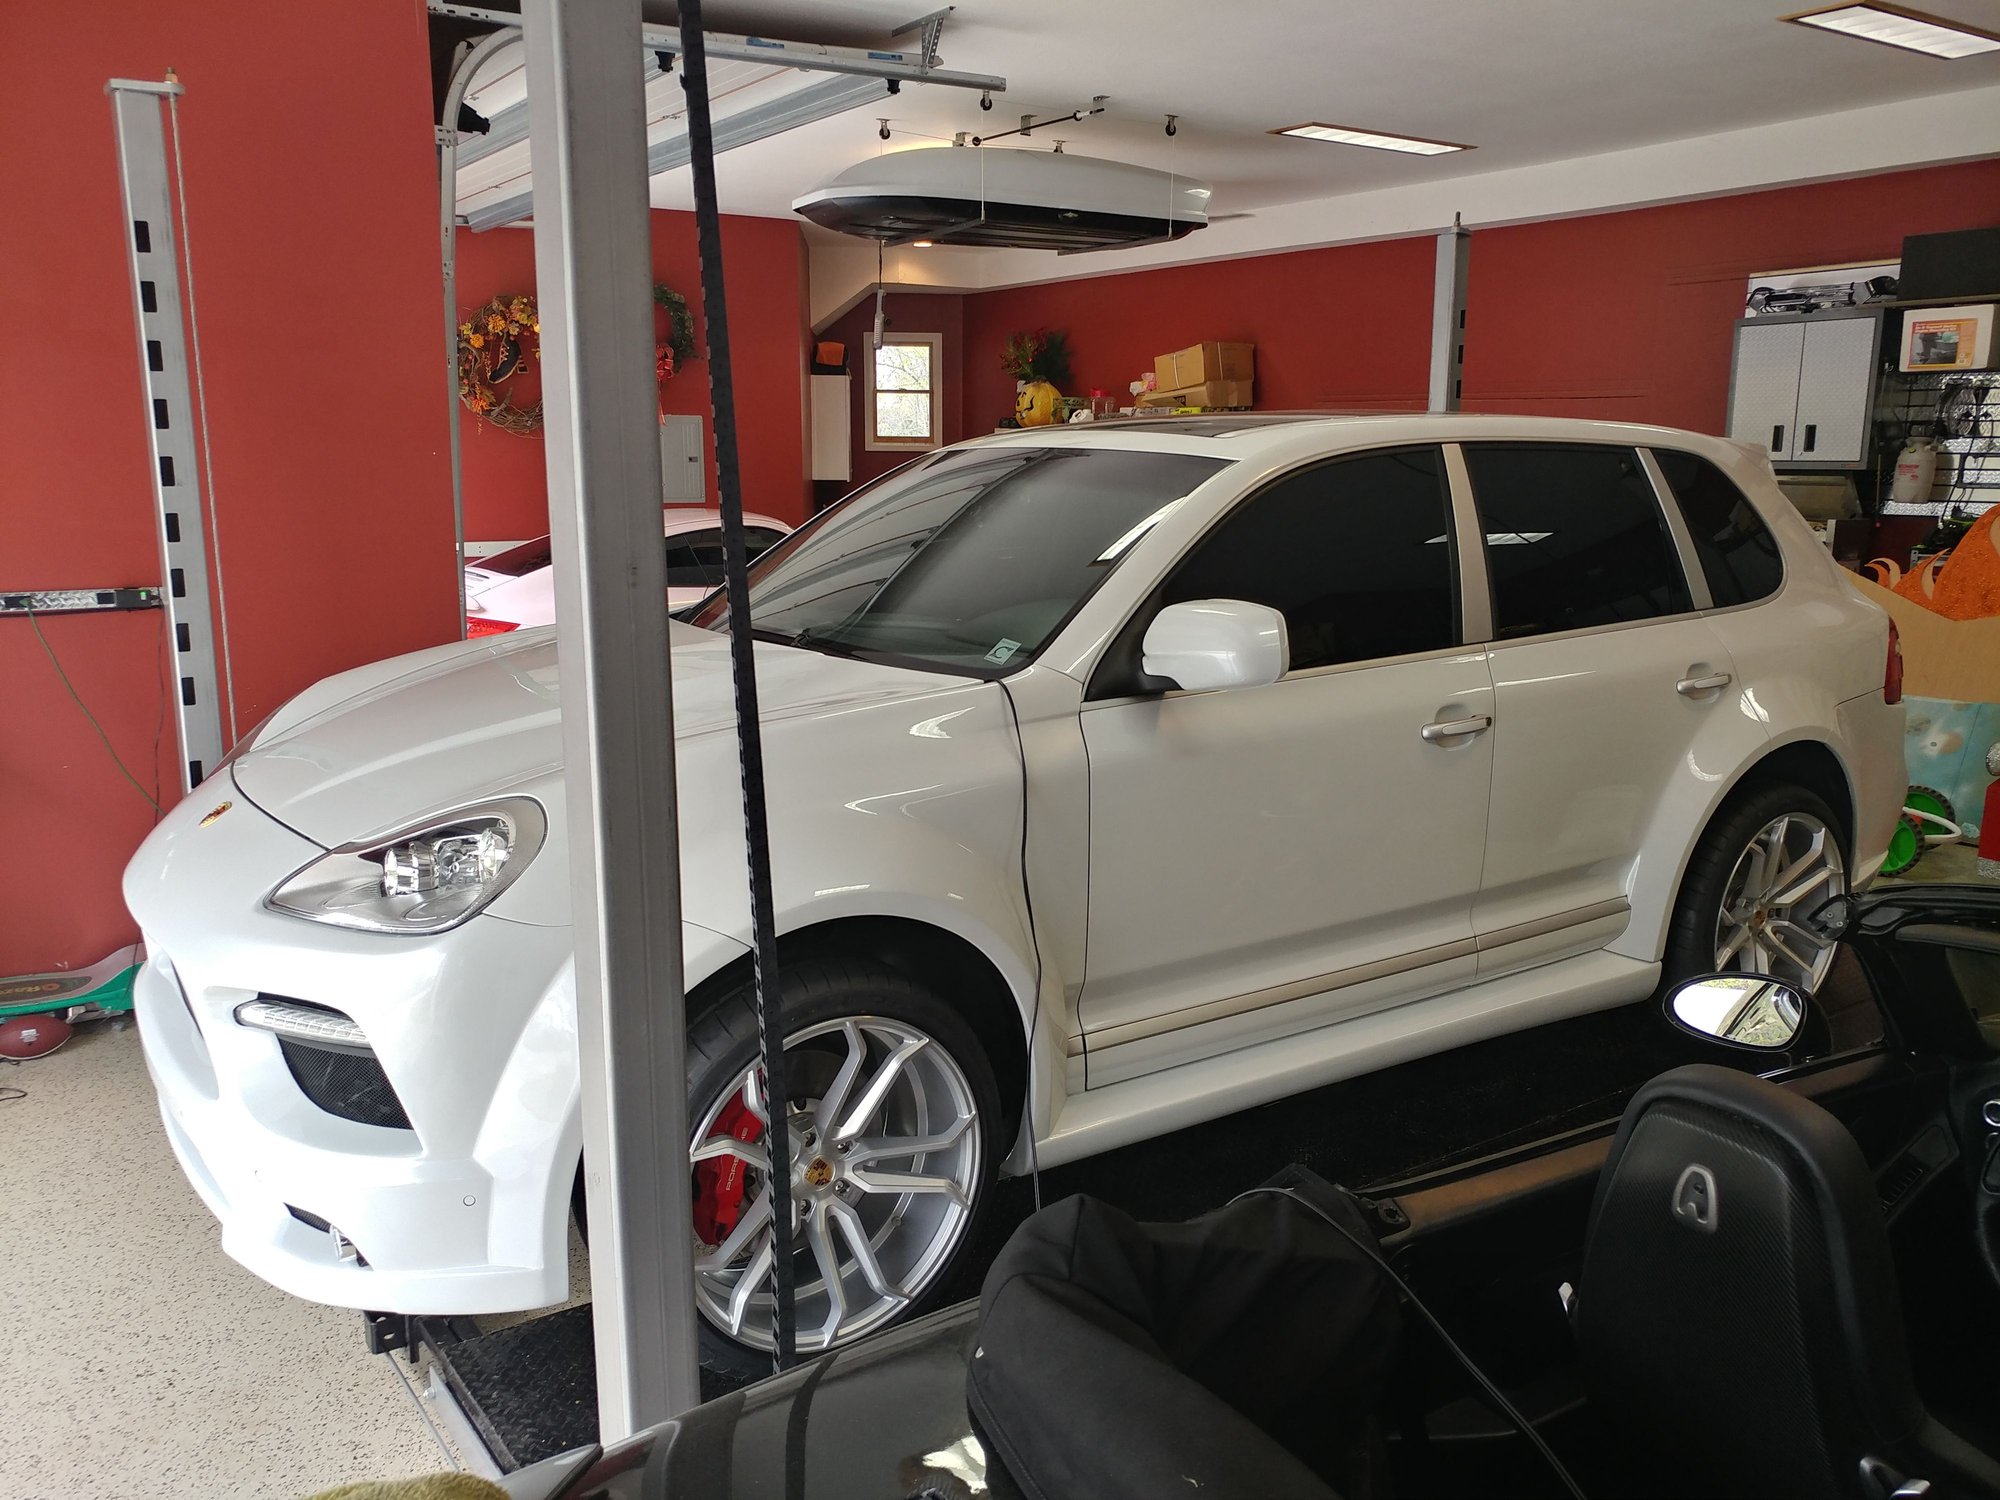
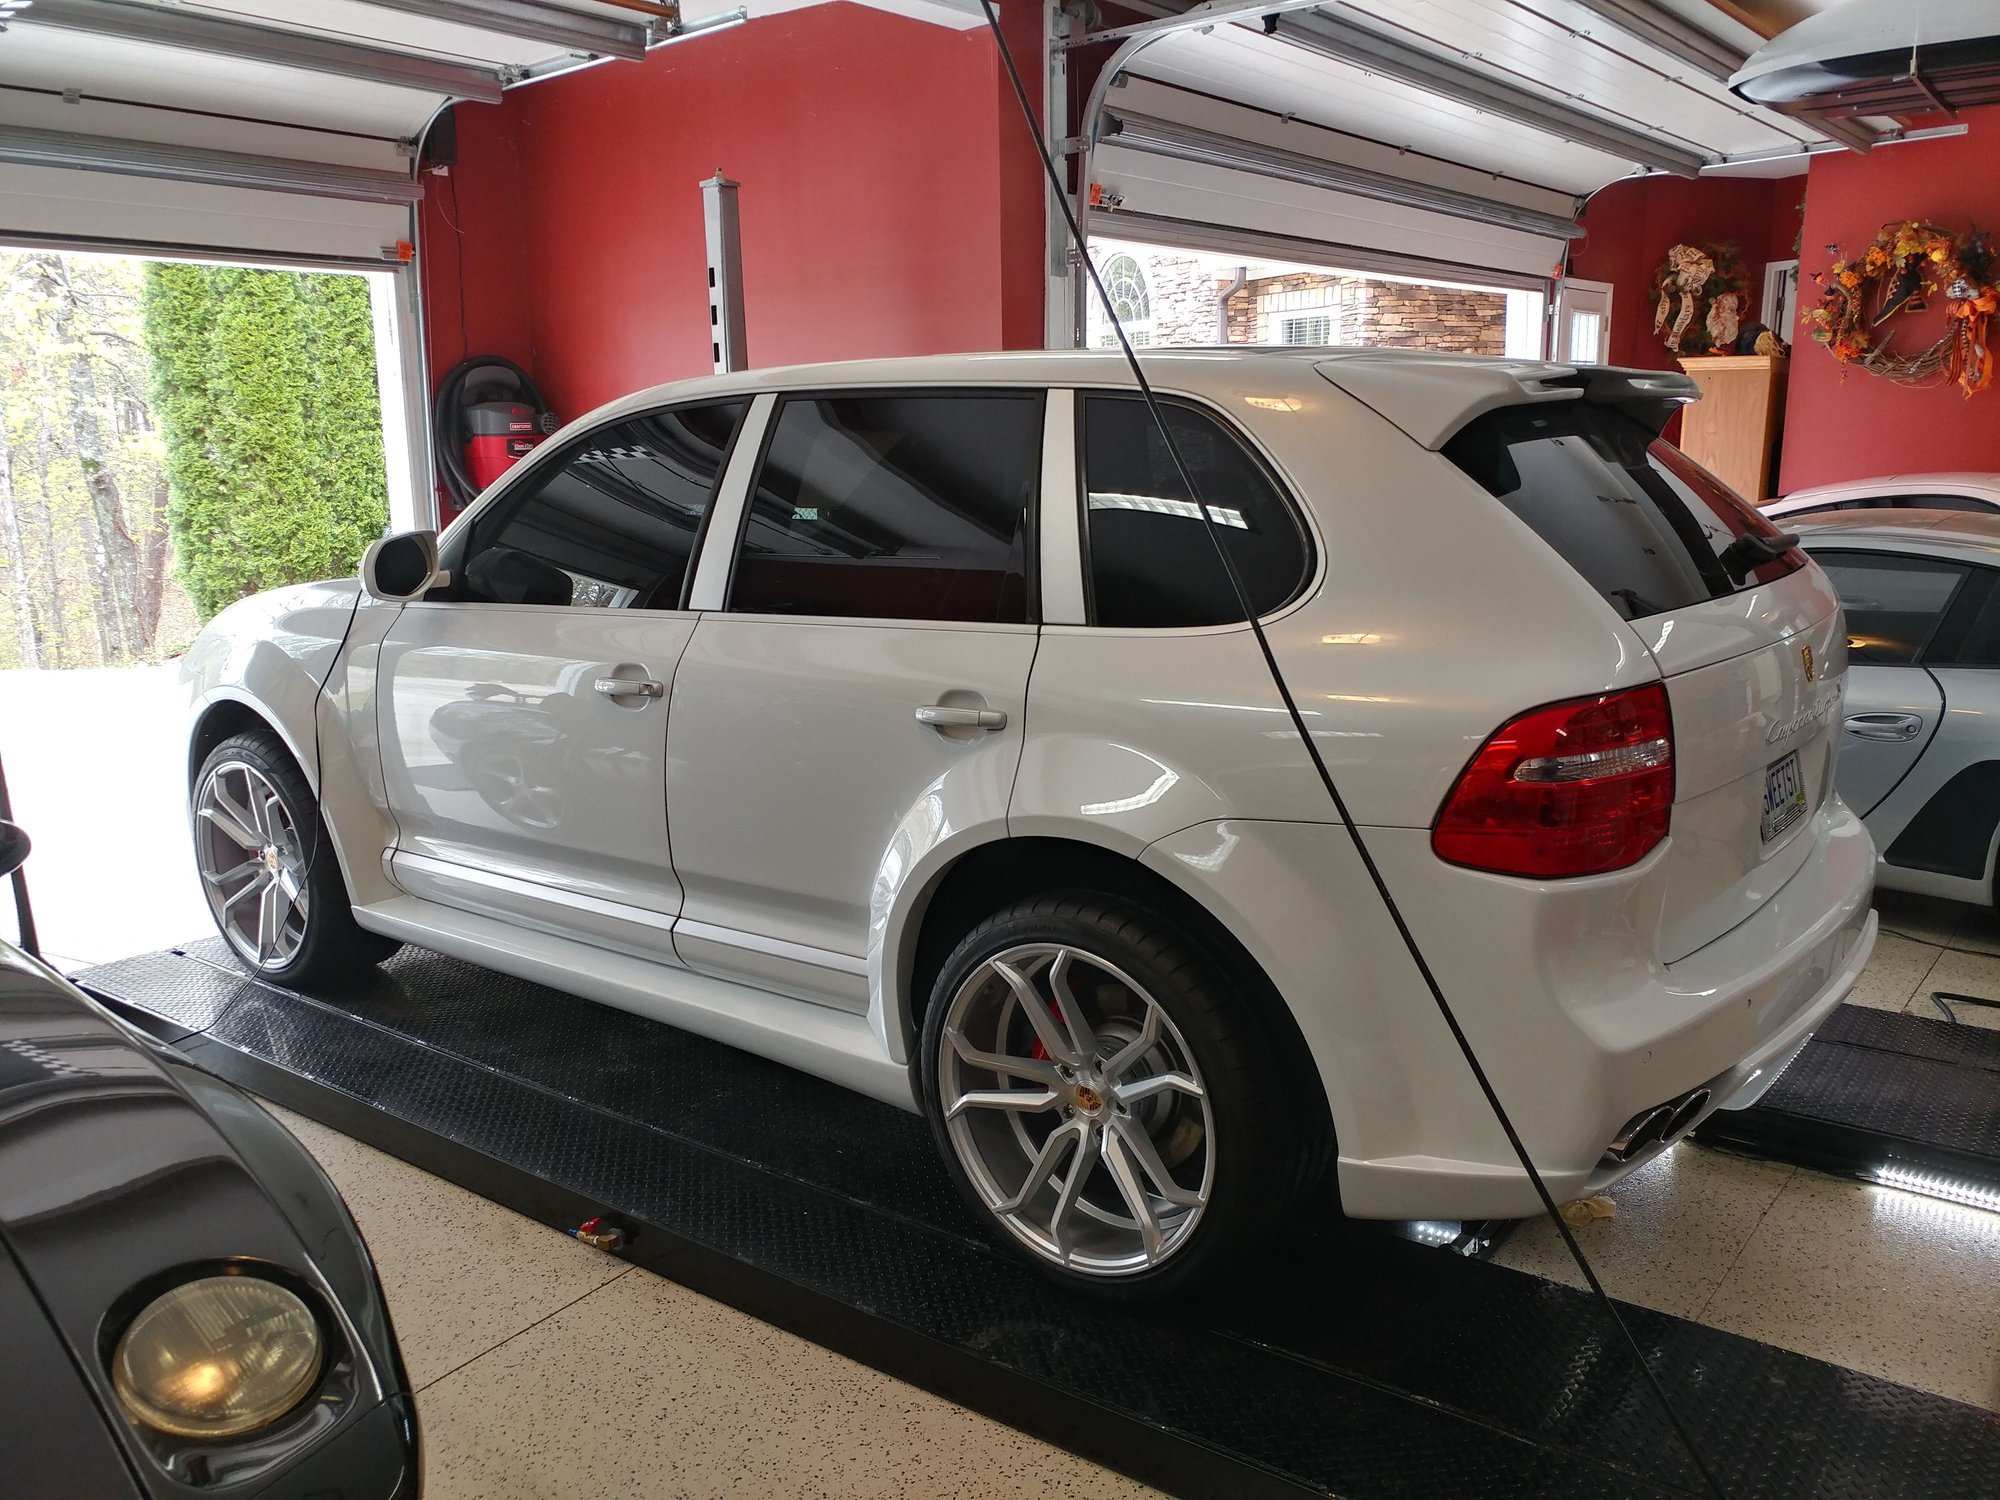
I'm not going to drive it until the flares are protected, but here is the current photo set with the hood closed sitting at Normal level ride height the way it came off the jacks.
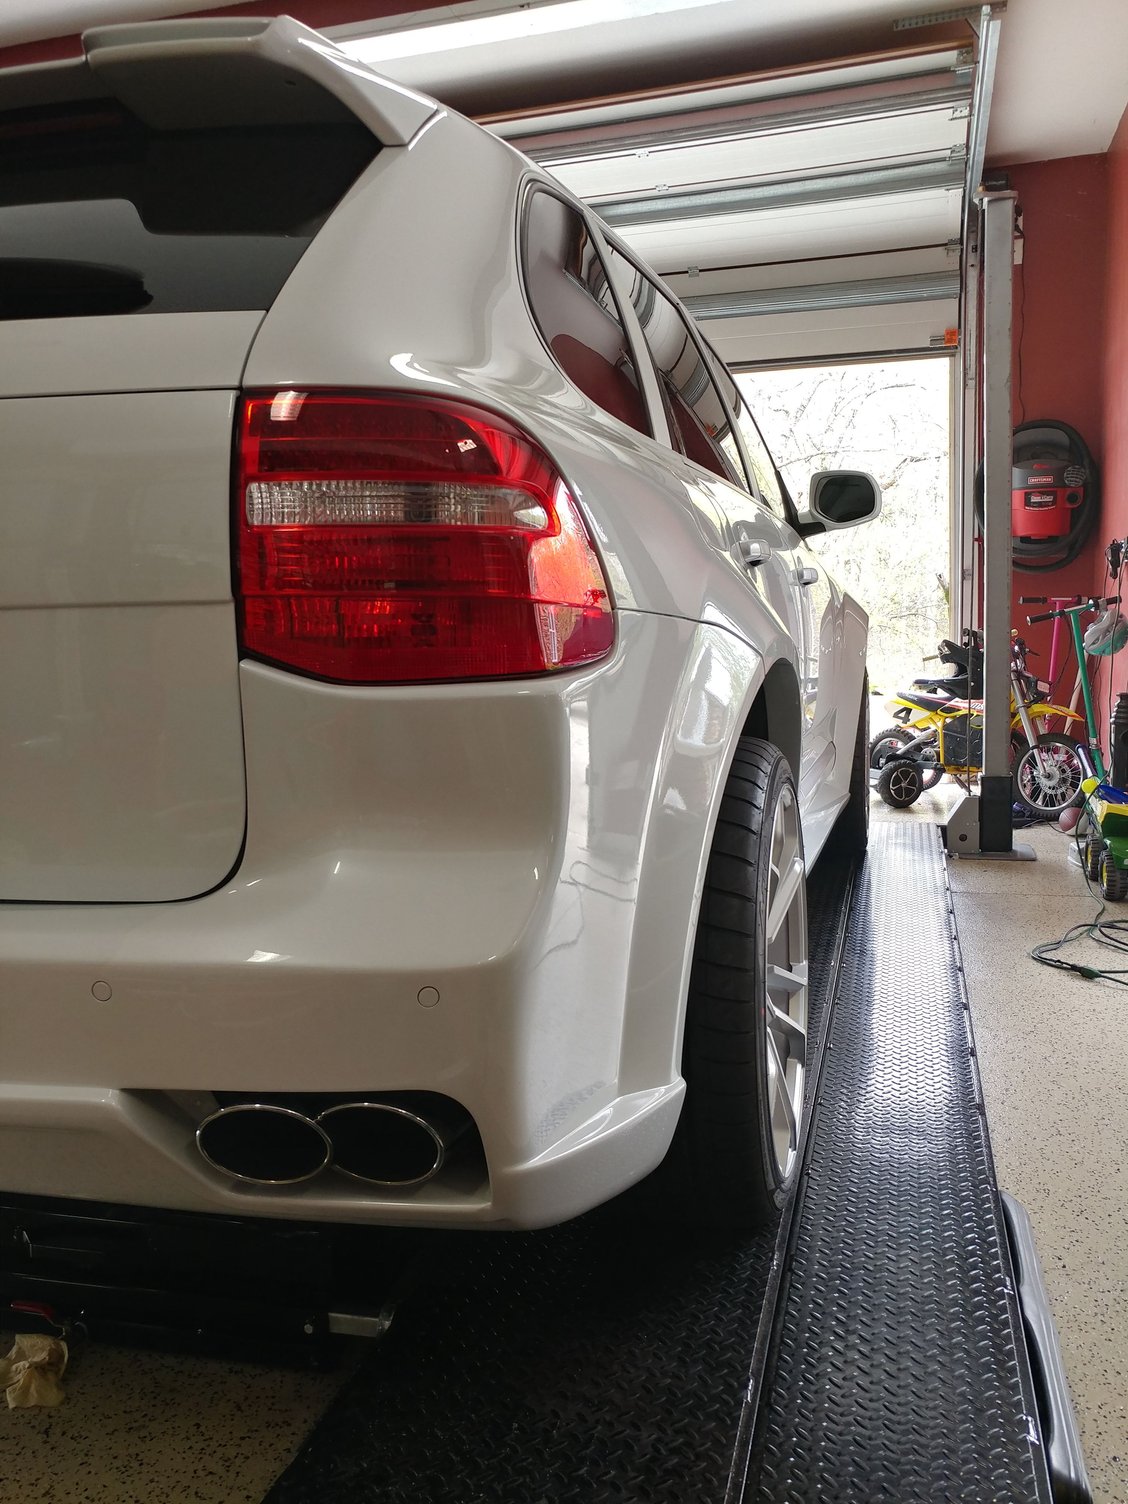
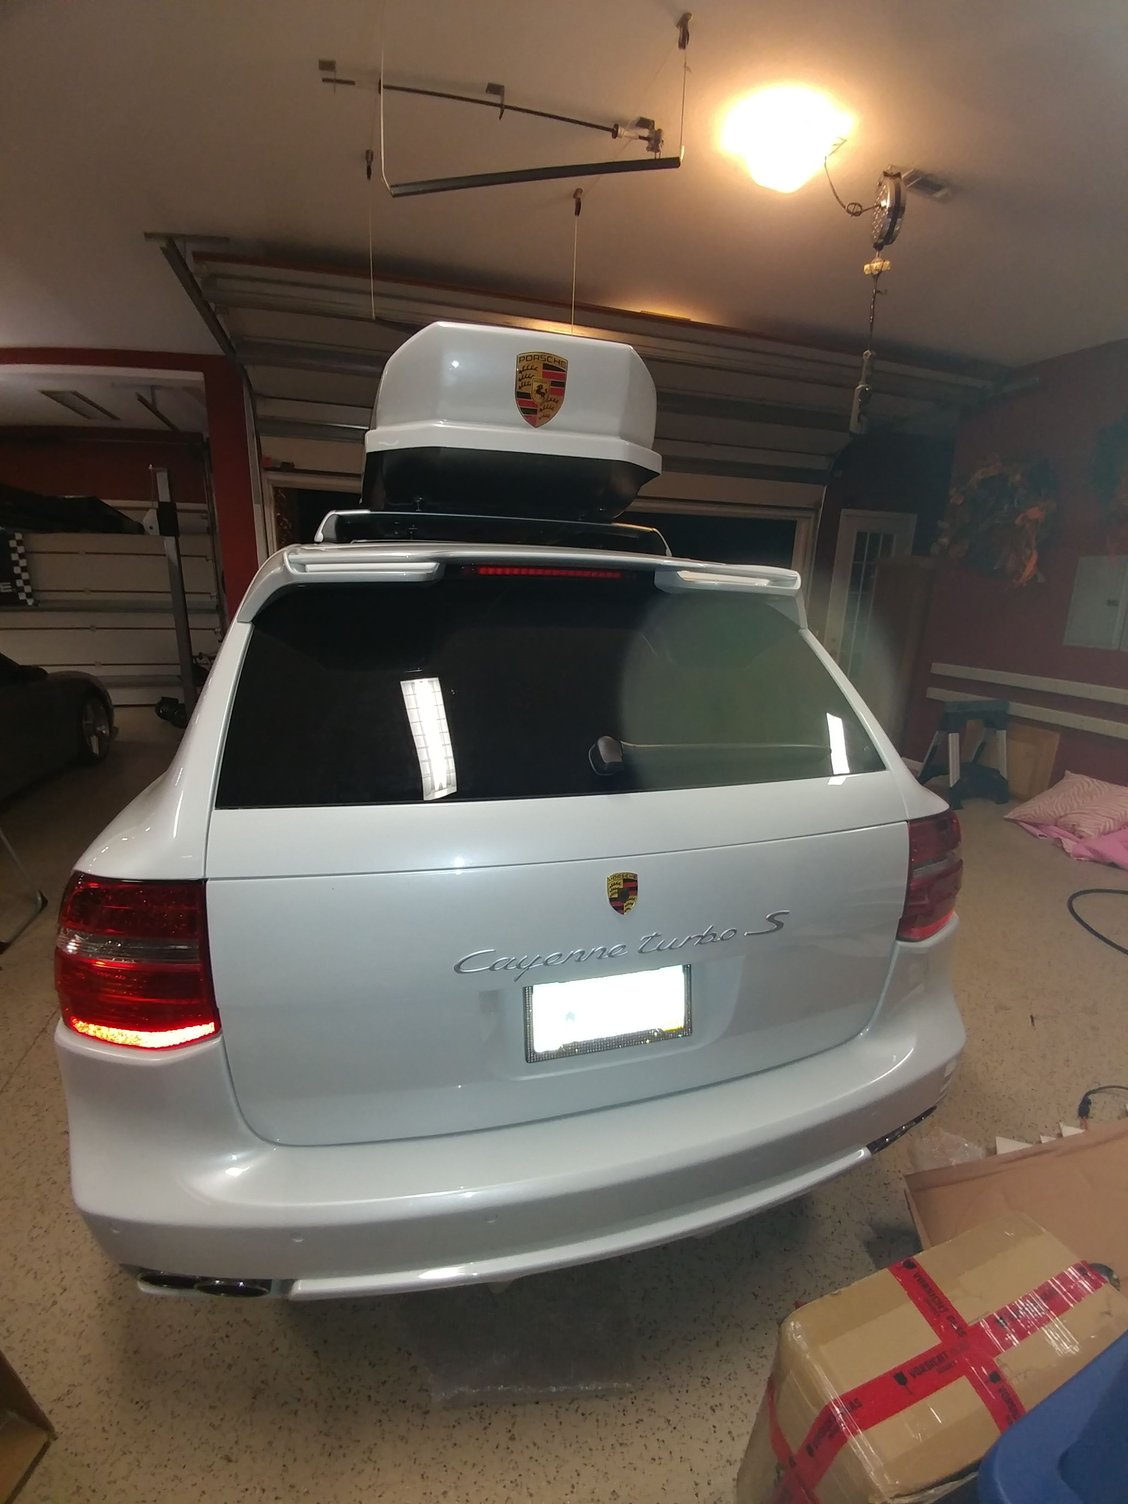
Sorry if this is a noob question, but how common is it to have that Porsche crest on the rear like that?
I usually don't notice things like that, but a couple of weeks ago I put my Porsche-crested tow hitch cover on my Cayenne and my daughter mentioned how now people can tell it's a Porsche (that don't otherwise know, obviously). And I was like ... yeah, interesting. No crest, no name. At least on my 2004 S. My 911 has PORSCHE in the full-width reflector = kind of subtle.
Porsche never puts a crest on the rear of the car, but I have added it on all of mine in some form or fashion. I just like it.
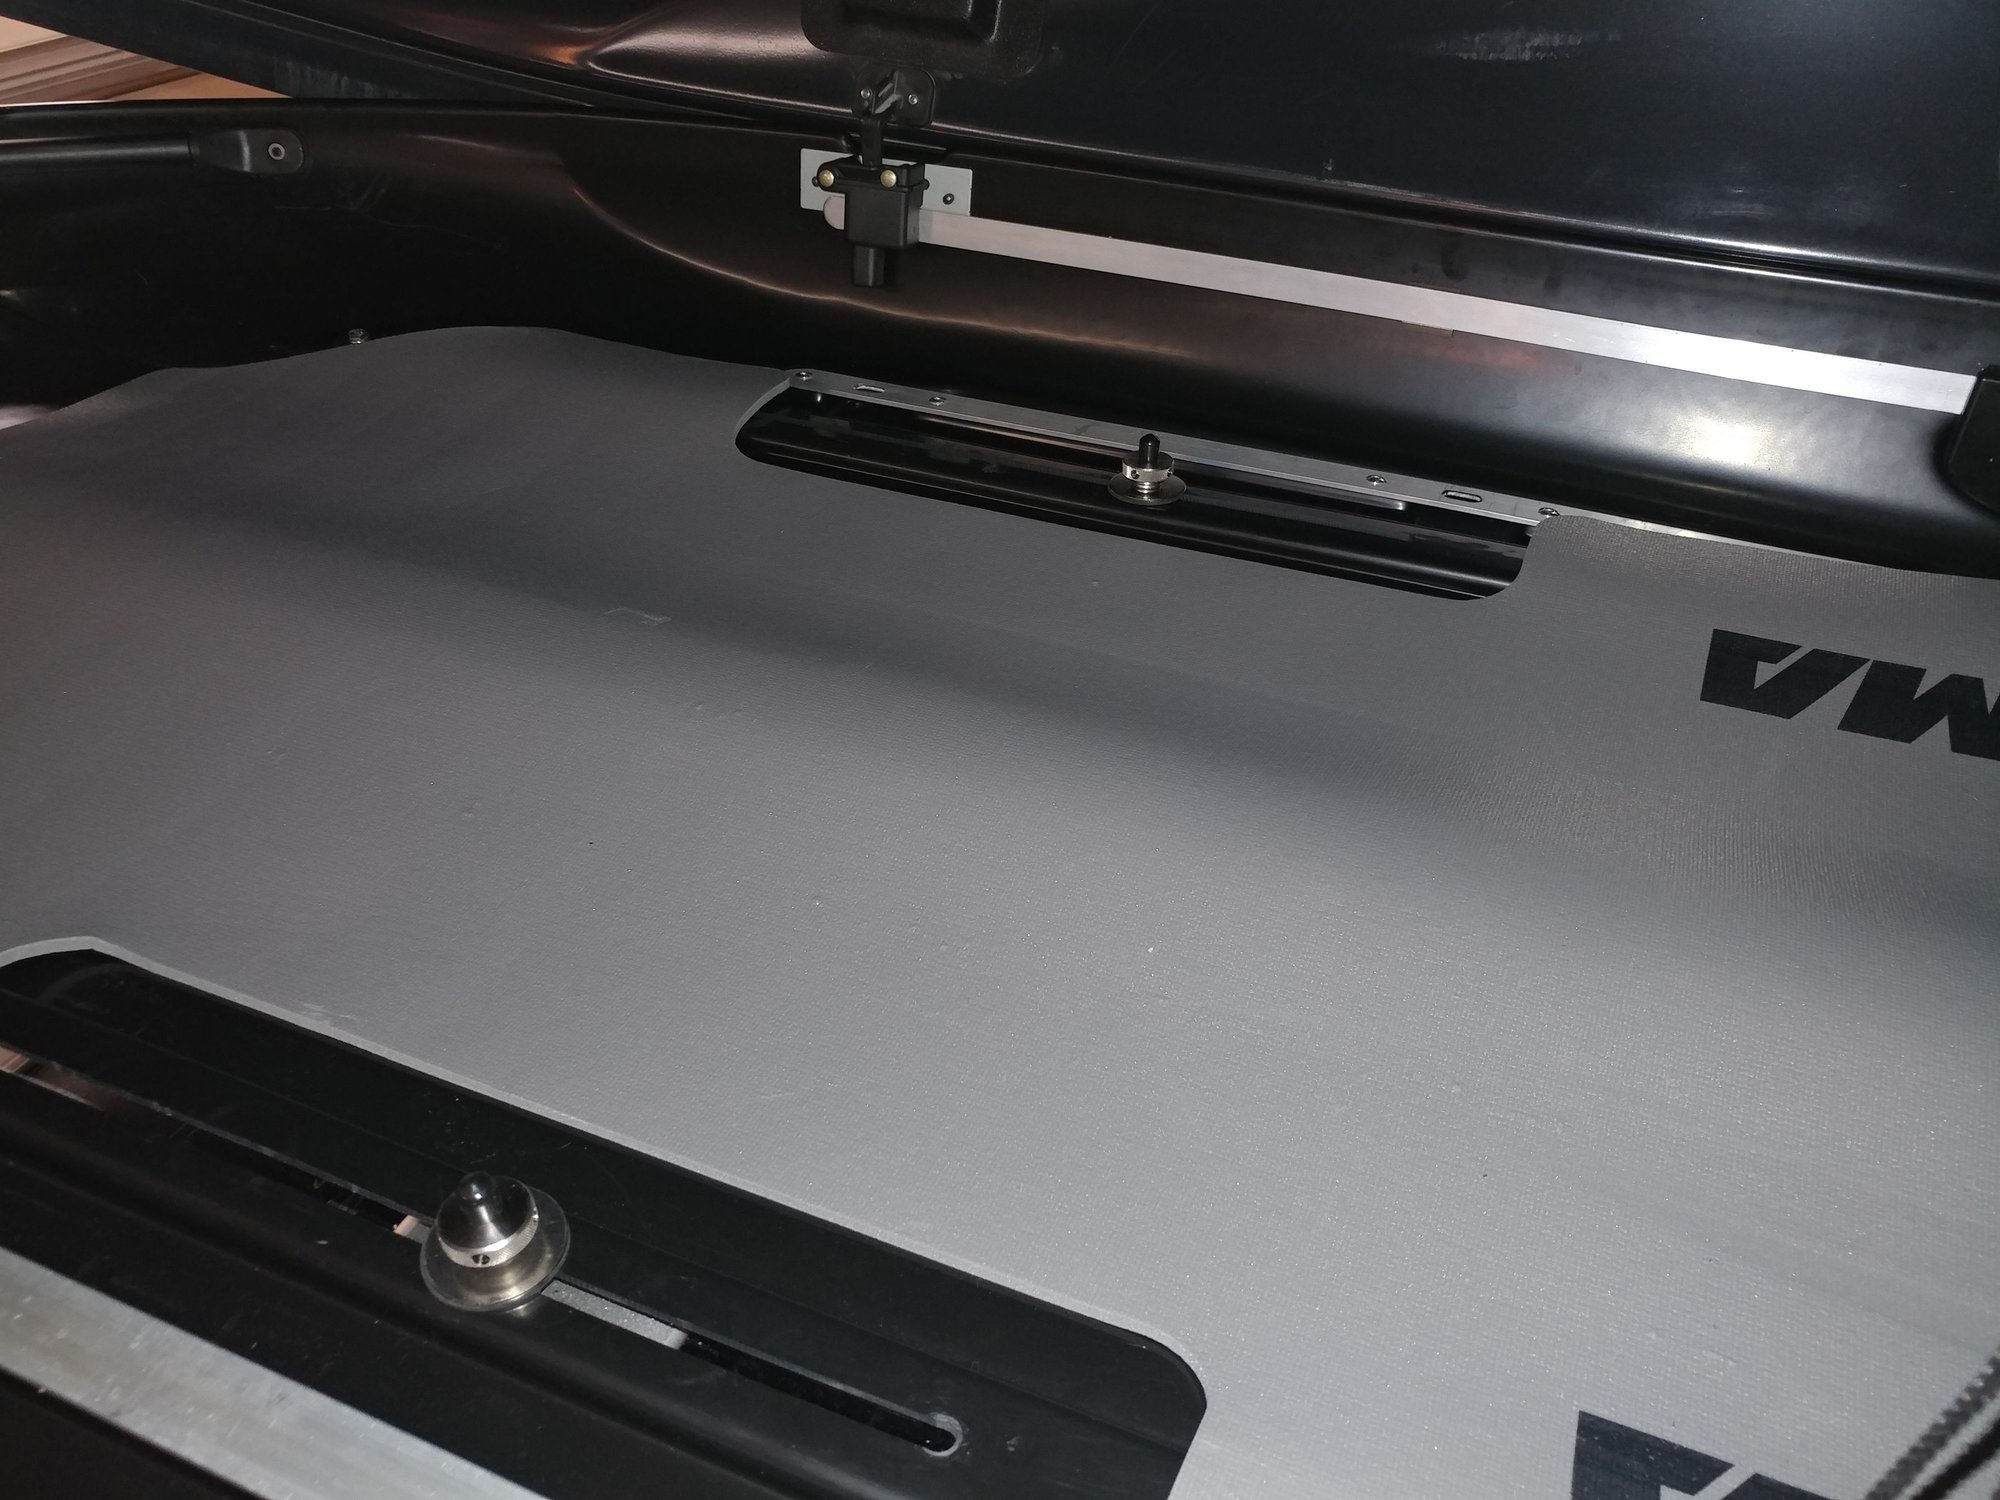
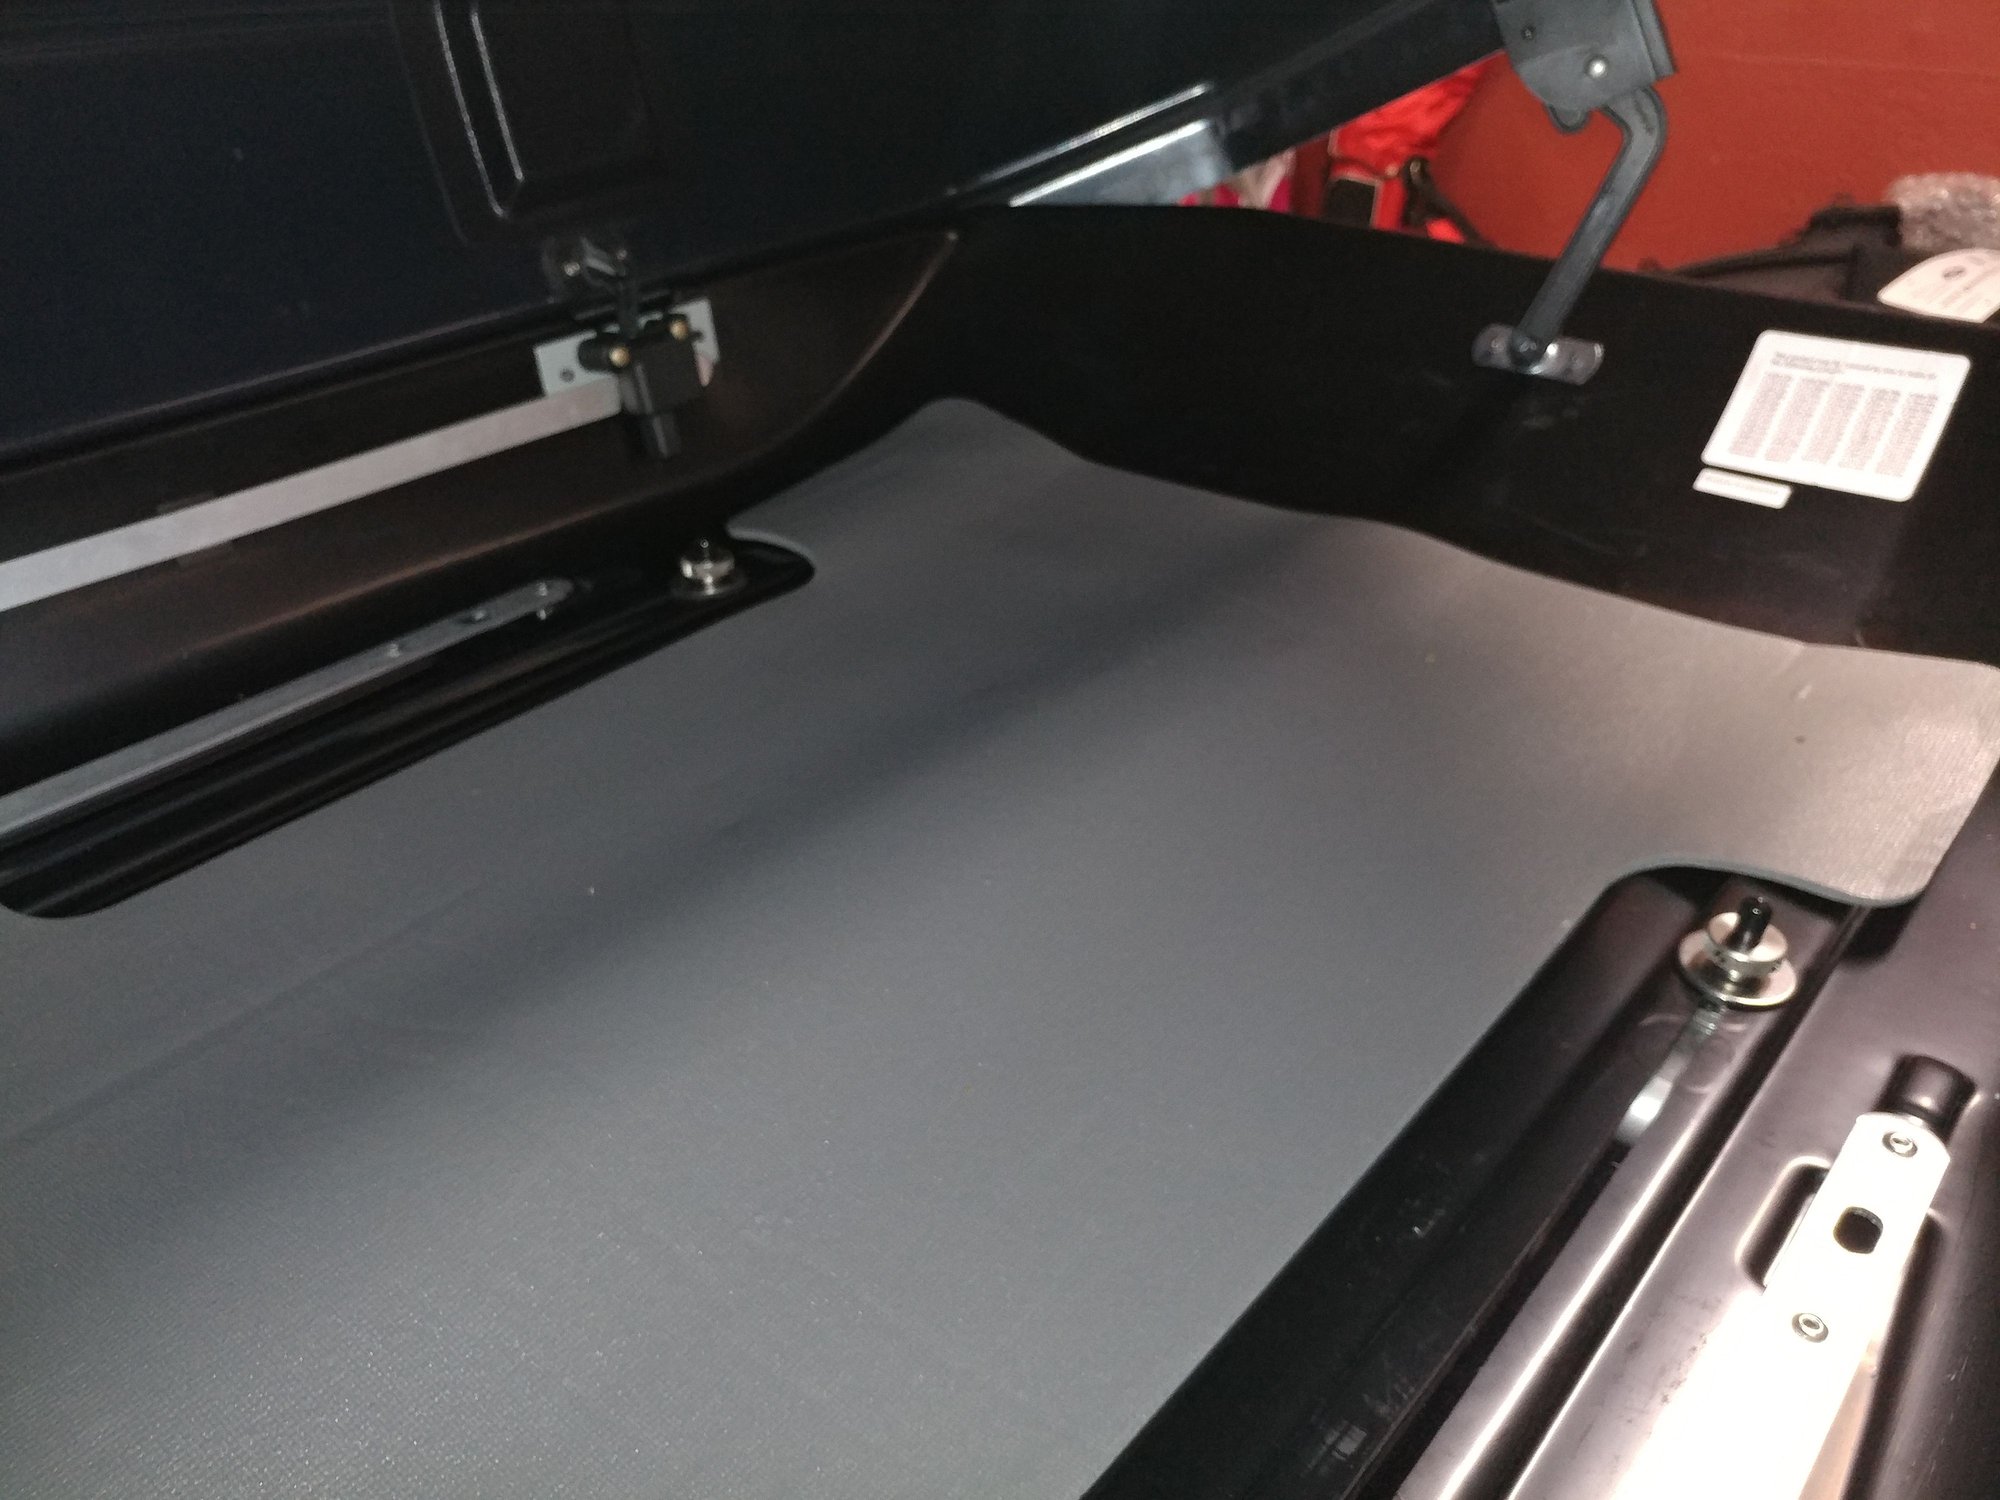
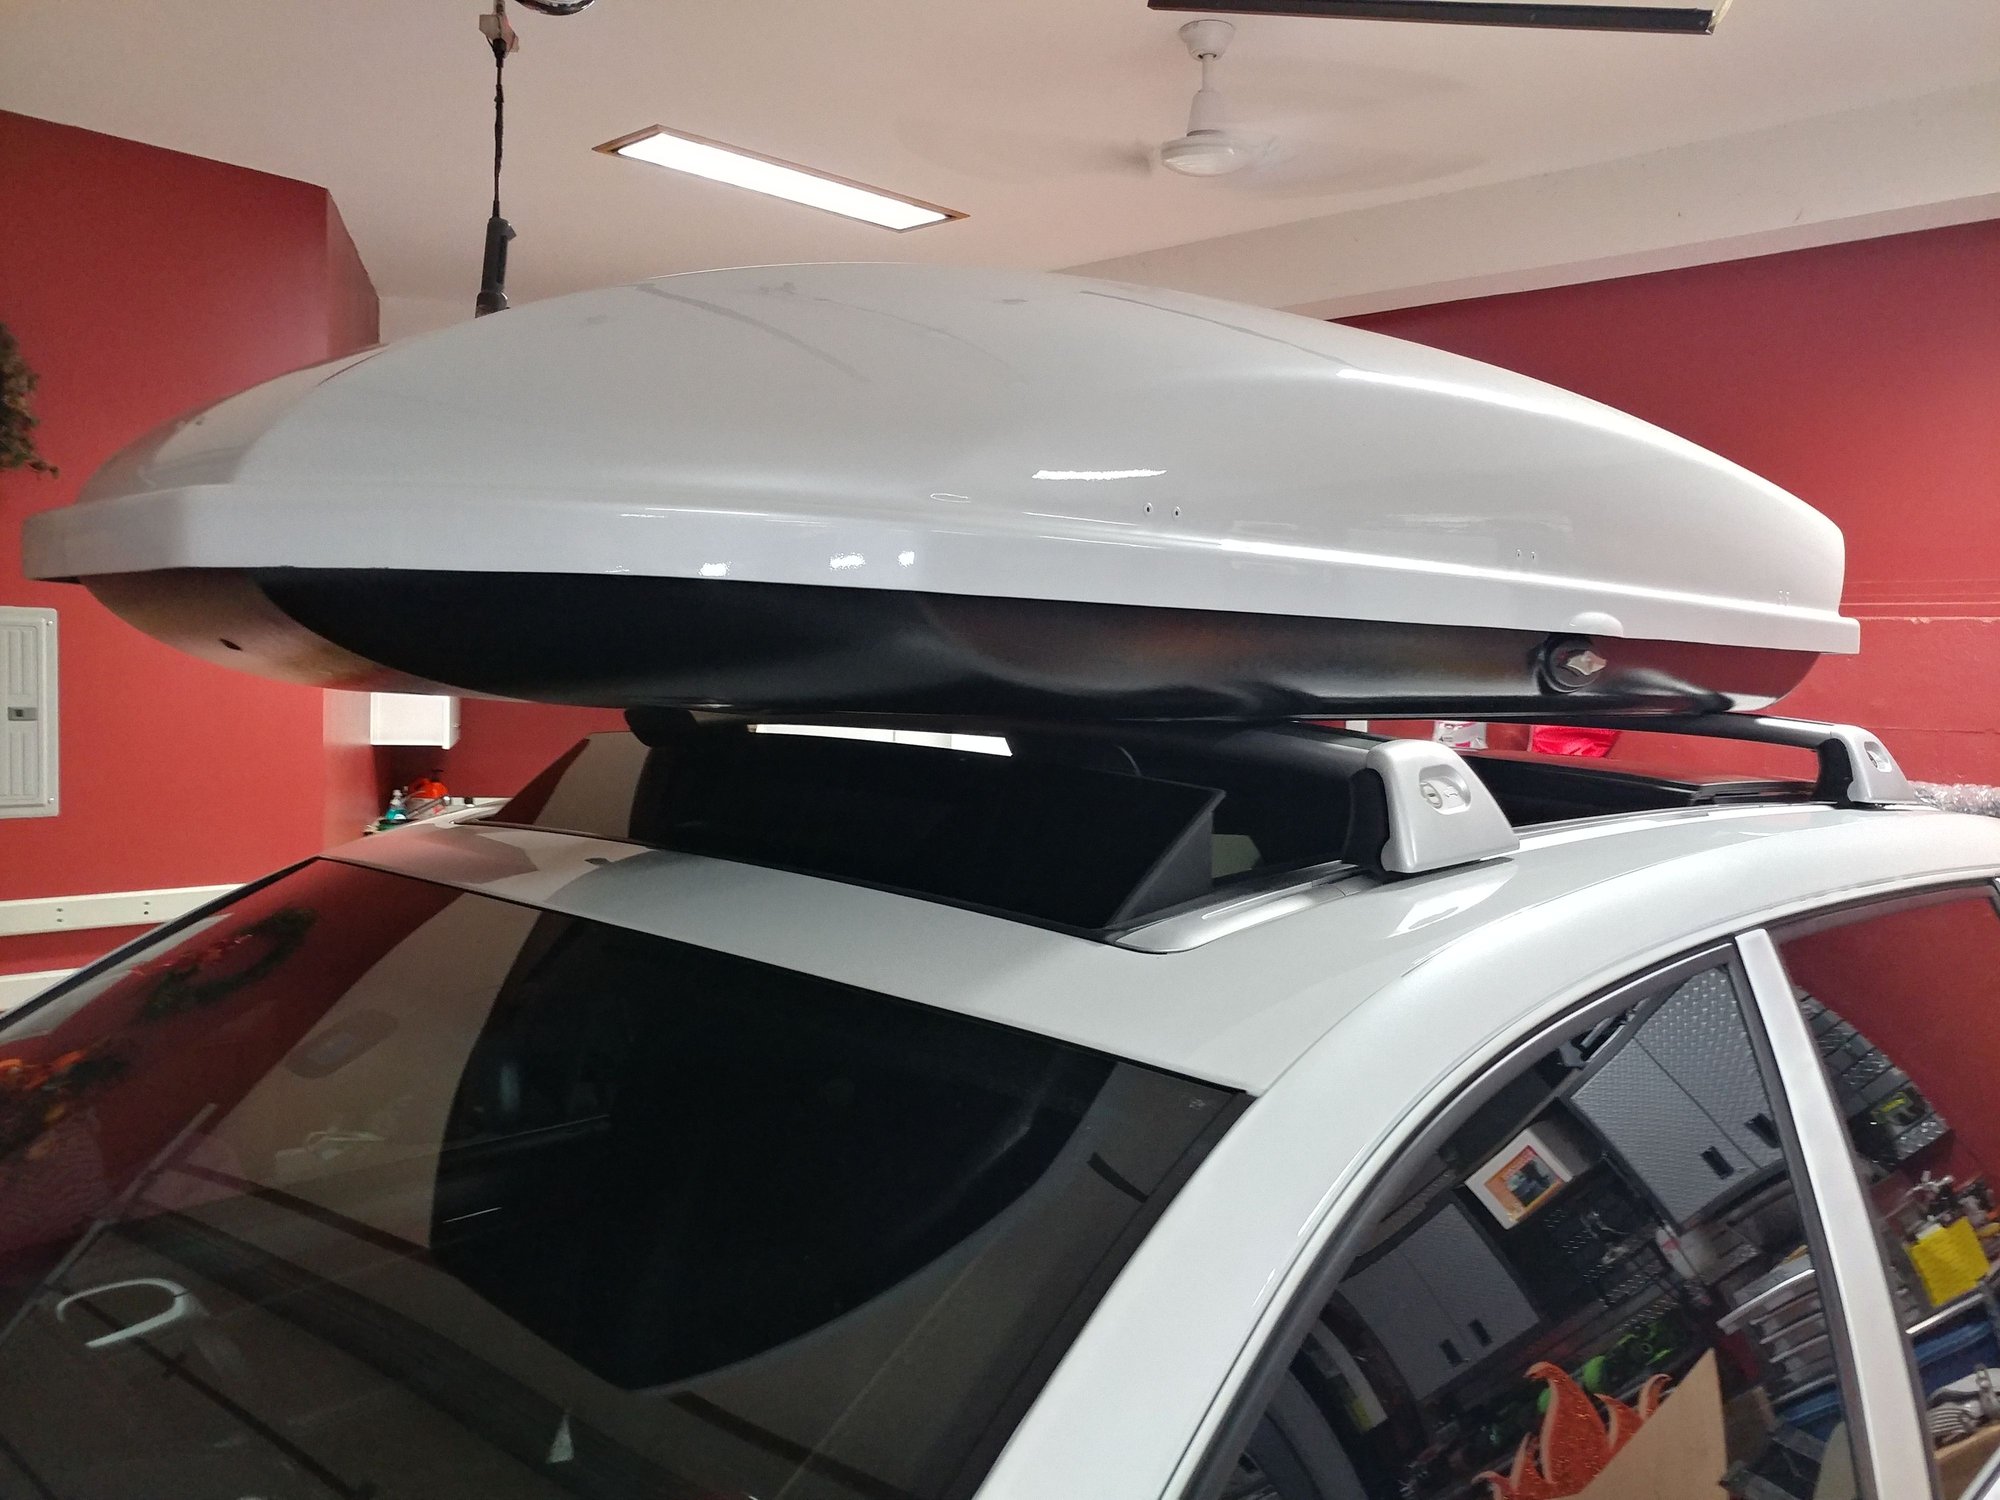
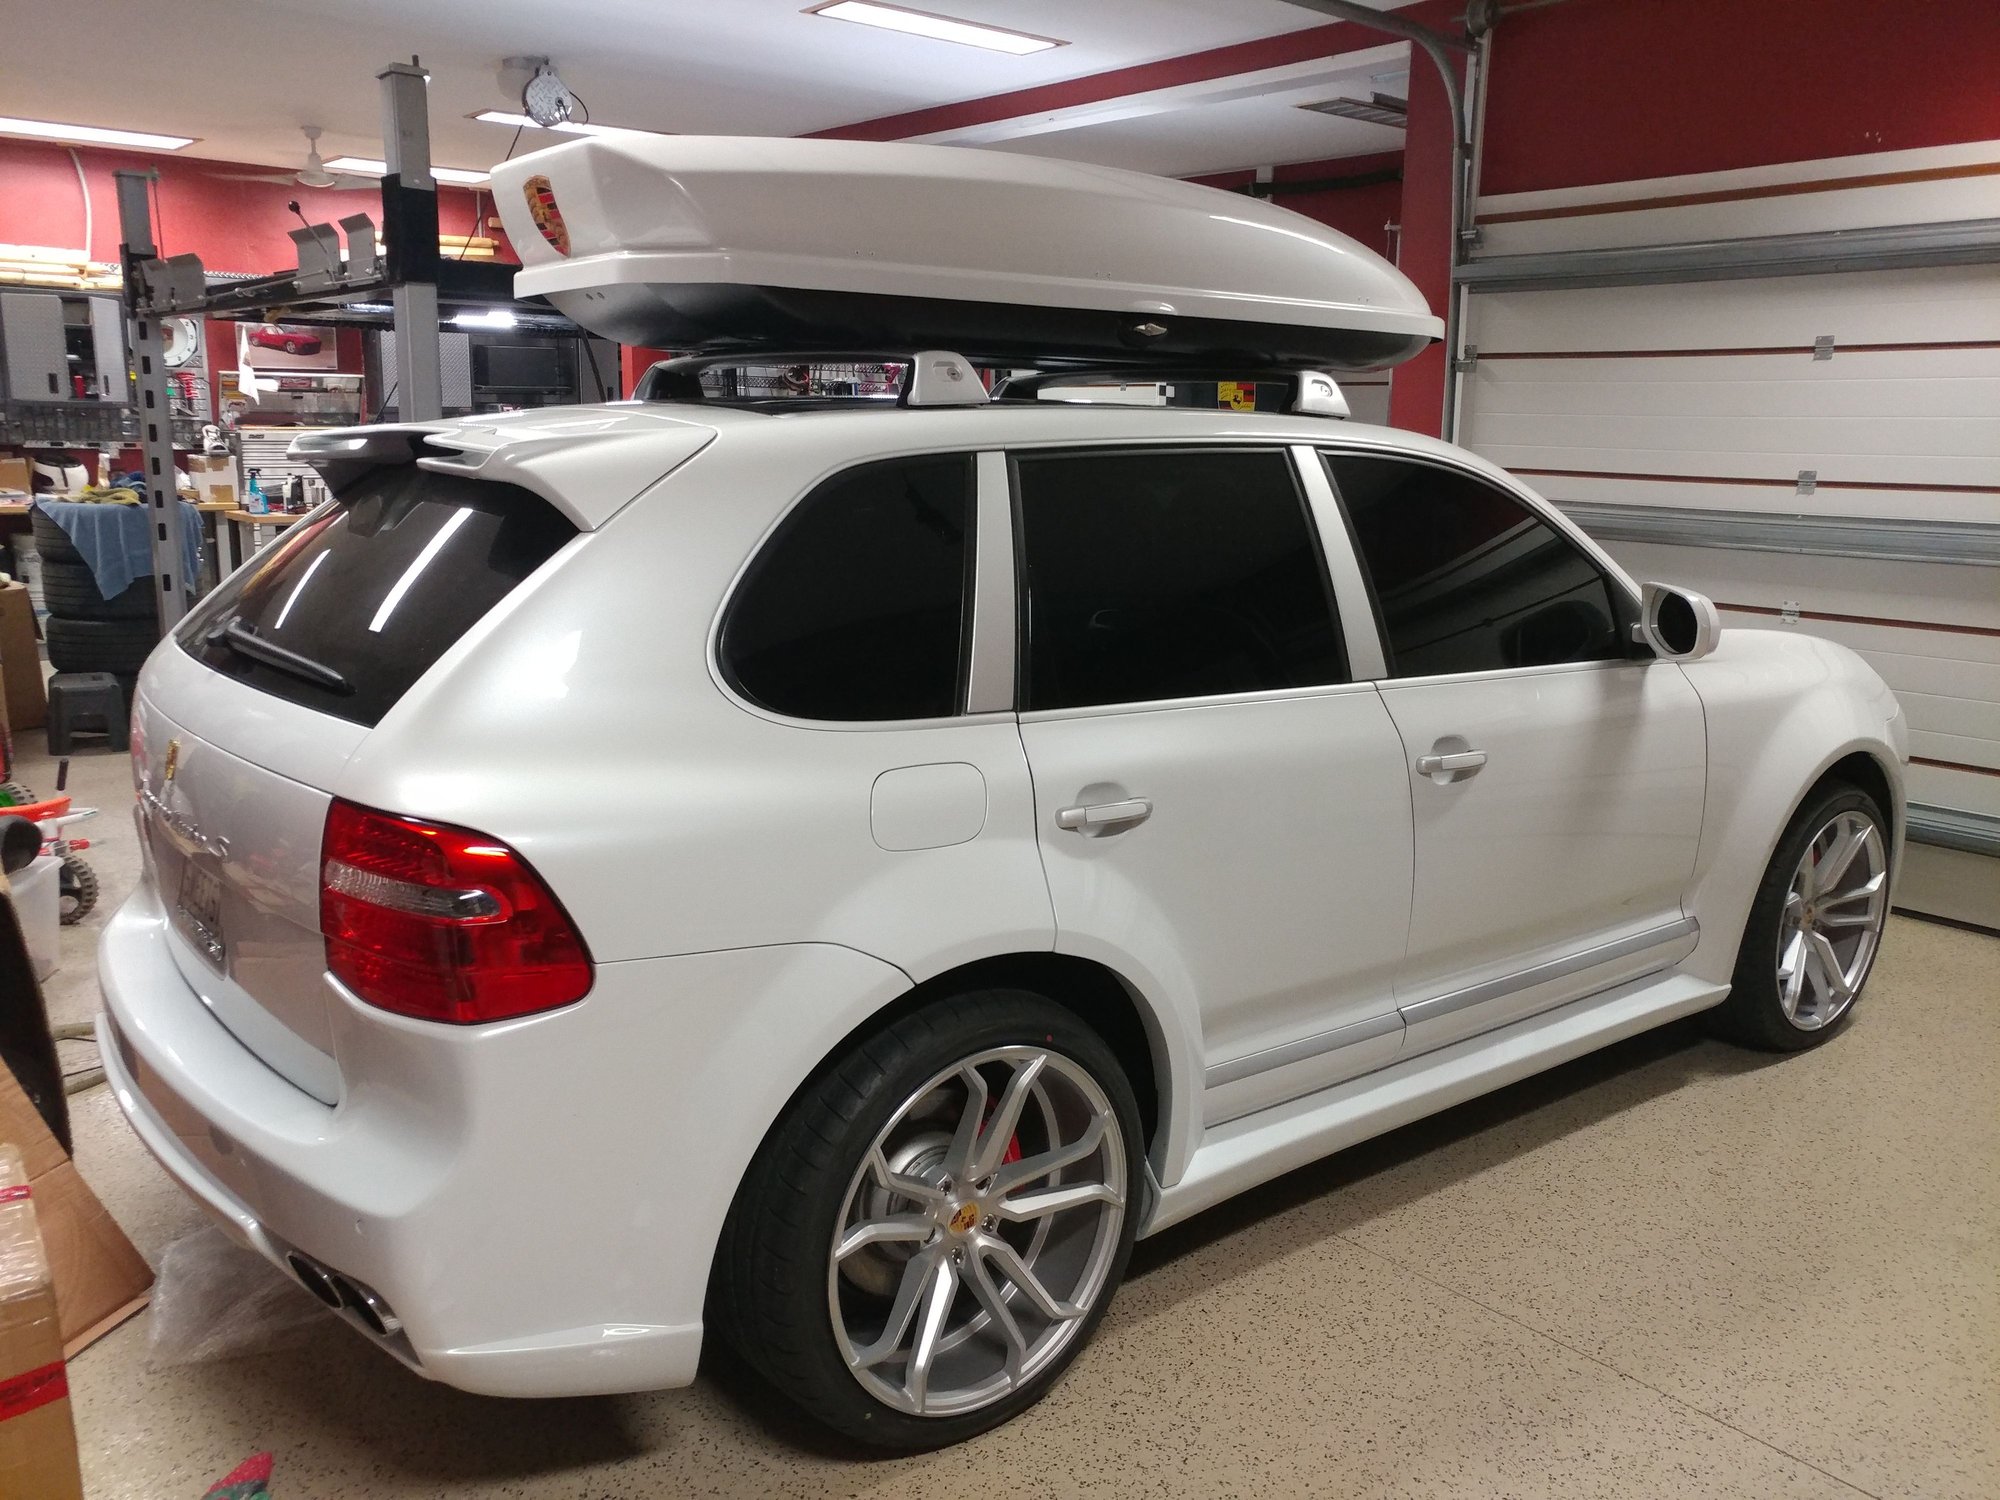
Last night I refitted the custom painted Yakima Skybox with the new T-bolt in the crossbar channel mounting method. The purpose of this was to allow the Pano roof to open with the skybox installed, primarily to avoid any chance of someone turning the **** and shattering the glass roof from contact with the normal clamps, but also because the cross bars are really too large for the clamps to fit around them properly. Previously I had reversed the rear set so that both sets were grabbing the bars from the outside, making it impossible for the box to shift under heavy acceleration or braking. I'm going to get a 1.5" wide aluminum bar for each side to further reinforce the attachment inside the box due to the speed capability of the Cayenne - probably overkill, but better safe than sorry.
Car is sitting at Sport height in these pics and looks even better at loading height.
I have a quick question: currently I am working on fitting 958 GTS DRL's to my 957CTTS, and yeah that'll require some cutting on my stock bumper lol, how did you manage to wire yours? Did you have to work around a way to avoid the potential resistance errors on your dash? I would love to get an idea on a diagram if you could
I have a quick question: currently I am working on fitting 958 GTS DRL's to my 957CTTS, and yeah that'll require some cutting on my stock bumper lol, how did you manage to wire yours? Did you have to work around a way to avoid the potential resistance errors on your dash? I would love to get an idea on a diagram if you could
Thanks a lot.
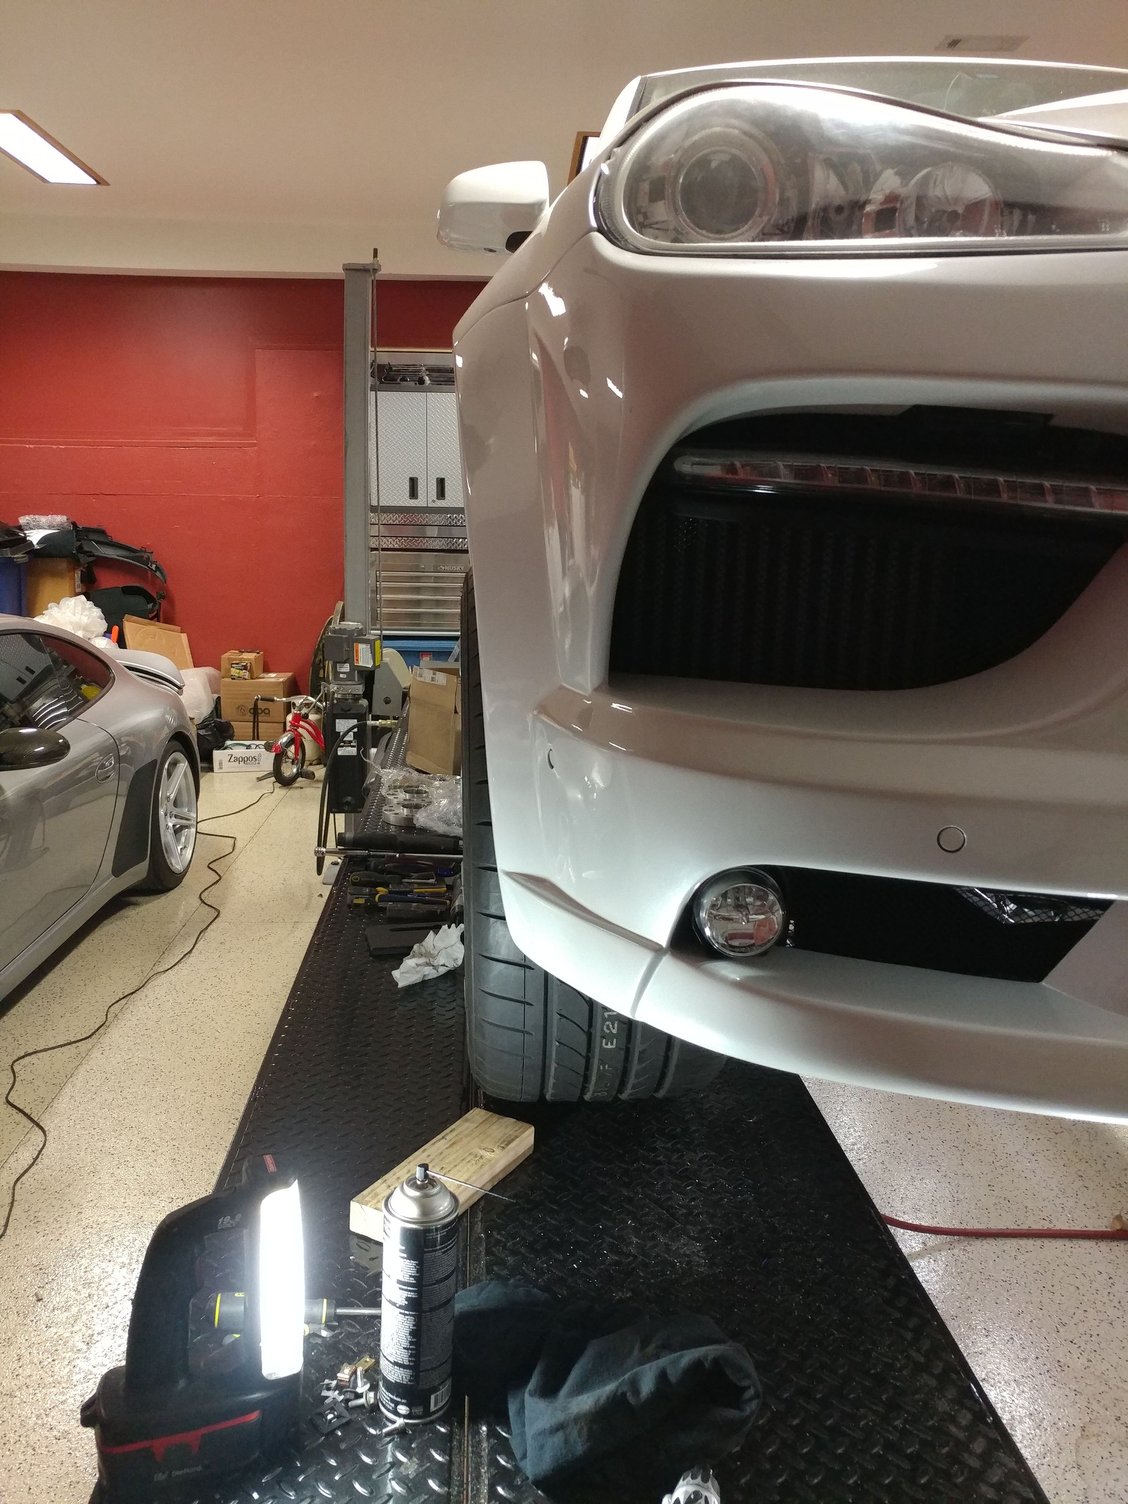
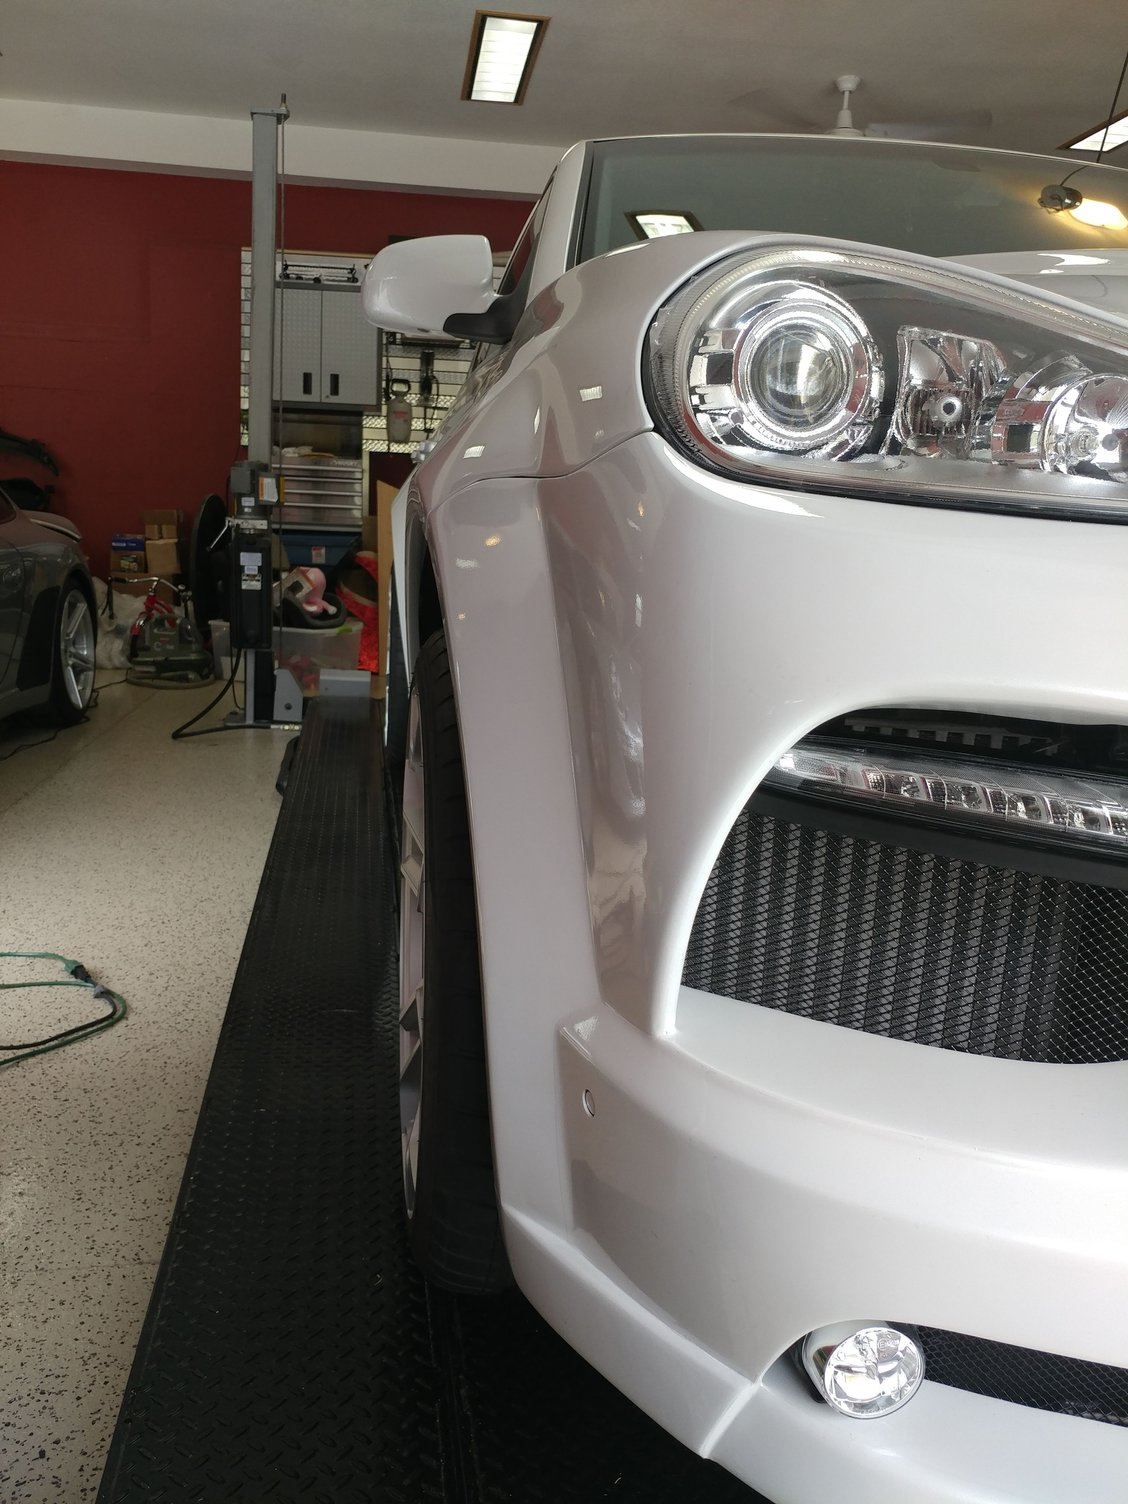
On the front lighting, what I did was determine the matching connector to the OEM connectors on the existing wiring harness so I could plug in the mate and then do my wiring to the matching pigtails I purchased, which meant I didn't do any splicing into the OEM wiring harness. The 958 multi-function lights actually use the exact same 4-wire connector type as the engine coils - one is 12v for the turn signal, one is 12v for the fog light, and the other 2 are grounds. I got the turn signals working correctly without any error codes by using the black box encapsulated canbus compatible resistors, which I sourced from amazon - no hyper flash and no turn signal error.
For the white LEDs in those lights, I'm using them as DRLs. I found a fuse in the driver's side dash fuse panel that was only energized with the ignition on and used an "add a fuse" to that circuit, then ran the wire through the grommet for the hood release cable and connected it to an SPDT relay that is also connected to the 12v jump post and ground post under the hood to power the relay. When the key is switched on, the relay gets a 12v trigger signal to pick it then draws current for the lights from the jump post and grounds to the other post so power to the lights flows from those to the lights through the relay. Since this is essentially a new circuit that's not monitored by the canbus network, it doesn't cause any error messages.
On the PIAA LED foglights, I tried multiple ways to get them working with the foglight switch but was unsuccessful - they either turned on for a second then turned off or turned on then started slow flashing, then turned off. I tried the same canbus resistors as the turn signals and with one pair connected they would do as mentioned before. Researching it, some said one pair didn't provide enough resistance and described that problem, but when I tried two pairs of the resistors, I got no light at all, so I ended up scrapping that and tying the fog lights into the circuit that used to be used for the fender side marker lights which were deleted on the Misha bumper. Now the fog lights come on with the headlights (which I usually do anyway), and stay on even when the high beams are activated, instead of cutting off, which is also kind of nice, but pulling the headlight switch out 1 click now doesn't do anything...pulling it out two clicks still turns on the rear fog light. To the original fog light wiring, I left the canbus resistors installed, with nothing plugged into them beyond that, and those don't seem to be throwing a code currently either.
The fog light LEDs hooked to the side marker light wiring are currently throwing a code even though the fog lights are turned on and working fine. I tried the same canbus resistors but they didn't help so I tried the more common normal gold resistors and since they're not encapsulated and get hot when the lights are on, actually screwed them to the aluminum heat shields of the HHR air intake and am using those large aluminum plates as a heat sink for the relays. Currently, they're still throwing a code, so that one circuit is going to require some additional work, but all the lights are working as I intended them to so it's not currently high on my list just to make the bulb out warning go away.
Not sure it that's very helpful or not, but there you go.
This is absolutely helpful and in depth, thanks man you're a BEAST
This is absolutely helpful and in depth, thanks man you're a BEAST
Today I pulled the front fender liners again to get to the side marker lights that I had wired resistors to, but was still getting s bulb error. I went to Auto Zone and bought some replacement bulbs, unplugged the resistors, and installed the bulbs again, then cycled the ignition, and no error light any longer. So, I decided to just leave the bulbs installed, but without the light housings was worried about water and junk getting into the socket and causing a problem, so I found a couple appropriately sized clear caps from some products in the detailing cabinet slipped them over the bulbs and sealed them up with electrical tape. I left the lights on for 15 minutes to make sure they wouldn't get too hot, and everything seems fine.
Also, I had tried to fill up the windshield washer reservoir tfe other night and after about a quart went in, the rest started pouring out. Turns out the body shop just disconnected the front headlight washer line from its connector and didn't plug it. I put the connector back in, cut the hose, and clamped an appropriately size bolt into the end to seal it up. Added another half-gallon of fluid, and no leaking, so it kooks like it's fixed too.
Finishing the clear bra of the flares tomorrow and then when the rain stops on Monday will be taking it for the first real drive to shake everything out and see what issues might remain.
the insides of the wheelwells where there's white paint
the under side of the rear bumper behind the tires where the tires may throw debris
and the rocker panels
I added bumper welting between the rear bumper and fender line to prevent any rubbing and to make the slightly uneven gaps look perfect. Planning to do the same on the front, but will need to loosen the bumper just a little to be able to get it in - probably when I do the Ceramic brake upgrade in a month or so.
Putting in the new battery today and l the Driver's side Autopreme floor mat.
Should be on the road tomorrow and we'll see what we see, now that the boost issues should be resolved.

 04-06-2018, 12:21 AM