When you click on links to various merchants on this site and make a purchase, this can result in this site earning a commission. Affiliate programs and affiliations include, but are not limited to, the eBay Partner Network.
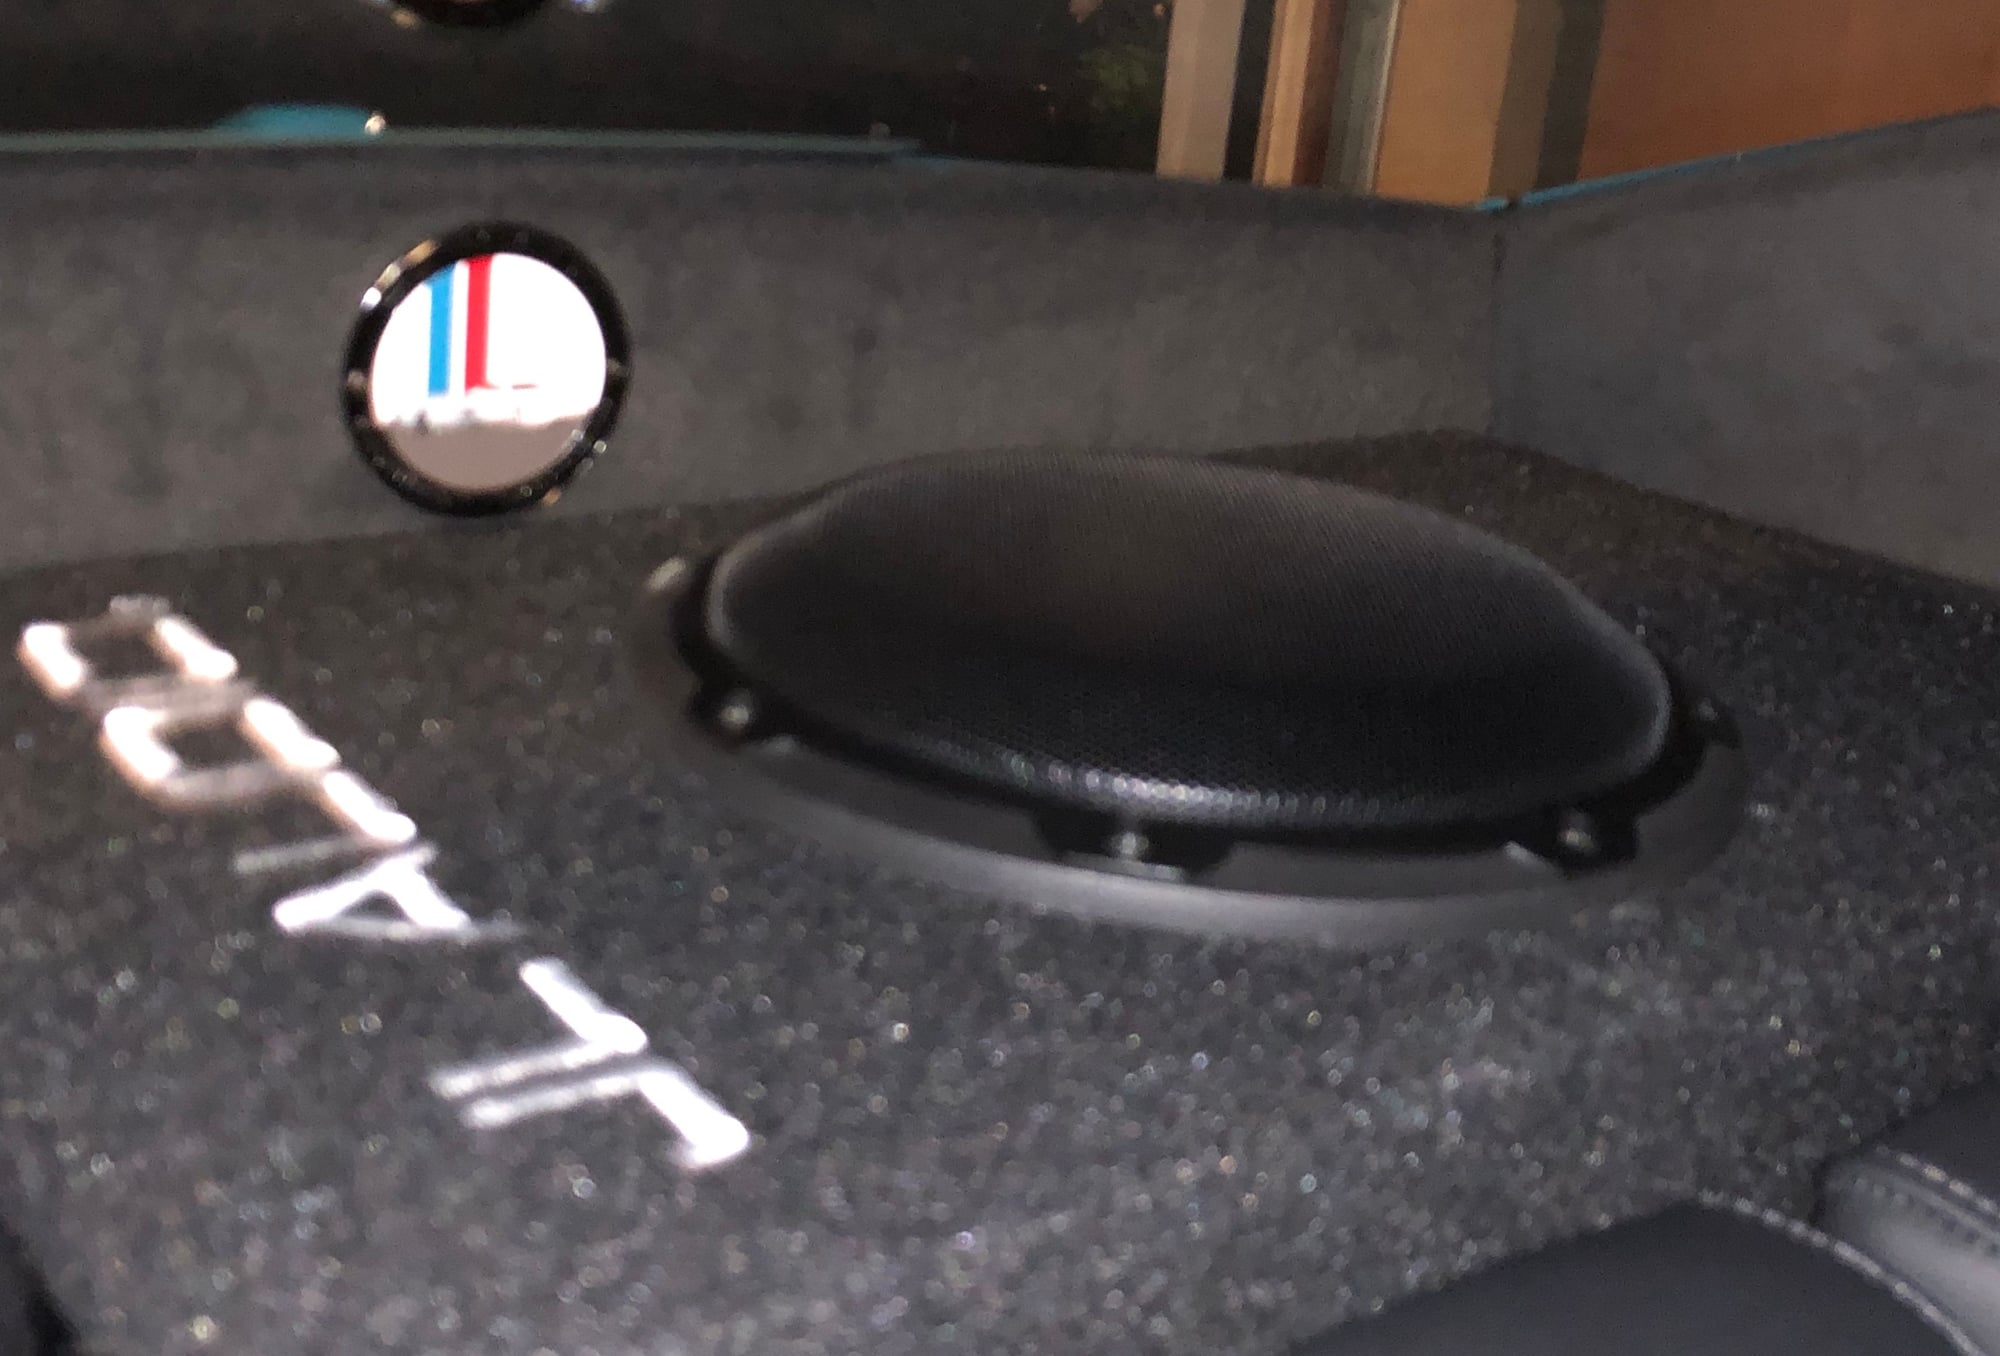
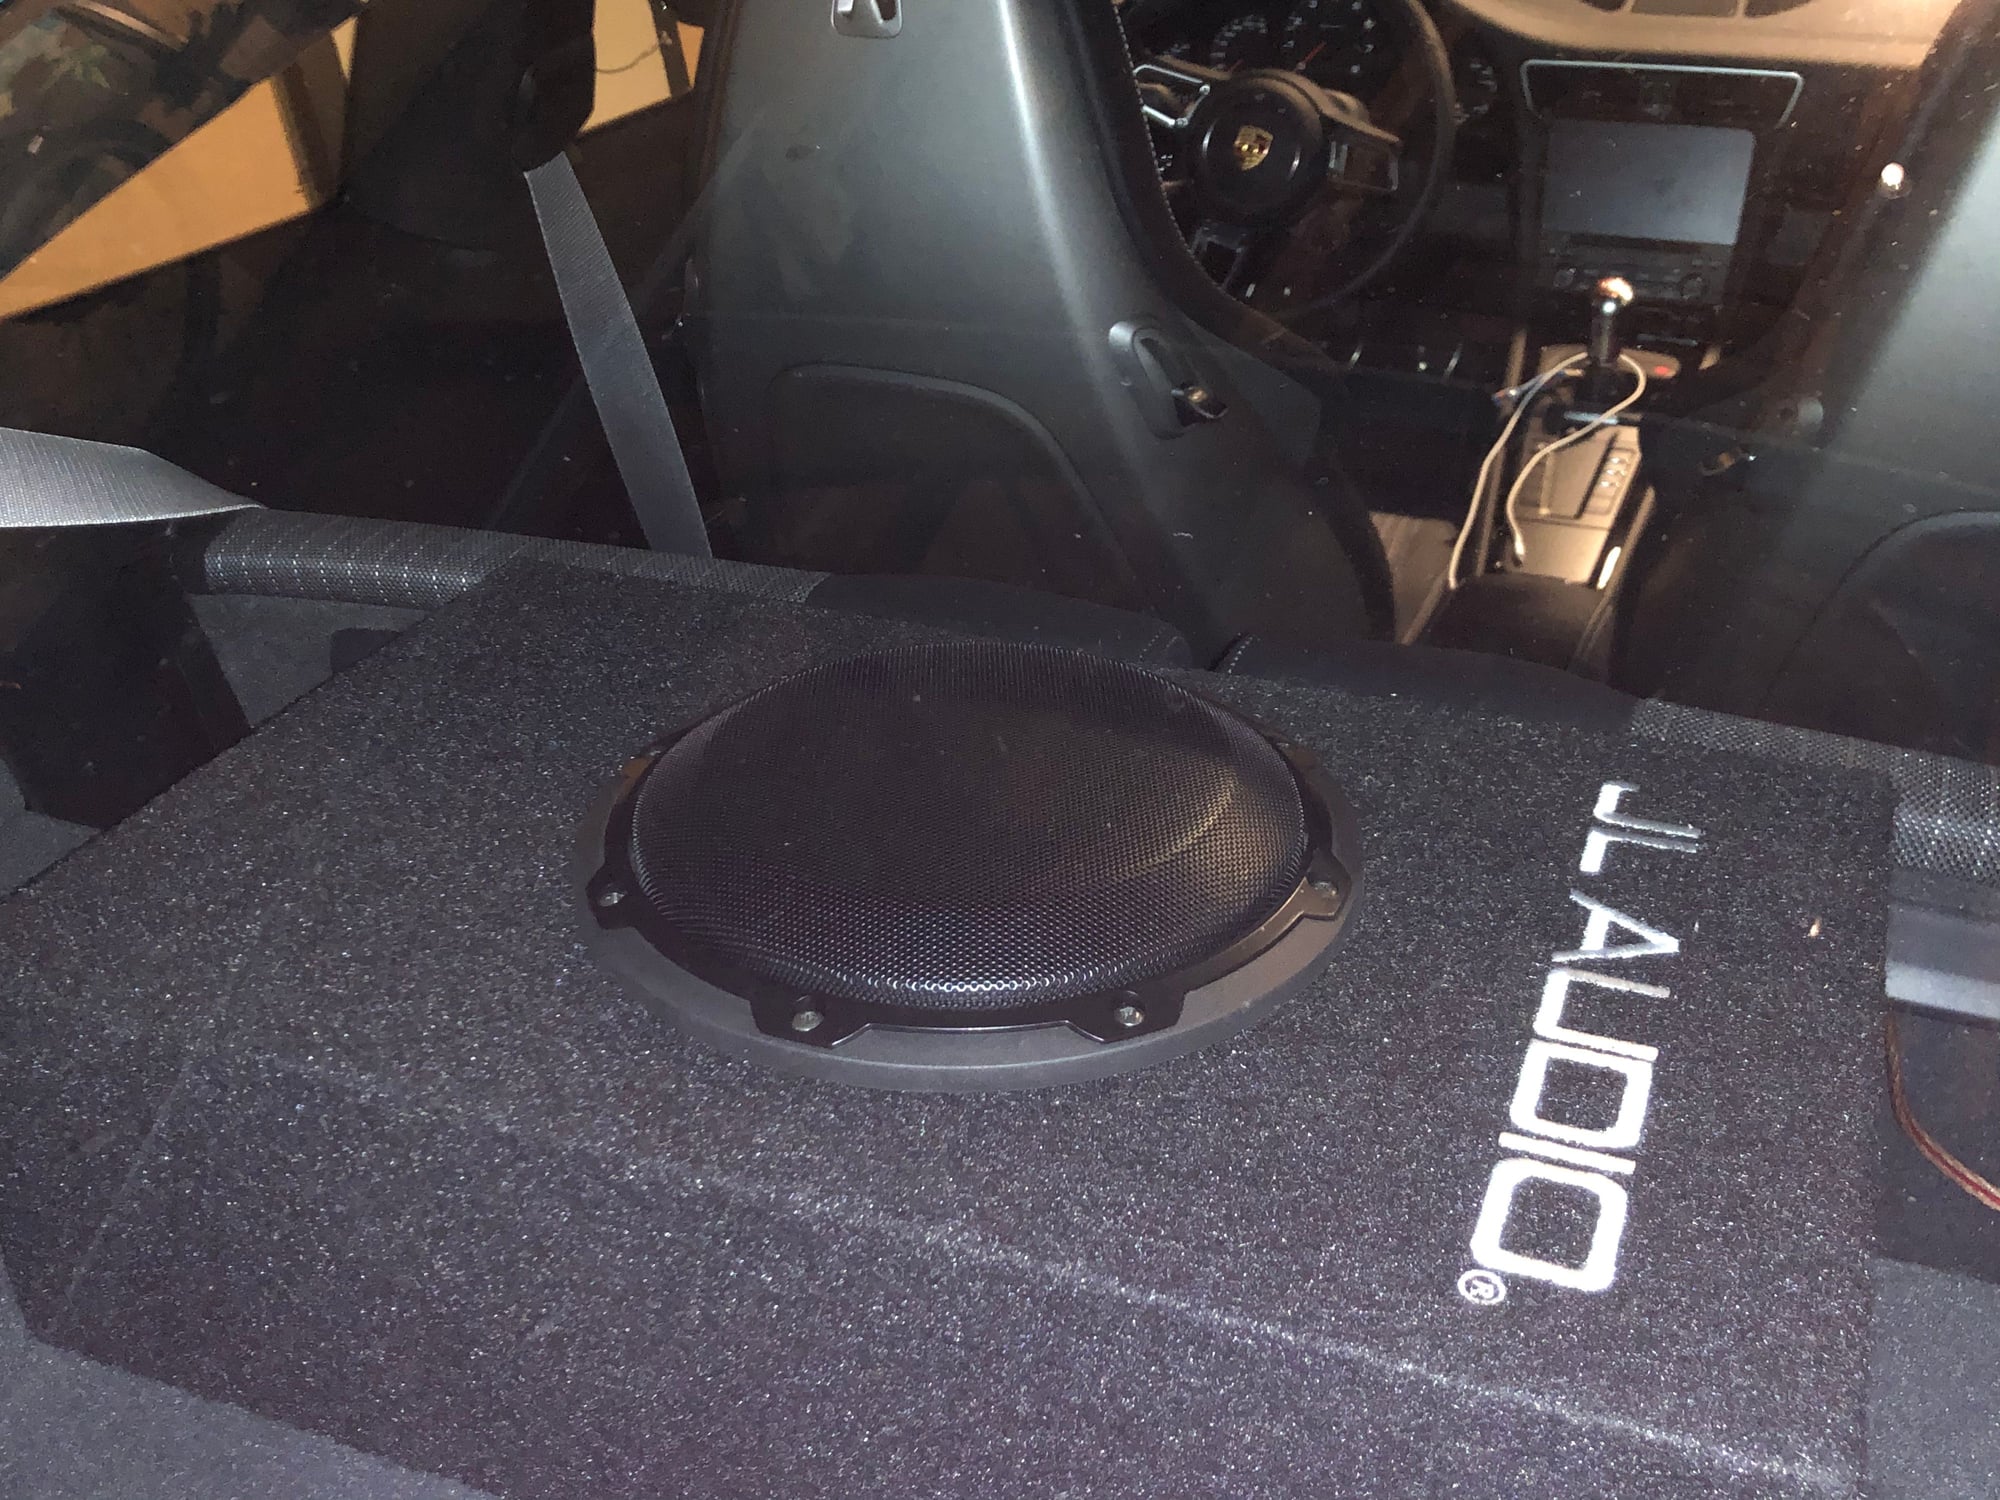
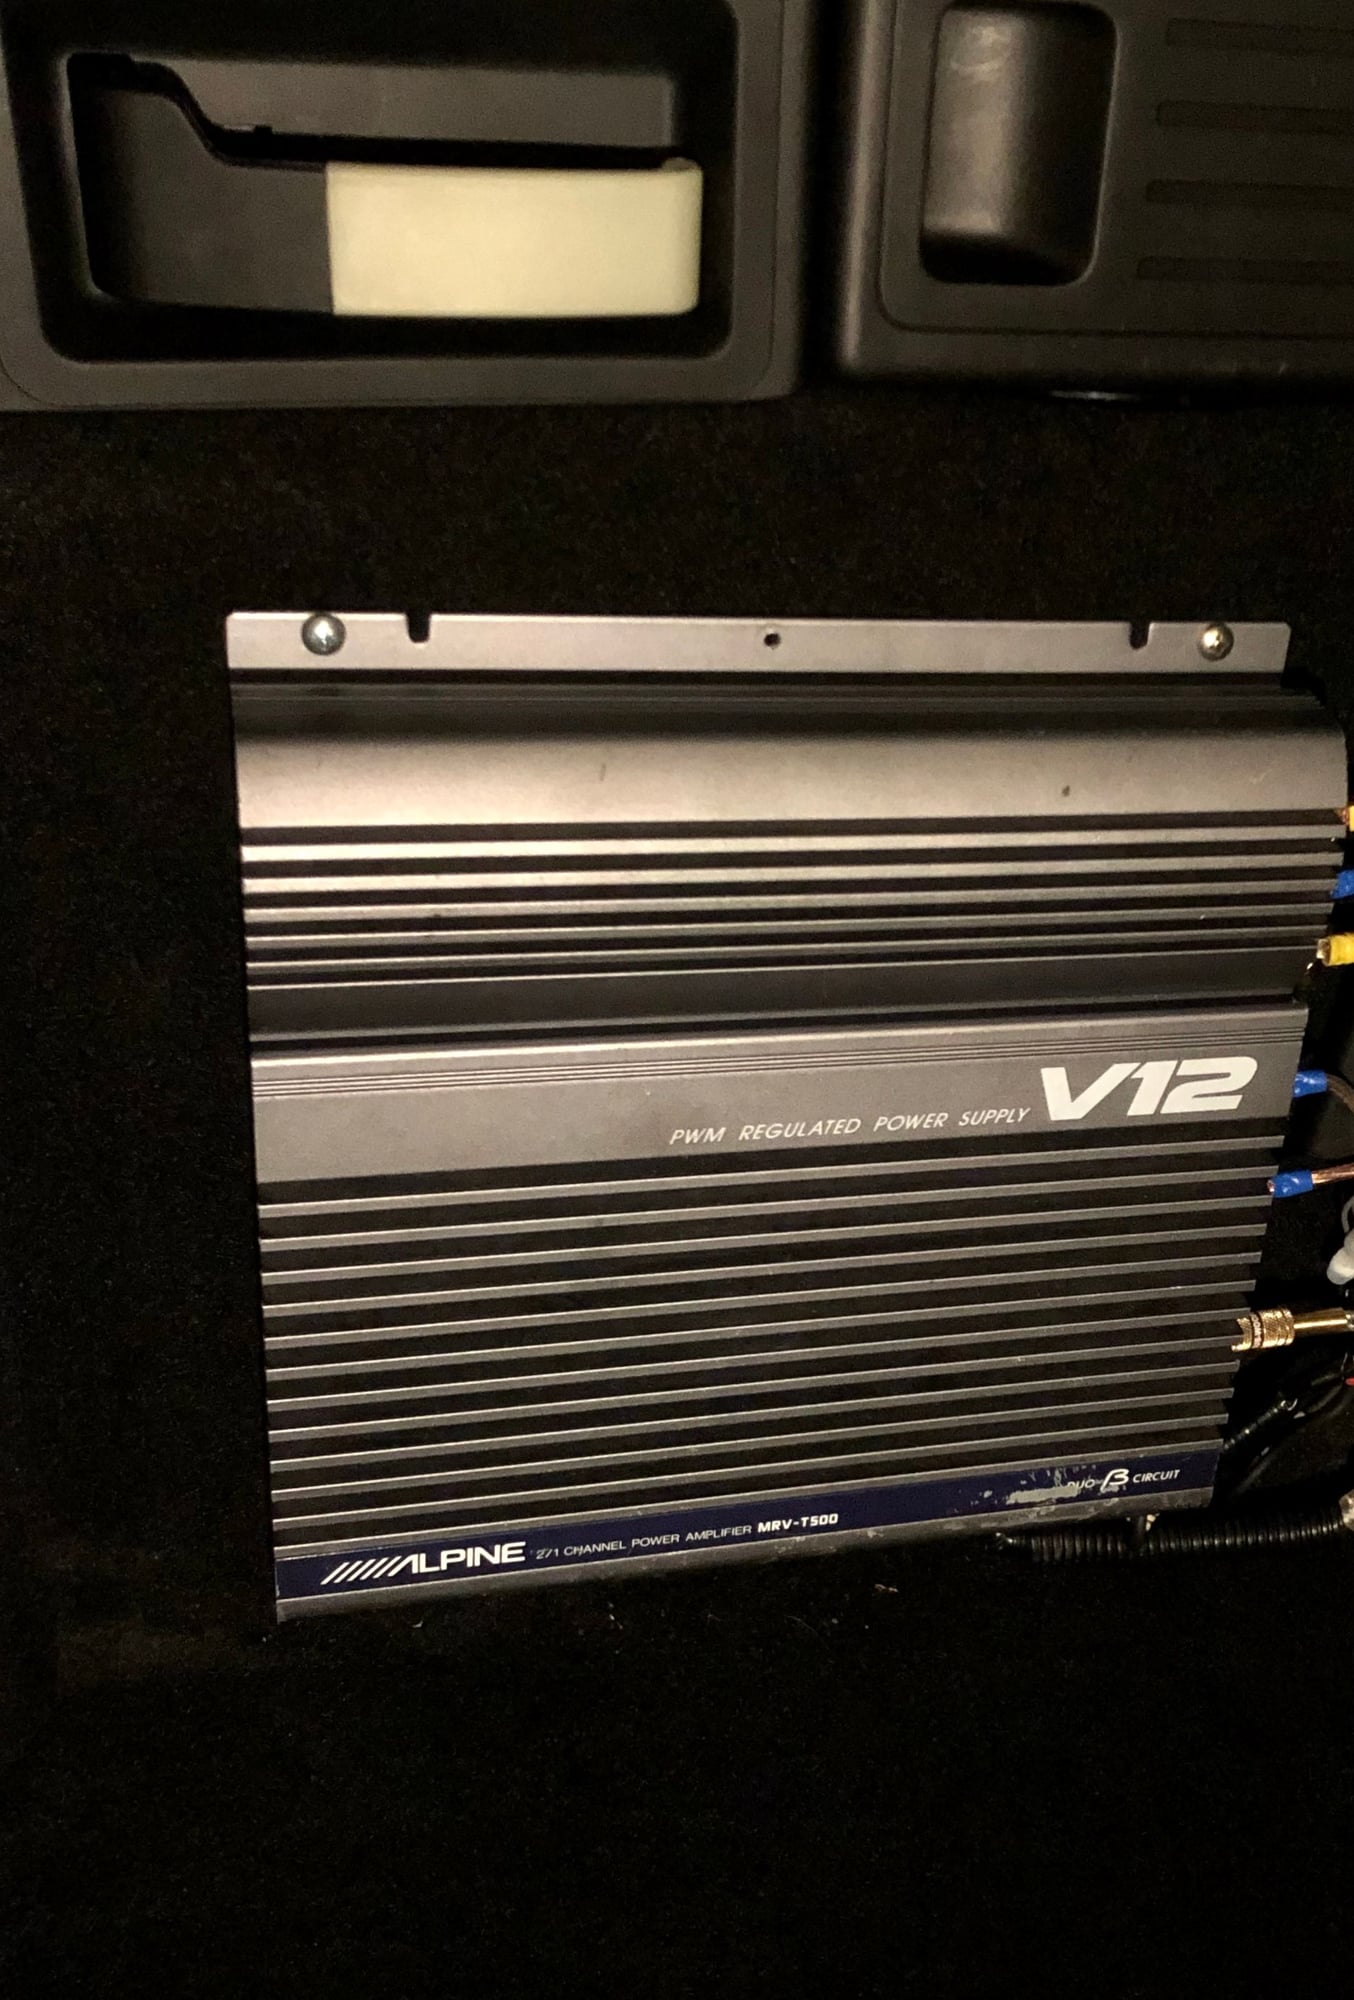
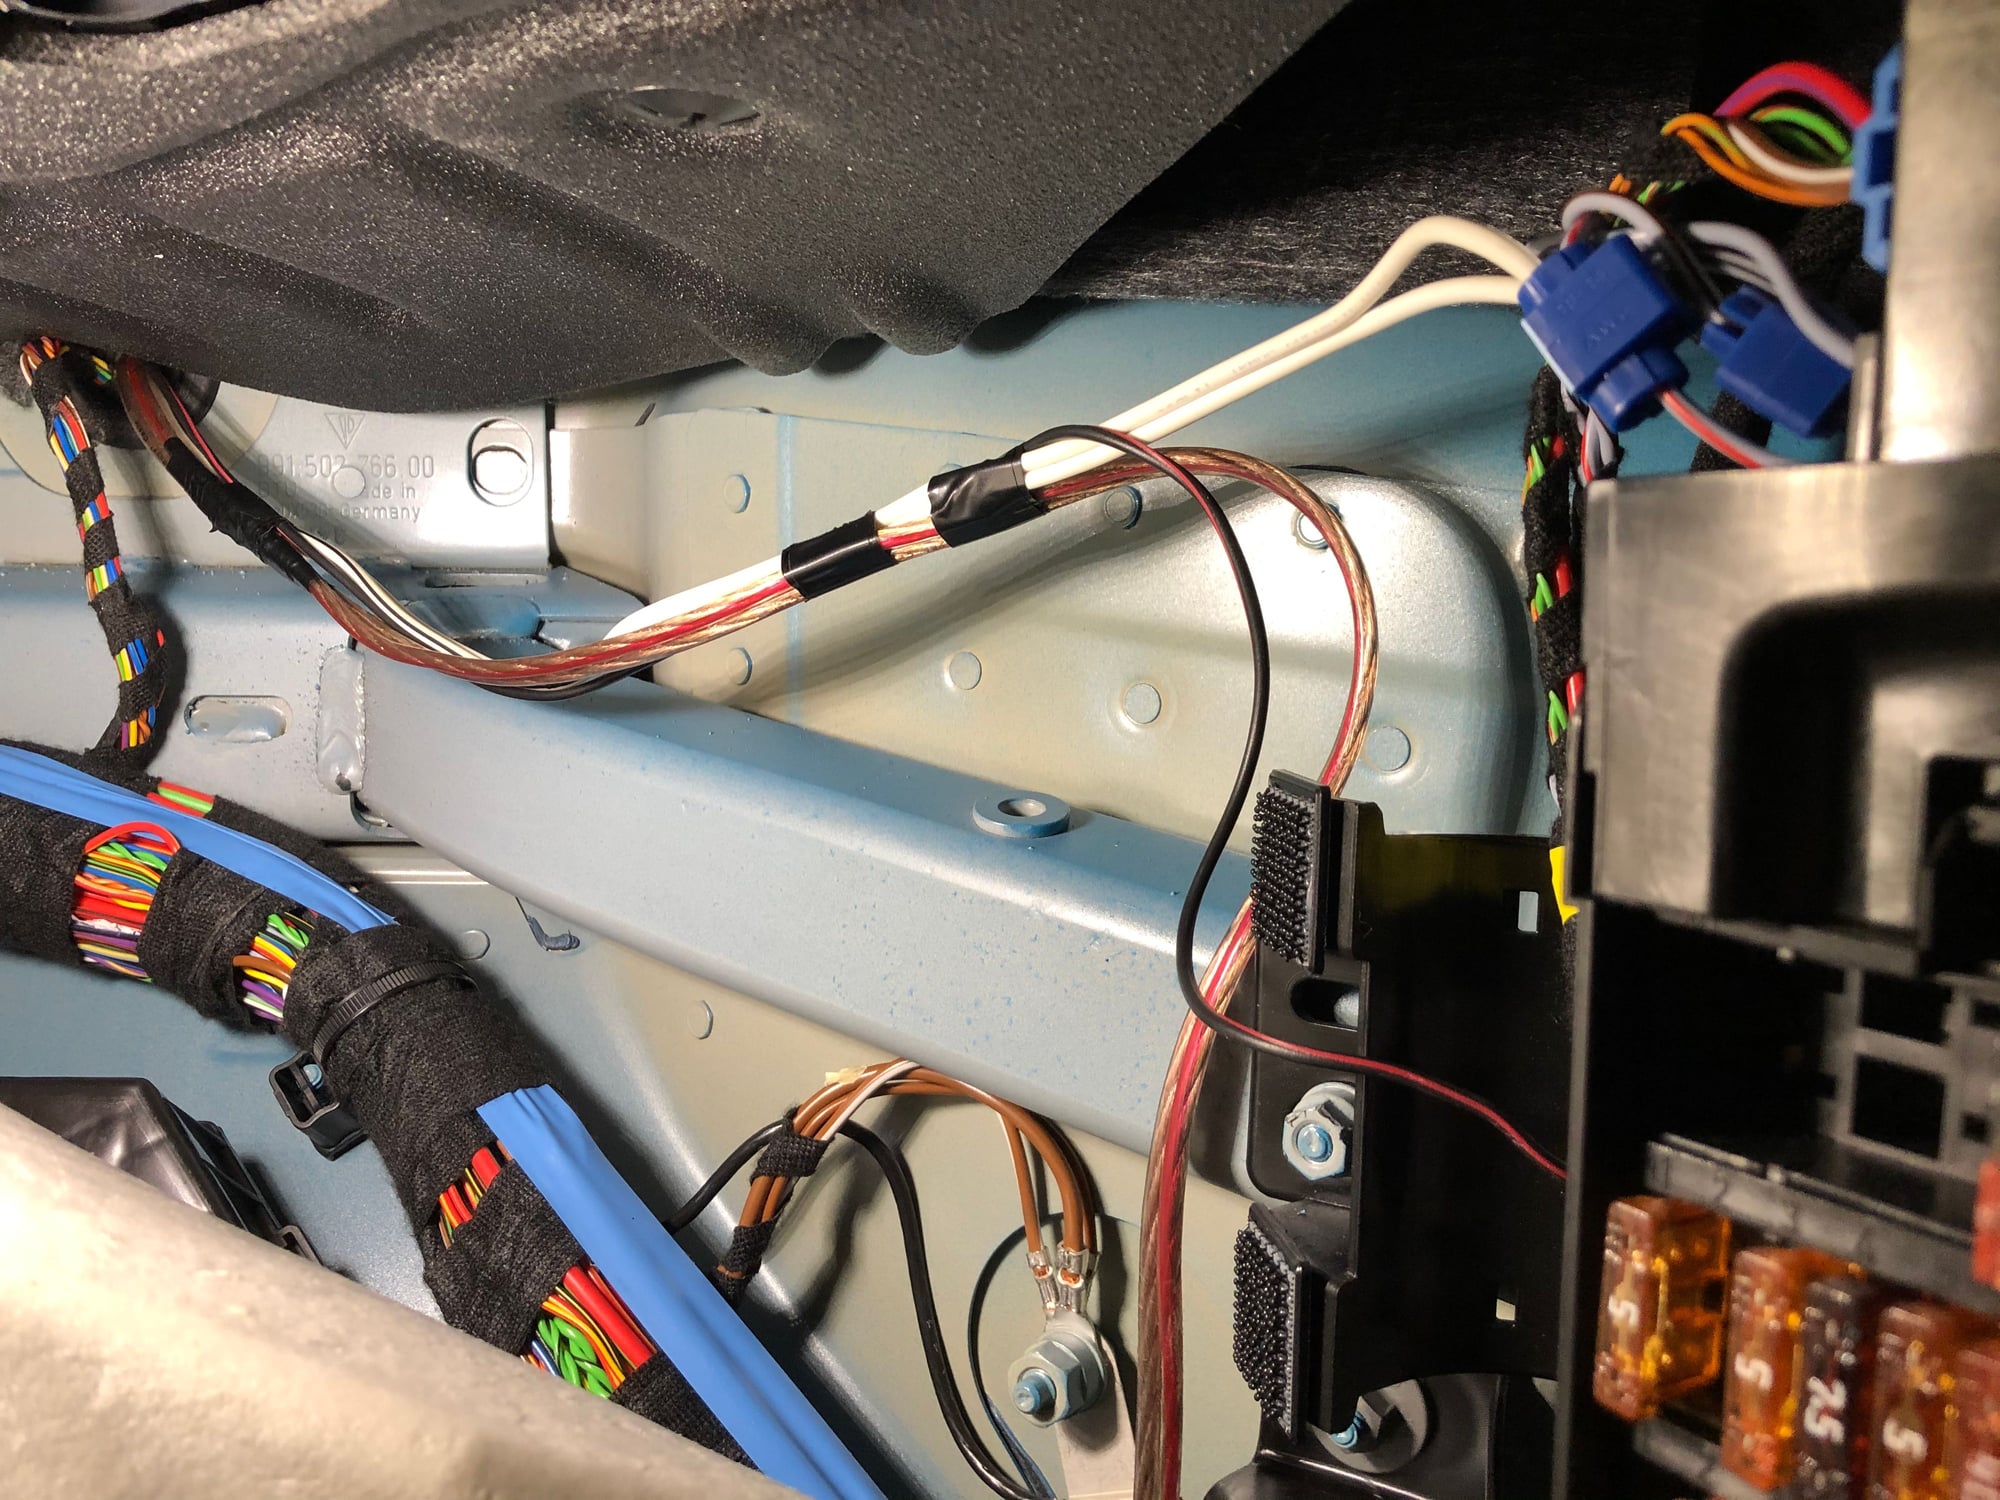
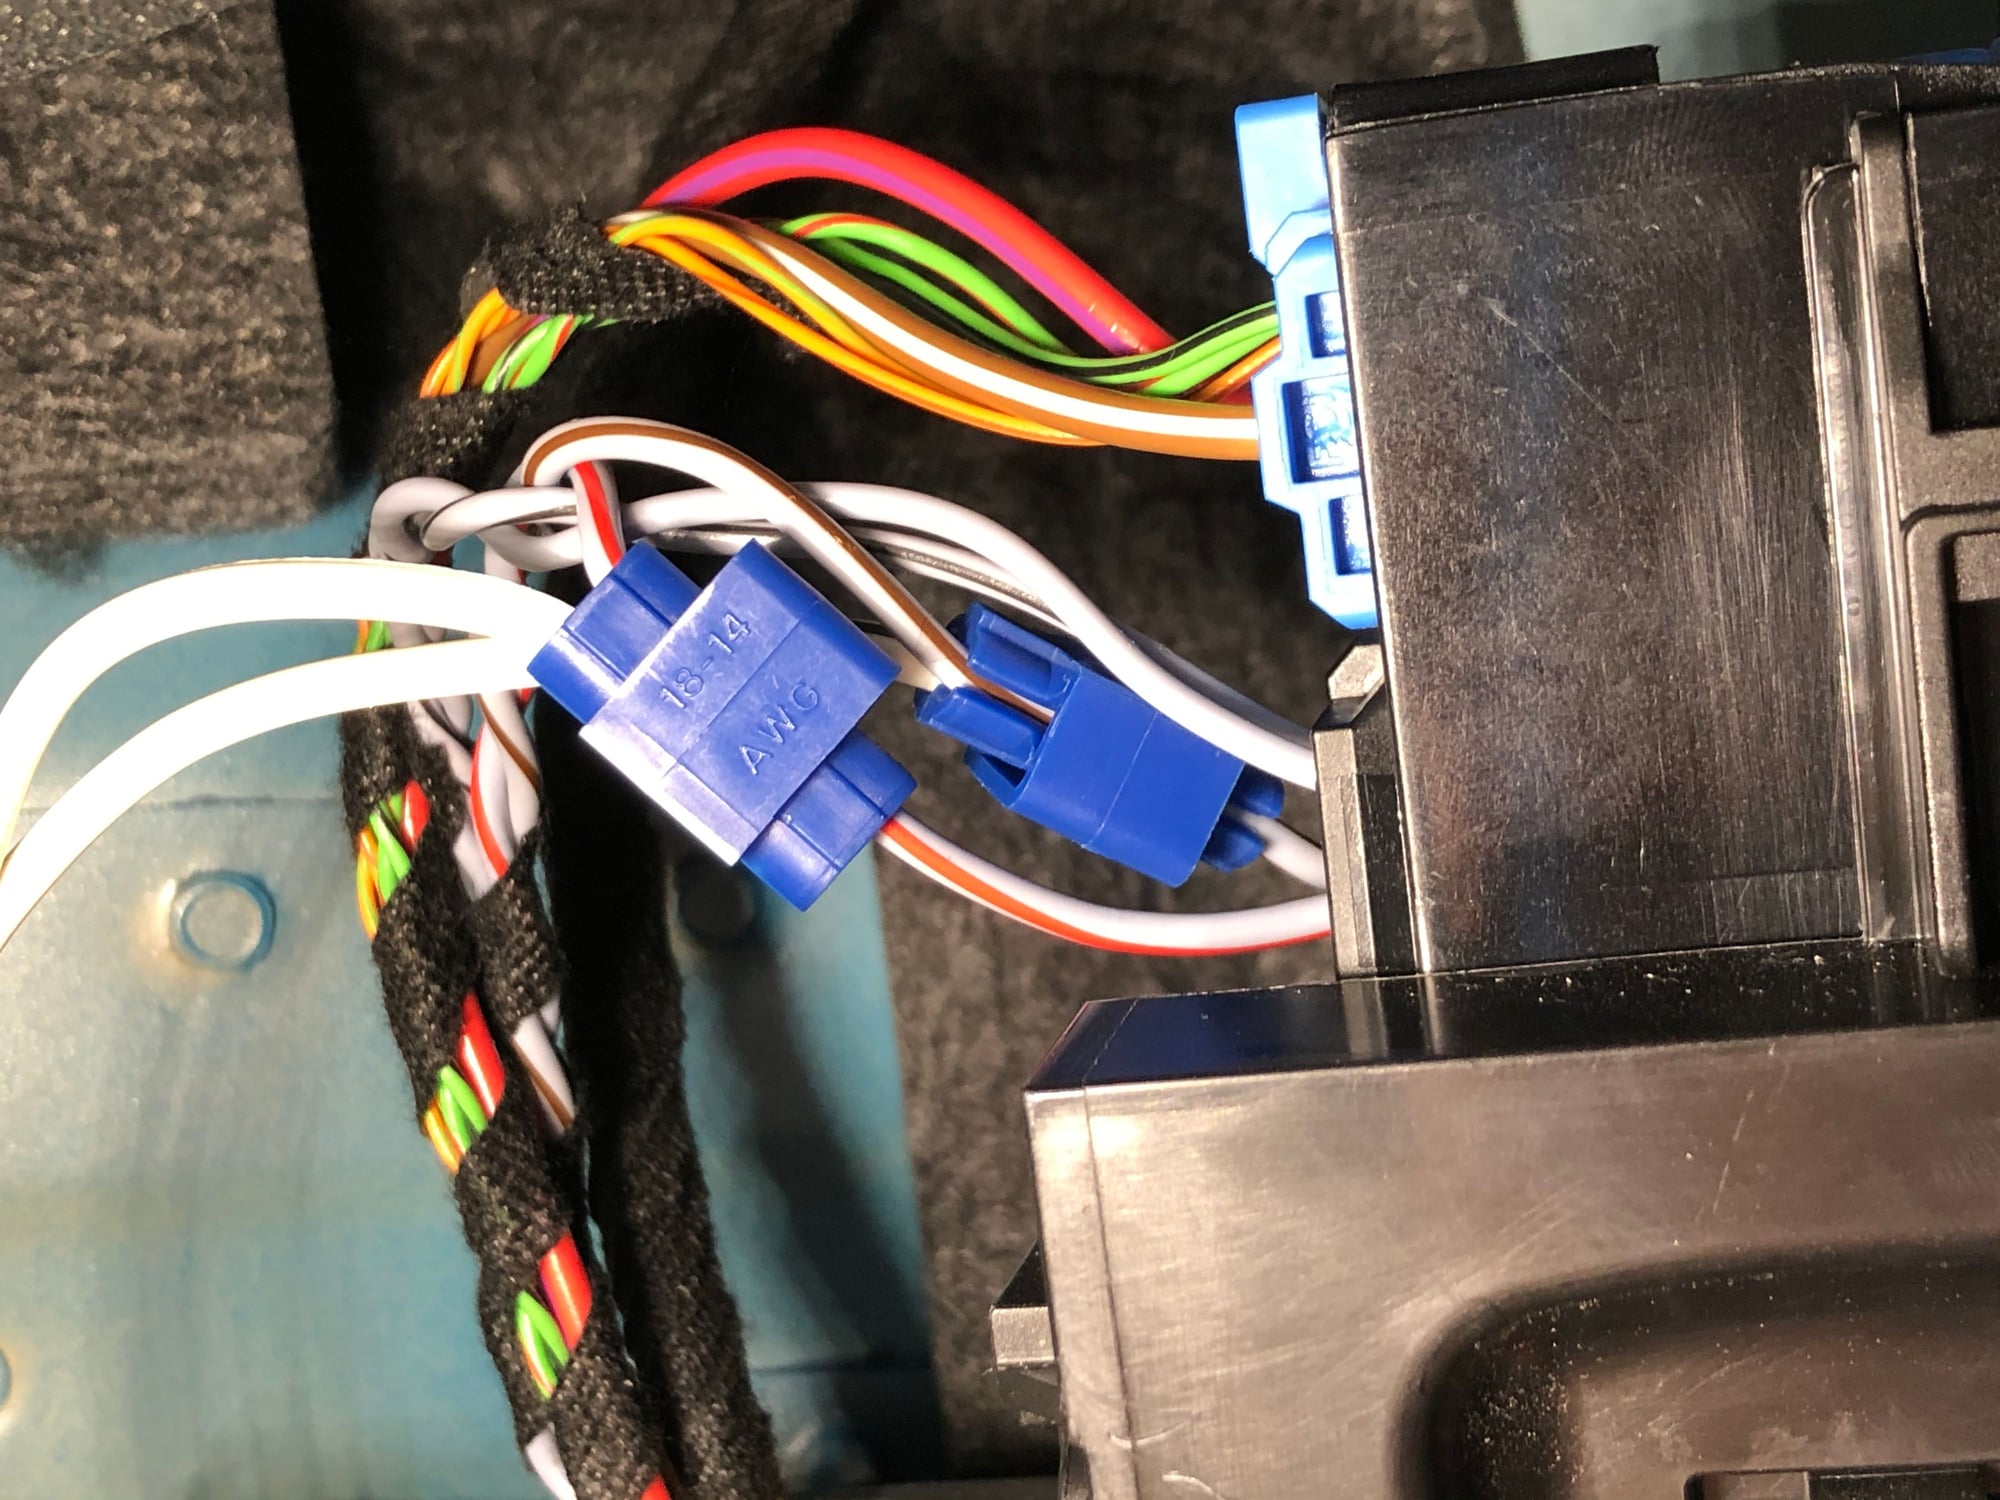
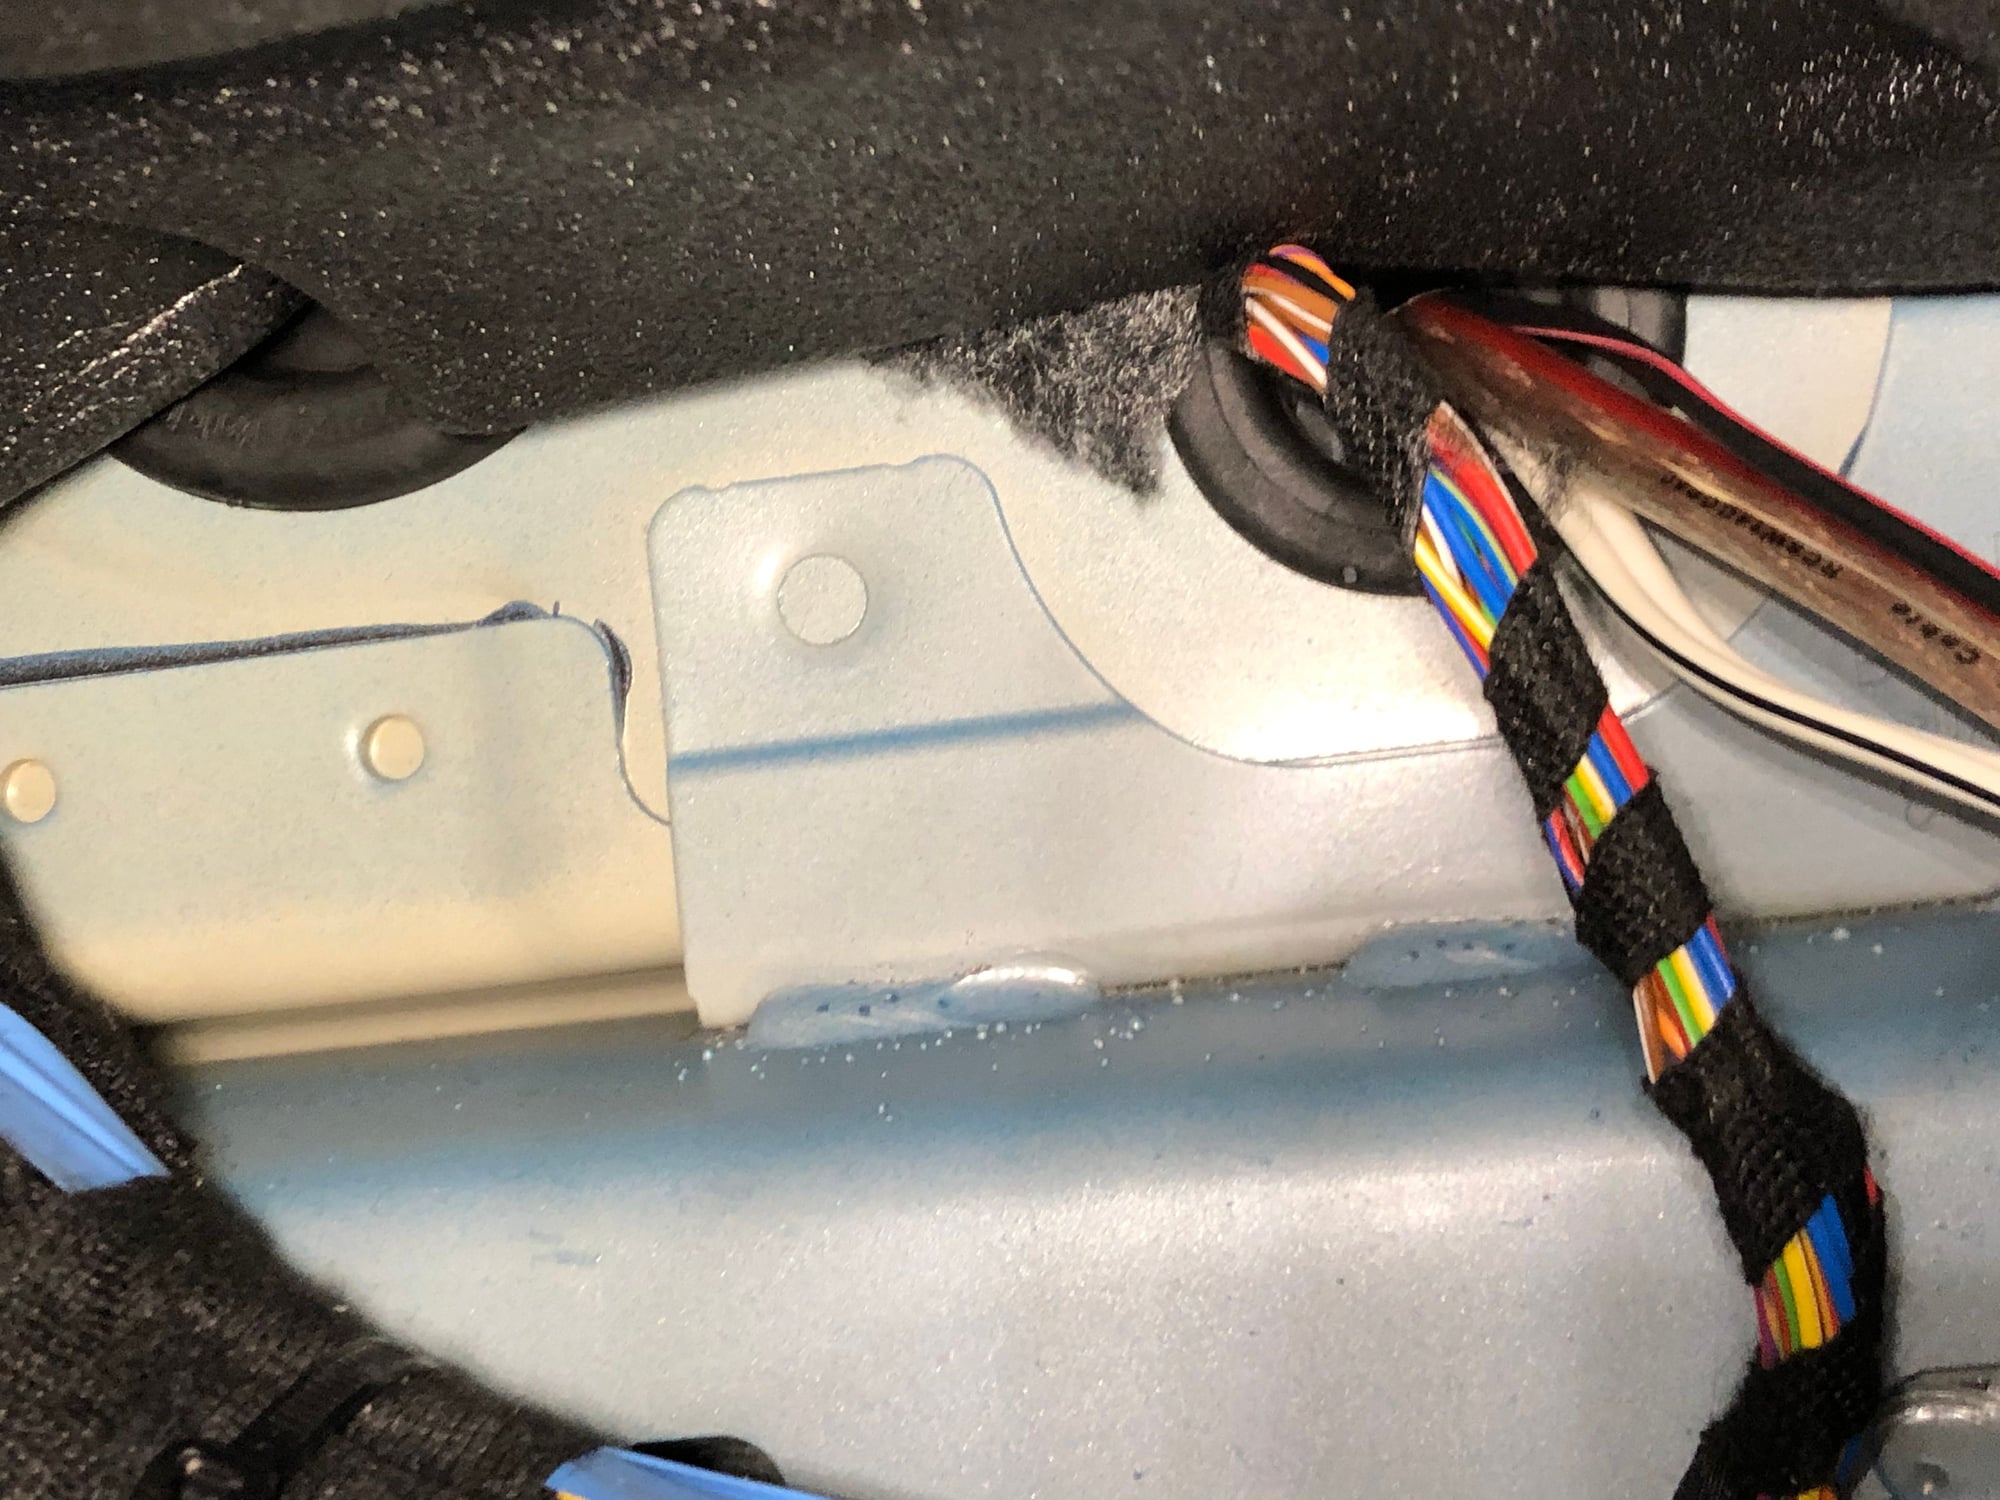
So I was extremely happy with the Dayton tweeter upgrade and I was determined to add in decent sub base for several reasons. Firstly the door woofers are struggling to provide mid base and deep base. Secondly I really wanted to alleviate using the BOSE DSP settings to boost frequencies which honestly becomes mushy distorted, unnatural sound. New settings use no surround or DSP and music has better fidelity and stereophonic separation. Fader -2 (rear bias, I know who would�ve thought but it takes the signal away from the cheap center speaker), Bass -4 to -5 (so the mid woofer and woofer can play loud and clean voices), Treble flat 0 to -1(with the stellar Dayton upgrade no need to boost treble.) I settled on the JL audio 8� ported micro subwoofer based on many reviews and very capable W3 high excursion sub woofer. The micro sub weighs about 19# and looks great on the hatch. I installed an Alpine V12 200watt amp in the boot for best weight distribution. I will include several pictures to show the key installation phases. Mount amp to thin board behind boot carpet and run wires to battery. Add PAC hi/low converter and tap into woofer +/- high level signal near fuse box (passenger foot well) run wires along passenger entry threshold and to the rear seat and to the sub. This addition is extremely affordable ($250 sub, $20 PAC hi/lo, 200 watt amp $100-200) it will complement the BOSE to an incredible new level and massage your back and rattle your fillings! JL Audio 8� micro sub ported version matches the black carpet nicely and is easily removable The micro sub weighs about 19# and is only 5� high it is securely mounted to the child seat restraint tabs on the deck via aluminum 2� bar stock across the two child seat mounts and 2 metal tabs that are mounted to the sub that slide under the bar stock so it can�t fly up into the passenger area. I used banana plugs for a quick and easy disconnect for the speaker wires for track days. Older Alpiine V12 MRV T500 50x2 or 200 watts bridged mono connected to PAC hi/lo level converter, weighs approximately 10# and does not take up much space Add-a-fuse was used on the passenger side fuse box for amp remote turn on and high level wire taps were used to get the door woofer signal for the PAC hi/low converter Close up of door woofer wires near passenger side fuse box and wire taps to get the high level signal Found the best soft rubber grommet under passenger carpeting to pass wires through the firewall to feed 12 gage subwoofer +/- wire, remote turn on lead and high level +/- woofer signal wires to PAC converter. No drilling just poked a screwdriver through next to OE wires and fed a coat hanger to pull the wires through. Close up of firewall showing where the wires come through. For the amp power I ran positive 8 gage cable with a fuse from battery positive into the fender and through one of the two oval rubber grommets behind the tow hook accessory. I ran the other wires through the second oval grommet with flapper. This was not a difficult sub woofer system installation and the results are just amazing. LMK if you are in the Thousand Oaks area and want to have a listen!
Spoiler
Last edited by BLKFLAG; 03-22-2020 at 05:03 PM.
Reason: Typos
Thank you. I�ll have to do this. Based on cost, ease of install and improved sound. Is it possible to buy another connector so that one on the Bose wouldn�t need to be cut?
Colorado has implemented a stay at home policy. Outside of Home Depot sourcing needed parts for this project will be unlikely locally.
Could someone provide a spec for the needed wire gauge, wire end terminals and shrink tubing. I think I should be able to order the needed parts from parts-express.
I eventually did a big upgrade, using many of the same parts the Musicar folks used. You can see what I did here. There are links to the custom 3D printed tweeter brackets I did there, too. I spent probably $6g in all doing the upgrade - it was a fun project, but to be honest, just doing the cheap tweeter upgrade was far & away the best bang for the buck overall.
I thought about doing the head unit but didn't want to lose the dashboard integration. I just wish my PCM 3.1 had the HD Radio option, but BT streaming works pretty well and the phone integration is flawless.
if you were just going to do the tweeters are the musicar ones worth the money or go with a budget set up like you started with?
if you were just going to do the tweeters are the musicar ones worth the money or go with a budget set up like you started with?
I�d do the DA ones first. It�s a ~$60 experiment and I was really impressed with it.
You won�t do the Dynaudio ones under about $500 if you build it yourself.... more for the Musicar package. If you�re spending that kind of dough, you need to be looking at quality amps as well.
I�d do the DA ones first. It�s a ~$60 experiment and I was really impressed with it.
You won�t do the Dynaudio ones under about $500 if you build it yourself.... more for the Musicar package. If you�re spending that kind of dough, you need to be looking at quality amps as well.
I'd agree -- I followed in flgfish's steps (more or less), and the Infinity Reference REF-275TX (375TX are newer version) tweeters easily dropped in and really made a tremendous difference. I'd try something like the Daytons / Infinitys / other silk dome 3/4" tweeter, disconnect the center, and give it a whirl. Fantastic bang for buck.
I called Dayton Audio and that is actually answered by Parts Express. A nice tech support fellow was working from home and happened to be building something and had the Dayton Audio ND204FB-4 on his desk. How random? He confirmed the terminals on the speaker are 0.187 and recommended the Parts Express part number 095-803 gold plated female disconnect for this application. 16AWG wire recommended.
The BMW part number 61132360043 is the male portion of the connector and comes with 6 pins if bought from a BMW dealer.
Thanks for finding that BMW part number.
When I was sourcing these, I was going based on my measurements and photos / measurements of various similar connectors. Not wanting to spend a ton while I potentially tried via hit and miss, I grabbed the ones above from Ali-Express. Not surprisingly my first 2 guesses were correct for the highs/mids and the woofers. That said, the Ali-Express tweeter connectors came fully assembled, so only 2 pins per connector.
The AliExpress ones are a great deal. Are they actually stamped bmw?
I'd agree -- I followed in flgfish's steps (more or less), and the Infinity Reference REF-275TX (375TX are newer version) tweeters easily dropped in and really made a tremendous difference. I'd try something like the Daytons / Infinitys / other silk dome 3/4" tweeter, disconnect the center, and give it a whirl. Fantastic bang for buck.
What gauge wire did you use in the blue BMW connectors? Don�t know what a reasonable gauge for a tweeter is. Thanks
I�d do the DA ones first. It�s a ~$60 experiment and I was really impressed with it.
You won�t do the Dynaudio ones under about $500 if you build it yourself.... more for the Musicar package. If you�re spending that kind of dough, you need to be looking at quality amps as well.
Agree. Did the Musicar Stage 1, there is tremendous improvement with the Dynaudio but you then realize how poorly the remainder of the system performs (Bose). Ordered the Zen-V to convert, using an Audison AP, Dynaudio mids and woofer with a removable sub. Simple project has now become a BIG project.
I’d do the DA ones first. It’s a ~$60 experiment and I was really impressed with it.
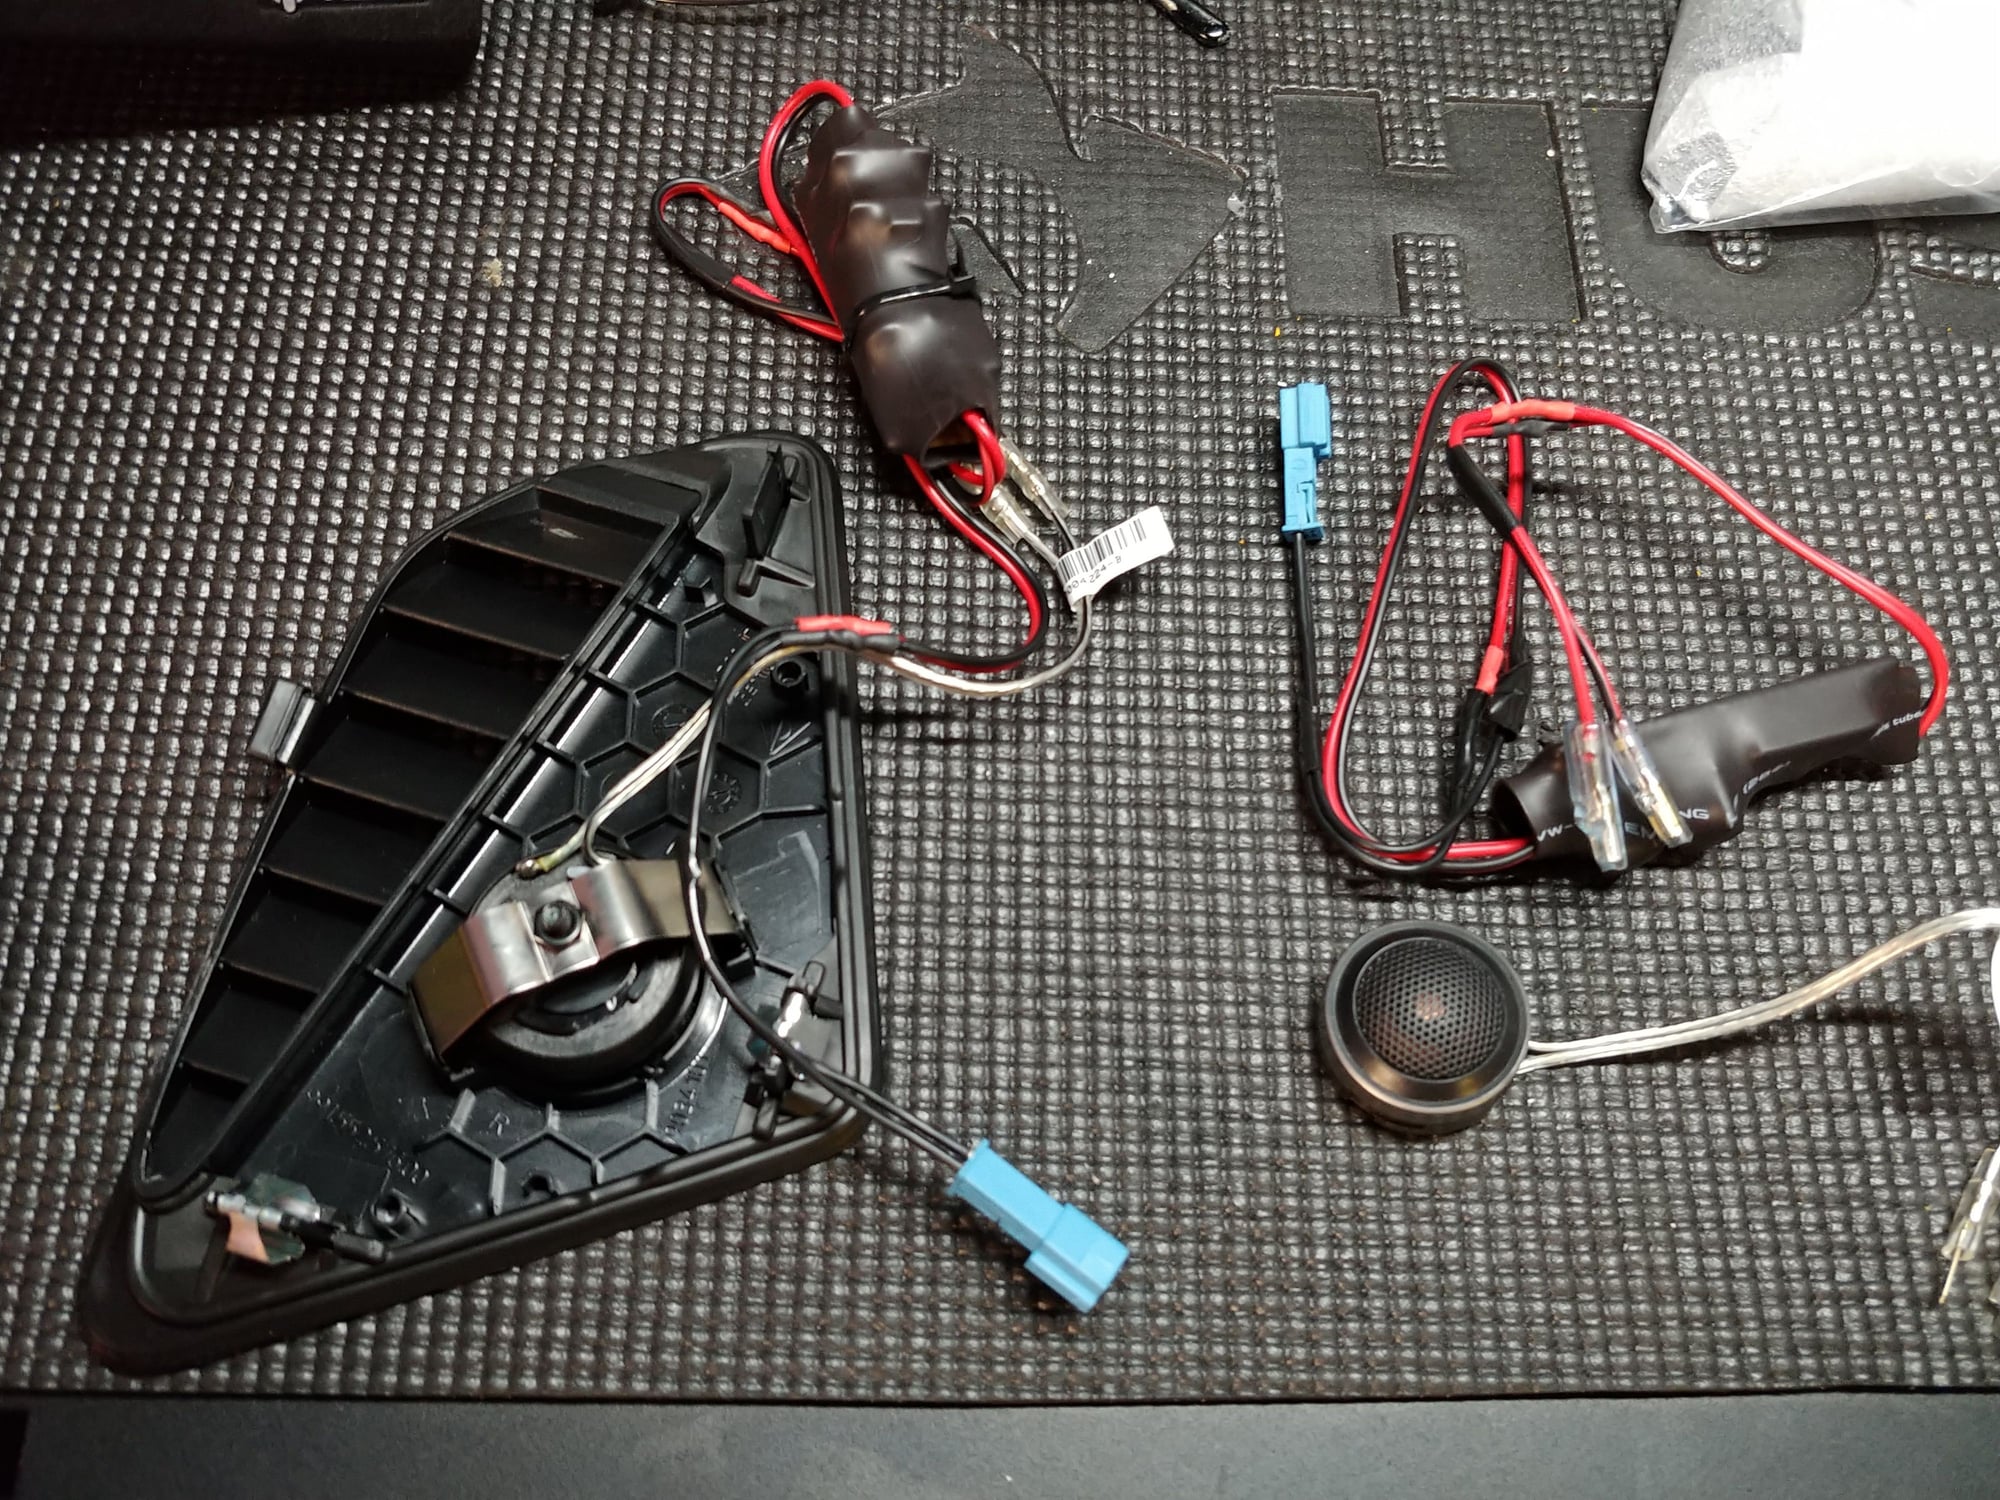
You inspired me to install the Dayton Audio tweeters. I ordered the tweeters and capacitors from Parts Express and they were delivered today. So this afternoon I installed the capacitors to the tweeters and soldered a jumper wire to each tweeter with a Molex terminal. Tomorrow, I'll remove the tweeter grills, remove the OE tweeters, snip the harness and attach the mating Molex connector to each tweeter lead. Then I plan to install the Dayton tweeters in the existing grills using some thick foam tape, similar to what you/flgfish has done. Hopefully all will go well. Following are pics of progress so far.
Jason
Capacitors are secured to tweeter with two dabs of electronic-safe silicone adhesive. This is the capacitor I used.
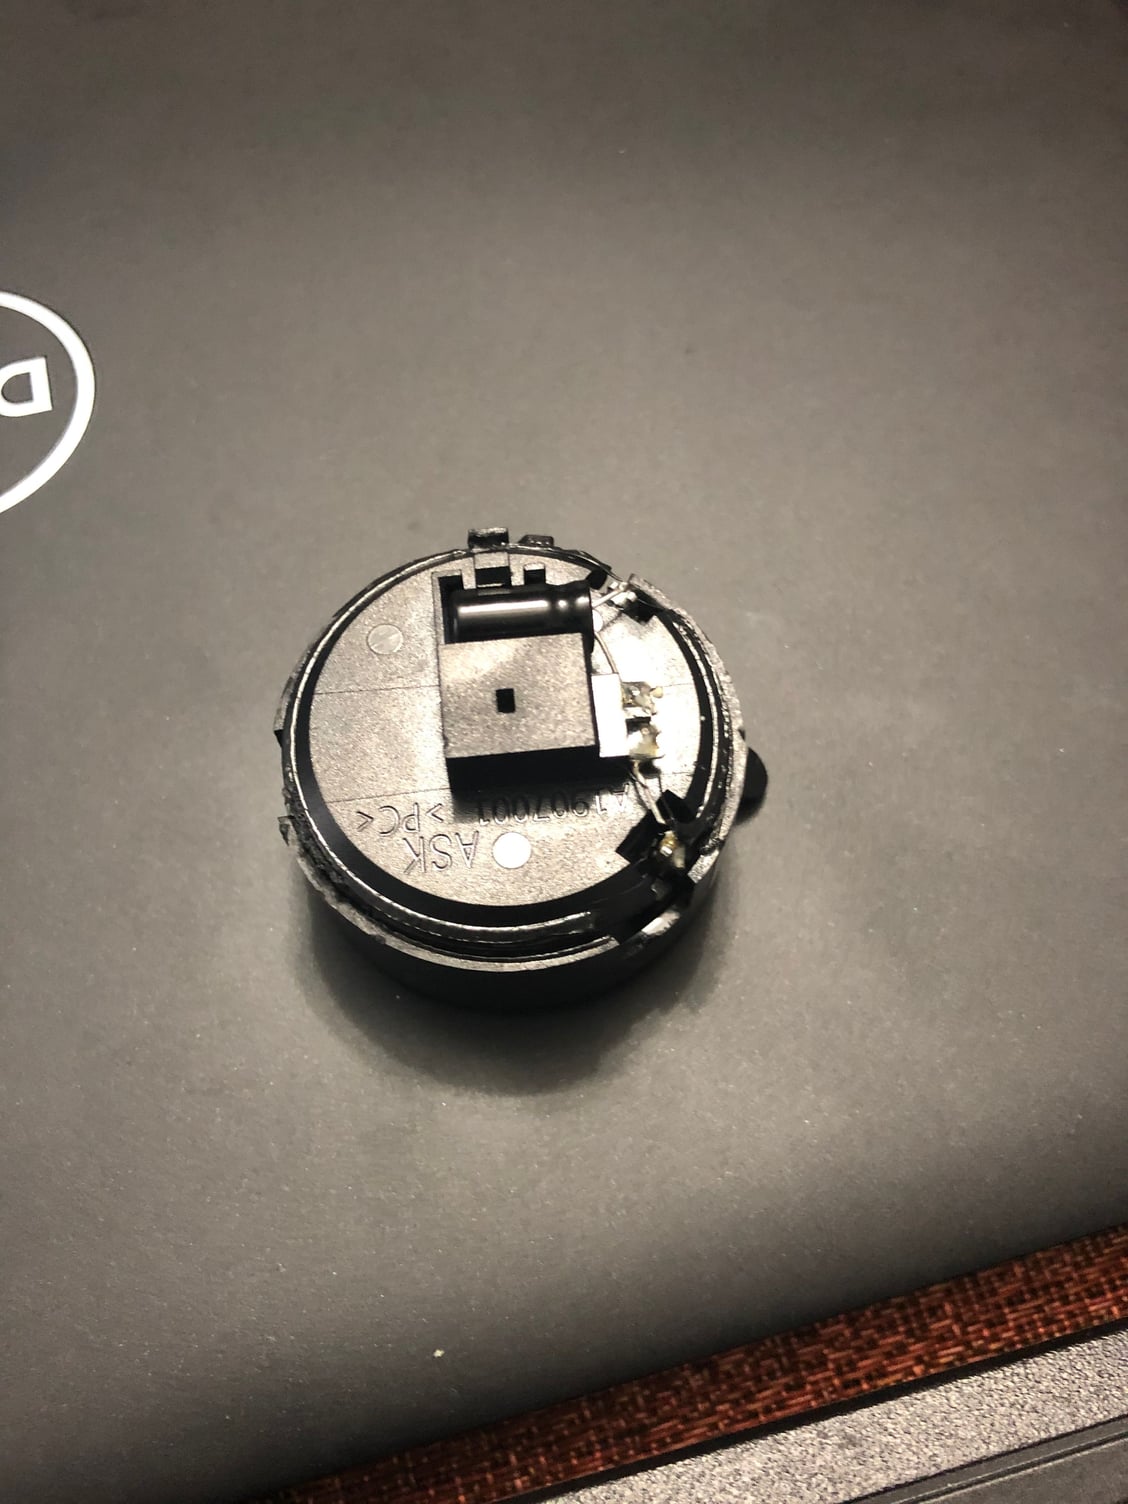
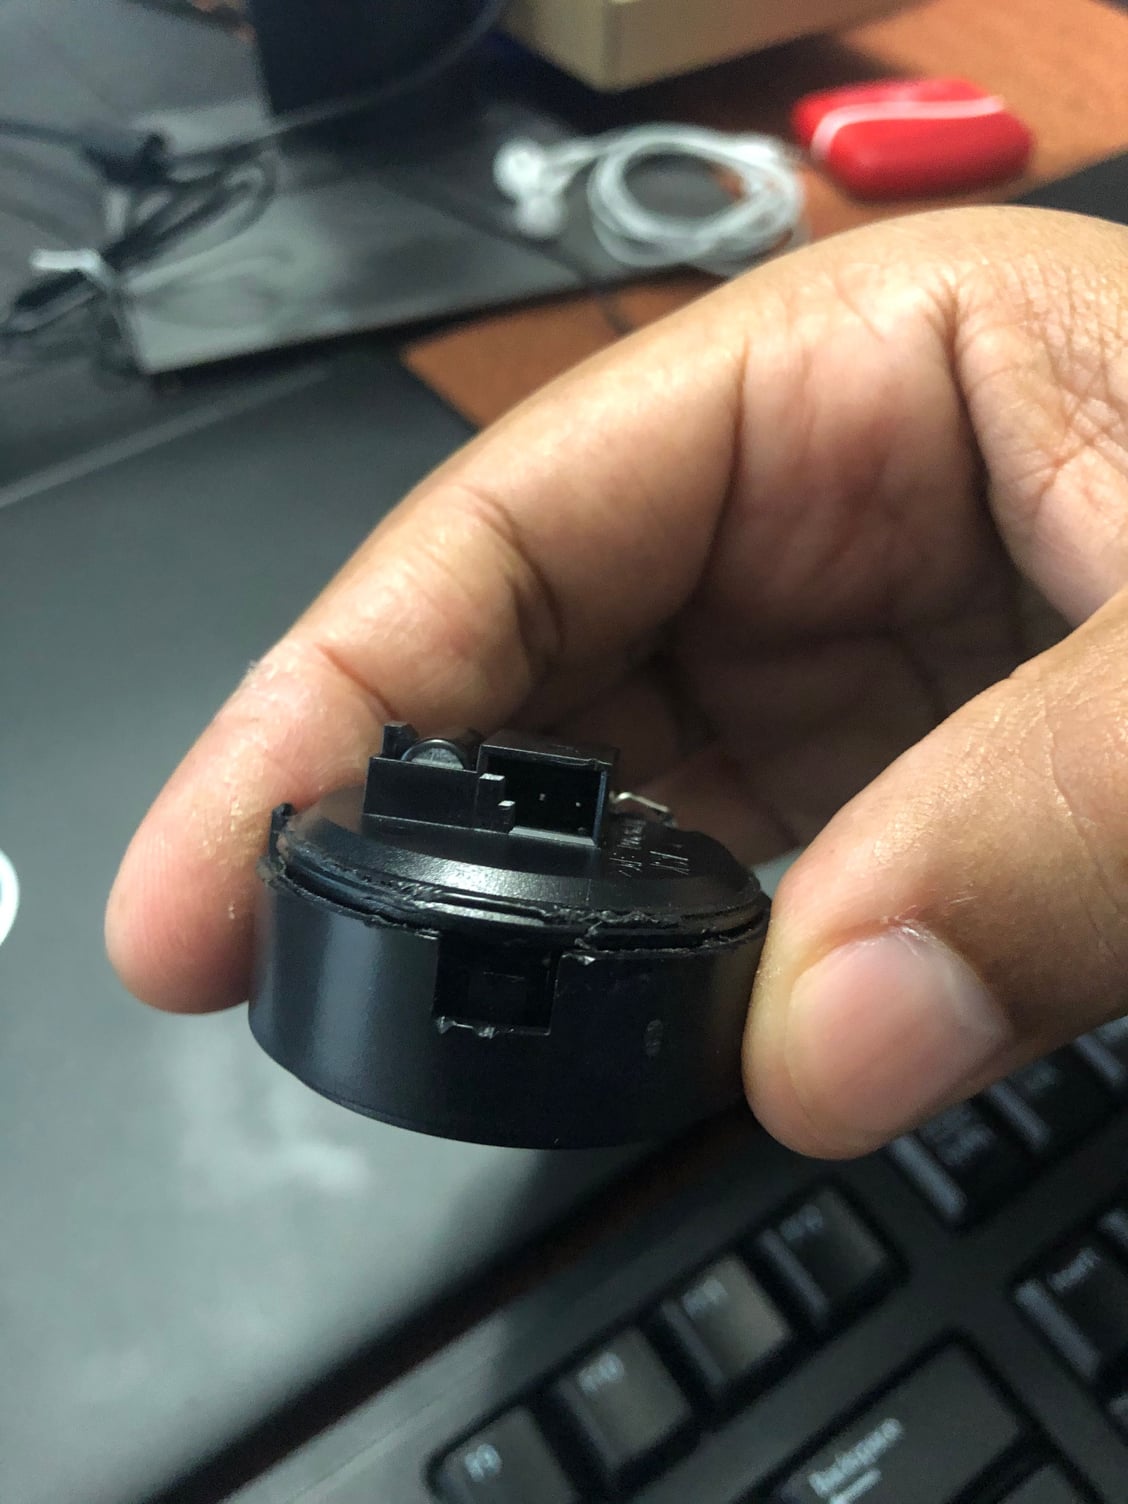
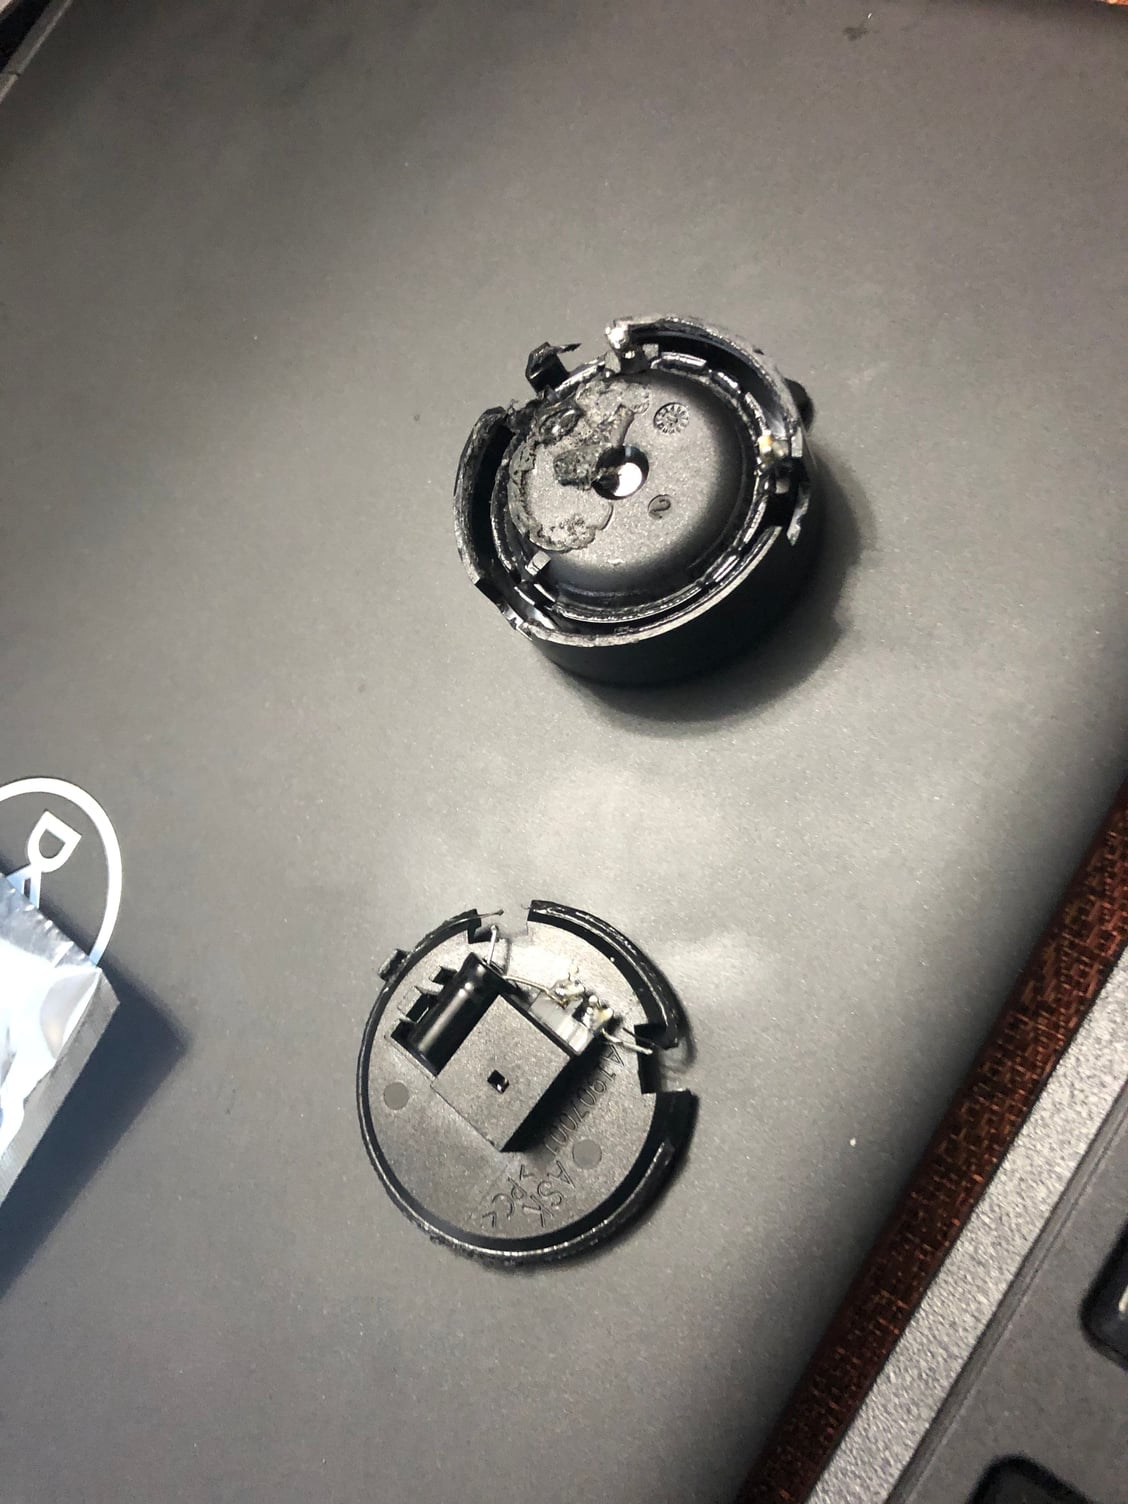
I wanted to thank the op and the others in this thread! I used the same Dayton audio tweeter but went about the connection a different way to utilize the stock cap and the stock connector. Here is how I did it
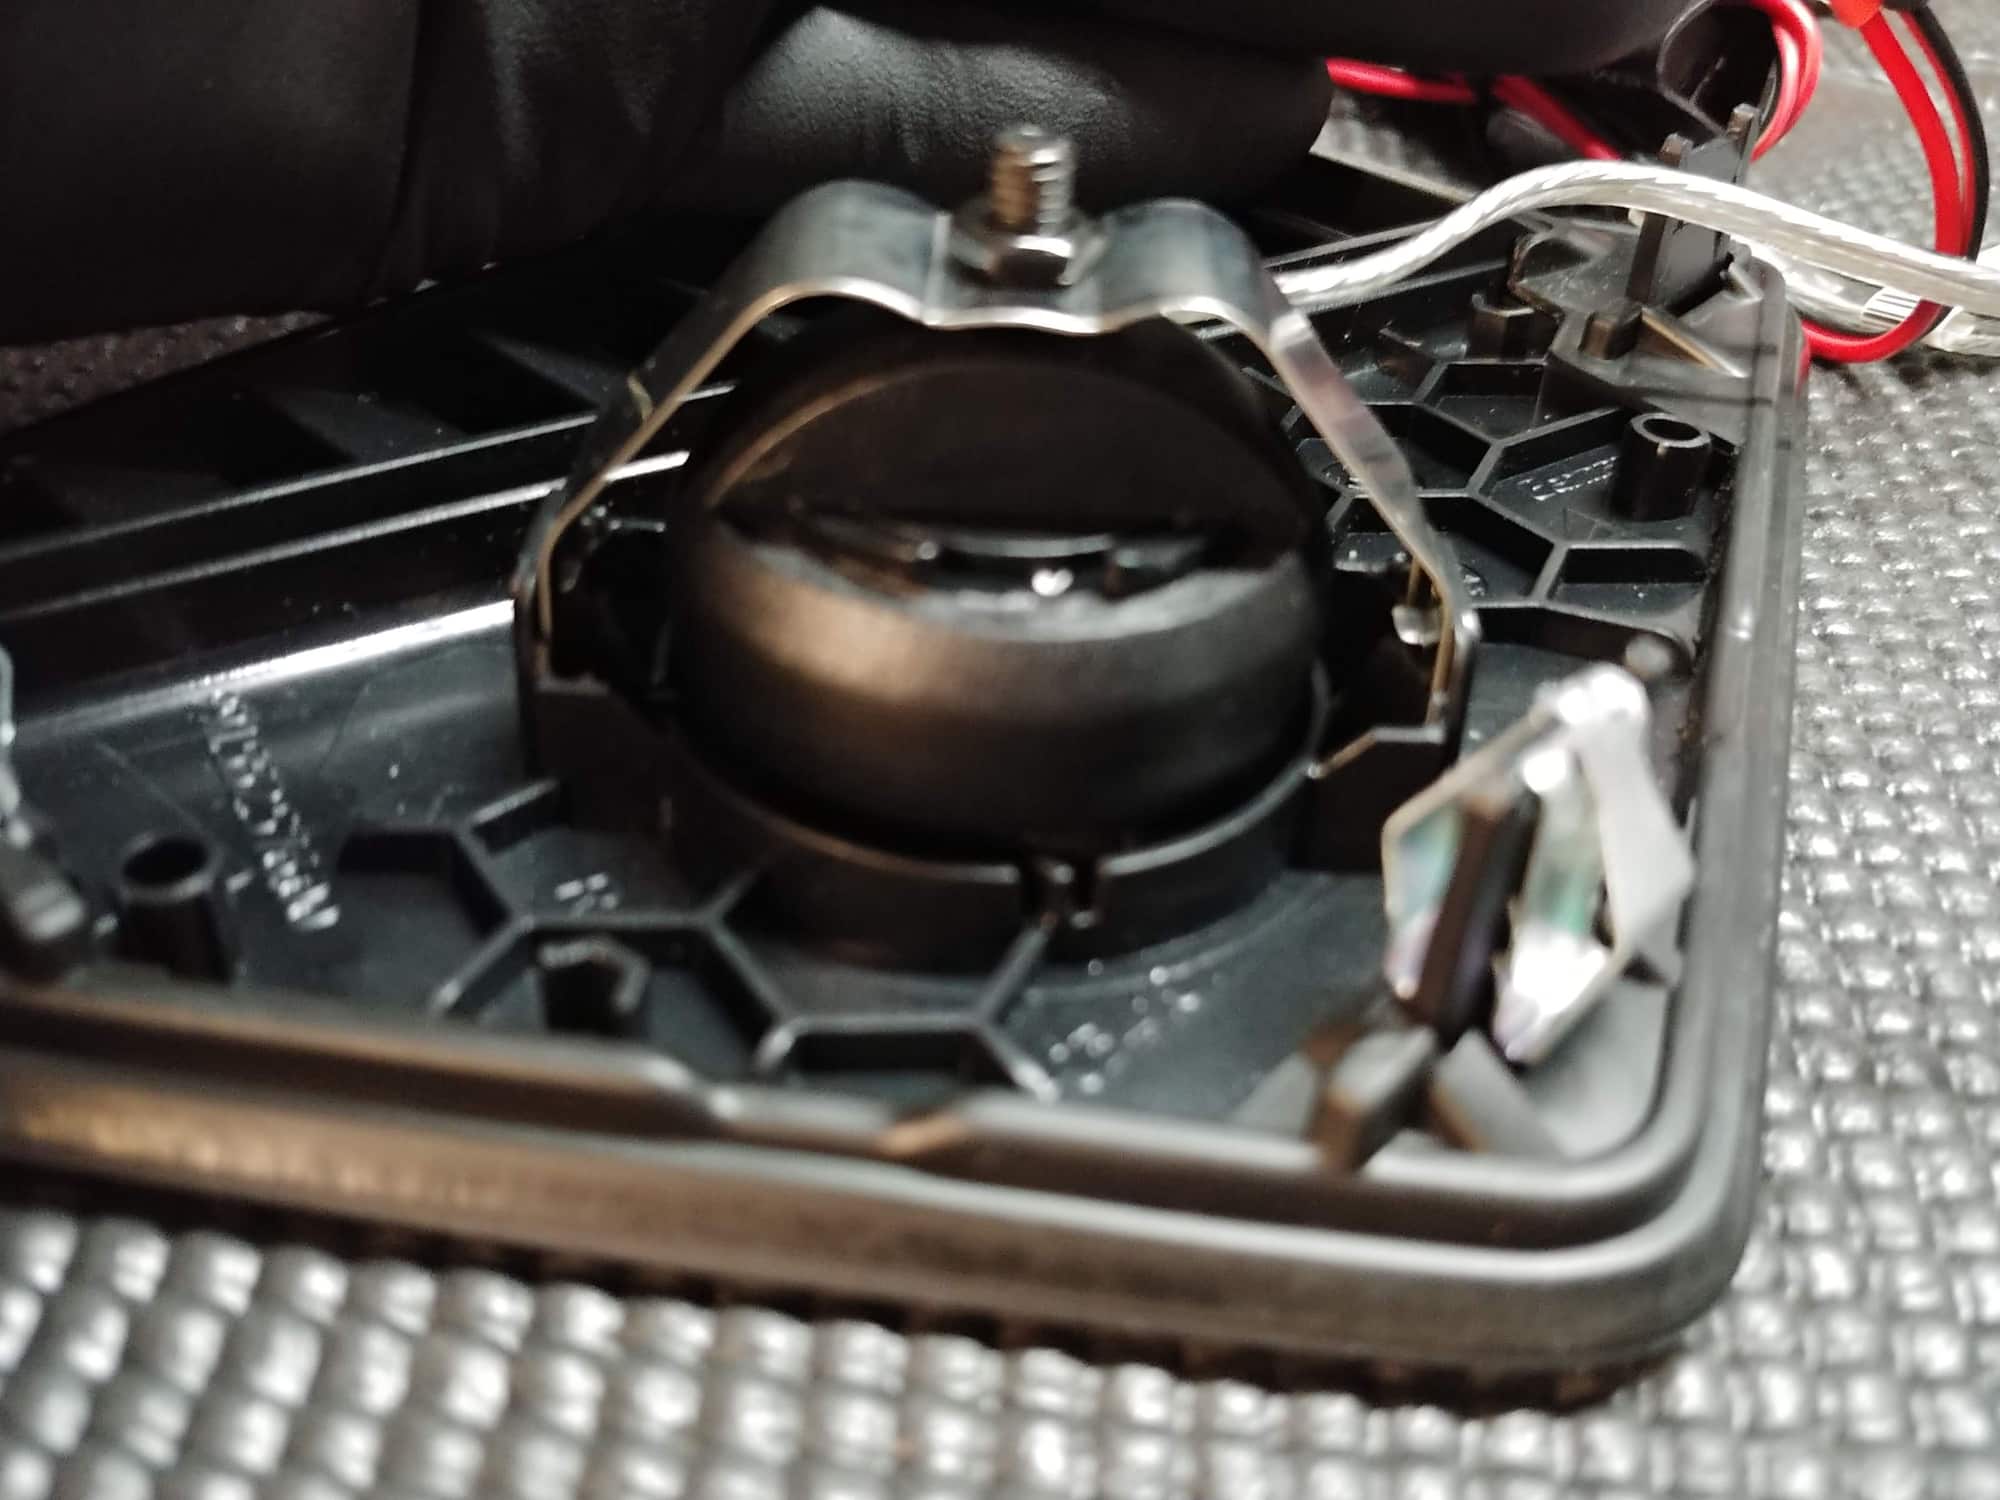
Stock tweeter removed. Here is the part I want off of it (The top part)

 03-22-2020, 02:15 AM