When you click on links to various merchants on this site and make a purchase, this can result in this site earning a commission. Affiliate programs and affiliations include, but are not limited to, the eBay Partner Network.
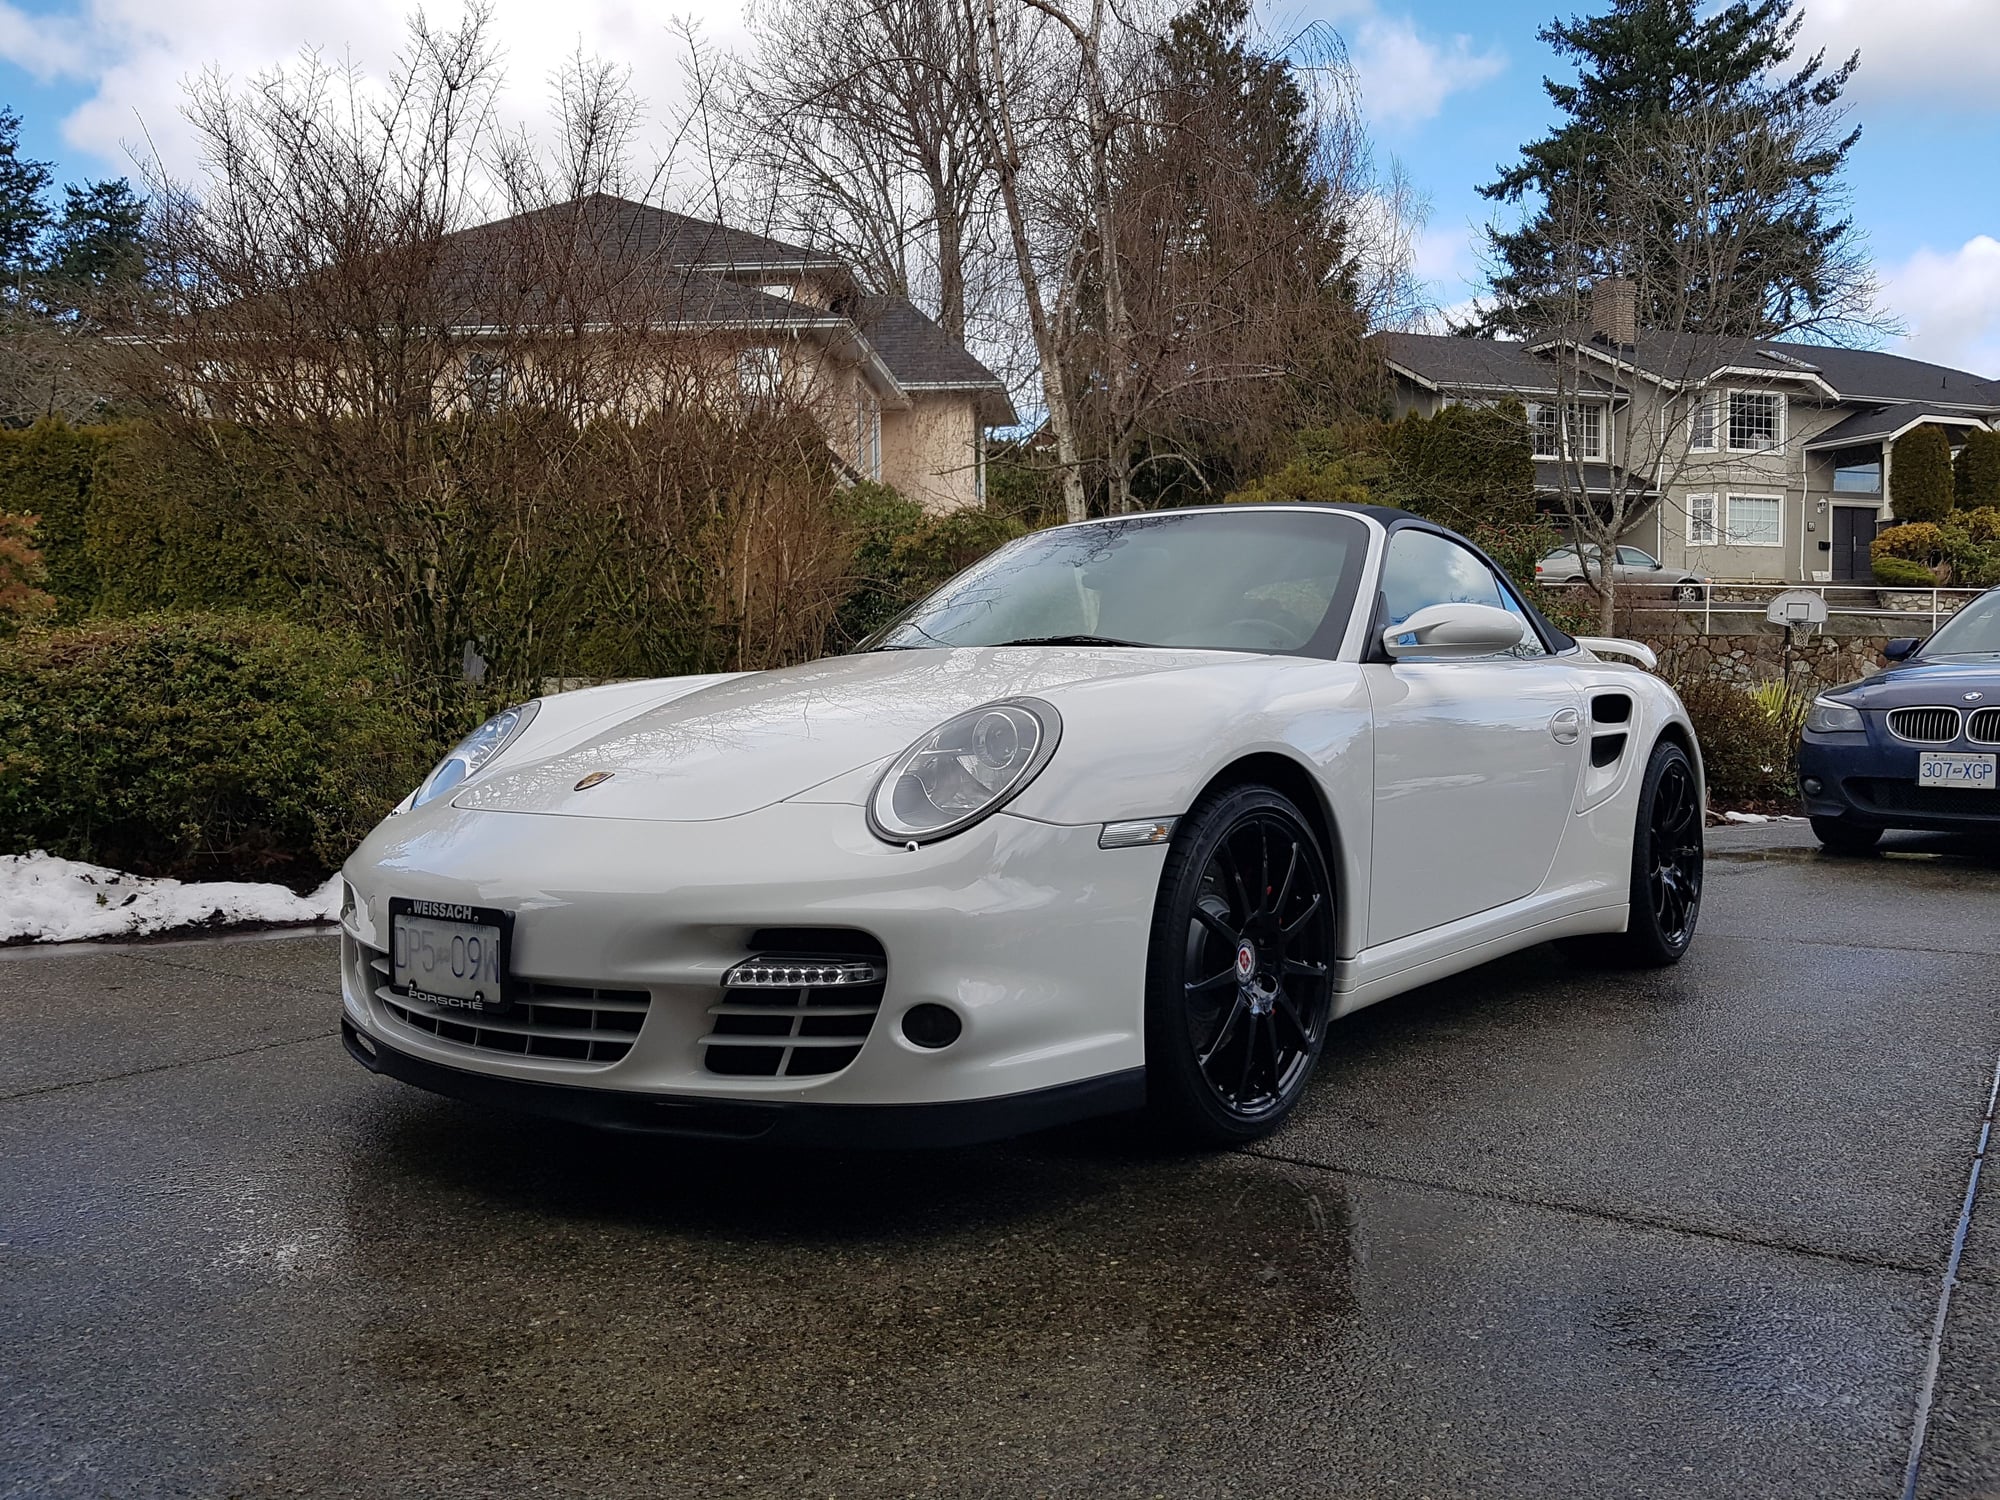
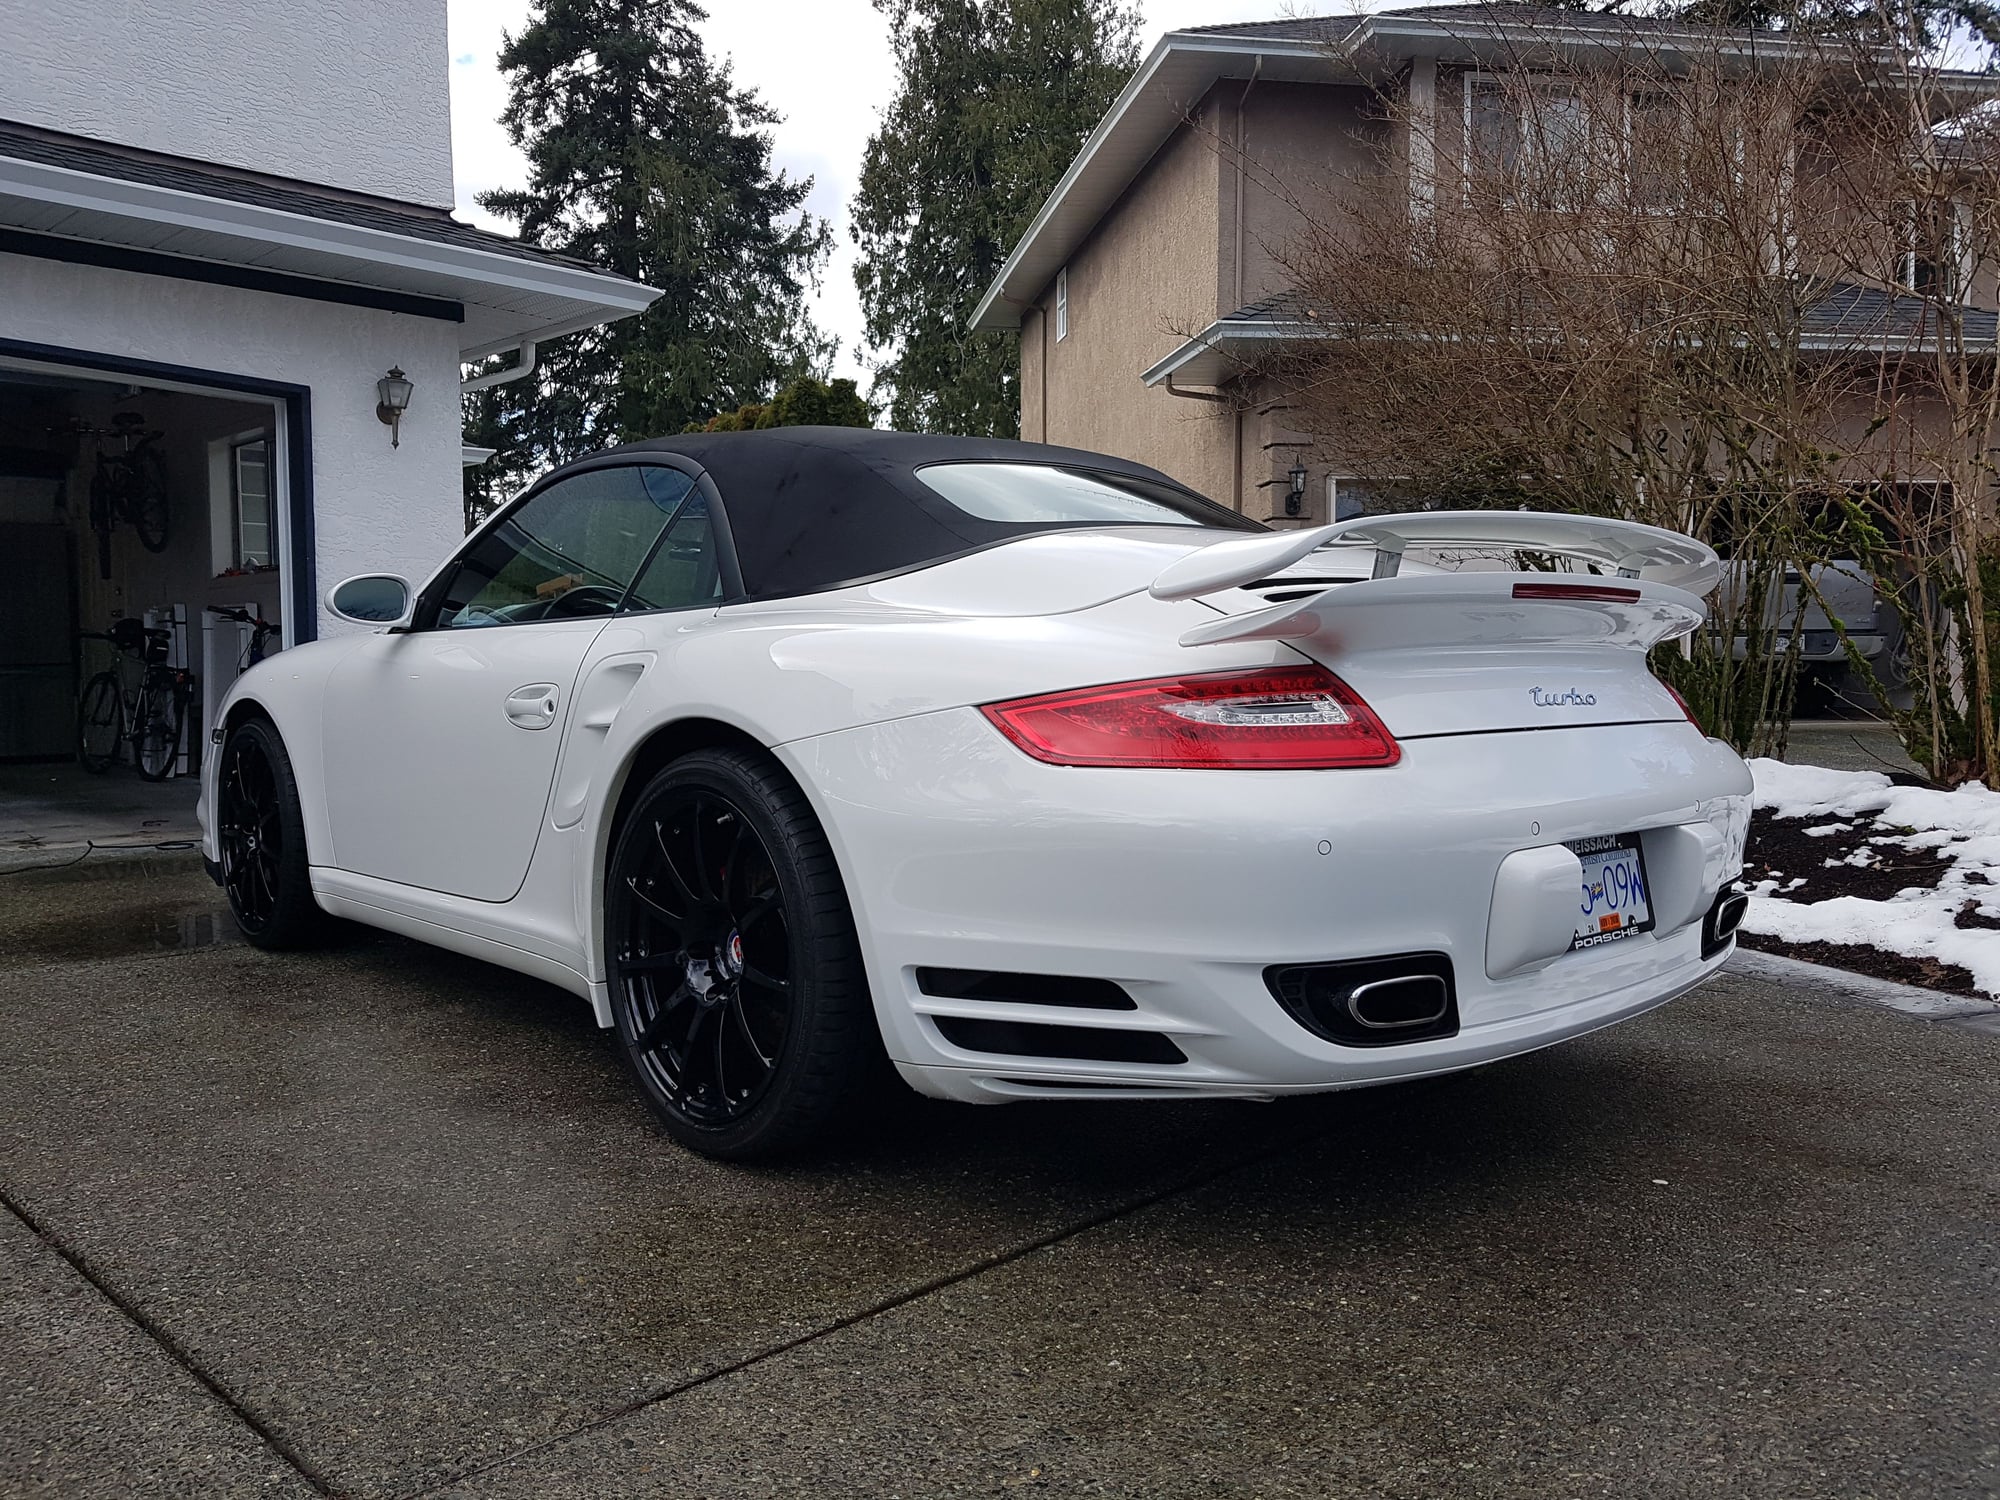
So, once the brakes were taken care of, I set to work detailing. Did a two stage polish, wet sanded out a couple scratches, and filled a bunch of small chips with Dr Colorchip. There's plenty of info out of there on wet sanding and polishing, but I figured I'd share my experience with Dr Colorchip, since I discovered a couple useful things. (Although I will say, when wet sanding, it's useful to go in straight lines in one direction only, then when moving to the next finer grit level, switch directions 90 degrees. This "cross-hatch" method makes it much easier to see when you've removed all the lines from the previous step. Discovered that partway through, and it made it much easier.)
OK, Colorchip. If you haven't used the stuff or seen a demo before, maybe watch this video first, as my tips will make more sense after seeing the process:
I went from thinking this stuff was basically a gimmick and not much better than regular touch-up paint, to thinking it's actually pretty good, but there are some tricks. First of all, they have instructions for both a regular and a 'squeegee' application method. You'll want to use the squeegee. When using your finger to smear the paint, it's much more difficult to avoid smearing it right out of the chip, and even if you don't, to get a nice finish on it. With the squeegee though, don't just indiscriminately smear it all around like they show in the demos (unless your panel has a ton of road rash). Instead, put a drop of paint onto the edge of the squeegie, and then wipe it into the chip. It helps to keep the squeegee close to parallel to the surface, rather than being too upright. Once you've wiped the paint into the chip, the squeegee will leave a little ridge of excess paint wherever you stop your stroke�use your gloved finger to wipe that off. This will save you a ton of effort later, because if left to dry, those ridges take a LOT of wiping with the blending agent to remove.
So, that's the technique I like for a single chip. Tiny dab of paint, wiped across the chip as flush as possible with the squeegee, and then the excess wiped off with finger (not touching the actual chip area with your finger). If you have a bunch of chips in an area, you can be a bit more liberal with the paint and wipe it around a bit with the squeegee. You still really want to avoid leaving any pools or ridges behind though, because these will be a pain to remove. Don't try to do too large an area at once either; the longer you leave it on, the harder the excess is to remove. Much easier and ultimately faster to do a small area at a time. (I definitely made this mistake.)
Removing: I found that basically the sooner you remove the excess, the better. Leave it on for even a couple minutes and it takes a lot more wiping to get it off. If you're careful and wipe with a flat cloth and flat hand, you won't remove the stuff from inside the chip. And worst case, if you do pull the paint out of the chip, it only takes a second to do it again. On the other hand, if you let it dry on the clearcoat for several minutes, you're going to spend a bunch of effort getting it off.
Also, if you have a DA polisher, it comes in handy. You can use the sealact (blending agent) to get the majority of the excess paint off, then use your polisher with a very mild polish to remove any remainder. You may want to do this anyway, as I found that the removal step with the white disposable cloths provided in the colorchip kit did create micro abrasions on the paint. (So, if you're doing a full detail, do any wet sanding and/or compounding first, then fill chips, and then save your final, least abrasive polish for last. I was concerned it might pull paint out of the chips, but didn't find that to be the case.) If you're not going to polish when finished, I would suggest using a cloth made from old t-shirt material instead of the included disposable cloths, as it will be a bit softer and less likely to dull the paint finish. (But of course will also require work to remove the excess paint.)
One last thing�you don't need to use a ton of blending agent. As long as it remains wet where you're wiping, you're fine. I found my instinct was to keep adding more because it was so difficult to get the excess paint off�this was before I learned not to leave ridges and before I learned the polishing trick. It doesn't help though, and will just waste the product.
And that's it! I'm pretty happy with the results. While you can't expect the chips to be completely invisible, most of them did get to the level of not noticeable from a couple feet away.
Thanks for the tips! I will definitely try them next time. The issue I have is when I used Jet Black (metallic) - in which they add a little note saying that it contains some pearl and it is necessary to actually stir and shake the paint. Ok, sure, no biggie. After it dried though, the new paint has a flat sheen - just like it would for after stage one base coat/clear coat finish. This was totally noticeable. What I had to do was buy some clear and add it over all the chips - what a pain! I may be in the minority but I really feel ripped off. $70?
From my experience you never ever ever wet sand a car with a clear coat. It works fantastic on older cars (I did my 930 and came out amazing) but all you are doing is removing the clear on a new car and exposing the paint. Worse, rub a little too hard and you will get a dull spot that you cannot remove. Use a polishing compound, polish, and then choose if you want to wax it or go with a better solution. Just my 2 cents.
From my experience you never ever ever wet sand a car with a clear coat. It works fantastic on older cars (I did my 930 and came out amazing) but all you are doing is removing the clear on a new car and exposing the paint. Worse, rub a little too hard and you will get a dull spot that you cannot remove. Use a polishing compound, polish, and then choose if you want to wax it or go with a better solution. Just my 2 cents.
If you mean wet sanding the whole car I'd agree with you. Spot sanding to remove scratches in the clear coat can be useful though. I took a couple out of mine that would have taken forever with just the polisher.
Edit: Definitely use a block and don't press hard though. Also don't go too aggressive with the grit. I went 1500-2000-3000 on one scratch and 2000-3000 on a couple others. If the scratch you're sanding is only in the clear and you stop when you get it out, you shouldn't end up with a dull spot.
Edit 2: Althooough, even whole car would make sense if you're removing orange peel. Just wouldn't trust myself to do that (nor would I want to go to the effort!)
Last edited by Nate Tempest; 03-06-2018 at 06:42 PM.
Whenever I tried to remove small scratches, I always made matters worse, without exception. I'm sure it was user error, but for me, I take it straight to our local body shop that does excellent work.
Whenever I tried to remove small scratches, I always made matters worse, without exception. I'm sure it was user error, but for me, I take it straight to our local body shop that does excellent work.
Would they typically paint a whole panel or just spot repair and spray that section then blend with the rest of the area? I will also agree with you that just touching up a section is very difficult. I can do it, but the only way to get it to 95% is with a respray. I say 95% because even most resprays are not perfect. Touch up I would consider to be a 75% repair at most.
Would they typically paint a whole panel or just spot repair and spray that section then blend with the rest of the area? I will also agree with you that just touching up a section is very difficult. I can do it, but the only way to get it to 95% is with a respray. I say 95% because even most resprays are not perfect. Touch up I would consider to be a 75% repair at most.
I don't know what the difference is, but the couple of clear coat scratches I repaired ended up looking at least as good as the untouched paint on the rest of the car. I did watch a lot of "how to wet sand" youtube videos first though. As I mentioned before, the two key takeaways I got were 1: always use a sanding block; you will have problems just using your hand, and 2: sand in one direction only with each grit, changing directions 90 degrees as you go up in grit; makes it easy to see when you've removed everything from the previous stage. For the first stage I generally went perpendicular to the original scratch. Oh, and one that I didn't see explicitly mentioned but saw people do and found very helpful was to tape around the working area before starting. (The working area being the original scratch plus some extra.) That allows you to keep in bounds with the sanding more easily. Since you need to completely cover the area you previously sanded each time you go up in grit, each level tends to increase your area a bit. Taping it off helps keep things in a reasonable area while doing that.
Then I'd just start with a 1000, 1500, or 2000 depending on how deep the original scratch was (didn't do any 1000 on this car but have on others); apply plenty of lubricant (I used detailing spray; soapy water should be fine too), and regularly wipe off and check on the original scratch until it's gone. It's important to use a good light while checking, and not just rely on ambient.* Switch to 2000 and switch directions; again lubricate well and regularly check until lines in other direction are gone. Switch to 3000 and repeat. Then rubbing compound (aggressive polish), and finally finishing polish. Comes out better than new.
Would they typically paint a whole panel or just spot repair and spray that section then blend with the rest of the area? I will also agree with you that just touching up a section is very difficult. I can do it, but the only way to get it to 95% is with a respray. I say 95% because even most resprays are not perfect. Touch up I would consider to be a 75% repair at most.
It depends. If you have a gash, then you'll have to do a respray. But, for most light scratches, the guys at North State Automotive can use all kinds of compounds and make the car look flawless. I once didn't pull my BMW into the garage far enough, and when the door came down, it scraped the trunk lid and took out the 550 logo. I bought all kinds of scratch removal stuff, and I just made things worse. These guys returned the car looking new, with no respray.

 02-24-2018, 09:21 PM


 As I mentioned before, the two key takeaways I got were 1: always use a sanding block; you will have problems just using your hand, and 2: sand in one direction only with each grit, changing directions 90 degrees as you go up in grit; makes it easy to see when you've removed everything from the previous stage. For the first stage I generally went perpendicular to the original scratch. Oh, and one that I didn't see explicitly mentioned but saw people do and found very helpful was to tape around the working area before starting. (The working area being the original scratch plus some extra.) That allows you to keep in bounds with the sanding more easily. Since you need to completely cover the area you previously sanded each time you go up in grit, each level tends to increase your area a bit. Taping it off helps keep things in a reasonable area while doing that.